
My 21 BEST TIPS for Smoooooth Blending & Shading SKIN with Tombow PORTRAIT Dual Brush Pens!6/2/2024
Hey art lover!! I'm beyond excited to have you join me for an amazing face shading project using Tombow Dual Brush Pens.
If you were hangin' with me last week on my mixed media YouTube channel, you may remember I reviewed a set of grayscale Tombow alcohol markers, and totally panned them. I know!! I HATE doing that!! But I need to be honest with everyone - it's my job to help beginner artists cut through the clutter of the bazillion art supplies on the market! That way you can quickly grab the supplies that ARE worth your time and money, and just get to the FUN part of art-ing already :) Since I was so hard on Tombow last week, I want to balance it out this week. I honestly LOVE the brand and a TON of their products. To prove it- I'm shading a face with my Tombow PORTRAIT Dual Brush Pens today, PLUS sharing my TOP 21 TIPS for the smoothest blending and shading you can get from Tombows!! Let's do it!! 
If you'd like to draw today's face with me step-by-step for FREE- grab a pencil and a sheet of watercolor paper (SUPER IMPORTANT), and head over to my YouTube Drawing Channel to watch the less than 20-minute tutorial.
When you're done - pop back here, grab your Tombows (or any art supply YOU love most!), and let's start shading!! 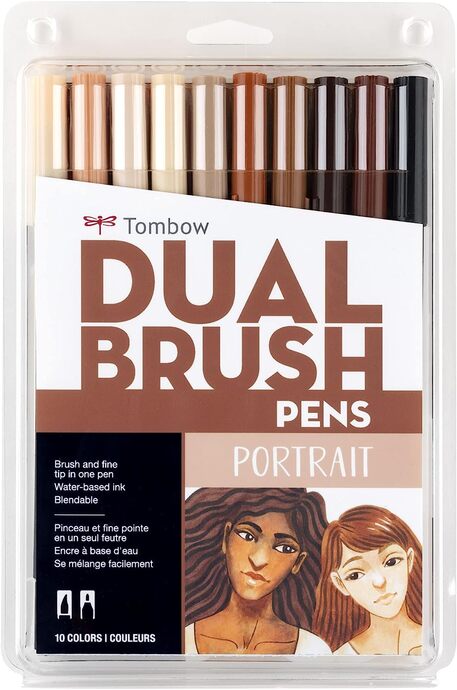
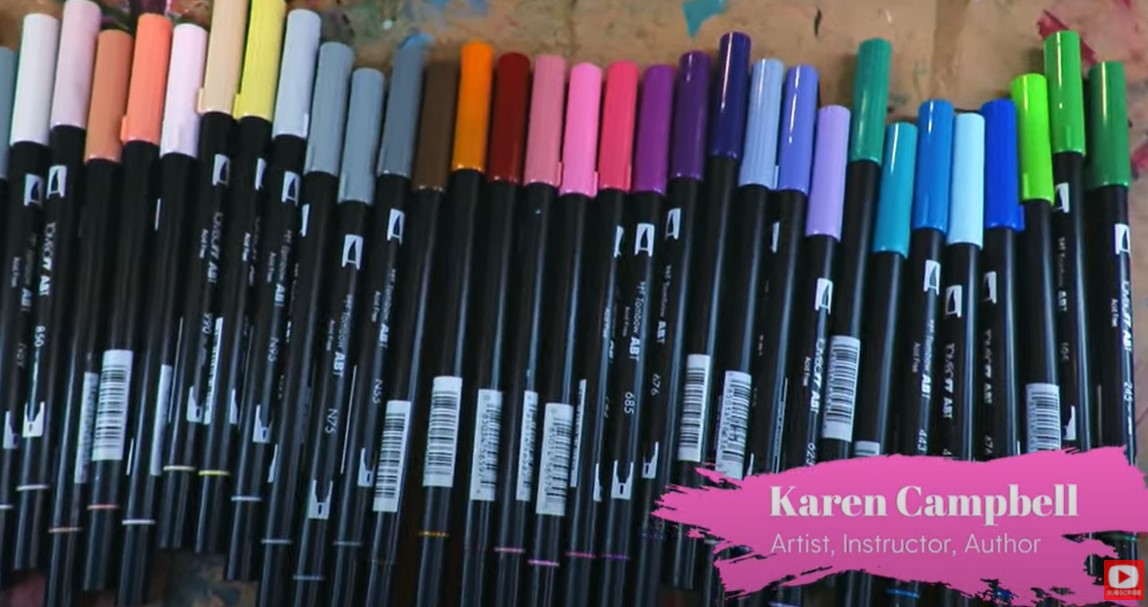
If you're not familiar with the Tombow's Portrait set of dual brush pens, they include 10 beautiful shades in a wide array of colors to really hit all the light, medium, and dark skin tone combinations out there, which I love.
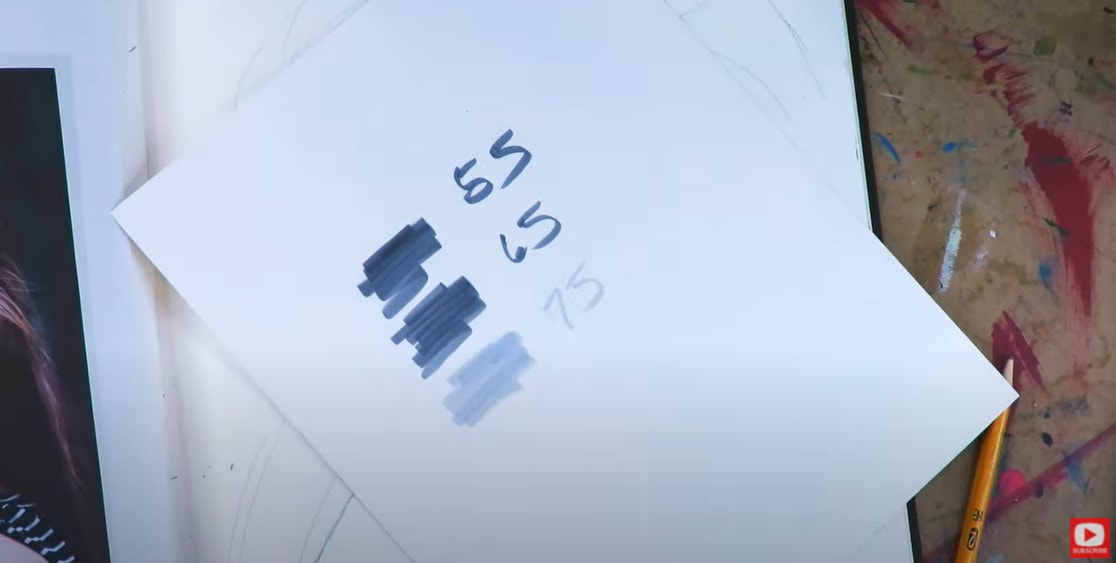
Tombows are also completely water-soluble. That means if you color with them on paper, wet a paintbrush and drag it over the pigment on your paper, the colors will magically DISSOLVE and melt into one another. Even without water, you can effortlessly blend various shades of Tombows together because the markers are exceptionally juicy! Check it out.. 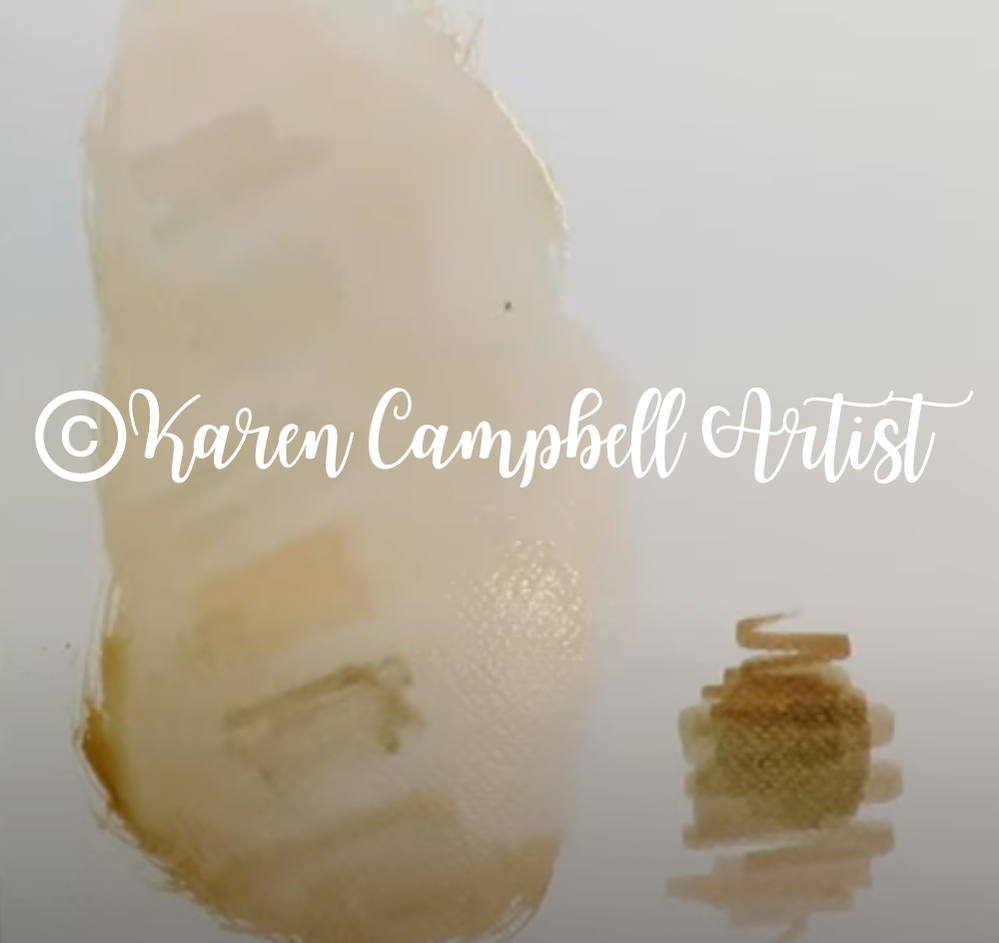
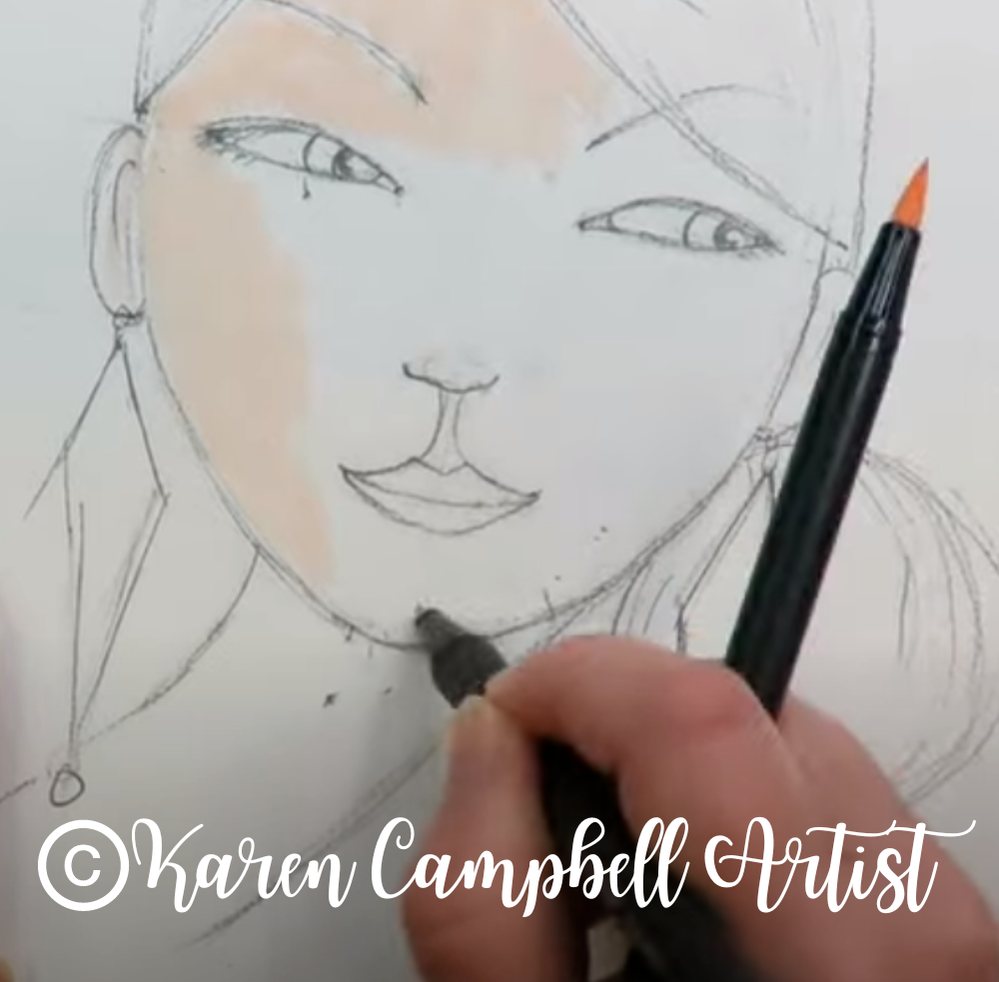
Hot Tip: Graphite is ALSO water soluble, so when you're shading a drawing with Tombows- try to avoid your graphite lines, or erase as much as possible BEFORE shading so your drawing lines don't smear.
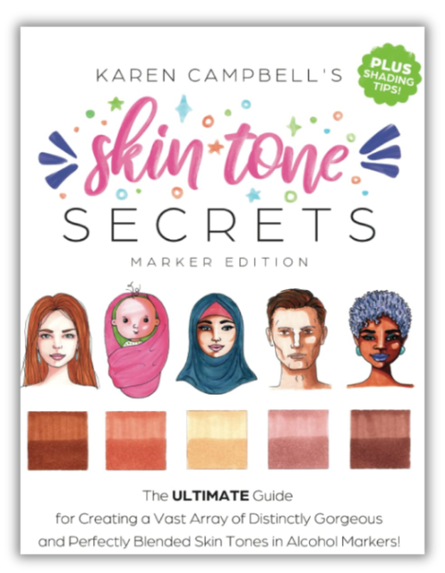
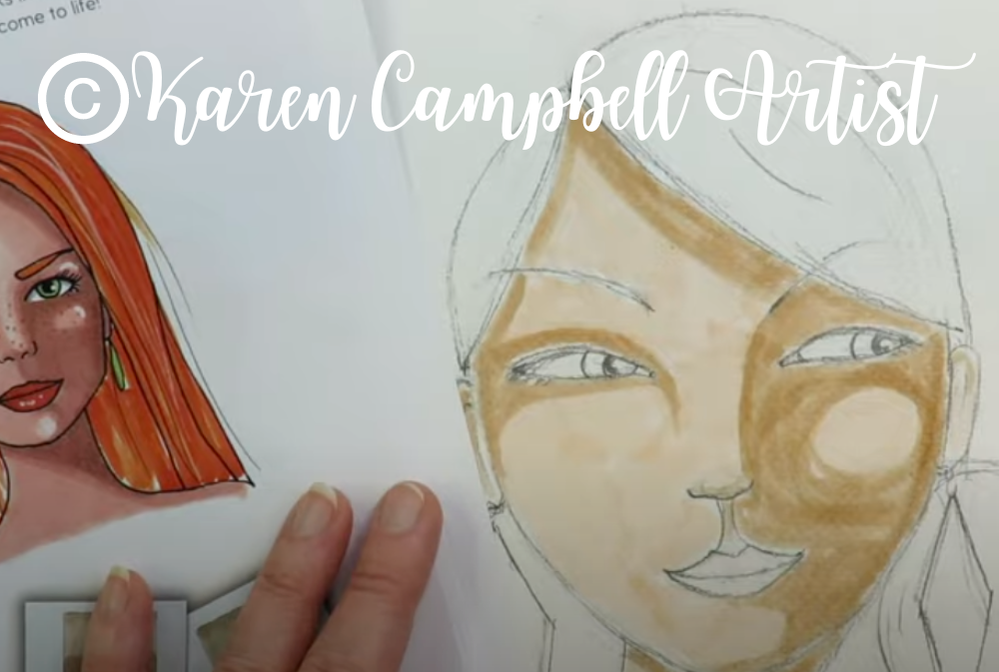
If you love the book I shared in today's video, it's called Skin Tone Secrets, and really helps take the guesswork out of choosing which marker shades go well together. It also tells you exactly WHERE to add shadows to the faces you draw to make them look more realistic. Grab a copy for yourself HERE on Amazon, or learn more about it in this page-by-page flip-through on YouTube.
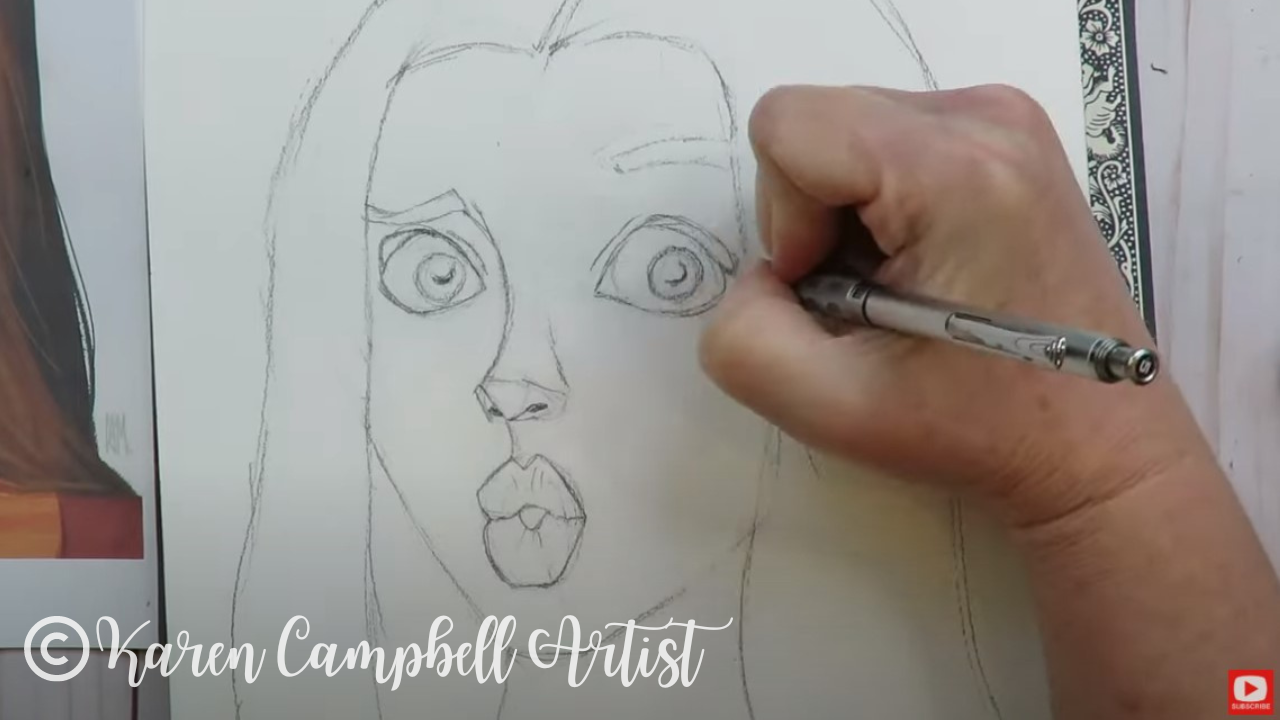
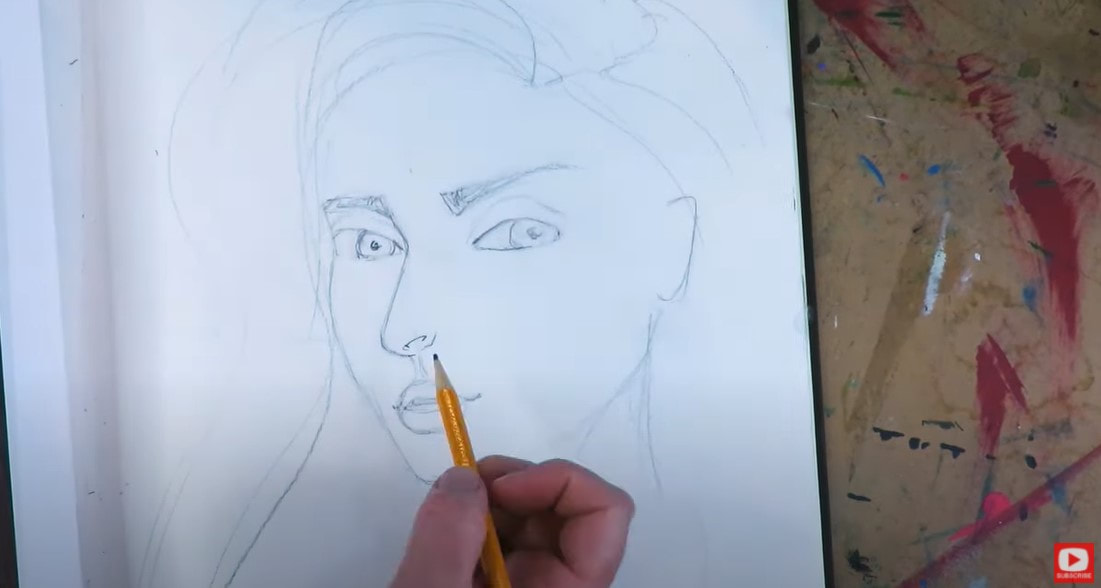
As you'll see in today's video, I'm taking a shading pattern straight from this book and copying it into my new drawing. (P.S. I know she looks rough right now on the right! LOL. She's HALF DONE, and in what I lovingly refer to as "the ugly stage").
0 Comments
Hey there art friend! Today on YouTube, I'm excited to share a sneak peek at a lesson I'm creating for my Mixed Media Society art club on how to create STUNNING skin tones using Tombow Dual Brush pen art markers!
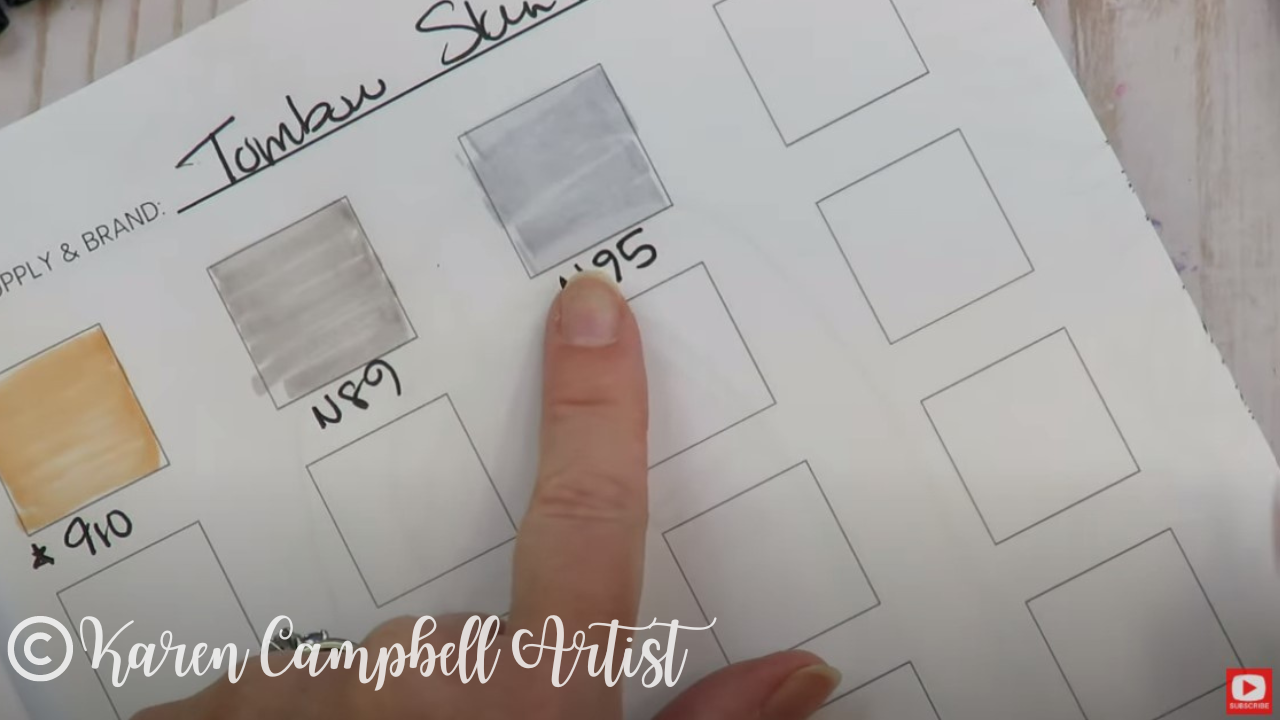
Before we dive into our project, we need to figure out exactly what colors we've got to work with. Taking a glance at the caps on our markers will definitely give us a clue, but THE BEST way to prevent surprises mid-project is to do a little pre-project swatching! 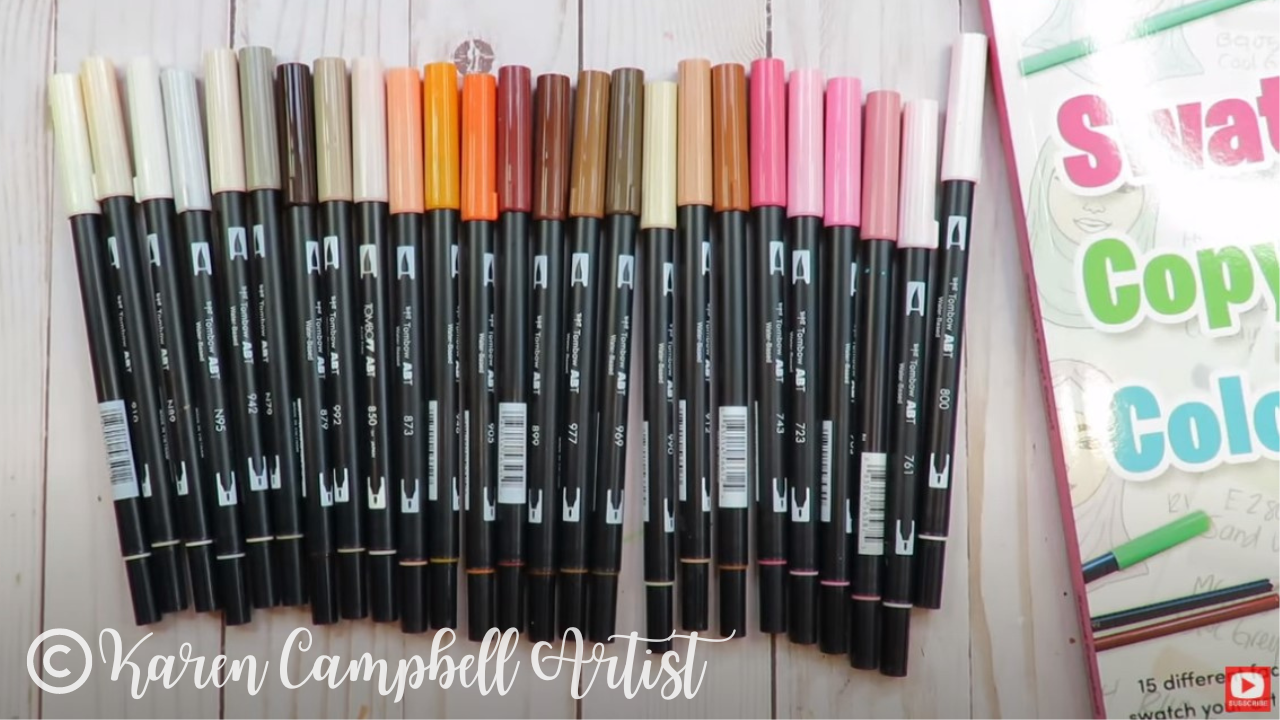
All product links are Affiliate. I may earn a small commission if you choose to order through these links but by law there is never any additional cost to the consumer for doing so. I thank you for your support.
Trust me when I say that swatching is a game-changer! That's because the color on the cap, tube or bottle OFTEN looks nothing like what ends up on your paper. By swatching your art supplies BEFORE you create, you eliminate any future surprises or mistakes, allowing you to fully enjoy the creative process!
Swatching can feel tedious and boring to a lot of people, so I've made a number of resources over the years to make this process MORE FUN, including my Fun Fab Swatch Pad (created with my beloved Facebook Group), and my latest book, Swatch! Copy! Color!

This book is a fantastic resource, filled with empty swatch squares and a wide variety of faces and backgrounds to practice coloring techniques. It's perfect for testing your Tombow markers or any other dry media art supplies! Use the book as a reference for your own work, or as a coloring book just for fun.
Can't wait for the book to ship and need to swatch NOW?! Download my FREE Fun Fab Swatch Sheet and I'll send it straight to your inbox!! 
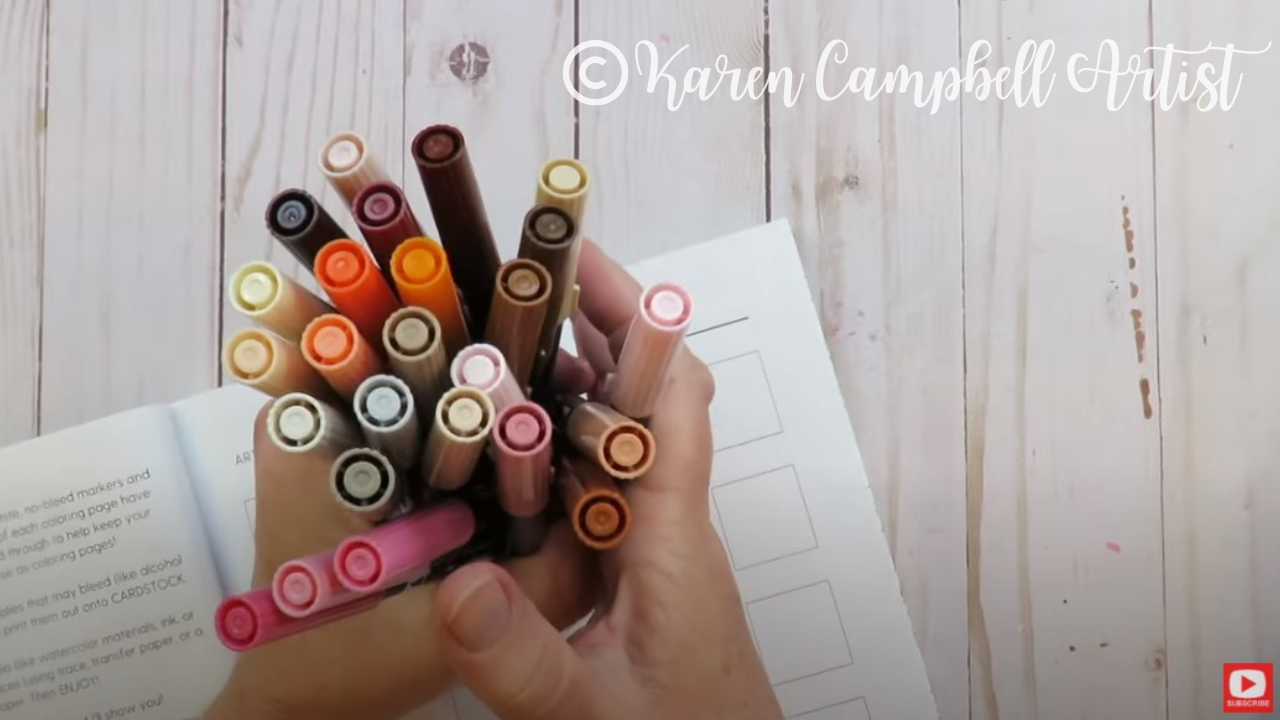
Since we're on the hunt for a winning combo of Tombow skin tone markers today, I'm pulling out ALL the Tombow Dual Brush pen art markers I can find in my studio in the pink, orange, brown, and neutral color families.
If you don't have Tombows at home and are thinking of adding a set to add to your art supply stash, this is the one I recommend for shading faces. 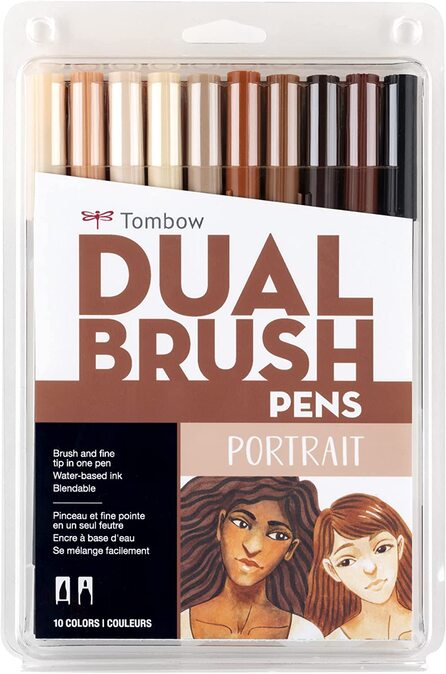
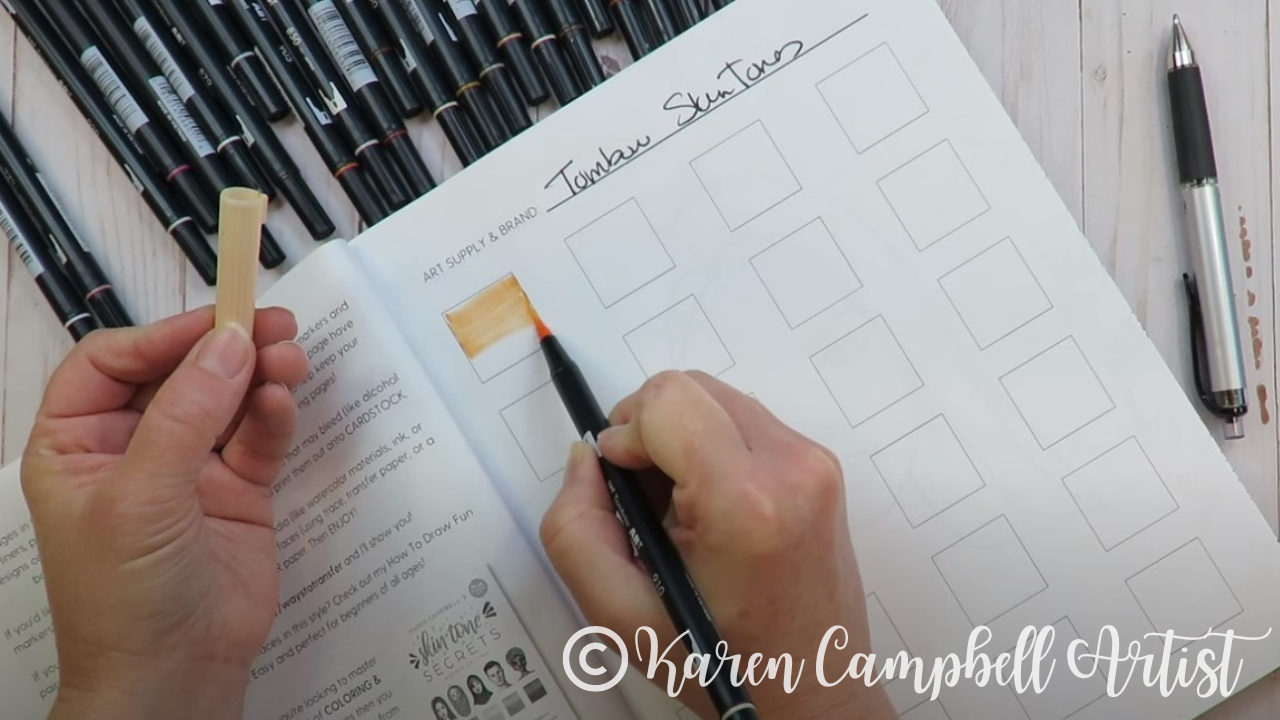
If you're playing along at home, flip to a blank swatch sheet in my Swatch! Copy! Color! book. Then shade each swatch box with a marker from your set. Make sure you note the color name and/or number next to each box to stay organized. Your future self will thank you :)
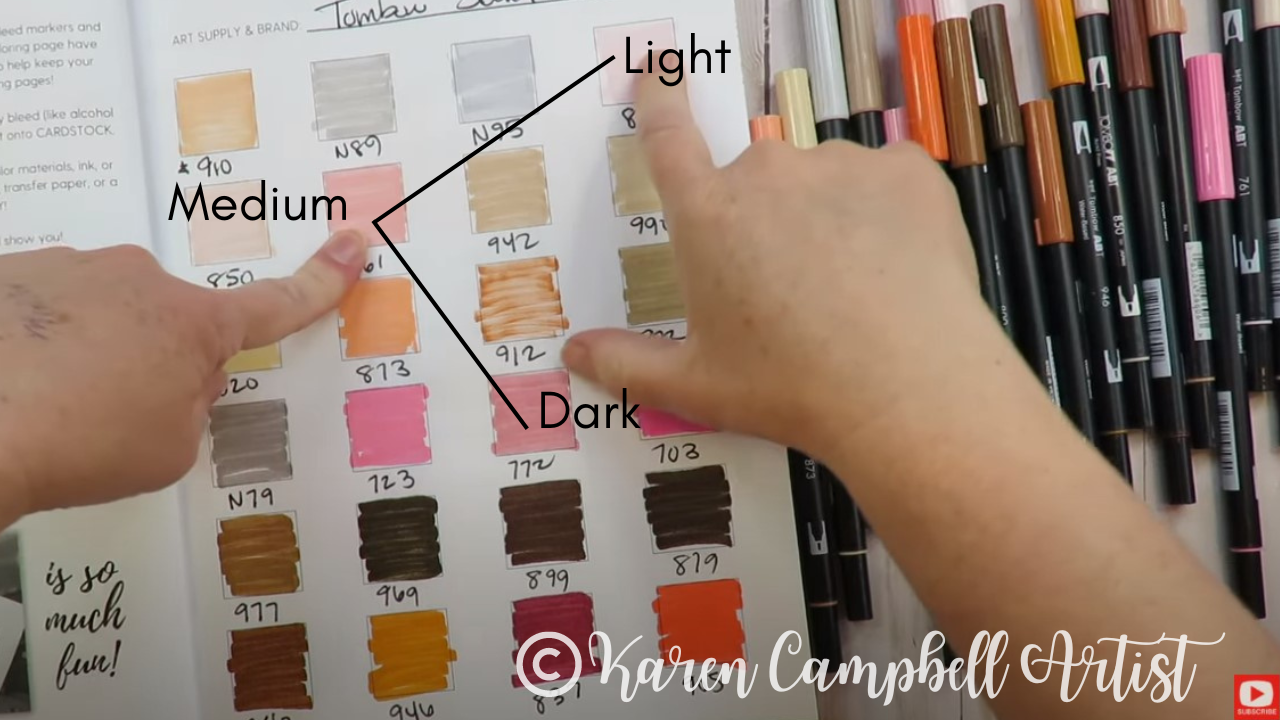
Once all of my Tombows have been swatched, it's super easy to see which light, medium and dark shades will go well together to create stunning skin tones. Here's a quick example in the pink color family:
The face drawing reference image for today's project is courtesy of artist Cameron Mark. I LOVE his digital faces. If you haven't checked him out before, you need to follow him on Instagram. I was thrilled when he graciously agreed to let me feature his work in our lesson!
If you want to learn how to draw this adorable face in the style of Cameron Mark step-by-step, the full-length lesson is inside the Fun Fab Drawing Club over at Awesome Art School.
To color along with me step-by-step in real-time, hop over to the Mixed Media Society. You'll be amazed at how EASY it is to achieve watercolor effects in your shading just by adding a little water! 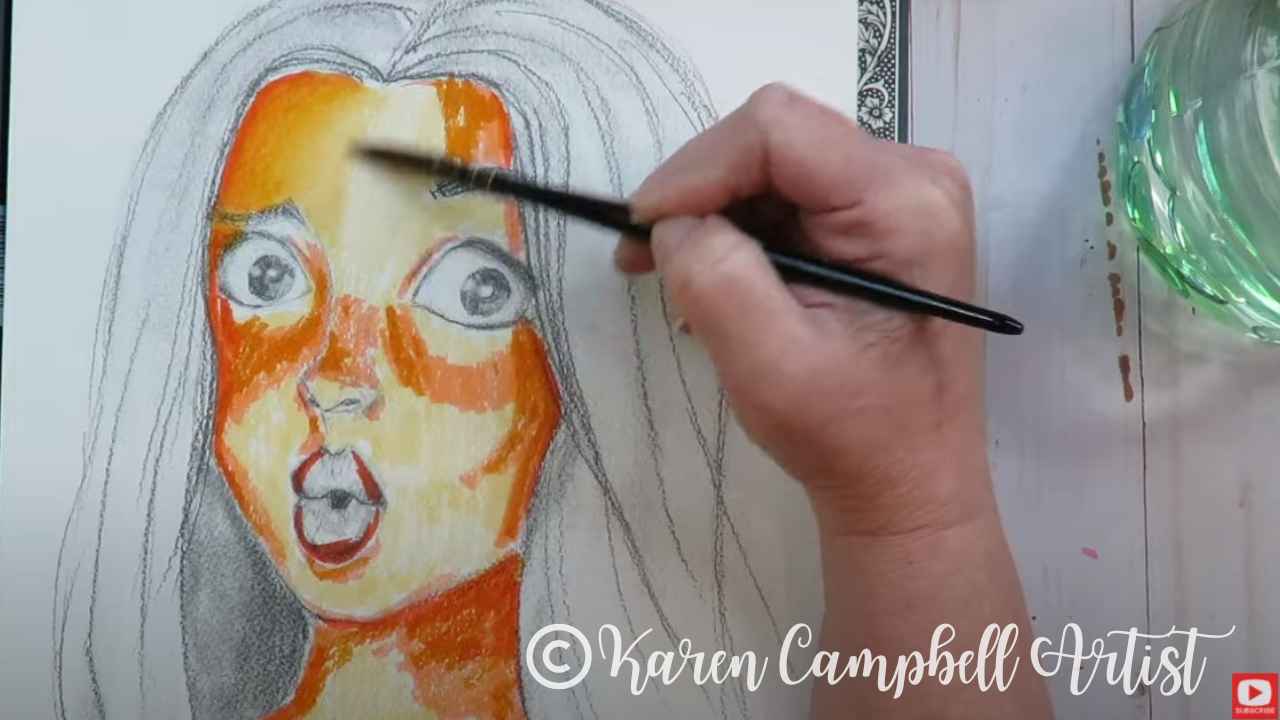
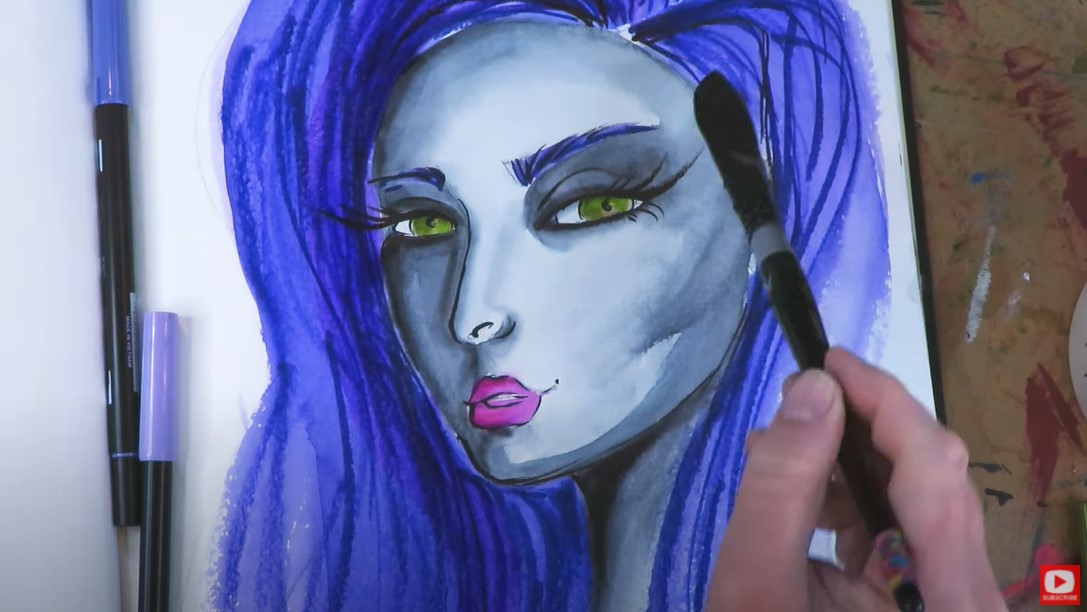
Look at how beautifully these Tombows blend after I activate them!! Watch this girlie come to life in minutes with the timelapse on my Mixed Media YouTube channel.
Stay tuned for more inspiring content and exciting projects. Until then, keep drawing, experimenting, and enjoying the artistic process. Remember, you can't get worse with MORE practice!! Need More Resources?
I've never used ecoline brush pens for a full project before, so today's the day! I was really interested to see how they compare to my beloved Tombow brush pens and Winsor Newton watercolor markers because I LOVE doing brush pen drawings and paintings in my signature mixed media style. Click over to the video to see the demo, brush pen comparison, and my thoughts as I work with Ecolines in real time to create this fun mixed media portrait in 3/4 view. Before we continue, super quick announcement: All product links are Affiliate. I may earn a small commission if you choose to order through these links but by law there is never any additional cost to the consumer for doing so. I thank you for your support! 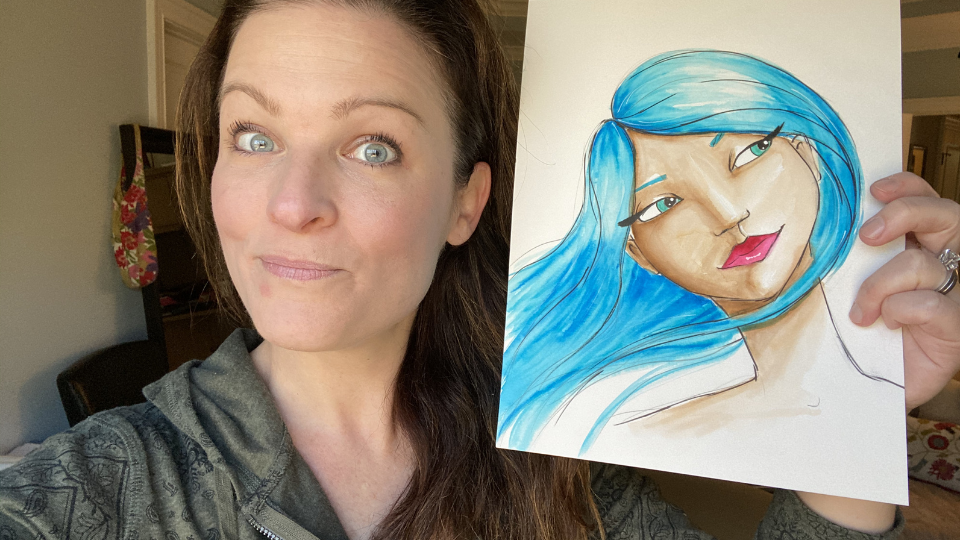
I typically create brush pen drawings and end up adding water to them with a paint brush or water brush because I love the effects you can get. They look so much like watercolor, and are WAY cheaper to work with!
If you're someone who feels a little intimidated by working with a paint brush, you might enjoy the control of working with brush pens and working your way up to adding water. You can also use them completely dry, like a regular marker, and not add water if you want! 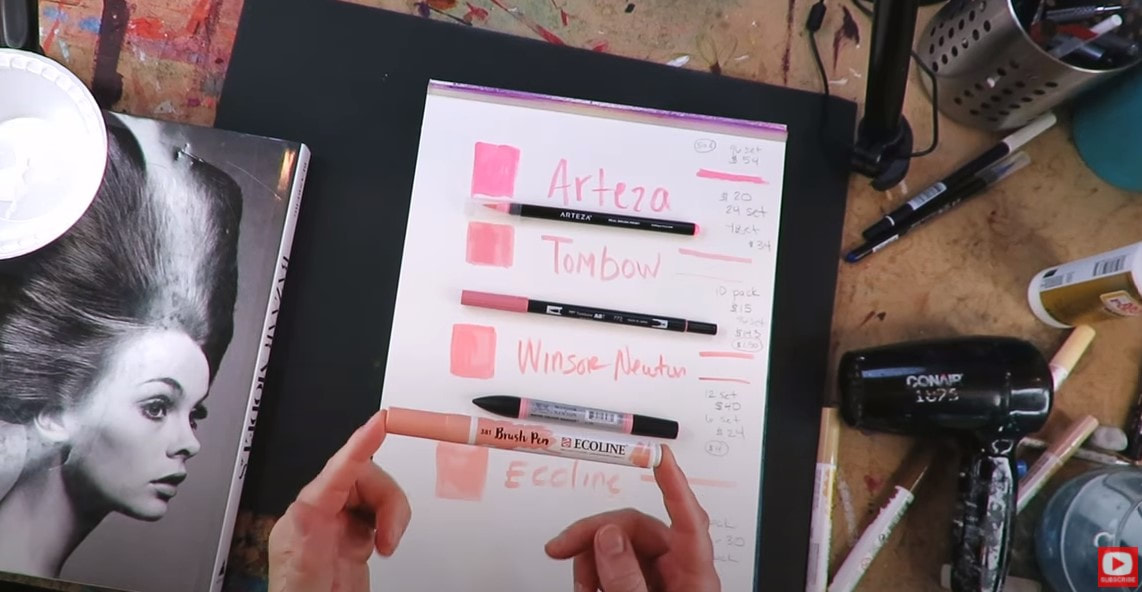
As you'll see in the video- I'm comparing the Ecolines to 3 others brands: Arteza, Tombow, and Winsor Newton.
The Arteza brush pens are a bit different because they're the only one in this product mix with a brush nib that is actually like a paint brush with individual hairs at the tip. 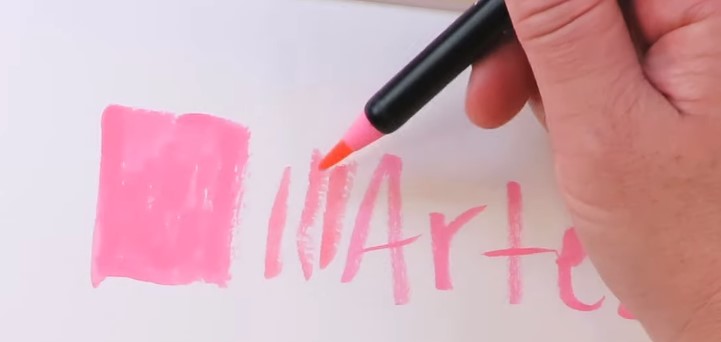
While this is really cool - it actually makes coloring much more difficult because they're not super juicy. The Arteza brush pens also have a hard barrel which means you can't squeeze them to get more color flowing.
As you can see in the pic above, the individual hairs will separate while you're coloring, so the coverage isn't amazing. The one bonus is - this set is way cheaper than the others, so if you don't mind working a bit harder to get the coverage you want, you can get 96 colors for around $54 (or just 50 cents/marker). 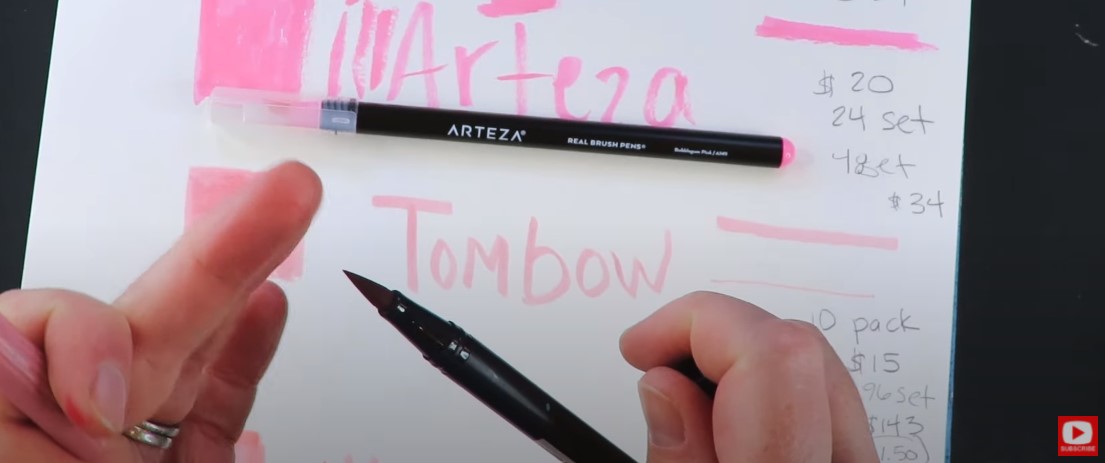
When I pick up the Tombow brush pen in one hand and the Arteza in the other hand, I can definitely feel a difference in weight. Tombows are super juicy, so I'm guessing that weight difference is more ink in the barrel.
Tombows also have TWO nibs in each marker: the brush nib, and the bullet for helping you get into teeny, tiny spaces. Tombow has a set of 96 for around $146. You're definitely paying more per marker here, but I've actually never had one run out on me yet, so you can be confident these will last you quite a while!! 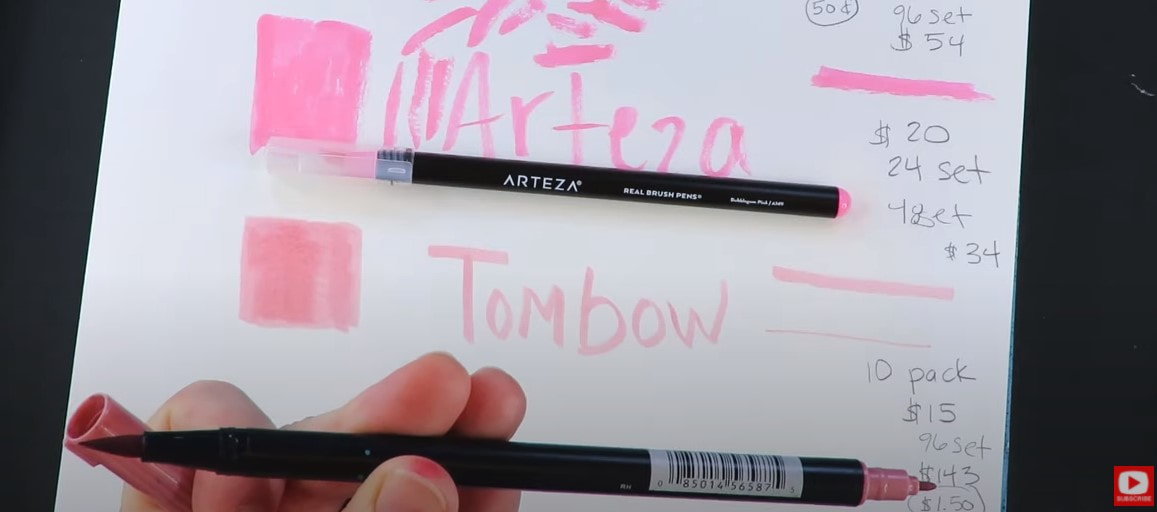
Tombows are definitely my fave when I'm doing art journal pages because they're so easy to take on the road if I want to art while I'm on vacation, or whatever. I even used to take them to carpool and do art in my car while waiting for the boys to get out of school!!
The only downside about Tombows is they're not lightfast, so if you want to make something that's never gonna fade, and will last forever, this may not be the brush pen for you! The same is true for the other lower priced brush pens we're looking at today (Arteza and Ecoline).
HOT TIP: If you are on a budget and need to buy the lower priced brush pens, take a photo (or photocopy, scan, etc.) to preserve your art before the color begins to fade. Remember, it will fade much quicker if you hang it up in direct sunlight. 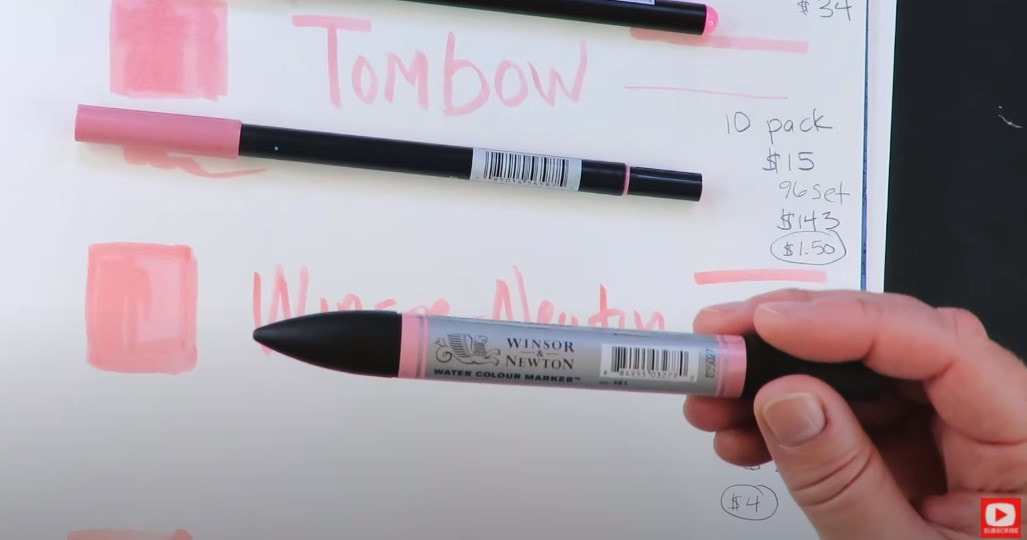
Winsor Newton watercolor markers are my top fave in terms of quality. The pigment is gorgeous and lightfast, so it will not fade because they're considered a fine art product.
Like the Tombows, these have both the bullet and brush nibs in each marker, and they're gonna last you forever. They also "move" the most when you add water to them, so they're not just watersoluble, they really FEEL like watercolor. The downside of Winsor Newtons is they don't come in nearly as many colors, and being a fine art product, they're more expensive. The cheapest you can get them is around $4/each, but their quality is outstanding. 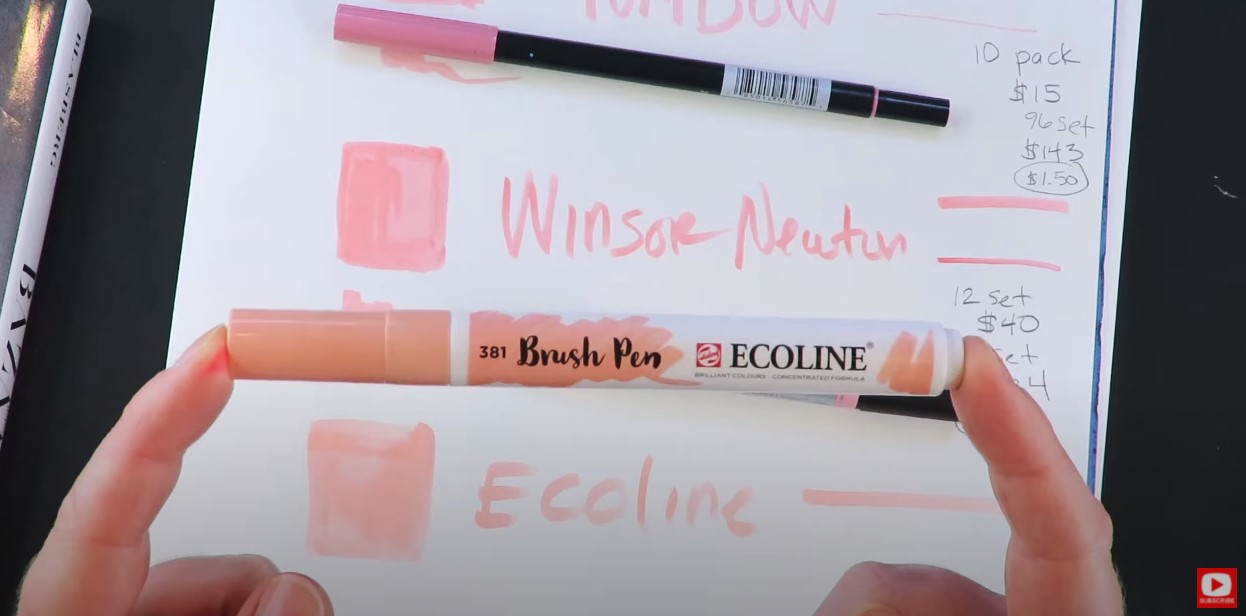
What I'm playing with for today's mixed media portrait tutorial are the Ecoline Brush Pens. They're NOT lightfast, but are super fun to play with, and easy on your budget at about $2/marker when you buy a set of 30 for $60.
They have a bunch of skin tone shades, which is what attracted me to them, so of course I had to check these out for you to let ya know if I think they're worth it! The Ecolines have a smaller nib than the others I tested them against today, but I definitely don't hold that against them because they're nice and juicy. Click over to the video to see how each marker compares when activated with water and come do this tutorial with me in REAL TIME! 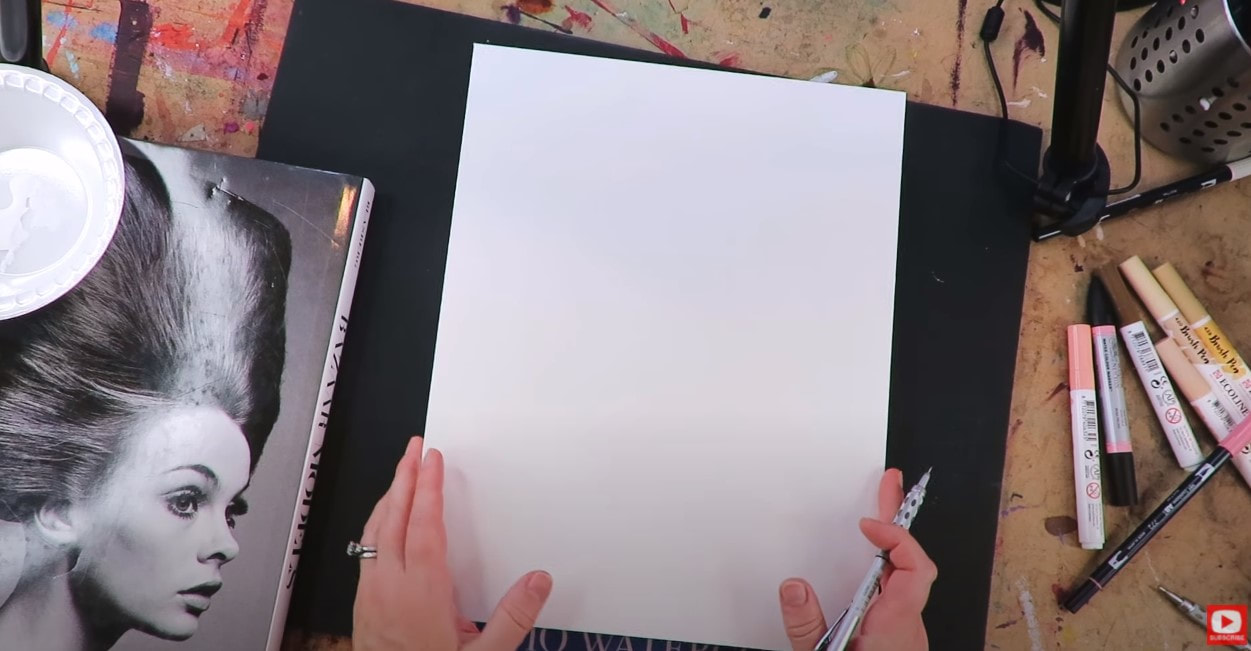
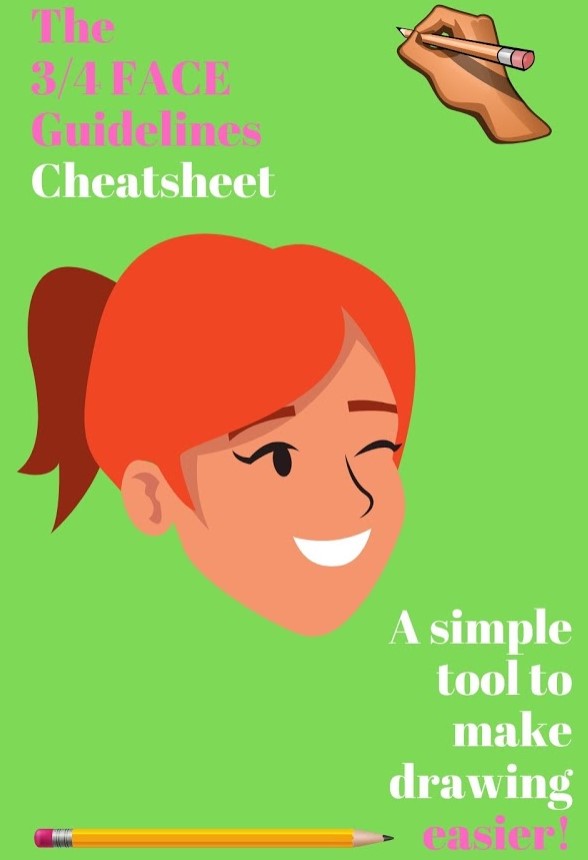
Today's watercolor marker tutorial is of a face in 3/4 view. A portrait in three quarter view is one of the hardest face angles to draw, so if you're new to drawing faces, or feel you need some tips to get you started - I've got a cheatsheet for that!
Simply click the button below, and I'll send you my face drawing guidelines for how to draw a 3/4 view portrait. 
If you are totally new to drawing faces, and interested in learning, I recommend the following playlists for you (in order):
1. How to Draw & Shade a Forward Facing Face 2. Side Profile Drawing 3. 3/4 View Face All of the above playlists have cheatsheets to help beginners and step by step face drawing tutorials to help you. Back to today's tutorial... 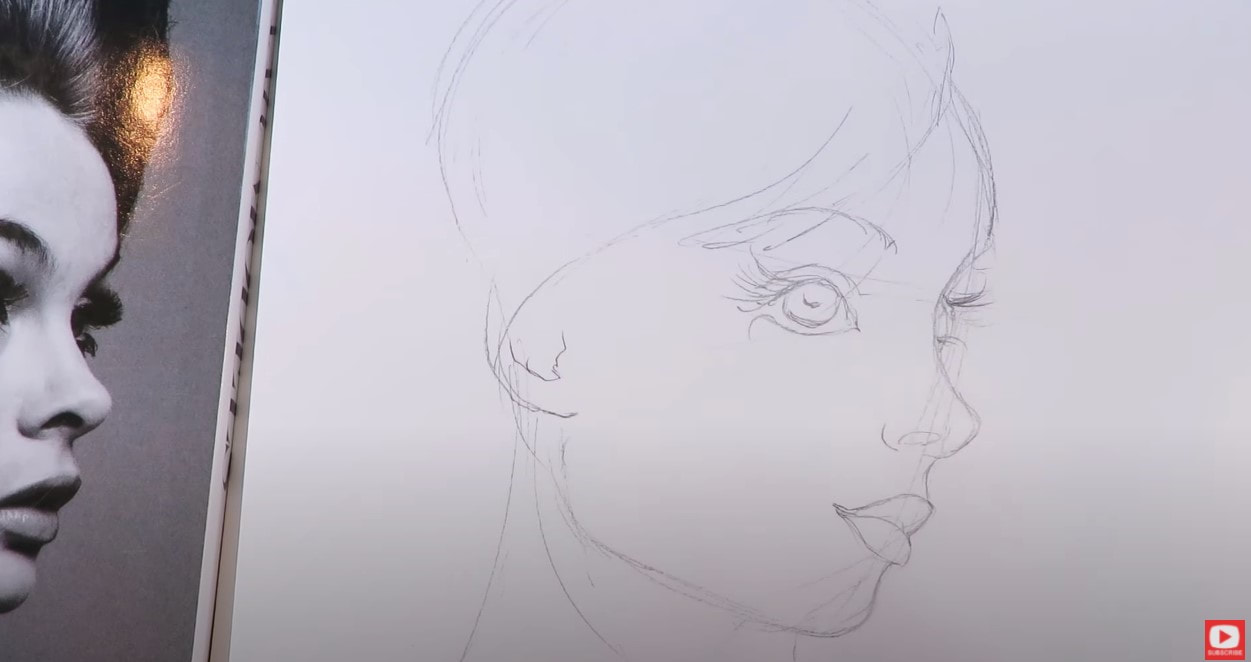
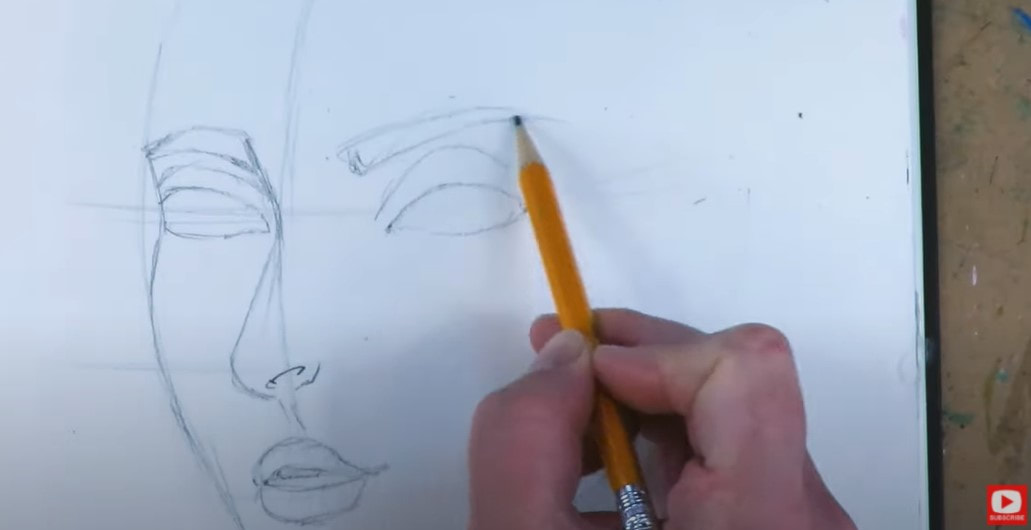
I'm not being too fussy with my face sketch today because I really want to get to the coloring portion of the project!
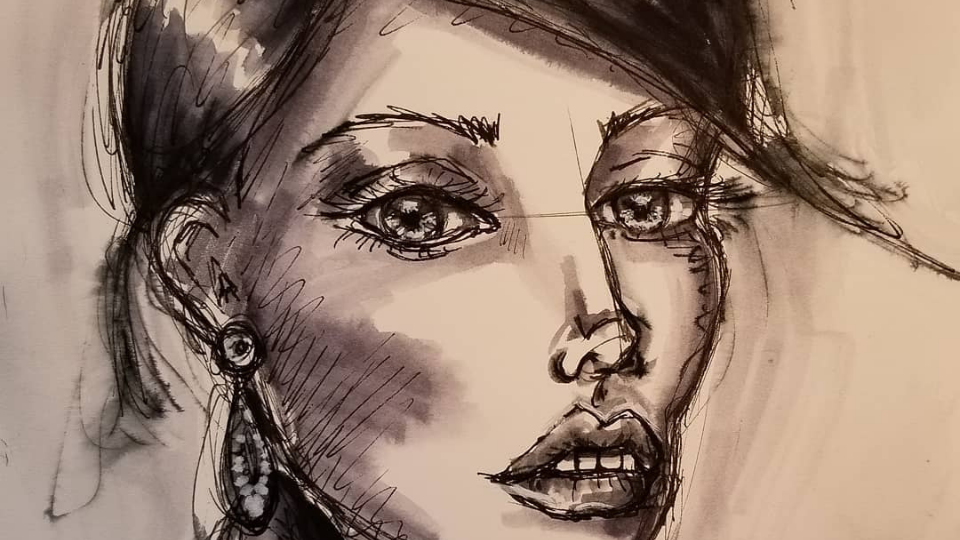
After my face was sketched in, I selected 3 Ecoline marker shades that went well together to create light, medium, and dark skin tones. I tried using the same technique I do when shading with Tombows. I add streaks of light, medium, dark - then activate with water to blend. 
I leave things streaky on purpose because that typically blends right out with water - at least that's my experience with Tombows. When I added water with my paint brush to the Ecoline pigment, I felt like the skin tones blended pretty well, but the blues I used for her hair were much juicier and a bit easier to activate with water. Not sure why!!
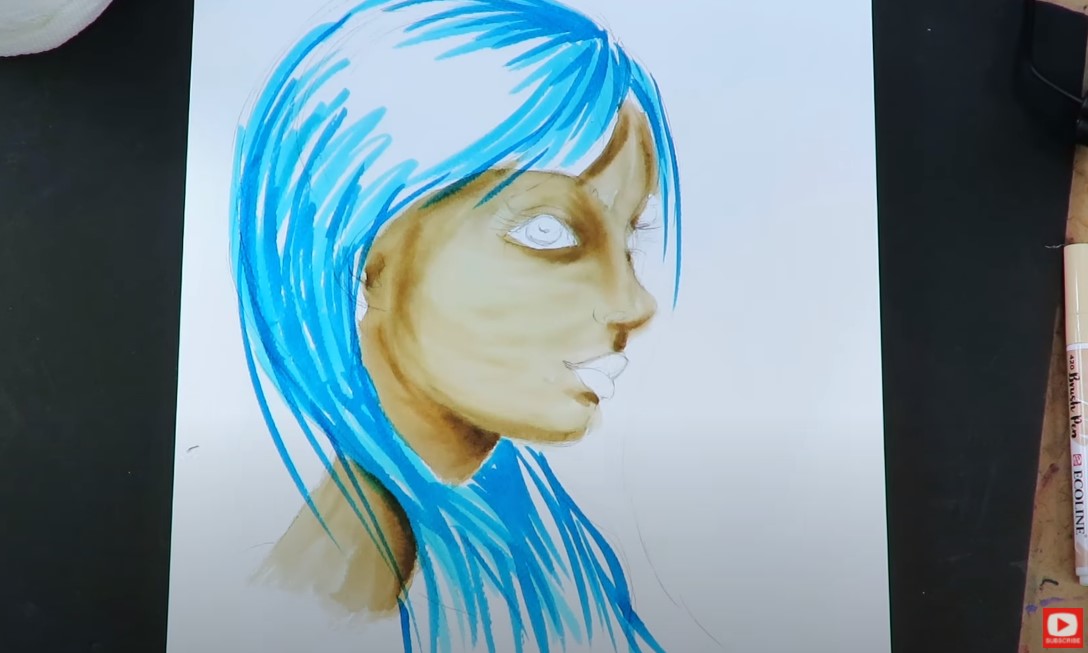
I don't have any black brush pens in my Ecoline set, so I incorporated my pentel pocket brush to start adding in detail (especially when drawing eyelashes!)
If you have questions about the pentel pocket brush, I've got two different videos on it - one about how to draw eyelashes on mixed media portraits on my mixed media YouTube channel, and one on my drawing channel. 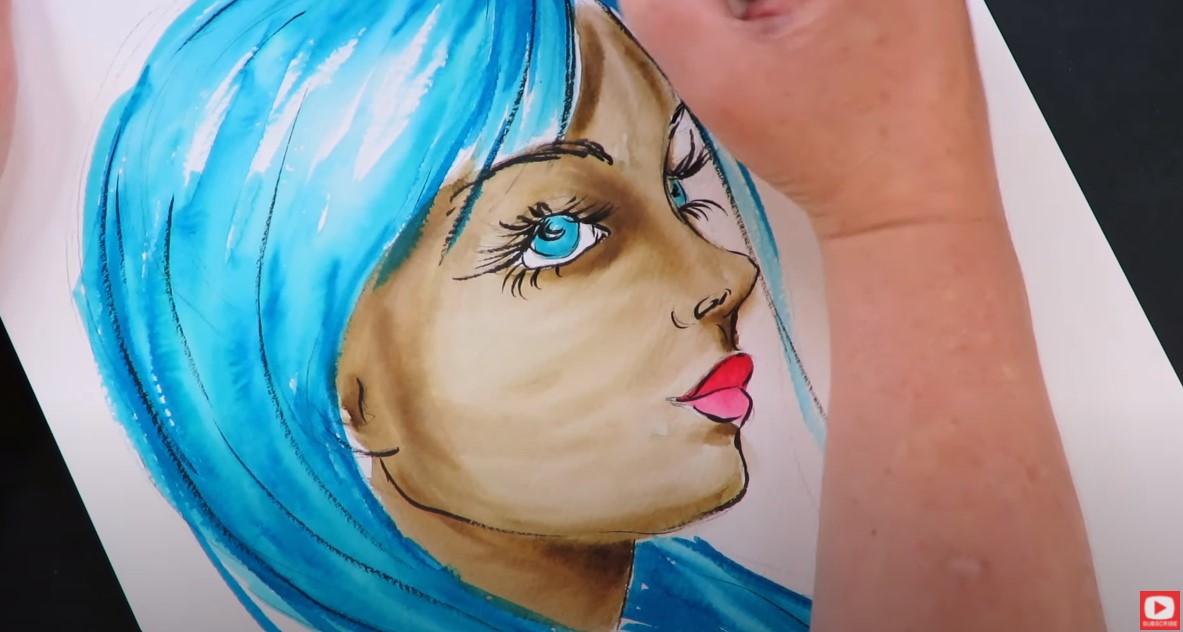
Make sure you click over to the video to find out my FULL opinion on whether or not I think Ecolines a great addition to your art supply stash!
Thanks for hanging out with me today!! ❤️ CHECK OUT ALL my art books on AMAZON ❤️ MY FAVORITE ART SUPPLIES on AMAZON ❤️ MY BELOVED FACEBOOK GROUP ❤️ FOLLOW ME ON INSTAGRAM
Tombow Brush Pens are one of my all time FAVORITE art supplies. Lots of mixed media artists use them for making cards & brush lettering, but I use them to PAINT! In today's art supply demo, I'll show you why they're a MUST HAVE in my studio + the QUICK & EASY way I use them to create MAGICAL mixed media portraits. If you're a beginner in the world of mixed media art, or just curious about what tombows can do for you - today's video is a MUST SEE!!
Tombows are super popular with mixed media artists -especially card makers and stamping fanatics. People LOVE using them for brush letting and calligraphy type projects.
Tombow dual brush pens come with two nibs, one on each end. One is a brush nib and the other is a bullet nib. I really love the dual nib feature because it feels like I've got both a paintbrush AND a fineliner all in one product. Tombows are also great because they're acid free and super watersoluble (which means they melt like watercolors if you add water to them).
Today I'm working in my large 11x14 strathmore watercolor journal. It's filled with 140 pound color press paper, which can REALLY take a beating from whatever art supplies I feel like throwing at it! As you can see - I don't just do watercolor in this journal. I use it for mixed media projects too because it's so sturdy! Here's a fun project I did a few months ago...
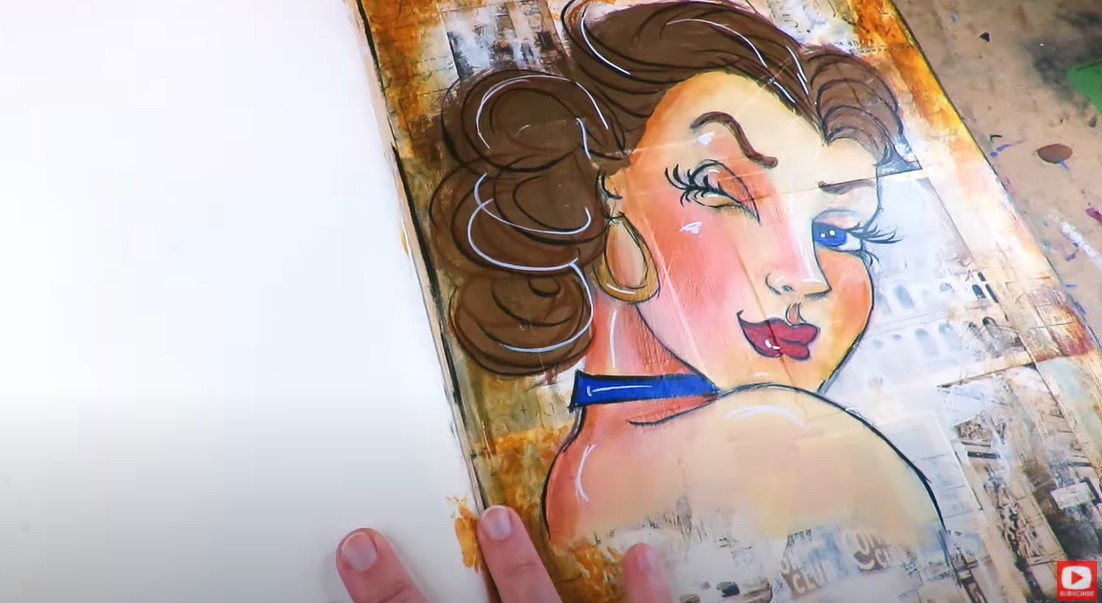
I highly suggest if you're doing ANYTHING with watersoluble art supplies, you REALLY pay attention to the kind of paper you're using. I believe it's JUST AS IMPORTANT as your art supplies. In fact it IS one of your art supplies, and it totally makes a difference.
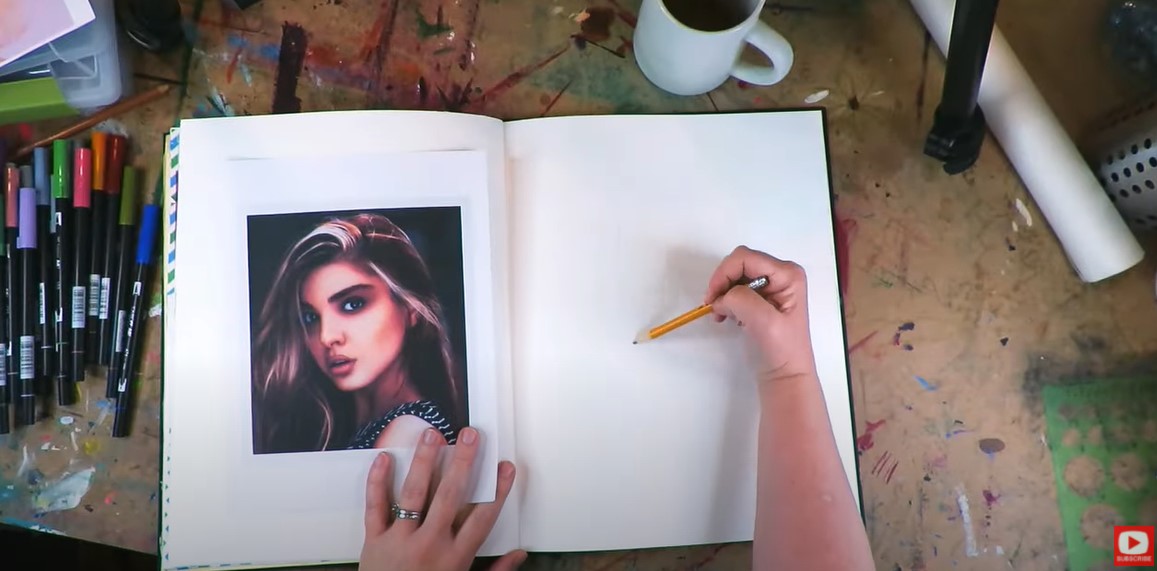
As you can see, I'm using a face drawing reference because that's usually how I work. I don't really use my references to try and copy exactly what the image looks like because I'm not super into realism.
I just think using a face photo reference while I draw inspires me to add details I may not have thought of from facial feature nuances to hairstyles, etc. I think a face drawing reference is also REALLY helpful to use as a face shading reference because it takes the guesswork out of deciding where to place shadows. You just look at your reference and BOOM. It tells you everything you need to know! 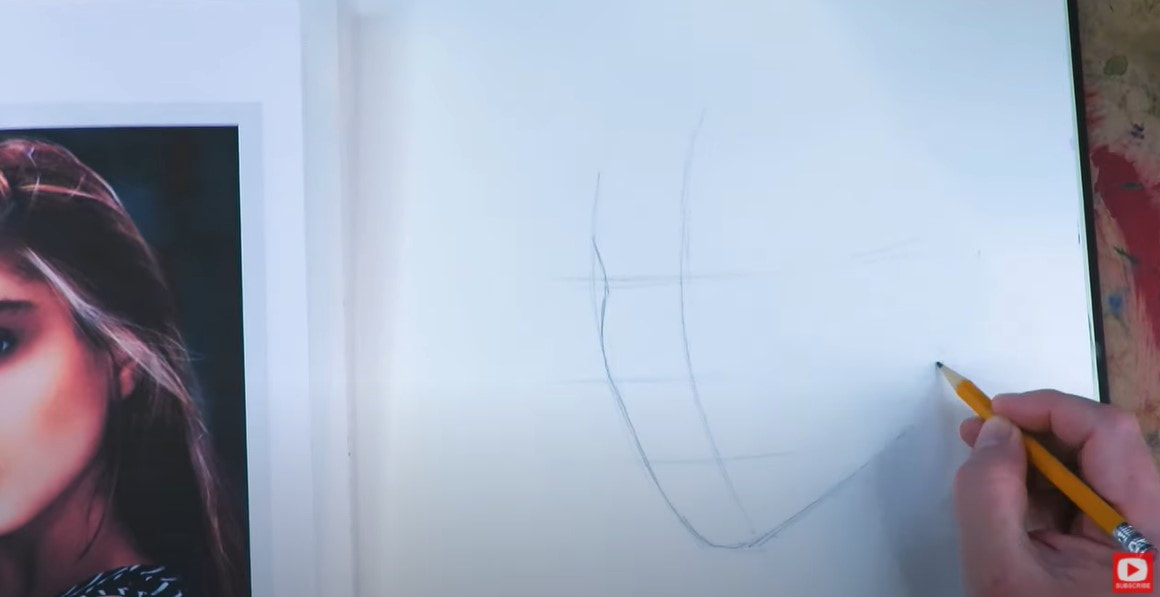
Now today's side profile drawing is one of the trickiest profile drawings to master- called the three quarter view portrait. If you need help with how to draw a 3/4 view profile - here is a playlist for your from my YouTube Drawing Channel to get you started.
I've also got a FREE cheatsheet to help you remember the basics of drawing three quarter view faces.
Simply click the button below and I'll send it straight to your inbox.
Before you start with face shading, I HIGHLY recommend you swatch out your art supplies- whatever you are coloring with because I've been surprised ONE too many times when the color comes out not quite looking like the marker cap or tube of paint, so this can be a real life saver!
Some artists may want to keep a swatch sheet on every color they own. There are some products I do that with (especially my watercolors!!), but most often I'm more into just scribbling a few strokes off to the side for whatever piece I'm currently working on.
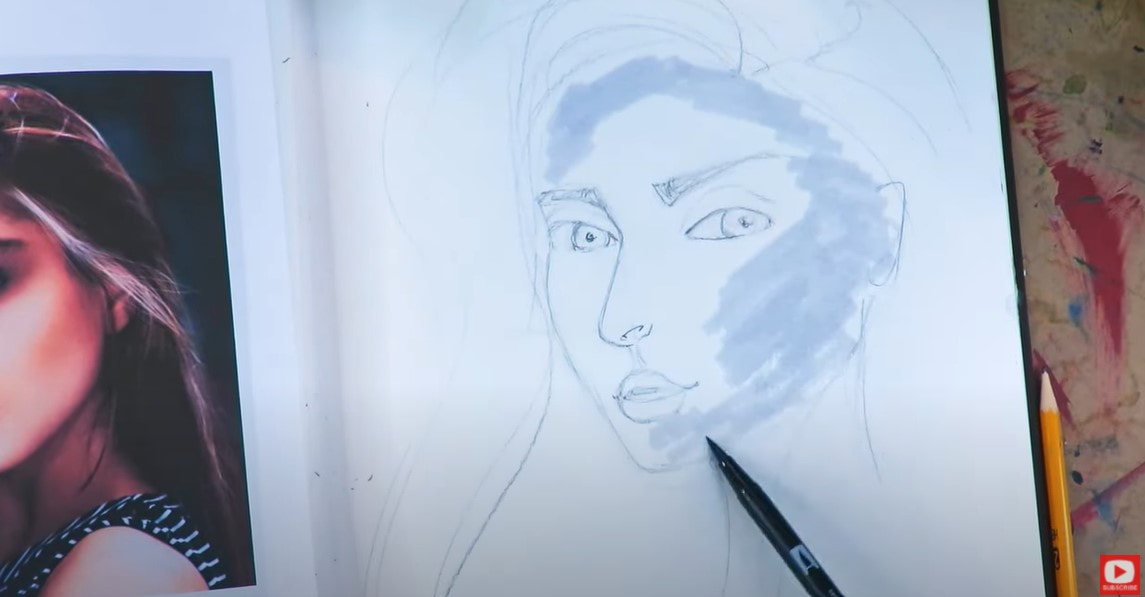
When I'm shading a face with my tombow dual brush markers, I hold my marker on the side and use it similarly to a paintbrush (on the brush nib side) to lay down a big chunk of color like in the picture above.
Since my intention is to add water and use my paintbrush to move the color around, I'm deliberately loose with my shading here. I just throw some color down in my lightest shade and move on. I'm all about quick and easy and THIS TECHNIQUE is BOTH!! 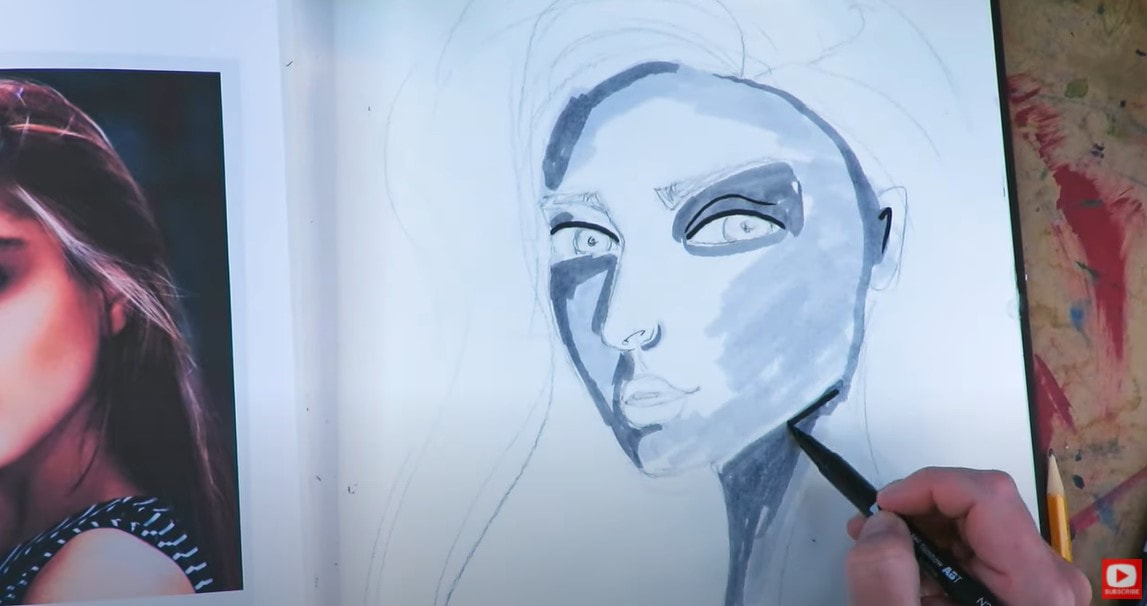
As you'll notice in the video, I followed my lightest shade marker with a medium shade - using my photo reference as a guide to help me note darker shadows, and then switched to a dark shade to indicate the darkest shadows.

Simply adding a little water with your paintbrush will melt ALL the marker layers together to create BEAUTIFUL face shading on your drawing. Isn't this gorgeous???

When you're painting with tombows or any watersoluble marker - make sure each layer you do is completely dry before going back on top with your original supply because the fastest way to kill a marker is to put it into water.
NO markers "like" being added to a wet surface, so simply hit your piece up with a little hair dryer action before you go back in for another marker layer, and you'll be good to go. 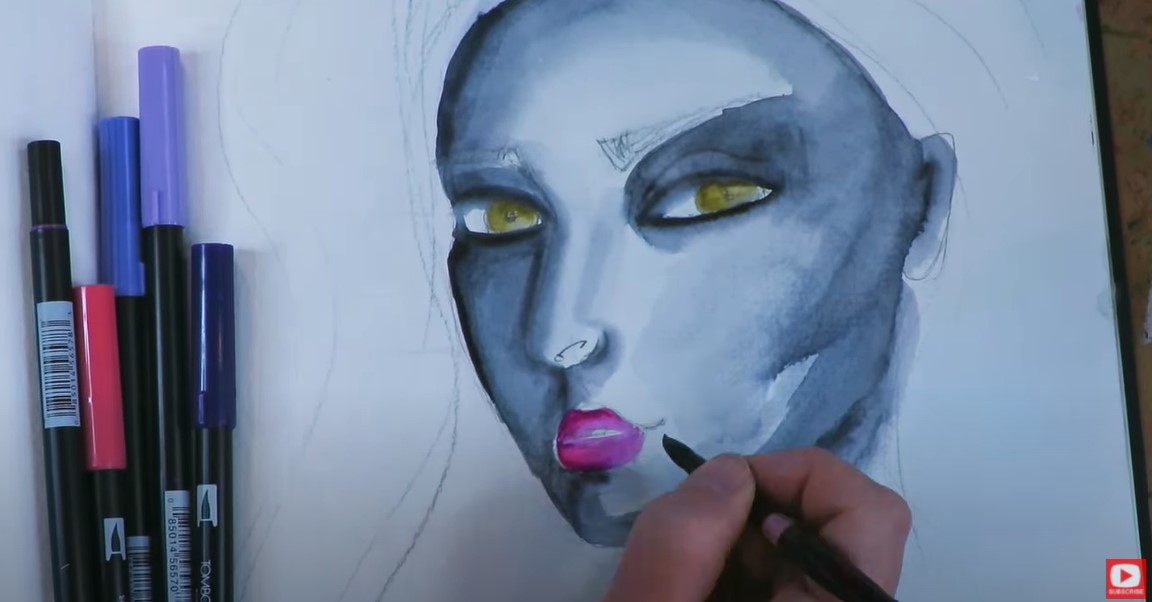
Check out how sparsely I lay down swathes of three purple tombow shades (light, medium & dark) while drawing a hairstyle for this profile drawing. This is ALL the color I put down.
When I'm playing around with watersoluble media I often activate TWO of my marker layers with water, and then draw on top and leave that final layer UNACTIVATED - to make the details pop. 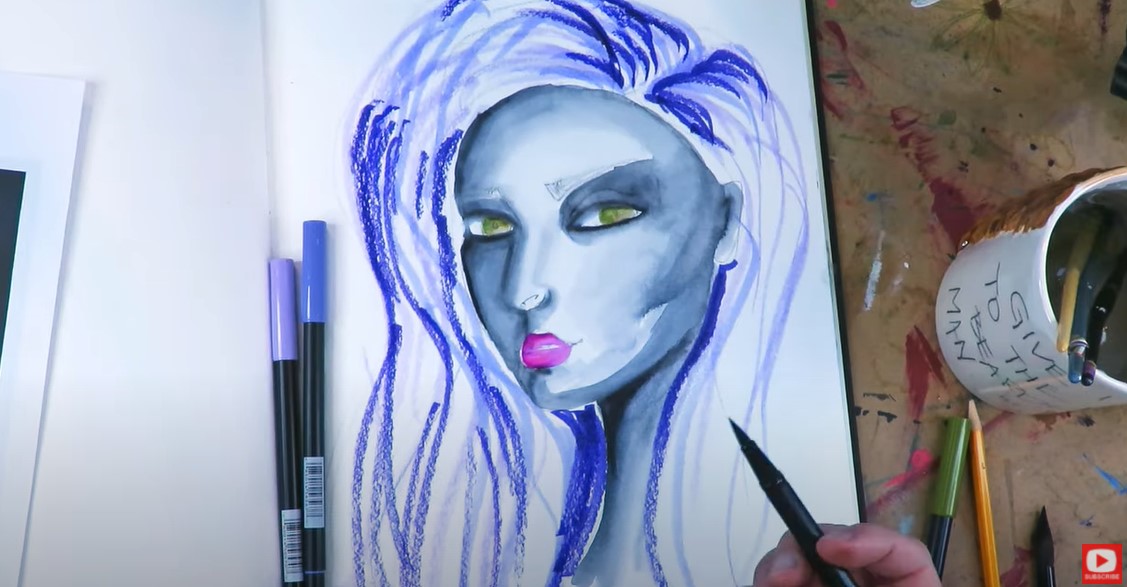
The only drawback I've found with tombows is they are not lightfast. Definitely keep that in mind if you're creating art to sell or gift. I don't actually recommend selling or gifting your originals because of this - but you could TOTALLY sell prints of them!!
I have found that tombows won't fade AS MUCH if your work is in an art journal because they'll be hidden from the sunlight. 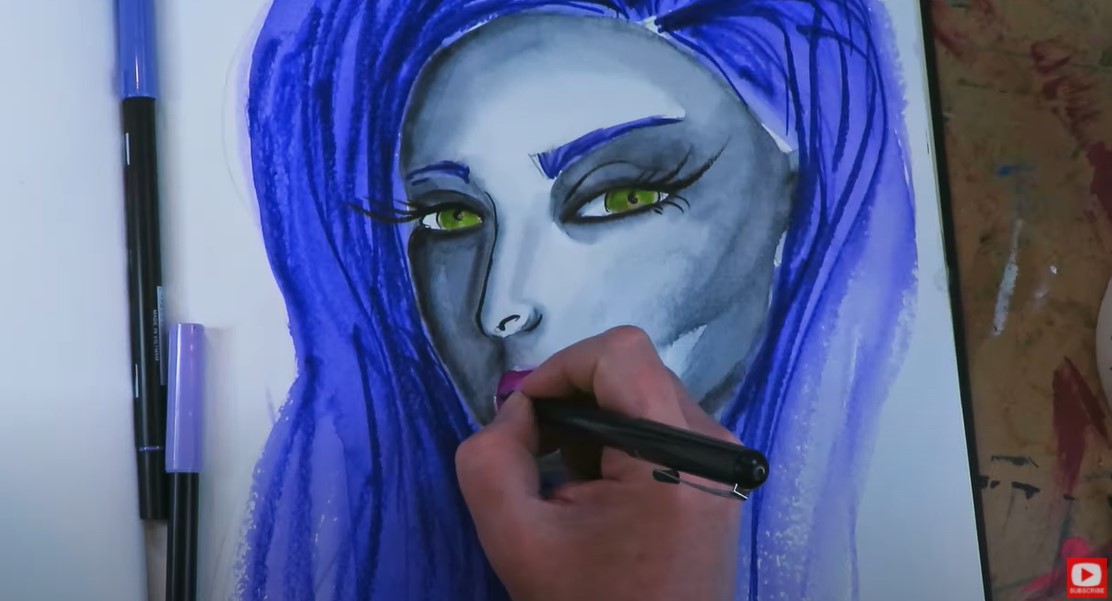
When it's time to add some detail, I pull out my pentel pocket brush. This is my FAVORITE art supply for eyelash drawing (remember NOT to use this until the layers underneath are FULLY DRY).
This pocket brush nib is like a paintbrush- it's made of a group of hairs and doesn't perform like your typical marker. A tombow "brush" nib is basically foam that's been shaped to LOOK like a brush and feel like you're working with a paintbrush (but it provides a bit more control than the pocket brush). If you need help with drawing eyelashes, click the button below and I'll send my EYELASHES CHEATSHEET straight to your inbox.
I've got a great eyelash drawing tutorial on my mixed media channel and another on my YouTube Drawing Channel to help you out if this is something you struggle with.

I hope you enjoy this mixed media tutorial and TRY tombows out for yourself!! They really are fantastic. The colors are unbelieveable and the markers themselves are really affordable. I think you'll love painting with them as much as I do!!
REMEMBER TODAY (APRIL 26th) is the KICKOFF of my FUN FAB FAIRIES WORKSHOP!!!
You can STILL sign up to join me and the rest of the gang for an amazing week of fairy drawing lessons! CLICK HERE to REGISTER. If you find this post well after the live portions of this workshop have ended, all you're missing out on are the daily giveaways and Facebook LIVES. The Fun Fab Fairies course is STILL available at Awesome Art School as a stand alone course for you to enjoy!!
❤️Did you know I've started a FUN new podcast with my Scottish, artsy bestie, Lucy, ALL ABOUT SCOTLAND & the mythical goodness I can't get enough of about this magical place?! YES - we talk about everything including ARE Fairies Real?! (You know I think they are!!)
The podcast is called 1 Scot, 1 Not! Check us out on YouTube and here's our podcast website! ❤️Want FREE, immediate access to my Fun Fab Drawing Club and/or Mixed Media Society plus discounts on all my art books, sneak peek at YouTube videos and new book content, behind-the-scenes fun and MORE? Join me over on Patreon today and get HUGE PERKS in return for a small monthly donation. ❤️ CHECK OUT ALL my art books on AMAZON (available in both Kindle and Paperback) ❤️ SIGNED COPIES of my art books on ETSY ❤️ MY FAVORITE ART SUPPLIES on AMAZON ❤️ MY BELOVED FACEBOOK GROUP ❤️ FOLLOW ME ON INSTAGRAM ❤️ FOLLOW ME ON FACEBOOK |
Karen CampbellFounder of Awesome Art School. Mixed Media Artist. Author of 19 Instructional Art Books! 
Whose work has appeared in...
   
 Archives
July 2024
Categories
All
|
 RSS Feed

"Karen is flipping hilarious and she's very real...I like the way she teaches in a way that really gives you confidence, whether you're a beginner or advanced there's always something new to learn!"
- Elizabeth W. |
What Fans Are SayingKaren, you are absolutely fabulous! You make me feel like I can draw anything. I have recently retired and finally have the time to do some of the art that I have loved since I was in school. I am really at the beginning of my art journey and I hope to learn as much as I can. Thank you for all you do. |
Contact ME |