
Art Marker Hoarder? Me too!! Let's Get Organized + Complete Review of ArtBeek Markers Set of 26225/10/2023
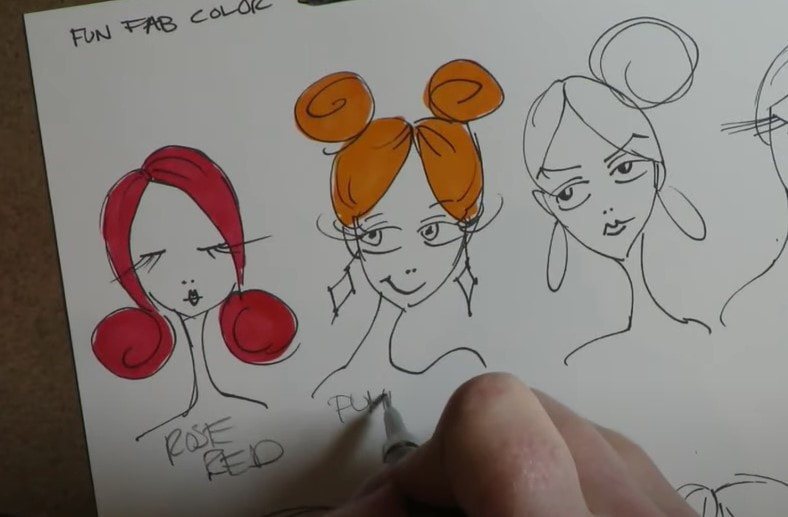
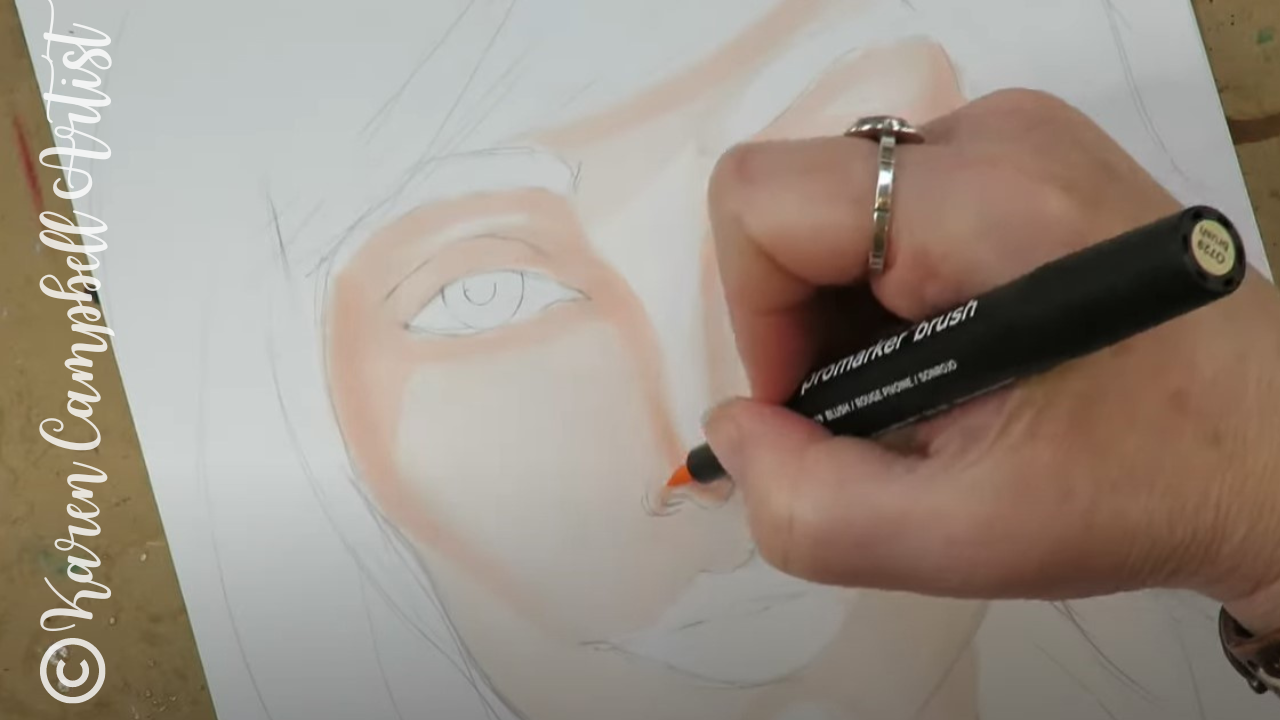
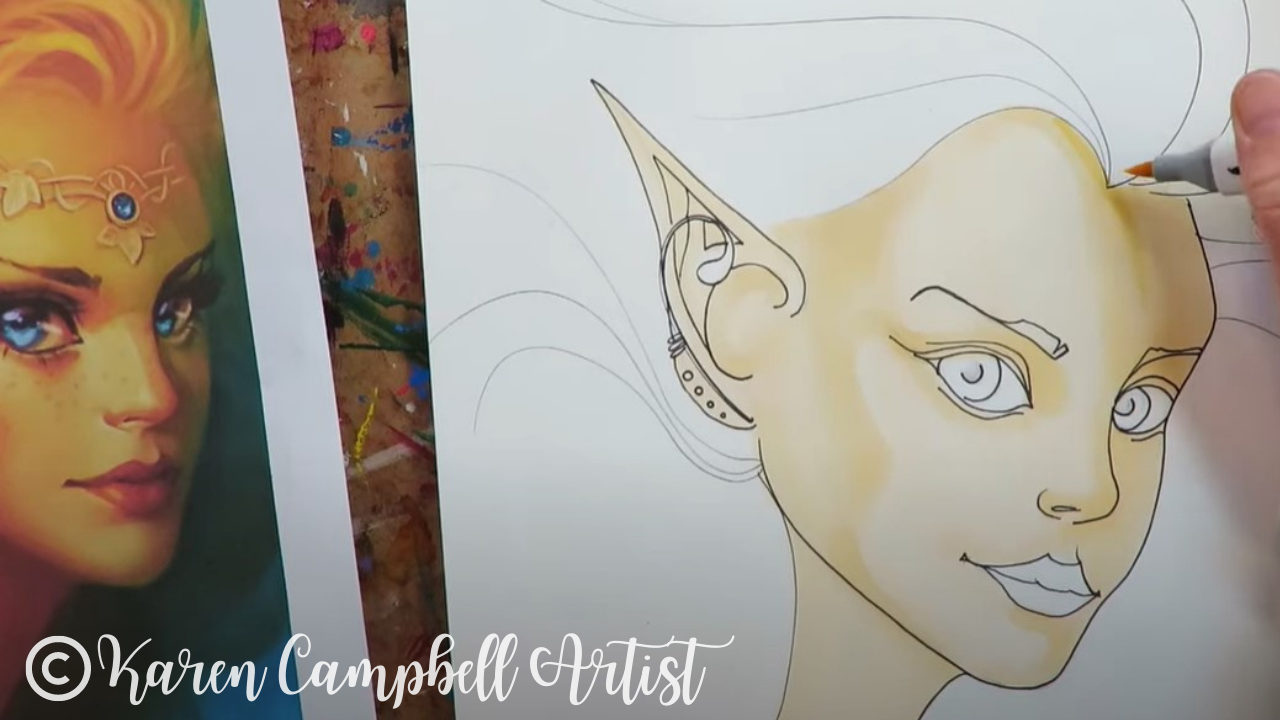
I'm OBSESSED with alcohol markers for shading the faces I draw. I've spent years collecting my beloved Copics!! And for just about the same length of time, I've been searching for great Copic alternatives that don't cost an arm and a leg! I think I've pretty much tried every brand possible.
Not too long ago I tried ArtBeek alcohol markers, and was thrilled to discover the VALUE they deliver at such an affordable price point for myself and my students!
When ArtBeek approached me and asked if they could send me a set of 262 alcohol markers to review, I was absolutely thrilled! So today, not only will I be swatching this ENTIRE set, I'll be showing you MY favorite marker storage solution!
*All product links are affiliate and for U.S. residents only.*
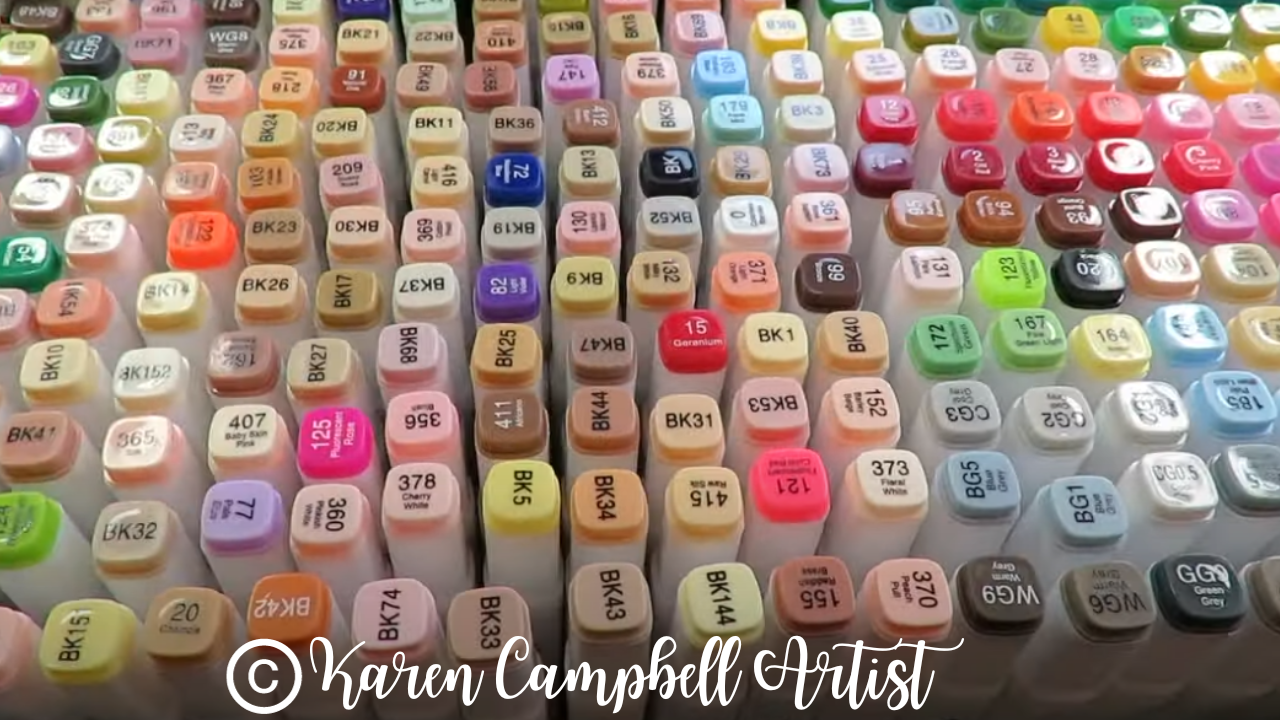
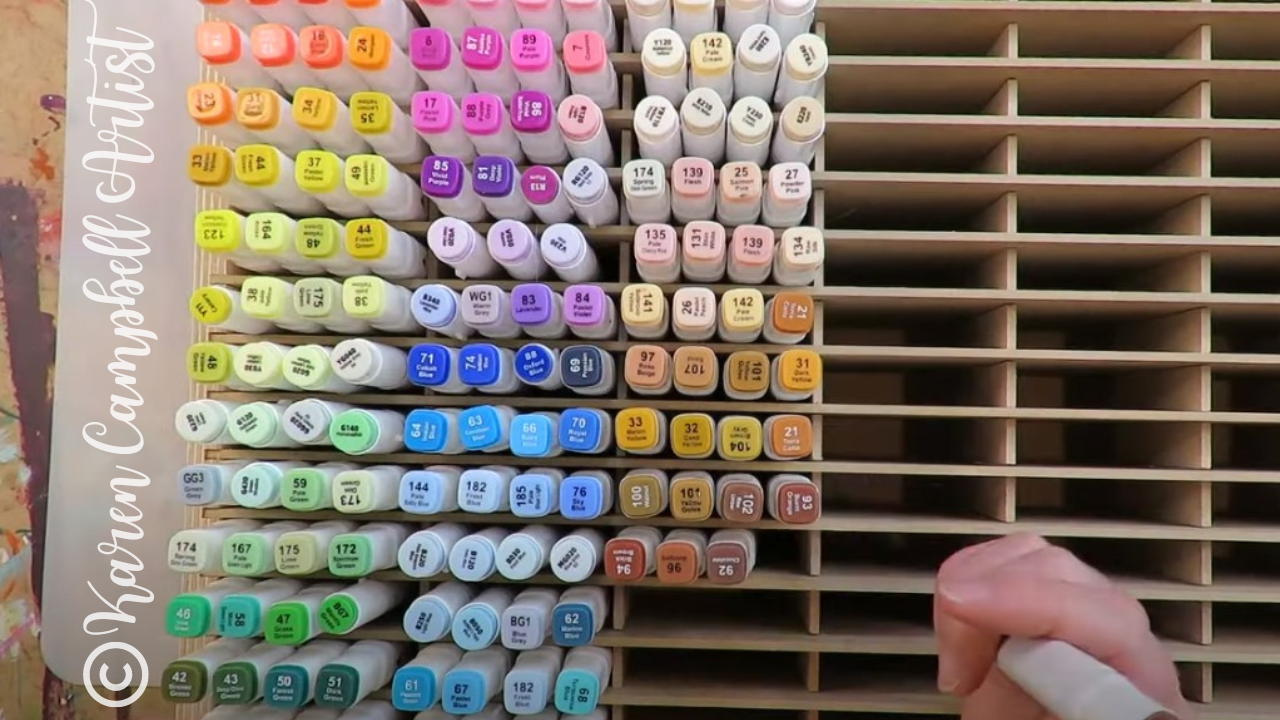
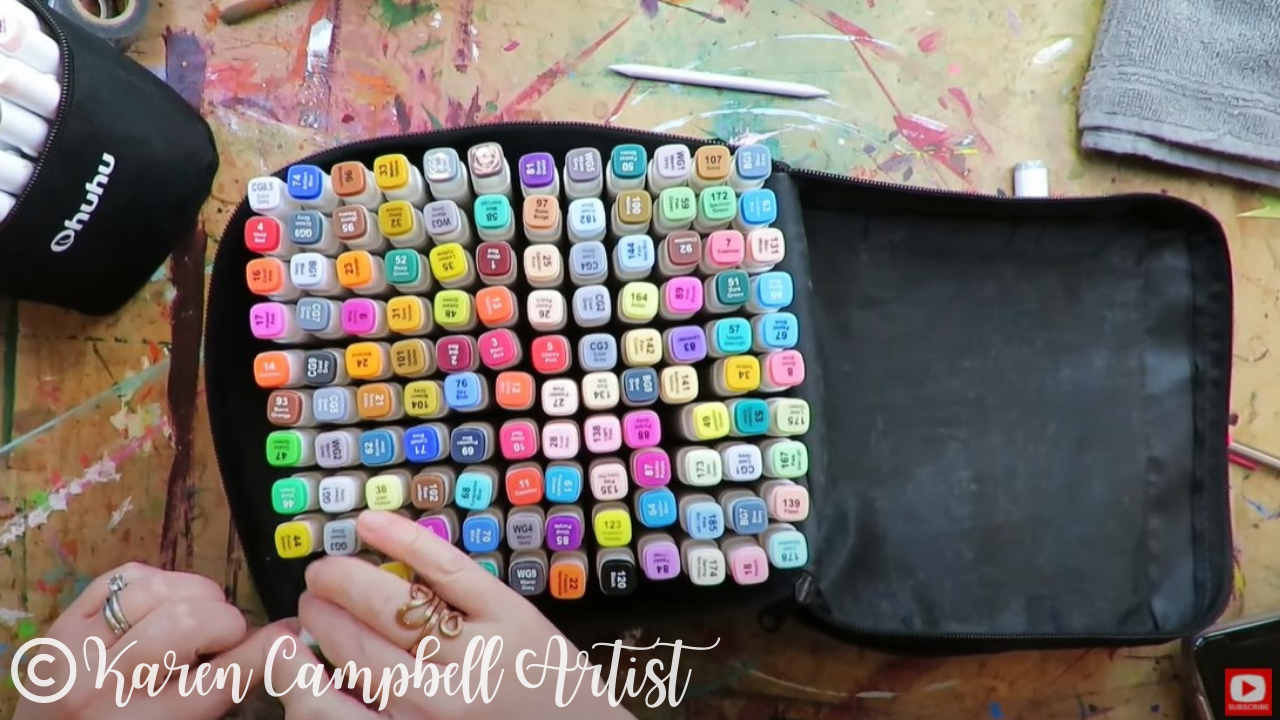
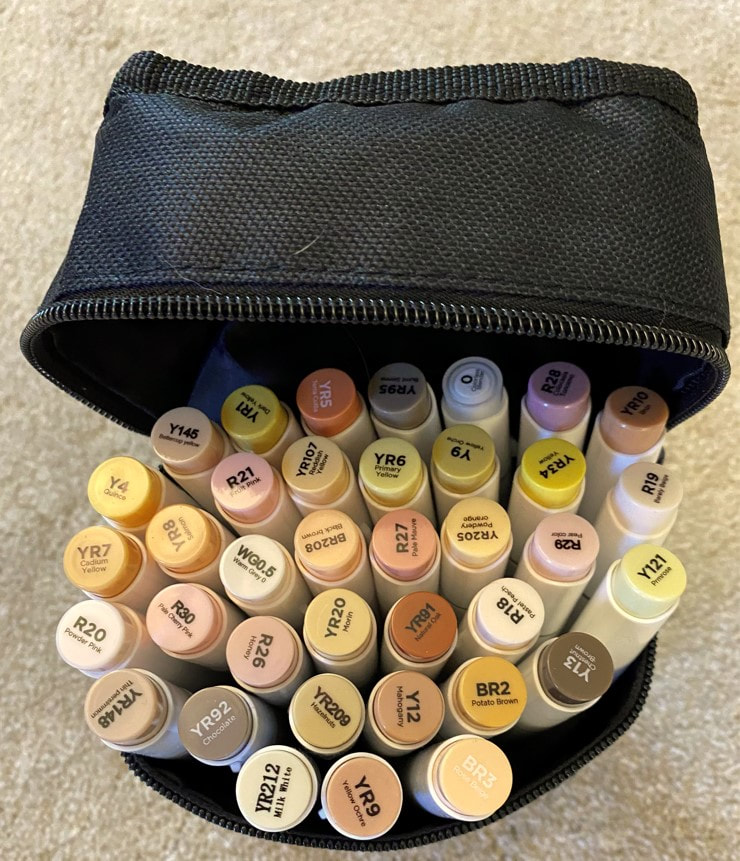
Just LOOK at how many colors there are! There are so many, they wouldn't even all fit in the above pic!!
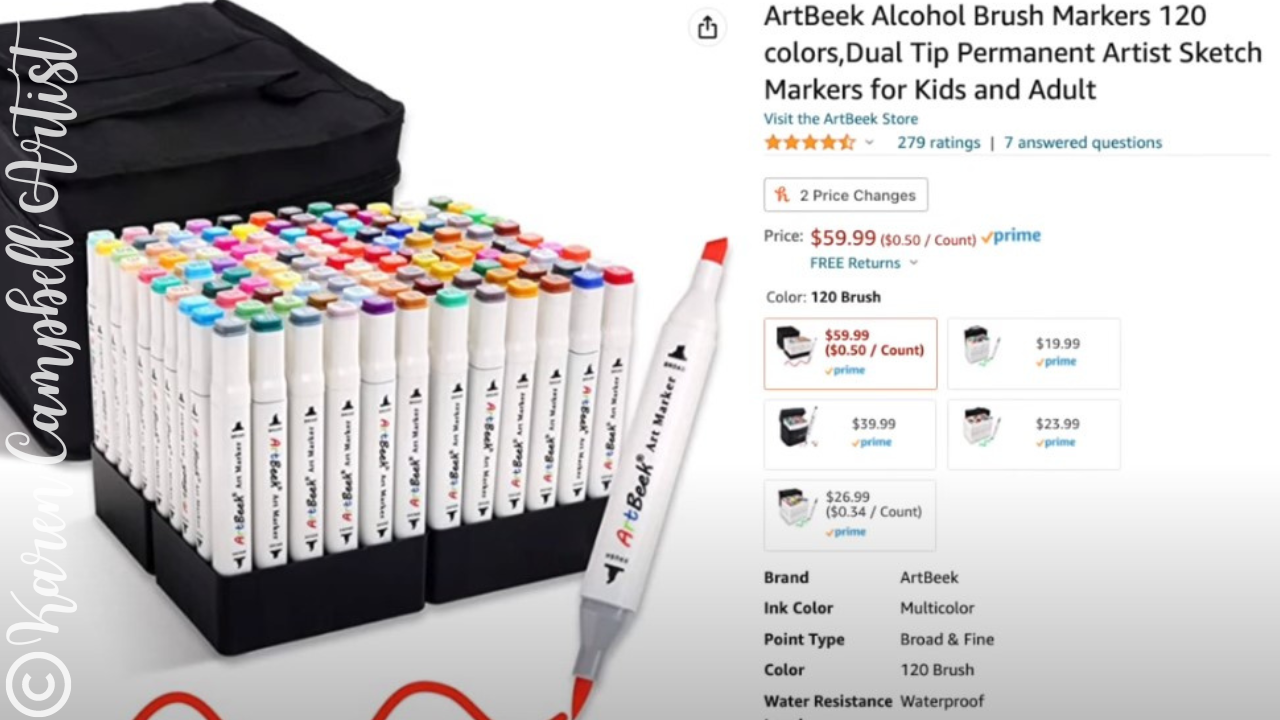
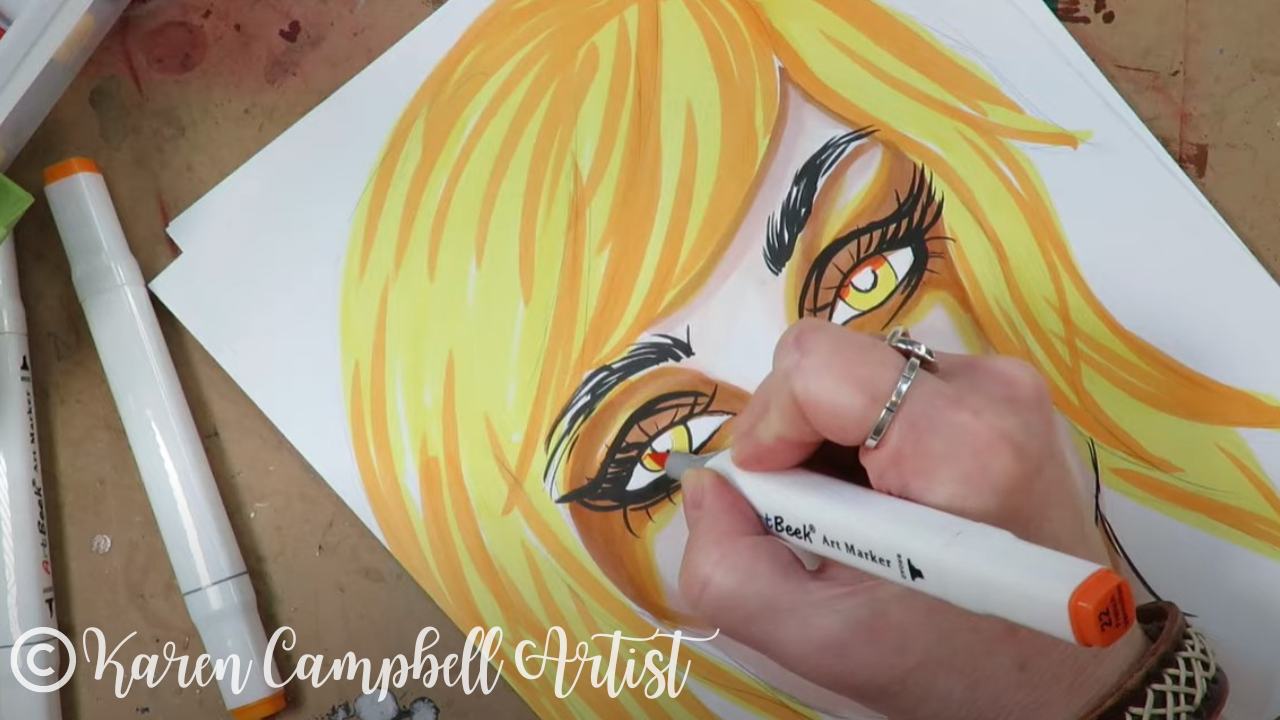
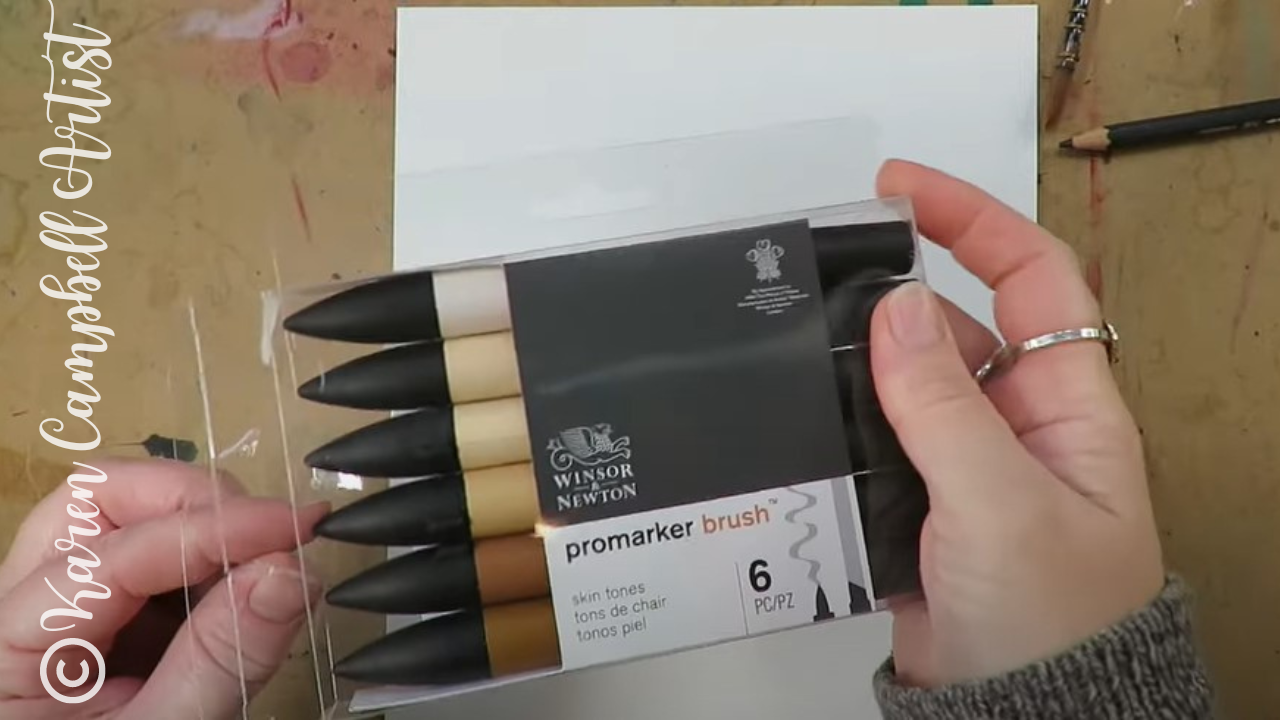
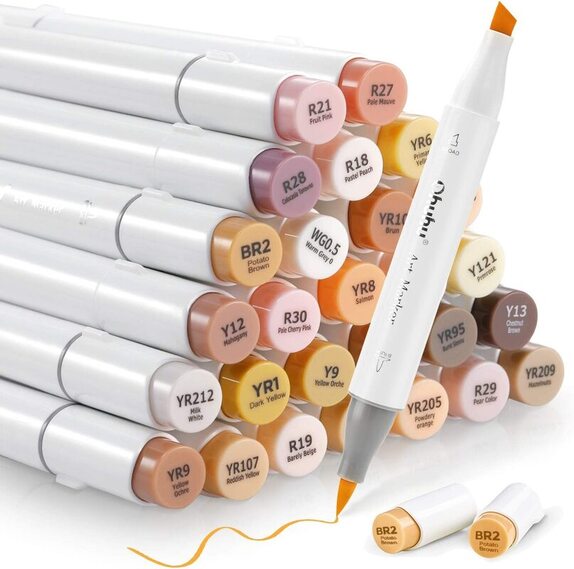
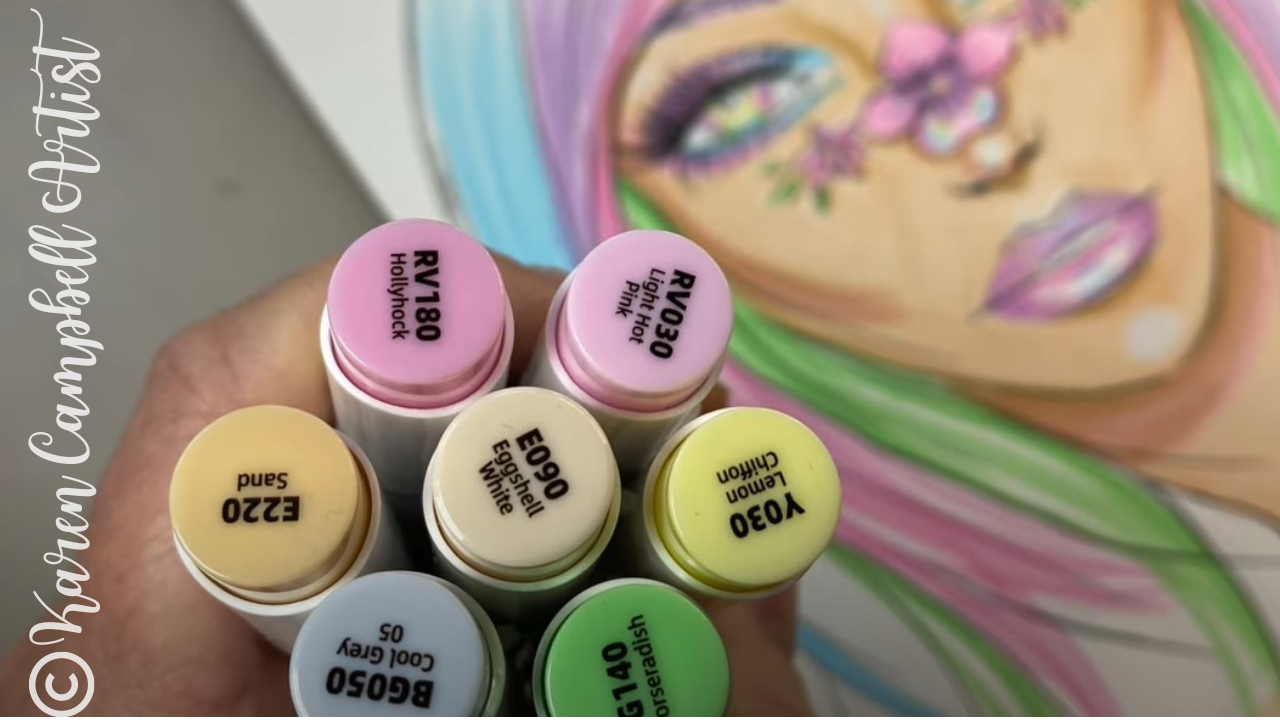
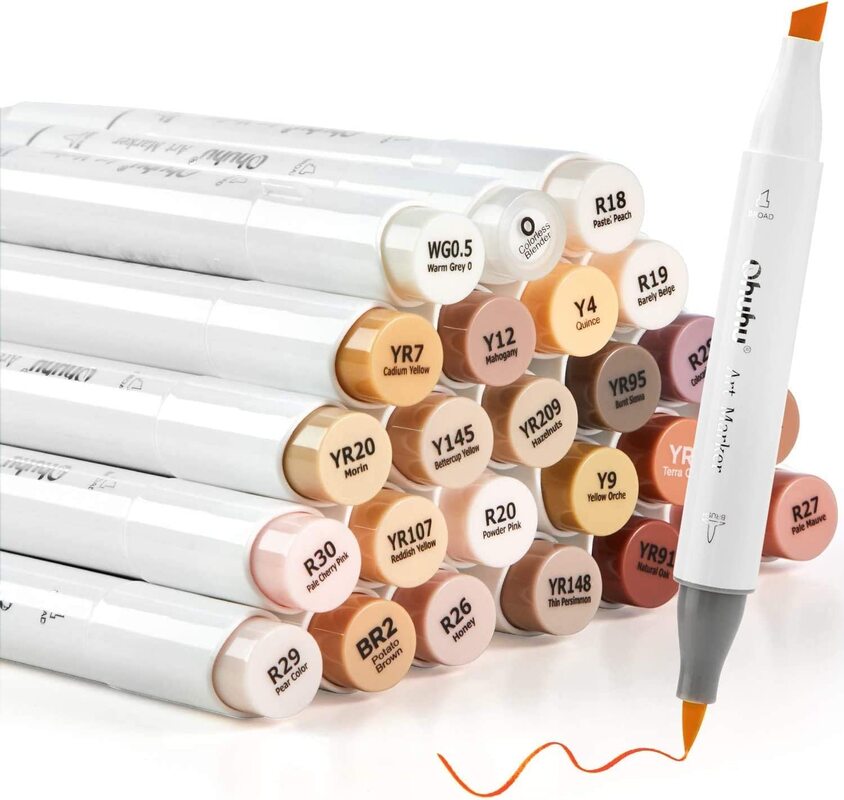
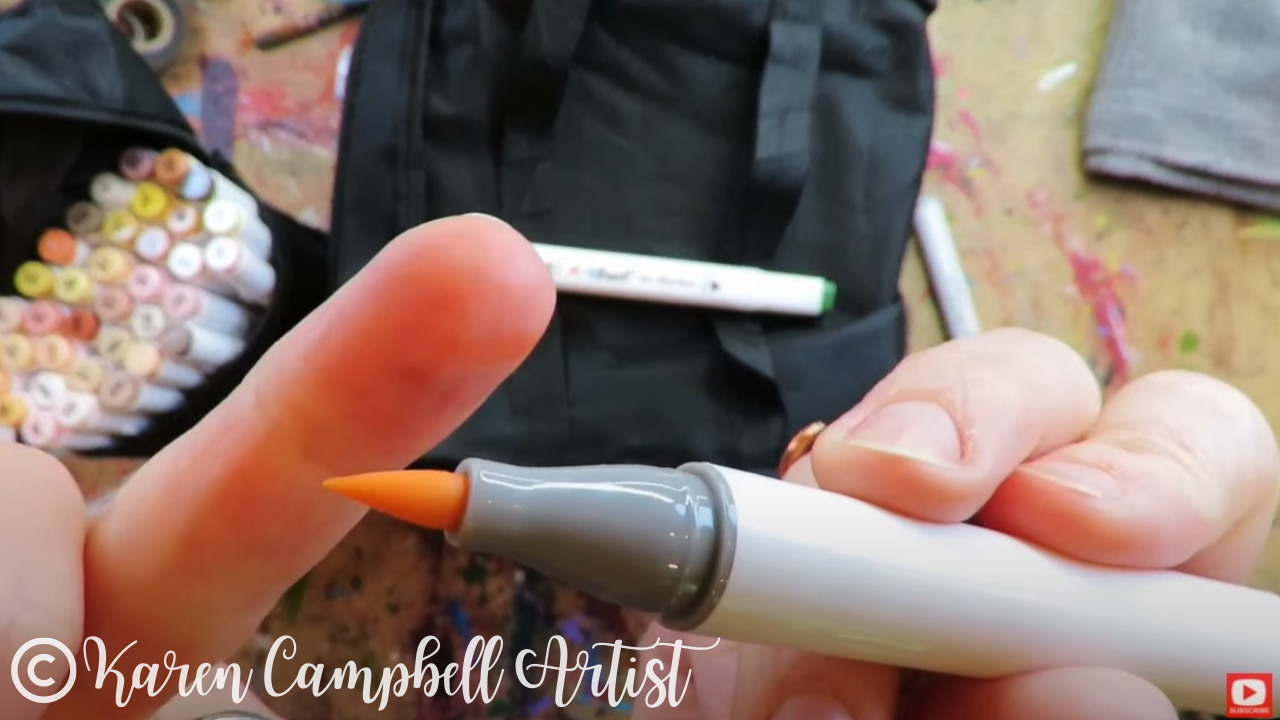
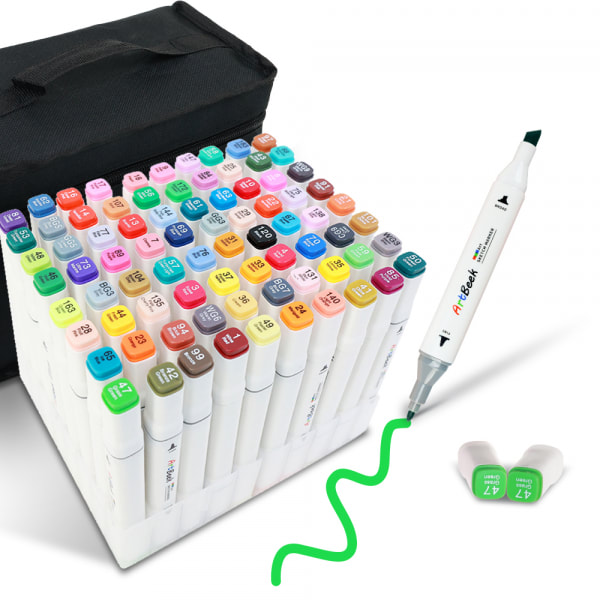
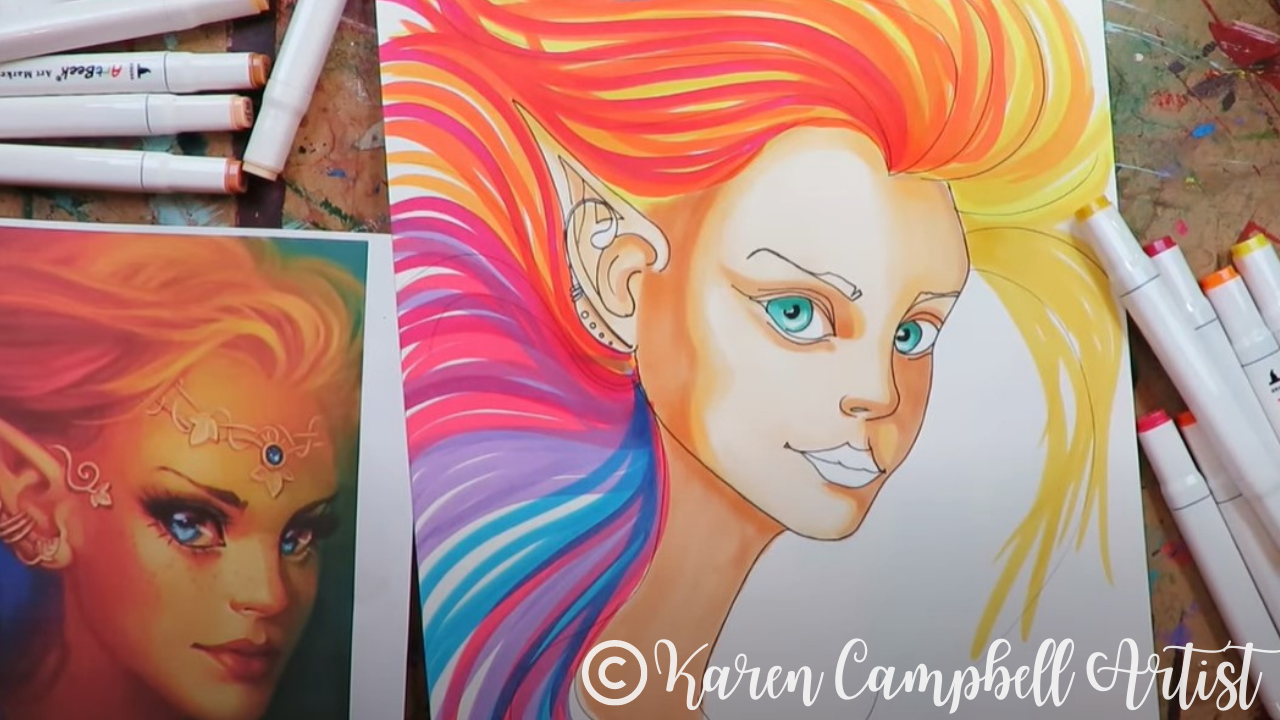
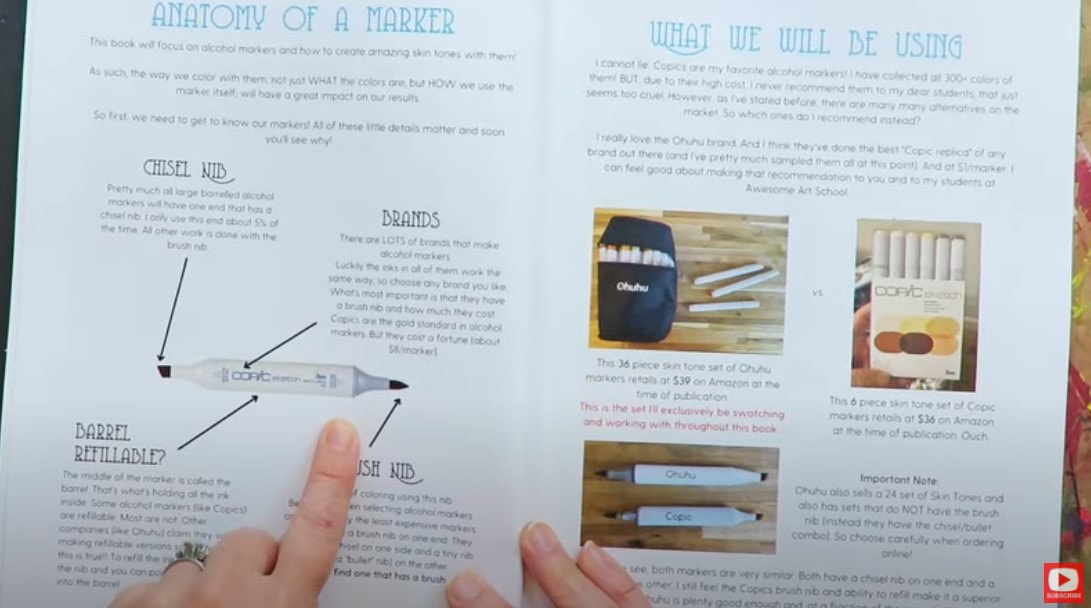
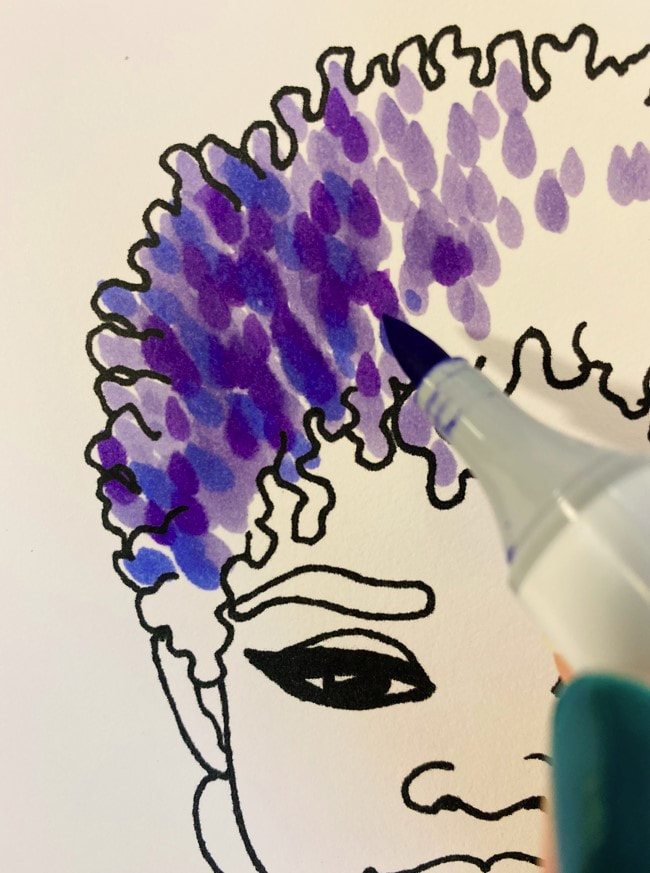
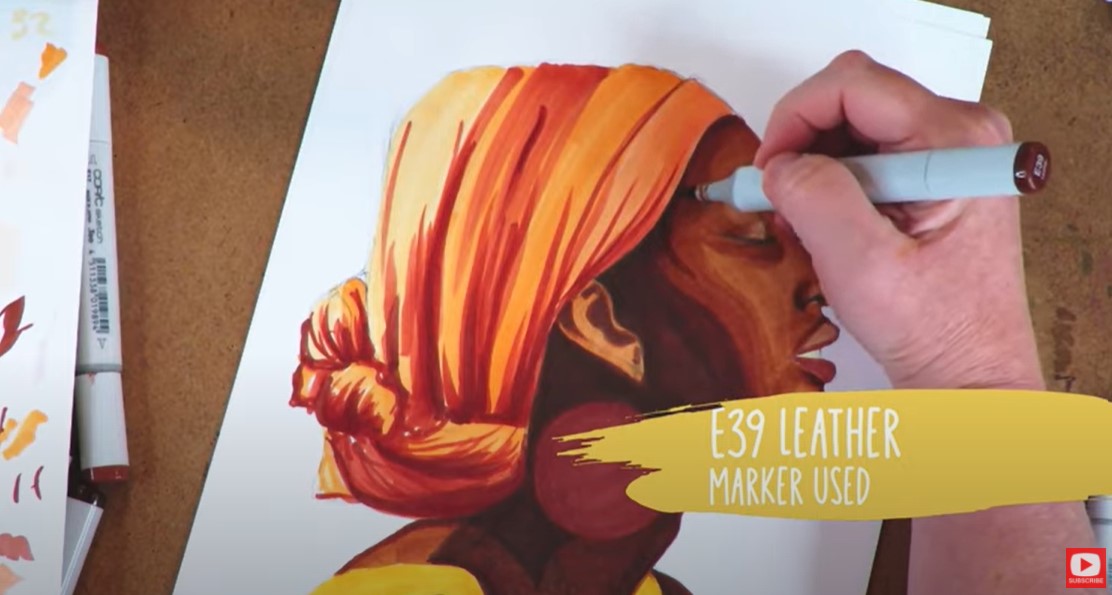
Right outta the gate, the value in this particular set of ArtBeek Brush Tip alcohol markers is insane. On Amazon, this set of 262 colors costs around $130, making each marker a SUPER cheap 50 cents each! Amazing, right?! Especially when you consider the cost of Copics, which are $8 and up, PER MARKER- depending on where you buy them. Like Copics, each of the ArtBeek markers in this set comes with both a brush tip like the marker shown below (essential to me!), and a chisel nib on the opposite end. 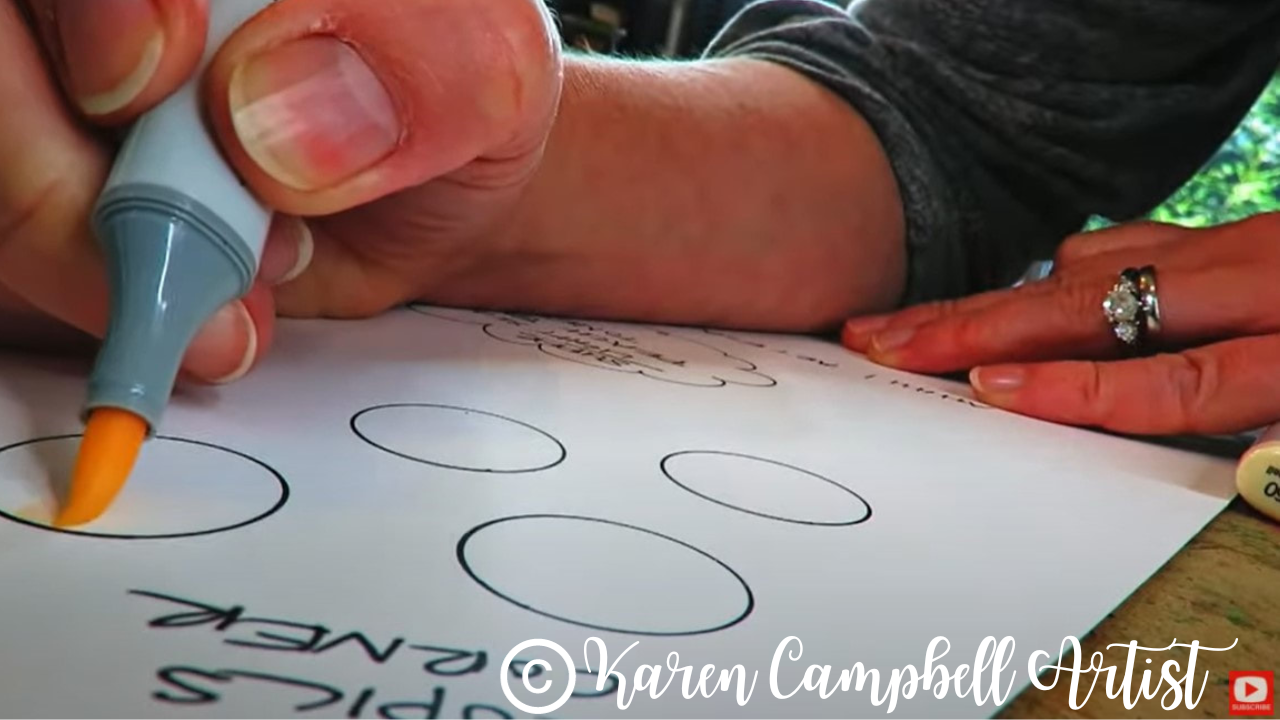
The only downside of ArtBeeks vs. Copics (and Ohuhus for that matter), is that ArtBeeks are NOT refillable. Kind of a bummer.
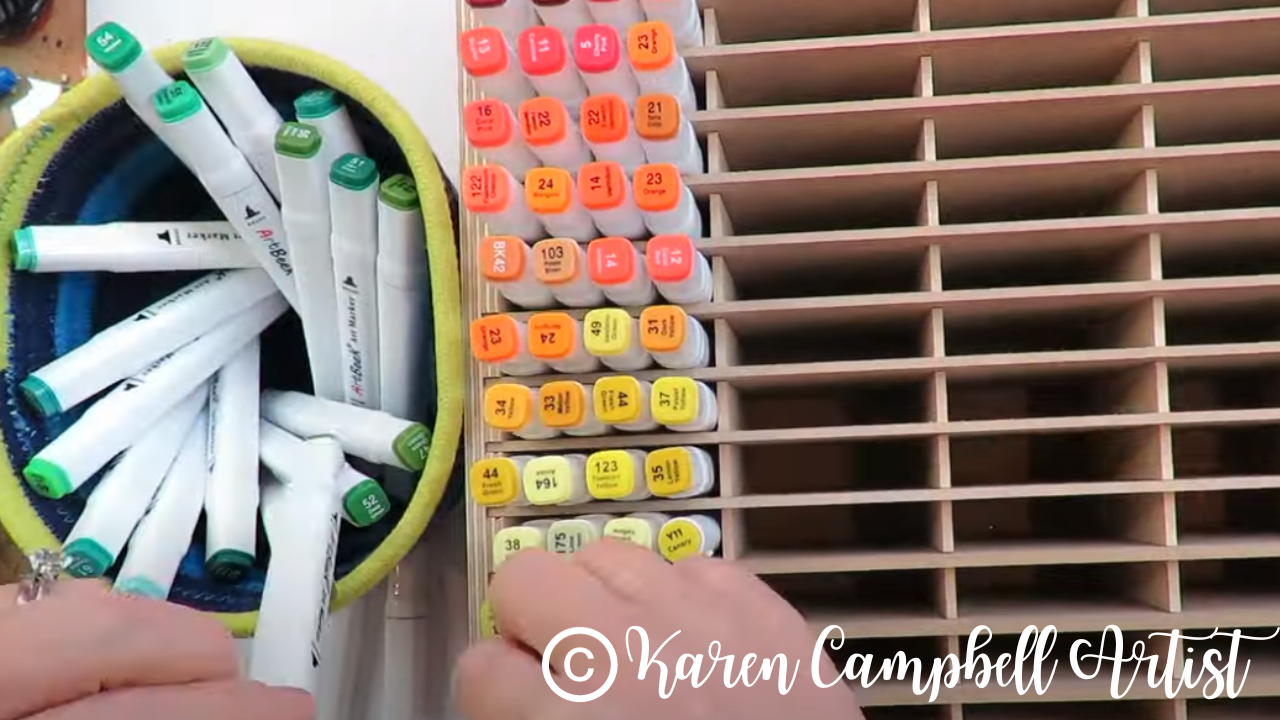
While you get a huge bang for your buck with ArtBeek, I really appreciate how Copic and Ohuhu give us the ability to replace the ink in one marker at a time as needed. If an ArtBeek marker runs out, it's headed straight for the trash, and I'll eventually need to buy another set just to try and get that ONE marker back that I loved. Kinda sad, and honestly something to consider. Since my new ArtBeek set of 262 is so huge, I need a NEW place to store them! While ArtBeek included a nice storage tote for this set, I really prefer using my own storage system based on what makes sense for how I work. Not too long ago, I fell in love with these wooden marker storage cases and decided to purchase an extra one just for my new ArtBeeks! SOOOOO glad I did :) 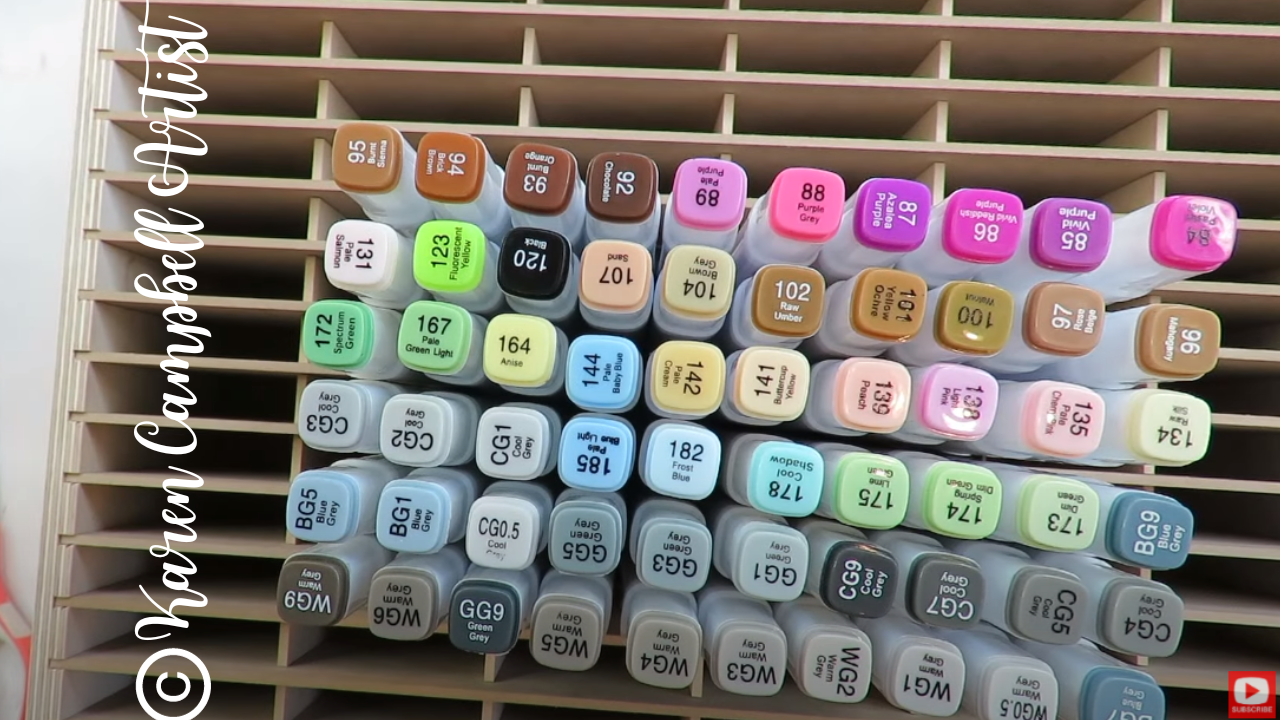
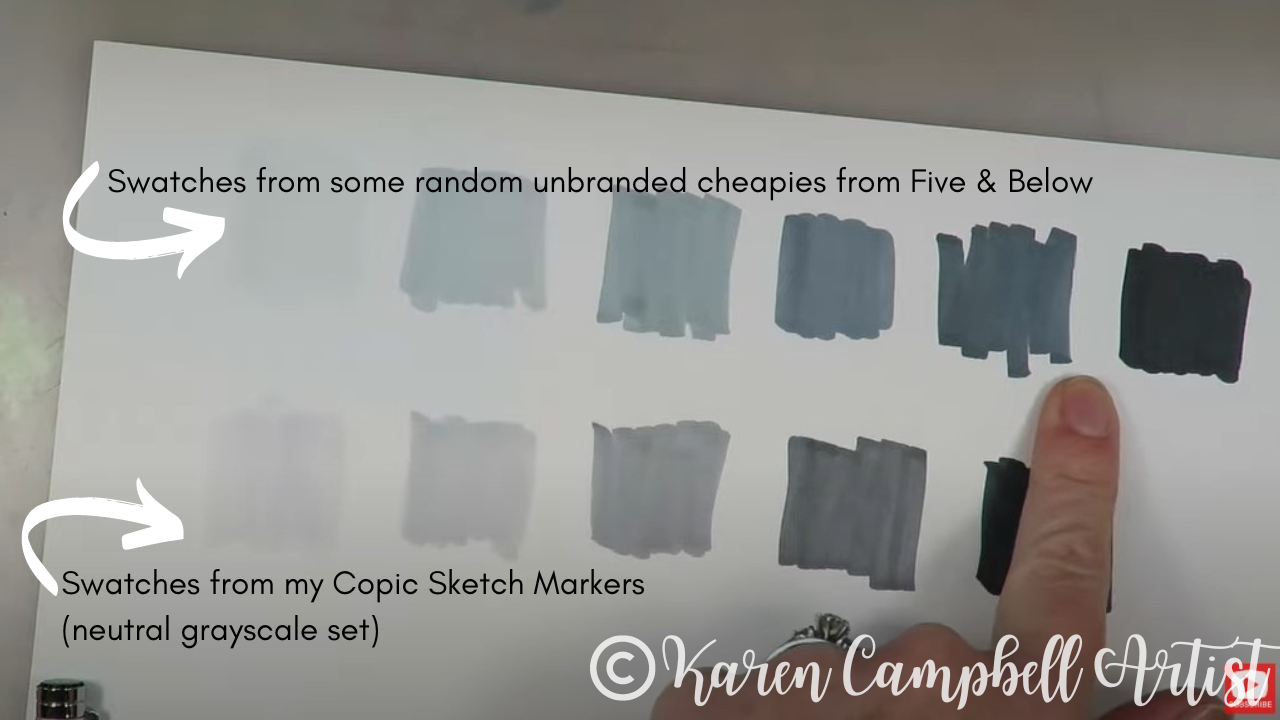
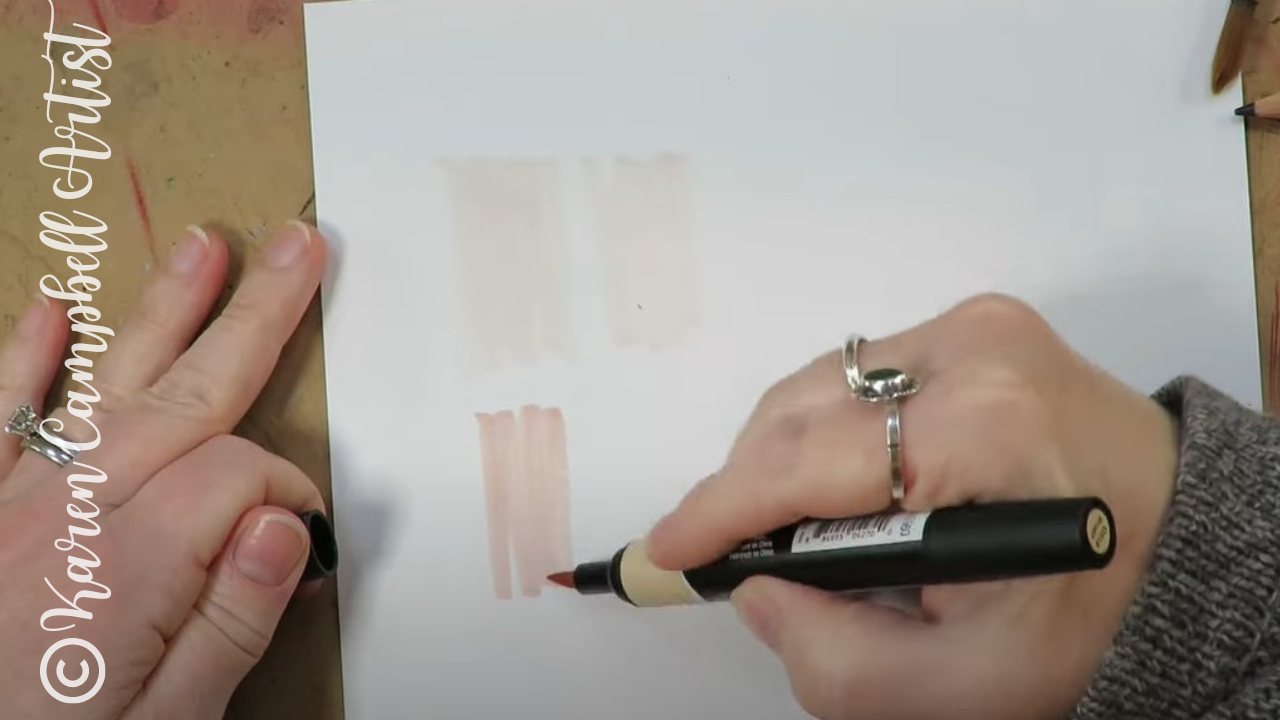
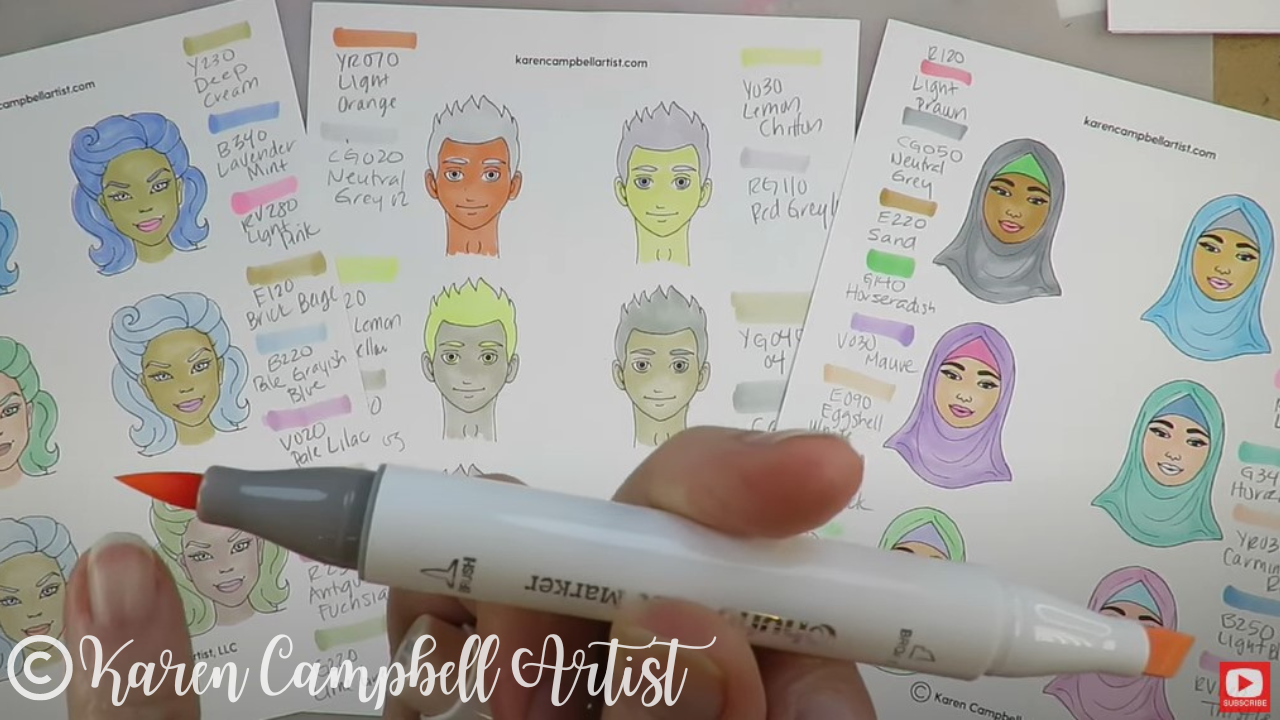
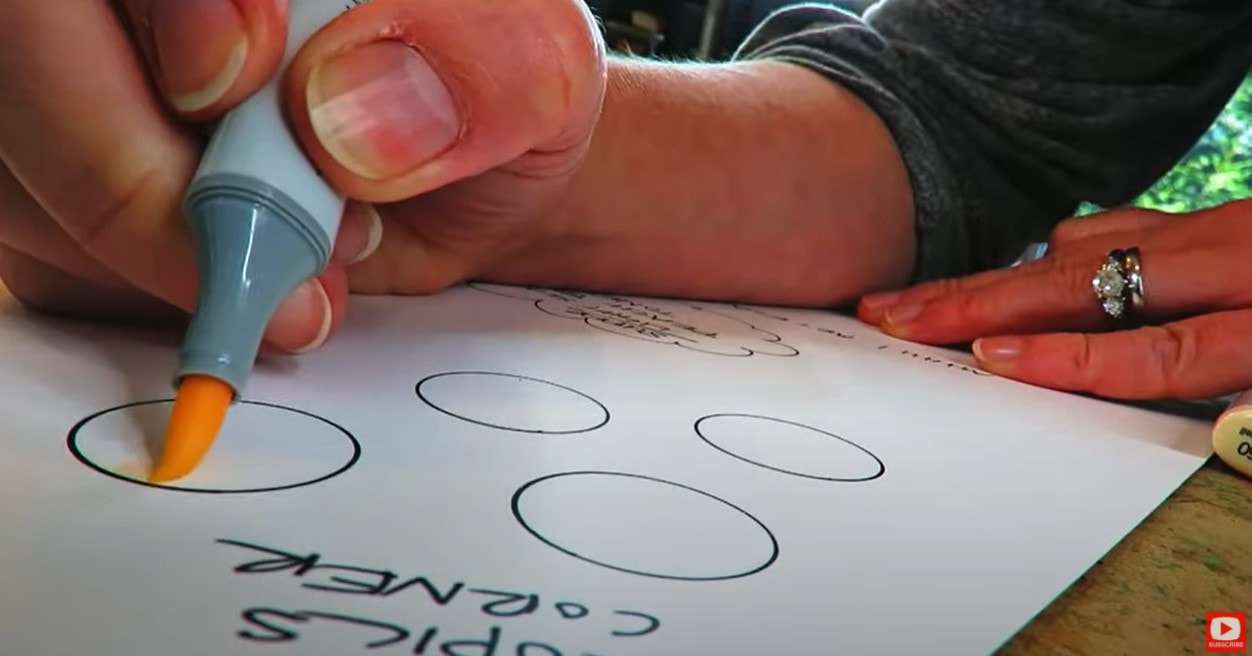
If you've been following me for any length of time on YouTube, you probably already know how important I think swatching is for ANY and ALL art supplies! It's such a gift to your future self and really helps you prevent surprises BEFORE you create!
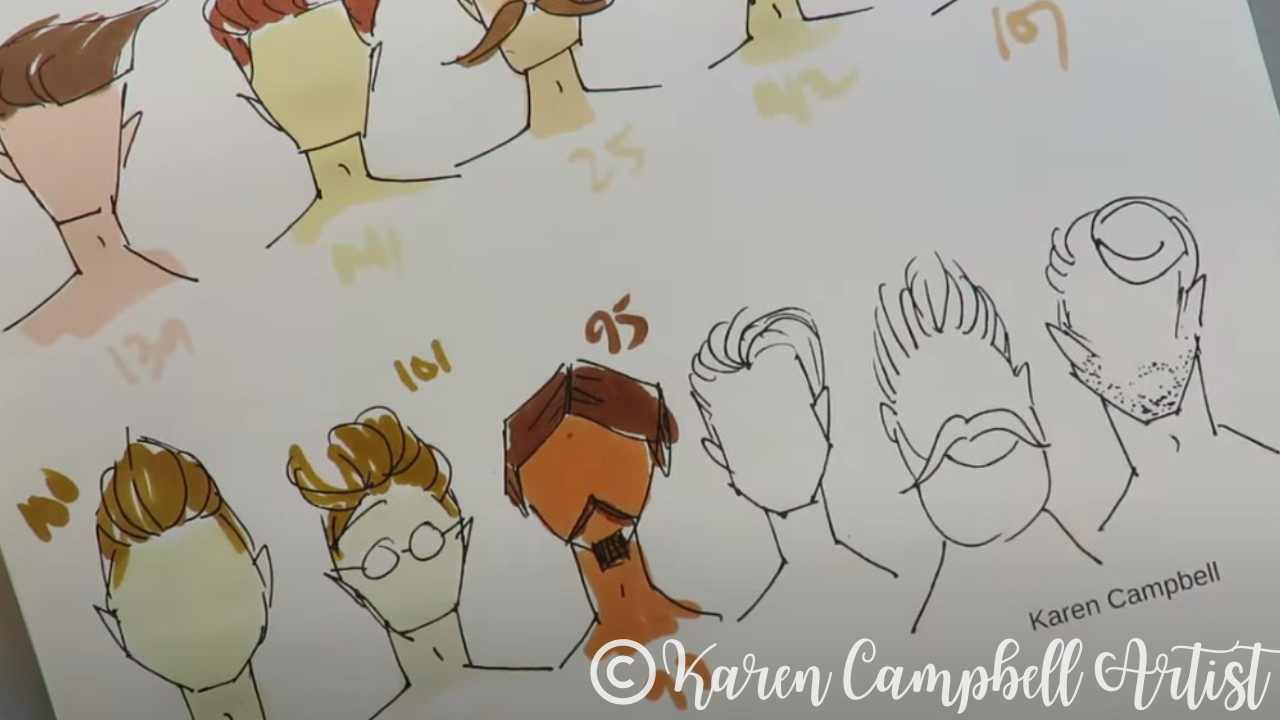
I find the easiest way to start swatching a new set of markers is to start by grouping similar colors together. As you'll see in the video, I try to grab all the greens, blues, yellows, etc., and swatch each group one at a time.
I can get pretty far with this at first, but you'll see in the video how common it is for me to "assign" a color to a marker in my mind based on the marker's cap or color name, only to find when I put the marker on paper, it looks completely different and belongs in a totally different color family! Here's a great example, below. See the box I X'd out below? Initially, I thought this color belonged with skin tones color family based on the marker cap, but on paper it's totally green! 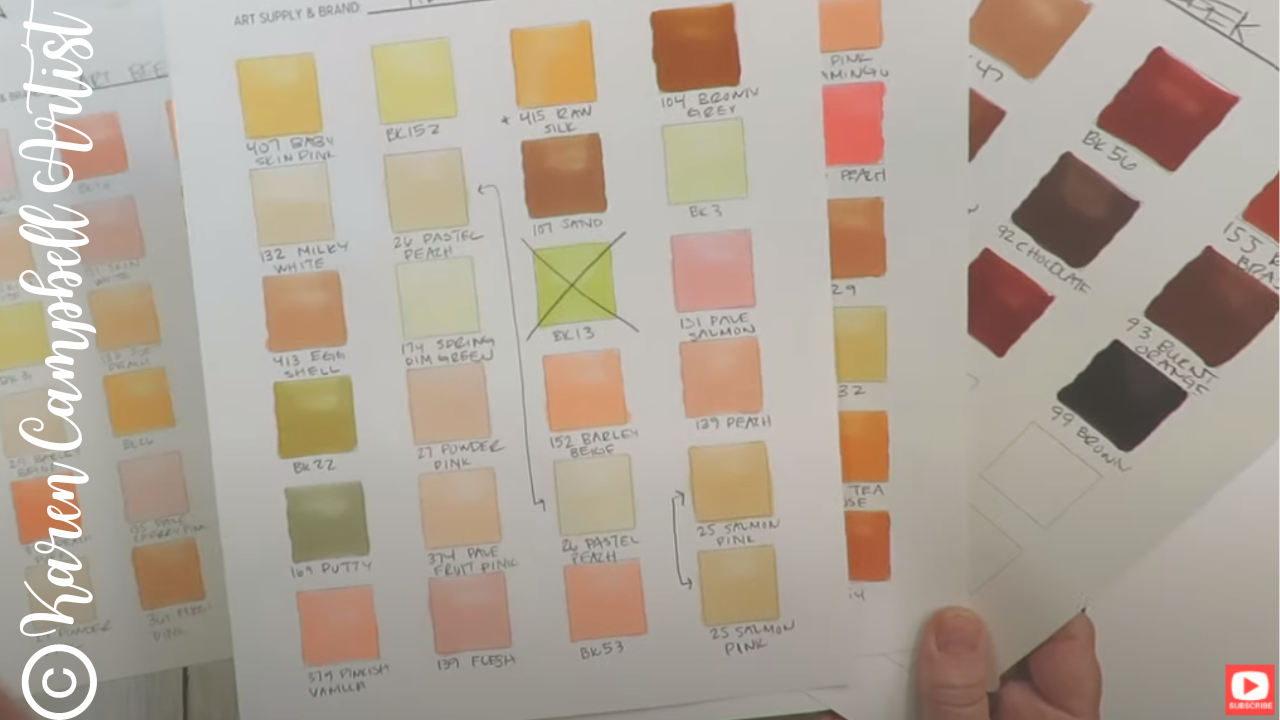
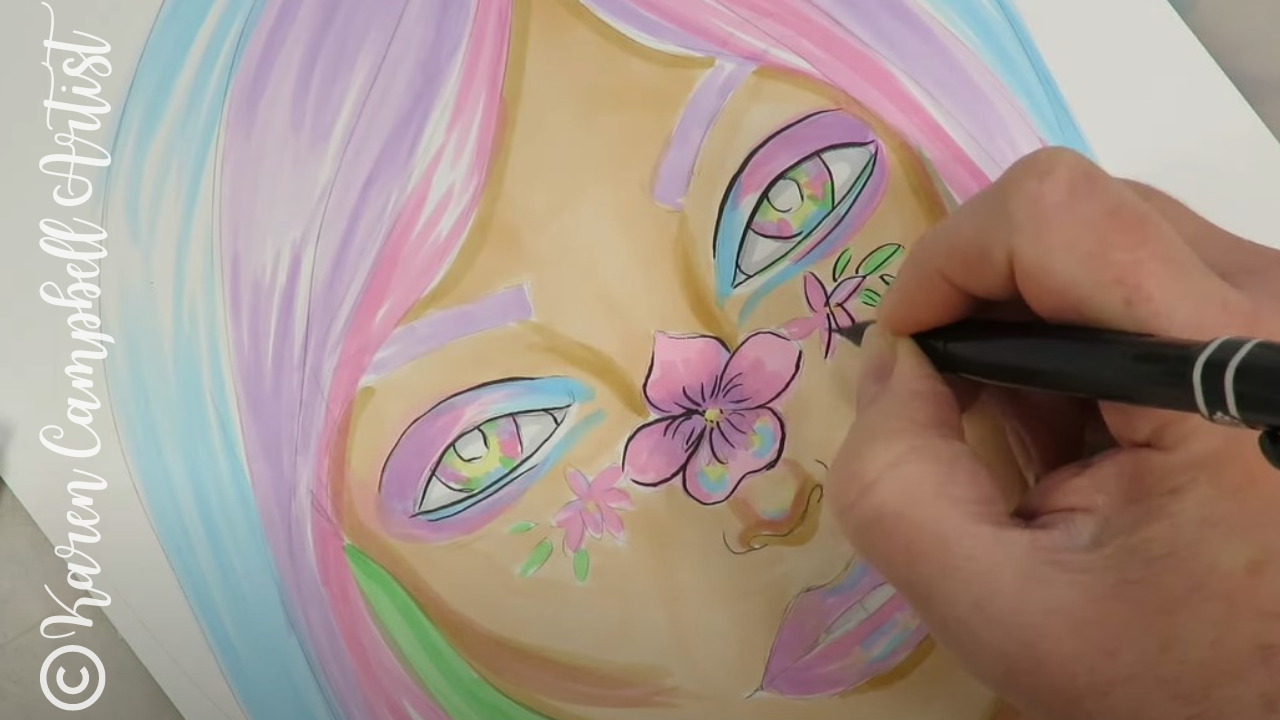
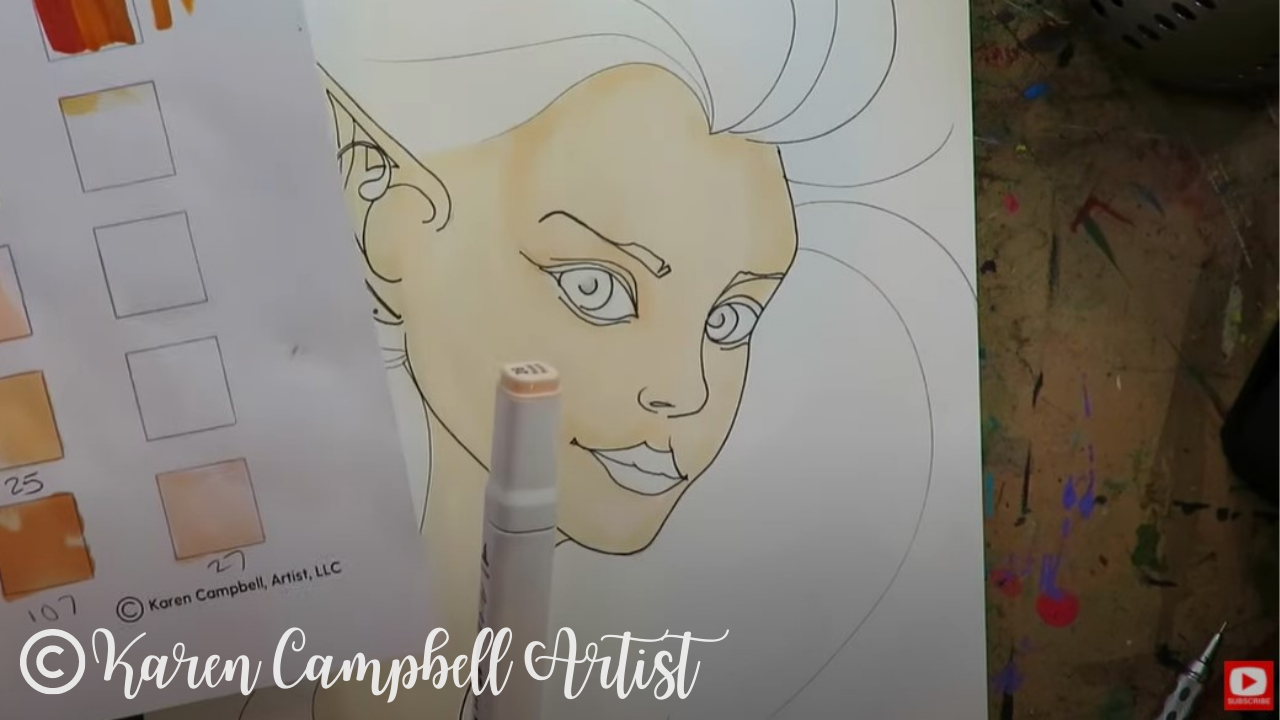
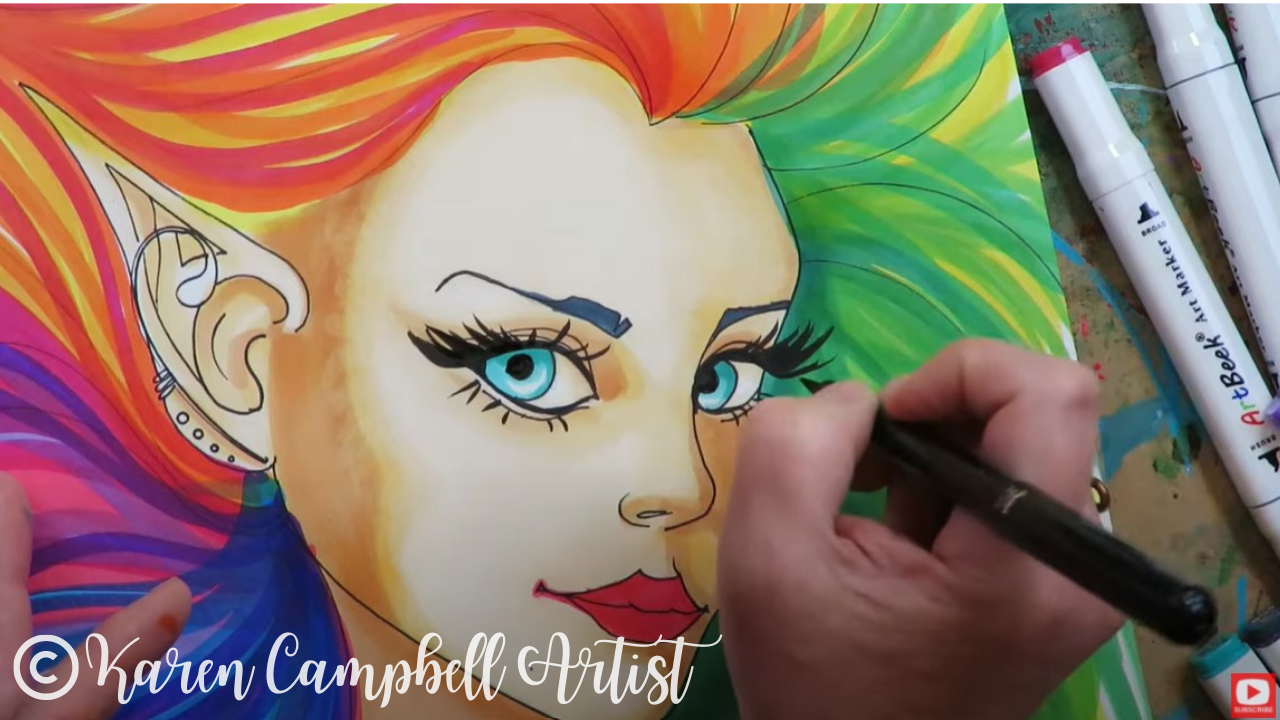
Speaking of skin tones... THIS is the thing that's thrilled me MOST about the ArtBeek set. I counted 98 skin tone markers!!! This is freaking bananas and makes me SO excited because the marker art projects I teach and do for fun are typically faces :) I absolutely LOVE that ArtBeek has included so many skin tone markers in this set.
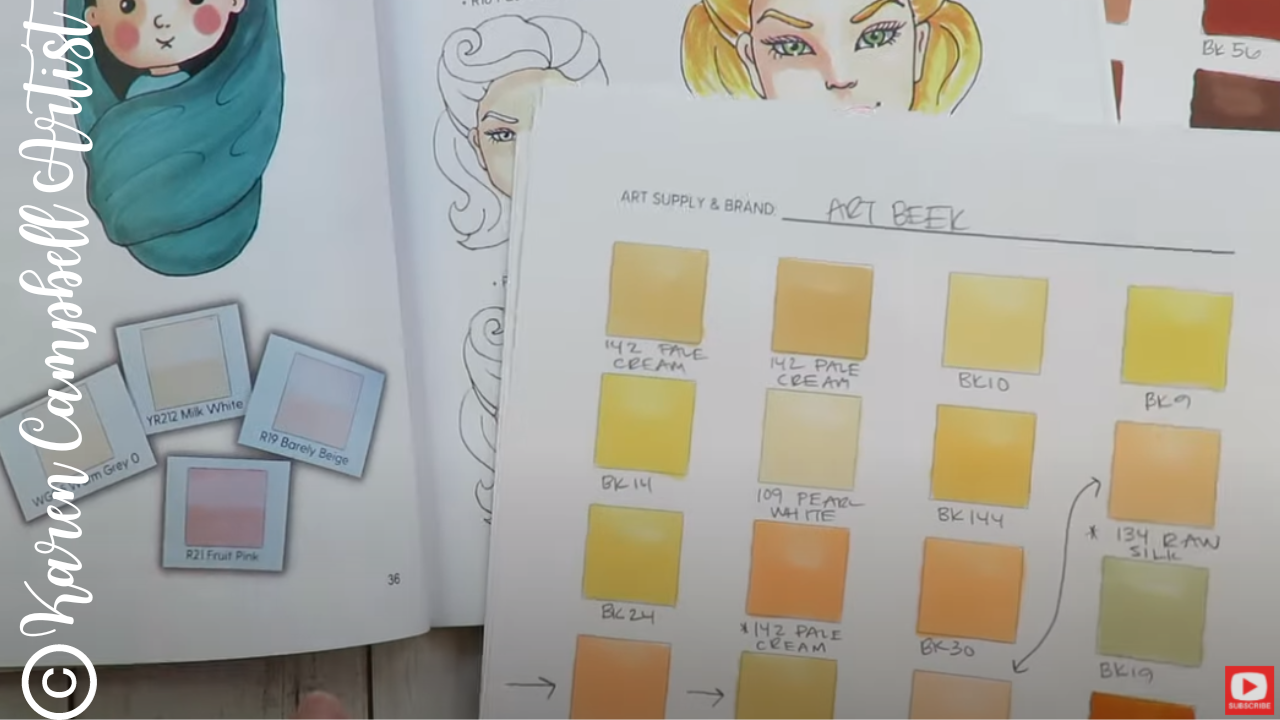
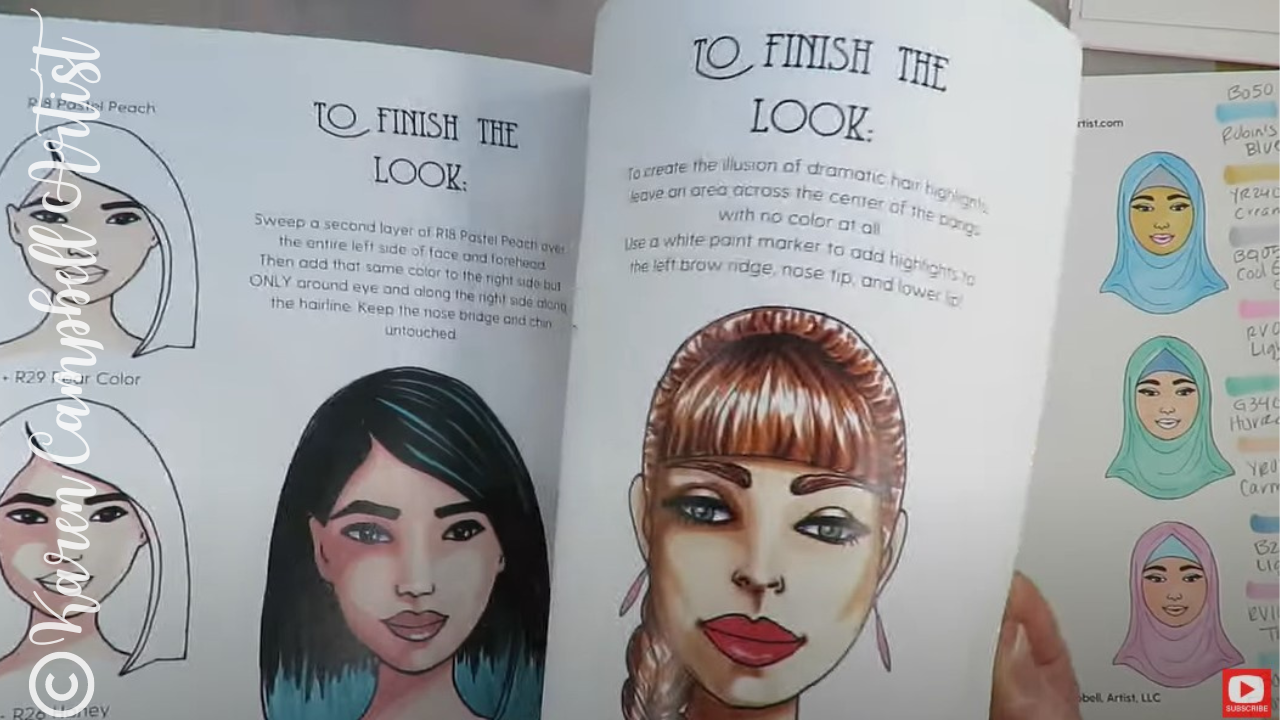
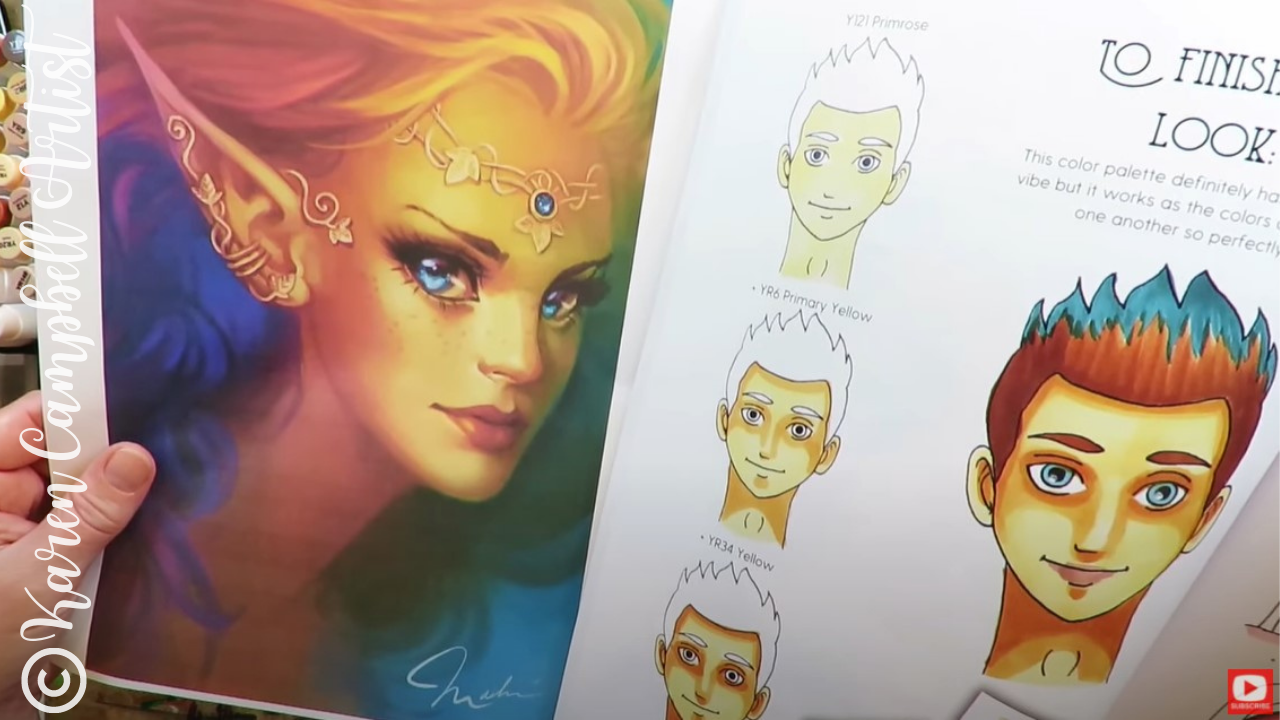
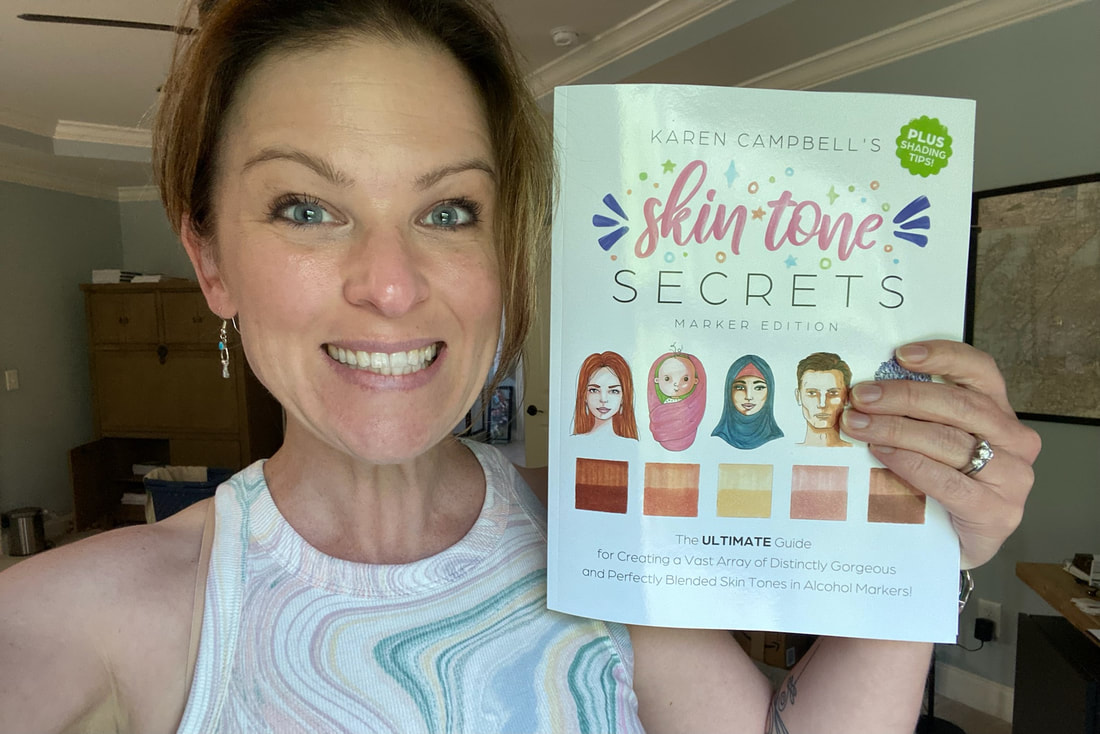
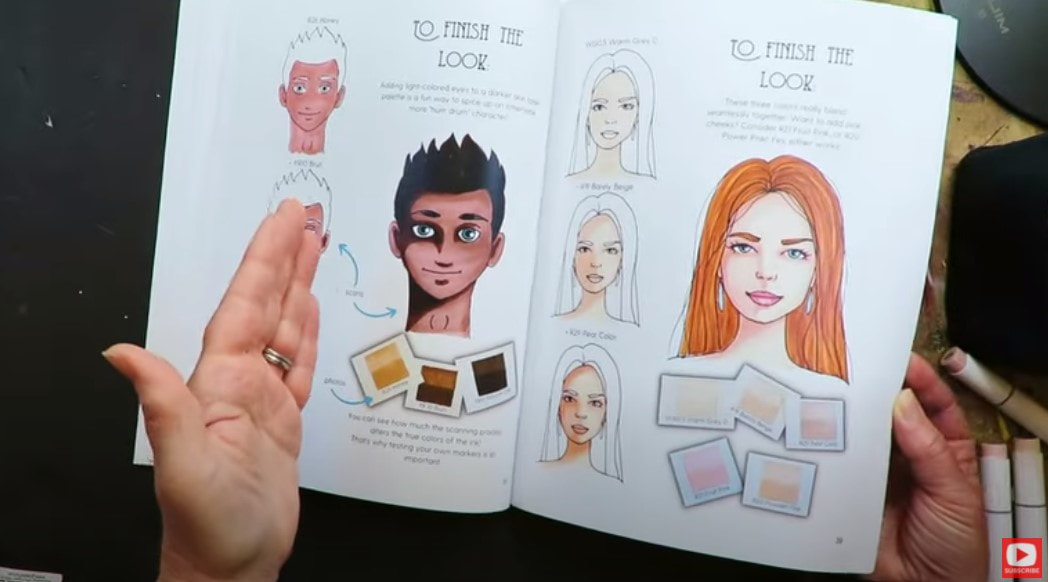
Speaking of faces and alcohol marker projects - I recently published a book calledSkin Tone Secrets, to help artists easily identify skin tone marker combinations that go well together for shading faces of various ethnicities.
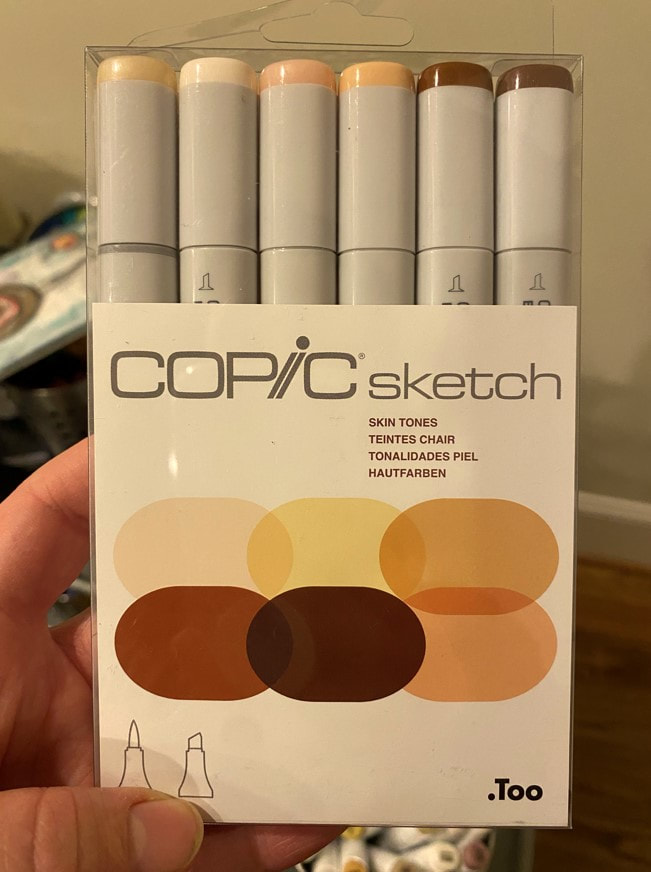
When I wrote Skin Tone Secrets, I used my Ohuhu skin tone markers set. BUT, as you'll see in the video, the book really can be used with ANY alcohol marker brand. Click over to watch the video and I'll show ya how! 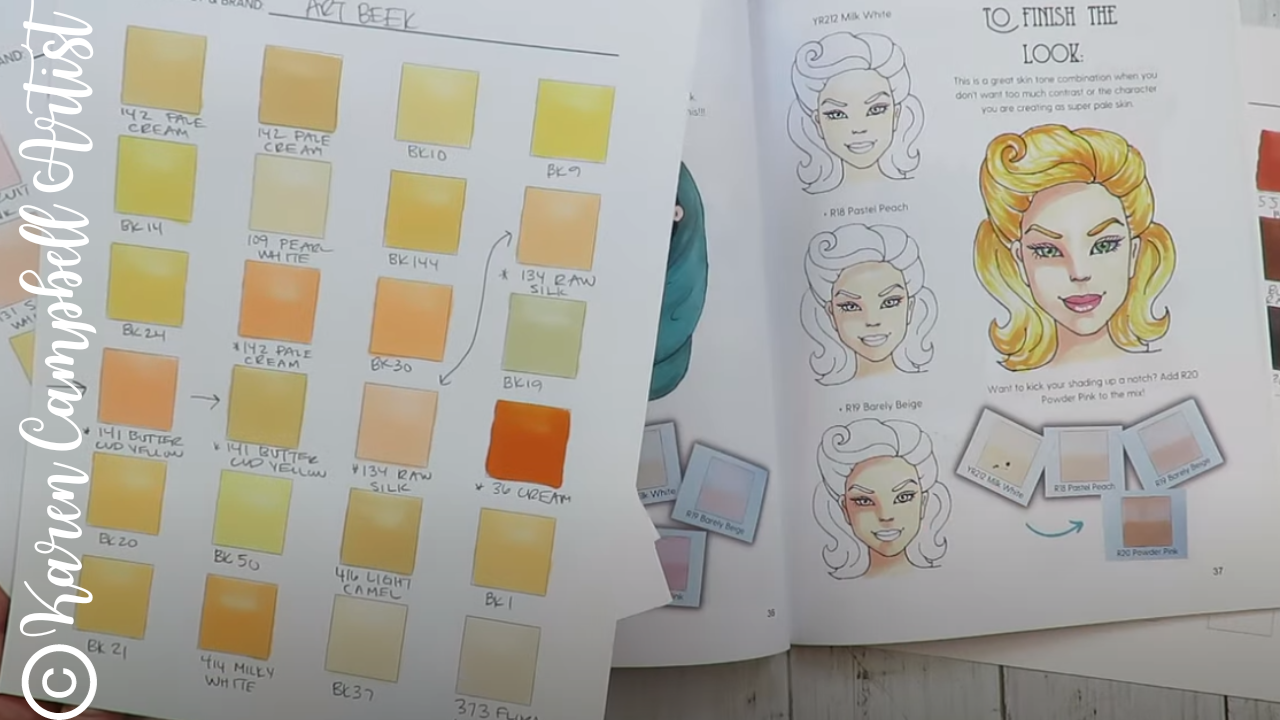
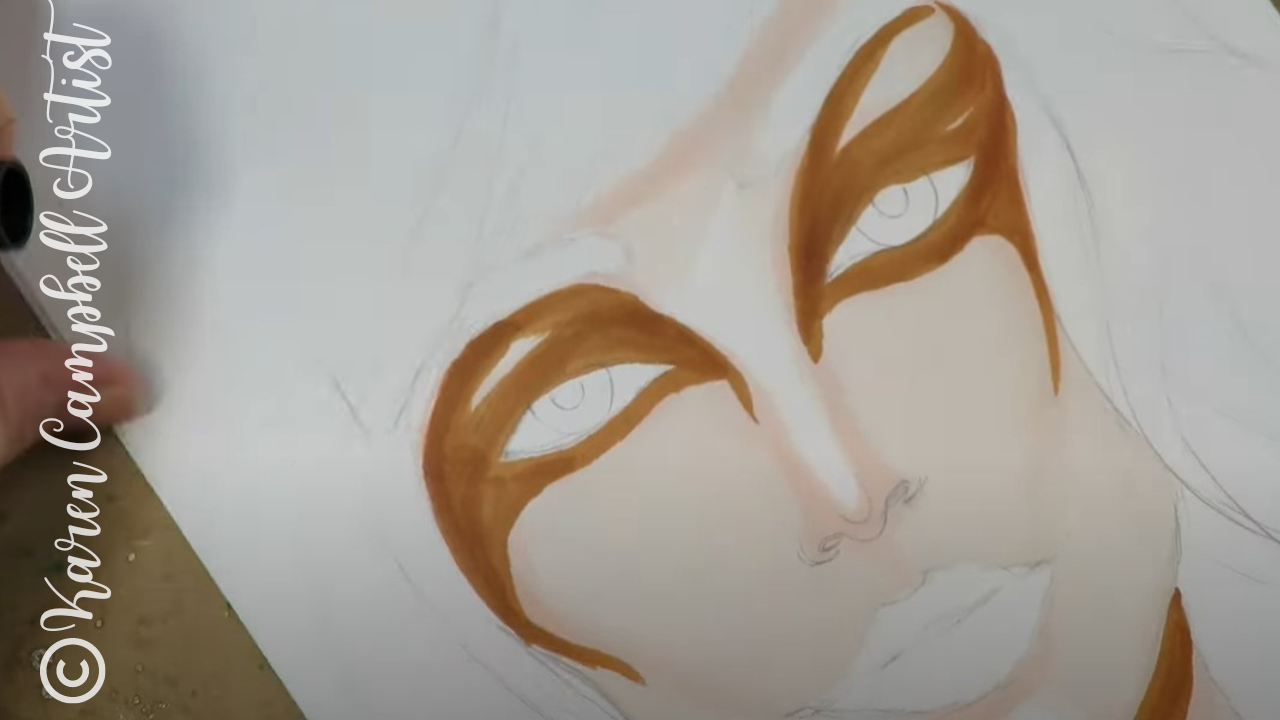
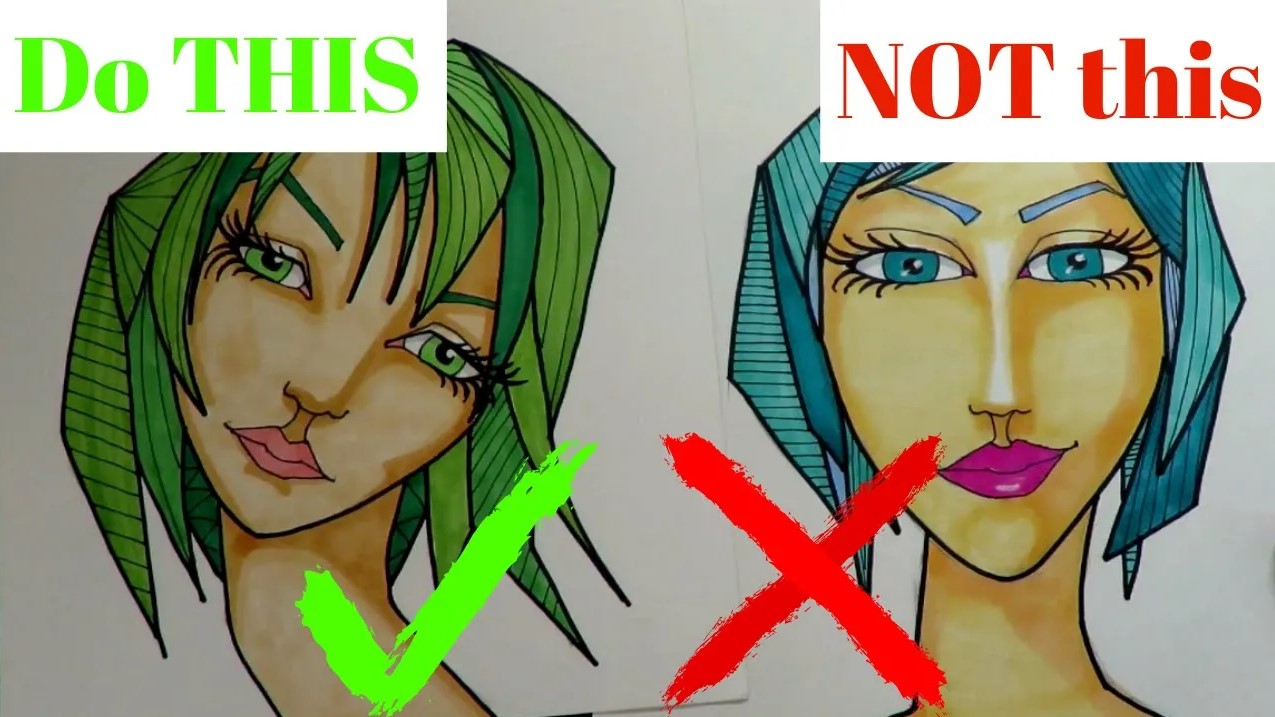
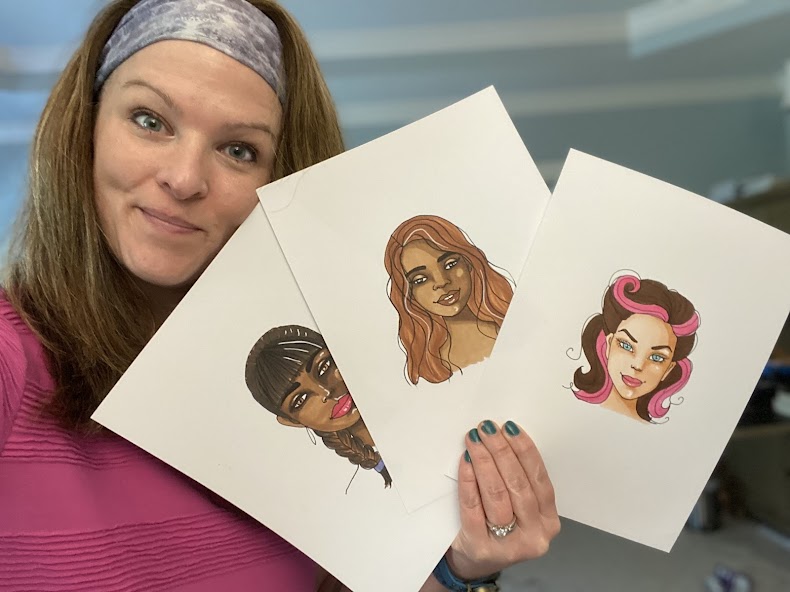
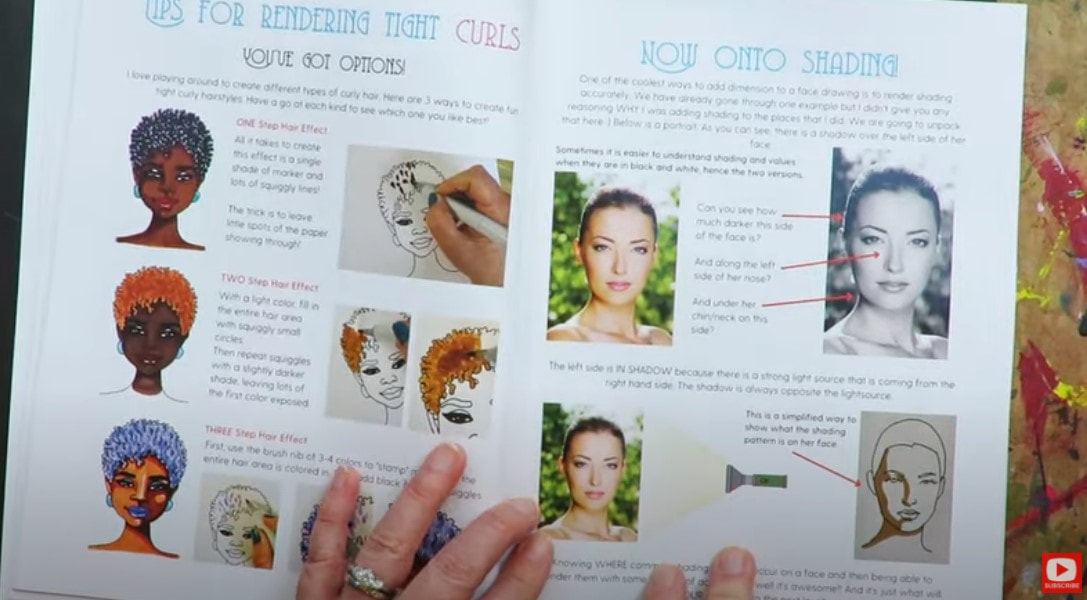
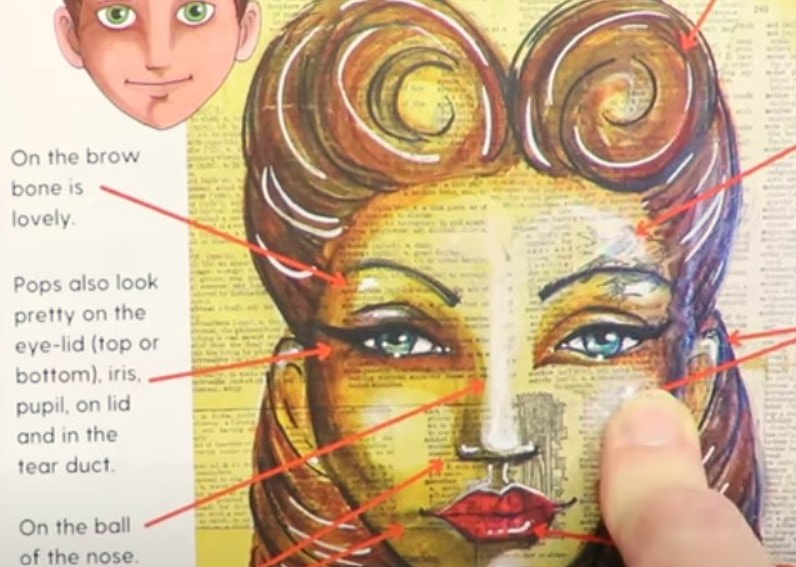
In Skin Tone Secrets, I also share TONS of alcohol marker coloring tips from how to eliminate streaking to where to place shadows on the faces you're coloring.
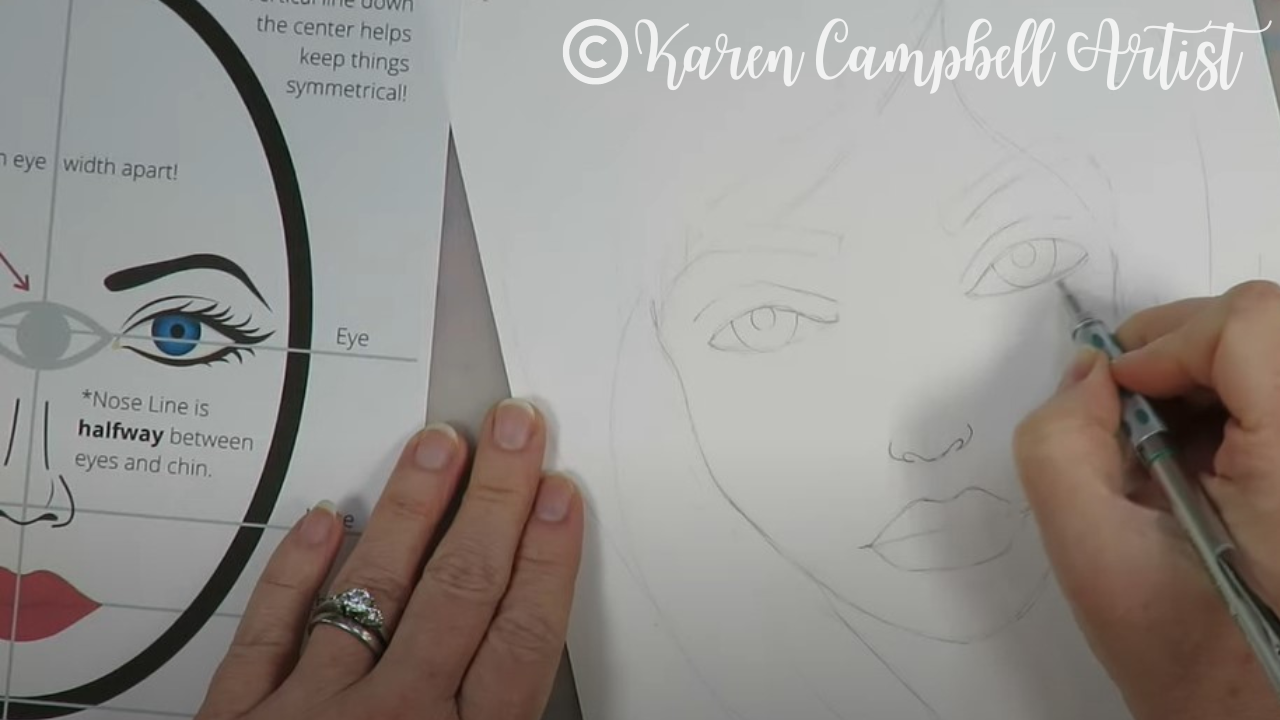
Shading can be extremely tricky for artists who are just learning how to draw faces. In Skin Tone Secrets, I teach you about how to figure out where your light source is coming from so shadows look realistic even in whimsical face drawing projects. Plus, I show you three of the most common face shading patterns so there is zero guessing about where to put your shadows. 
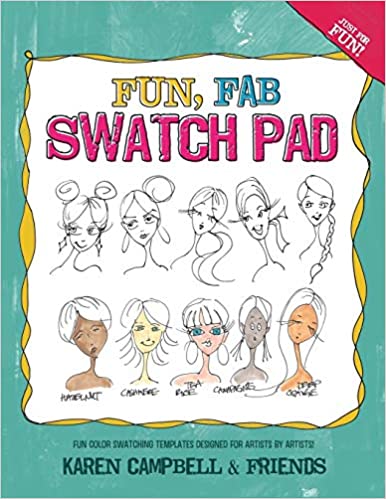
You'll also find a link in the book to the swatch sheets that I'm using in today's video so you can download a set for yourself to print at home. They're SO helpful for swatching!
If you're thinking about starting an alcohol marker collection, I HIGHLY recommend this ArtBeek set of 262 alcohol markers. The color selection included really is outstanding, especially if you love to draw and shade faces as much as I do!
|
Karen CampbellFounder of Awesome Art School. Mixed Media Artist. Author of 19 Instructional Art Books! 
Whose work has appeared in...
   
 Archives
July 2024
Categories
All
|


 RSS Feed

"Karen is flipping hilarious and she's very real...I like the way she teaches in a way that really gives you confidence, whether you're a beginner or advanced there's always something new to learn!"
- Elizabeth W. |
What Fans Are SayingKaren, you are absolutely fabulous! You make me feel like I can draw anything. I have recently retired and finally have the time to do some of the art that I have loved since I was in school. I am really at the beginning of my art journey and I hope to learn as much as I can. Thank you for all you do. |
Contact ME |