|
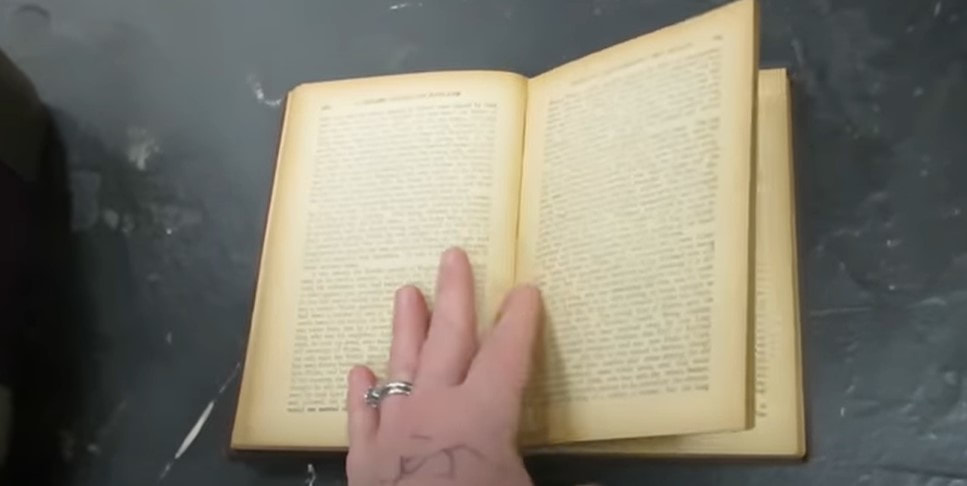
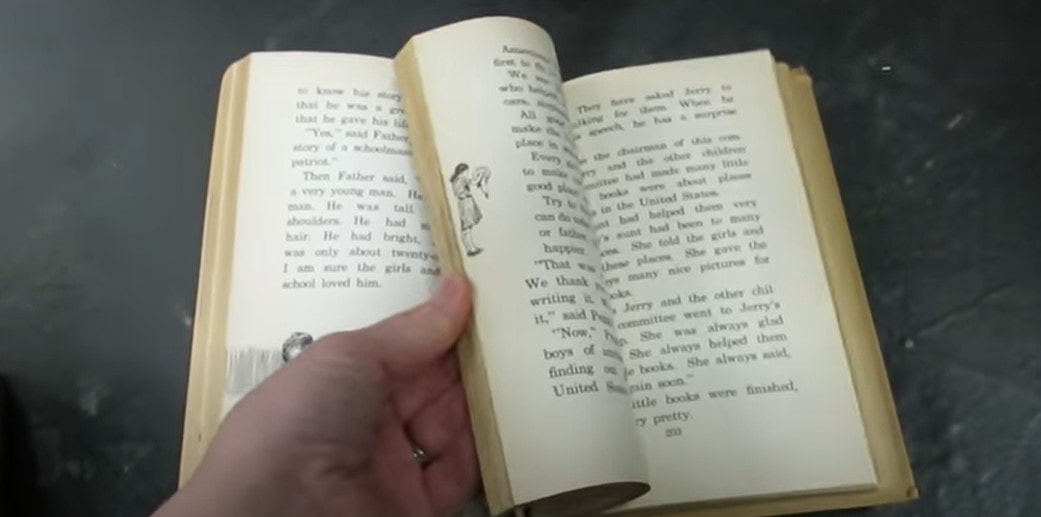
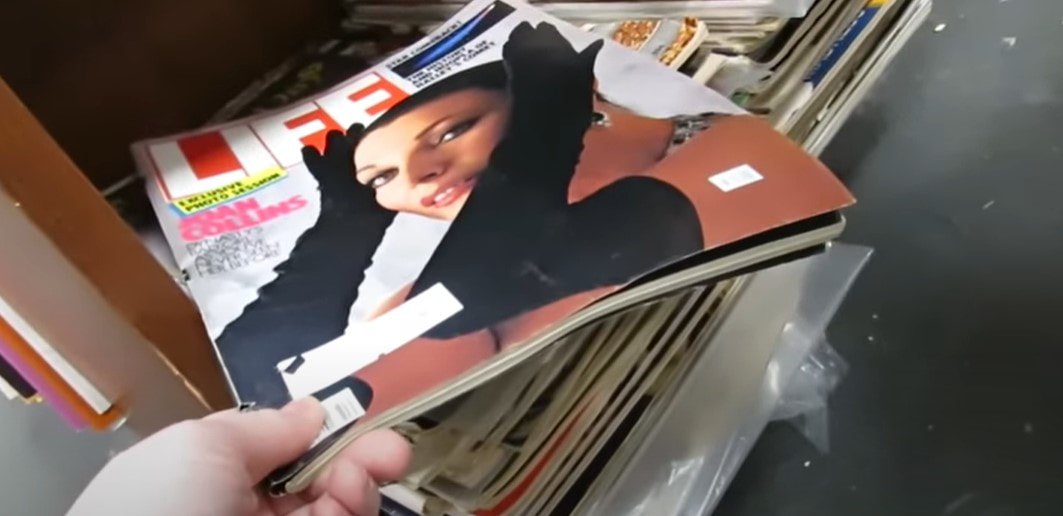
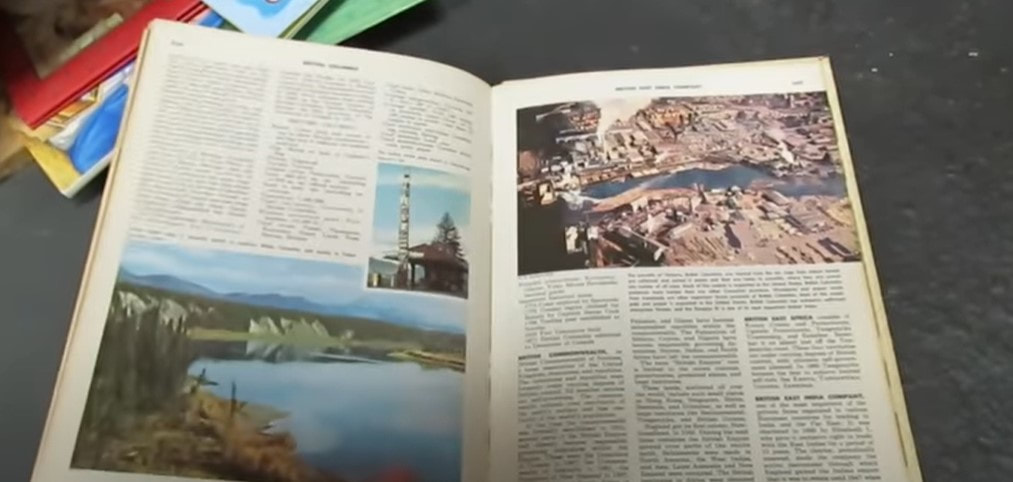
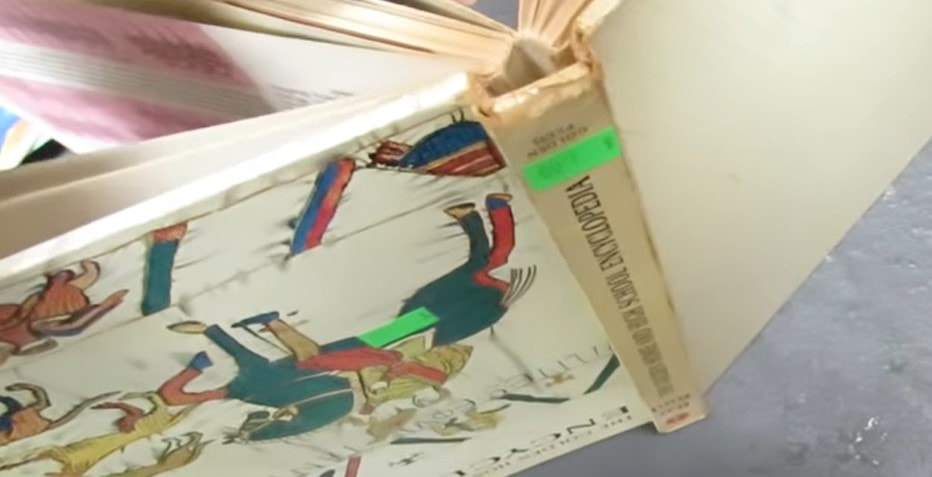
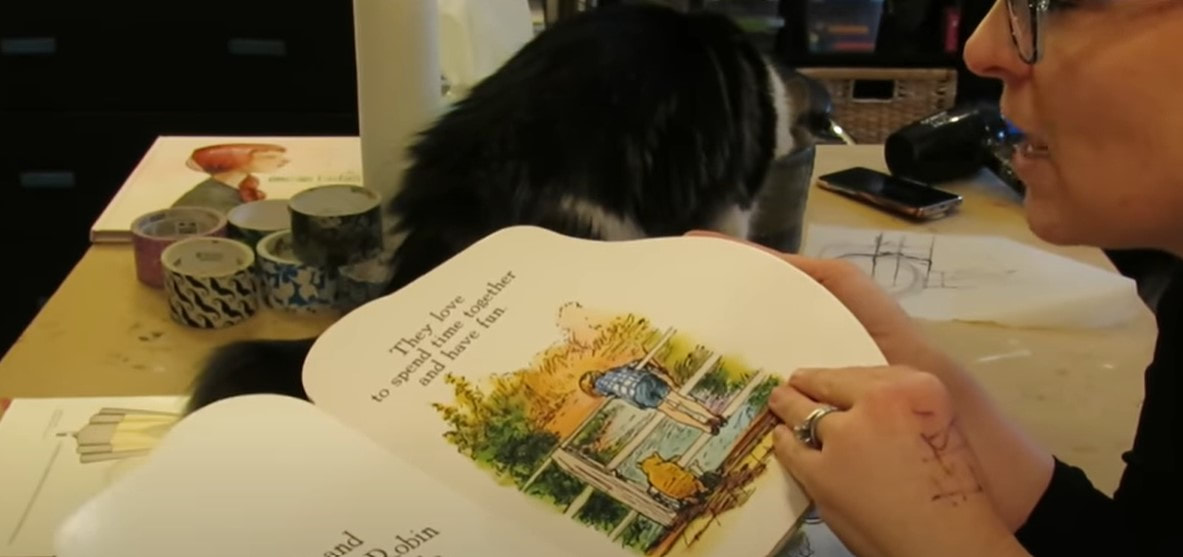
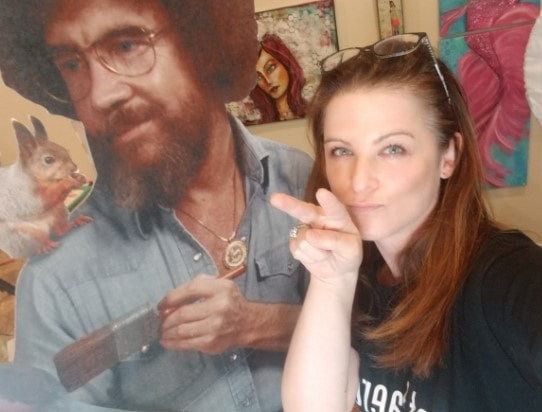
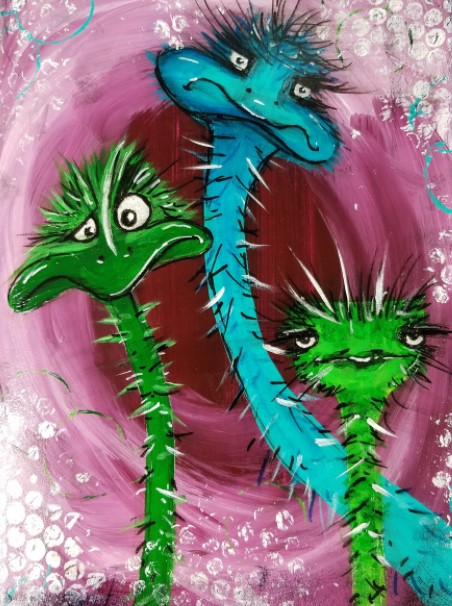
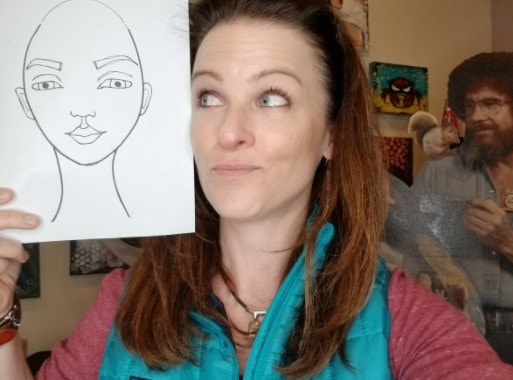
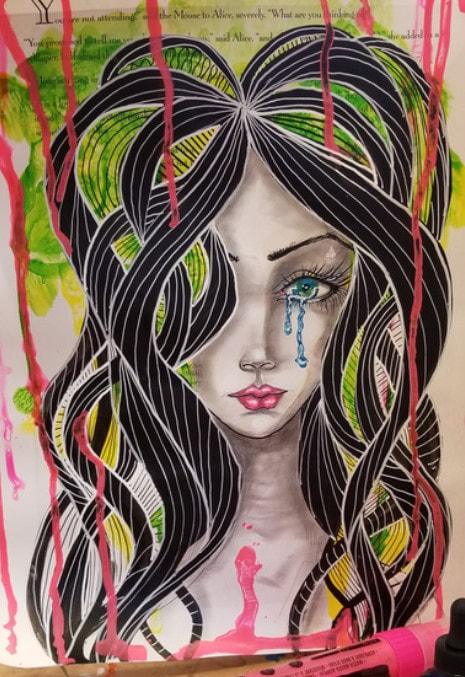
The thrift shop is AMAZING if you need mixed media art journaling ideas! Join me on a little field trip to one of my favorite shops in Durham called The Scrap Exchange. I'll show you EXACTLY what I look for when I'm on the hunt for old books to upcycle into mixed media art journals and altered book art journals! It's SO much fun, and you won't believe HOW CHEAP!! I might have spent a whopping 8 bucks!! And, yes... before you EVEN THINK IT... this is pre-covid, hence the NO MASK routine- when things were "normal." Sigh... Before we even walk into the store, here are the TOP 3 THINGS I'm always looking for when I'm on the hunt for an old book to upcycle into an altered book art journal for my mixed media masterpieces!! 1. Matte pages that are super flat - not glossy 2. Threaded binding 3. Thin books (12 - 30 pages usually feels good to me because I like to FILL my art journals completely!!) QUICK THRIFT TRIP TIPS: Head to the children's section & sheet music book section and you're sure to score!! Grabbing an old book like the one pictured above is AWESOME to keep around when you're in the mood for collage! I love these types of books because the pages are usually really thin and distressed looking already (another LOVE IT for me). Additionally the pages are usually very pourous and soak up whatever adhesives and primers I throw at them from matte medium to gesso! Lots of people have asked if I feel bad taking these old books home to use for art. I'll tell ya what- I don't. Not one bit!! That's because I specifically look for the books that are super beat up and completely on their last legs anyway- with missing pages, no cover, etc. I take the ones that no one else wants. THESE are my treasures! I also REALLY love picking up books that have a variety of font sizes and typefaces in them. It just makes things more interesting to look at if you mix these elements up in your collage art. Magazines like the one above are GORGEOUS, but I really shy away from them because they are typically super glossy, and I know working on a matte surface is going to yield better results, so as much as this glamour shot is calling my name - back she goes onto the shelf for someone else. The pages of the children's encyclopedia above are PERFECT and exactly what I'm looking for, but there are SO many pages in this book, it's a little overwhelming. If I can't find something, I may come back to this one, because it's possible to systematically score and remove pages to thin the book out without compromising it's integrity if it has threaded binding (see below). I don't know if I'm in the mood for that much effort though, and with SO many options in this thrift shop - I keep digging! As you'll see in the video, we ended up with quite a few awesome finds! I found an old fashioned giant coloring book of "Alice in Wonderland" that felt just perfect to me. Mandi grabbed an old book of paper dolls, some sheet music, and a board book. Board books like the one she found (below) can be great as altered books! They're super sturdy and this one has a particularly fun shape! Just a word of warning - board books often have a sheen or gloss to them, which can make art-ing on top of them tricky. A great work around is to literally spray them with paint primer, or to sand the gloss right off the page! Once you've decided which book you want to turn into an art journal, it's super easy to get started. I often begin with shoring up the pages using some pretty duct tape down the center to reinforce the binding. This typically sets the stage for my entire color scheme for a piece! If getting started feels hard (TRUST ME, YOU'RE NOT ALONE!!), I've got a Bob Ross inspired "Kick in the Pants" PDF for you to help you start art journaling so you can get over the fear of the blank page, and just start HAVING FUN already!! CLICK the button below and I'll send that fun art journaling cheatsheet straight to your inbox!! After you grab your art journaling cheatsheet, be sure to binge this entire series on YouTube about art journaling. I promise it will help you get OVER the HURDLE and just start creating. Here is one of the funny, no stress projects we do! Aren't these emus hilarious?! If you're in the mood to try addding human faces to your art journal, but kinda hate drawing or feel intimidated by it - I've got an entire NO DRAW series of art journaling prompts to help you try this as well. It's SO much fun!! You can download my FREE face shape template, and I teach you EXACTLY how to use her so you can play around with adding gorgeous faces in your art journal - without the stress of having to learn how to draw! The children's book I bought on this thrift shop field trip turned out to be so much fun to work in. Here's one of my favorite pieces I created inside. She's actually a mixed media art tutorial as well. That tear wasn't meant to be there, believe it or not. Find out HOW it came to be by clicking HERE. If hope you have just as much fun on your own thrift shop adventure and creating your own mixed media art journal as I did!! See ya back here next week!!
1 Comment
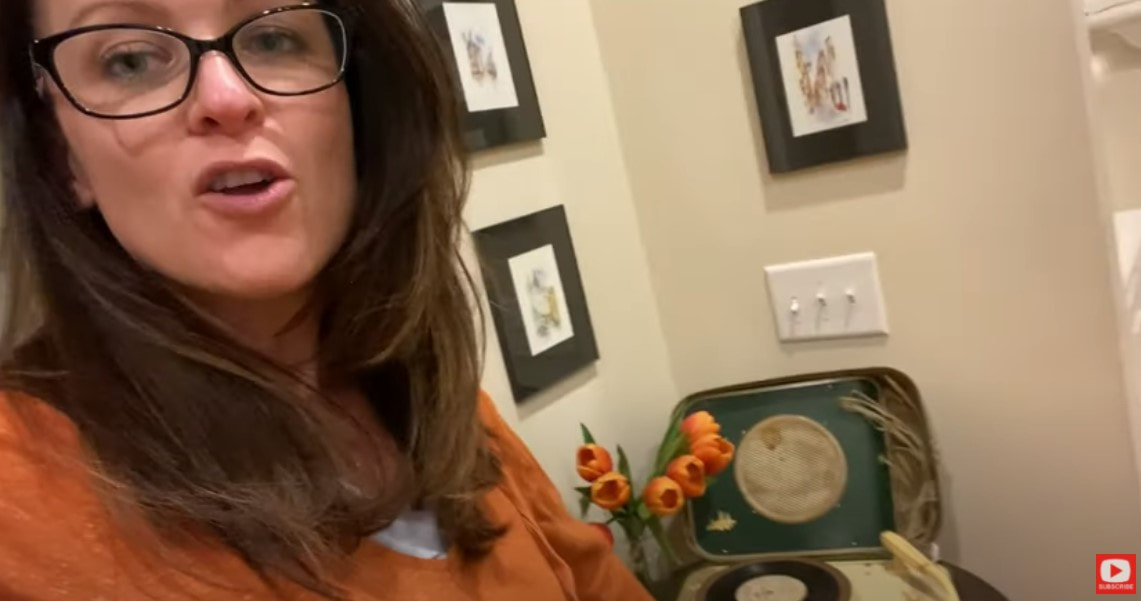
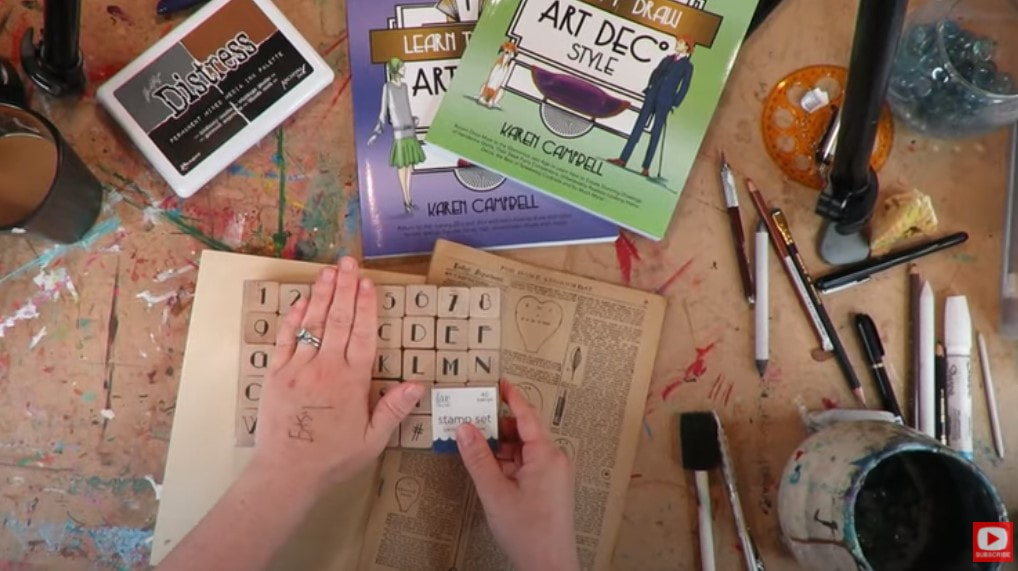
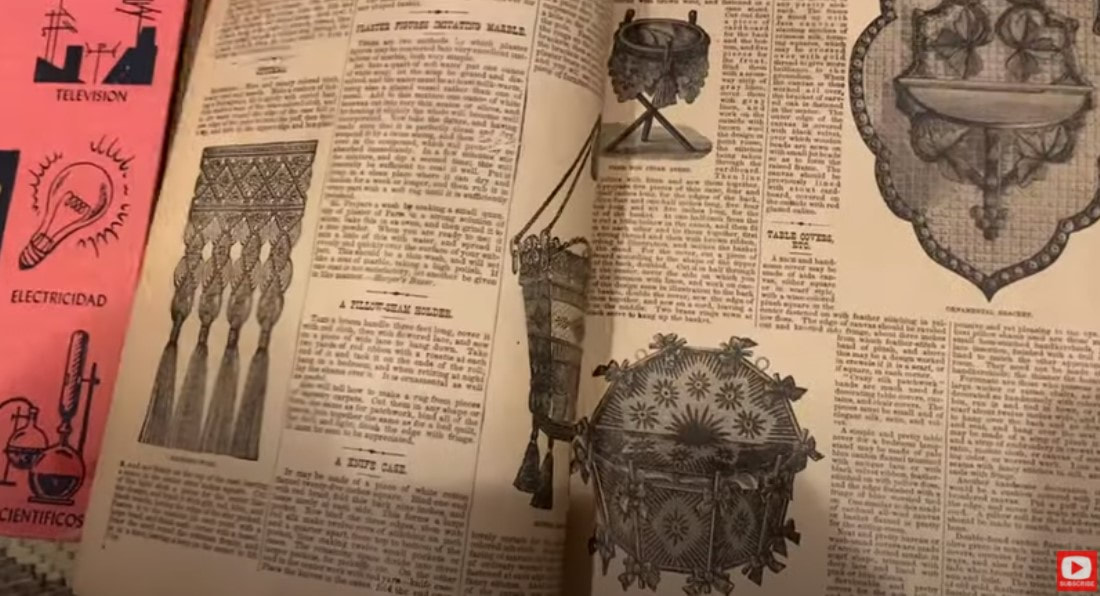
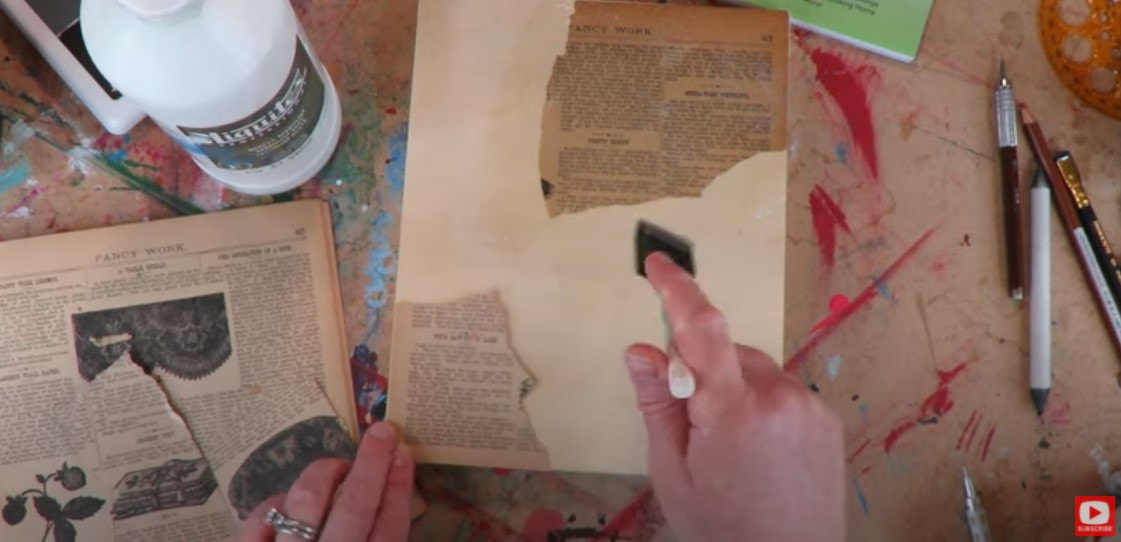
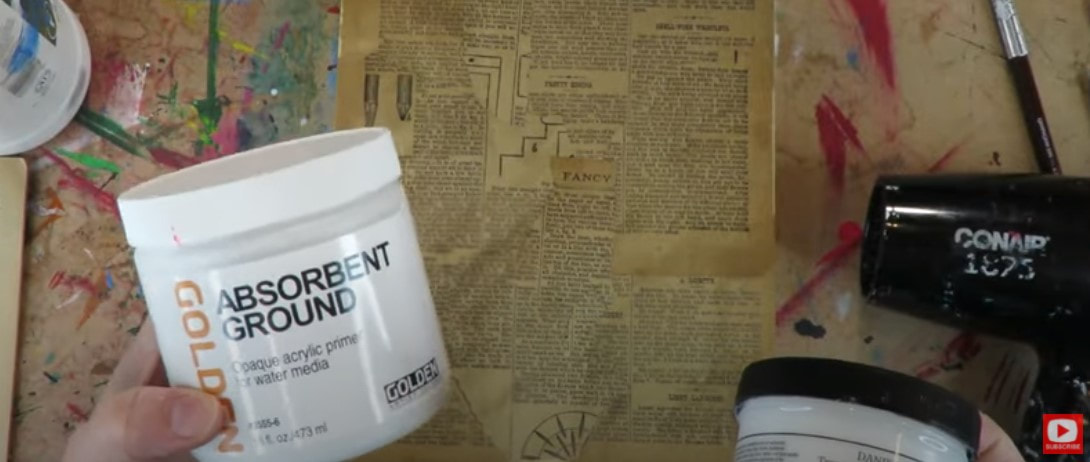
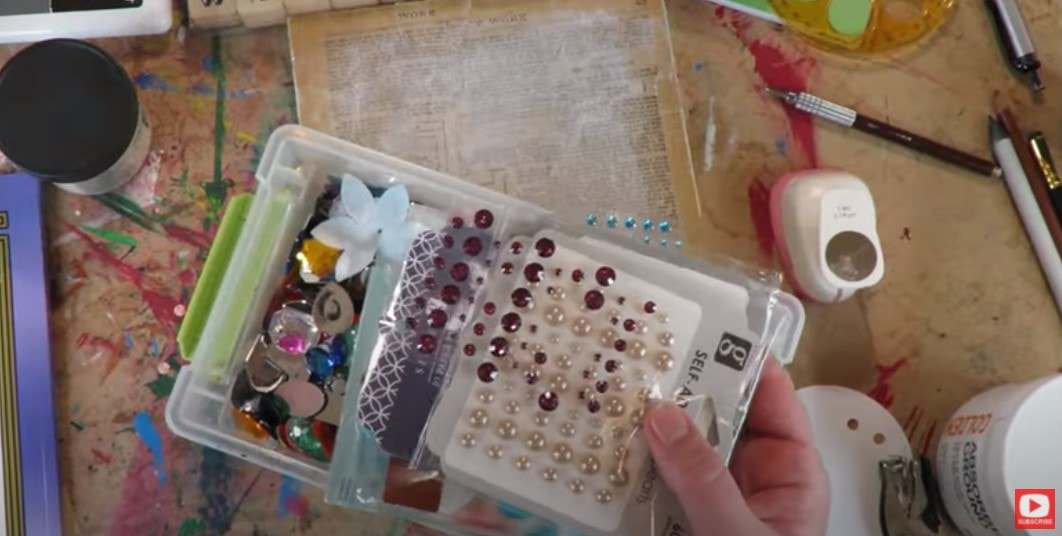
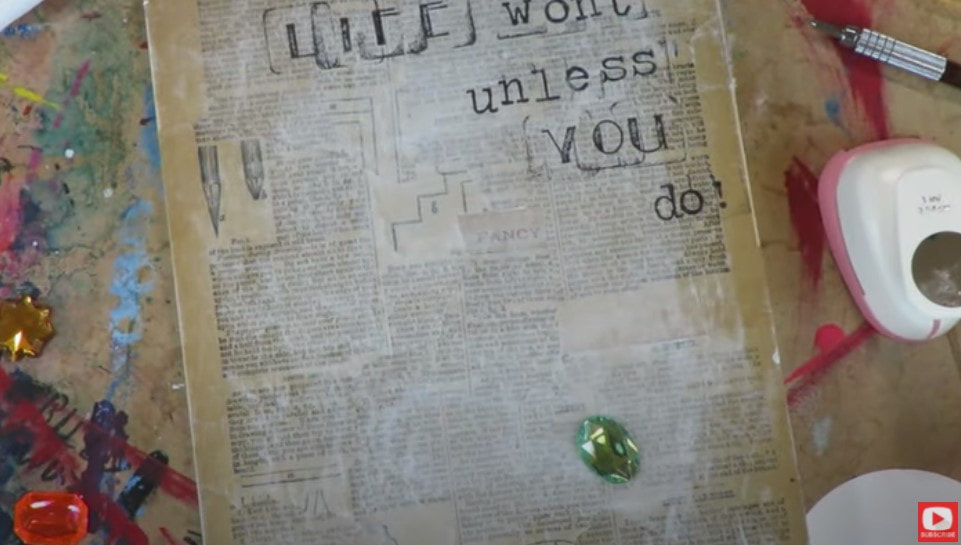
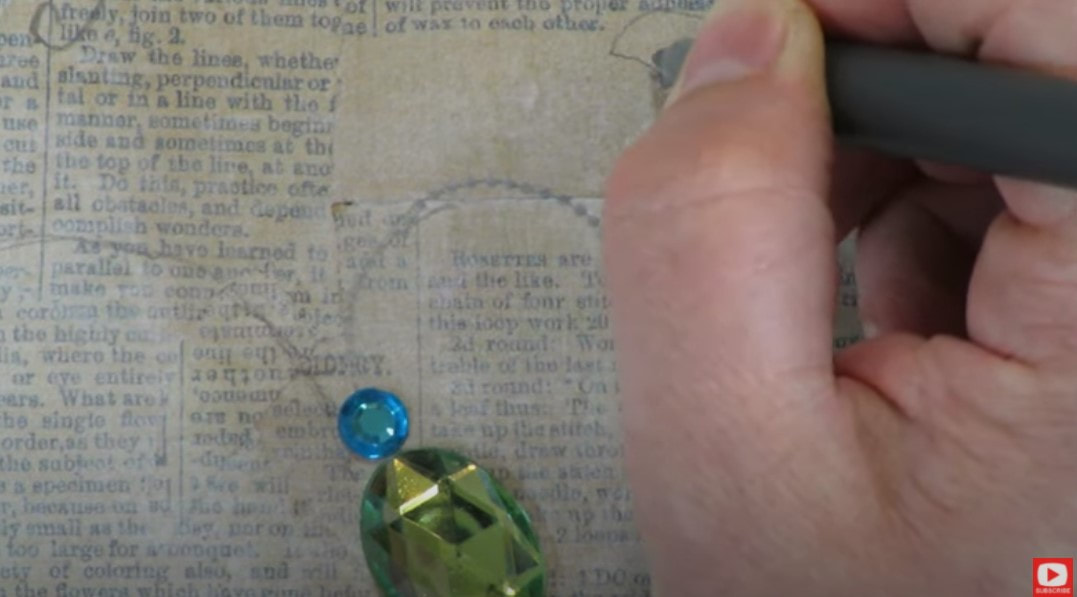
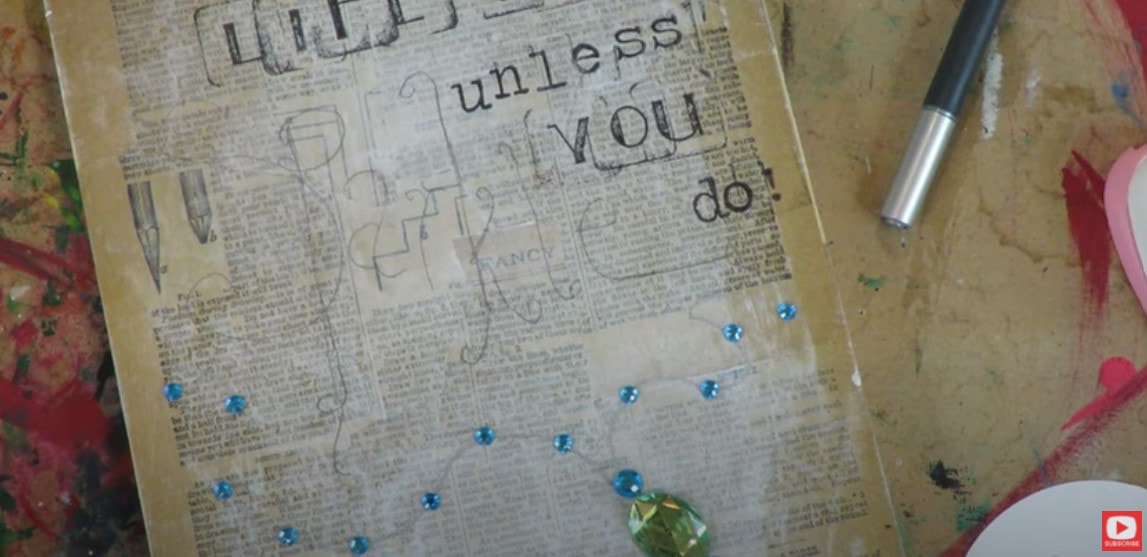
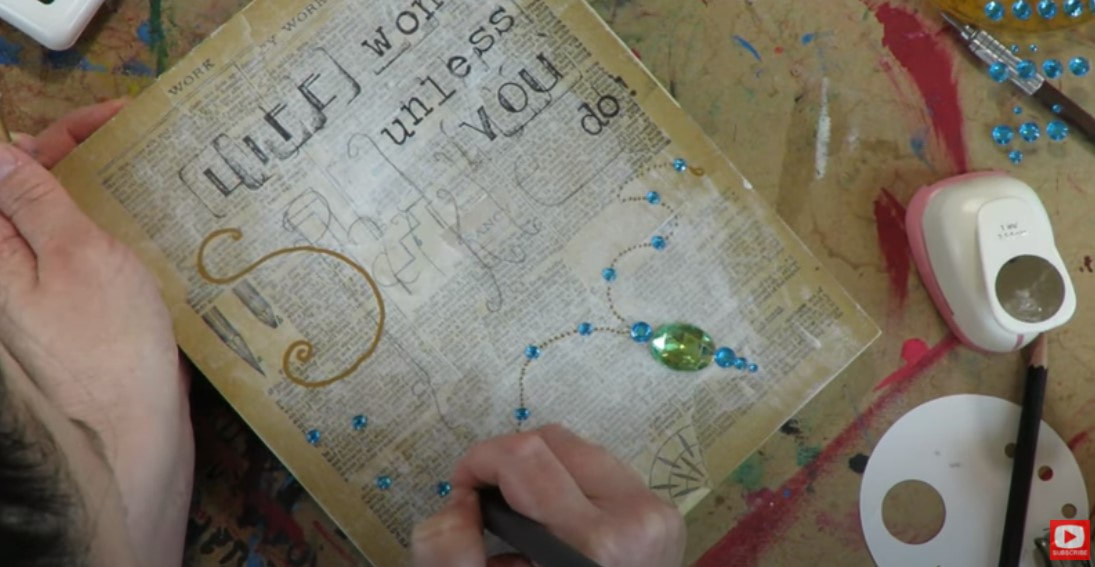
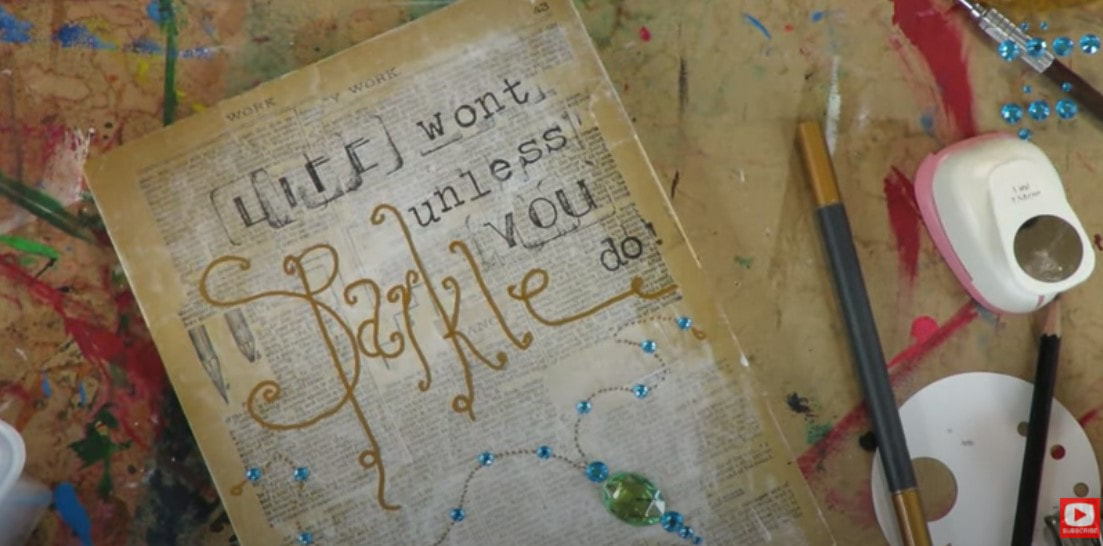
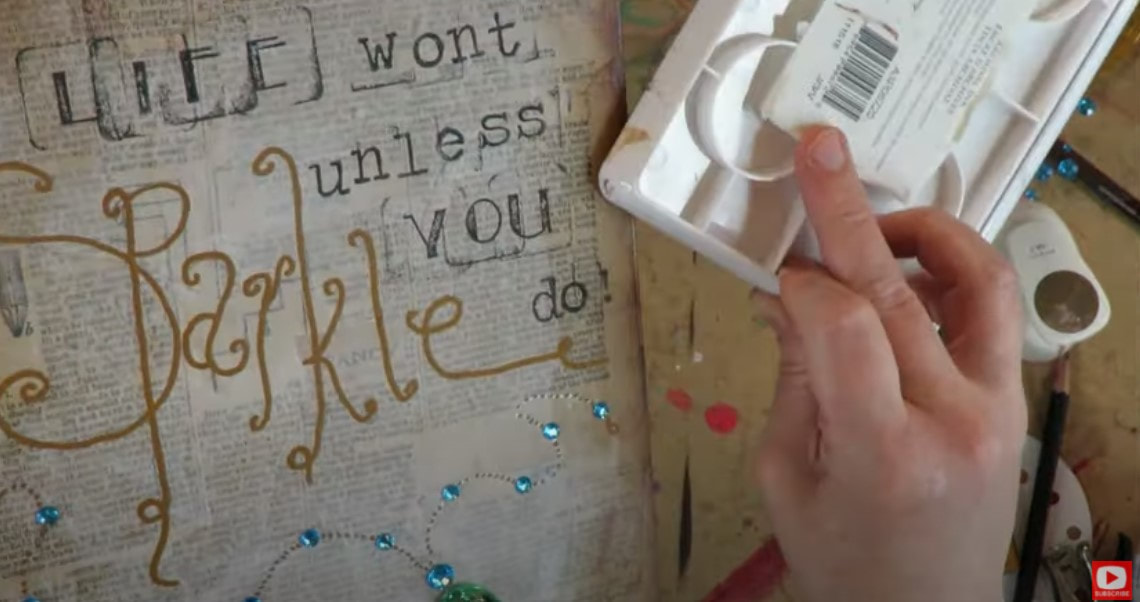
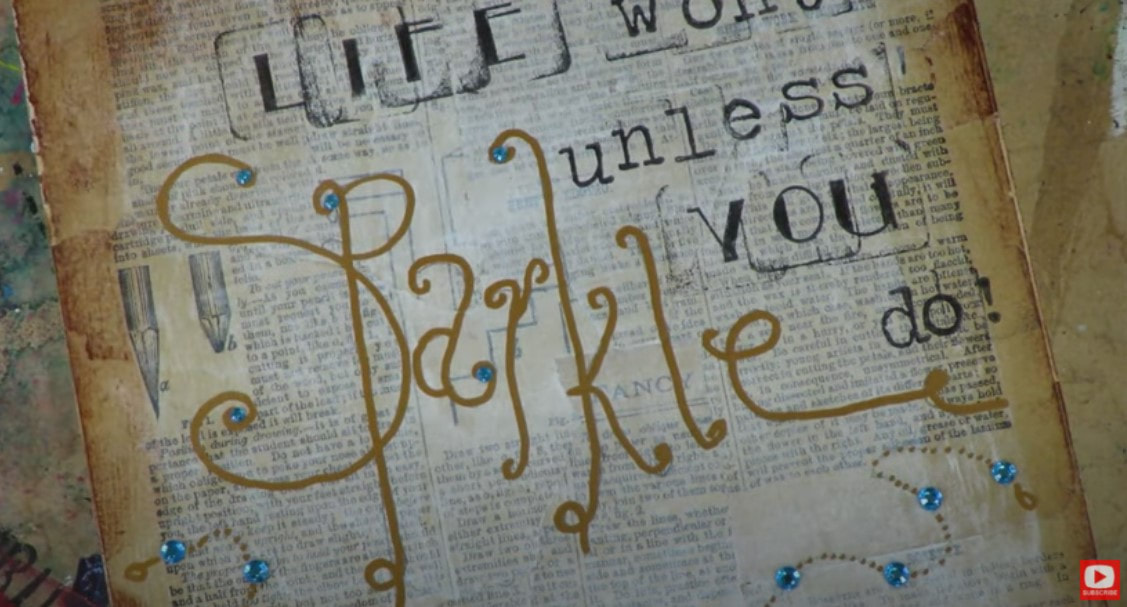
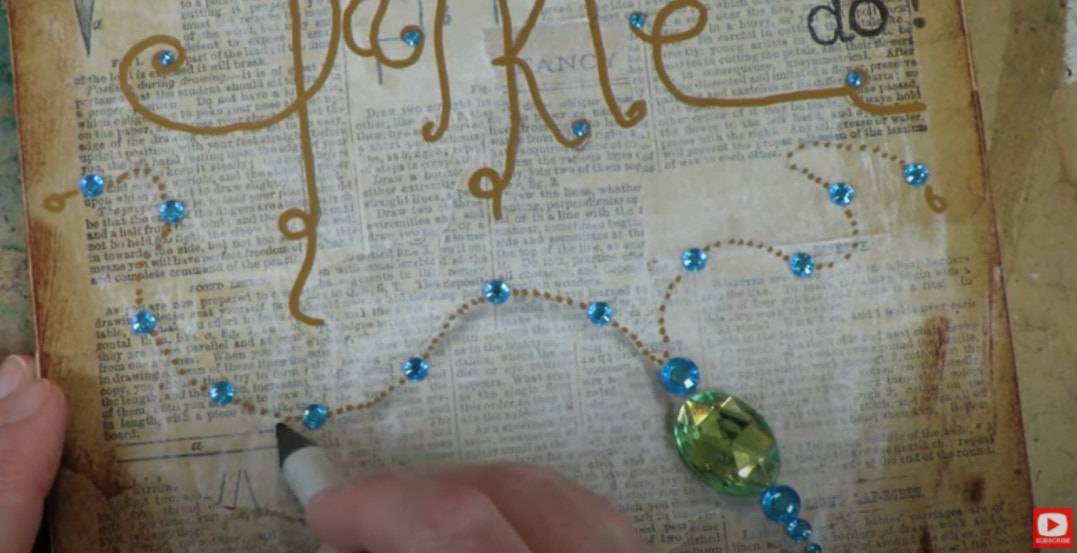
I LOVE creating mixed media collage backgrounds using vintage book pages! They're EASY to create, and SUPER CHEAP because you can upcycle old books from your local thrift shop for next to nothing. Today’s video is another FULL LENGTH project, so if you love collage mixed media art & mixed media tutorials - this is for YOU! What inspires you with creative ideas for your art projects? I'm often inspired by objects in my environment! Today's project all got started with a glance at my 1950s record player that hangs out in the corner next to my studio. See it there to the right over my shoulder? Before we continue, super quick announcement: All product links are Affiliate. I may earn a small commission if you choose to order through these links but by law there is never any additional cost to the consumer for doing so. I thank you for your support! From the record player, my thoughts wandered to my collection of vintage books reserved for collaging mixed media backgrounds! I totally LOVE thrift store shopping and digging around in used book stores in search of vintage dictionaries, old ledgers, magazines, books of sheet music, and books written in different languages! I find these pages look AMAZING in the background of my mixed media art - just peeking through whatever I paint or draw on top!! When you're looking through this stuff for your own collage art - just bring home the ones that have pages with a super matte finish. These are the BEST for collage. The pages in these old books are super fragile and easy to rip. They're also really porous, which means they're gonna soak up whatever adhesive you want to throw at them! Some people might be horrified by me tearing up old book pages, but I don't feel bad because I'm breathing NEW LIFE into them by collaging art backgrounds! Plus, I only upcycle books and magazines that are in really bad shape- without a cover, with missing pages- stuff that is mostly garbage to other people. Your supplies for today's mixed media project are all pictured above. I'm working on wood canvas because I LOVE a hard surface when I'm doing collage art. A regular canvas has some "spring" to it, and that's not what I need here - I need a stable, sturdy surface that I don't have to be precious with. I've also got my liquitex matte medium, my distress stains, stamps, a vintage magazine to upcycle as my collage paper, and my How to Draw Art Deco Style books out because I need a little more inspiration and direction regarding where I want this project to go! I'm feeling the need for something sparkly, but don't know what it is yet, so plan to flip through the section on sketching jewelry. Before I do that, I rip some chunks out of my vintage magazine. I feel like the sections with images are going to be too distracting, so steer clear of those parts. I also love using the CORNERS of these pages because then I have some nice hard lines to line up along the edges of my wood canvas. Make sure you're using tons of matte medium under and on top of the chunks you're gluing down. If you don't use an "uncomfortable amount of product," this is how bubbles and wrinkles appear in your collage. Sometimes that effect is fun, and it's a personal preference too. Some people love that look, others don't. Using lots of adhesive under and over the collage paper is just one of MY TRICKS to keep the background as smooth and wrinkle free as possible while still showing a bit of texture. Wondering WHY I'm using matte medium instead of mod podge? TONS of students ask me this all the time, so if you're new to me be sure to check this reference out!! If I don't have a clear plan as to where a project is going (which I totally don't right now!!), I reach for matte medium as my adhesive because it's strong and specifically formulated to work with acrylic paint. Since I often paint with acrylics over my collage backgrounds, matte medium is my go to. As I continue getting my collage layer together, I begin thinking I might like doing some painting with fountain pen inks on top. Since these perform much like watercolor, I decide to pull out my absorbent ground to add a thin coat of this in the center of my collage. Absorbent ground preps any surface that isn't watercolor paper to accept watercolor or fountain pen inks. It's SO magical!! If you're not in the mood for watercolor or inks [SPOILER - OR if you watched the video already and saw I didn't actually end up using watercolor OR inks!!] - skip the absorbent ground and grab your gesso instead. All we want to do is add a thin layer of white to the center of our collage so we kick all those words into the background. We still want to be able to see them, so if you're following along, keep your layer transparent. You just want to be able to work ON TOP of the words and bring whatever becomes your subject into the foreground. Once I'm finished adding a thin layer of absorbent ground to my wood canvas, I use my hair dryer to get the area completely dry. Next, I move on to the stamp portion of the project because I'm in the mood to add a quote!! 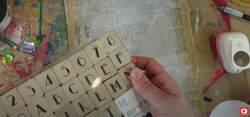 While I'm thinking about sparkle, I suddenly get the idea to add ACTUAL BLING to my project, and feel as if I'm 5 years old again. LOL! I taught kids FOREVER and have a TON of leftover supplies like these craft gems, pictured below. Some of them have adhesive backs. The big ones need a glue gun. I have THE BEST TIME sifting through the gems and working out a color scheme in my mind. In no time, I'm on a roll, and moving on... By the way, if you haven't thought of this already, this is THE PERFECT ART PROJECT to do with a daughter or GRANDDAUGHTER!! Can't you just see her eyes lighting up as she hunts for the perfect gem for her canvas?! I LOVE IT!! After I stamp out the bulk of my text, I play around positioning my main gem, then start drawing in a winding chain so it looks like the necklace is casually lying on my wood canvas. Then I pencil in the main word from my quote... SPARKLE, and add even more tiny craft gems along my chain for added interest. You can use whatever you want to add detail in the chain and to the words of your quote. Paint pens and pitt pens would be great! I end up falling in love with the look of a gold paint pen and keep that up throughout my piece for chain detail and to highlight the main word of my quote. How CUTE is that?! I used my distress ink stamp pads along the edges and borders to give the piece a bit more of a vintage-y feel and think it adds a fun frame. My finishing touch is to run my blending stump under the chain line of the necklace to give it a little shadow and depth. So love it, and so know exactly who I'm giving this to!! I hope you have as much fun doing this project as I did!! Be sure to share your work in our Facebook Group. I'd LOVE to see what you created!! Thanks for watching!! See ya next week!!! |
Karen CampbellFounder of Awesome Art School. Mixed Media Artist. Author of 19 Instructional Art Books! Whose work has appeared in...Archives
July 2024
Categories
All
|
|
"Karen is flipping hilarious and she's very real...I like the way she teaches in a way that really gives you confidence, whether you're a beginner or advanced there's always something new to learn!"
- Elizabeth W. |
What Fans Are SayingKaren, you are absolutely fabulous! You make me feel like I can draw anything. I have recently retired and finally have the time to do some of the art that I have loved since I was in school. I am really at the beginning of my art journey and I hope to learn as much as I can. Thank you for all you do. |
Contact ME |



 RSS Feed
