blog
Let's Get Your Creative Juices Flowing!!!
8 CHEAP & EASY Mixed Media Art Ideas I Haven't Tried Yet! [Stenciling & Stamping Techniques]11/1/2022
Need NEW mixed media art ideas? Whether you're a mixed media beginner, or a seasoned mixed media artist like me, flipping through a gorgeous art book is one of THE BEST THINGS you can do for creative inspiration.
In today's art video you'll get a sneak peek at one of my favorite mixed media art books, followed by a demo of the 8 CHEAP & EASY stamping & stenciling techniques this book inspired me to try for the first time in my own mixed media sketchbook!
If you're new to the world of mixed media art, and not sure how to layer your supplies for success - you're in the right place! Beginners are my specialty.
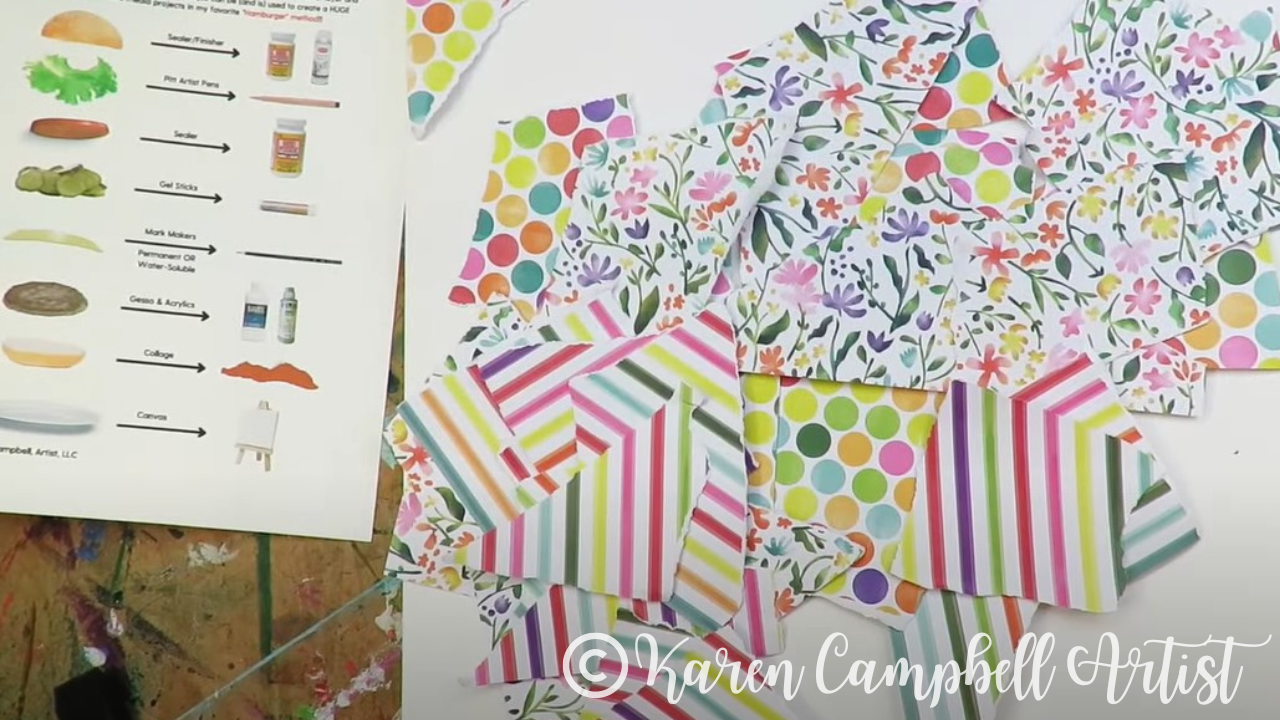
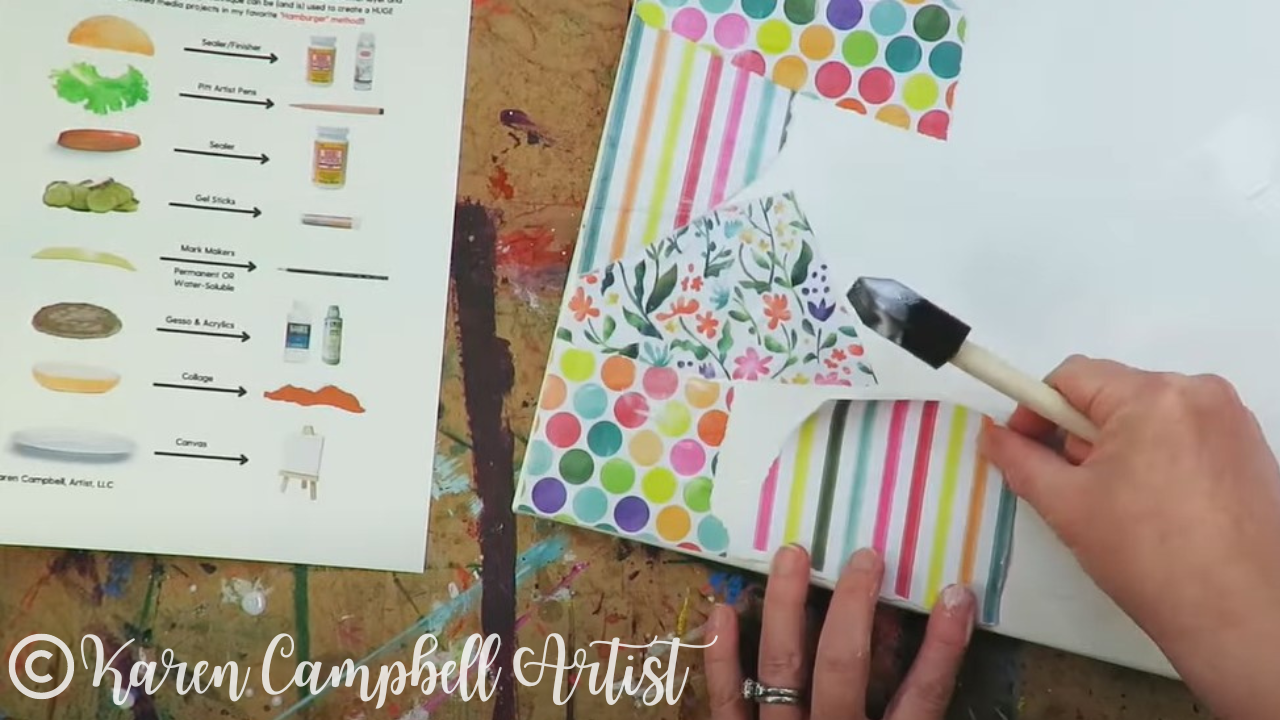
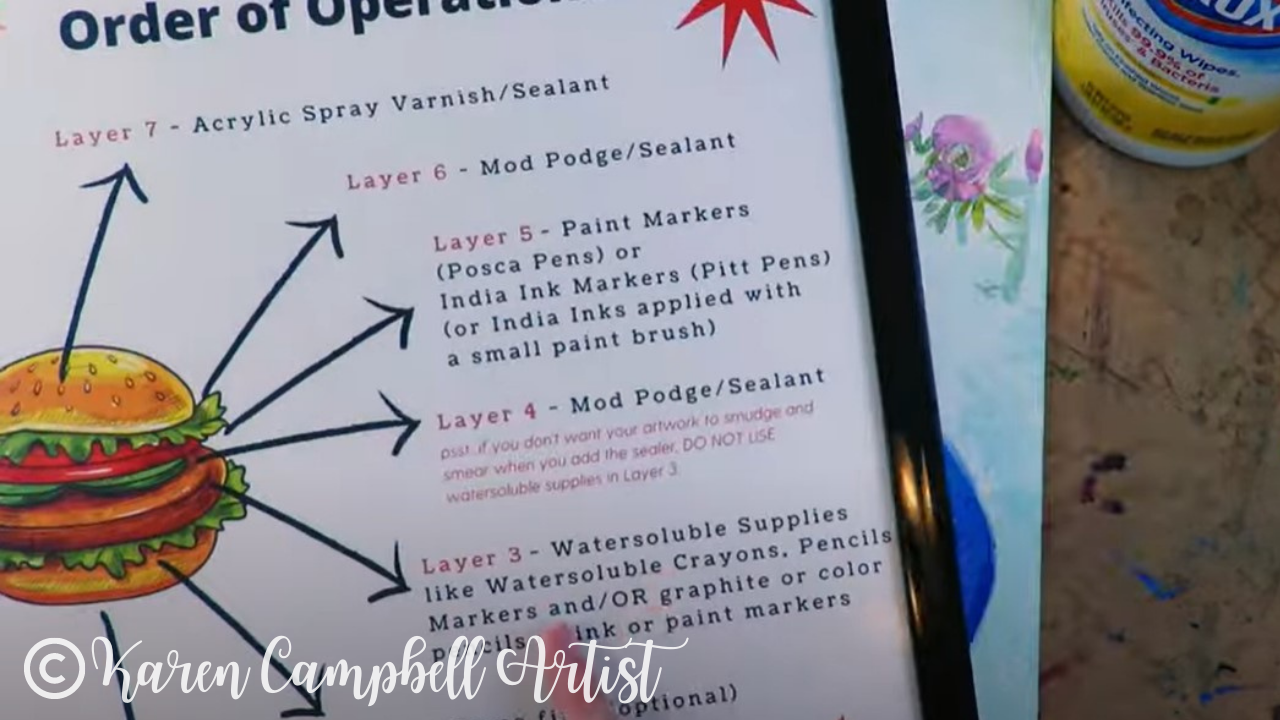
Make sure you download my FREE cheatsheet outlining my signature mixed media layering process calledThe Hamburger System. It tells you exactly HOW to layer your mixed media art supplies so you can make a masterpiece, instead of a hot mess! Simply click the button below and I'll send it straight to your inbox!
When you're done with today's video, I've got an awesome YouTube series to go with this cheatsheet, so look for that link at the bottom :)
Real quick, before we continue- All product links are Affiliate. I may earn a small commission if you choose to order through these links, but by law, there is never any additional cost to the consumer for doing so. I thank you for your support!
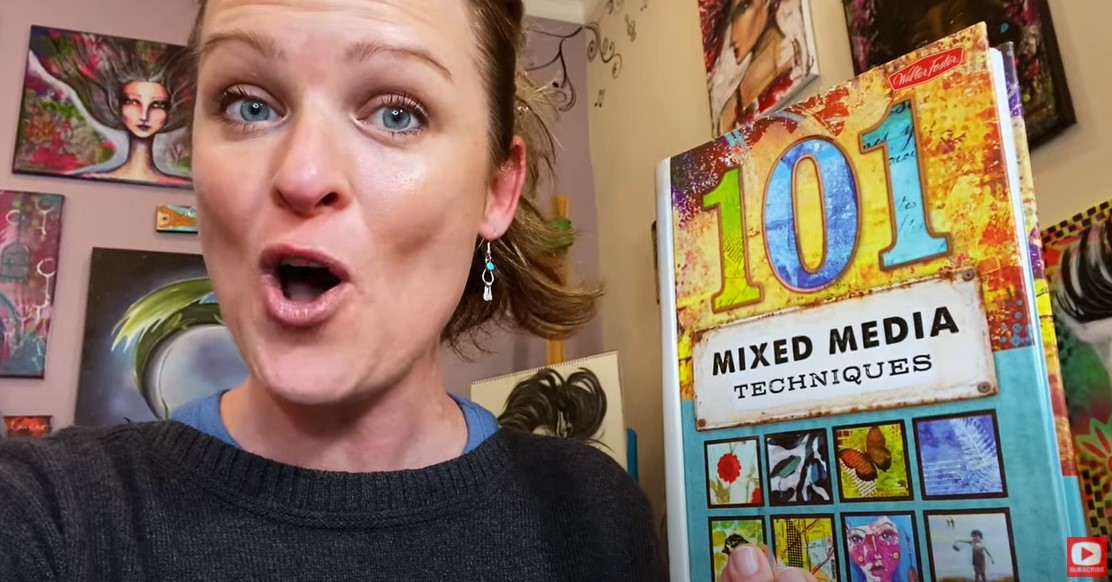
Today's mixed media art book review is of 101 Mixed Media Techniques, by Walter Foster.
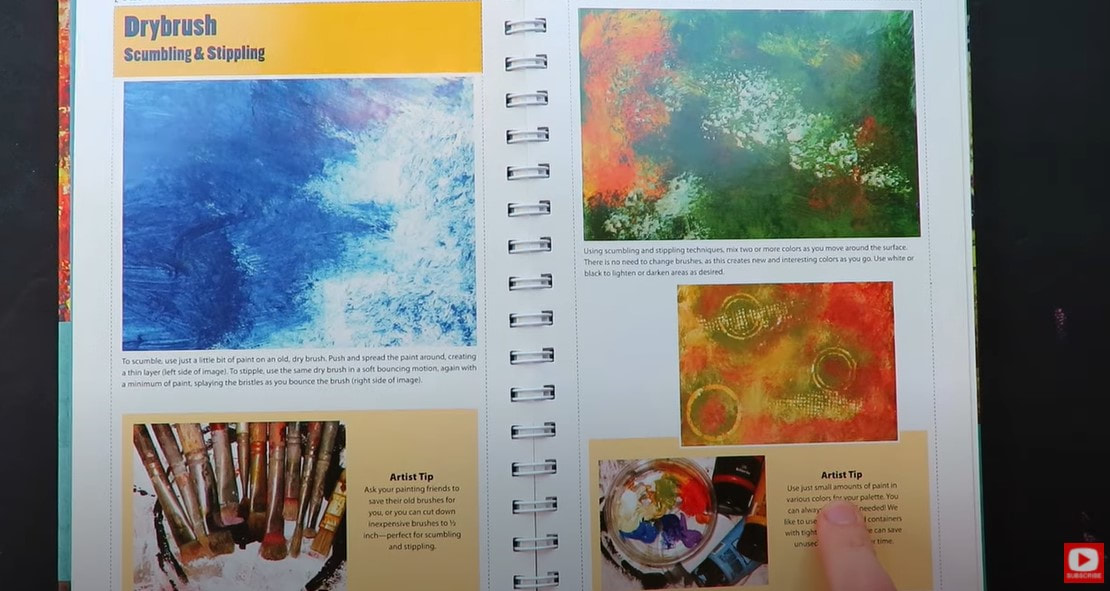
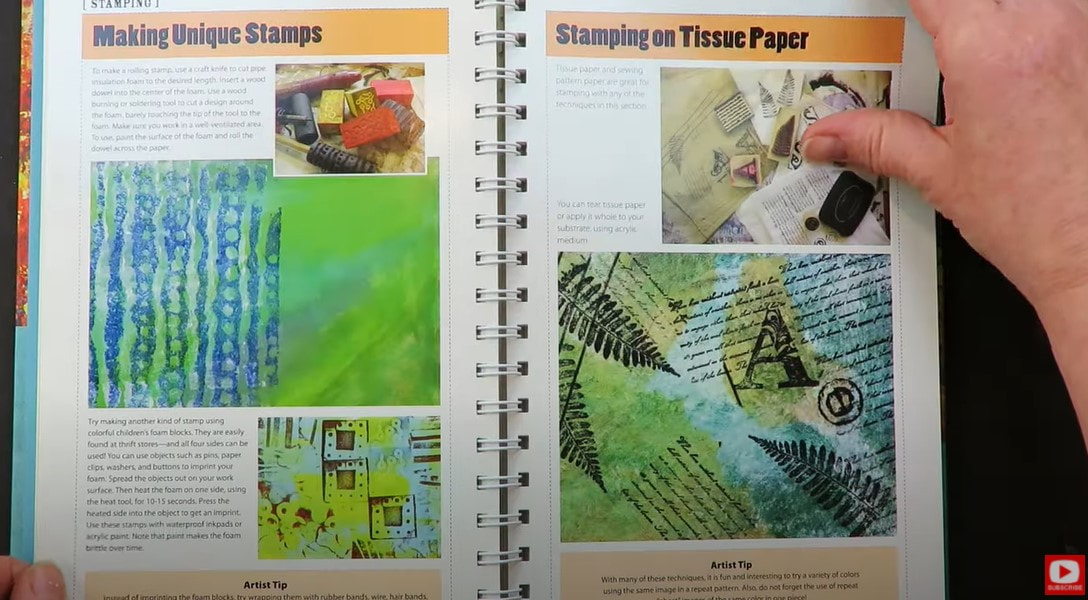
This book is jam packed with 128 pages of mixed media art techniques. It's an excellent addition to any art book collection and will definitely get your creative juices flowing.
What I really love in this book are the "Artist Tip" boxes that you'll find scattered throughout. I actually think these little pointers are better than most of the book content!
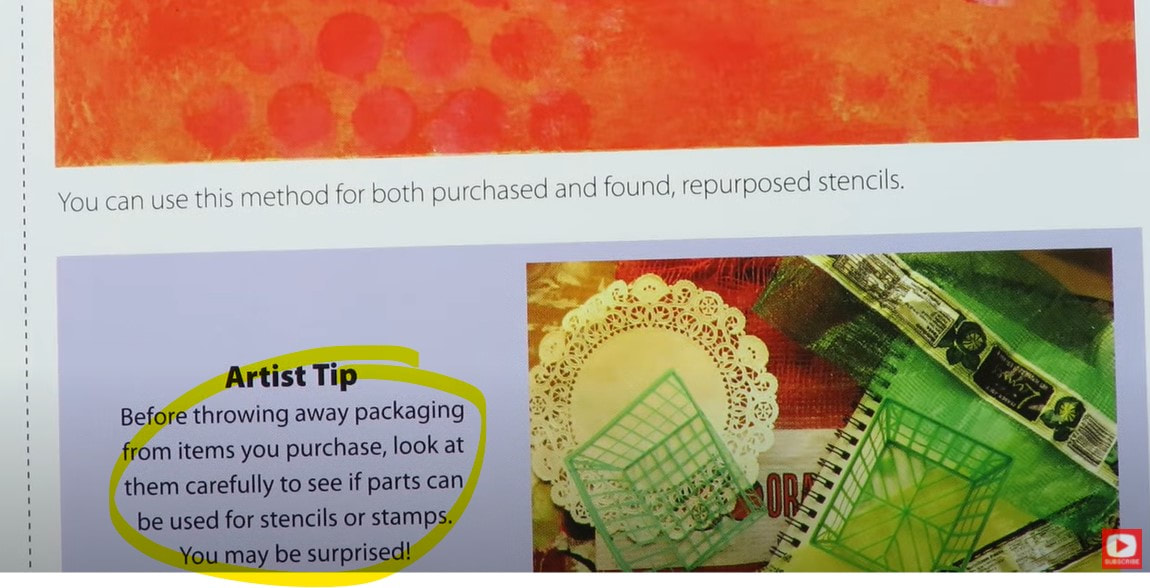
Each chapter of 101 Mixed Media Techniques is written by a different artist so you can really get some unique perspectives. The tip below came from a section in the book about stenciling and stamping techniques. It got me thinking out of the box, motivated me to take a little field trip around my house looking for new mixed media ideas to try, and inspired today's entire video!
I easily found eight random objects lying around my house just waiting for me to experiment with in my mixed media sketchbook.
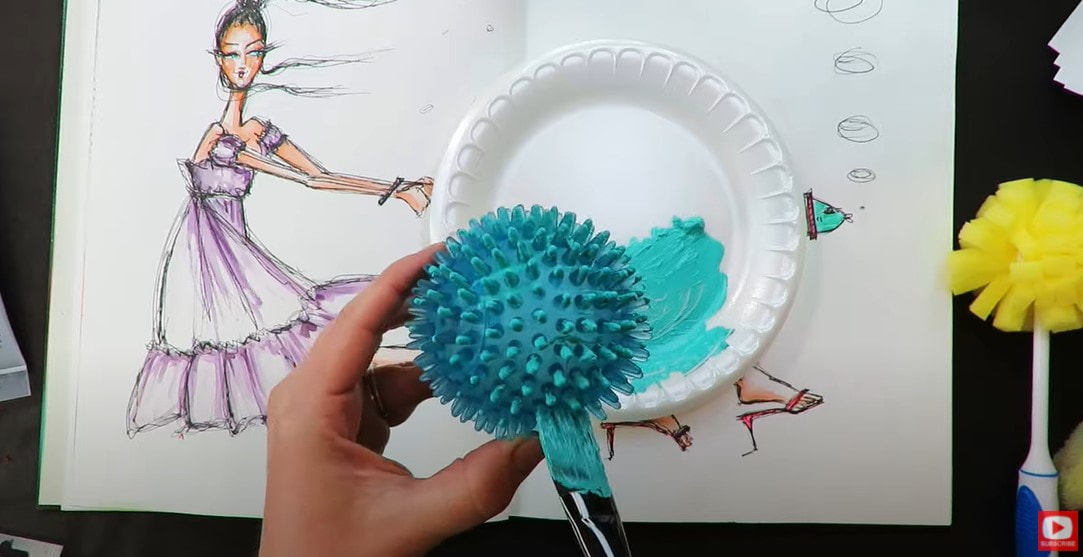
The first item I decided to test out is actually the inside squeaker of a dog toy that was headed for the trash! How funny is that?!
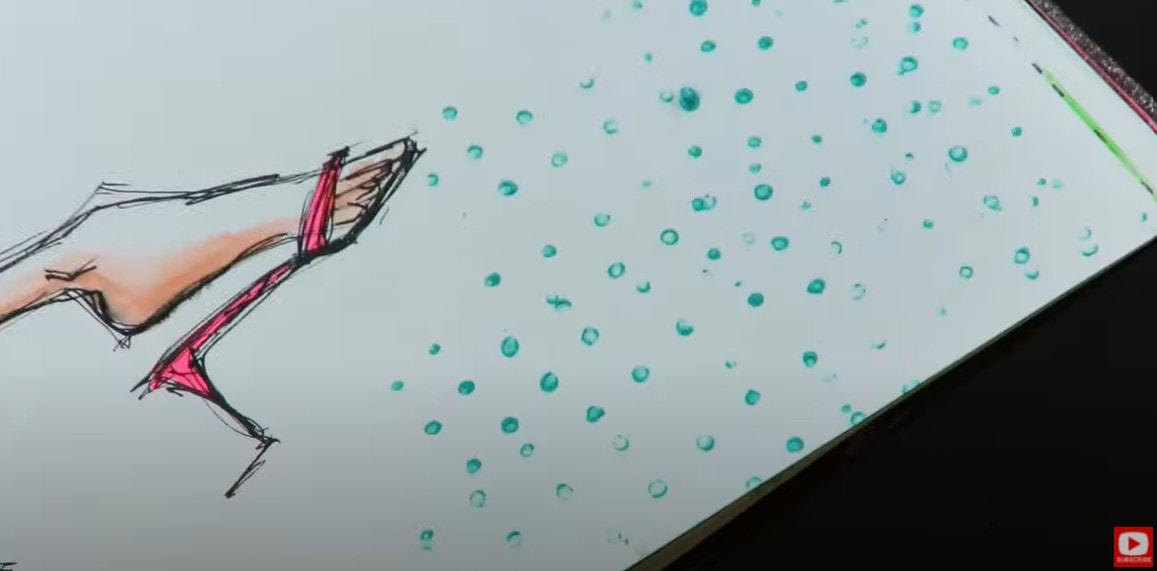
Check out the whimsical polka dots I created when I ran this ball through some acrylic paint and upcycled it into a stamp!
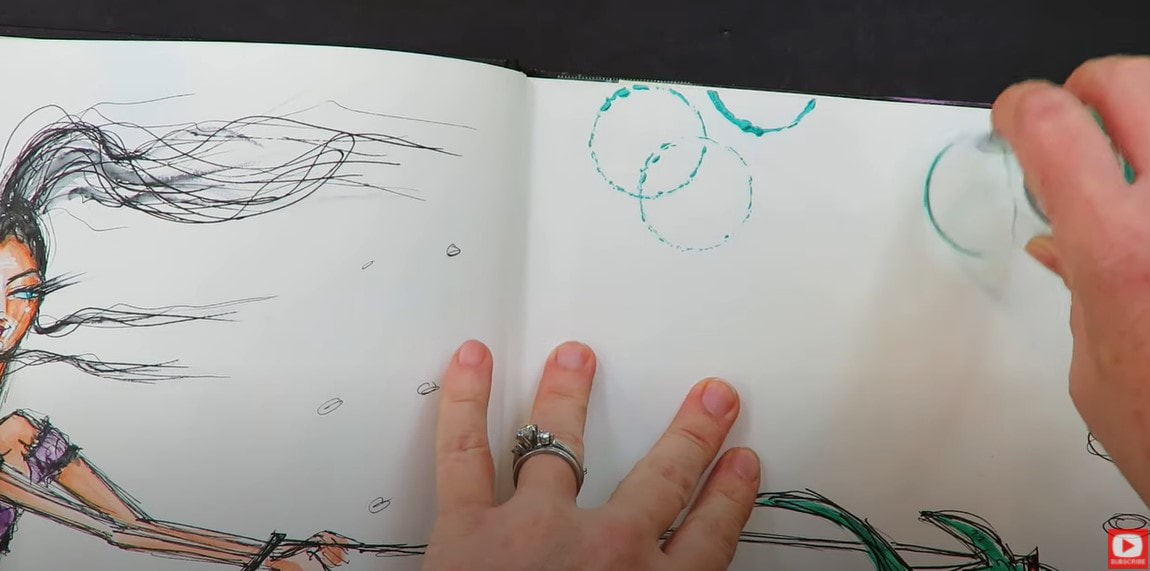
The next item I decided to try as a stamp was a shot glass!
Lots of mixed media artists have done videos using empty toilet paper rolls or paper towel rolls to stamp circles onto their canvases or art journal pages. What I don't love about these empty rolls is they can bend, and don't make perfect cirlces. I decided to try stamping circles onto my art journal page with a shot glass. Look how great that turned out!!
Simply grab a glass from your kitchen that you don't care about, or pick one up at a thrift shop, and turn it into a mixed media stamp for yourself!
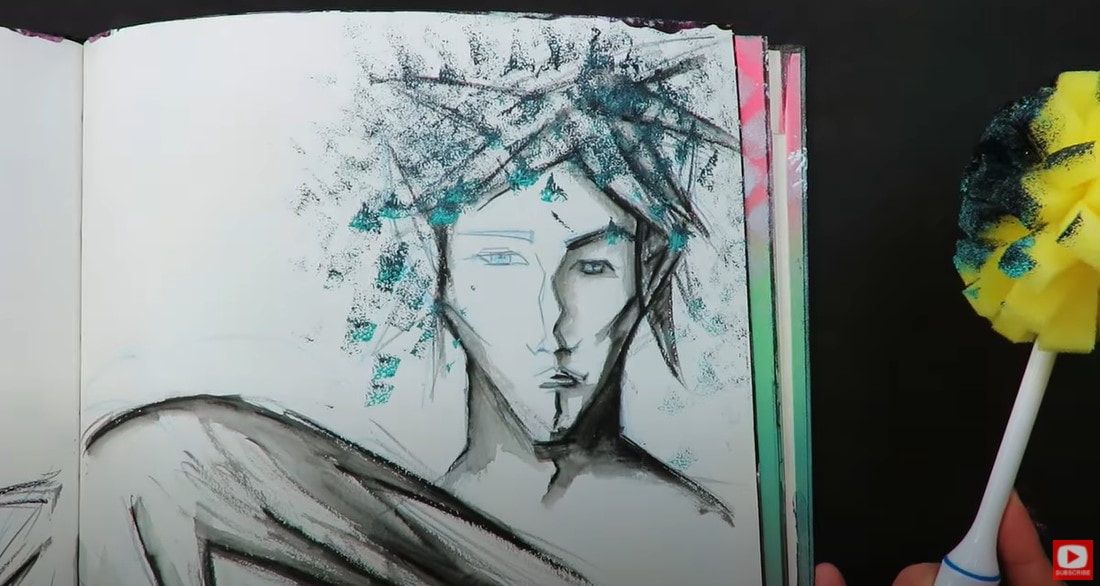
Ages ago, I bought a spongey toilet scrubber from the dollar store and set it aside to try as a paintbrush or stamp. Today was the perfect day to bust it out!
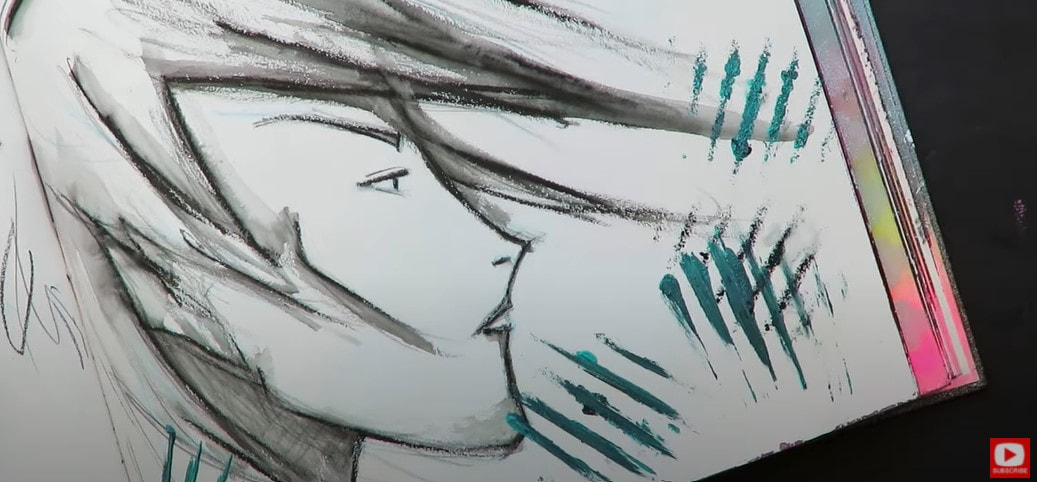
I dabbed the scrubber into 2 colors of acrylic paint and stamped it as hair around an old face doodle in my art journal. Look at how amazing THIS looks!! Total win!!
This next object I decided to try was a slotted spoon. I tested out a couple of ways to turn this into an upcycled mixed media stencil, and love the effect I got when swiping over the negative space with a sponge covered in acrylic paint.
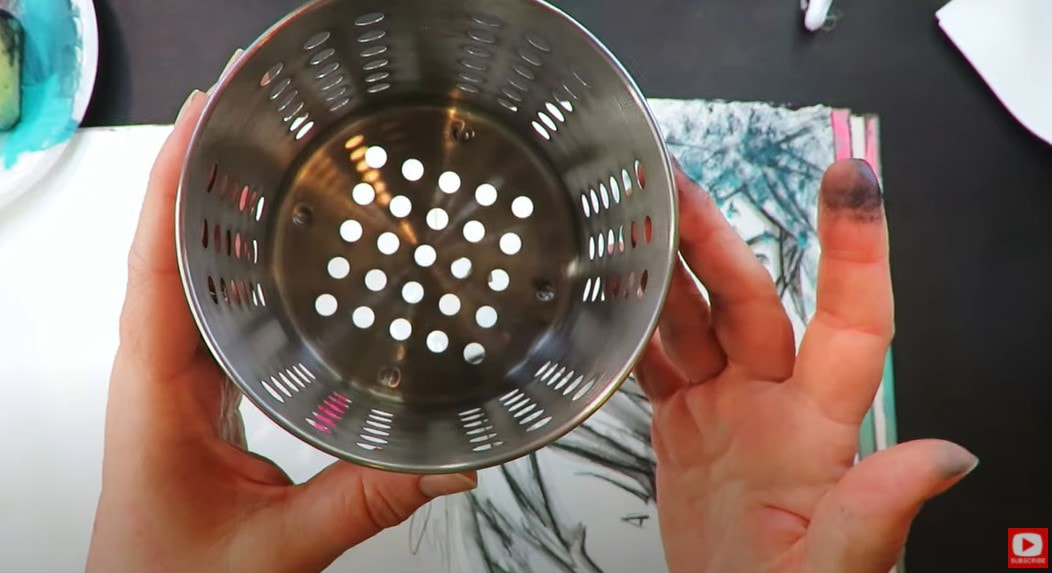
As I mentioned, I LOVE creating the look of polka dots and circles. I have a zillion of these utencil holders from Ikea (below), and the bottom of each just happens to have the perfect pattern to try as a stencil.
I like how that worked, but still might love bubble wrap even more! I'll show you that technique at the end of this demo.
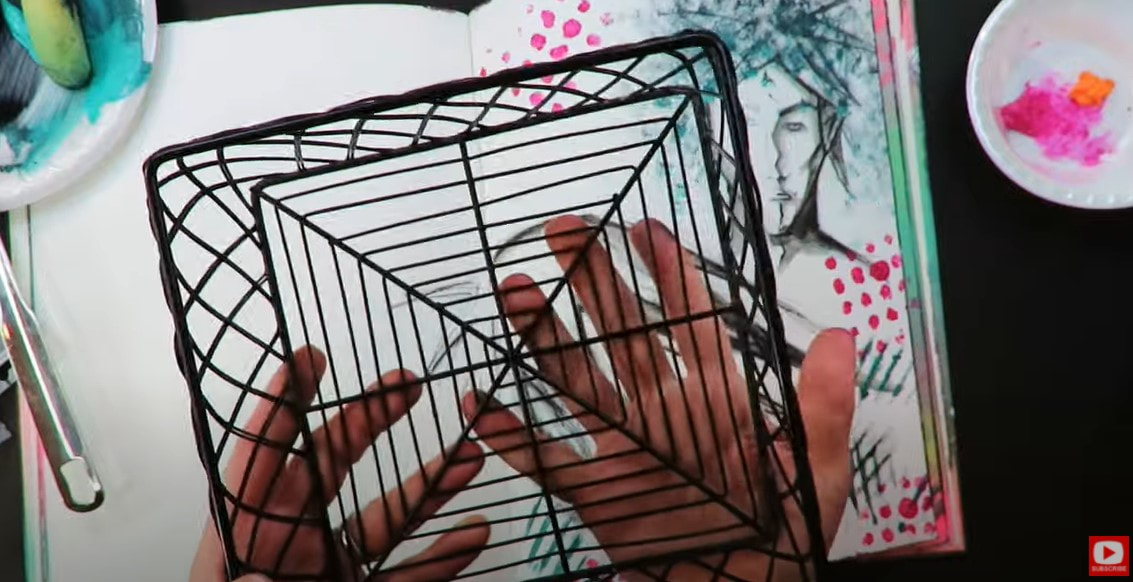
While I was in my kitchen, I noticed my napkin holder could be a two for one win as a stencil, with the unique patterns on the bottom and the sides!
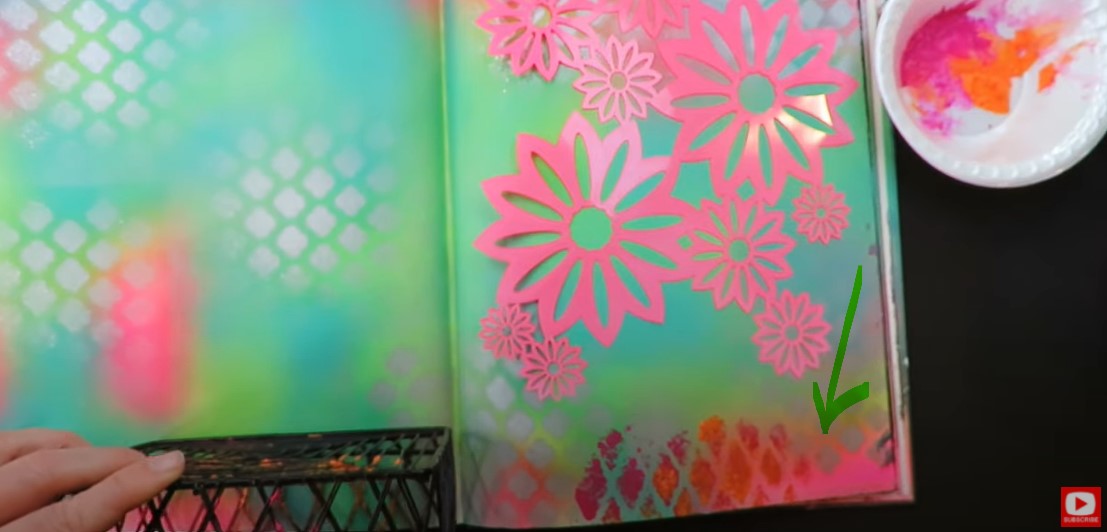
Check out how amazing this looks (bottom right corner) when I added two colors of acrylic paint to a sponge, and swiped that sponge through the side of my napkin holder!
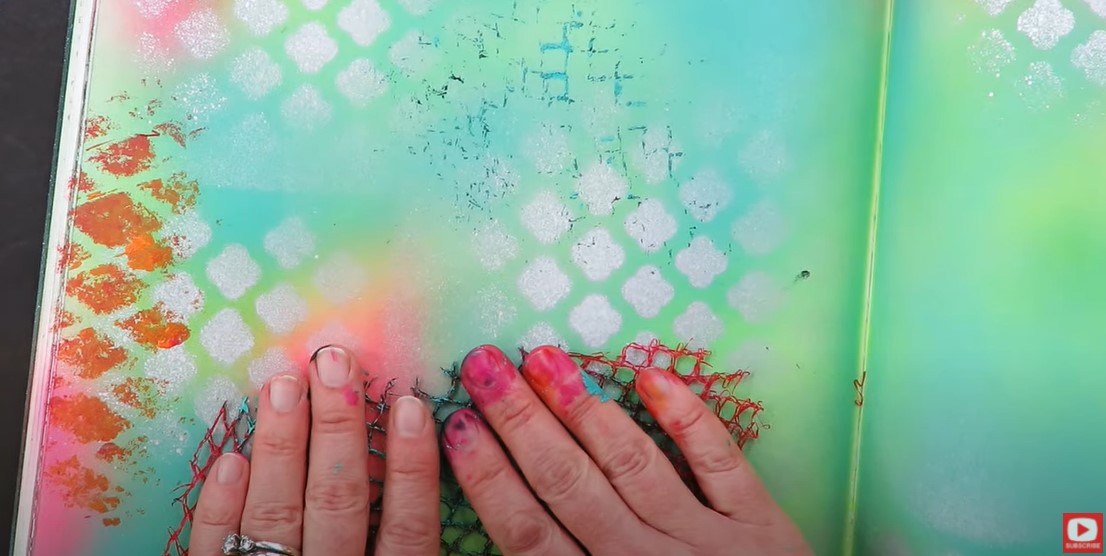
Another object I tried using was a fragment of the pouch my clementines came in. I tried it this material as both a stamp and stencil, and found I really loved the subtle effect it created as a stamp the most.
HOT TIP: Whatever you do - do it everywhere so it looks intentional.
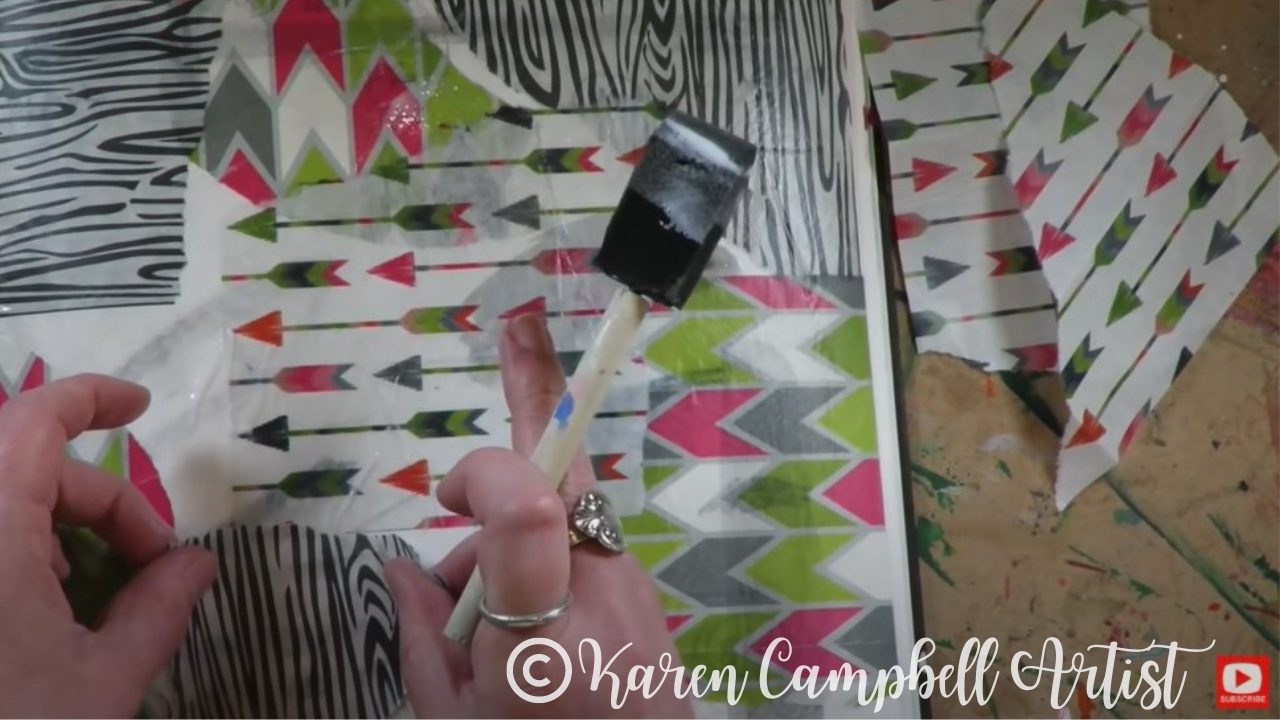
My last stamping technique wasn't necessarily inspired from today's video because I've been doing it for years, but in case you haven't tried this before - you've GOT to save the next sheet of bubble wrap that comes through your door!
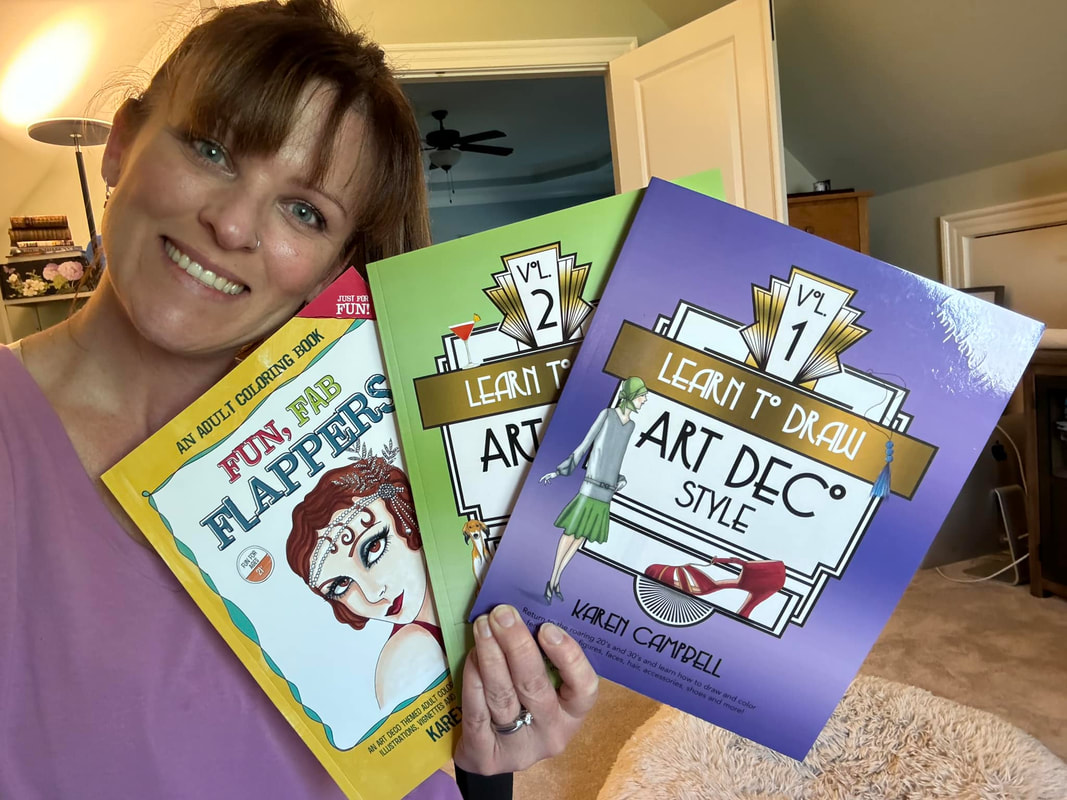
You can get the most gorgeous pattern from applying acrylic paint to the corner of some bubble wrap, and turning it into a mixed media stamp. Click over to the video to see my favorite places to stamp with bubble wrap! Thanks for hanging out with me today! Don't forget to grab my FREE HAMBURGER SYSTEM CHEATSHEET. Once you print it out, join me on YouTube for my Hamburger System Series, and I'll explain everything you need to know about mixed media art supplies, and my simple mixed media layering process! ❤️ CHECK OUT ALL MY ONLINE ART CLASSES & Art Clubs ❤️ CHECK OUT ALL my art books ❤️ MY FAVORITE ART SUPPLIES on AMAZON ❤️ MY BELOVED FACEBOOK GROUP
0 Comments
Today I'm trying 5 watercolor moon painting techniques out to see which ones create THE BEST lunar effects! Check out what happens when I test naturally granulating watercolor by Daniel Smith vs adding granulating medium. Plus- how does regular table salt compare with kosher salt watercolor painting? And- how does the texture of my favorite Fabriano watercolor paper change the effects when I paint on hot press vs cold press paper? Click over to today's video to find out!
Before we continue, super quick announcement: All product links are Affiliate. I may earn a small commission if you choose to order through these links but by law there is never any additional cost to the consumer for doing so. I thank you for your support.
![]()
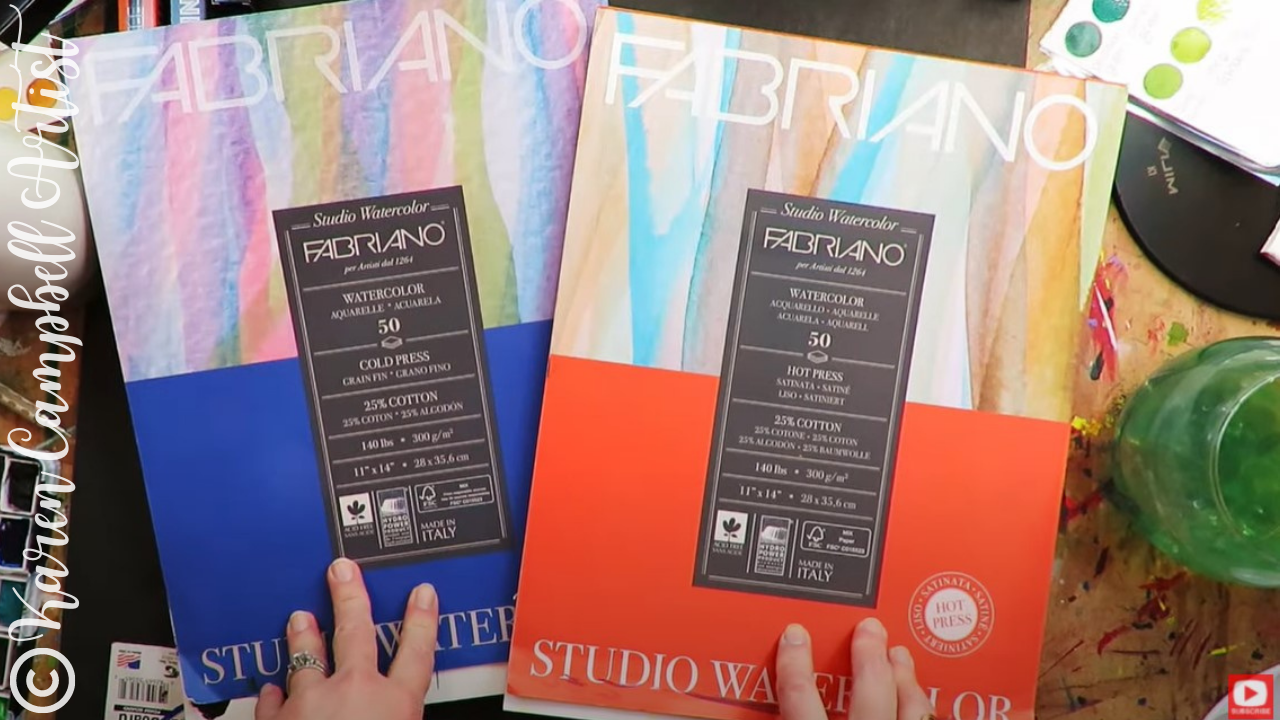
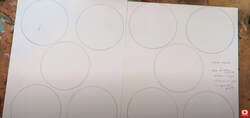
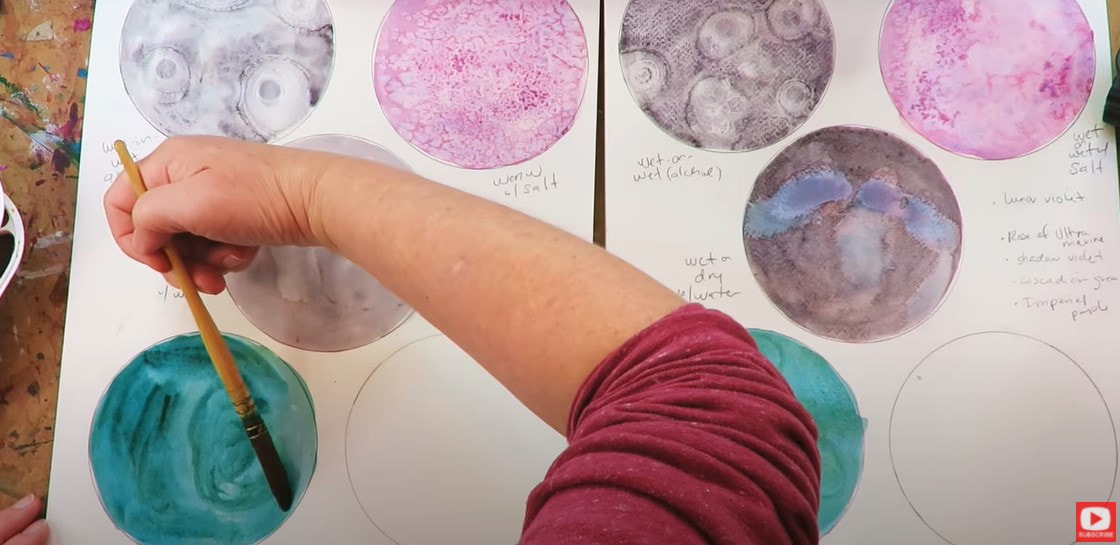
I've drawn 5 moon circles on each page of Fabriano watercolor paper. On the left, I've got 140# hot press (smooth) watercolor paper, and on the right- I have a sheet of 140# cold press (textured) watercolor paper.
![]()
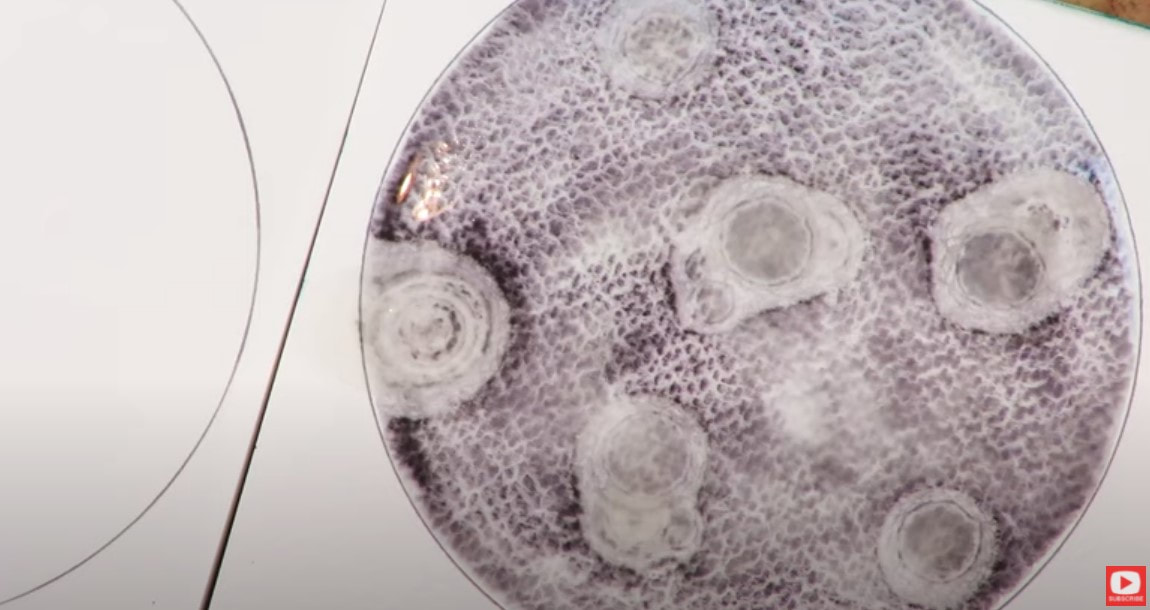
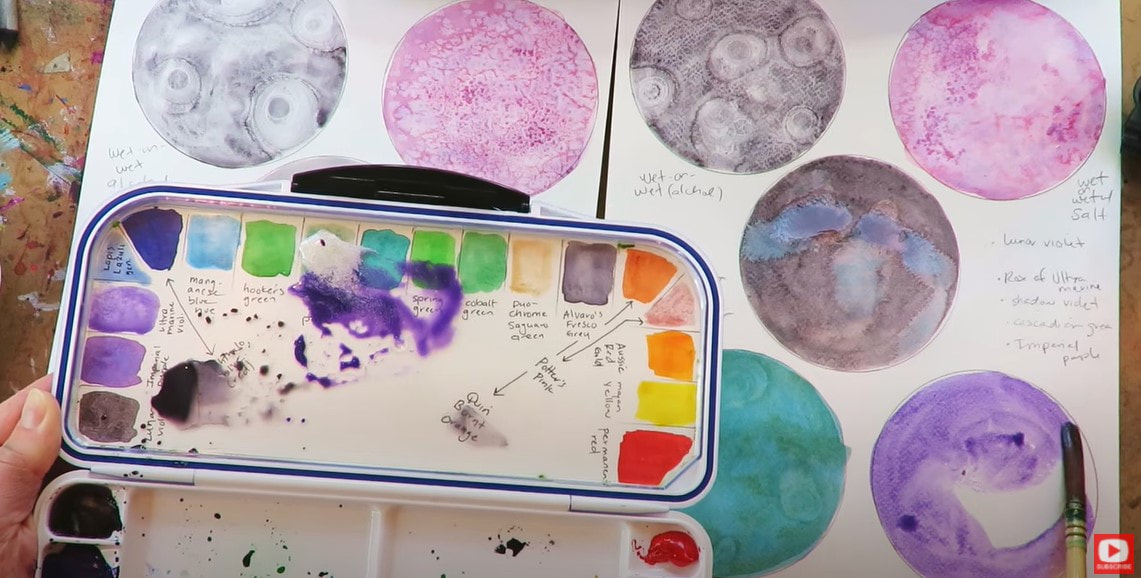
I love granulating watercolor (this means the color separates a bit and you can see tiny particles in it, like in the pic above). The first granulating shade I chose to work with is lunar violet by Daniel Smith.
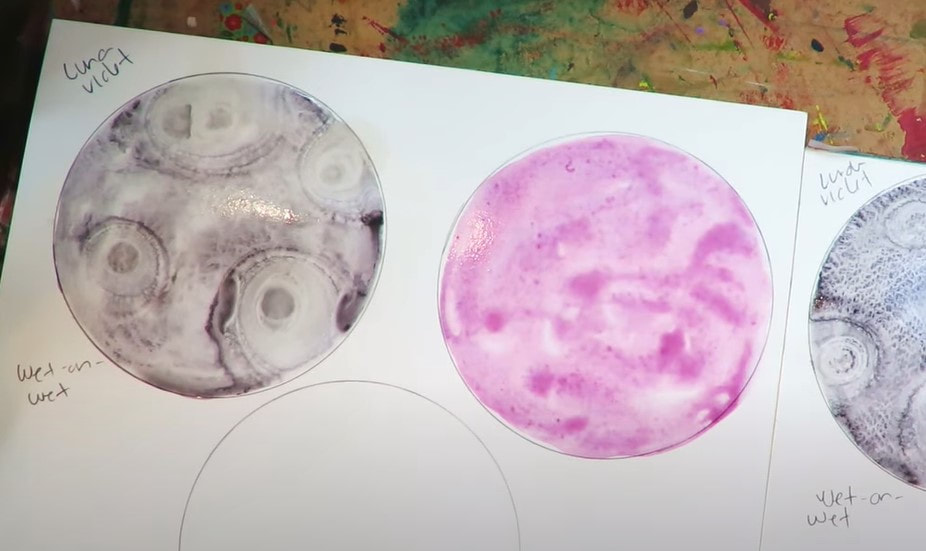
I coated this entire circle with plain water first, then applied the color.This technique is called wet on wet watercolor.
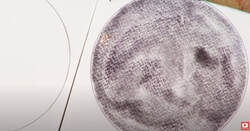
For fun I decided to add a few droplets of rubbing alcohol using a pipette to see if this would give me the look of moon craters. Above is how it looked on the textured, cold press watercolor paper.
As you can see, wherever the alcohol droplets were added, the watercolor dispersed. Click over to the video to see how the wet on wet watercolor technique looks on the hot press watercolor paper.
I tried the same alcohol watercolor technique to see how this looked on the hot press watercolor paper, and so far I'm loving how this looks.
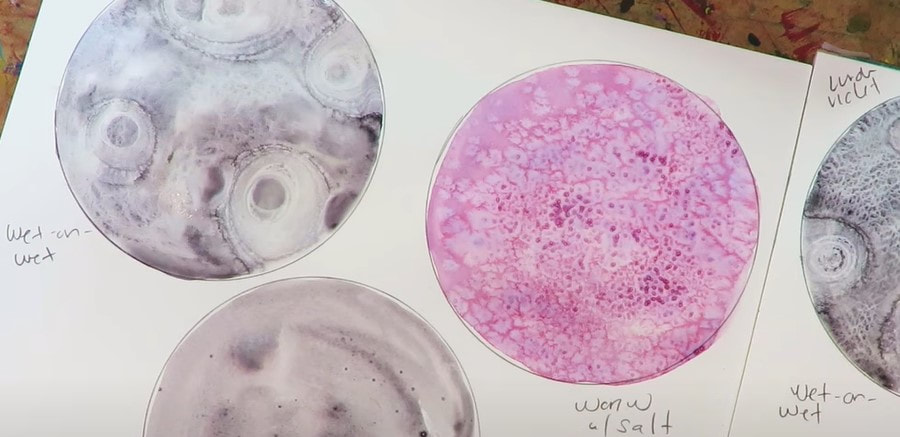
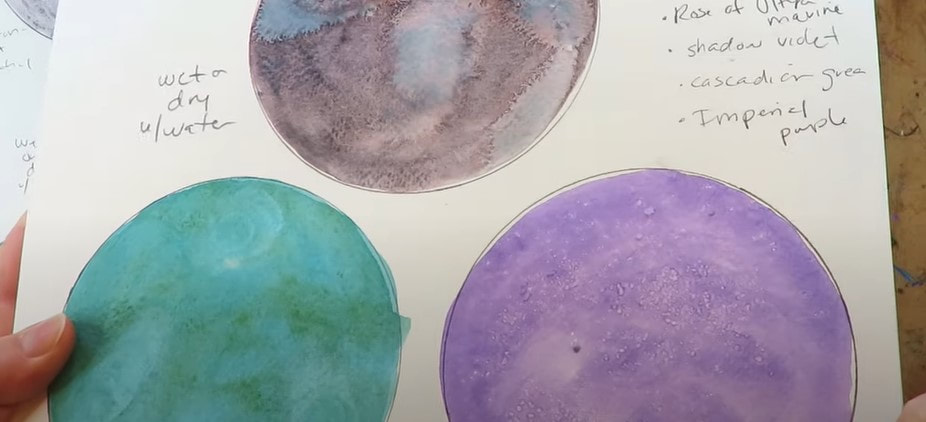
For the next "moon," I used the same wet on wet technique with rose of ultramarine by daniel smith. While it was still wet, I sprinkled some table salt over this one because salt watercolor painting can give you some gorgeous effects!
Isn't that beautiful?!
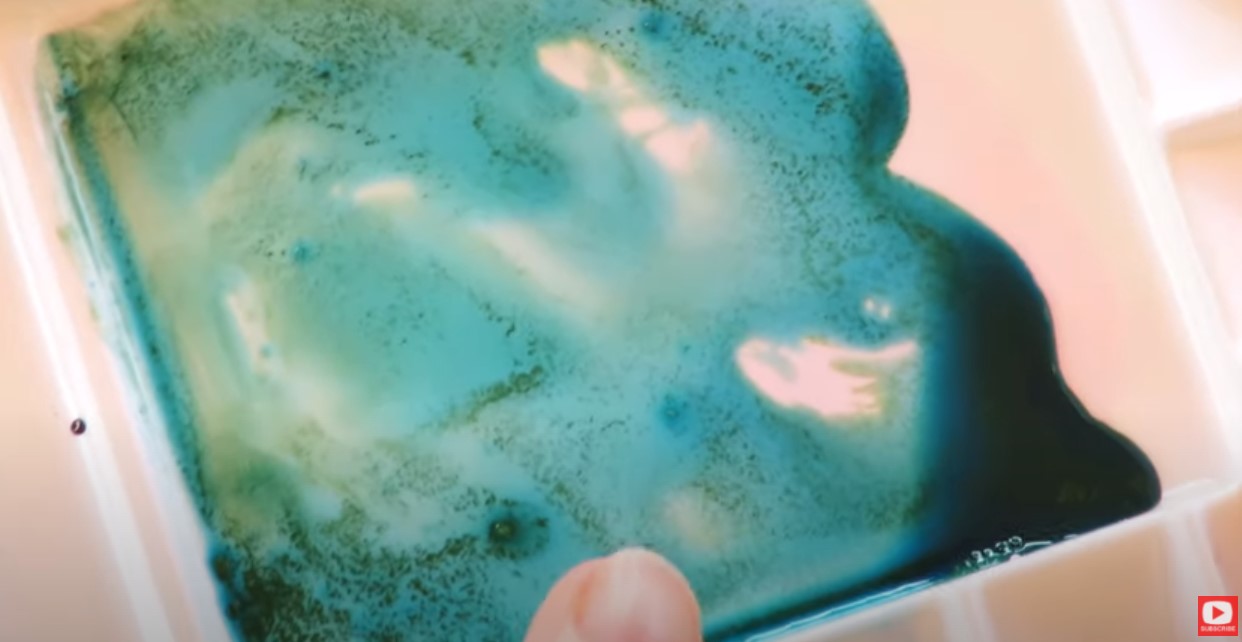
The next color I'm testing out is shadow violet. This time I used the wet on dry watercolor technique, and tried adding a few extra droplets of plain water to see what happened. At first I kinda hated how this looked- but after it dried, it started to look a bit more "planetary." For my fourth watercolor moon, I decided to use cascade green (also by Daniel Smith). I mixed this off to the side with about 50% granulating medium because I really want to see how this separates the colors of this gorgeous blue green.
I just love the way the colors immediately separate in my palette, but it doesn't transfer to the paper in the same way like I expected it to, so that's a little disappointing.
The final color I wanted to test out today is imperial purple (another granulating watercolor by Daniel Smith). It separates into pinks and purples and reminds me a lot of the effects I love getting from activating my elegant writer! It's so pretty (bottom right corner, below)!
For this one, I tried adding one more medium - an irridescent medium, and just becuase I love salt watercolor painting effects, tried sprinkling kosher salt on top.
Once dry, the irridescent medium doesn't do very much to create that shimmery look I was hoping for, so again - I'm feeling a little disappointed in this medium.
Today's test has definitely shown me that the mediums I tried aren't really worth it, and we're better off just getting a set of irridescent, metallic or granulating watercolors if these are effects we enjoy. Thanks for hanging out with me today! Make sure you click over to the video to see each technique in action and decide which one YOU like best! |
Karen CampbellFounder of Awesome Art School. Mixed Media Artist. Author of 15 Instructional Art Books! Archives
May 2022
Categories
All
|
"Karen is flipping hilarious and she's very real...I like the way she teaches in a way that really gives you confidence, whether you're a beginner or advanced there's always something new to learn!"
- Elizabeth W. |
What Fans Are SayingKaren, you are absolutely fabulous! You make me feel like I can draw anything. I have recently retired and finally have the time to do some of the art that I have loved since I was in school. I am really at the beginning of my art journey and I hope to learn as much as I can. Thank you for all you do. |
Contact Us |