blog
Let's Get Your Creative Juices Flowing!!!
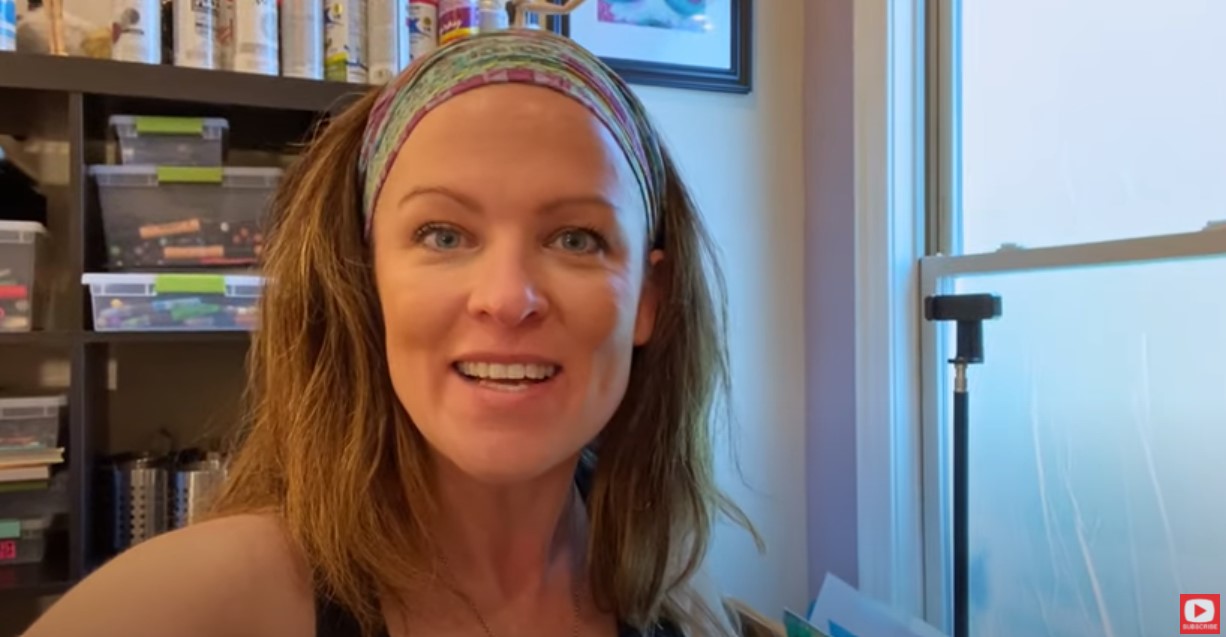
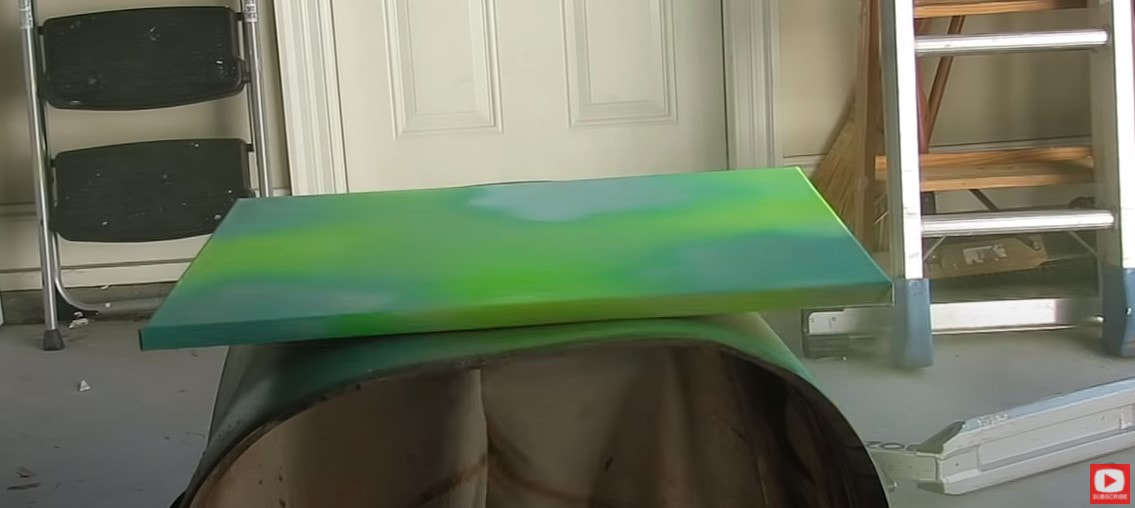
Yes, you CAN paint a giant canvas background in JUST 2 minutes!! I know it sounds too good to be true - especially if you're intimidated by large canvas painting. I can't wait to show you this spray paint on canvas idea! It's one of my all time favorite mixed media painting techniques!! Even better... it's FAST, EASY... and CHEAP! If you're a beginner in the world of mixed media art, or just curious about how to attack a giant canvas - today's video is FOR YOU!!
It's funny - while I was filming - I took a little look around my studio and was kinda surprised to realize how MANY of my canvases on the wall started with the SAME mixed media painting technique for the background. Check out the video to see the examples up close!!
As you'll see, I work on BIG canvases all the time, and LOVE IT!! I feel like large canvas painting is more free-ing as an artist and it's actually EASIER because I have room to spread out my ideas, and don't have to get hung up on tiny little details. ![]()
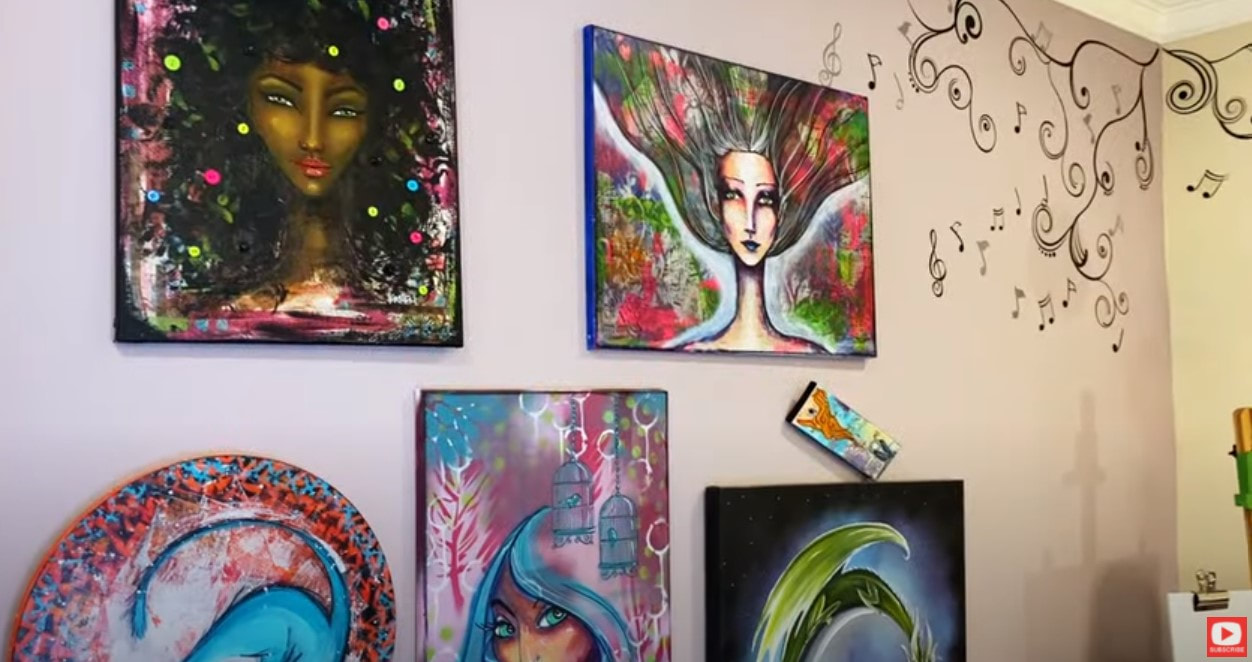
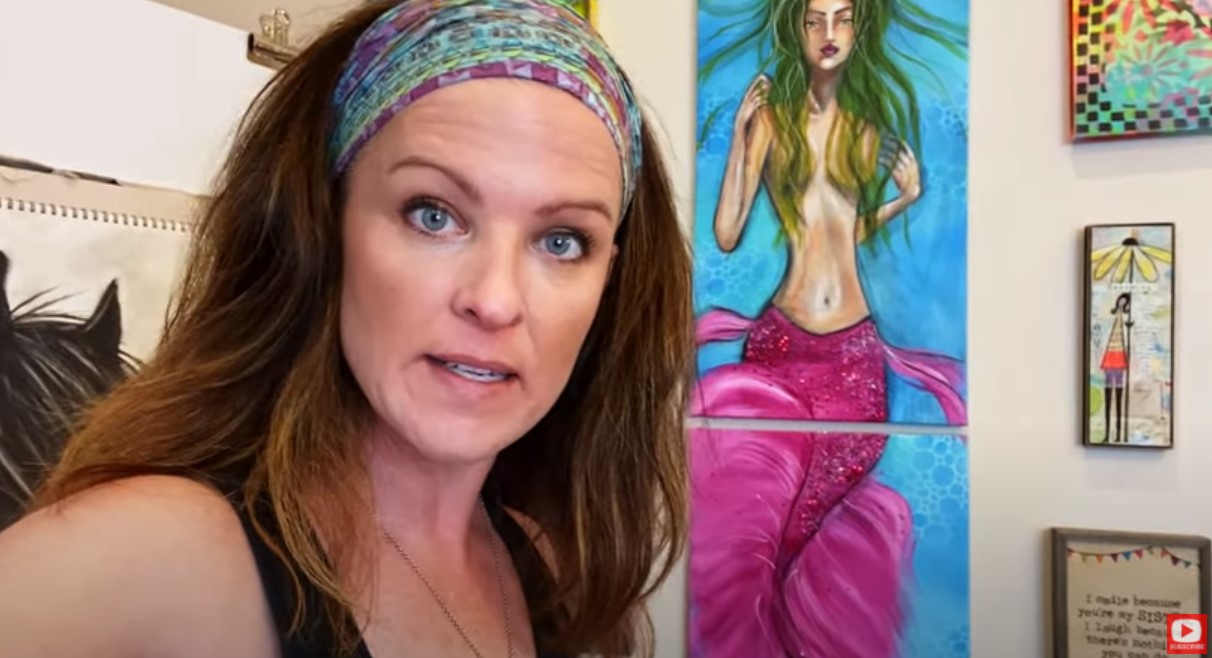
The first giant canvas painting I want to share with you up close is my pink mixed media mermaid. She's actually 4 feet tall, and was created out of two, 2 foot canvases. The background for this piece took me all of FIVE MINUTES. No joke!! That's 2.5 minutes per canvas... and DONE.
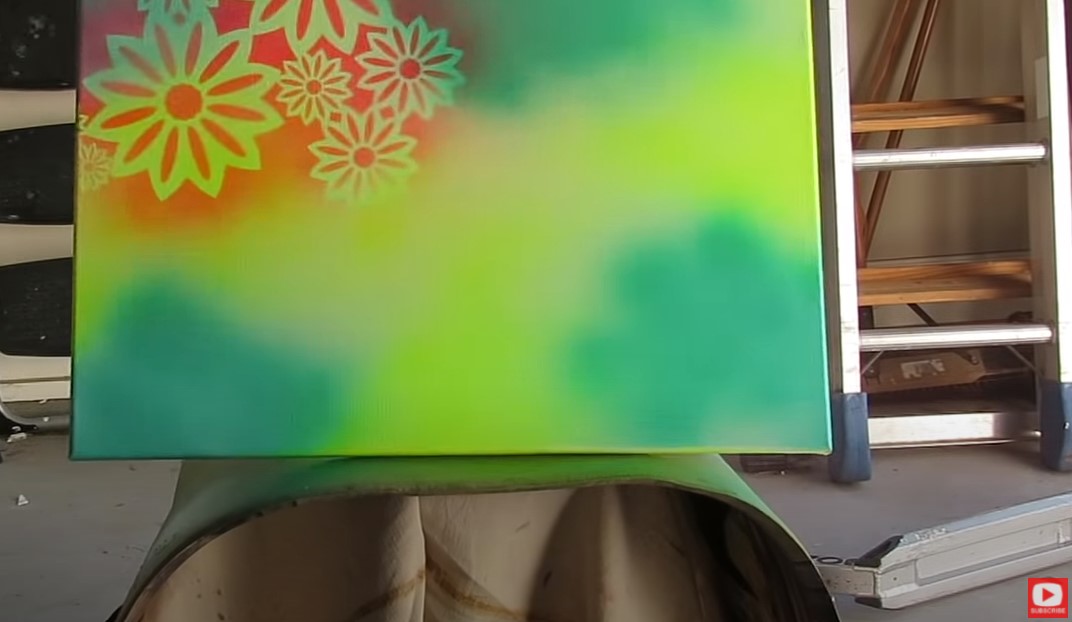
All I did was spray paint on my canvas, then I misted a second color of spray paint through a stencil sheet to create the look of underwater bubbles! SERIOUSLY!! That's it!!
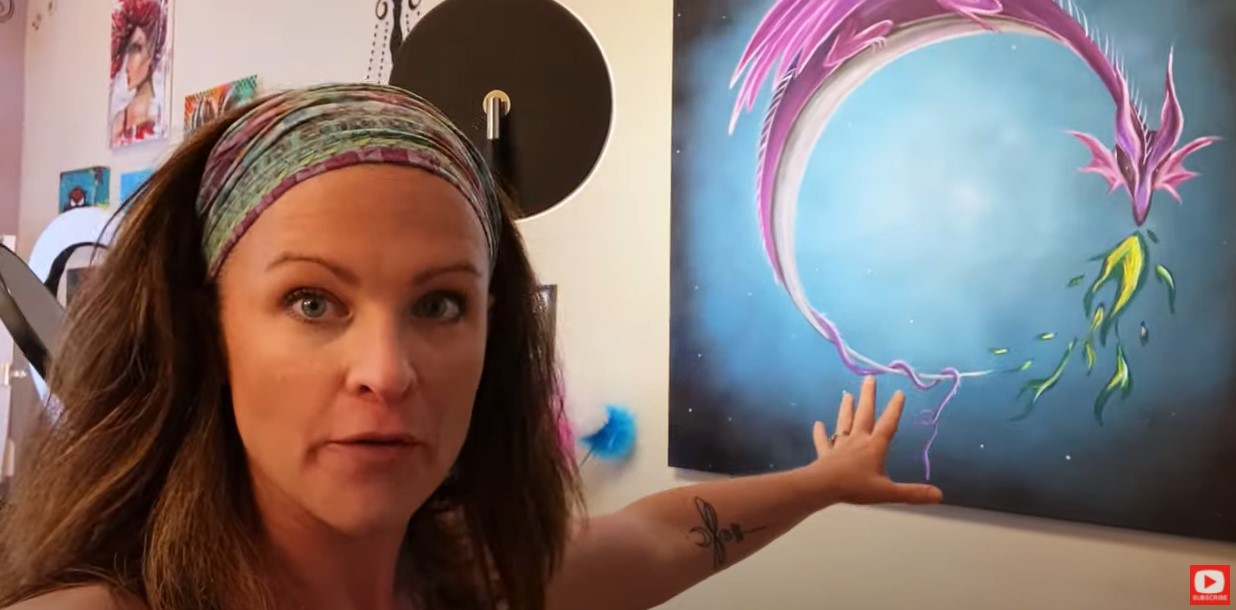
The next canvas background idea I want to show you is of my dragon in acrylics. This one took just a little longer because I used more colors.
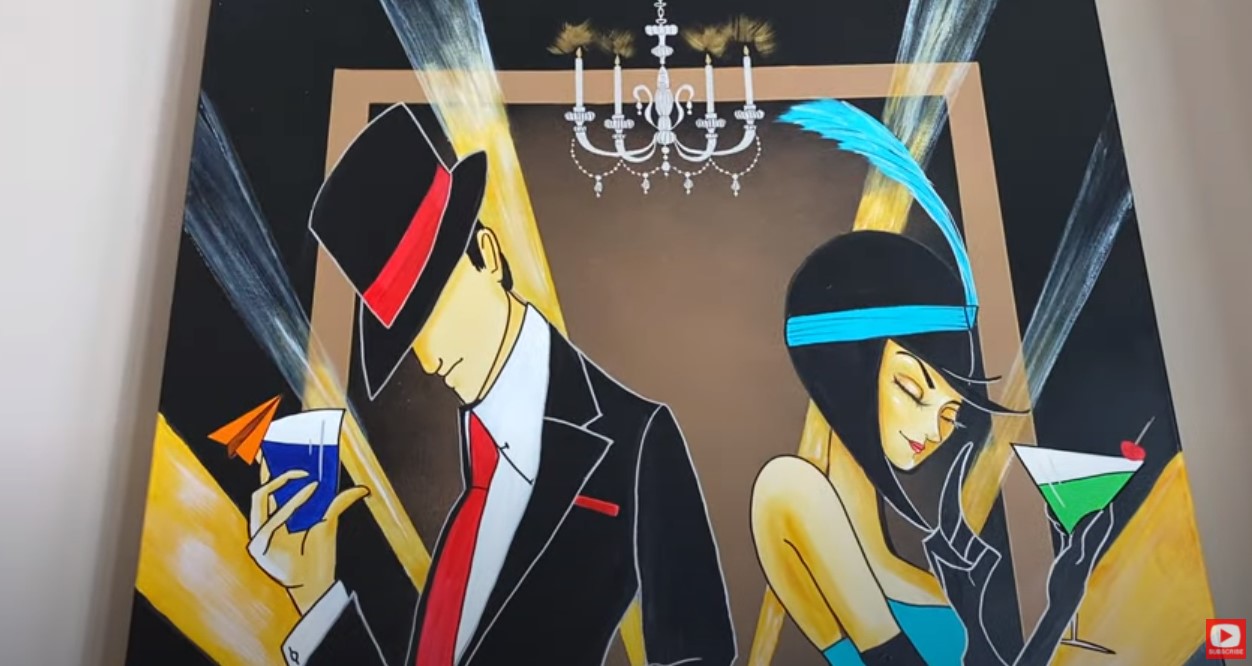
Even with adding more color- the dragon background didn't take me longer than 10 minutes to do. Can you imagine how much LONGER (and EXPENSIVE!!) this would be painting with acrylics and a paint brush?! For my art deco painting below, I taped off a section in the background because I wanted a frame behind the couple. That part took a little longer to tape off, but then I just used a can of black matte spray paint on canvas for the backgound, and I was done. EASY!! ![]()
As I walk you through these pieces, you'll start to understand the THREE main reasons why I love to paint canvas backgrounds using spray paint:
1. Spray paint is really inexpensive - I've tried all the brands from the cheapest to the most expensive, and there's no difference. That means I spend about $3.99/can, and am FINE with grabbing the ones on sale for 99 cents. I promise you- they work JUST as well!! This is SO much cheaper than buying an inexpensive tube of acrylic paint!! When shopping for spray paint, I suggest you only pick up cans in satin or matte because glossy can be kinda tough to work with if you plan to do any adhesive collage layering or acrylic painting on top. For some reason, the glossy cans feel like they're stronger smelling to me too! 2. Spray paint comes in a HUGE array of colors - There are SO many fun colors you can pick up to add to your mixed media projects. And because they're so cheap in a can - you can probably afford to buy MORE of them :) They also last forever!! 3. Spray paint is amazing to COVER LARGE AREAS - If you haven't tried spray paint on canvas before - you're gonna be shocked at how much real estate you can cover in a short amount of time! It takes forever to cover a giant canvas with acrylic paint. Plus, you end up getting brush strokes that may be distracting to look at. Spray paint really glides over canvas well and gives it a smooth look! The only downside to using spray paint is if you want or need to do touch ups to your canvas background later. It can be tough to replicate what you did with multiple colors, but if you need a teeny touch up - here's my trick!!
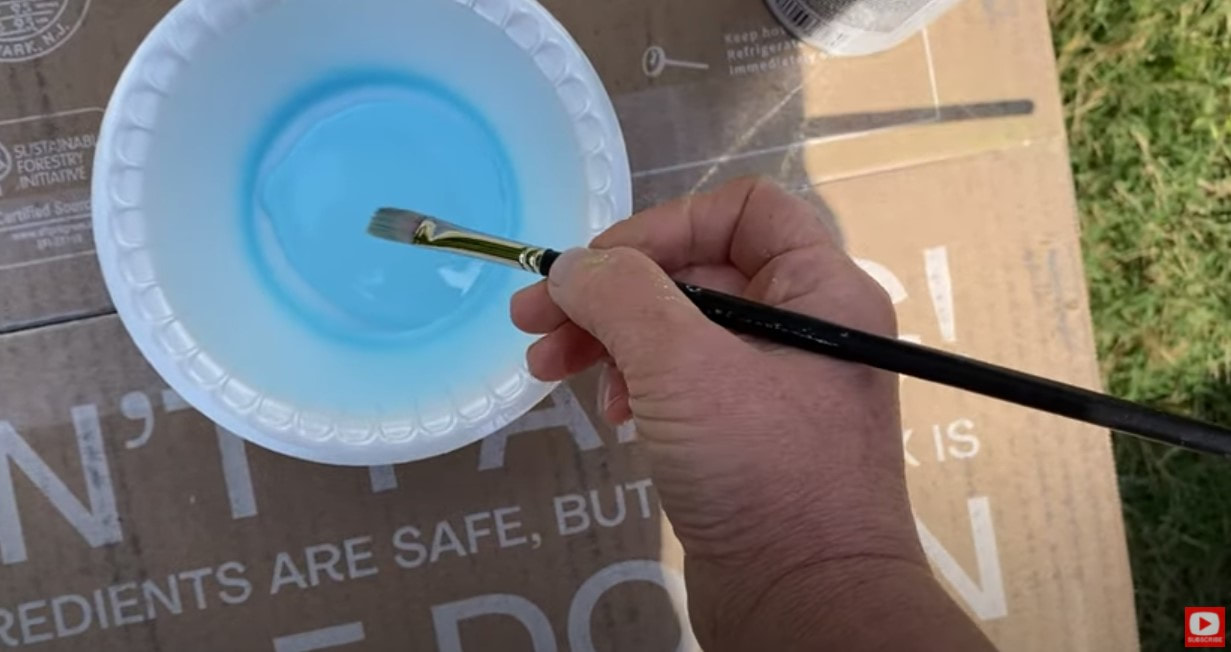
Spray a puddle of paint into a disposable plate, bowl or cup and dip your paint brush in. Simple, right?!
When you're choosing colors to work with for your canvas background painting, you can keep things really simple and use one or two like I did for my mixed media mermaid, or if you want to show more depth - grab 3-4 shades of the same color in a light, medium, and dark for contrast.
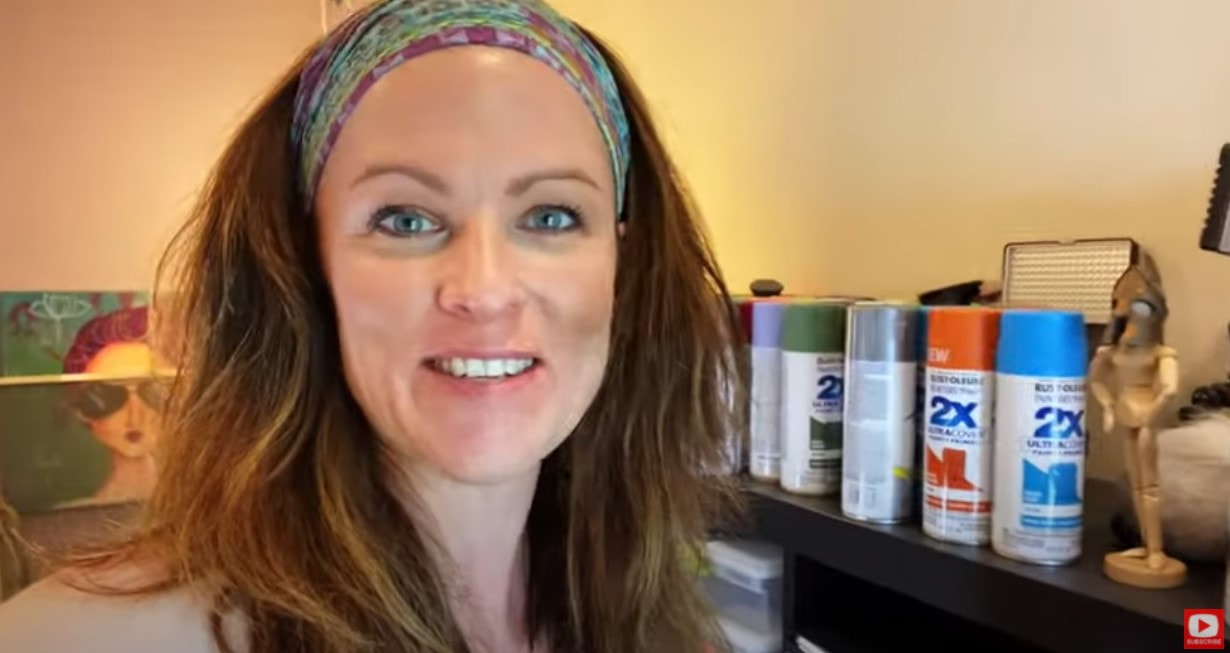
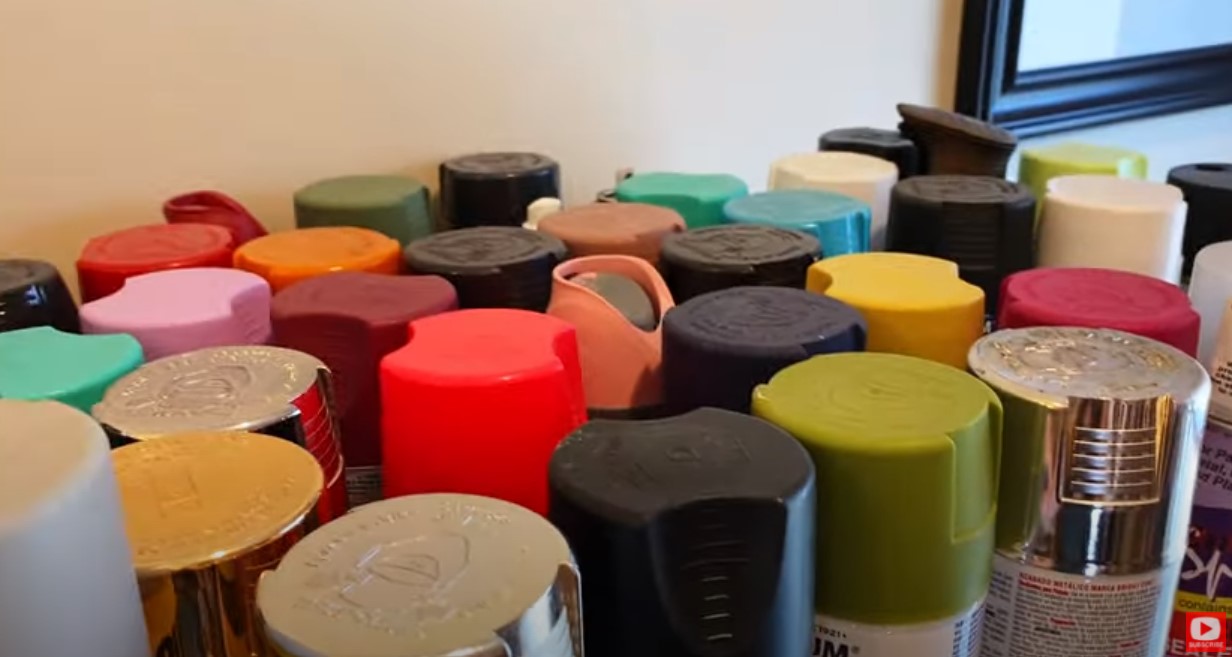
I have SO many fun colors. This is probably only half of my stash!!
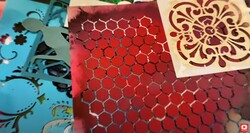
If you haven't used stencils with spray paint before, you're gonna love this!! Stencils work SO well with spray paint because spray paint dries really fast. When you mist a new color through a stencil over your previous color of spray paint - then two colors WON'T MIX! Each shade can lay beautifully right on TOP of the other!!
![]()
Do you clean your stencils after you use them? Students ALWAYS ask me this!!
I NEVER clean my stencils- I just keep reusing them over and over. Some may think this is lazy, but it actually makes the stencils work better over time this way! The paint eventually builds up a bit and in a way ends up making the stencils stronger so they work even better!
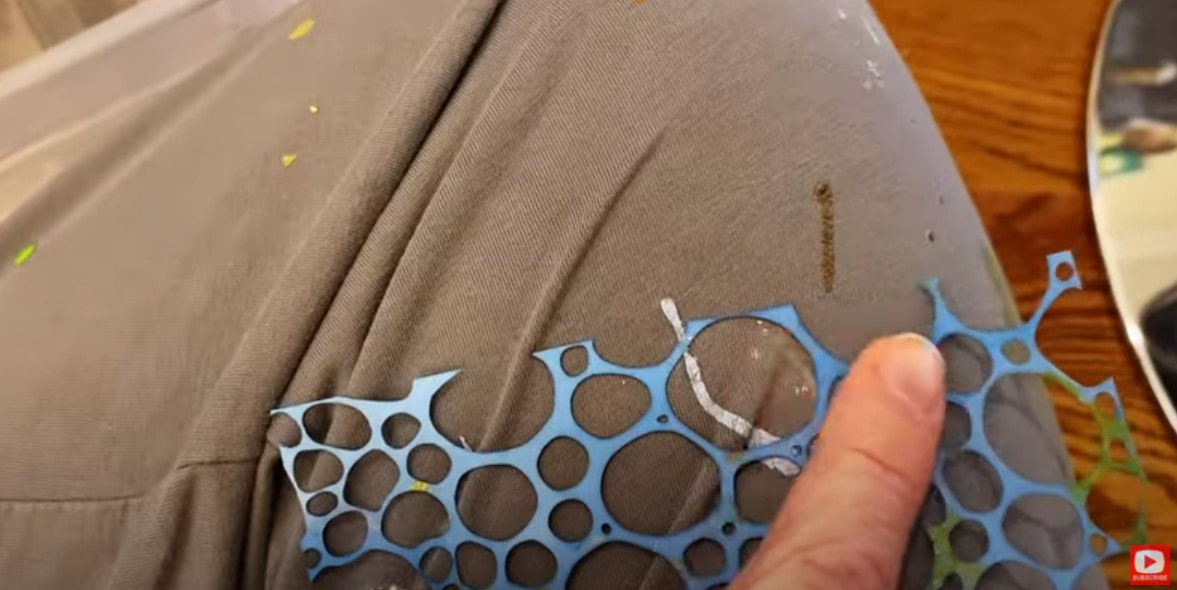
Check out the stencil below. This one is really cool! I used it to make the underwater bubbles in my pink mixed media mermaid painting.
Watch the video so you can understand exactly what I mean here. This particular stencil doesn't have a "hard line" or edge to it. It's been trimmed so the edges are a bit softer and easier to blend into a background.
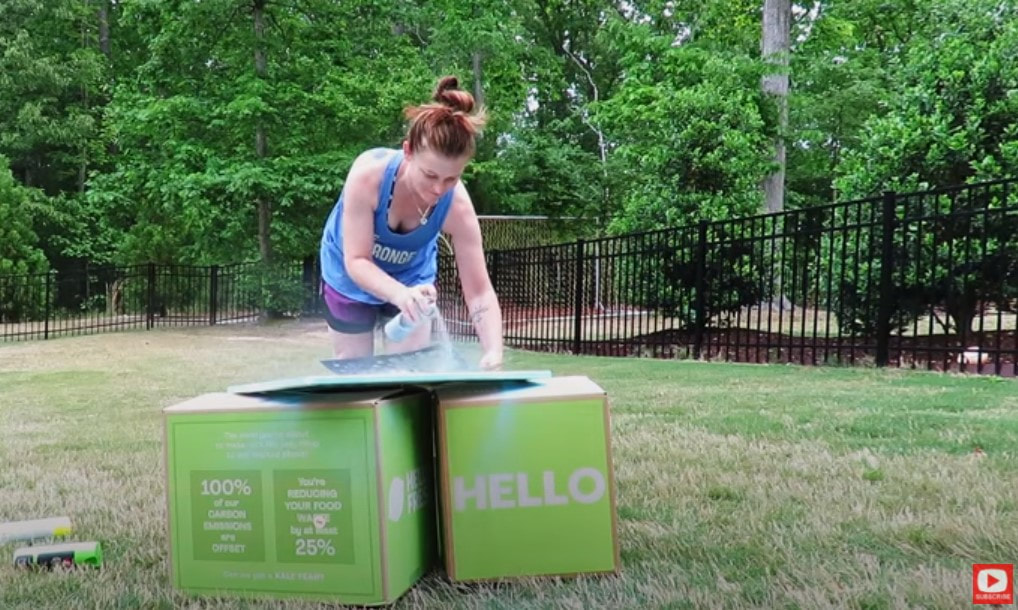
STENCIL & SPRAY PAINT TIP: To avoid a hard edge showing up on your canvas, trim the edges of your stencil off like I did in the stencil above. You can also work on perfecting your spray painting technique. Try to mist your paint right into the center of your stencil. Ok! Reay to see how FAST this process really is?! CLICK over to the video and you can see it in real time. It takes me less than a minute to cover this 18" x 24" canvas in one solid color. ![]()
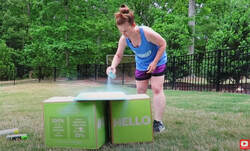
For the stenciled parts, I simply pull my white spray paint out and gently hold my stencil above the freshly painted canvas. You don't want to lie it on top of the canvas because it could stick!
One of my favorite things to do with a stencil is to mist it into the corners of my canvas. I think it adds a really nice frame to whatever I end up putting into the foreground.
HOT TIP! Make sure you hit your CANVAS edges with color too. Trust me!! You'll be so mad if you come back to your art table and notice they're all WHITE!! LOL :) I hope you enjoy this demo and find this spray paint on canvas idea just as helpful as I have!! Have fun art-ing!! ❤️Did you miss my Fun Fab Fairies Workshop? NO worries!! You can STILL sign up and enjoy each of these lessons on your own time at your own pace in this stand alone classroom at Awesome Art School! CLICK HERE to REGISTER. ❤️Did you know I've started a FUN new podcast with my Scottish, artsy bestie, Lucy, ALL ABOUT SCOTLAND & the mythical goodness I can't get enough of about this magical place?! YES - we talk about everything including ARE Fairies Real?! (You know I think they are!!) The podcast is called 1 Scot, 1 Not! Check us out on YouTube and here's our podcast website! ❤️Want FREE, immediate access to my Fun Fab Drawing Club and/or Mixed Media Society plus discounts on all my art books, sneak peek at YouTube videos and new book content, behind-the-scenes fun and MORE? Join me over on Patreon today and get HUGE PERKS in return for a small monthly donation. ❤️ CHECK OUT ALL my art books on AMAZON (available in both Kindle and Paperback) ❤️ SIGNED COPIES of my art books on ETSY ❤️ MY FAVORITE ART SUPPLIES on AMAZON ❤️ MY BELOVED FACEBOOK GROUP ❤️ FOLLOW ME ON INSTAGRAM ❤️ FOLLOW ME ON FACEBOOK
1 Comment
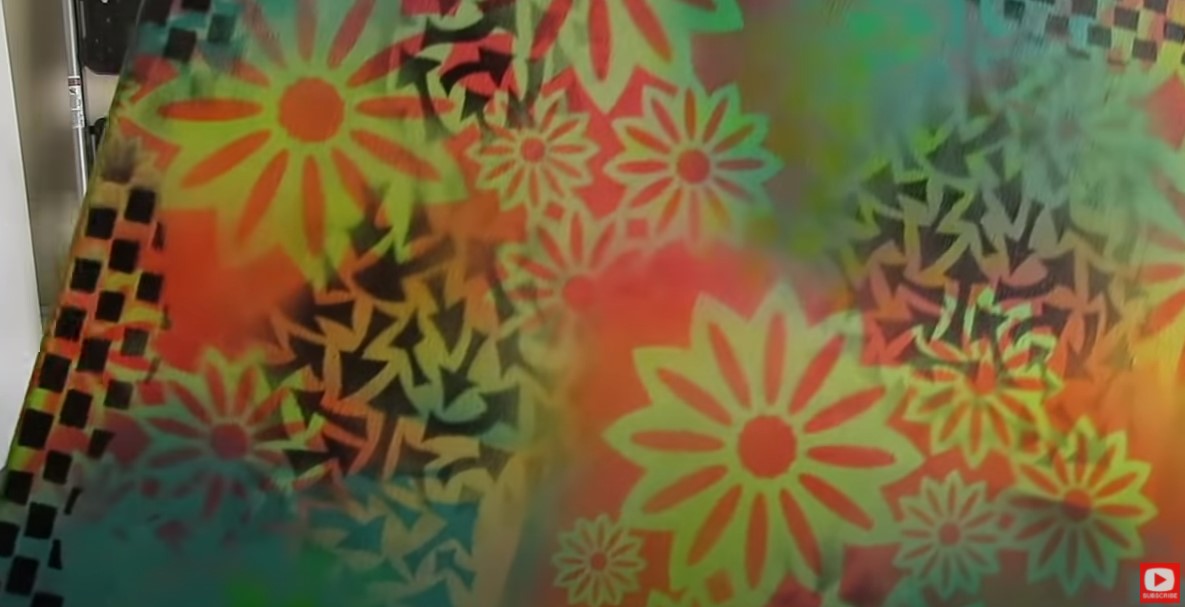
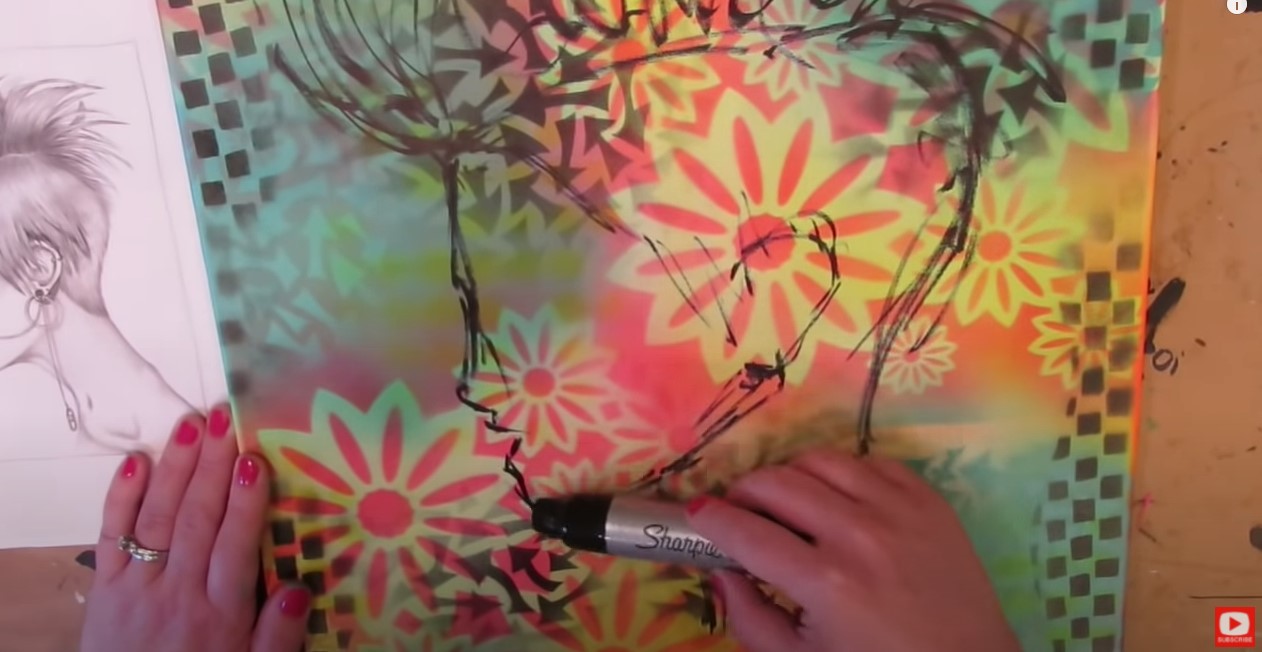
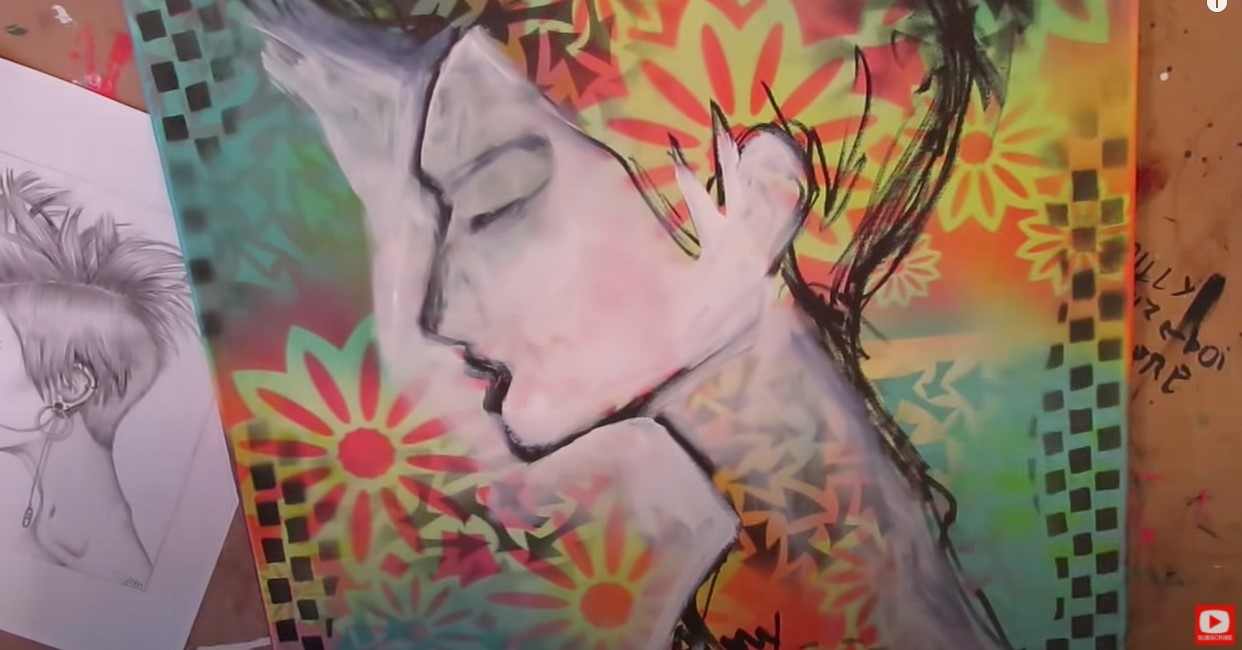
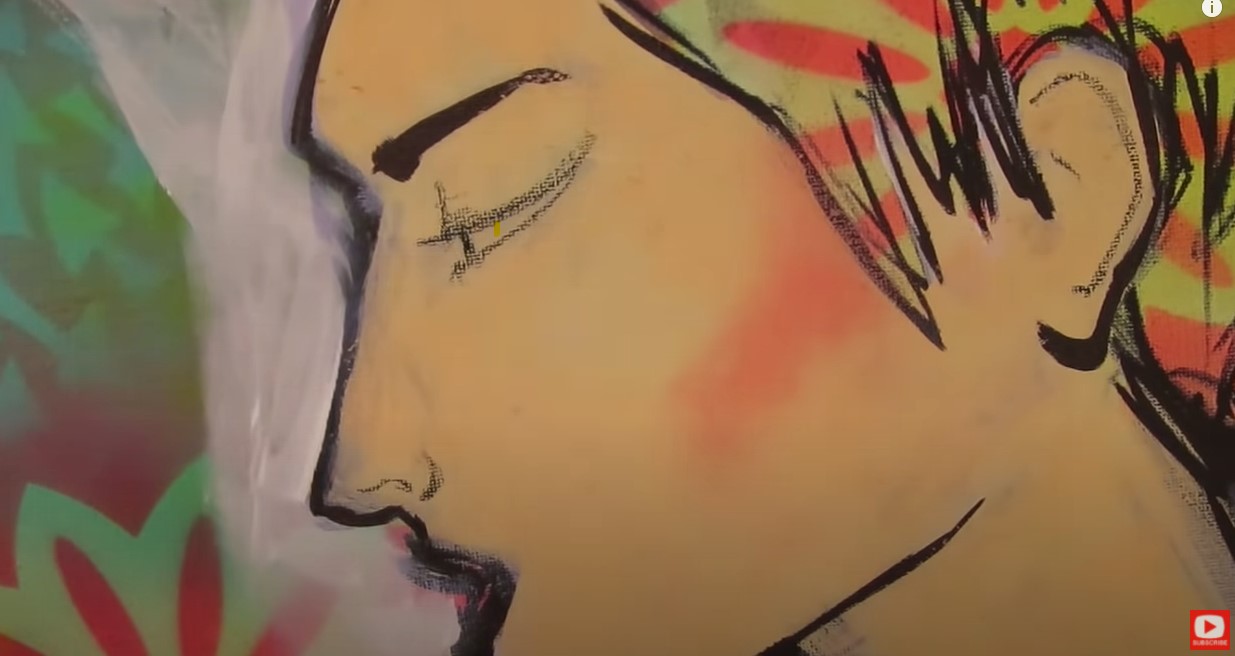
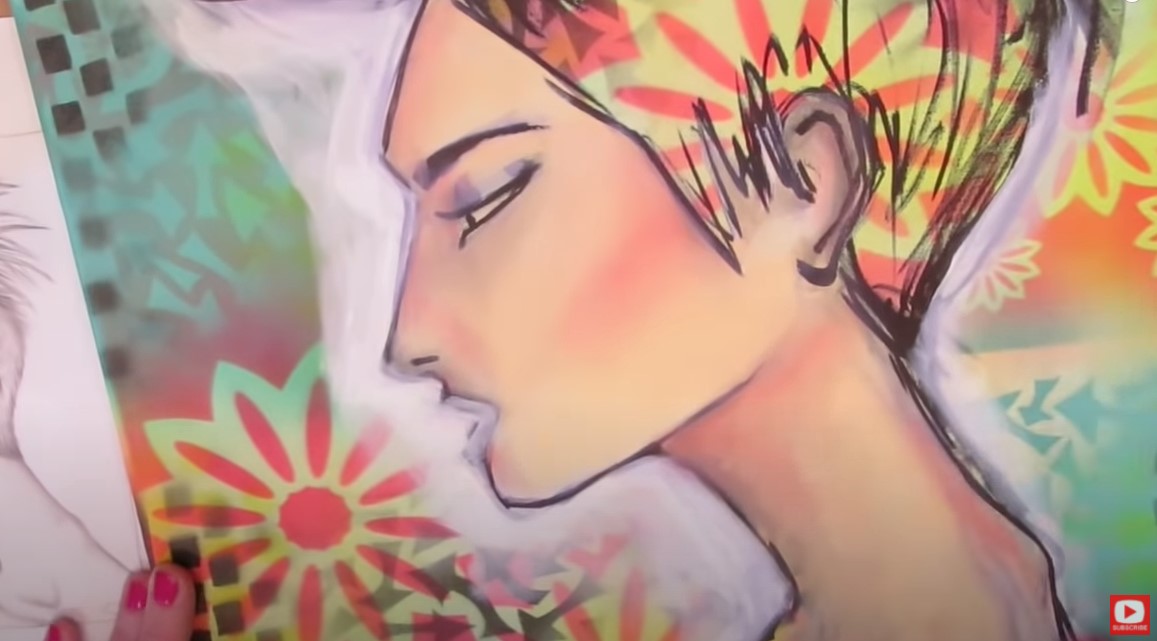
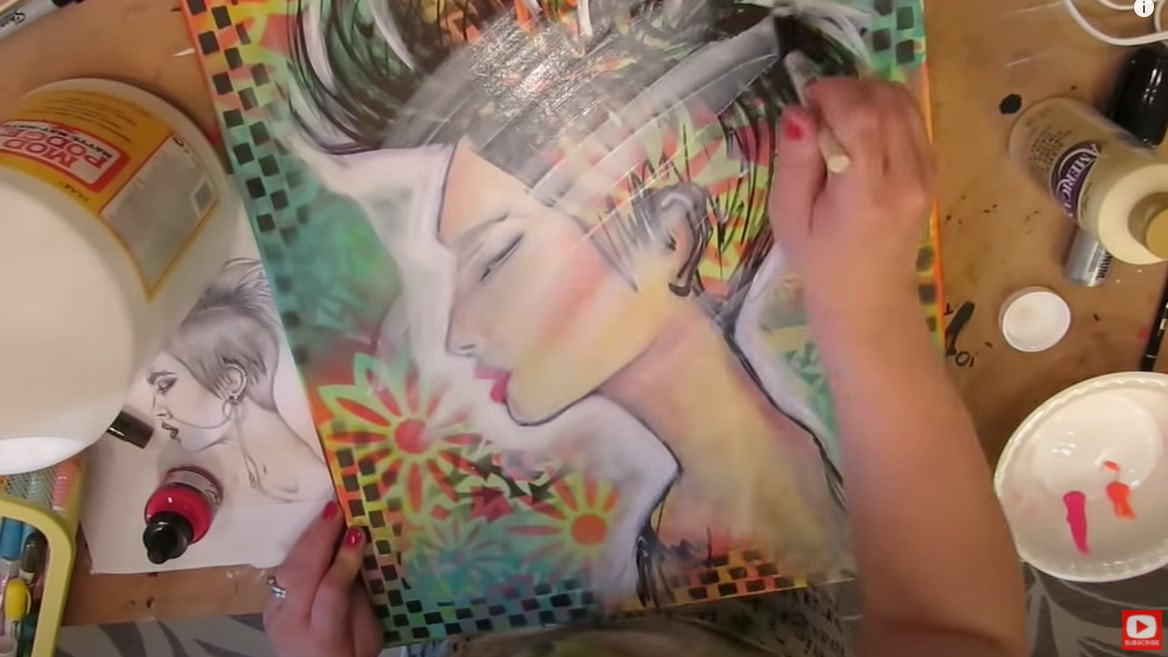
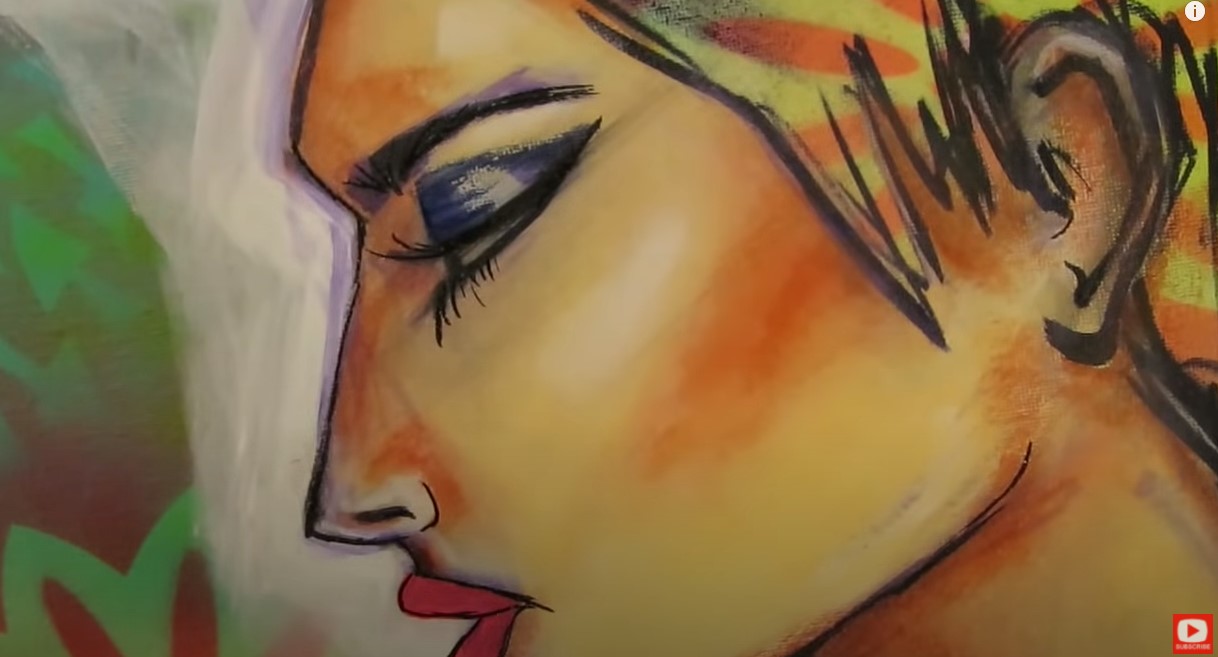
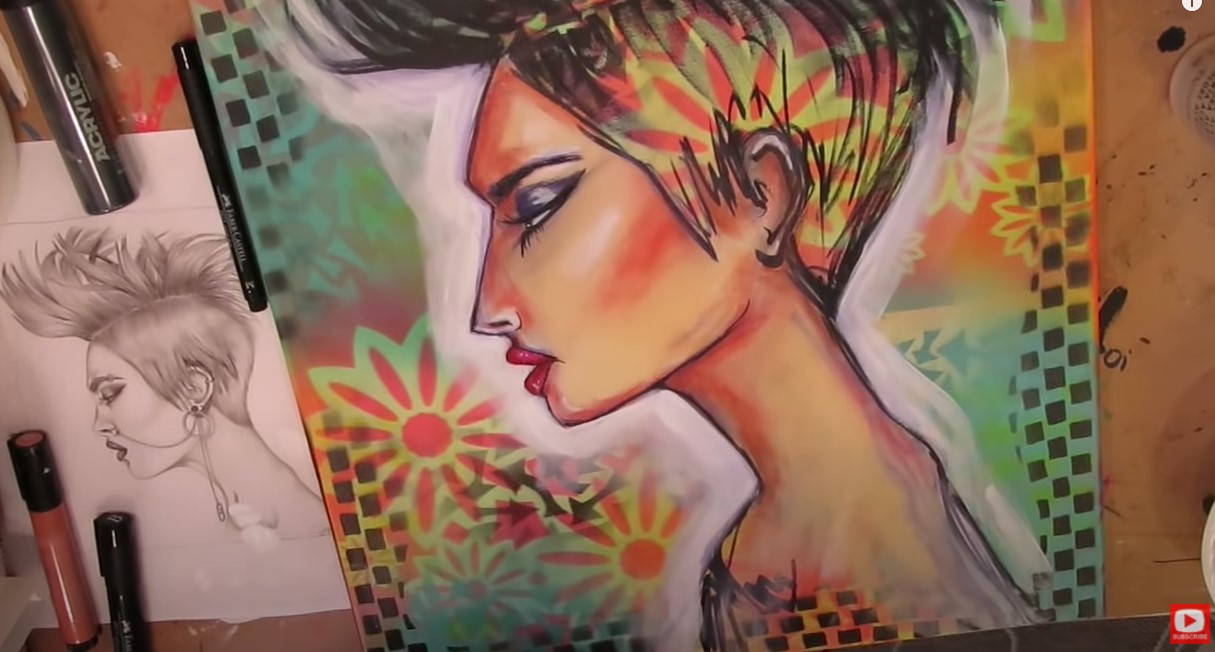
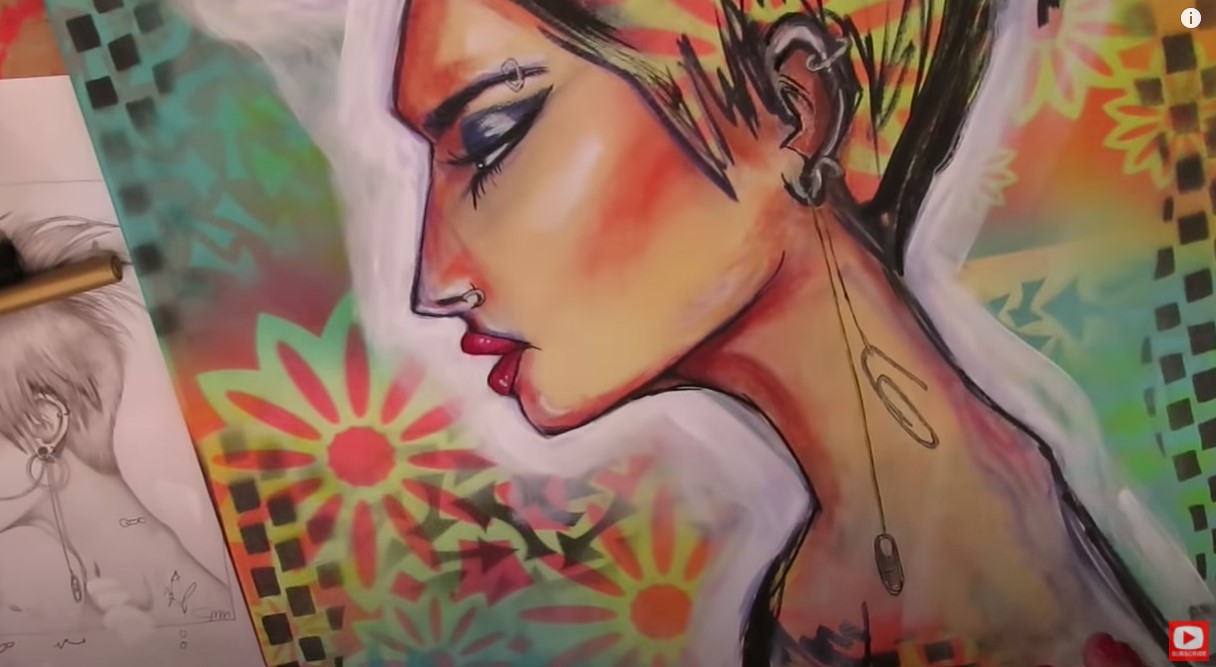
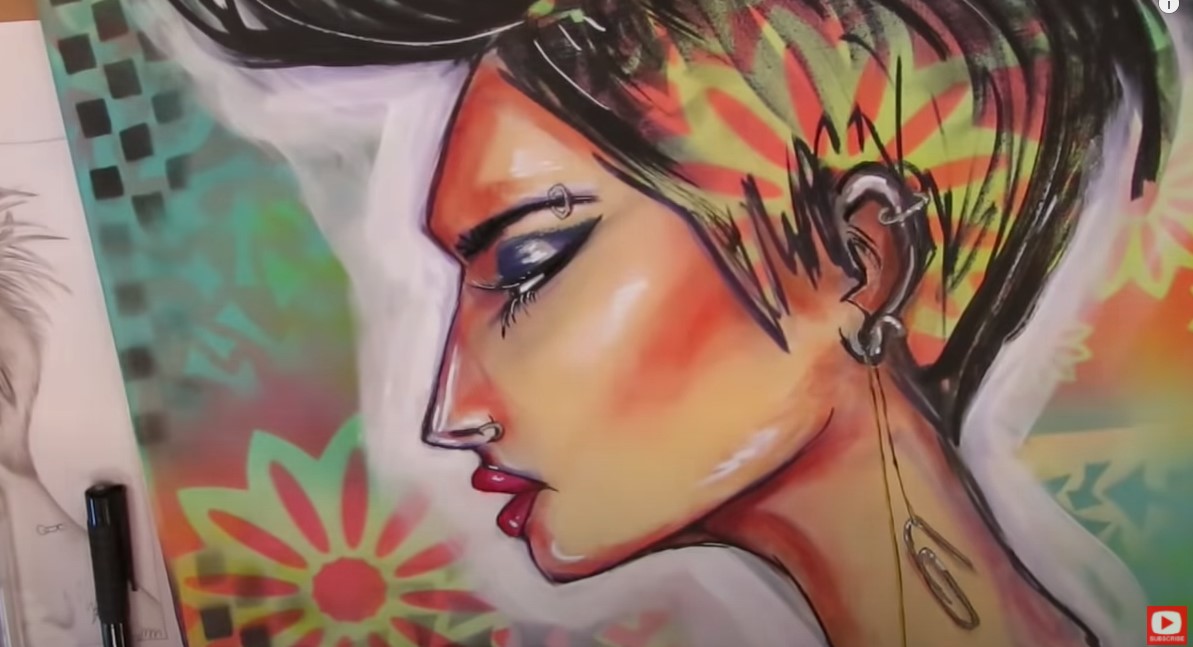
You are going to LOVE THIS 3 MINUTE mixed media canvas background technique!! It is by far THE FASTEST way to knock out a vibrant background for my mixed media portraits! I typically start with collage, but sometimes I'm in the mood for something a little different. Evidentally, today it was punk, and I'm LOVING how she turned out!! To get started, select 3-4 spray paint colors you like together, a few stencils, and head outside with your canvas. Begin by adding a few shots of color here and there, in two different shades. Then drop a stencil on top and use your third color of spray paint to start working in some fun patterns. Cool, right?! There are SO many directions you can take a mixed media canvas background like this. I worked in some black with mine because I wanted it to feel edgy since I knew where the portrait for this piece was headed. This background seriously took me ALL OF THREE MINUTES. That's it. I think that might be a record, even for me!! Once my canvas was dry, I pulled out my GINORMOUS magnum sharpie back in the studio, and got to work on a side profile drawing prompt from an artist friend of mine, Jenny Manno. Before we continue, super quick announcement! All product links noted below are Affiliate. I may earn a small commission if you choose to order through these links, but by law there is never any additional cost to the consumer for doing so. I only reccommend products I actually use and love. Thank you for your support! Just a word of caution... if you're not used to doing profile drawings, I definitely DON'T recommend using a sharpie!! Especially one this big!! In all seriousness, if you're new to side profile drawing, it's NOT as hard as you think it is. You probably just need someone to break it down for you so it doesn't feel so overwhelming. Then you just need a little practice. I have TONS of resources to help you with profiles! Feel free to check out this playlist on my YouTube Drawing channel for beginners. You'll learn how to do side profile drawing step by step in pencil. You can also check out my book, How to Draw MORE Fun Fab Faces, over on Amazon. This is PERFECT for beginners who want to learn how to draw profiles step by step (even kids!!). Once I finished my initial drawing, I got my gesso going inside the face and just around the outer edge of her face shape to knock the background back just a bit. Then I painted a thin layer of flesh colored craft paint on the face. If you've been watching me for a while - you know I'm NOT super patient, LOL! Layering with gesso and acrylic paints really can take forever, and I don't usually have the patience for that. Because I have the neeeeeed for speed, I developed this cool technique to add color to my mixed media portraits QUICKLY, using my gelatos by Faber Castell! See the light pink in the face below, where it looks like blush has been applied to her cheek? That's from my gelatos! I blended it with my finger and it literally took me TWO seconds. If you want to see this gelatos technique slowed down in REAL TIME, I just did a product demo with my Faber Castell Gelatos, so you definitely need to check that out! If you haven't tried them before on your own, this is my favorite set. FYI, beware of the metallic version if you want to follow me with this technique, because sadly they don't work! If you're watching this project unfold (and I HOPE you do!!), I actually struggled a little with the skin tone and decided I wanted a clean slate to work with, so pulled out my gesso and started again with my fun gelatos technique. In the pic above, you can see it's looking SO much better, so that ended up being a great move! Keep that in mind- if something doesn't go quite right- there are a MILLION ways to fix something, so DON'T give up. Keep pushing through!! In the world of mixed media art, gesso is your friend in more ways than one!! When I'm switching gears from mixed media painting to mixed media DRAWING... I seal my whole canvas with one of my favorite mixed media art supplies - mod podge! I buy this stuff by the gallon!! When the mod podge has dried, my canvas is slippery and has been prepped beautifully for playing with pitt pens. I love using my pitt pens to help me when shading a face (mixed media style). I use them in a similar way to my gelatos. I layer some color and blend with my fingertip. What's REALLY cool about working with pitt pens over mod podge, is you can ERASE things you don't like with a simple baby wipe! Amazing, right?! The art supply layering system I'm using in today's project is something I lovingly refer to as my mixed media "Hamburger System." I compare layering my supplies to the way you layer toppings for the perfect burger! I've actually got an entire FUN YouTube series of tutorials, cheatsheets, and even wrote a mixed media art BOOK about it!! Download the FREE, one-page cheatsheet that explains it all by clicking the button below. I'll send it straight to your inbox so you can print it and keep it at your art table for reference to help you with your own mixed media layering. When I'm using my hamburger system for layering and am happy with something I've done, I seal my work with another layer of mod podge to ensure it won't move, then hit it with my hair dryer so I can do a bit more doodling. My last step is always grabbing a white sharpie or posca pen to add highlights throughout. I LOVE the drama this adds to my mixed media portraits. I hope you enjoy watching this video!! I had a blast doing this project!!
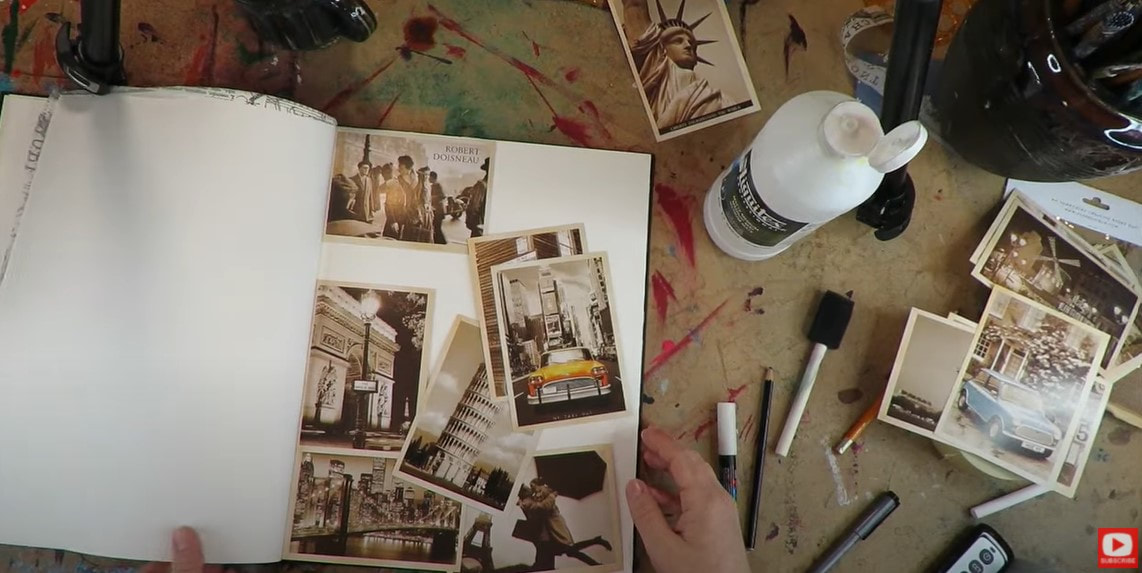
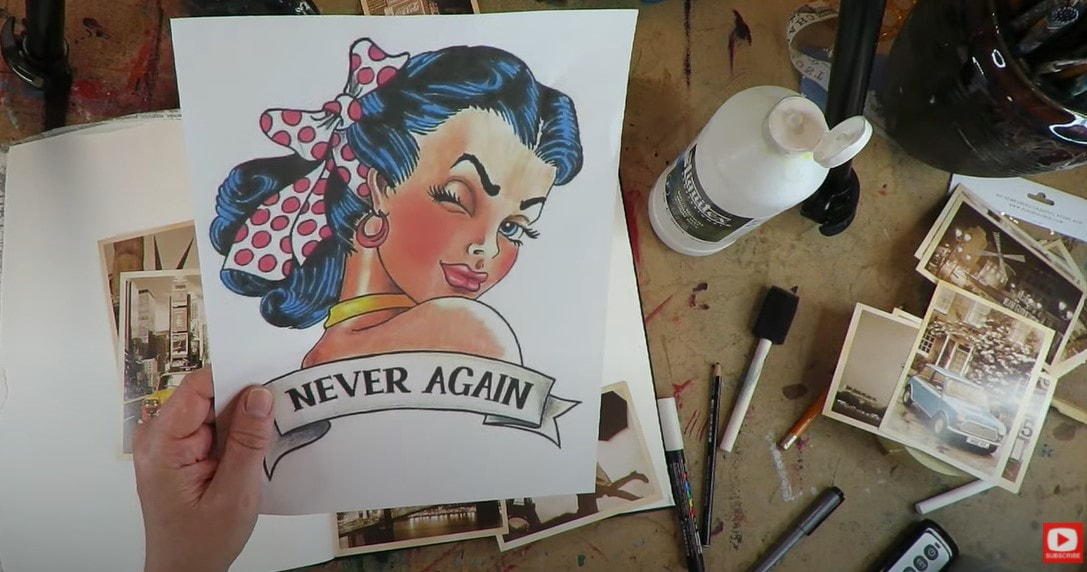
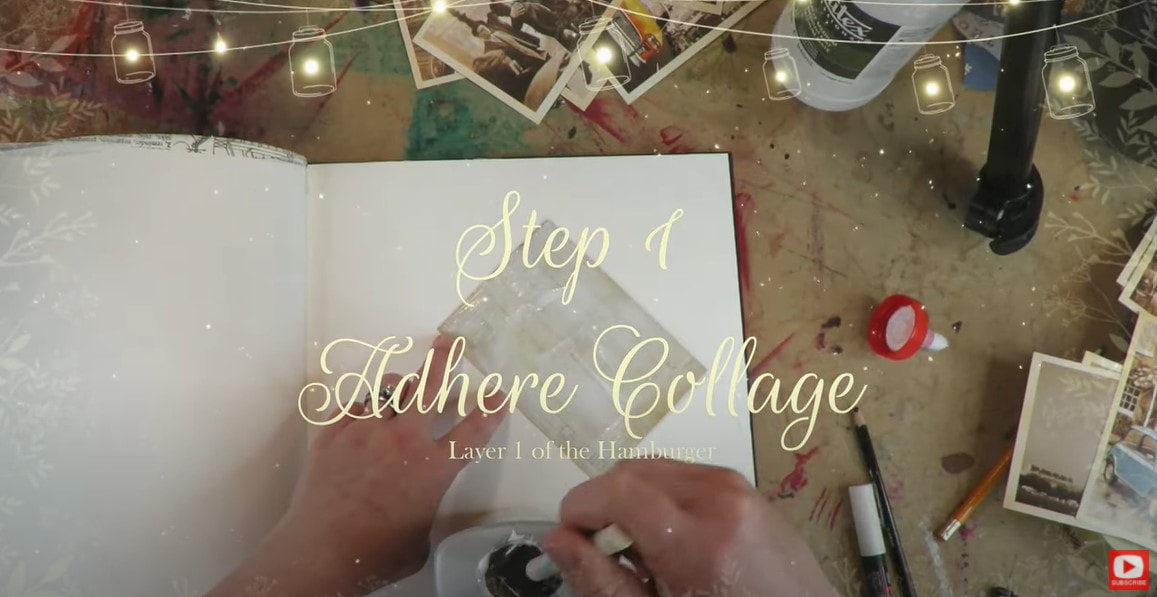
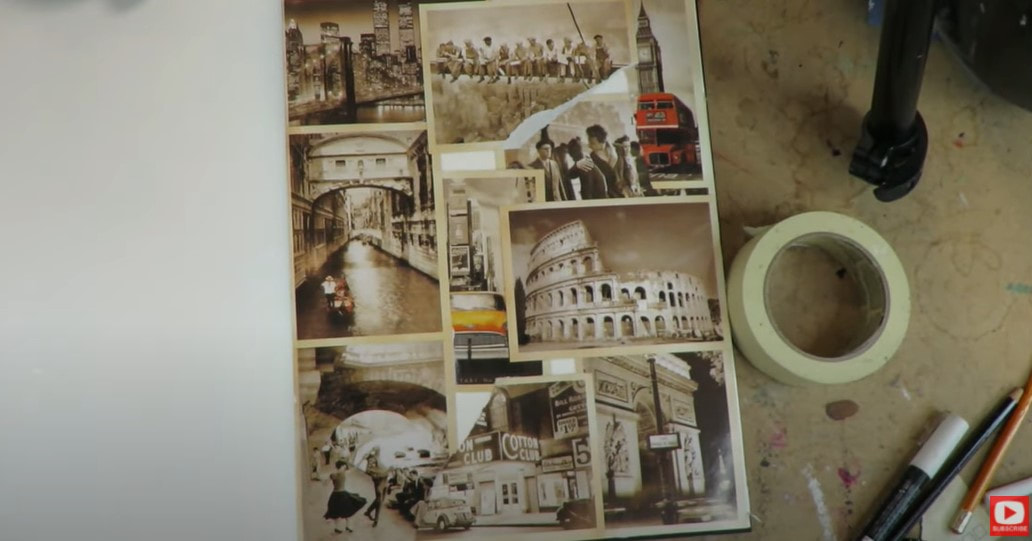
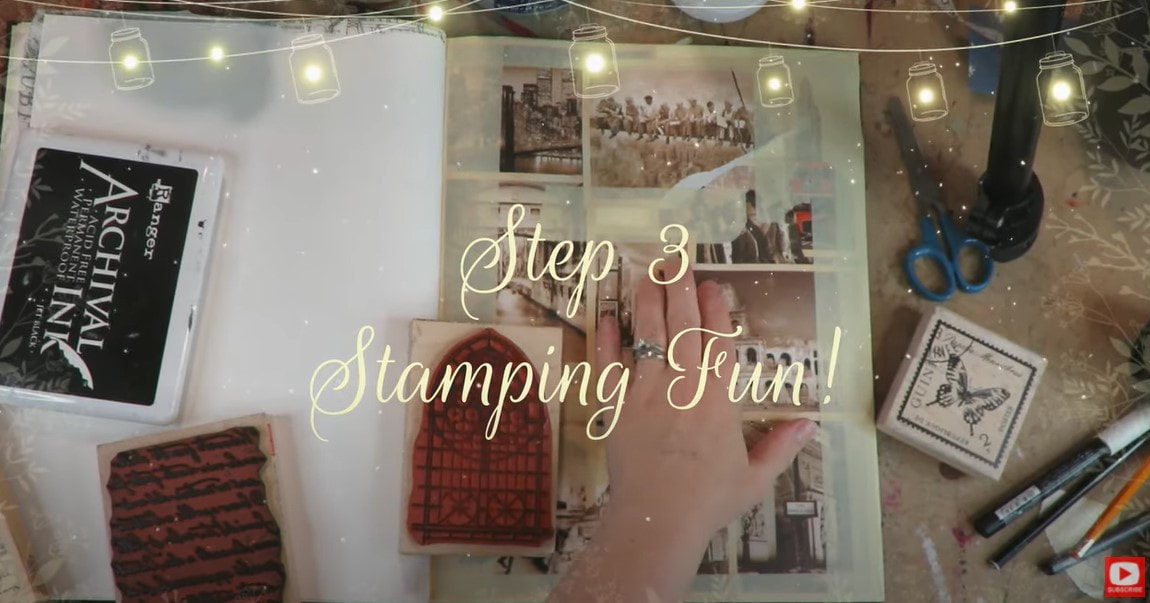
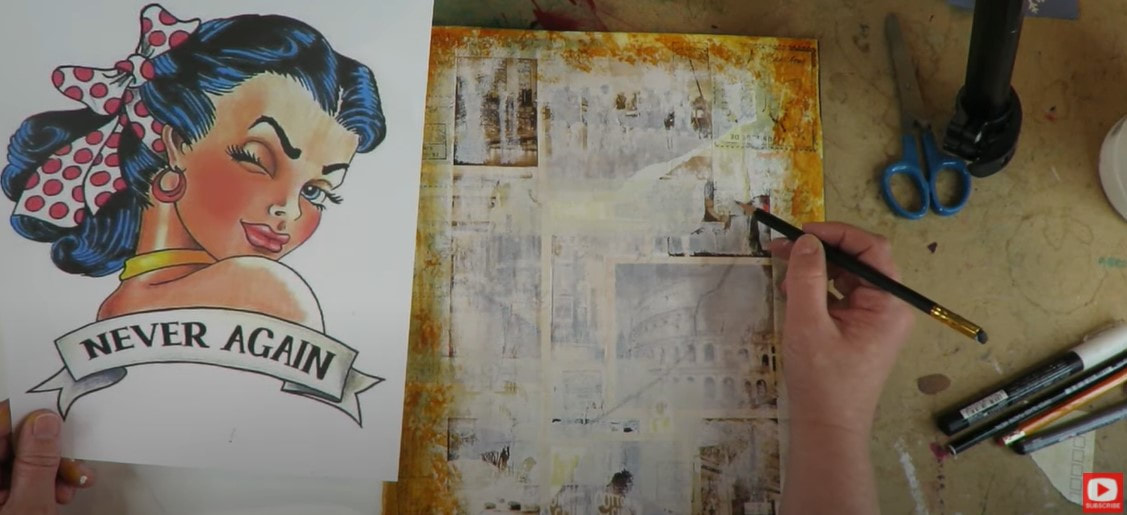
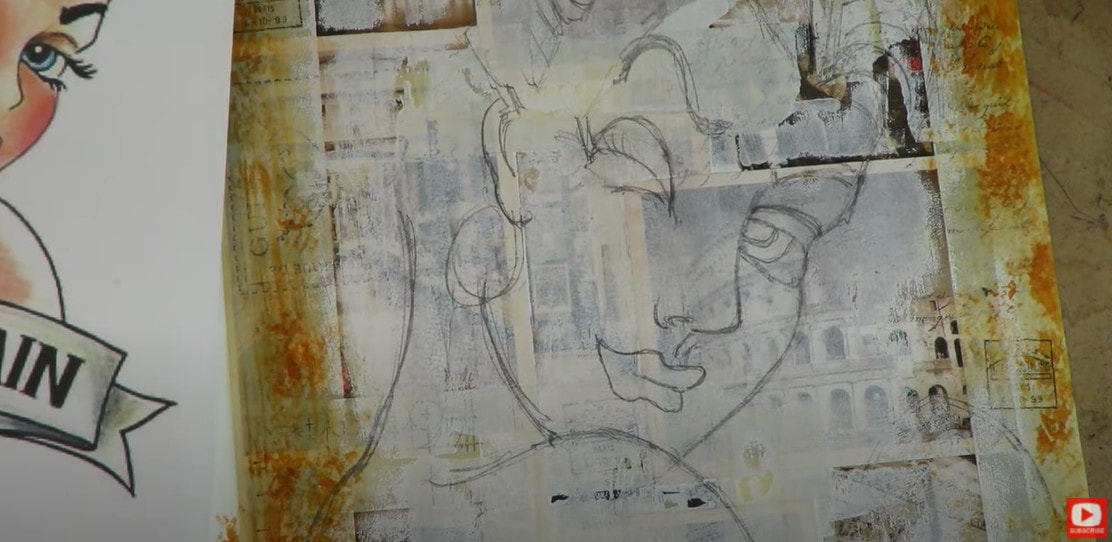
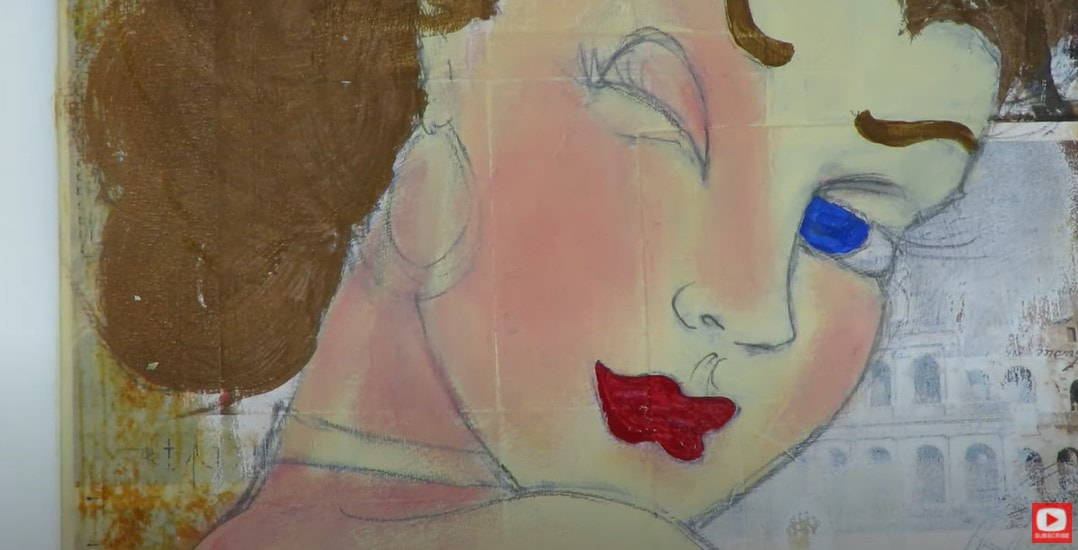
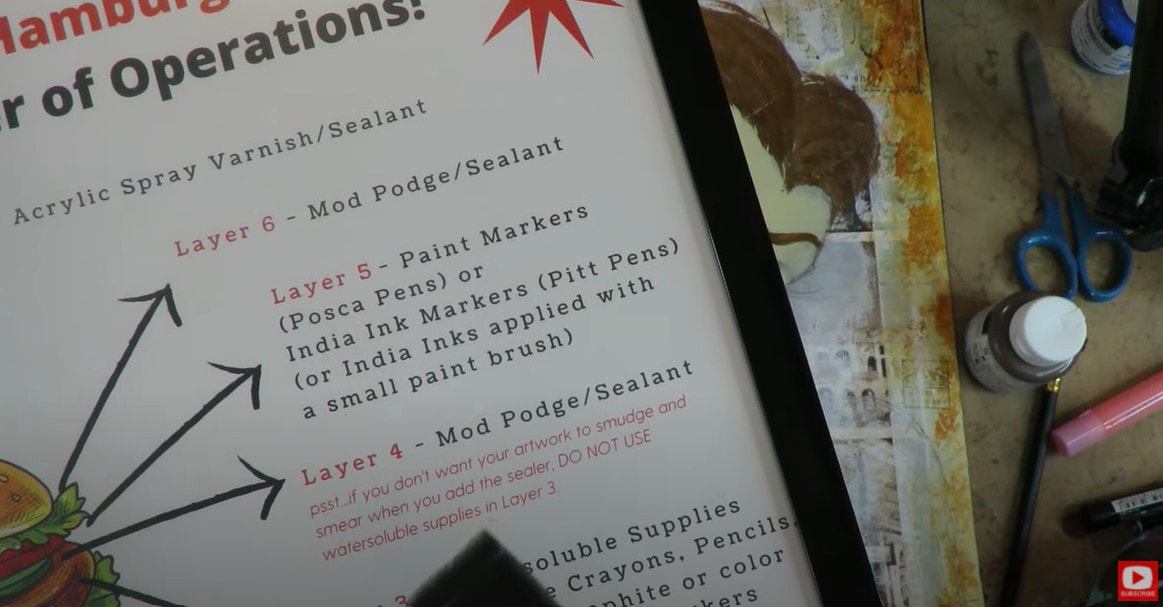
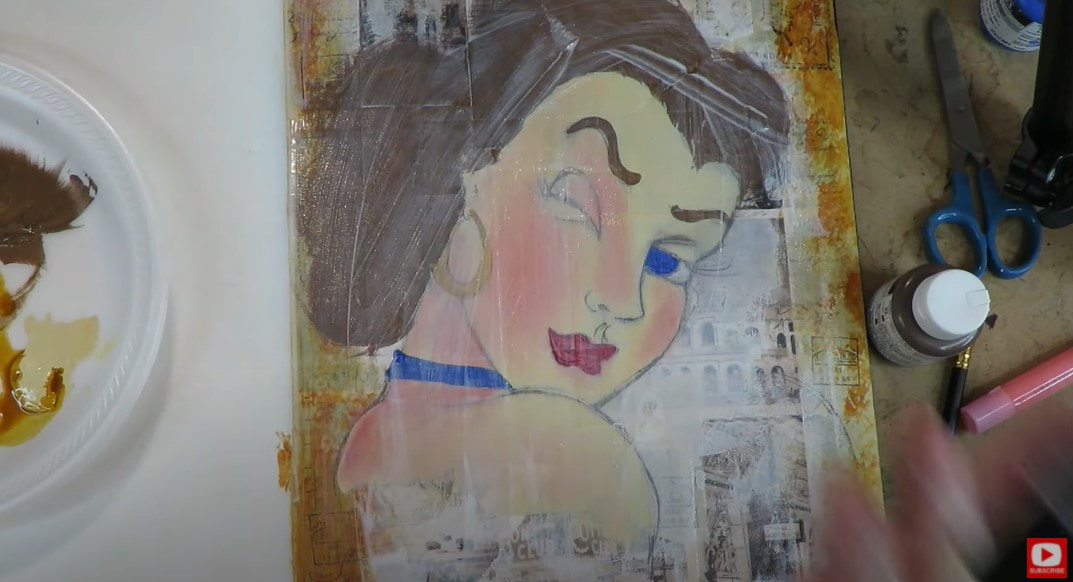
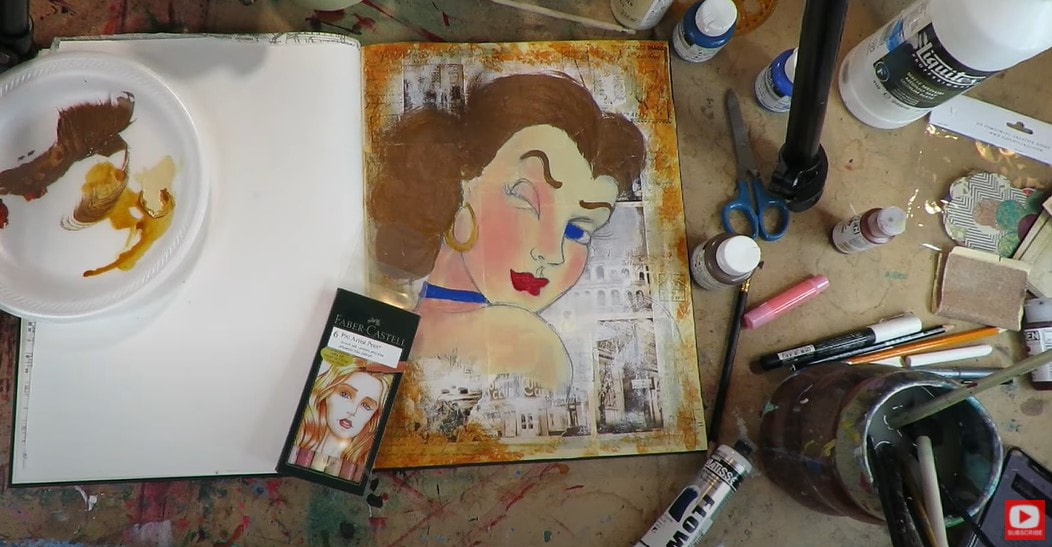
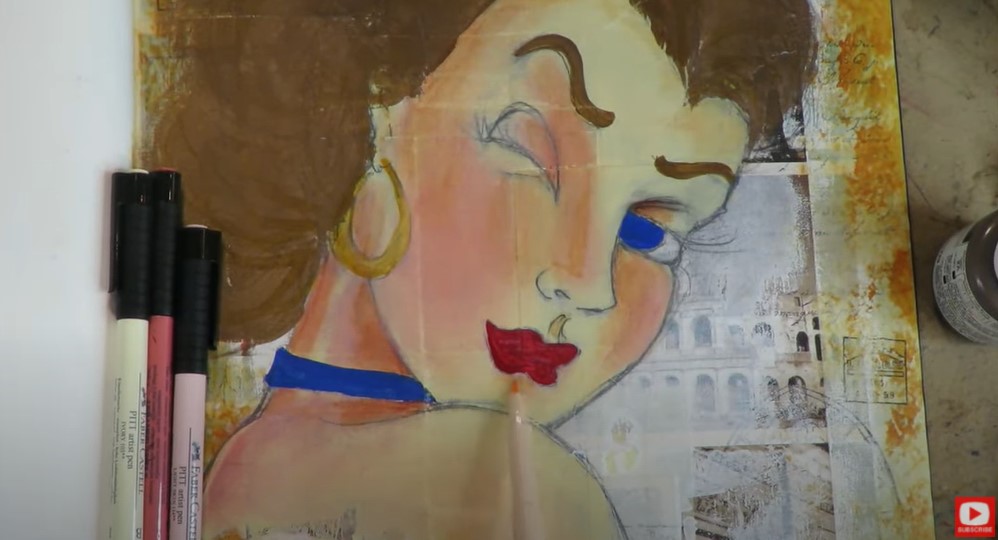
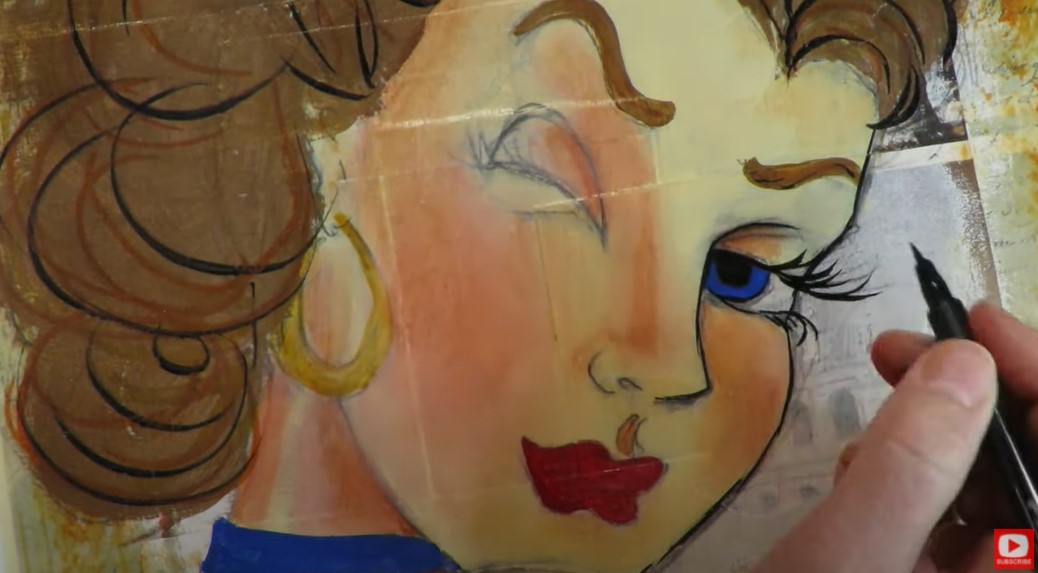
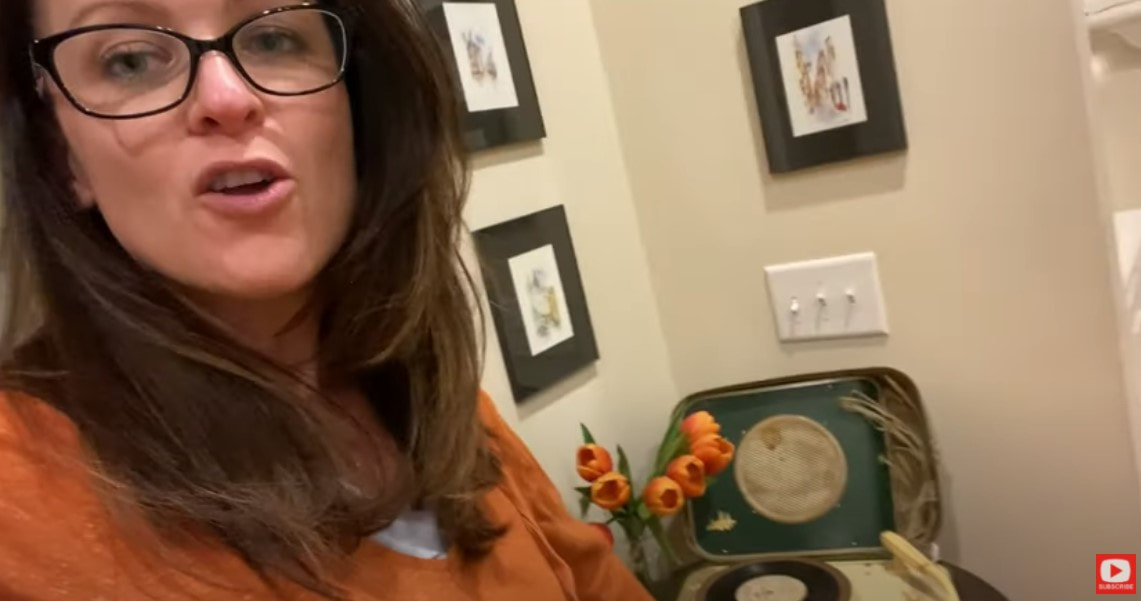
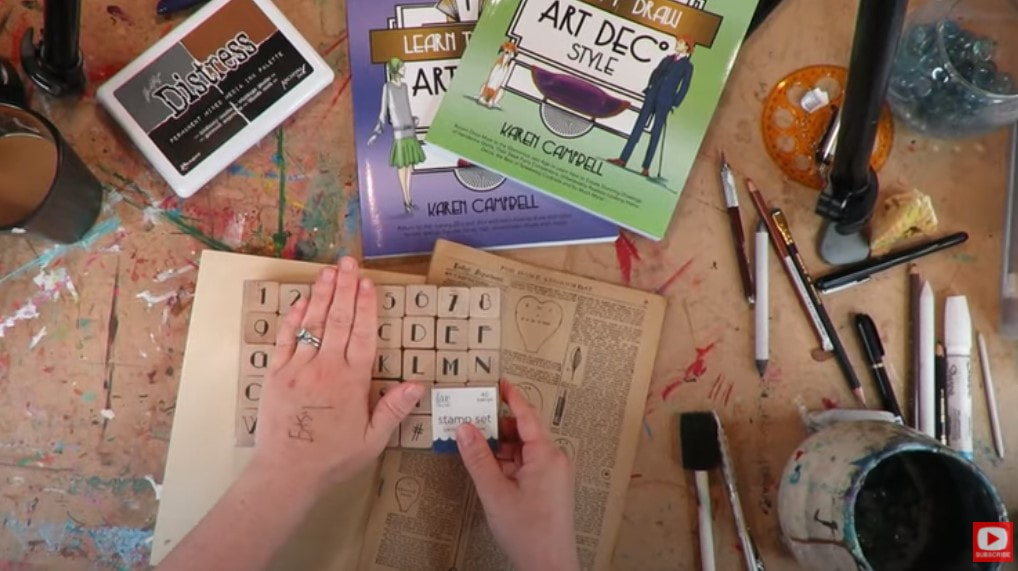
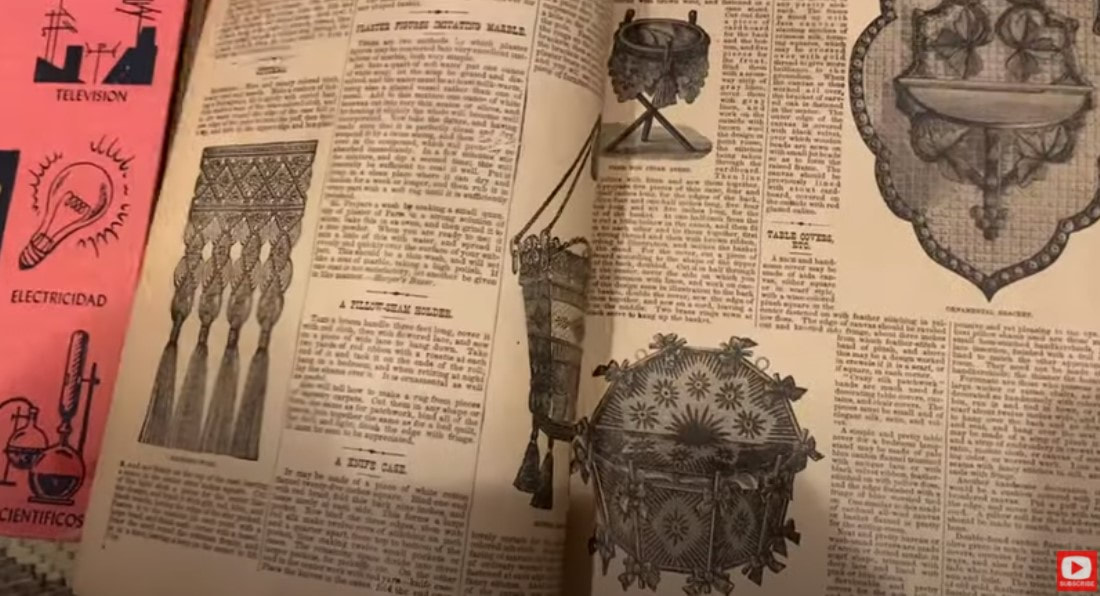
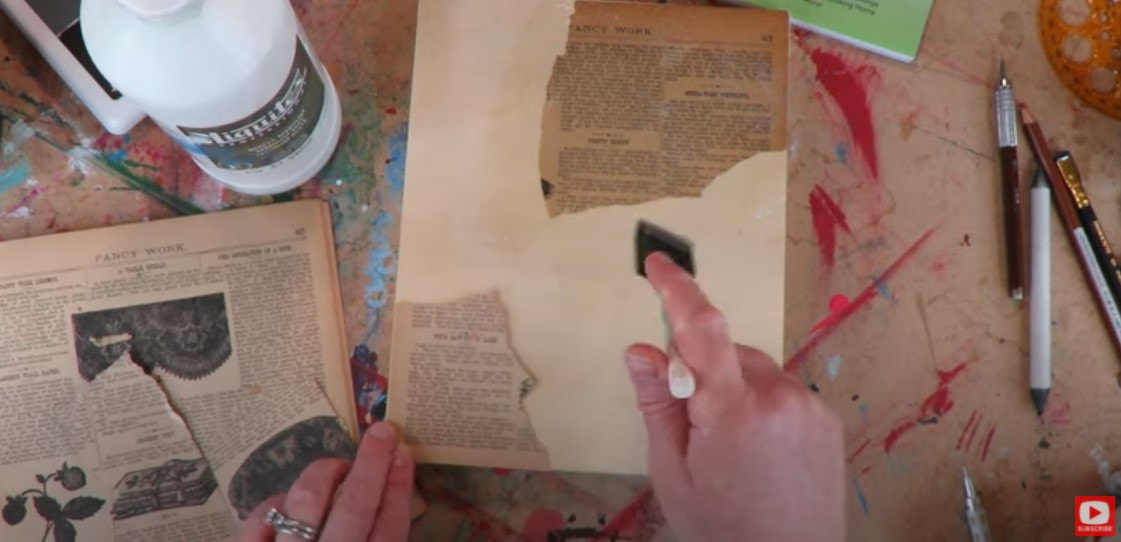
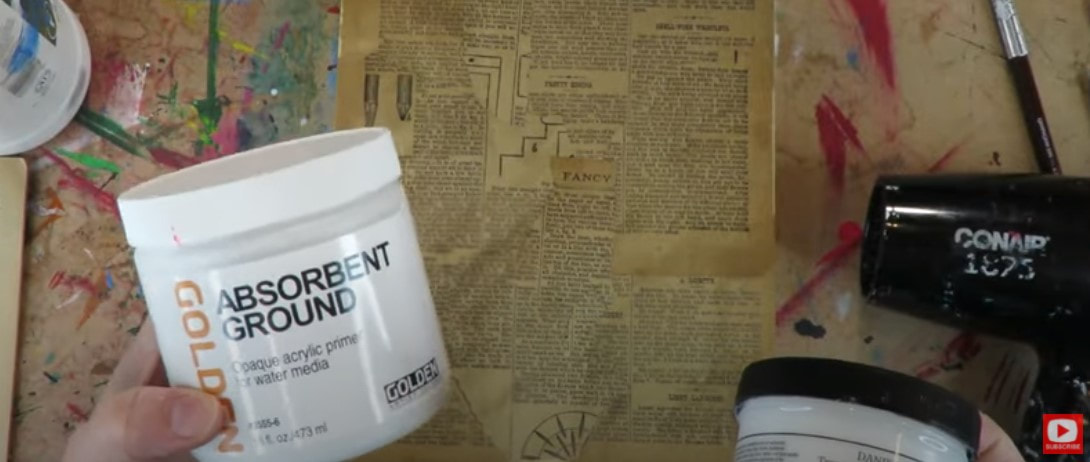
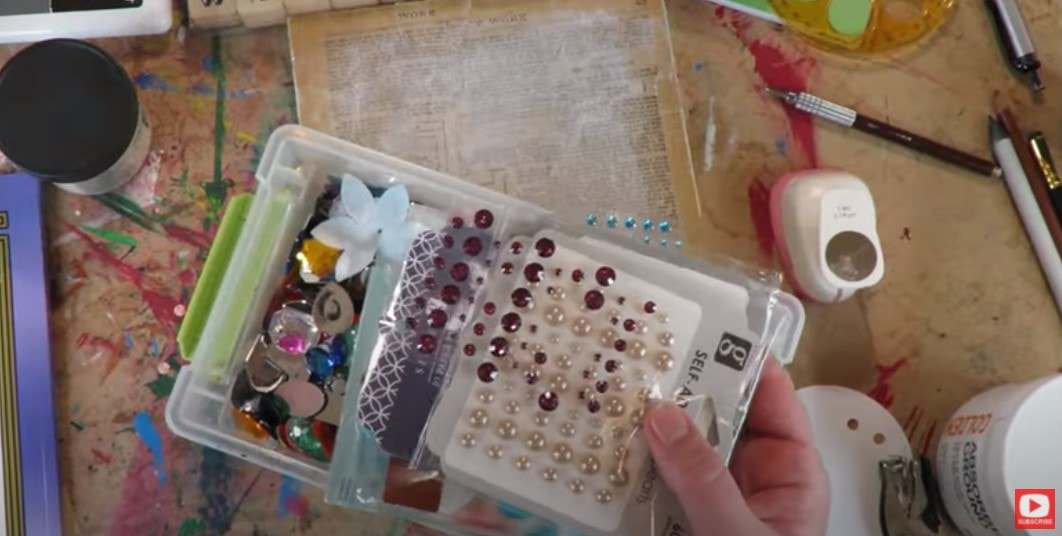
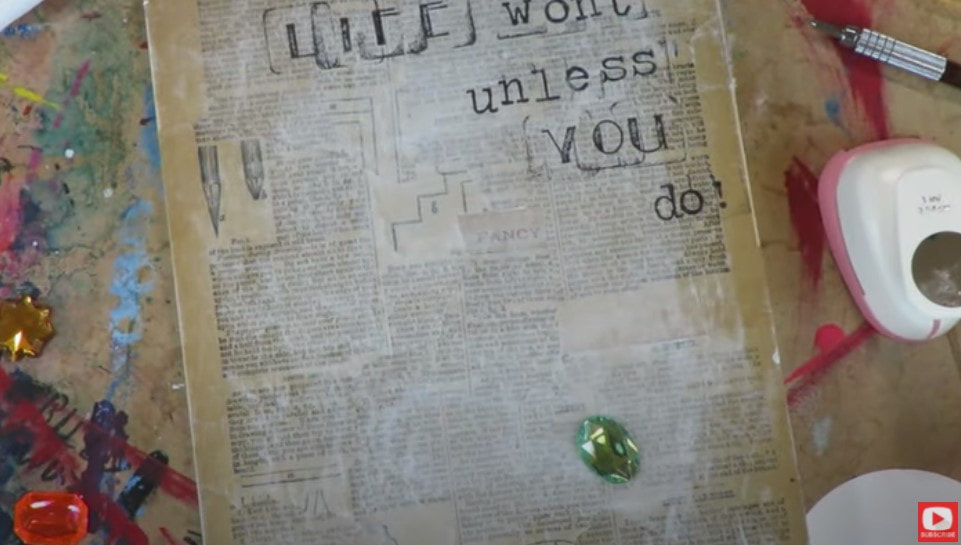
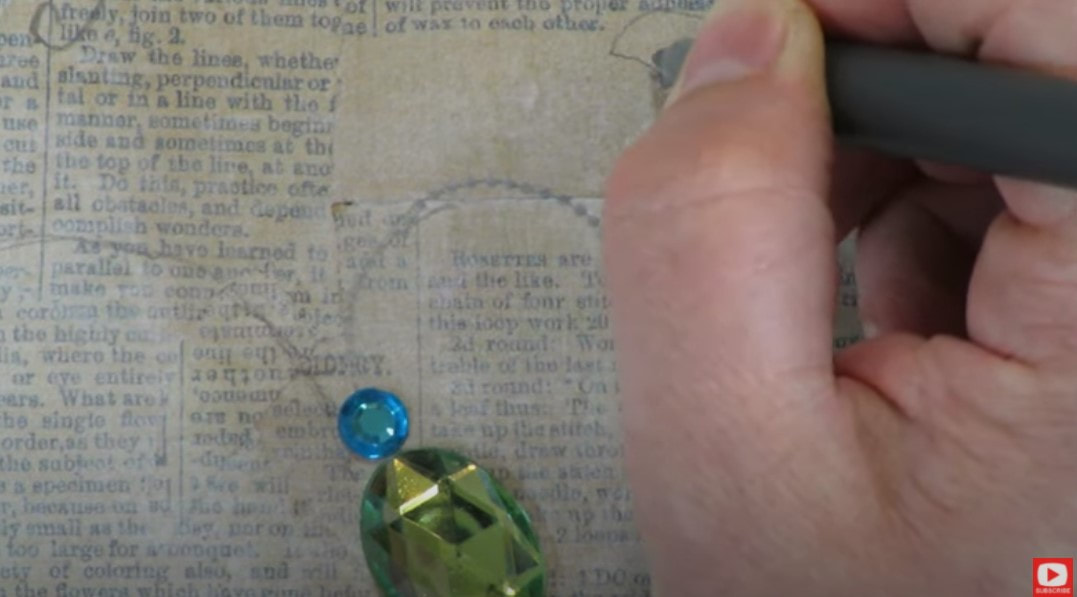
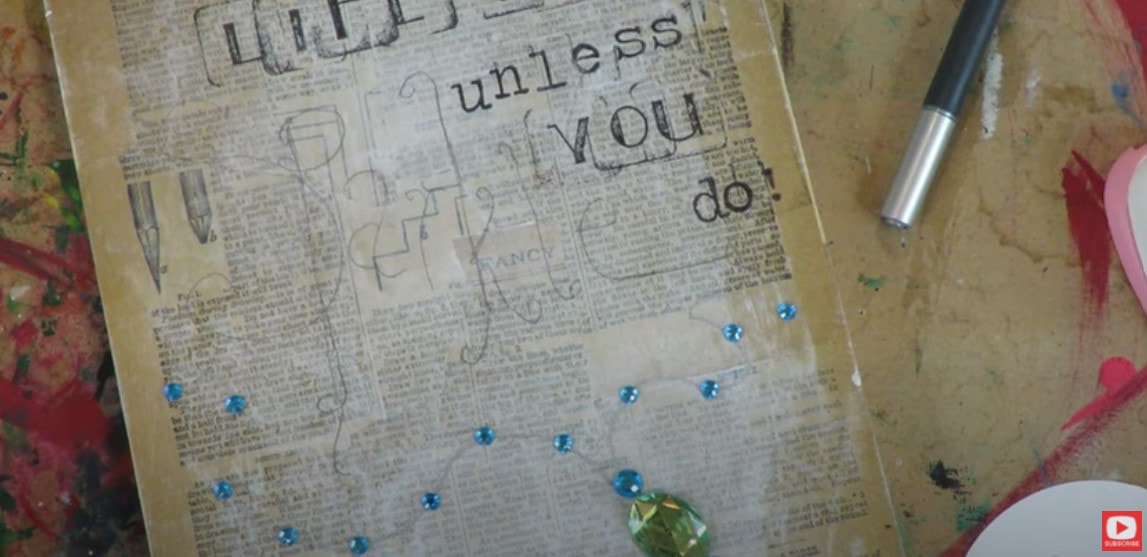
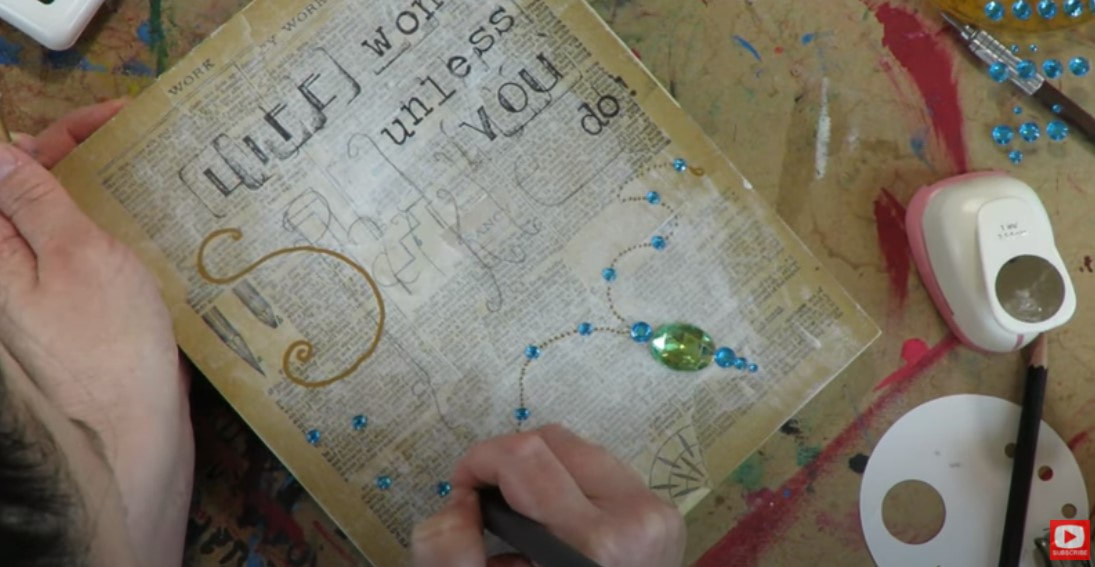
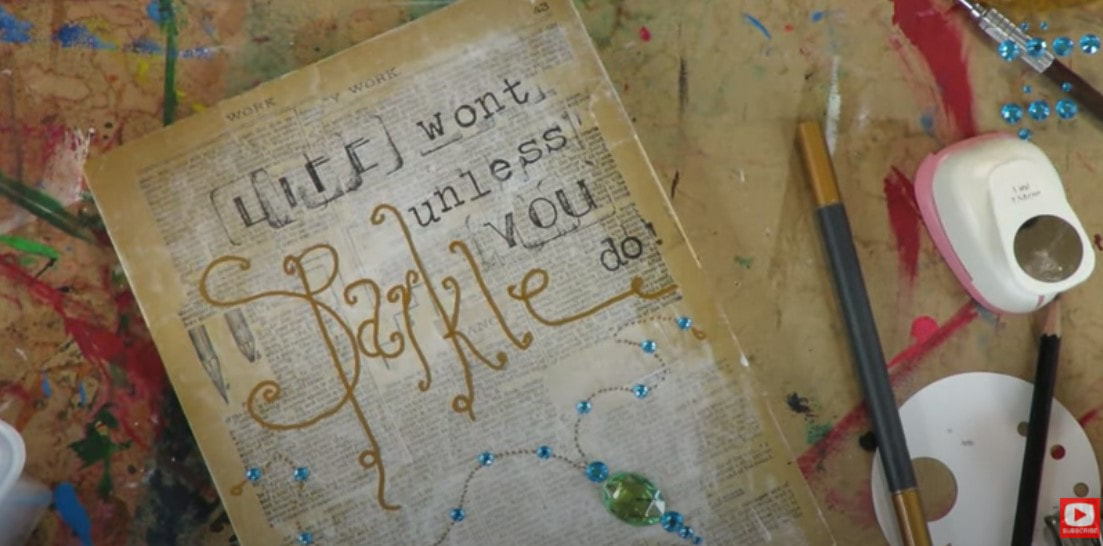
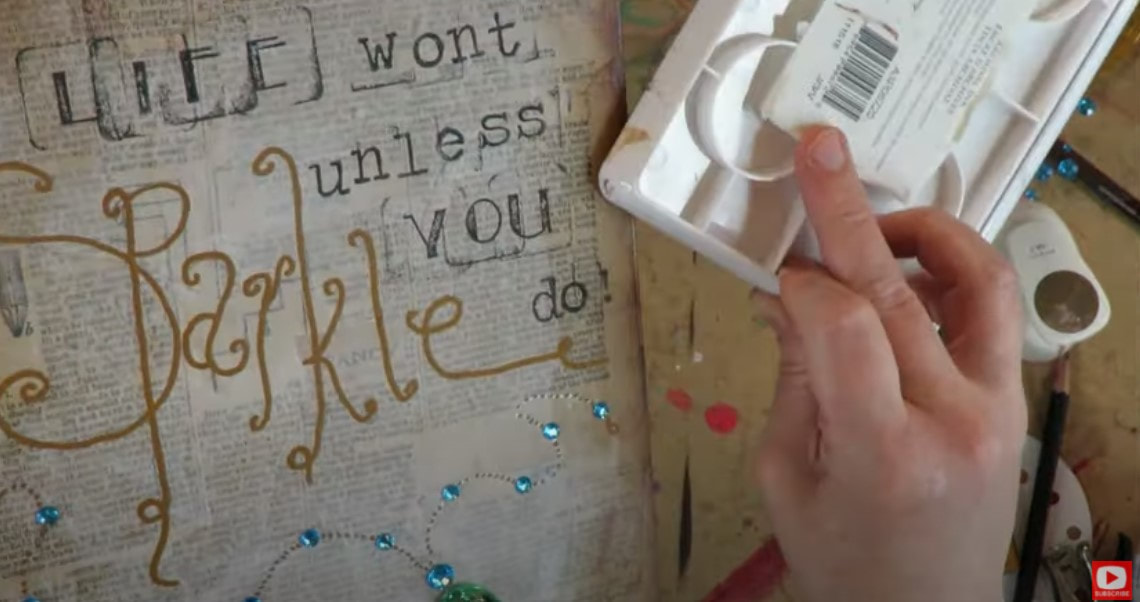
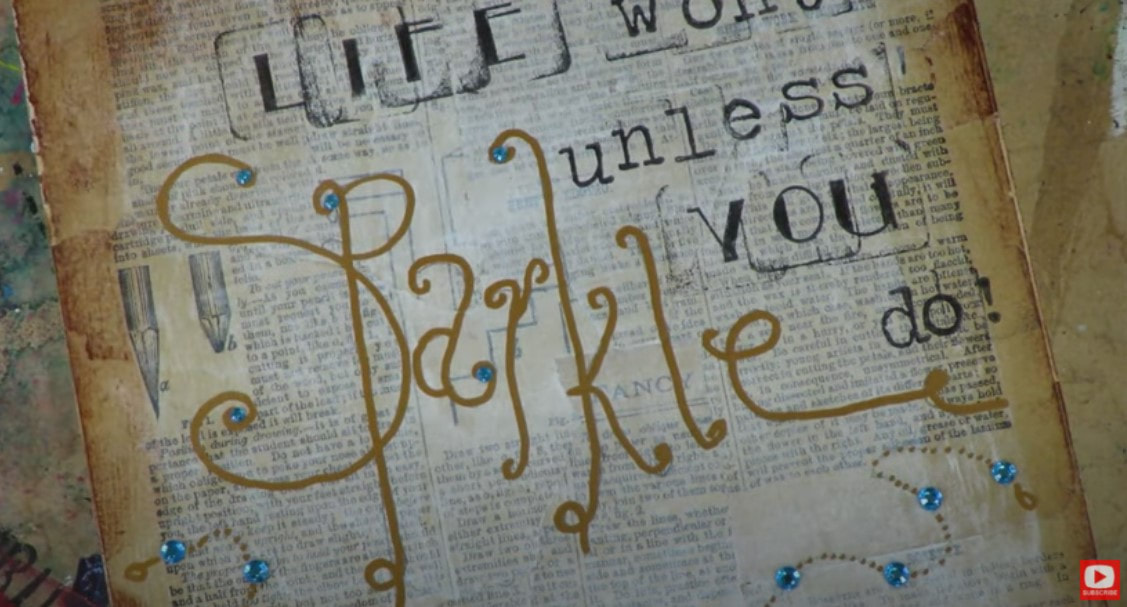
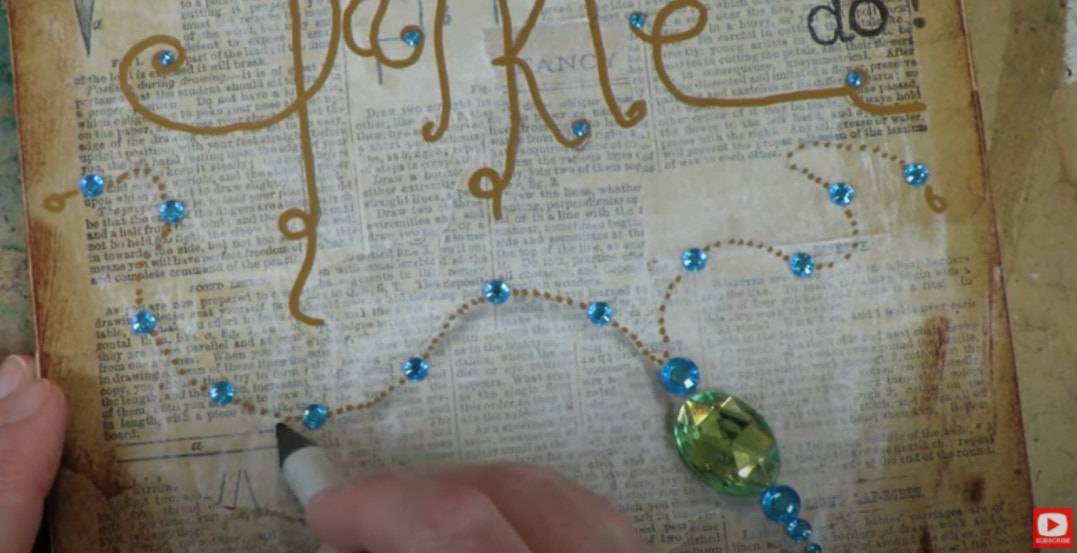
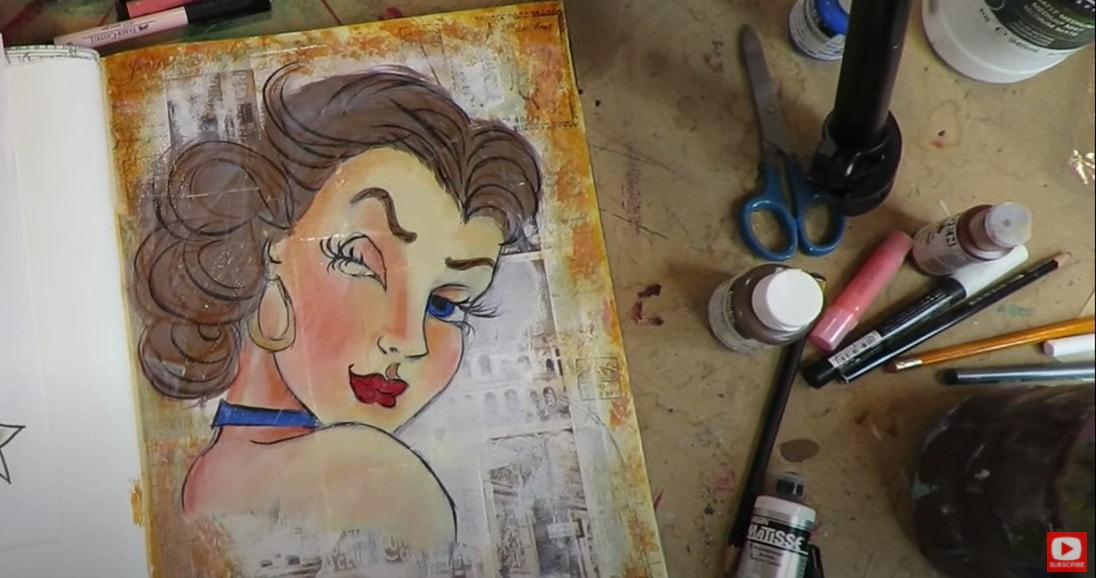
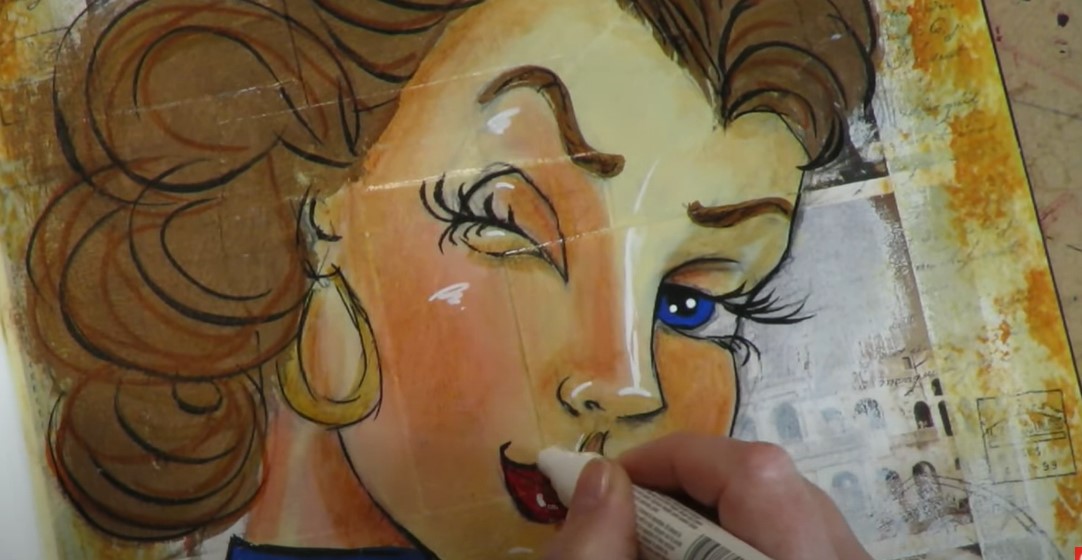
❤️Want FREE, immediate access to my Fun Fab Drawing Club and/or Mixed Media Society plus discounts on all my art books, sneak peek at YouTube videos and new book content, behind-the-scenes fun and MORE? Join me over on Patreon today and get HUGE PERKS in return for a small monthly donation. ❤️ CHECK OUT ALL my art books on AMAZON (available in both Kindle and Paperback) ❤️ SIGNED COPIES of my art books on ETSY ❤️ MY FAVORITE ART SUPPLIES on AMAZON ❤️ MY BELOVED FACEBOOK GROUP ❤️ FOLLOW ME ON INSTAGRAM ❤️ FOLLOW ME ON FACEBOOK Who doesn't love SASSY Pinup Girl Art?! Seriously!! Why have I not shown you how to draw a pinup girl before?! I had such a blast with this art journal page and can't wait for you to try it! Today’s video is a FULL LENGTH mixed media art project, so if you love vintage collage, pinup girl drawings, art journaling, my hamburger system OR mixed media tutorials - this is for YOU! Not sure what I'm talking about when I say "Hamburger System?" NO PROBLEM!! I've got you!! My Hamburger System is a simple mixed media layering system I've developed over time after TONS of trial and error from playing with ALL the art supplies I could get my hands on!! I used to get asked all the time (and still do!) about my mixed media process, and what order I layer my mixed media art supplies in. I've broken it down for you layer by layer and created a fun step by step video series on YouTube, created a FREE cheatsheet you can download, and EVEN ending up pouring it all into a book because I think it's that helpful to have as a reference on your art table. I love collaging art journal backgrounds with new materials and trying out new art journal ideas, so was thrilled to try doing a postcard collage! I was not sure how this was gonna work because I've never done much with postcard art, or collaging materials with a glossy sheen, but I was in the mood to BREAK a FEW RULES!! Grab your art journal, some vintage postcards, your acrylics, gelatos, pitt pens and ALL your mixed media hamburger supplies because it's TIME TO PLAY!!! How ADORABLE is this retro pinup girl I found to use as our reference image for todays' project??!! I'm SO excited to paint her into the foreground!! Before we go any further, super quick announcement: All product links are Affiliate. I may earn a small commission if you choose to order through these links, but by law there is never any additional cost to the consumer for doing so. I thank you for your support!! If you follow me, you know I'm a super fan of liquitex matte medium for my collage layer, but since I've already started this project in a rebel mood- I'm gonna go ahead and continue that streak! These postcards are pretty substantial, so I grabbed my good old fashioned Weldbond adhesive because I don't want them buckling or separating. I want them to be locked down and rock solid. Initially I hadn't planned to use masking tape for this project, but it was sitting next to my art journal, and I've used masking tape tons in the past on my collage layer, so decided to frame my page around the edges. Not only will this add some additional texture to my collage background, it will help to strengthen the edges of my page. Before we get TOO FAR into the project- we need to talk about background vs. foreground. While I totally love each and every one of these postcards individually AND the composition they've magically created together in my background - I'm not gonna let myself get attached. I KNOW it's hard, but you need to do this to if you intend to paint or draw something into the foreground of your piece. A background is simply that- a background. Of course we want it to be awesome, but we can't be precious about it. To help me with that, I've added a few scrappy pieces of masking tape in the center of my page, and my stamps! Next, I added some gesso with my brayer to kick the background back even more, so I have some space to draw. Don't let this hurt, ok? Background is background! We're prepping the space for someone fun to appear in the foreground, so we need this to head backstage. The rough application with my brayer helps the background take on a bit of a grungy look - which I LOVE. To bring that out a bit more- I added some brown acrylics around the edges. I know some mixed media art fans kinda hate drawing, but I love it, so a lot of my work ends up as mixed media portraits (because I LOVE drawing faces and teaching people how to draw a whimsical face!). If you love drawing faces, you HAVE to join me over on my YouTube Drawing channel for my Whimsical Women of the Women of the World series. We're having a blast and you can do this on your own time, any time you want! If you're totally new to drawing faces, check this series out on my YouTube Drawing Channel to get you started!! You'll learn how to draw a whimsical face in pencil. It's super easy and relaxed. Then I show you how to add a little bit of shading, and we build on those skills when you're ready for more! I get a ton of questions about how to draw so many random things, and I really encourage using a reference photo because everything you need to know to create a beautiful drawing is already in the photo. All you do have to do is draw what you see! A reference makes things SO much easier. And if you choose to draw in a whimsical style like I typically do - it's way more forgiving than realism. AND more fun (I think!!). After your pinup girl drawing is all sketched in - it's time to kick things up a notch and add some color!!! Have FUN layering in your acrylics and gelatos. Just keep on moving up the hamburger layering system from the bottom up! If you have questions about your supplies and where or when they go, just use your cheatsheet! If you didn't grab that yet, click the button below to have it sent straight to your email! When I'm happy with my gelatos and acrylic layers, I'm ready to seal it - which is layer number 4. At this point, nothing should move when I add mod podge except for my gelatos. They will melt a little bit, so be prepared for that. If you don't want anything to move (this totally freaks some people out, and that's ok!) - you can just choose to work only with materials that are nonwatersoluble, and permanent - like acrylics! Tons of students ask me if watercolors are ok to use in the Hamburger System and where to put them. I honestly don't use them AT ALL in the Hamburger system because they are SO reactive, and just their own animal! I save up my watercolor love for other projects. Watercolors play nicely with colored pencils, paint pens, fountain pen ink, pens, etc. - and I totally love them, just not for my "Hamburger" projects. Remember - my Hamburger System is not the only way to go with mixed media- it's just a fun pattern I've developed for layering over time that I love and find to be pretty fail safe. It always gives me gorgeous results, and because I want YOUR art to be AWESOME - I've shared this with you so you have NO questions about what supplies play nicely together and you can just have FUN, which is the most important part of art-ing, am I right?! Once my mod podge layer dries, it's time to have some fun with my pitt pens! They're made by Faber Castell and filled with India Ink, and I LOVE using them to "paint" more details on the mixed media faces and mixed media animals I love creating. They actually make an awesome skin tone pack that you might want to check out if you don't have any pitt pens and are interested in trying them out. So fun!! Make sure you do a test swatch of these before you put them on your project because the caps can totally can trick you here and there! At this point, I just have a blast shading and doodling all over the place with my pitt pens to add detail and depth on my slippery mod podge surface. I use my finger to blend for shading in the face. The amazing thing about this layer and playing with pitt pens, is they can be erased with a baby wipe if something happens that you don't like!! If you're following along with my cheatsheet for the Hamburger System, you can feel free to seal this layer with mod podge, and then go back to add even MORE doodles! If you do get any smears with your mod podge here - like I did (because my black pitt pen marks weren't quite dry in one spot before I added my mod podge), that's ok! Everything is fixable- we can figure it out. Just take a breath and redirect the smear! I always finish up with a white sharpie pen or posca pen / paint marker to add some highlights that pop - they make SUCH a huge difference in your art! Watch the video to see exactly where I love to jazz my girls up, and make them glow!! Once I'm good to go with my highlights and have finished adding some distress marks to the edges of my art journal page, it's time to seal her up so she doesn't move and so my art journal pages will not stick together. This is one the HUGEST questions I get from students- "How to keep art journal pages from sticking together?!" So here ya go - my answer is at the end of today's video. Be sure to stay with me till the end for that tidbit!! Thank you so much for hanging out with me today! I hope you LOVED this project and will see ya back here next Friday!! Have a fab weekend!! I LOVE creating mixed media collage backgrounds using vintage book pages! They're EASY to create, and SUPER CHEAP because you can upcycle old books from your local thrift shop for next to nothing. Today’s video is another FULL LENGTH project, so if you love collage mixed media art & mixed media tutorials - this is for YOU! What inspires you with creative ideas for your art projects? I'm often inspired by objects in my environment! Today's project all got started with a glance at my 1950s record player that hangs out in the corner next to my studio. See it there to the right over my shoulder? Before we continue, super quick announcement: All product links are Affiliate. I may earn a small commission if you choose to order through these links but by law there is never any additional cost to the consumer for doing so. I thank you for your support! From the record player, my thoughts wandered to my collection of vintage books reserved for collaging mixed media backgrounds! I totally LOVE thrift store shopping and digging around in used book stores in search of vintage dictionaries, old ledgers, magazines, books of sheet music, and books written in different languages! I find these pages look AMAZING in the background of my mixed media art - just peeking through whatever I paint or draw on top!! When you're looking through this stuff for your own collage art - just bring home the ones that have pages with a super matte finish. These are the BEST for collage. The pages in these old books are super fragile and easy to rip. They're also really porous, which means they're gonna soak up whatever adhesive you want to throw at them! Some people might be horrified by me tearing up old book pages, but I don't feel bad because I'm breathing NEW LIFE into them by collaging art backgrounds! Plus, I only upcycle books and magazines that are in really bad shape- without a cover, with missing pages- stuff that is mostly garbage to other people. Your supplies for today's mixed media project are all pictured above. I'm working on wood canvas because I LOVE a hard surface when I'm doing collage art. A regular canvas has some "spring" to it, and that's not what I need here - I need a stable, sturdy surface that I don't have to be precious with. I've also got my liquitex matte medium, my distress stains, stamps, a vintage magazine to upcycle as my collage paper, and my How to Draw Art Deco Style books out because I need a little more inspiration and direction regarding where I want this project to go! I'm feeling the need for something sparkly, but don't know what it is yet, so plan to flip through the section on sketching jewelry. Before I do that, I rip some chunks out of my vintage magazine. I feel like the sections with images are going to be too distracting, so steer clear of those parts. I also love using the CORNERS of these pages because then I have some nice hard lines to line up along the edges of my wood canvas. Make sure you're using tons of matte medium under and on top of the chunks you're gluing down. If you don't use an "uncomfortable amount of product," this is how bubbles and wrinkles appear in your collage. Sometimes that effect is fun, and it's a personal preference too. Some people love that look, others don't. Using lots of adhesive under and over the collage paper is just one of MY TRICKS to keep the background as smooth and wrinkle free as possible while still showing a bit of texture. Wondering WHY I'm using matte medium instead of mod podge? TONS of students ask me this all the time, so if you're new to me be sure to check this reference out!! If I don't have a clear plan as to where a project is going (which I totally don't right now!!), I reach for matte medium as my adhesive because it's strong and specifically formulated to work with acrylic paint. Since I often paint with acrylics over my collage backgrounds, matte medium is my go to. As I continue getting my collage layer together, I begin thinking I might like doing some painting with fountain pen inks on top. Since these perform much like watercolor, I decide to pull out my absorbent ground to add a thin coat of this in the center of my collage. Absorbent ground preps any surface that isn't watercolor paper to accept watercolor or fountain pen inks. It's SO magical!! If you're not in the mood for watercolor or inks [SPOILER - OR if you watched the video already and saw I didn't actually end up using watercolor OR inks!!] - skip the absorbent ground and grab your gesso instead. All we want to do is add a thin layer of white to the center of our collage so we kick all those words into the background. We still want to be able to see them, so if you're following along, keep your layer transparent. You just want to be able to work ON TOP of the words and bring whatever becomes your subject into the foreground. Once I'm finished adding a thin layer of absorbent ground to my wood canvas, I use my hair dryer to get the area completely dry. Next, I move on to the stamp portion of the project because I'm in the mood to add a quote!! ![]() While I'm thinking about sparkle, I suddenly get the idea to add ACTUAL BLING to my project, and feel as if I'm 5 years old again. LOL! I taught kids FOREVER and have a TON of leftover supplies like these craft gems, pictured below. Some of them have adhesive backs. The big ones need a glue gun. I have THE BEST TIME sifting through the gems and working out a color scheme in my mind. In no time, I'm on a roll, and moving on... By the way, if you haven't thought of this already, this is THE PERFECT ART PROJECT to do with a daughter or GRANDDAUGHTER!! Can't you just see her eyes lighting up as she hunts for the perfect gem for her canvas?! I LOVE IT!! After I stamp out the bulk of my text, I play around positioning my main gem, then start drawing in a winding chain so it looks like the necklace is casually lying on my wood canvas. Then I pencil in the main word from my quote... SPARKLE, and add even more tiny craft gems along my chain for added interest. You can use whatever you want to add detail in the chain and to the words of your quote. Paint pens and pitt pens would be great! I end up falling in love with the look of a gold paint pen and keep that up throughout my piece for chain detail and to highlight the main word of my quote. How CUTE is that?! I used my distress ink stamp pads along the edges and borders to give the piece a bit more of a vintage-y feel and think it adds a fun frame. My finishing touch is to run my blending stump under the chain line of the necklace to give it a little shadow and depth. So love it, and so know exactly who I'm giving this to!! I hope you have as much fun doing this project as I did!! Be sure to share your work in our Facebook Group. I'd LOVE to see what you created!! Thanks for watching!! See ya next week!!! |
Karen CampbellFounder of Awesome Art School. Mixed Media Artist. Author of 18 Instructional Art Books! Archives
September 2023
Categories
All
|
"Karen is flipping hilarious and she's very real...I like the way she teaches in a way that really gives you confidence, whether you're a beginner or advanced there's always something new to learn!"
- Elizabeth W. |
What Fans Are SayingKaren, you are absolutely fabulous! You make me feel like I can draw anything. I have recently retired and finally have the time to do some of the art that I have loved since I was in school. I am really at the beginning of my art journey and I hope to learn as much as I can. Thank you for all you do. |
Contact ME |