
|
Have you heard my story before?
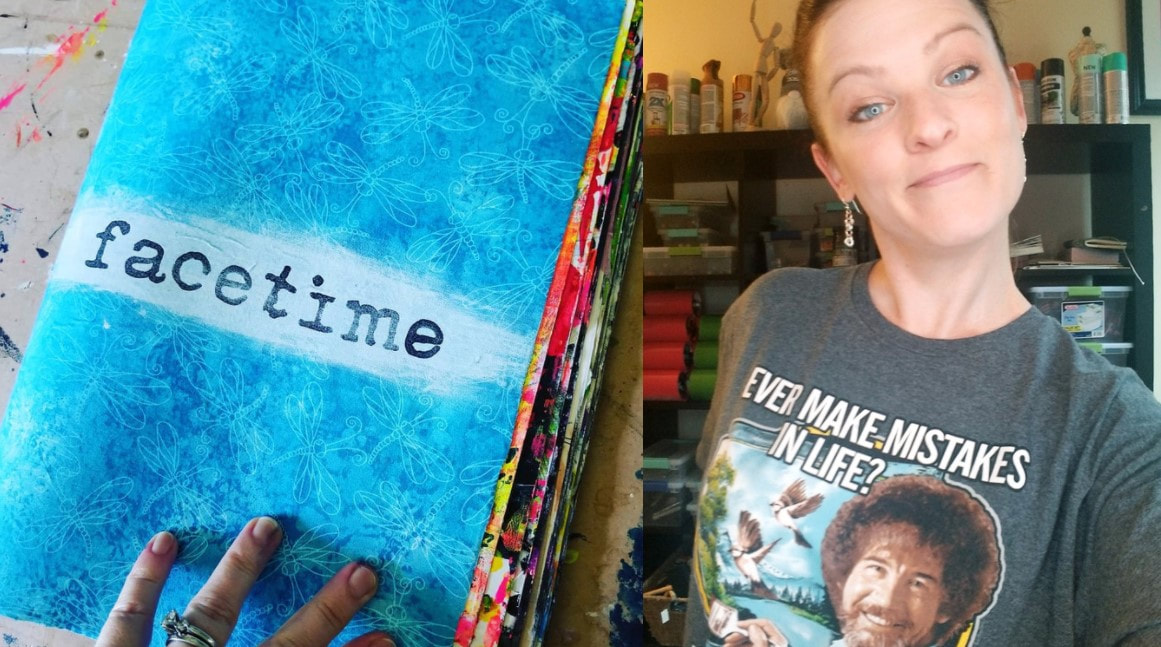
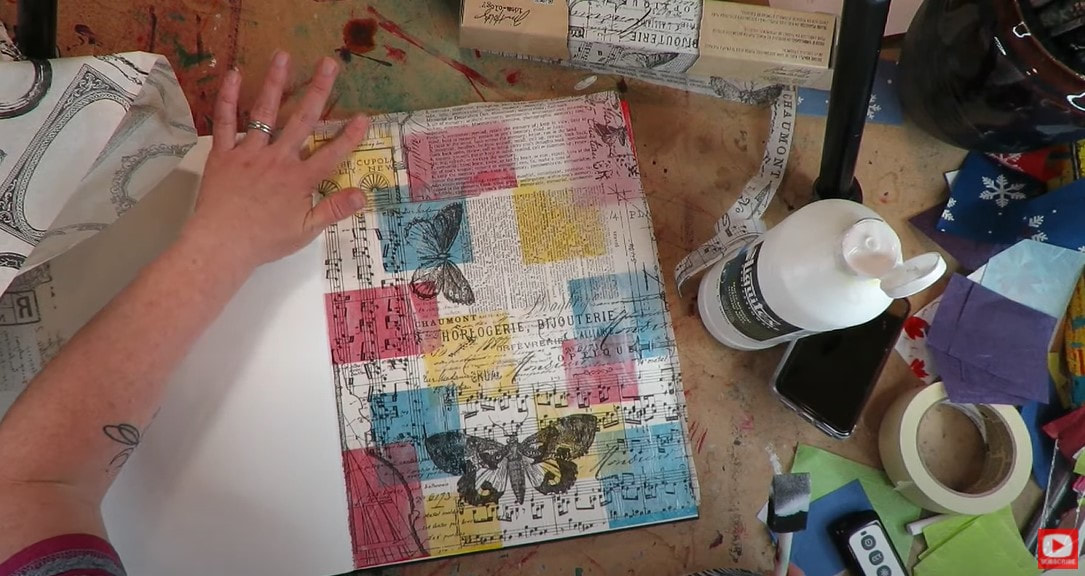
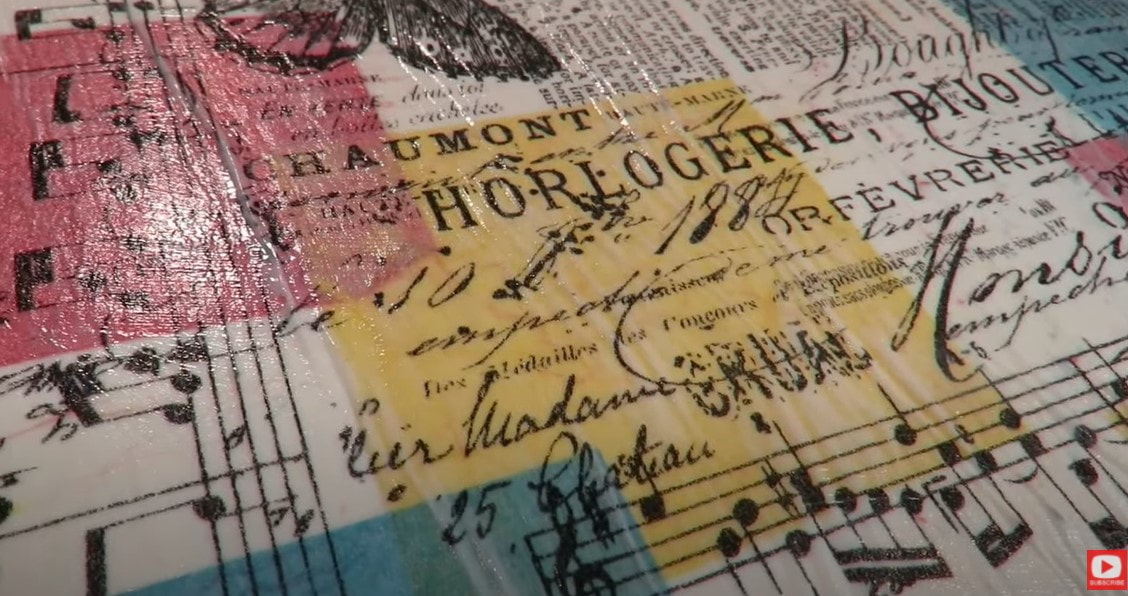
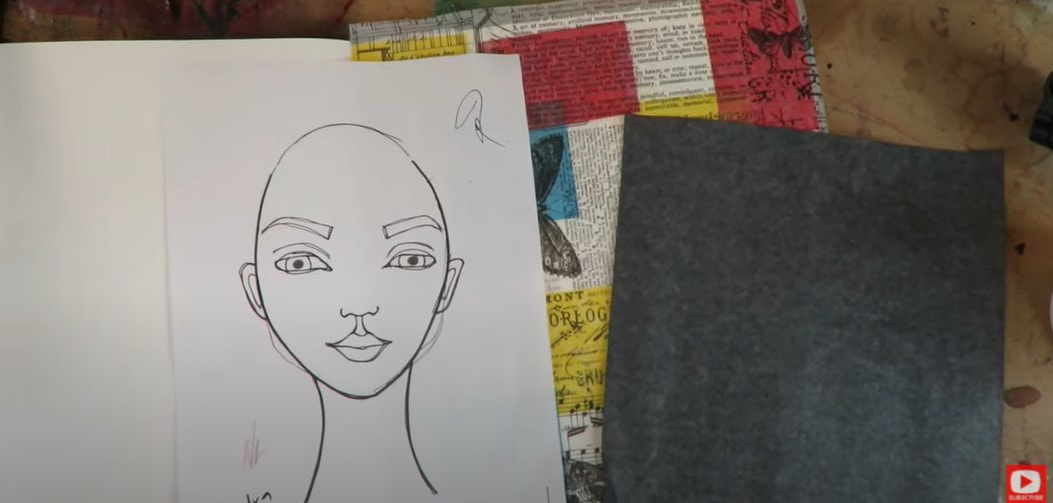
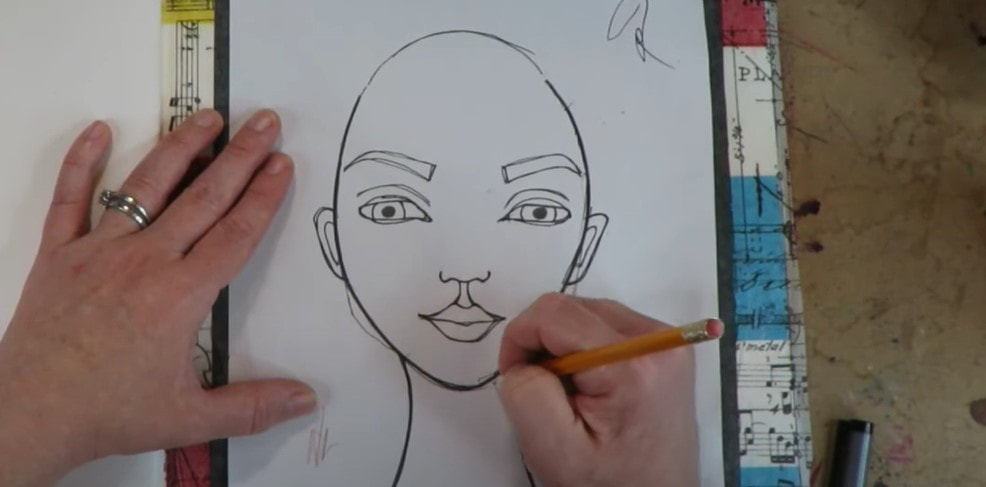
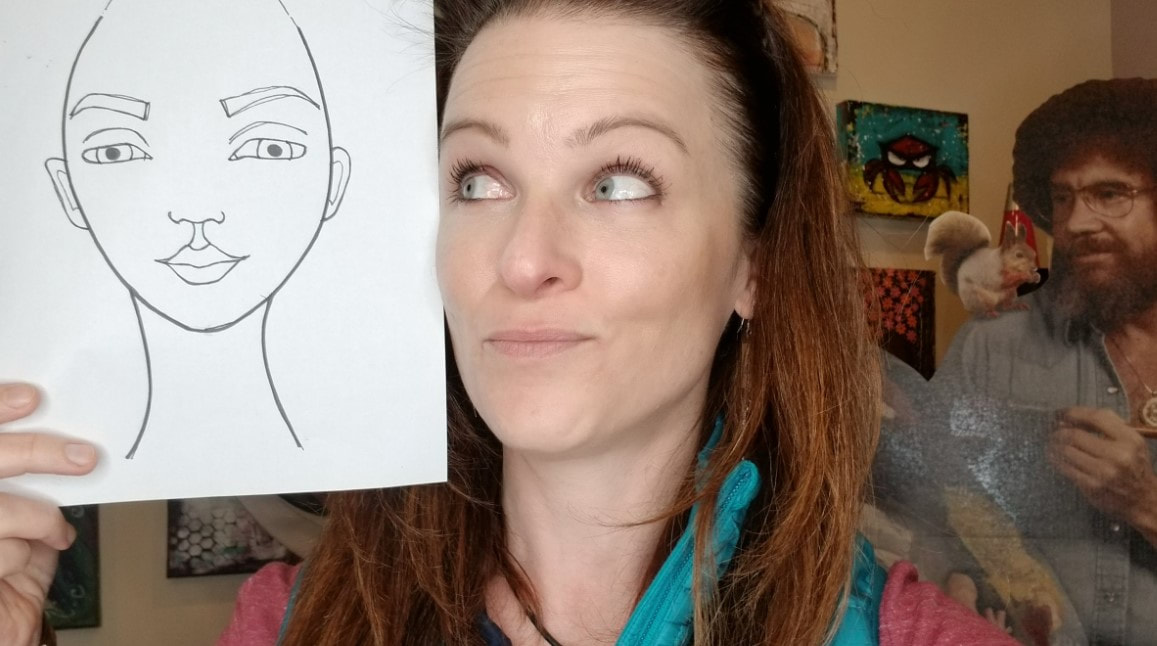
About how I grew up with NO INTEREST IN ART, wanted to be Jane Goodall, legit studied monkeys, and went to Africa during college?! I didn't create my first drawing, or start even thinking about art, until I was in my 30s. And to me, it felt like that was "too late" to get into a new hobby. I had tons of self-doubt, and never thought I'd be able to make something I could be proud of. At that time, I had some seriously limiting self-beliefs. I really felt like artists were BORN with talent, and you either got that gene or didn't. What I've learned since that first drawing, is that artists CAN be made. You don't have to be "Born with talent." In fact, ANYONE can be an artist. You just need to learn the artsy skills you don't have yet! And then... you need to practice. Because the more you practice, the better you'll get! That my friend, is the recipe for success and is how to become an Awesome Artist! Come check out today's video and see pix of exactly where I came from. If I could become an Awesome Artist - YOU CAN TOO!!
|
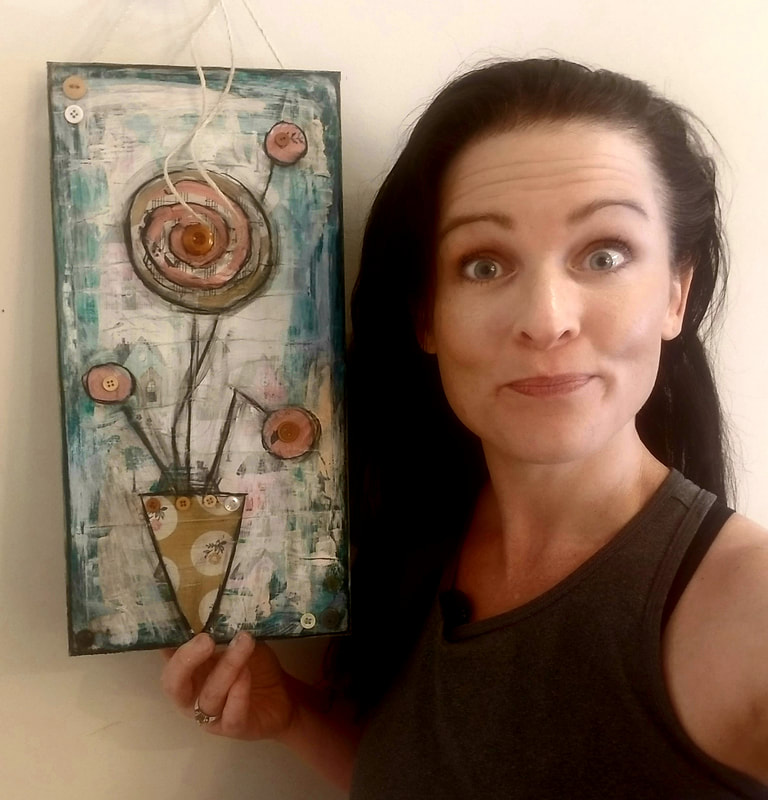
Karen CampbellFounder of Awesome Art School. Mixed Media Artist. Author of 19 Instructional Art Books! 
Whose work has appeared in...
   
 Archives
July 2024
Categories
All
|


 RSS Feed

"Karen is flipping hilarious and she's very real...I like the way she teaches in a way that really gives you confidence, whether you're a beginner or advanced there's always something new to learn!"
- Elizabeth W. |
What Fans Are SayingKaren, you are absolutely fabulous! You make me feel like I can draw anything. I have recently retired and finally have the time to do some of the art that I have loved since I was in school. I am really at the beginning of my art journey and I hope to learn as much as I can. Thank you for all you do. |
Contact ME |