|
In today's toned paper drawing video, we'll build on what you learned last week, and put the value scale to work drawing and shading a sphere. First we'll study the values we see on a reference photo. Then I'll show you some quick ways for drawing shadows and the highlights you see in the reference on both white and toned paper.
If you missed last week's drawing YouTube video - you might want to check that out first, because I talk about toned paper sketchbooks, drawing supplies and more.
I've also got a FREE 5-page toned paper PDF for you to download and use as a reference while you're playing along at home. This will help you TONS with understanding the value scale, drawing shadows and drawing highlights. Plus you'll get a list of my FAV toned paper sketchbooks and drawing supplies to set yourself up for success! Simply click the button below, and I'll shoot it straight over to your inbox.
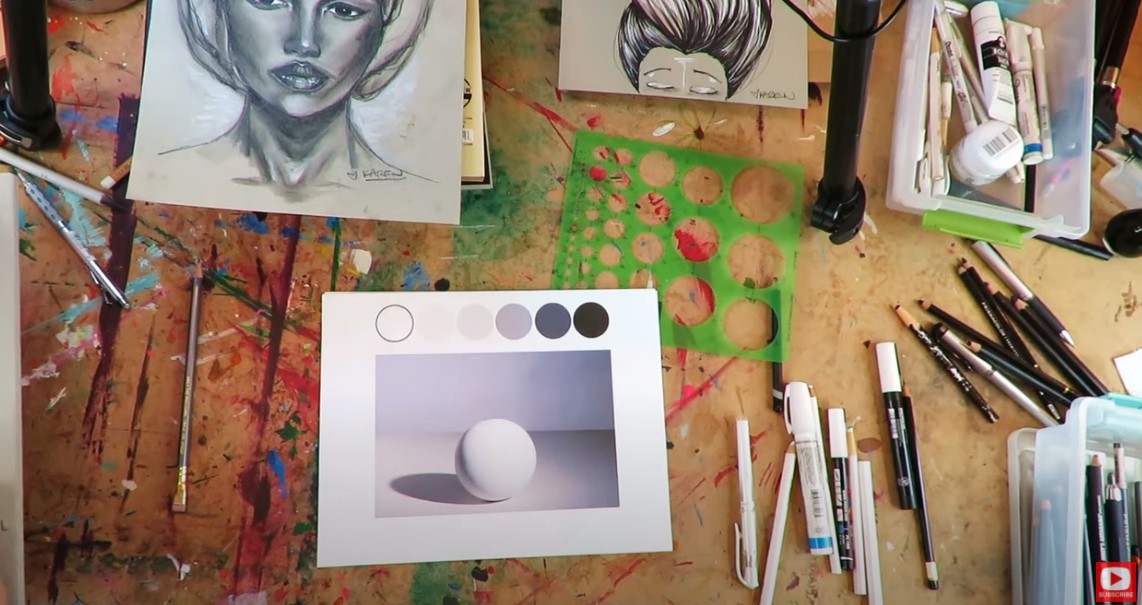
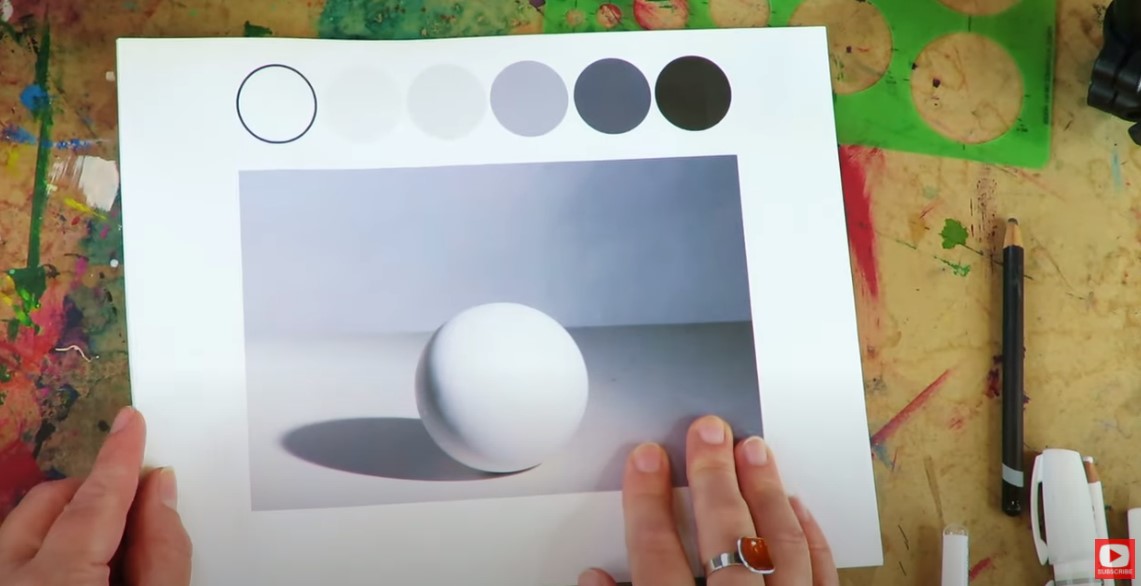
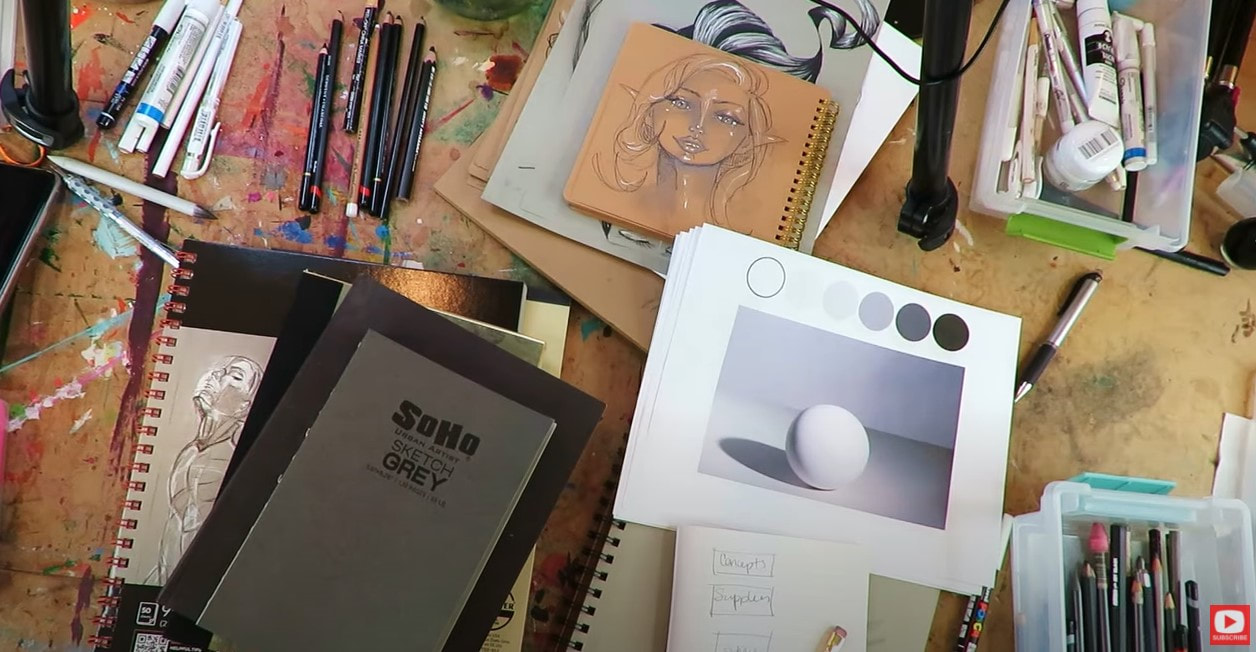
I've included a reference photo of a sphere in black and white in the Toned Paper Packet.
Before we dive into drawing and shading a sphere on toned tan paper- I want to make sure you understand how to use the value scale to draw a sphere on white paper first.
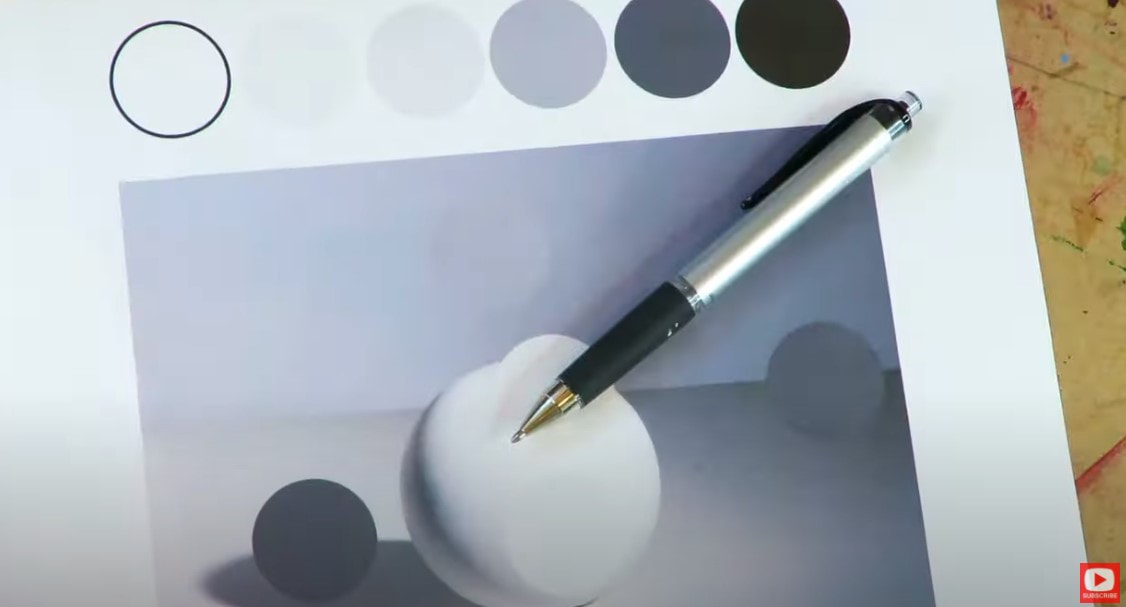
I added "polka dots" in my cheatsheet reference image for you to indicate where your eye should be registering value changes that you need to replicate in your drawing.
Be sure to click over to the video to see this in action!
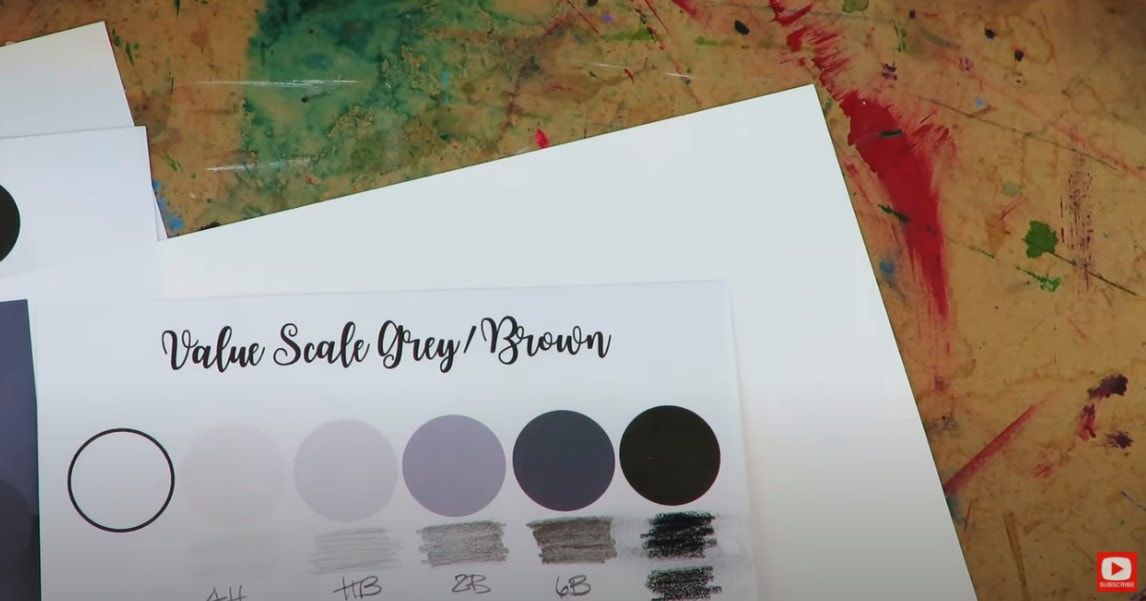
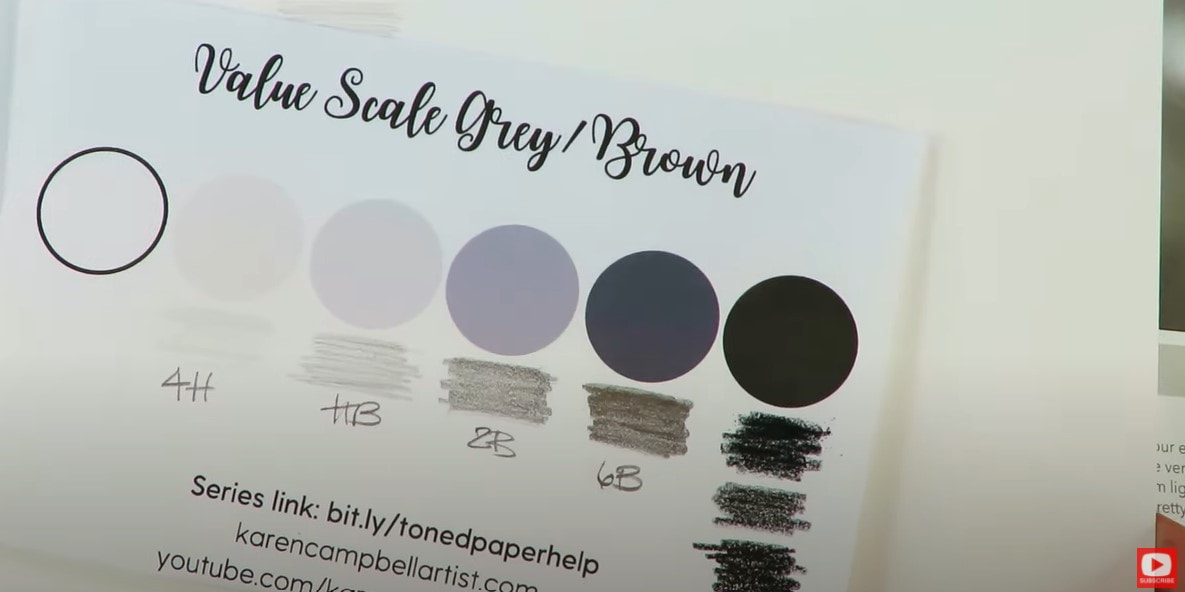
Last week I scribbled beneath each value scale dot with an example of the drawing pencil that can help you achieve each value. If you're a beginner with shading, this will come in really handy when you're ready to start drawing shadows we see in the reference image on your own paper. And as always- when you're working with me- you don't have to use fancy supplies. You can also do this entire exercise in one #2 school pencil.
As you'll see in the video- today's shading practice is really all about me trying to make sure you understand the concept of how to look for values in a reference, and how to record what you see on your drawing. Your execution doesn't have to be perfect or even look that great -just lay down some value and do a little down and dirty practice!
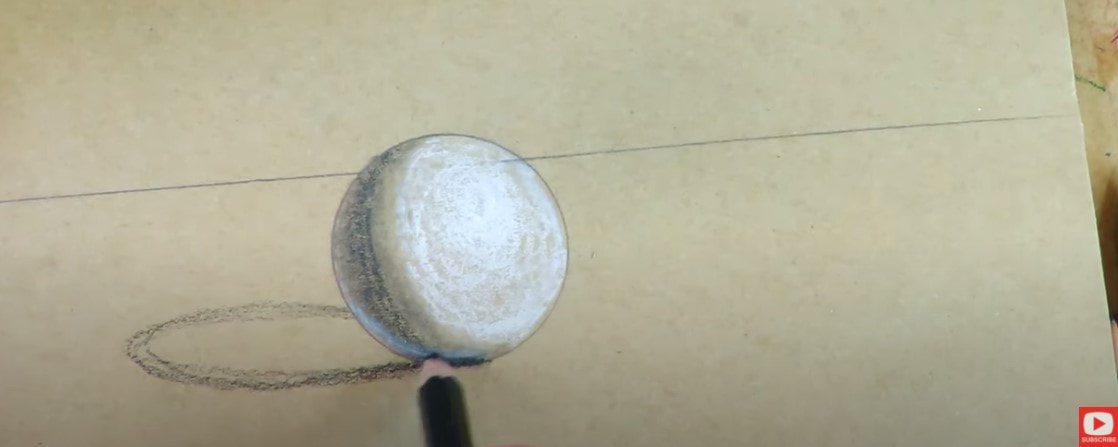
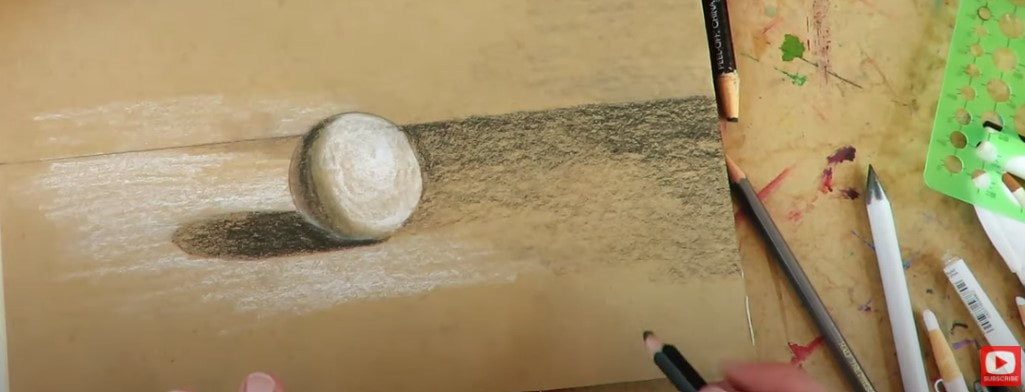
When working on white paper - you need to cover every single shade of the value scale except white in your drawing. When you're drawing on toned tan paper (or toned grey paper), you're "responsible" for adding all the shades of the value scale EXCEPT for the mid-tones, because those shades are represented by the tone of the paper. Pretty cool, right?! For my sphere example on toned paper I'm starting with my white china marker (also called a china pencil or grease pencil) and adding in the lightest highlights I see in my reference image, then start adding in my darkest shadows with my black china marker. I use a little graphite to blend a bit of the midtones and use my blending stump ot help. (The china marker doesn't really blend, so just be prepared for that!)
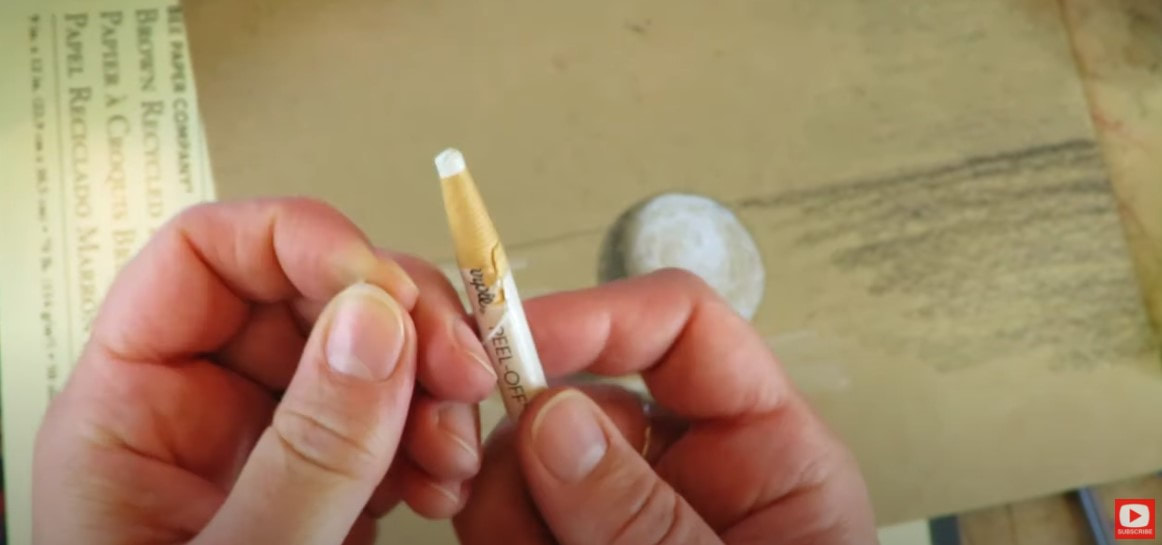
If you're new to working with china markers - all you need to do to sharpen your pencil is to pull on the string and then pull off some of the excess paper wrapping. If you're interested in learning MORE about china markers - I've got a video for you.
I love using the sides of my china markers to lay wide areas of color down, and don't mind the blunt tip. If you prefer working with something that gets to a sharper point - you might want to work in colored pencil.
There is a constant push/pull of working the values and studying your reference photo to make sure you're depicting the values in your drawing correctly.
If you'd like to work on drawing a sphere in more detail through a full lesson - I've got one of these in The Fun Fab Drawing Club.In this one - we draw it in pencil on white paper. Currently enrollment for both of my clubs are closed at the moment- but you can add your name to the waitlist for the drawing club here, and mixed media club here. I'll let ya know as soon as doors open again!!
Next week on my YouTube drawing channel - we will be drawing and shading a face so you can practice these new skills in a different way!
Need the link to that Toned Paper Packet one more time? Here ya go! Click the button below and I'll send it right to your email!
And of course don't forget to watch the video....
Thanks for hanging out with me today!
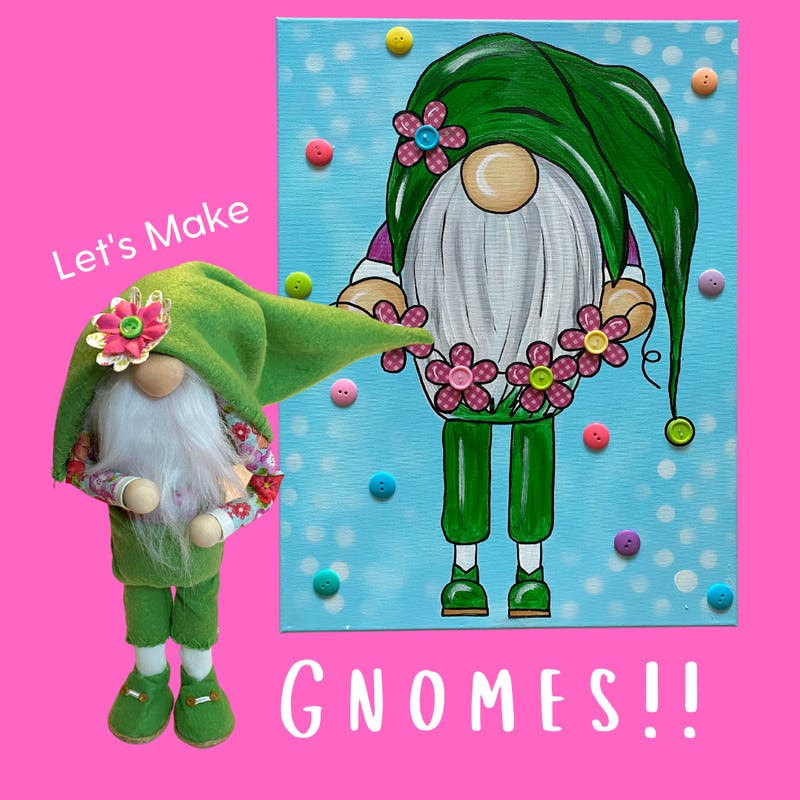
If you're in the Mixed Media Society with me, our GNOME WORKSHOP (hosted by guest artist Sarah Turner of Tenderfoot Villange and I) opens today (June 1st)! You DO need a special code from me to enroll for free. If you haven't already received that- please email me for help so you can enjoy this club perk!!
Not in the Mixed Media Society, but still wanna make these TWO adorable gnome projects?! I GOT YOU!!
❤️ CLICK HERE to enroll for $27 at Awesome Art School ❤️Did you miss my Fun Fab Fairies Workshop? NO worries!! You can STILL sign up and enjoy each of these lessons on your own time at your own pace in this stand alone classroom at Awesome Art School! CLICK HERE to REGISTER.
❤️Did you know I've started a FUN new podcast with my Scottish, artsy bestie, Lucy, ALL ABOUT SCOTLAND & the mythical goodness I can't get enough of about this magical place?! YES - we talk about everything including ARE Fairies Real?! (You know I think they are!!)
The podcast is called 1 Scot, 1 Not! Check us out on YouTube and here's our podcast website! ❤️EVEN BETTER - LUCY & I are creating a NEW ART MEMBERSHIP together called The Celtic Collective!! Learn More & add your name to the waitlist here.
❤️Want FREE, immediate access to my Fun Fab Drawing Club and/or Mixed Media Society plus discounts on all my art books, sneak peek at YouTube videos and new book content, behind-the-scenes fun and MORE? Join me over on Patreon today and get HUGE PERKS in return for a small monthly donation.
❤️ CHECK OUT ALL my art books on AMAZON (available in both Kindle and Paperback) ❤️ SIGNED COPIES of my art books on ETSY ❤️ MY FAVORITE ART SUPPLIES on AMAZON ❤️ MY BELOVED FACEBOOK GROUP ❤️ FOLLOW ME ON INSTAGRAM
1 Comment
If you've always wanted to try toned paper drawing, but didn't know where to start - TODAY's VIDEO is FOR YOU! Join me for a quick value scale lesson about drawing shadows & highlights. Then I'll show you a few examples of my own toned paper drawings, while I give ya a sneak peak at my new toned paper drawing cheatsheets AND talk toned paper sketchbooks & drawing supplies.
Before we continue, super quick announcement: All product links are Affiliate. I may earn a small commission if you choose to order through these links but by law there is never any additional cost to the consumer for doing so. I thank you for your support!
If you're a long time subscriber of mine on YouTube Drawing Channel or Mixed Media YouTube Channel - you know I'm ALL about giving away FREE resources to help you become an Awesome Artist! Today I've got a brand new 5-page PDF to help you learn how to draw on toned paper. Simply click the button below and I'll send it straight to your inbox!
This will help you TONS with understanding the value scale, drawing shadows and drawing highlights, plus you'll get a list of my FAV toned paper sketchbooks and drawing supplies to set yourself up for success!
Before we get started with toned paper, there are a few key concepts you have to understand about drawing on white paper FIRST. Once you've got these down - drawing on toned tan paper or grey toned paper will be a snap!
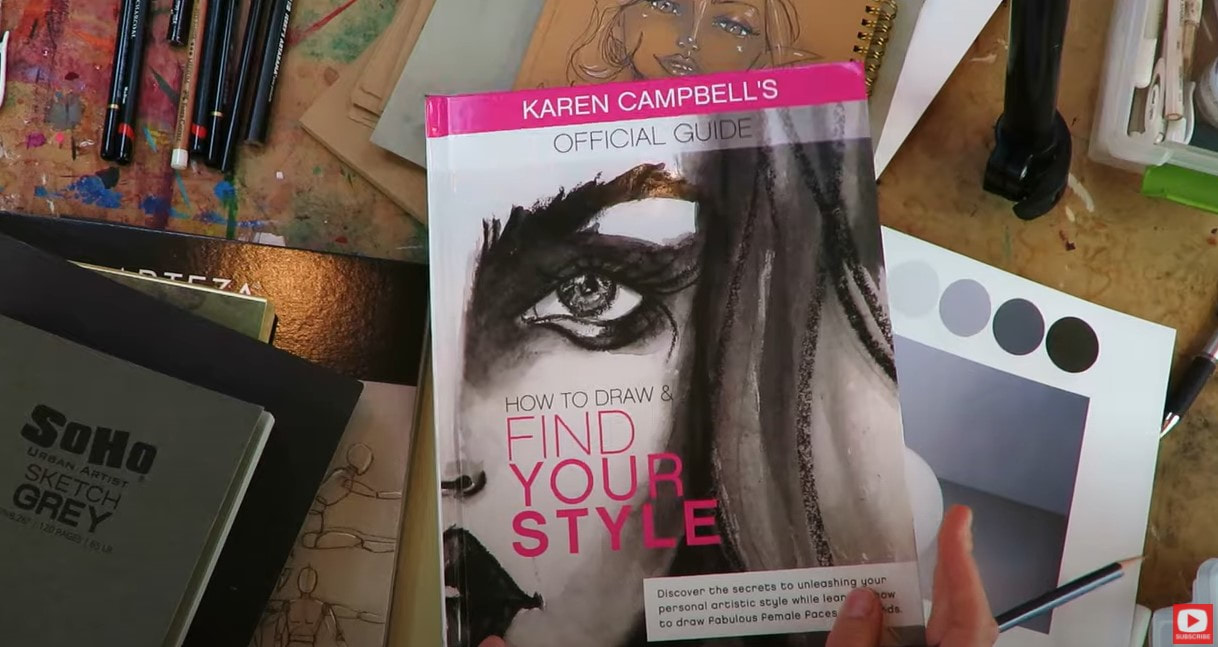
To help you understand this lesson - I'm pulling out my How to Draw & Find Your Style book for reference.
To make your drawings REALLY come alive, you want to have variations of value represented within your drawing to make it look more 3-dimensional and sophisticated.
The more variations of value you show in your drawings, the more advanced your work will look.
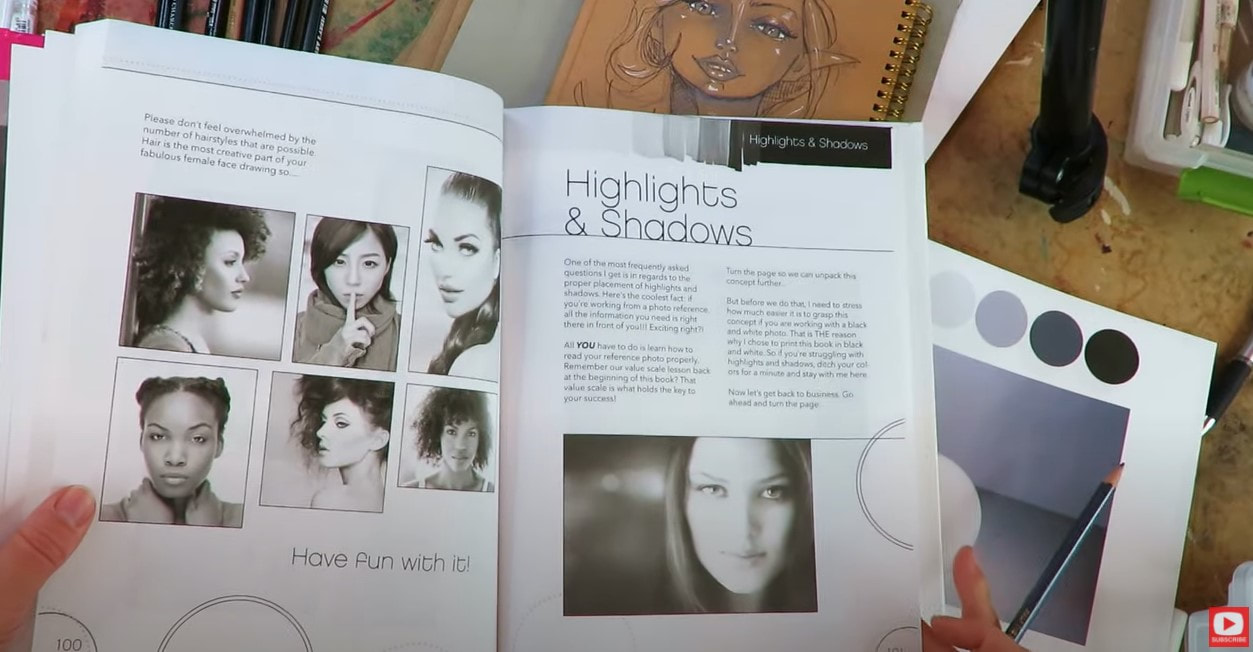
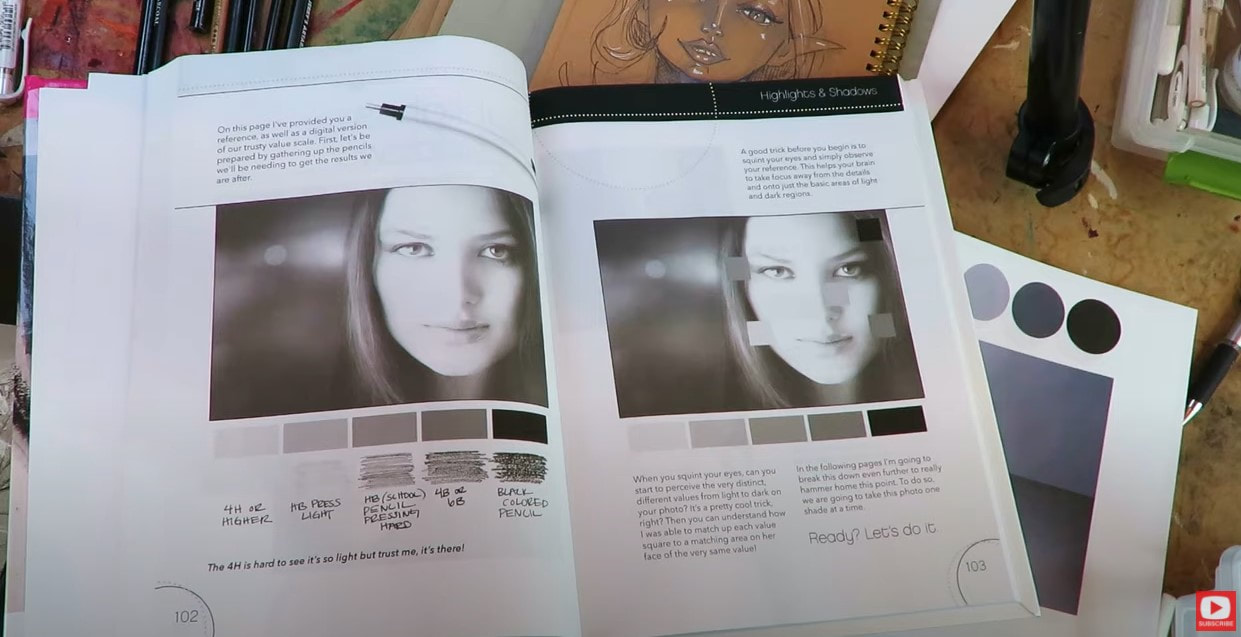
If you have my How to Draw & Find Your Style book at home - I'm looking at pages 101+ and giving a demo about how to recognize values in a drawing reference photo so you know how to replicate shadows and highlights when you're drawing.
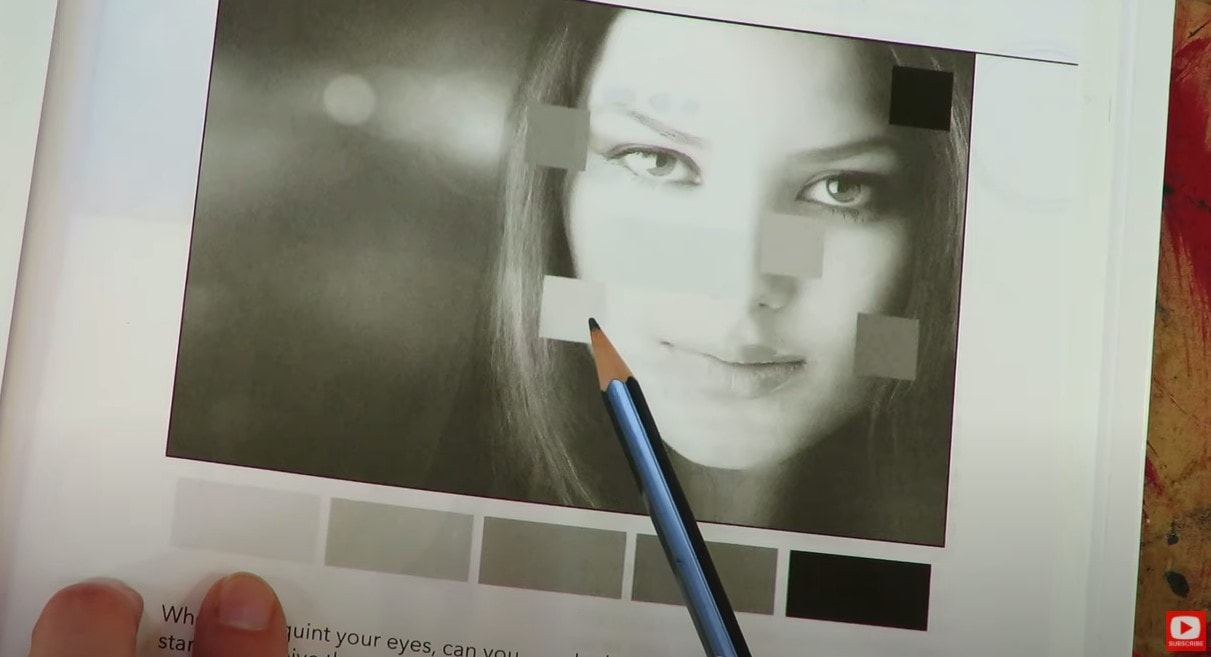
When you're looking at a face drawing reference photo, it can be helpful to scan the image to get an idea of where the lightest lights, mid-range grays and jet black values appear. I've noted those with little boxes to help you find them more quickly.
In today's new cheatsheet, I've created circles in various shades of gray to help you think about each value you want to show in your drawing somewhere. Click over to the video to see which drawing pencils I'm using to achieve each of these shades. 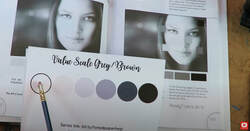
If you're new to shading faces it can help you to have a little cheatsheet next to you like this for reference to remind you which pencils help you achieve which value.
Keep in mind you don't HAVE to have a wide range of special drawing pencils to do this.
If all you have at home right now is a number 2 school pencil- you can work on varying the pressure you use while you're shading to help you achieve differences in value.
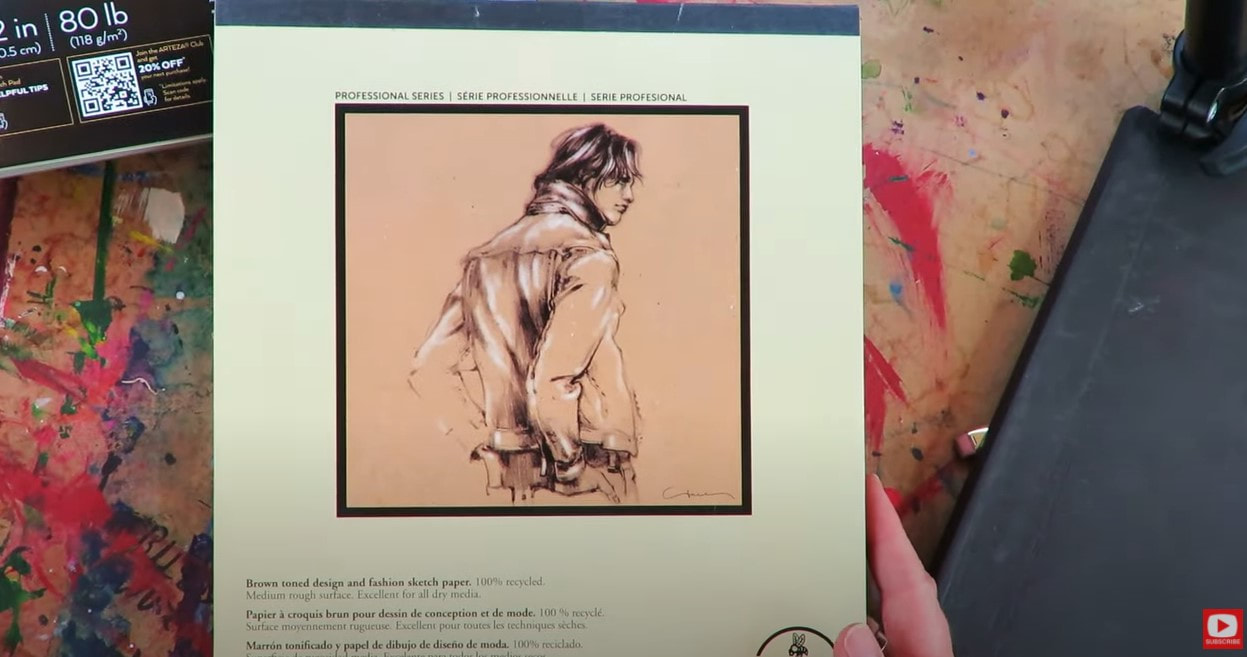
Toned paper traditionally comes in two shades - gray and toned tan paper (be sure to click over to the video because I go through my favorite toned paper sketchbooks).
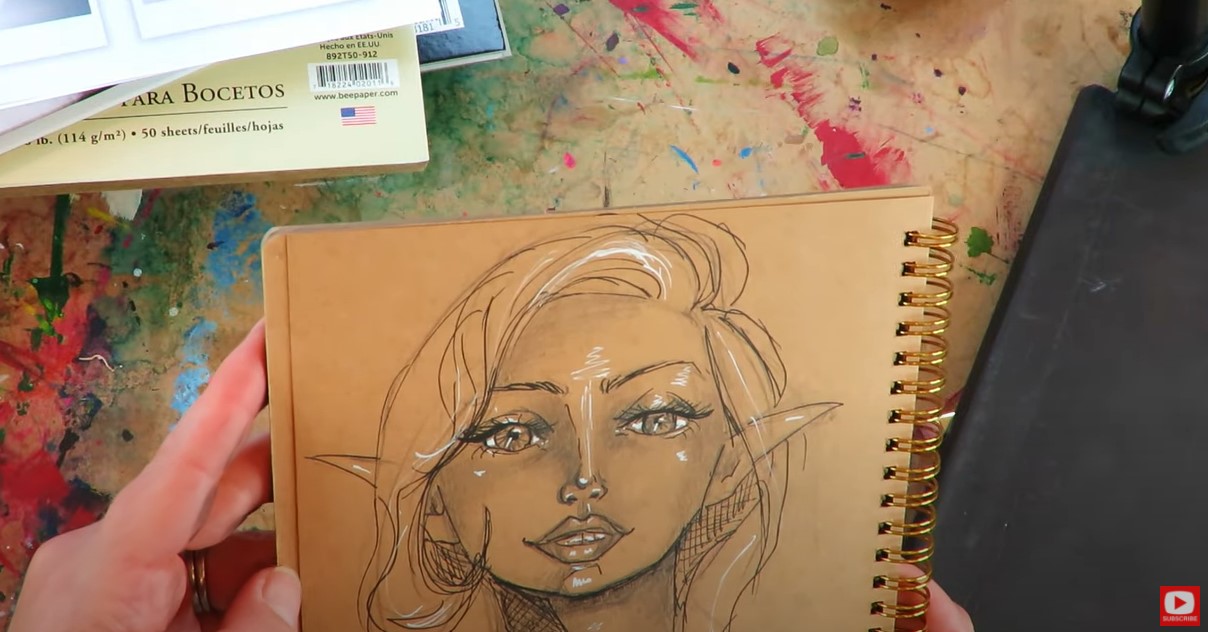
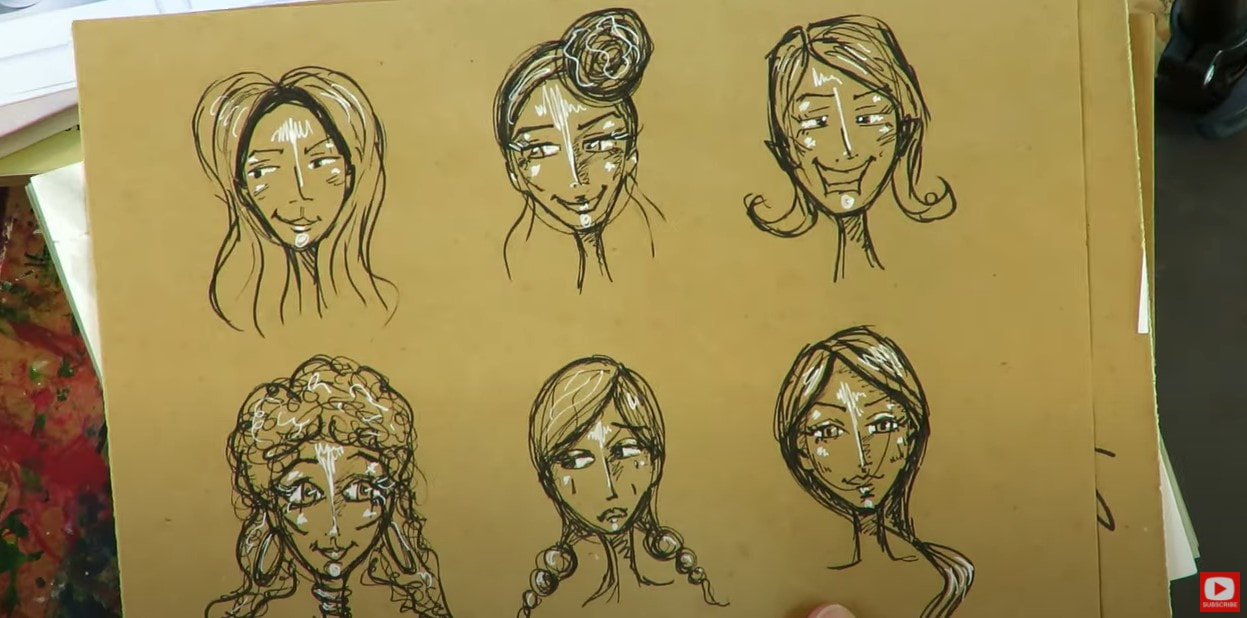
When I'm working on toned paper, I often will end up using a black and white drawing pencil or pen, and using the gray or brown of the paper as my third main value. I also tend to use line weight to represent value like in these quick toned paper sketches below.
In my free PDF, you'll see exactly what my favorite pads of toned paper sheets are and which drawing instruments I love to use most when working with toned paper.
Click here to grab that download if you haven't already - or press on the button below!
Thanks for hanging out with me today!
I'll see you back here next week to draw and shade a sphere on toned paper. The following week we'll draw a face! ❤️Did you miss my Fun Fab Fairies Workshop? NO worries!! You can STILL sign up and enjoy each of these lessons on your own time at your own pace in this stand alone classroom at Awesome Art School! CLICK HERE to REGISTER. ❤️Did you know I've started a FUN new podcast with my Scottish, artsy bestie, Lucy, ALL ABOUT SCOTLAND & the mythical goodness I can't get enough of about this magical place?! YES - we talk about everything including ARE Fairies Real?! (You know I think they are!!) The podcast is called 1 Scot, 1 Not! Check us out on YouTube and here's our podcast website! ❤️EVEN BETTER - LUCY & I are creating a NEW ART MEMBERSHIP together called The Celtic Collective!! Learn More & add your name to the waitlist here. ❤️Want FREE, immediate access to my Fun Fab Drawing Club and/or Mixed Media Society plus discounts on all my art books, sneak peek at YouTube videos and new book content, behind-the-scenes fun and MORE? Join me over on Patreon today and get HUGE PERKS in return for a small monthly donation. ❤️ CHECK OUT ALL my art books on AMAZON (available in both Kindle and Paperback) ❤️ SIGNED COPIES of my art books on ETSY ❤️ MY FAVORITE ART SUPPLIES on AMAZON ❤️ MY BELOVED FACEBOOK GROUP ❤️ FOLLOW ME ON INSTAGRAM ❤️ FOLLOW ME ON FACEBOOK
Yes, you CAN paint a giant canvas background in JUST 2 minutes!! I know it sounds too good to be true - especially if you're intimidated by large canvas painting. I can't wait to show you this spray paint on canvas idea! It's one of my all time favorite mixed media painting techniques!! Even better... it's FAST, EASY... and CHEAP! If you're a beginner in the world of mixed media art, or just curious about how to attack a giant canvas - today's video is FOR YOU!!
It's funny - while I was filming - I took a little look around my studio and was kinda surprised to realize how MANY of my canvases on the wall started with the SAME mixed media painting technique for the background. Check out the video to see the examples up close!!
As you'll see, I work on BIG canvases all the time, and LOVE IT!! I feel like large canvas painting is more free-ing as an artist and it's actually EASIER because I have room to spread out my ideas, and don't have to get hung up on tiny little details. 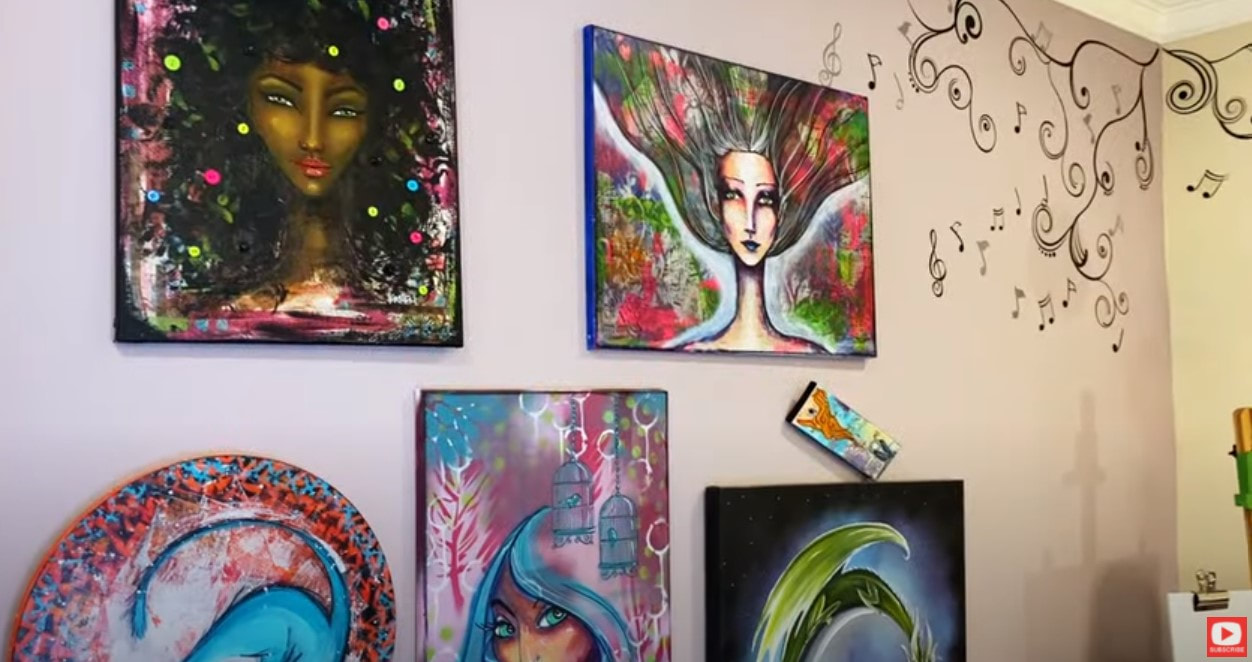
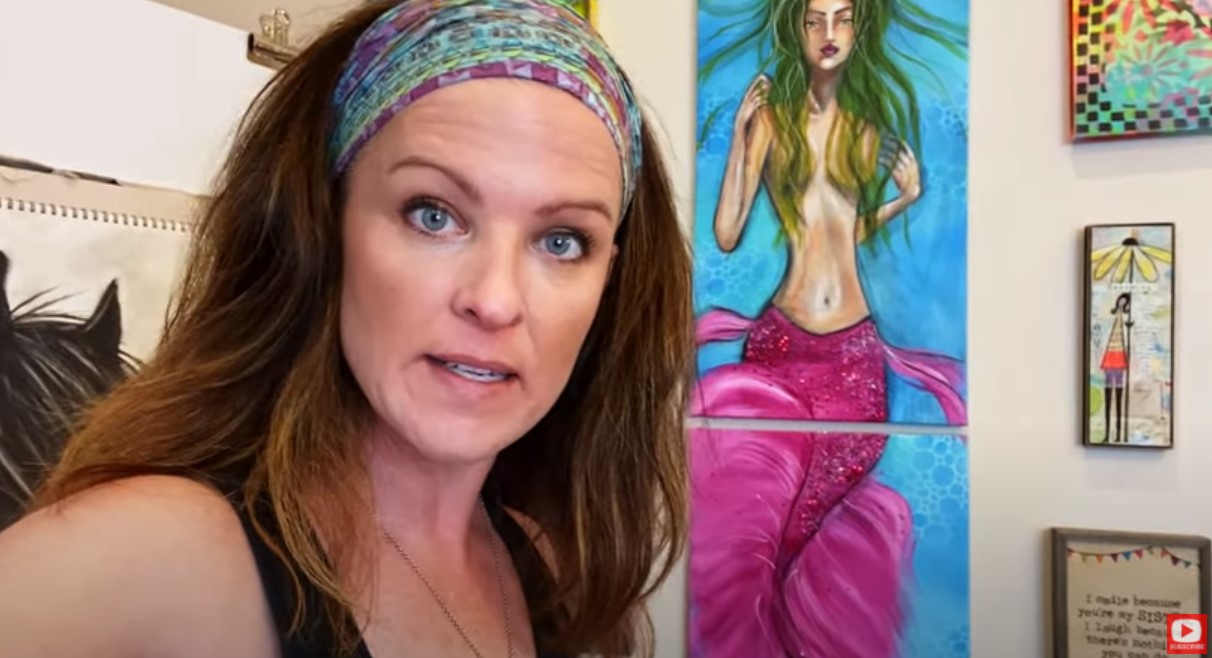
The first giant canvas painting I want to share with you up close is my pink mixed media mermaid. She's actually 4 feet tall, and was created out of two, 2 foot canvases. The background for this piece took me all of FIVE MINUTES. No joke!! That's 2.5 minutes per canvas... and DONE.
All I did was spray paint on my canvas, then I misted a second color of spray paint through a stencil sheet to create the look of underwater bubbles! SERIOUSLY!! That's it!!
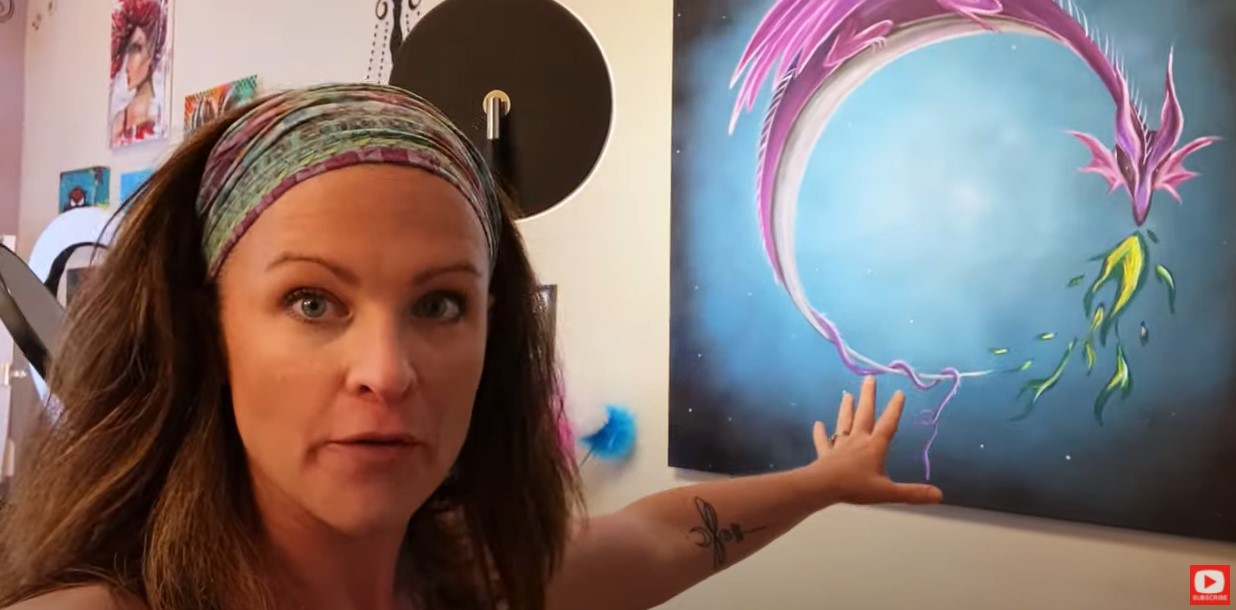
The next canvas background idea I want to show you is of my dragon in acrylics. This one took just a little longer because I used more colors.
Even with adding more color- the dragon background didn't take me longer than 10 minutes to do. Can you imagine how much LONGER (and EXPENSIVE!!) this would be painting with acrylics and a paint brush?! For my art deco painting below, I taped off a section in the background because I wanted a frame behind the couple. That part took a little longer to tape off, but then I just used a can of black matte spray paint on canvas for the backgound, and I was done. EASY!! 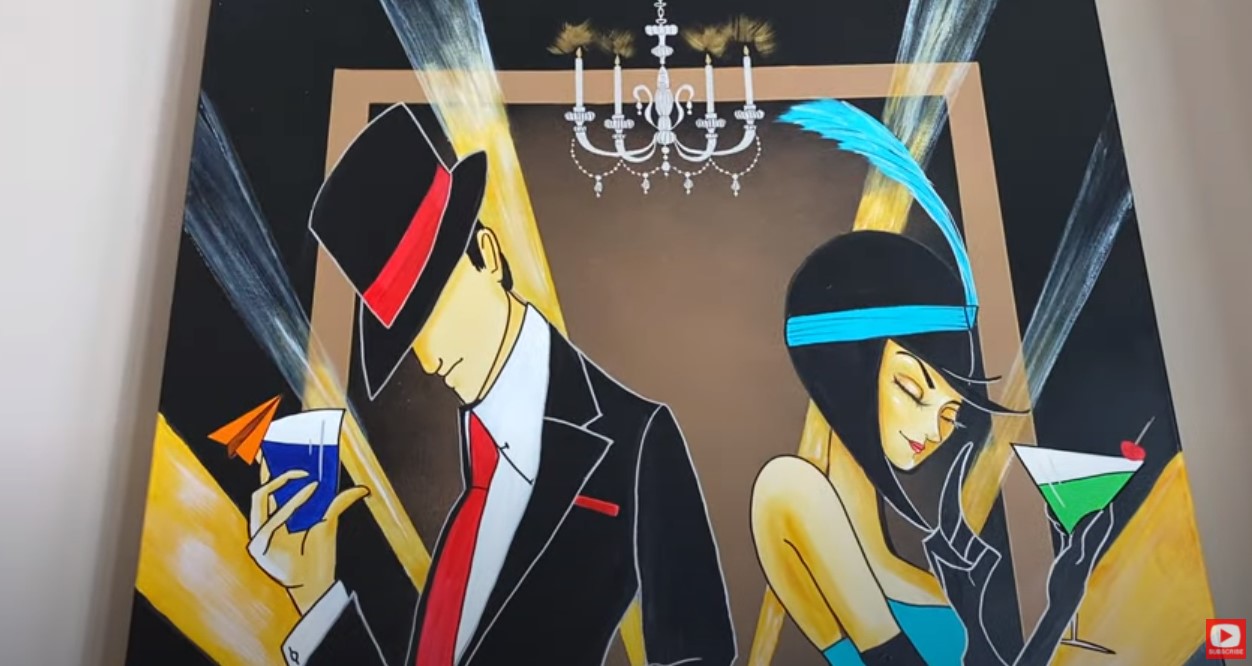
As I walk you through these pieces, you'll start to understand the THREE main reasons why I love to paint canvas backgrounds using spray paint:
1. Spray paint is really inexpensive - I've tried all the brands from the cheapest to the most expensive, and there's no difference. That means I spend about $3.99/can, and am FINE with grabbing the ones on sale for 99 cents. I promise you- they work JUST as well!! This is SO much cheaper than buying an inexpensive tube of acrylic paint!! When shopping for spray paint, I suggest you only pick up cans in satin or matte because glossy can be kinda tough to work with if you plan to do any adhesive collage layering or acrylic painting on top. For some reason, the glossy cans feel like they're stronger smelling to me too! 2. Spray paint comes in a HUGE array of colors - There are SO many fun colors you can pick up to add to your mixed media projects. And because they're so cheap in a can - you can probably afford to buy MORE of them :) They also last forever!! 3. Spray paint is amazing to COVER LARGE AREAS - If you haven't tried spray paint on canvas before - you're gonna be shocked at how much real estate you can cover in a short amount of time! It takes forever to cover a giant canvas with acrylic paint. Plus, you end up getting brush strokes that may be distracting to look at. Spray paint really glides over canvas well and gives it a smooth look! The only downside to using spray paint is if you want or need to do touch ups to your canvas background later. It can be tough to replicate what you did with multiple colors, but if you need a teeny touch up - here's my trick!!
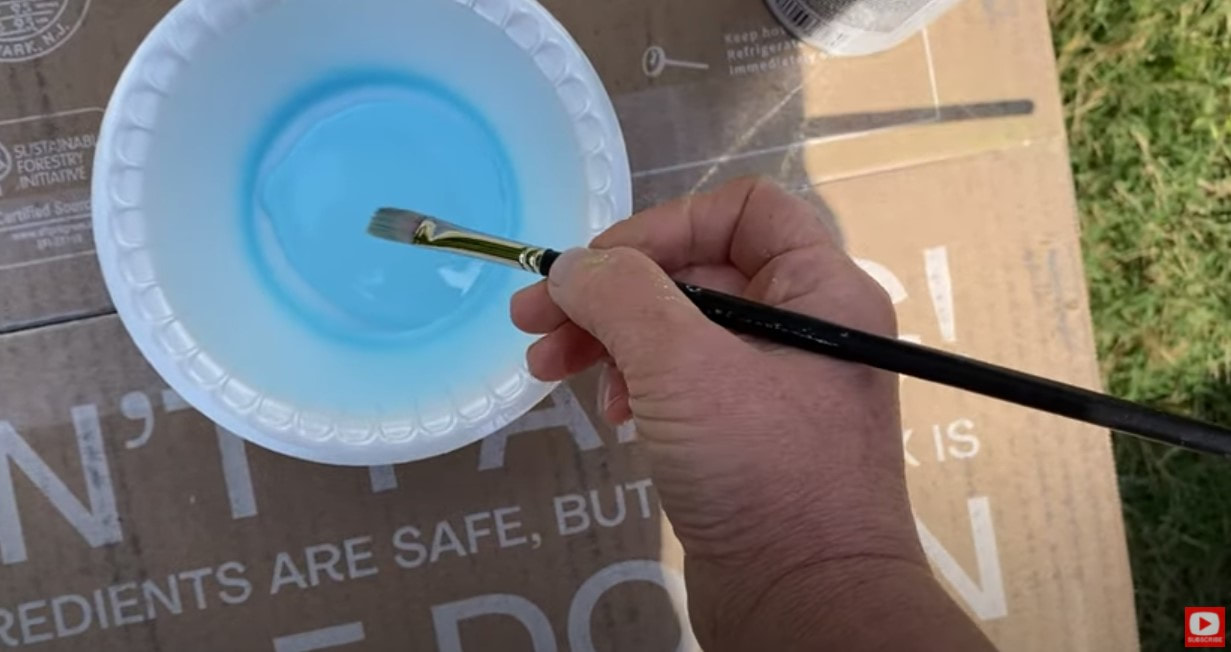
Spray a puddle of paint into a disposable plate, bowl or cup and dip your paint brush in. Simple, right?!
When you're choosing colors to work with for your canvas background painting, you can keep things really simple and use one or two like I did for my mixed media mermaid, or if you want to show more depth - grab 3-4 shades of the same color in a light, medium, and dark for contrast.
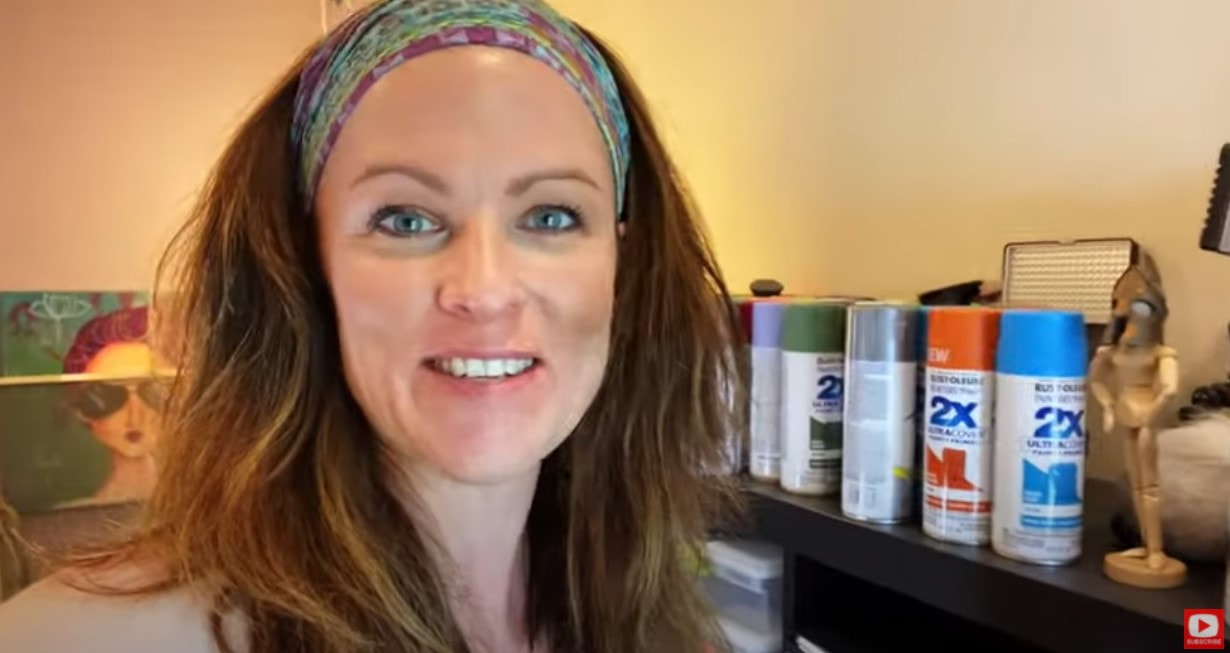
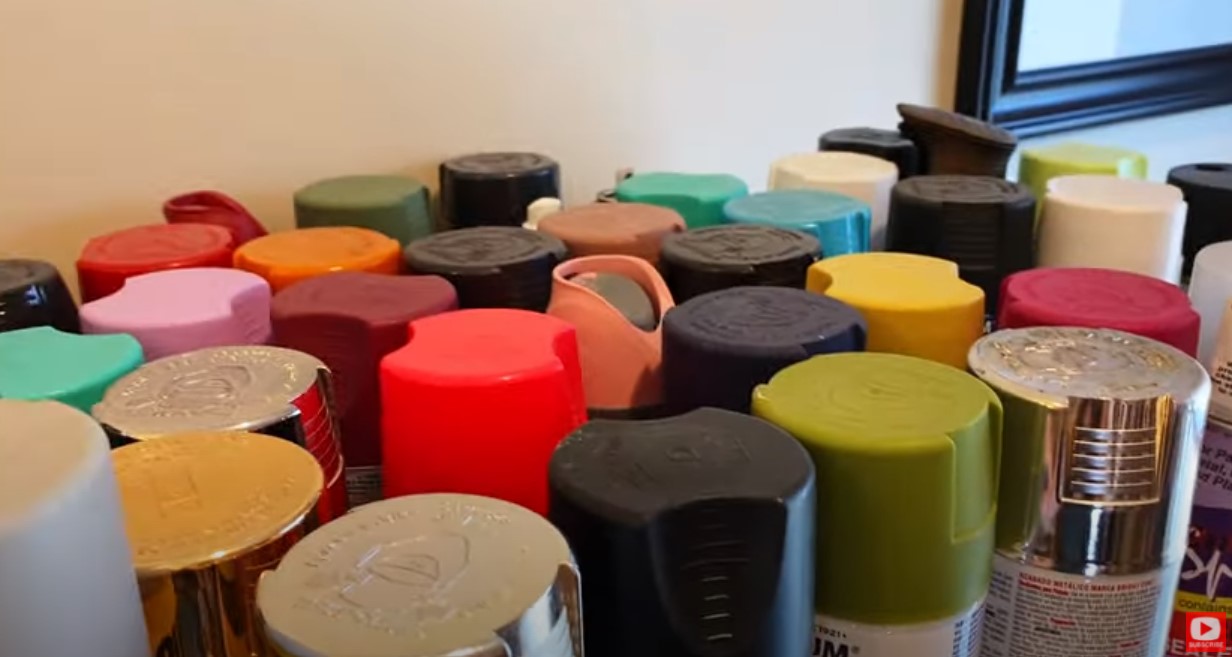
I have SO many fun colors. This is probably only half of my stash!!
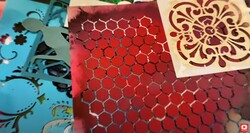
If you haven't used stencils with spray paint before, you're gonna love this!! Stencils work SO well with spray paint because spray paint dries really fast. When you mist a new color through a stencil over your previous color of spray paint - then two colors WON'T MIX! Each shade can lay beautifully right on TOP of the other!!
Do you clean your stencils after you use them? Students ALWAYS ask me this!!
I NEVER clean my stencils- I just keep reusing them over and over. Some may think this is lazy, but it actually makes the stencils work better over time this way! The paint eventually builds up a bit and in a way ends up making the stencils stronger so they work even better!
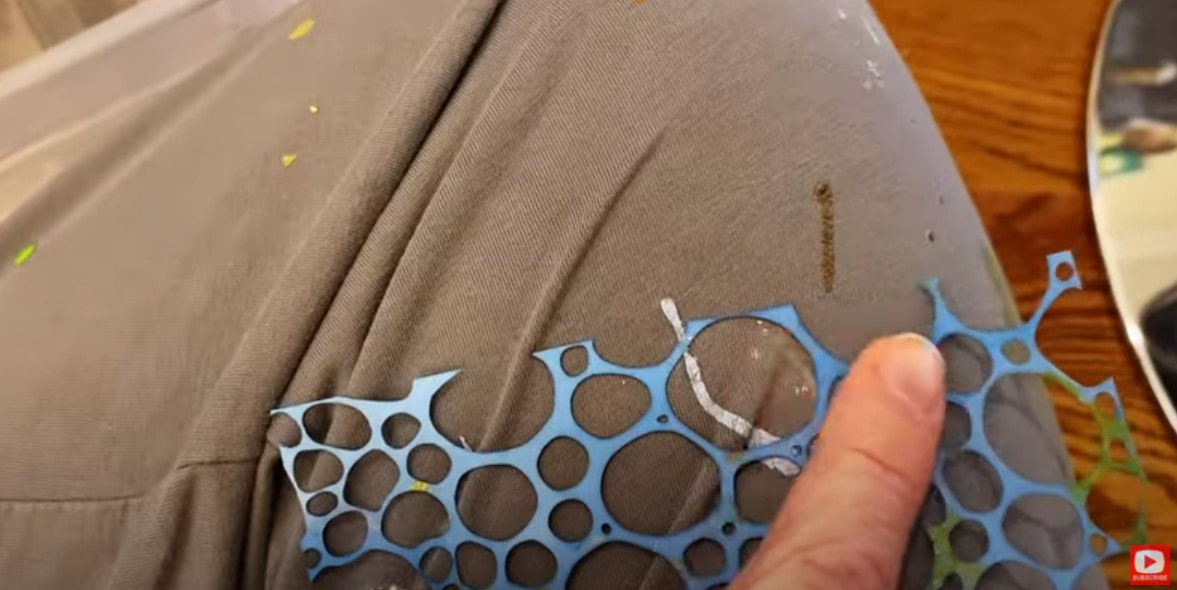
Check out the stencil below. This one is really cool! I used it to make the underwater bubbles in my pink mixed media mermaid painting.
Watch the video so you can understand exactly what I mean here. This particular stencil doesn't have a "hard line" or edge to it. It's been trimmed so the edges are a bit softer and easier to blend into a background.
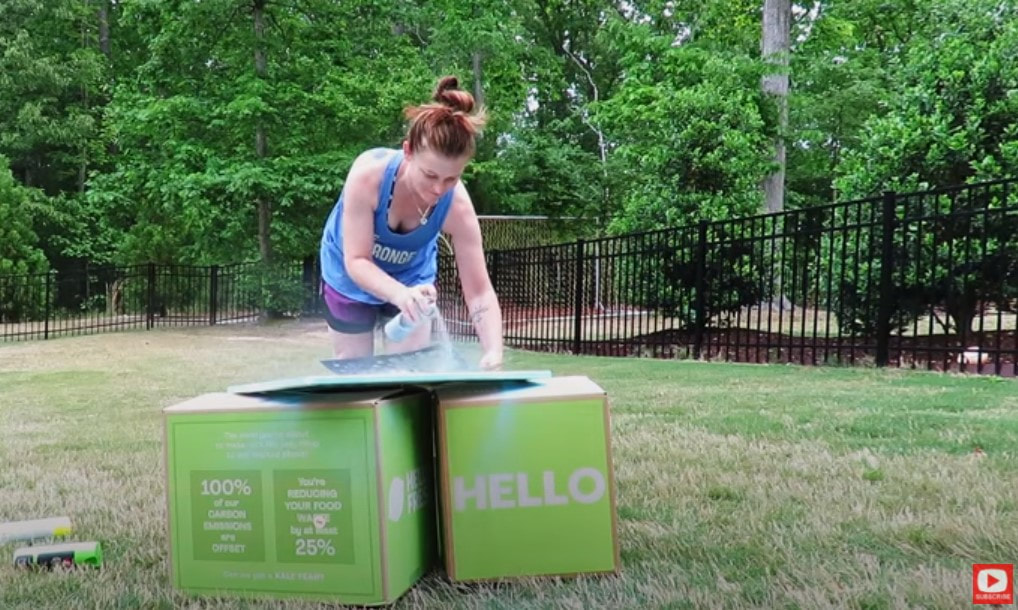
STENCIL & SPRAY PAINT TIP: To avoid a hard edge showing up on your canvas, trim the edges of your stencil off like I did in the stencil above. You can also work on perfecting your spray painting technique. Try to mist your paint right into the center of your stencil. Ok! Reay to see how FAST this process really is?! CLICK over to the video and you can see it in real time. It takes me less than a minute to cover this 18" x 24" canvas in one solid color. 
For the stenciled parts, I simply pull my white spray paint out and gently hold my stencil above the freshly painted canvas. You don't want to lie it on top of the canvas because it could stick!
One of my favorite things to do with a stencil is to mist it into the corners of my canvas. I think it adds a really nice frame to whatever I end up putting into the foreground.
HOT TIP! Make sure you hit your CANVAS edges with color too. Trust me!! You'll be so mad if you come back to your art table and notice they're all WHITE!! LOL :) I hope you enjoy this demo and find this spray paint on canvas idea just as helpful as I have!! Have fun art-ing!!
|
Karen CampbellFounder of Awesome Art School. Mixed Media Artist. Author of 19 Instructional Art Books! Whose work has appeared in...Archives
July 2024
Categories
All
|
|
"Karen is flipping hilarious and she's very real...I like the way she teaches in a way that really gives you confidence, whether you're a beginner or advanced there's always something new to learn!"
- Elizabeth W. |
What Fans Are SayingKaren, you are absolutely fabulous! You make me feel like I can draw anything. I have recently retired and finally have the time to do some of the art that I have loved since I was in school. I am really at the beginning of my art journey and I hope to learn as much as I can. Thank you for all you do. |
Contact ME |





 RSS Feed
