
|
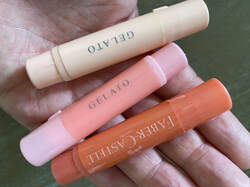
I've been using Faber Castell Dual Pitt Pens FOR YEARS to simplify my mixed media painting. They are an essential part of my mixed media art supplies, especially for anything I create using the Hamburger System.
Recently I discovered Faber Castell re-designed these faves, and let me tell you, it's a game-changer! 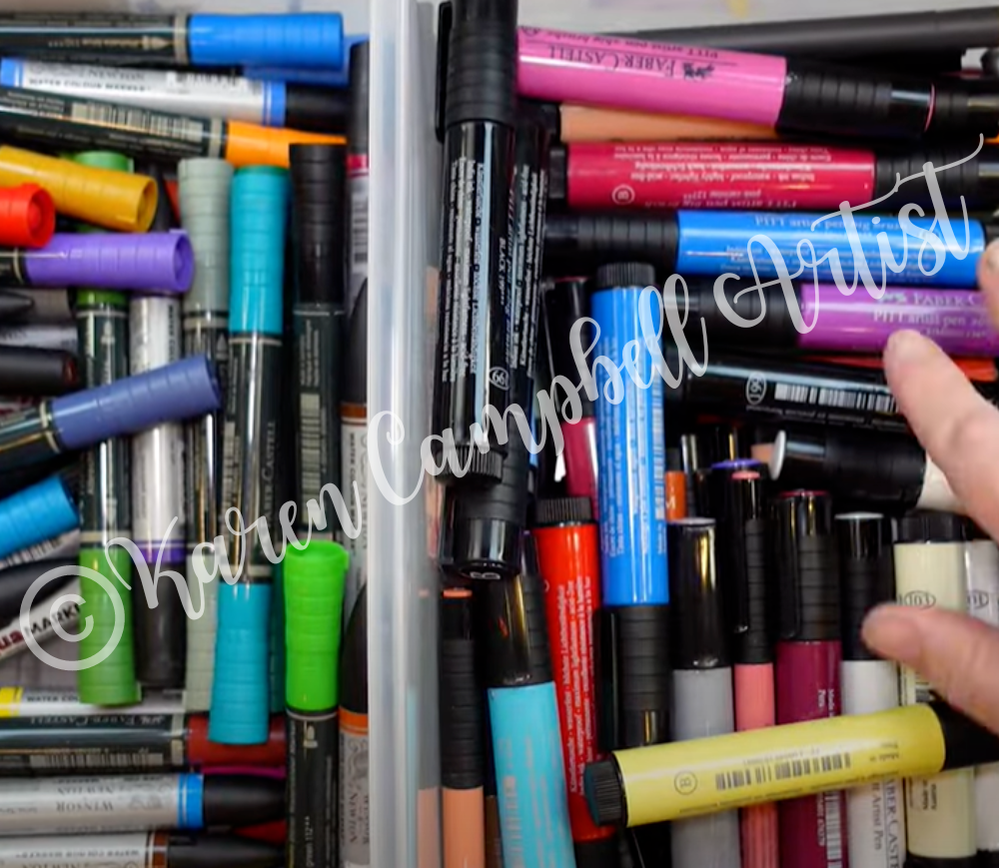
*All product links are affiliate & for U.S. residents only.*
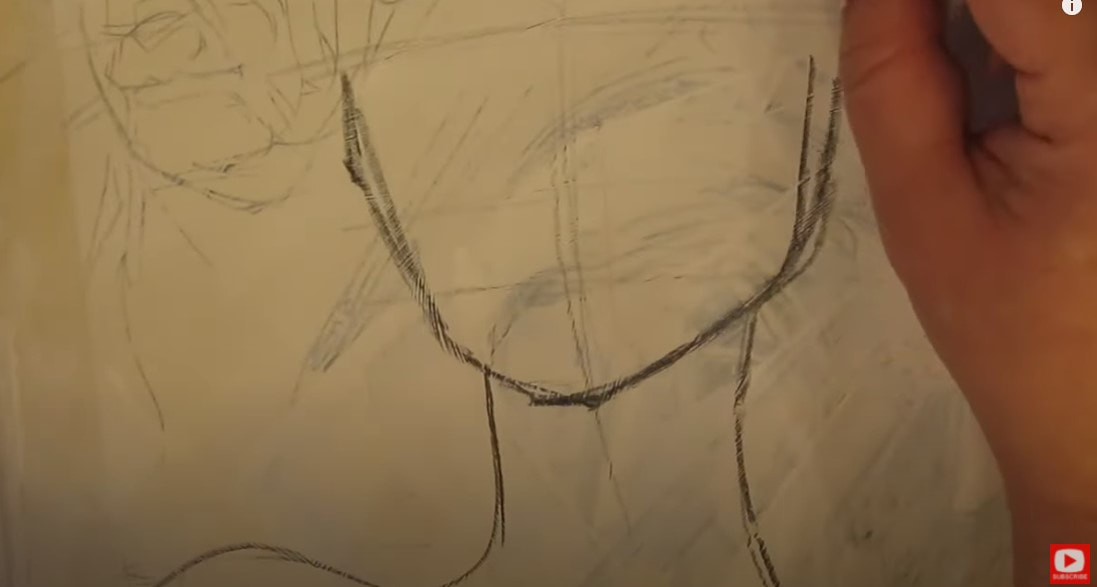
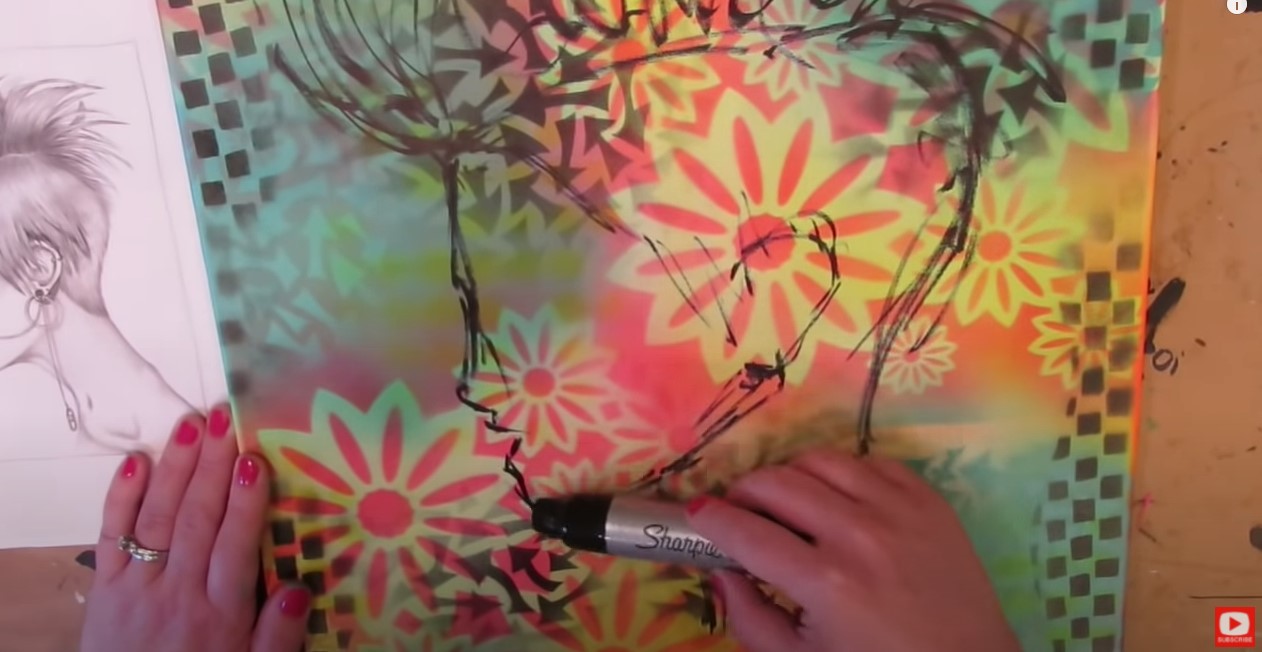
Before we get too far intotoday's video, I wanna make one thing EXTREMELY clear. The pitt pens I use all the time and are reviewing today are NOT watercolor markers.
They contain pigment, water-based, PERMANENT india ink. They're also not watersoluble, as you'll see in the demo during today's video. For some reason, the pitt artist pen dual markers reviewed in today's video are NOT showing up on Amazon for purchase. However, you CAN buy them on the Faber Castell website, and may be able to find them in person at your local art store like I did at Jerry's Artarama. 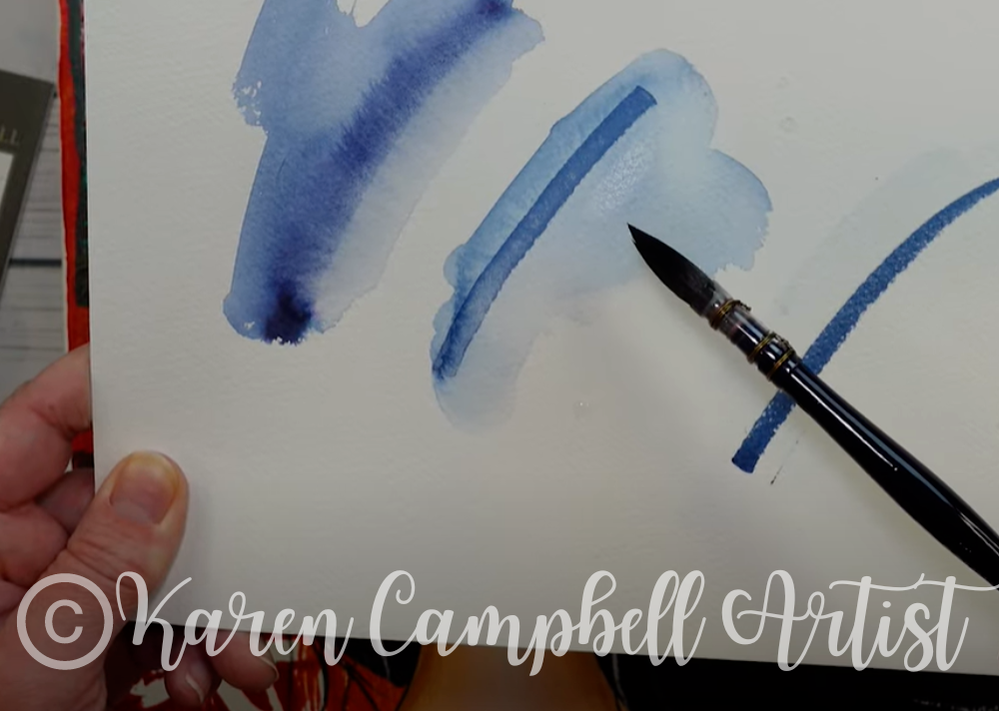
Now, let's chat about WHY Pitt Pens are worth every penny!
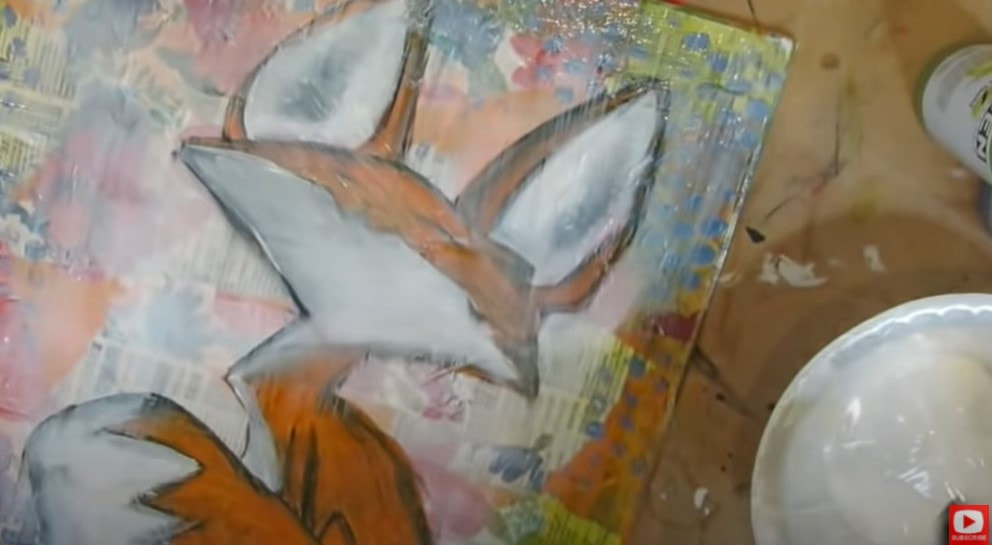
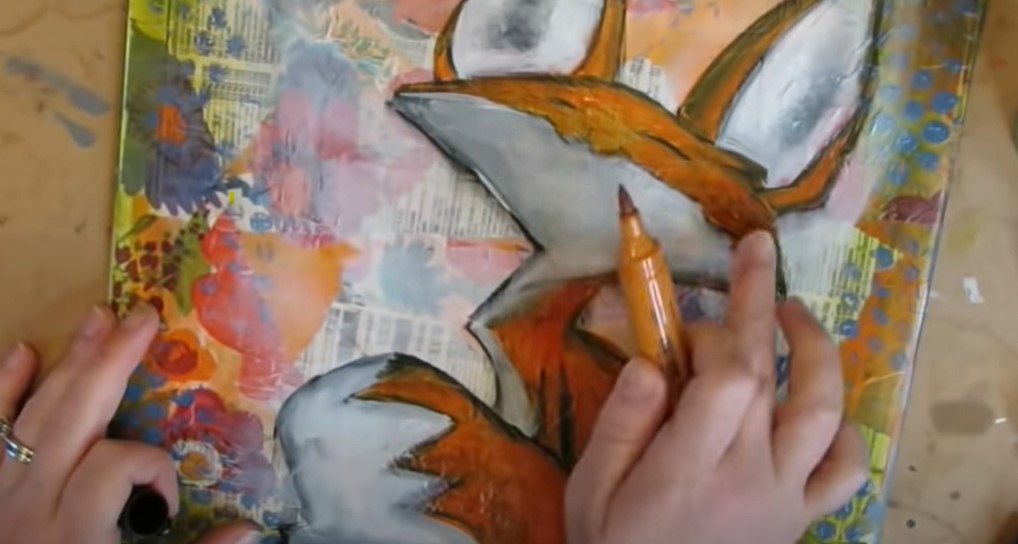
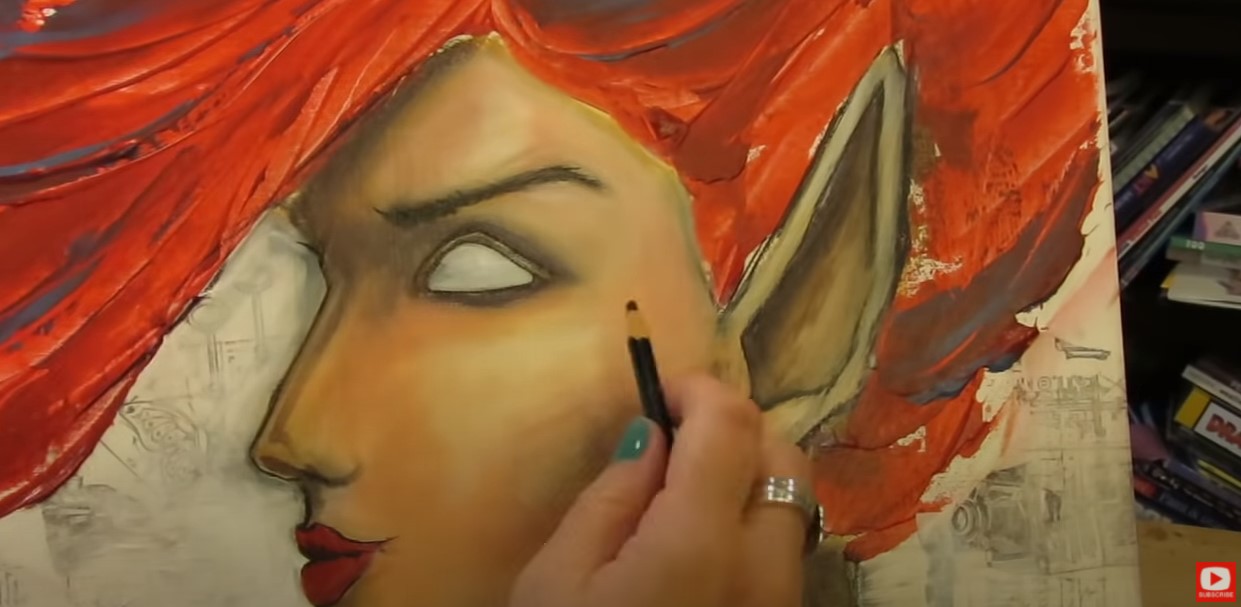
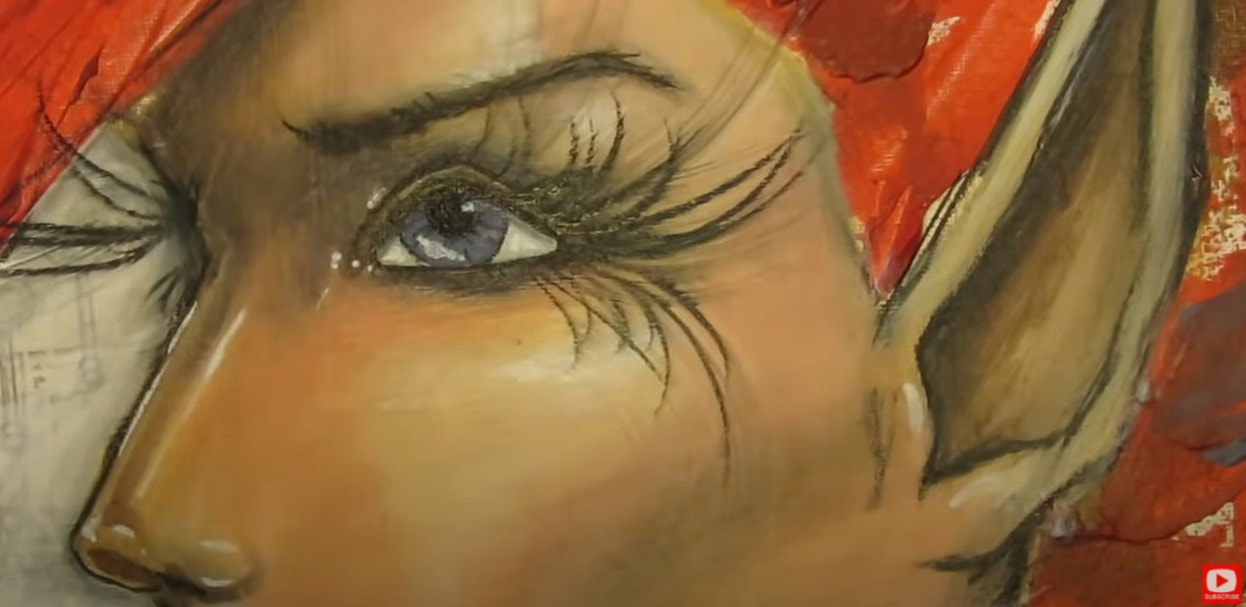
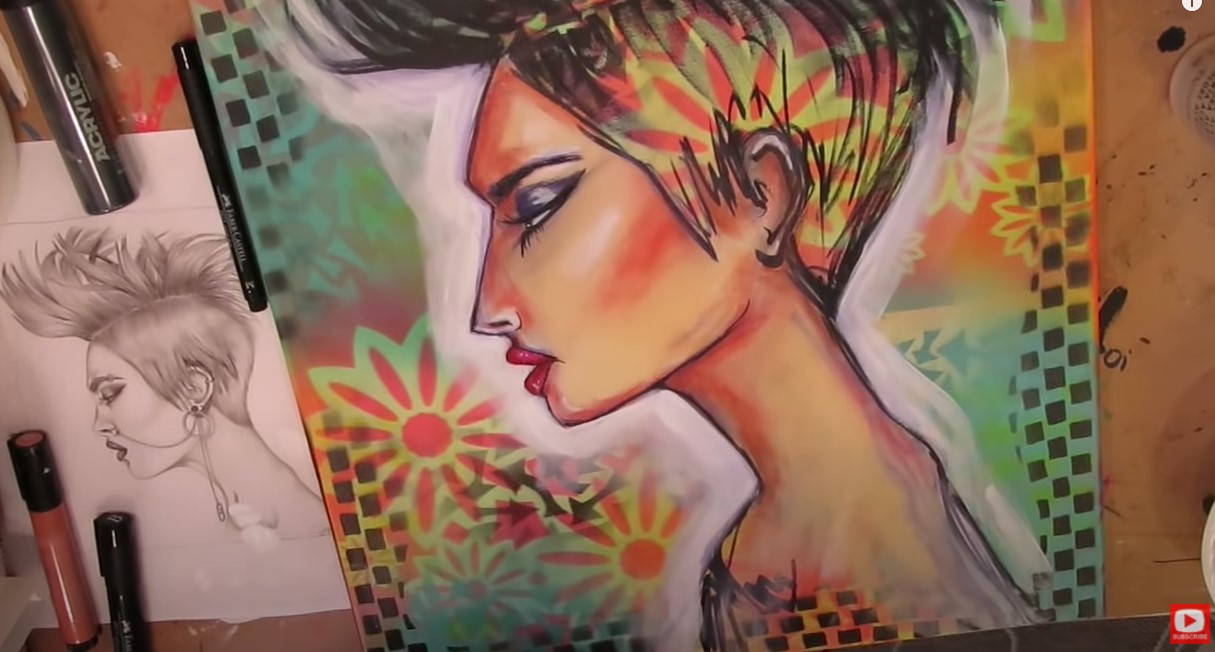
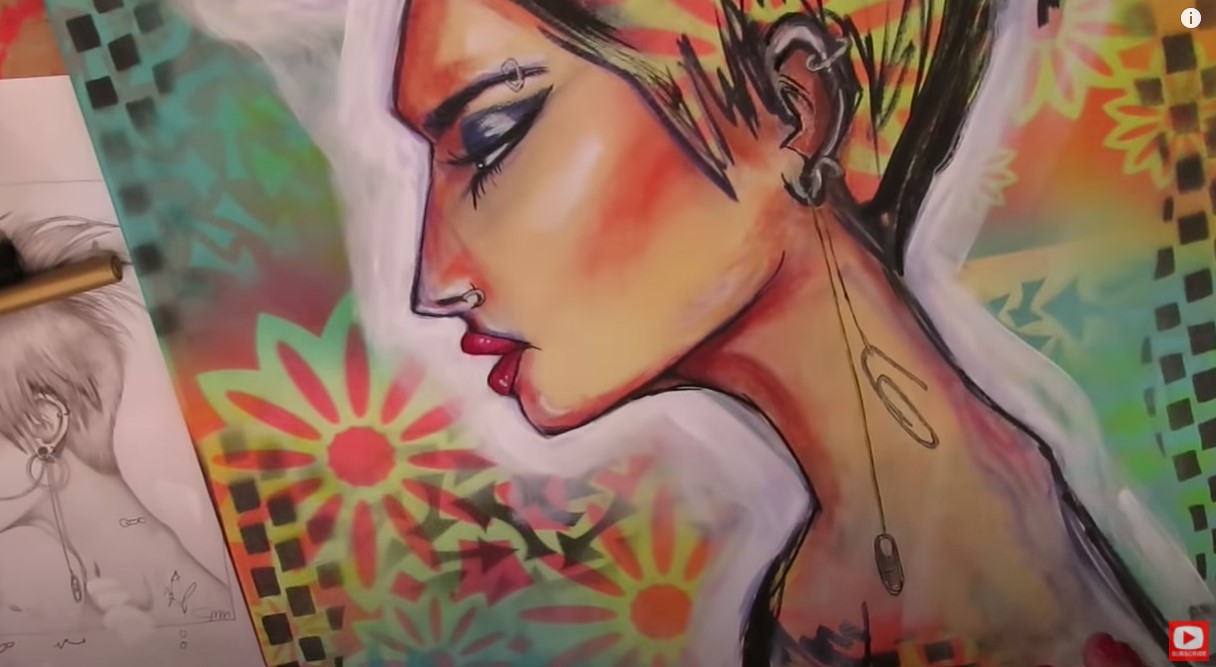
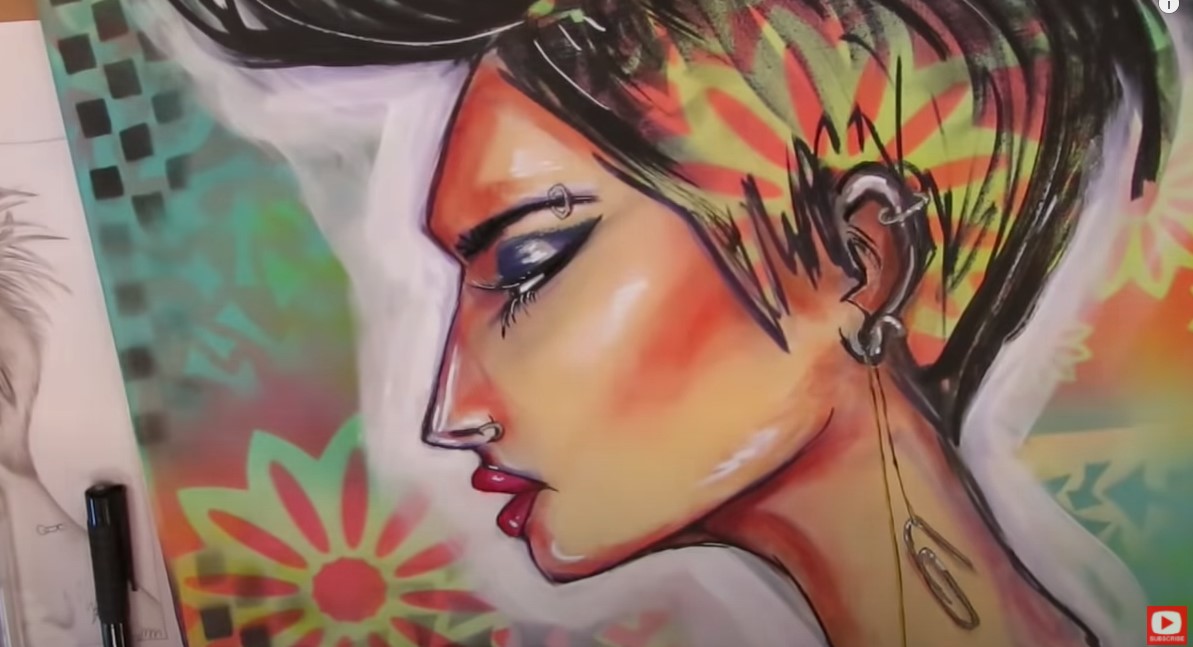
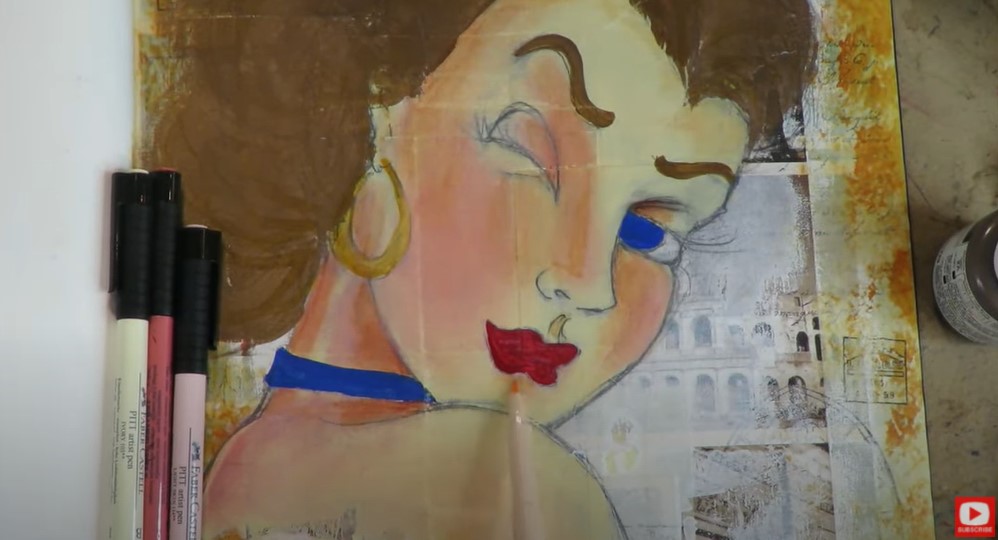
Pitt Pens LAST FOREVER :) I've had my giant set FOR YEARS, and have only needed to occasionally replace my black, white, and skin tone markers because THOSE are the ones I use the most for the whimsical girl art I love to create!! But the versatility of the NEW dual marker DESIGN is unmatched. I used to have to buy a set of the smaller nib markers PLUS a set of the fat ones. Now you only need ONE SET to achieve the line variation or intricate shading you're after! 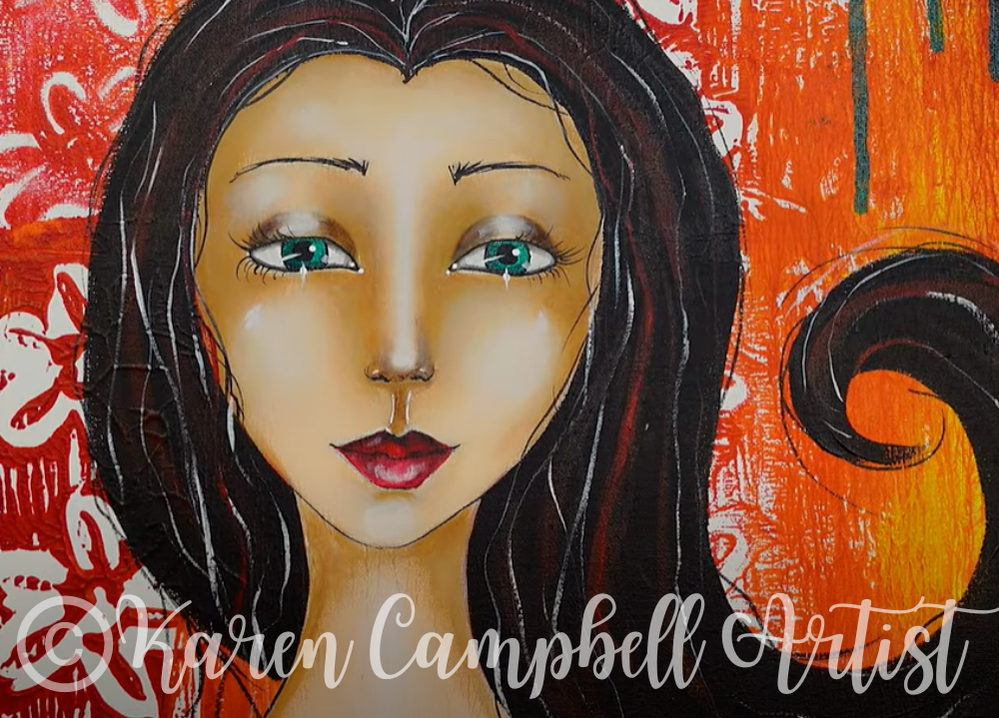
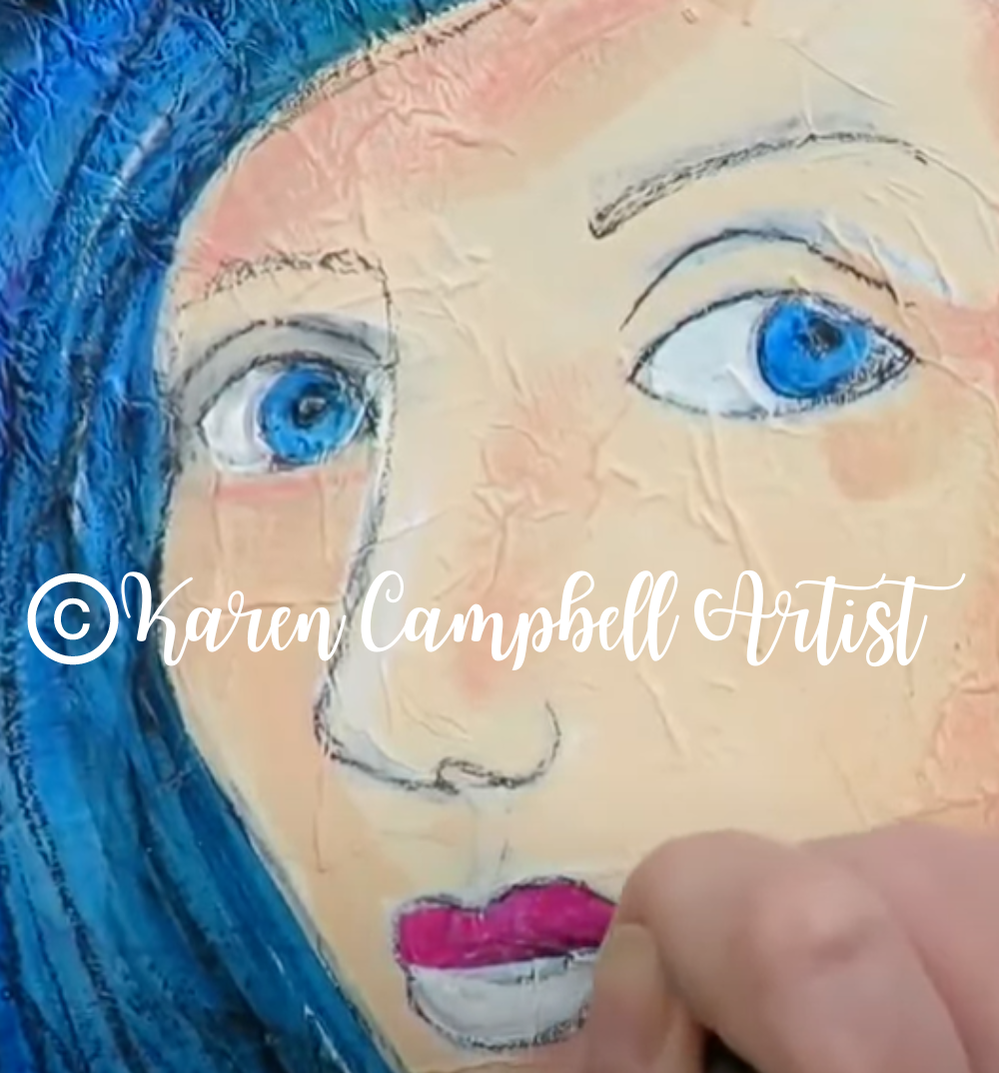
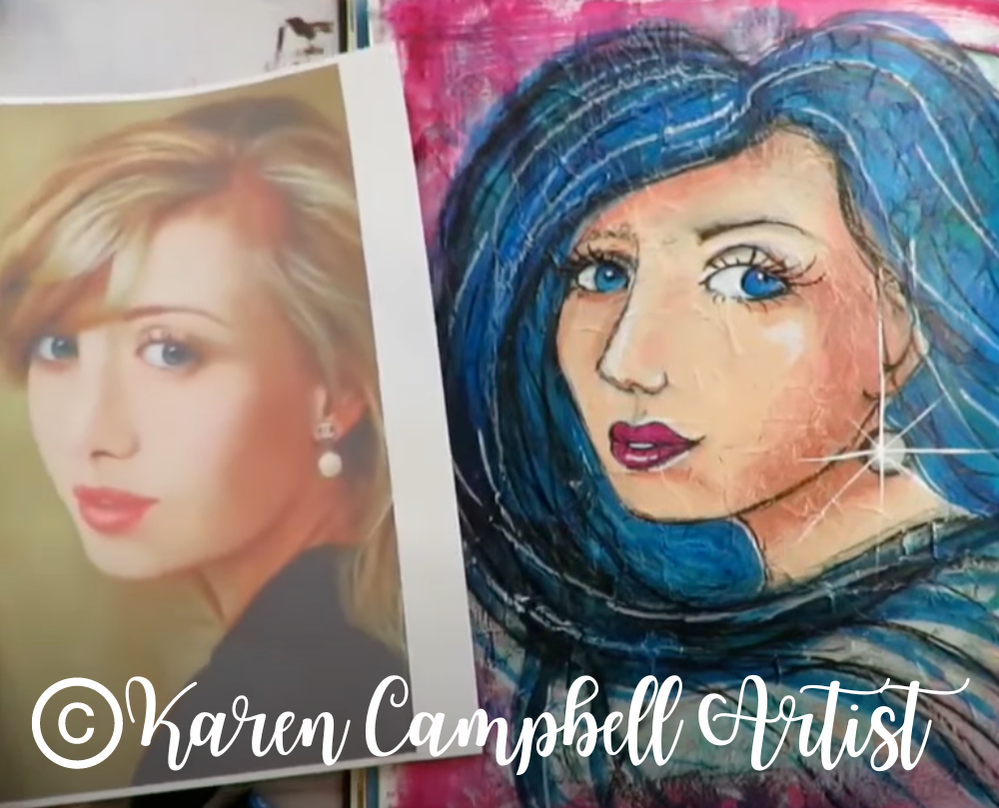
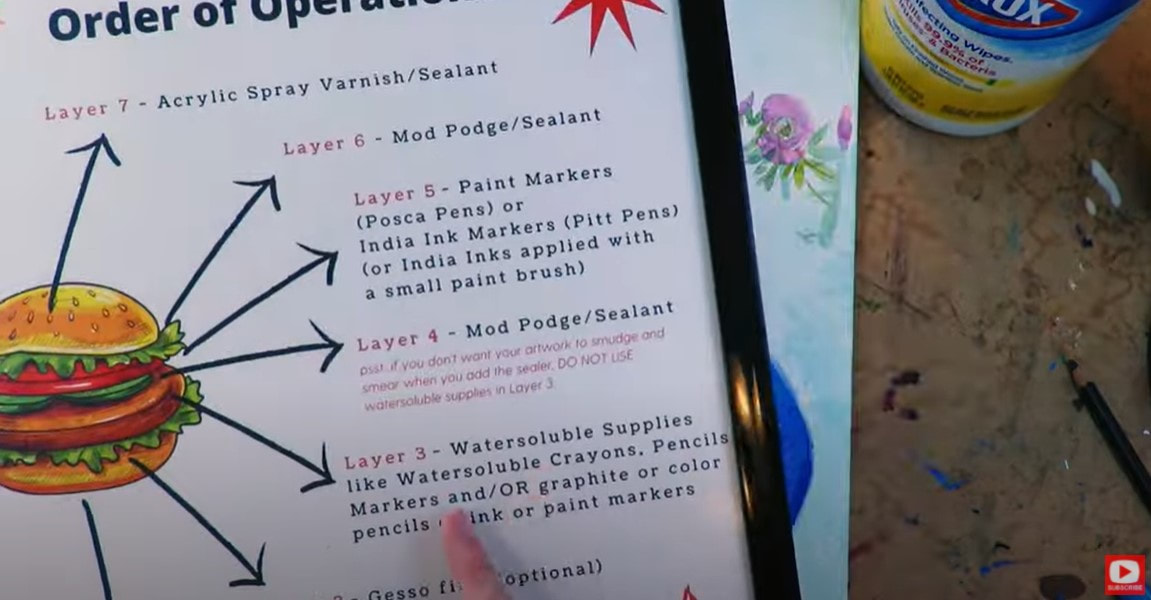
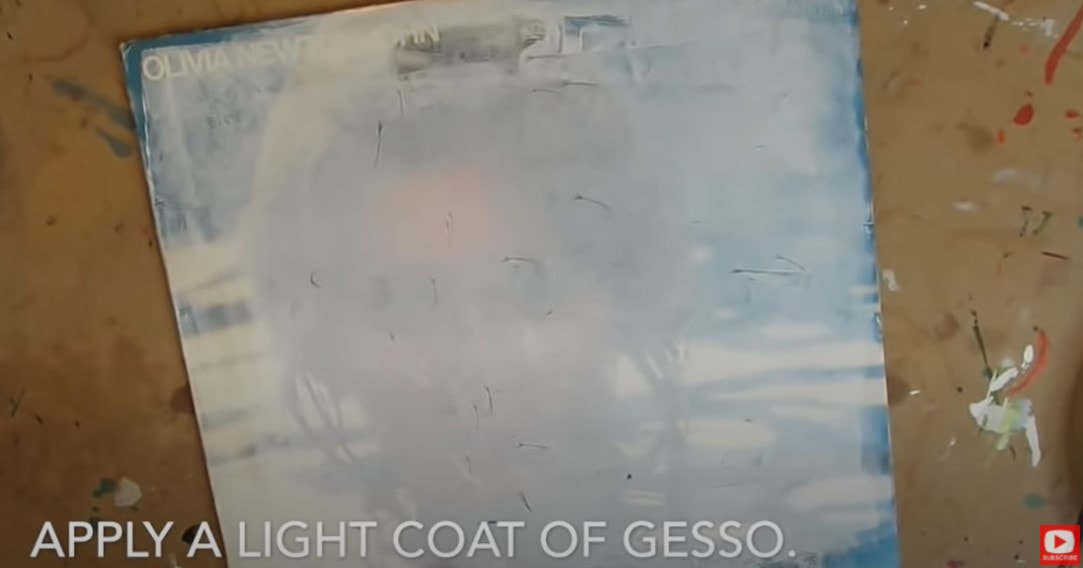
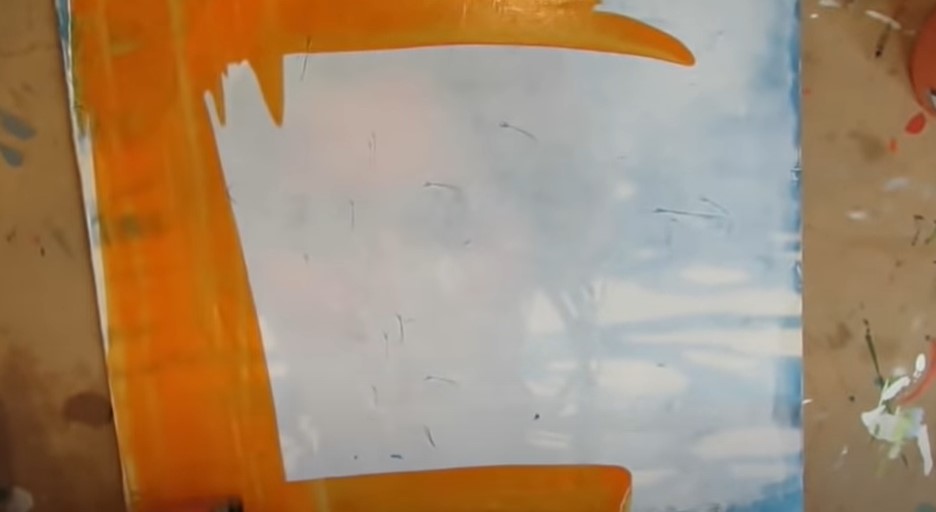
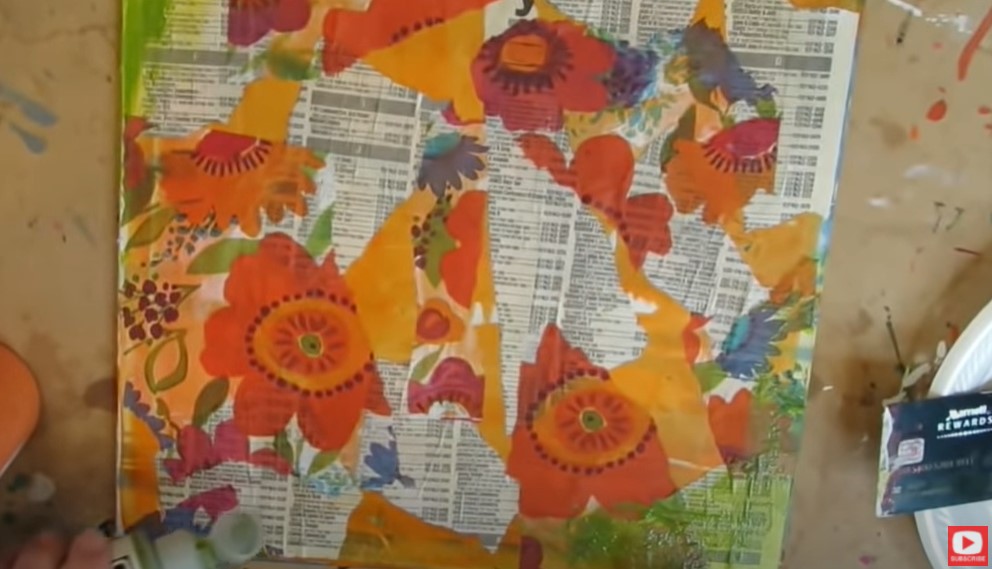
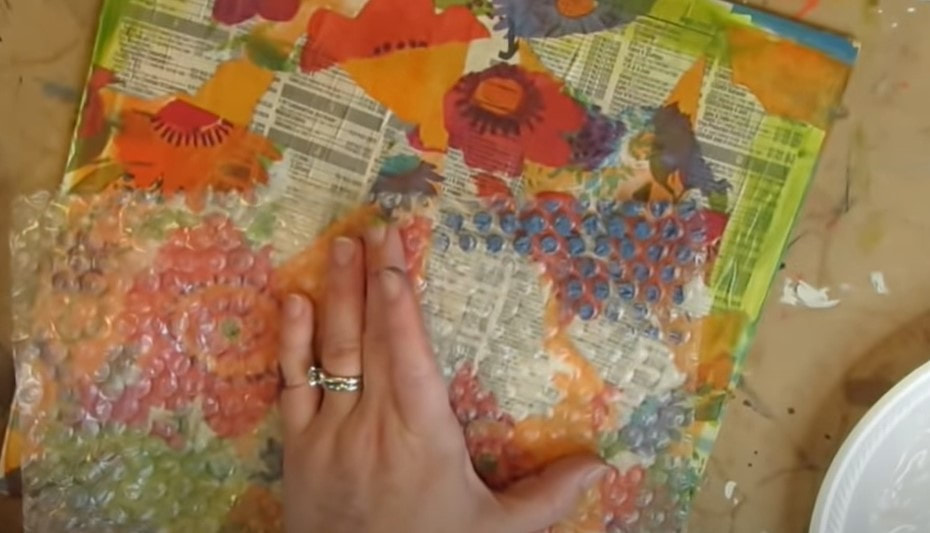
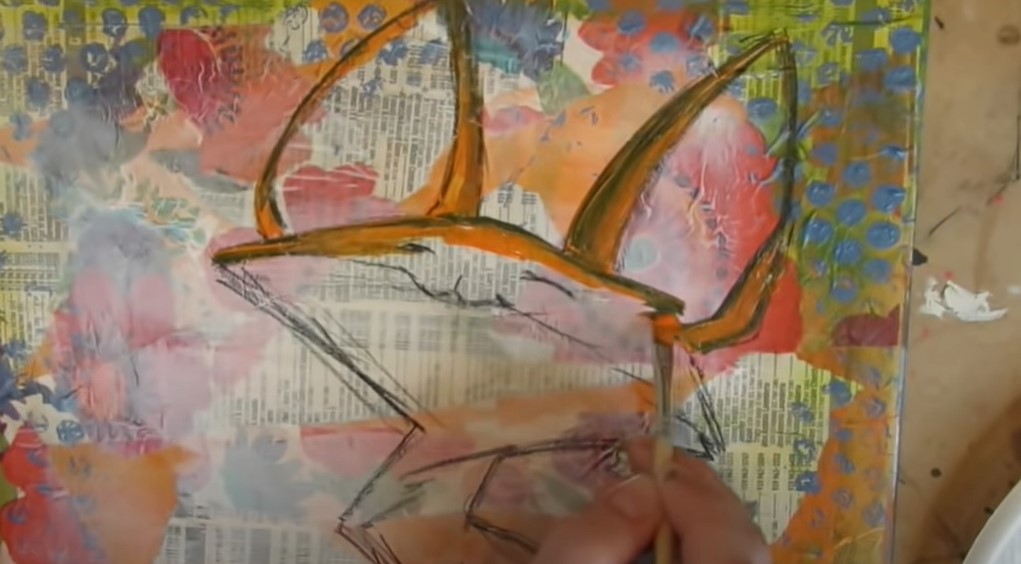
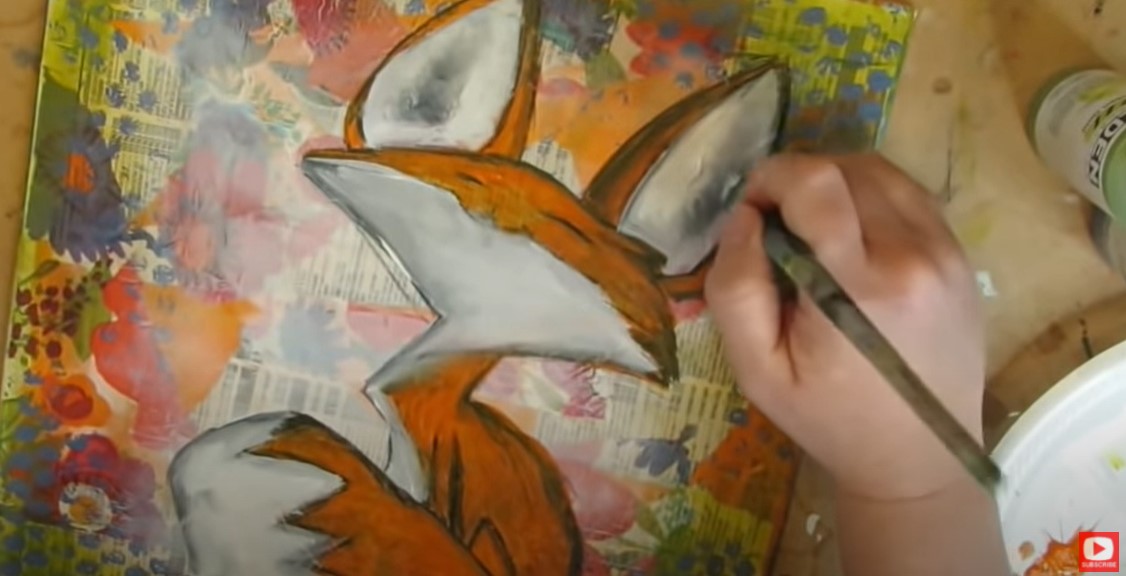
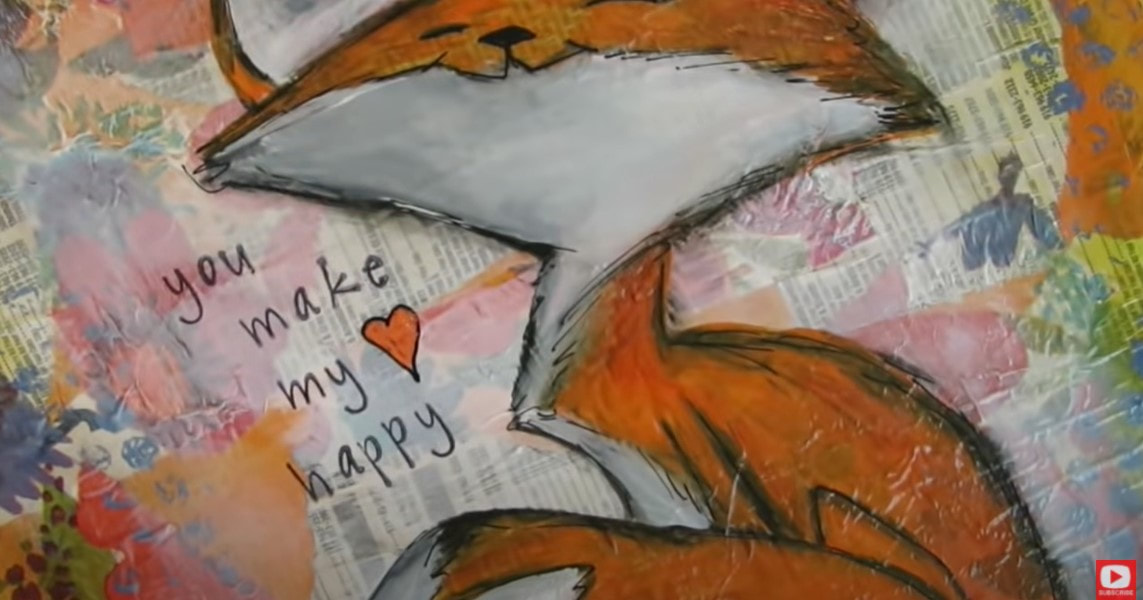
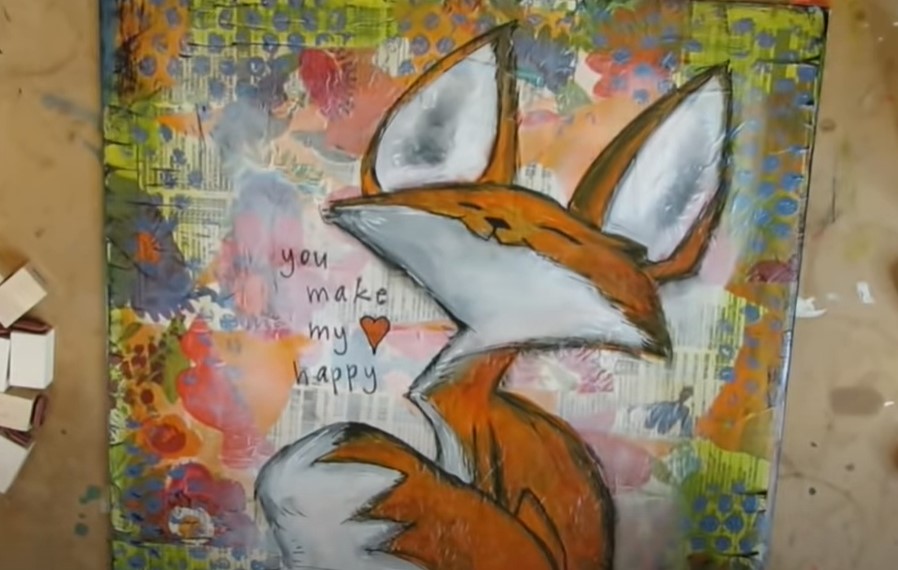
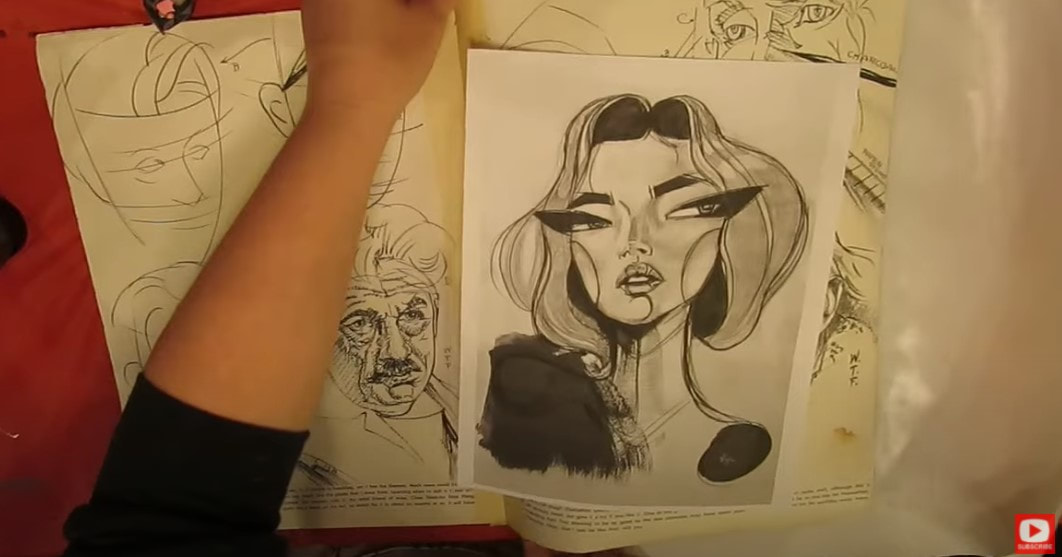
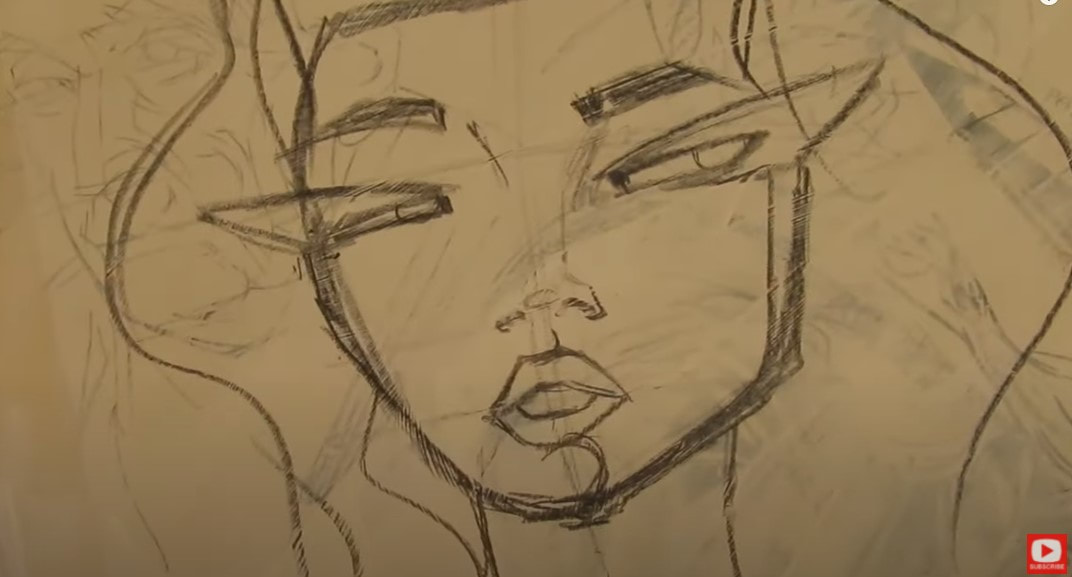
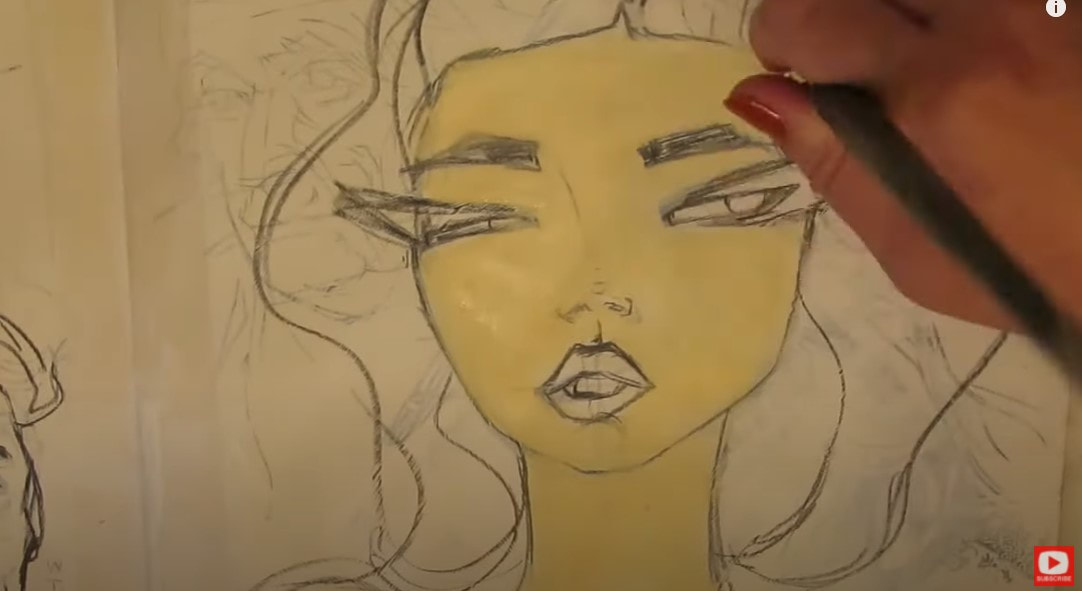
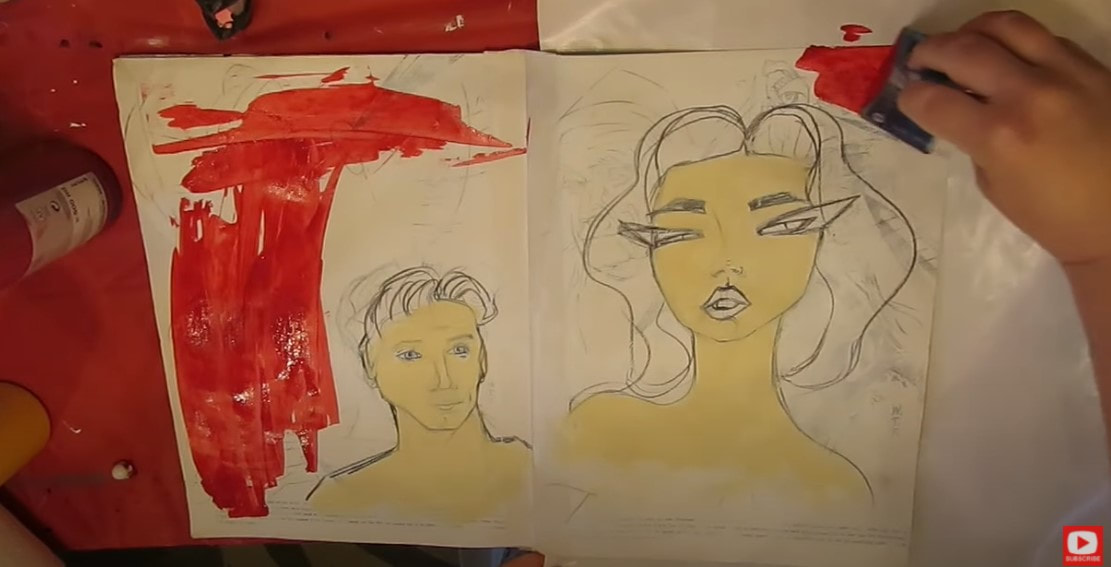
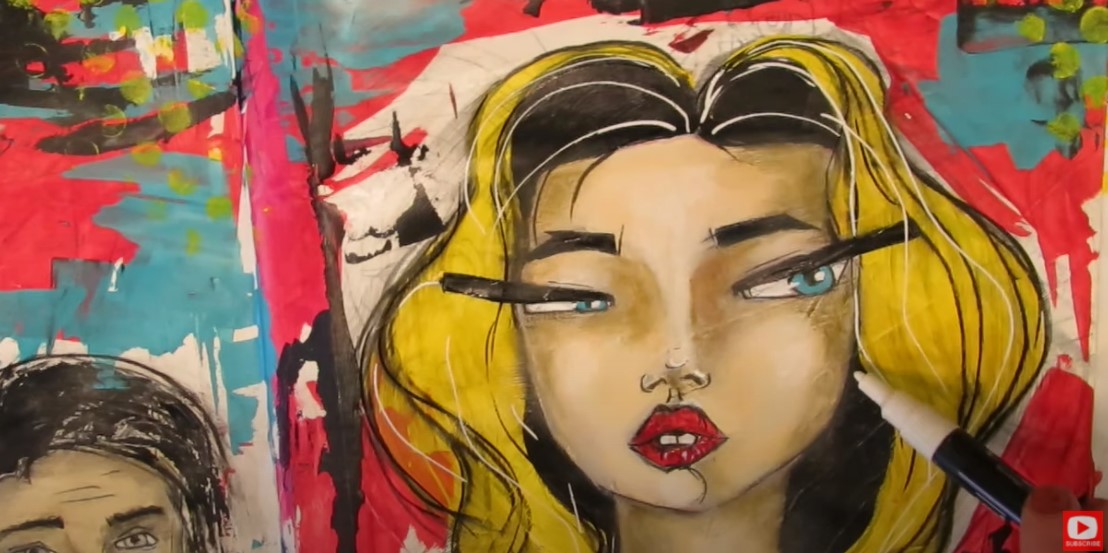
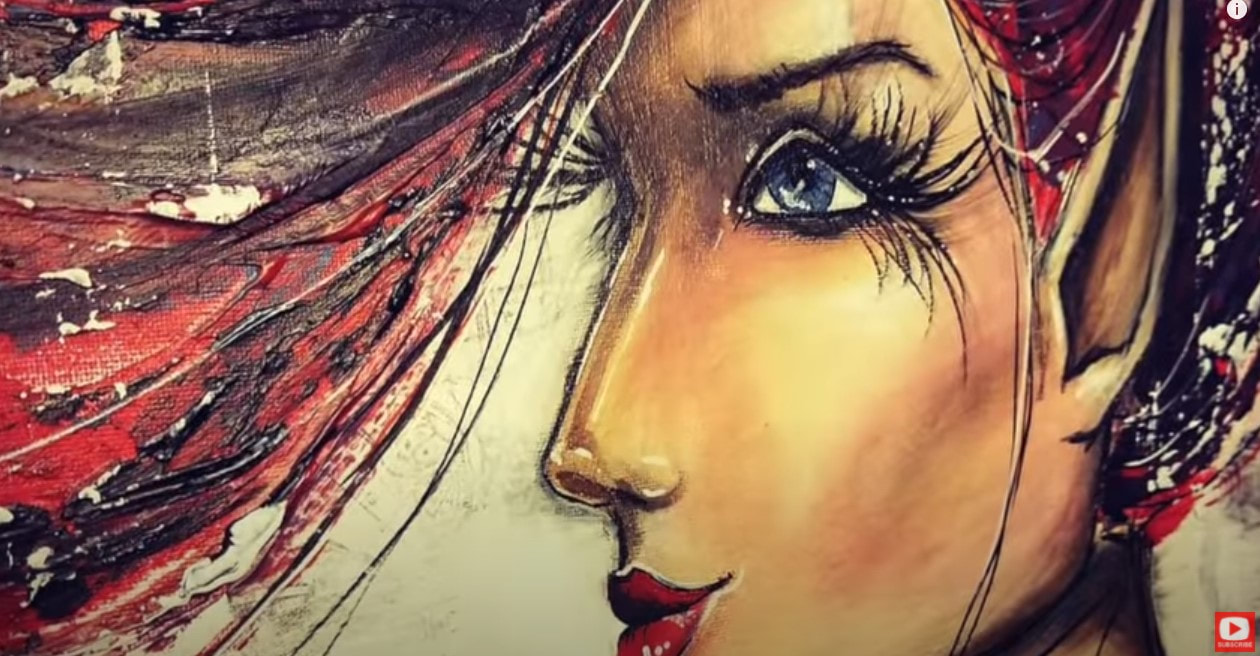
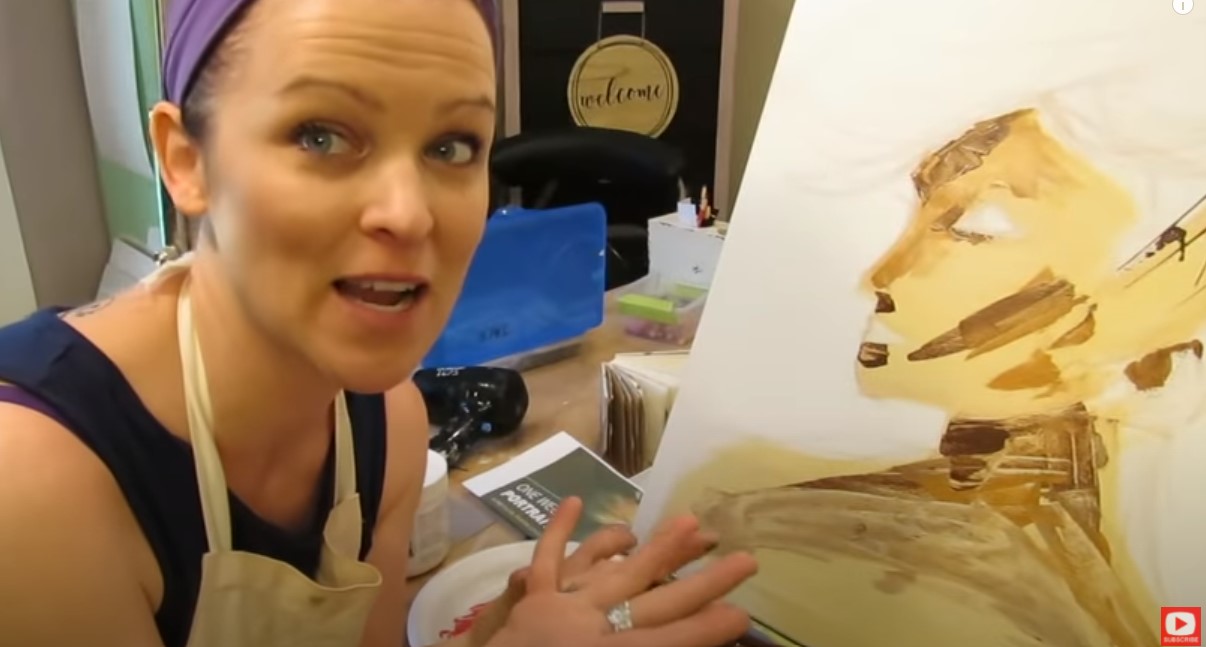
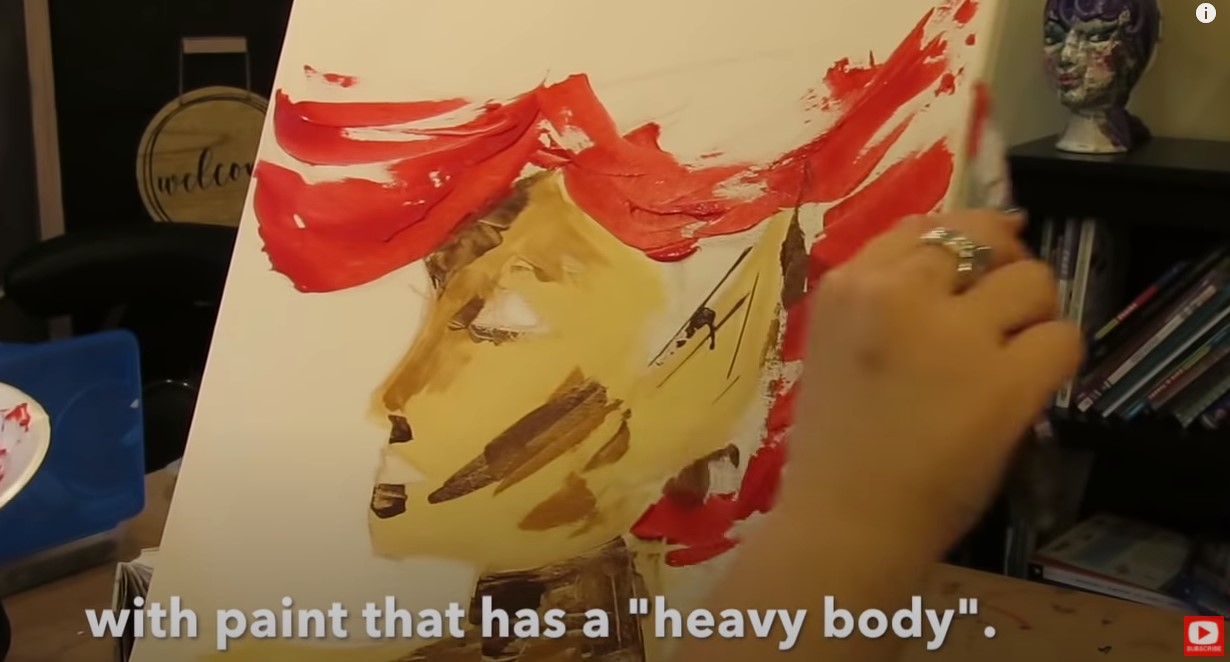
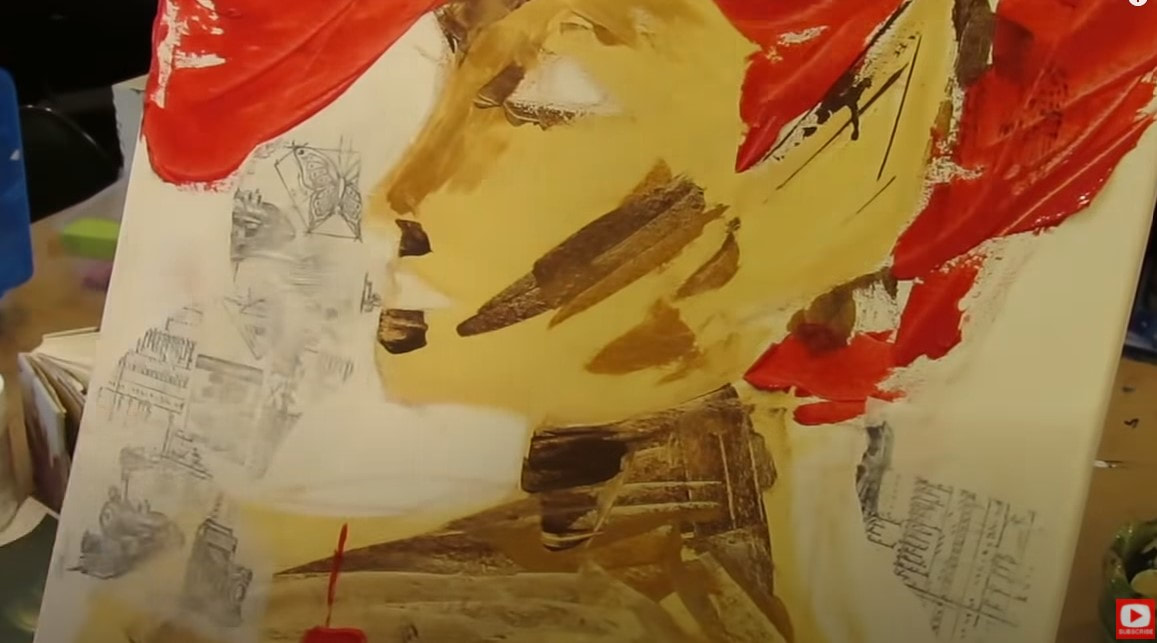
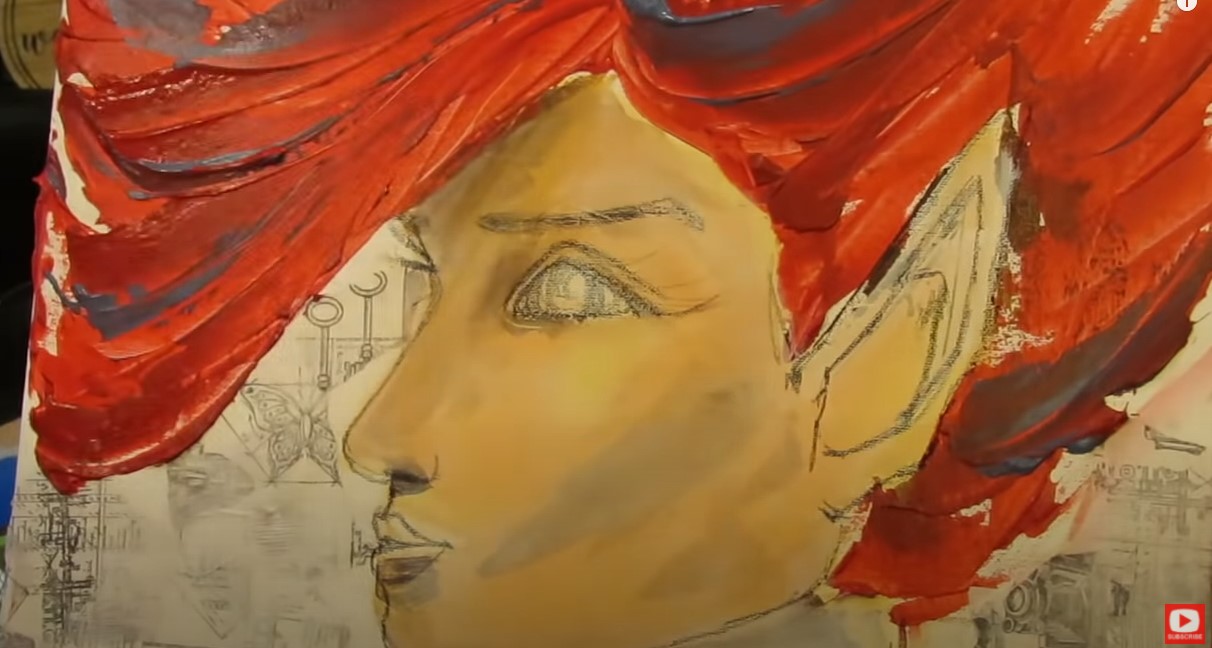
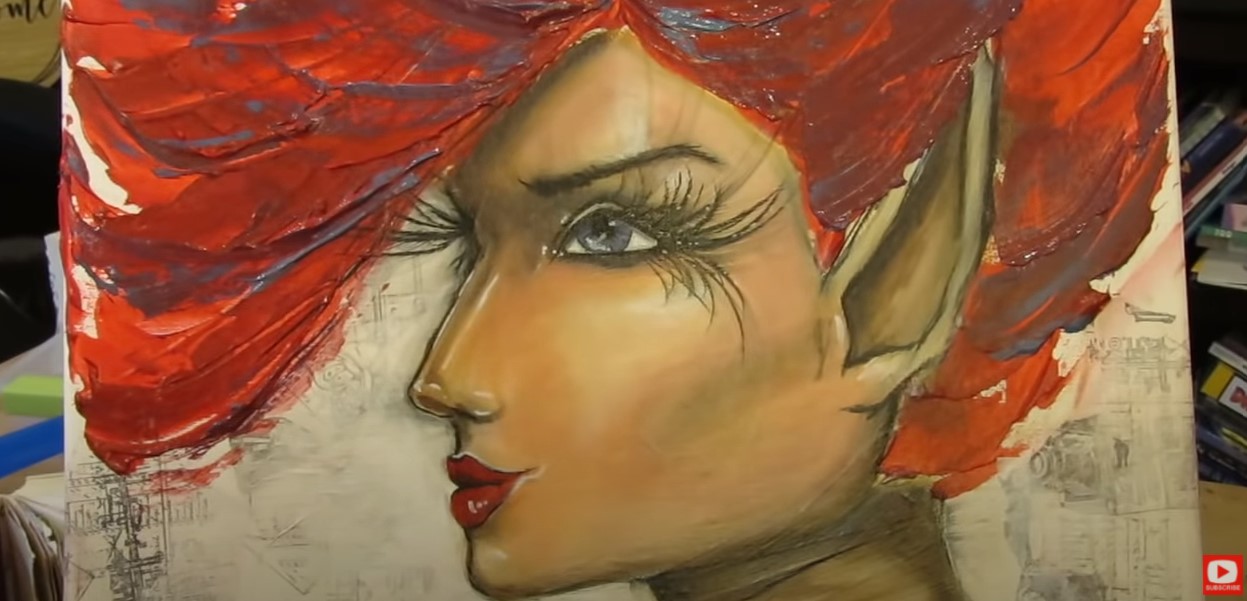
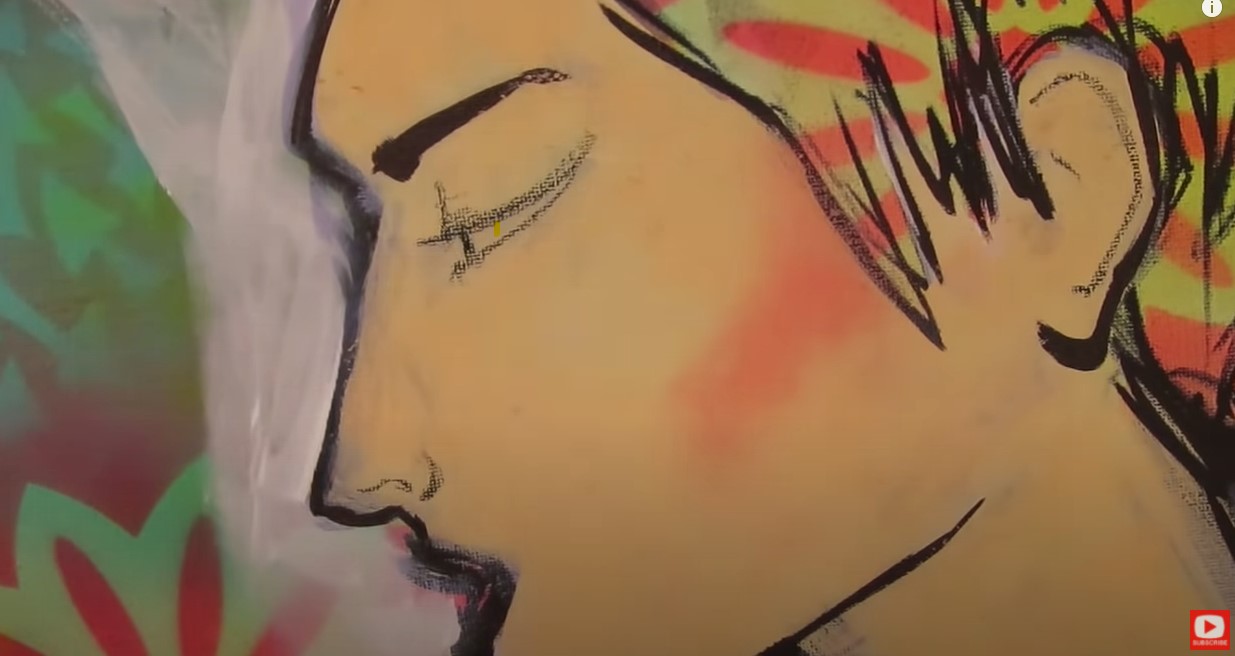
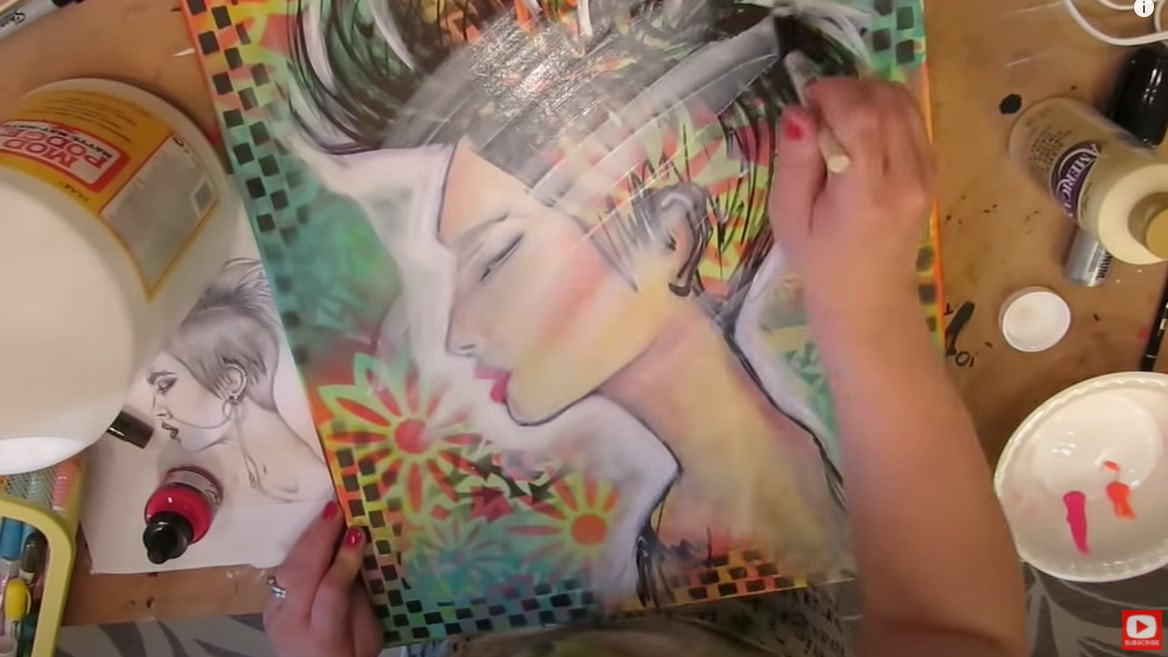
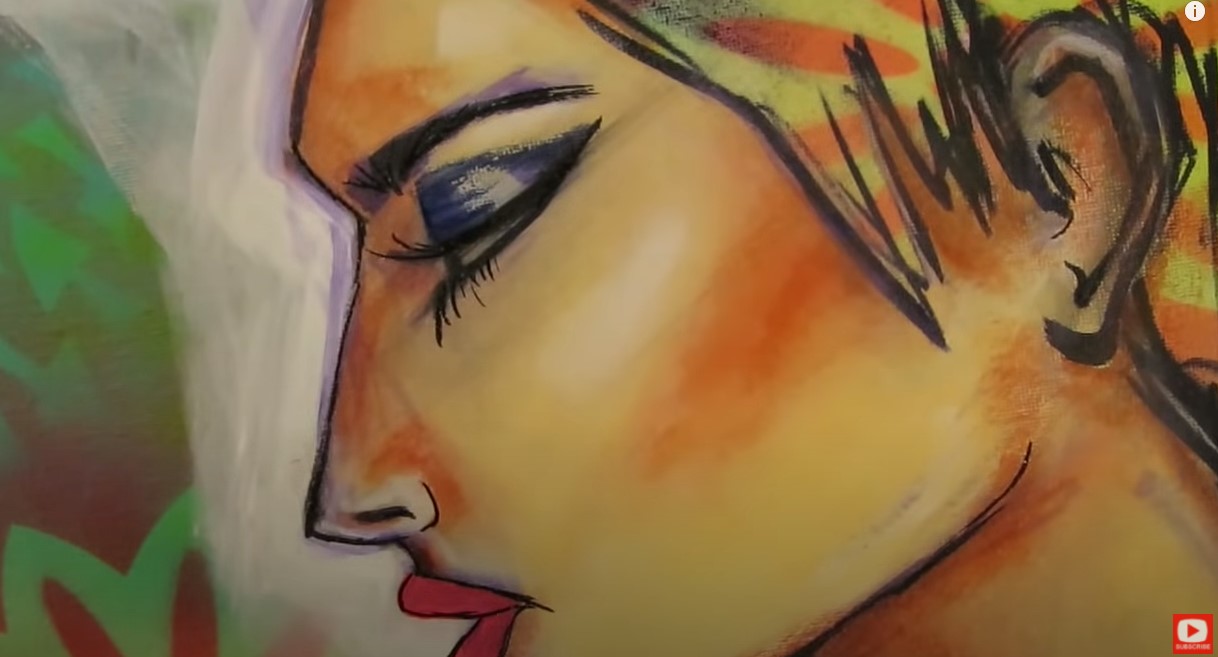
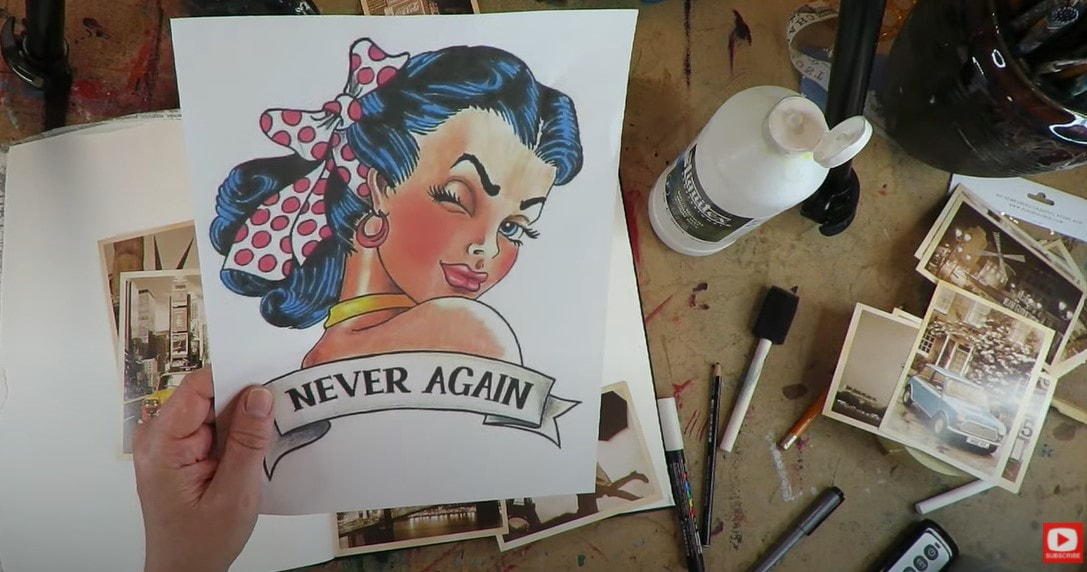
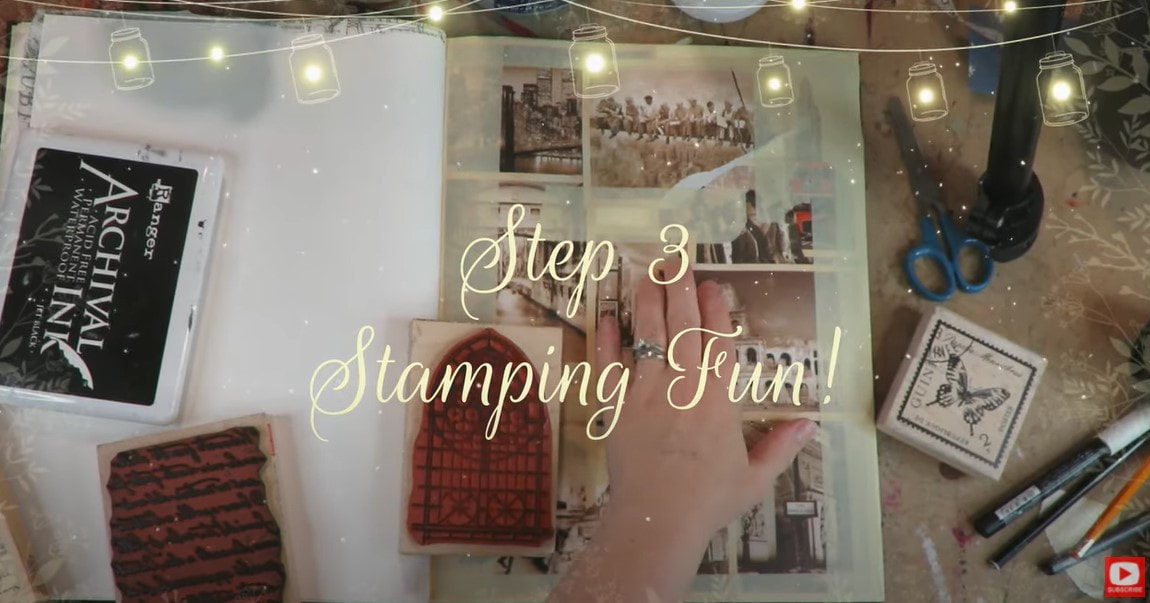
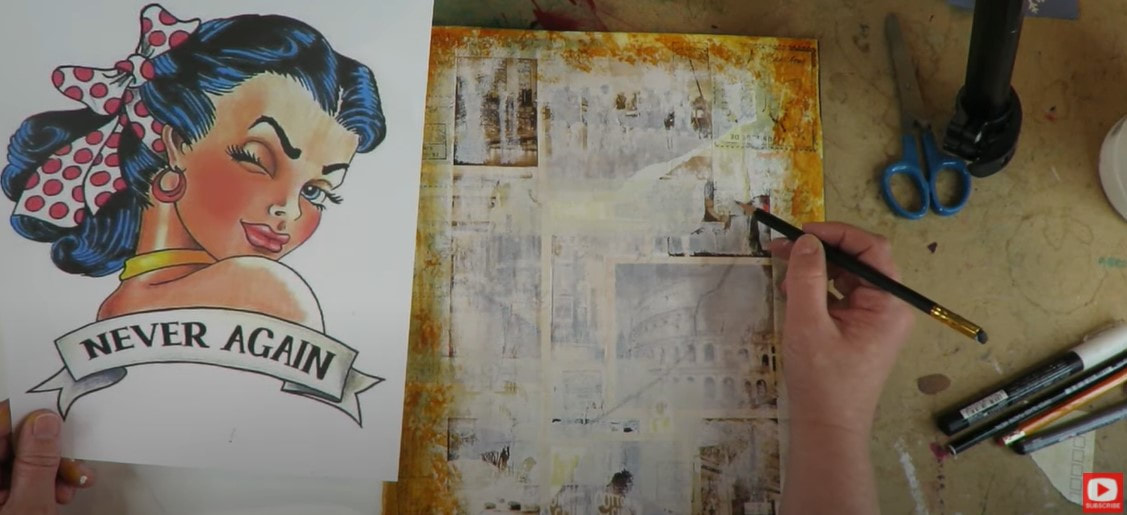
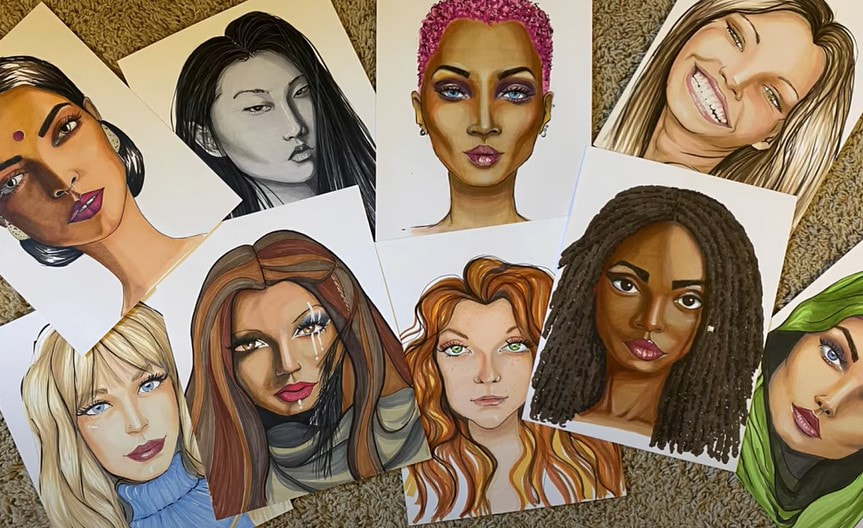
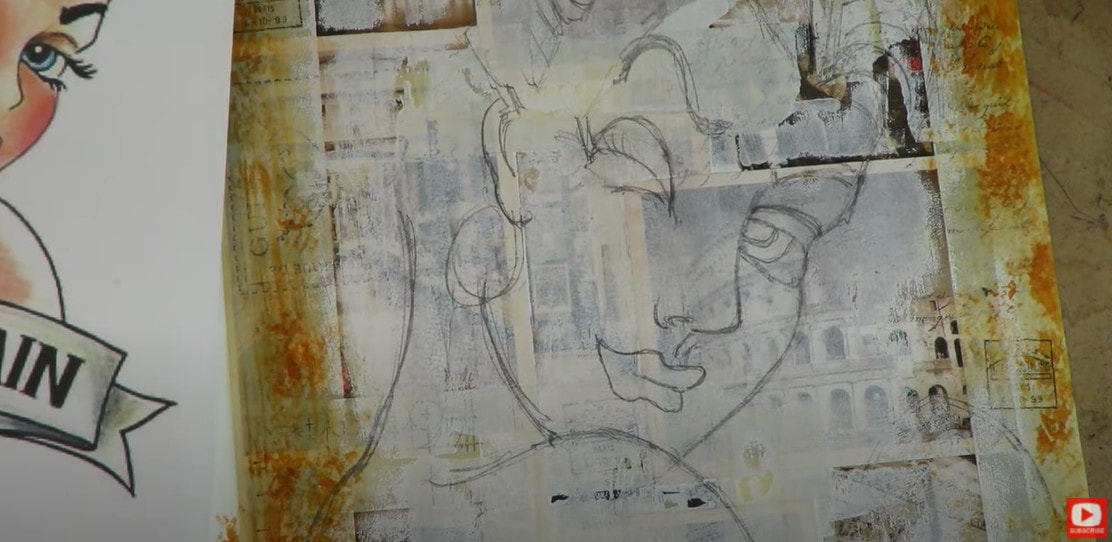
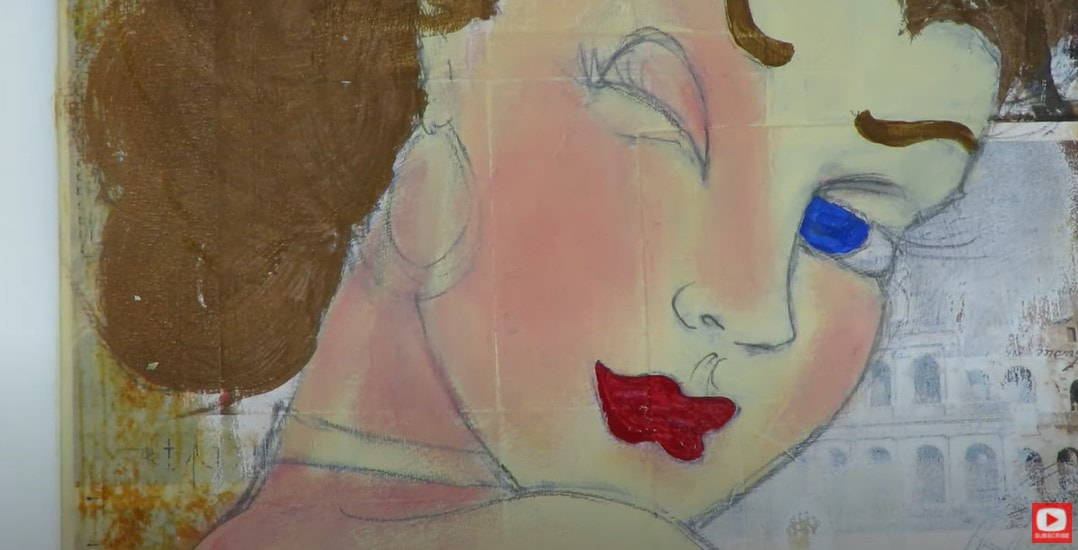
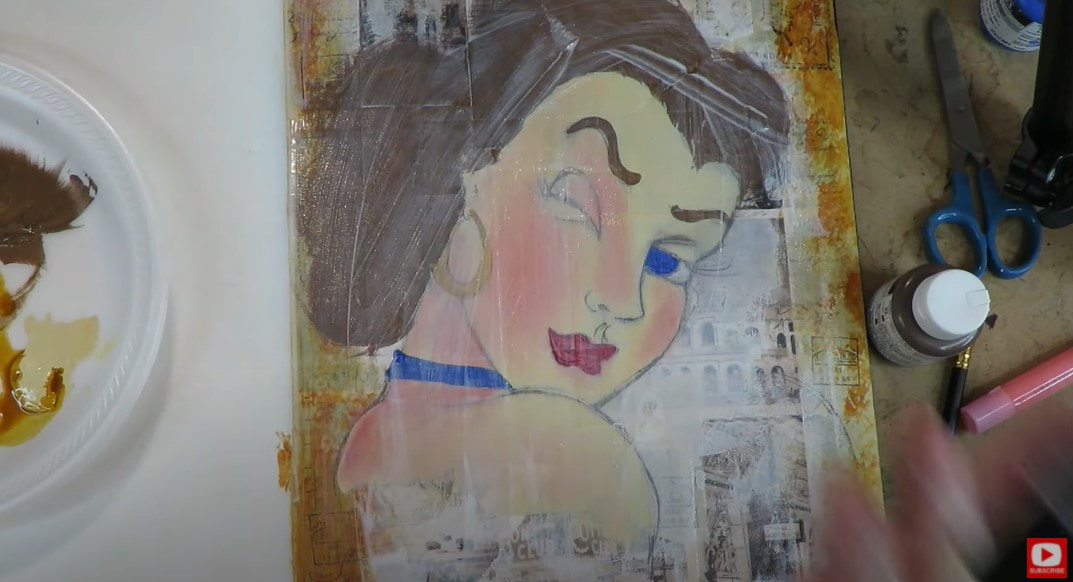
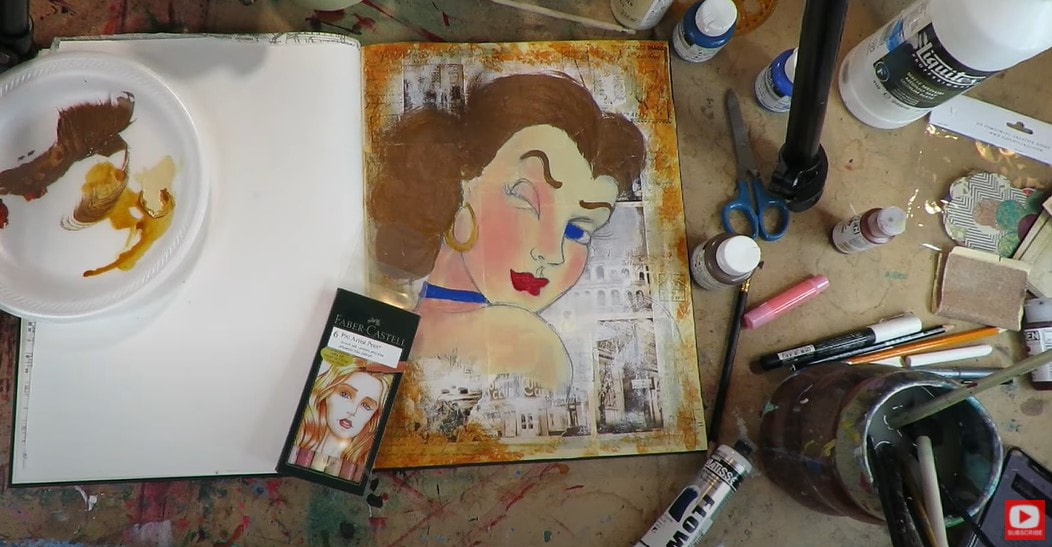
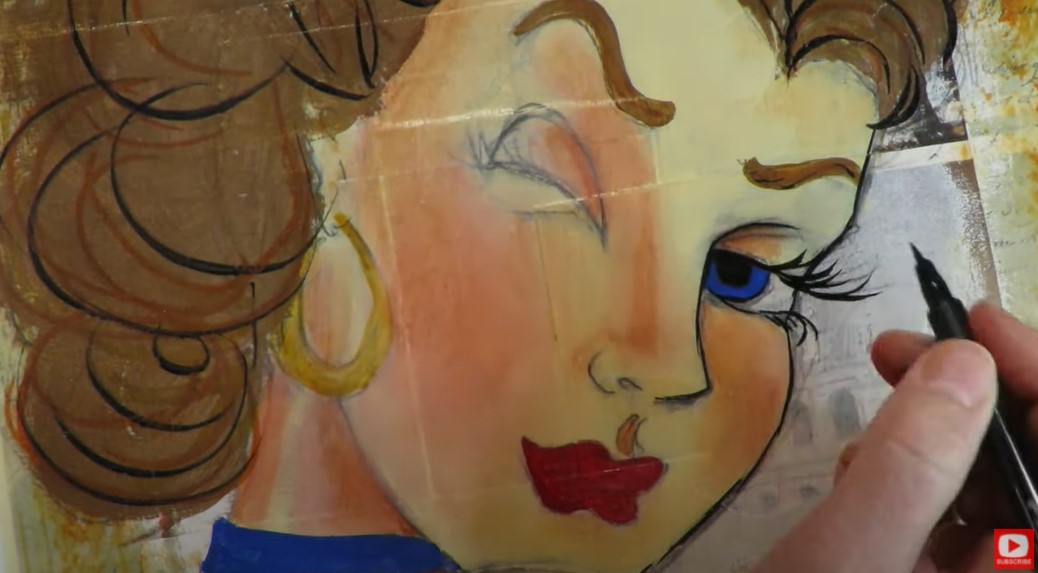
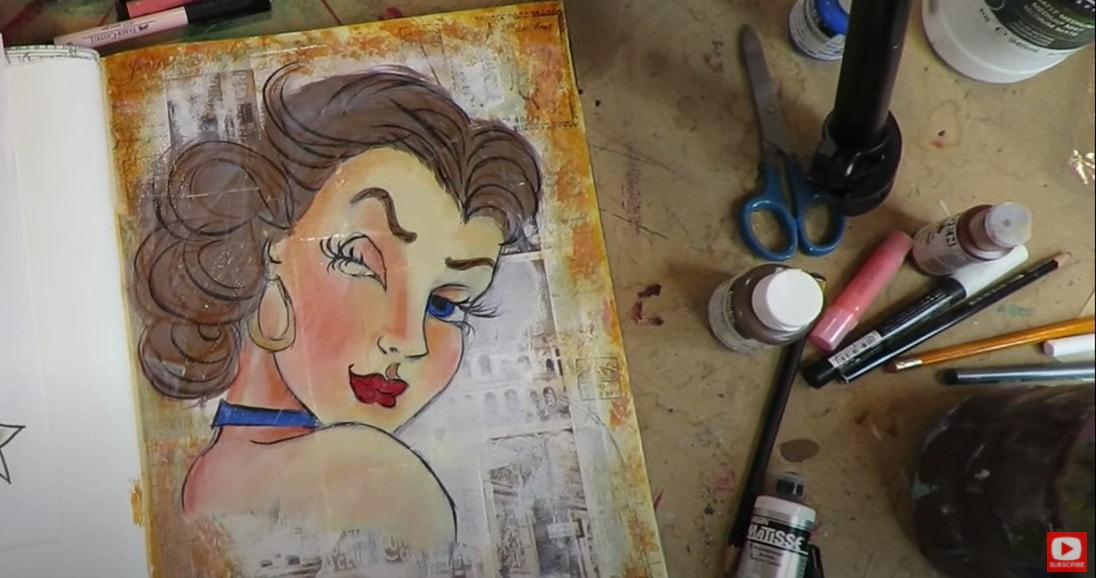
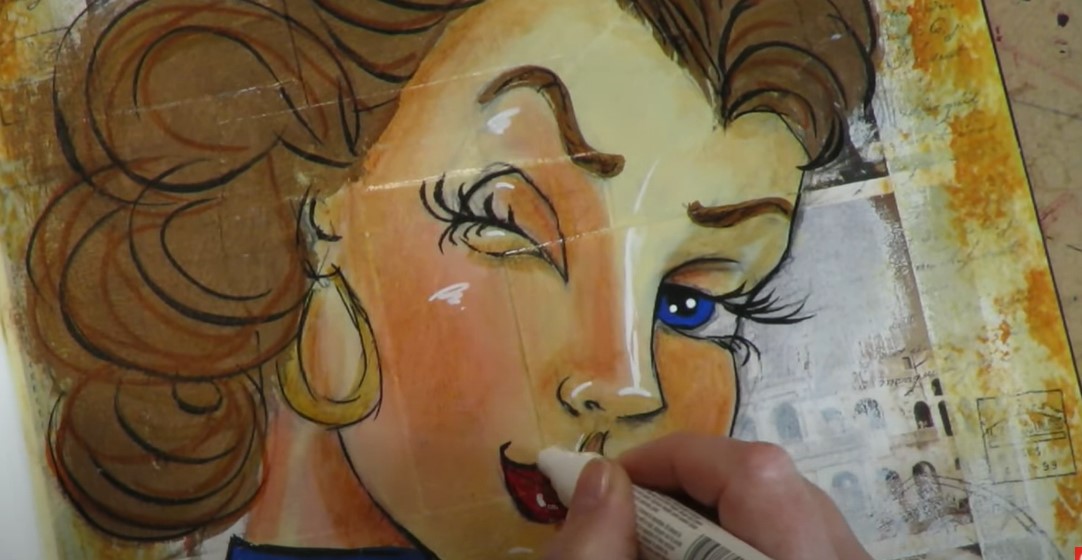
When I'm making my whimsical girls "hamburger style," I use Pitt Artist Pens ALL THE TIME in Layer 5 of my Hamburger System for shading the faces I create.
Make sure you click over to watch the video to SEE THIS IS ACTION! It's seriously magical because it makes mixed media face shading SO much EASIER than blending and layering with traditional acrylic paints. You no longer have to be a master at blending with acrylic paints to add some serious drama to your mixed media portraits. Plus this FUN mixed media technique is easy enough for beginners, as well as those who are timid about adding shading to their work because they're afraid of messing it up (you KNOW who you are!!). One of the COOLEST things about adding mixed media shading with Faber Castell Pitt Artist Pens is you can even "erase" them with a baby wipe or wet finger if you work quickly!! (shown in today's video) 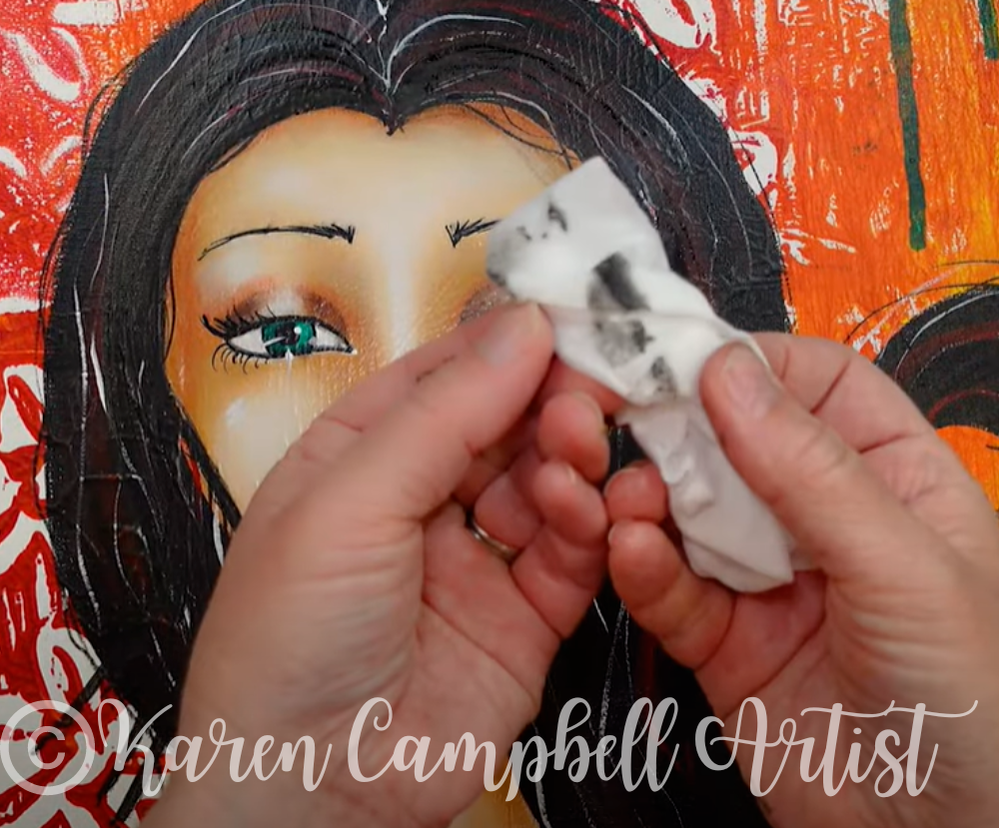
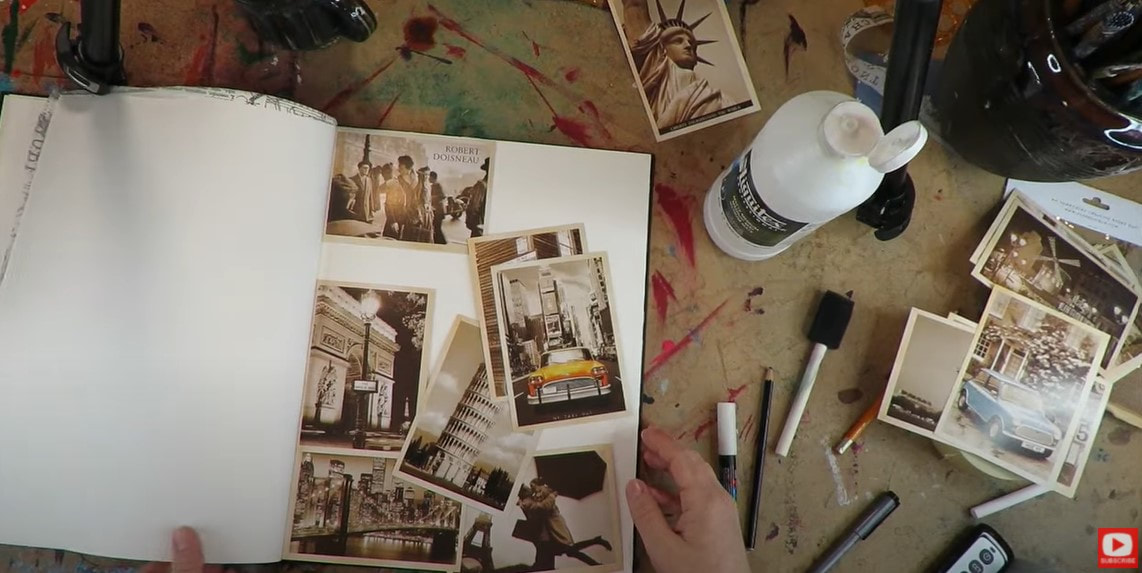
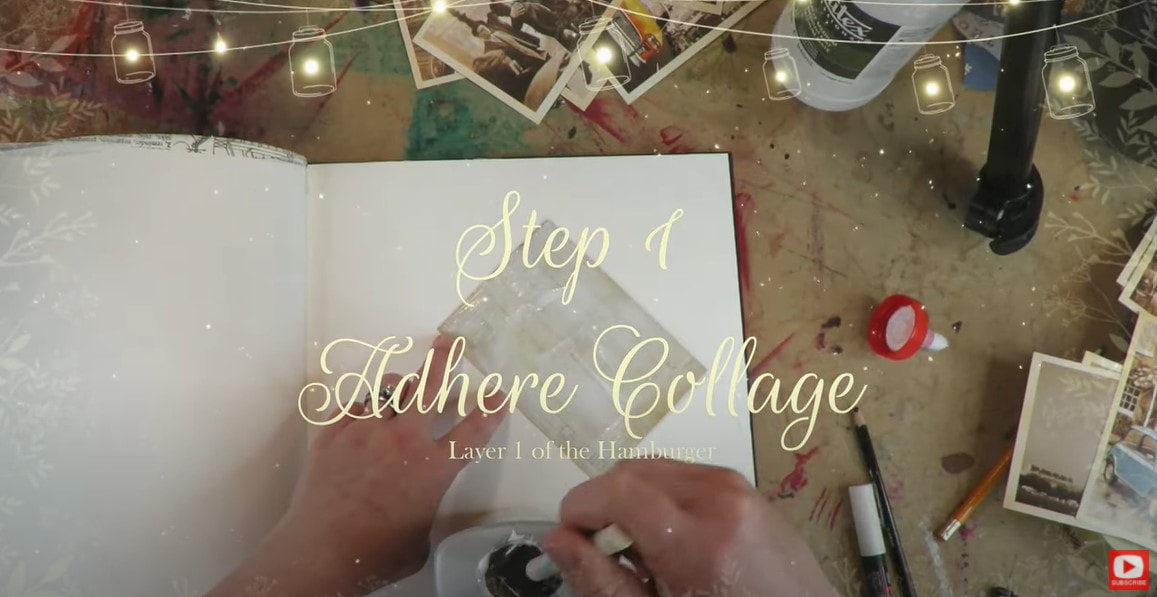
Not sure what my "Hamburger System" is? Simply click the button below to download a cheatsheet of my signature mixed media layering process.
It's like a tried and true recipe that tells you what supplies to use when during you creative process so you end up with a mixed media masterpiece EVERY time you sit down to create, instead of a mixed media HOT MESS!! 
If you've been looking for mixed media help - my hamburger system might just be the answer you've been searching for! It's simple enough for beginners, a FUN mixed media technique for seasoned artists, and easy on your wallet because you can use the same supplies over and over to create TONS of amazing mixed media projects :)
If you prefer working with a physical book at your art table (like me!!), you might also enjoy my Hamburger System book, available on Amazons worldwide. 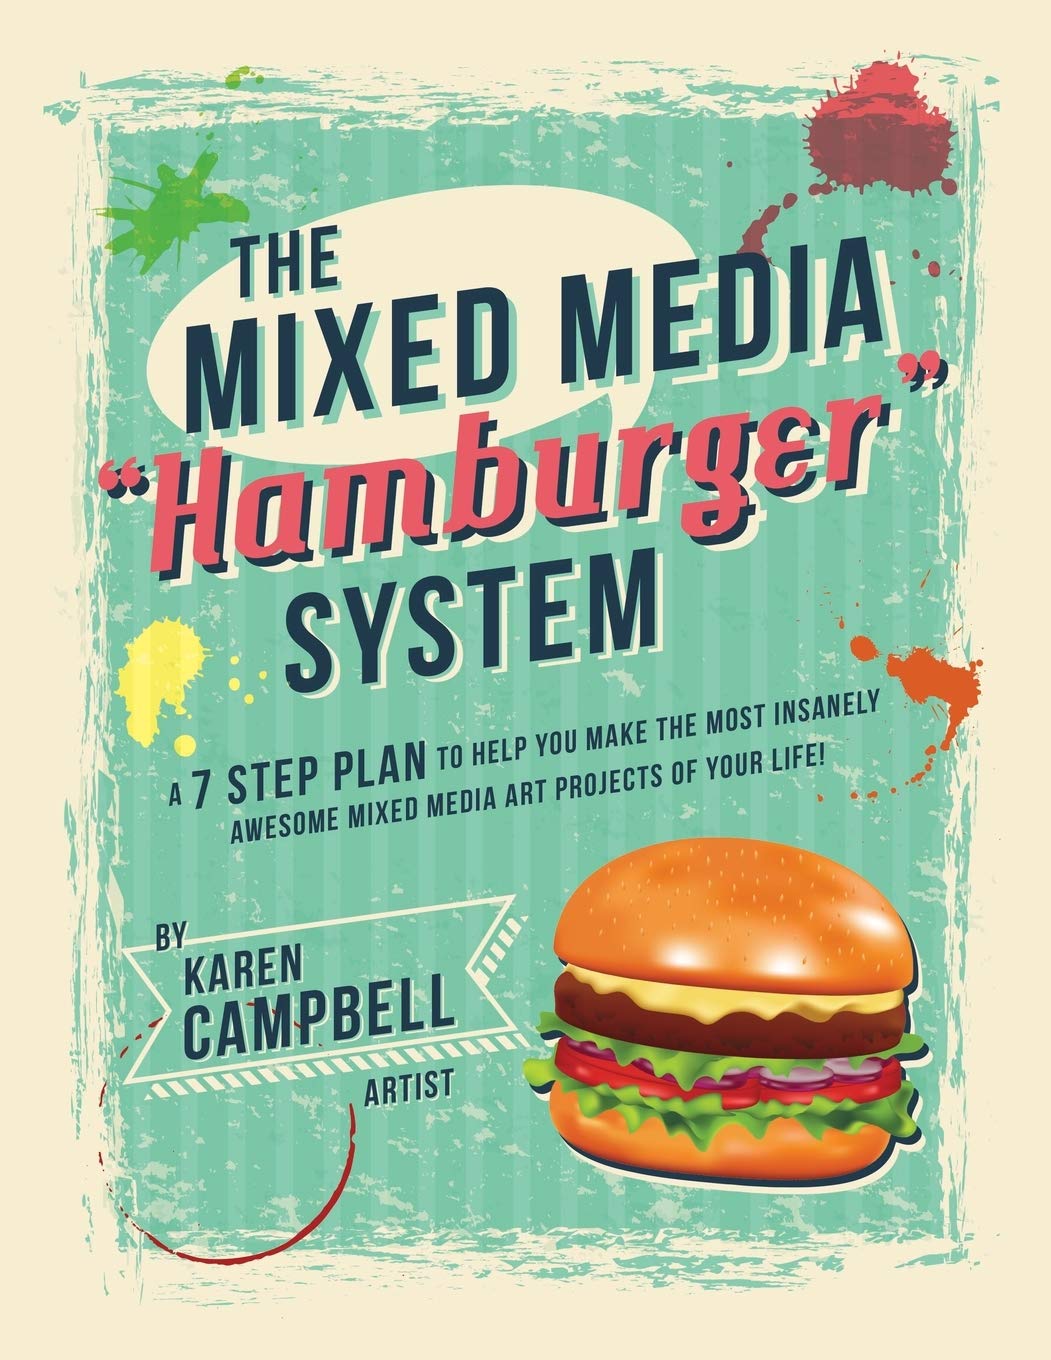
Wanna Create the Whimsical Girl Featured in Today's Mixed Media Art Tutorial?
She's a lesson inside my Mixed Media Society over at Awesome Art School and is perfect for artists of ALL levels, including beginners.
We're having a blast learning about ALL the mixed media supplies, plus how to combine and layer them to create mixed media art we can be proud of!! We would LOVE to have YOU join us!! 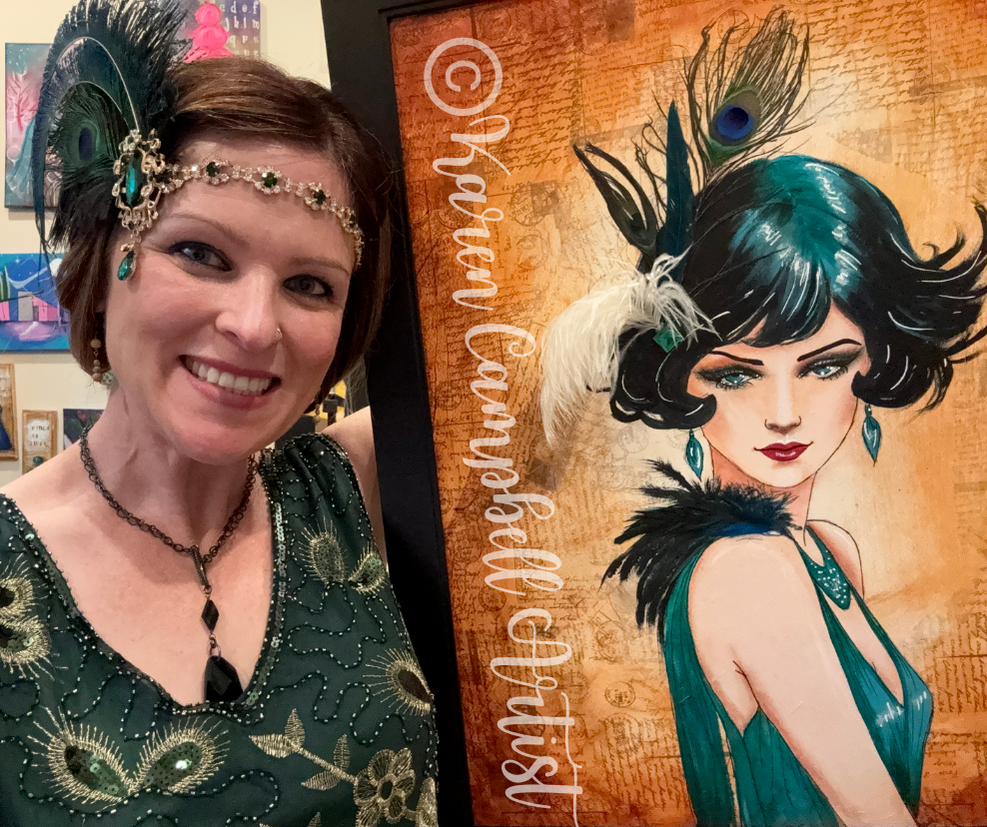
Wanna Create THIS Mixed Media
|
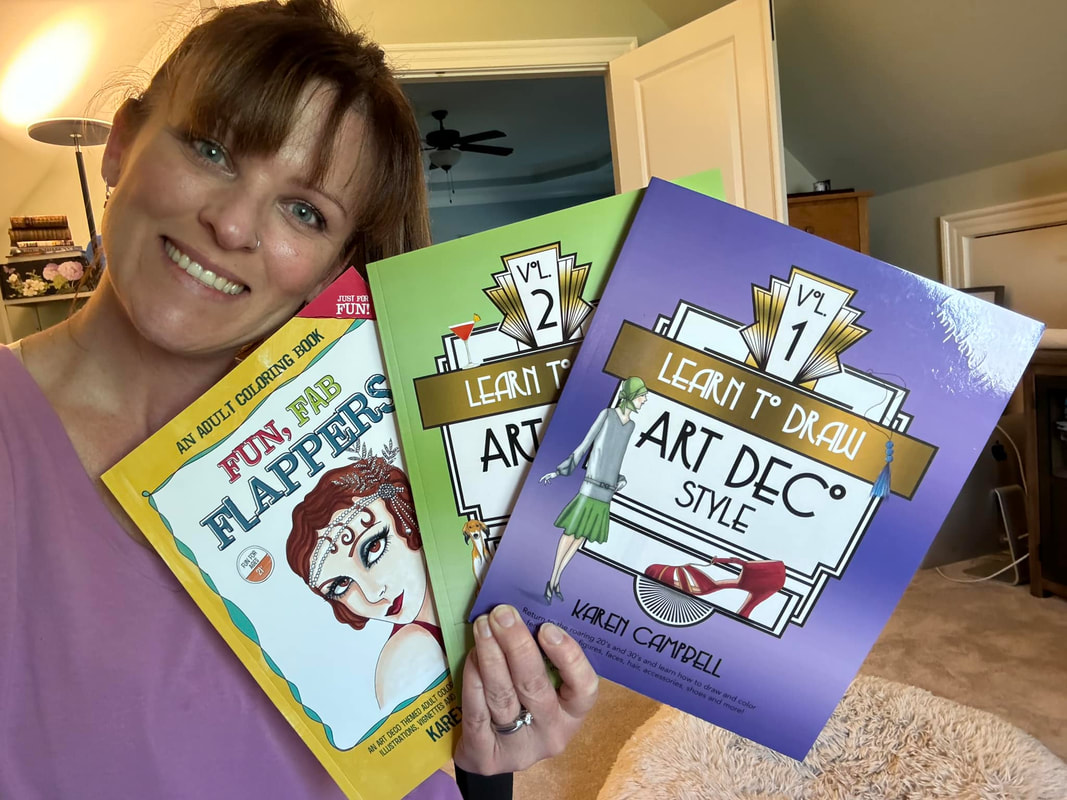
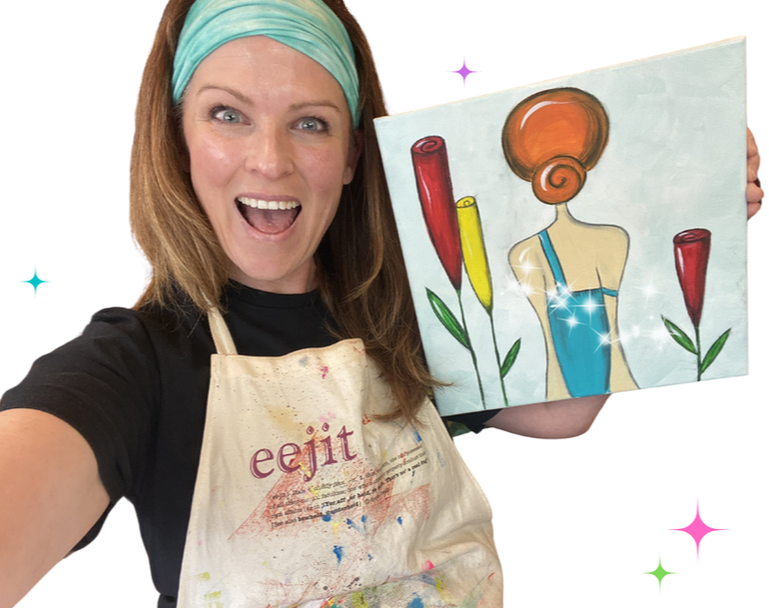
Karen CampbellFounder of Awesome Art School. Mixed Media Artist. Author of 19 Instructional Art Books! 
Whose work has appeared in...
   
 Archives
July 2024
Categories
All
|


 RSS Feed

"Karen is flipping hilarious and she's very real...I like the way she teaches in a way that really gives you confidence, whether you're a beginner or advanced there's always something new to learn!"
- Elizabeth W. |
What Fans Are SayingKaren, you are absolutely fabulous! You make me feel like I can draw anything. I have recently retired and finally have the time to do some of the art that I have loved since I was in school. I am really at the beginning of my art journey and I hope to learn as much as I can. Thank you for all you do. |
Contact ME |