
|
*All product links are affiliate & for U.S. residents only.*
Hey there, creative soul! If you love drawing semi-realistic faces as much as I do, or have been looking for the PERFECT face drawing tutorial for beginners, you're in the right place!!
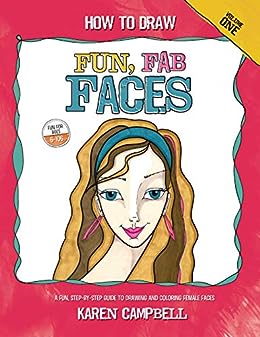
Today we're drawing another cutie in my signature "Fun, Fab style" from my very first published book, How to Draw Fun Fab Faces. In this QUICK & EASY face drawing tutorial, I'll take you step-by-step through my process of drawing a simple face in pencil using my whimsical face drawing guidelines. Last week, we did a similar drawing and colored her in with greyscale alcohol markers over on my Mixed Media YouTube channel. This time, we'll do our shading in COLOR using Tombow Markers and water. Grab the closest pencil and a sheet of watercolor paper (if you wanna color along using Tombows and water later). 
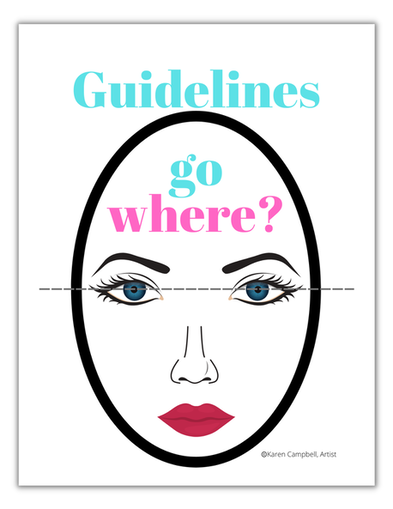
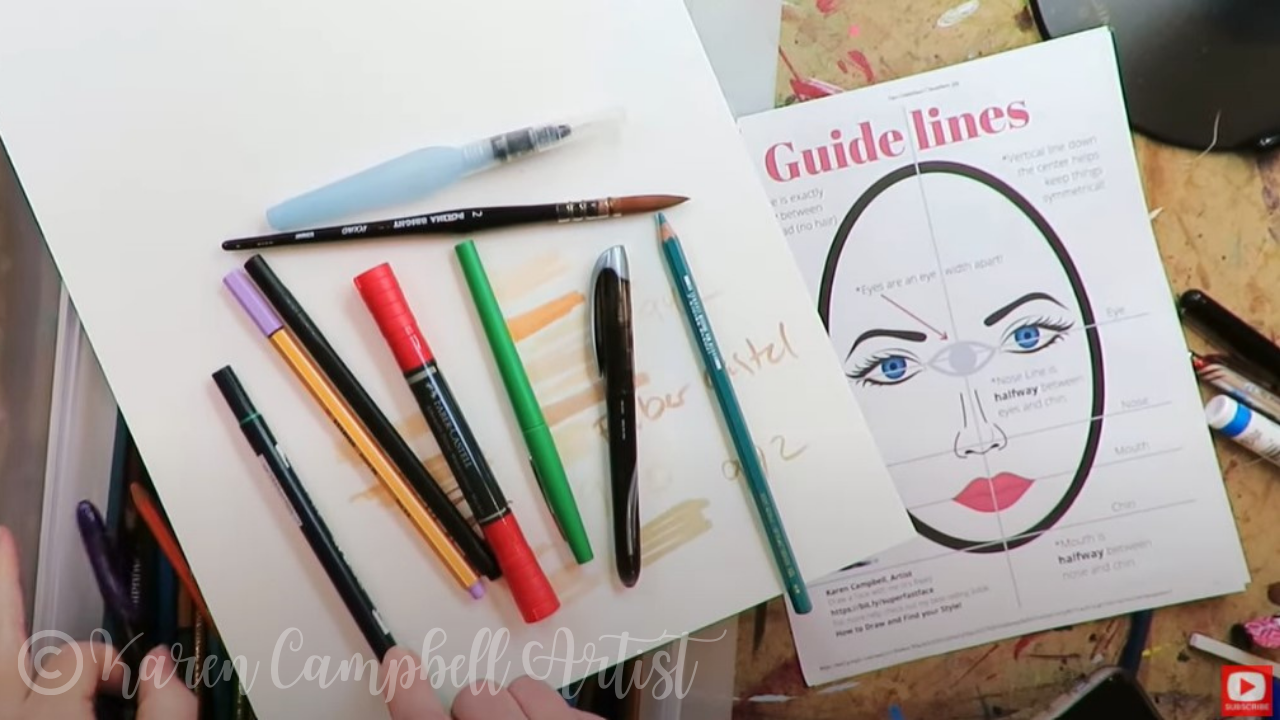
Need My FREE Face Drawing Guidelines?
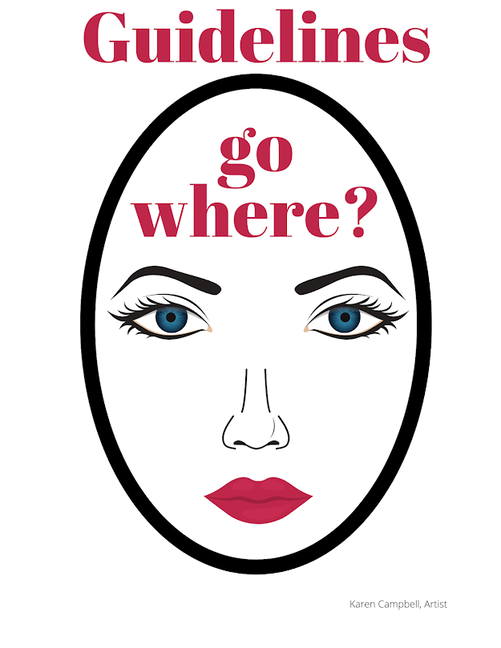
If you want to make your face drawings look MORE realistic, it's important to ALWAYS use face drawing guidelines. This will help your faces look more proportional because the facial features you draw will be in the right spots!
Grab a PDF of my FREE Face Drawing Guidelines Cheatsheet HERE, or click the button below! Then meet me right back here for the drawing tutorial. 
Already have my face drawing guidelines, butwould love a DIFFERENT FREEBIE? Grab a different one here :)
Ready to Draw? Let's Go!
Make sure you click over to the video to see the drawing process happening in action. It totally helps!
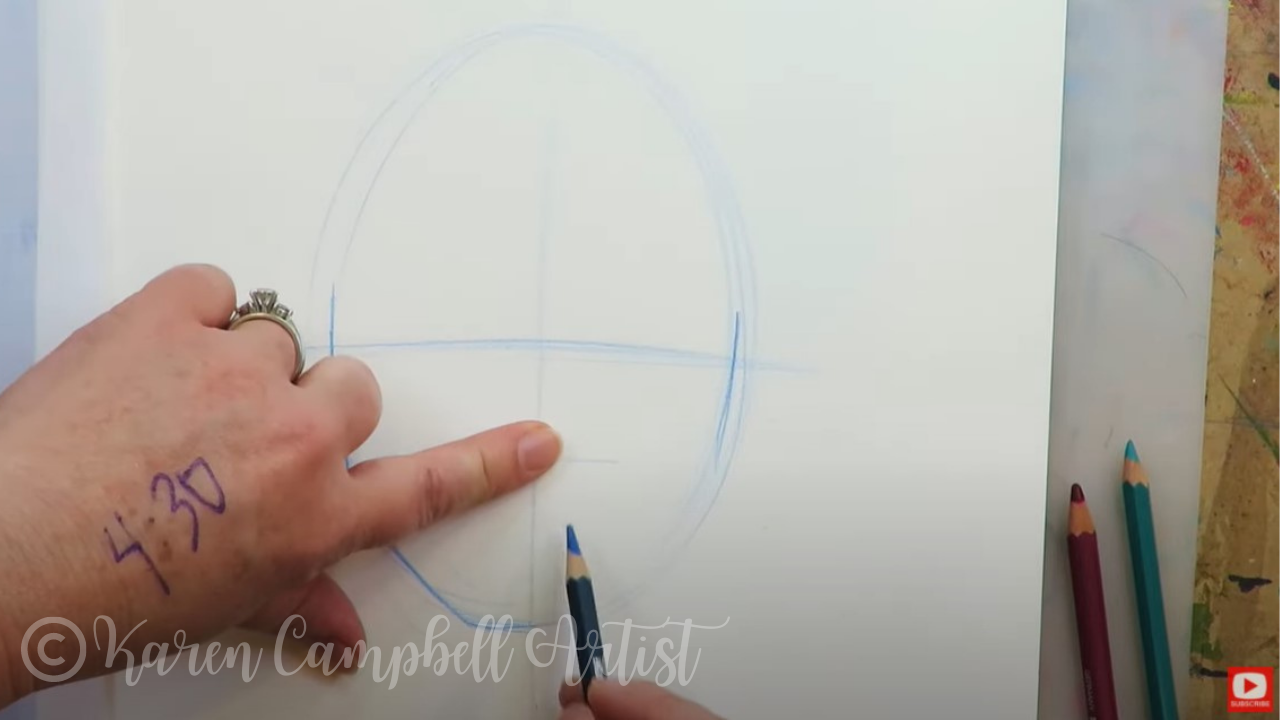
I started today's face drawing off the way I do all of them - by drawing a TON of ovals. Eventually one of them begins to emerge like a nice, solid face shape. After it does, we just need to add a cute and curvy, whimsical neck, and divide the face into quadrants to establish the position of key features like eyes, nose, and mouth. 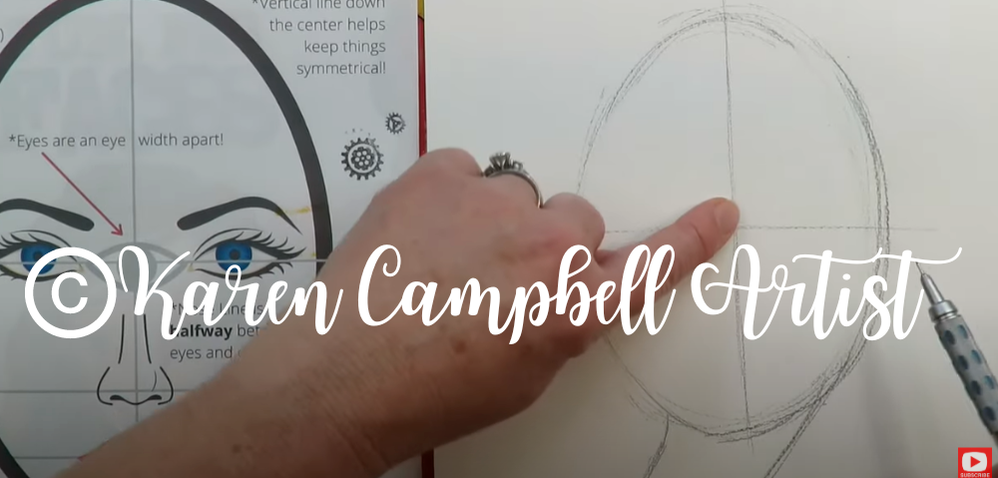
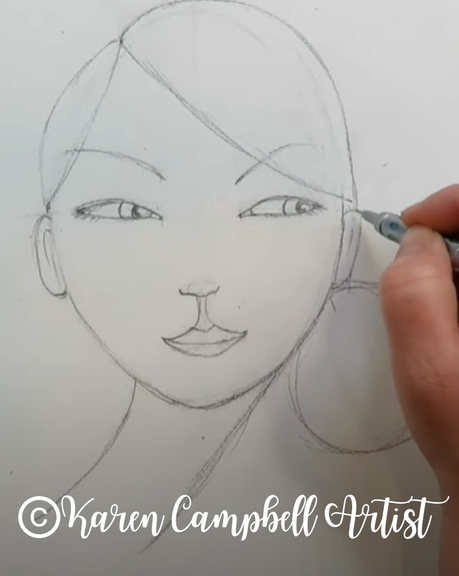
As you follow along with the video, you'll witness the transformation of a blank sheet into a delightful face just FULL of personality - in less than 20 minutes! Awesome, right?!
If you love the book shown in today's video - it's available on Amazons worldwide and has TONS of fun face drawing project ideas for beginners. CHECK IT OUT HERE.
After your adorable drawing is done, it's time to color her in on my mixed media channel using Tombows and water!
LOVED This Fun & Easy Face Drawing Tutorial?
Sharing is caring!!
If YOU loved this cute face drawing project, share the JOY drawing gave you with an artsy friend or someone who's ALWAYS wanted to learn how to draw, but still hasn't given it a shot. Here's the video link to copy and paste into a text or email: https://youtu.be/6c3y3MdM9Kk. If you're watching the video on YouTube using your phone, try this! 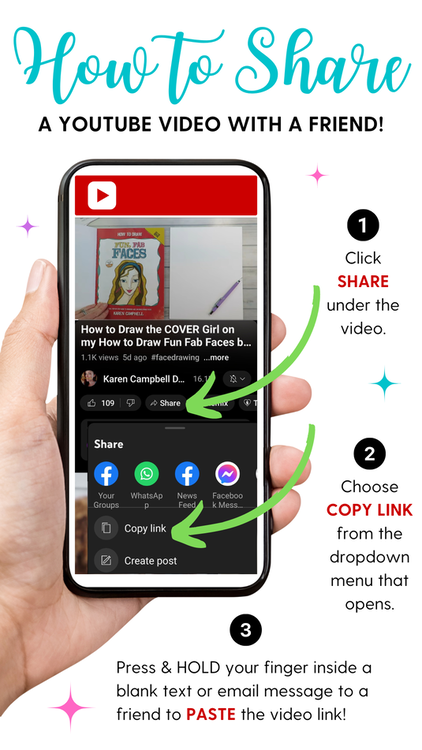
Ready to Color Her In with Tombows?Looking for Something Else?
0 Comments
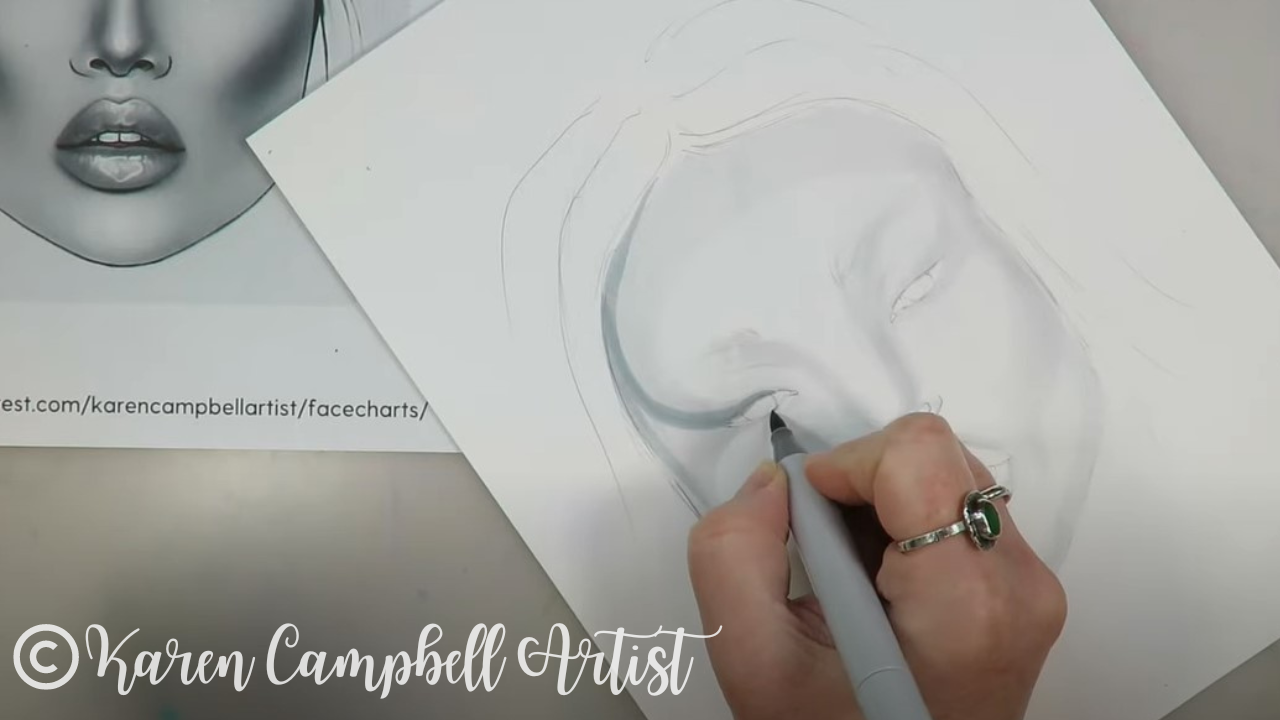
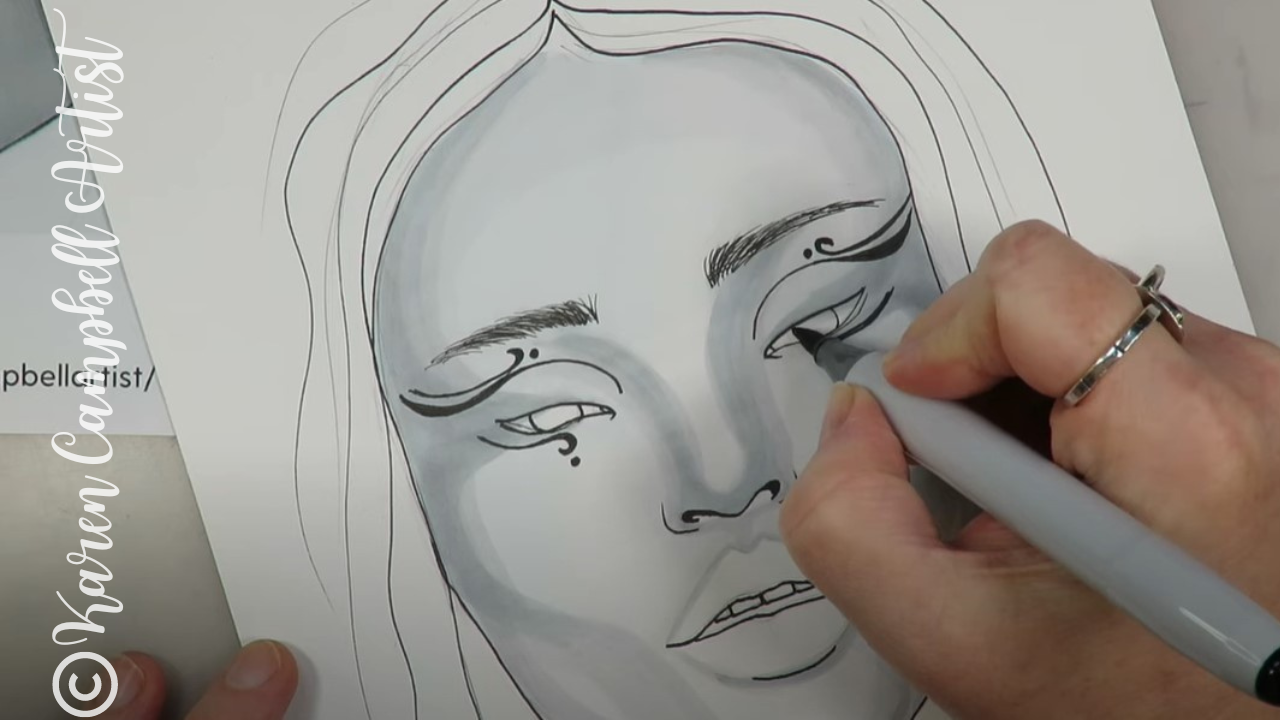
Why Cheap Alcohol Markers are AWESOME **PLUS** 11 HOT Marker TIPS! (FaceChart Inspired Art No. 4)30/11/2022
When it comes to alcohol markers, I keep noticing there is such a HUGE range in price points. WHY is THAT?! For example, I bought a 5-pack Copic Sketch Marker set in grayscale that comes with a fine liner, for $38 (~$6.33/marker) on Amazon. Recently I also grabbed a 6-pack grayscale set of alcohol markers FOR $5 at my local Five & Below shop. You can't really beat the price at less than $1/marker.
But...will they perform? Let's find out!! 
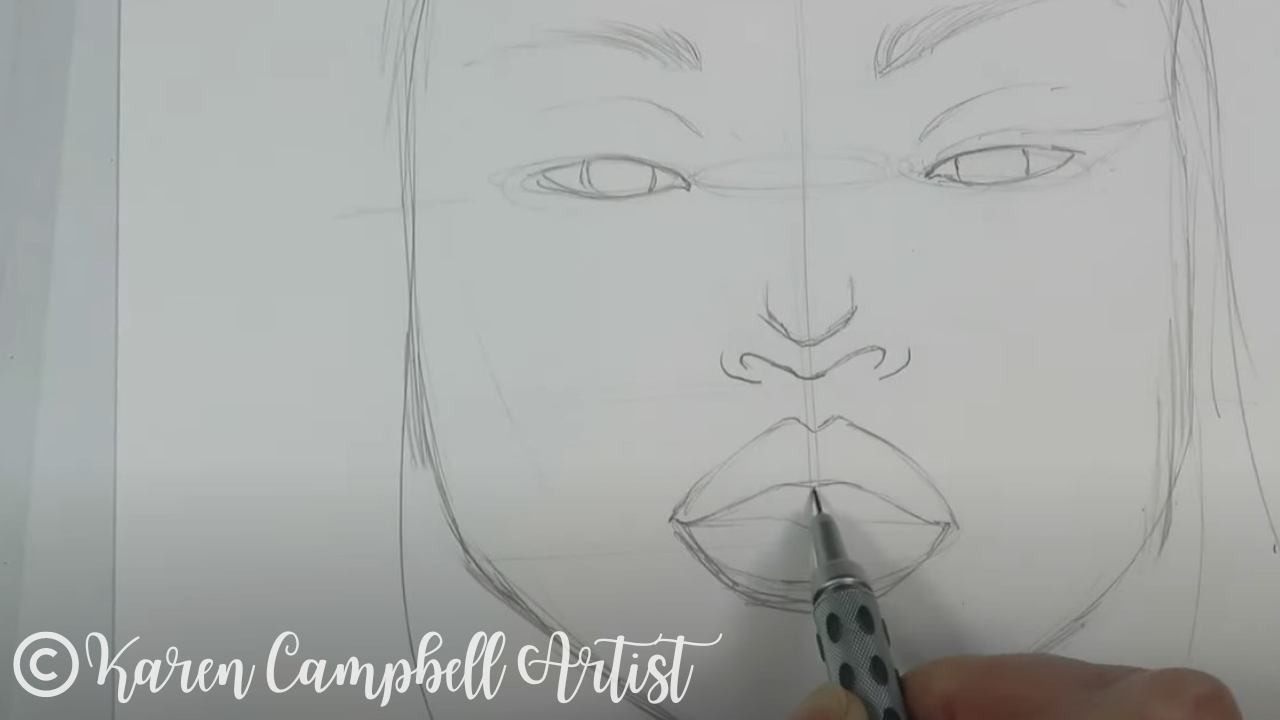
I seriously HOPE you are drawing along with me today! Face charts make amazing face drawing references!!
But before you even attempt drawing the fun makeup in today's reference, you NEED to make sure your facial features are proportional! How do you do that?! With my FREE whimsical face drawing guidelines! Click the button below and I'll send them straight to your inbox! 
Before we continue, super quick announcement: All product links are Affiliate. I may earn a small commission if you choose to order through these links but by law there is never any additional cost to the consumer for doing so. I thank you for your support.
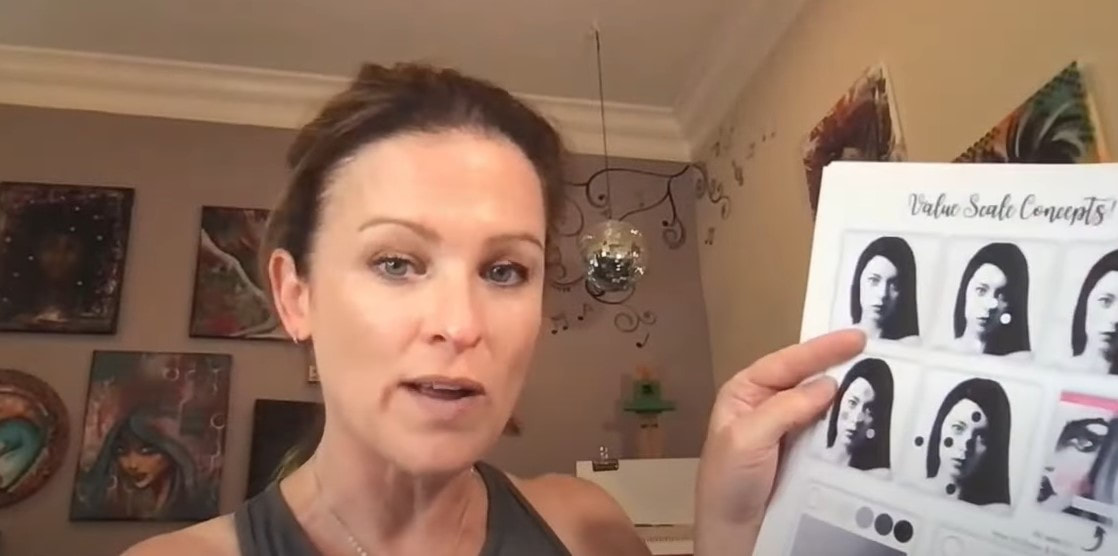
Whenever I get new markers, I've gotta swatch 'em to see what I've got! I compared the Five & Below cheapies with my neutral grayscale set of copic sketch markers (see how they compare below). The top line is the cheapies (that set came with one additional marker, so score!), and the bottom line is my copics.
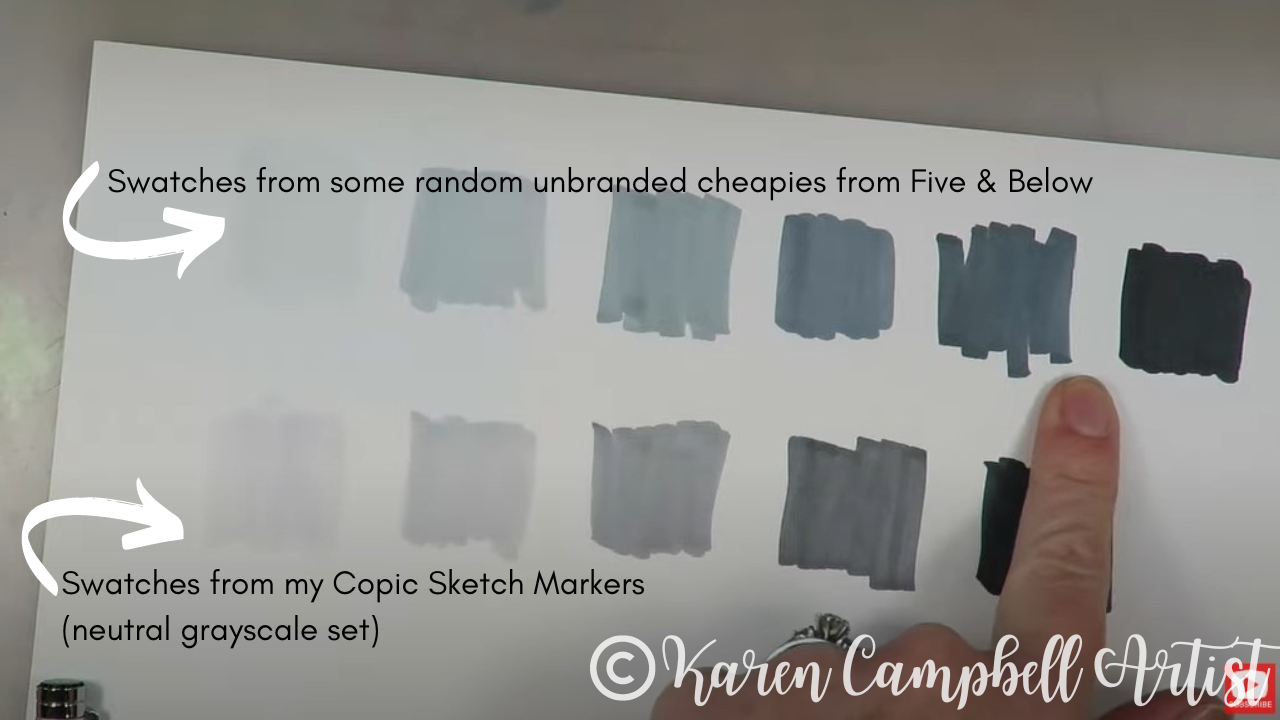
I love the gradation and the value scale range included in both sets, but I gotta say - whenever you can get MORE colors - I tend to gravitate toward that option, so way to go Five & Below!
However, I also REALLY love how Copic included one of their black fineliners in this set. The fineliner they included retails for about $12 on its own - so adding this to their grayscale pack is really pretty generous. 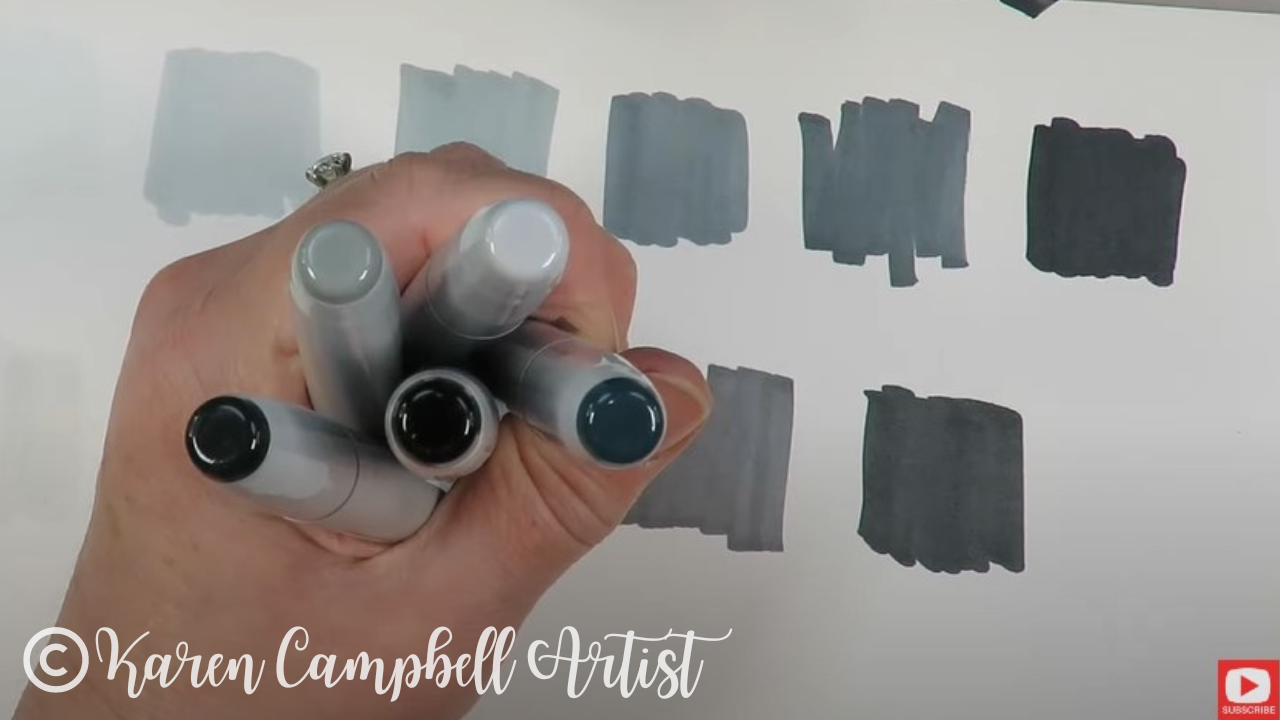
Whoever manufactured the cheapies from Five & Below DID cut some corners by producing their alcohol markers without labels. Kinda hilarious. At least the opposite sides of these caps have labels so I don't have to swatch again every time I grab a marker!!
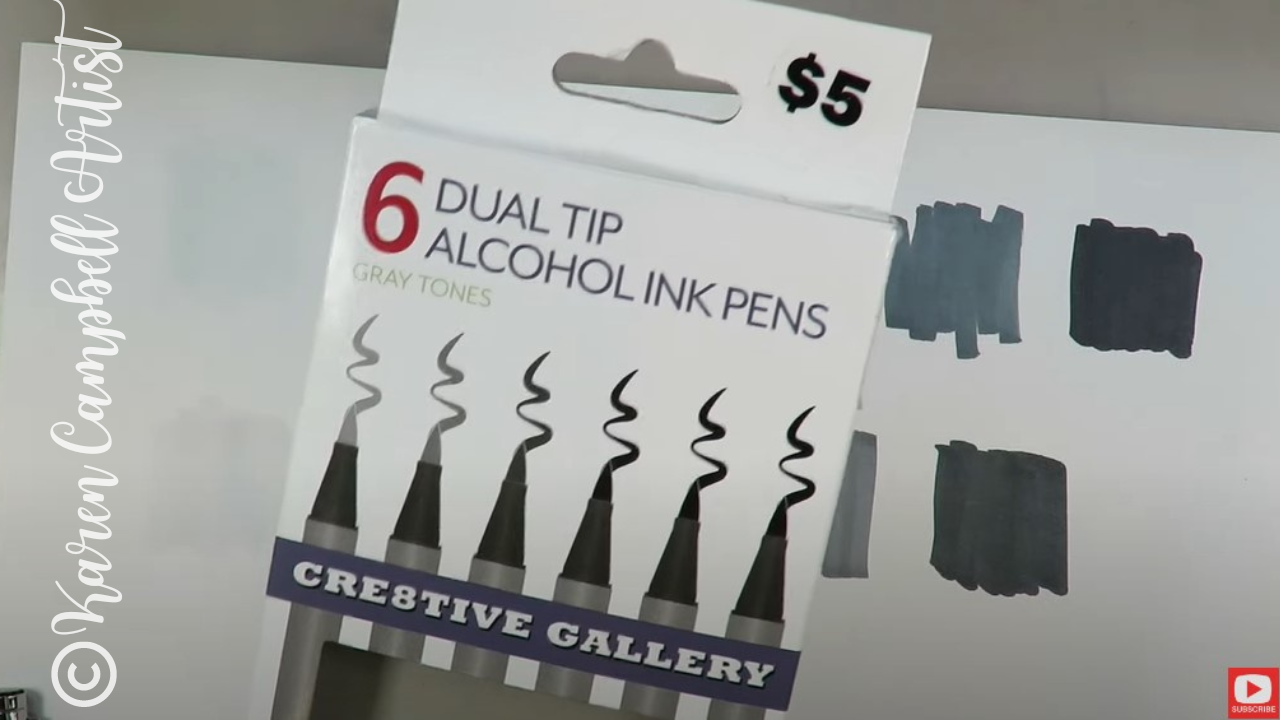
In terms of quality- the nibs in this set are great, and the ink is nice and juicy, so these were definitely worth picking up. I have no idea how readily available this specific pack of alcohol markers are, but I guess my general advice is not to shy away from grabbing a set of cheapie alcohol markers when you find them at your local dollar or craft store.
Pretty much every set I've picked up, I've been happily surprised by in terms of quality. Now let's see how they PERFORM in an actual project! 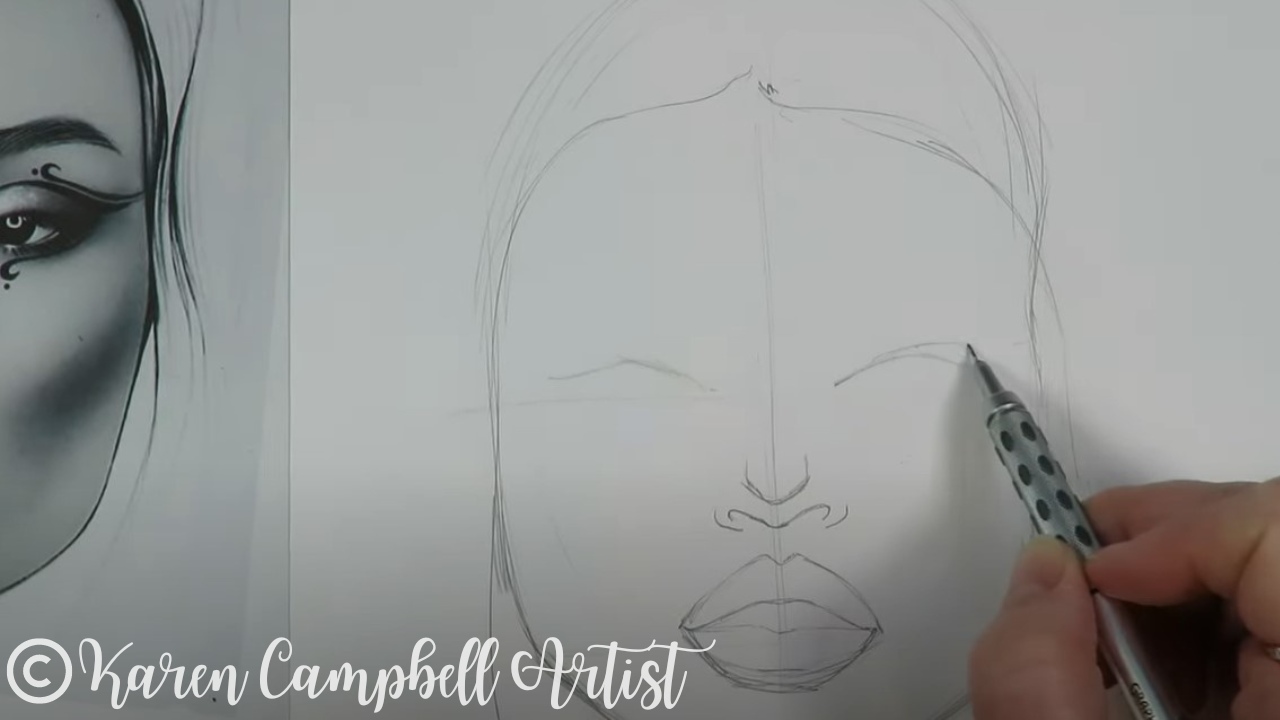
Make sure you click over to see today's face chart inspired drawing tutorial so you can DRAW ALONG with me!! Don't just sit back and watch - go grab your markers and come draw with me!
Need today's face drawing reference? Grab today's along with the last 3 in this series right here in my YouTube & Cheatsheet Library.
Definitely check out today's YouTube drawing tutorial because I give you TONS of hot tips for shading faces with alcohol markers that will help you tremendously - whether you're new to alcohol markers as a medium or not!
Shockingly, as soon as I started today's face shading with my cheapie alcohol markers, I was surprised to discover they felt identical to my copics. I KNOW!! This is a big deal, because if you've been following me for a while you KNOW how much I love my copics and ohuhus!!
Today's project has once again solidified my opinion that copic marker alternatives are WORTH trying! And really, price point doesn't seem to matter as much as you might think as far as this medium is concerned.
I've shared TONS of copic marker alternative product reviews for you here on YouTube, but hope YOU have confidence to try out whatever you find, especially if you're on a budget. You DON'T have to stop drawing, even when money is tight. 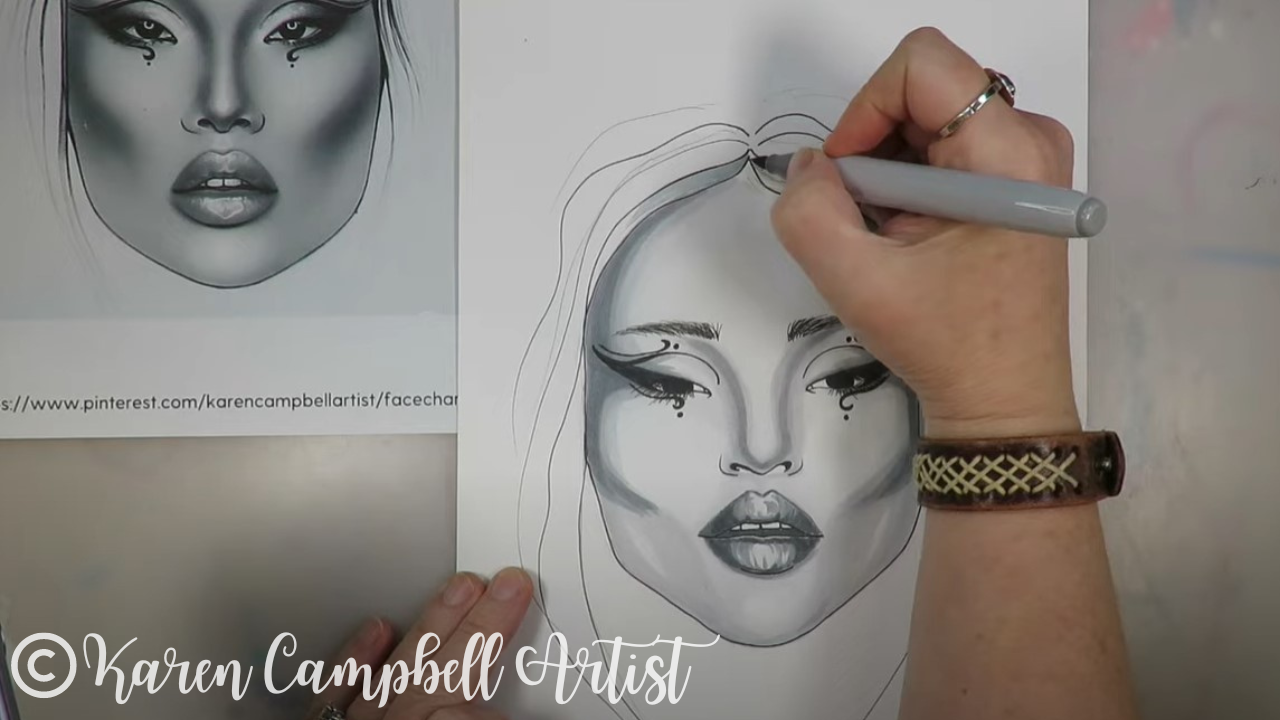
If you've never tried shading a face in alcohol markers, maybe you're addicted to shading faces in pencil - TRY today's free face drawing lesson. It's filled with tips to help you along.
If you're nervous to try shading faces with alcohol markers, especially when it comes to layering in darker shades, you REALLY CAN go at it slowly by adding multiple layers of the SAME shade over and over again. Your piece WILL get darker wherever you've added additional layers, and there's very little risk if you're afraid of screwing up :) Plus- if you're hanging out with me on YouTube (or in one of my online art classes or clubs at Awesome Art School) you're NEVER alone, I'm right there by your side doing the project with you from start to finish!
Thanks for hanging out with me today! If you drew along with me, make sure to share your work so we can give you some love over in my Facebook Group!!
LOVING the whole face chart inspired drawing tutorial thing? Here's a playlist with MORE of them for ya!! NEED MORE resources to get your creative juices flowing? ❤️ CHECK OUT ALL my art books on AMAZON ❤️ CHECK OUT ALL my online art classes @ Awesome Art School ❤️ MY FAVORITE ART SUPPLIES on AMAZON (affiliate links) ❤️ MY BELOVED FACEBOOK GROUP
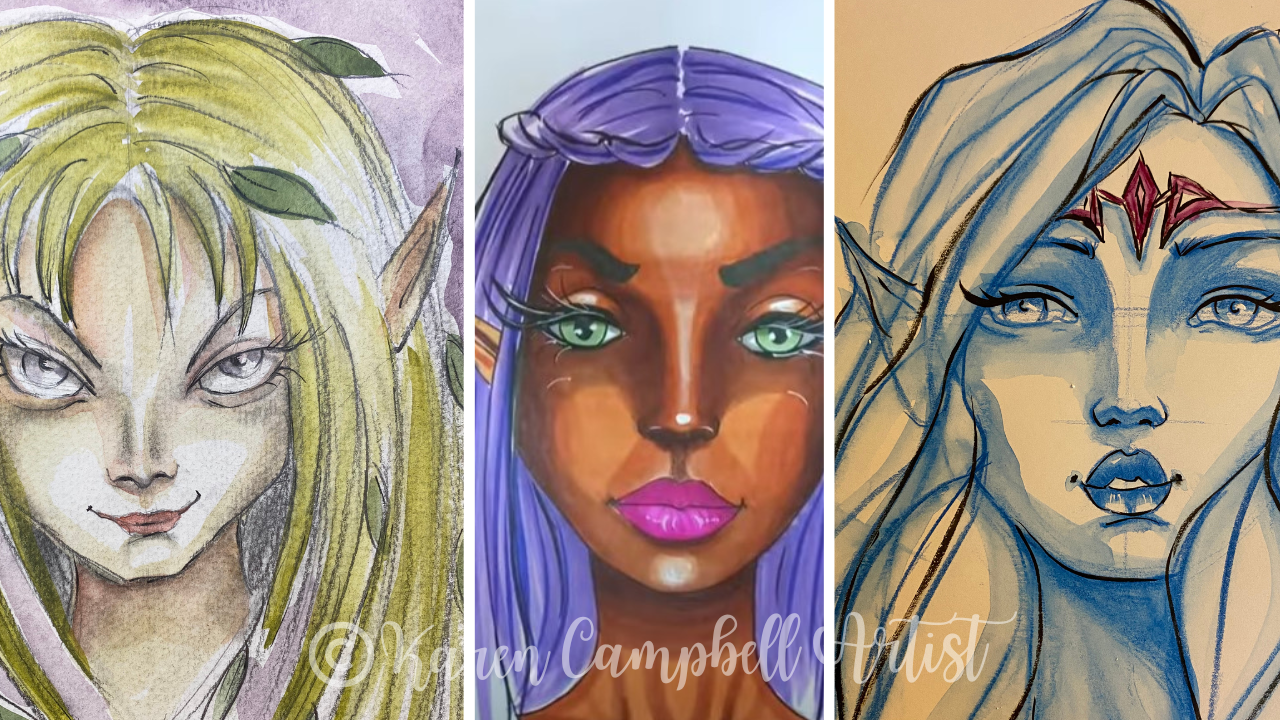
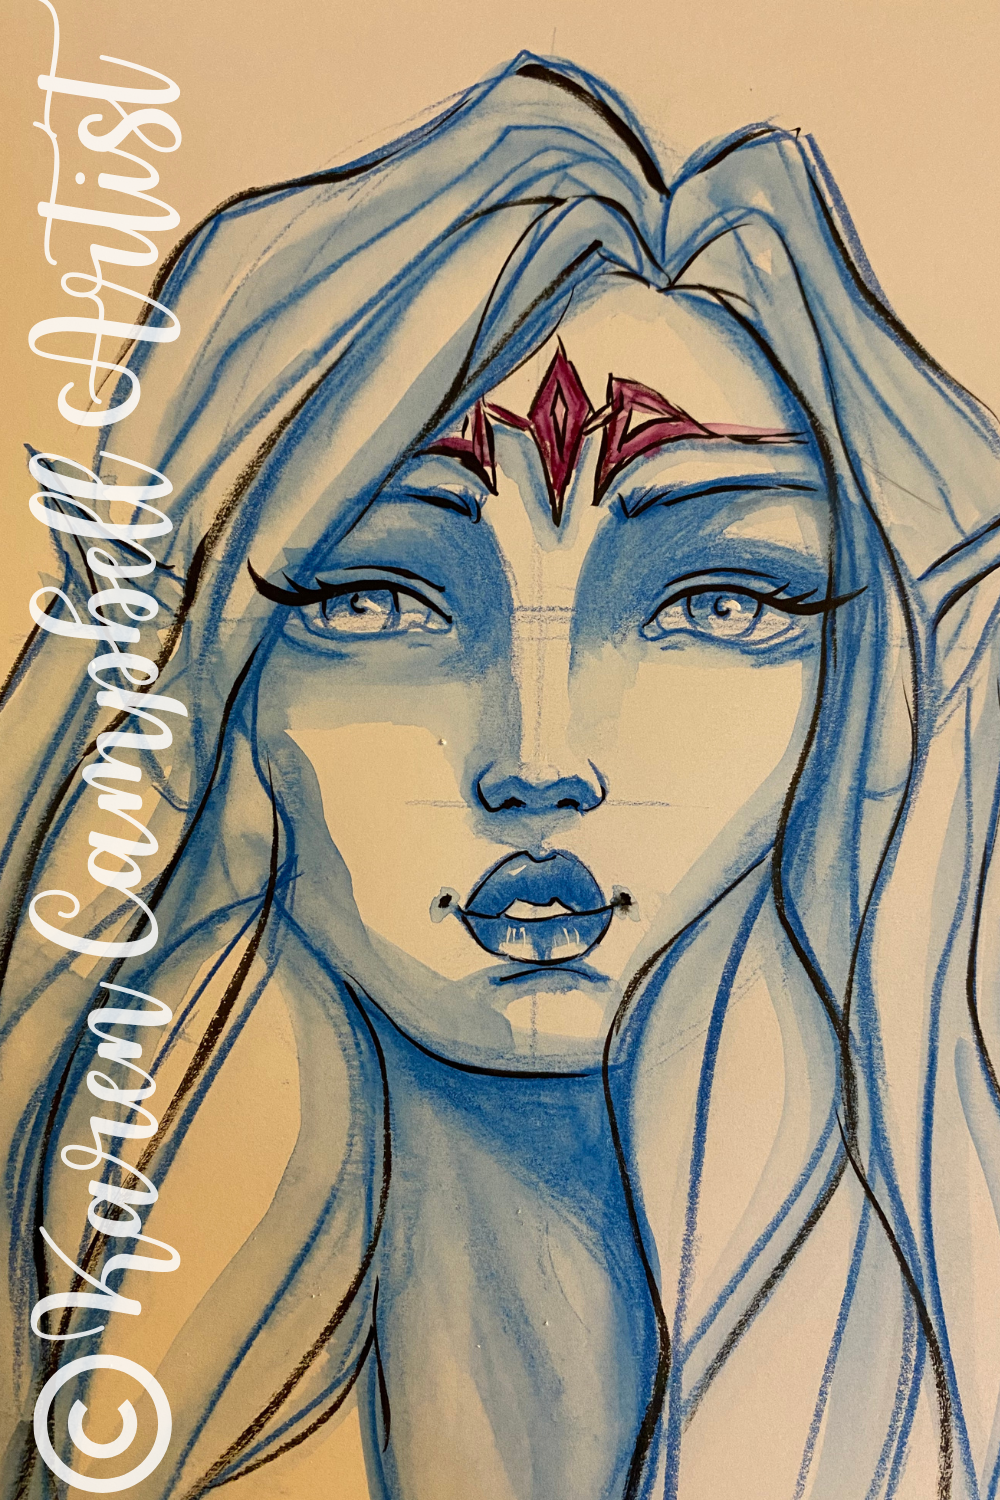
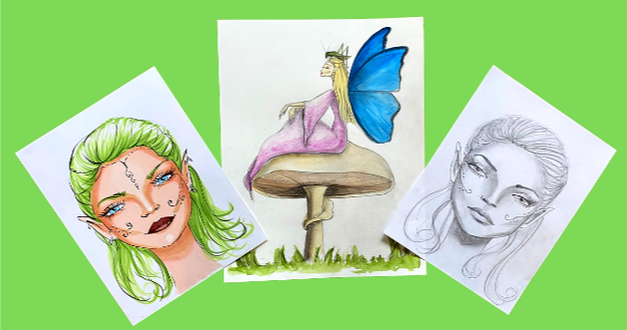
Already starting to think about Halloween? You're gonna LOVE today's TWO-PART evil fairy drawing tutorial! This full-length drawing lesson is step-by-step, simple enough for beginners, and challenging enough for seasoned artists interested in drawing faces at different angles.
When you're finished, hop over to my mixed media channel to add sophistication to your drawing with a layer of watercolor in PART TWO of this lesson. Grab a pencil, eraser, blending stump, and a sheet of watercolor paper to draw along with me for our final lesson of the #50FunFabFairies drawing challenge! 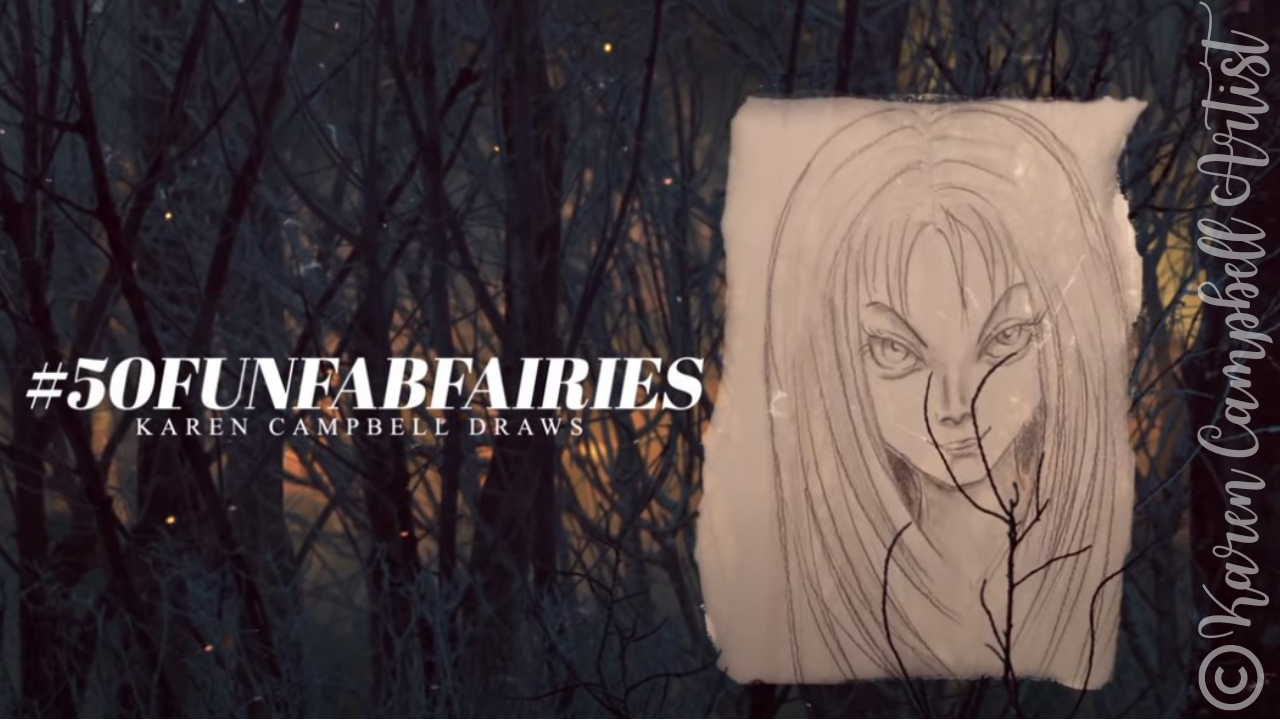
Want easy access to today's fairy drawing reference and even MORE fairy drawing ideas? Join my FREE #50FunFabFairies drawing challenge over at Awesome Art School!
Simply click the button below to receive instant access to ALL the fairy drawing images for each drawing prompt, plus info on supplies, cheatsheets, and more! 
Wanna become a better artist? Do today's lesson (and every lesson of the challenge) five times, making a few creative alterations of your choice, and watch your skills soar as you practice fairy eyes drawing, fairy and ears drawing AND fairy hair drawing 50 different ways.
Before we continue, super quick announcement: All product links are Affiliate. I may earn a small commission if you choose to order through these links but by law there is never any additional cost to the consumer for doing so. I thank you for your support.
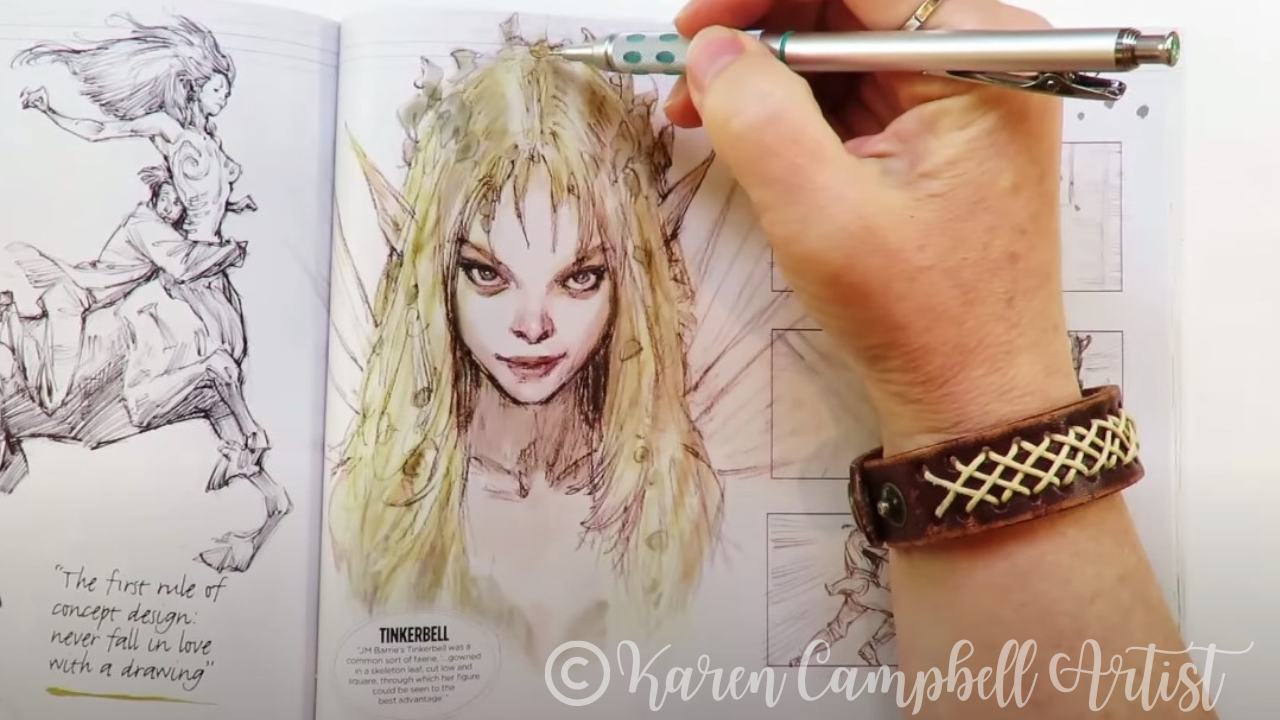
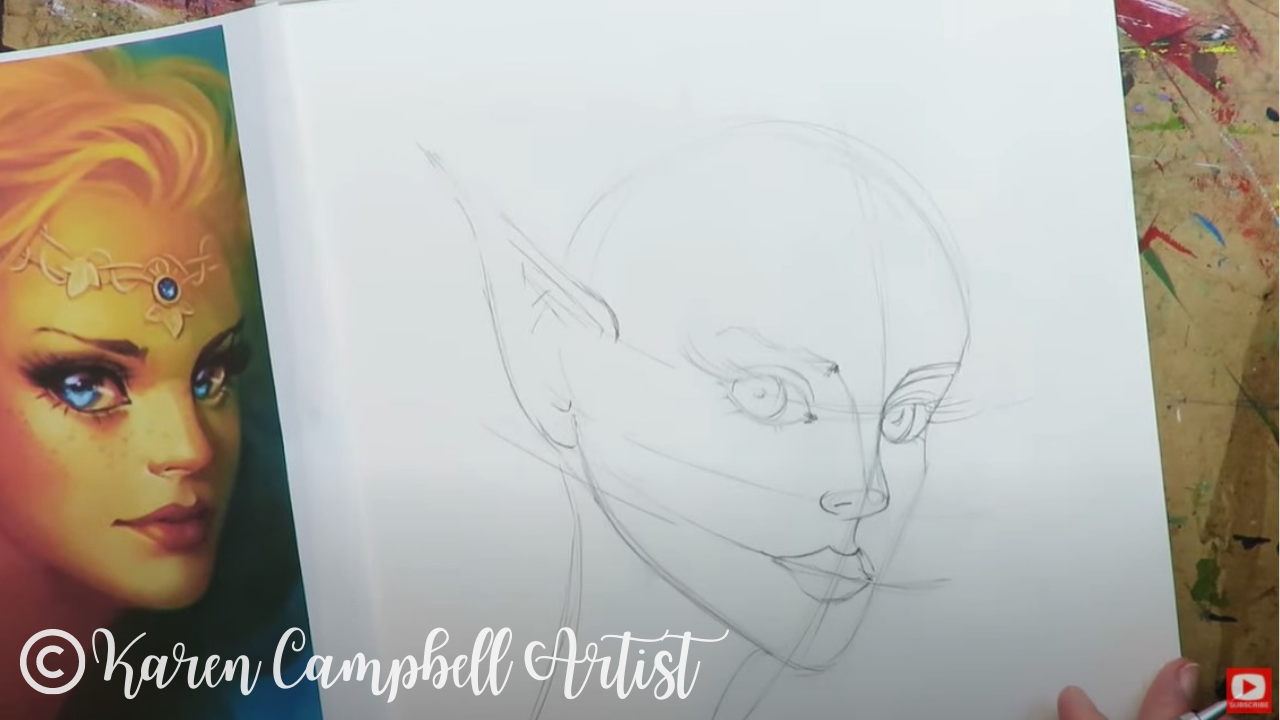
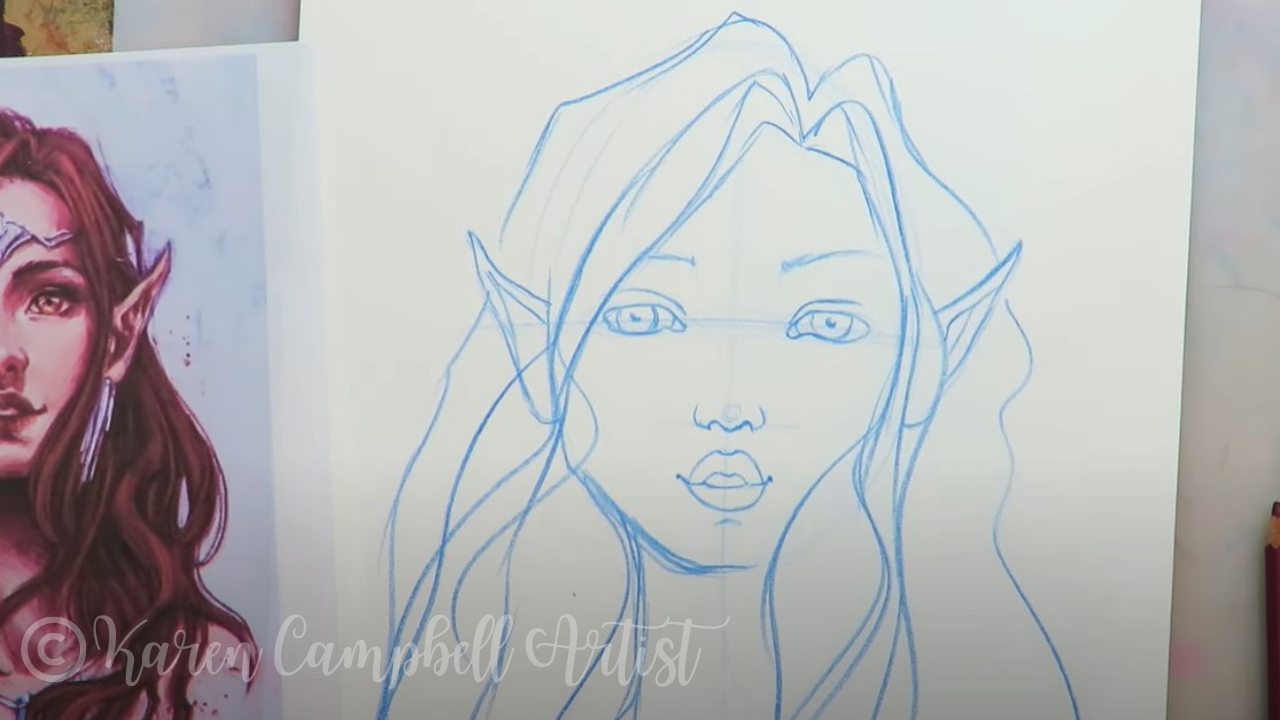
Today's fairy drawing reference comes from a cool art magazine I picked up a couple of months ago called Sketchbooks. I love the downturned head of this creepy fairy! If you've never drawn a head tilted down like this - don't worry, I've got you! Click over to the video and I'll show you how to do it step-by-step.
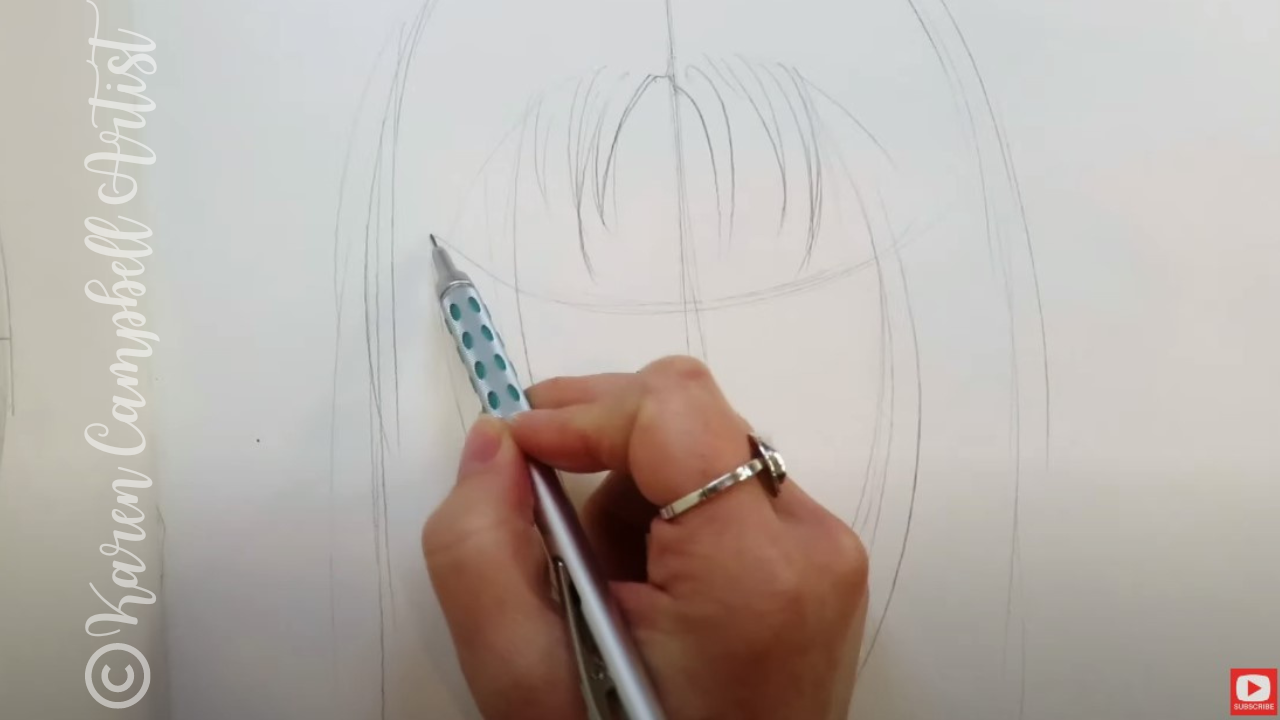
Typically I start my faces off by sketching a zillion ovals, but today we're starting with the hair because it's key to replicating the head tilt in our reference photo.
Lots of people are intimidated by drawing hair, so if this is you - you're not alone. When students tell me they're not sure how to draw hair, I teach them to break it down into "clumps," as I do in this lesson. As you'll see in the video, we're keeping things simple and not getting into the nitty gritty of drawing every hair strand. In fact, most of the clumps I draw are kinda like long skinny triangles. Easy, right? 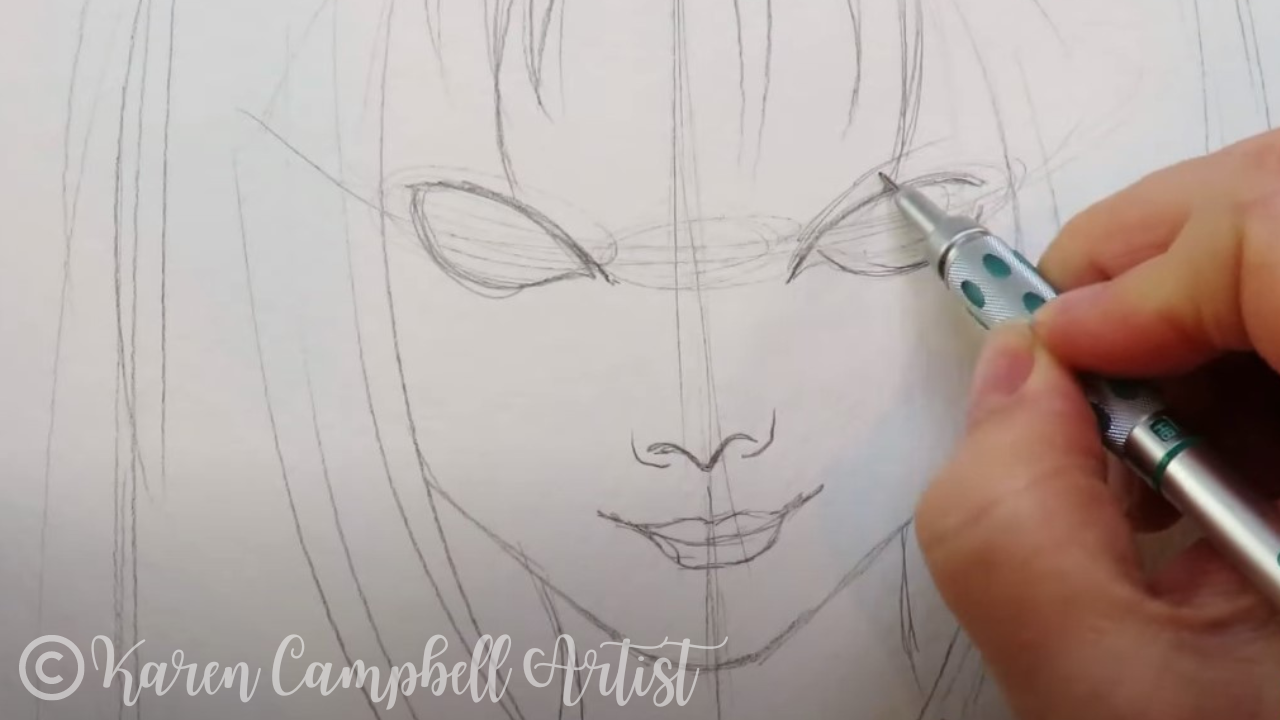
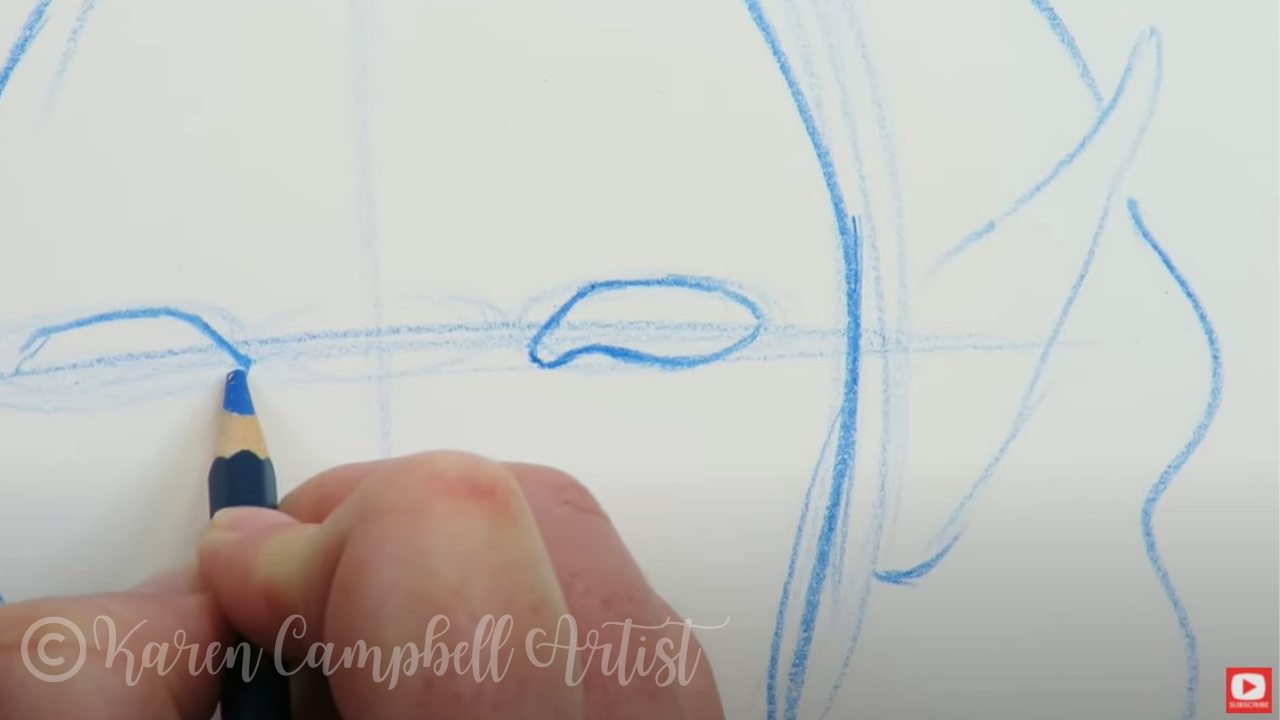
If drawing eyes evenly is something you're trying to work on, watch how I sketch the eyes in for this fairy. I often tend to go back and forth between each eye - drawing one line at a time, then mirroring what I just did on the first eye to the second.
I've found this process of building both eyes up at the same time is much easier than drawing one whole eye and trying to draw the second eye to match. If you feel like your eyes are still coming out uneven, don't stress. None of us are exactly proportional as humans anyway. Just keep practicing - sometimes that's all you need! 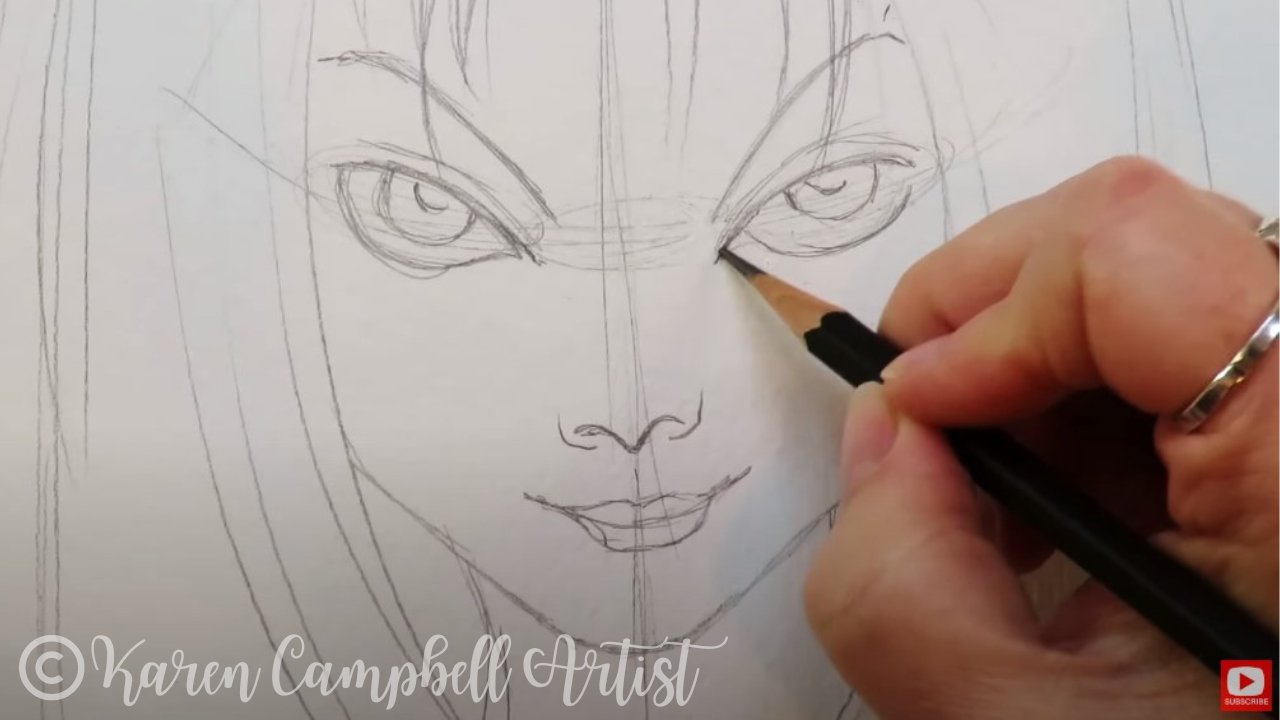
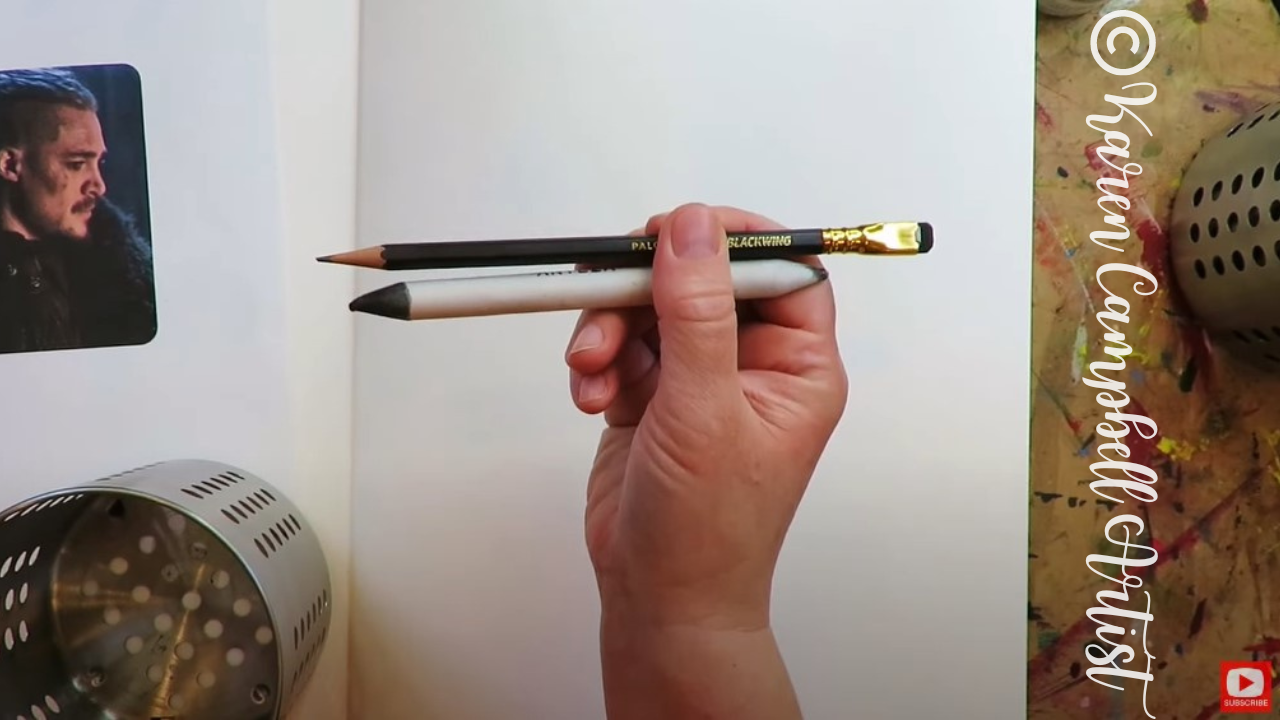
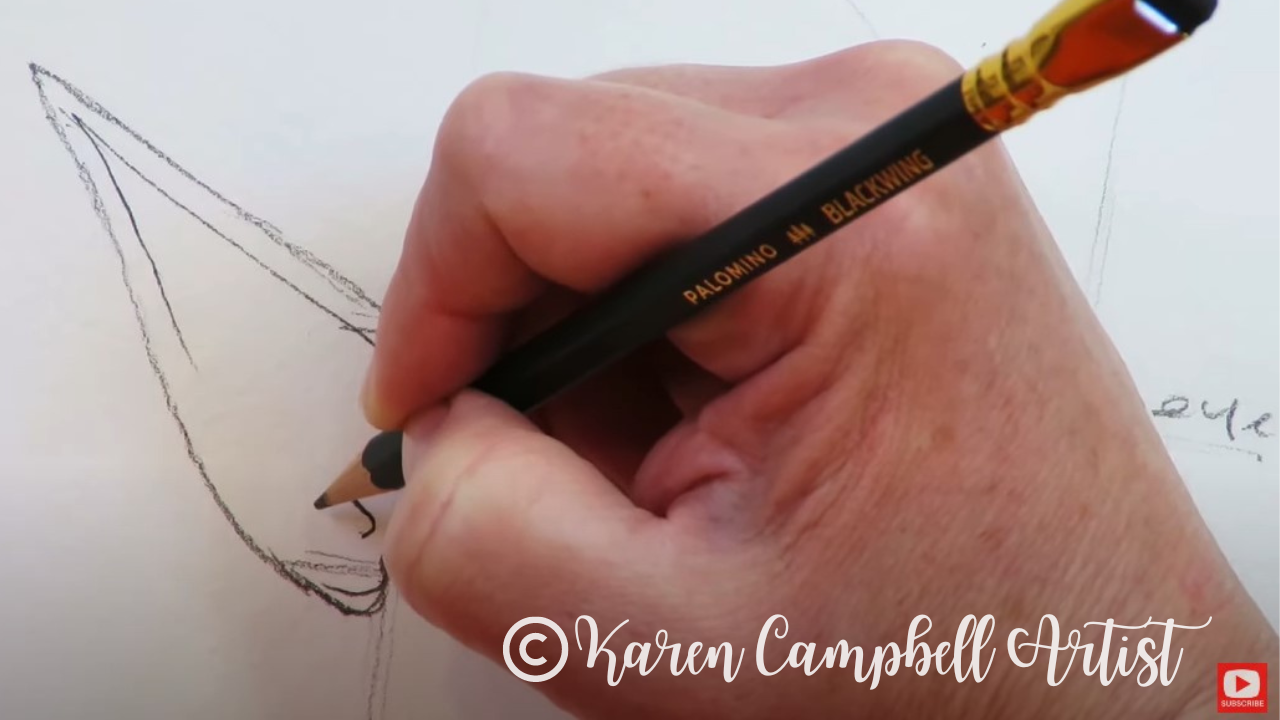
After I get the main lines of our fairy sketched in with my mechanical pencil, I switch over to my Blackwing pencil to add a little face shading. I'm obsessed with these because they're SO soft and make shading a breeze.
These are fairly expensive, so don't feel like you have to buy them in order to be successful. Blackwings feel like a 6B or 8B drawing pencil to me, so reach for one of those if you have a drawing pencil set already. If you don't, that's fine too! Use what you have on hand. A #2 school pencil is totally fine! 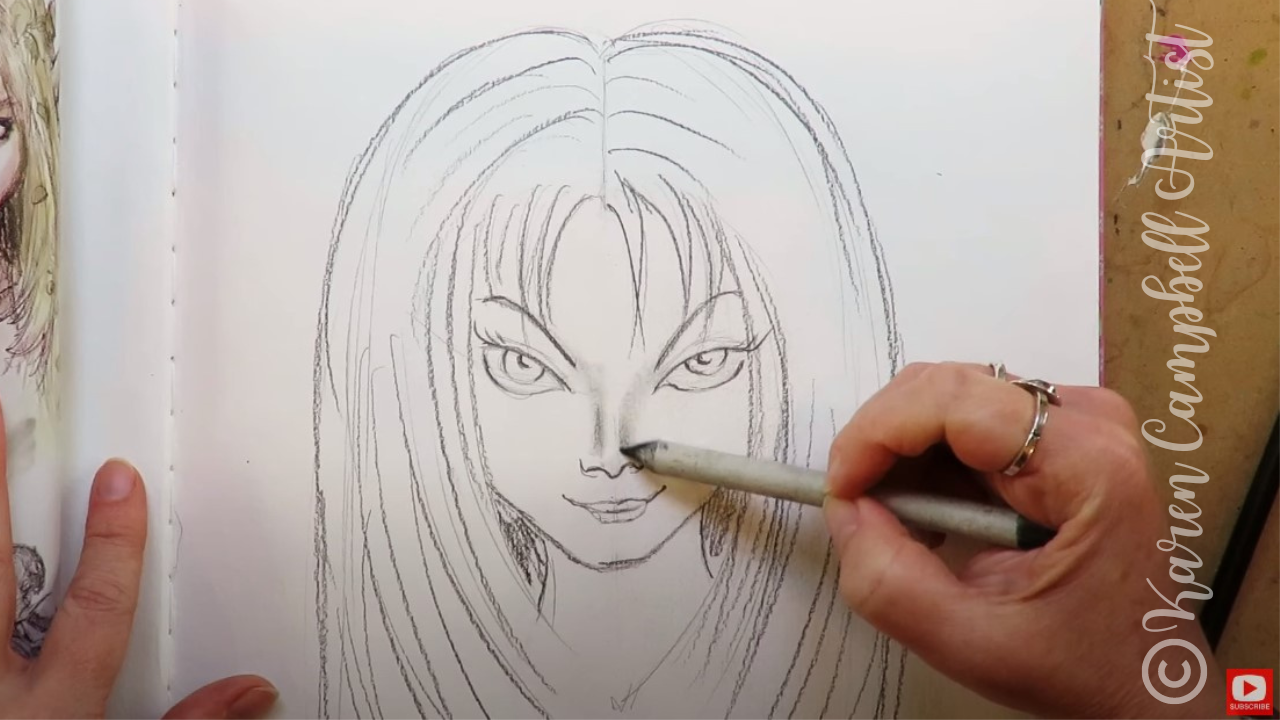
My face shading technique for today is super simple. Just grab a dirty blending stump and "moosh" the graphite around wherever you want to add shadows. If you don't have a blending stump, a cue tip or your finger will do the trick.
Did you notice I forgot to draw in some fairy ears? ? Head over to PART TWO of this project to sketch those in, and learn how to add a layer of watercolor to really make your drawing pop! When you're finished drawing her, watch this video next to add watercolor! If you're OBSESSED with fairies and fantasy art like this, you might just LOVE the Celtic Collective over at Awesome Art School that I run with my Scottish bestie, Lucy Brydon. Add your name to the waitlist to be notified when it's open for enrollment. You might ALSO enjoy our podcast 1Scot,1 Not. We talk about everything under the sun to do with Scotland - whether it's historical, fantasy, whatever. Just a quick warning - we have a blast and are totally ourselves on the podcast, which means there is some drinking and swearing. ❤️ CHECK OUT ALL my art books on AMAZON ❤️ MY FAVORITE ART SUPPLIES on AMAZON ❤️ MY BELOVED FACEBOOK GROUP ❤️ FOLLOW ME ON INSTAGRAM How to Draw ELF EARS in PROFILE on a HOT Male Elf Warrior (#50FunFabFairies Drawing Challenge)8/8/2022
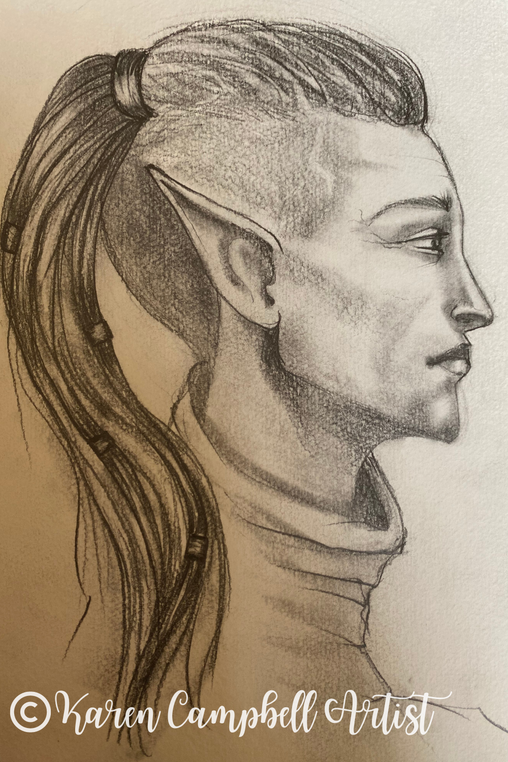
Wanna learn how to draw elf ears in a side profile drawing of a HOT male elf warrior? Heck yeah, ya do! In lesson seven of the #50FunFabFairies drawing challenge, you'll learn how to draw a male face in profile and just how EASY it is to turn him into an elf warrior.
Make sure you bring a blending stump to today's drawing tutorial. I've got TONS of pencil shading and blending tricks up my sleeve to help you shade pencil drawings more quickly & create COOL male fantasy art hair for your own characters! Let's get this party started... 
Want easy access to today's lesson and even MORE fairy drawing ideas? Join my FREE #50FunFabFairies drawing challenge over at Awesome Art School!
Simply click the button below to receive instant access to ALL the fairy reference images for each drawing prompt (including today's elf ears drawing reference!), plus info on supplies, cheatsheets, and more! 
Wanna become a better artist? Do today's lesson (and every lesson of the challenge) five times, making a few creative alterations of your choice, and watch your skills soar as you practice fairy eyes drawing, fairy and elf ears drawing AND fairy hair drawing 50 different ways!
Before we continue, super quick announcement: All product links are Affiliate. I may earn a small commission if you choose to order through these links but by law there is never any additional cost to the consumer for doing so. I thank you for your support.
For today's drawing tutorial I'm working in my favorite 11x14" watercolor sketchbook by Strathmore. The cold press paper has a gorgeous texture to it. Cold press paper is perfect for watercolor and wet mixed media art projects. The texture is also excellent to draw on because it makes shading super easy!
To get us started on our male elf warrior drawing, we first need to sketch in our profile face drawing guidelines. If you know me- you know I'm a stickler for drawing in my guidelines EVERY time I draw a face. Guidelines aren't just for drawing realistic faces. Your whimsical drawings will have a more sophisticated look to them too, because the facial features will be more proportional. 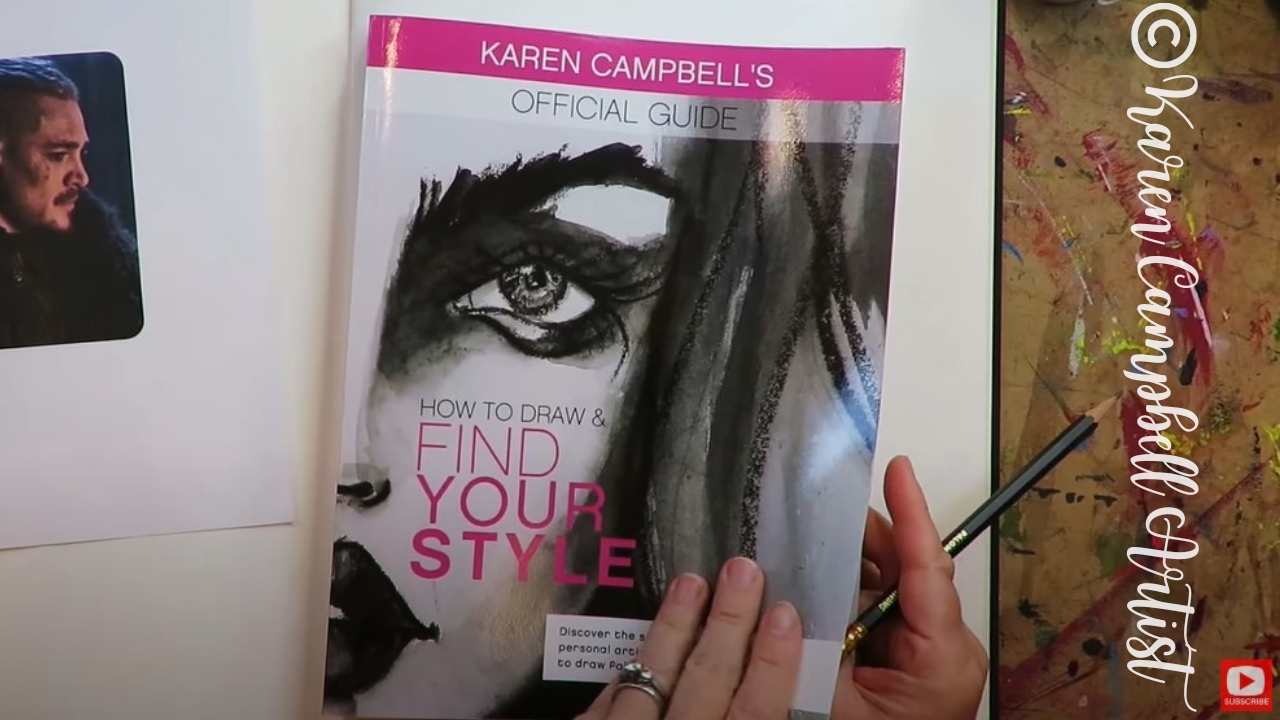
If you're not sure how to do a side profile drawing, you can grab those face drawing guidelines from two of my books (How to Draw MORE Fun Fab Faces and How to Draw & Find Your Style). The book above was on my art table, so I'm using that one in today's lesson. If you've already got this book at home, turn to page 179 to follow along.
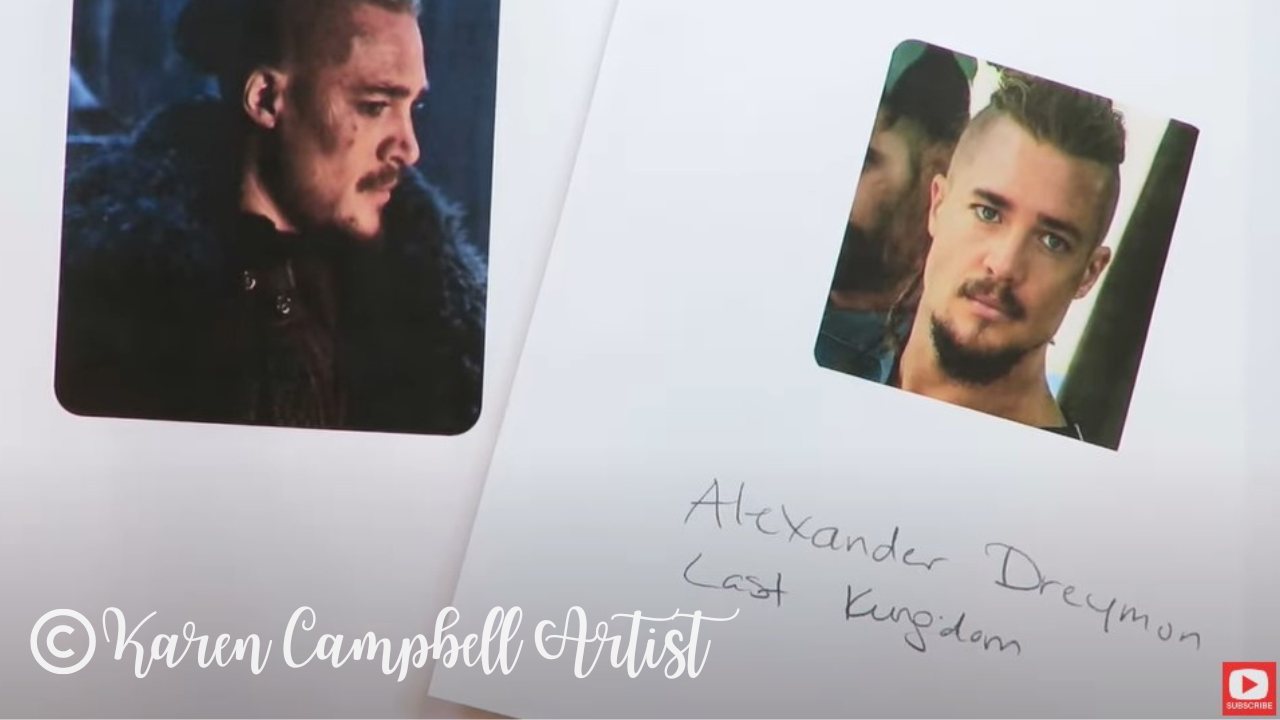
We're using a face drawing reference of Uhtred of Bebannburg (Alexander Dreymon) from The Last Kingdom because I love him and this show. Both the reference image (on the left) and my side profile drawing guidelines are in the FREE #50FunFabFairies Drawing Challenge classroom waiting for you over at Awesome Art School so you can draw along with me.
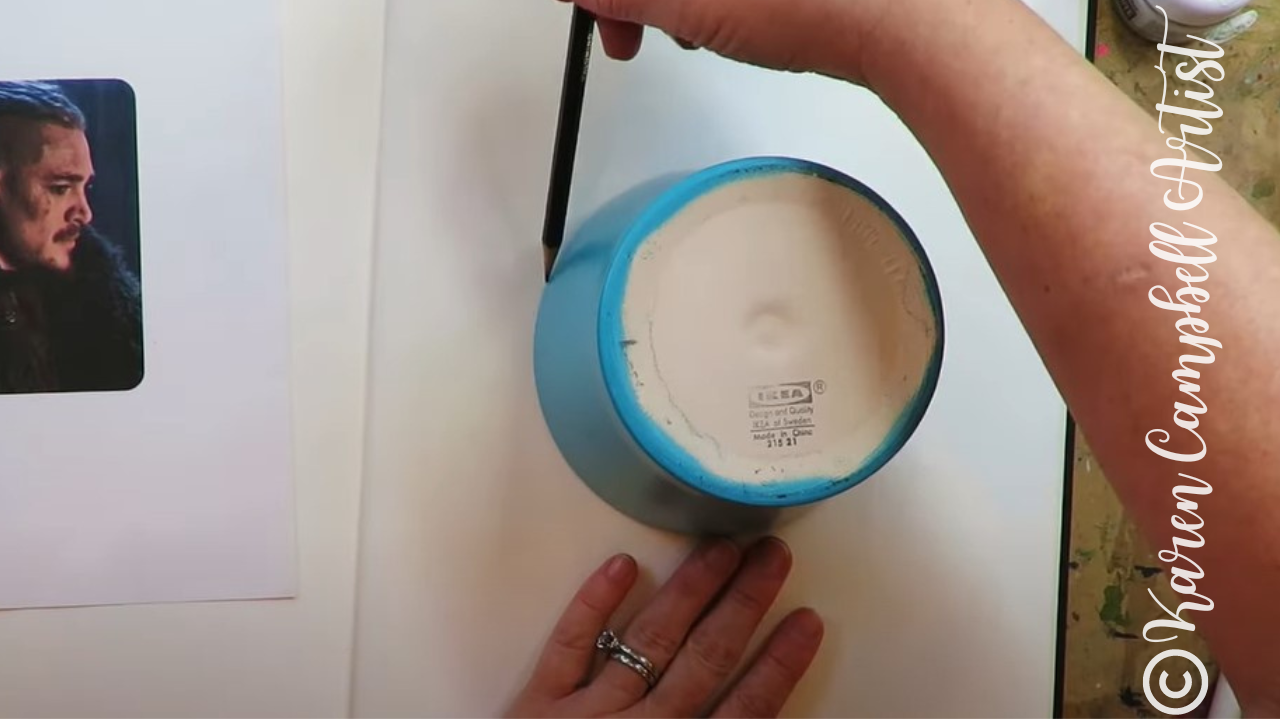
I love to start my side profile face drawings off by tracing a circle. Some people prefer to freehand this, but I figure why bother wasting time trying to recreate the perfect circle? Trace something and move on already. Am I right?!
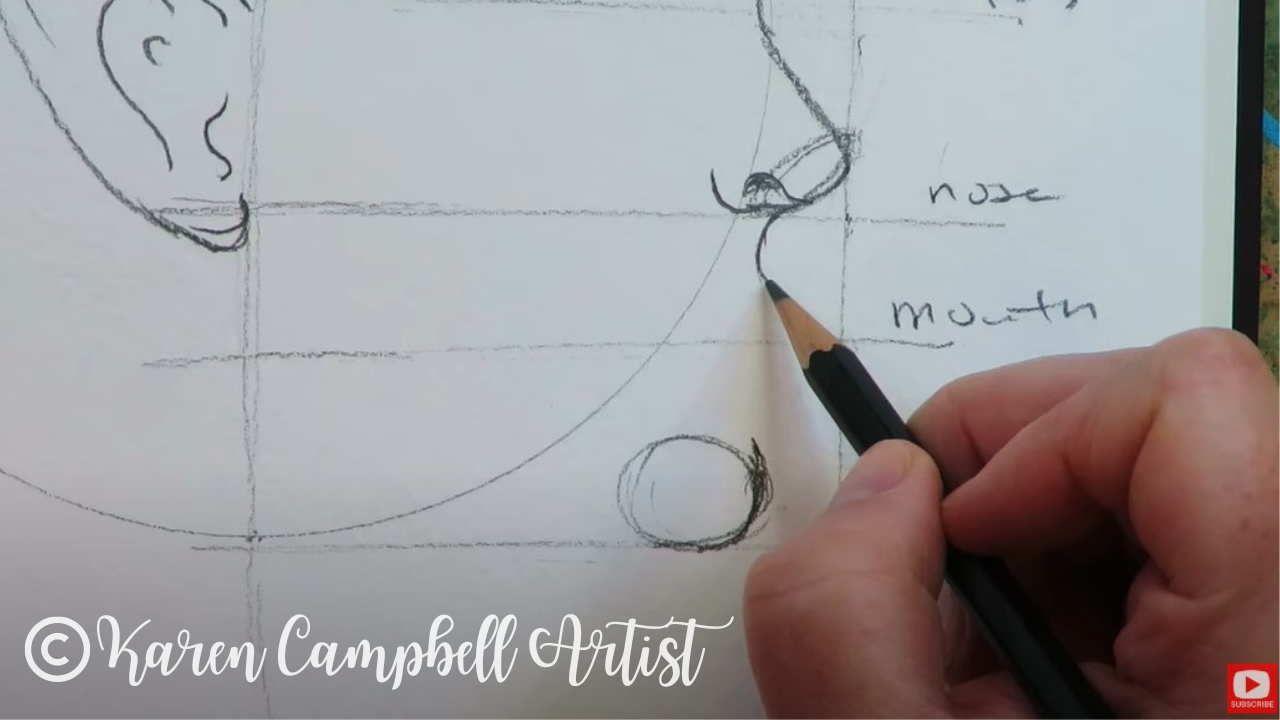
After your circle is sketched in, it's time to mark where your eyes, nose, and mouth will sit. Make sure you click over to watch this while I do it because the placement of these lines is super important.
Not sure how to draw elf ears? Check out how EASY it is in today's step-by-step drawing tutorial. I promise you can totally do this!
As you can see in the pic above, I'm drawing with my favorite pencil. The graphite is super soft and feels similar to a 6B to work with. One Blackwing pencil will replace an entire pencil set because you can get so many different values from it while you're shading faces just by changing the pressure of your pencil as you draw. 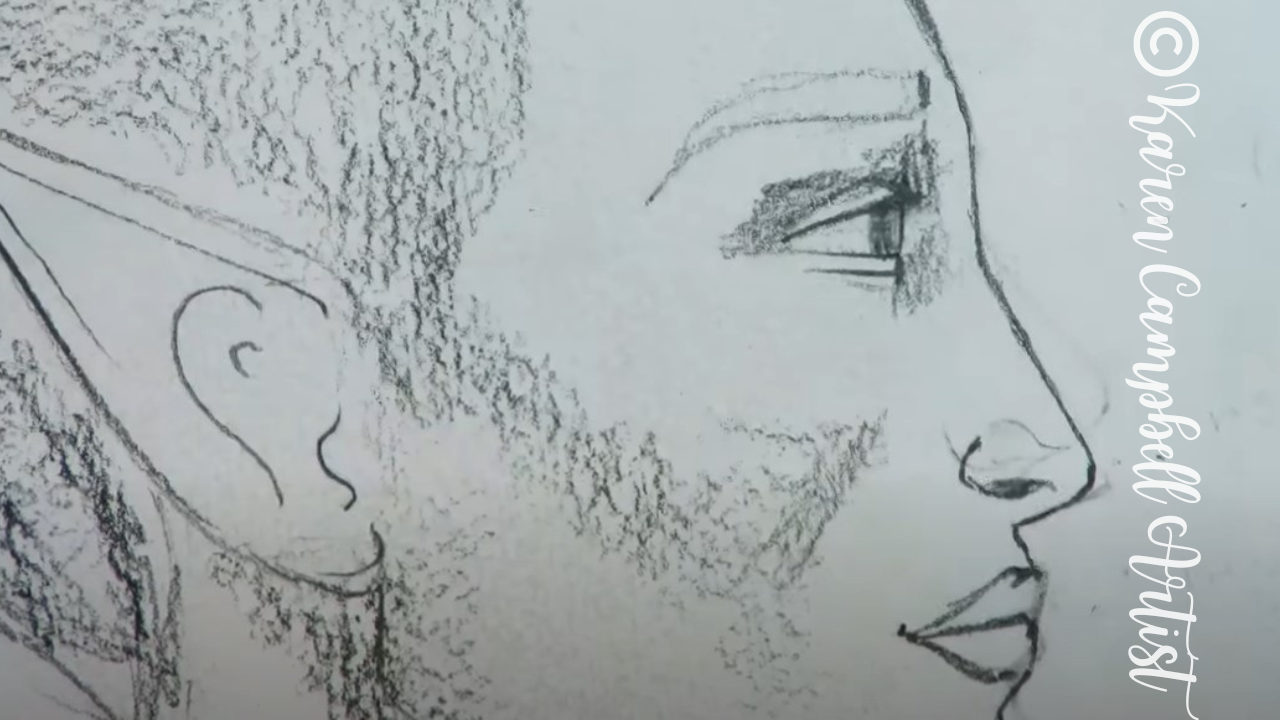
Now before you judge my quick and dirty shading above, I already know if looks like a scribble scrabble mess at this point, but I promise you - when I start using my blending stump- it's gonna get magical.
Tons of students ask me how, or if I clean my blending stumps. The answer is I DON'T clean them ever, because "the dirtier, the better" is my rule as far as blending stumps go. However, if you start blending and feel like you're kinda losing control or your drawing is getting too dark- you can absolutely switch to a cleaner blending stump to lighten things up. You can also knock some of the graphite back using an eraser. I love using my vanish eraser for this, but you can also use a kneaded eraser. 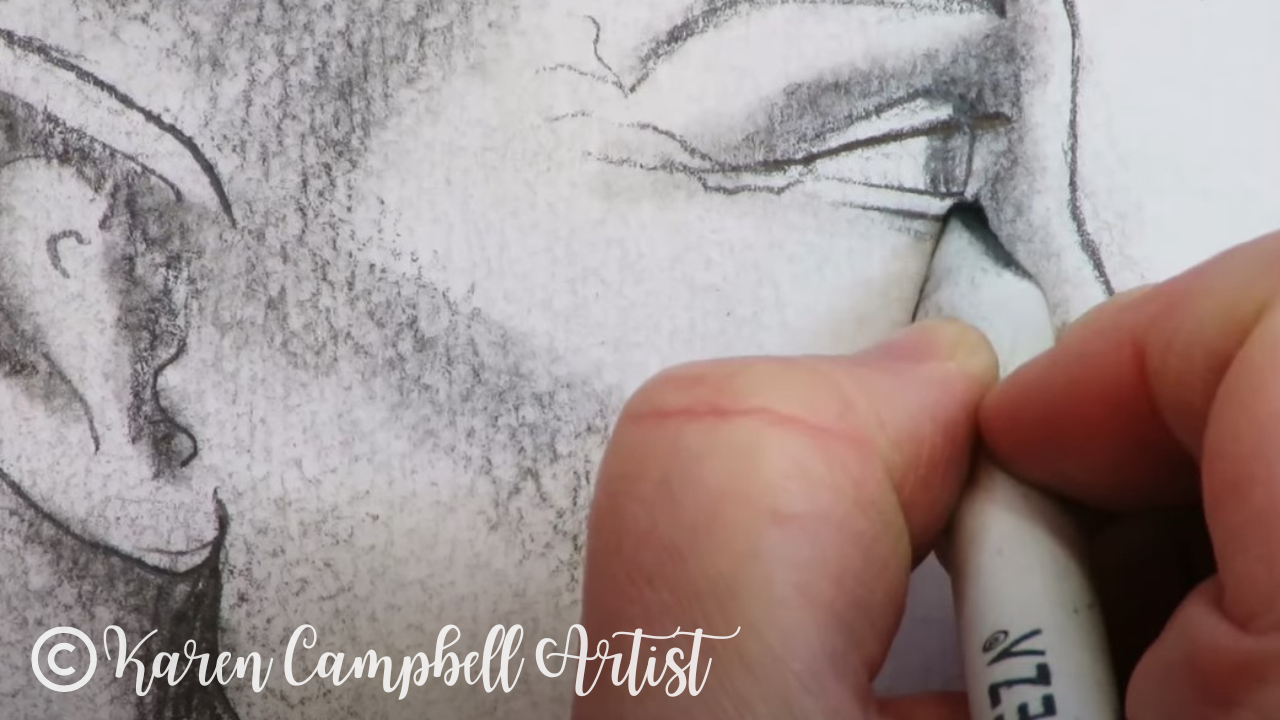
After I've blended in the first layer of shading throughout, I press my pencil down firmly to add some contrast wherever I see dramatic shadows and details in my face drawing reference image featuring the lovely Mr. Dreymon.
When you're ready to work on the hair, make sure you click over to watch this in action because I've got a lot of really cool tips to help you if you don't know how to draw male hair. 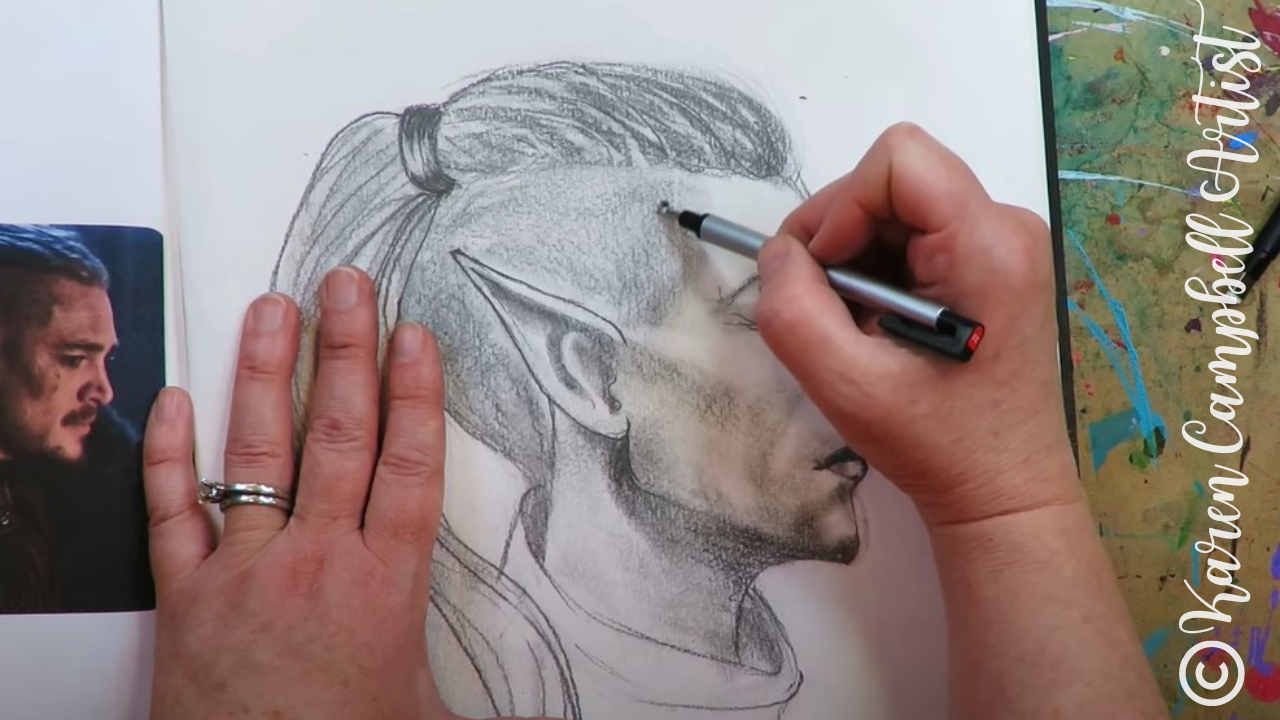
A great tool to try when you're drawing hairstyles is the Tombow Mono Zero eraser (pictured above). It's basically like a mechanical pencil, in eraser form. It's awesome for carving out highlights when you're shading faces too.
I hope you enjoyed today's free drawing tutorial on YouTube. If you're drawing along with me in this series, make sure you share a pic of your work in my Facebook Group with the hashtag #50FunFabFairies for a chance to win giveaway prizes on the 1st of the month :) I can't wait to see what YOU create!
If you're OBSESSED with fairies and fantasy art like me, you might just LOVE the Celtic Collective over at Awesome Art School that I run with my Scottish bestie, Lucy Brydon. Add your name to the waitlist to be notified when it's open for enrollment.
You might ALSO enjoy our podcast 1Scot,1 Not. We talk about everything under the sun to do with Scotland - whether it's historical, fantasy, whatever. Just a quick warning - we have a blast and are totally ourselves on the podcast, which means there is some drinking and swearing. ❤️ CHECK OUT ALL my art books on AMAZON ❤️ MY FAVORITE ART SUPPLIES on AMAZON ❤️ MY BELOVED FACEBOOK GROUP ❤️ FOLLOW ME ON INSTAGRAM EASY Fairy Drawing in Alcohol Markers with Karen Campbell [Week 3 #50FunFabFaries Challenge]14/6/2022
Wanna create this EASY fairy drawing with me in alcohol markers? These are one of my FAVORITE art supplies to use when shading faces I draw. If you've never tried them before, stick with me - I'll guide you step by step in today's drawing tutorial as we continue with week three of the #50FunFabFairies drawing challenge!
To find ALL the info for the FREE #50FunFabFairies drawing challenge, simply click the button below to receive instant access to ALL the fairy reference images for each drawing prompt, plus info on supplies, cheatsheets and more!

Wanna become a better artist? Do today's lesson (and every lesson of the challenge) five times, making a few creative alterations of your choice, and watch your skills soar as you practice fairy eyes drawing, fairy ears drawing AND fairy hair drawing 50 different ways!
Before we continue, super quick announcement: All product links are Affiliate. I may earn a small commission if you choose to order through these links but by law there is never any additional cost to the consumer for doing so. I thank you for your support.
Just because we're switching up our supplies for week three of #50FunFabFairies, I don't want you to get distracted from the actual purpose of this fairy drawing challenge - which is increasing your drawing skills!
You're learning how to draw faces and where to look in reference images for face shading guidance so you know how to add depth to your drawings. If all you have is a pencil and a piece of paper and you want to do this drawing challenge - that's perfect. You're good to go! All that matters is you draw. 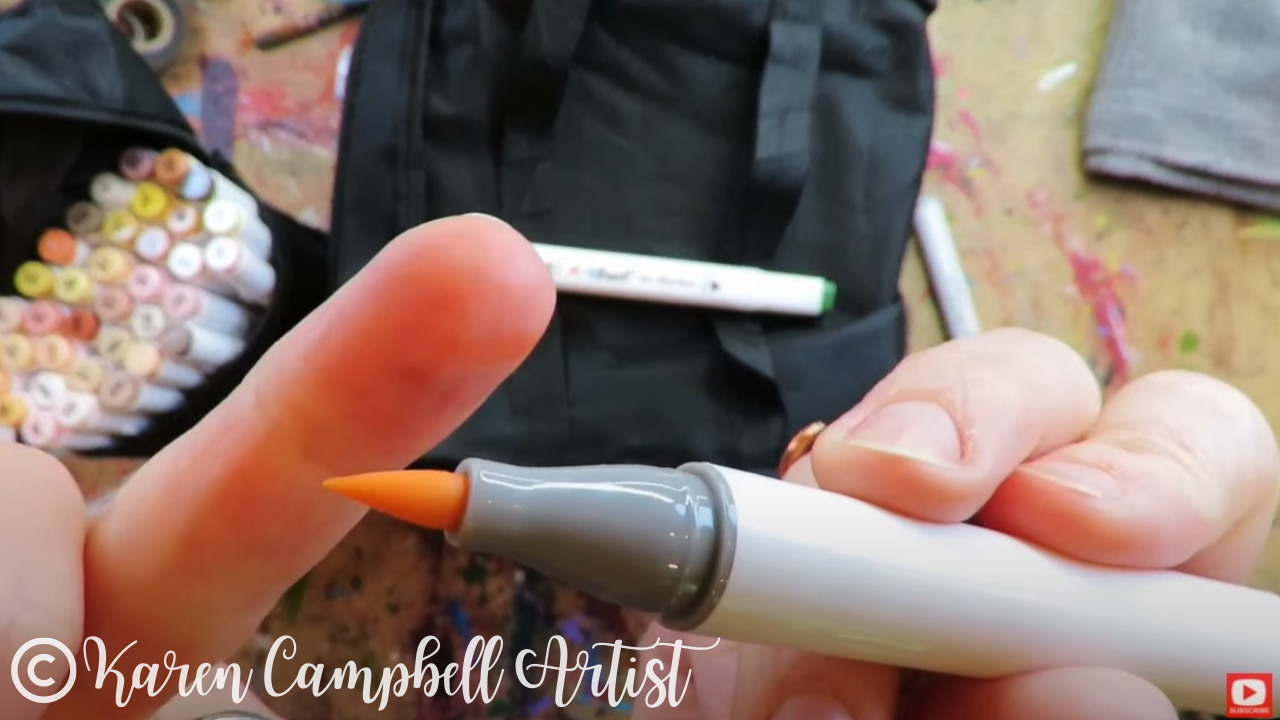
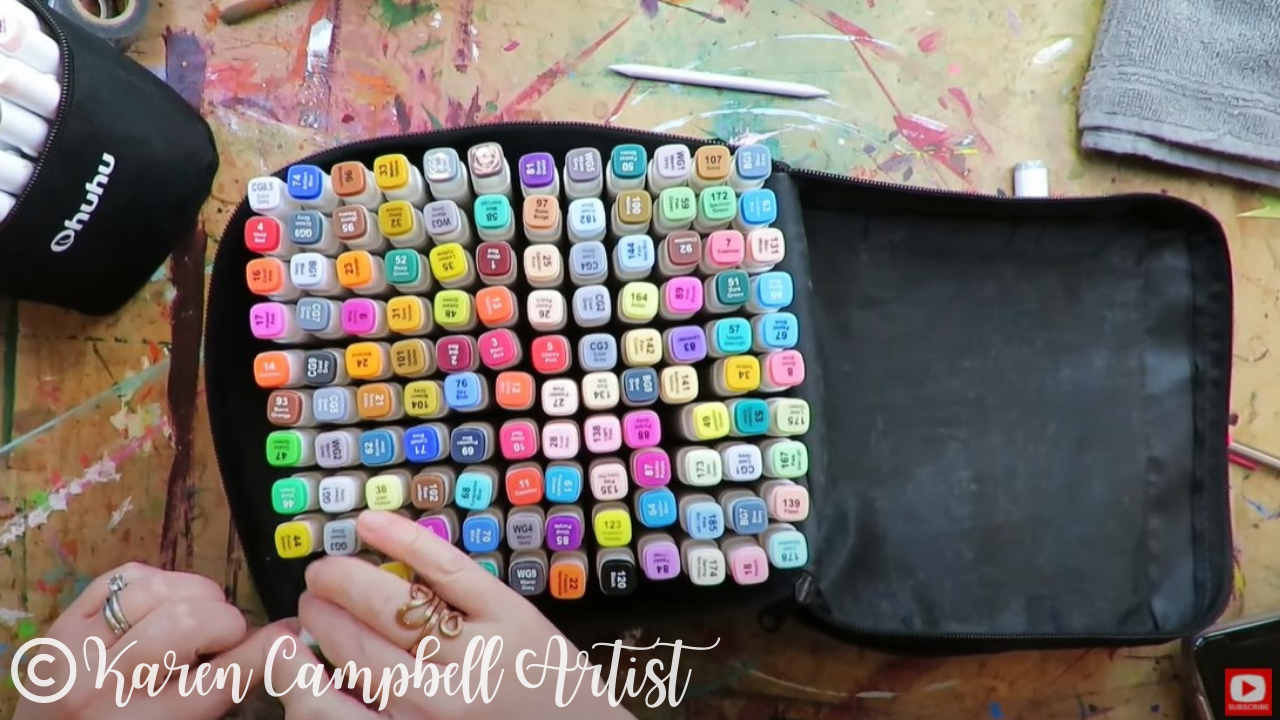
If you're new to my world, my absolute favorite alcohol markers are copics, but they cost between $8-9/each, so when I teach my students how to use alcohol markers I use Ohuhus (especially for skin tones!) because they only cost $1/marker.
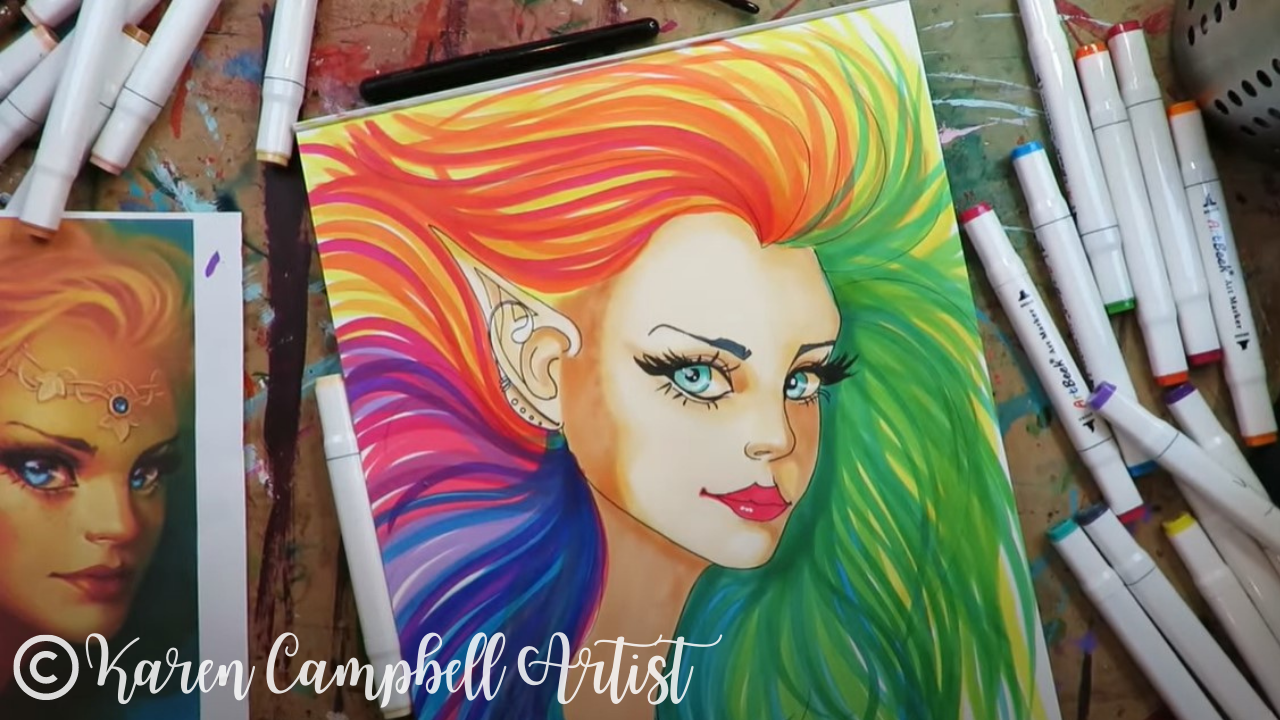
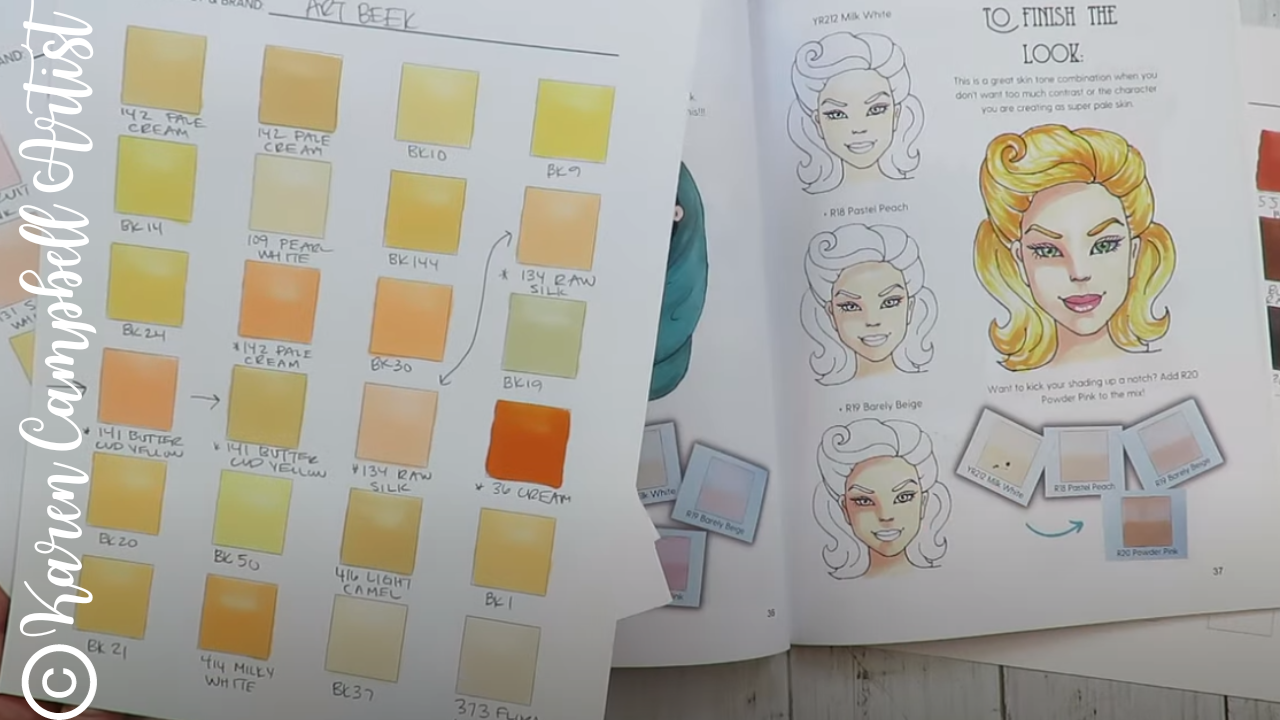
I was recently approached by a company called ArtBeek to try out their alcohol markers. I said I would because their cost per marker is only 40 cents and they have a brush nib on their markers -which is a must have for me. So today's project is not only our #50FunFabFairies drawing prompt number 3, it's a product test and review for ArtBeek Alcohol Brush Markers. 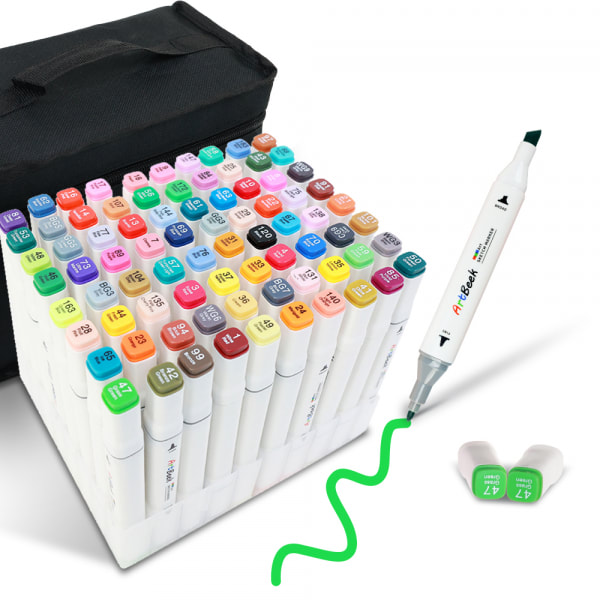
The fairy face drawing we're doing today is a side profile drawing in the three quarter view pose. While this is the most challenging view to draw - I think it's important for you to start practicing this right away so you don't feel intimidated.
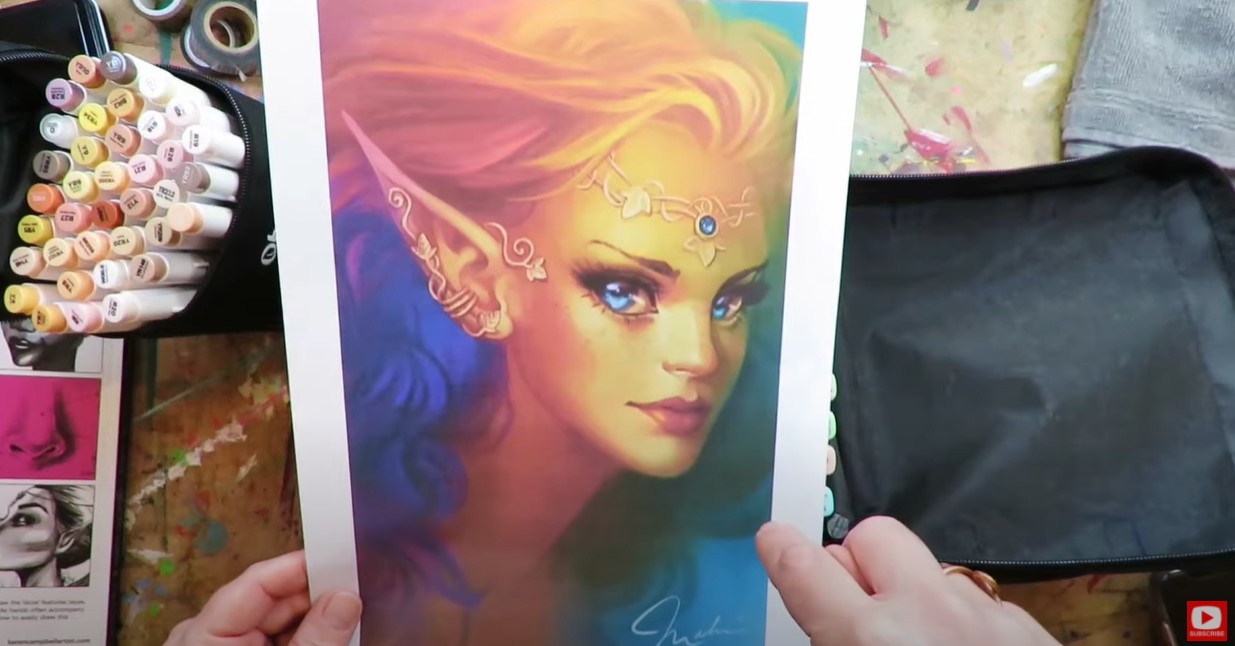
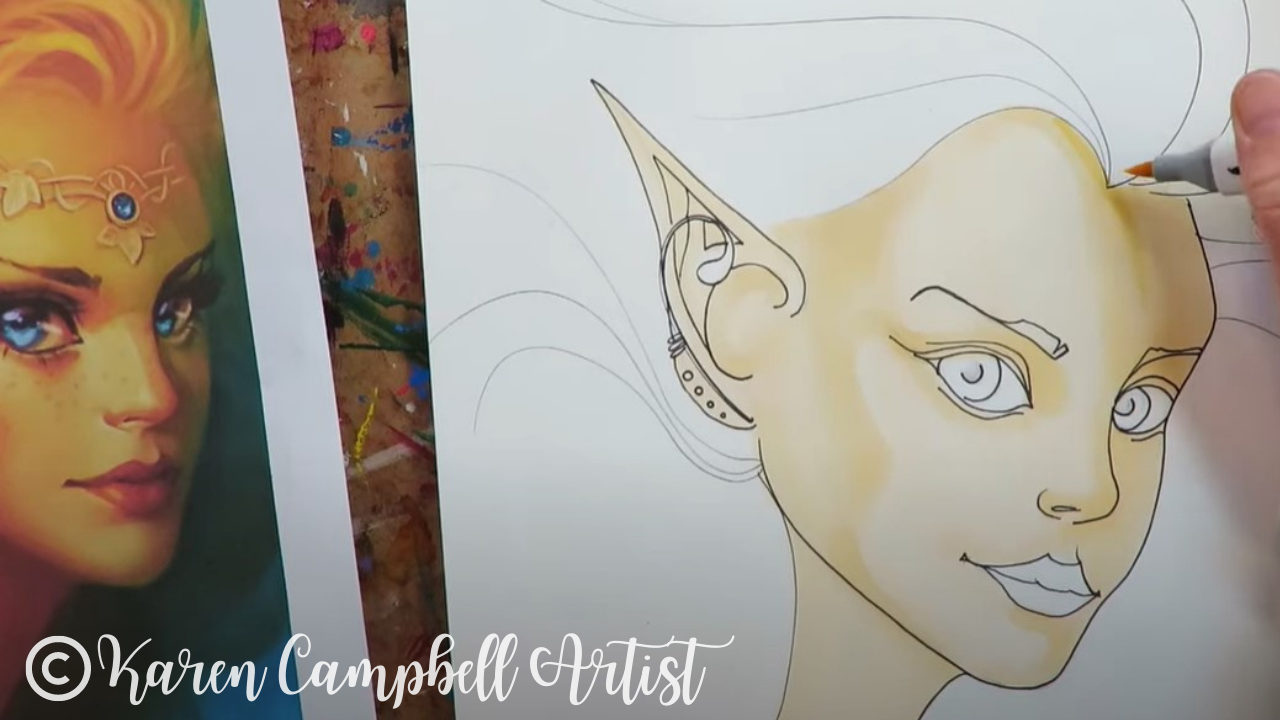
I'm including cheatsheets on how to draw a three quarter portrait from my book How to Draw & Find Your Style in the #50FunFabFairies classroom for you over at AwesomeArtSchool.com. I'm also referring to my book Skin Tone Secrets for a little help in locating the skin tone marker shades I want to use for this drawing. I love the rainbow vibe in our reference fairy drawing image. I see seeing a lot of yellow in the lightest areas, so immediately connected with this page from Skin Tone Secrets. 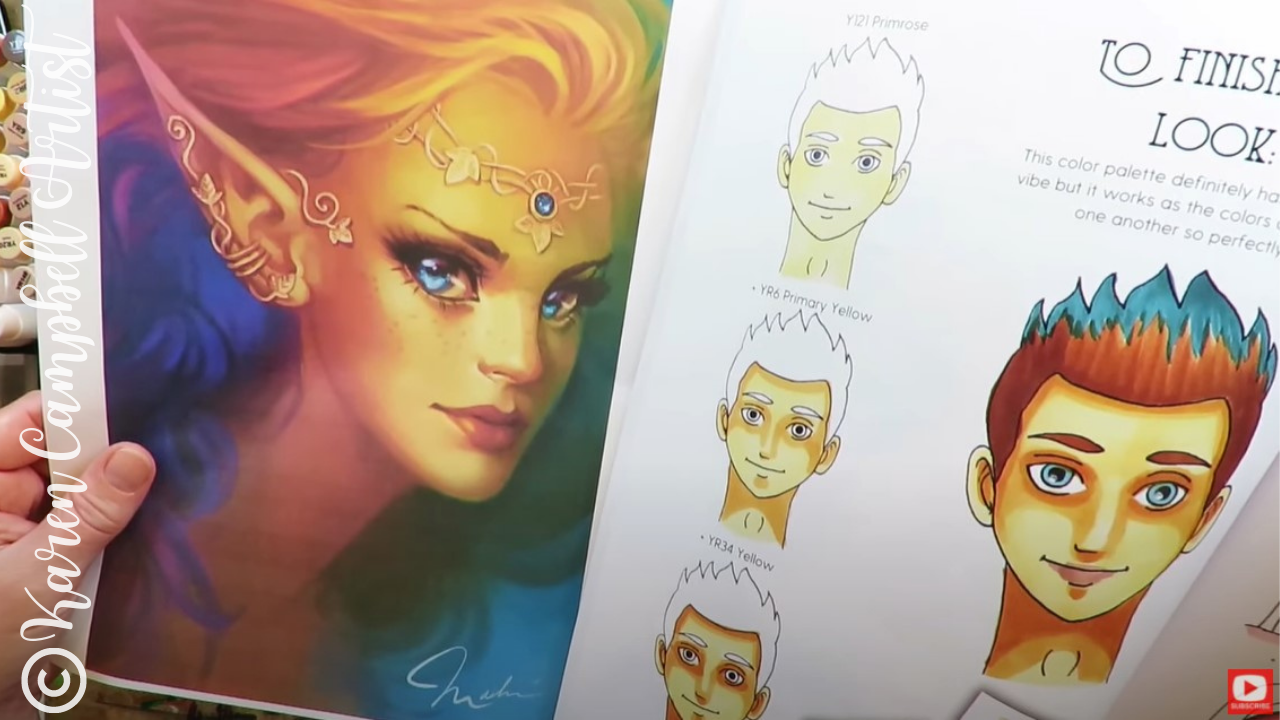
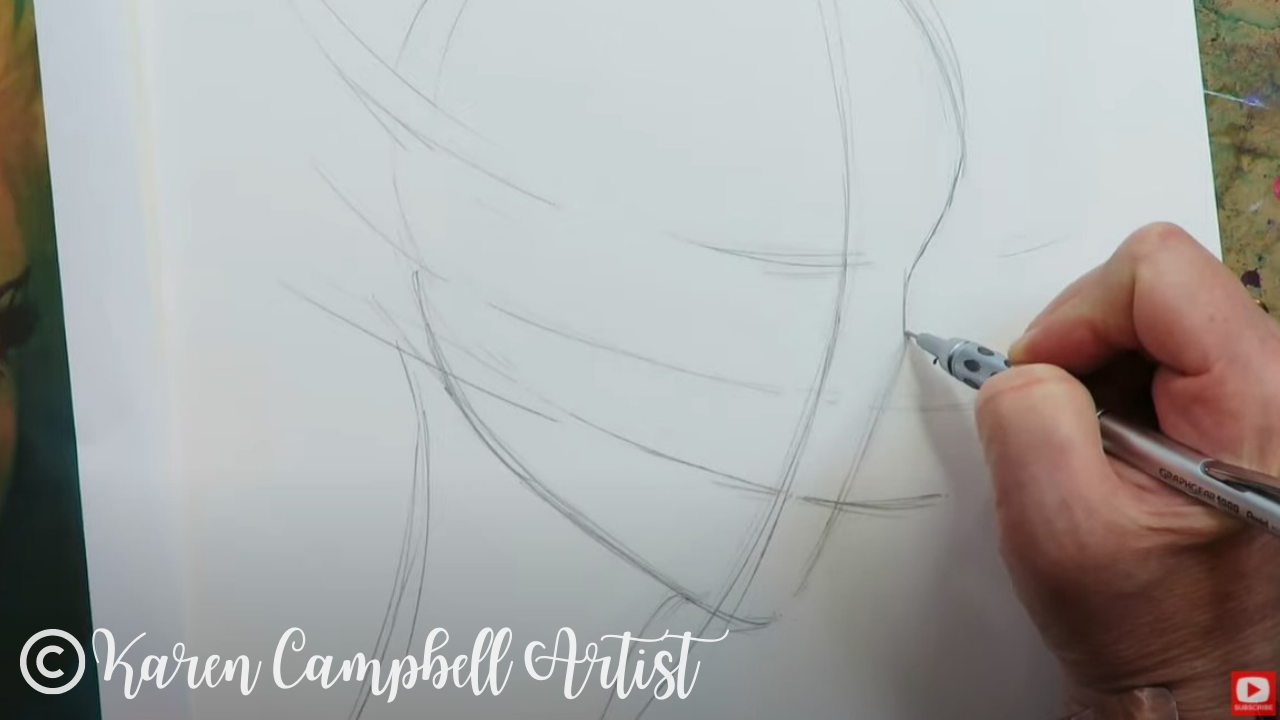
To get started, we need to sketch in the basic side profile drawing shape for a three quarter portrait AND the facial feature guidelines. If you know me - you know I NEVER draw a face without guidelines, because they're just too important!
If you're not sure how to draw fairy ears, I've got you! Simply watch the video, and I'll show you step by step.
Once I've penciled in a few swirly hair lines, it's time to get rid of our graphite as well as we can, because graphite and alcohol markers really don't mix. The brush nib of an alcohol marker can get dirty and pick up graphite super easily. This can drag all over your drawing and muddy things up, so make sure you take enough time to erase as much of the graphite as possible.
I use my vanish eraser for this. After the guidelines are gone, I actually pounce my eraser over the rest of my lines just to remove even more. 
HOT TIP: If you're an outliner like me, and want to do those first, make sure you're NOT using a sharpie because these are also alcohol markers and they will naturally want to bleed and blend in with the other colors you're using.
Instead, opt for a fineliner that is water-based or pigmented, like this one from Molotow. These will NOT smear when you're working with Copics, Ohuhus, or the new markers I'm testing out today by ArtBeek. 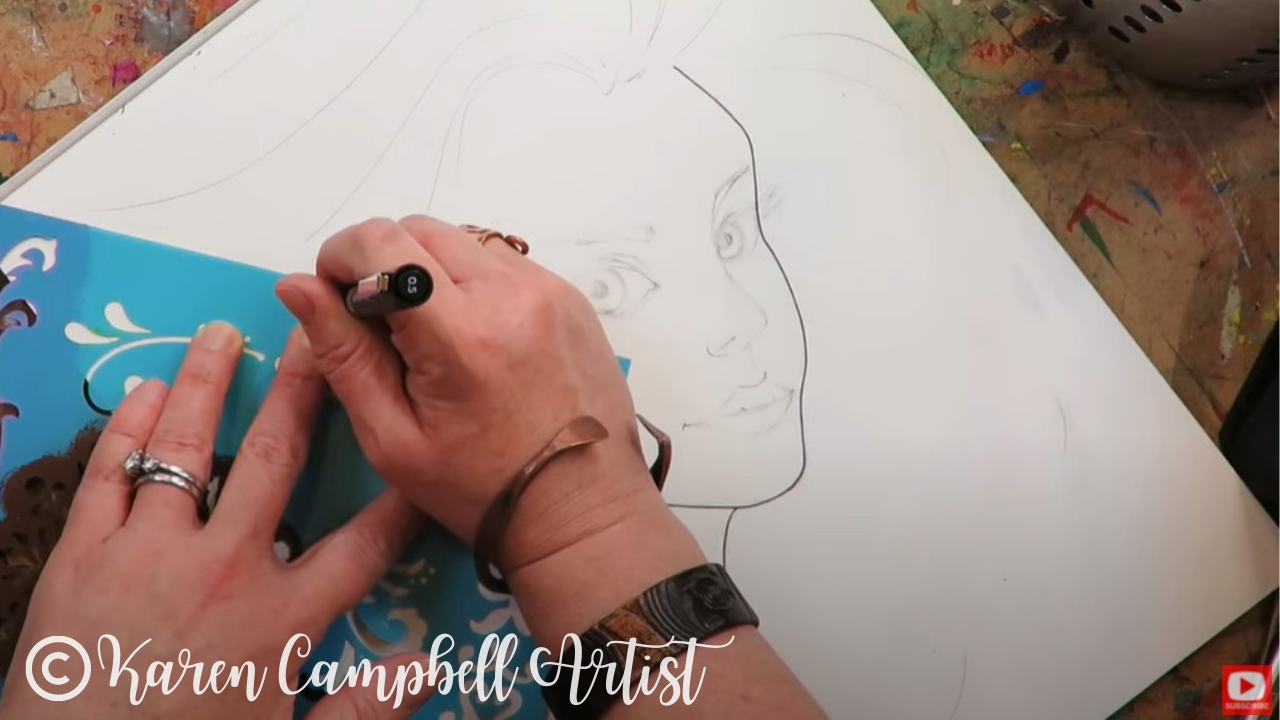
HOT TIP: There are lots of fun swirlies in our fairy drawing image for jewelry, I love using a STENCIL to do this! It takes the pressure off trying to copy something exactly and looks SO precise in your drawing. I highly recommend you do this as well :)
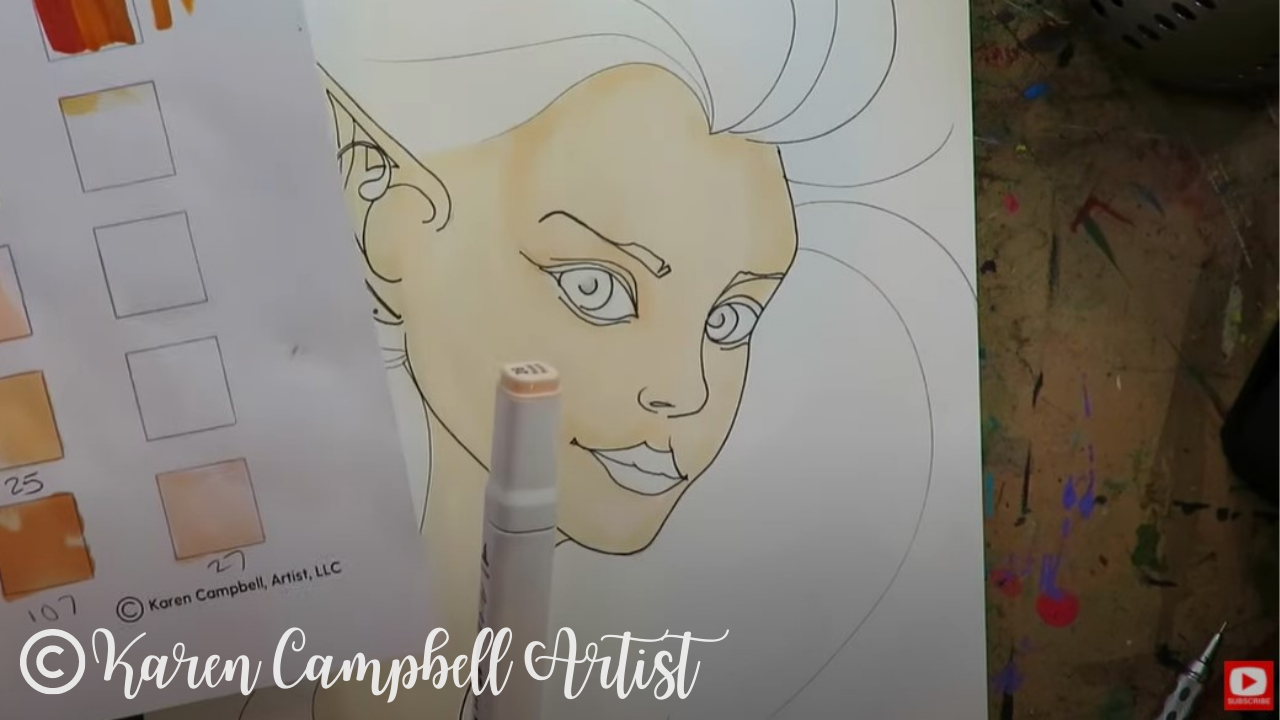
Since I'm using a new to me set of alcohol markers, I do need to swatch them out prior to coloring today. As I do this, I'm loving the soft brush tip of the ArtBeek markers. There aren't a lot of skin tones (even in the large set of 120), but I do feel like they're even softer to work with than the Ohuhus, which kinda surprises me!
In the video, you'll really see how I look to my reference fairy drawing image to "inform" my face shading. If you're scared to change marker shades as you get into shading the face - that's ok. Just use the same shade you were working with for layer one and darken your drawing with a second coat of that same color to start creating subtle shadows (above). It's totally fine to do this in baby steps until you're comfortable.
Typically I recommend using three shades of a color to do face shading in alcohol markers. As you can see in the photo above, each time you add a layer of shading that is slightly darker than the one you did previously, leave that a bit of that previous color exposed to really add depth to your drawing. In the photo above, you can see all four skin tone marker shades I used in the shadow on her face, next to her ear.
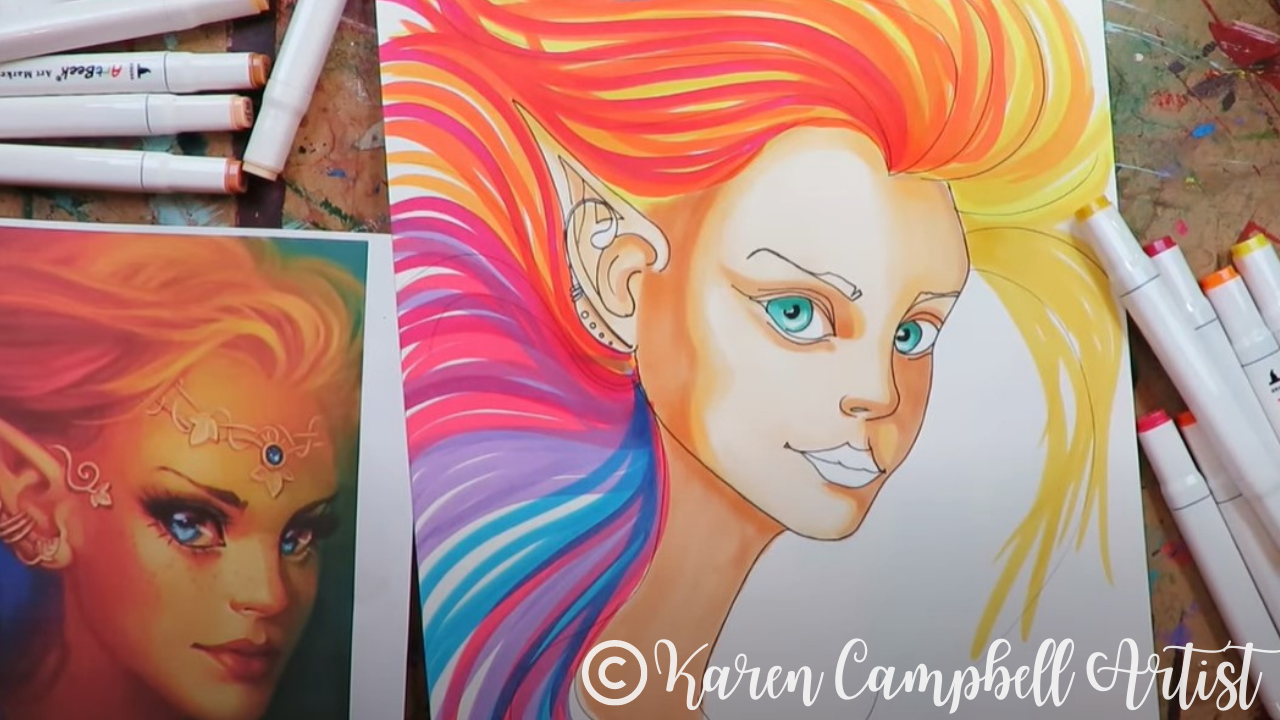
The hair on this fairy is wild and SO much fun! I am in love with the rainbow and the fact that it gives me the opportunity to use so many colors from this fun new marker set by ArtBeek.
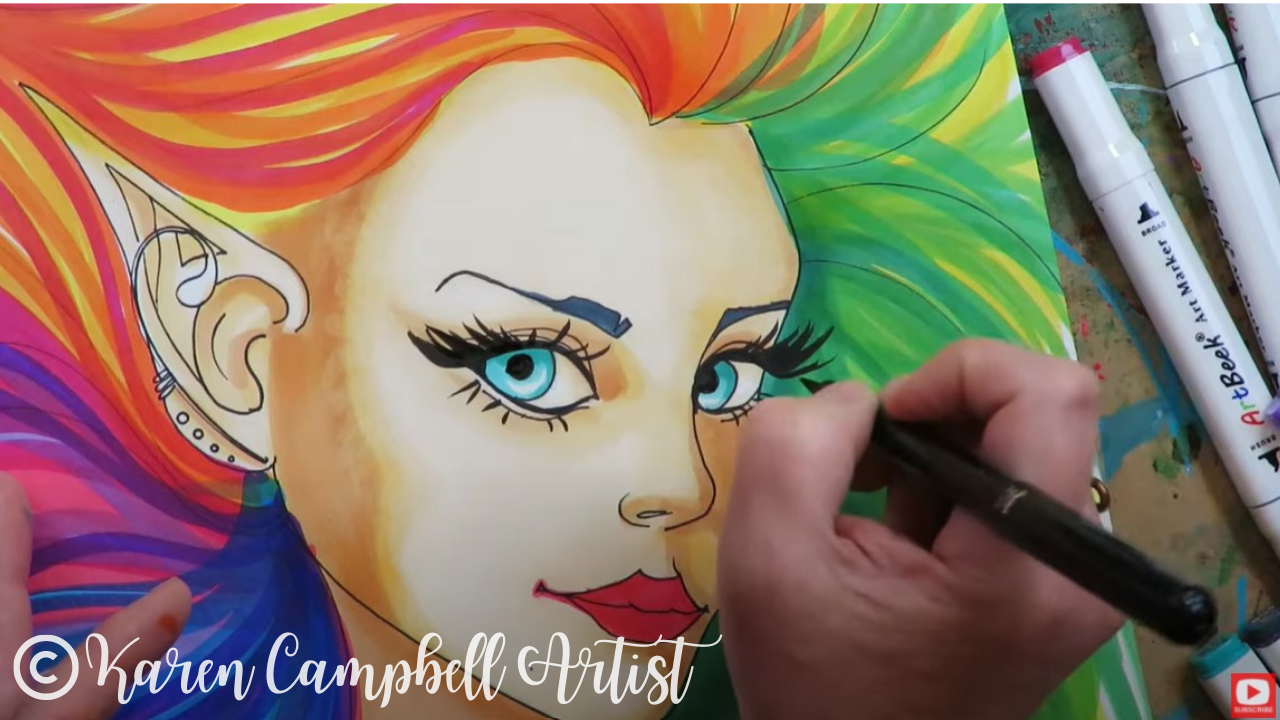
After my fairy is done, it's time for me to pull out my secret weapon for drawing killer eyelashes! I LOVE my pentel pocket brush. It's also water-based so works just as beautifully with alcohol markers as it does over china markers and my mixed media paintings!
I hope you enjoyed today's fairy drawing lesson. Remember, if you haven't signed up for the FREE #50FunFabFairies drawing challenge - you can still do that whenever you want to. It's not too late to join, and there is no "behind" with the challenge. Everything is draw at your own pace on your own time! I've stocked the FREE classroom at AwesomeArtSchool.com for you with PDFs of our fairy reference images for each lesson, plus drawing cheatsheets to help you along, info on supplies and SO much more! Have so much fun and I'll see ya in the classroom, or if you're posting your progress in the Facebook group! If you're OBSESSED with fairies and fantasy art like me, you might just LOVE the Celtic Collective over at Awesome Art School. It's an art membership my Scottish bestie, Lucy Brydon, and I run together! 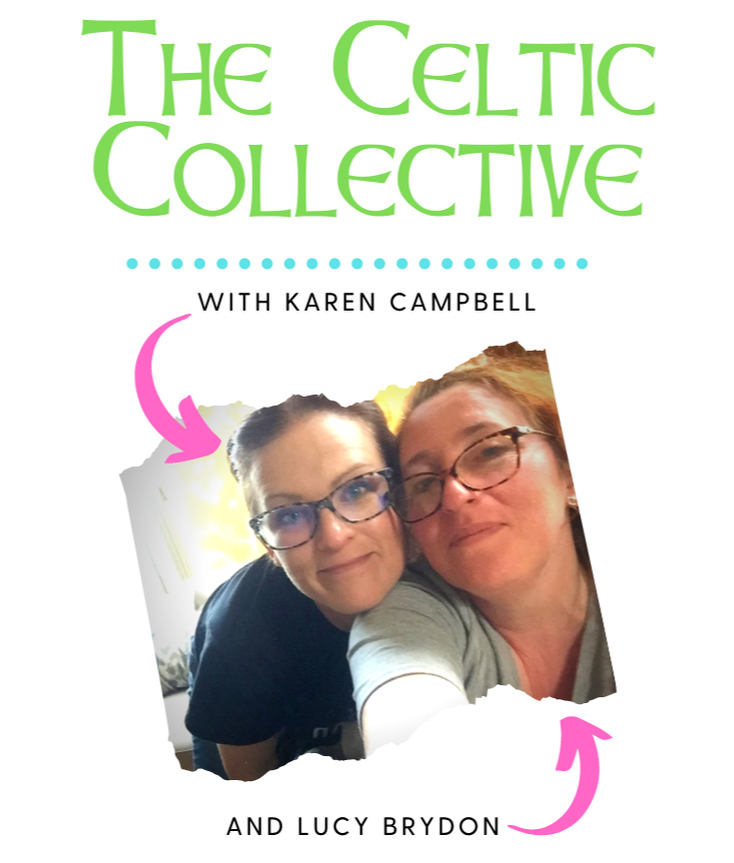
You might ALSO enjoy our podcast, 1Scot,1 Not. We talk about everything under the sun to do with Scotland - whether it's historical, fantasy, whatever. Just a quick warning - we have a blast and are totally ourselves on the podcast, which means there is some drinking and swearing.
❤️ CHECK OUT ALL my art books on AMAZON ❤️ MY FAVORITE ART SUPPLIES on AMAZON ❤️ MY BELOVED FACEBOOK GROUP ❤️ FOLLOW ME ON INSTAGRAM EASY Fairy Drawing in Watercolor Pencil with Karen Campbell [Week 2 #50FunFabFaries Challenge]31/5/2022
Wanna create this EASY fairy drawing with me? If you've never worked with watercolor pencils, you're in for a treat! Adding a touch of water to the lines you draw will create magical face shading and turn your beautiful fairy drawing into a painting!
Never drawn a face before? This fairy drawing tutorial is EASY enough for beginners! Don't have a watercolor pencil? No problem! I'll show you a variety of common water soluble pens, pencils and markers you may already have lying around at home!
Click the button below to join me in my FREE 10-lesson, 20-week fairy drawing challenge for artists of ALL levels. The amazing classroom I have waiting for you at Awesome Art School includes expanded information and resources with full-length fairy drawing lessons not available on YouTube! 
Wanna become a better artist? Do today's lesson (and every lesson of the challenge) five times, making a few creative alterations of your choice, and watch your skills soar as you practice fairy eyes drawing, fairy ears drawing AND fairy hair drawing 50 different ways!
Before we continue, super quick announcement: All product links are Affiliate. I may earn a small commission if you choose to order through these links but by law there is never any additional cost to the consumer for doing so. I thank you for your support.
Before we get into today's project, I want to reiterate how FEW art supplies are needed to participate in the #50FunFabFairies drawing challenge (and in basically any tutorial I share)!
Starting with paper, I basically only ever work on three types of paper: white cardstock (or Bristol if you prefer - I just love the Hammermill cardstock because it's cheaper and feels the same as Bristol to me!), tan toned paper (or grey- whatever floats your boat!), and watercolor paper (or a watercolor journal). Why watercolor paper for my YouTube drawing channel? Because I LOVE drawing with water soluble pens, pencils and markers! In case you're new to my world, or the term water soluble... if something is water soluble, it simply means it "melts" when you add water to it. Stay with me for the demo I'm about to share so you can see this in action! 
Today I'm working with a water soluble pencil (Derwent watercolor pencil) for week two of the #50FunFabFairies drawing challenge.
To get started, especially if you're just learning how to draw faces, I recommend using a plain old pencil so you can erase whenever you want. In the interest of time, I'm diving right in on my hot press watercolor paper (that means the paper has a smooth texture), with my watercolor pencil and hoping for the best, LOL!
Even though I'm drawing with watercolor pencil and I can't erase, my face drawing guielines are my go to for step one, no matter what kind of face I'm drawing. Even if you've never drawn a face before, you can TOTALLY participate in this fairy drawing challenge because everything is step by step and the FREE #50FunFabFairies classroom over at Awesome Art School is stacked with cheatsheets and resources to help you along!
Once you've got your fairy face outlined, it's time to think about face shading. If you're new to my world, and don't know how to shade a face, I've got a cheatsheet for that too, so don't sweat it!
Looking at a face drawing reference for shading guidance can be intimidating for beginners just learning how to draw. This is why my face shading guide is so helpful! It cuts down on the "visual clutter" in a reference image so all your brain just needs to focus on is choosing a face shading pattern from my cheatsheet, and copying the pattern you've selected onto your own paper.
When I'm shading a face, I'm not using much pressure at all to start, (especially if I'm using a water soluble pencil), because as you'll see - the shading will REALLY pop and darken, as soon as I add water. 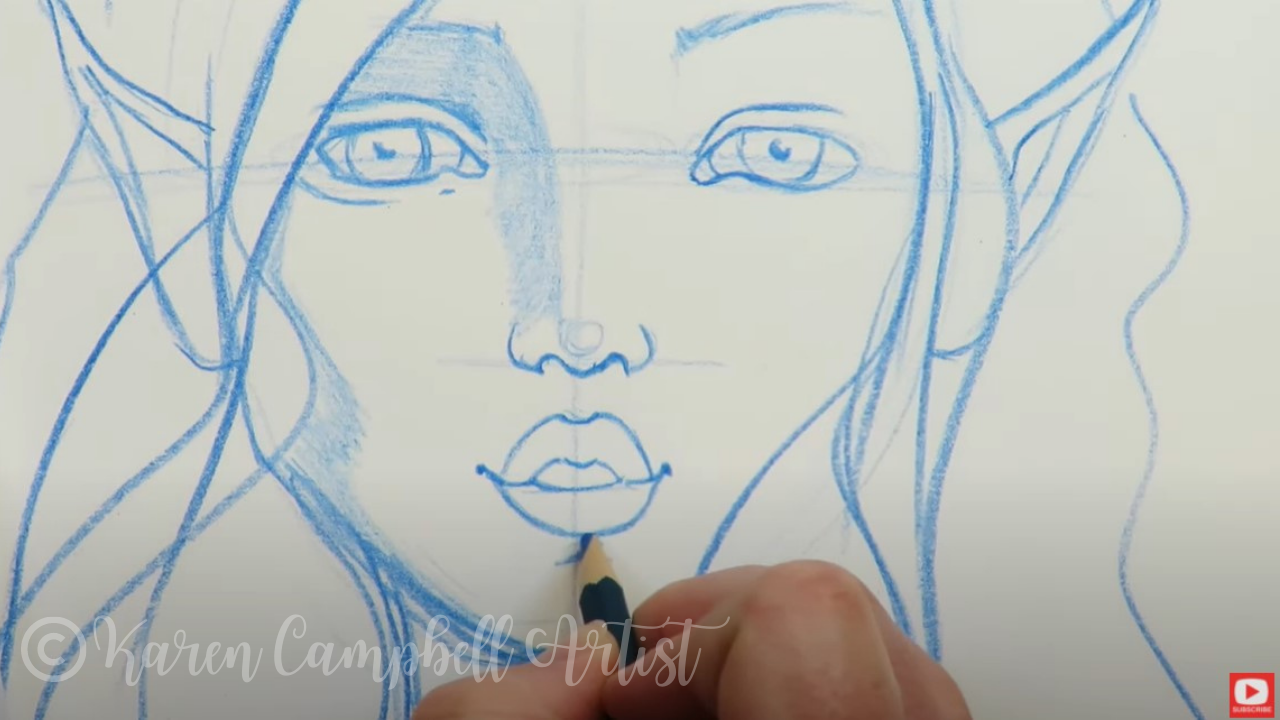
After you've finished shading your fairy face, it's time to add a little water. You can either use a water brush, or a watercolor brush. It's totally up to you!
When I'm traveling, I tend to bring a water brush because it's simple to pack and carry on the go. When I'm at home in my studio, I prefer to use my favorite watercolor brushes by Polina Bright. If you haven't tried these before- they're stunning, and now the only thing I use. (Side note: If you want to order one for yourself, Polina has extended a special discount code to my followers! Just enter my name in all caps KARENCAMPBELL at checkout on her website to receive 10% off your order). 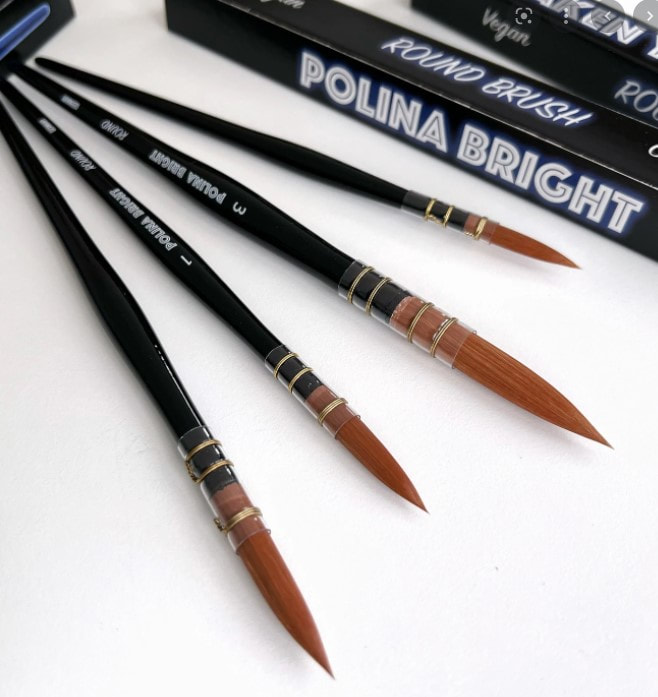
If you've never activated watercolor pencils or a water soluble marker before, be aware that the more water you use, the more your drawn lines will run.
I prefer using a "damp" brush, because then wherever I add water, the effects won't be so shocking. I typically get my brush super wet and tap it on a paper towel so it's just damp. Then I run my damp brush along the lines I want to smear and run in my drawing. HOT TIP! Did you add a shadow where there shouldn't be one? Simply blot that spot right away with a paper towel to lift the color. Be sure to watch the video to see this trick in action! 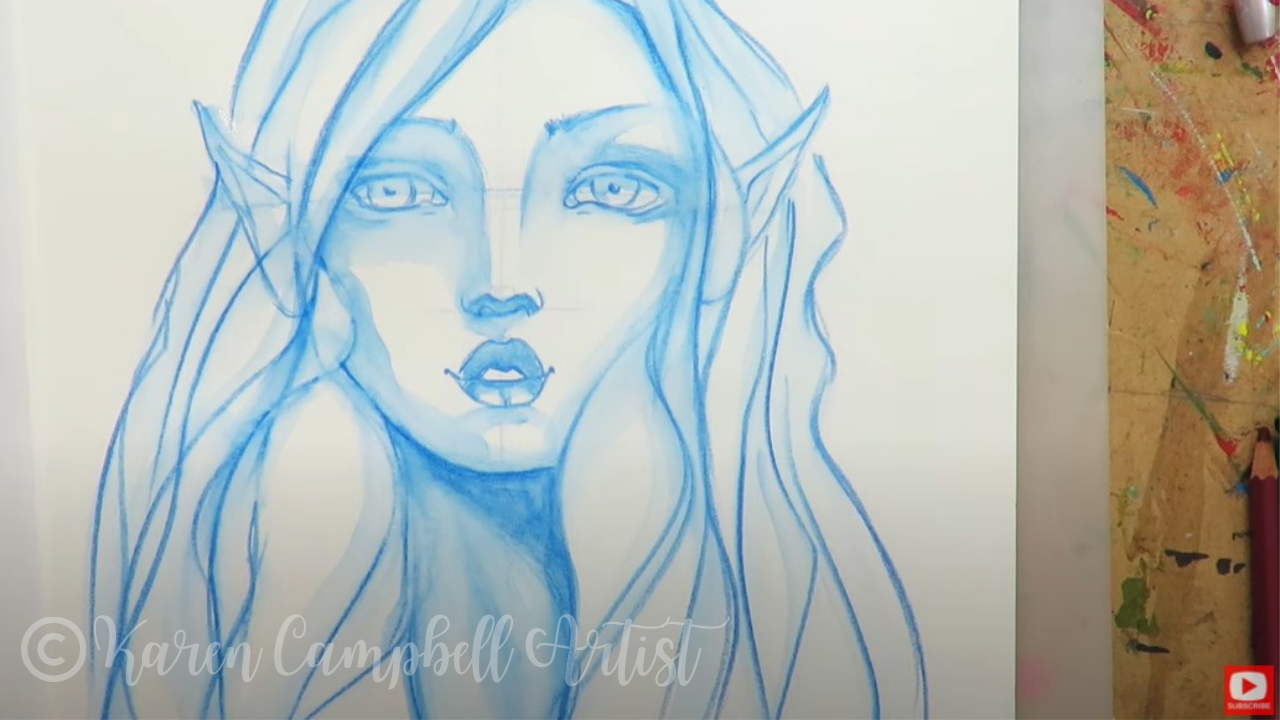
Once I've activated my watercolor pencil lines the way I want them, I use a hair dryer to make sure my paper is completely dry, so I can add a second layer of watercolor pencil to intensify the face shading.

See how the features pop even more once I add that second layer of pencil on top of the activated layer? I LOVE how that looks!
I'm purposefully not activating my second layer of watercolor pencil, because I love that contrast between the activated and non activated layers. In my second layer of shading, I darken the lines that feel most important in my drawing to add greater depth.
When I'm happy with my second layer of shading, it's time to glam this fairy up by drawing eyelashes with my secret weapon, the pentel pocket brush! 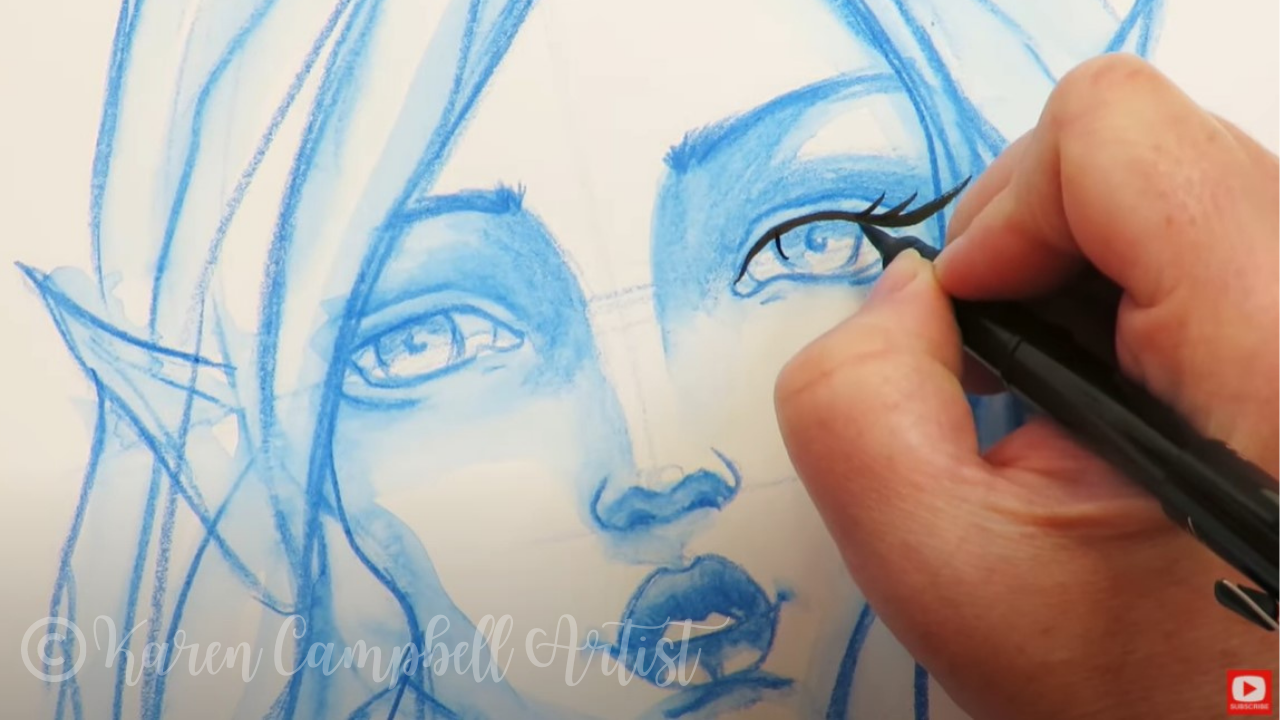
Once I've carried some soft black lines throughout my fairy with the pentel pocket brush to tie the drawing together, it's time to add her headpiece.
Click over to the video to see this in action. And by all means, PLEASE join me in this FREE fairy drawing challenge! We are having a blast sharing and commenting on each other's fairies over in the Facebook group. Make sure you join us over at Awesome Art School for the full blow FREE classroom with all the reference images, full length drawing lessons and more to help you enjoy the #50FunFabFairies drawing challenge to the fullest! If you're OBSESSED with fairies and fantasy art like me, you might just LOVE the Celtic Collective over at Awesome Art School. It's an art membership my Scottish bestie, Lucy Brydon, and I run together! You might ALSO enjoy our podcast, 1Scot,1 Not. We talk about everything under the sun to do with Scotland - whether it's historical, fantasy, whatever. Just a quick warning - we have a blast and are totally ourselves on the podcast, which means there is some drinking and swearing. ❤️ CHECK OUT ALL my art books on AMAZON ❤️ MY FAVORITE ART SUPPLIES on AMAZON ❤️ MY BELOVED FACEBOOK GROUP ❤️ FOLLOW ME ON INSTAGRAM
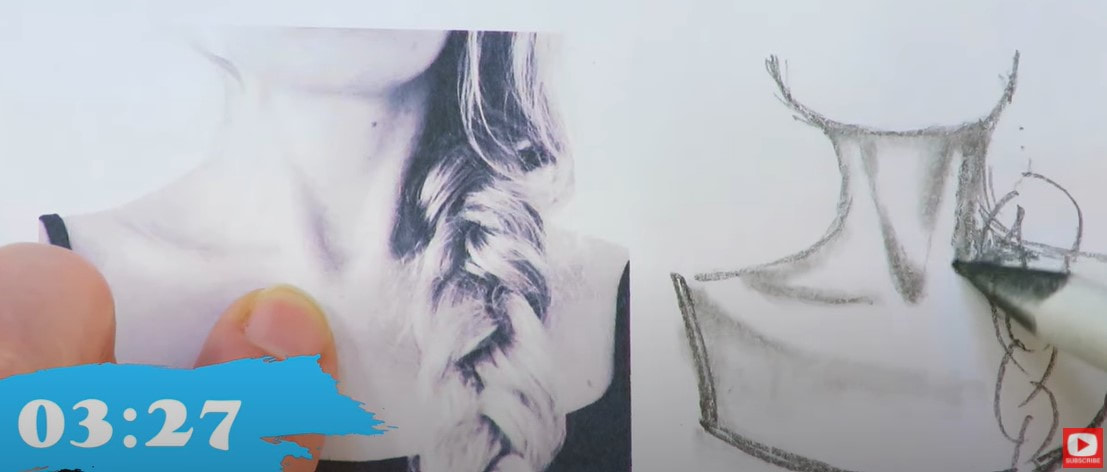
Wanna practice drawing necks realistically in JUST 5 minutes?! LET'S DO IT!! In today's step by step drawing lesson, we're going to be drawing 5 female necks in real time, directly onto my FREE drawing worksheets. If you need help with how to draw necks, have always wanted to learn how to draw a face, are struggling with how to work drawing practice into your daily life, or need to add MORE FUN into your art practice, THIS SERIES IS FOR YOU!!
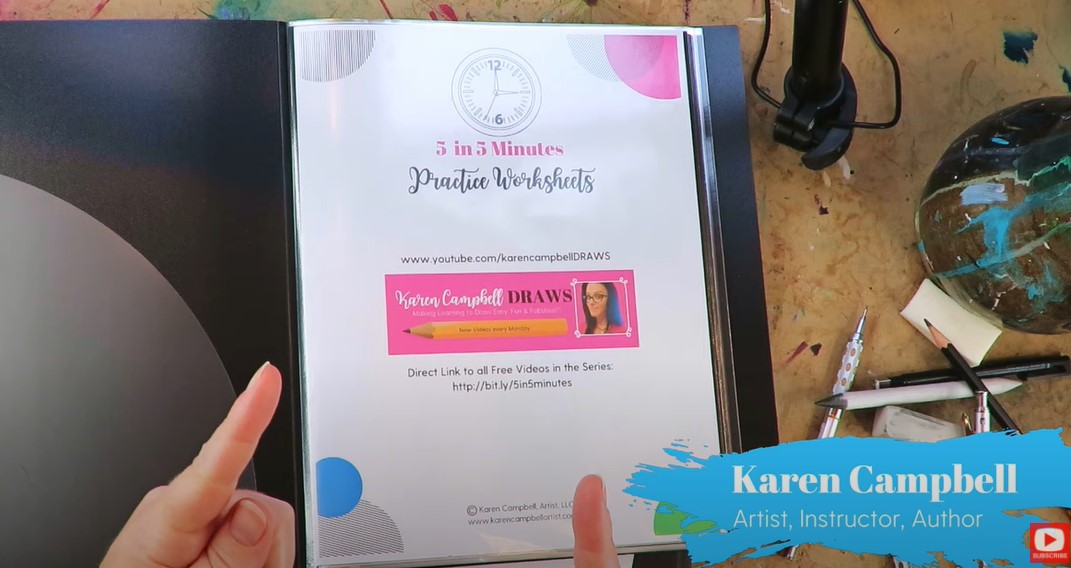
I'd love for you to draw right along with me! Simply click the button below to grab my FREE 5 in 5 Facial Features Drawing Packet, and I'll send it straight to your email inbox.

Today's video is a follow up to a facial features drawing series I did a couple of months ago because I'm getting a lot of requests for how to draw necks and eyebrows!
If you're just discovering this series on how to draw facial features, the whole point of this thing, is just to get us practicing our drawing skills. We're not making it our "life's work," it's just a little drawing exercise, and we're only going to spend about 5 minutes working with each neck drawing reference photo, then we're moving on.
You'll see a stop watch going in the bottom of my screen. It's not here to stress you out. It's just to remind ME not to spend more than 5 minutes with any one reference image. Before we continue, super quick announcement: All product links are Affiliate. I may earn a small commission if you choose to order through these links but by law there is never any additional cost to the consumer for doing so. I thank you for your support! 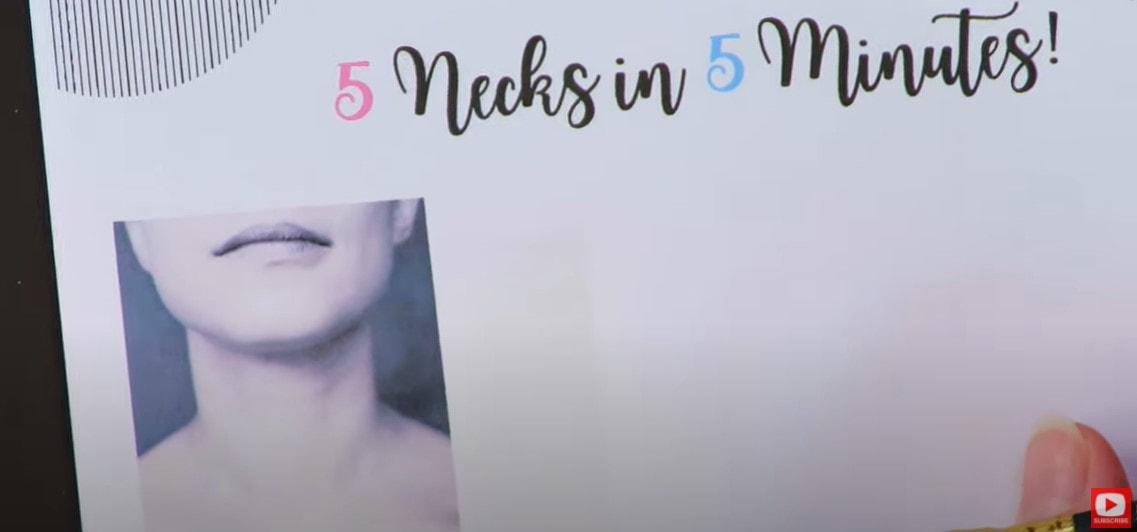
When we're working on these drawing worksheets, there are three things I encourage you to focus on one at a time, when looking at each neck drawing reference image:
1. Shape 2. Value 3. Details For my supplies today- I'm just using my favorite Blackwing pencil - it's like a soft 4B, and super smooth to work with. You're also gonna need a blending stump, an eraser (I love my vanish eraser and the tombow mono eraser).
In each neck drawing reference photo, I left in the jawline visible so we can look at how thick the neck is, and where it begins in relation to the head.
I started drawing the jawline on my first reference image with the chin, then added in the angles I saw in the model's face shape. 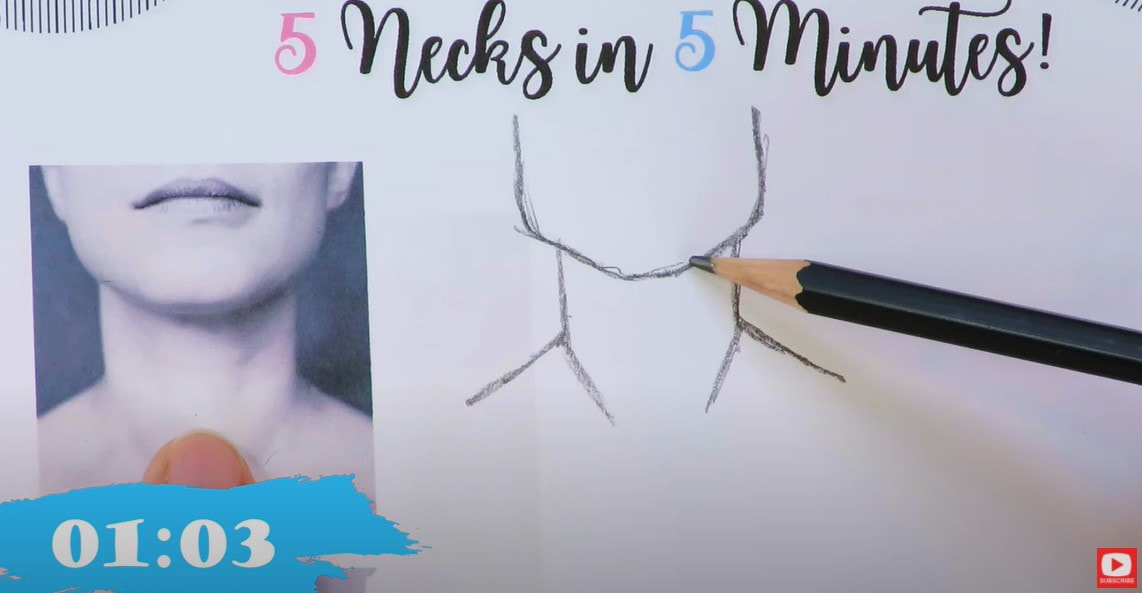
Once the angles were penciled in, I took a minute to study the reference for any other lines that felt like they need to be drawn in (see below). Then I grabbed my blending stump to begin dragging some graphite around to help indicate the shadows I saw in the model's neck.

Make sure you download your 5 in 5 Drawing Packet so you can practice right on the drawing worksheets with me. Then click over to the video so we can do this quick drawing practice together in real time (no timelapse).
While doing this drawing practice, I realized necks are really WAY more about shading than drawing! 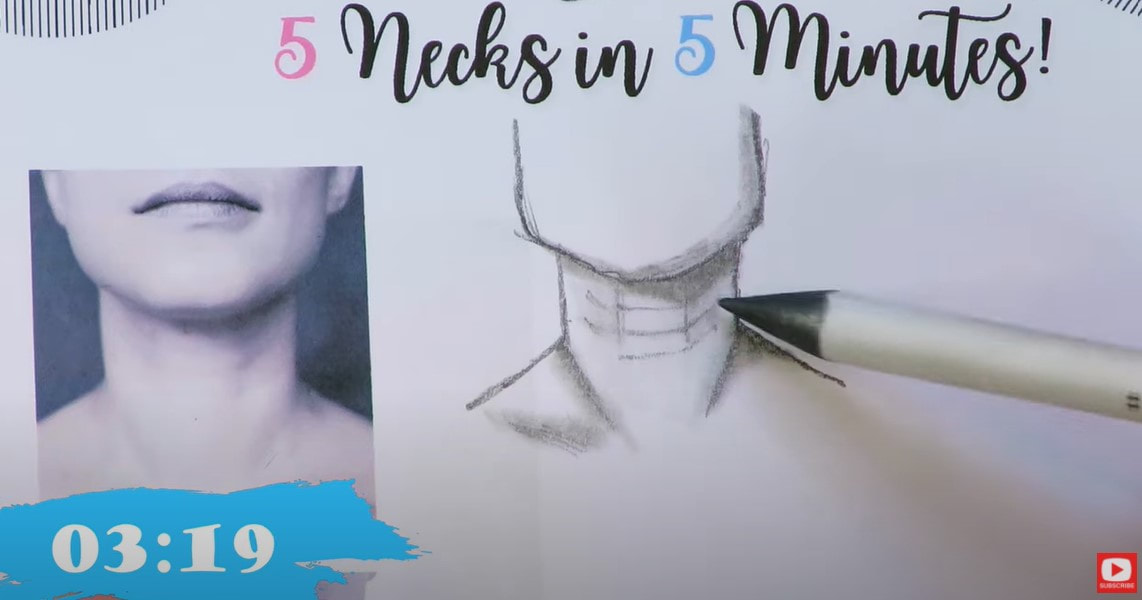
If you're someone who's been afraid to try drawing a face realistically, or if you've been afraid to try adding a little bit of shading to your drawings - this is the PERFECT drawing exercise for you! Plus it's quick - something I always love!!
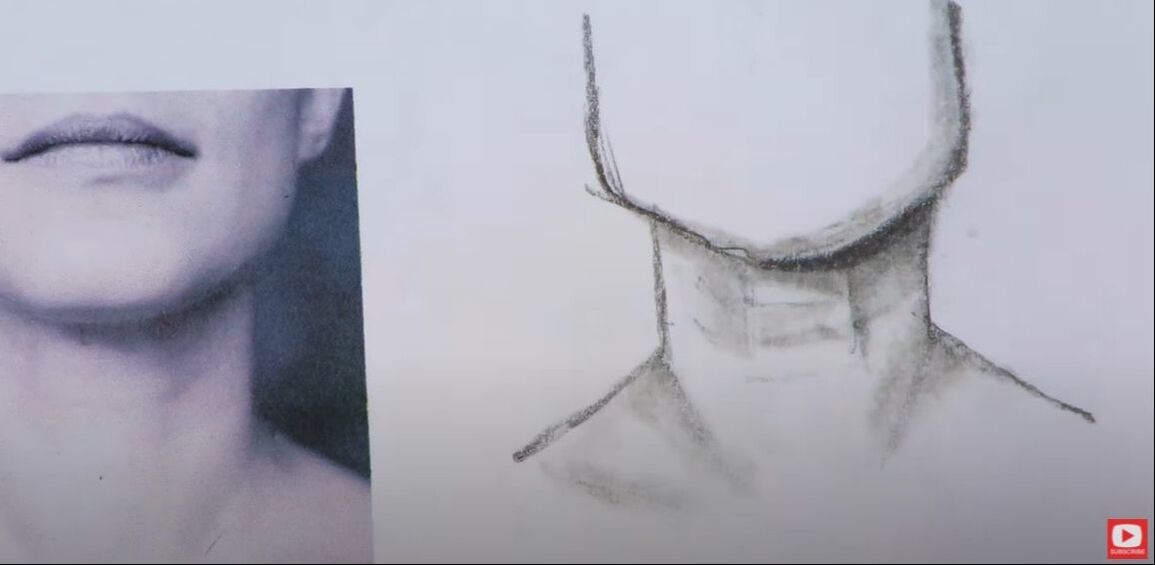
If you need to knock back any areas of your shading because they've gotten too dark, use your eraser to "pounce" and lift a little graphite off the page. Click over to the video to see this drawing technique. Keep checking your reference image to compare the lightest and darkest areas on the model's neck with your own drawing.
Our next reference image has a more rounded face shape than our first model, and a wider neck. 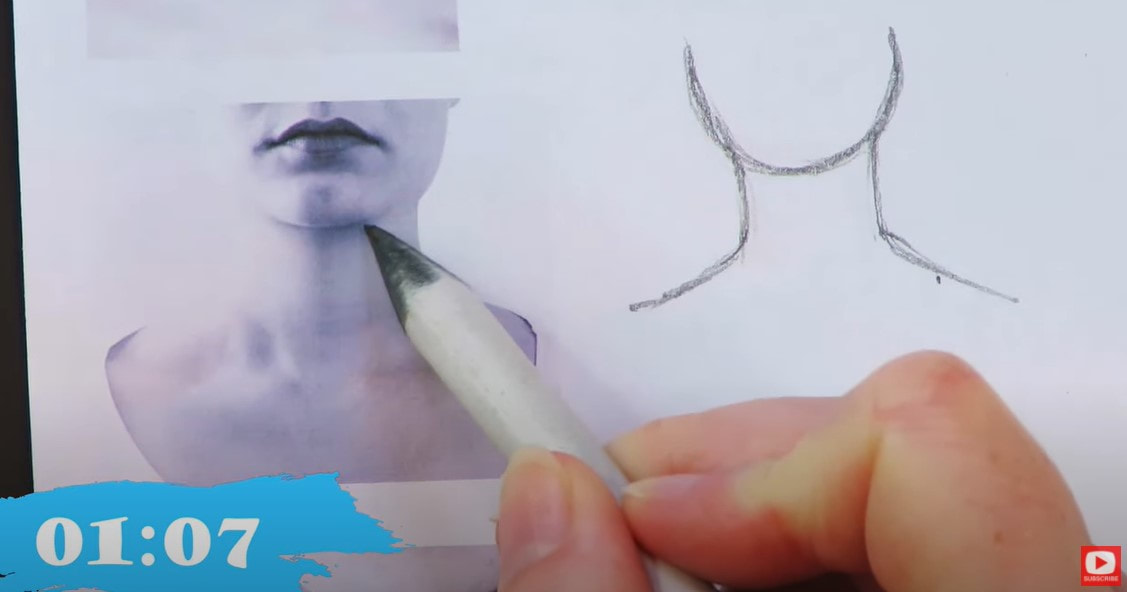
My hope in today's free drawing lesson is that you can sharpen your observational skills, and let go of any fears you have about not having an anatomy background for drawing.
You don't need it for the kind of drawing we're doing! This is just some light practice, and the anatomy can be indicated with your shading. 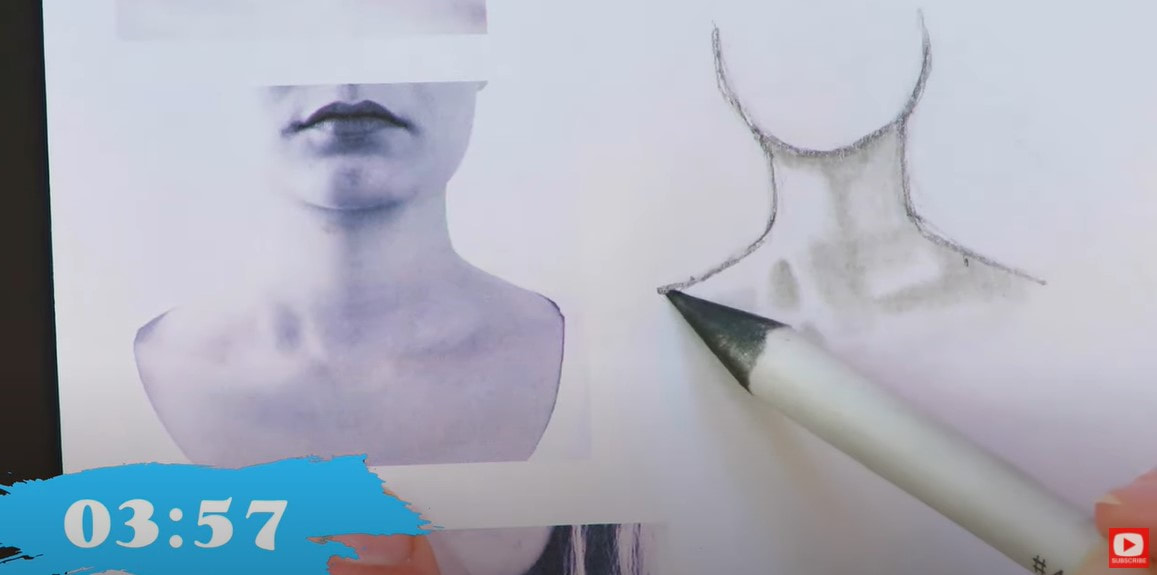
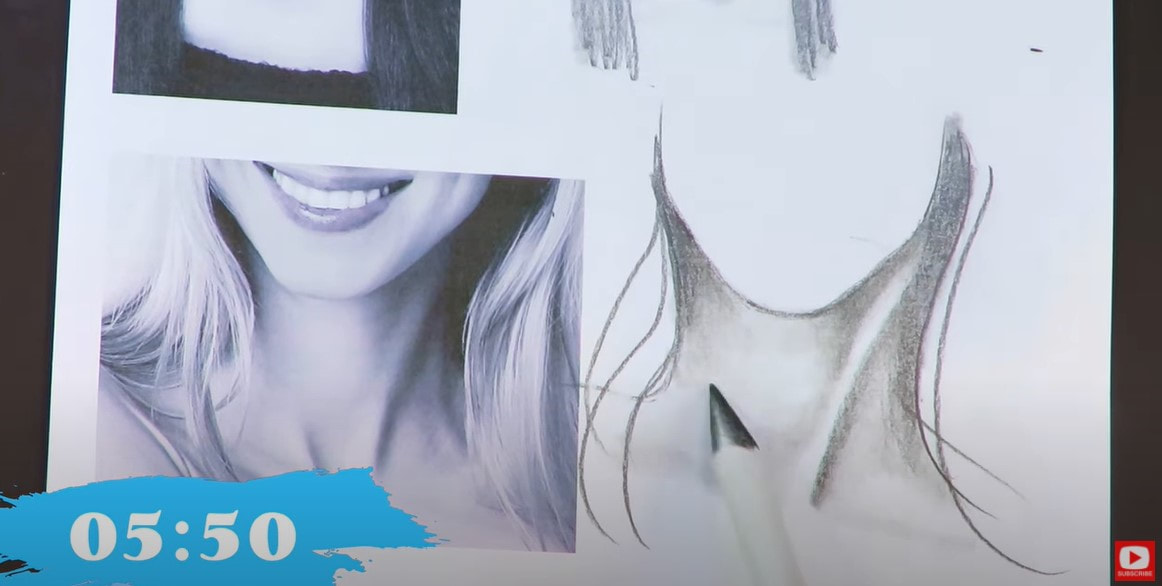
Our third reference image has some super dramatic shading for us to work on in the neck and collarbone. If you want to add in her braid- feel free, but don't stress about it. Today's practice is just about focusing on the neck.
Did you grab yourFREE 5 in 5 Drawing Practice packet and print it out yet? I hope so!!
As I always say, "You'll NEVER get worse with more practice." So print that sucker out, and let's get to work! If you're enjoying today's episode, make sure you check out the entire series on my YouTube drawing channel, because I teach you how to draw and shade eyes, eyebrows, noses, lips, hair, face shapes & more! Plus, each facial feature has 2 pages of black and white face drawing reference images to study and capture in your own drawing practice - right on the same pages. Our fourth neck drawing reference is SUPER subtle, and will help you sharpen your observational skills as we zero in on the highlights and shadows in this image together. 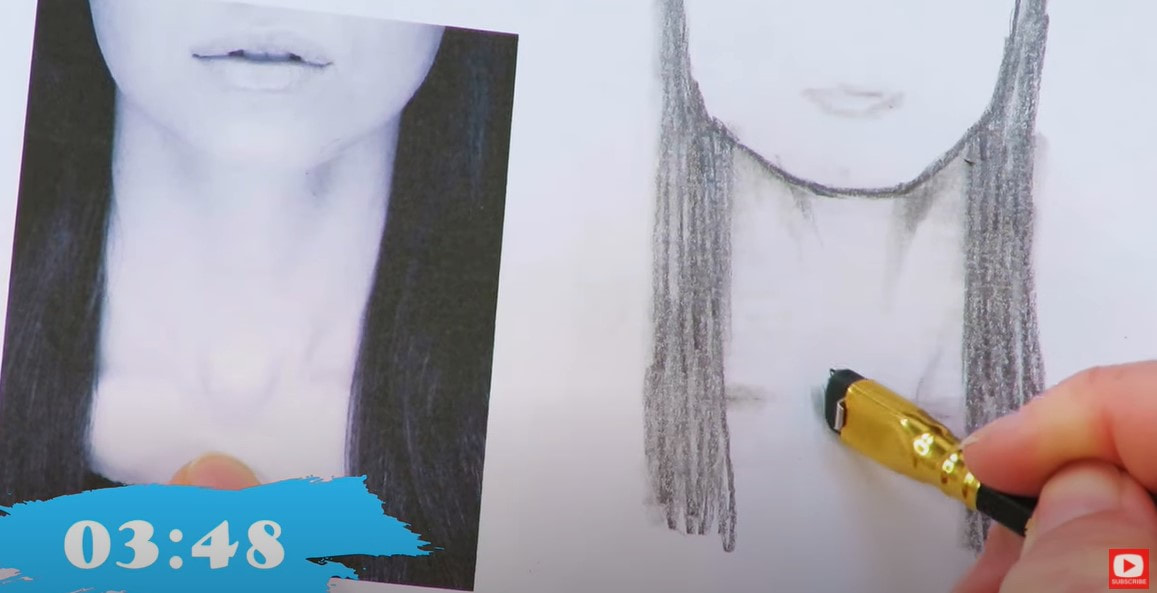
Our last drawing reference (below) for today has a super unique shape and lots of beautiful values for us to concentrate on replicating in our own drawing.
Make sure you grab my 5 in 5 Practice Packet so YOU can sharpen your drawing skills right along with me.
Thanks for hanging out with me today! Interested in learning about how to create a mixed media portrait, but missed my Mixed Media Art Deco Workshop last week? Don't worry! You can STILL sign up and do this at your own pace - any time you want!! No art experience is needed for this super FUN online art class - I'll teach you everything you need to know, and we'll go step by step, together. 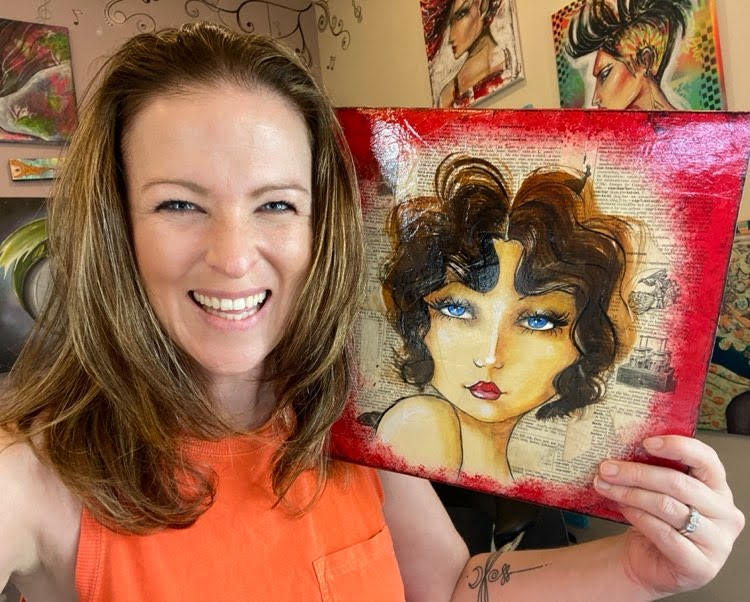
Ready to learn realistic eyebrow drawing in just 5 minutes?! LET'S DO IT!! In today's step by step lesson, we're going to be drawing 5 sets of eyebrows in real time, directly onto my FREE drawing worksheet. If you need help with how to draw eyebrows, have always wanted to learn how to draw a face, are struggling with how to work drawing practice into your daily life, or need to add MORE FUN into your art practice, THIS SERIES IS FOR YOU!!
I'd love for you to draw right along with me! Simply click the button below to grab my FREE 5 in 5 Facial Features Drawing Packet, and I'll send it straight to your email inbox.
Today's video is a follow up to a facial features drawing series I did a couple of months ago because I'm getting a lot of requests for how to draw eyebrows and how to draw necks!
If you're just discovering this series on how to draw facial features, the whole point of this thing is just to get us practicing our drawing skills. We're not making it our "life's work," it's just a little drawing exercise, and we're just going to spend about 5 minutes working with each reference photo, then we're moving on.
You'll see a stop watch going in the bottom of my screen. It's not here to stress anyone out. It's just to remind me not to spend more than 5 minutes with any one reference image. Before we continue, super quick announcement: All product links are Affiliate. I may earn a small commission if you choose to order through these links but by law there is never any additional cost to the consumer for doing so. I thank you for your support! 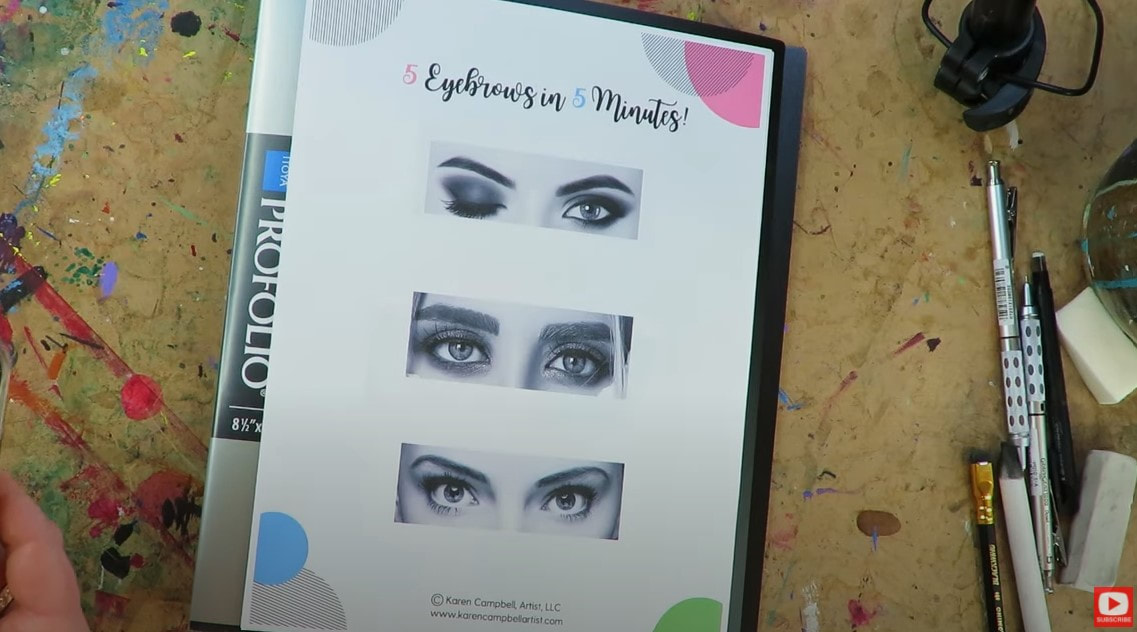
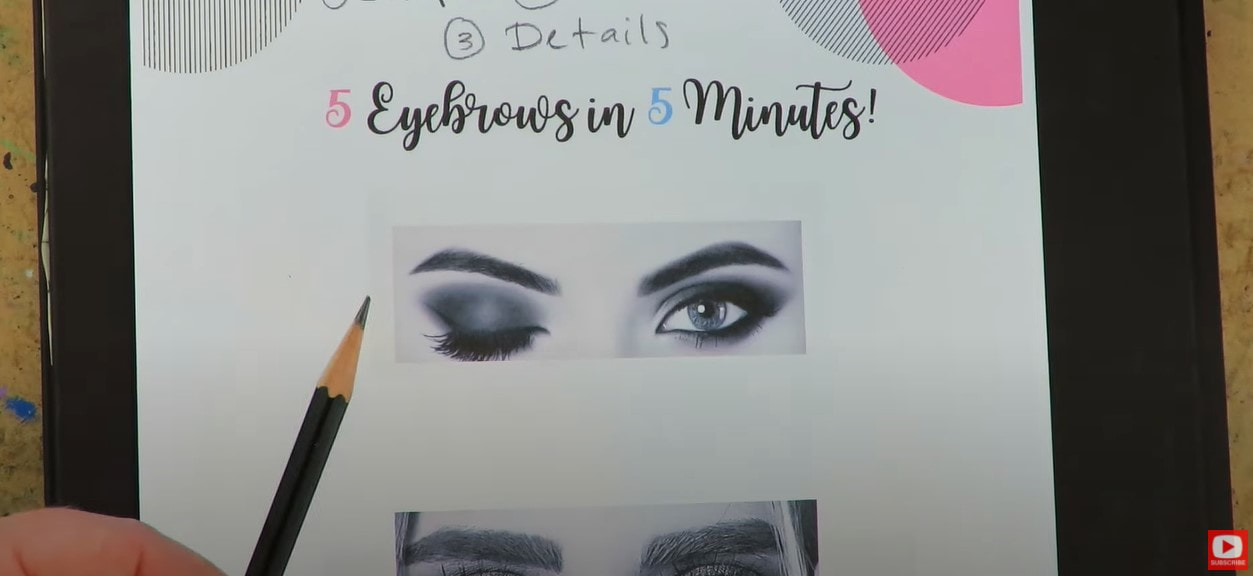
There are three things I'd love for your to focus on one at a time, when looking at each eyebrow reference image:
1. Eyebrow Shape 2. Value 3. Details For my supplies today- I'm just using my favorite Blackwing pencil - it's like a soft 4B, and super smooth to work with. You're also gonna need a blending stump, an eraser (I love my vanish eraser and the tombow mono eraser). 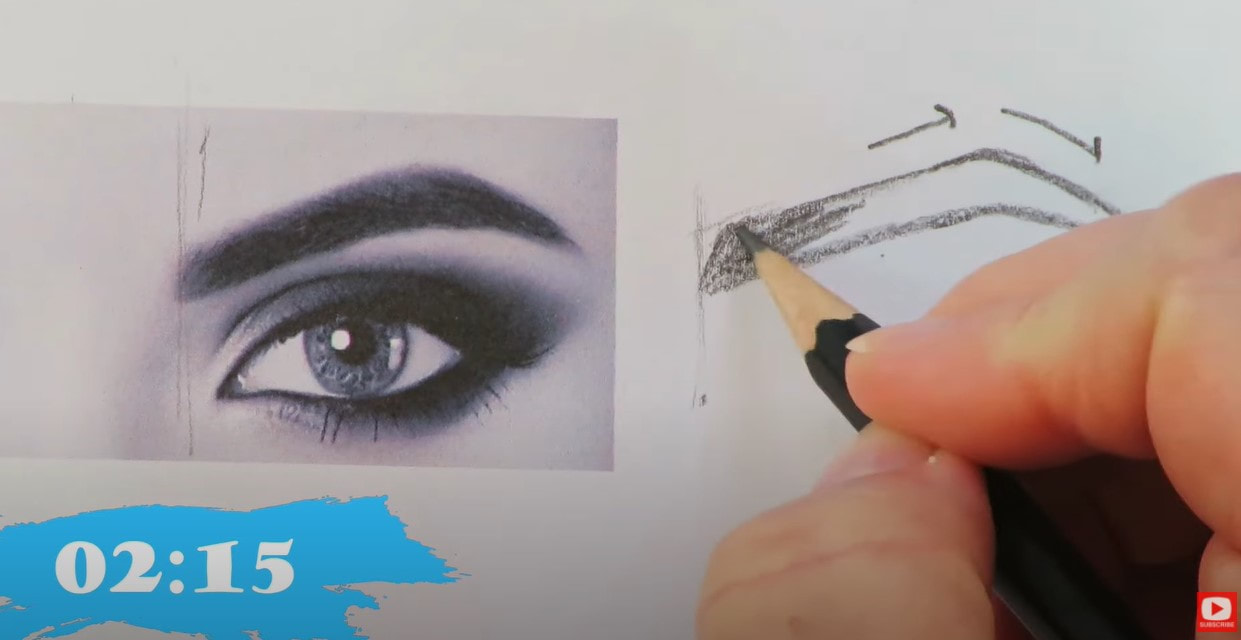
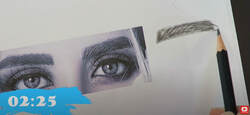
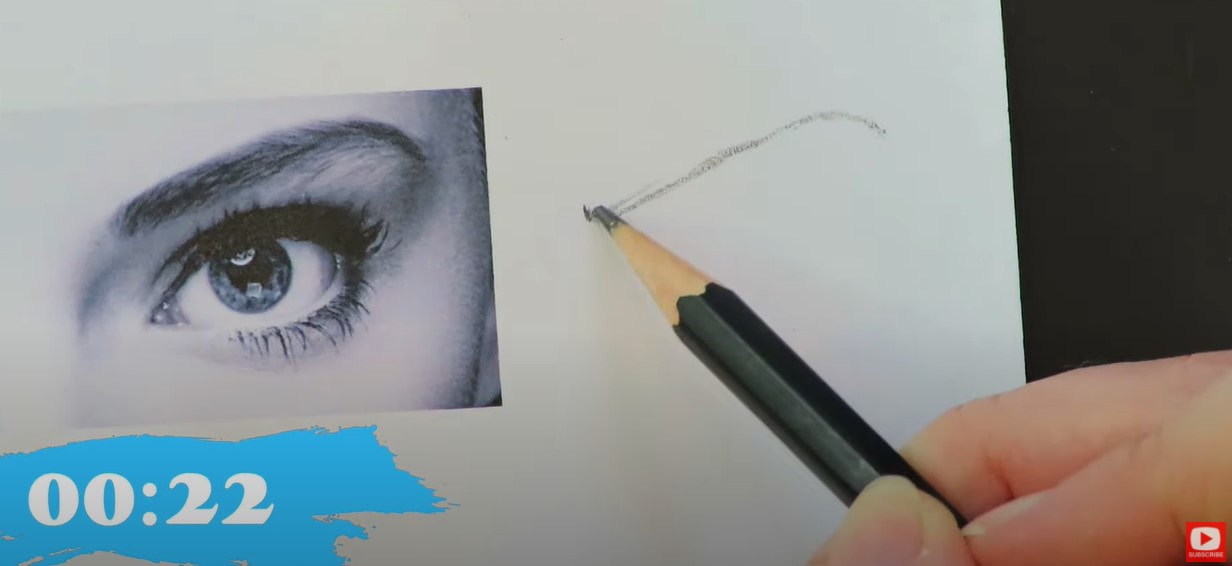
So with our first reference, as you can see- I draw in the general shape I'm seeing for the right eyebrow. The value I see is really pretty black, so I reach for my blending stump right away and then try to add in a few individual hairs even though I don't really see them in this particular photo - they're definitely there.
On the left eyebrow in this reference image, (above) you can definitely see a LOT more individual hairs, so I make sure to add those in where I see them, to make my drawing look more realistic.
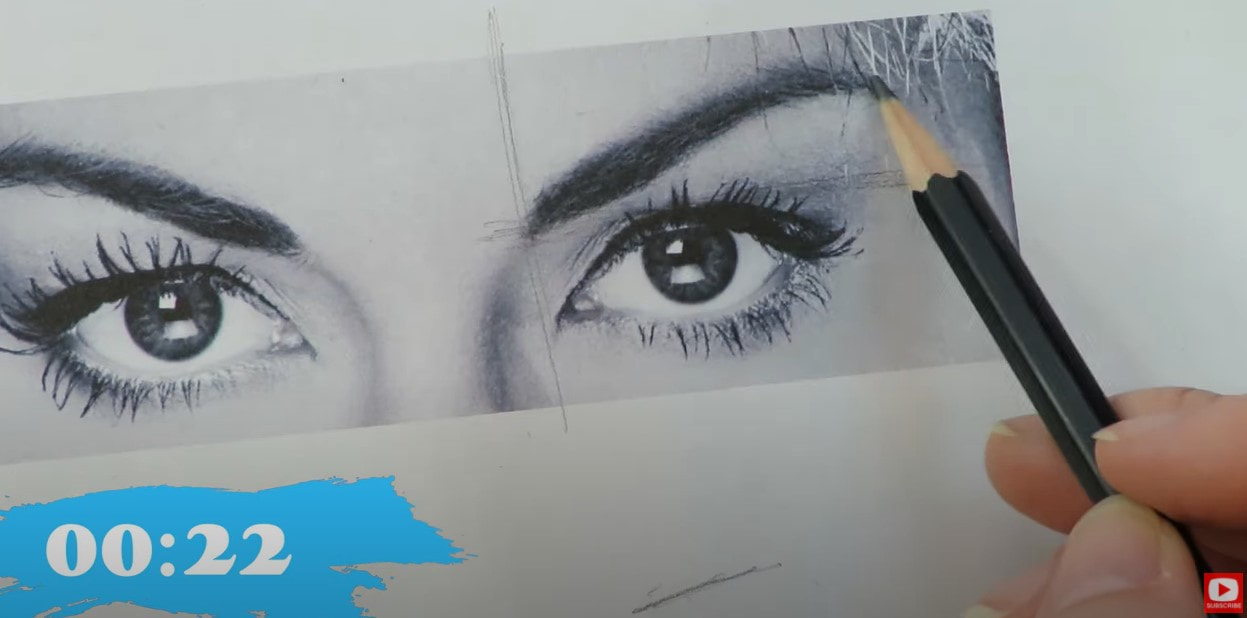
or our second reference image, I'll show you how to draw bushy eyebrows - 2020 style. Lol! After these were drawn in with a little shading added, I carved out some highlights using my tombow eraser for detail.
The next face drawing reference has some really unique eyebrows for us to draw. They're much thinner than the last set, and are great practice if you're trying to learn how to draw curved eyebrows.
This style (above) is actually my favorite to draw on the mixed media portraits and whimsical drawings I love to create.
QUICK TIP: When you're ready to draw the individual hairs on the eyebrow, make sure your pencil tip is really sharp, or switch to a mechanical pencil. Doing drawing practice like this with drawing reference photos and cheatsheets can help you think of new ways to draw from your imagination later. 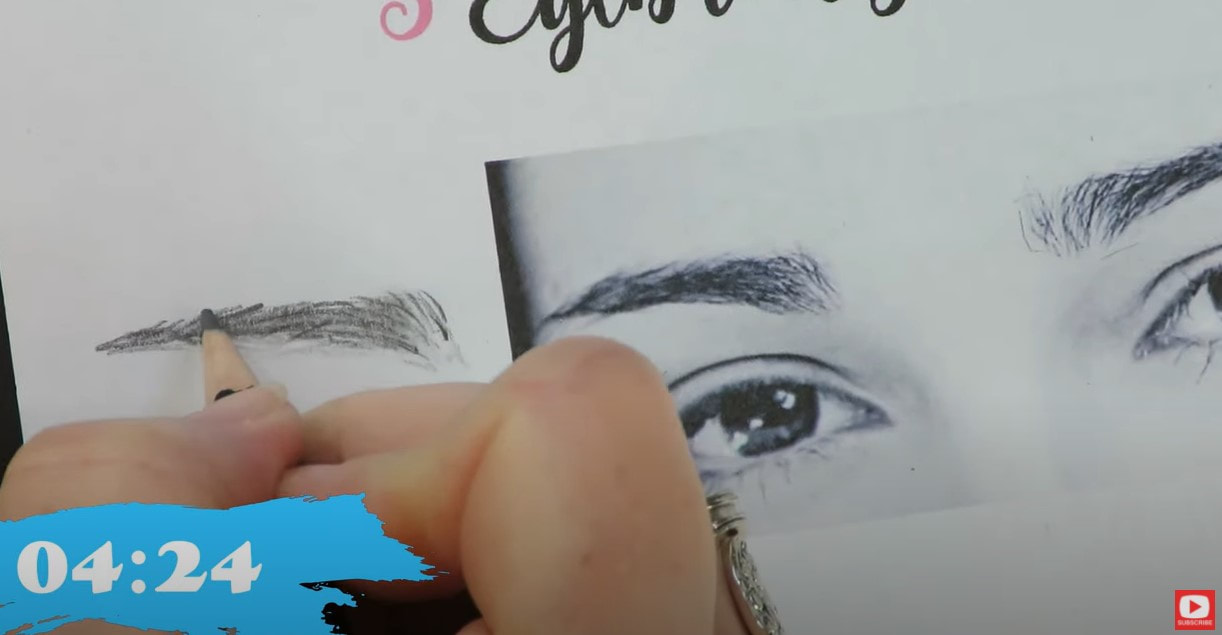
Our fourth reference today has a very different shape and is a great face drawing reference photo if you've been looking for something to help you with how to draw a natural eyebrow.
QUICK TIP: You always draw things that grow (hair, grass, etc.) from the ROOT up to the tip.
I hope you find these eyebrow drawing references helpful for your own face drawing practice. Remember to grab my cheatsheet so you can do your drawing practice right on the drawing worksheet like me. This drawing worksheet is part of my 5 in 5 Facial Features Drawing Series on my YouTube drawing channel. In case you missed that- it's a super helpful 6-part video series on how to draw facial features with a worksheet of drawing references to go with each feature. We worked on how to draw realistic eyes, how to draw realistic noses, how to draw realistic lips, ears, how to draw different face shapes and how to draw fun female hairstyles in 5 minutes. I popped these new eyebrow drawing worksheets at the end of my drawing packet. You'll also see worksheets for how to draw necks - that's coming up on my YouTube channel soon, so stay tuned for that! Thanks for hanging out with me today!
Interested in learning how to create gorgeous mixed media portraits and learning how to draw art deco style? Join me for my upcoming 1-week, online art workshop starting September 27, 2021.
I'll teach you how to upcycle an old record jacket from the thrift shop into your very own mixed media canvas. Then we'll collage our hearts out, do a little mixed media drawing, and I'll show you ALL my tips and tricks to mixed media layering like a pro!
CLICK HERE to SIGN UP for the WORKSHOP and take advantage of my special 60% OFF Coupon Code before September 27th If you do plan to join me for this upcoming workshop, one of the mixed media art supplies I ALWAYS use is faber castell gelatos. I have heard from a number of my students that they can't get their hands on gelatos, so I just did a video on my mixed media YouTube channel about Faber Castell Gelatos Alternatives, and test a huge variety of gel crayons out for you so YOU don't have to! Make sure you check this out before the workshop starts on September 27th. See ya there!! ❤️ CHECK OUT ALL my art books on AMAZON ❤️ MY FAVORITE ART SUPPLIES on AMAZON ❤️ MY BELOVED FACEBOOK GROUP ❤️ FOLLOW ME ON INSTAGRAM
Whether you already love toned paper drawing, drawing faces, or have never tried either, and are curious - TODAY's VIDEO is FOR YOU! Join me for a face drawing demo in my cute little toned paper sketchbook (that I recently designed) - complete with adorable little flowers in the background! I'll show you how I picked my face drawing reference, and will teach you why drawing on toned paper is actually QUICKER than drawing on white paper.
If you're new to toned paper drawing, I've got an awesome set of FREE cheatsheets for you to download and a Toned Paper Drawing three-part video series for you to help you get started over on my YouTube Drawing Channel.
Click the button below to grab those cheatsheets, and I'll send that straight to your inbox! 
This cheatsheet packet includes my face drawing guidelines, plus a drawing reference face photo to help us in video #3, so make sure ya click that button!!
Before we continue - super quick announcement! All product links below are Affiliate. I may earn a small commission if you choose to order through these links but by law there is never any additional cost to the consumer for doing so. I thank you for your support! 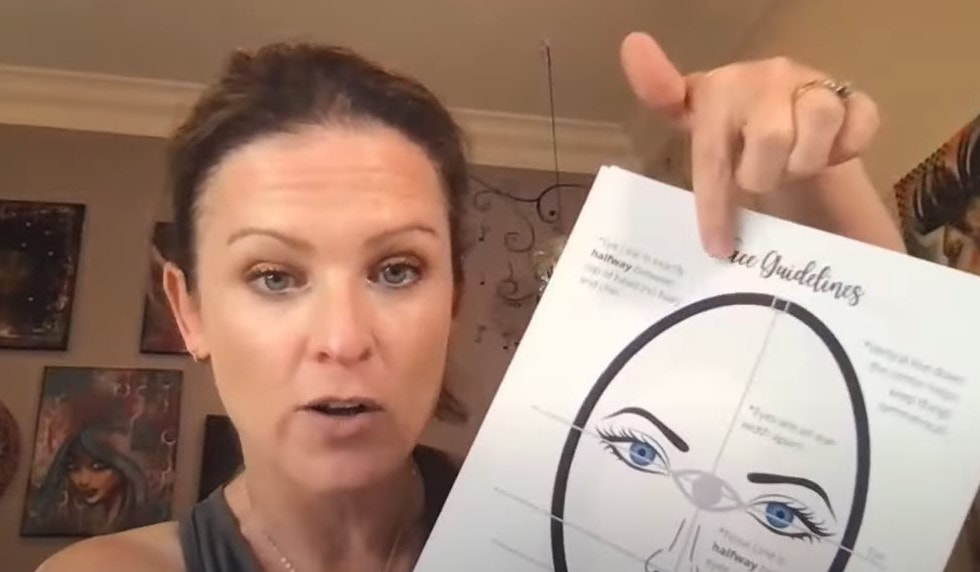
For today's drawing tutorial, I'm working in my new toned paper sketchbook that I actually designed! It's got adorable little flowers in the background, which I love, because those flowers end up peeking through the cheeks of the faces I've been drawing.
The picture below shows a great closeup of how the background flowers look behind a drawing. SOOOOO cute!!!
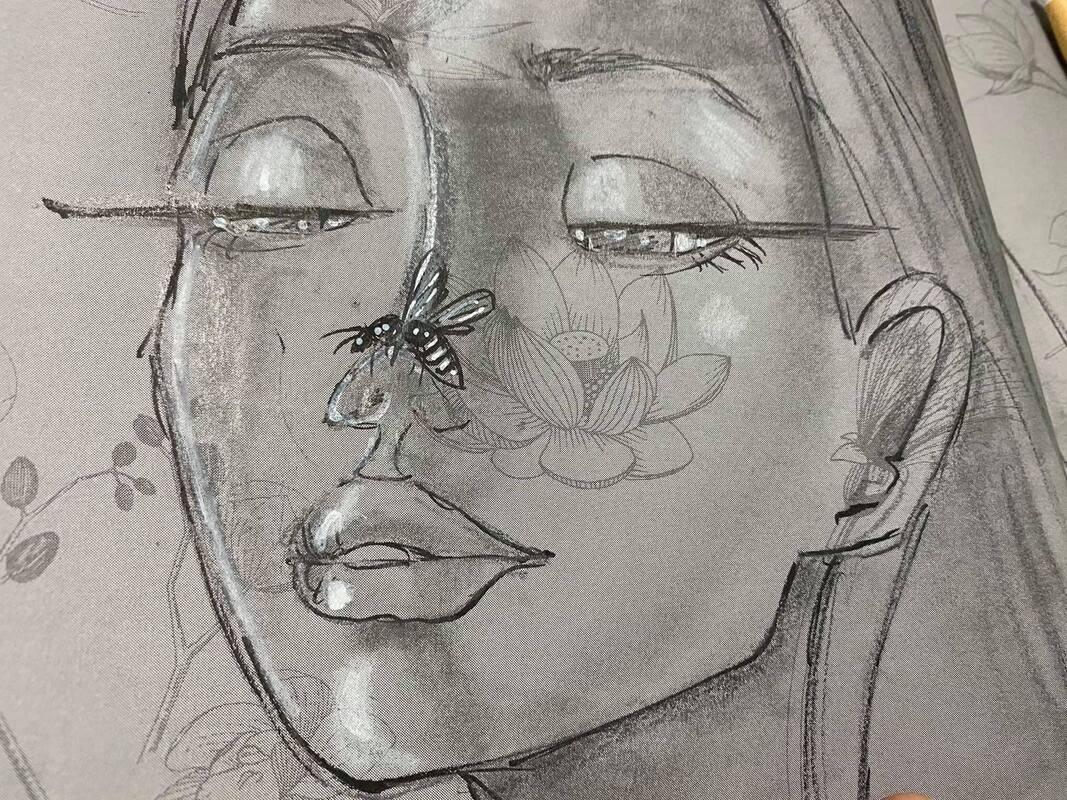
It's perfect for doing some quick little face drawings in pencil with china markers and white posca pens!
Here is the link for the sketchbook over on Amazon in case you're interested! I hope you enjoy it as much as I have!!
Click over to the video and I'll talk you through a few things I think about when I'm looking for faces for drawing reference. Mostly, I just keep it easy. Basically, I just think to my self - do I love this girl and think she's cute? Then I usually give it a try!
As you'll see in the video - I also will look at the face shading. In this particular image, it's really unusual! I felt she had some beautiful highlights on her eyes, nose and lips that I instantly could imagine doing in my white posca pens. Just one more feature that made this face drawing reference an instant YES for me, besides I'm obsessed with absolutely anything done by Loish. 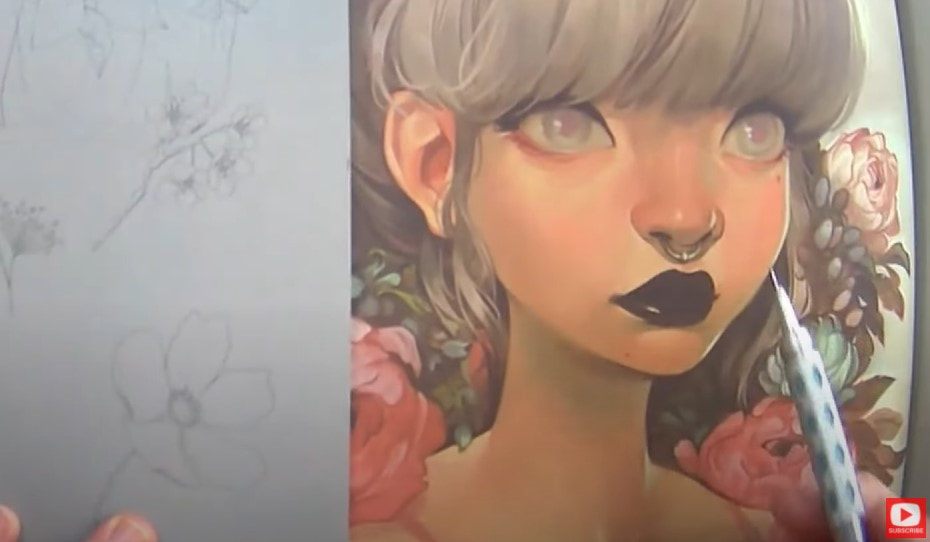
One of the most important things to remember when drawing on toned tan paper or gray toned paper vs drawing on white paper, is that "your job" is just to pop in the darkest darks and lightest lights when it's time to start shading faces.
That's why I think doing toned paper portraits and sketches are SO fast! Half your job has already been done for you because your "skin tone" is the tone of the paper. 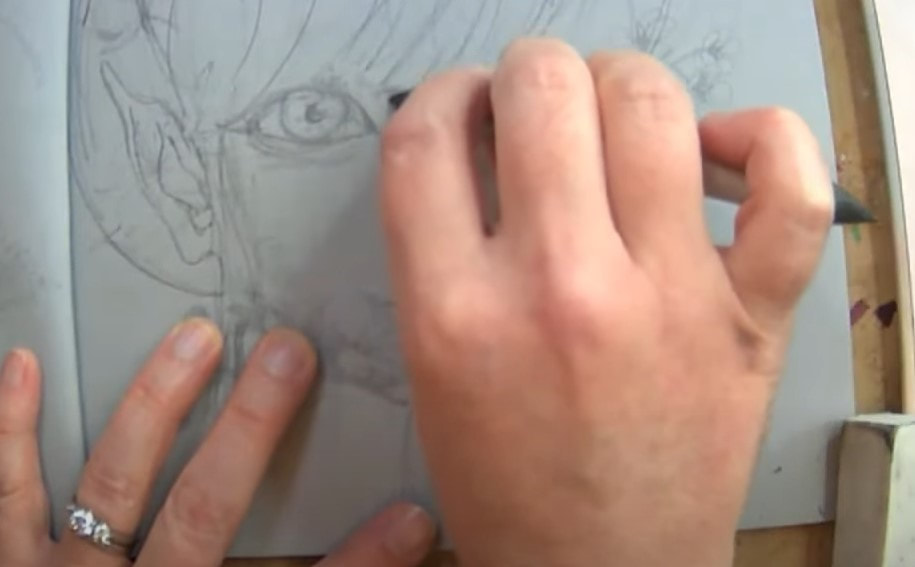
As you'll see, I did a lot of the face shading with my blending stump. Since the paper is already gray, I really didn't have to push down very hard to get some beautiful effects. Once I was happy with my shading, I just grabbed my pentel pocket brush to outline everything loosely with a light touch.
I LOVE the lashes in this reference so really enjoyed popping those in with my pentel pocket brush! If you've never used this before - you have to give it a try. Here's a video to help you on my drawing channel, and here's one to help ya on my mixed media channel (because it works amazingly well for mixed media faces too!).
I love using the china markers for highlights here because they sit beautifully on top of my graphite. These marks really add dimension to the drawing and pop those areas forward.
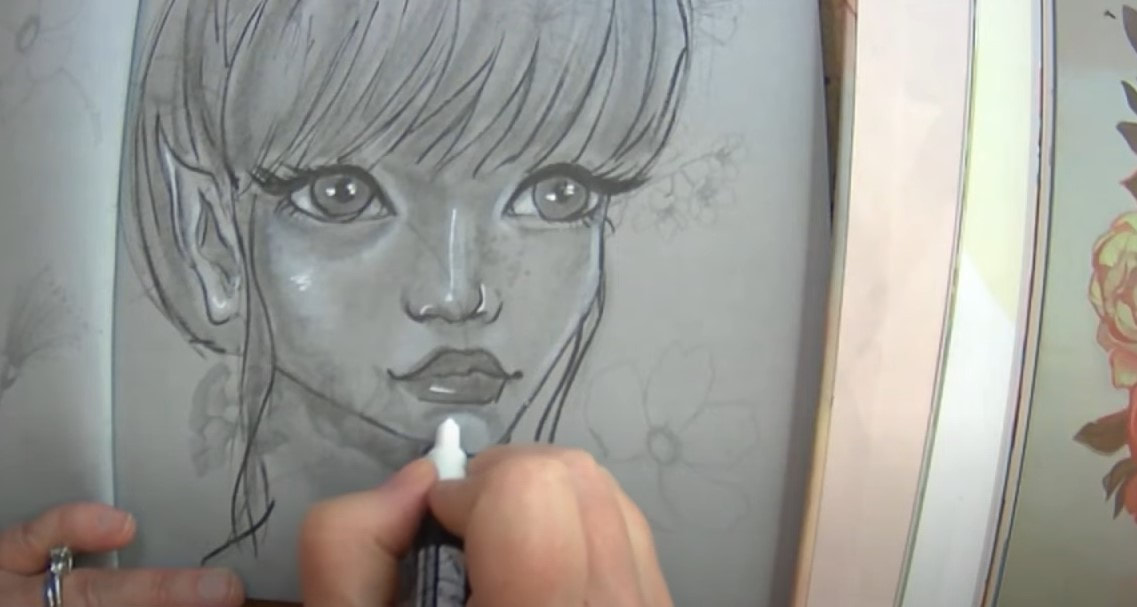
And of course, no whimsical face drawing of mine is complete without some dramatic highlights using my white posca pens!!
I hope you enjoy today's video! Thanks for hanging out with me!!
❤️MY ARTIST BESTIE, LUCY BRYDON & I created a NEW ART MEMBERSHIP together called The Celtic Collective! It's now open for enrollment! Join us before the price increases on August 7. 
In today's face sketching video, we're building on what you learned about toned paper drawing over the last 2 weeks, and putting it ALL together to create a QUICK female face drawing!
We'll use my face drawing guidelines and identify the values we see in our face drawing reference photo. Then I'll show you how to shade your drawing + quick ways for drawing shadows and highlights using china markers, a pencil, blending stump and sharpies on toned paper! BEGINNERS WELCOME!!
Grab your supplies & come practice face drawing with me! 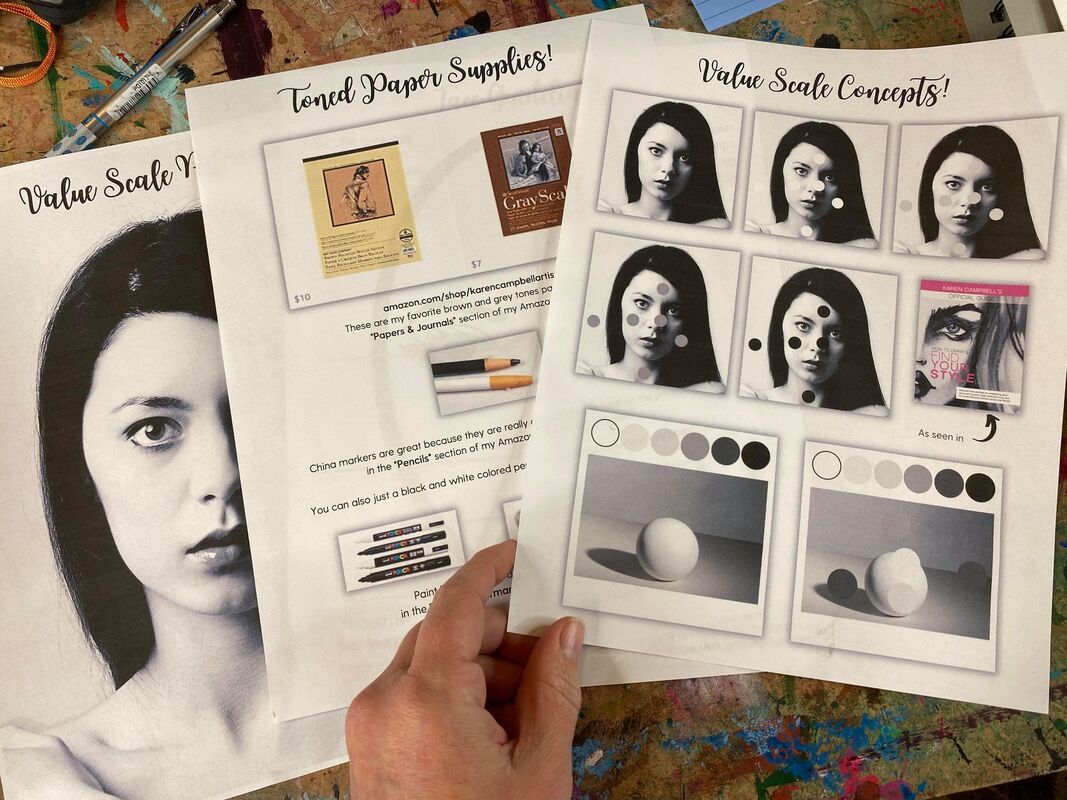
First things first, if you haven't grabbed my FREE Toned Paper Packet/cheatsheets- please do that and get them printed out. It's 5 helpful pages to set you up for toned paper drawing success!
You'll recieve my face drawing guidelines, along with a few reference photos for drawing a sphere (last week's exercise), a reference image for today & a list of my fav supplies if you need some!
Simpy click on this button and I'll send the cheatsheets STRAIGHT over to your inbox!
In Part 1 of this toned paper drawing series, we went over concepts and supplies for drawing on toned paper. Last week in Part 2 - we talked about how to draw and shade a sphere on toned paper, as well as the differencecs to keep in mind when working on toned tan paper or toned grey paper vs white paper.
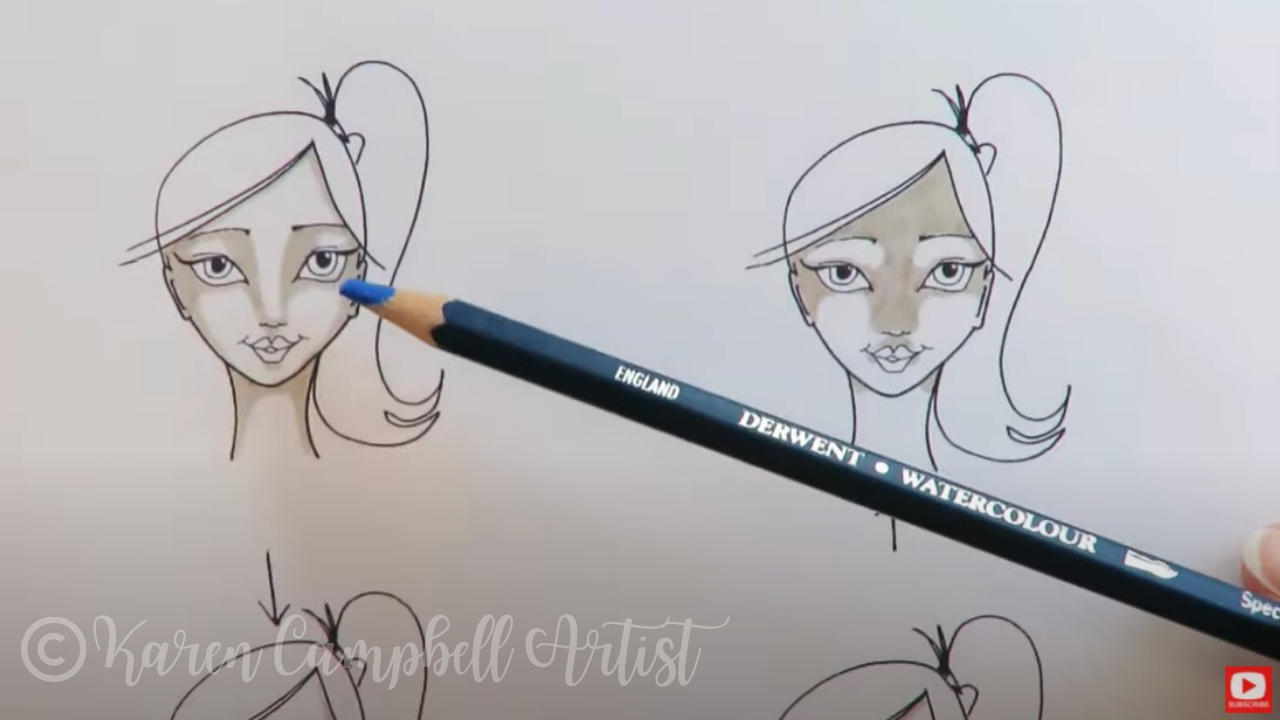
I'm working on toned grey paper today because I think this is a bit easier for beginners who are getting used to value scale drawing. Before I start drawing, I scribbled some shading with a variety of pencils and marked which pencil helped me achieve which value on a scrap of toned paper, below. If you're new to toned paper drawing- I suggest you do this too so you have a reference for yourself that you can use while you draw. 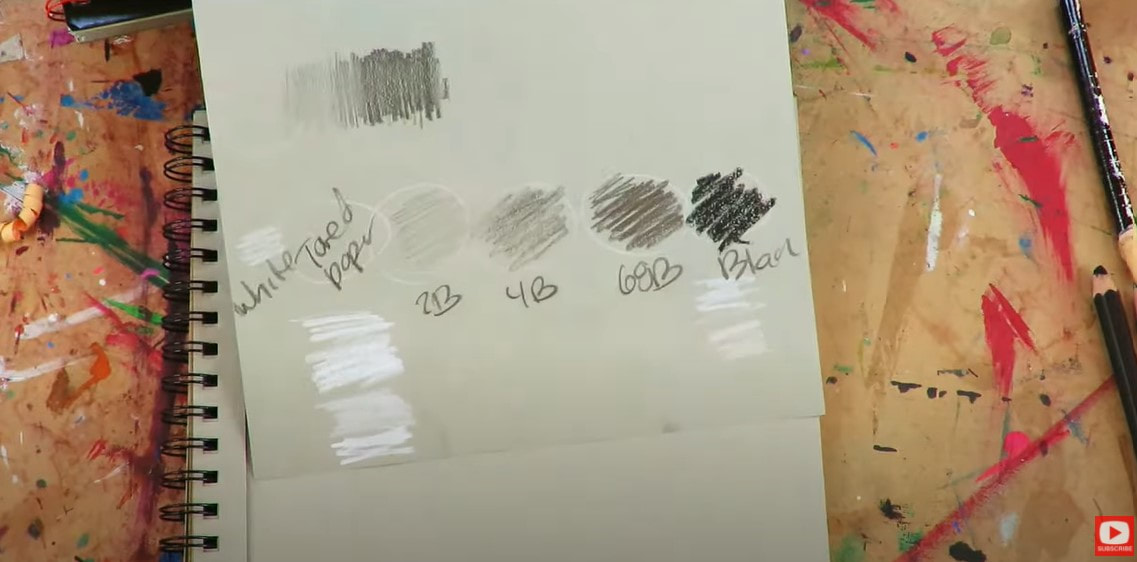
As we discussed last week, when you're drawing on toned paper- you're "responsible" for adding in ALL the brightest highlights and darkest shadows. The mid-tones are already represented for you by the tone of the paper.
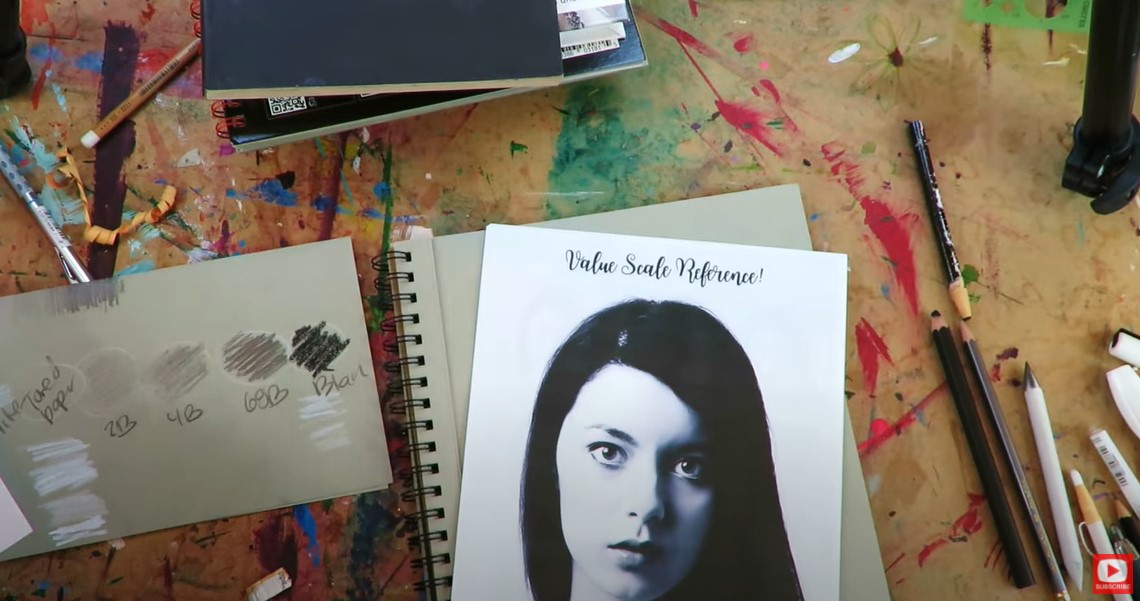
Once you get your Toned Paper Packet downloaded and printed- grab your reference drawing photo for today (shown above), and we'll get started on your free drawing lesson.
The face I'll be drawing isn't going to be super realistic because I typically prefer a lighter style called whimsical drawing. If you're new to my YouTube drawing channel - my goal is to help you become a better artist by keeping things FUN so nothing feels stressful. That means we don't get too hung up on details. 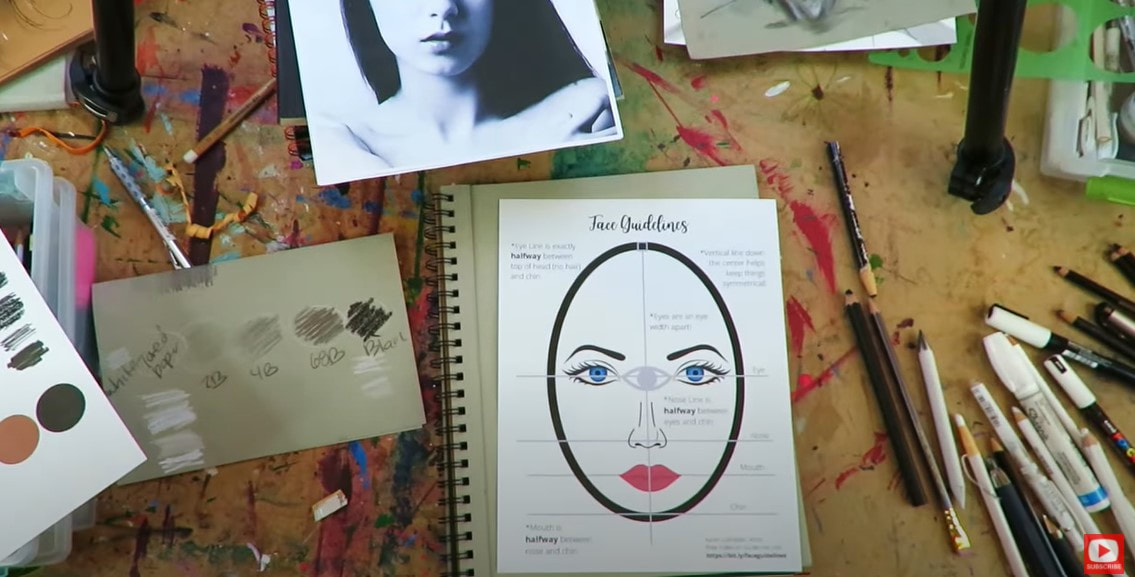
Make sure you click over to the video to do this face drawing lesson in REAL TIME with me because it makes SUCH a difference!! We're starting out with an oval and sketching in our face drawing guidelines - something I NEVER skip -even after all the hundreds of faces I've drawn!!
If you're somewhat familiar with drawing facecs and feel like you'd enjoy learning more about how to draw facial features more realistically, I have another FREE series you might enjoy (which also comes with free drawing worksheets). Make sure you check that out because it's awesome if you like drawing faces as much as I do!
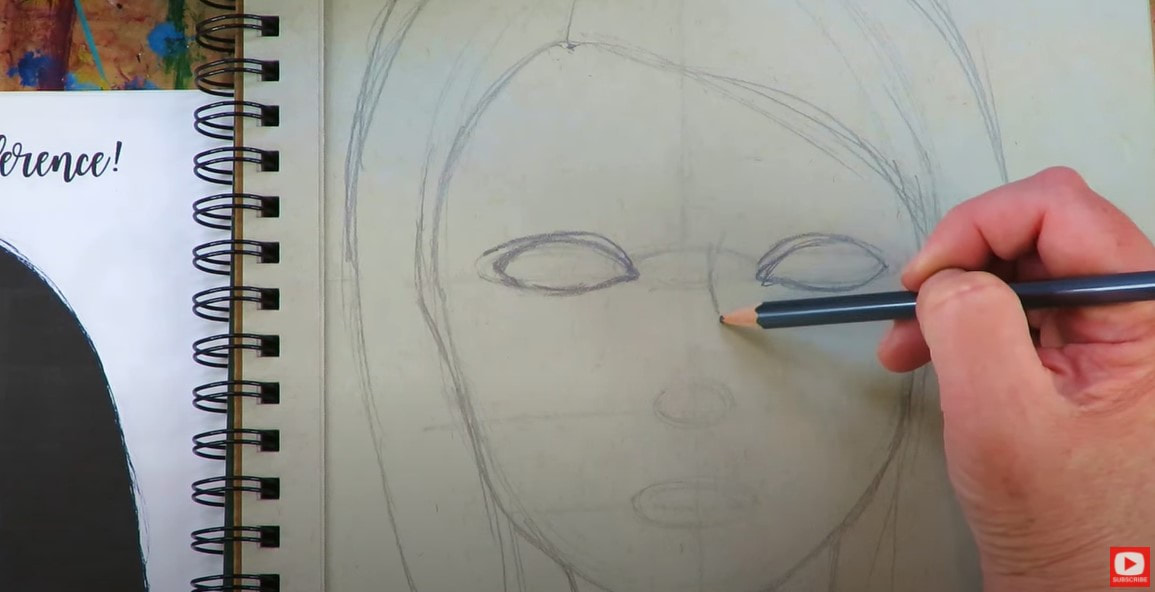
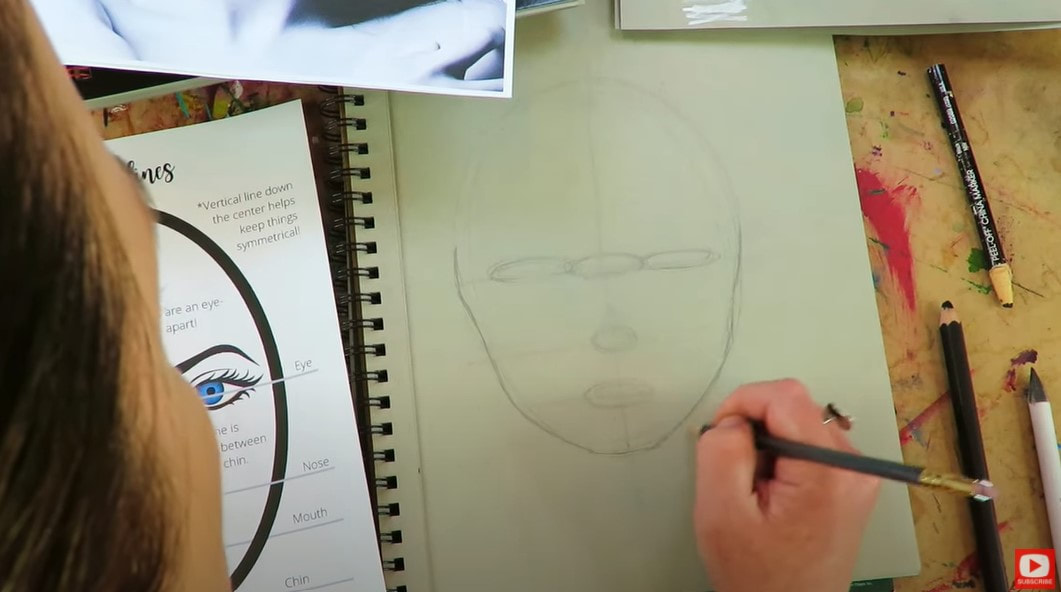
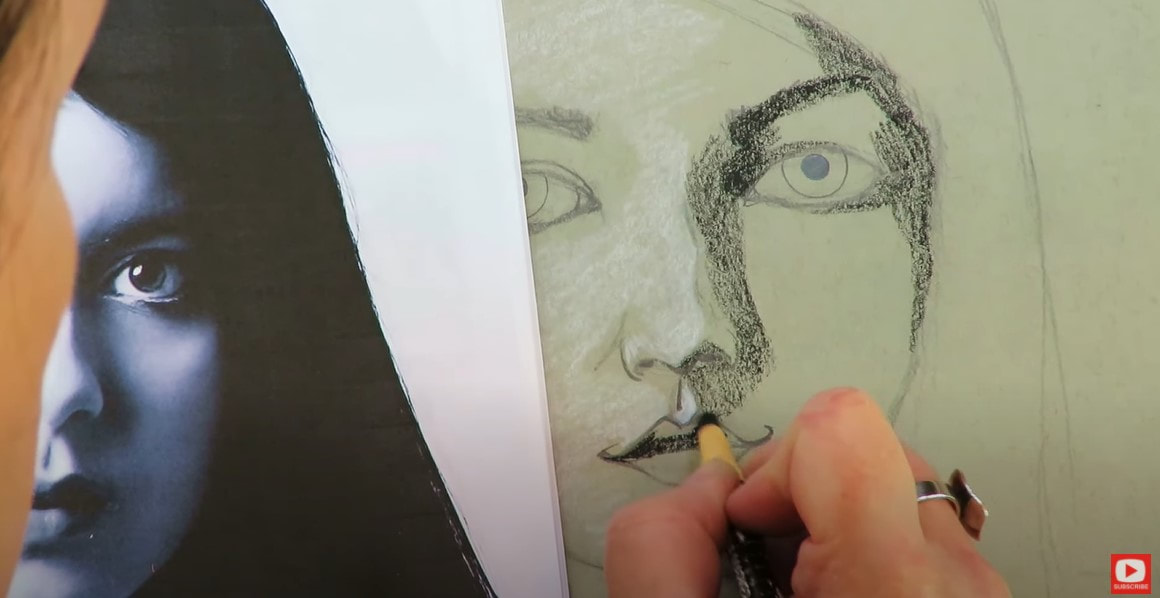
After you get your face shape and guidelines drawn, it's time to lightly sketch in some squished ovals to serve as placeholders for the eyes, nose and mouth.
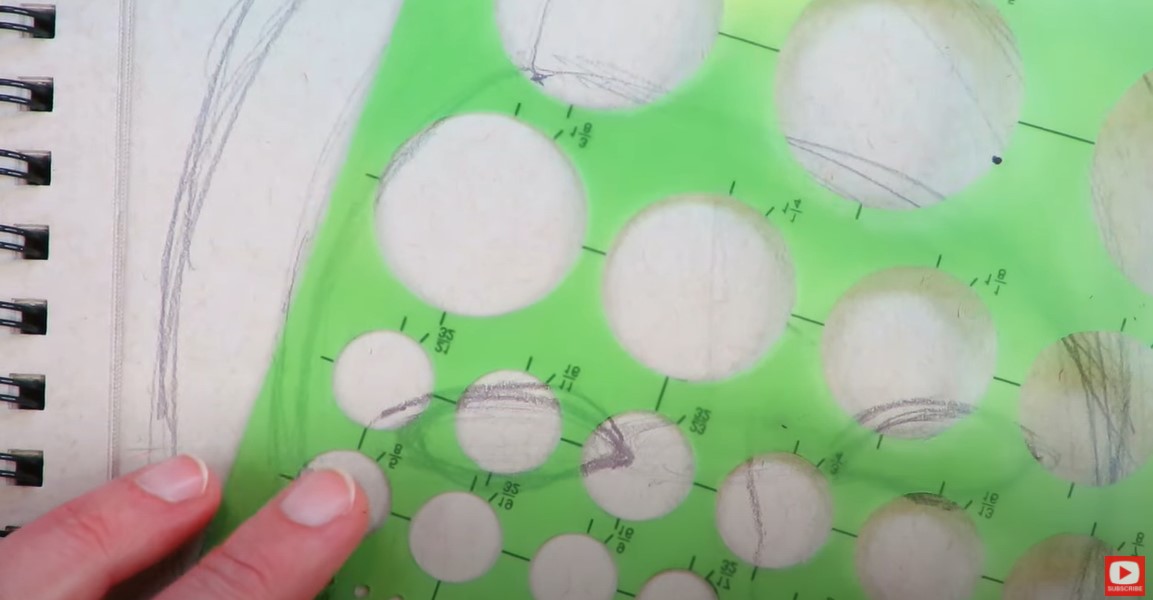
If you're just learning how to draw eyes, I LOVE using my circle template to draw the irises on my girls when I'm pressed for time, or not in the mood to draw perfect circles from scratch! If this little cheat helps you too - DO IT, and don't feel bad about it. Just move on and keep your drawing project FUN!
Make sure you click over to the video because I'm showng you exactly how to draw a face step by step, and will keeping things EASY for you if this is your first time drawing a face. The face drawing guidelines will help a TON! Trust me ;)
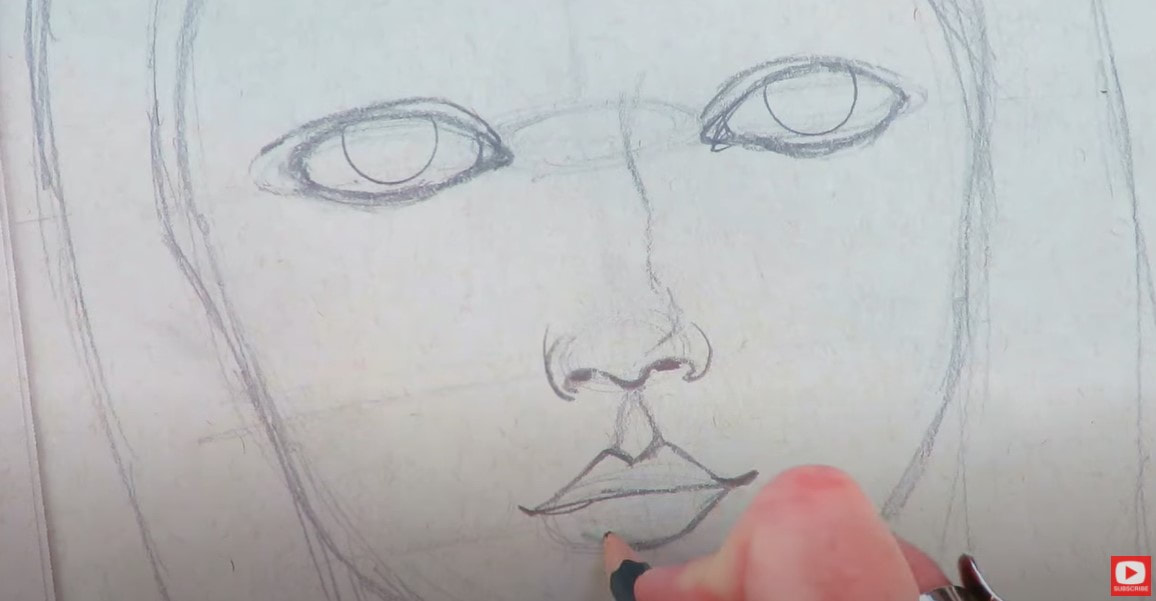
I also bring back my circle template/ stencil for adding pupils into the eyes. Make sure you pop those right into the center of your irises. I see pupils kinda all over the place, and this little tidbit will help make your faces look more sophisticated- especially if you're just learning how to draw eyes!
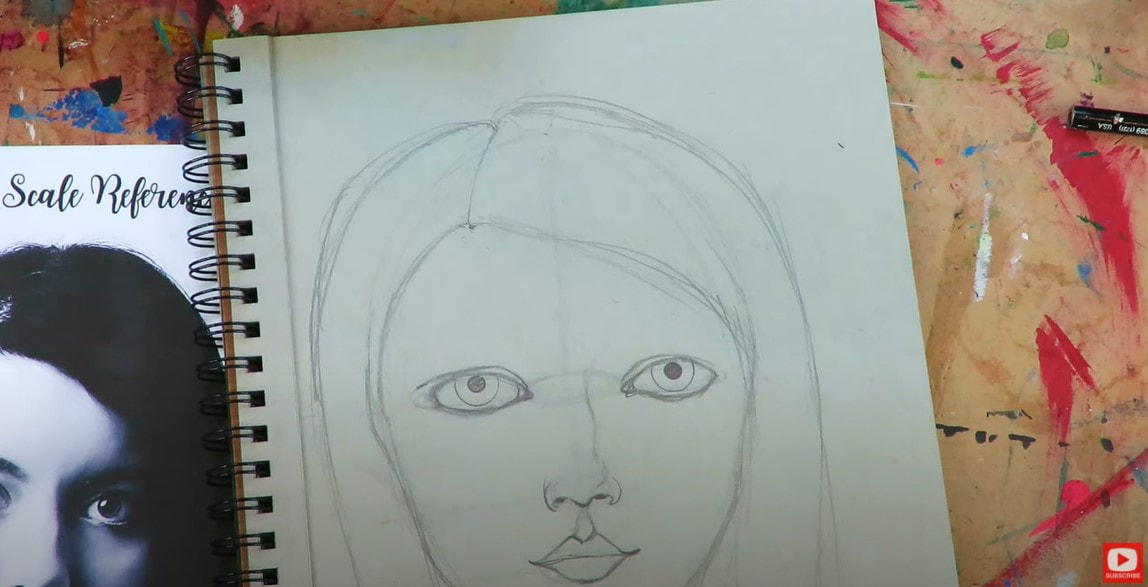
Once you've gotten all the facial features in position where they need to go - you can erase all of your guidelines.
Follow me in the video to start observing the values depicted in our reference photo. As you'll see in the FREE Toned Paper Packet I've provided- there are some versions of the reference image with polka dots of gray that I've laid down to help you decide which pencil to grab when shading various parts of her face. 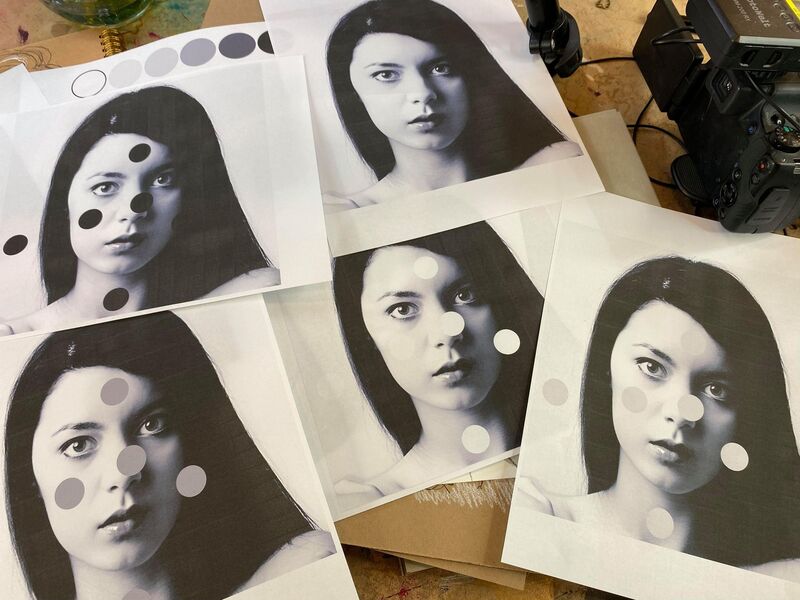
I love using my china markers (also called grease pencils) on toned paper because you can get really opaque coverage with them.
The only thing I don't love about my china markers is they don't blend - so just be aware of that as you head in to attack your shadows. If you haven't used a china marker before - here is another video for you. I demo how to sharpen a china marker in that video and in last week's YouTube drawing tutorial. For today's face shading, l'm starting with my white china marker to pop in the lightest white highlights first - which are really happening in the left side of her face. 
When you've finished with the whites- move on to your darkest darks with your black china marker (colored pencils are fine to use for this drawing exercise too).
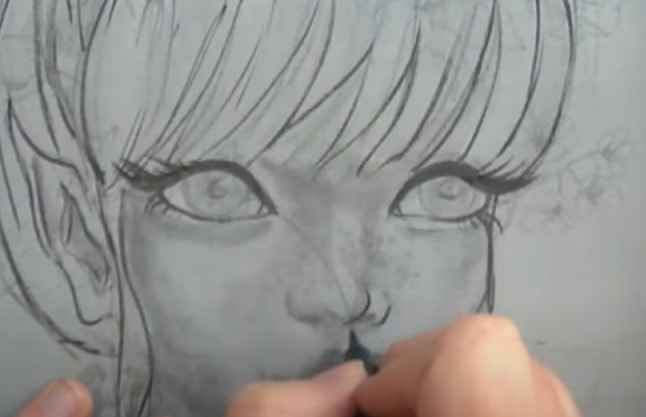
Now when you take a step back to view your work a little from a distance, I don't want you to freak out if you're new to face drawing!
This girl is in what I lovingly refer to as "the ugly phase." It means she probably looks really unfinished and might have you second guessing if you should toss her into the trash because you feel like she is so ugly. DON'T DO IT. This is normal! EVERY face drawing has an ugly phase. Just accept it, know your project is about halfway done and KEEP GOING. Don't let the "ugly phase" win! Now that I've got a good base of my highlights and darkest shadows down, I'm going to work some graphite pencil in, and start moving some of the graphite around with my blending stump. 
Remember, china markers don't blend, but you can ease some of your shading transitions by adding some pencil and a little graphite blending with a blending stump.
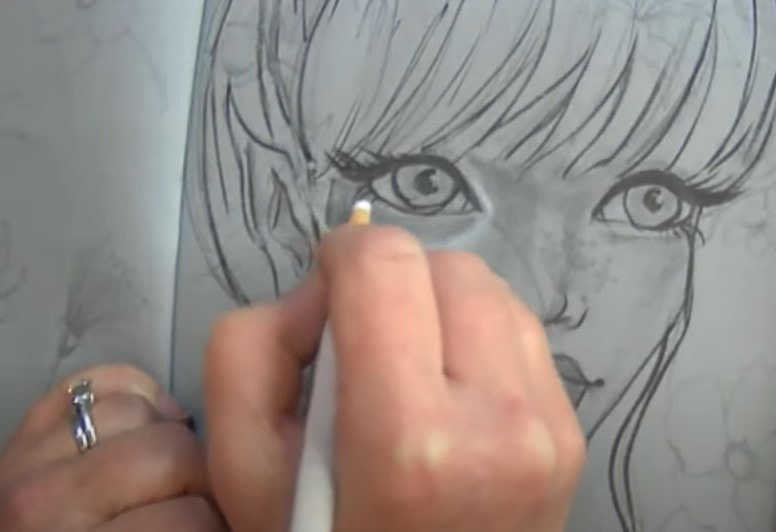
I pulled out my sharpies and pentel pocket brush to add some hair and a few details into her face. She's starting to come to life and working her way out of the ugly phase. See?! I told you! You've just gotta keep going!! She'll snap out of it! A word of caution about the pentel pocket brush- it doesn't want to work that well over the china marker, but I'm doing it anyway because I LOVE it for drawing eyelashes. If eyelash drawing is a struggle for you, or you're just not sure how to draw eyelashes - download my cheatsheet with tips on how to draw eyelashes. I also have two videos on eyelash drawing - one on my YouTube drawing channel, and one on my mixed media YouTube channel. 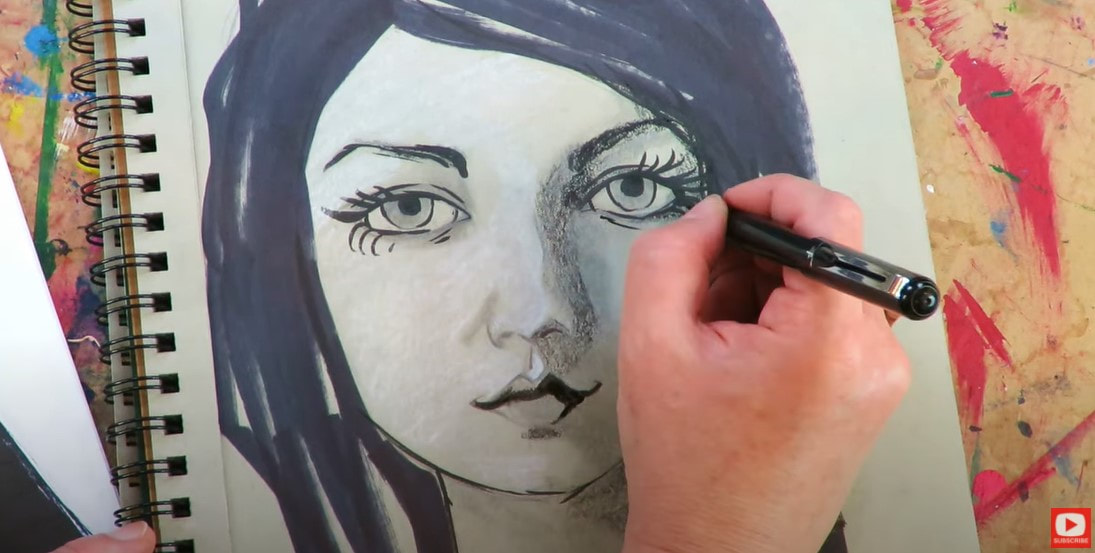
Once eyelashes are popped in, I step back a little to compare my drawing to my drawing reference. I'm not looking for perfection. Remember this is totally for fun and just a quick drawing lesson to help you get started with working on toned paper!
What do you see when you compare the two? Focus on lights and darks. Where can we add more drama to make her pop even more? Zero in on the lightest lights and darkest darks.
Get aggressive! Don't be afraid to dive in and make the black areas blacker. Do a second pass with your china marker, or pull out your pencil and darken what needs to be so you can move the graphite around with a blending stick to ease the shading transitions from light to dark. Remember, you can vary the amount of pressure you use when you're coloring with china markers. This is another way to soften shading transitions since you can't blend china markers with a blending stump. 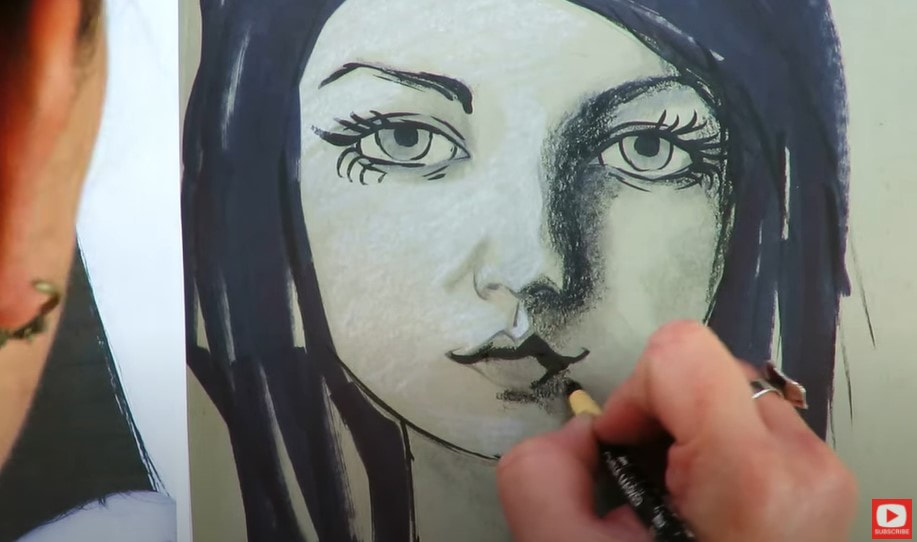
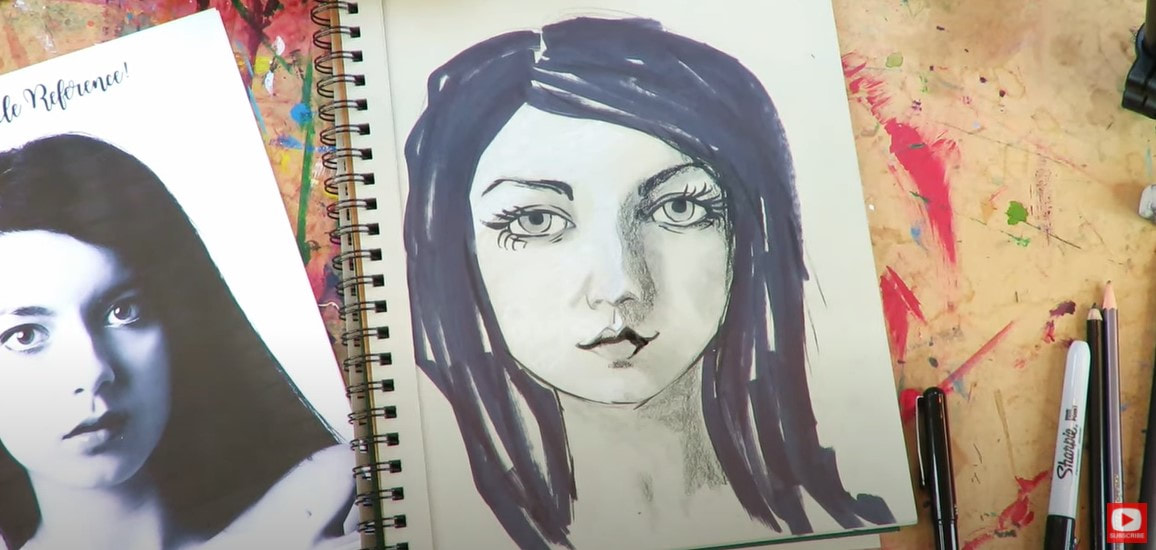
See how she's coming even more to life now that I've added additional shading? This extra layering makes ALL the difference.
Once I've finished with my darkest shadows, I pull out my white sharpie to help accentuate the brightest whites. Take a look at this!! 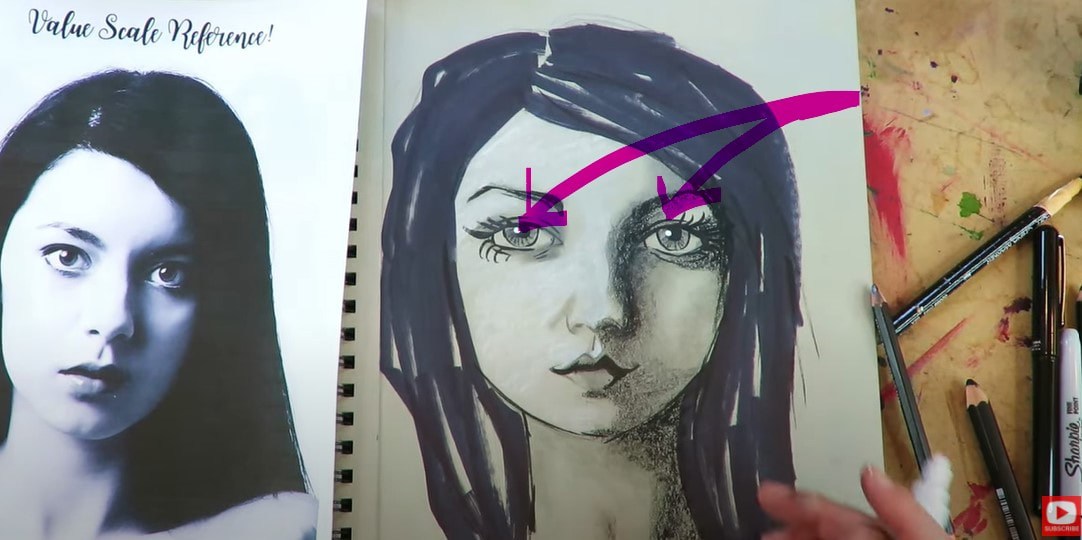
Just adding ONE dot to each pupil for some eye shine takes the whole drawing to another level of fun and makes her look more sophisticated. We could actually call her done at this point! Those two dots did THAT much!
If you follow me, you KNOW I love some dramatic face shading on my girls so I'm not calling her done yet... adding white paint pen is my favorite part and hasn't been done yet! 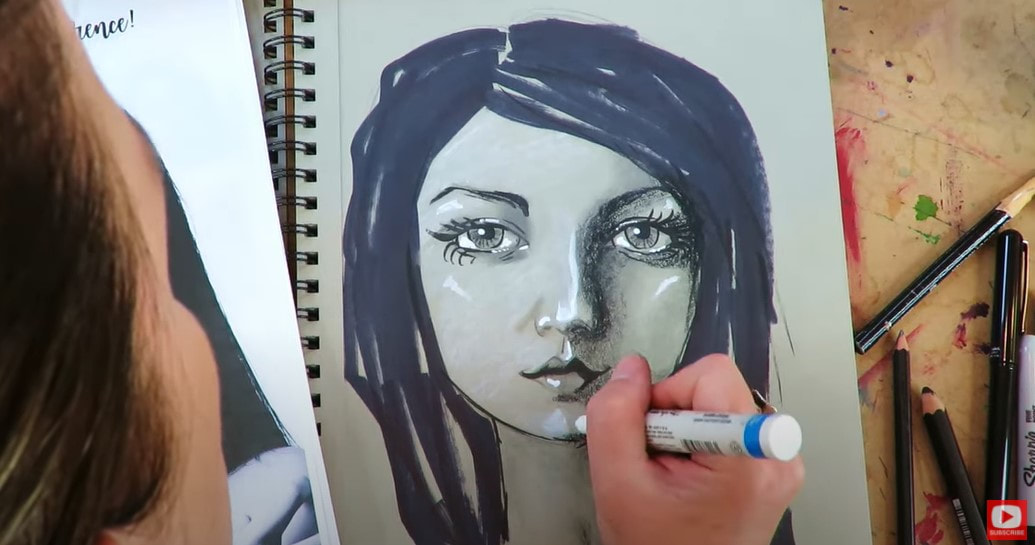
Because I'm doing a whimsical drawing, I look to my face drawing reference photo for inspiration about where to add my shadows and highlights. However, I absolutely feel comfortable stretching that a step further and adding a few marks where I know highlights naturally occur on the human face.
Watch the video to see that in action when I'm drawing highlights on the chin, cheekbones, eyebrow ridge etc. A really great trick for helping you understand where to pop in face shading is to pick up a foam head from your local craft store. Then just play with a light source - either a lamp, the flashlight on your phone - whatever! Shine the light directly on the foam head -forcing a variety of shadows and highlights you can follow. 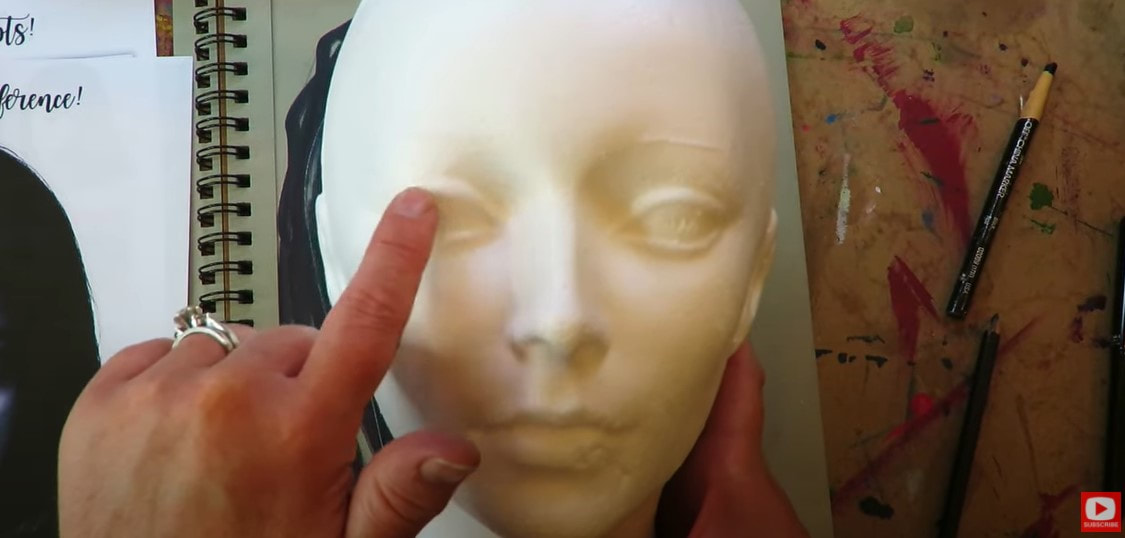
Alternatively, I've got a video taking a closer look at this concept to help you out.
Need that link again for the toned paper packet to get started on this entire tone paper drawing series on YouTube?
Click the button above, and I'll drop my toned paper packet straight to your email. (Includes my face drawing guidelines & today's face drawing reference image!)
Thanks for hanging out with me today!
❤️ Did you miss my Gnome Workshop with guest artist Sarah Turner of Tenderfoot Village? CLICK HERE to enroll for $27 at Awesome Art School (if you're in the Mixed Media Society - you got free access to this but NEED a coupon - if you don't see it in your email, please email me!) 
❤️Did you miss my Fun Fab Fairies Workshop? NO worries!! You can STILL sign up and enjoy each of these lessons on your own time at your own pace in this stand alone classroom at Awesome Art School! CLICK HERE to REGISTER.
❤️Did you know I've started a FUN new podcast with my Scottish, artsy bestie, Lucy, ALL ABOUT SCOTLAND & the mythical goodness I can't get enough of about this magical place?! YES - we talk about everything including ARE Fairies Real?! (You know I think they are!!)
The podcast is called 1 Scot, 1 Not! Check us out on YouTube and here's our podcast website! ❤️EVEN BETTER - LUCY & I are creating a NEW ART MEMBERSHIP together called The Celtic Collective!! Learn More & add your name to the waitlist here. 
❤️Want FREE, immediate access to my Fun Fab Drawing Club and/or Mixed Media Society plus discounts on all my art books, sneak peek at YouTube videos and new book content, behind-the-scenes fun and MORE? Join me over on Patreon today and get HUGE PERKS in return for a small monthly donation. ❤️ CHECK OUT ALL my art books on AMAZON (available in both Kindle and Paperback) ❤️ SIGNED COPIES of my art books on ETSY ❤️ MY FAVORITE ART SUPPLIES on AMAZON ❤️ MY BELOVED FACEBOOK GROUP ❤️ FOLLOW ME ON INSTAGRAM |
Karen CampbellFounder of Awesome Art School. Mixed Media Artist. Author of 19 Instructional Art Books! 
Whose work has appeared in...
   
 Archives
July 2024
Categories
All
|
 RSS Feed

"Karen is flipping hilarious and she's very real...I like the way she teaches in a way that really gives you confidence, whether you're a beginner or advanced there's always something new to learn!"
- Elizabeth W. |
What Fans Are SayingKaren, you are absolutely fabulous! You make me feel like I can draw anything. I have recently retired and finally have the time to do some of the art that I have loved since I was in school. I am really at the beginning of my art journey and I hope to learn as much as I can. Thank you for all you do. |
Contact ME |