
|
Today we're doing some EASY pencil shading techniques to add drama to our three quarter portrait face drawing! This is part two of my 3/4 face drawing series on my Drawing Channel over on YouTube.
If you missed the first episode, make sure you click the button below to download my FREE 3/4 view face drawing guidelines so you can draw along with me in episode one.

Once you've got your three quarter portrait guidelines printed and you're all set to begin practicing, click here so you can draw this girlie along with me in episode one. When that video is over, today's shading video should begin automatically so you can keep on going!
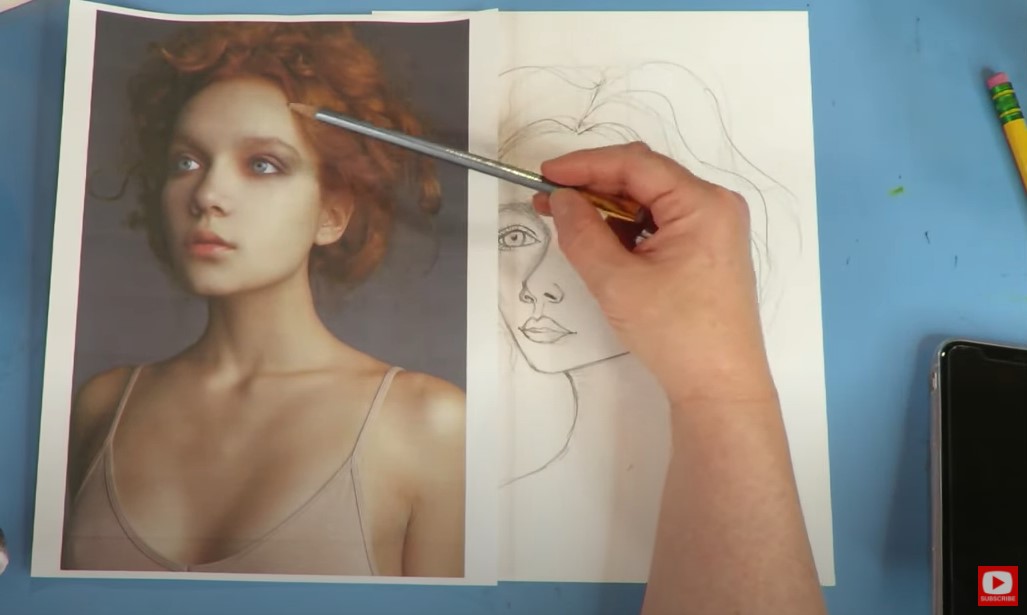
I used the same photo reference to give me some face shading ideas today as I did to sketch my original 3/4 portrait for this series.
Even though my drawing is semi-realistic / whimsical, I feel it makes a HUGE difference in my work if I use a reference photo to tell me where I should add in shadows, and how dark they should be. One of the fun things about drawing in a whimsical style, is I can mix and match reference photos for my work and use them in different ways. For example, I really LOVE the dramatic shadows and highlights in this image (below). If I'm shading a face in pencil, I feel like it's super helpful to use a black and white shading reference like this one... 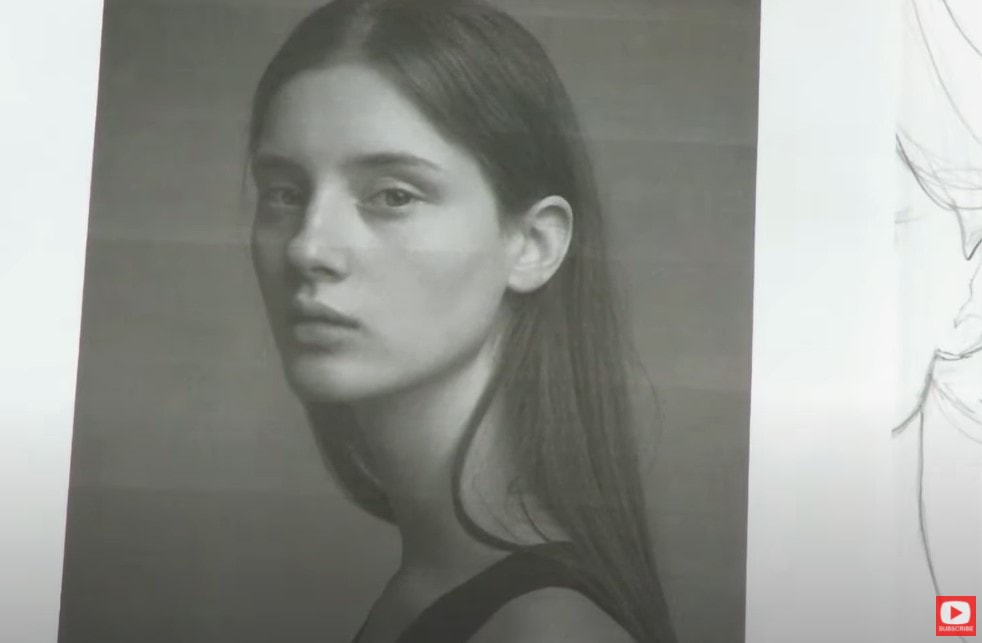
Before we continue, super quick announcement: All product links are Affiliate. I may earn a small commission if you choose to order through these links but by law there is never any additional cost to the consumer for doing so. I thank you for your support.
In my How to Draw and Find Your Style book, I talk in depth about how to take advantage of the value scale when you are shading, because it adds so much more depth and dimension to your drawings and sketches. The more tones you incorporate into your drawing from the value scale like bright white highlights, and dark black shadows, the more sophisticated your work will be.
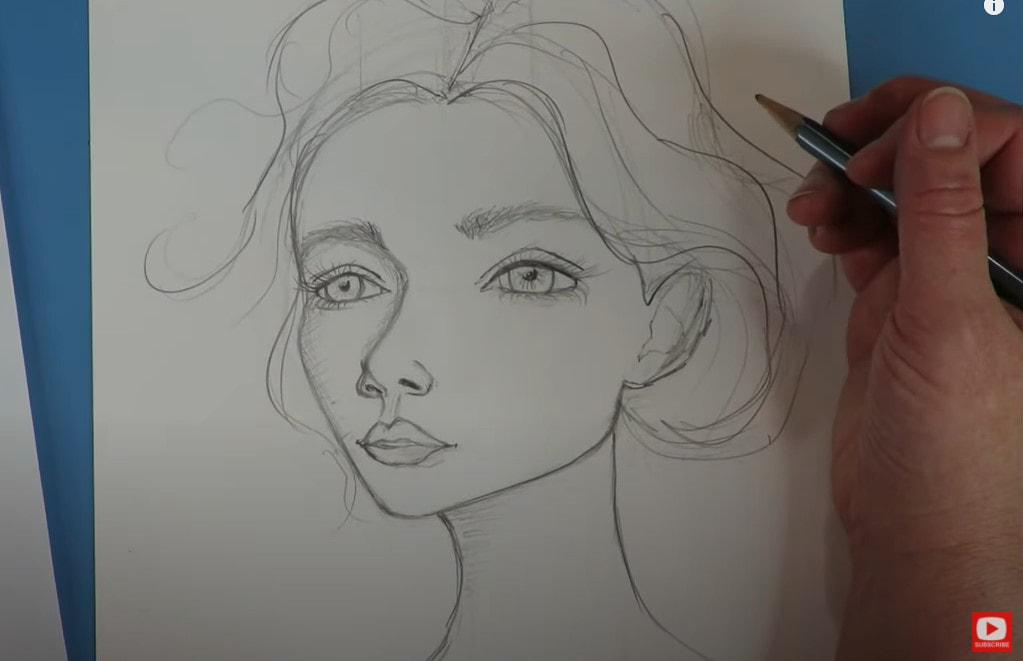
In today's shading tutorial I'm using one of my Blackwing pencils (TOTALLY unnecessary, but I SO LOVE THEM!!!). This one is equivalent to about a 4B, but you can absolutely use a simple #2 school pencil, so don't stress about your supplies! I start applying graphite by looking at my reference photo for the darkest areas first. When I'm shading, I often use the side of my pencil to begin. My initial layer of shading is very light and almost scribbly. After I have a light layer of shading down, I use my blending stump to "moosh" the graphite around. In this particular reference photo, the model is very light skinned, so I actually use the cleaner side of my blending stump to work my shading in and around the face. If I lay down too much, I simply pick a bit of that graphite back up with my eraser and moosh some more! For the darkest areas, I use the super dirty side of my blending stump. 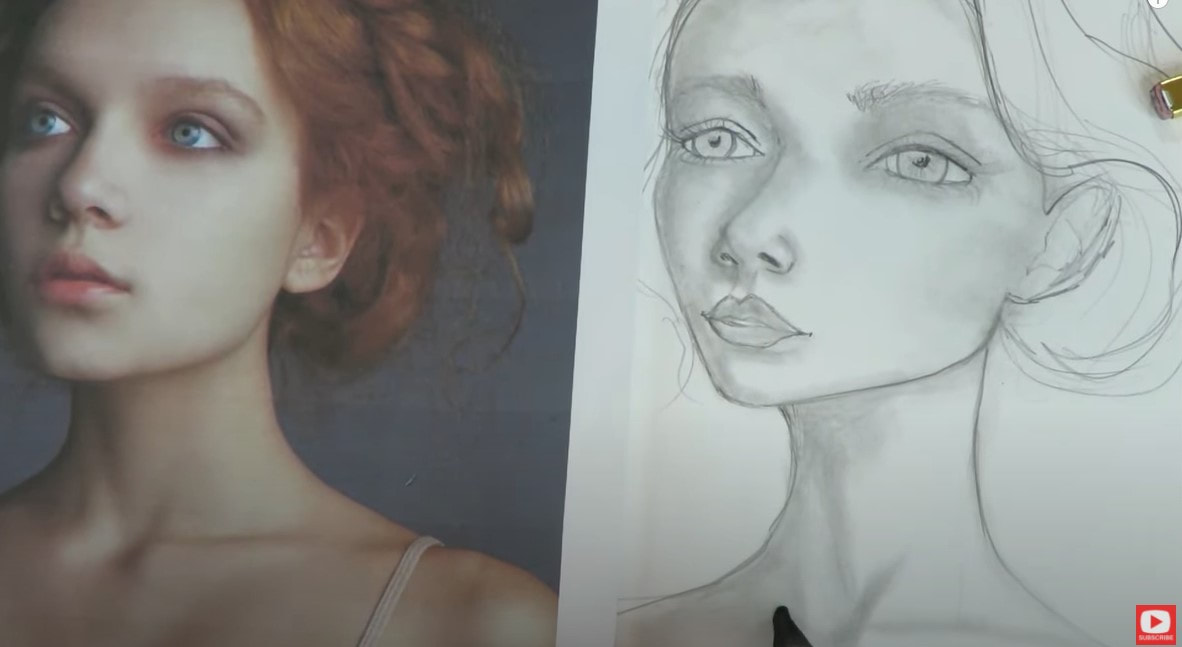
When you're starting out with drawing and shading, I think it's SOOOOO much easier to practice in a whimsical drawing style. It just takes the pressure off and keeps things light and fun! And if you're having fun...you'll practice more, and if you practice... your skills will only grow and improve!!
When my first layer of shading is done, I go back for a second layer of shading to really punch up my details that could have been lost while "mooshing" my graphite around with my blending stump. This is where the drama starts to come in!! Sometimes it can also help you to look at a reference photo with squinted eyes. It may sound funny, but doing this can often help you see darks and lights a bit more. The objective of shading for me is to use the WHOLE value scale. So you'll see me use a black colored pencil for the darkest darks - found in the crease of her lips and in her pupils. Additionally, for my brightest white highlights, I will typically carve out some of the graphite I already put down with an eraser. 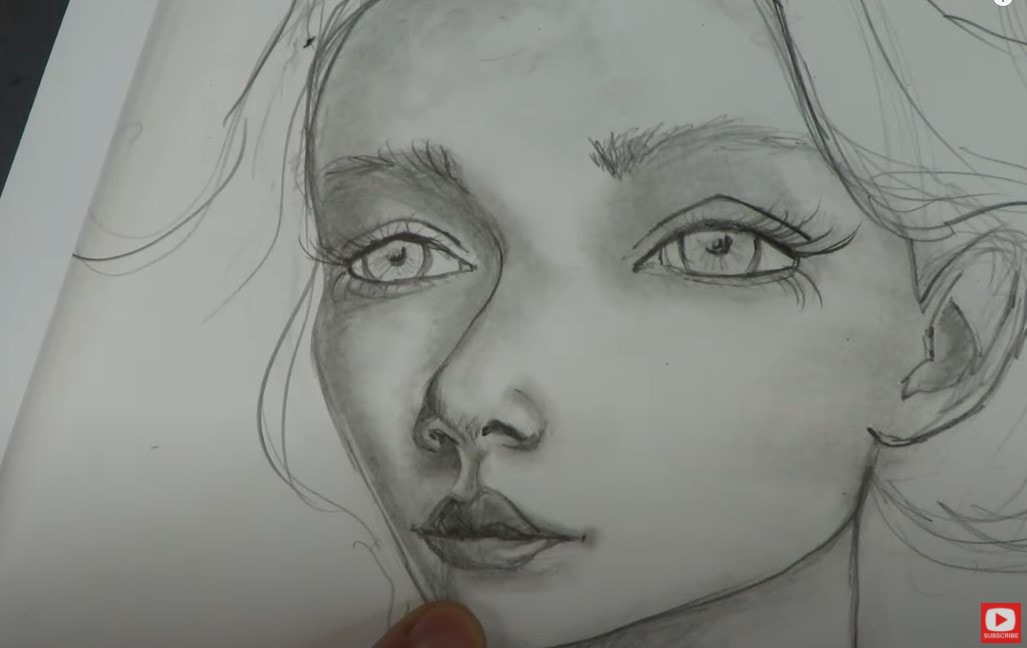
I hope you have fun with this face shading practice!! Please stay tuned for next week's video. I'll be shading another 3/4 portrait using copic markers.
Thanks for hanging out with me today!
Wanna learn more about my How to Draw & Find Your Style book? Press play below to see the flip through of EVERY PAGE!
3 Comments
I've been a full-time working artist for 15 years! If you've been wondering how to become an artist, how to become a better artist, or if it's too late to start your own art journey, you NEED to watch today's YouTube video on my Mixed Media channel, because that is EXACTLY what I'll be talking about!!  Would it surprise you to know that I don't sell ONE SINGLE PIECE of my art? I don't!! So WHY do I make art and spend all of my time and energy on TEACHING art with a team of people behind me? Because I know the way art makes us FEEL. It can have a HUGE impact on our own lives and the lives of others. You might find it interesting to know that becoming an artist was NEVER even on my to do list when I was growing up!! 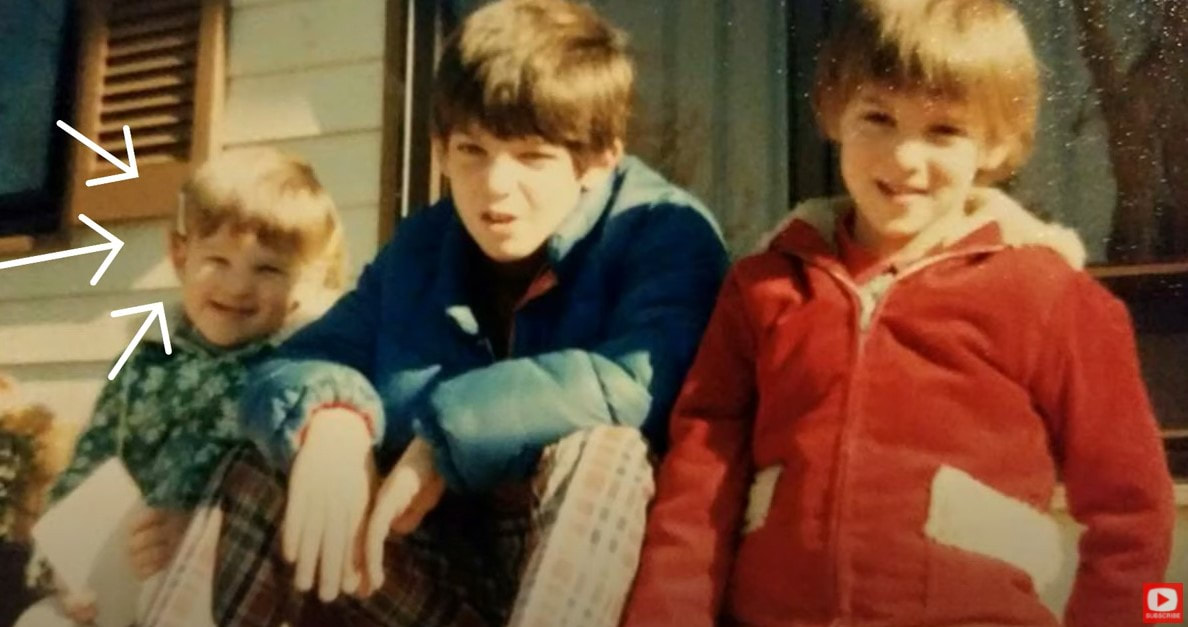 Not for one second did I even consider becoming an artist! I grew up thinking art was a hobby - no more, no less. So how did I get where I am today- with two YouTube channels, an online art school, and 12 art books already under my belt?! I got into art later in life because I got addicted to the way it made me feel when I spent time being creative. If I was having a bad day, stuck home when my kids were little and I was changing diapers and wanted to cry, the minute that I sat down to draw, sketch or paint, all of those feelings melted away. It was like a drug. There was a transformation that happened inside of me - in my brain, in my soul, in my heart...and it made everything ok again. Art gave me ALL the FEELS inside, and was something I craved because this goodness washed over me every single time I sat down to create. These amazing feelings are what I hope ALL my students can experience, and they're WHY I spend SO much time coming up with cheatsheets and shortcuts and break things down step by step for my online art classes - because I want my students to get to their happy place TOO, and to get there even faster than I did!! 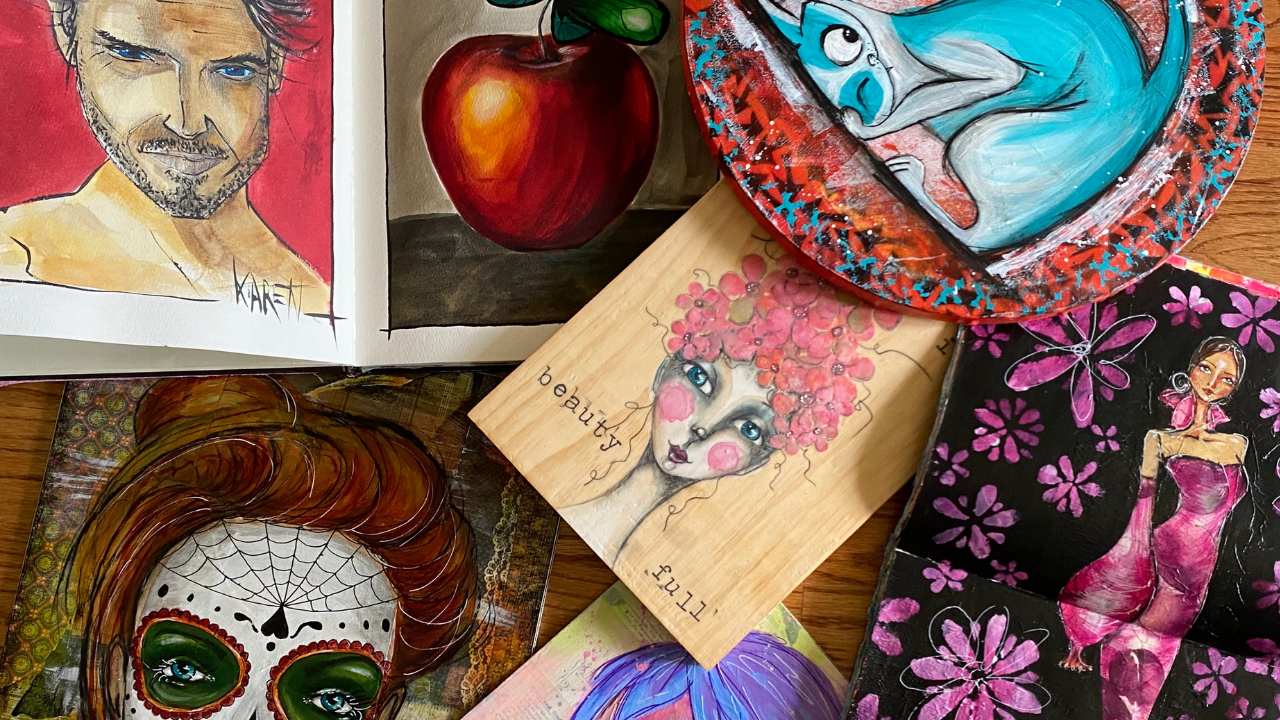 I became a good artist by default. Because ALL the chasing of those good "happy place feelings" lead to practice, and all of that practice lead to really great results. Why does that matter? Because I grew up believing people who made art were BORN with talent. I didn't even entertain the thought that I could make art because I didn't think I was born with that talent. Yet here I am, a successful working artist impacting students who are now making masterpieces of their own. So how does that happen?! This is my philosophy on what happened... if I CAN LEARN to be a good artist... so can anyone!!! SO CAN YOU!!!!! 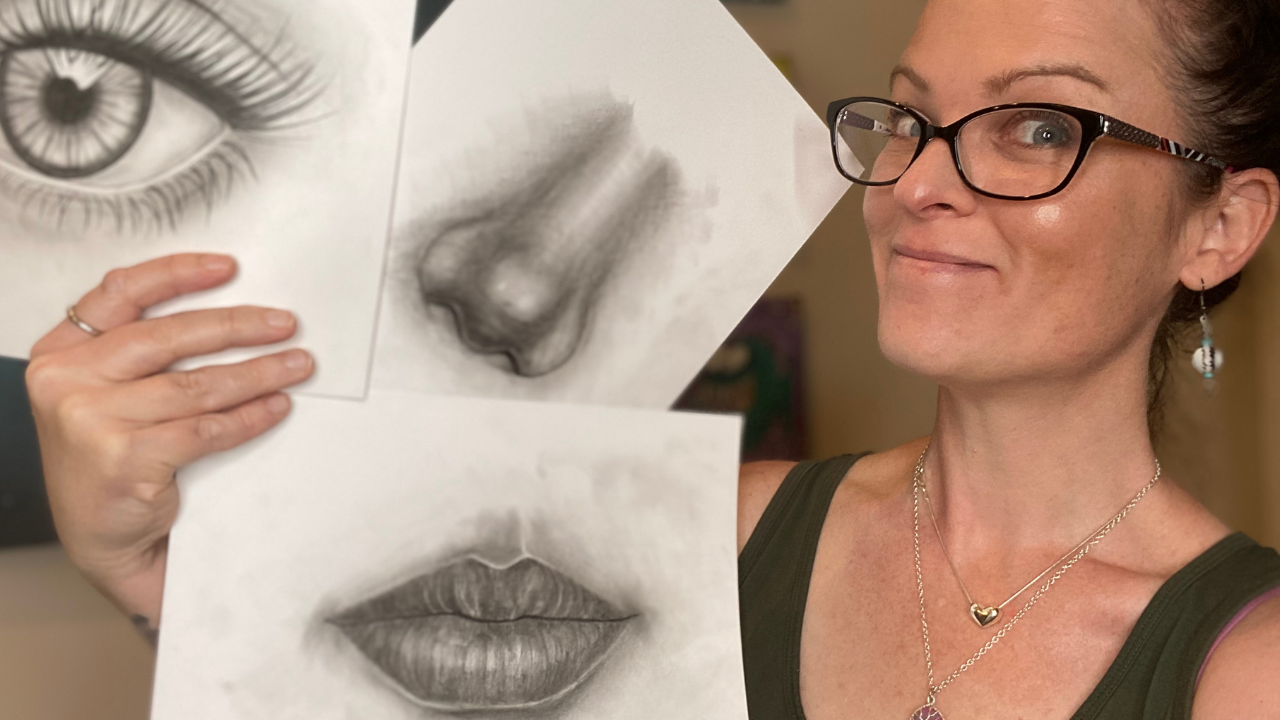 After you watch today's video, make sure you sign up to join one or both of the art challenges I'm running next week. They start on MONDAY!!! ✅ SIGN UP for my MIXED MEDIA CHALLENGE ✅ SIGN UP for my DRAWING CHALLENGE Now press play already for today's video so I can show you how YOU can become an awesome artist too ;) I can't wait to show you!!!! When I discover an EASIER way to draw something, I immediately create drawing guidelines for my students so they can HAVE MORE FUN in their sketchbooks!! In today's sketching tutorial, I'll lead you through 2 EASY WAYS for sketching heads in the tricky, but sophisticated 3/4 view. Like usual, I'm gonna show you how to draw this tricky view from the WHIMSICAL drawing perspective FIRST, because it TOTALLY takes the pressure off! We are using a page from my drawing book, How to Draw MORE Fun Fab Faces as our cheatsheet to help us today, because these are PERFECT for beginners ;) If you'd like a copy of my cheatsheet, please make sure you request one in the comments of today's video and I'll get that RIGHT OVER!! 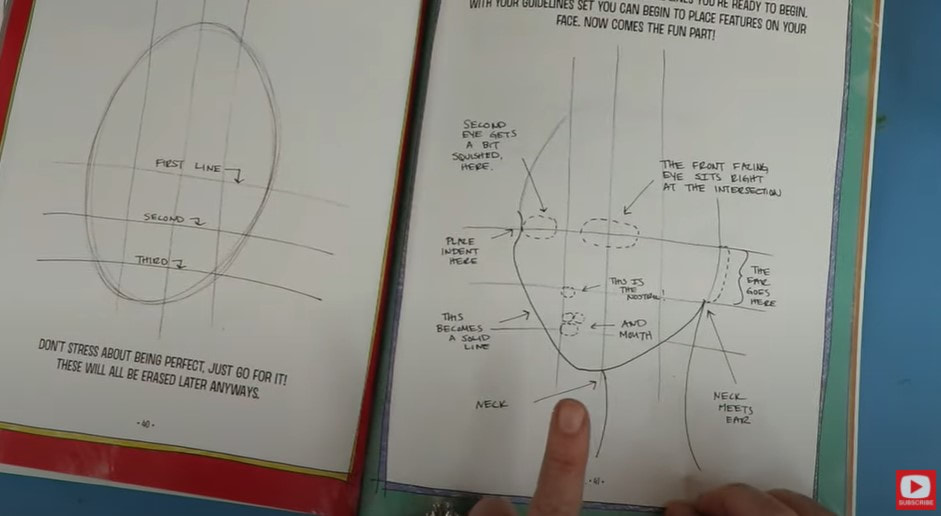 Before we start drawing, I'm going to show you with a reference photo and sheet of trace paper just how my drawing guidelines look on top of a real face so you have a strong point of reference before we begin. I'm a visual learner and assume you probably are too if you've found your way over here to learn about how to draw faces!! 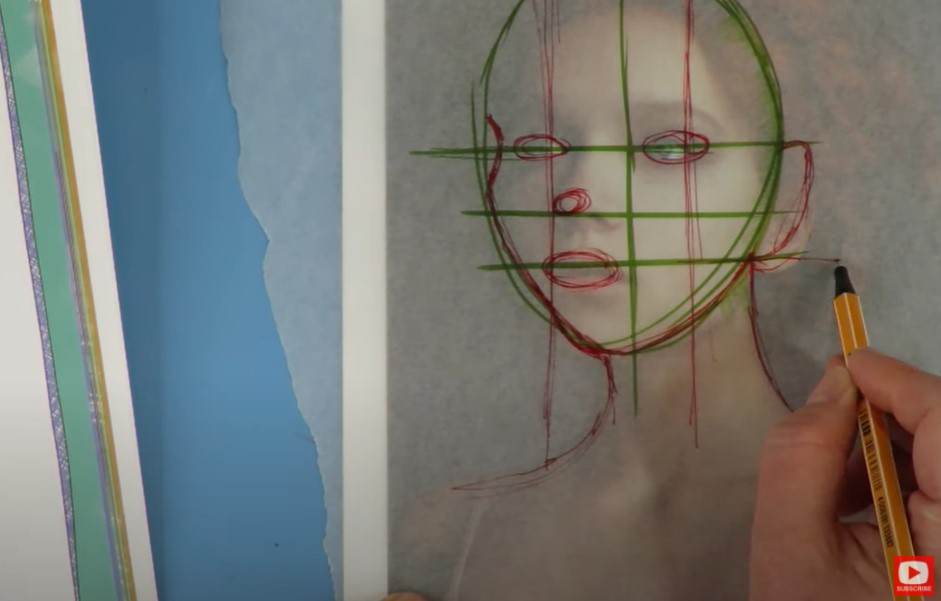 Using references is INSANELY helpful while you're drawing, even if you aren't doing a realistic style drawing. These photos can help us add greater detail to every aspect of our drawings from the features of the face to hair, and eventually shading. 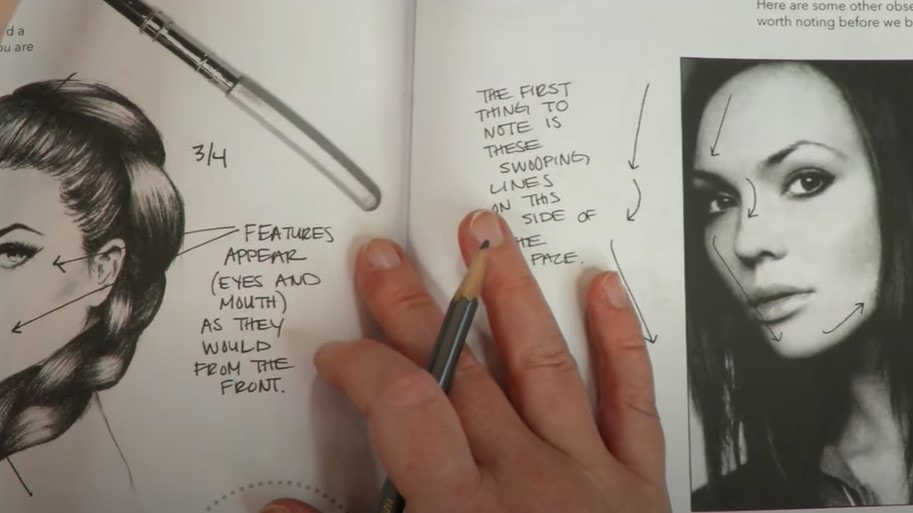 The second way I teach how to draw a 3/4 face is from my book, How to Draw and Find Your Style. In this approach, we don't really use the grid guidelines, we kind of approximate with a circle to indicate the top portion of the head, and swoop in with a soft V off to the bottom left of that for the chin. 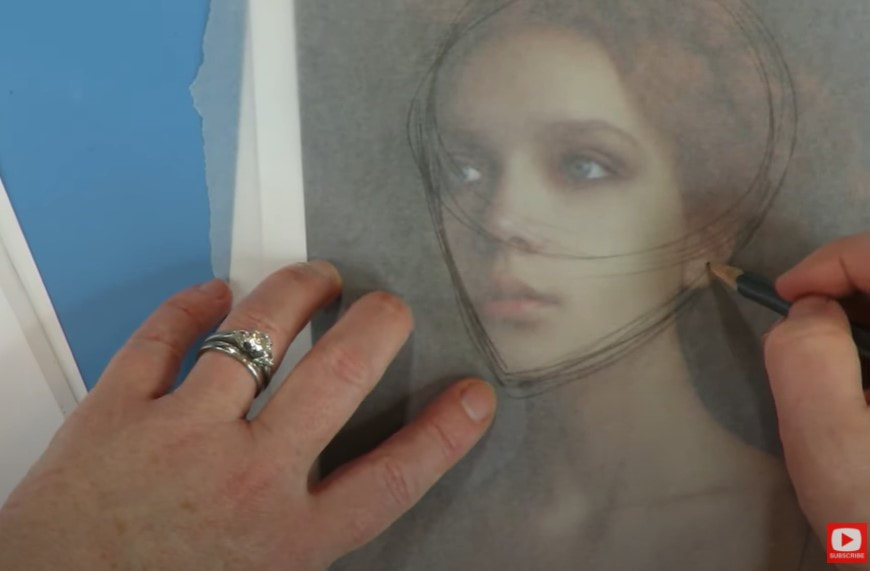 I hope you enjoy today's lesson and find these approaches to the 3/4 face helpful for your drawing practice!! After you draw a 3/4 face with me, make sure you head over to Awesome Art School to sign up for my TWO SUPER FUN challenges that begin NEXT MONDAY, September 21st!! Here are the links .... ✅ CLICK HERE to SIGN UP for my DRAWING CHALLENGE ✅ CLICK HERE to SIGN UP for my MIXED MEDIA CHALLENGE Each challenge is going to run for 5 days and kicks off open enrollment for The Fun Fab Drawing Club & Mixed Media Society! SOOOOOO .... if you've been waiting for these clubs to open up - your wait is almost over!! We're having a blast and hope you come join us!!!! ❓ NEW to Face Drawing? I got you!! Start here https://youtu.be/pthkYGBpssU See ya next week! I've been IN LOVE with Bryn Nguyen's mixed media portraits since she started posting them in my Facebook Group about 6 months ago! I'm so excited she agreed to do an art journal flip through with us & talk about how she creates these beauties with tombow markers on sheet music! If you're into sheet music art, or have been looking for fresh mixed media art journal inspiration, altered book ideas, & new ways to sketch or paint mixed media faces - today's video has your name on it!!  Bryn shared that she started this altered book / art journal in a book of violin sheet music she bought at Goodwill for 99 cents!!! I LOVE doing this kind of thing too! It's so pretty to see the music notes peek through your art work. If you haven't tried it yet - you have to!! Bryn has created a gorgeous style that's all her own and SO unique... you just have to come see for yourself! While we chatted, she explained that she started this altered book back in March - when we all started hanging at home because of covid. She said she typically begins each page with a thin layer of gesso over the sheet music, then sketches her portraits in using a reference photo. Bryn uses a combo of painting and shading techniques using tombow markers, copics, micron fineliners, posca pens, india ink, and polychromos to create her beauties, and said each of her mixed media portraits takes a couple of hours to complete. Just LOOK at this insane masterpiece!!!!! 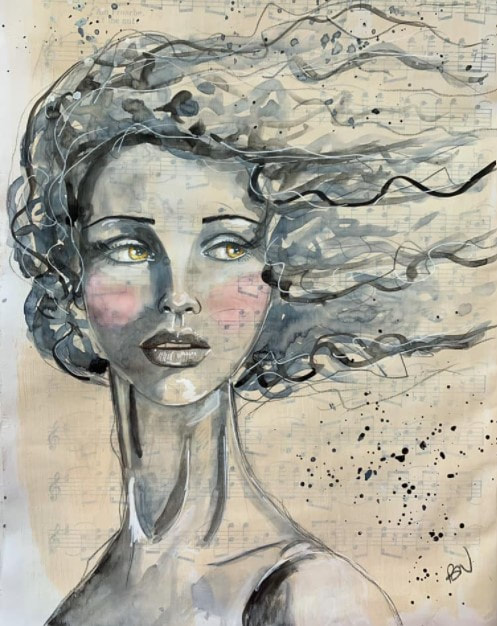 Bryn was an art minor in college and shared that she's constantly taking art classes, and that's how her style has evolved over time. She said she took a number of face courses a while back that weren't clicking. Then she stumbled onto my Fun Fab Faces books over on Amazon and did my #100FunFabFaces challenge last year. She even did ALL 100 faces!!!! Not many hung in there for the long haul like Bryn. I'm so proud of her, and her dedication shows in her work!! Bryn also credits Toni Burt (LOVE HER! Everything she does is magical!) for helping her develop a looser style in her work. In addition to Toni, she loves James Burke (ME TOO! Totally "stalk" him and his gorgeous work!). I'm super lucky to have Bryn as a long time member of BOTH The Fun Fab Drawing Club AND Mixed Media Society. I have to share a quick look at one of the pieces she did in The Fun Fab Drawing Club earlier this year...  Absolutely STUNNING!!!! FYI - if you're interested in either of my clubs - Bryn has some GREAT ADVICE if you're someone (like us!) who loves BOTH drawing and mixed media, so stay tuned for her thoughts if you've been on the fence yourself! After you watch Bryn's flip through, make sure you head over to Awesome Art School to sign up for my TWO SUPER FUN challenges beginning on Monday, September 21st!! Here are the links .... ✅ CLICK HERE to SIGN UP for my MIXED MEDIA CHALLENGE ✅ CLICK HERE to SIGN UP for my DRAWING CHALLENGE Each challenge is going to run for 5 days and kicks off open enrollment for The Fun Fab Drawing Club & Mixed Media Society! SOOOOOO .... if you've been waiting for these clubs to open up - your wait is almost over!! We're having a blast and hope you come join us!!!! See ya next week! |
Karen CampbellFounder of Awesome Art School. Mixed Media Artist. Author of 19 Instructional Art Books! 
Whose work has appeared in...
   
 Archives
July 2024
Categories
All
|
 RSS Feed

"Karen is flipping hilarious and she's very real...I like the way she teaches in a way that really gives you confidence, whether you're a beginner or advanced there's always something new to learn!"
- Elizabeth W. |
What Fans Are SayingKaren, you are absolutely fabulous! You make me feel like I can draw anything. I have recently retired and finally have the time to do some of the art that I have loved since I was in school. I am really at the beginning of my art journey and I hope to learn as much as I can. Thank you for all you do. |
Contact ME |