|
Gesso vs Absorbent ground? Which one would you reach for if you're in the mood to do a little watercoloring in your mixed media art journal and feel the need to prep the surface first? Today I'm doing a little experiment in my own art journal so you don't have to! We'll compare how watercolor on gesso looks on an art journal page vs. how watercolor looks on a page prepped with golden absorbent ground!
If you've never started an art journal on your own before (GASP!!!) You're missing out on SO MUCH FUN!!
SO many people think about trying something like art journaling and never follow through with it. A lot of them get intimidated by that big empty white page, or ALL the empty white pages in a journal. If you're one of these people - this is so common. I can help you to get over that hurdle so you can start having FUN with art!! Click the button below to get my FREE pdf to give you the KICK IN THE PANTS you need to start art journaling ;) It's filled with tons of tips and advice from not only me, but one of my artsy idols - Bob Ross! We'll have you "breaking the blank page" and creating in no time!!!
Before we continue, super quick announcement: If you're in the market for new art supplies, or curious what I'm using, supply links are included below. All product links are Affiliate. I may earn a small commission if you choose to order through these links but by law there is never any additional cost to the consumer for doing so. I thank you for your support!
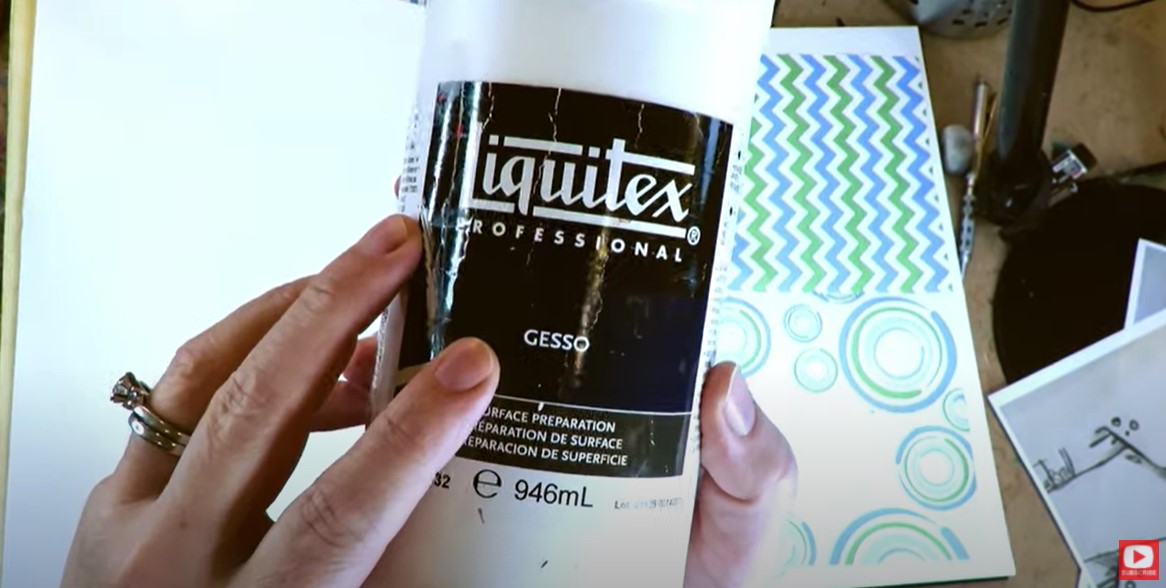
I love Liquitex gesso for my mixed media work, so that is what I'll be using for today's little experiment. Because gesso is specifically MADE for acrylic paints, it preps any surface you want to work on for acrylic paints. I also love to use white gesso as a replacement for white acrylic paint when I'm creating my mixed media portraits because it's more transparent than your typical white acrylic paint, and I love the way that looks when I'm doing mixed media art - especially if there is a collage in the background! For the purpose of today's demo, I'm testing how gesso works with watercolor so you don't have to!! I've decided to start these art journal pages off with a bit of simple collage in the background. Colorful, patterned napkins are one of my go-tos for collage art. I find they're easier to work with if you pull the layers apart so you're only working with one ply. If you're curious about how to do wrinkle free mixed media collage backgrounds with paper napkins, I recently did a YouTube tutorial on that- so be sure to check it out if you missed it and simply hate those wrinkles!! 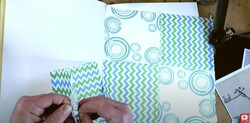
I almost always use matte medium as my collage adhesive whether I'm working in my mixed media art journal or on canvas. If you'd like to know more about WHY matte medium is typically what I reach for, check out this mixed media art tutorial on my YouTube channel for the side by side comparison of matte medium vs mod podge.
Today I'm working in one of my Strathmore watercolor art journal because I absolutely LOVE this for mixed media art journaling. I also love to work big, so I buy the 11" x 14" version. It's filled with 140 pound cold press (cold press paper has texture to it - it's not smooth) watercolor paper. If you're art-ing along with me (and I hope you do!!!)- be sure to take care when selecting your paper, journals, or whatever substrate you choose to work on. It's EQUALLY important as the art supplies you are using.
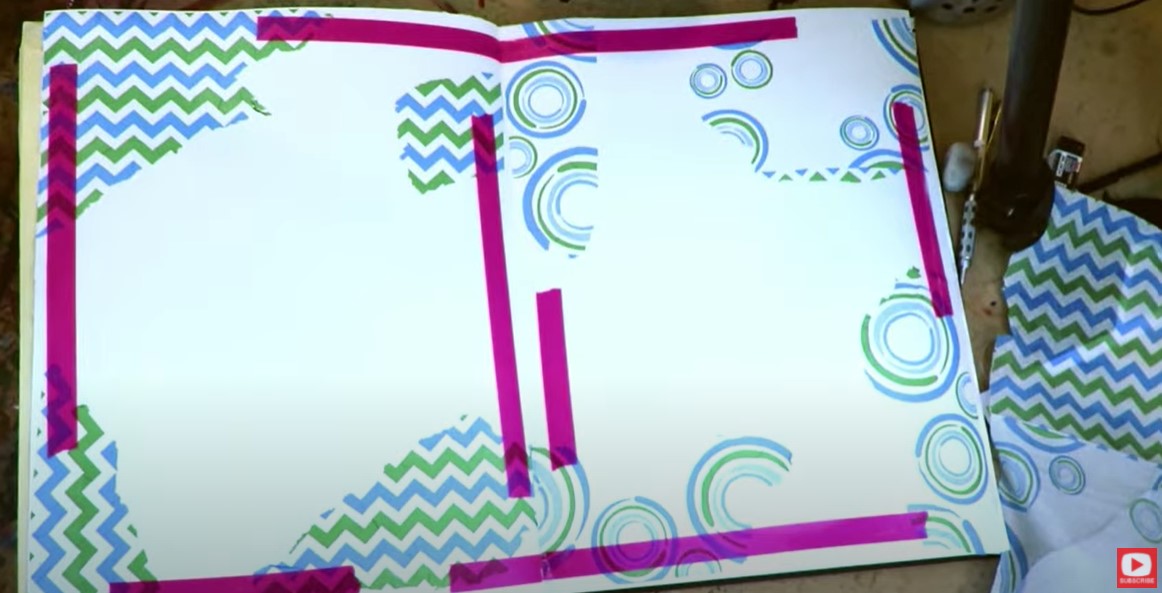
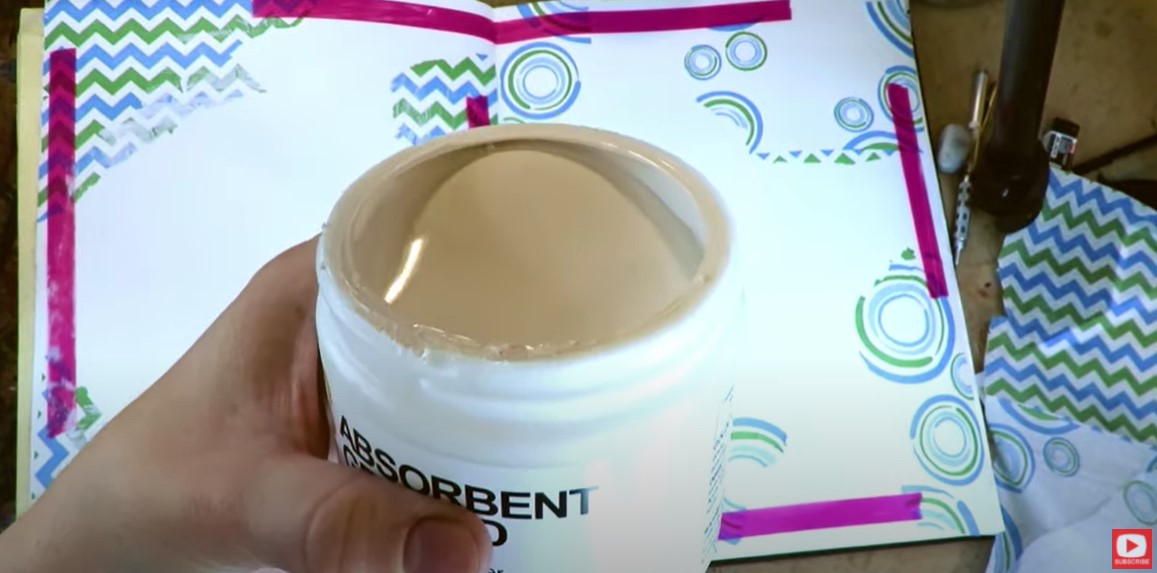
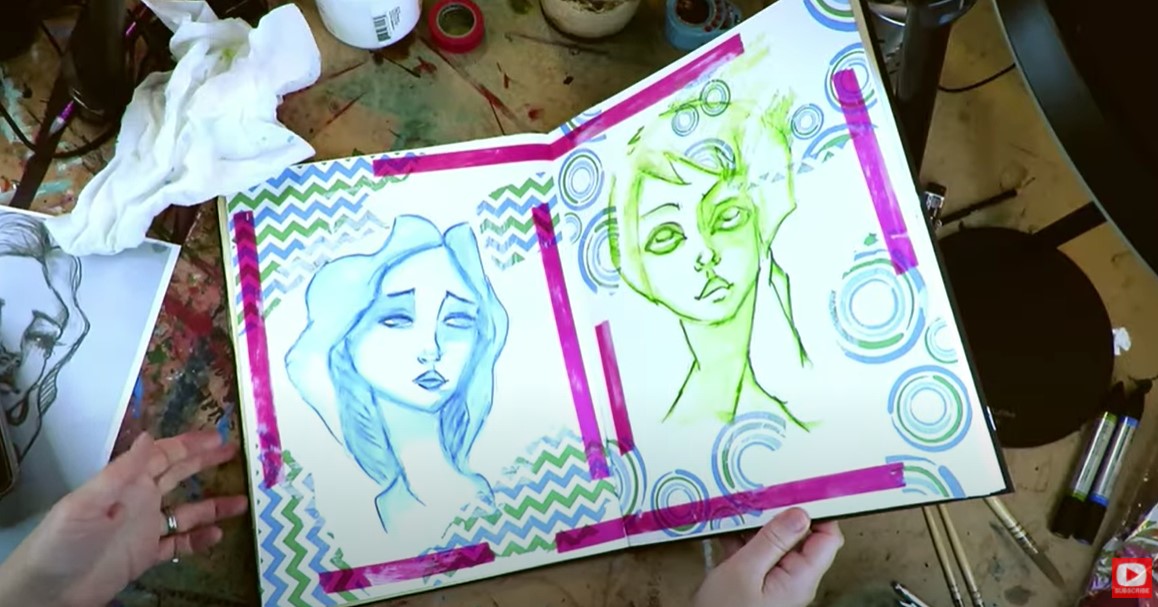
I felt like these collage pages needed some bright color so added some hot pink washi tape then got right to it - covering the middle of my left side journal page with gesso, and the right side with absorbent ground.
I feel like a lot of mixed media artists skip over absorbent ground all together, so I want to make sure you know what it does and how to use it if you enjoy watersoluble art supplies.
Golden's absorbent ground has basically the same consistency as Liquitex Gesso, and has the same level of transparency to it - which I love, because I enjoy a little collage art peaking through the face of whatever mixed media girl I'm painting into the foreground of my art journal pages!
Just so you know, absorbent ground can be added to basically ANY surface that normally wouldn't "play nicely" with watersoluble supplies (even wood!). It's especially awesome if you like to upcycle old books into altered book art journals and enjoy watercoloring! Typically I will do two coats of absorbent ground to keep the coverage fairly light and transparent. When I'm using gesso, I typically do one coat for the same reason. Acrylic paint dries itself into a plastic so it doesn't need heavy priming. Watercolors need a little more baby-ing. I hit both pages with my hair dryer to dry them. Once dry, I can feel right away with my hands how much smoother the right side page of my paper is because of the Absorbent Ground. The gesso on the left side really kind of preserves the original texture of my cold press paper, while the absorbent ground minimizes the texture and makes it feel more like hot press watercolor paper.
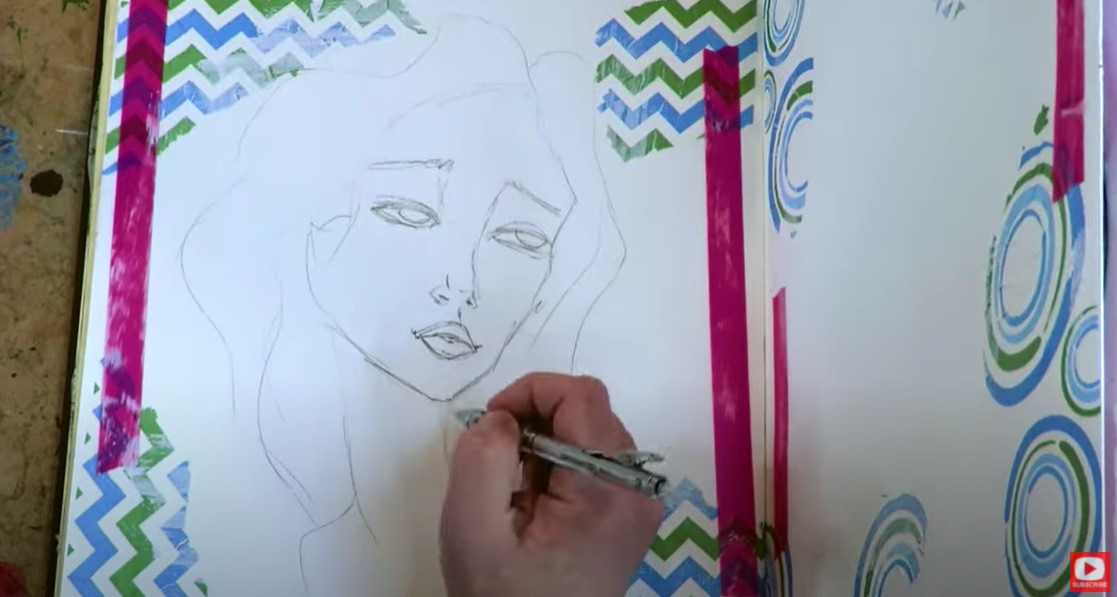
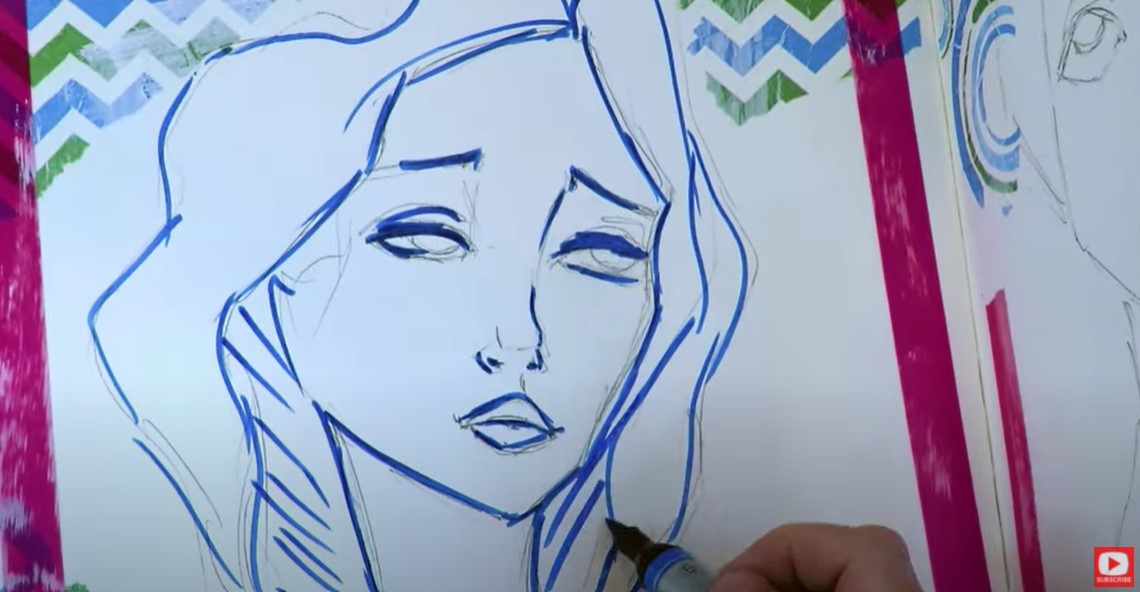
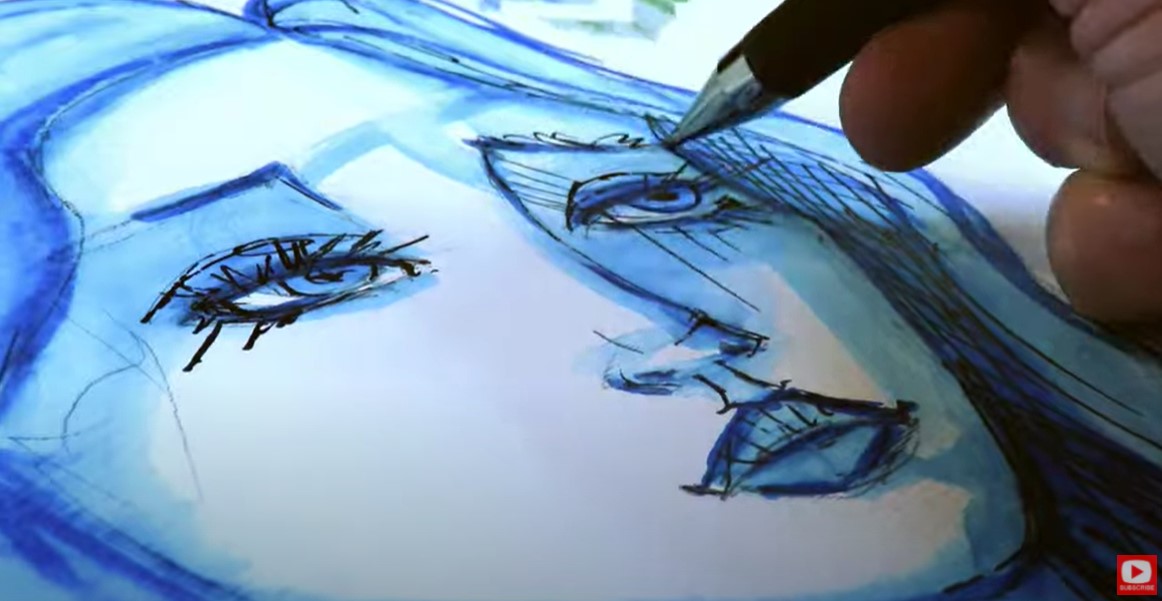
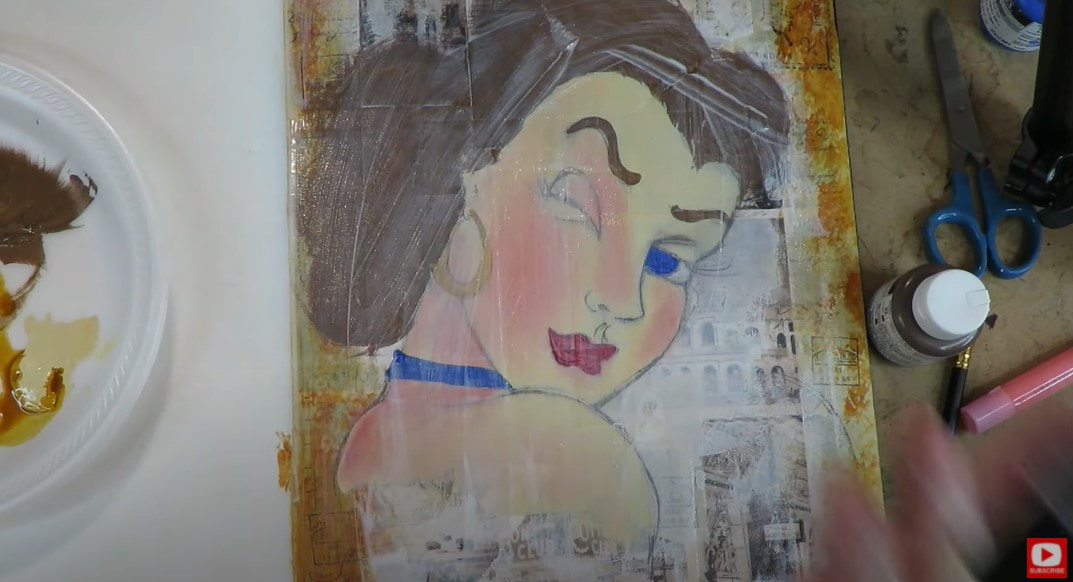
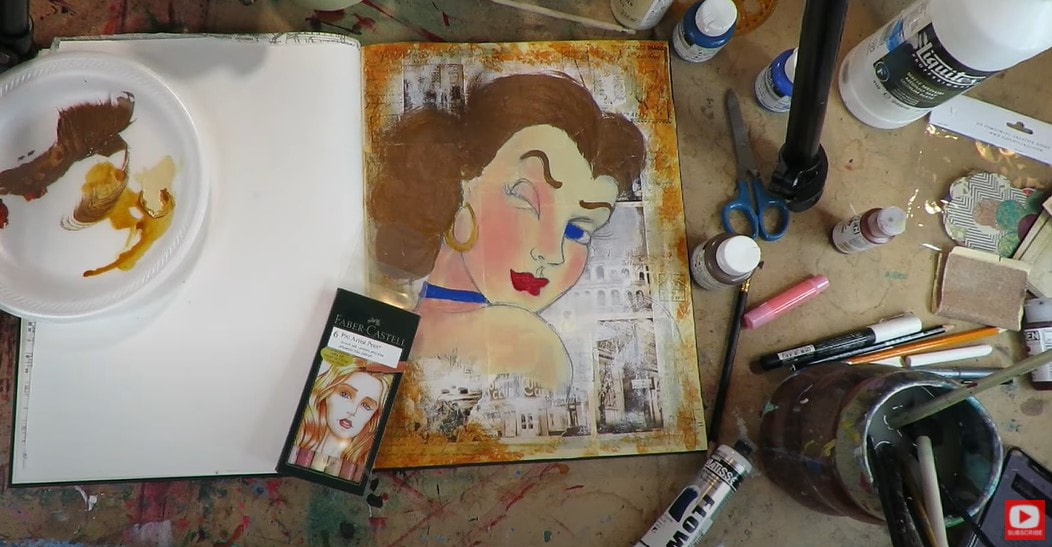
I sketched a simple face on both pages in pencil, and doodled on top of that with my watercolor markers.
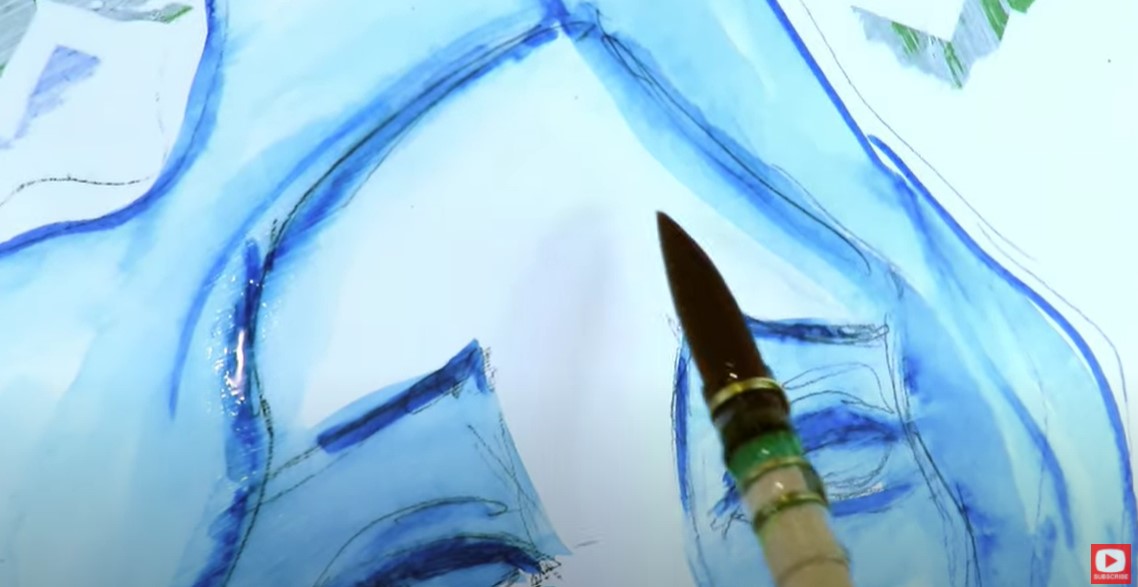
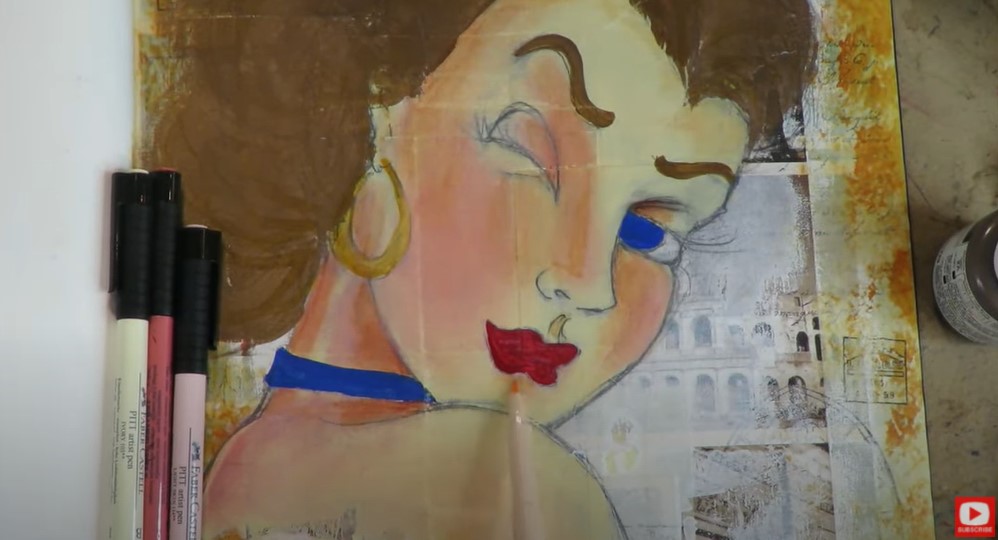
When I start brushing some water onto the gesso side of my paper to activate the watercolor marker lines (see below - it's the side in blue), I can still see some of the texture from the paper poking through underneath it. Both the paint and any water I add stay very much on the surface due to the gesso. It blocks the paper from absorbing the color or the water, so the paint just pools on top. My brush can move the pools around, but the paper can't absorb it, which isn't a desirable effect to me.
It's not "wrong" in any way- it's just not how I prefer to work with these supplies, so let's test out the absorbent ground page to see how things go over there...
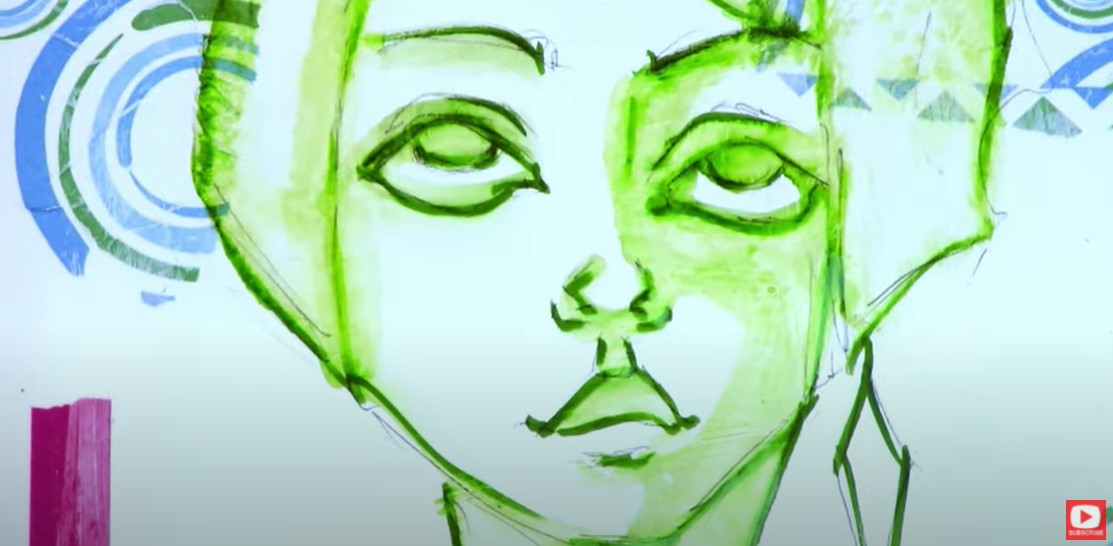
On the absorbent ground side (in green, below), when I activate my lines with water, there is definitely less pooling of paint and water. You can see this for sure when I attempt to soften a "hard edge" by reactivating a line that had started to dry. The surface feels a bit more predictable to work on with watercolor and is much easier to blend on - both of which, I really like and prefer.
These effects may not matter to you, but if you are someone who likes to go back in and blend lines out, touch things up, etc., absorbent ground is really gonna be your friend. It allows watersoluble mediums (any art supply you can activate with water) to really behave as they typically would on watercolor paper.
It's funny - I posted a sneak peek of this project early over on Instagram and a ton of followers - even my professional artist friends - actually asked me about the markers I was using! In case you're interested too - they're watercolor markers by Faber Castell, and I just love them! They are a bit more expensive because they are a fine art product, but they're worth it in my book, and they won't fade over time because they're light fast.
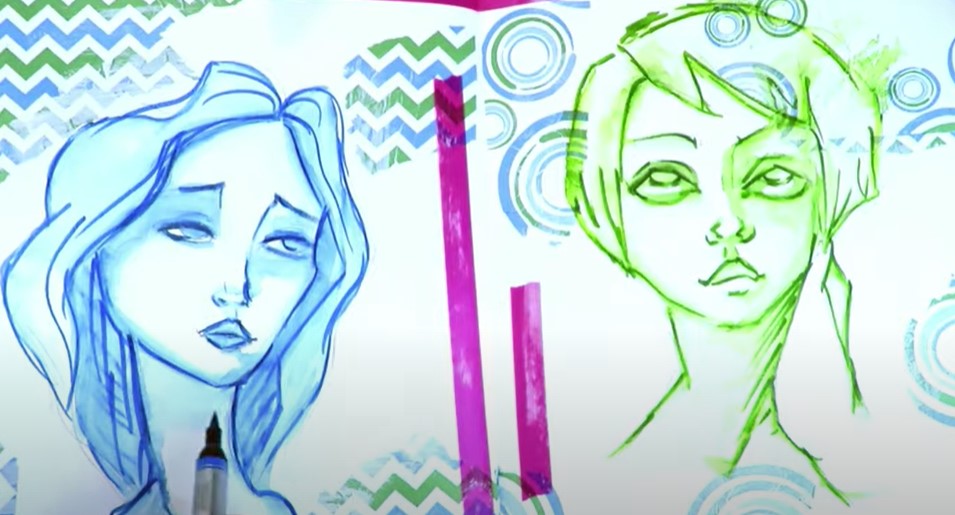
These two are in what I lovingly refer to as "the ugly phase" (above!), which means they're about half way done, and not looking nearly as beautiful as they will if I keep on layering my supplies and pushing through till the end!
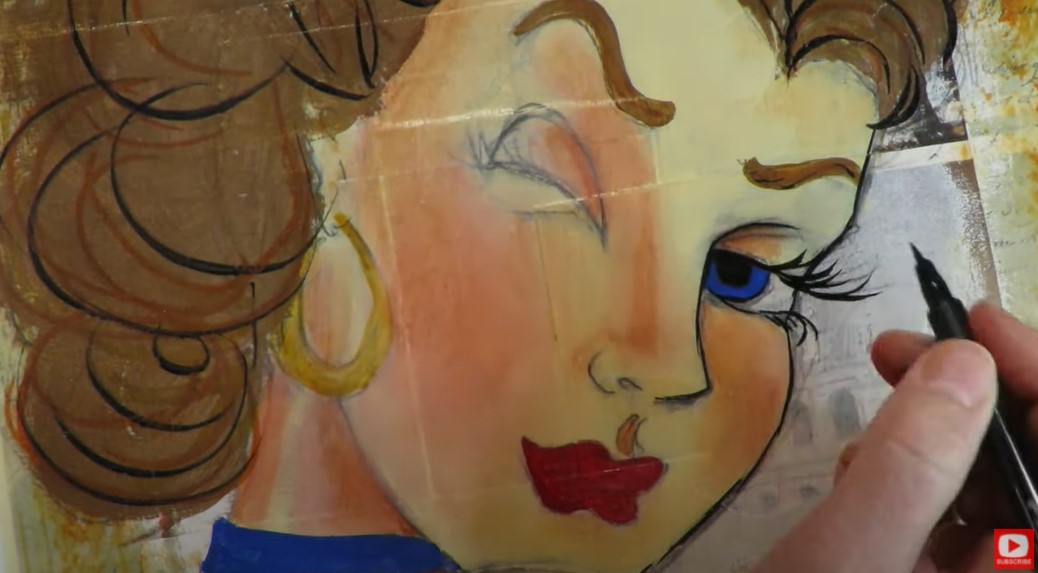
After a few more layers with the watercolor markers, I decide to go in and doodle on top of my girls with pen because I LOVE the way pen looks on top of watercolor!
Make sure you actually watch the video for today's demo to see for yourself what I experienced. I'm a big fan of learning about how an art supply behaves and using it in that way so I don't just make a mess!
LOVE MIXED MEDIA & ART JOURNALING? Learn more about the Mixed Media Society and join the waitlist to get notified when I'm open for enrollment! ❤️ CHECK OUT ALL my art books on AMAZON ❤️ MY FAVORITE ART SUPPLIES on AMAZON ❤️ MY BELOVED FACEBOOK GROUP ❤️ FOLLOW ME ON INSTAGRAM
1 Comment
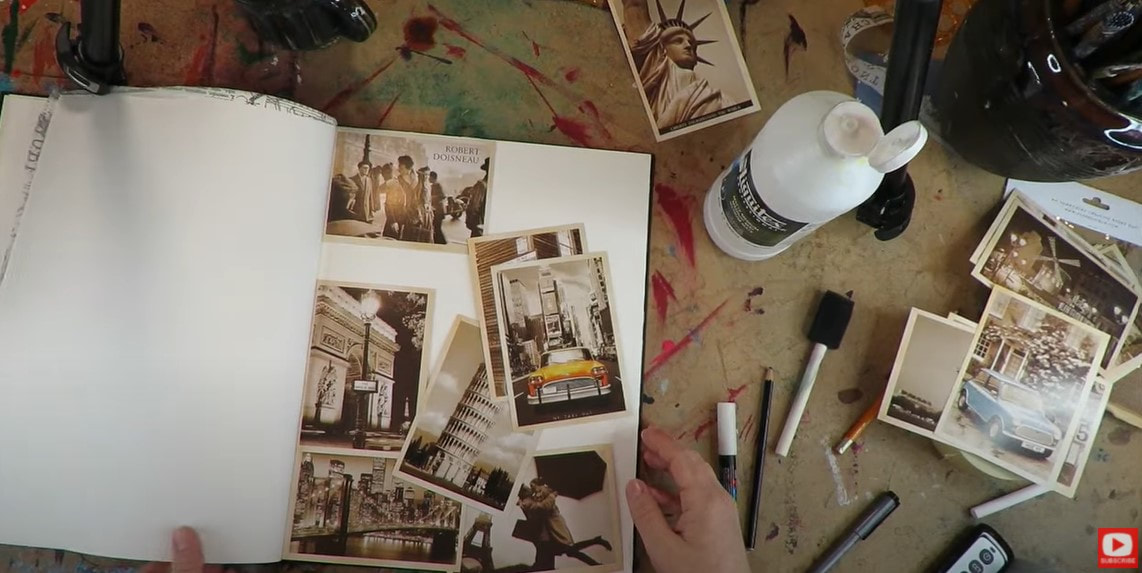
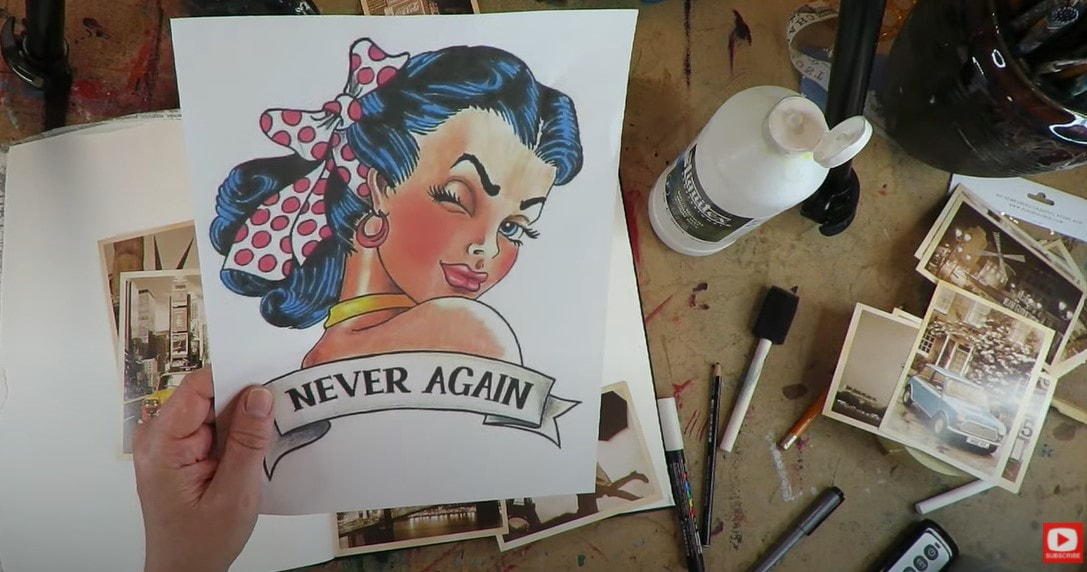
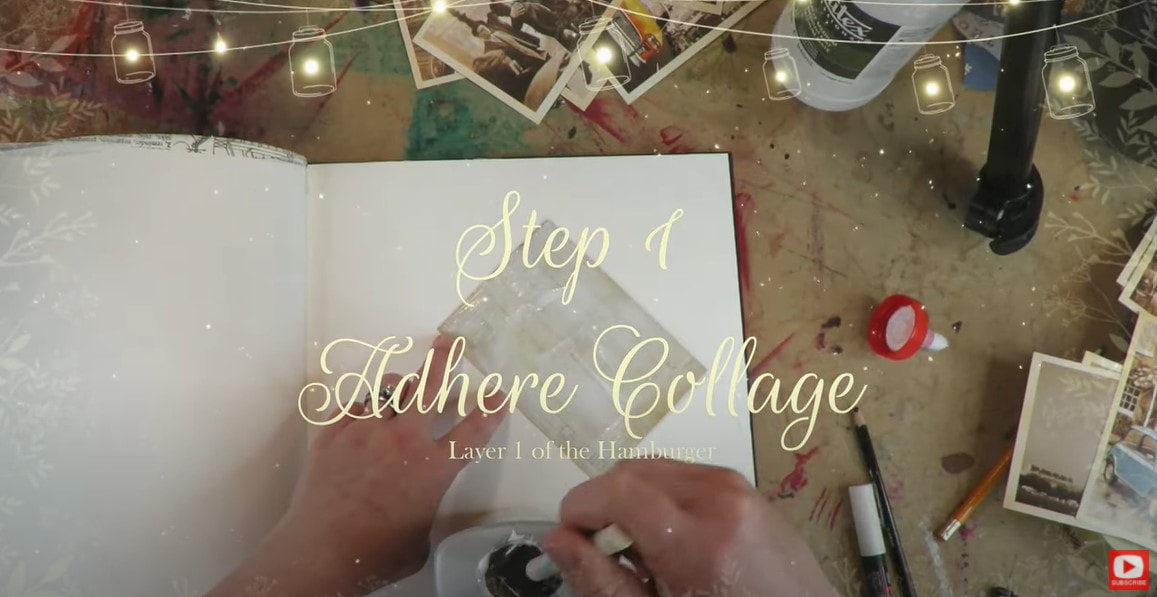
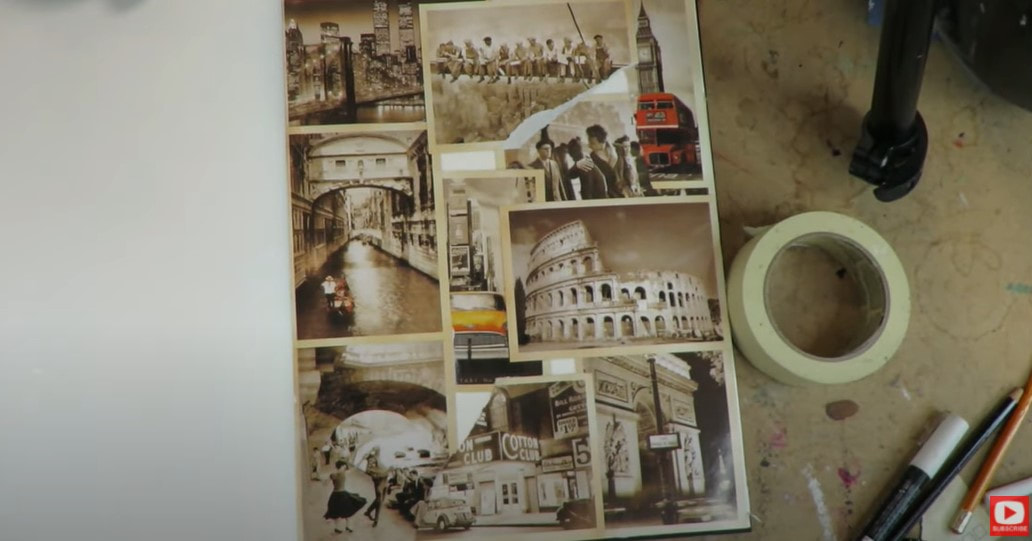
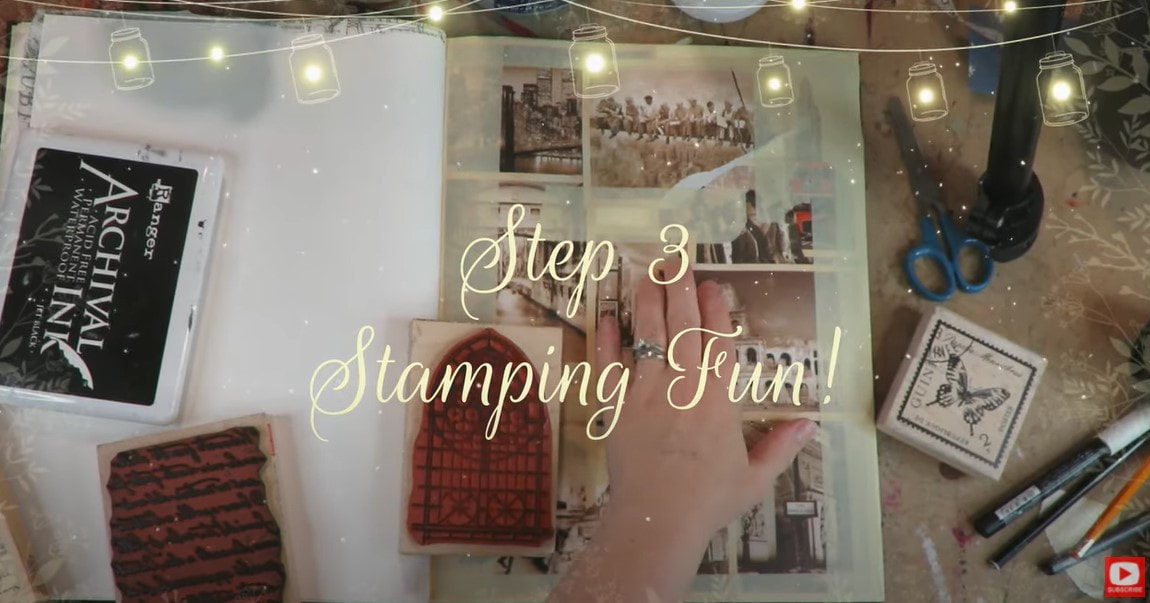
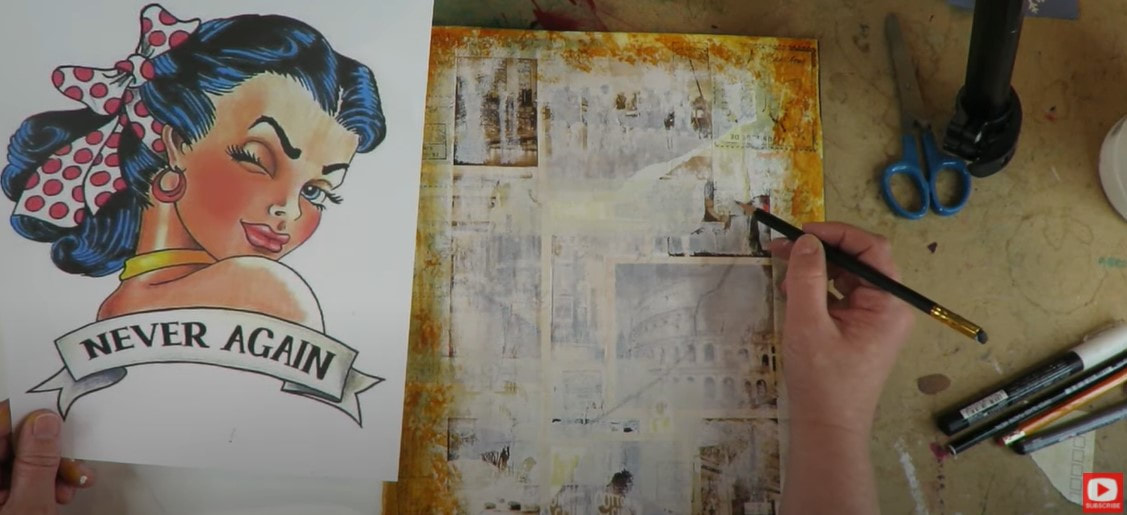
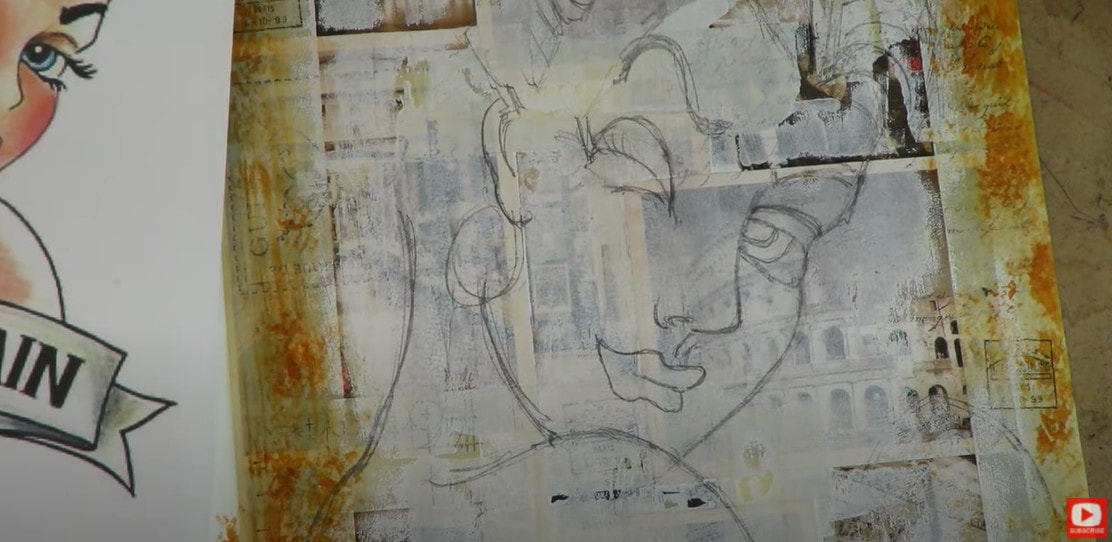
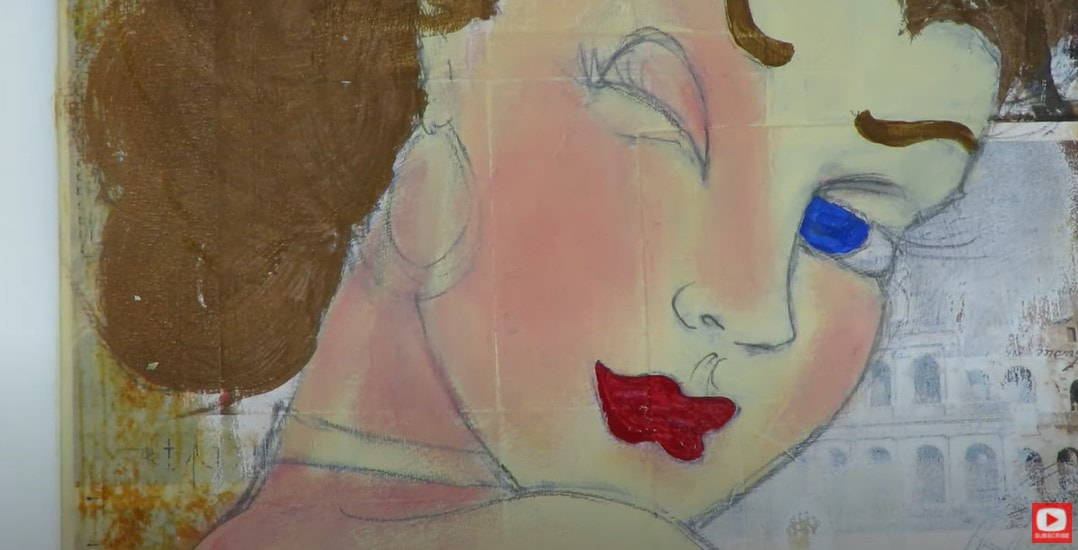
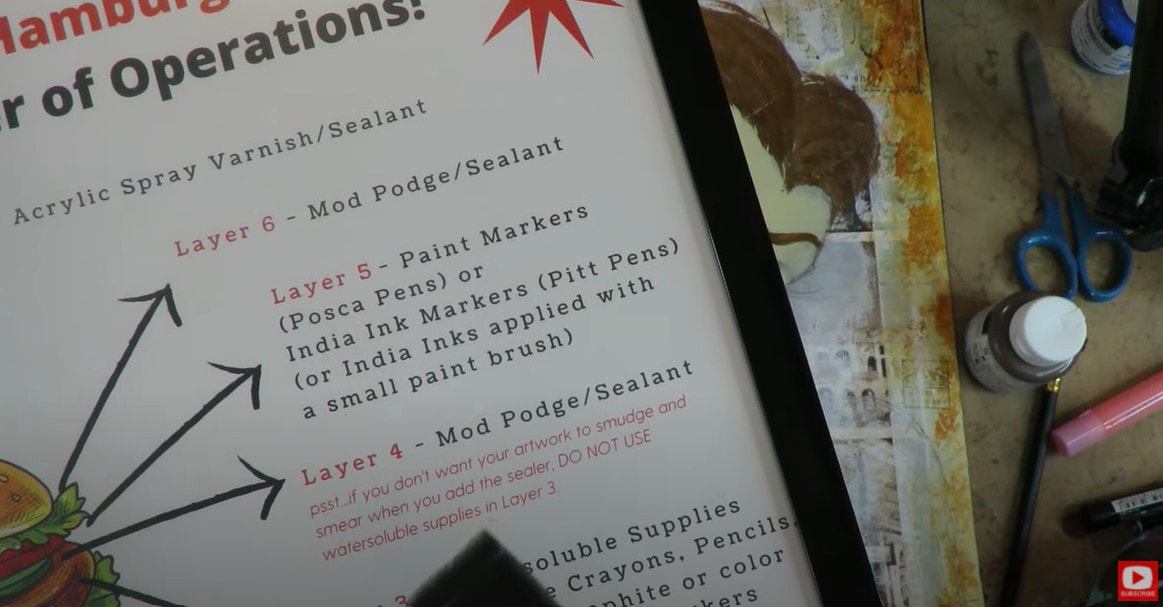
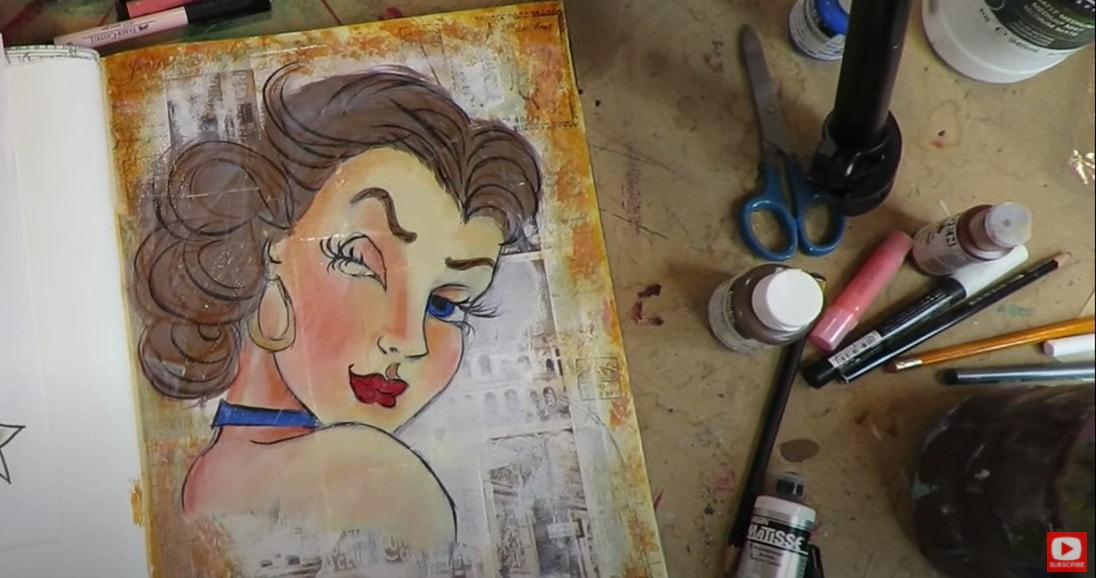
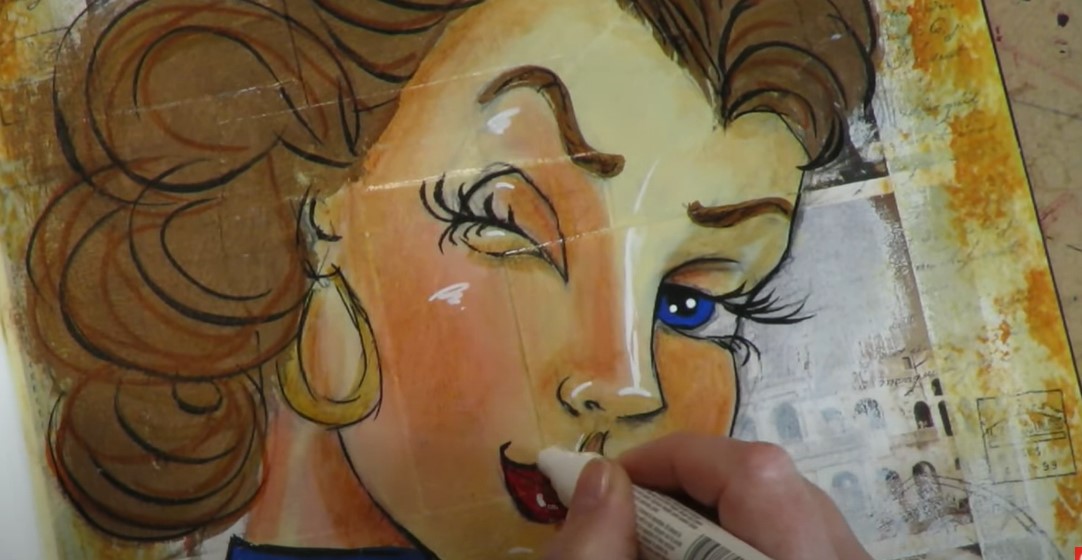
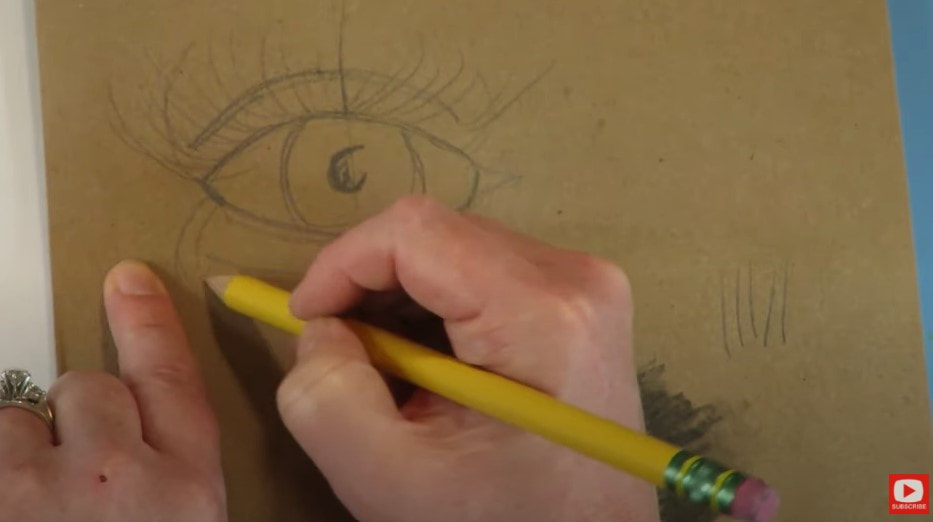
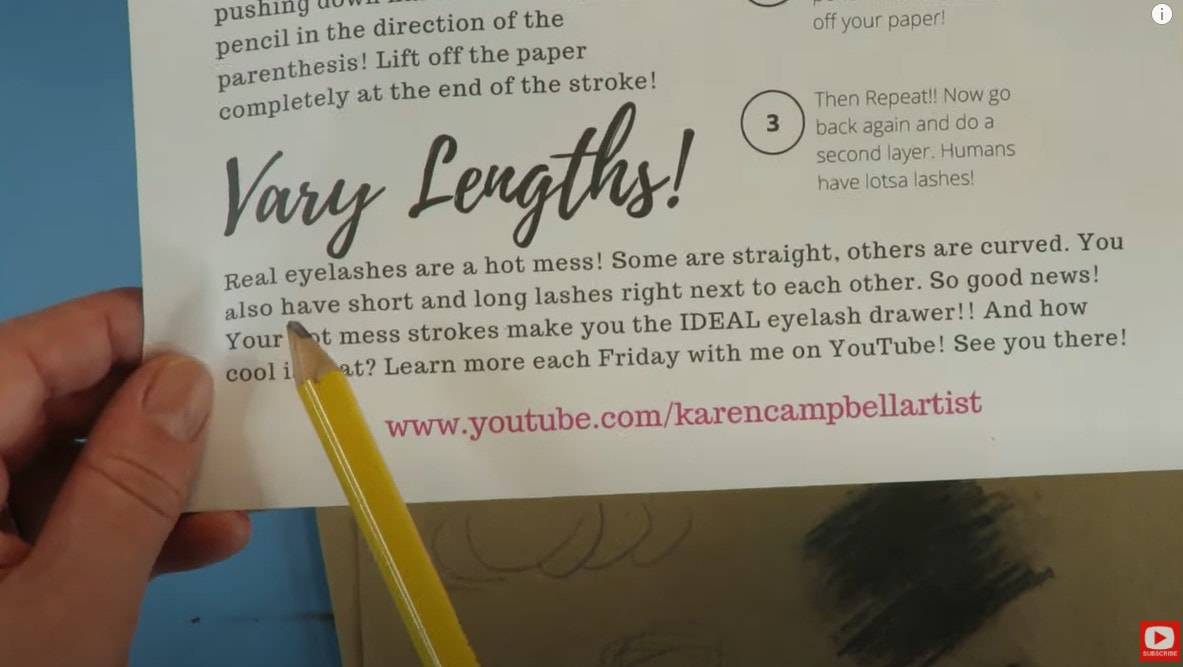
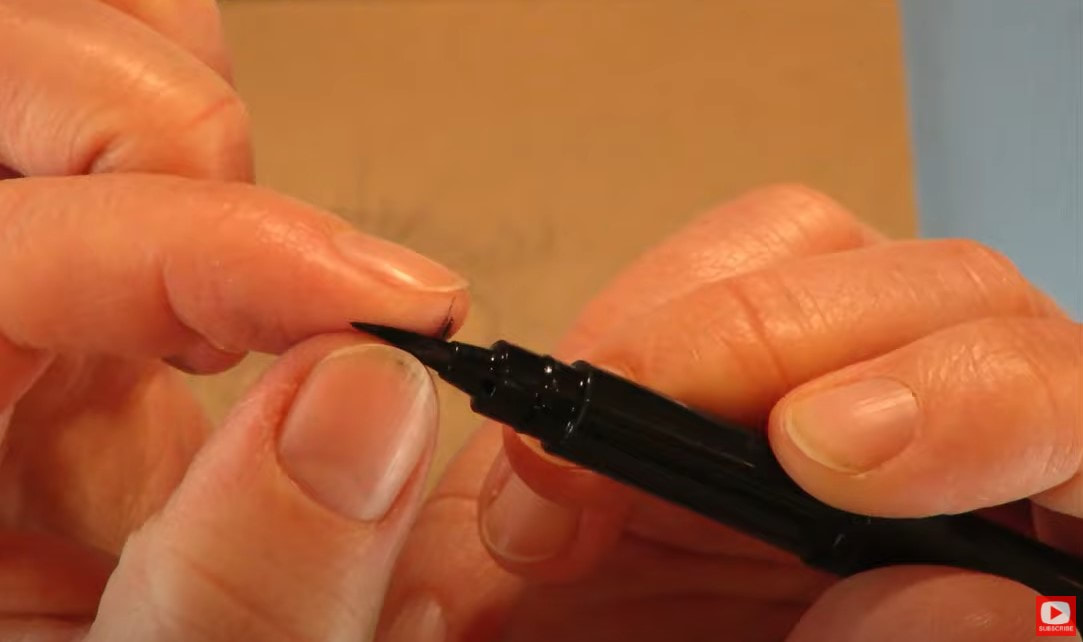
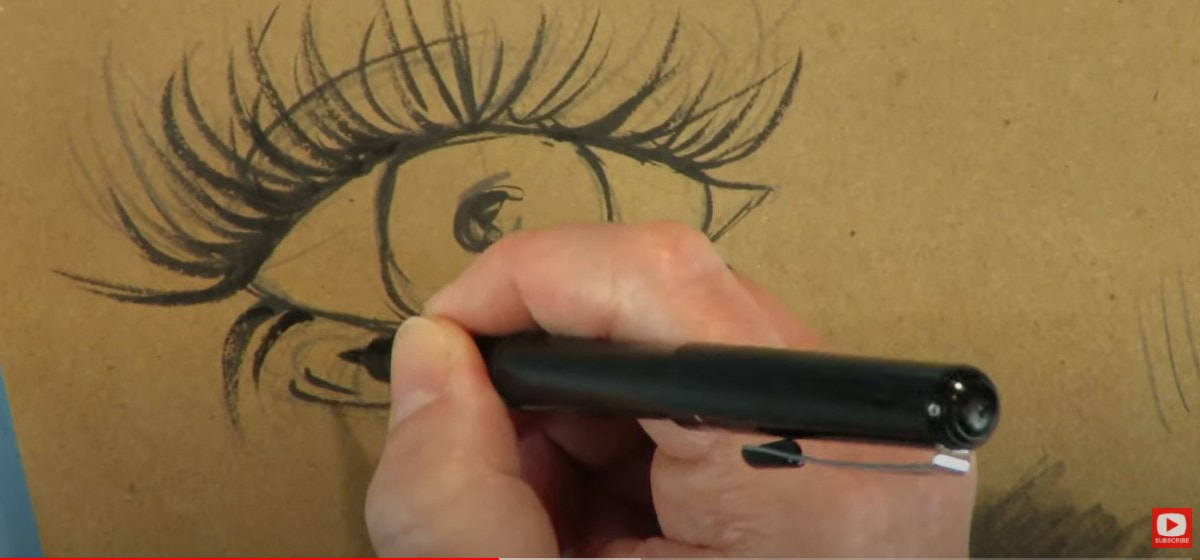
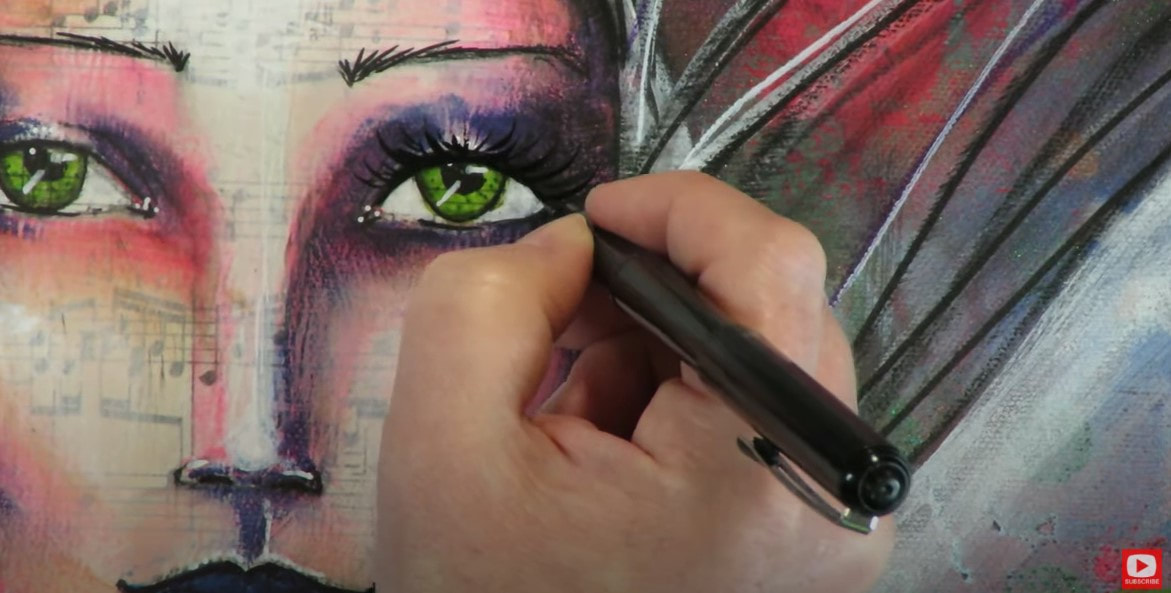
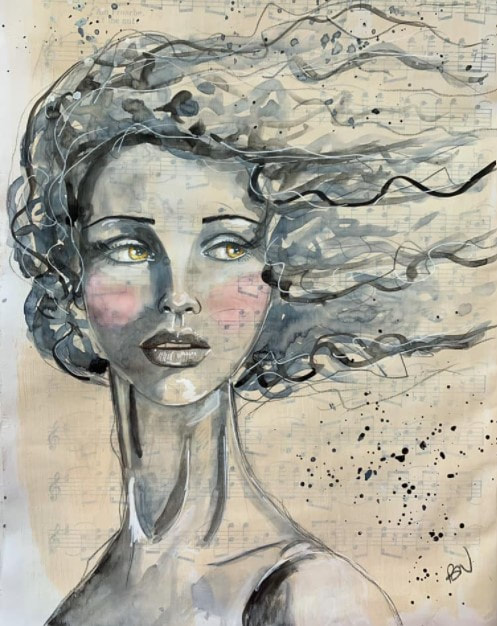
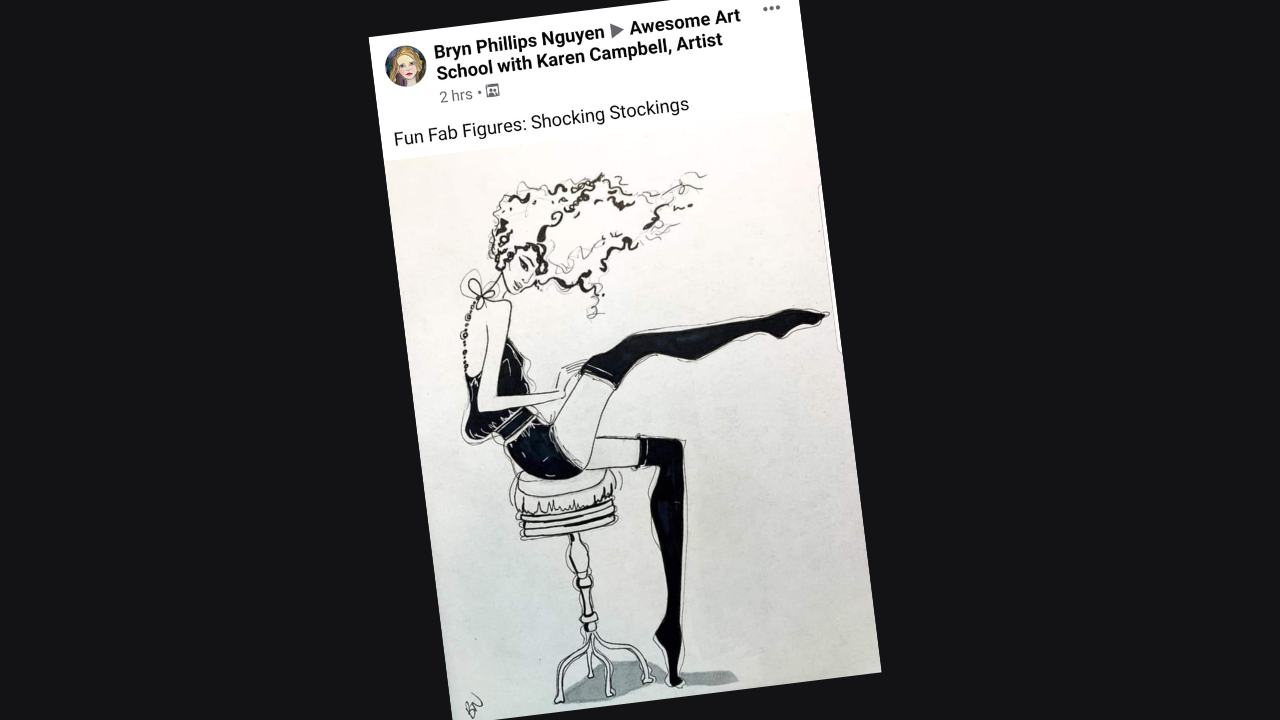
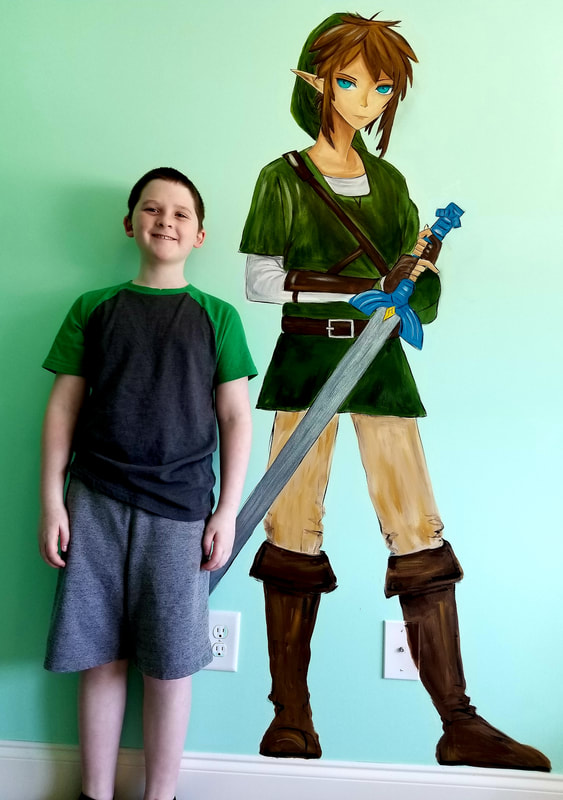
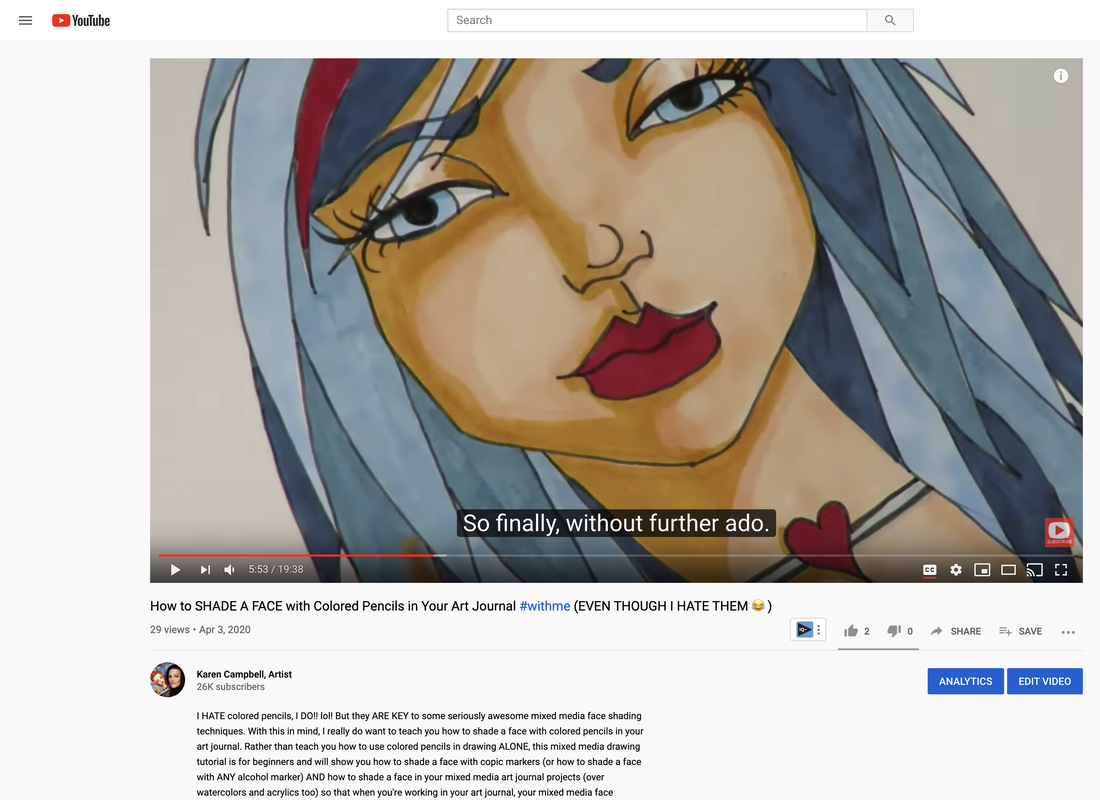
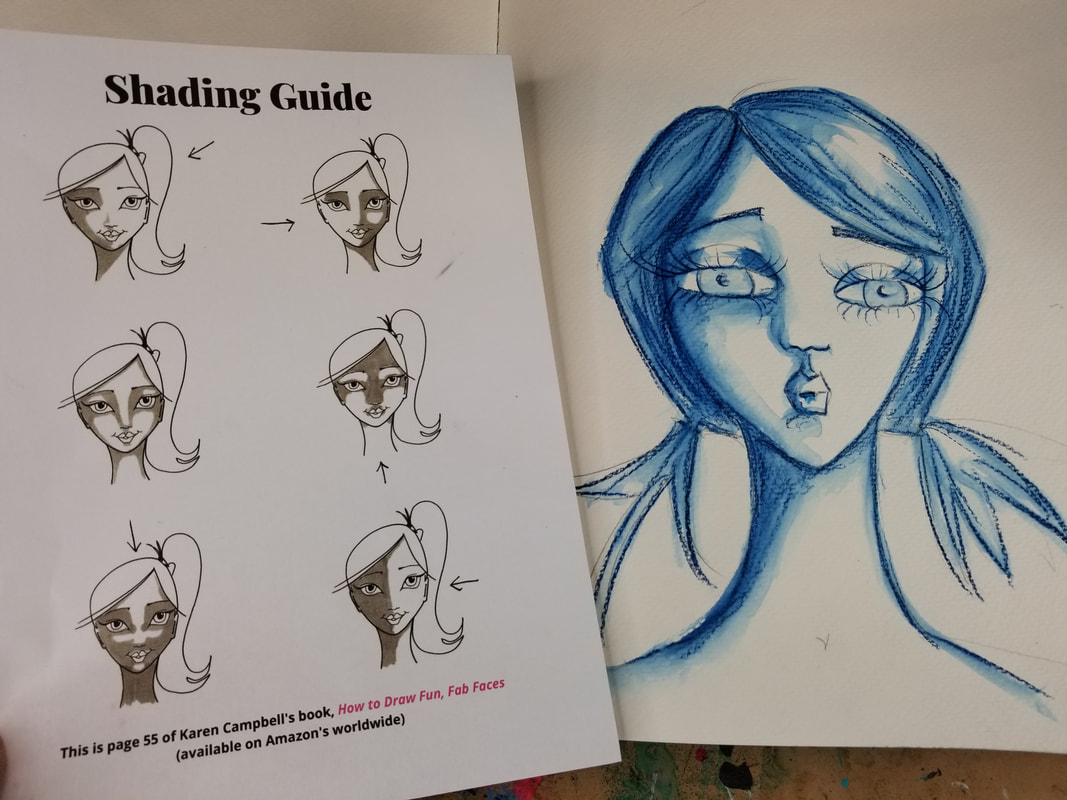
Who doesn't love SASSY Pinup Girl Art?! Seriously!! Why have I not shown you how to draw a pinup girl before?! I had such a blast with this art journal page and can't wait for you to try it! Today’s video is a FULL LENGTH mixed media art project, so if you love vintage collage, pinup girl drawings, art journaling, my hamburger system OR mixed media tutorials - this is for YOU! Not sure what I'm talking about when I say "Hamburger System?" NO PROBLEM!! I've got you!! My Hamburger System is a simple mixed media layering system I've developed over time after TONS of trial and error from playing with ALL the art supplies I could get my hands on!! I used to get asked all the time (and still do!) about my mixed media process, and what order I layer my mixed media art supplies in. I've broken it down for you layer by layer and created a fun step by step video series on YouTube, created a FREE cheatsheet you can download, and EVEN ending up pouring it all into a book because I think it's that helpful to have as a reference on your art table. I love collaging art journal backgrounds with new materials and trying out new art journal ideas, so was thrilled to try doing a postcard collage! I was not sure how this was gonna work because I've never done much with postcard art, or collaging materials with a glossy sheen, but I was in the mood to BREAK a FEW RULES!! Grab your art journal, some vintage postcards, your acrylics, gelatos, pitt pens and ALL your mixed media hamburger supplies because it's TIME TO PLAY!!! How ADORABLE is this retro pinup girl I found to use as our reference image for todays' project??!! I'm SO excited to paint her into the foreground!! Before we go any further, super quick announcement: All product links are Affiliate. I may earn a small commission if you choose to order through these links, but by law there is never any additional cost to the consumer for doing so. I thank you for your support!! If you follow me, you know I'm a super fan of liquitex matte medium for my collage layer, but since I've already started this project in a rebel mood- I'm gonna go ahead and continue that streak! These postcards are pretty substantial, so I grabbed my good old fashioned Weldbond adhesive because I don't want them buckling or separating. I want them to be locked down and rock solid. Initially I hadn't planned to use masking tape for this project, but it was sitting next to my art journal, and I've used masking tape tons in the past on my collage layer, so decided to frame my page around the edges. Not only will this add some additional texture to my collage background, it will help to strengthen the edges of my page. Before we get TOO FAR into the project- we need to talk about background vs. foreground. While I totally love each and every one of these postcards individually AND the composition they've magically created together in my background - I'm not gonna let myself get attached. I KNOW it's hard, but you need to do this to if you intend to paint or draw something into the foreground of your piece. A background is simply that- a background. Of course we want it to be awesome, but we can't be precious about it. To help me with that, I've added a few scrappy pieces of masking tape in the center of my page, and my stamps! Next, I added some gesso with my brayer to kick the background back even more, so I have some space to draw. Don't let this hurt, ok? Background is background! We're prepping the space for someone fun to appear in the foreground, so we need this to head backstage. The rough application with my brayer helps the background take on a bit of a grungy look - which I LOVE. To bring that out a bit more- I added some brown acrylics around the edges. I know some mixed media art fans kinda hate drawing, but I love it, so a lot of my work ends up as mixed media portraits (because I LOVE drawing faces and teaching people how to draw a whimsical face!). If you love drawing faces, you HAVE to join me over on my YouTube Drawing channel for my Whimsical Women of the Women of the World series. We're having a blast and you can do this on your own time, any time you want! If you're totally new to drawing faces, check this series out on my YouTube Drawing Channel to get you started!! You'll learn how to draw a whimsical face in pencil. It's super easy and relaxed. Then I show you how to add a little bit of shading, and we build on those skills when you're ready for more! I get a ton of questions about how to draw so many random things, and I really encourage using a reference photo because everything you need to know to create a beautiful drawing is already in the photo. All you do have to do is draw what you see! A reference makes things SO much easier. And if you choose to draw in a whimsical style like I typically do - it's way more forgiving than realism. AND more fun (I think!!). After your pinup girl drawing is all sketched in - it's time to kick things up a notch and add some color!!! Have FUN layering in your acrylics and gelatos. Just keep on moving up the hamburger layering system from the bottom up! If you have questions about your supplies and where or when they go, just use your cheatsheet! If you didn't grab that yet, click the button below to have it sent straight to your email! When I'm happy with my gelatos and acrylic layers, I'm ready to seal it - which is layer number 4. At this point, nothing should move when I add mod podge except for my gelatos. They will melt a little bit, so be prepared for that. If you don't want anything to move (this totally freaks some people out, and that's ok!) - you can just choose to work only with materials that are nonwatersoluble, and permanent - like acrylics! Tons of students ask me if watercolors are ok to use in the Hamburger System and where to put them. I honestly don't use them AT ALL in the Hamburger system because they are SO reactive, and just their own animal! I save up my watercolor love for other projects. Watercolors play nicely with colored pencils, paint pens, fountain pen ink, pens, etc. - and I totally love them, just not for my "Hamburger" projects. Remember - my Hamburger System is not the only way to go with mixed media- it's just a fun pattern I've developed for layering over time that I love and find to be pretty fail safe. It always gives me gorgeous results, and because I want YOUR art to be AWESOME - I've shared this with you so you have NO questions about what supplies play nicely together and you can just have FUN, which is the most important part of art-ing, am I right?! Once my mod podge layer dries, it's time to have some fun with my pitt pens! They're made by Faber Castell and filled with India Ink, and I LOVE using them to "paint" more details on the mixed media faces and mixed media animals I love creating. They actually make an awesome skin tone pack that you might want to check out if you don't have any pitt pens and are interested in trying them out. So fun!! Make sure you do a test swatch of these before you put them on your project because the caps can totally can trick you here and there! At this point, I just have a blast shading and doodling all over the place with my pitt pens to add detail and depth on my slippery mod podge surface. I use my finger to blend for shading in the face. The amazing thing about this layer and playing with pitt pens, is they can be erased with a baby wipe if something happens that you don't like!! If you're following along with my cheatsheet for the Hamburger System, you can feel free to seal this layer with mod podge, and then go back to add even MORE doodles! If you do get any smears with your mod podge here - like I did (because my black pitt pen marks weren't quite dry in one spot before I added my mod podge), that's ok! Everything is fixable- we can figure it out. Just take a breath and redirect the smear! I always finish up with a white sharpie pen or posca pen / paint marker to add some highlights that pop - they make SUCH a huge difference in your art! Watch the video to see exactly where I love to jazz my girls up, and make them glow!! Once I'm good to go with my highlights and have finished adding some distress marks to the edges of my art journal page, it's time to seal her up so she doesn't move and so my art journal pages will not stick together. This is one the HUGEST questions I get from students- "How to keep art journal pages from sticking together?!" So here ya go - my answer is at the end of today's video. Be sure to stay with me till the end for that tidbit!! Thank you so much for hanging out with me today! I hope you LOVED this project and will see ya back here next Friday!! Have a fab weekend!! Drawing eyelashes on mixed media portraits can feel super intimidating because it's probably one of the LAST things you add to your masterpiece! So many of my students ask how to paint eyelashes that look realistic and just what paintbrush or supplies work the best, because they know I've tested them ALL!! Before I demo my secret weapon, we need to talk for a hot minute about how to draw eyelashes step by step... If you're just learning how to draw eyelashes, or if drawing eyelashes is something you feel you want to improve upon, you need my free HOW to DRAW EYELASHES Cheatsheet. Simply click the button below, and I'll send it straight to your inbox!  The first thing to keep in mind when drawing eyelashes is DIRECTIONALITY. As you can see in my sketch below, I start by drawing a set of parentheses on the outer edges of both the top and bottom eyelids. One of the first things to keep in mind when you're drawing eyelashes, is directionality. I think of eyelashes like parentheses, and curve my outtermost eyelash on either side accordingly. The midpoint of your eye drawing is where the directionality of your individual eyelash lines will change. That midpoint lash will basically be a straight line, followed by consecutive lashes flicking out in opposite directions, like you can see below. Once you fill your lashes in on the top lid, repeat the process you followed for the lash line on the bottom eyelid. The second important part of drawing GORGEOUS eyelashes has to do with the amount of pressure you apply with your pencil (or whatever you're drawing with!). You begin each lash line with MORE pressure, then flick up and out according to whatever directionality each eyelash needs to go. Confused yet?! WATCH the VIDEO ;) It makes WAY more sense when you see it in action.... Once you have all the eyelashes drawn in for the top and bottom eyelids, it's time to take a second pass across each lid line, because as humans - we have TONS of eyelashes! And let's be real...you want the girl you're drawing to have fab lashes, right?! Let's glam her up!! While you're adding in a second set of lashes on each lid line, be sure to vary the length of each line. This is how our eyelashes are in real life. If you look closely - they're all different lengths. Paying attention to that little detail will make the eyelashes you draw look even more realistic! Did you grab your FREE How to Draw Eyelashes Cheatsheet yet? Make sure you click on that link, and I'll send it straight to your inbox. It's SUCH a helpful reference to keep on your art table. Now... how do you put all take this amazing-ness into action for your MIXED MEDIA PORTRAITS?! I'm so glad you asked!! Let me introduce you to my secret weapon!! Before we continue, super quick announcement: All product links are Affiliate. I may earn a small commission if you choose to order through these links but by law there is never any additional cost to the consumer for doing so. I thank you for your support. I'm in LOVE with the pentel pocket brush pen. Here's why... First of all, I love this pen because it contains permanent ink. This is extremely important to me in mixed media work because I have lots of layering going on with sealants, etc. I NEED my ink at this point to be permanent. If I want to add a final sealant over the pretty eyelashes I've just drawn, I KNOW the ink I just laid down with the pentel pocket brush pen isn't going anywhere! One of the cool things about this pen is the tip of it is actually like a very fine brush. That means it applies like a paintbrush! Lastly - it's just a beautifully crafted pen!! I will give you a tiny warning about this pen though... it's super sensitive, and honestly takes a bit of practice to get a feel for it at first. You'll want to play around with it in your sketchbook before using it right out of the box on your latest mixed media canvas! Just draw a bunch of practice eyes in your sketchbook and see what kind of pressure and look you like best! HOT TIP! If you're struggling to control the pentel pocket brush, use a black pitt pen marker in a brush nib that feels more secure for you. After today's little eyelash lesson, I'll take you straight over to put this into practice on one of my mixed media hamburger system girls! This particular piece is from a couple of years ago- before I discovered my fav little pocket brush. Watch as I add these lashes in real time - using directionality, pressure, and varying my lash lengths. This cute little pen is also awesome for touching up eyebrows for a little added drama. Come on over to YouTube and practice your eyelash drawing with me!! If you're a member of either the Fun Fab Drawing Club or Mixed Media Society (YAY!! I'm so happy you're here!!!), the Eyelashes Cheatsheet is already in your membership guide!! I hope today's free drawing lesson helps you create mixed media lashes you are PROUD OF!! See ya next week ;) I've been a full-time working artist for 15 years! If you've been wondering how to become an artist, how to become a better artist, or if it's too late to start your own art journey, you NEED to watch today's YouTube video on my Mixed Media channel, because that is EXACTLY what I'll be talking about!! Would it surprise you to know that I don't sell ONE SINGLE PIECE of my art? I don't!! So WHY do I make art and spend all of my time and energy on TEACHING art with a team of people behind me? Because I know the way art makes us FEEL. It can have a HUGE impact on our own lives and the lives of others. You might find it interesting to know that becoming an artist was NEVER even on my to do list when I was growing up!! Not for one second did I even consider becoming an artist! I grew up thinking art was a hobby - no more, no less. So how did I get where I am today- with two YouTube channels, an online art school, and 12 art books already under my belt?! I got into art later in life because I got addicted to the way it made me feel when I spent time being creative. If I was having a bad day, stuck home when my kids were little and I was changing diapers and wanted to cry, the minute that I sat down to draw, sketch or paint, all of those feelings melted away. It was like a drug. There was a transformation that happened inside of me - in my brain, in my soul, in my heart...and it made everything ok again. Art gave me ALL the FEELS inside, and was something I craved because this goodness washed over me every single time I sat down to create. These amazing feelings are what I hope ALL my students can experience, and they're WHY I spend SO much time coming up with cheatsheets and shortcuts and break things down step by step for my online art classes - because I want my students to get to their happy place TOO, and to get there even faster than I did!! I became a good artist by default. Because ALL the chasing of those good "happy place feelings" lead to practice, and all of that practice lead to really great results. Why does that matter? Because I grew up believing people who made art were BORN with talent. I didn't even entertain the thought that I could make art because I didn't think I was born with that talent. Yet here I am, a successful working artist impacting students who are now making masterpieces of their own. So how does that happen?! This is my philosophy on what happened... if I CAN LEARN to be a good artist... so can anyone!!! SO CAN YOU!!!!! After you watch today's video, make sure you sign up to join one or both of the art challenges I'm running next week. They start on MONDAY!!! ✅ SIGN UP for my MIXED MEDIA CHALLENGE ✅ SIGN UP for my DRAWING CHALLENGE Now press play already for today's video so I can show you how YOU can become an awesome artist too ;) I can't wait to show you!!!! I've been IN LOVE with Bryn Nguyen's mixed media portraits since she started posting them in my Facebook Group about 6 months ago! I'm so excited she agreed to do an art journal flip through with us & talk about how she creates these beauties with tombow markers on sheet music! If you're into sheet music art, or have been looking for fresh mixed media art journal inspiration, altered book ideas, & new ways to sketch or paint mixed media faces - today's video has your name on it!! Bryn shared that she started this altered book / art journal in a book of violin sheet music she bought at Goodwill for 99 cents!!! I LOVE doing this kind of thing too! It's so pretty to see the music notes peek through your art work. If you haven't tried it yet - you have to!! Bryn has created a gorgeous style that's all her own and SO unique... you just have to come see for yourself! While we chatted, she explained that she started this altered book back in March - when we all started hanging at home because of covid. She said she typically begins each page with a thin layer of gesso over the sheet music, then sketches her portraits in using a reference photo. Bryn uses a combo of painting and shading techniques using tombow markers, copics, micron fineliners, posca pens, india ink, and polychromos to create her beauties, and said each of her mixed media portraits takes a couple of hours to complete. Just LOOK at this insane masterpiece!!!!! Bryn was an art minor in college and shared that she's constantly taking art classes, and that's how her style has evolved over time. She said she took a number of face courses a while back that weren't clicking. Then she stumbled onto my Fun Fab Faces books over on Amazon and did my #100FunFabFaces challenge last year. She even did ALL 100 faces!!!! Not many hung in there for the long haul like Bryn. I'm so proud of her, and her dedication shows in her work!! Bryn also credits Toni Burt (LOVE HER! Everything she does is magical!) for helping her develop a looser style in her work. In addition to Toni, she loves James Burke (ME TOO! Totally "stalk" him and his gorgeous work!). I'm super lucky to have Bryn as a long time member of BOTH The Fun Fab Drawing Club AND Mixed Media Society. I have to share a quick look at one of the pieces she did in The Fun Fab Drawing Club earlier this year... Absolutely STUNNING!!!! FYI - if you're interested in either of my clubs - Bryn has some GREAT ADVICE if you're someone (like us!) who loves BOTH drawing and mixed media, so stay tuned for her thoughts if you've been on the fence yourself! After you watch Bryn's flip through, make sure you head over to Awesome Art School to sign up for my TWO SUPER FUN challenges beginning on Monday, September 21st!! Here are the links .... ✅ CLICK HERE to SIGN UP for my MIXED MEDIA CHALLENGE ✅ CLICK HERE to SIGN UP for my DRAWING CHALLENGE Each challenge is going to run for 5 days and kicks off open enrollment for The Fun Fab Drawing Club & Mixed Media Society! SOOOOOO .... if you've been waiting for these clubs to open up - your wait is almost over!! We're having a blast and hope you come join us!!!! See ya next week! I hope you're staying safe indoors and have found some activities to keep your mind, heart and soul occupied and happy. I personally find the best way to keep my heart and mind happy is to keep my body busy!! I've gone on A LOT of walks. But I'm also keeping busy with painting and drawing!!! You may remember from last week's email that we painted our son Max's room? Well yesterday I painted his favorite video game character in there too. Lifesize. 'Cause, really, why not if it keeps me busy and him DELIGHTED! Seemed like a double win so we went for it! Sadly it only took me 2 hours so I still had to keep busy for the rest of the day but it definitely helped me take my mind off of things for an afternoon. Since being creative is working so well for ME these days, I thought maybe it would work well for you too! So today I'm bringing you a fun demonstration tutorial about how to use colored pencils to help you shade your mixed media drawn faces. The funny thing is that I REALLY DO HATE COLORED PENCILS. You can see so (and learn why) in the video!! lol! But then you can also see how I use them to really pack a shading PUNCH to my best art journal faces. Here's a peek! Ready to learn and see? Grab some pencils and meet me at your art table. Then press play and let's gooooo! I think we all know how much art can help us to heal. It busy's our hands, quiets our minds, and soothes our hearts. This Coronavirus has the world turned topsy-turvy and now that we are home bound, it is just too easy to feel the stress of the situation. One thing that has helped me tremendously has been to do what my students do. Turn on my laptop, pull up an online art lesson, and start painting. My good good friend Lucy Brydon released this free lesson last week and following her soothing Scottish accent and her meditative, peaceful watercolor techniques was just the eliquor my soul was searching for. Here's a peek into her lesson and into my world. Are you still afraid or unsure of where to put shading on your drawn or painted faces? You are SO NOT ALONE!! I hear this all the time from my Awesome Art School students. And I finally figured out a really fun but also CONCRETE way to not only explain how face shading works, but also how to SHOW you. Sooooo many people are SCARED of shading, this video was made to HELP YOU! I know money is tight for so so many these days so along with the video, I'm also giving out a FREE 4 page pdf bundle of Face Drawing Cheatsheets that go along with the video. Because you are on my newsletter list, I am giving you the link here that will allow you to download all four incredibly helpful resources: I do need to add though, you're sort of wasting your time printing these out without watching the video today, they really go hand in hand. So really, to get the full understanding of the sheets, go and watch the video below and THEN go download the pages when you're ready to give it a go! My YouTube community has been LOVIN' all the fun and free series lately and I hope you are taking advantage of all this free, content rich, well, content!! In the winter it was the Mixed Media "Hamburger" Series which, in 9 episodes covered my ENTIRE Mixed Media process I use to create 99% of my mixed media projects! Have no idea WHAT I'm talking about in regards to Hamburgers and art?! You can get started by watching the first video in the series here! Then earlier this year I did a 4 part Art Journaling Series and that was soooo fun too!! While the Mixed Media series armed everyone with the technical art skills that enabled them successfully layers up on layers of supplies, the Art Journaling Series got people over their fear of starting, their fear of the blank page and on to the super-having-fun part!! I've seen soooooo many fun projects come to fruition as a result of that series, I cannot get over it! If you need a kick in the pants because you're too nervous to get started, that series is a must for you too! This week's free lesson is part 4 of 4 in a free comprehensive series that covers art journaling...well...everything under the sun having to do with art journaling! I'm covering a TON of art journaling tips with you today including a full art journal cover tutorial PLUS 7 easy ways to save (and how to fix) an art journal page using mixed media collage, gesso, and black gesso techniques and so so much more! To recap the other videos in the series: Video 1 is a full hour-long video addressing ALL of the fears you may be experiencing that may be holding you back and keeping you from diving into art journaling! I put together a 5 page pdf with helpful suggestions that goes with this episode as well as advice from myself and close (cardboard) friend, Bob Ross PLUS 5 easy ways to get you kick-started into art journaling! Video 2 was also a full-length tutorial that covered... So the background is done.... NOW WHAT?! I included my 10 BEST tips and tricks about choosing a color scheme and how to plan out successful composition in your art journals! I even made a free pdf for you that covers those points! Check out the second in the series right here now! Video 3 was then a full length tutorial using one of the backgrounds we created in Episode 1!!! We made a trio of ridiculously funny Emus and I show you the truth behind that art journal mixed media page; the doubts, the frustrations, and then how I was able to power through to complete it using the pdf I handed out in Episode 1 as well! To rewatch Episode 3 click to watch here! Video 4 is 7 Easy Ways to Save an Art Journal page you destroyed (or to fix on you hate!!) as well as my favorite way to cover an art journal!! Link to watch Episode 4 is below! And yes, I have a cheatsheet for you too! Look how cute my journal cover came out!! And it only takes a few minutes! Have any further questions on any of this? Leave me a comment below!
|
Karen CampbellFounder of Awesome Art School. Mixed Media Artist. Author of 19 Instructional Art Books! Whose work has appeared in...Archives
July 2024
Categories
All
|
|
"Karen is flipping hilarious and she's very real...I like the way she teaches in a way that really gives you confidence, whether you're a beginner or advanced there's always something new to learn!"
- Elizabeth W. |
What Fans Are SayingKaren, you are absolutely fabulous! You make me feel like I can draw anything. I have recently retired and finally have the time to do some of the art that I have loved since I was in school. I am really at the beginning of my art journey and I hope to learn as much as I can. Thank you for all you do. |
Contact ME |




 RSS Feed
