|
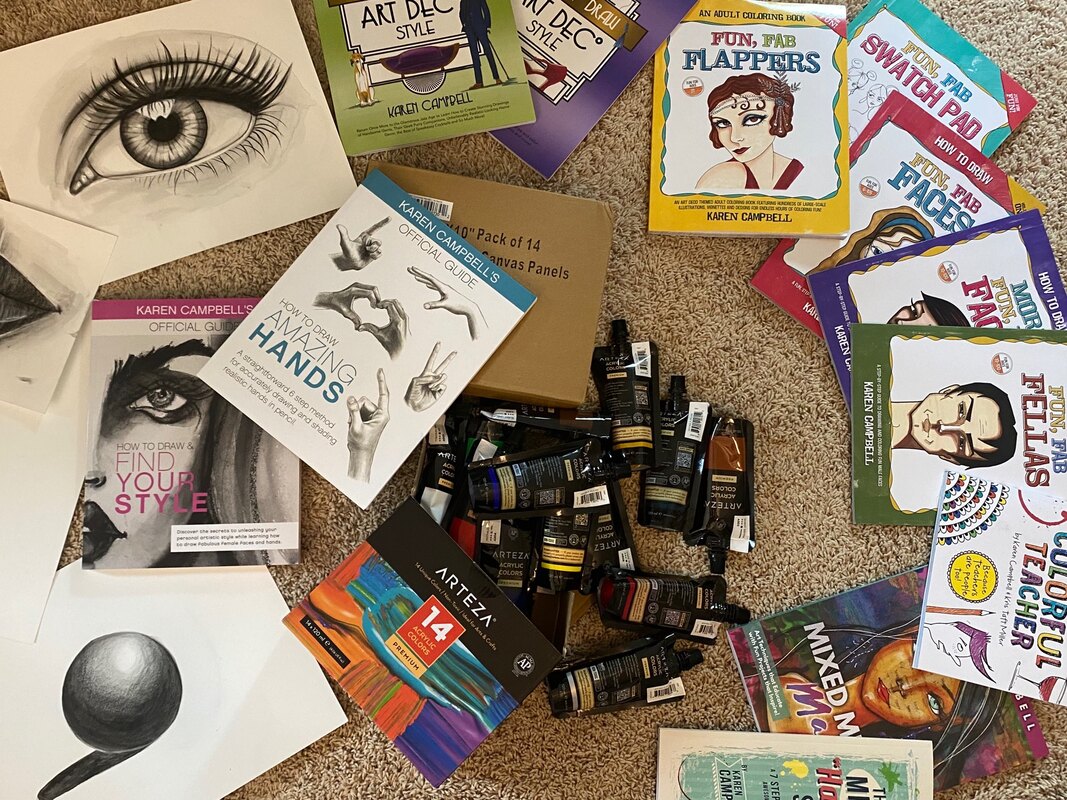
I hope you had a fantastic weekend!! I have a LOT to tell ya today, so buckle your seat belt... On Friday, I did a LIVE STREAM on my mixed media channel to celebrate 30K subscribers!! While I was there, I showed a sneak peak of some of my 30K giveaway prizes: MY 30K GIVEAWAY PRIZE WINNER WILL RECEIVE:
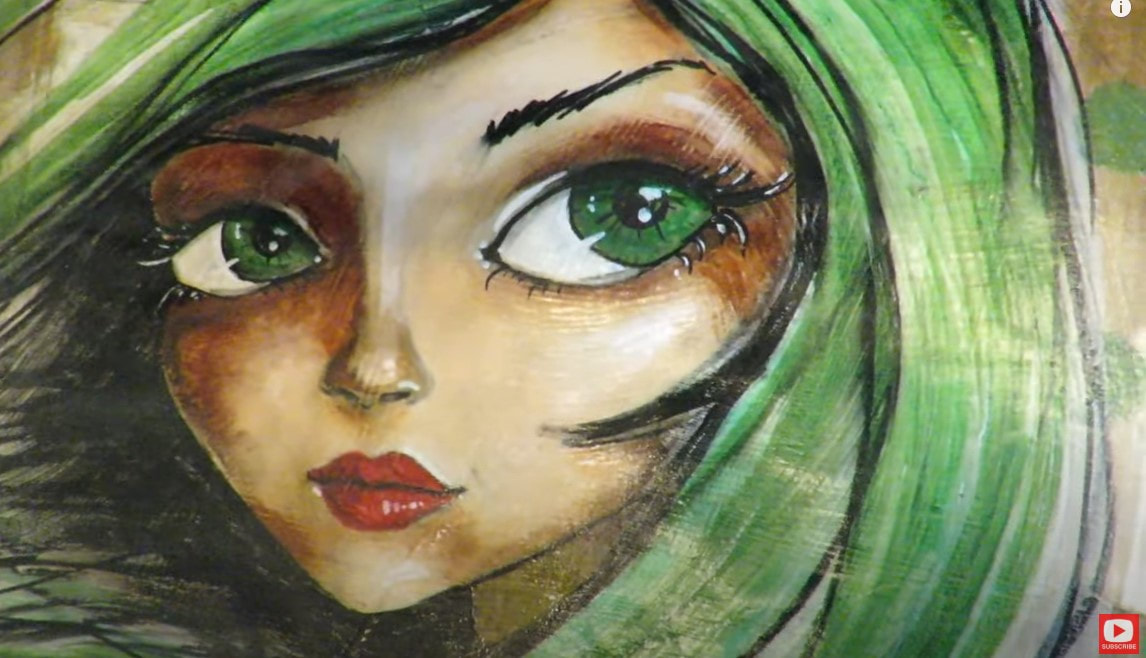
HOW CAN YOU WIN the GIVEAWAY PRIZES? All you need to do is subscribe to my new Drawing Channel on YouTube. After that- just pop back over to my LIVE STREAM video from Friday, and leave a comment telling me you've subscribed. That's it ;) The winner will be selected at random and announced this Friday (9/4) on my Mixed Media channel!! KAREN's CHALLENGE DETAILS While I was LIVE on Friday, I also announced ALL the details about the Challenge I'm running next month!!! I decided to go BIG... We're starting September 21st, and the Challenge will run for 5 days. I'm giving away prizes EVERY SINGLE DAY in my Facebook Group!!! CLICK HERE to learn more & sign up for my DRAWING CHALLENGE - beginning Sept. 21st CLICK HERE to learn more & sign up for my MIXED MEDIA CHALLENGE - beginning Sept. 21st **IF you're a Club member of either The Fun Fab Drawing Club or The Mixed Media Society - you've automatically been enrolled in the challenge and will see that bonus in your classroom.** If you're NOT a club member, it's just $5 to participate in either challenge to receive the daily 1-hour lesson. I HOPE you'll join me!!! NEW Drawing Video Today My last bit of news today is to let ya know I've added another video to my profile series on my Drawing Channel. Today she's an adorable fairy that I've shaded using some super cheap copic marker alternatives from a brand called Par Koo! I was actually really surprised by how much I loved these juicy markers! Even better- they're only 37 cents/ each - so if you're in the mood to add a ton of colors to your alcohol marker stash - I highly recommend giving them a try!! CLICK HERE when you're ready to watch today's drawing tutorial & please draw along with me!!! See ya next week!!!
1 Comment
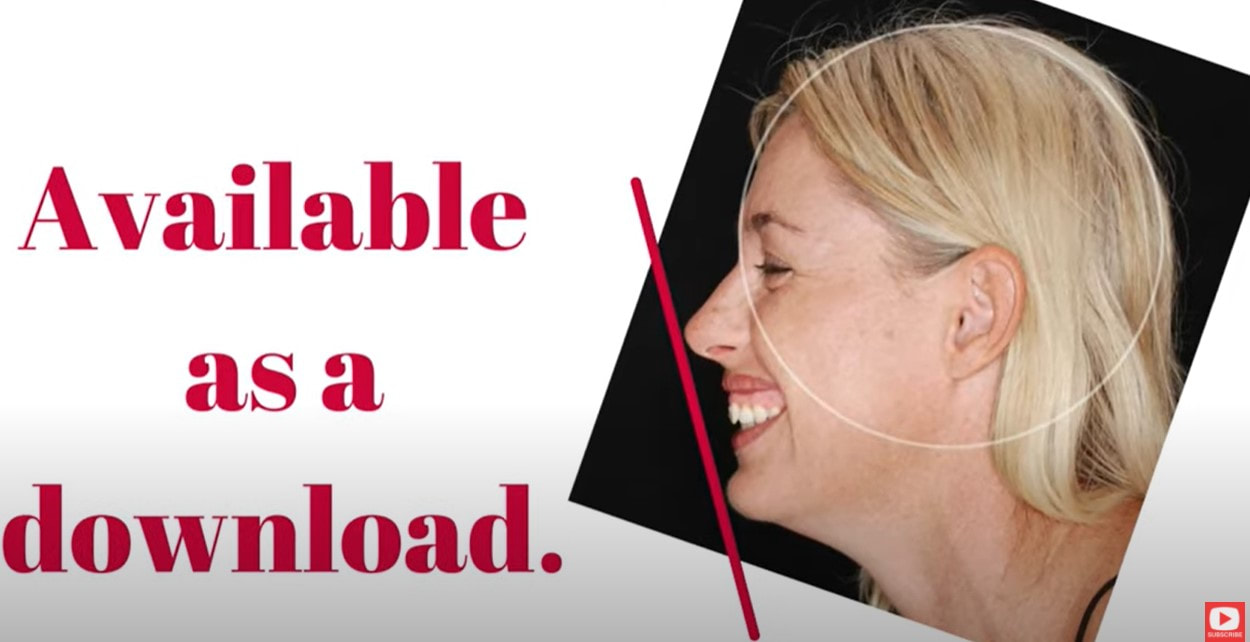
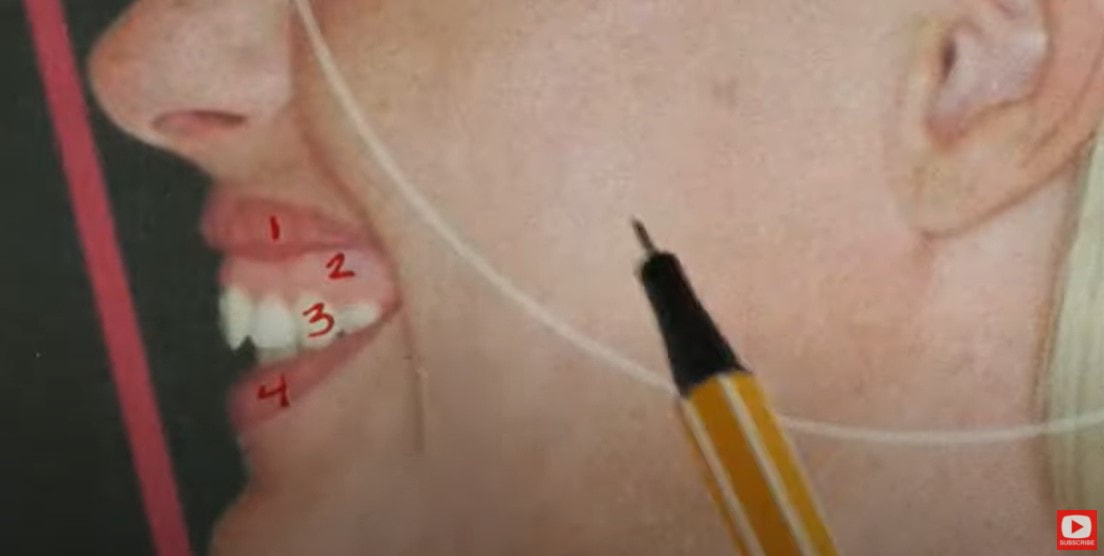
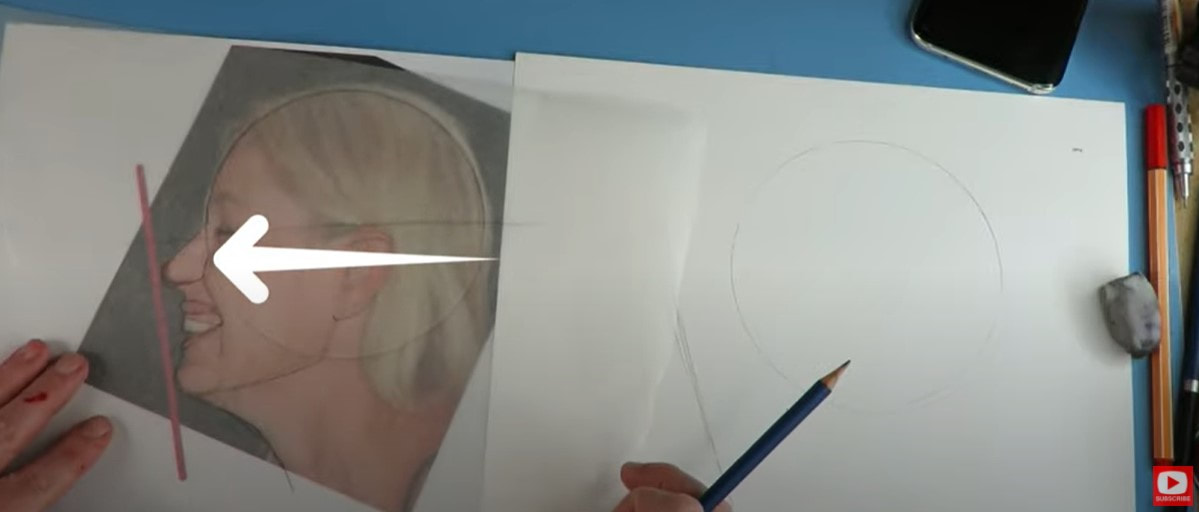
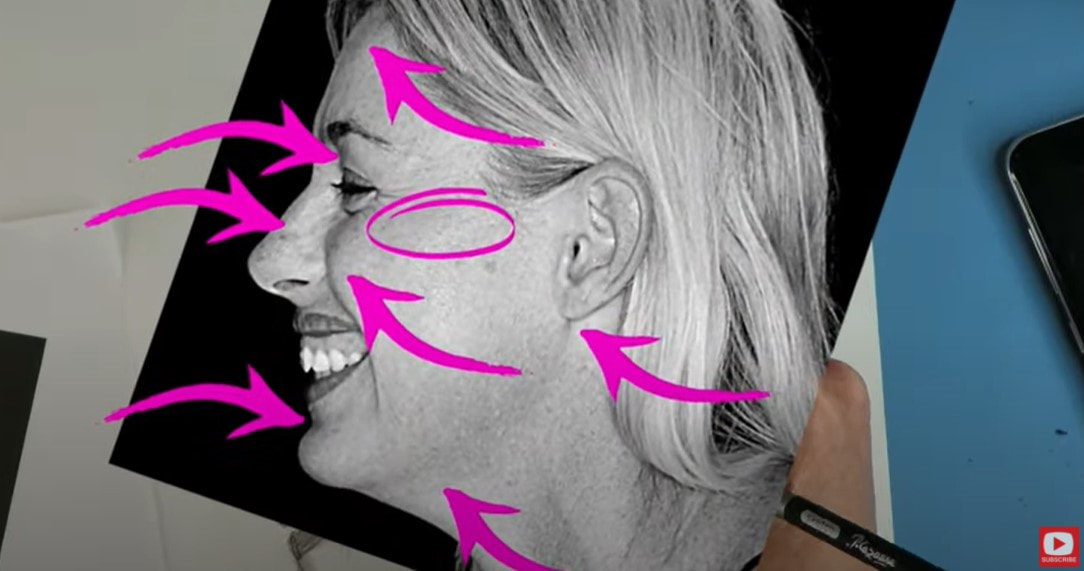
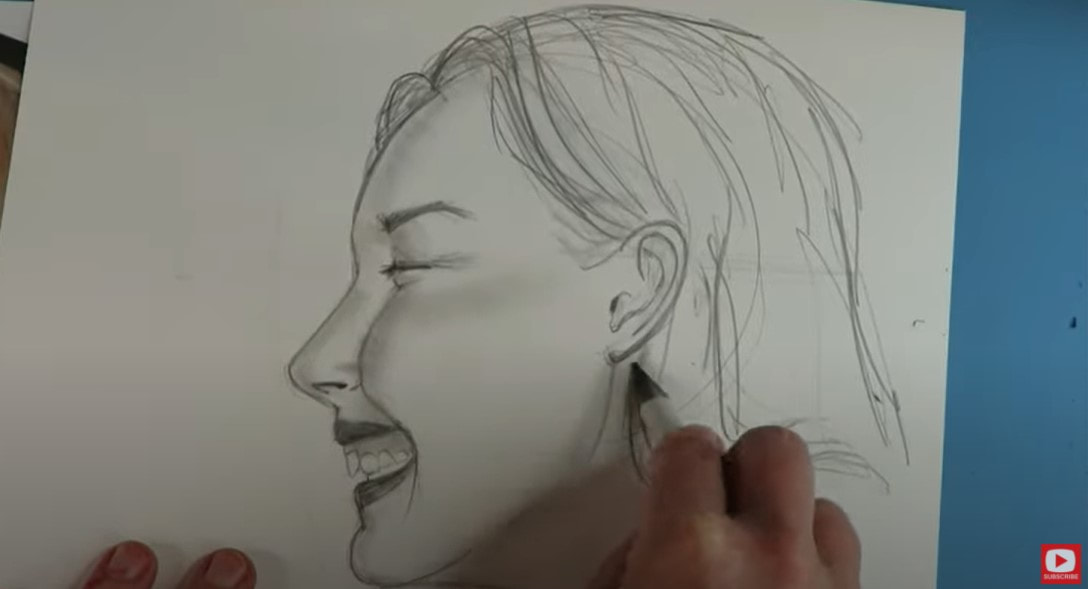
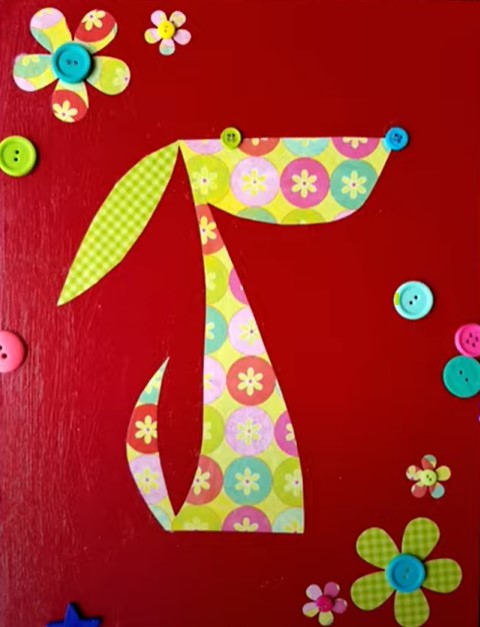
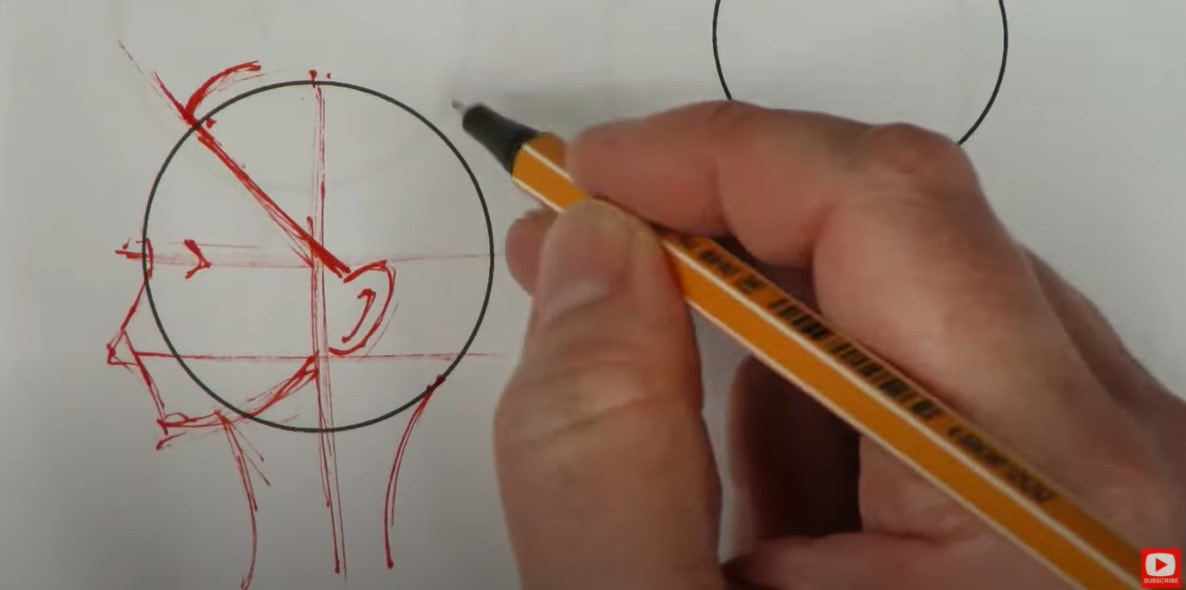
While we've been working through how to draw profiles this month on my drawing channel, I've shared with you what a STRUGGLE I used to have with these!! I hope they're getting easier FOR YOU with all the tips and resources I've been sharing to help you figure this out FASTER than I did ;) When you are comfortable with profile face drawing, shading, and adding in a FUN assortment of hairstyles, you can try jazzing up your sketchbook by adding some EXPRESSIONS. Using a photo for inspiration (reference drawing) will make this process SO much easier than dreaming up an expression from scratch! A photographic reference has tons of information we can try to replicate in our drawings from angles to shading to make our drawings look SO much better!! And... if you haven't done this before, as always, I've GOT YOU! And... I'm gonna teach you to do this step by step in today's drawing tutorial! To get started, you're gonna need a sheet of trace paper, a sheet of drawing paper, a pencil, eraser, and the reference photo for today's project (just request that in the comments of today's video if you'd like a copy!). The first step today is to is to sketch a circle, followed by our profile drawing guidelines. Not sure what these are or how to do it? Go ahead and start this Profile Drawing Series from the beginning and work your way up to the expressions video! Next, we need to replicate the angle of this reference photo's nose to chin (follow that red line I've drawn up above!) to get the drawing proportions of the face just right. As you'll see in the drawing video, I also want you to pay special attention to the black, negative space around this woman's profile in the background. That gives us TONS of info for our drawing so we can make it match the reference photo accurately (even if you're not doing a realistic drawing!). In the photo above, you'll see I actually took the time to NUMBER the parts of the mouth on the reference photo that I needed to include in my own drawing to accurately replicate this profile expression. This is a SUPER HELPFUL tip that can make all the difference to help you break a drawing down step by step. One of the biggest challenges in drawing more realistic faces is remembering to include all the components from your reference photo in your own drawing. Another huge tip when you're using a reference photo like this, is to lay a sheet of trace paper on top of your reference to physically trace some major guidelines for yourself. Then you can lay the trace paper you've drawn on over your own drawing to double check angles. It will help you see if something needs to be adjusted before moving forward with your drawing. When I'm doing a drawing in graphite, I often will print my reference photo in black and white (see below!), because it TOTALLY helps me see where I need to throw in shading when I've finished my sketch. This makes is SO MUCH EASIER to find the shadows and replicate them in grayscale, like I did below... See how the shadows are easier to spot now? I pointed out a million spots to get ya started on your shading!! Blending out some of the graphite in your shading with a blending stump (that's what is in my hand in the pic below), will also soften your shading and turn your piece into a more 3 dimensional drawing that looks more realistic! Don't stress if you don't have a blending stump. Tons of artists will use a finger! You can also use a q tip, or even a tissue as well. If you DO have a blending stump - let it get dirty!!! The dirtier the better ;) I hope you enjoy today's drawing project and mini lesson!! Have FUN with it!!! Stay tuned for next Monday's profile episode- we'll be putting everything we've learned into action and using copic markers to SHADE a PROFILE in COLOR!! See ya then!! This project is SO FUN!! If you were with me on YouTube the last couples of weeks - this project is similar - another decoupage / collage project, AND it's easy enough to share with an artsy little one in your life if you want to - OR to gift to that special little one for his/her bedroom walls (if you can bear to part with him!!). SUPPLY LIST for THIS no draw Mixed Media Collage PROJECT:
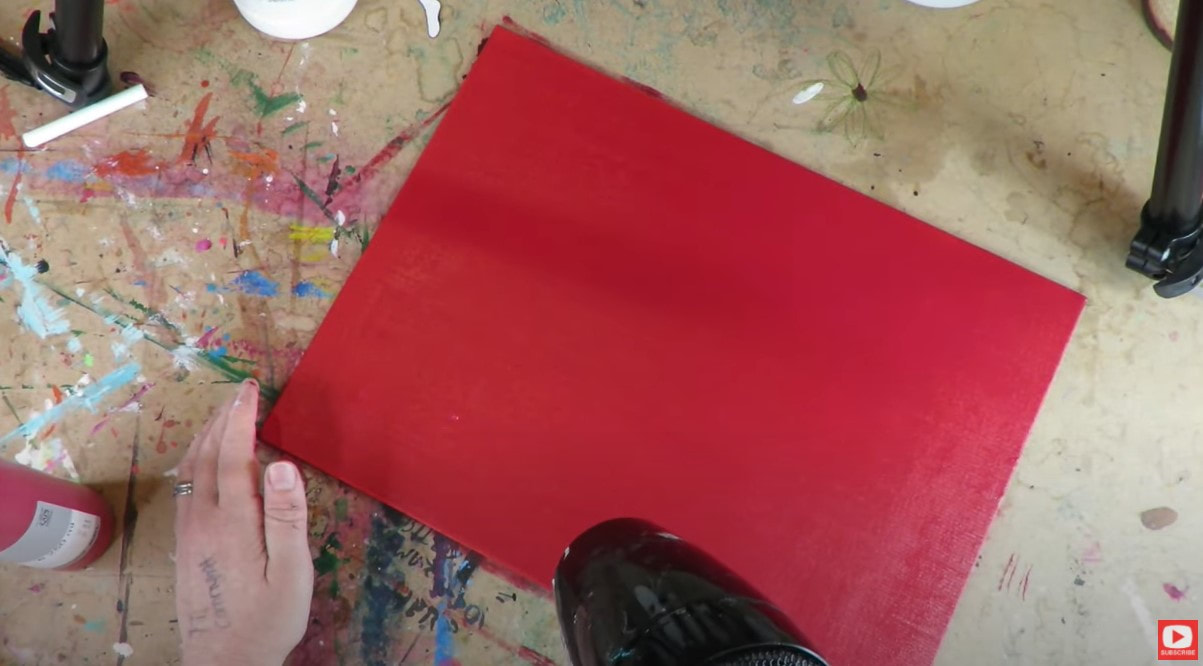
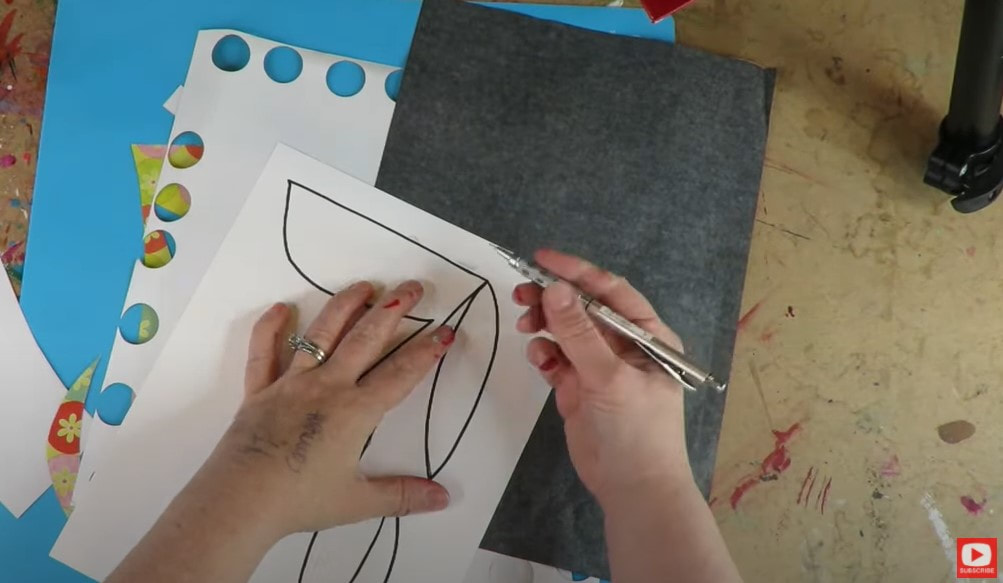
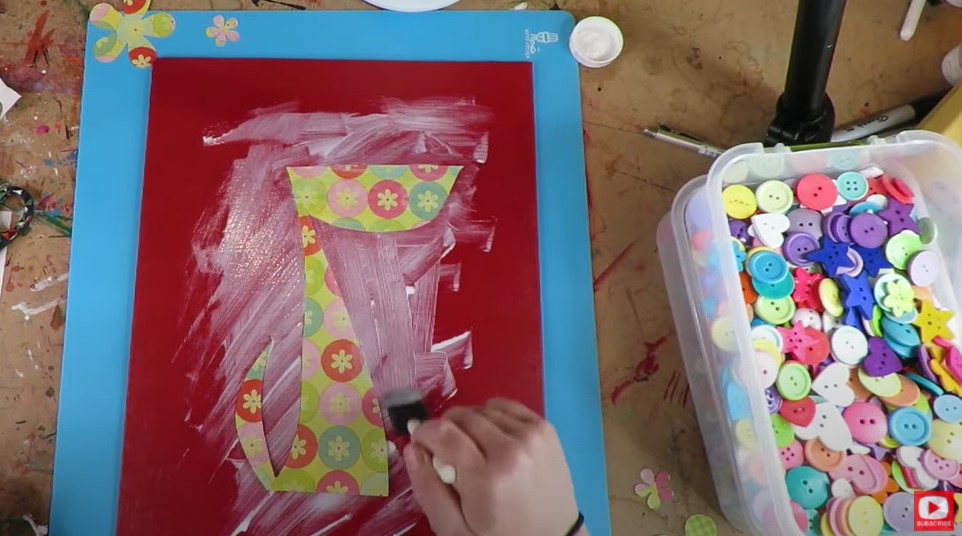
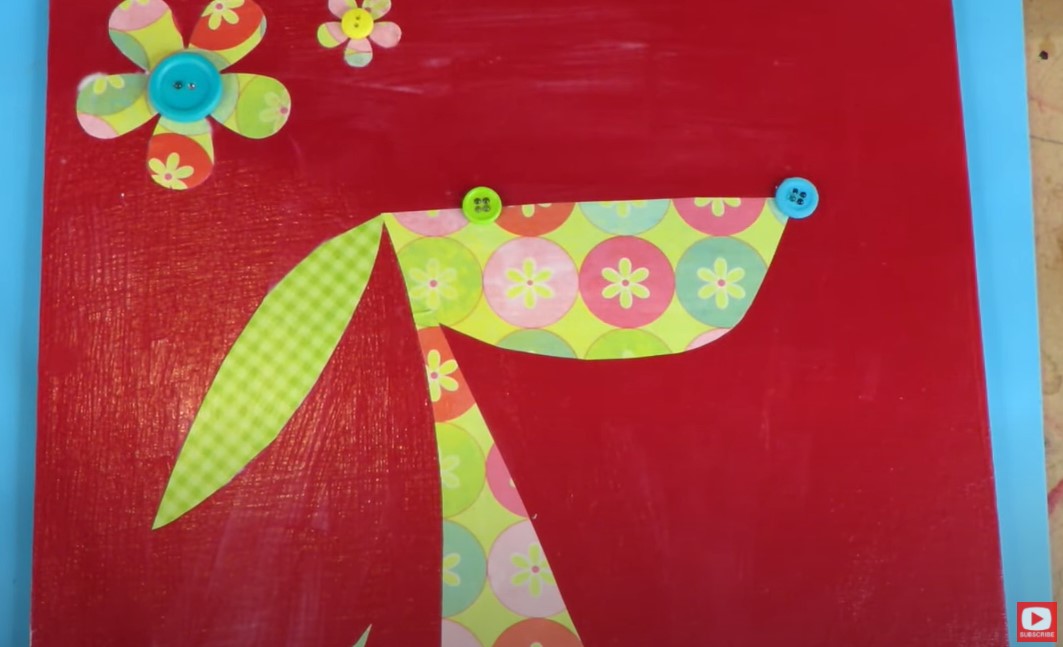
Once you've gathered your supplies, CLICK HERE to meet me on YouTube for this mixed media tutorial! The first thing we're gonna do is cover your entire art journal page or mixed media canvas with two complete layers of acrylic paint! I know you'll probably think one layer should do it- but trust me ;) I've got you! Apply one juicy coat of acrylic horizontally, dry it, then apply a second juicy coat of acrylic vertically. This will ensure you've covered every inch of your canvas, so when it dries- no teensy white space will be poking through! While you're waiting for the second layer of background paint to dry, let's move on to your puppy! Grab you sheet of transfer paper and one of your sheets of scrapbooking paper. Lay the scrapbook paper face down, then lay your transfer paper face down on top of that. Finally, stick your puppy template printout on top. Finally, just trace the outlines of the puppy FACE and BODY from the template with a sharp pen or pencil and the design will totally transfer onto the back of your scrapbook paper! It's EXTRA cute if you trace the puppy ear and/or tail onto your second sheet of scrapbook paper ;) Or - use a different sheet of scrapbook paper for each body part!! That would be adorable too - do whatever YOU think will be cutest!! When all of the body parts have been outlined and transferred to scrapbook paper, simply cut the pieces. If you have a favorite punch - use that to cut out some additional scrapbook paper decorations in the background. Then it's time for mod podge!! Slather a thick layer of mod podge where you want your puppy to sit on the canvas and set him down gently. Next cover him on top with a thick layer of mod podge, and just keep going- allllll over your canvas! Even if you're using matte mod podge- there will be the teeniest bit of sheen in the areas of your canvas WITH mod podge- so just cover the entire canvas at this point so everything looks uniform. As you're slathering that top layer of mod podge... lay down the puppy ear (and tail if you chose to cut that out separately) and any background decorations you may have punched out (in my case- they're flowers). Be sure to fling that puppy's cute little ear in whatever direction you want to add a little extra personality to your piece!! Remember to layer even MORE mod podge on top of the ear and background decorations so everything has mod podge under AND on top of it. The more mod podge you use, the fewer wrinkles you'll have in any of the scrapbook paper you lay down. Once you have your mod podge over the top of your entire piece, hit it with the hair dryer (if you have zero patience like me!!) LOL!!! Then go ahead and add a button eye, nose, and center to your flowers (if you added those to the background). A dab of hot glue works great to glue those buttons down. Isn't he SOOOO CUTE?!!! I hope you have as much FUN making him as I did!!!
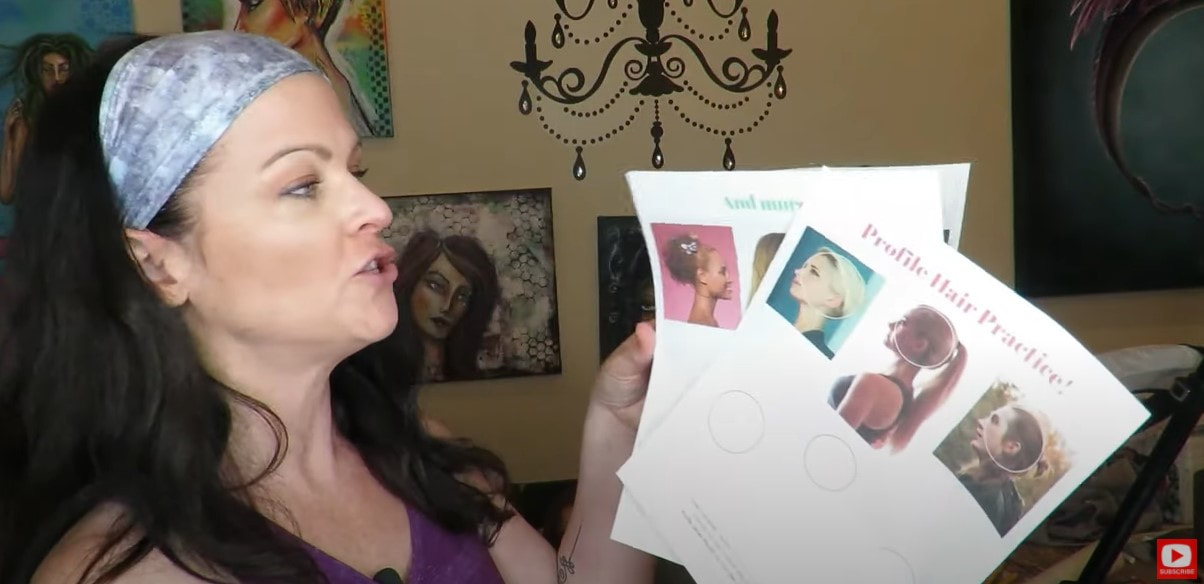
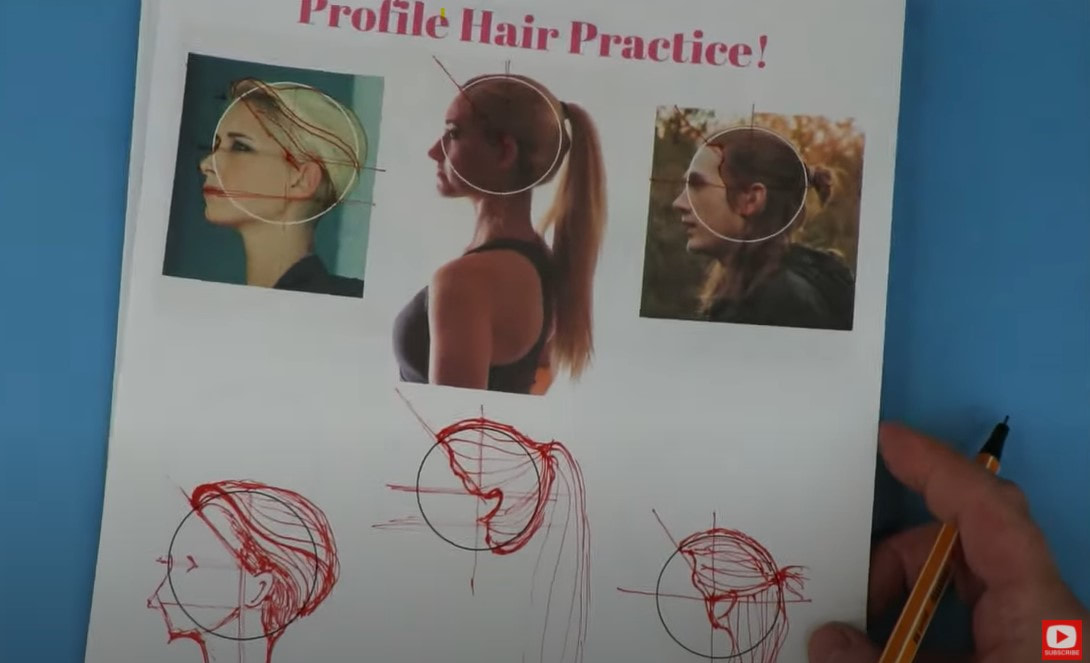
See ya next week ;) I hear ALL the time from my students at Awesome Art School about how challenging it can be for many of them, not only to draw hairstyles, but how to come up with fun hairstyle ideas to draw in the first place! Since we've been working on drawing and shading a profile face over the last couple of weeks on YouTube, I thought we'd spend some time drawing profile hairstyles to make this part a little easier! As you'll see in this hair drawing tutorial, one of my best tips for drawing hair (& to stay inspired!!) is to LOOK AT PHOTOS!!! When I was learning how to draw, I didn't like using photographs for my references because they made me feel pressured. I just wanted to learn how to do whimsical drawing, and not be bothered by all the details in a photo since I wasn't drawing realistically! Now I know there is SO MUCH you can learn from a photo that can inspire you while you're drawing!! To help you get you started, I made you a 4-page reference you can print out with 12 unique profile hairstyles. There is also space below each style to practice drawing the hairstyle above it. The first thing you need to remember about how to draw hair on a face from any angle, is that hair has volume. Hair will always extend out and above the head shape you've drawn - whether that head shape is an oval for a forward facing face, or a circle for a profile face. Even if the hairstyle you are drawing is a ponytail or braid that has been pulled back super tight, there will still be volume that extends above and outside of the head shape you've drawn. The next things that will help you with drawing hairstyles are to add in a neck and the profile face drawing guidelines. Then you will begin to see where the hair should naturally sit. Once your guidelines are in place, really look at the photo you're using as a reference for this drawing. Begin sketching your hairstyle at the root (see above), and extend your line back, away from the face - just as if you were brushing your own hair with a hairbrush. If you imagine your pencil as a hairbrush - it will help you draw your hairstyles realistically from root to tip. It can also be helpful to draw the outline shape of a hairstyle first - almost like you're drawing a helmet, then start adding in your detail, strand by strand. Feel free to draw right on top of the profile hairstyles PDF I'm giving out as a resource to accompany today's video - then see if you can recreate those same lines on the circle below. Using a photo as a reference point for drawing hair really eliminates the pressure of dreaming hairstyles up on your own from scratch (unless you want to). Find a photo of a style you like, then see if you can replicate it on your whimsical or realistic face drawings! Let me know in the comments section of today's video if you'd like a copy of my 4-page cheatsheet so you can draw along with me! HAVE FUN drawing your profile hairstyles!!! I'm not gonna lie, today's project started off as a HOT MESS CANVAS. I fought with my mixed media collage background WAY longer than I thought I would. I've had this happen WAY too many times in my journey with mixed media art to give up. I chose to push through what I call the "ugly phase," & I'm SO glad I did!! If you were with me last week- we did a very similar NO DRAW, decoupage collage project using scrapbook paper, wood canvas & the same female body template :) I loved doing that so much, I thought we'd do her one more time in a totally different way! Here is your supply list for today's mixed media art tutorial:
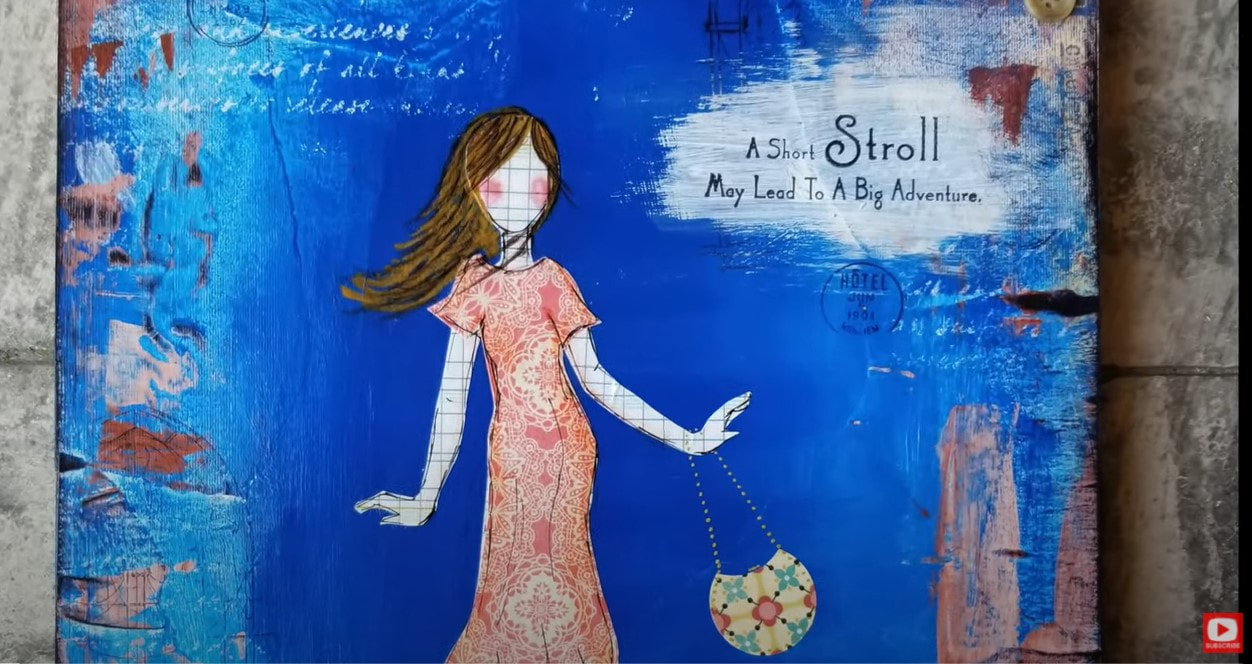
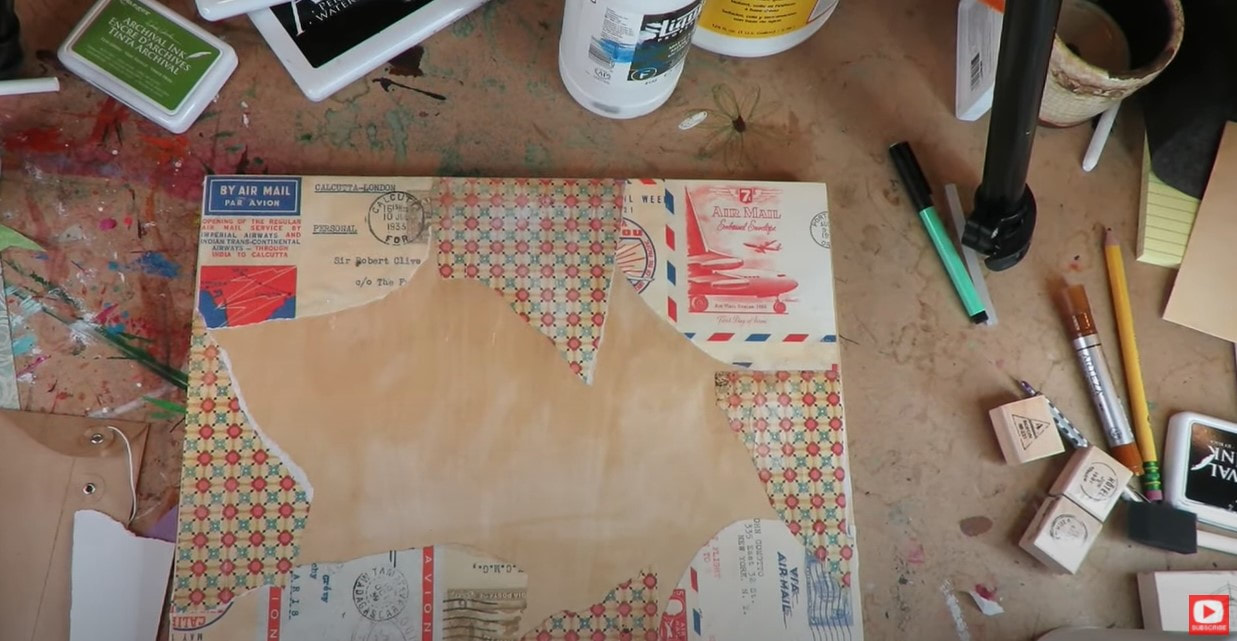
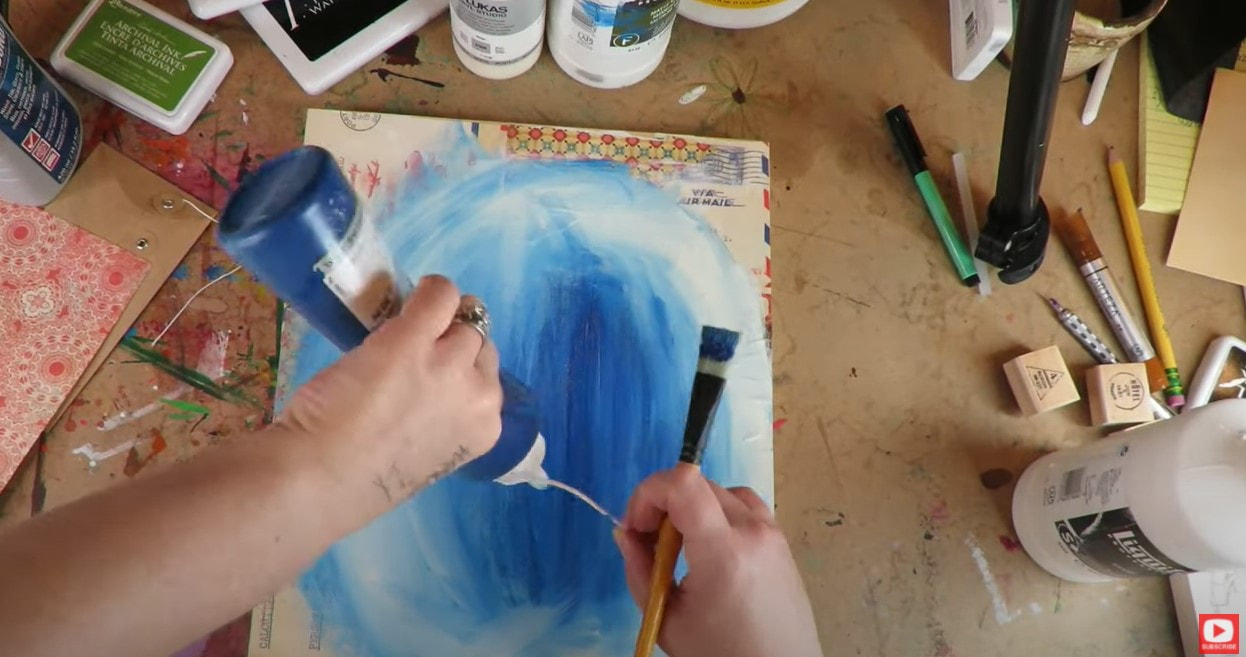
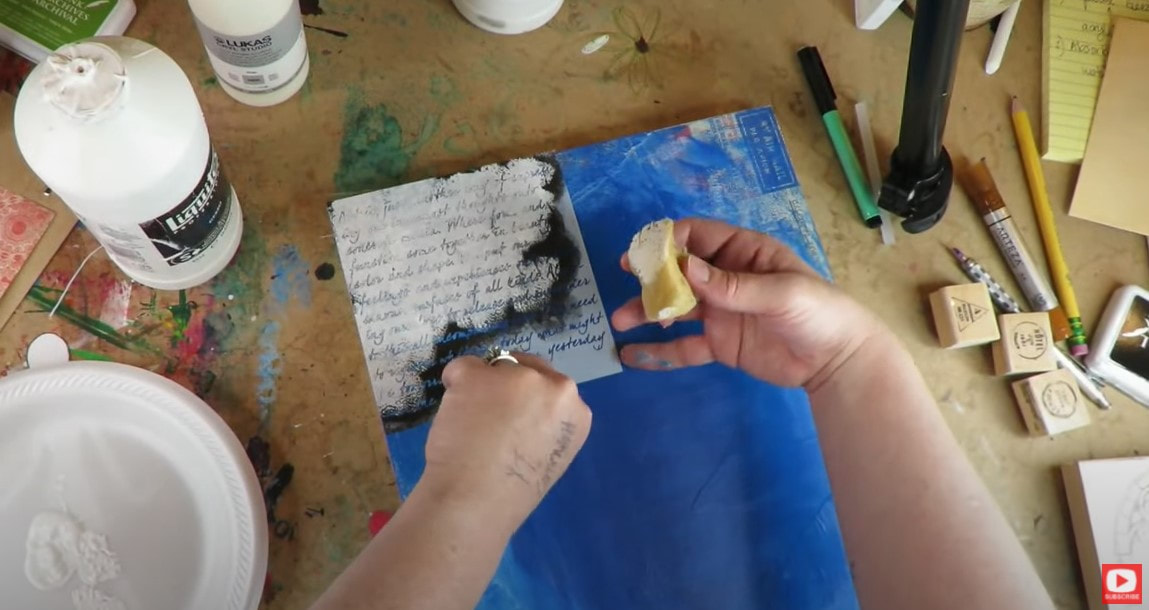
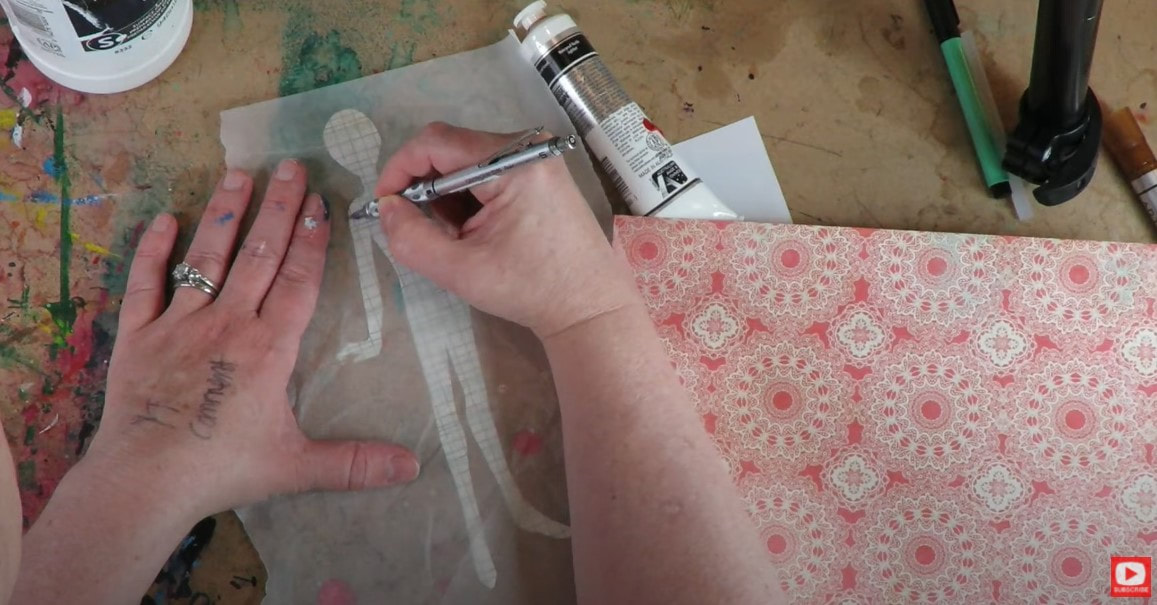
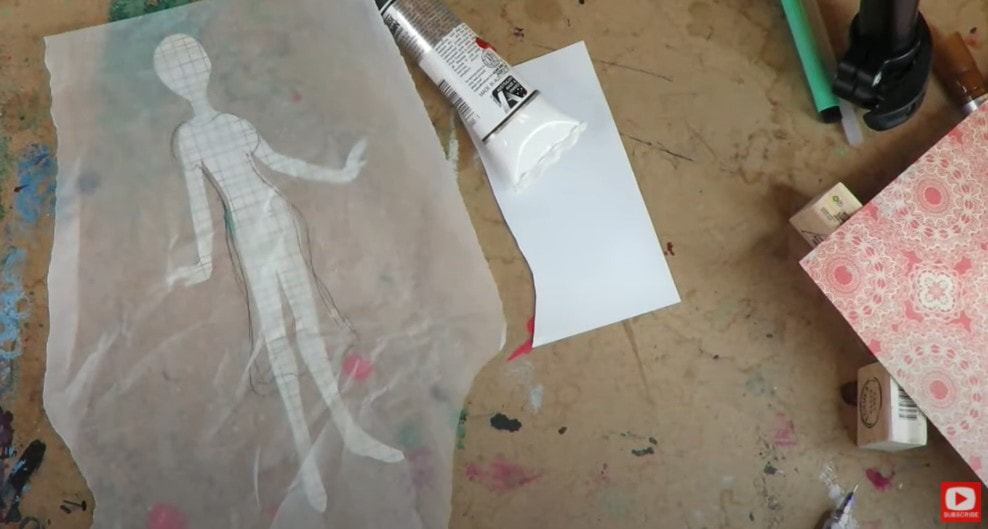
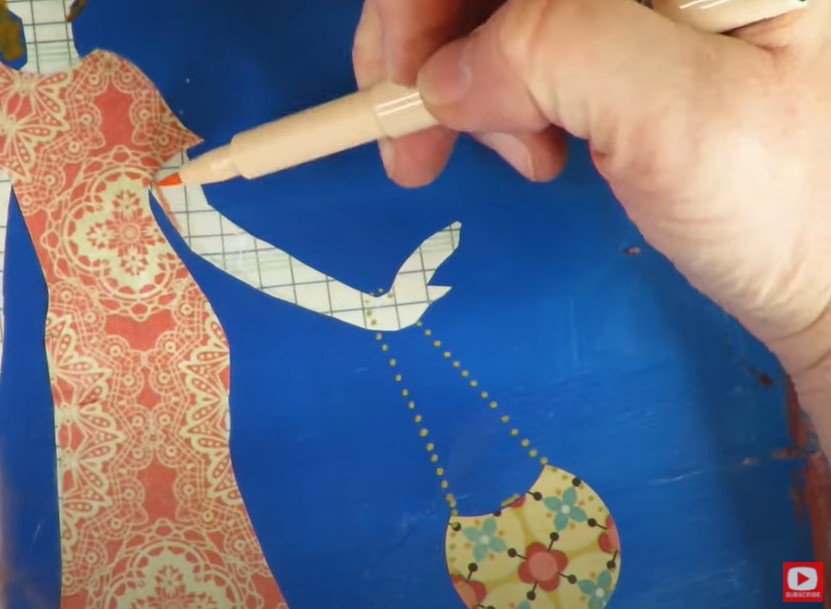
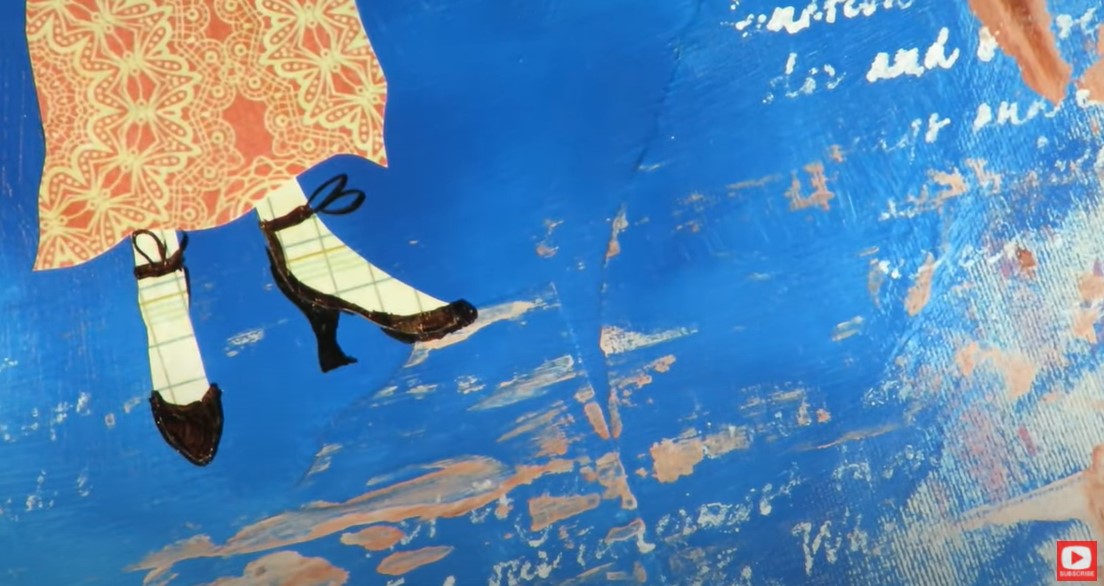
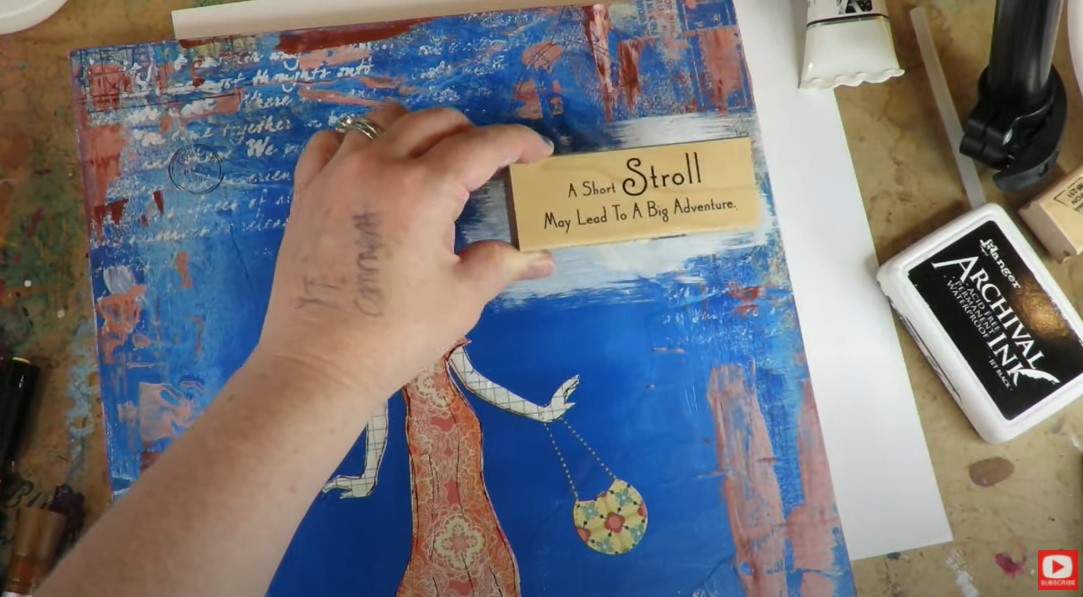
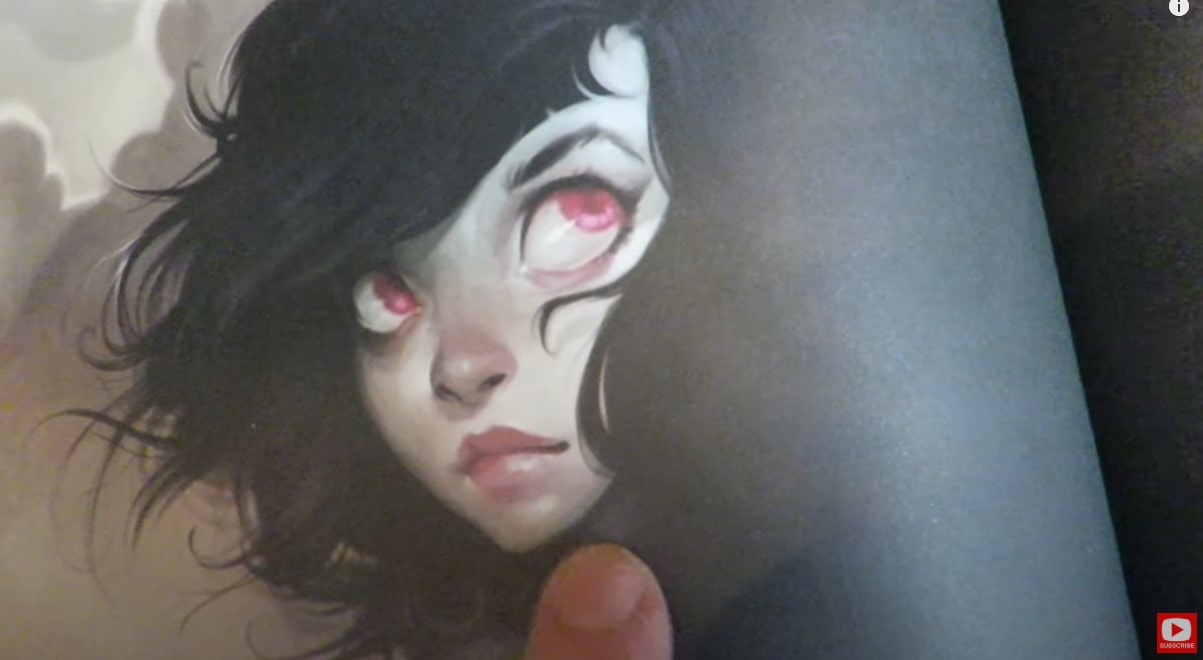
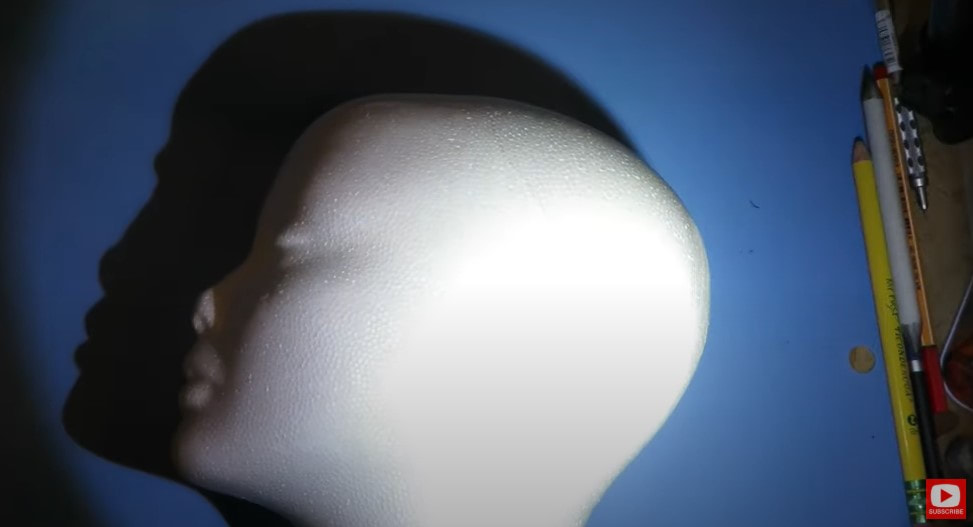
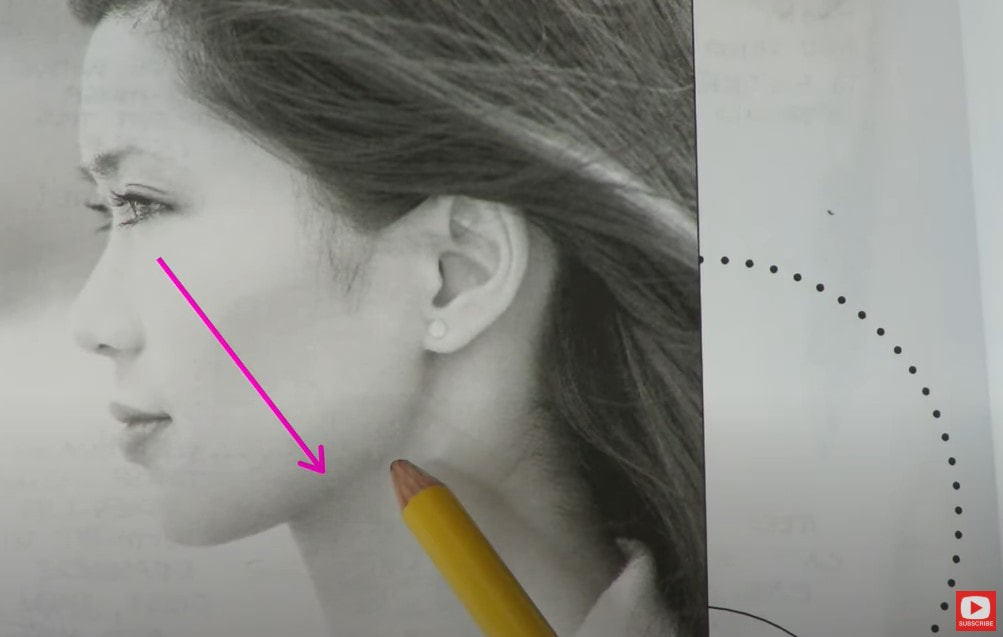
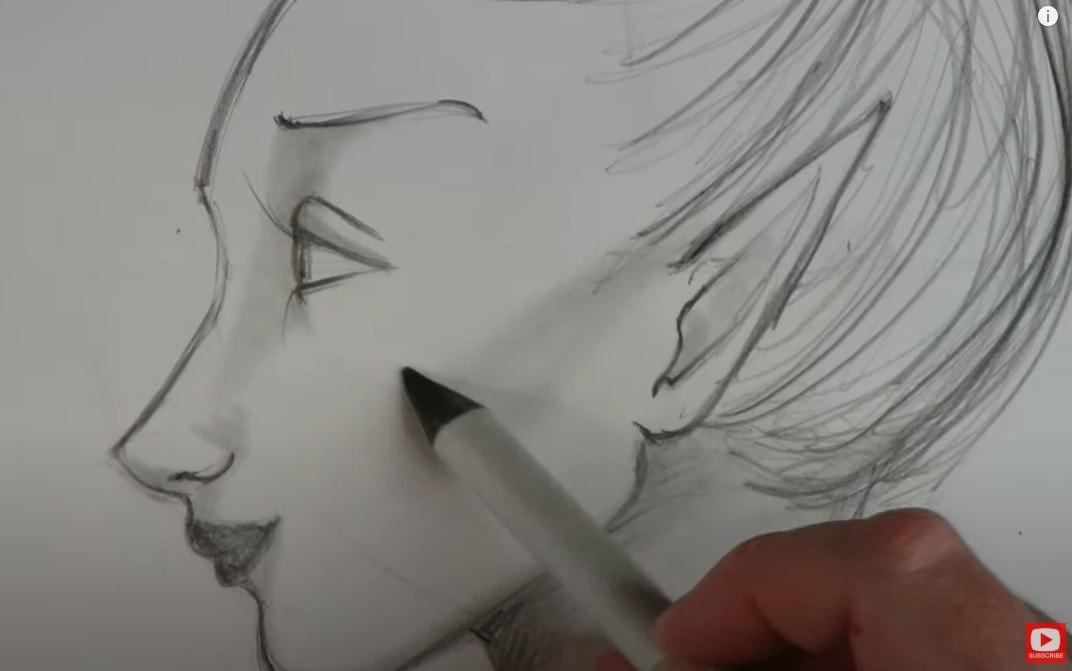
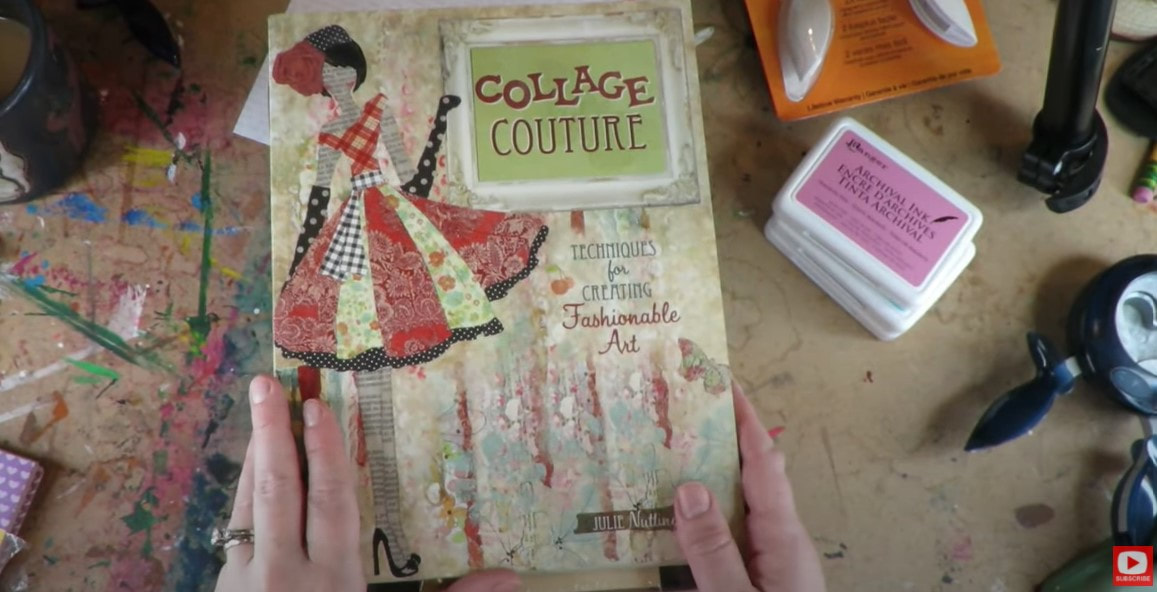
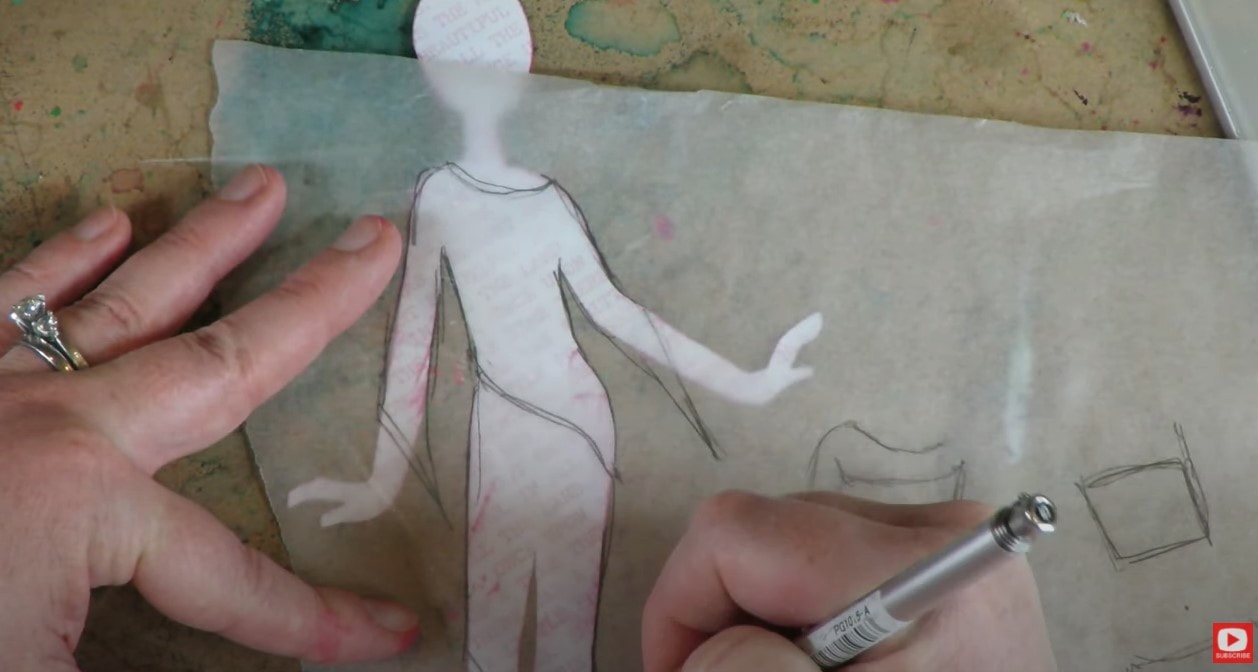
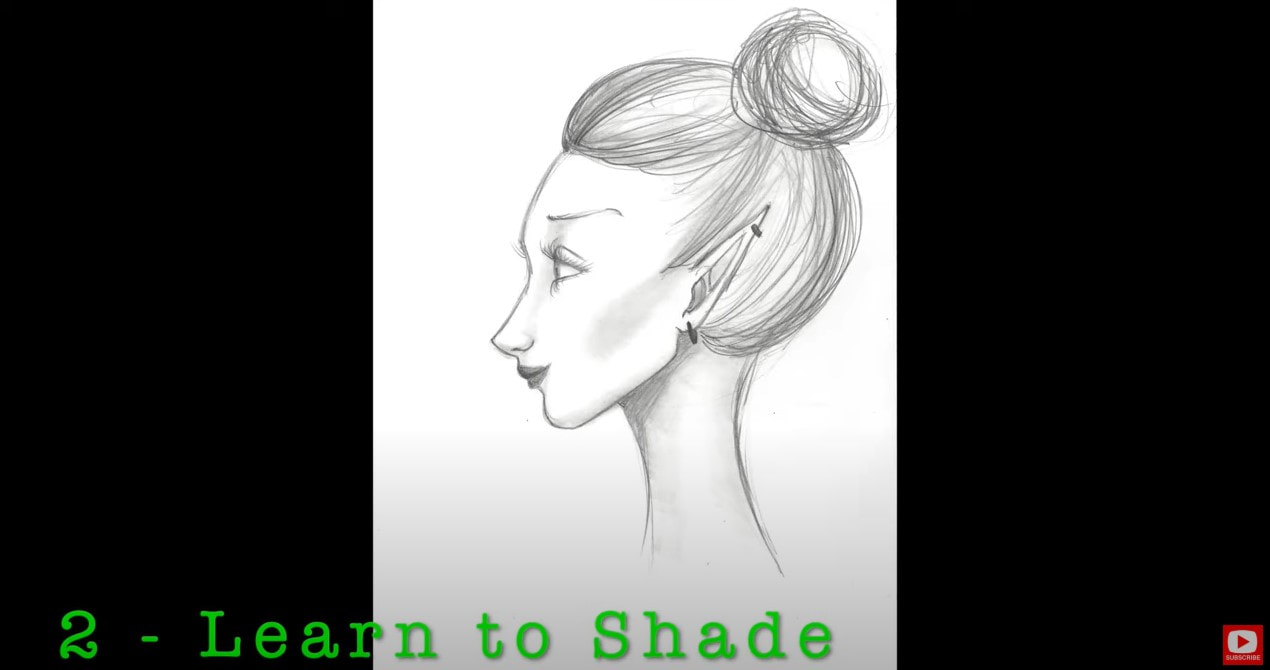
As you'll see in the tutorial, if you choose to work with a wood canvas or wood panel, this material will TOTALLY soak up your matte medium, mod podge, and acrylic paint - just like a sponge! Luckily I knew that going in, and reached for my Weldbond glue to get my scrapbook pieces onto my wood. Even so - I ran into issues, soon after. I used WAY more paint & covered more of my cute scrapbooking paper than I had intended. Y I K E S !!!!!! Instead of giving up- I reached for my stencils and stamps to help me, and KEPT GOING!!! When you've got your background to a place where you're happy... it's move on to your girl! You'll need your sheet of transfer paper, a sheet of trace paper , 1-2 sheets of scrapbook paper for your girl's clothes, a separate sheet of scrapbooking paper (or sheet music, etc.) for the girl's body, and a printout of my body template. We'll start with the sheet of paper you want to use for the girl's body. Lay that sheet face down on your art table, then lay the transfer paper dark side down on top of that, and my body template printout over that. Use a sharp pencil or pen to trace the body template. When you're done, you'll see her on the back of your scrapbook paper- all ready to be cut out ;) At this point, it's time to create some clothes. Lay your girl cutout right side up on your art table. Then lay a sheet of trace paper on top of that. Using a pencil, simply draw an outfit right onto your trace paper. We're basically making a pattern for her clothes! If this part of the video goes too fast, you can click on this video from last week to see me working in real time on this step. For this project I decided to create a one piece, flowy dress. If you want to do a 2-piece outfit using multiple pieces of scrapbook paper, and are feeling stuck at this point, click over to last week's video for a quick demo of how I did that. When your clothes pattern/s are all drawn out onto your trace paper, you'll need the scrapbook paper you've selected for her outfit. You'll also need your transfer paper again. Lay your clothes scrapbooking paper face down on your art table, then lay the transfer paper face down on top of that. Finally, lay the trace paper with your pattern right on top! Cut your outfit pieces out once everything has been transferred the way you want. Set those pieces aside and pop back to your canvas to glue your girl & her clothes down with some good old mod podge! After my girl and her outfit were glued down and dry, I added a cute little bag, drew in shoes with my pitt pen... Added hair with a paint marker, and shaded a bit of dimension on the sides of her dress and arms (with faber castell pitt pens). When I felt like she was all finished, I added a few stamps as well - one of which came out TOTALLY crooked. OOOOPS!!!! The good thing is- THIS is mixed media. If ya don't like how something looks- keep going. Try something else! When I hit a point like this - I tend to throw a quote over my mistakes ;) Just like this ... And there ya go!!! I HOPE you have even MORE FUN than I did making this girl. And YES- I STILL had TONS of fun even though I had a hot mess canvas for a while (twice in one project actually!!). I hope I've inspired you with some new ways to work out the kinks if run into any while you're making your own creations! Just remember to KEEP GOING. Try everything until you're happy ;) I've been drawing since FOREVER. But when I first started, it was SERIOUSLY hard to figure out where to put shadows and highlights on a face drawing to make it look 3 dimensional- like a more sophisticated drawing. I found this to be ESPECIALLY HARD whenever I would draw faces from different angles. Today's FULL LENGTH, real time drawing lesson on YouTube is going to help you skip of the hard parts of wondering where to drop in the shading or highlights on a profile face, so you can create some profile drawings you are SUPER PROUD of!!! My first shading trick is to REALLY LOOK at the art you admire from other artists! Focus on the areas of that artwork that show light and dark in the face. Here's an example of a piece I LOVE and used as a REFERENCE to inform me where lights and darks could go in my own drawing. This is called reference drawing! It's a thing, and can definitely help you grow as an artist. Isn't this beautiful?? So dramatic!! This piece was done by a Dutch digital artist I adore, Loish (Lois Van Baarle). I absolutely LOVE her work! If you look closely at the the piece below, you'll see that I tried to replicate the light source and technique Loish used around the eyes of her girl when I created my own... One of my favorite ways to demonstrate to students how light source affects the faces we draw, is using a foam head from the craft store and simply shining a flashlight on it. When you move the flashlight around, you can see exactly where the shadows and highlights are. This is exactly what you need to look for and imagine in your own drawings to add realistic shading to your face drawings - whatever angle you're drawing from! Sound confusing? CLICK HERE to watch my demo. Now- don't worry, I'm not telling you to go get a foam head in order to draw realistic shadows! If you're drawing a profile in pencil and want to add some shading, the EASIEST thing you can do is pull up a black and white profile photo on your phone. If you look closely, the photo will show you exactly where the lights and darks need to go for your drawing. That's it!!! It REALLY is THAT simple!!! Take a look at this image. REALLY look closely to see where the shadows are falling. If you need to- squint your eyes a bit! For this particular profile photo, the shadows are showing up primarily under the chin and neck- extending up to her earlobe. See what I mean? That wasn't too hard was it? You're totally gonna be looking at photos differently from now on, aren't you?! AWESOME!!! It's going to make you a better artist!!! OK!! On to today's project... we are shading the profile face we drew in last week's episode. If you missed that episode, CLICK HERE to draw the simple profile with me in real time. Shading a profile (or a face from any angle) is really much easier than you think! All you need to do is lay down a little graphite from your pencil and SMOOOOOSH it around with your blending stump (that's what I'm holding in the pic above!). If you don't have a blending stump- just use your finger, a cutip, or even a tissue to move graphite around on your paper.... Be as DRAMATIC as you want to with your shading!!! YOU are the CREATOR!!! A little realistic shading on a whimsical face REALLY punches it up, and takes your art to the next level!! Personally, I LOVE me some DRAMA in my artwork, so of course you're gonna see super DARK shadows and bright white highlights in my work. That's part of what makes my work, mine- it's my style. YOU do YOU!!! Remember - a reference photo is just that- a reference. Don't feel like you have to match things exactly. AND you don't even have to use a reference photo EVER. This is just an example of one way to help you get started. Have SO much FUN with today's YouTube lesson!!! CLICK HERE or press the play button below to watch. See ya next week!!! Today's SUPER FUN Mixed Media tutorial is a cute piece of art inspired by a book by Julie Nutting called Collage Couture Techniques for Creating Fashionable Art. I'm a HUGE fan of Julie's and have loved this book since it came out in 2011. In fact- I used to do a variation of some of her cute projects with my students when I used to teach art classes in person! For today's project I've got a FREE download for you in case you'd love to SKIP OVER the DRAWING part and get straight into the mixed media goodness! Here are the supplies you need for today's project:
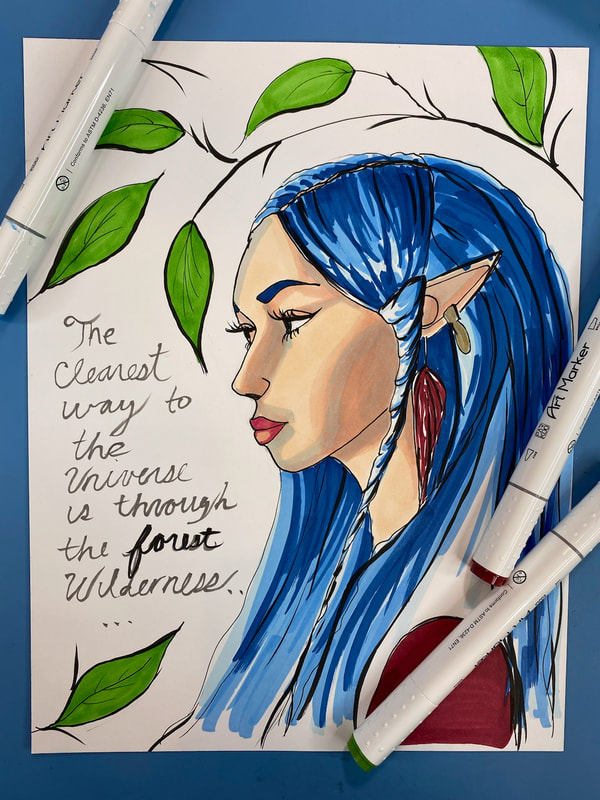
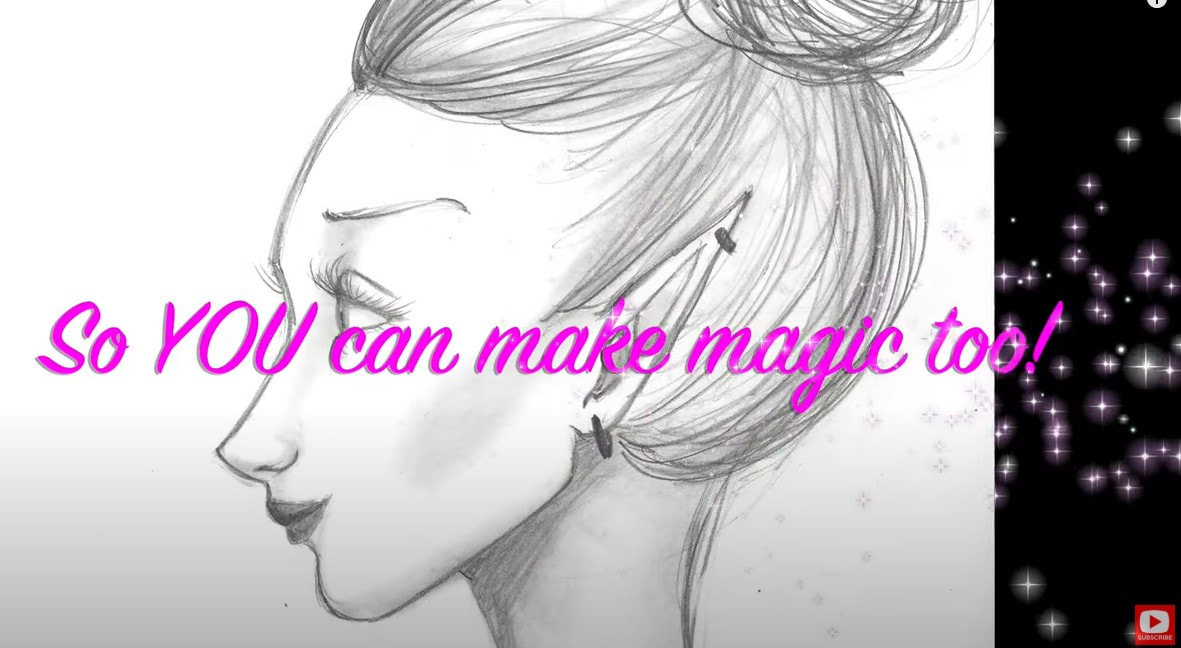
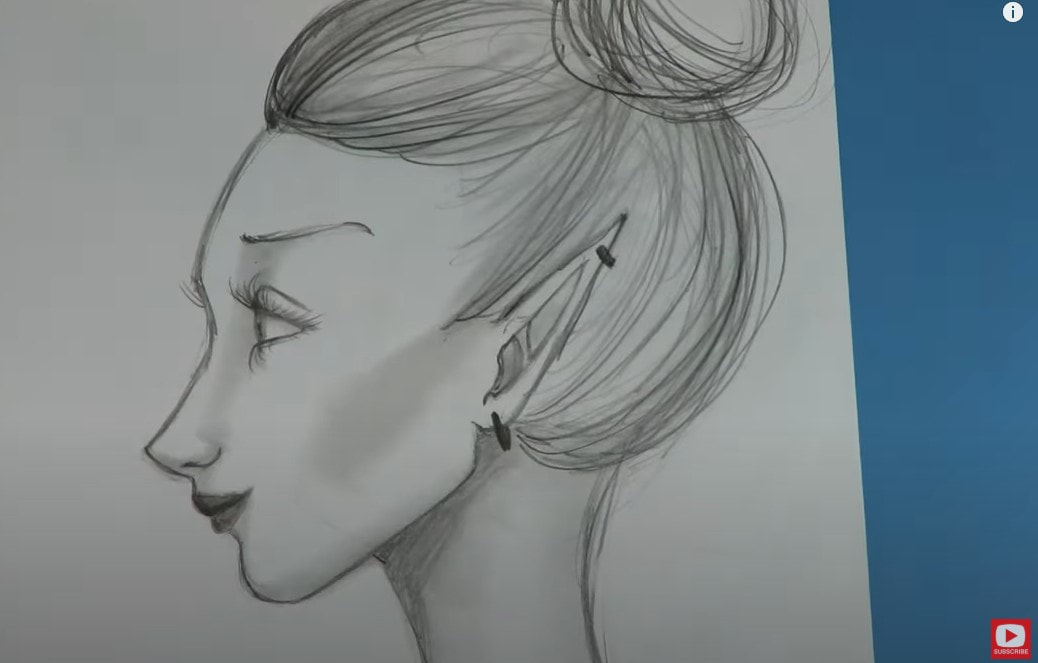
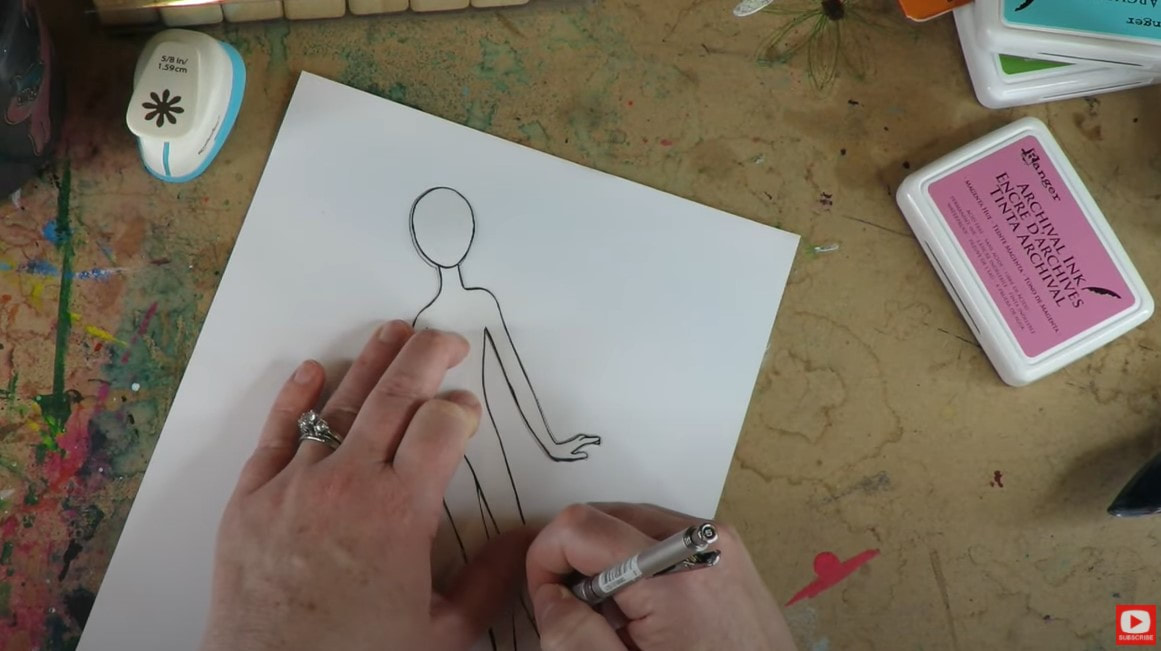
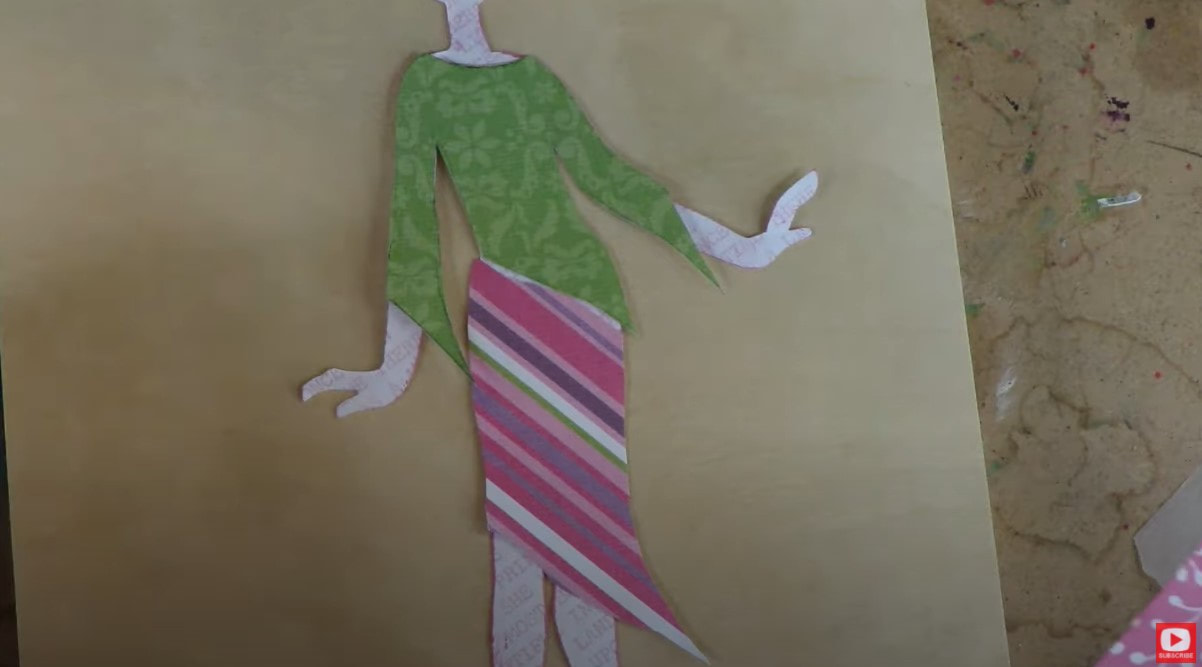
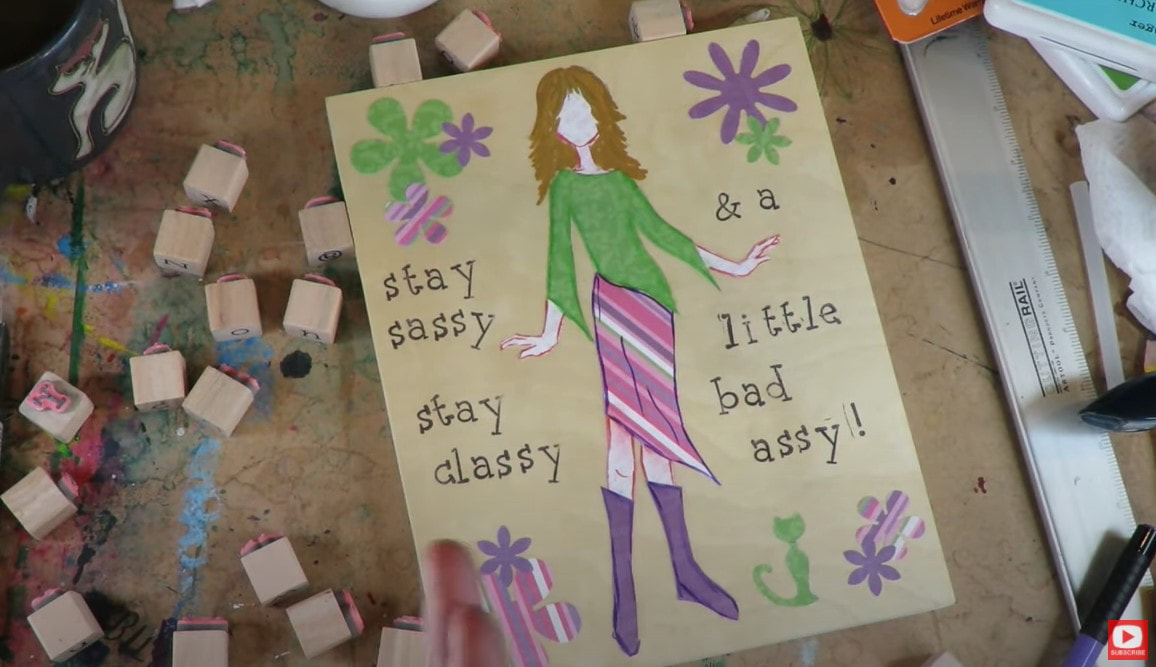
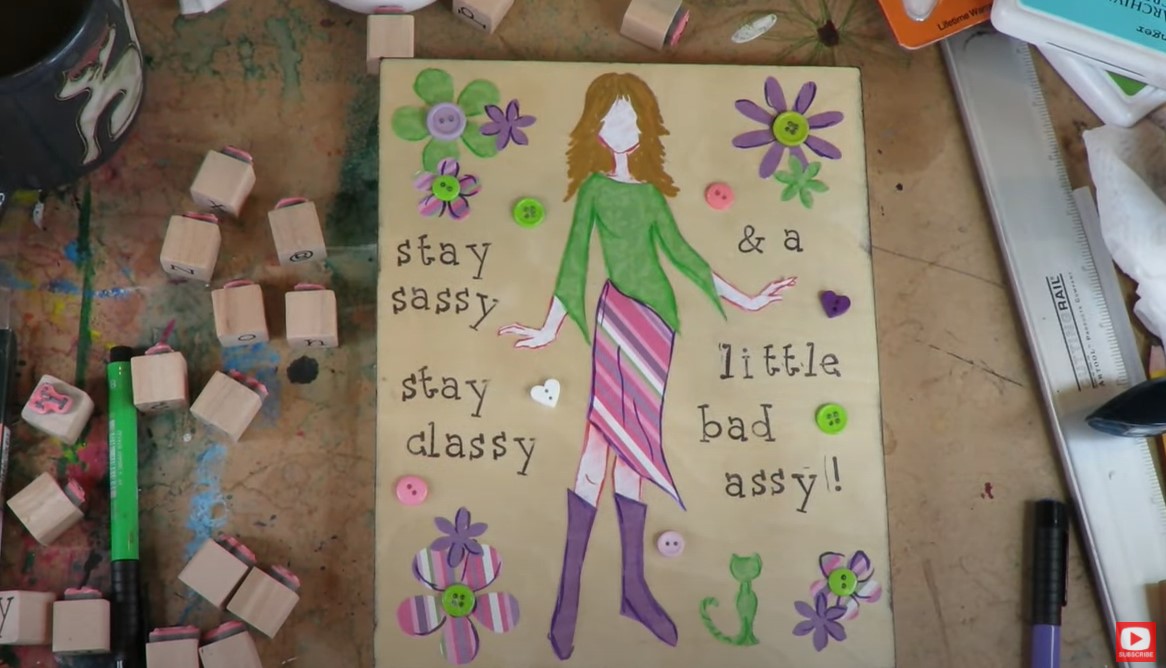
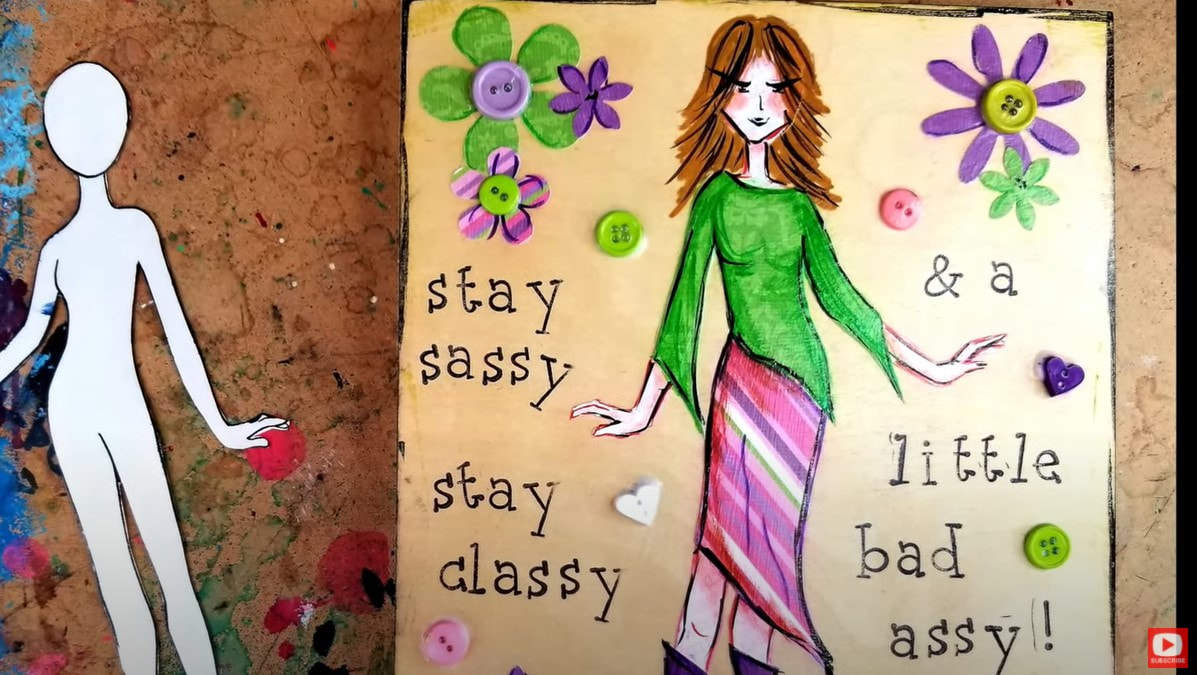
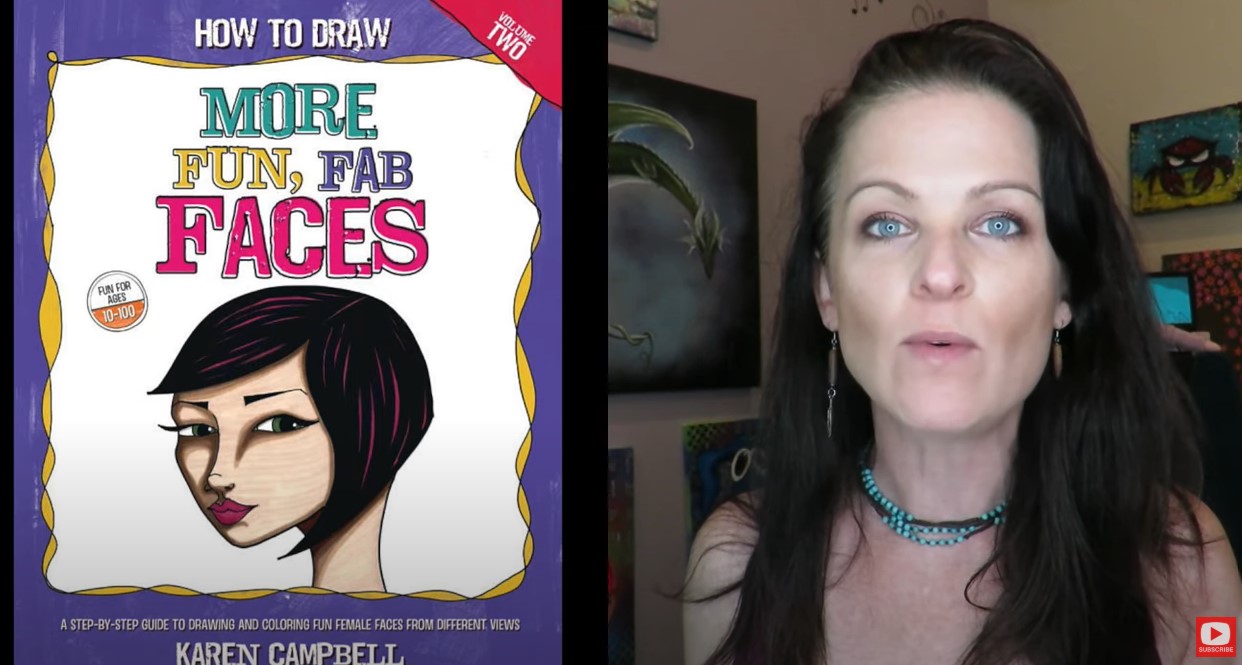
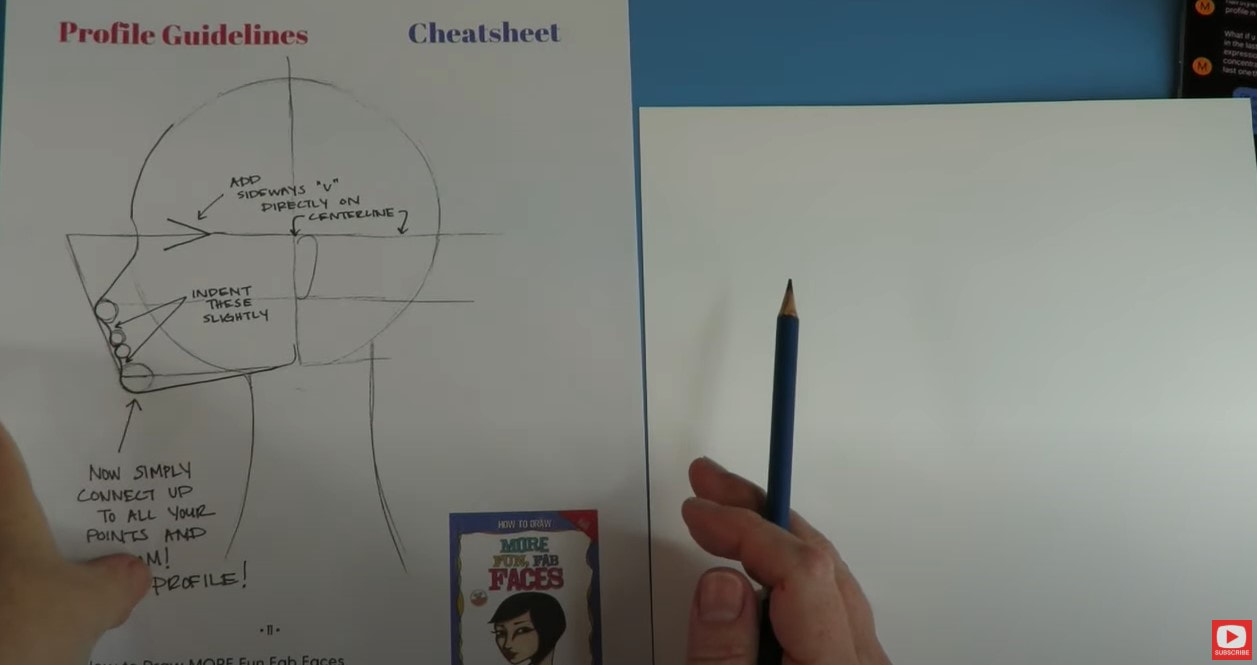
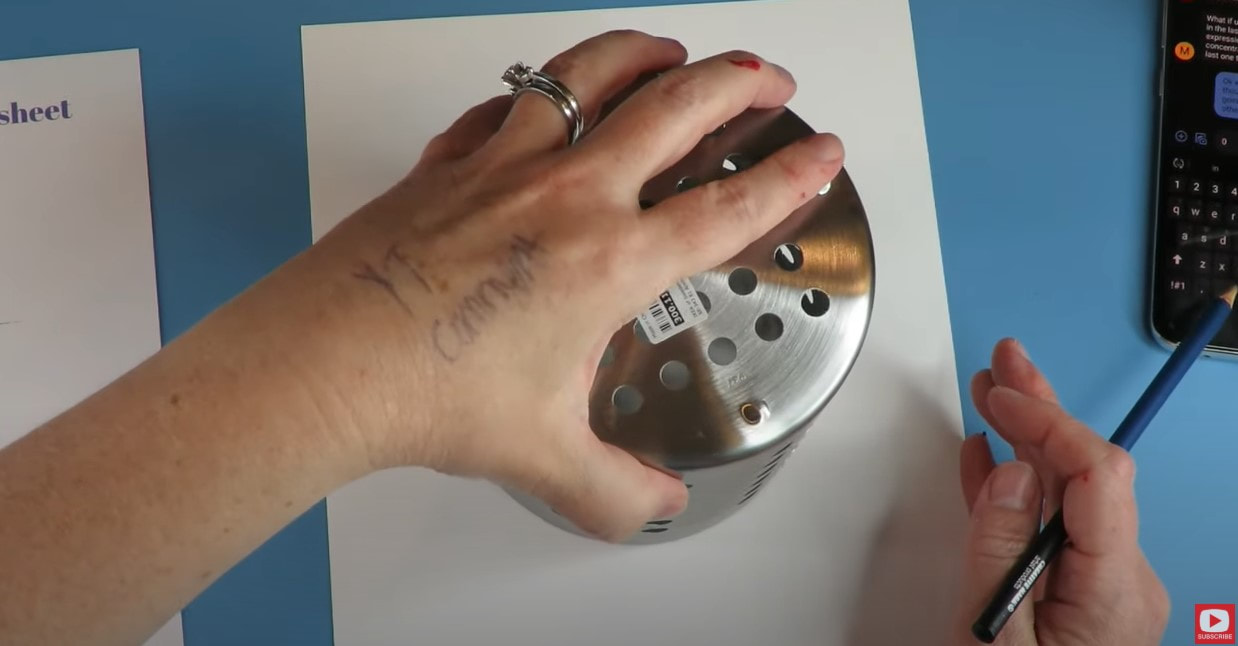
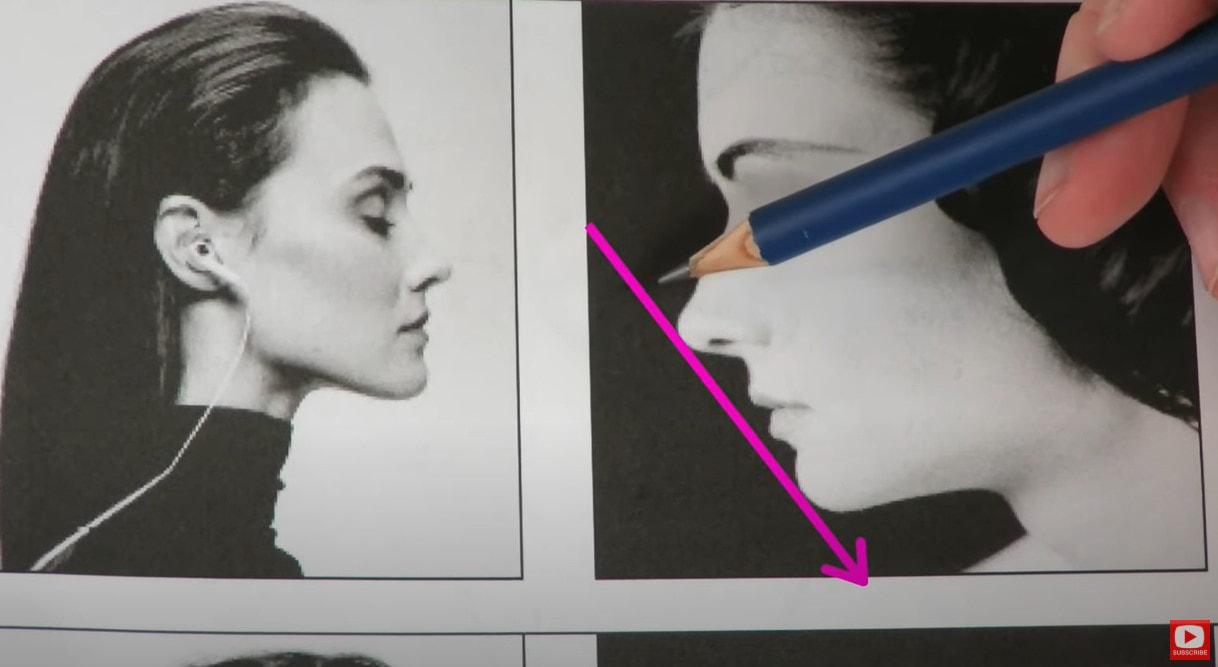
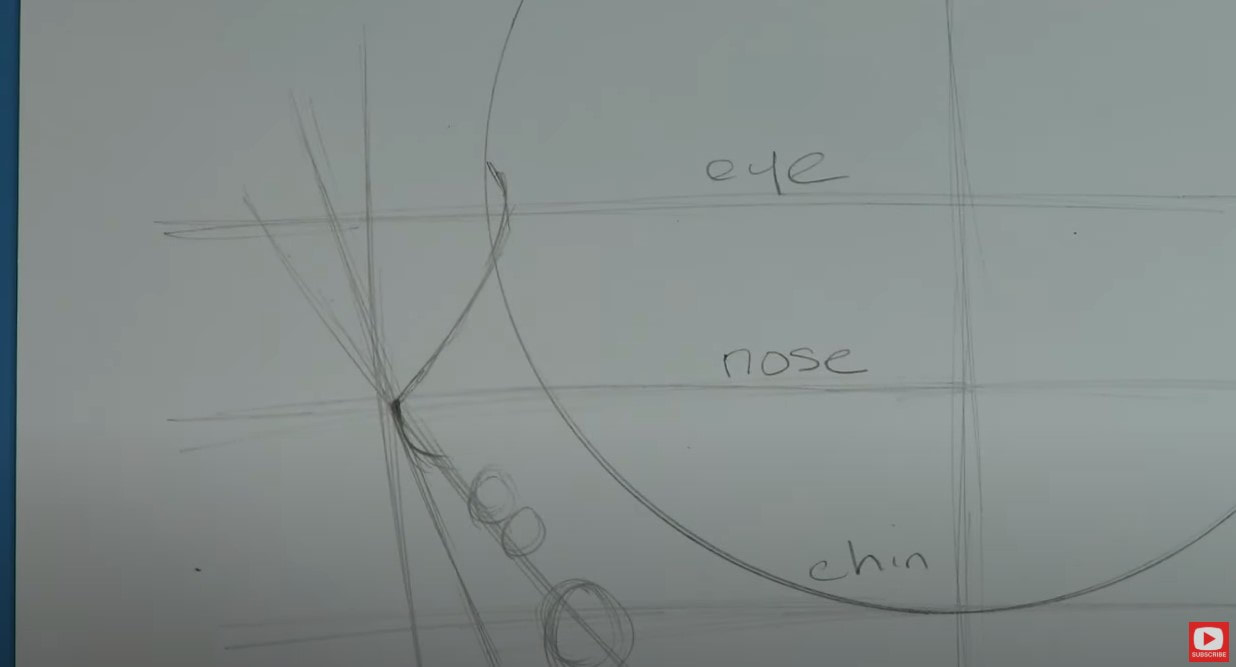
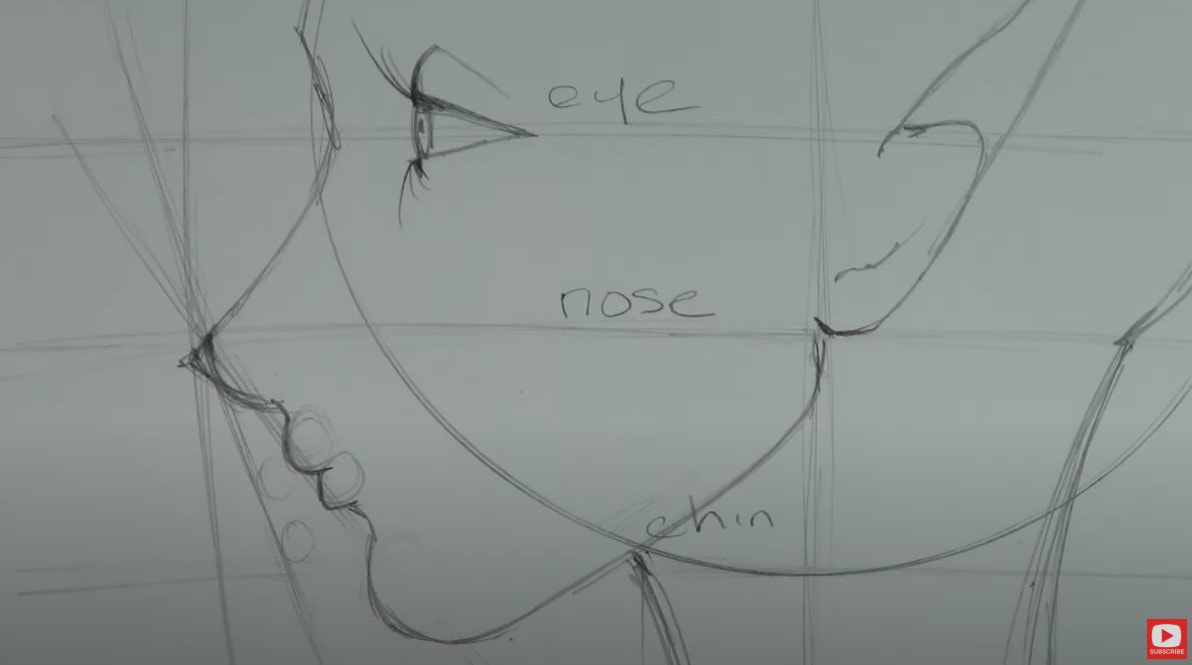
Once you have your body template cut out, trace her onto the back of a piece of scrapbooking paper. Quick tip here - choose a contrasting pattern for the body vs. clothes. For example- if you pick a tiny/subtle pattern for the body/skin - select a bolder pattern for the clothes (or try the reverse!). Next we're gonna design some clothes! We need a mini pattern first, so lay a sheet of trace paper right over your cutout and let your imagination run wild! Today, I drew in a 3/4 sleeve shirt, skirt, and some cute boots for my girlie!! Next, choose 2-3 sheets of scrapbook paper that go together to be her clothes. Lay one sheet of scrapbook paper face down on your art table. Then lay one sheet of transfer paper face down (dark side down) on top of your scrapbook paper. Finally, lay your trace paper with the clothes patterns you just created on top of that. Sound confusing? CLICK HERE to watch the video. I promise it's SO EASY! I used different sheets of scrapbooking paper for the top and the skirt for my girl. Look how cute she is looking already!!! Since I'm working on a wood panel (and I LOVE the look of wood), I'm leaving the background somewhat naked for now. If I had chosen to work on canvas or a canvas board, I totally would've painted a background of some kind before gluing my girl down. GRAB YOUR MOD PODGE to glue your collage pieces to the board. I used matte medium and I actually wish I hadn't!! Mod Podge will make your collage pieces slippery and creates a beautiful surface to doodle on top of. So go for that look if you can!! Once your girlie is glued down, just HAVE FUN with her! I have a ton of cute punches and am a cat mama of 3 - so my cat punch came out to play for this piece, along with some flower punches in different sizes. I used a paint pen to add hair, and then stamped a quote to make me smile ;) I continued doodling on the flowers and cat to carry over that look from the outlines on her clothes and tie it all together. Lastly, I added buttons to my large flower punches, and DONE! Isn't she SO CUTE?!!! Once I had everything all glued down, I applied a huge layer of mod podge over the entire thing. That allowed me to doodle in a bit more dimension with my pitt pens because this is something I LOVE to do. You can leave bold pen strokes, smudge your strokes to add shading, or do a combo. It's what I do ALL the TIME with my hamburger style girls!!! I love the way it turns out... I hope you ENJOY this super fun project!! Remember to DOWNLOAD your free, no-draw BODY TEMPLATE here. Then come back and press play for the full length, mixed media tutorial!! See ya next week ;) I used to STRUGGLE with my profile face drawings because they ALL LOOKED LIKE ALIENS ... OR...had FISH LIPS!!! If you're ready to toss your sketchbook because you don't know how to draw a face that looks "right" as a side view drawing... You're in the right place! HELP IS HERE!!! As you may know, I'm a mixed media artist, but I REALLY value the skill of drawing because it makes my mixed media foregrounds look SO much more interesting and beautiful if they are based on accurate drawing proportions of the face. It wasn't until I wrote my second book, How to Draw MORE Fun, Fab Faces, that I really held myself accountable to finally figure out how to draw 3/4 portraits and profiles in a CLEAR, step by step way! In today's drawing tutorial I'm pulling out ALL MY TIPS for face drawing, and I'm gonna walk you through profile drawing STEP BY STEP so it's easy for you to replicate on your own at home! ALL you need to do this project right along with me is a piece of paper and a pencil - ANY pencil with an eraser will do! When you're working on a profile sketch, there are little tweaks you can make to help your faces look more realistic. Even if you're doing a a stylized whimsical drawing (like mine!), paying attention to angles of the face and the placement of facial features will give your drawing greater sophistication. Download a copy of my FREE Profile Face Drawing Guidelines here. After you grab your guidelines, let's get started. Don't worry- this is an EASY drawing for beginners!!! The first step is to simply draw a circle. Don't stress over it - just grab something near you that has a circular shape and trace around it. DONE! Before we sketch in your guidelines, there is something I need to show you. The angle from nose to chin varies a TON from face to face in real life. The pix below are from my book, How to Draw and Find Your Style. Look at that pink arrow focusing on the angle from nose to chin. See how it differs from the photo on the left? They are COMPLETELY different! SUPER INTERESTING right?!! This is an example of one of the little nuances that trip us up as artists when we try to draw profiles! The angles are seriously tricky!!!! But we're NOT gonna let them get the better of us. How do we draw this in an easy way without having issues? CLICK HERE and I'll demonstrate for you step by step. When you sketch in these simple guidelines, it will help you focus on drawing proportions of the face- which is just a fancy way of saying YOUR girls won't look like aliens the way mine did ;) One of the biggest rules to remember about profiles is the lips should NEVER stick out beyond the nose. See how that first set of double circles (above) looks just under my rough nose sketch? Those will soon become lips ... see below! The more you work on your face drawing practice - the more these guidelines will become second nature to you. You’ll know how to draw facial proportions for your side view face sketches correctly & will have drawings in your sketchbook you can be SUPER PROUD OF!! I PROMISE!!! EVEN BETTER - it doesn't have to be hard anymore when you're armed with my Profile Face Guidelines Cheatsheet. I HOPE you have FUN with this video and find the guidelines helpful. Make sure you're drawing right along with me because that is how you will learn best- with practice!!! STAY TUNED for next week's video, because I'm gonna teach you HOW TO SHADE today's profile (see below!). And YES, of course I gave her elf ears / fairy ears because I LOVE (and DO BELIEVE in) fairies!!! See ya over on YouTube!!! ❤️All product links are Affiliate. I may earn a small commission if you choose to order through these links but by law there is never any additional cost to the consumer for doing so. I thank you for your support! |
Karen CampbellFounder of Awesome Art School. Mixed Media Artist. Author of 19 Instructional Art Books! Whose work has appeared in...Archives
July 2024
Categories
All
|
|
"Karen is flipping hilarious and she's very real...I like the way she teaches in a way that really gives you confidence, whether you're a beginner or advanced there's always something new to learn!"
- Elizabeth W. |
What Fans Are SayingKaren, you are absolutely fabulous! You make me feel like I can draw anything. I have recently retired and finally have the time to do some of the art that I have loved since I was in school. I am really at the beginning of my art journey and I hope to learn as much as I can. Thank you for all you do. |
Contact ME |


 RSS Feed
