
|
Creating a mixed media collage background is SO MUCH FUN and happens to be the first layer of my signature mixed media process called the Hamburger System.
Recently I received an email from a viewer asking me WHAT materials work best for collage backgrounds. I have hundreds of ideas, but here are my TOP 20 FAVORITES to use on canvas OR in my mixed media art journals! 
Do you love collage or have always wanted to try it in your art, but aren't quite sure how to do it without making a HOT MESS? You need my FREE Hamburger System cheatsheet.
If you're new to mixed media, collage, art journaling, mixed media on canvas - any or ALL of it, my Hamburger System is gonna rock your art world! You'll learn my tried and true process of how to create a mixed media MASTERPIECE every time. It's simple, step-by-step, tells ya exactly WHICH supplies you need, and did I mention it's SO MUCH FUN?!
Click that button above or click here and I'll email my Hamburger System cheatsheet straight to your inbox!
Before we continue, super quick announcement: All product links are Affiliate. I may earn a small commission if you choose to order through these links but by law there is never any additional cost to the consumer for doing so. I thank you for your support.
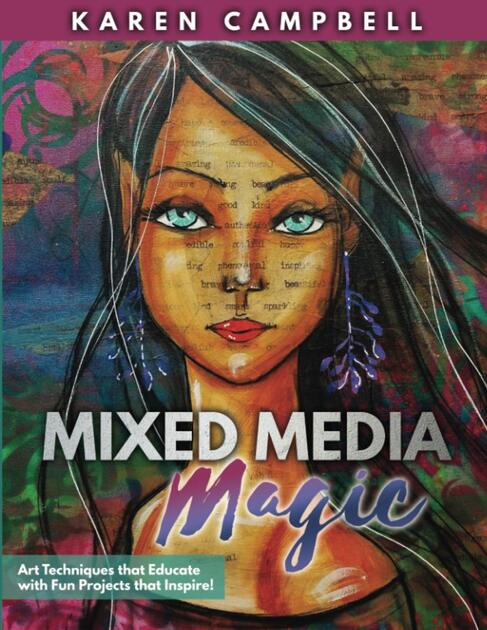
My Hamburger System series on YouTube has been watched by over 140,000 people and even became a book, available on Amazon.
I LOVE starting my mixed media canvases and mixed media art journal pages with a layer of collage! There's something so simple and relaxing about this process that connects me with my inner child. It's honestly pretty brainless and kinda serves as an art warmup to get my head into a creative space. 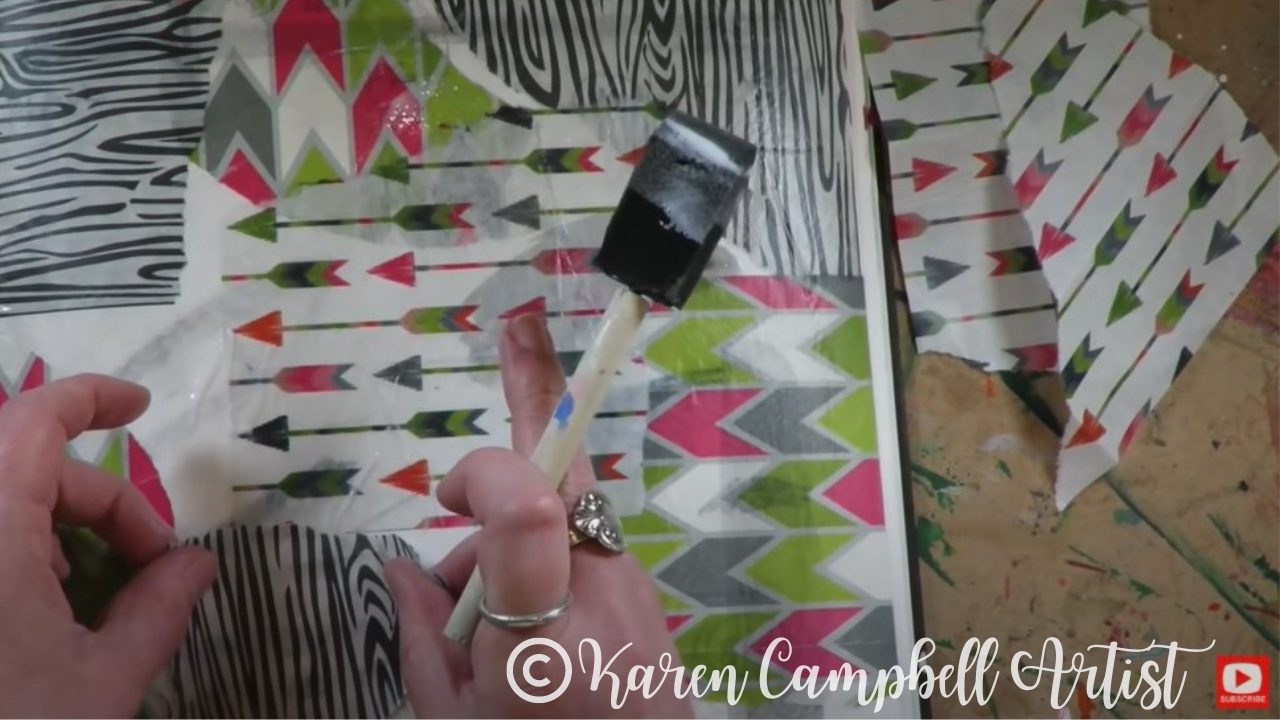
Collage is also one of the BEST things to do to bust through creative block whenever it strikes (and trust me- it hits ALL of us).
Here are my TOP TEN favorite mixed media collage materials. Make sure you scroll down and watch the video to see TEN MORE ideas and watch a super fast mixed media collage tutorial I think you're gonna love!! 
Scrapbook Paper
I LOVE a good scrapbook paper pad. This is the perfect collage material for people who have a hard time picking papers that go together and those who might be in a hurry or feeling lazy who just wanna grab and go!
With scrapbook paper, the work has already been done for you because EVERYTHING in the scrapbook paper pad only features colors and patterns that go together. All YOU have to do is pull out your favorites and start ripping. 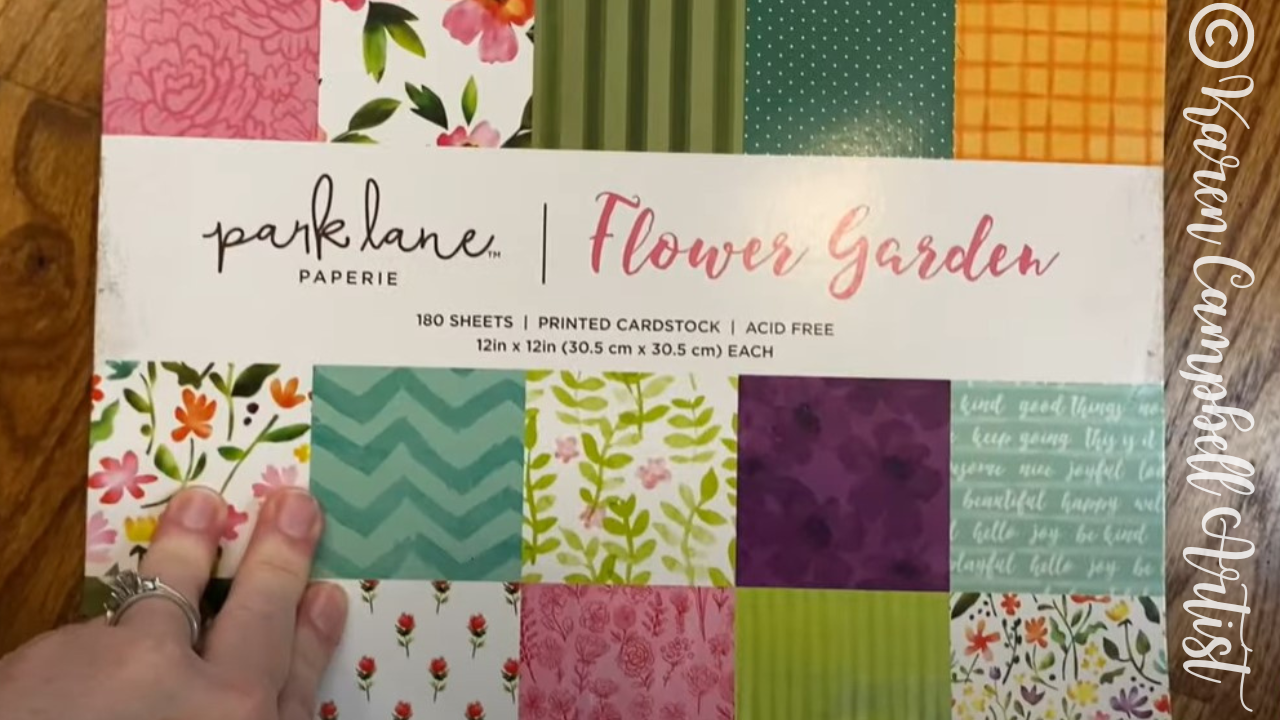
Scapbook paper even tells you exactly what color paints to use for your acrylic layer! It's awesome :)
Make sure you click over to the video to see the mixed media collage examples I show you of how I incorporated scrapbook paper into BOTH the background and foreground of a mixed media portrait on canvas. 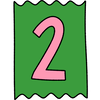
Phone Book Pages
This adorable mixed media fox painting was originally done on an upcycled record jacket I found in a thrift shop. I used the record jacket as my canvas. If you look closely at the pillow I had made of this canvas, you'll see some type in the background. Those are just phone book pages! So simple, right?!
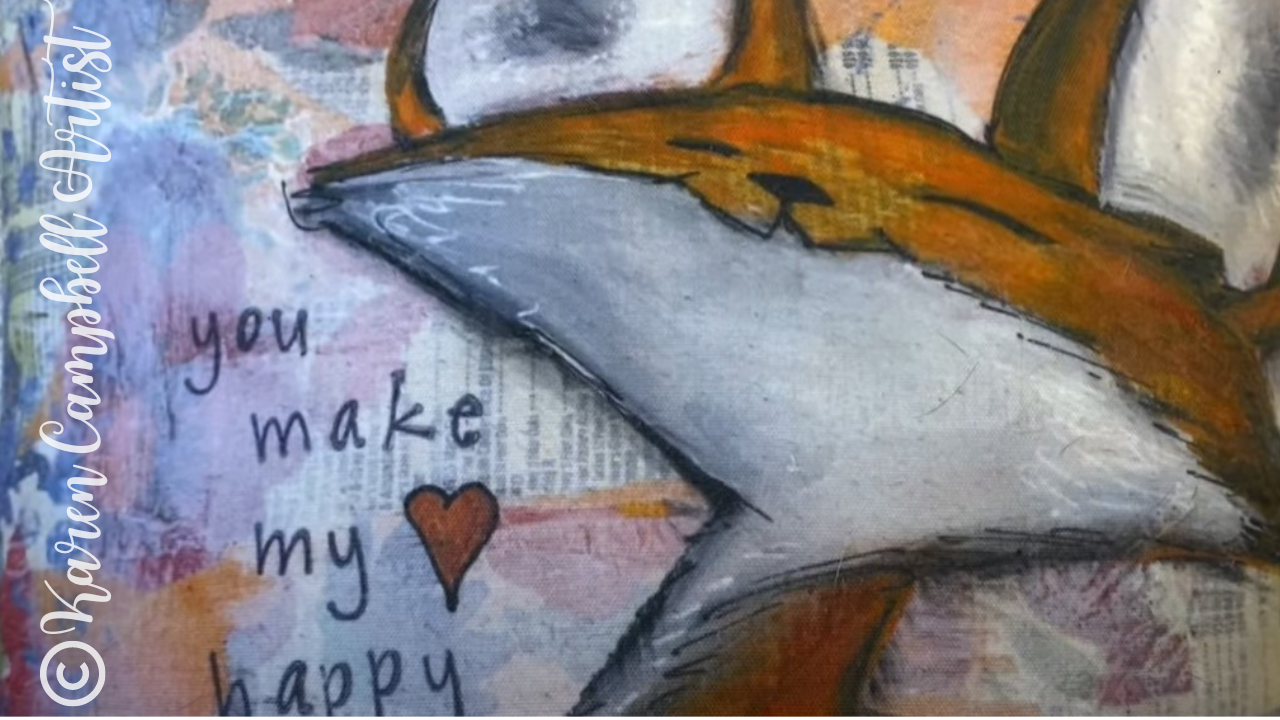

Sheet Music
Sheet music collage is a favorite of mine, super cheap, and beautiful to use in both the background and foreground of your mixed media art.
You can either turn an old book of sheet music from a thrift shop into an altered book art journal or rip old sheet music into collage pieces like I did below. Isn't it beautiful how the music notes peak through the skin tones in the painting? 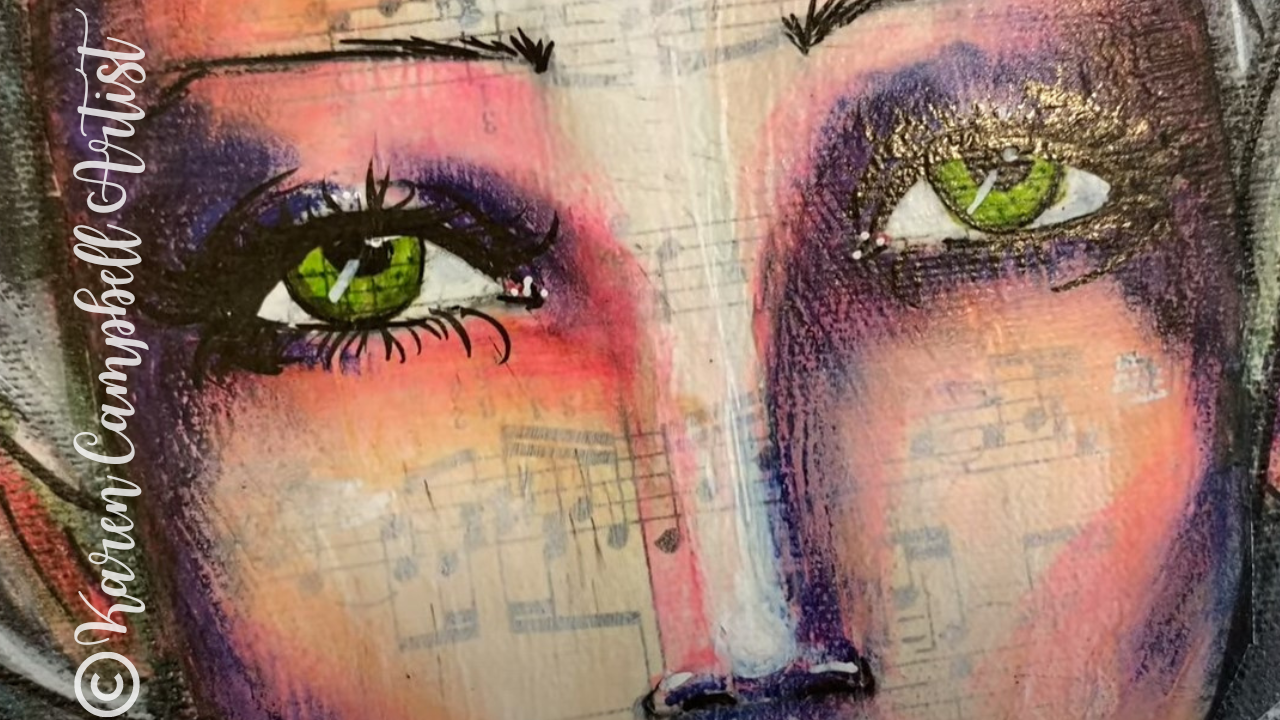
If you wanna create the piece above with me, it's one of the projects in my Mixed Media Magic book over on Amazon. Check it out!!

Dictionary Paper
I LOVE a vintage dictionary! The really old ones have a yellow tone to them and rip SO easily for collage. They also have a distressed look to them already because they're old. I think these are fun to have peaking through the background in a mixed media face, or to use strictly in the background. Your options and endless (and SO CHEAP) here!
This art deco mixed media portrait project is available at Awesome Art School as a stand-alone project if you'd like to create along with me!

Masking Tape
Lots of people don't even think of masking tape as a collage element, but it's weirdly a perfect surface to art upon and creates a lovely texture to your art. It also accepts gesso, acrylic paint, and all the mediums you would typically reach for to create mixed-media art.
Look closely at the piece below and you'll see some subtle, horizontal lines from my masking tape collage layer. 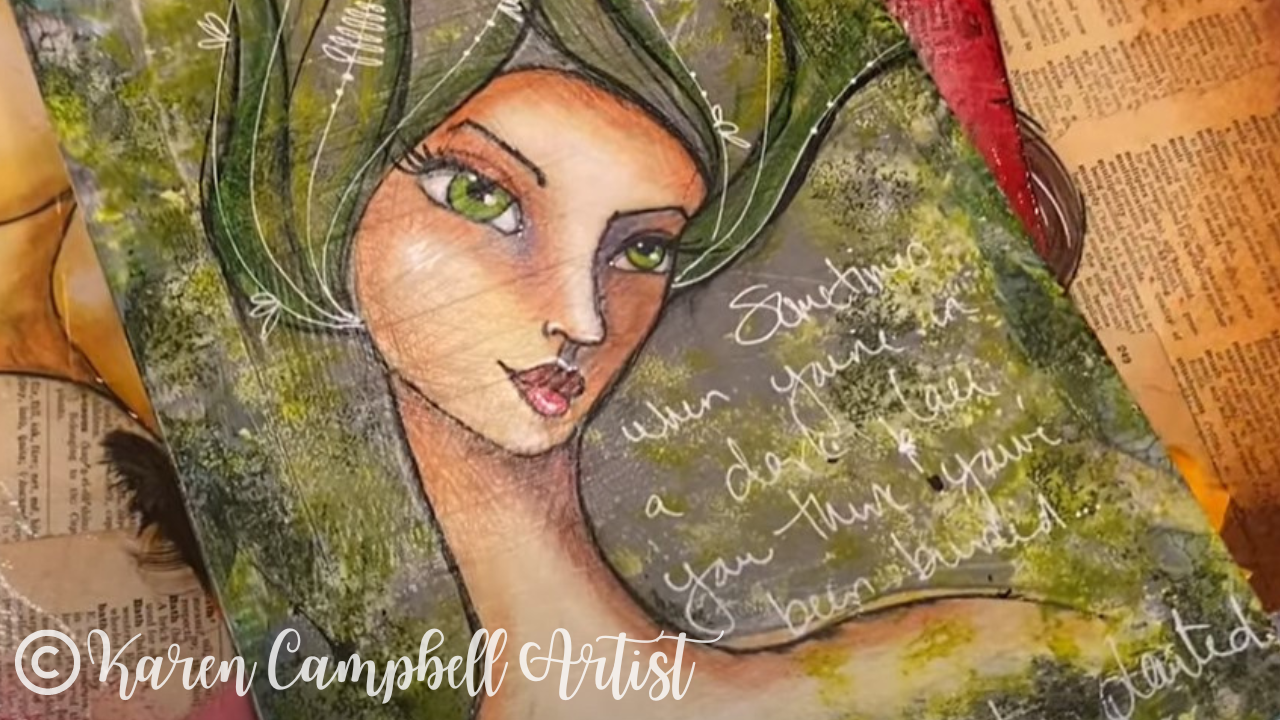

Trash!
You can totally use TRASH as a mixed media collage element. Hilarious, right?! I've enjoyed using beer bottle labels (I love to collect these when I travel), foil candy wrappers (shown below), discarded tissue paper from a gift, you name it!
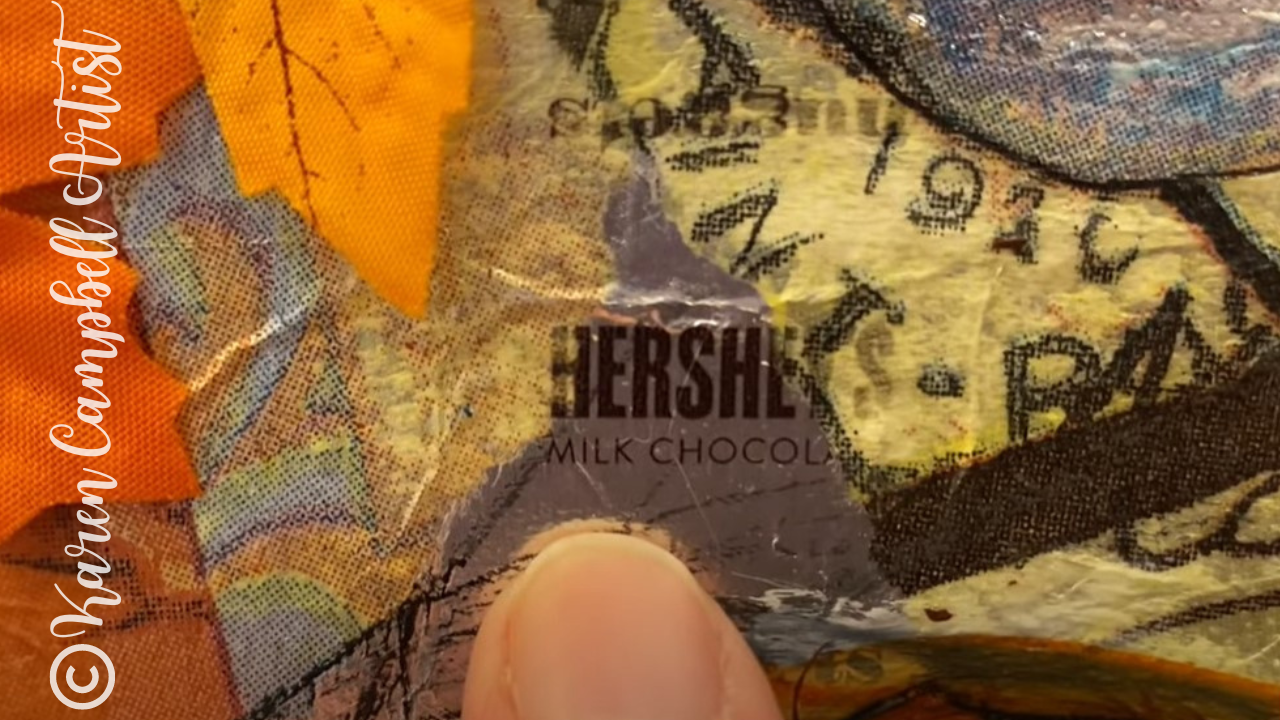
See this project being made in my cereal box art journal or create along with me.

Fabric
I once found this pretty fabric with an adhesive backing to it that peeled off like a giant sticker. I used that to create the background of this fun Bathtub Babe in my cereal box journal. Don't be afraid to think outside the box with the collage elements you choose!


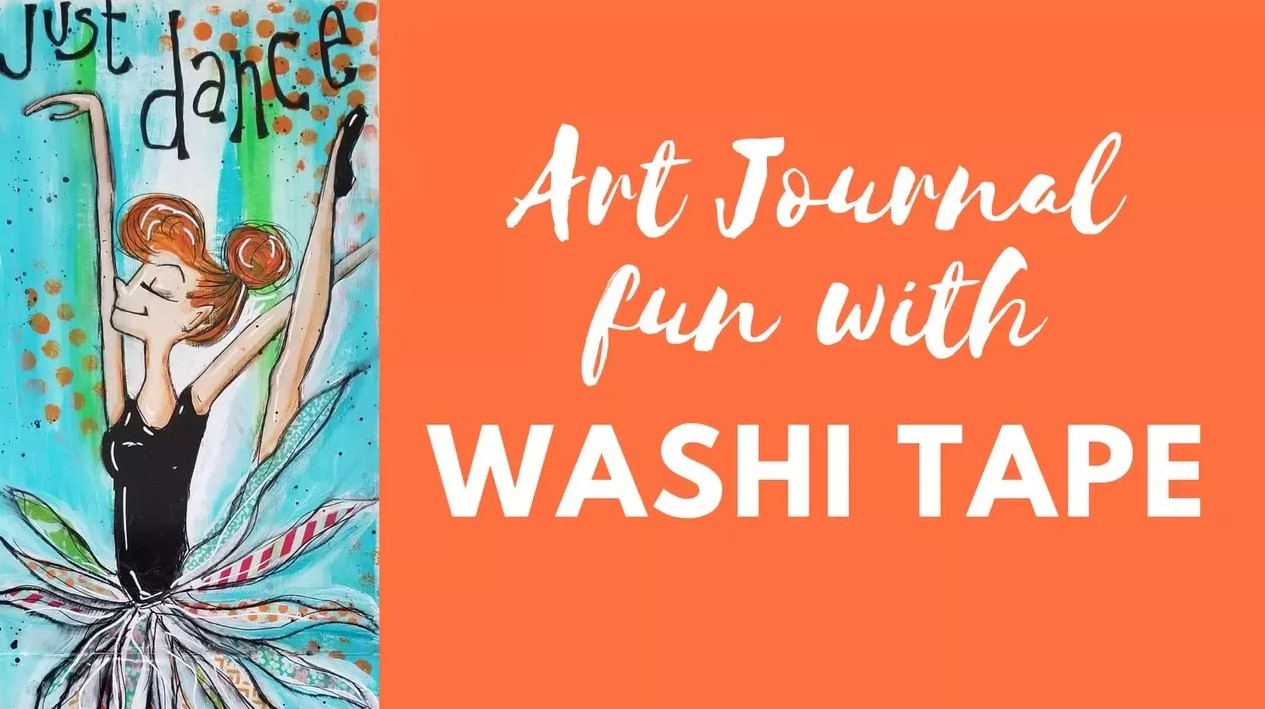
Washi Tape
Washi tape is SO fun to use in mixed media collage. I love how there are SO many fun colors, patterns and thicknesses of washi tape. I use it a lot like how I use scrapbook paper. Sometimes it's strictly in the background. Other times I've used washi tape in the foreground as hair or clothing (like the tutu below) and it looks SO awesome!
Washi tape doesn't always adhere the best, so you'll want to go over it with a sealant to keep it in place.

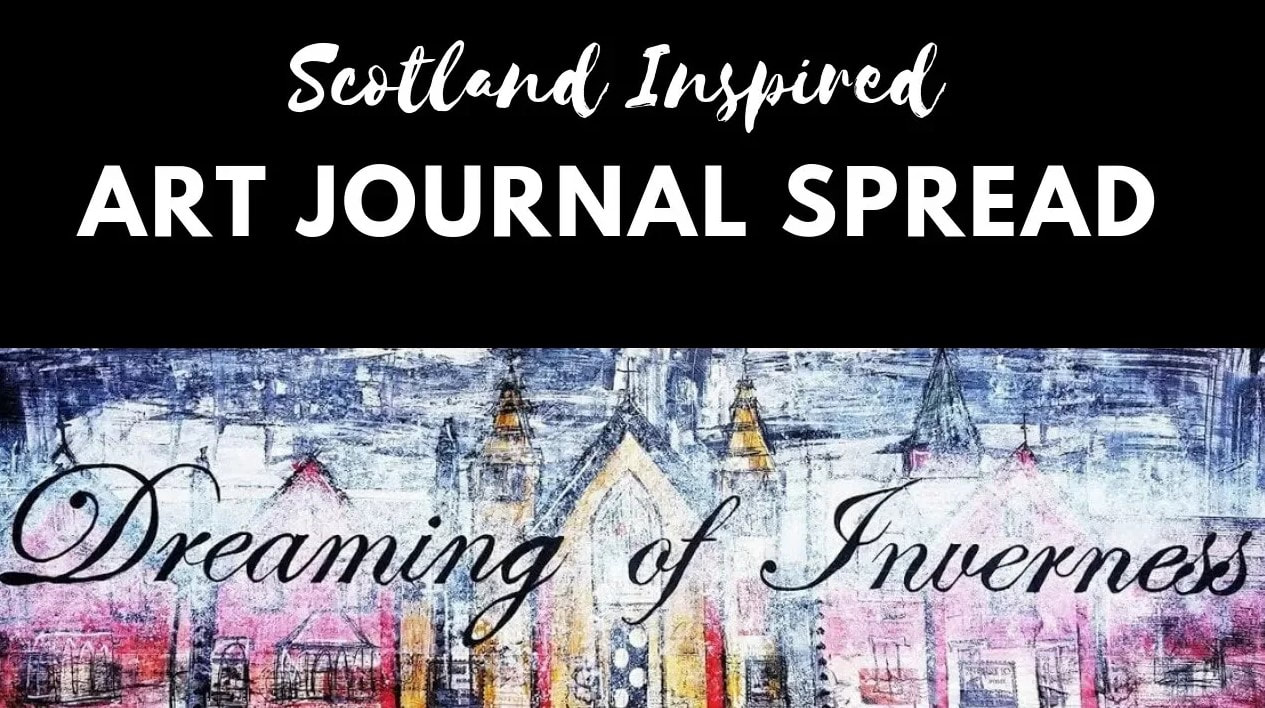
Maps
Maps are becoming SO old school now, but they can be such a fun way to create an art piece based on a place you visited or want to visit. In this one, I have elements from a map of Inverness, covered them in gesso, and went to town.

Duct Tape
You may not even know this, but duct tape comes in SO many fun patterns now!! I've used this kinda like I use washi tape- in the background or foreground.
In this Mixed Media Retro Girl project, I carved out my entire girl so I could use this fun camper duct tape for her clothes, shoes and hair. So cute, right?! 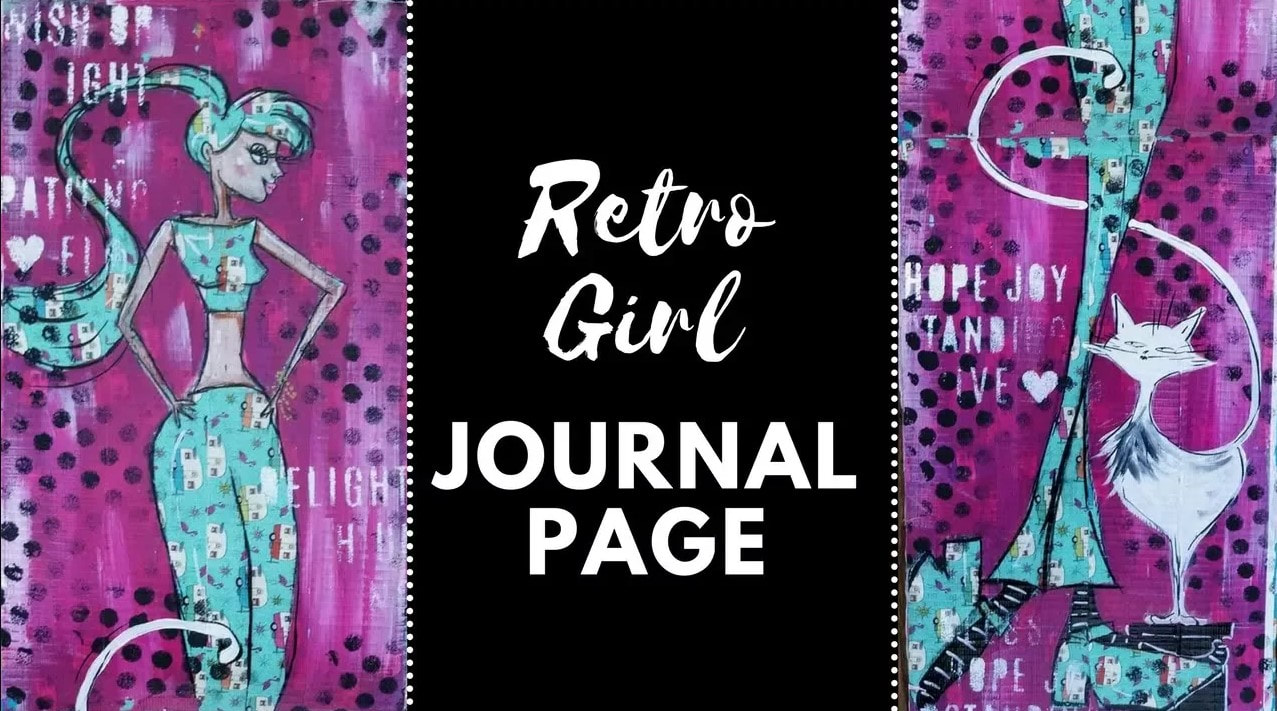
Just a quick warning on using duct tape as a mixed media collage element - it's super glossy, so can be tricky to paint on top of. Just make sure you seal it so the paint doesn't peal off when you're done.
This is only HALF my list!!
Make sure you click over to watch today's video to find out what my other TEN mixed media collage elements are. I KNOW there are some you haven't considered yet and just might love!!
Need more resources to get your creative juices flowing?
❤️ CHECK OUT ALL my art books on AMAZON ❤️ CHECK OUT ALL my online art classes @ Awesome Art School ❤️ MY FAVORITE ART SUPPLIES on AMAZON (affiliate links) ❤️ MY BELOVED FACEBOOK GROUP
0 Comments
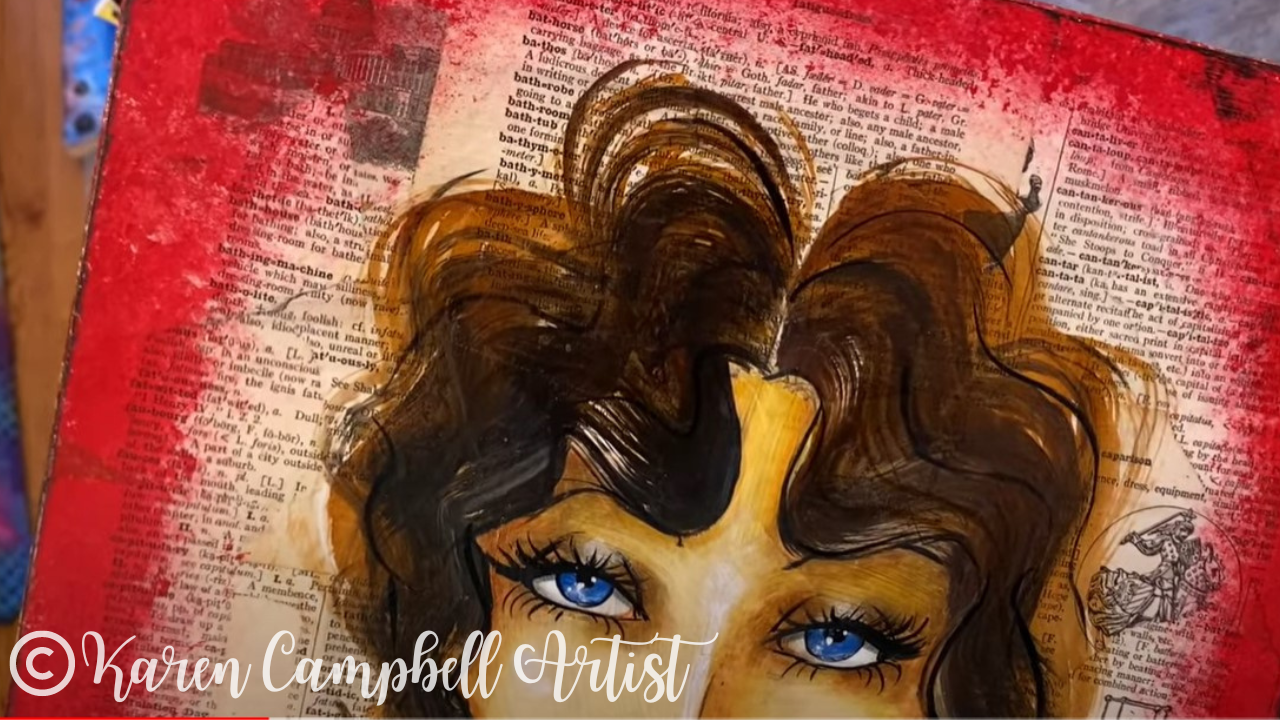
Mixed media collage backgrounds with tissue paper are EASY to create and can add gorgeous texture to your mixed media art journal. Today’s video is a 45 minute, FULL LENGTH mixed media project, so if you love collage mixed media art & mixed media tutorials - this is for YOU! I know what you’re thinking about collaging art journal backgrounds with tissue paper ... those WRINKLES, those BUBBLES, or worse yet - the rips!! Don’t worry - I've got collage techniques that will make your thin tissue paper BEHAVE so the texture of your collage background can PEEK through your mixed media portrait, without taking over your whole art journal page!  To get some inspiration flowing for this project, I flipped back through one of my favorite art journals of all time. I discovered every single page had started with collage! I don't think I even knew that before!! For me, collage is something I naturally gravitate to - to start a project. It's like a mindless art warmup. It sets the color scheme for my project, gives me a second to breathe and takes me to my creative happy place!! Before we continue, super quick announcement: All product links are Affiliate. I may earn a small commission if you choose to order through these links, but by law there is never any additional cost to the consumer for doing so. I thank you for your support! 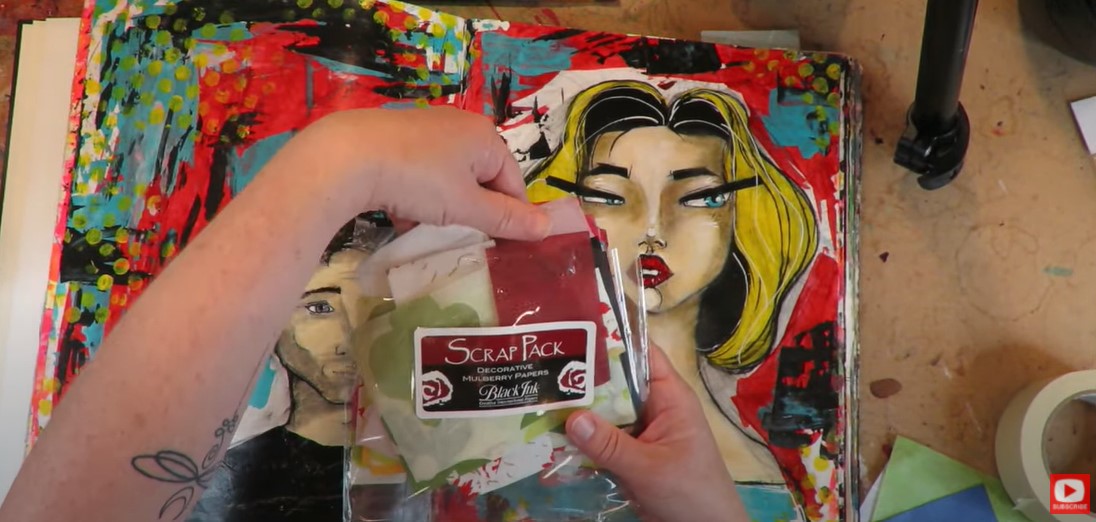 Like I often do, today, I'm working in my Strathmore Watercolor Journal because every single page of this sucker can really take a beating! This is my 4th one THIS YEAR!! I use them for drawing, watercolor, ink, juicy mixed media layering- this paper can take ALL of it. I found this little scrap pack pictured above, and decided to use these cute little tissue paper squares to get going on today's art journal page background. Shockingly, I chose to line them up a bit methodically. If you've been hanging out with me for a while, you know this is SO NOT ME, and I can see you laughing right now at how much this challenges me! When I do collage - no matter what material I'm working with- I spread out my pieces fairly evenly and "take turns" alternating colors and patterns, to spread the love! 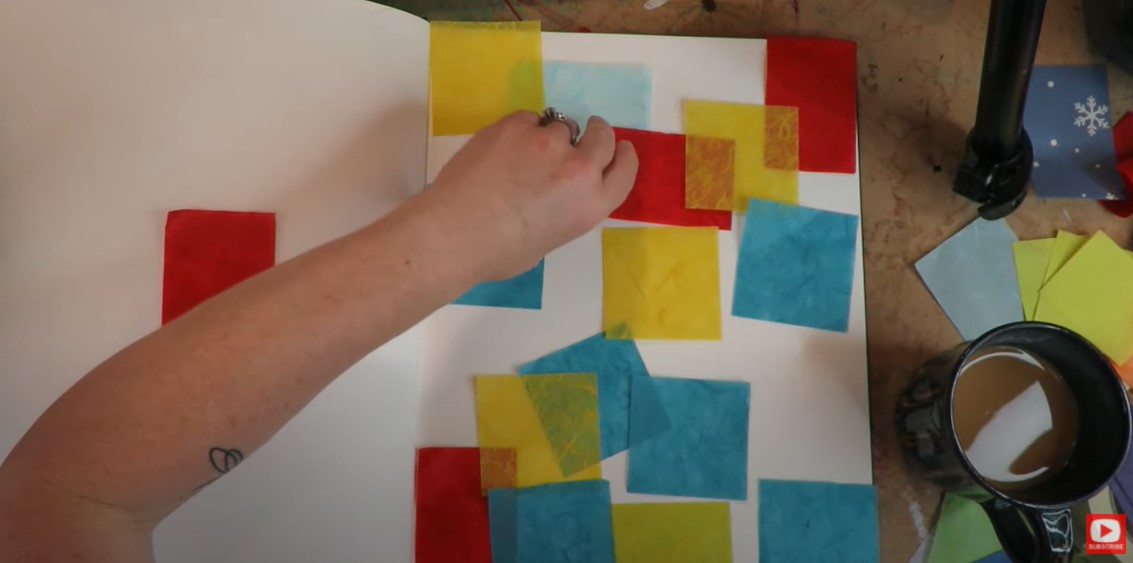 Tissue paper is REALLY porous, so it's fantastic for collage because the adhesive really soaks in. I'm using matte medium for my adhesive- for SO many reasons. I know I can sound like a broken record here - but it's so awesome for mixed media collage -especially if you plan to paint with acrylics on top, or even think you might go that route. If you're a mod podge fan (like me!), don't worry - I have plenty of times I reach for that as well, just not usually for my first layer. If you haven't seen my video about how to know when to use Mod Podge vs Matte Medium - it's super helpful! Now...onto today's mixed media background with tissue paper! If you've done tissue paper collage and had any issues in the past, I HEAR YOU! It's super easy to get not only WRINKLES, but bubbles. You definitely don't want bubbles because those can pop and leave a hole in your piece. If you've experienced tissue paper ripping in the past while you're collaging art backgrounds in your art journals or on mixed media canvases - I've got some tricks up my sleeve for YOU! 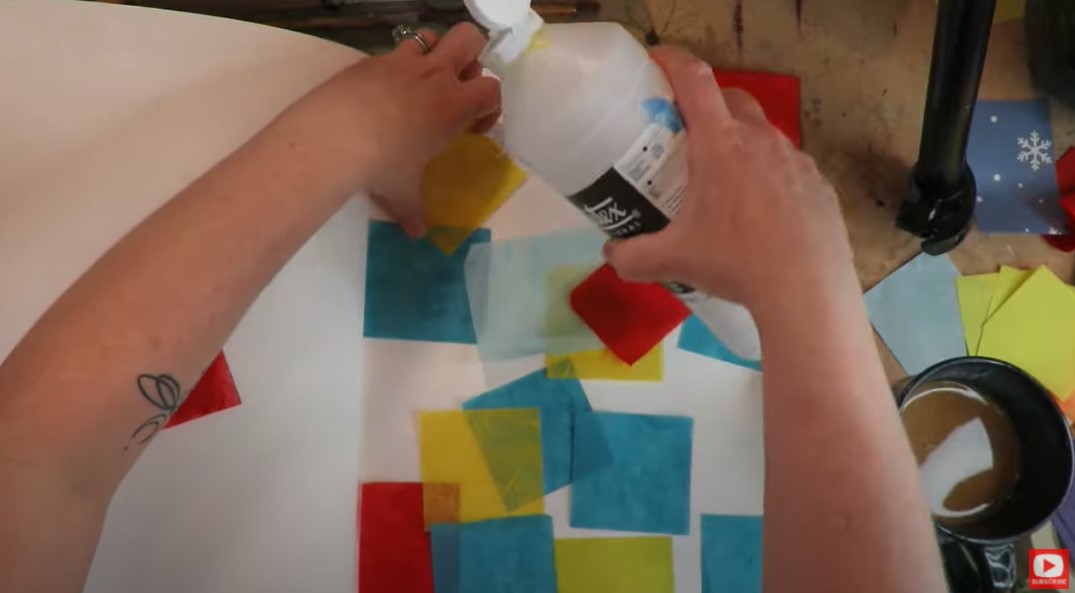 My BIGGEST SECRET is actually so simple... Use a TON of adhesive. That's it! Seriously!! I've got so many students and artsty friends who use their products sparingly. This is one you DON'T want to be precious with ;) If you want to make an AWESOME mixed media collage background (and that's what we want, or why are we doing this?!), you need to use a TON of product. In this case- matte medium- both under AND over your collage chunks! 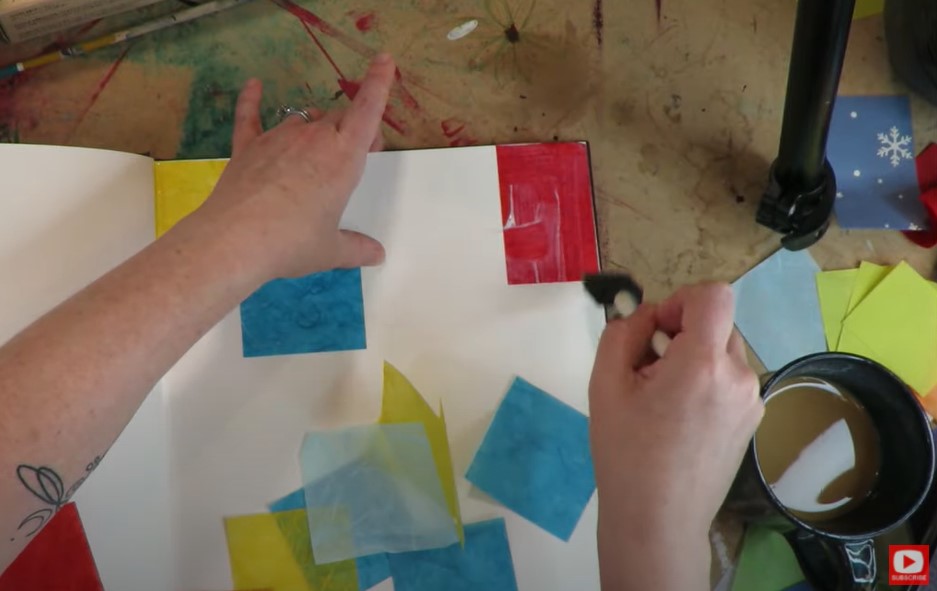 If you're new to mixed media - you'll soon find out, it's equally as much about creative problem solving as it is about planning and execution. I'm ALWAYS running into issue I need to solve, and today is no exception. Take a look at this.... 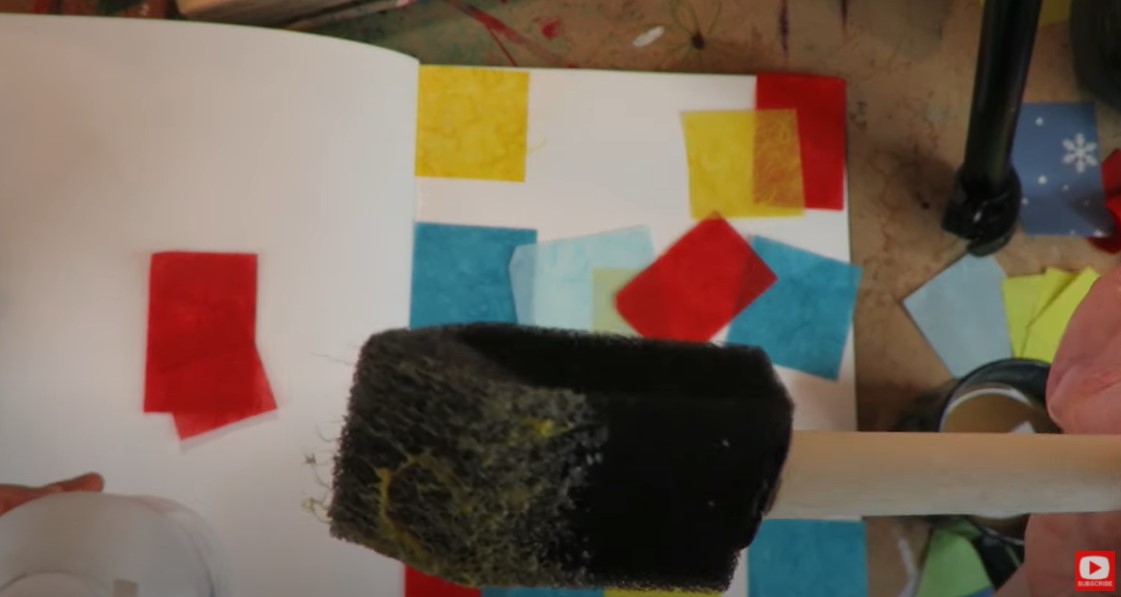 I know the pic is a little fuzzy, but you can TOTALLY see there are fibers from my tissue paper scraps hanging off the edge of my foam brush. EWWWW! I had NO idea that was gonna happen. But I was already in it to win it. I kept going and tried to use this time to think about how I could intentionally work WITH the fibers or bury them! I know things always have a way of working out, so didn't stress. When these happen to you (AND THEY WILL!) just keep your confidence up, learn to pivot, and go with the flow! A solution will present itself to you. While I was thinking about these crazy tissue paper fibers, I started thinking about the other types of tissue paper I could've used including my favorite Tim Holtz collage tissue paper. Suddenly, I had a solution. 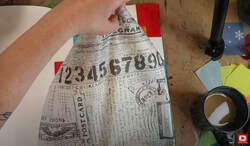 I tried a few different sheets of tissue paper from my Tim Holtz stash and ended up using my absolute favorite style that I have from him with the music notes and butterflies. I actually like to glue this down as one whole sheet. There is a little bit of an art to this- so be sure you watch the video if this is something you want to try with your own tissue paper art. My secret? The same as before. Use MORE matte medium. Underneath AND on top. In this case - more is better! Seriously... check out how much matte medium I'm glopping onto my art journal page right now for my BOTTOM layer! You want it to be SOAKING wet. 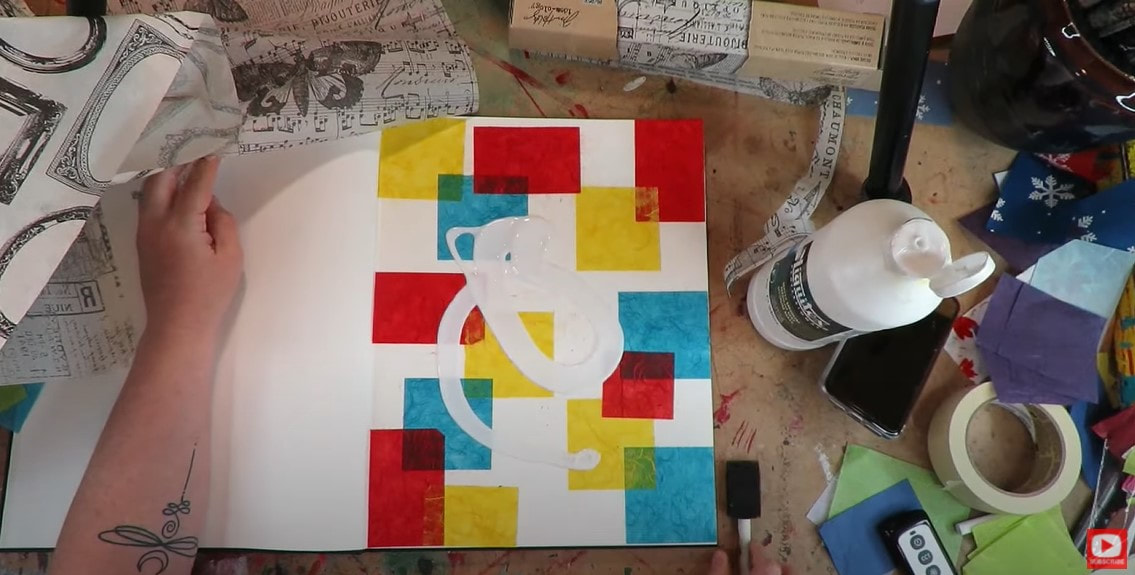 If you're getting wrinkles, and bubble especially - you're not using enough product. It's kind of like wallpaper. 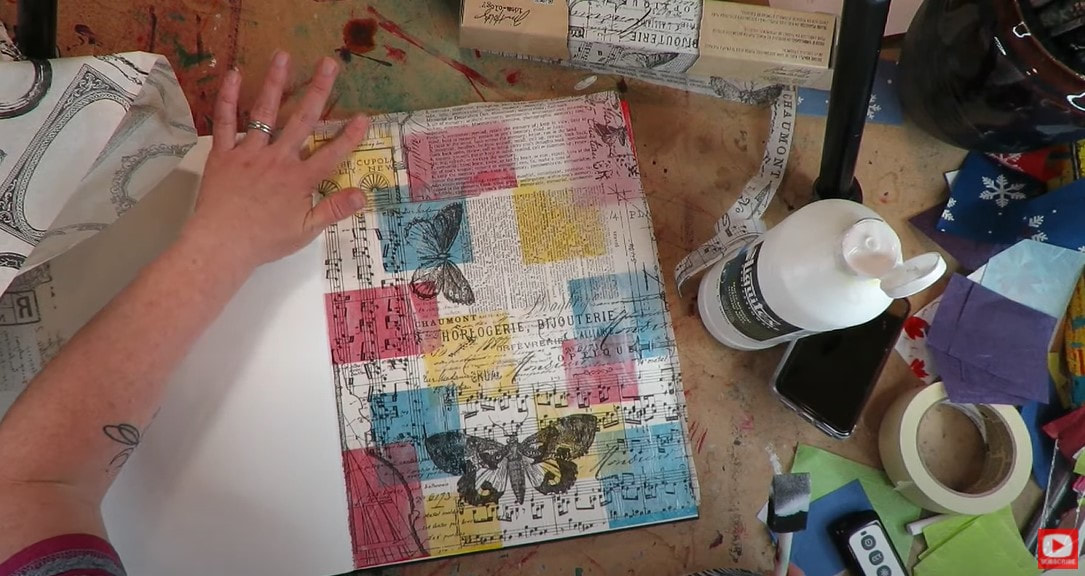 Once you work your sheet down, it's time for a massage. Work out the bubbles that appear from your bottom layer of matte medium, and become one with your art piece for a few minutes! Use your fingers to spread out each bubble - and work your way across the page until they're gone. I put SO much adhesive down that while I'm massaging my bubbles down, the glue is rising up through my paper. That's a good thing! 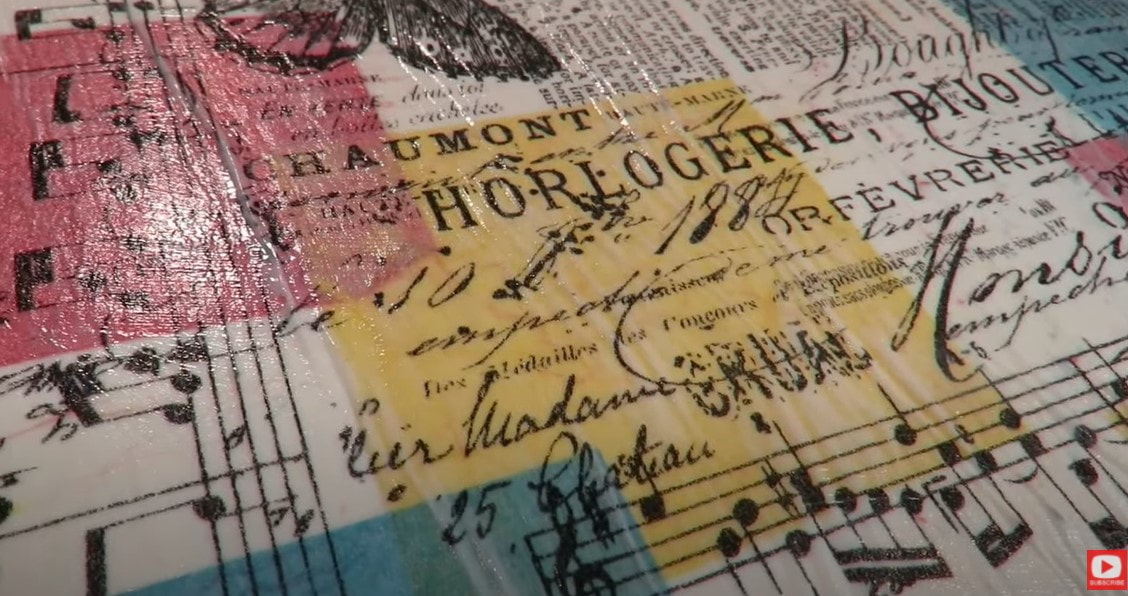 You have a little window of time to do the smoothing out. Once it's drying - you just can't move it anymore. It will rip. I had a student ask me the other day how long she needs to wait for her matte medium to dry before moving on to the next layer. My answer to that is - I never wait!! LOL. I just grab my hair dryer and let it blow until my collage feels dry when I touch it. I use a hair dryer instead of a heat gun because I feel like the air flow makes the drying process go faster. Sometimes heat from a heat gun can be too intense, and can even be damaging to certain products. So for me - I'm all about the hair dryer- it's fast, safe, and effective. 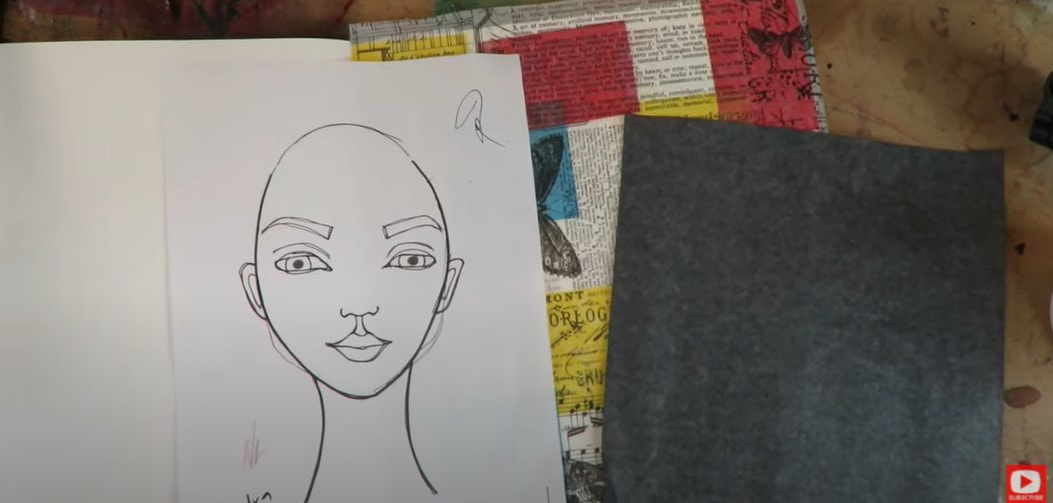 I decided to use my face template that I made ages ago to draw a face over my fun new background! The easiest way to use the template is to grab a sheet of graphite transfer paper, lay it dark side down, and put the face on top. Then just trace over my lines of the face I drew for you with your pencil. The drawing will show up on your collage background. Awesome right?! 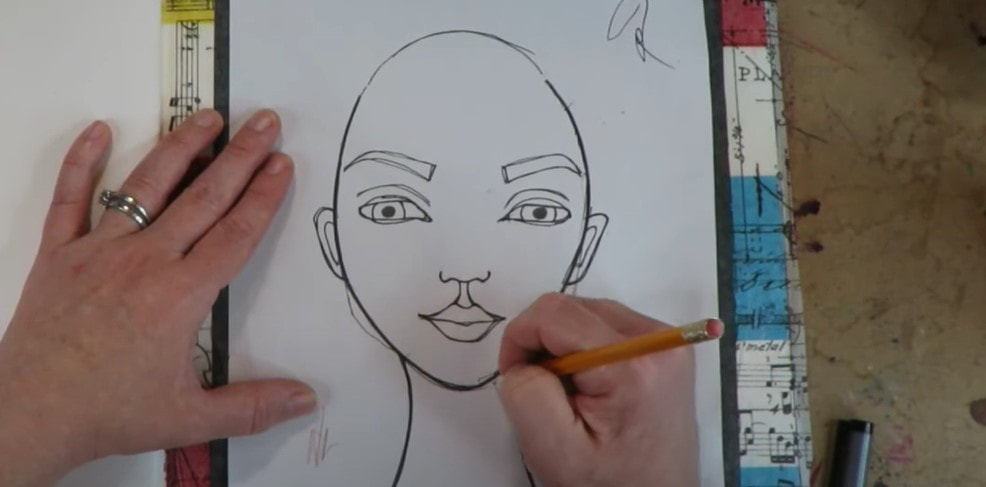 If you're new to drawing or don't love drawing faces, but want to try playing around with one in your own art journal? Please feel free to download my face shape template!  I decided to lay down a little gesso in the face shape area before doing the full transfer of the facial features in my template because I had a lot going on in my collage and it was too hard to see my transfer lines. I love using gesso INSTEAD of white acrylic paint for something like this because there is a level of transparency with gesso, and I will still be able to see the collage peeking through the face I create. 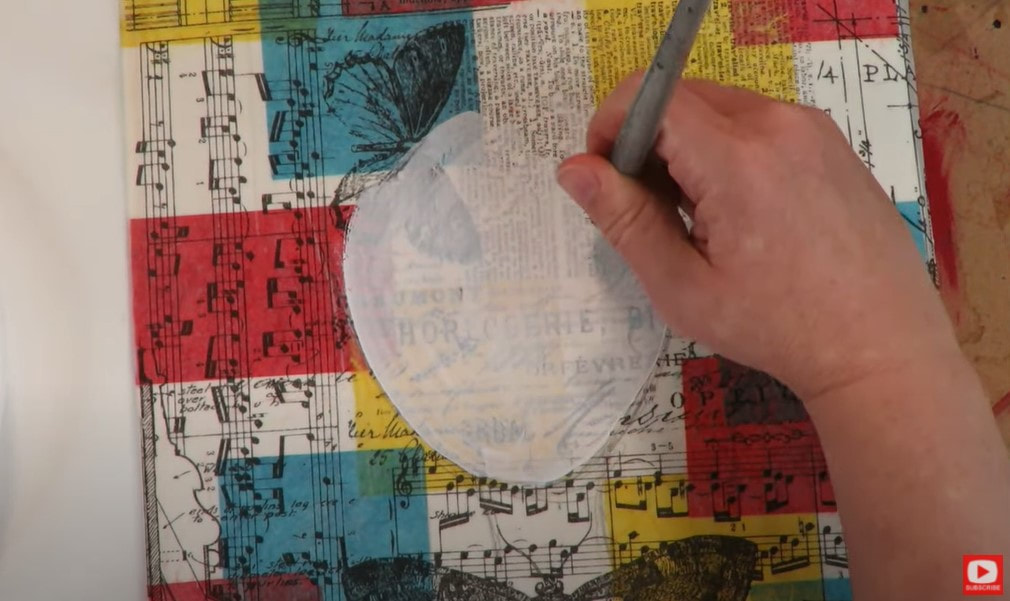 Once my gesso was dry, I grabbed my all time favorite -stabilo all pencil and started drawing! 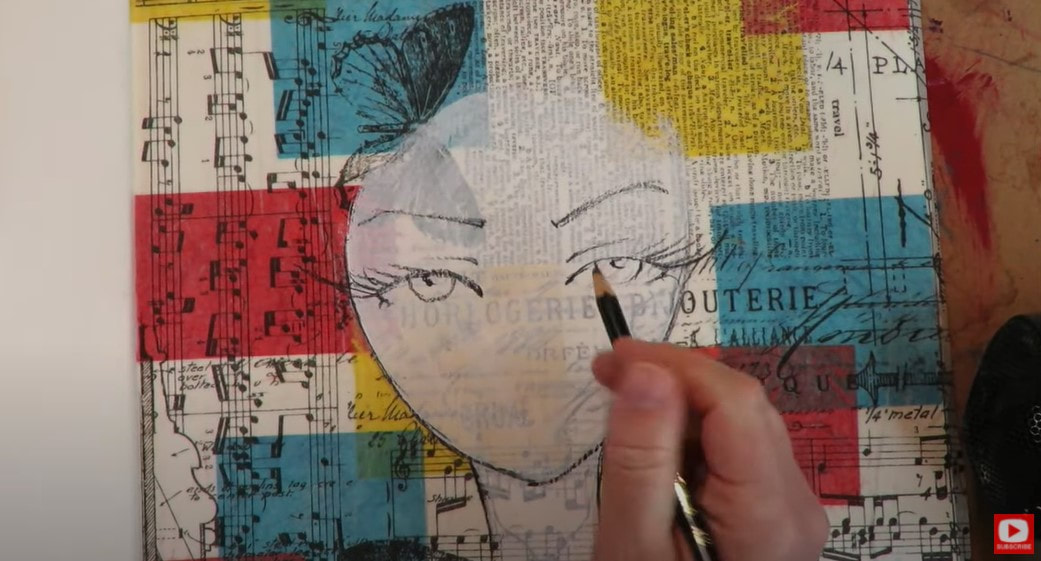 If you're new to using a stabilo - be forewarned that these are SUPER reactive! I love that effect, but it tends to freak out many of my students. It WILL react to water, gesso, matte medium, mod podge, paint- whatever you throw at it. Since I'm using matte medium to activate today- it actually "freezes" whatever I do here in place. 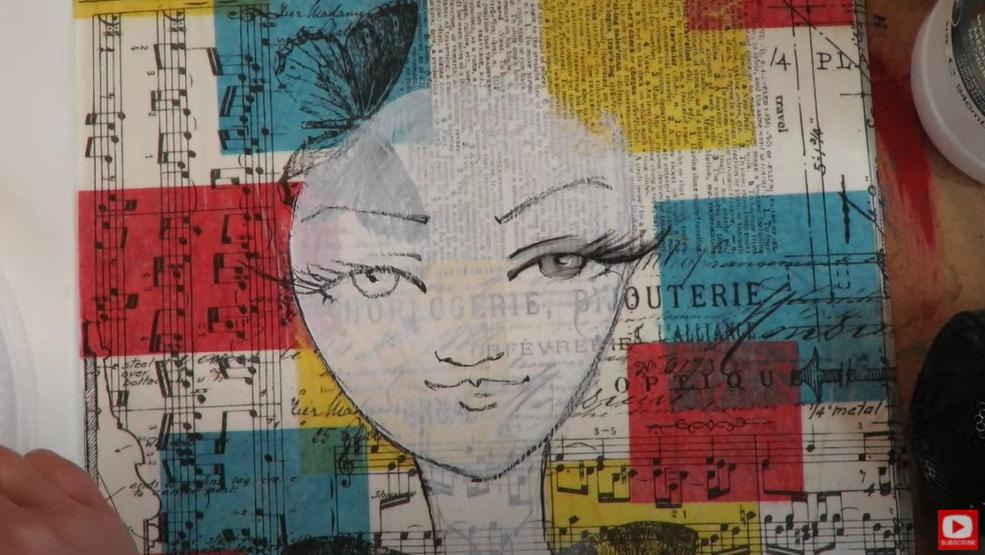 I drew in a quick bun and drug a little matte medium through this area, then worked some of the leftover gray on my paintbrush into the face as shading. 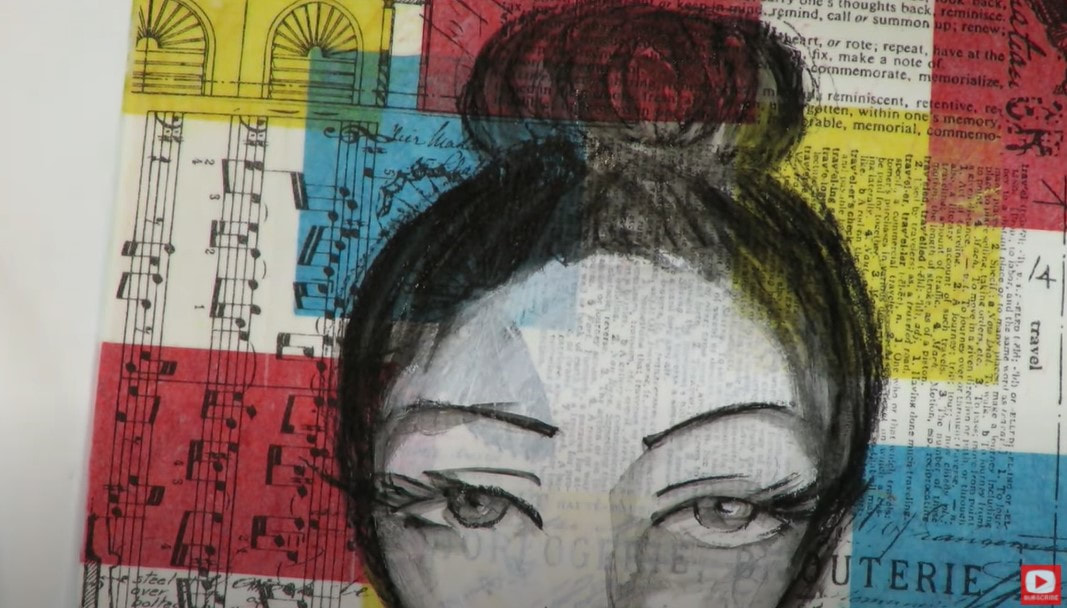 I thought about leaving her black and white, but decided to smudge some gelatos in to add a bit of color. 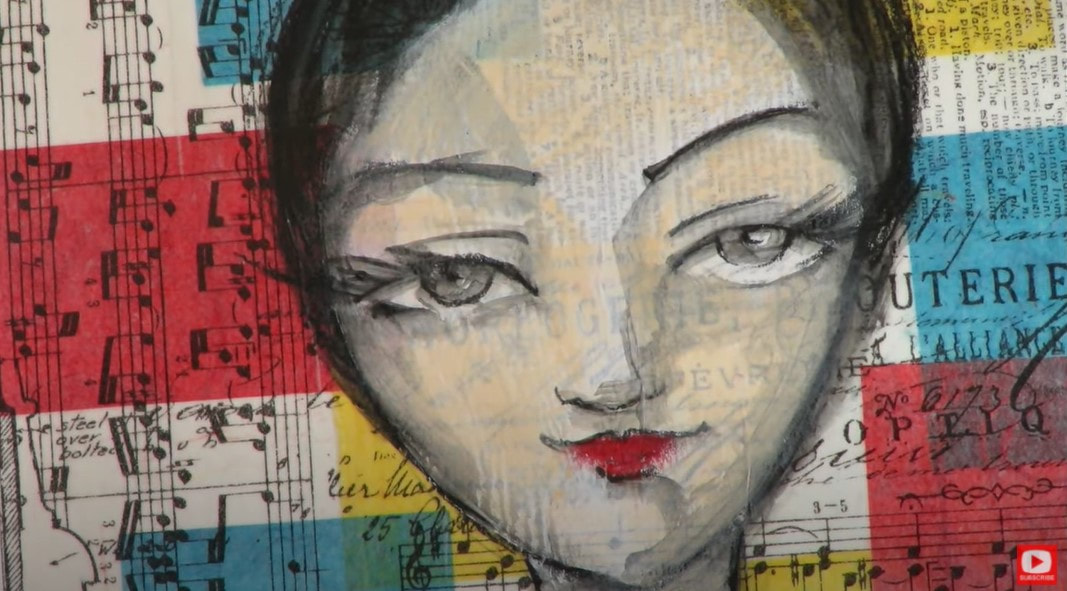 Remember each time you add a color - you want to repeat it somewhere. You should also always look to the colors in your background for inspiration. These become your color palette. Each time you repeat your background colors- you unify your piece. Take a look at how she pops when I add a touch of blue to her eyes... 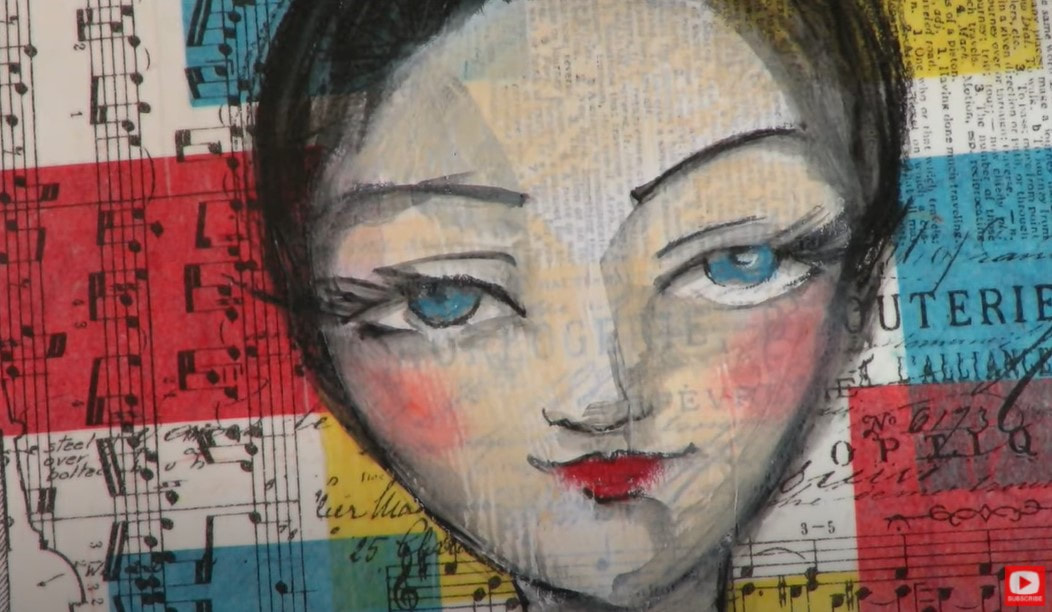 After I sealed this layer with more matte medium, I pulled out my pentel pocket brush to doodle some details like eyelashes, etc. Then I decided her lips needed to be redder, so pulled out some acrylics. I loved the way that looked so kept going - adding a touch of blue to her eyes, and a bit of yellow to the butterfly at her neck. 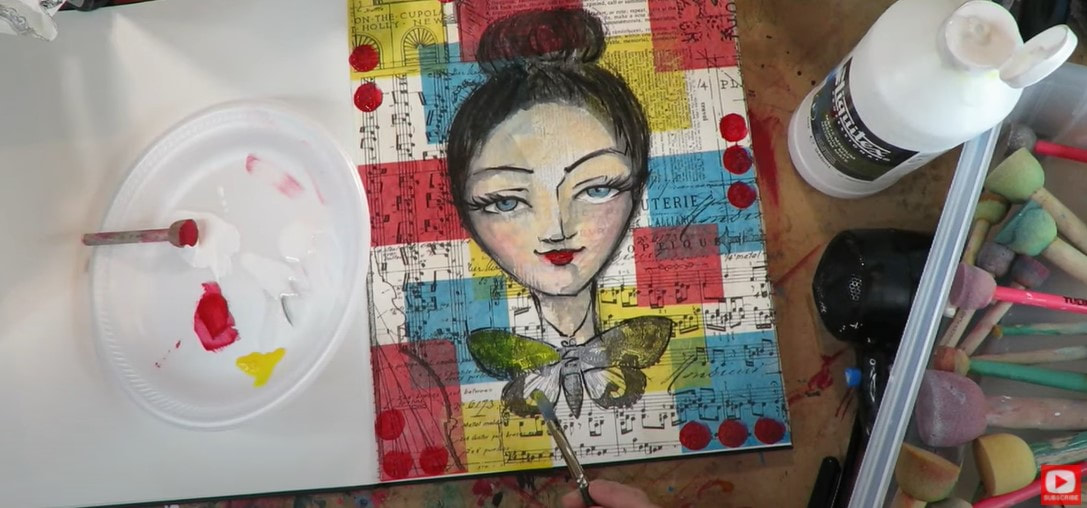 Cute, right?! I hope you enjoyed today's tutorial!! I sure did!! Super easy, and a FUN, artistic release!! See ya on Monday for the next Whimsical Women of the World drawing tutorial over on my Drawing Channel!! I LOVE creating mixed media collage backgrounds using vintage book pages! They're EASY to create, and SUPER CHEAP because you can upcycle old books from your local thrift shop for next to nothing. Today’s video is another FULL LENGTH project, so if you love collage mixed media art & mixed media tutorials - this is for YOU! What inspires you with creative ideas for your art projects? I'm often inspired by objects in my environment! Today's project all got started with a glance at my 1950s record player that hangs out in the corner next to my studio. See it there to the right over my shoulder? Before we continue, super quick announcement: All product links are Affiliate. I may earn a small commission if you choose to order through these links but by law there is never any additional cost to the consumer for doing so. I thank you for your support!  From the record player, my thoughts wandered to my collection of vintage books reserved for collaging mixed media backgrounds! I totally LOVE thrift store shopping and digging around in used book stores in search of vintage dictionaries, old ledgers, magazines, books of sheet music, and books written in different languages! I find these pages look AMAZING in the background of my mixed media art - just peeking through whatever I paint or draw on top!! When you're looking through this stuff for your own collage art - just bring home the ones that have pages with a super matte finish. These are the BEST for collage. The pages in these old books are super fragile and easy to rip. They're also really porous, which means they're gonna soak up whatever adhesive you want to throw at them! Some people might be horrified by me tearing up old book pages, but I don't feel bad because I'm breathing NEW LIFE into them by collaging art backgrounds! Plus, I only upcycle books and magazines that are in really bad shape- without a cover, with missing pages- stuff that is mostly garbage to other people. 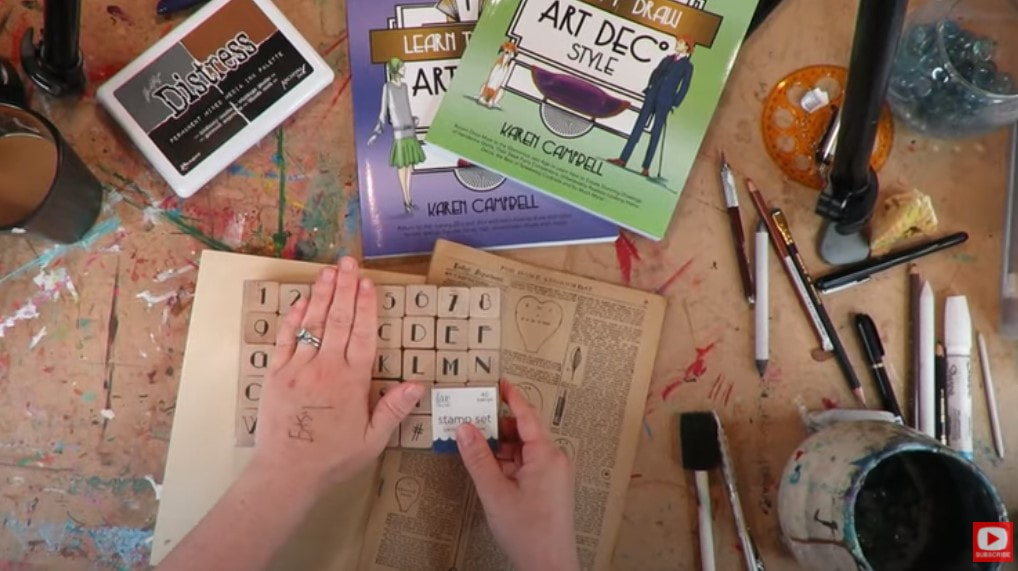 Your supplies for today's mixed media project are all pictured above. I'm working on wood canvas because I LOVE a hard surface when I'm doing collage art. A regular canvas has some "spring" to it, and that's not what I need here - I need a stable, sturdy surface that I don't have to be precious with. I've also got my liquitex matte medium, my distress stains, stamps, a vintage magazine to upcycle as my collage paper, and my How to Draw Art Deco Style books out because I need a little more inspiration and direction regarding where I want this project to go! I'm feeling the need for something sparkly, but don't know what it is yet, so plan to flip through the section on sketching jewelry. Before I do that, I rip some chunks out of my vintage magazine. I feel like the sections with images are going to be too distracting, so steer clear of those parts. I also love using the CORNERS of these pages because then I have some nice hard lines to line up along the edges of my wood canvas. 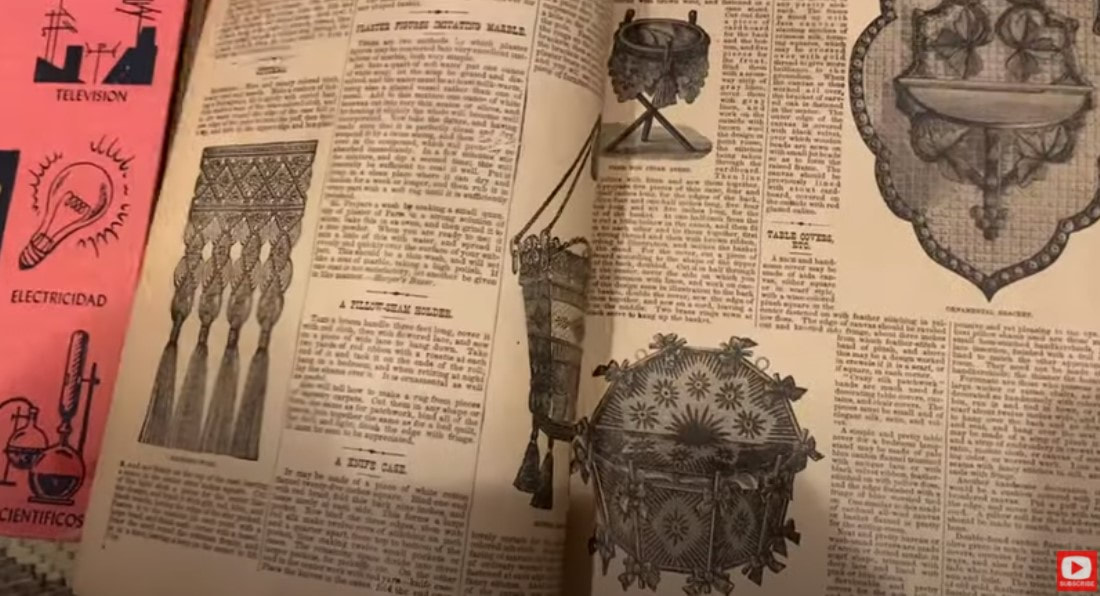 Make sure you're using tons of matte medium under and on top of the chunks you're gluing down. If you don't use an "uncomfortable amount of product," this is how bubbles and wrinkles appear in your collage. Sometimes that effect is fun, and it's a personal preference too. Some people love that look, others don't. Using lots of adhesive under and over the collage paper is just one of MY TRICKS to keep the background as smooth and wrinkle free as possible while still showing a bit of texture. Wondering WHY I'm using matte medium instead of mod podge? TONS of students ask me this all the time, so if you're new to me be sure to check this reference out!! 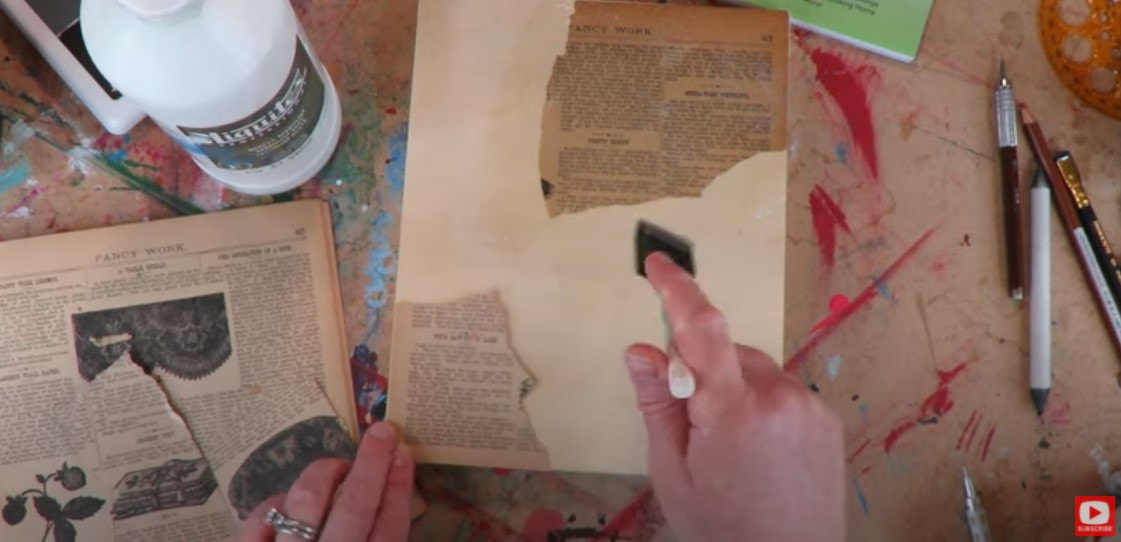 If I don't have a clear plan as to where a project is going (which I totally don't right now!!), I reach for matte medium as my adhesive because it's strong and specifically formulated to work with acrylic paint. Since I often paint with acrylics over my collage backgrounds, matte medium is my go to. As I continue getting my collage layer together, I begin thinking I might like doing some painting with fountain pen inks on top. Since these perform much like watercolor, I decide to pull out my absorbent ground to add a thin coat of this in the center of my collage. Absorbent ground preps any surface that isn't watercolor paper to accept watercolor or fountain pen inks. It's SO magical!! If you're not in the mood for watercolor or inks [SPOILER - OR if you watched the video already and saw I didn't actually end up using watercolor OR inks!!] - skip the absorbent ground and grab your gesso instead. 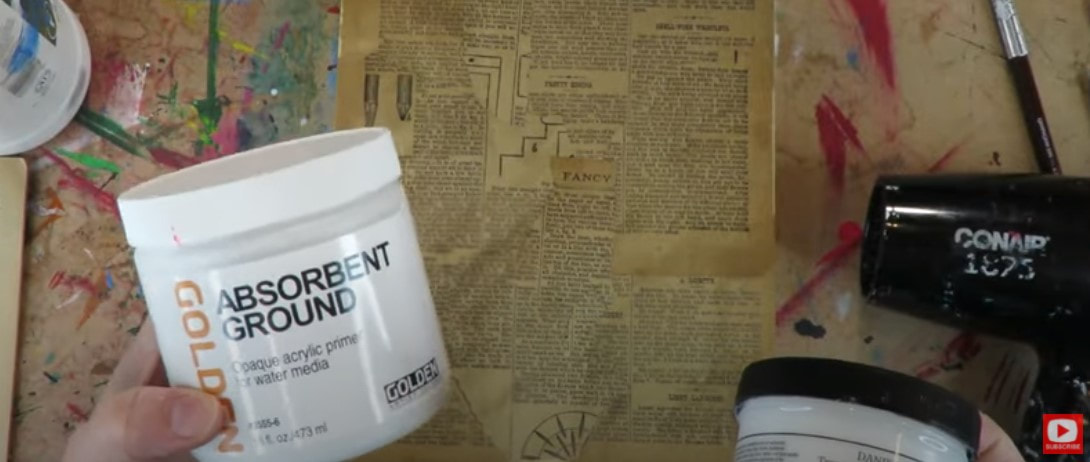 All we want to do is add a thin layer of white to the center of our collage so we kick all those words into the background. We still want to be able to see them, so if you're following along, keep your layer transparent. You just want to be able to work ON TOP of the words and bring whatever becomes your subject into the foreground. Once I'm finished adding a thin layer of absorbent ground to my wood canvas, I use my hair dryer to get the area completely dry. Next, I move on to the stamp portion of the project because I'm in the mood to add a quote!!  While I'm thinking about sparkle, I suddenly get the idea to add ACTUAL BLING to my project, and feel as if I'm 5 years old again. LOL! I taught kids FOREVER and have a TON of leftover supplies like these craft gems, pictured below. Some of them have adhesive backs. The big ones need a glue gun. I have THE BEST TIME sifting through the gems and working out a color scheme in my mind. In no time, I'm on a roll, and moving on... 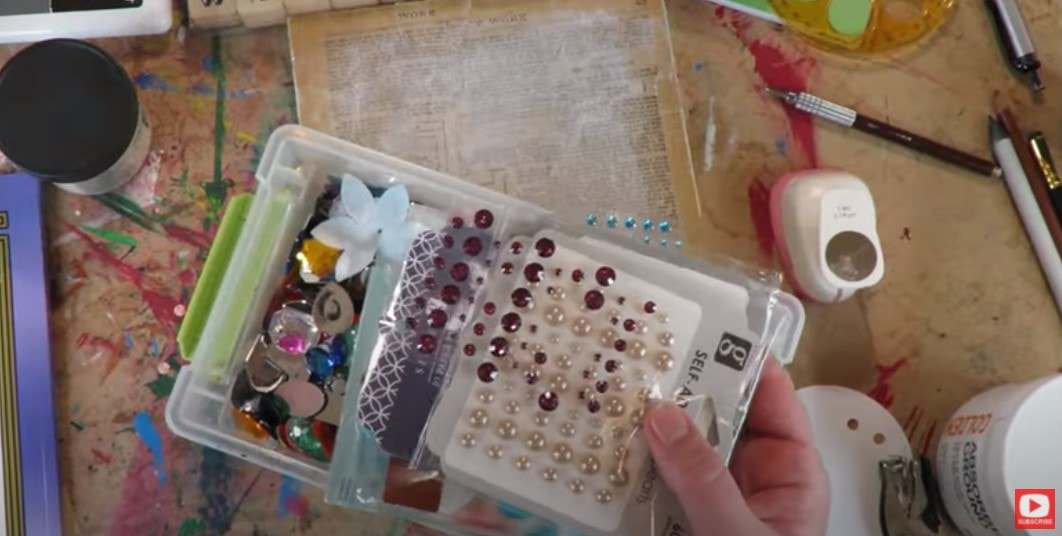 By the way, if you haven't thought of this already, this is THE PERFECT ART PROJECT to do with a daughter or GRANDDAUGHTER!! Can't you just see her eyes lighting up as she hunts for the perfect gem for her canvas?! I LOVE IT!! 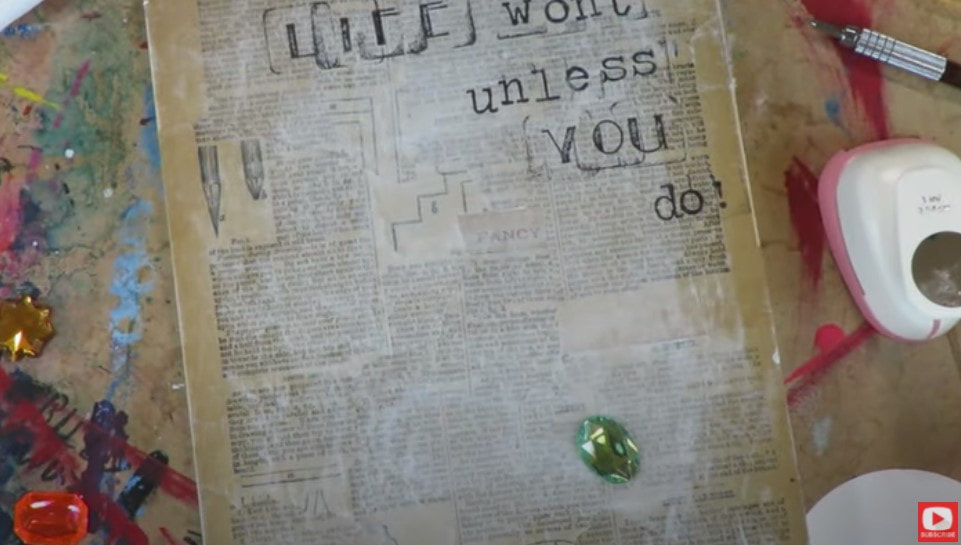 After I stamp out the bulk of my text, I play around positioning my main gem, then start drawing in a winding chain so it looks like the necklace is casually lying on my wood canvas. 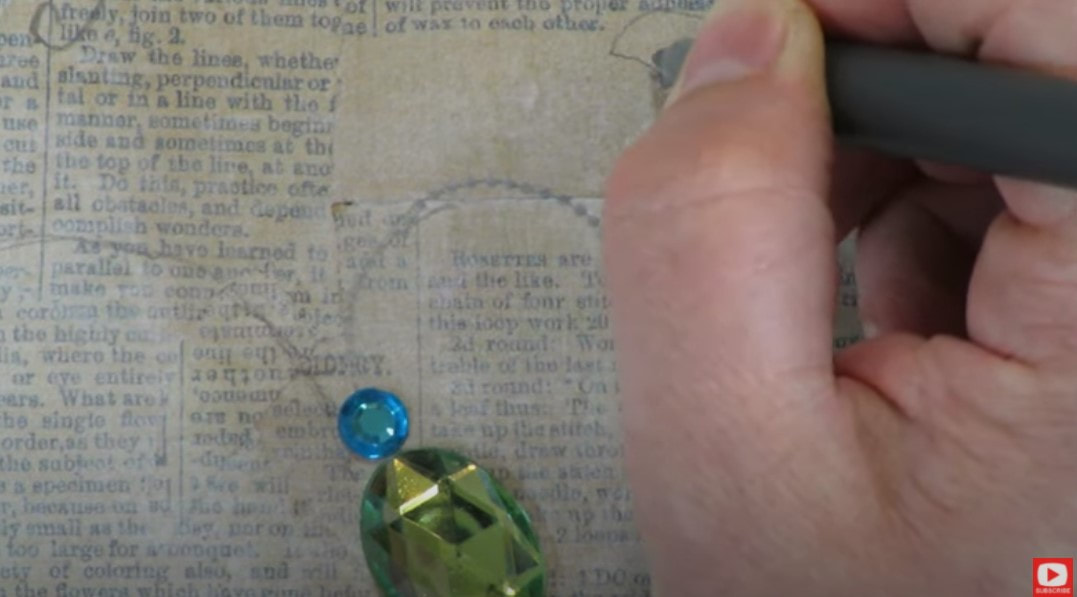 Then I pencil in the main word from my quote... SPARKLE, and add even more tiny craft gems along my chain for added interest. 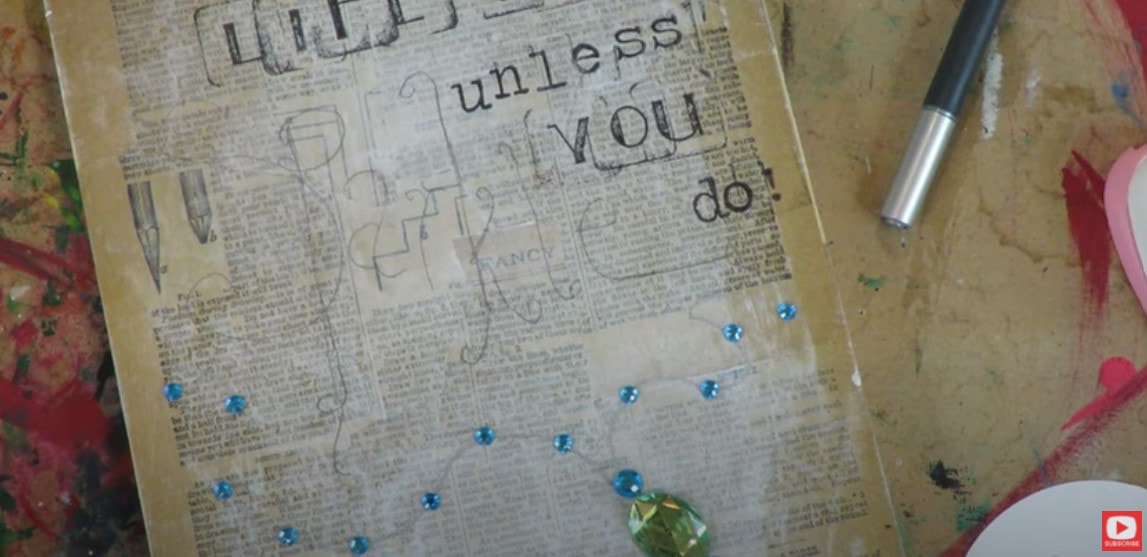 You can use whatever you want to add detail in the chain and to the words of your quote. Paint pens and pitt pens would be great! 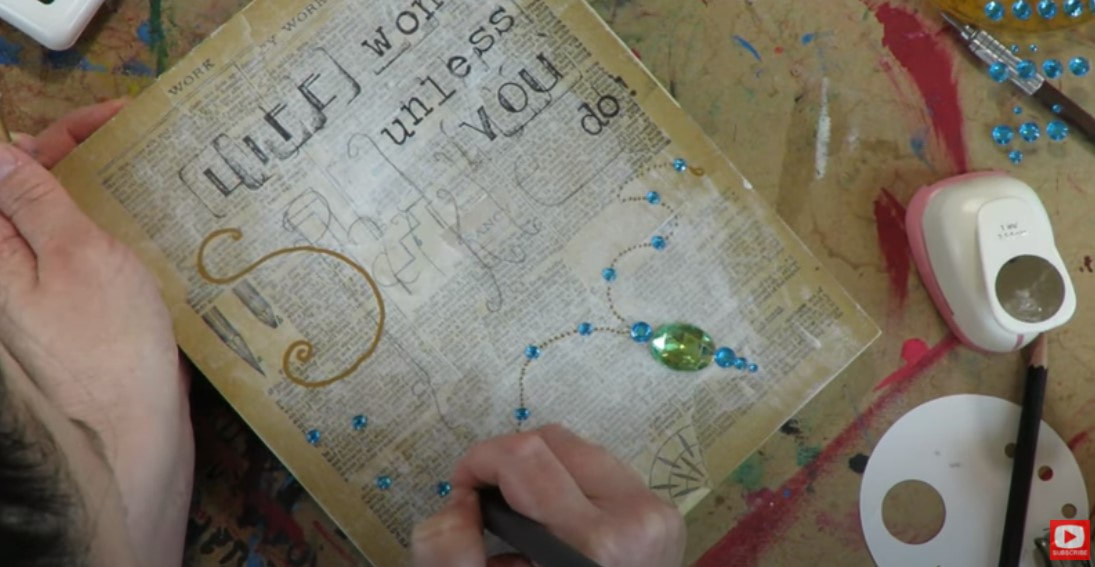 I end up falling in love with the look of a gold paint pen and keep that up throughout my piece for chain detail and to highlight the main word of my quote. 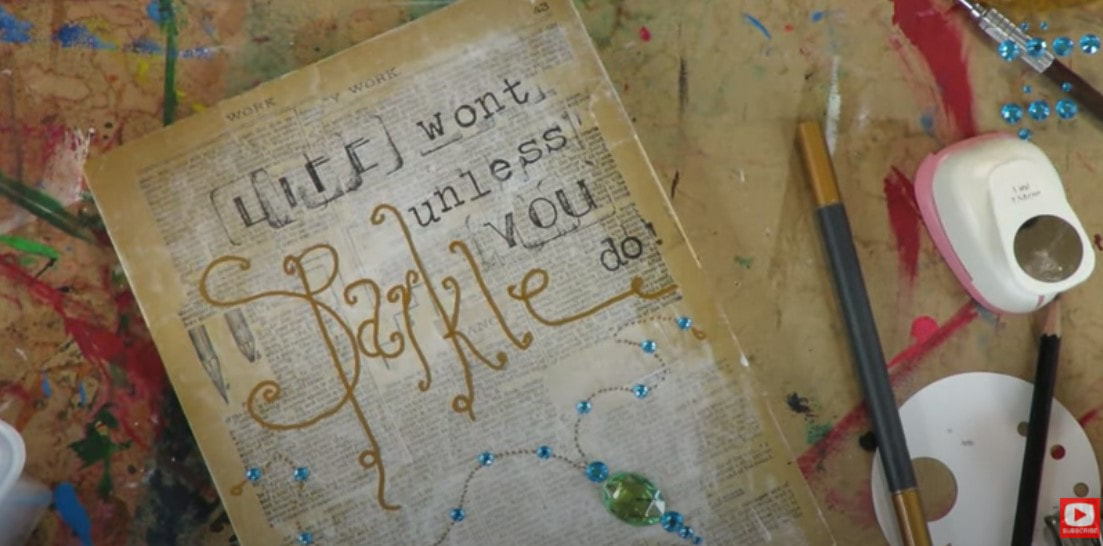 How CUTE is that?! 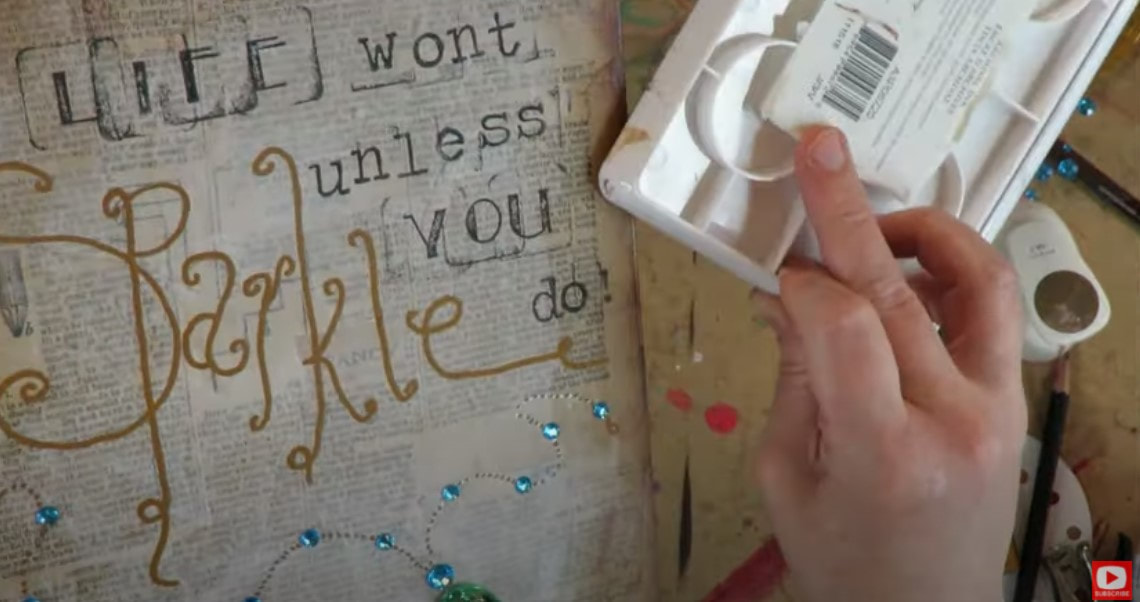 I used my distress ink stamp pads along the edges and borders to give the piece a bit more of a vintage-y feel and think it adds a fun frame. 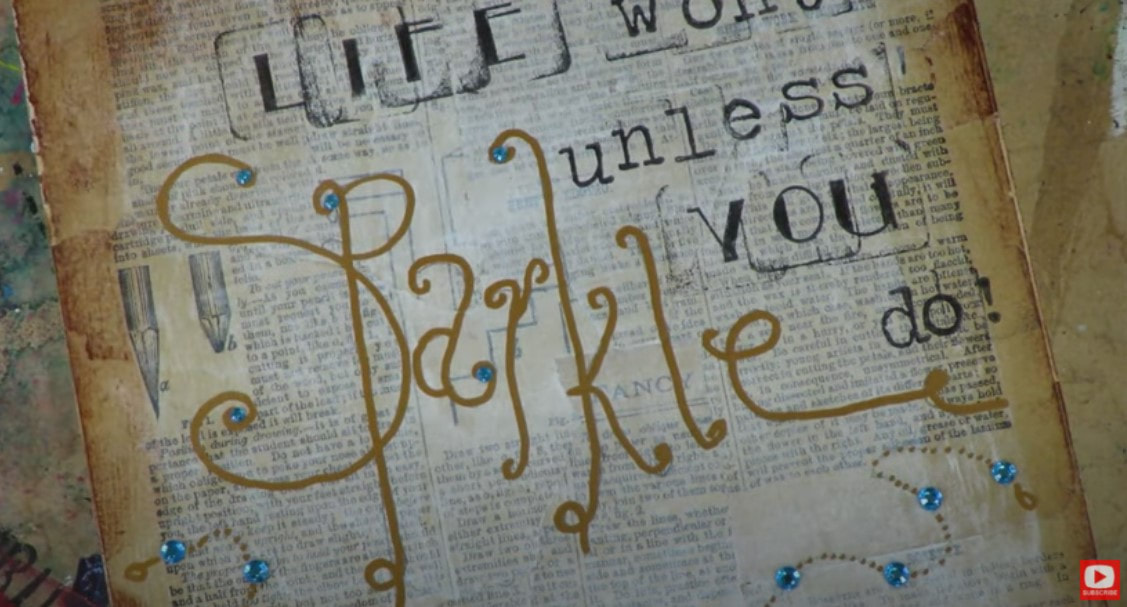 My finishing touch is to run my blending stump under the chain line of the necklace to give it a little shadow and depth. So love it, and so know exactly who I'm giving this to!! 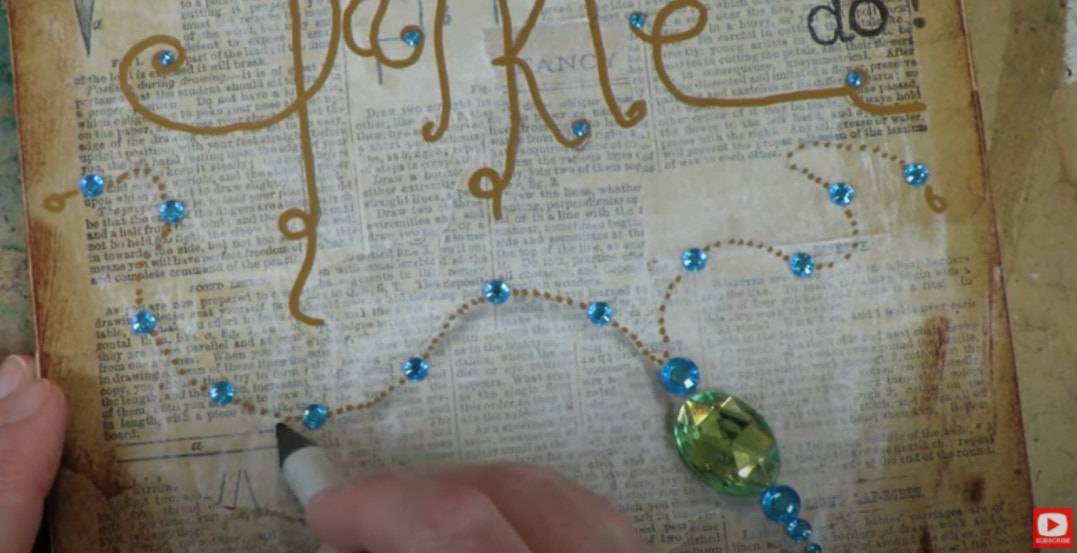 I hope you have as much fun doing this project as I did!! Be sure to share your work in our Facebook Group. I'd LOVE to see what you created!! Thanks for watching!! See ya next week!!! |
Karen CampbellFounder of Awesome Art School. Mixed Media Artist. Author of 19 Instructional Art Books! 
Whose work has appeared in...
   
 Archives
July 2024
Categories
All
|
 RSS Feed

"Karen is flipping hilarious and she's very real...I like the way she teaches in a way that really gives you confidence, whether you're a beginner or advanced there's always something new to learn!"
- Elizabeth W. |
What Fans Are SayingKaren, you are absolutely fabulous! You make me feel like I can draw anything. I have recently retired and finally have the time to do some of the art that I have loved since I was in school. I am really at the beginning of my art journey and I hope to learn as much as I can. Thank you for all you do. |
Contact ME |