|
As an artist who thrives on the versatility and spontaneity of mixed media, I've come to rely heavily on a few key mixed media art supplies that consistently deliver fantastic results, like the black Stabilo All Pencil. The stabilo holds a special place in my heart and my studio for at least a million reasons, and has been a game-changer as I've developed my own personal artistic style.
*All product links are affiliate & for U.S. residents only.*
Unmatched Water Solubility
One of the standout features of the black Stabilo All pencil is its incredible water solubility. This pencil is designed to work on virtually any surface—paper, glass, plastic, and even metal—which makes it perfect for the unpredictable and varied nature of mixed media art!
When you add water, the graphite and pigment dissolve beautifully, transforming into rich, inky washes that can be manipulated just like watercolor! This property is something I leverage constantly in my work, allowing for fluid transitions and deep, expressive shading that would be hard to achieve with traditional graphite pencils. Perfect for the Hamburger System
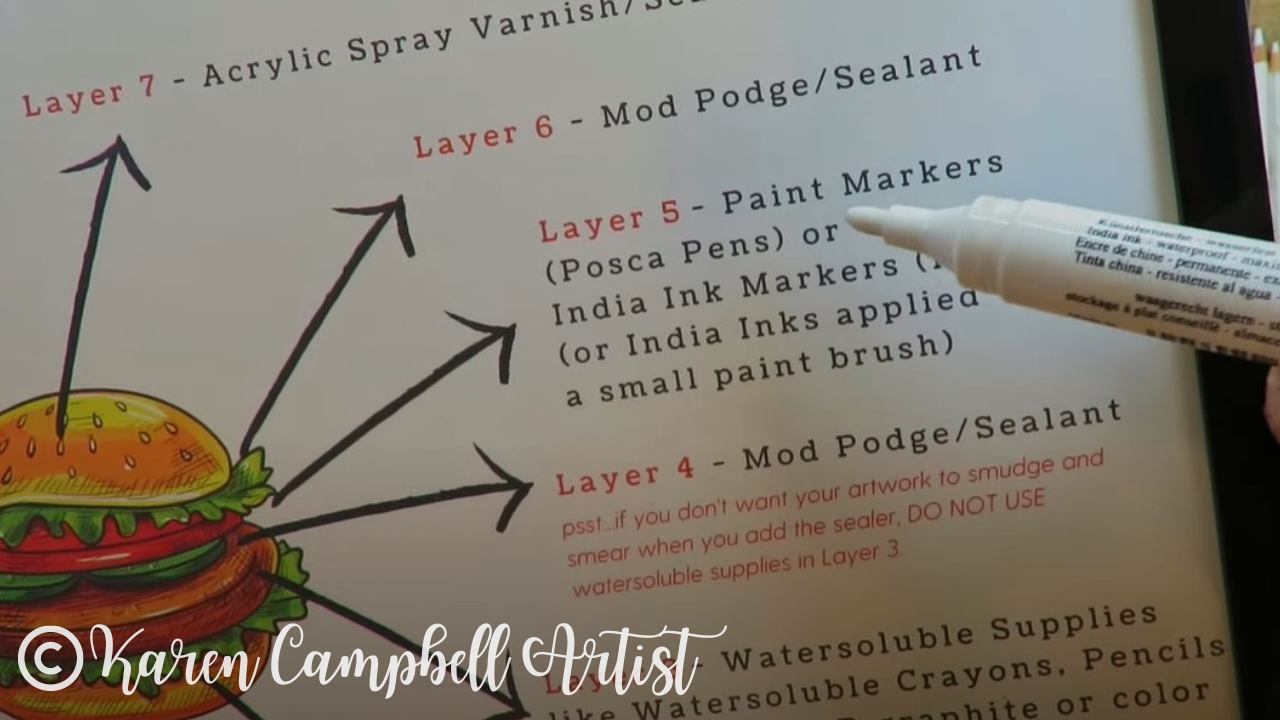
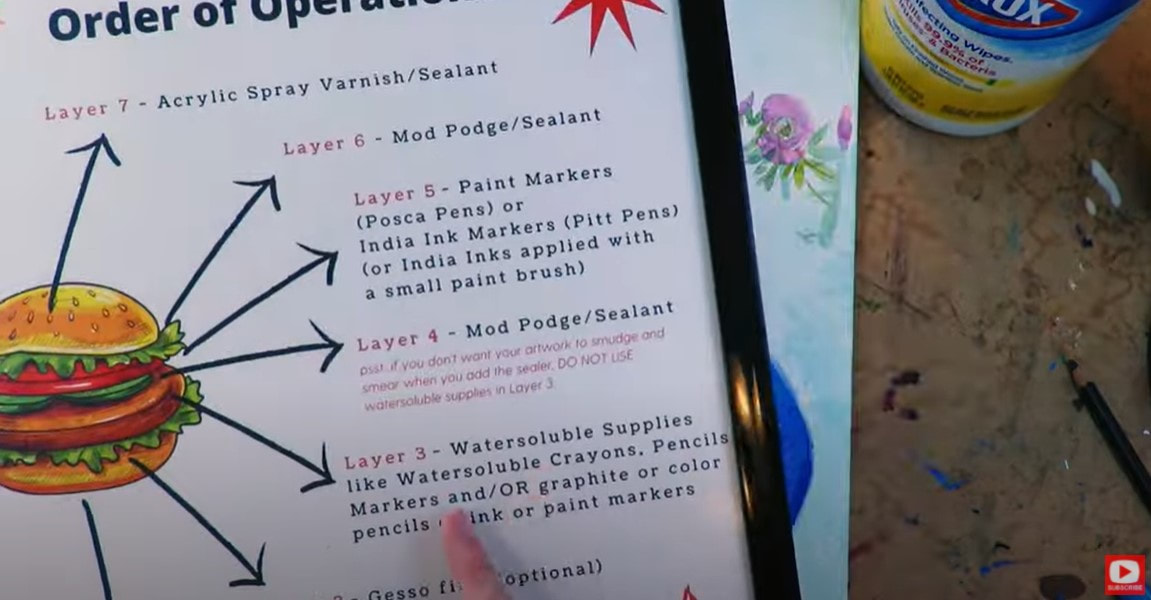
The stabilo all pencil is also PERFECT for my signature mixed media process, The Hamburger System. If you're new to my world, this is my tried-and-true "recipe" for layering mixed media art supplies to create a masterpiece, instead of a HOT MESS! Grab a copy of it HERE, or click the button below to download a PDF of my Hamburger cheatsheet for your own art table!
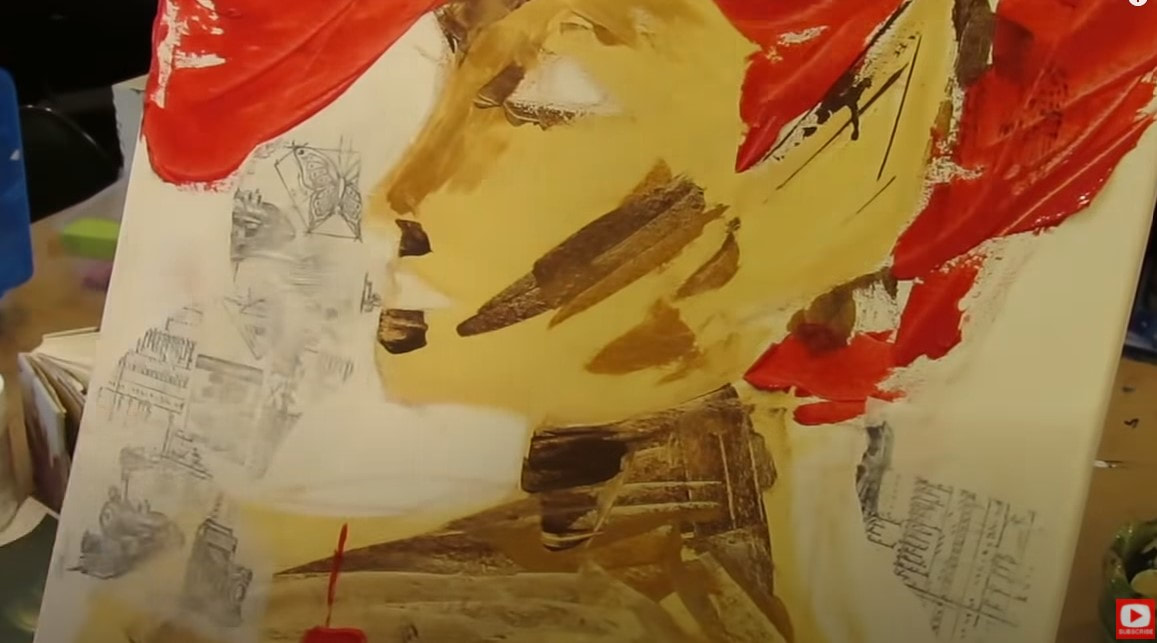
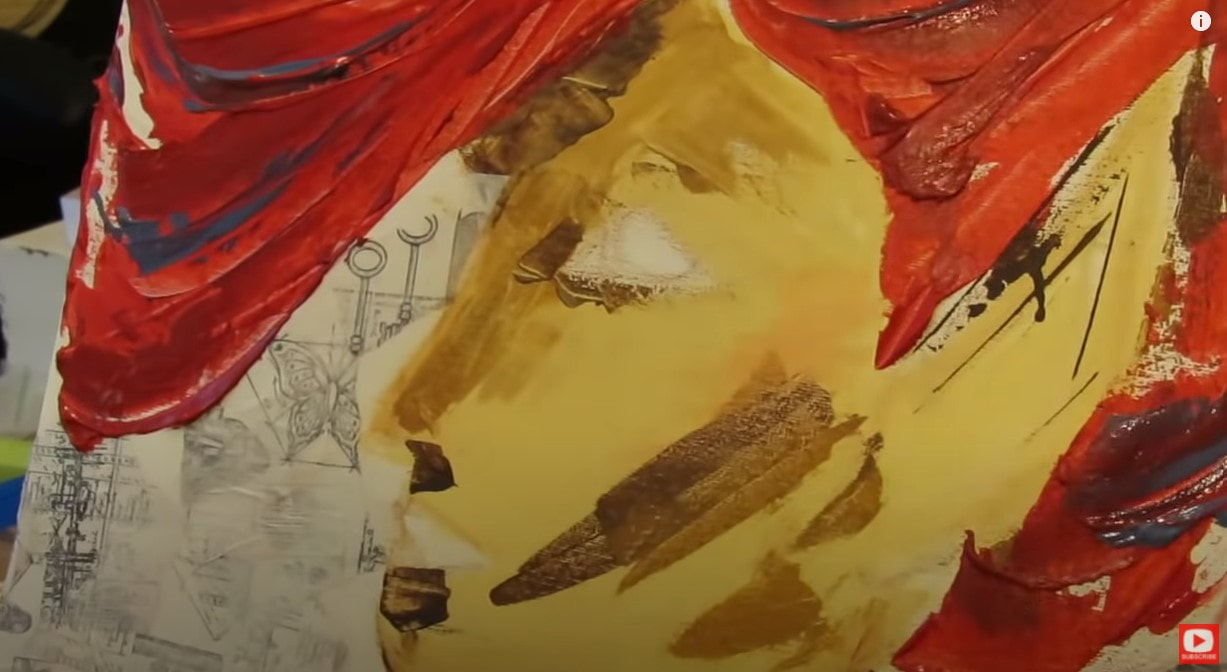
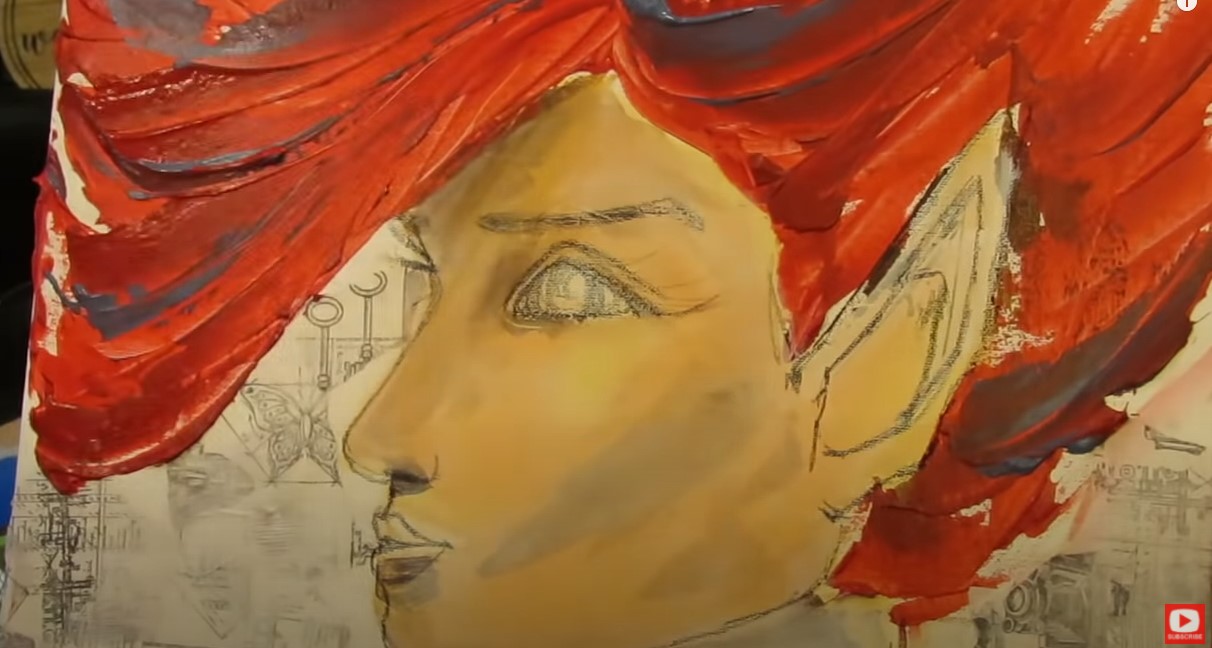
Then, CLICK HERE to learn the steps of my Hamburger System for FREE on YouTube. I've found the stabilo works beautifully during multiple stages of the Hamburger. Whether I'm sketching the initial outline or adding intricate details on top of layers of gesso, acrylics, or collage, the Stabilo's water solubility melts my drawings into paintings, adds rich depth, and sophistication!!
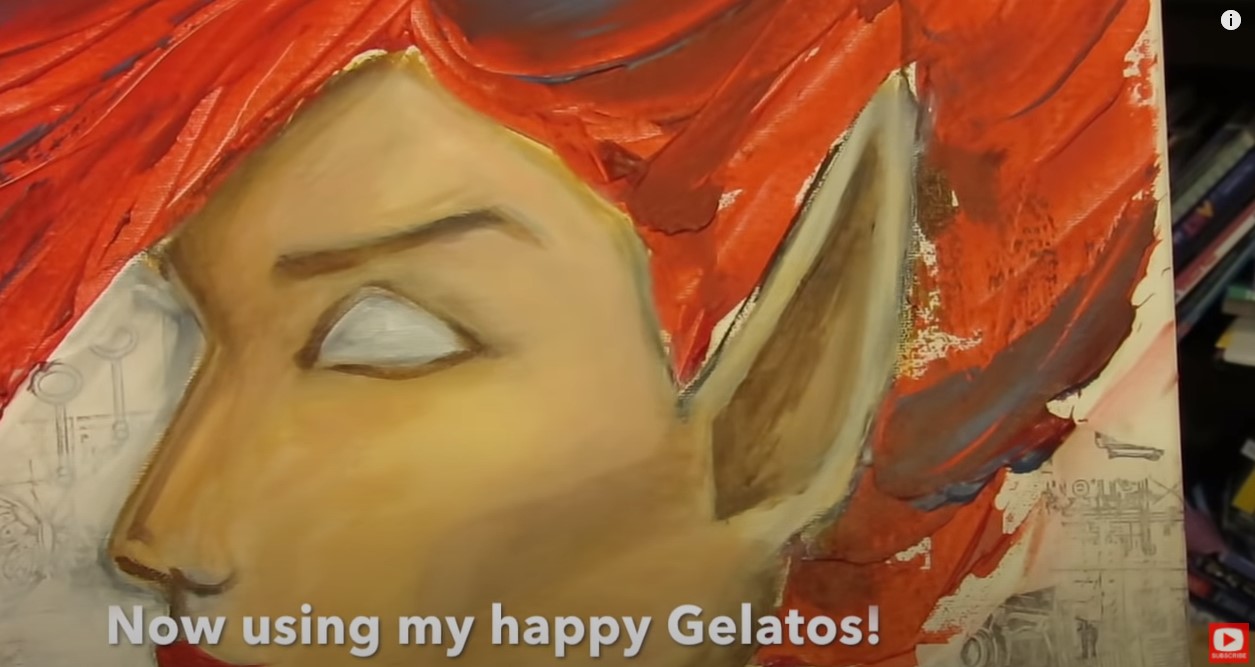
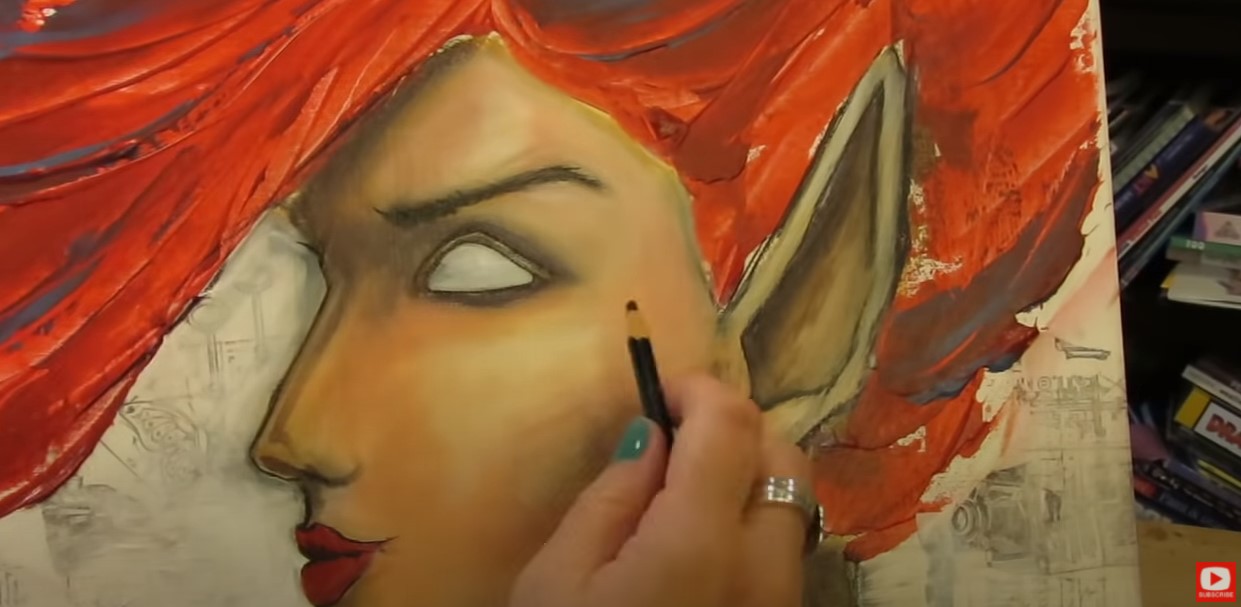
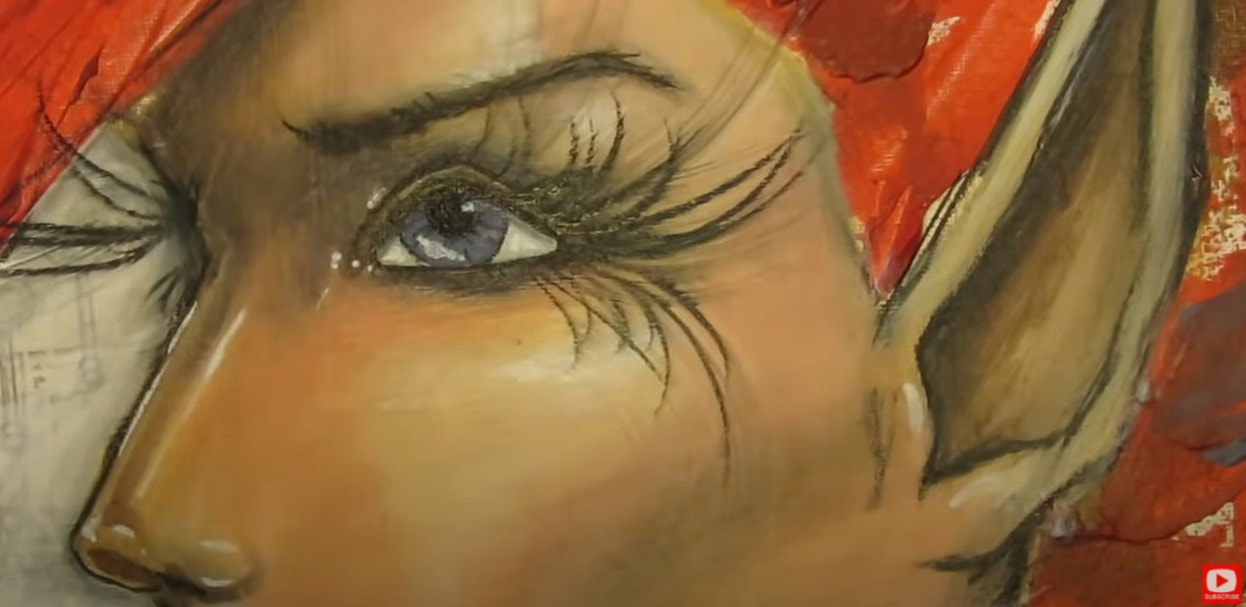
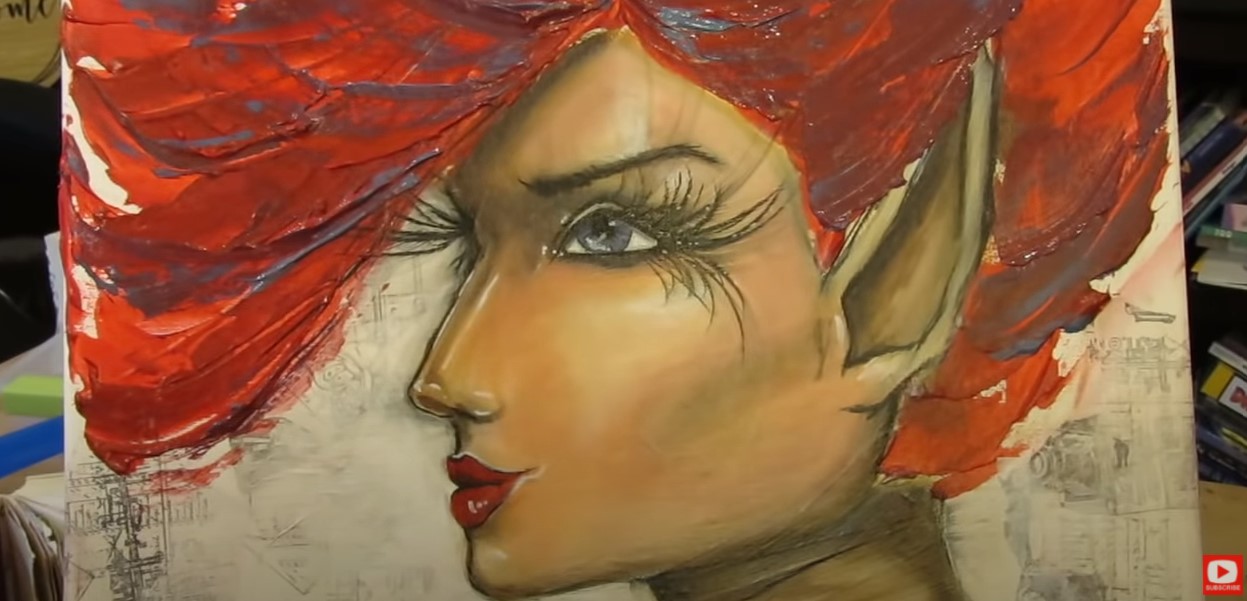
Love this modern version of "Girl with a Pearl Earring?" Me too!!
Do it step-by-step with me HERE on YouTube for free! Rich Pigmentation
One of the primary reasons I adore my stabilo is its rich, jet-black pigmentation. This pencil doesn't just draw lines; it lays down a deep, velvety black that can stand out against even the busiest of backgrounds. When activated with water, the pigment remains intense, which is crucial for maintaining contrast and focal points in my work. This richness in pigment is something I’ve yet to find replicated in ANY OTHER water-soluble pencil. And believe me, I've tested a TON of them! Just LOOK at the top row below - THAT's the stabilo once activated with a little water. Amazing right?! It doesn't turn cloudy and gray like most black watersoluble pencils do once they're activated.
Flexibility and Control
The flexibility of the Stabilo All is unparalleled. I can use it dry for crisp, DARK lines (bottom LEFT), or wet for softer, more painterly effects (bottom RIGHT). This dual functionality means I don't have to switch tools mid-project, streamlining my process and keeping me in the creative flow.
Lots of my students AVOID playing with the stabilo because they fear losing control of their lines once it's been activated with water. But this SAME EFFECT gives me the feeling of MORE CONTROL.
I believe Stabilo "mistakes" can be EASILY corrected by adding a bit more water to blend and soften the lines. Alternatively, you can let the area dry and then go over it, creating NEW lines until you're satisfied with your piece. In mixed media drawing and painting, persistence is KEY. Sometimes all you need to do is KEEP GOING. Allow any bothersome areas to dry, then add another layer :) It's all good!!
Watch the creation of this Whimsical Girl in Stabilo Over Napkin Collage HERE on YouTube!
Personal Connection
On a more personal note, the black Stabilo All pencil has been with me through countless projects. It’s the tool I reach for instinctively, knowing it will perform flawlessly whether I'm teaching a class, filming a tutorial, or creating a piece for myself. This reliability has fostered a sense of confidence and freedom in my art, allowing me to push boundaries and experiment WITHOUT FEAR.
For me, the black Stabilo All is more than just a tool; it's been an integral part of my creative journey. Its water solubility, rich pigmentation, and versatility make it a staple in my mixed media arsenal. If you haven’t tried it yet, I highly recommend giving it a go. It might just help you uncover masterpieces you never knew were within you, just waiting to be set free! Looking for Something Else?
1 Comment
What's the deal with Blackwing pencils anyway?! Lots of drawing artists love them, but why? Today, I'm talking ALL things Blackwing in this product review, will show you which Blackwing pencil is best for drawing, and can't wait to share the unboxing of my FIRST Blackwing Volumes Subscription Box!
Wanna learn how to draw an easy face in pencil? Download my FREE whimsical face drawing guidelines! They're super easy to follow and will help you draw proportional facial features every time. Simply click the button below and I'll send it straight to your inbox!
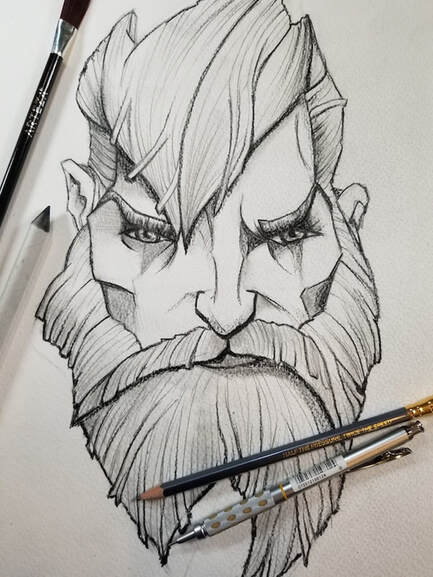
Once you print your cheatsheet out, meet me here to draw and shade the face below...
Before we continue, super quick announcement: All product links are Affiliate. I may earn a small commission if you choose to order through these links but by law there is never any additional cost to the consumer for doing so. I thank you for your support.
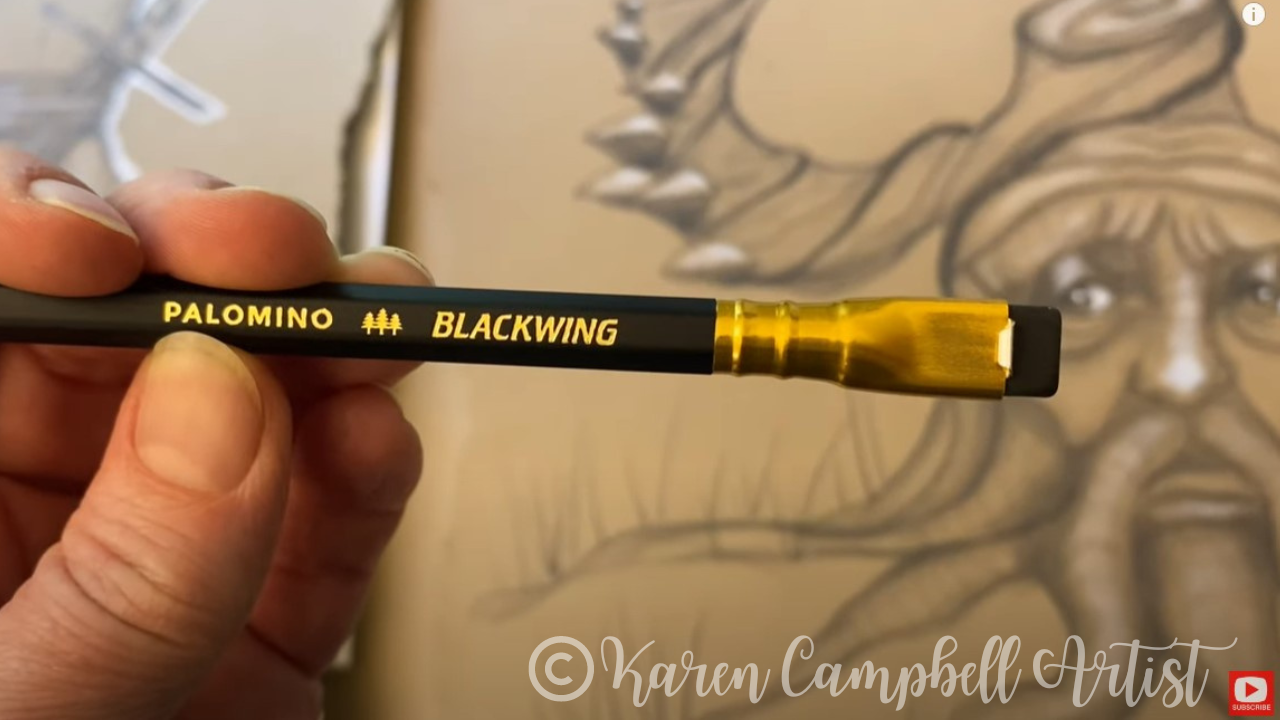
I'm OBSESSED with Blackwing pencils! The one above is my absolute fave and is what I'm drawing with in all of my videos (unless I need a finer lead and the weight of my mechanical pencil).
If you're new to Blackwing - these pencils are basically the "aristocracy" of the graphite world. Some people only care about that, but I'm definitely not one of them. What I care about is the drawing experience a pencil provides for myself and my students.
I've discovered working with one single Blackwing pencil gives me the experience of having an entire pencil set and specialty eraser - packaged into a single pencil. Most importantly - it gives me FAB results!
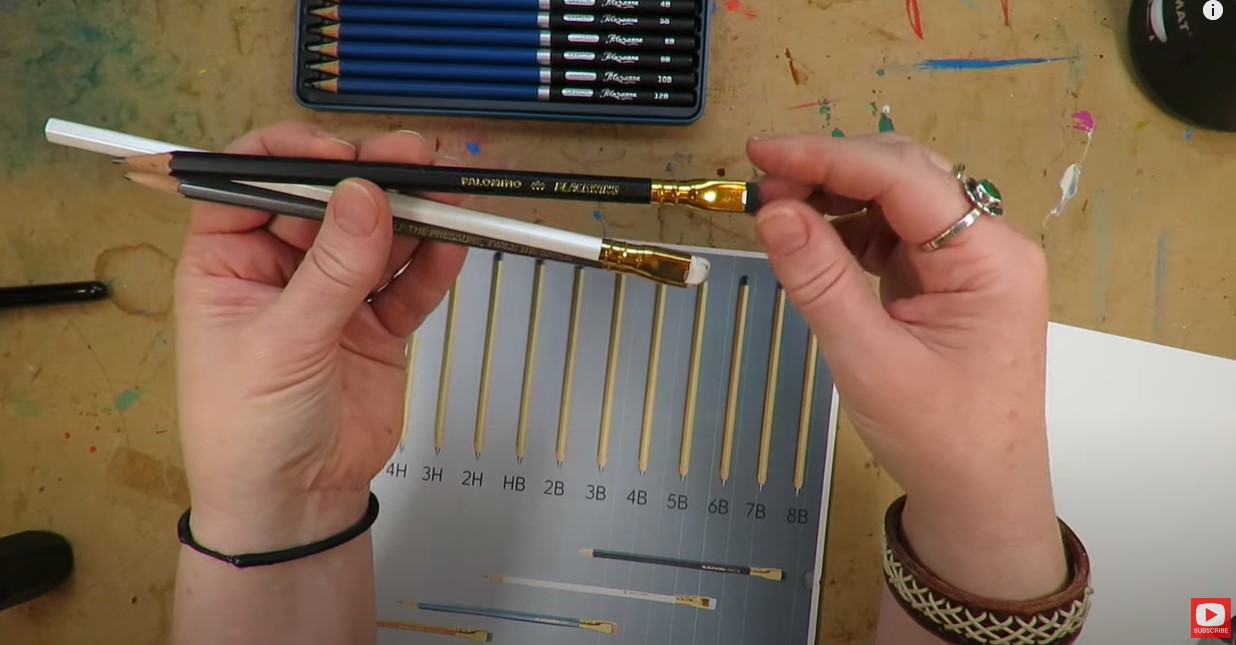
I often see the trio above of white, gray and black packaged together as a set on Amazon. Make sure you click over to the video if you want to learn more about the difference between the Blackwing pencils in this set and see how they write.
Each pencil from this set has a different "hardness" to the graphite inside it. The white one is called Blackwing Pearl and has the hardest lead. It creates the faintest/thinnest lines. The gray one is a Blackwing 602 with medium soft lead and creates medium bold/slightly thicker lines than the Pearl. This one has been a favorite of musicians, authors, and artists since the 1930s! Two of the 602's most passionate followers include John Steinbeck and Shamus Culhane (animator for Disney's Snow White - who asked to be BURIED with his Blackwing 602!). The black one above has the softest lead and is my favorite. It's the Palomino Black Matte and gives me the greatest range of light to dark for shading. Depending on how much pressure I use on my paper - I feel like this one can give me anything from a low H to an 8B. ALL of those values packed into one pencil make this one extremely valuable!
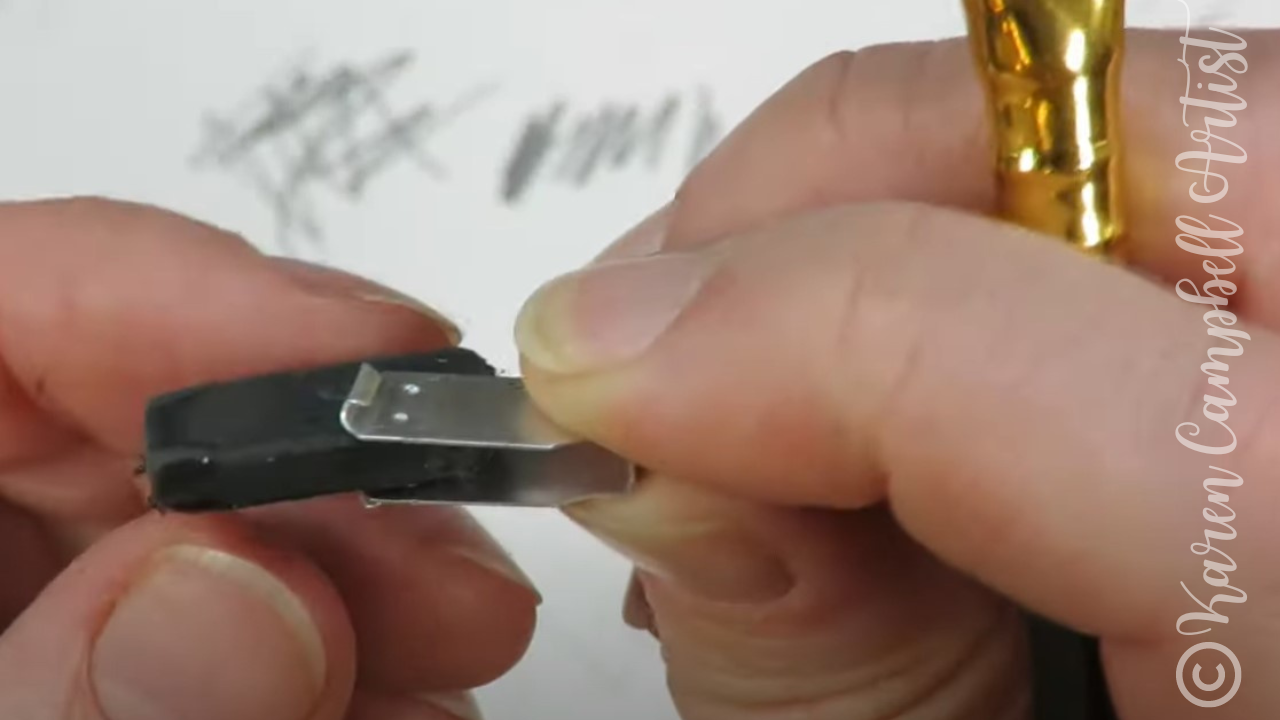
Another thing that makes Blackwings unique is their eraser. The Blackwing pencil eraser has a rectangular shape that reminds me of working with my Tombow mono eraser. Even better - the erasers are totally removable and replaceable. You can flip the used side over to start using the opposite side, or slide it out completely to replace it. So cool, right?!
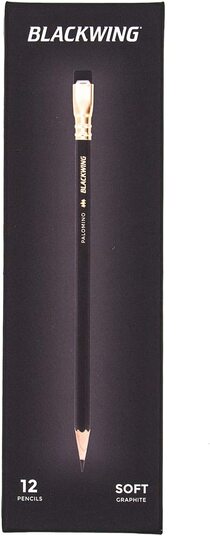
The cheapest way to try Blackwings out is to grab one at your local art supply shop (typically around $4/each), or to drop a box of 12 into your Amazon cart.
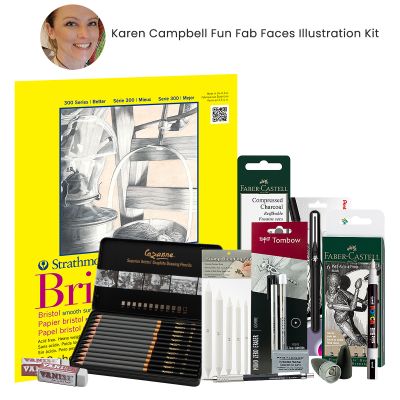
I know they're expensive, and the price point's not for everyone. If they're not in your budget, FINE! Pick up any old pencil you have lying around your house and draw with that. Who cares what YOU draw with! The most important thing is that YOU DRAW :) When you're ready and have a few extra bucks - experiment with a pencil set like this from Amazon or your local craft store. If you're in the market for MORE than a pencil set - you might just LOVE the set of drawing supplies I curated with Jerry's Artarama called The Fun Fab Illustration Set.
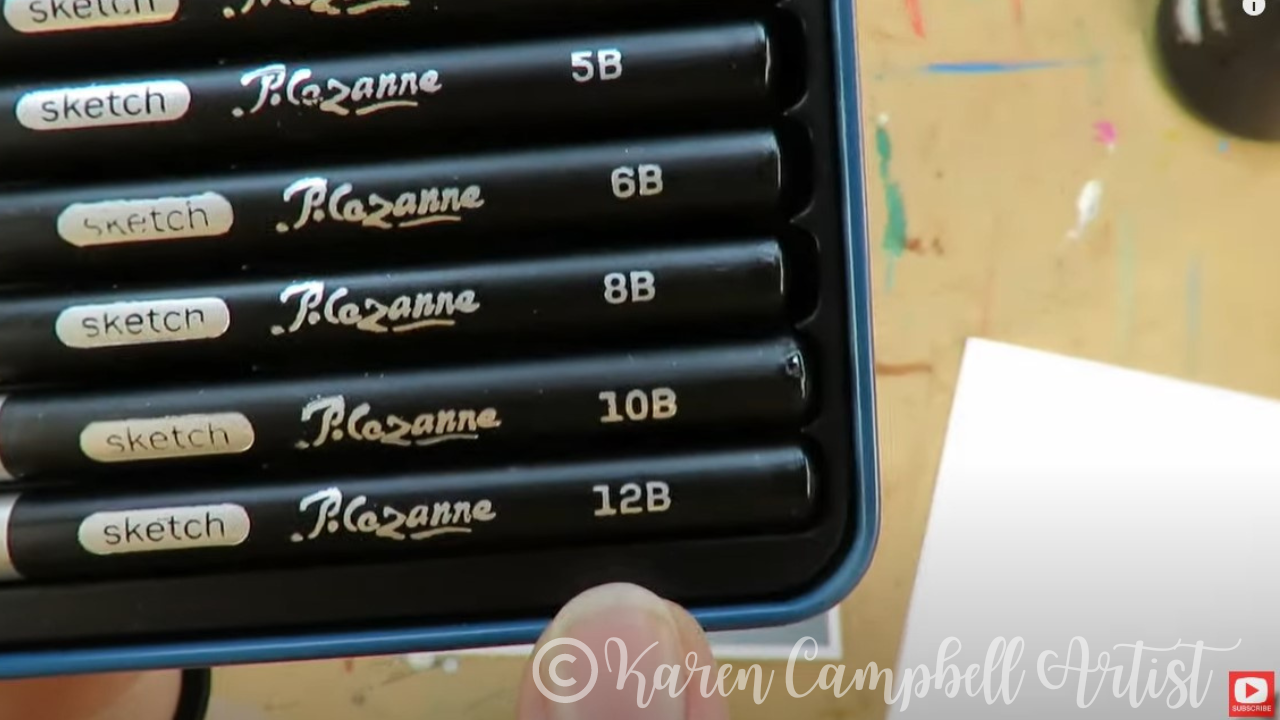
The pencils in this kit are by Cezanne and provide a super dark 12B - which I never even knew existed before I tried them!
If you've been following me for a while - you know I'm a busy girl and kinda love flying by the seat of my pants! If I've got somewhere to go and want to bring my sketchbook ... for me - it's SO much easier to fly out the door with one pencil (that does literally everything), instead of fumbling around with an entire set.
Make sure you click over to the video to see the great reveal of what's inside this month's Blackwing Volumes Subscription Box! It's my very first one, and happens to be Blackwing Volume 7 - a tribute to animator Chuck Jones (illustrator of Wile E. Coyote).
I have a feeling there might be some limited edition Blackwing animation pencils inside! So excited to check it out... Come on!!
Thanks for hanging out with me today! ❤️ CHECK OUT ALL my art books on AMAZON ❤️ MY FAVORITE ART SUPPLIES on AMAZON ❤️ MY BELOVED FACEBOOK GROUP ❤️ FOLLOW ME ON INSTAGRAM
No mixed media project of mine is complete without adding some dazzling white highlights. As a result, I've developed quite a collection of white pencils, paint pens, and inks over the years.
Today I'm pulling them ALL out to show you which ones I reach for most, and which ones are better off in the trash. Whether you're a mixed media beginner, or a seasoned artist curious about the BEST mixed media art supplies - today's video is for YOU!
Not sure WHEN to layer your white highlights, or feel like you're struggling with how to layer your mixed media art supplies so you create a MASTERPIECE instead of a hot mess?
You're in the right place! Download my FREE Hamburger System Cheatsheet and learn how to layer your supplies for mixed media success every time!
Once you've got your cheatsheet, check out my FREE YouTube series breaking down each layer of the Hamburger System in action!
Before we continue, super quick announcement: All product links are Affiliate. I may earn a small commission if you choose to order through these links but by law there is never any additional cost to the consumer for doing so. I thank you for your support.
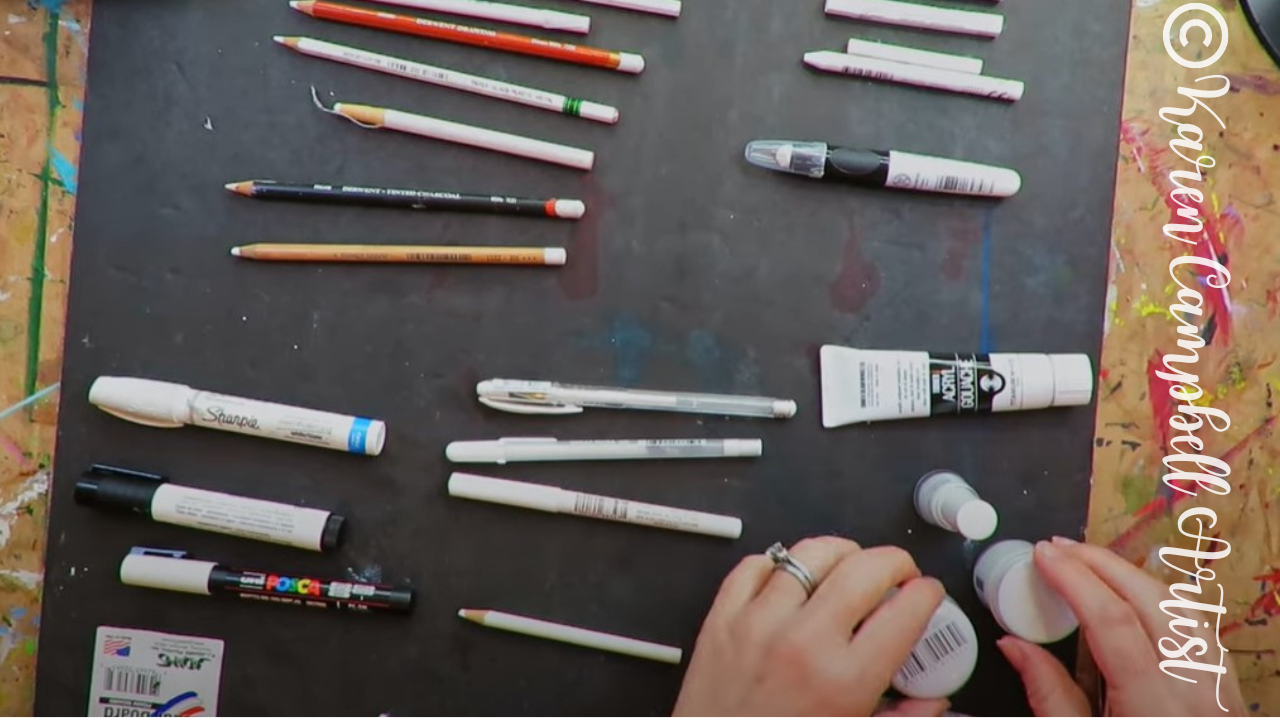
Adding white highlights to my mixed media projects is one of my FAVORITE things to do when I'm creating. That's probably why I've collected just about every white art supply I can get my hands on!
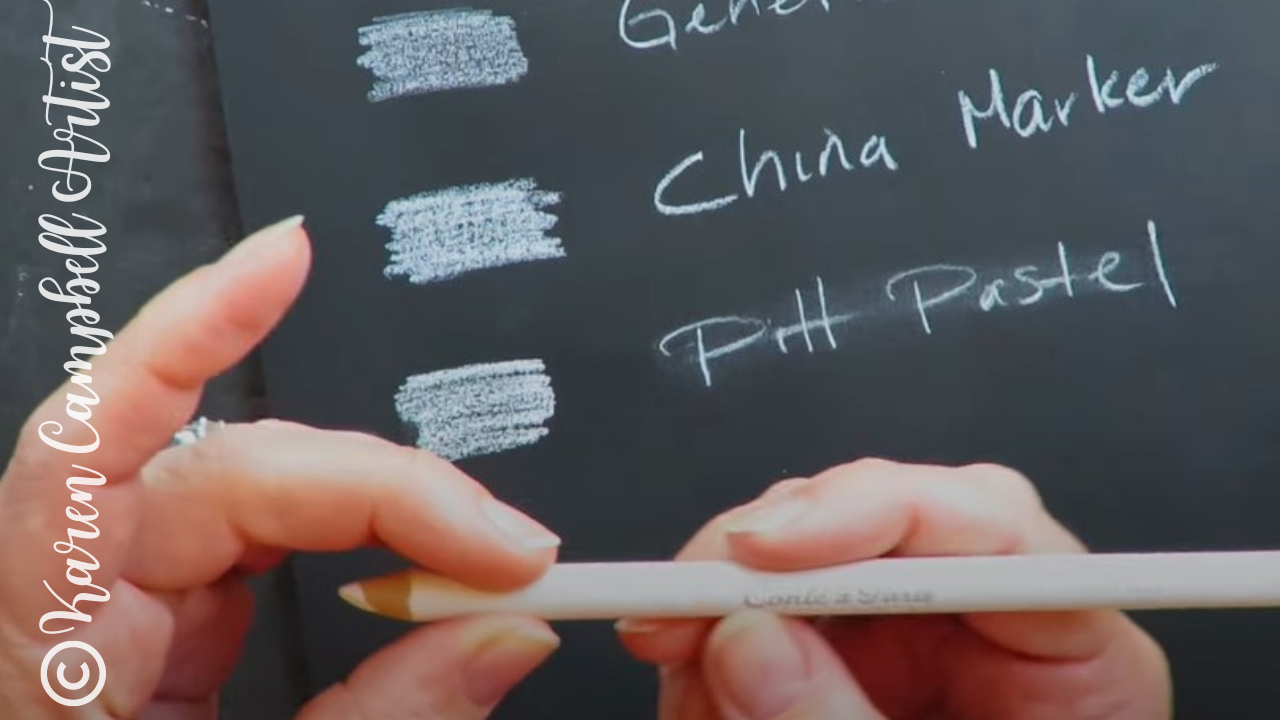
To get this demo started, I've pulled eight of my favorite white pencils that are not water-soluble. I'm on the hunt for an opaque white that will really make the features in my mixed media drawings pop off the page.
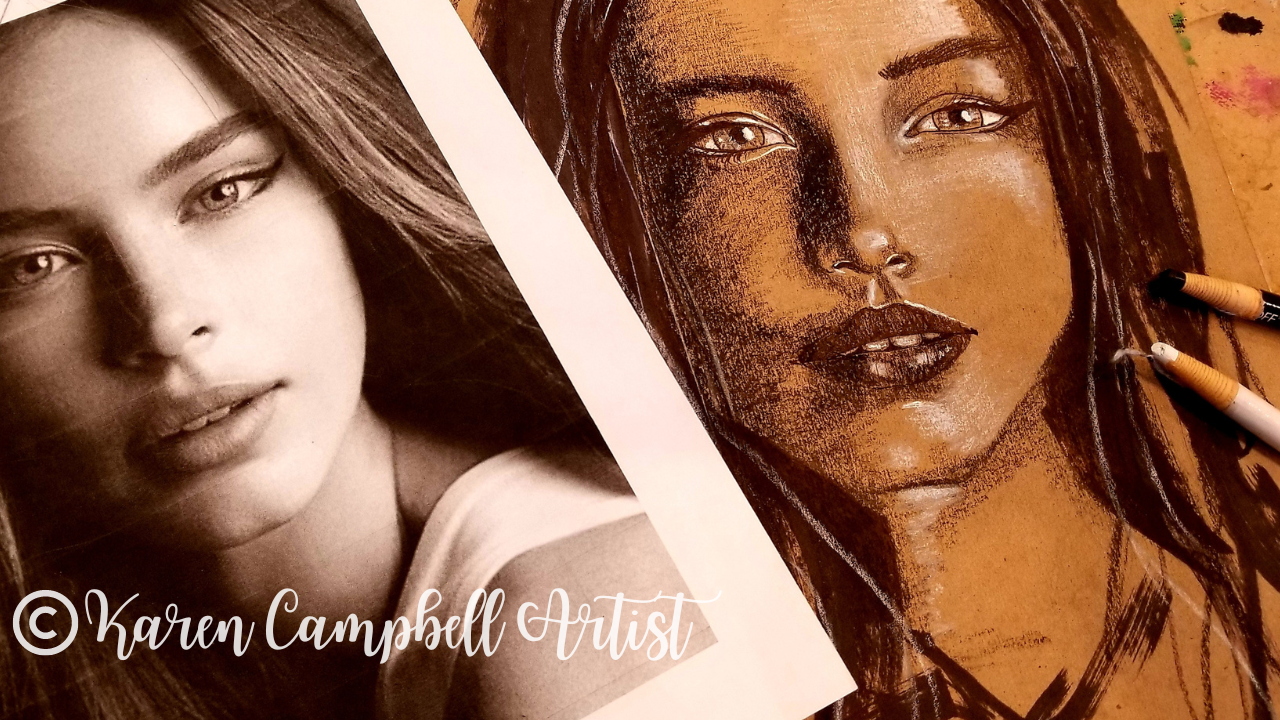
Typically if I'm doing a mixed media drawing, I tend to reach for my white china markers because I'm creating something like this on tan toned paper...
I LOVE my white china marker, but have never actually tested it in a side-by-side product comparison like this, so it will be interesting to see how it performs.
Make sure you watch the video to see how each white pencil swatch compares. I was a little surprised by the results from my super soft, white Conte a Paris pastel pencil!
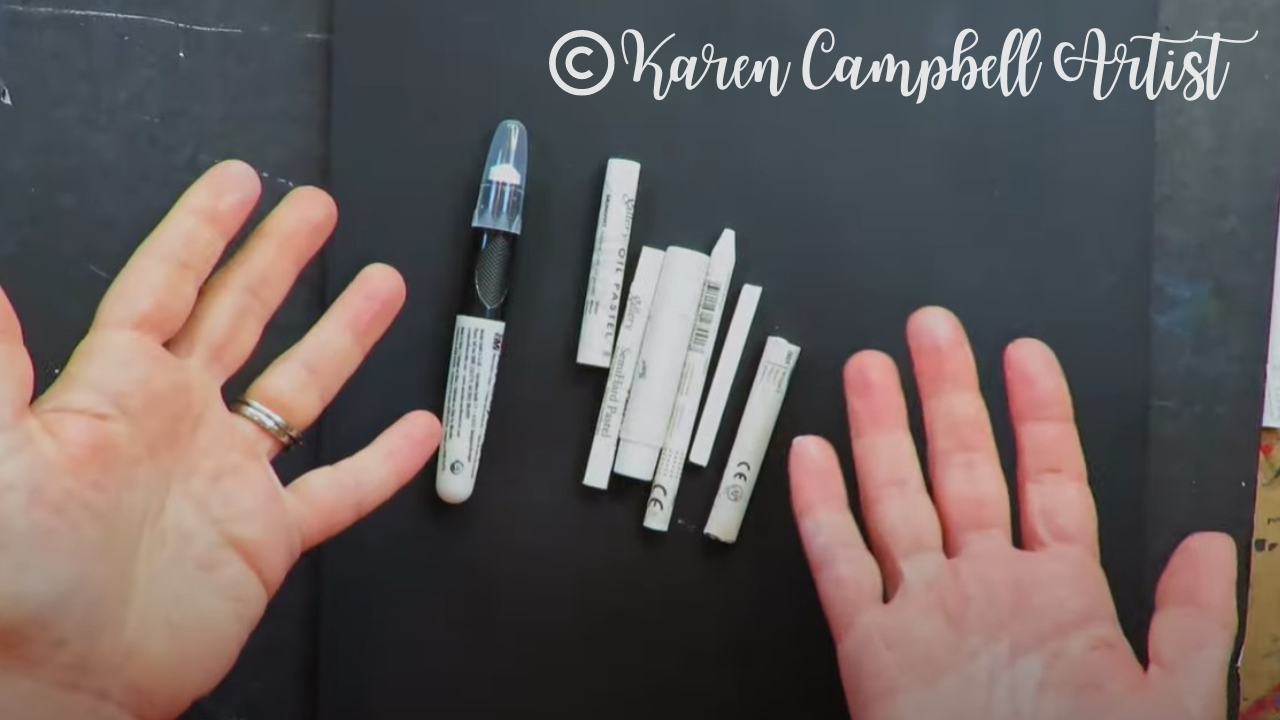
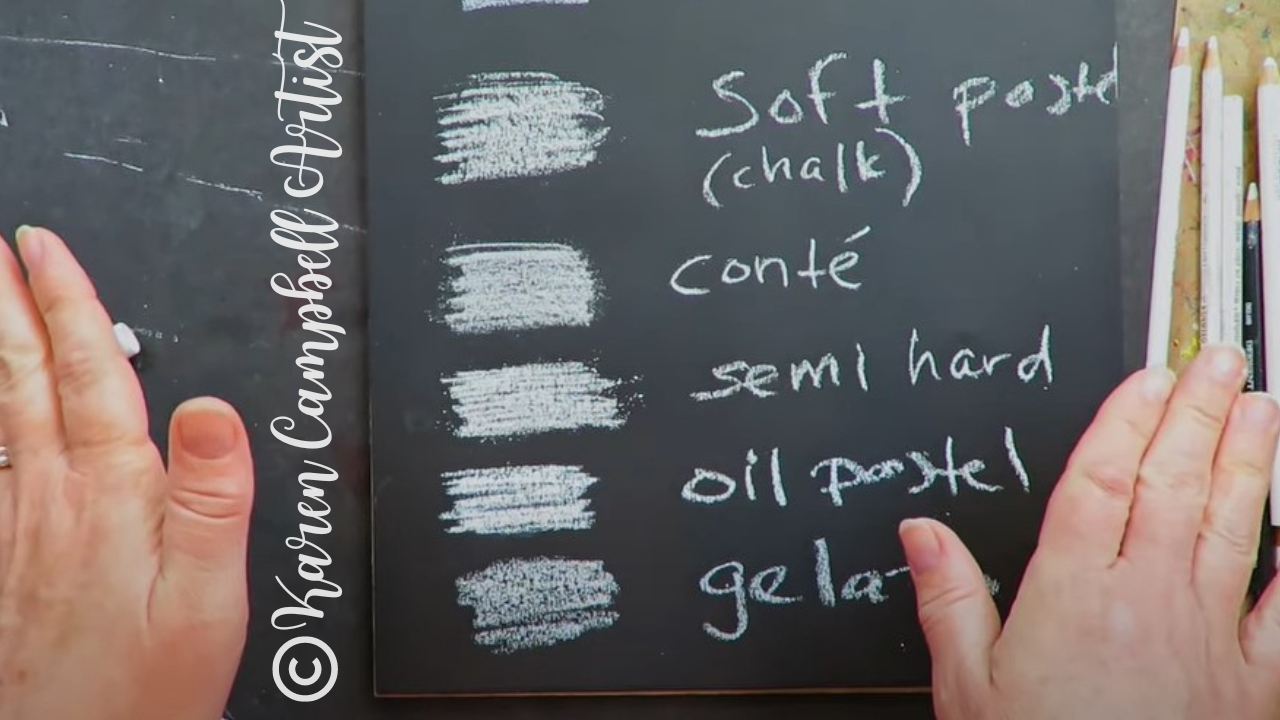
Next up, I tested all of the white mixed media art supplies that look like crayons or pastels. If you're familiar with my Hamburger System, you may already know how much I love using Faber Castell gelatos to shade my mixed media portraits over my acrylic paint layer.
I have tons of students who really love working with pastels, Neocolor Is (non-watersoluble) and Neocolor IIs (water-soluble) - so I included these in my white art supply product comparison as well.
To me, the brightness of the oil pastel really stands out when compared to the other supplies in this category. Watch the video to see what YOU think!
Since pastels work well on top of basically anything and don't require a sealer to stay in place, they could work perfectly for you at the end of a hamburger style project when you're ready to add highlights!
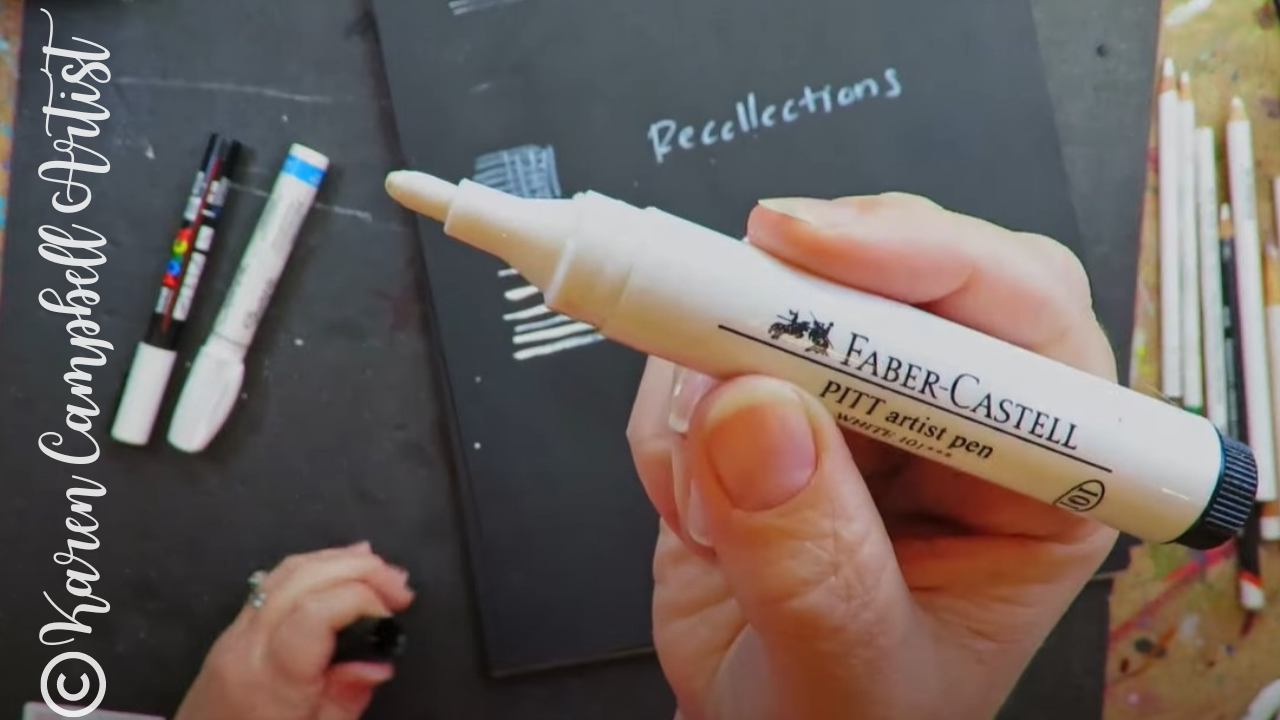
As far as white pens go, I really struggled to get anything substantial out of all the brands I tested. This comparison was a great reminder to me about WHY I typically avoid using white gel pens in my projects! From the uniball gelly roll pens and signos to a Recollections branded pen from Michaels - they all failed. I don't think any of them are worth your money. In fact, I threw a bunch of the ones I tested out while I was recording this video!
Pitt pens and paint pens by Sharpie (water-based) and Posca are ALL definitely worth it. I use my paint pens for highlights in everything from tone paper drawings to full-blown mixed media hamburger projects. Check out the video to see which one you think might be best for you.
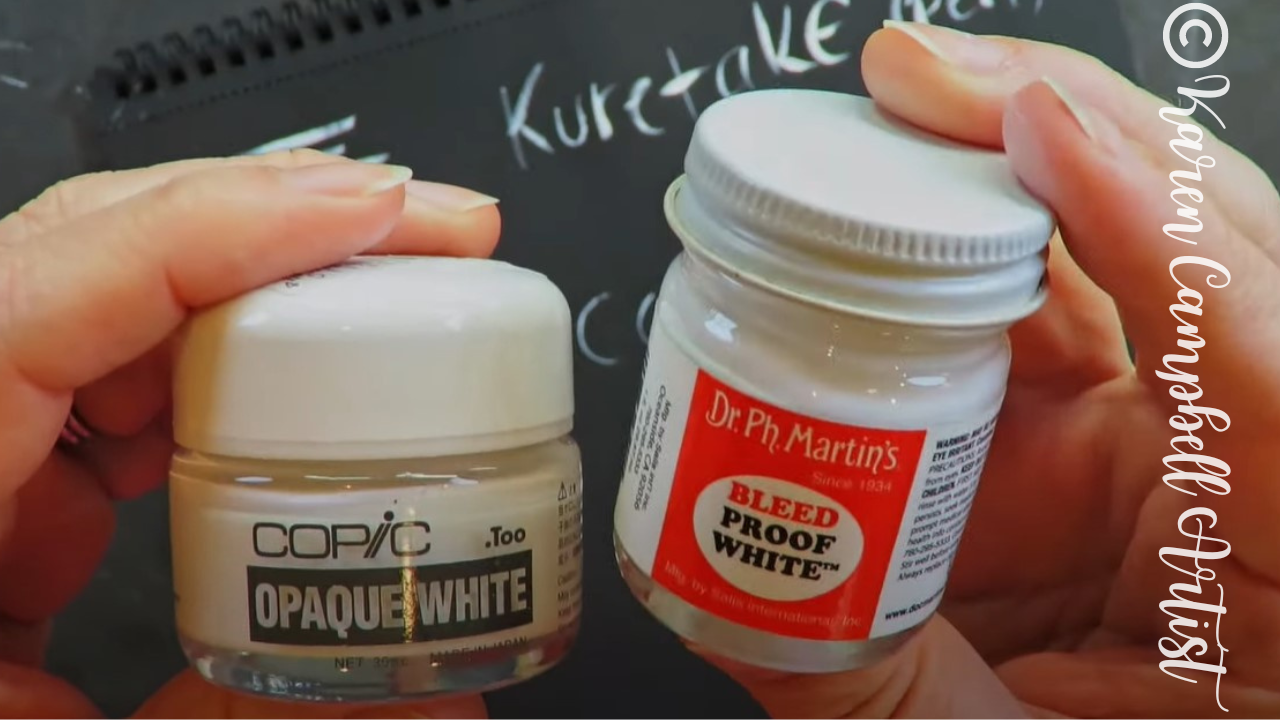
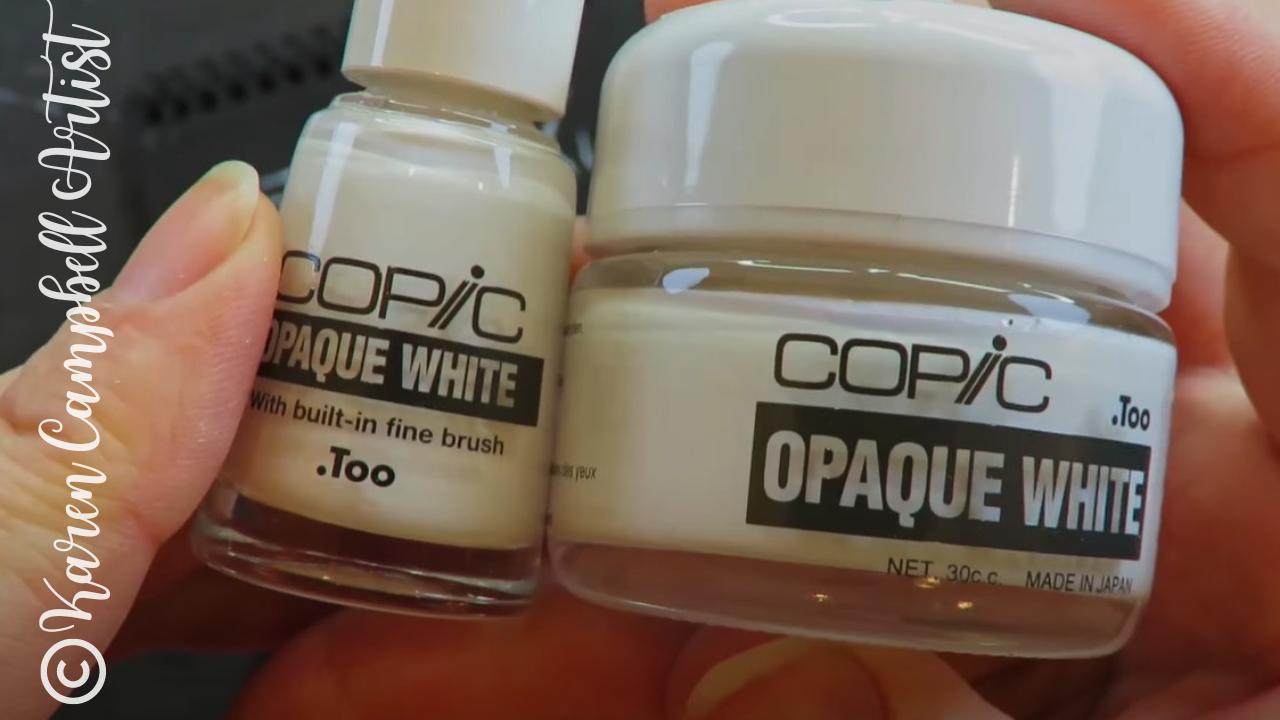
When it comes to white ink product comparisons, I really love how both the copic opaque white and Dr. Ph Martin's Bleed Proof White look once dry. You almost can't tell them apart.
Copic opaque white comes in two different containers. One has a built-in applicator brush and works a lot like nail polish (- great for teeny tiny details). The other is a little jar that you simply dip a paintbrush into.
Dr. Ph Martin's Bleed Proof White is about half the price of a copic opaque white (jar), plus goes on easier with better coverage than the copic. I definitely recommend giving it a try.
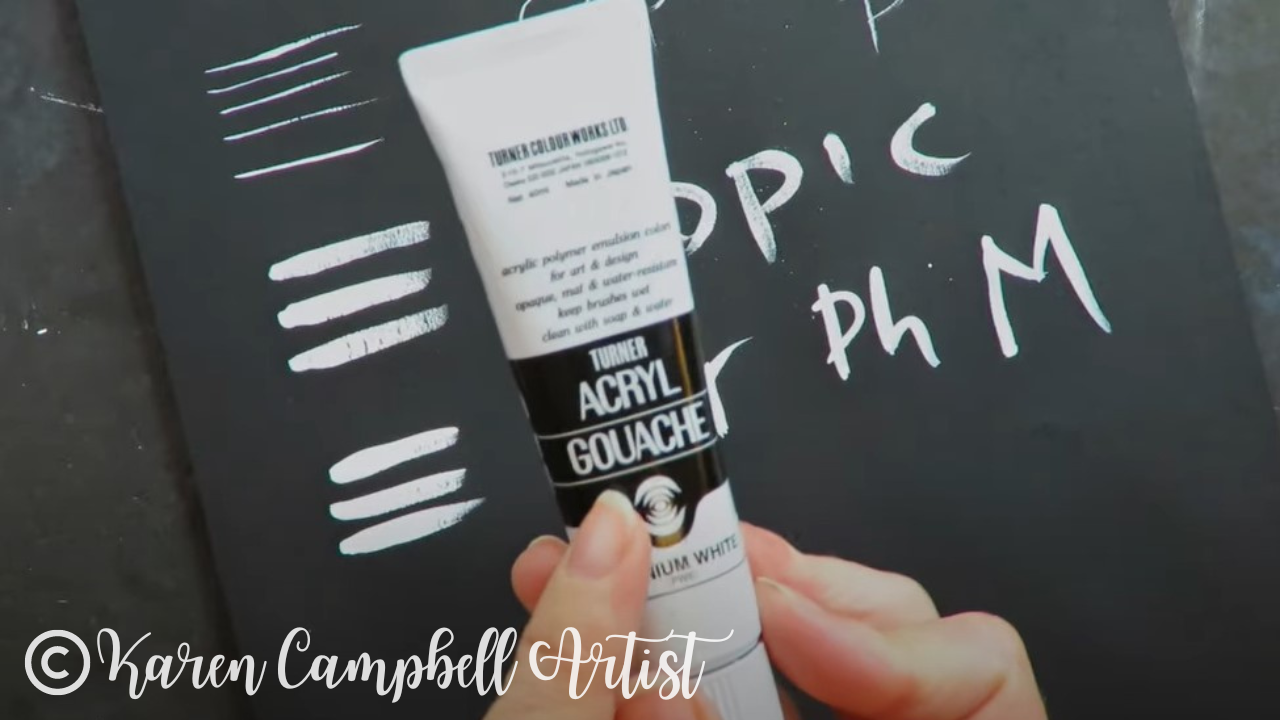
I recently discovered the wonders of gouache and show you a swatch of an acrylic gouache as well. If you're interested in learning more about what gouache is, and all the different kinds out there on the market today, check out this recent video.
I hope this video helps you decide which white art supplies will work best for you! Thanks so much for hanging out with me today :) Wanna learn about ALL my favorite art supplies? Check out this playlist! ❤️ CHECK OUT ALL my art books on AMAZON ❤️ MY FAVORITE ART SUPPLIES on AMAZON ❤️ MY BELOVED FACEBOOK GROUP ❤️ FOLLOW ME ON INSTAGRAM
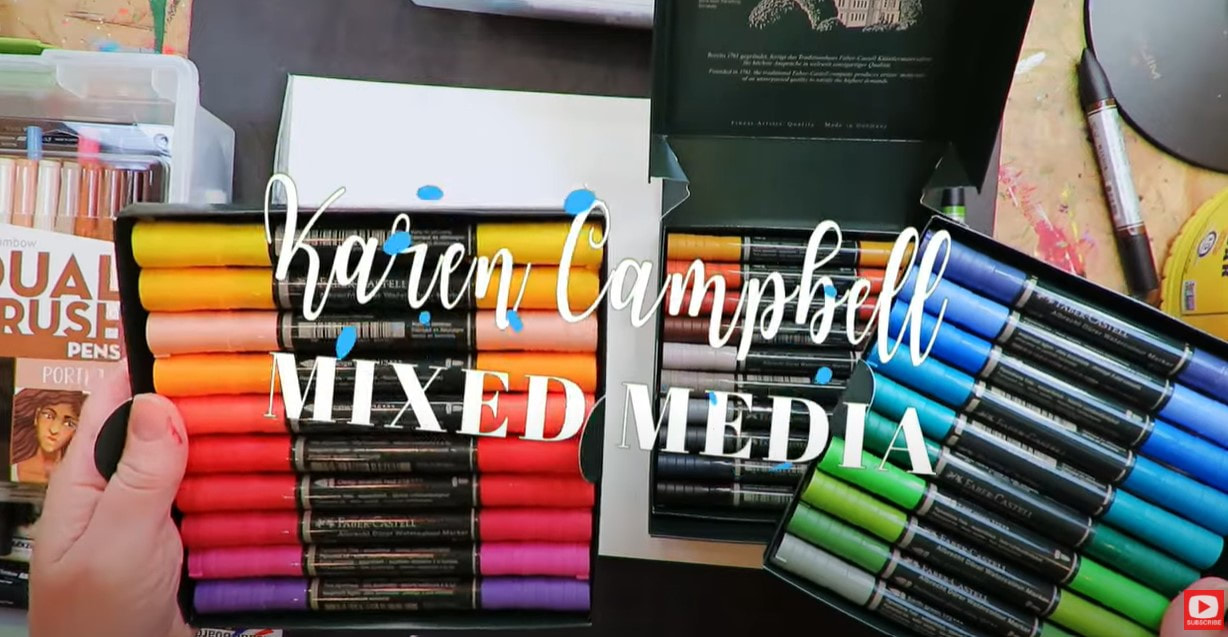
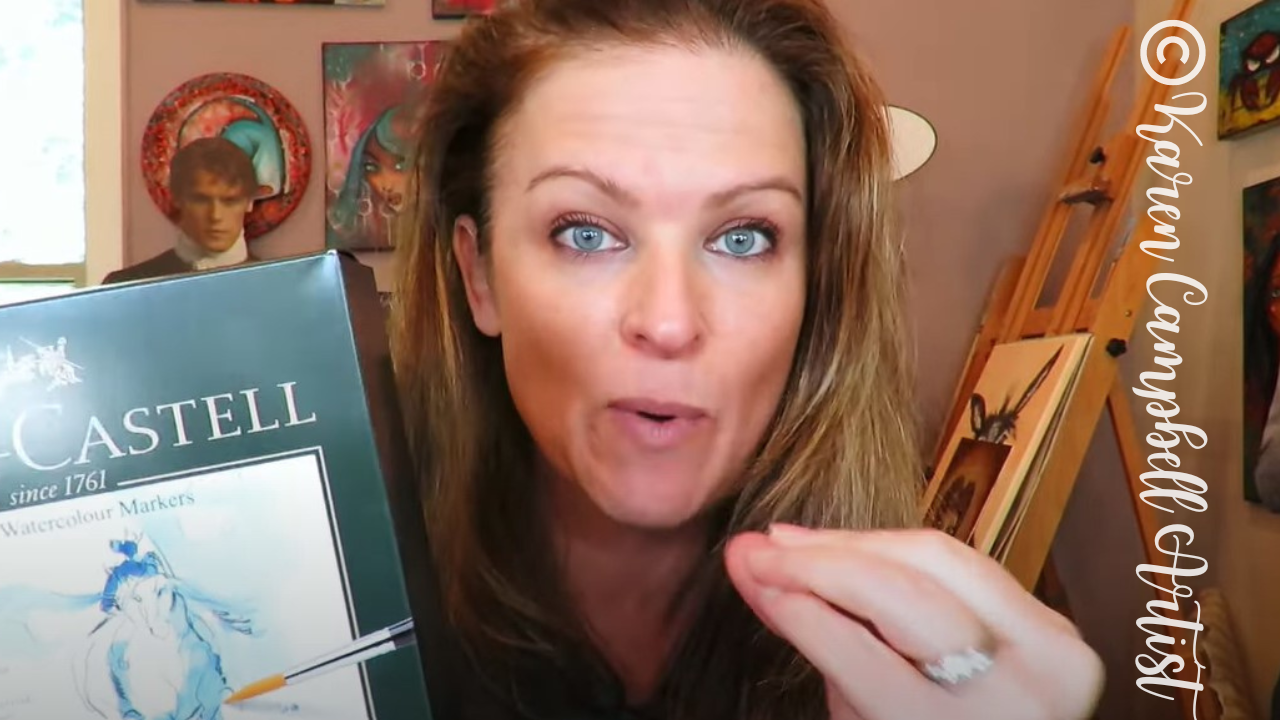
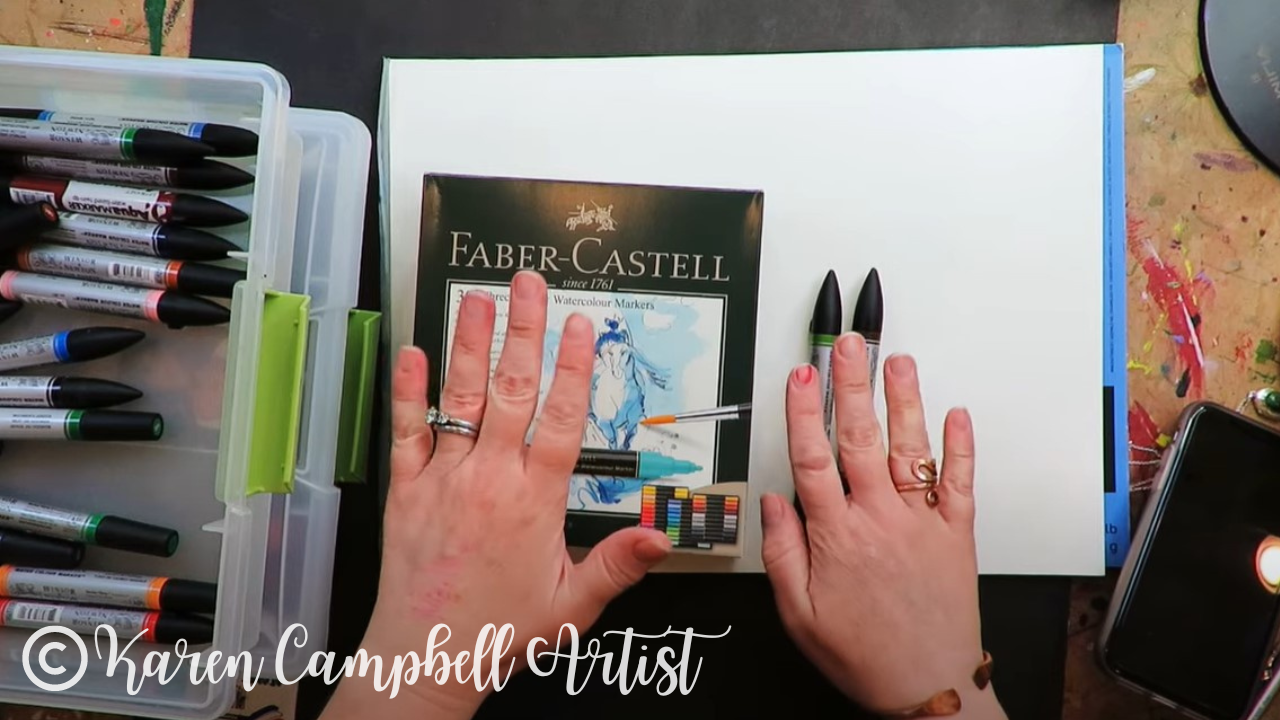
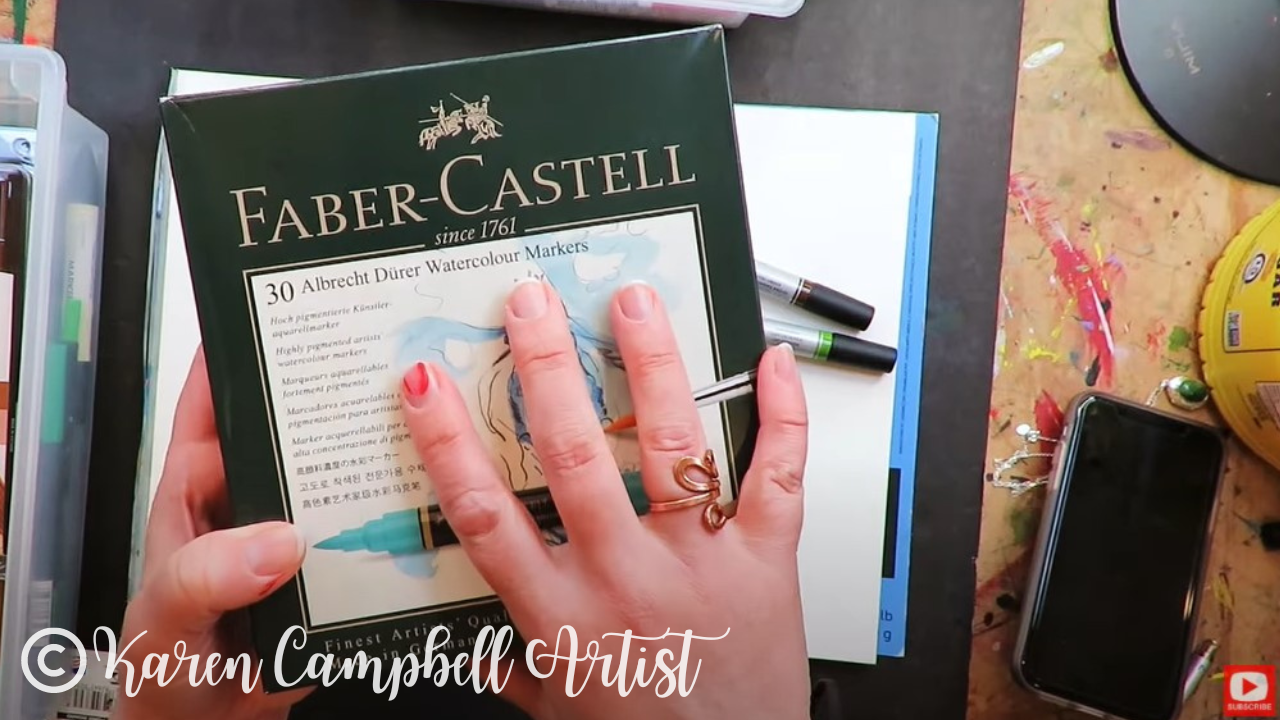
Today I'm unboxing a brand new set of Faber Castell watercolor markers! I've been in love with watercolor markers for my mixed media art projects for years, but only recently discovered Faber Castell makes a GIANT watercolor markers set filled with 30 colors!
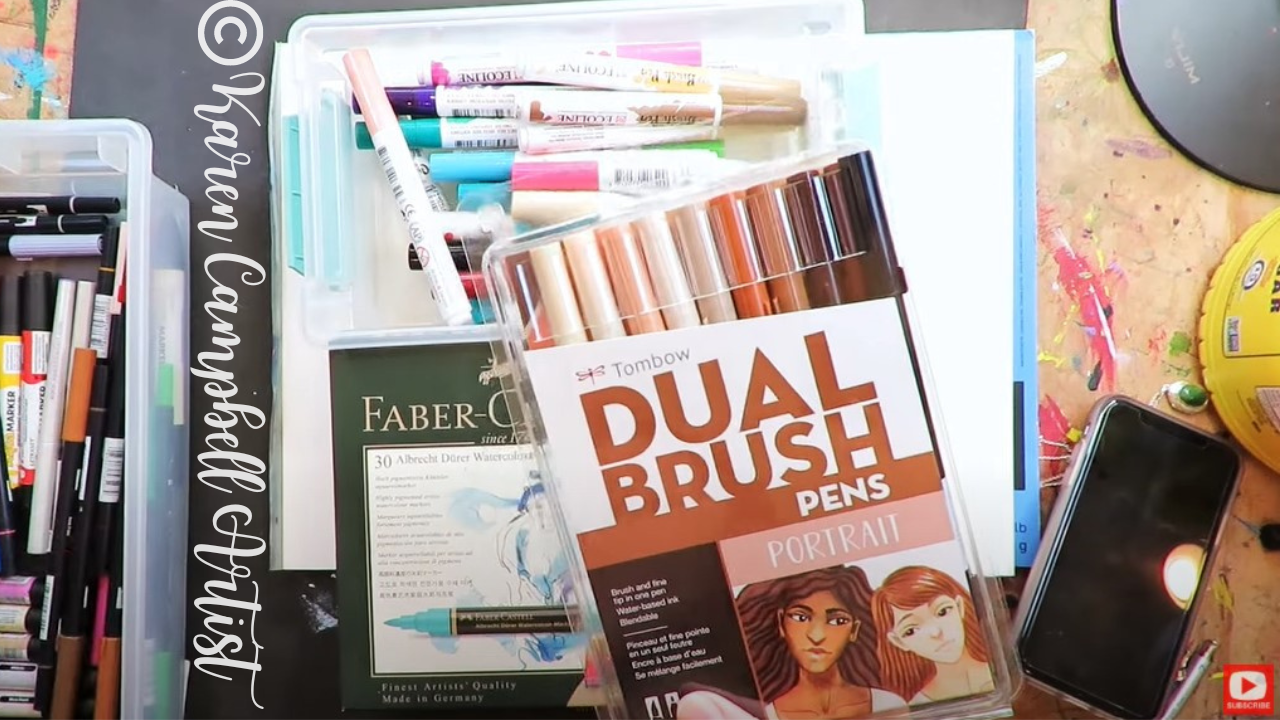
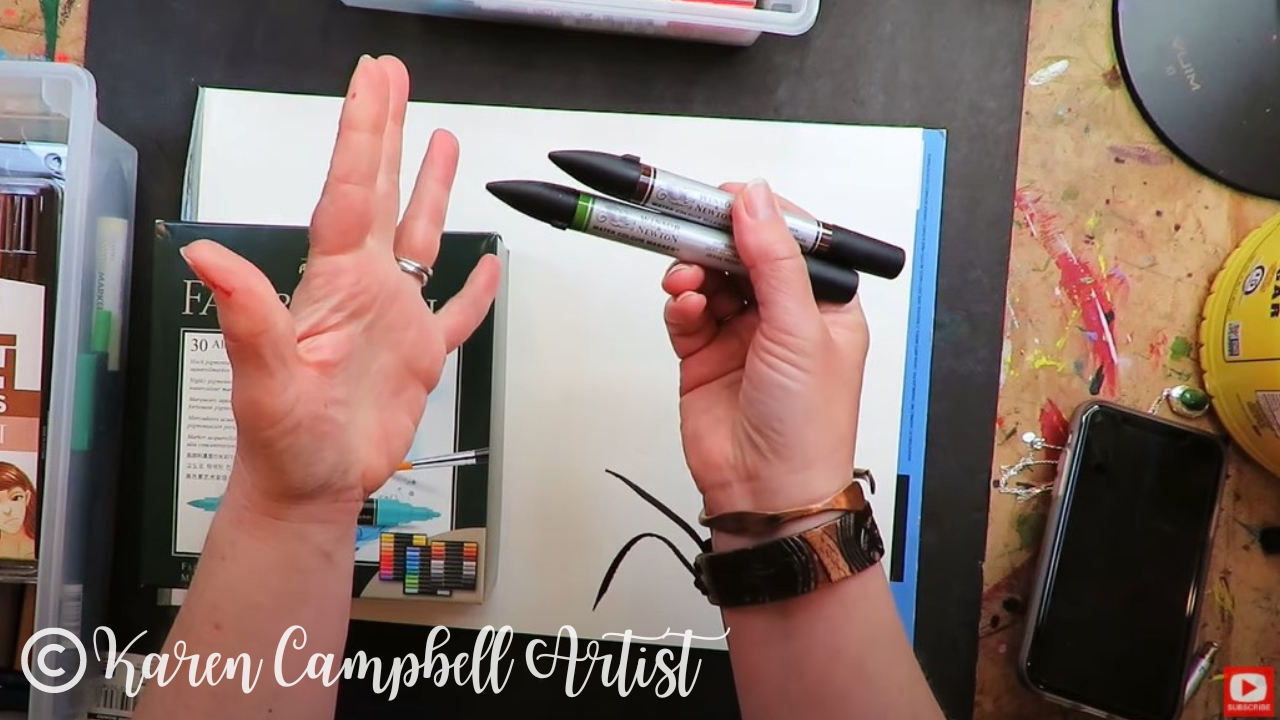
Join me in my studio for a full Faber Castell watercolor markers review. We'll test these beauties against my favorite Winsor Newton watercolor markers, and compare their performance against mixed media artist brand favorites made by Ecoline and Tombow.
Got a new set of watercolor markers, colored pencils, pens or watercolors? It's SO important to SWATCH your new colors so you know what to expect when each color hits your page!
I've tried to make this process MORE FUN for you by creating a FREE Swatchsheet! Simply click the button below, and I'll send it straight to your inbox.
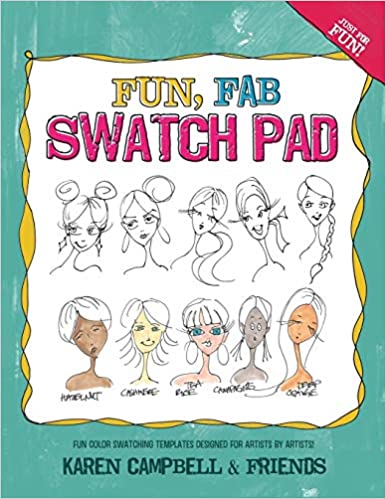
LOVE swatching, and can't get enough?! Check out the book I created with my Facebook Group called The Fun Fab Swatch Pad. This playful book will keep you swatching for days!
Before we continue, super quick announcement: All product links are Affiliate. I may earn a small commission if you choose to order through these links but by law there is never any additional cost to the consumer for doing so. I thank you for your support.
So WHY use watercolor markers in the first place? Control. It's a simple as that! Applying watercolors with a brush and water is a lot looser and can feel a bit dicier and unpredictable for tons of artists. Having the precision of a marker combined with the beautiful effects of watercolor is seriously magical!
I've been in LOVE with my Winsor Newton watercolor markers for years. They're a fine art product, so MUCH juicier, and more pigmented compared to other watersoluble markers on the market. They're also lightfast, which means the pigment is museum quality and the color in your mixed media art projects will stay beautiful FOREVER.
When I discovered this giant box of watercolor markers by Faber Castell, I immediately wondered how they would compare with my Winsor Newtons.
Because I've got mixed media beginners all the way to advanced students working with me over at Awesome Art School, I'm also going to test the Faber Castells against Ecoline Brush Pens and Tombow Dual Brush Pens as well because they're a little more budget friendly. Plus, LOTS of my students have at least a few watersoluble markers by one or both of these brands.
As far as a cost comparison for Faber Castell Watercolor Markers vs Winsor Newton Watercolor Markers, the Winsor Newtons are definitely more expensive, at around $6/marker - if you buy them individually. They do offer a few sets of 12 (check out my Amazon shop), but costs can vary up to $90/set!
The Faber Castell Watercolor Marker Set of 30 isn't cheap by any means, but you get 30 colors for less than $100 (current Amazon price is $94) - so you're getting a bigger bang for your buck!
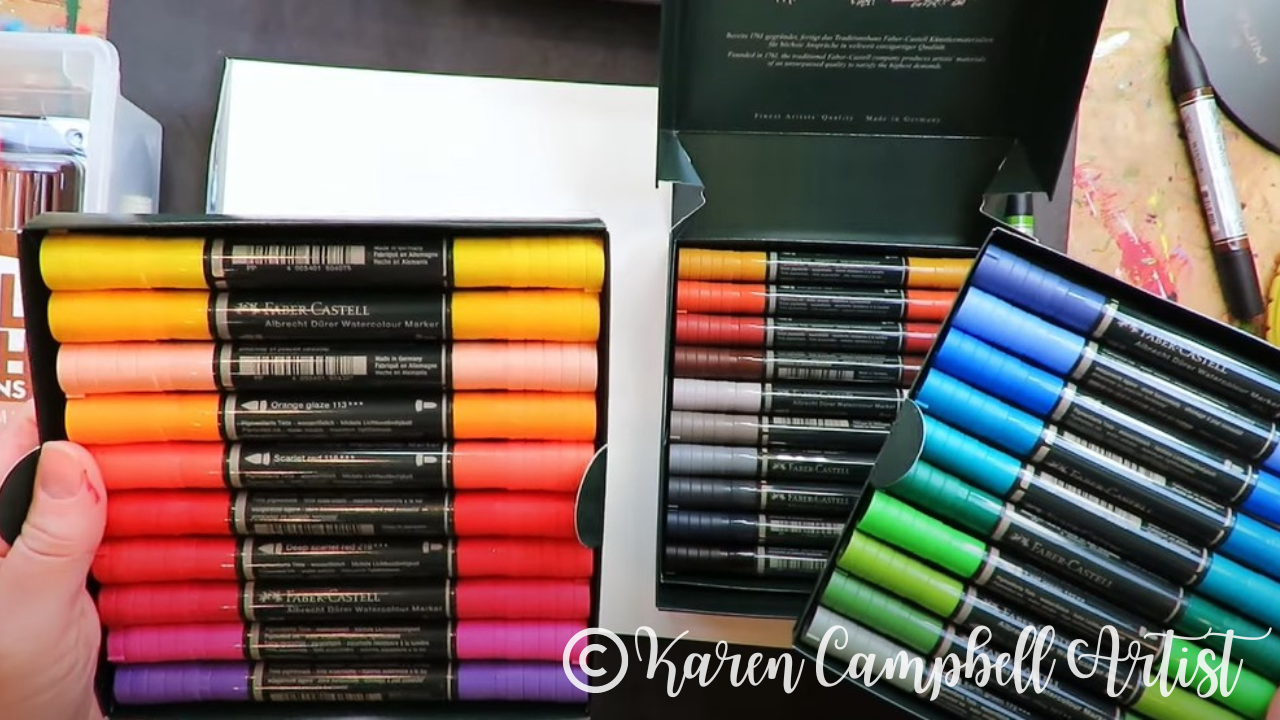
As soon as I opened the Faber Castells, right away I noticed a skin tone watercolor marker! This got me SUPER excited, because I don't have one of these in my Winsor Newton Watercolor collection. I can't wait to play with that one for one of my mixed media faces!!
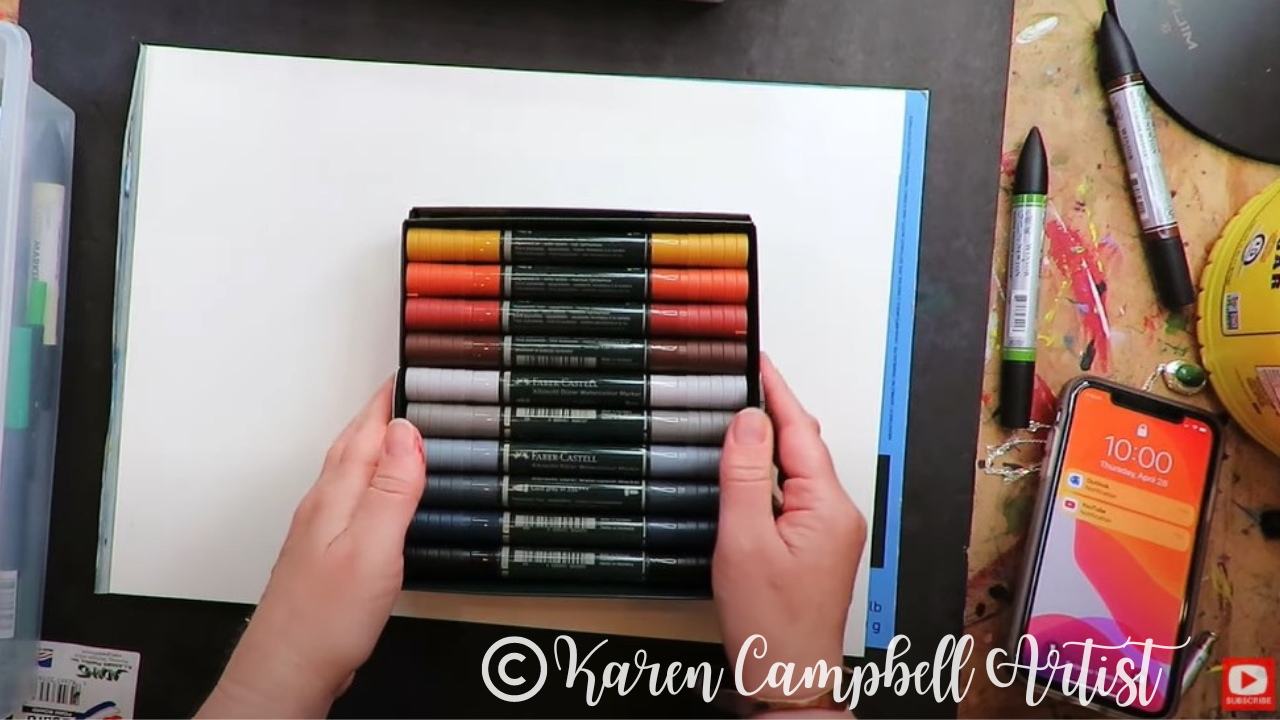
I also noticed I've got five gorgeous blues, five beautiful greens , and an awesome set of six grayscale shades to play with. I LOVE my Grayscale Tombow Dual Brush Pens set, so the Faber Castell version will be really fun to try out too.
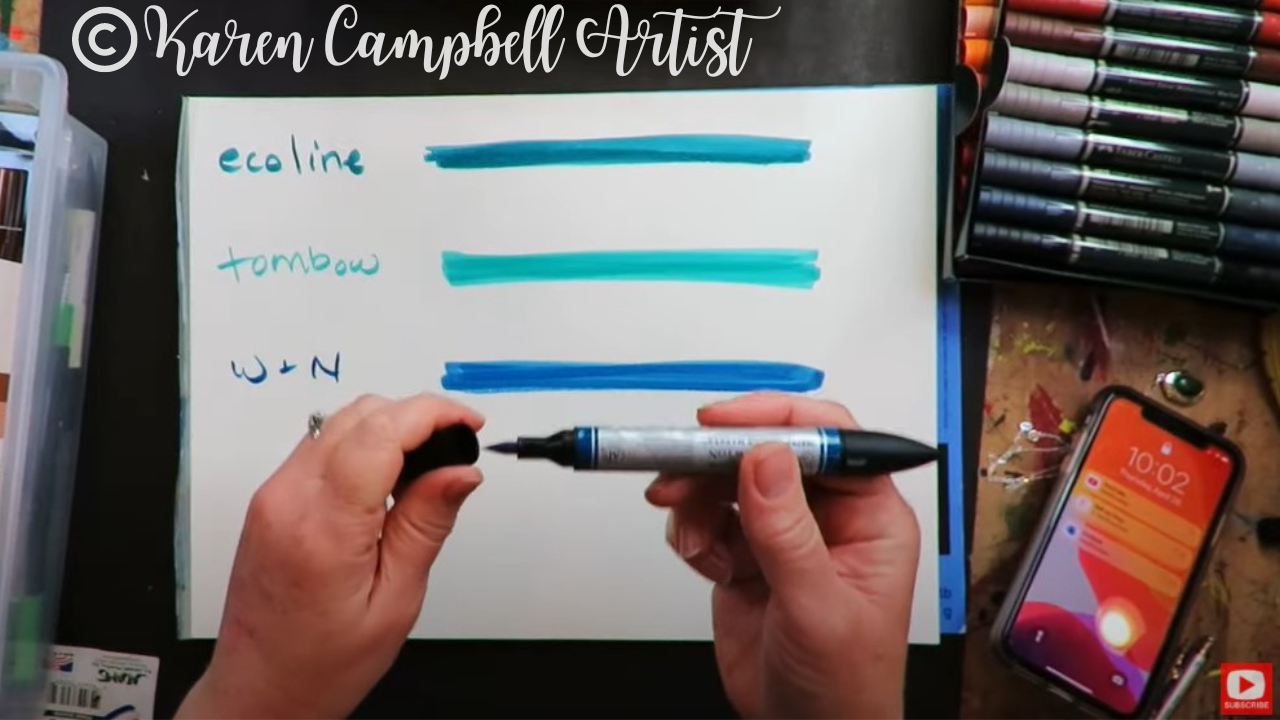
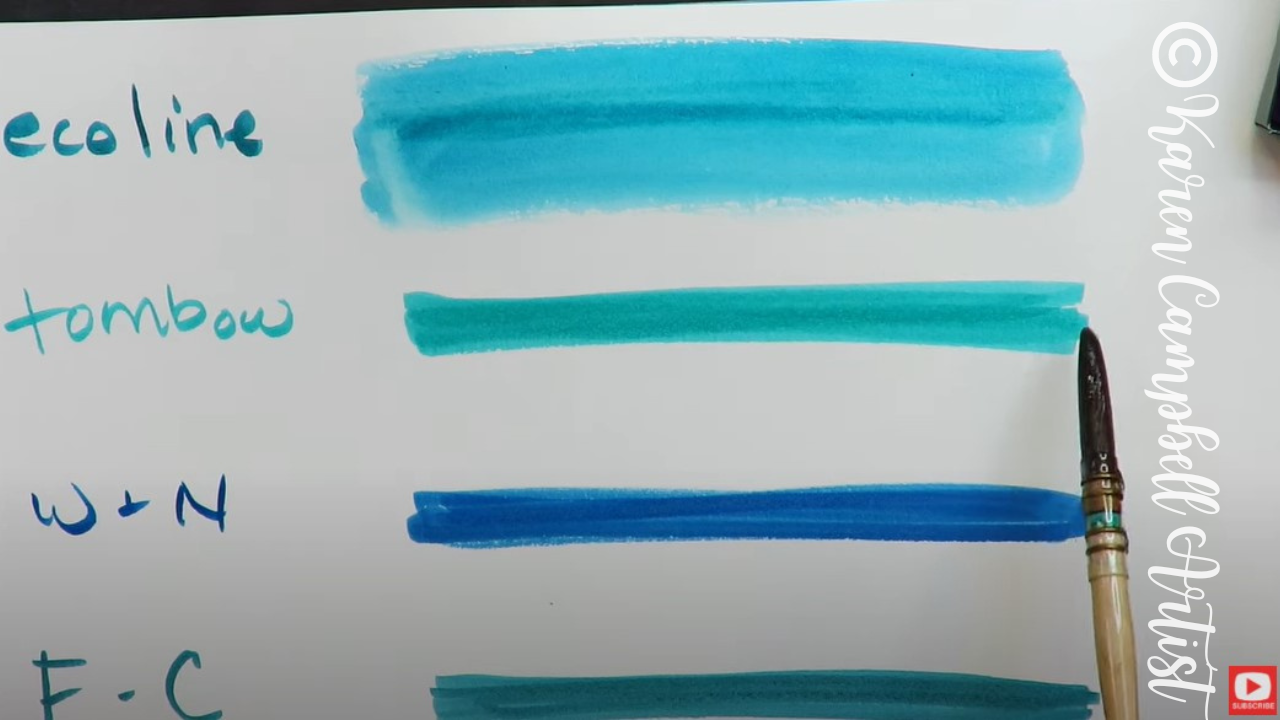
The first thing I like to do when I'm comparing mixed media art supplies in any category is to see how juicy and vibrant the pigment is. How the colors look on my paper, and how much coverage I can get QUICKLY are both really important features to me.
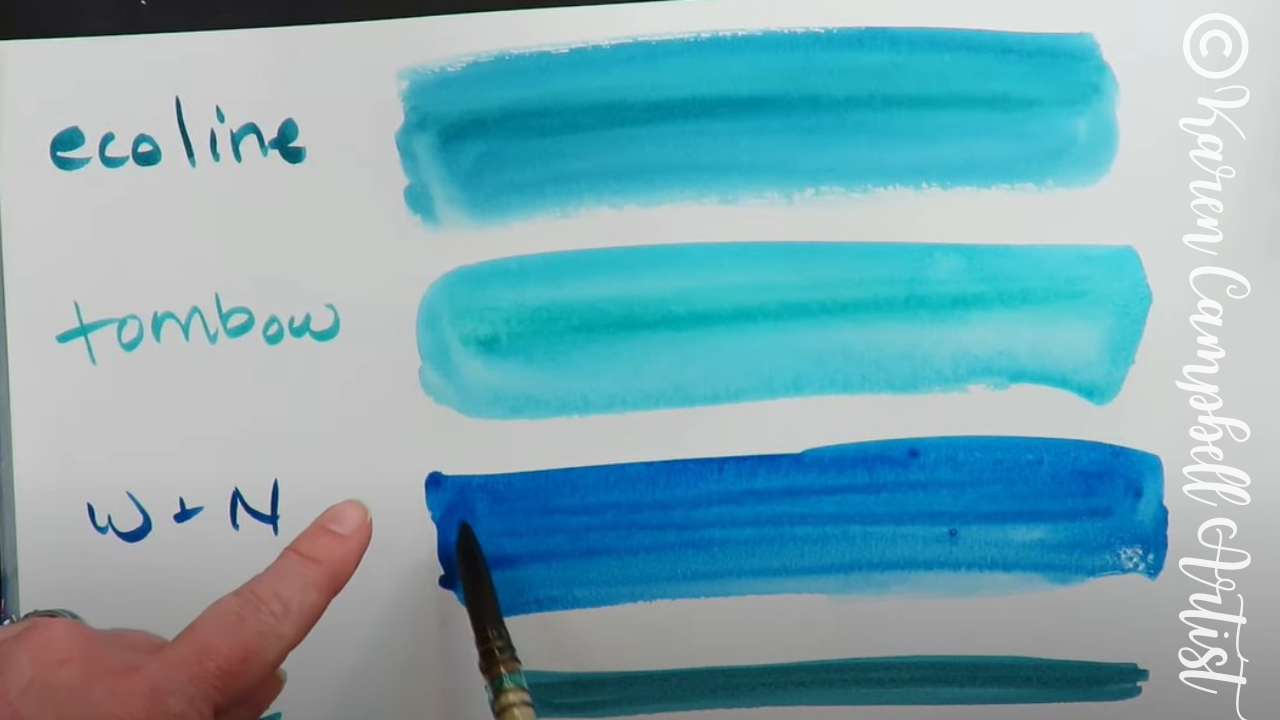
All of them have decent coverage and the shades of blue I'm testing are all beautiful. But as soon as my Winsor Newton watercolor marker hits the page, I can immediately tell a difference. I felt a similar juiciness from the Faber Castell watercolor marker as well. Both beat out the Ecoline and Tombow brands here, hands down.
Before I tested the watersolubility factor on each of these brands, I decided to dry the page completely with my hair dryer to see how each brand activated with water when dry.
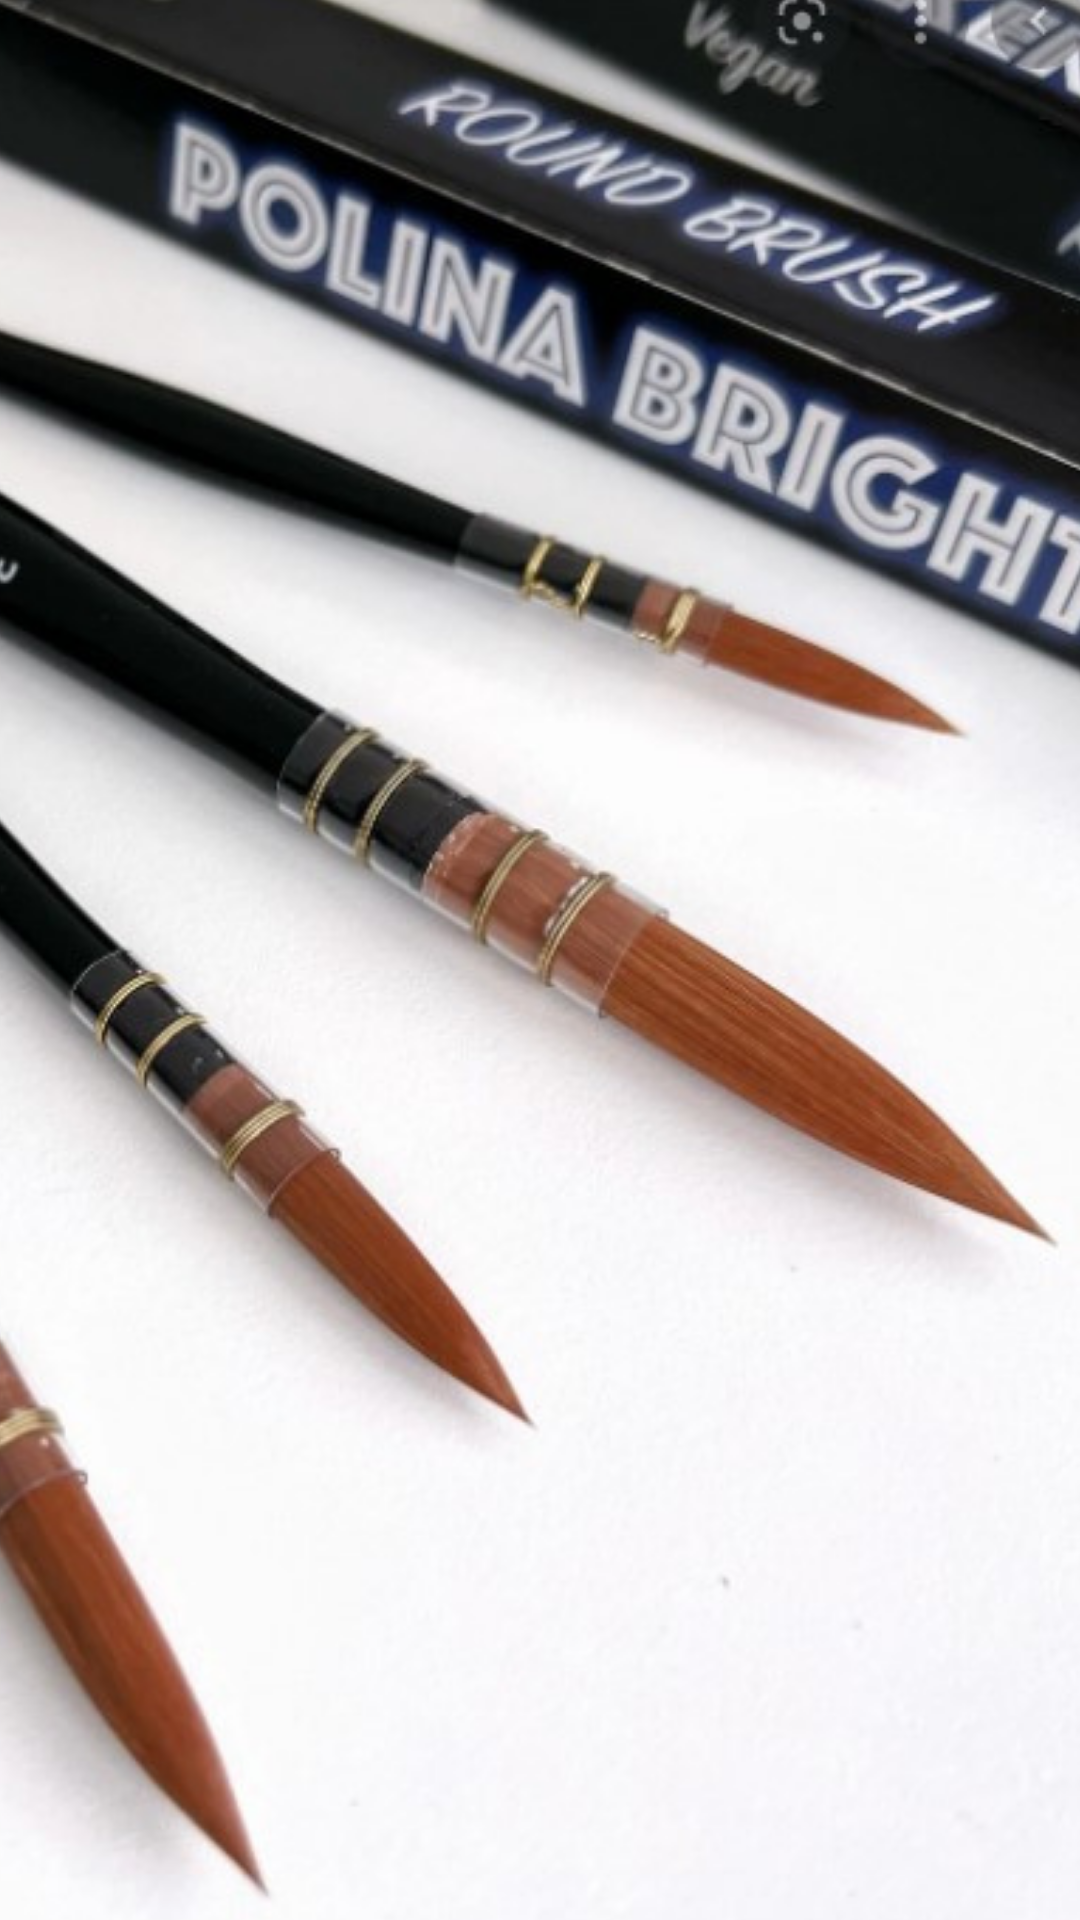
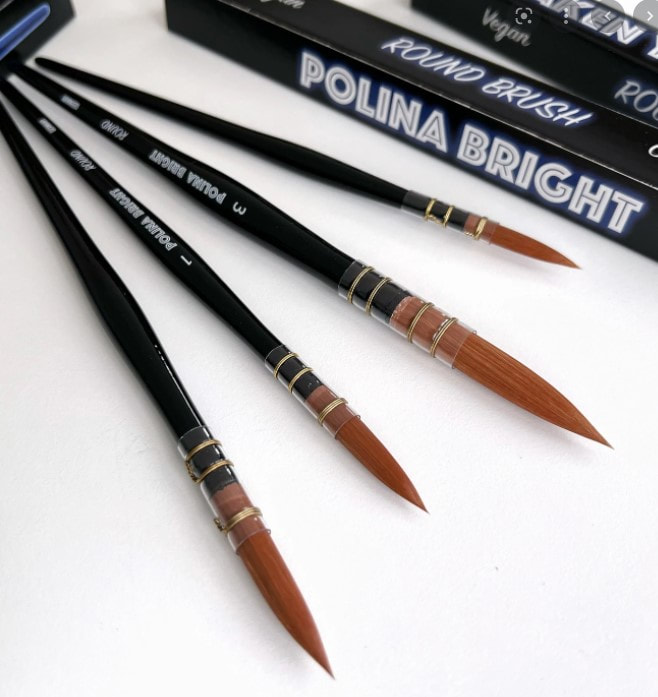
I used one of my favorite Polina Bright watercolor brushes to activate each line with water.
If you're new to Polina's watercolor brushes, you're in for a treat. They hold SO much water and are amazing. They are now the only watercolor brush I use. If you're interested in learning more about these, here is a recent product demo video and full Polina Bright watercolor brushes review.
If you'd like to pick up your own Polina Bright watercolor brush or set, Polina has offered a 10% discount to my followers, so be sure to use this link when you shop! If you do order anything here- just a quick fyi, Polina is located in Australia so shipping may take a bit more time, but I promise, it's well worth the wait!
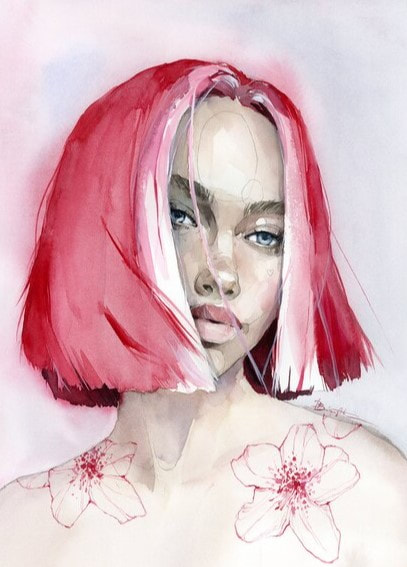
If you're new to Polina Bright - her art is simply fantastic, so be sure to look her up to see the gorgeous faces she creates as well.
As you'll see in today's video, when I activated the Winsor Newton lines on my paper, I got such a rich effect. Plus, you'll notice I was able to fully disolve my original lines once I added water.
Both the Ecoline and Tombow activated beautifully too, but their original lines did NOT disolve as much as the Winsor & Newton and Faber-Castell lines. If this is a feature that's important to you, you might want to skip Ecolines and Tombows.
I also noticed a bit of granulation in the Faber Castells as well. Granulation is super common with watercolors becuase the pigment is typically made from minerals. This effect is something you won't see in a synthetic, dye based watercolor marker like Tombows or Ecoliners, and is something I LOVE about watercolors in general.
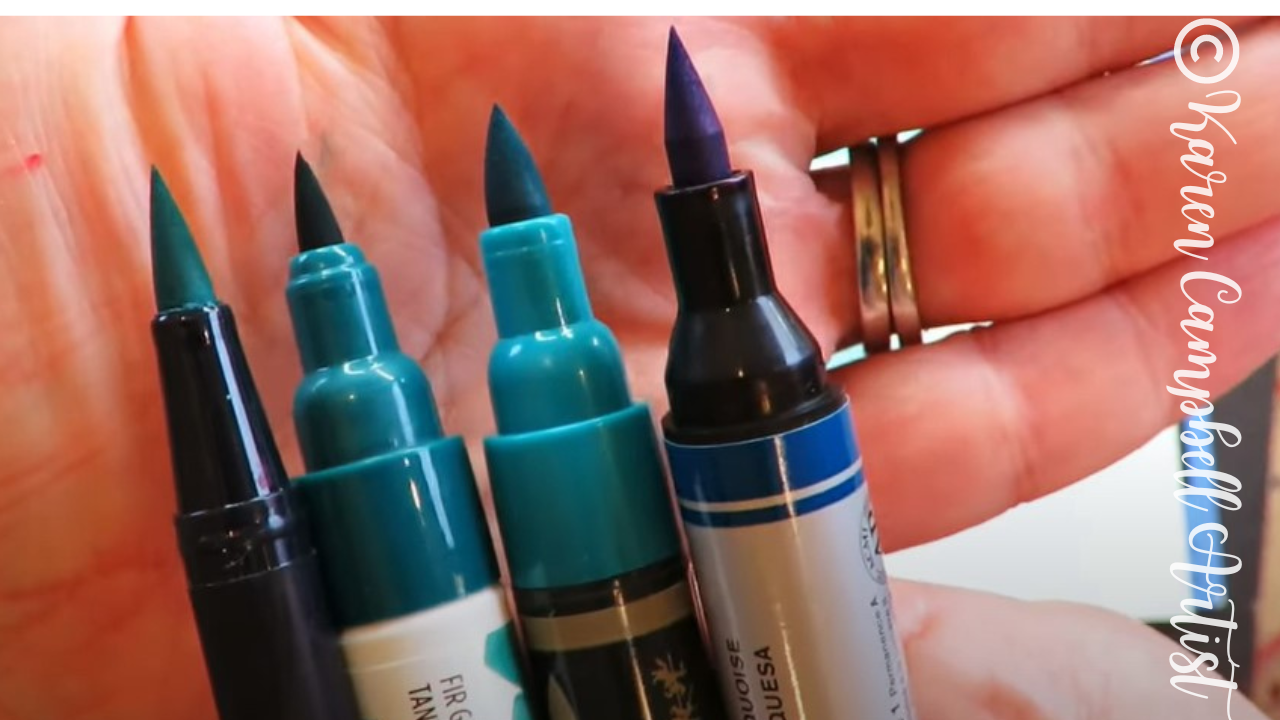
Here's what the brush nibs of each marker tested today look like side by side (above). I have to say they're all pretty comparable. Faber Castell has the widest nib (third from the left), while Winsor Newton's (far right) is both wide and long.
I felt the Winsor Newton nib was most flexible, and therefore felt most like a paint brush. The Faber Castell nib felt more like a felt tip or typical marker, and had zero flexibility.
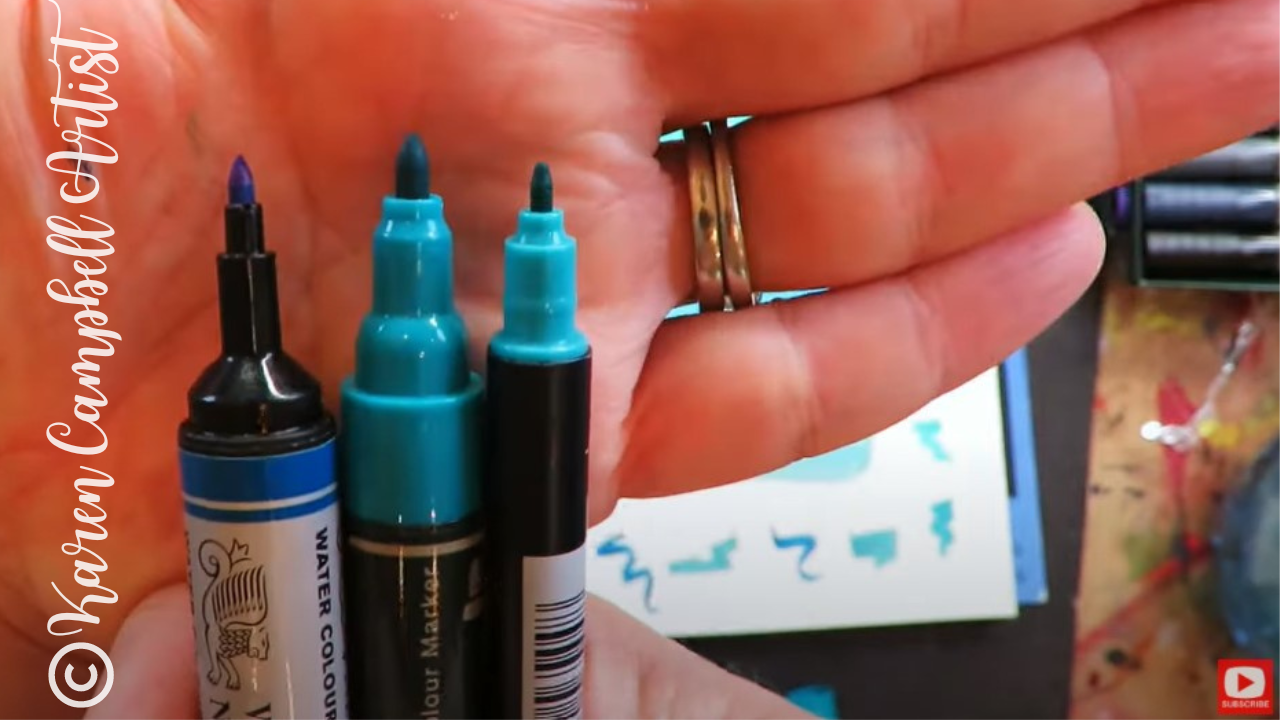
When comparing the bullet nibs from each of the markers tested today, they're also quite comparable (below). I rarely use this side of my dual brush pens or markers, but if this is something you're curious about, here's what they look like (excluding the Ecoliner, because it doesn't come with a bullet nib).
I hope you found this info helpful. Make sure you click over to the video to see everything in action!
See ya back here next week with lesson six of my FREE #50FunFabFairies drawing challenge!
Thanks for hanging out with me today!
❤️ CHECK OUT ALL my art books on AMAZON ❤️ MY FAVORITE ART SUPPLIES on AMAZON ❤️ MY BELOVED FACEBOOK GROUP ❤️ FOLLOW ME ON INSTAGRAM
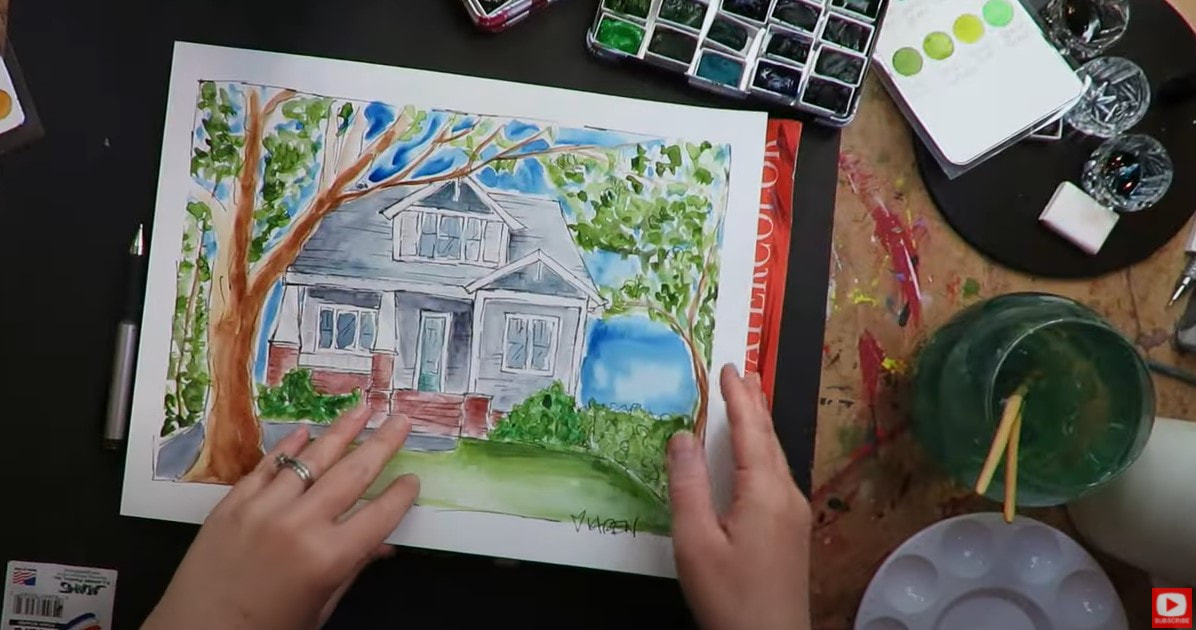
I've been using Polina Bright brushes in ALL my watercolor and fountain pen ink paintings for the past TWO YEARS!
I know I've told you I'm obsessed with both Polina's art AND her watercolor brushes, but I just got her latest watercolor brushes set & thought you'd love to see the unboxing! If you've been on the hunt for the best synthetic watercolor brushes, or an excellent watercolor brush set for beginners that you can GROW with - today's video is a MUST SEE!!
If you're new to watercolor, or have a brand new watercolor palette, make sure you grab my FREE Swatch Sheet so you can swatch your watercolors out before you do your next painting. Simply click on the button below, and I'll send it straight to your email!
Before we continue, super quick announcement: All product links are Affiliate. I may earn a small commission if you choose to order through these links but by law there is never any additional cost to the consumer for doing so. I thank you for your support.
I first purchased Polina Bright's watercolor brushes a couple of years ago just because I love her work (example below), and wanted to support her. I had no idea I would fall so in love with her brushes, or that they would become my absolute favorites for watercoloring and mixed media painting with fountain pen ink, water soluble pencils, pens, markers- you name it!
If you're interested in buying any of these watercolor brushes to try out yourself, Polina created a coupon code for all of my followers. You can SAVE 10% when you purchase brushes on her website. Simply enter the coupon code of my name in all caps, KARENCAMPBELL at checkout.
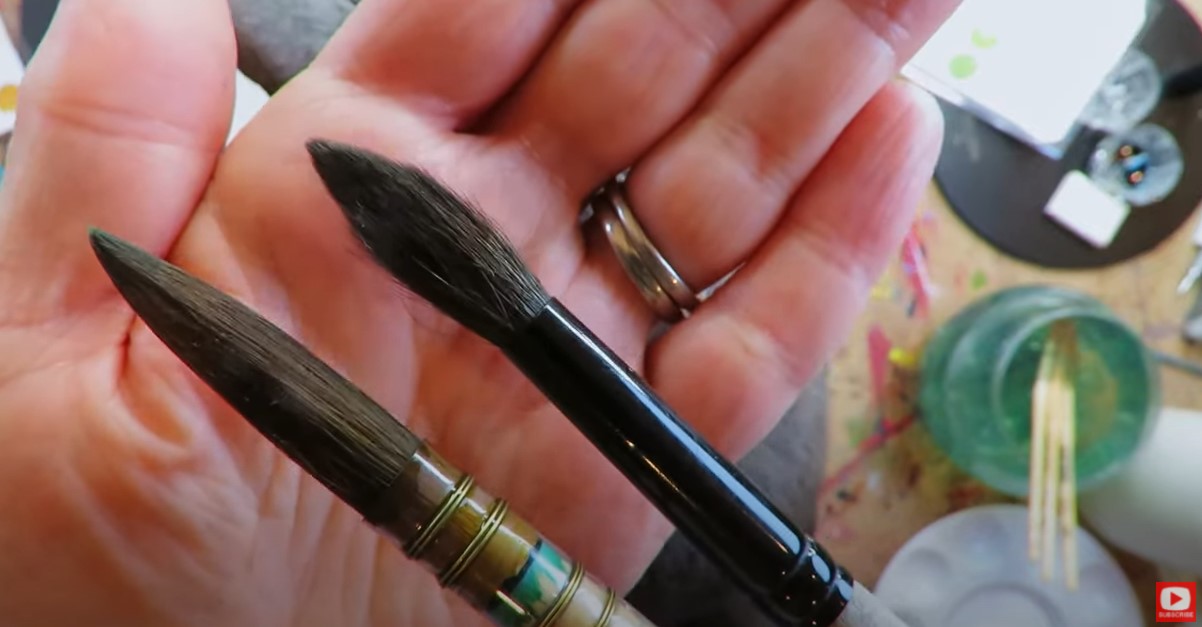
I used to only be a fan of watercolor brushes with natural bristles (like those found in Black Velvet brushes - at right below), because of their ability to hold MORE water than synthetic brushes.
Whatever synthetic material Polina uses to create these brushes, holds water extremely well. I think their ability to absorb so much water also has something to do with the shape of her bristles and their length.
The body of the bristles are about twice as long as those of the Silver Black Velvet brushes (above left).
Having a synthetic bristled brush that has the same absorbency as a natural bristled brush hasn't really been a thing in the world of commercial watercolor brushes, until now.
As an animal lover, I REALLY love the fact that the bristles on Polina's brushes are vegan and cruelty free.
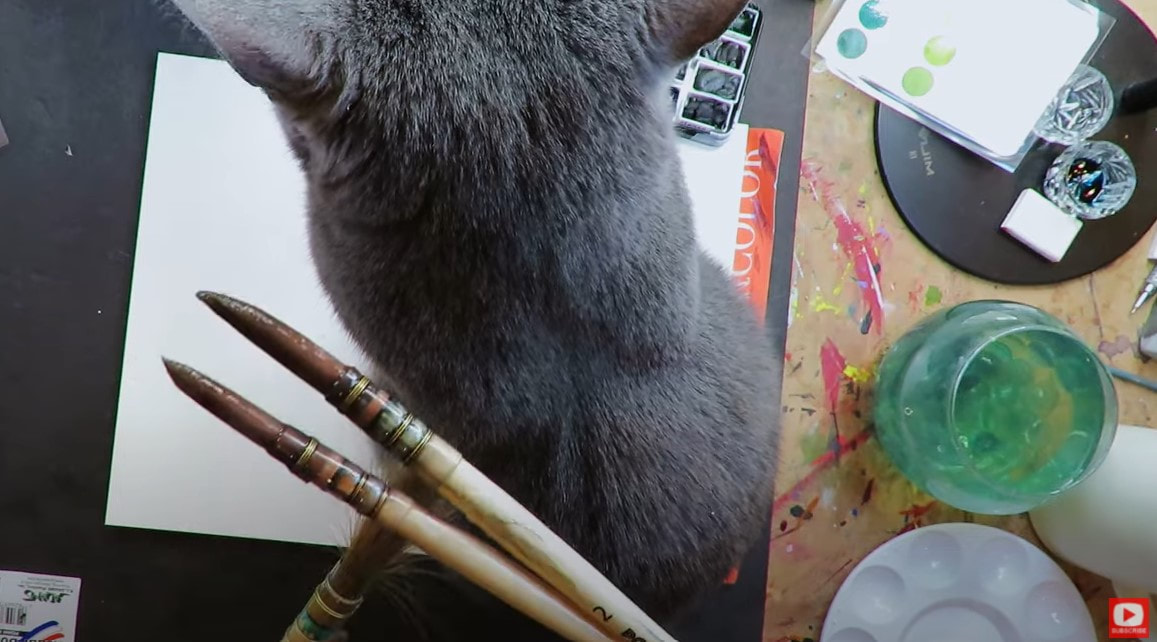
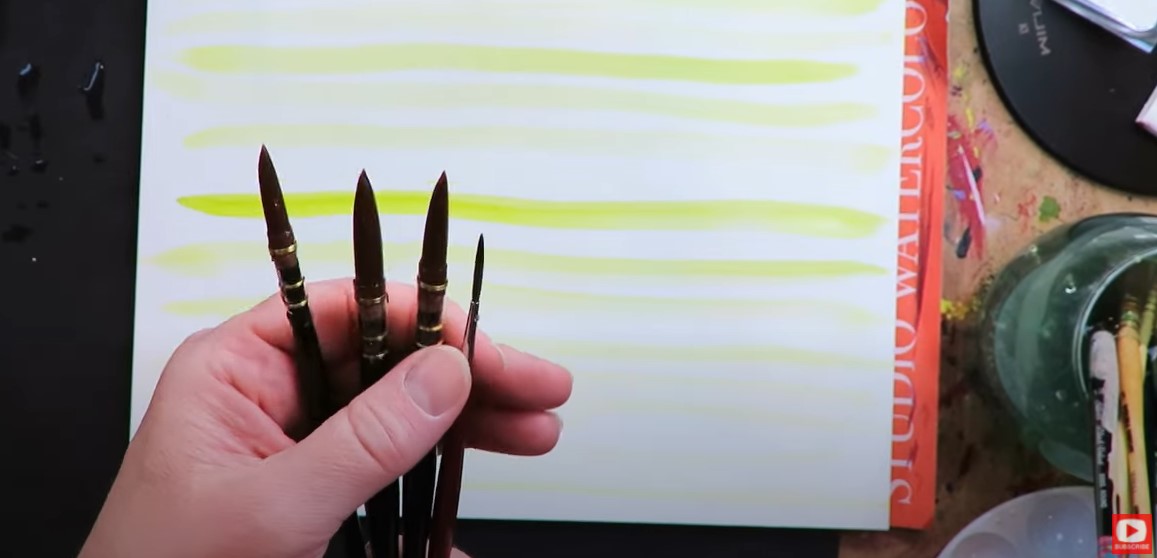
I also love things that are simple to identify. Polina's numbering system for her brushes just go from 0-3. Plus there is a "mop brush" (for laying down large swaths of color), and a "rigger brush" (for detail work). Easy!
Hop over to the video to see these beauties in action! I demo a quick comparison against a Silver Black Velvet watercolor brush.
Then, if you're in the market for a new watercolor brush set -make sure you take the coupon code of my name in all caps (KARENCAMPBELL) either to Polina's website to get 10% off! Thanks for hanging out with me today! ❤️ CHECK OUT ALL my art books on AMAZON ❤️ MY FAVORITE ART SUPPLIES on AMAZON ❤️ MY BELOVED FACEBOOK GROUP ❤️ FOLLOW ME ON INSTAGRAM
If you're new to the world of mixed media art, you're in THE BEST PLACE!! I have so many mixed media ideas, tutorials & tips for you.
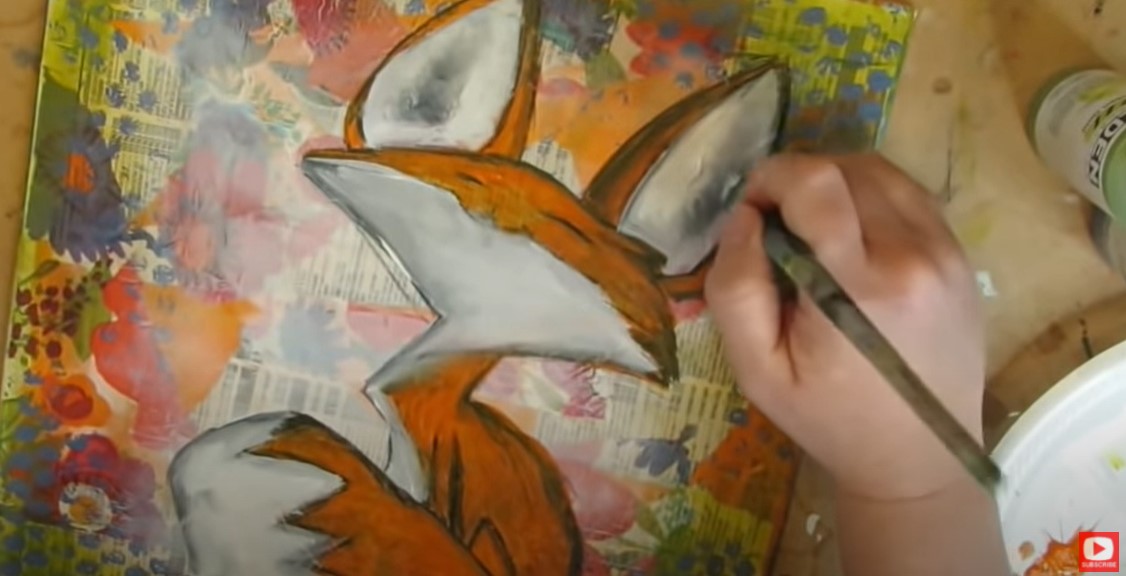
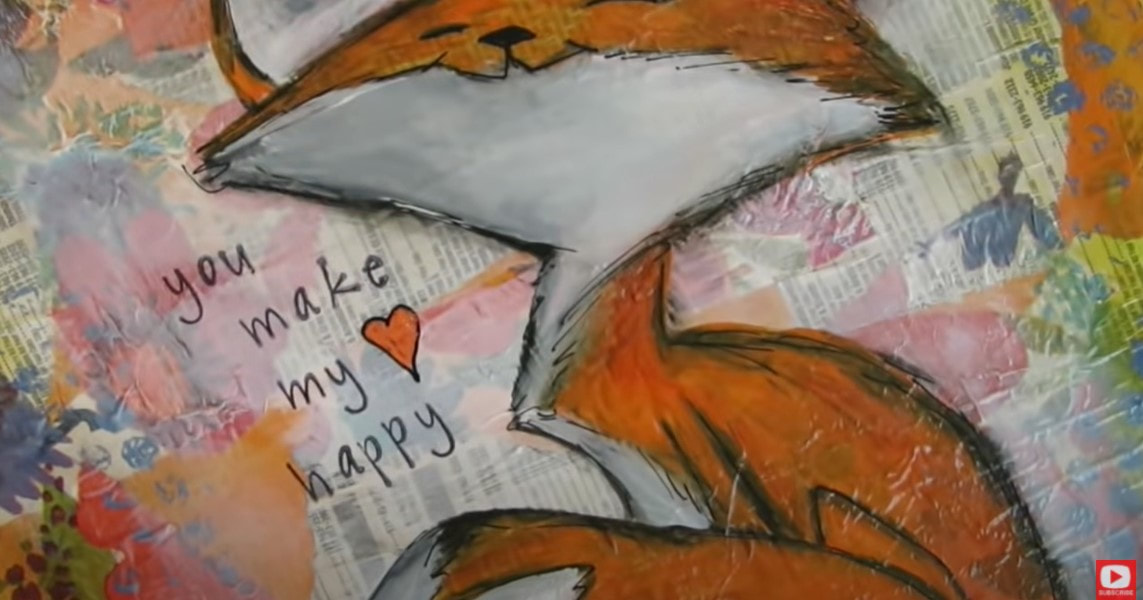
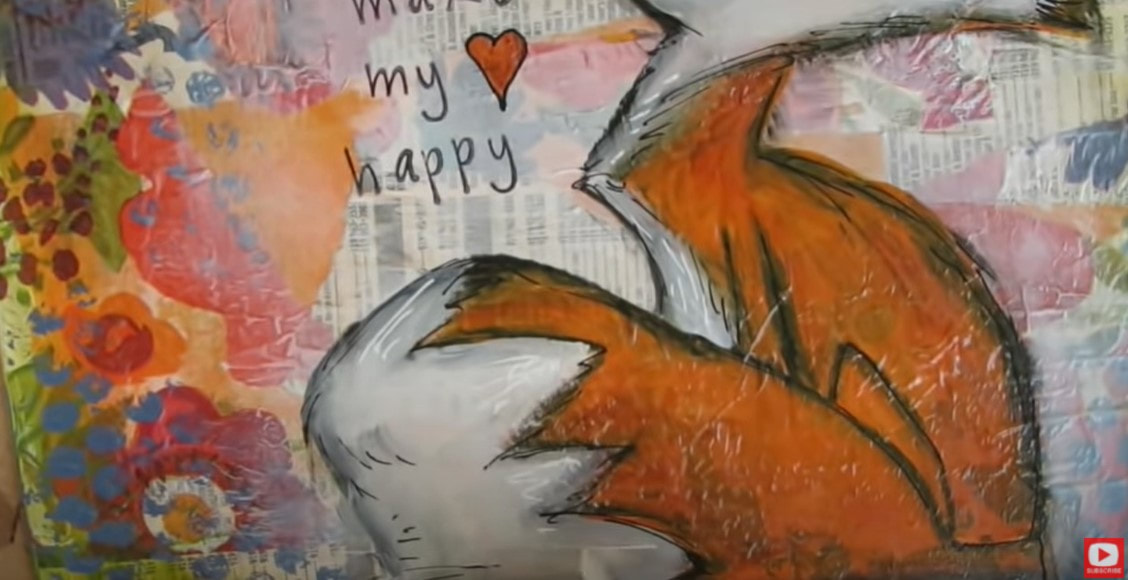
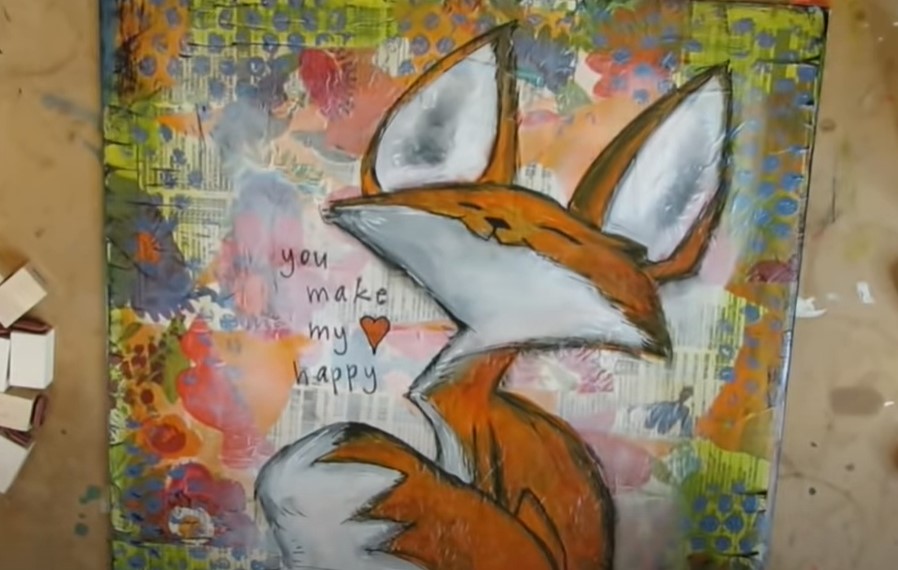
If you're intimidated by mixed media, or struggling with how to layer your supplies, I'd love to teach you my SIMPLE mixed media technique for layering my supplies (it's the exact process I used to create this adorbale fall fox!).
Simply download my FREE Mixed Media Hamburger Cheatsheet. I know, "hamburger" sounds funny - but I pile on my art supply layers one by one - like I'm making the perfect burger. Click the button below, and you'll see exactly what I mean!
After you click the button above, you'll get an email with your cheatsheet. Make sure you print it out because it's an awesome reference to keep at your art table.
Now you're ready for action and have TWO choices...
#1: Learn how to make this adorable fall fox (stay right here & keep reading). OR #2: WATCH my entire FREE Mixed Media Hamburger Playlist on YouTube. There's a video for every single layer of the cheatsheet (you printed that out, right?!) to help you learn my signature process from start to finish, step by step.
Before we continue, super quick announcement: All product links are Affiliate. I may earn a small commission if you choose to order through these links but by law there is never any additional cost to the consumer for doing so. I thank you for your support.
Yay! I'm glad you stayed. Let's get moving on the fox project!
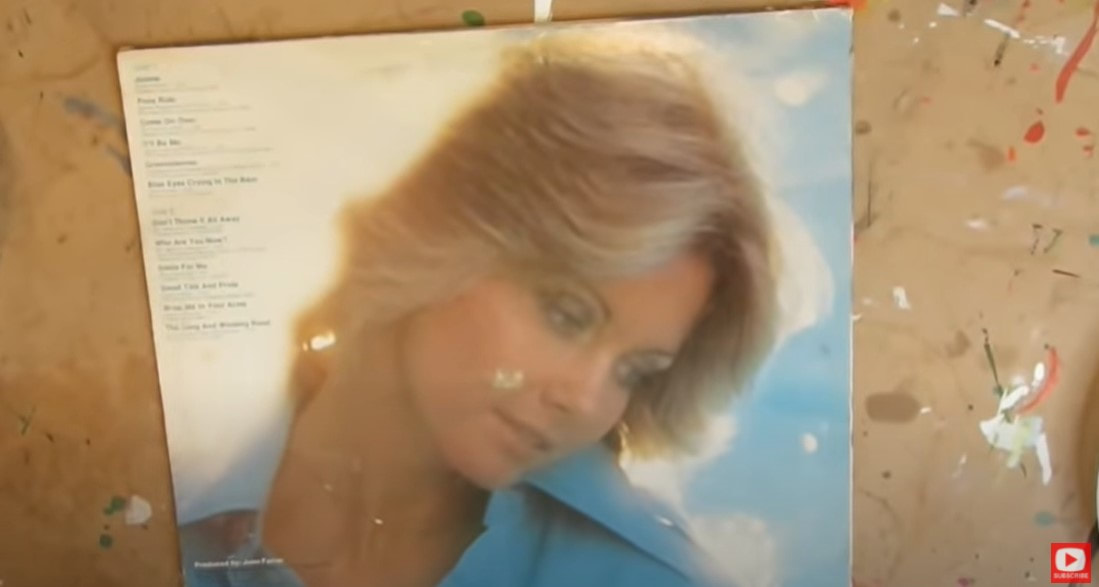
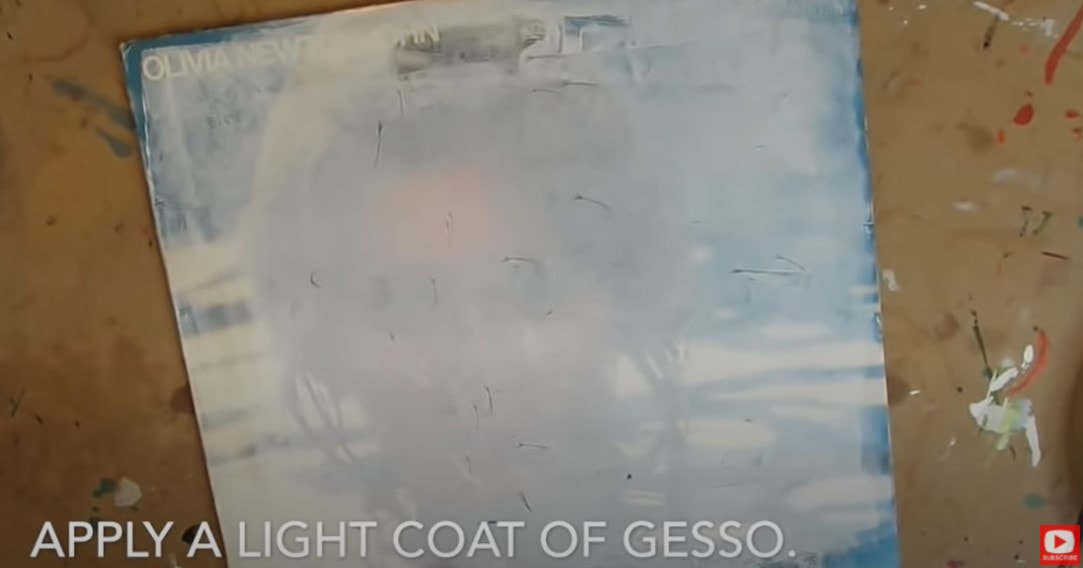
If you haven't met me yet, you'll soon learn I love hoarding art supplies as much as the next girl, but I ALSO love saving money and upcycling thrift store finds for my art. One of my tricks is to purchase old record album covers to turn them into canvas! Kinda brilliant right? They're dirt cheap and I love the square shape.
You can also create your own mixed media fox on canvas, canvas panel, or in an art journal (just make sure the paper is super thick -preferrably watercolor paper). Do what YOU love!
If you're upcycling any old surface like a once glossy record cover, we need to cover it with a light layer of gesso.
Now it's time to start painting!
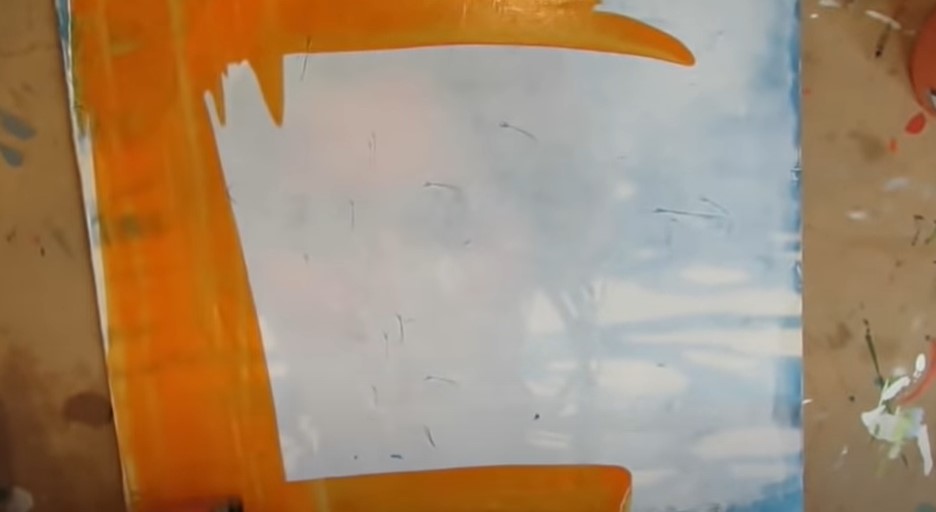
Apply a thin layer of orange acrylic paint. I love acrylic paint by Lukas Cryl. I discovered it years ago when my kids were tiny and I was REALLY on a budget. This stuff is gorgeous and lasts forever. I've been recommending it to my students ever since. I wanted an edgey look, so instead of using a paint brush- I used the edge of an old credit card to spread the paint around. Looks cool, right? If you prefer using a paint brush, that's cool. Use whatever you have on hand. If you're looking for a new acrylic set of brushes, this is a great one.
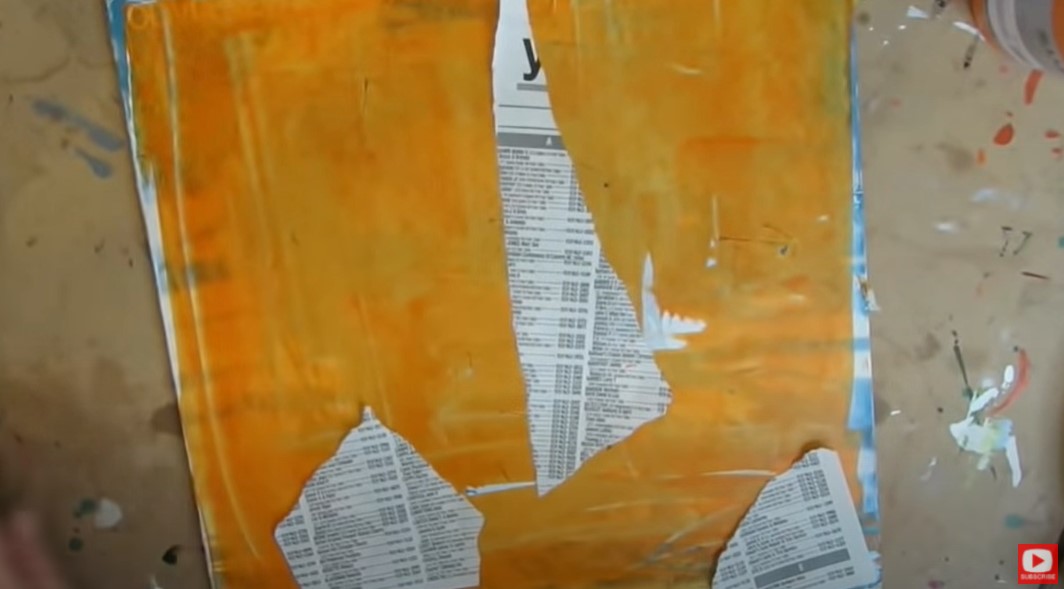
Another cool element to upcycle in your mixed media art for collage is phone book pages or thrift shop books! I always look for the books that are on their last legs. The paper is thin and perfect for mixed media collage.
For the fox, I ripped up a page from an old phone book. Does anyone even get these anymore?! ?
Lots of people use mod podge to adhere collage pieces to their art journal pages and canvases, but I actually use matte medium. Why? It's designed to work with acrylic paint, and it actually has secret adhesive properties! I paint a thin layer on the bottom of my collage pieces, and another right on top.
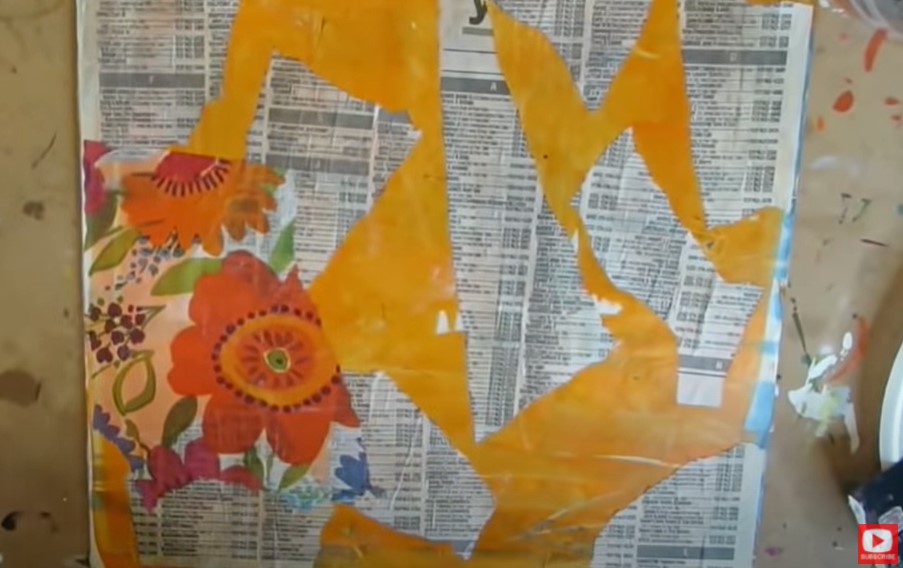
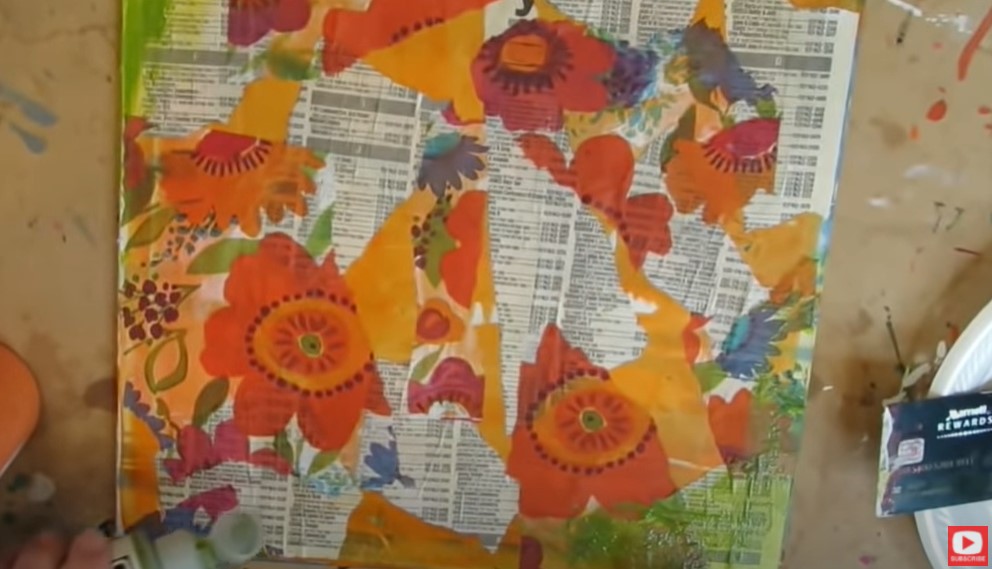
Napkins and tissue paper are also excellent for mixed media collage. For this project, I had an adorable, floral napkin I was dying to incorporate. I peeled the napkin backing from the pattern side (this is really important because it makes your collage pieces thinner and easier to control). Then I ripped it into pieces and carefully adhered it to my piece.
If you struggle with getting the wrinkles out of your napkin pieces when you're collaging, this video is for you. It really demos my technique of using TONS of matte medium! I pour it on so there's a lot under my napkin pieces, and then coat them on top as well. If you think you're using too much matte medium, add more :)
Next start adding in some acrylics that tie in with the color scheme from your napkin. I did a very thin layer and used my finger to spread it into the corners to kind of tie things together.
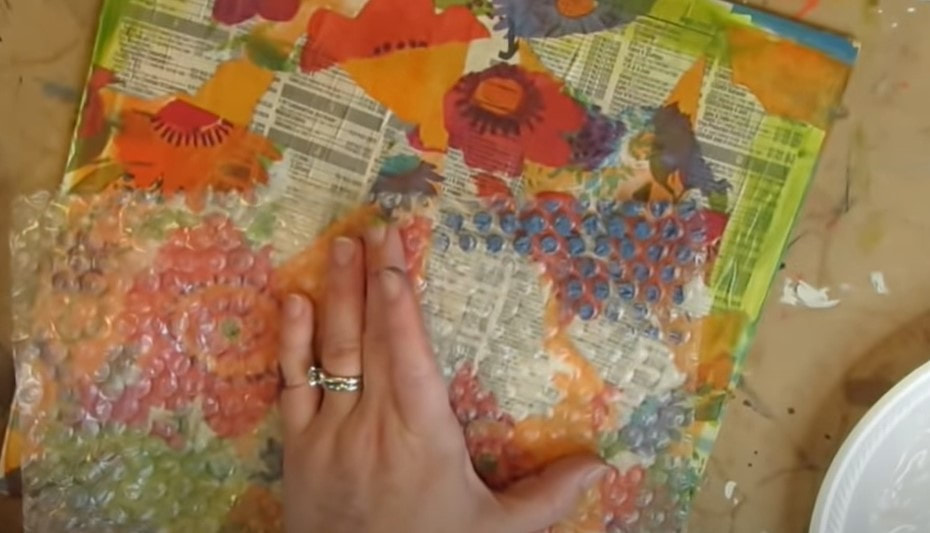
My next step was to add a bit of texture. I love the look of polka dots, and I've found that painting a bit of acrylics over a corner of bubble wrap looks AMAZING in the backgrounds of my mixed media portraits! I've been doing this trick for years, and it costs nothing! Win-win!!
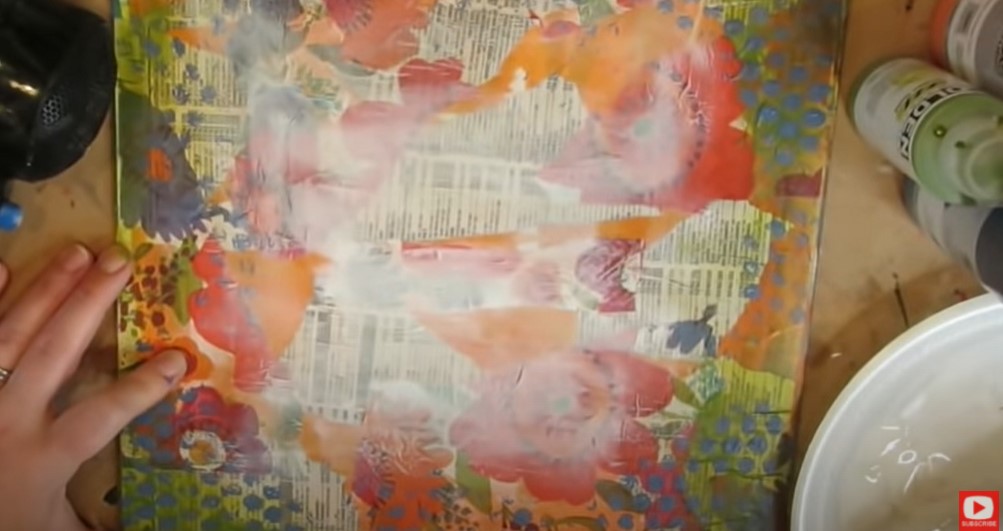
After I hit my layers up with my hair dryer, it's time to start making room for our adorable fox! To knock my background back a bit, I add a super thin layer of gesso all over in the middle of my piece. I used an old credit card here too, to keep that edgey look.
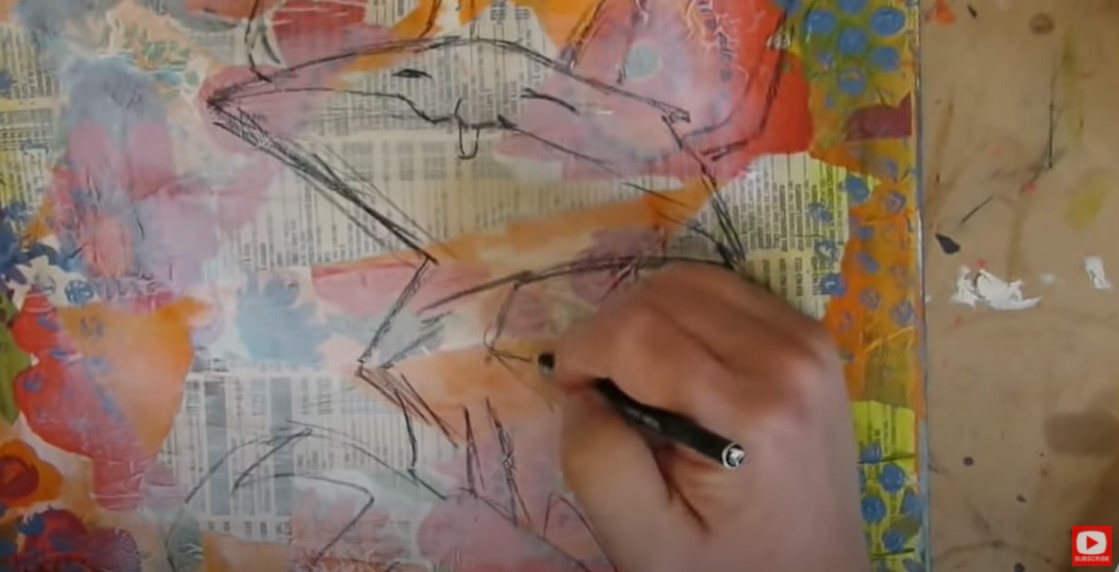
Next, I penciled in my fox outline. I used a black stabillo all pencil because I love how watersoluble it is. It smears when you add something wet to it from water to gesso. Some of my students don't like the unpredictability of the stabilo like I do. If you're one of these people, just use a pencil. When you like the way your drawing looks, start painting again with your acrylics.
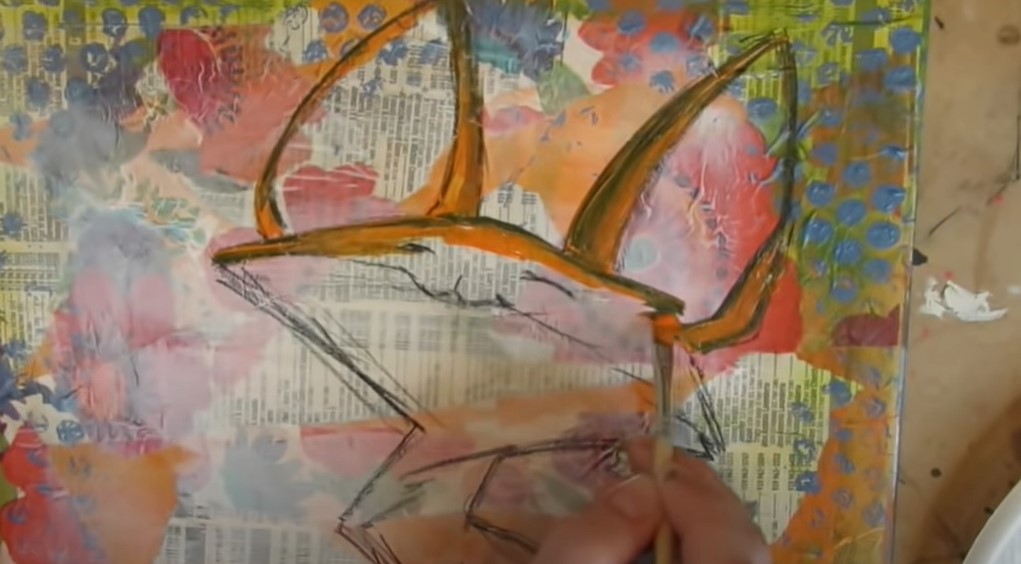
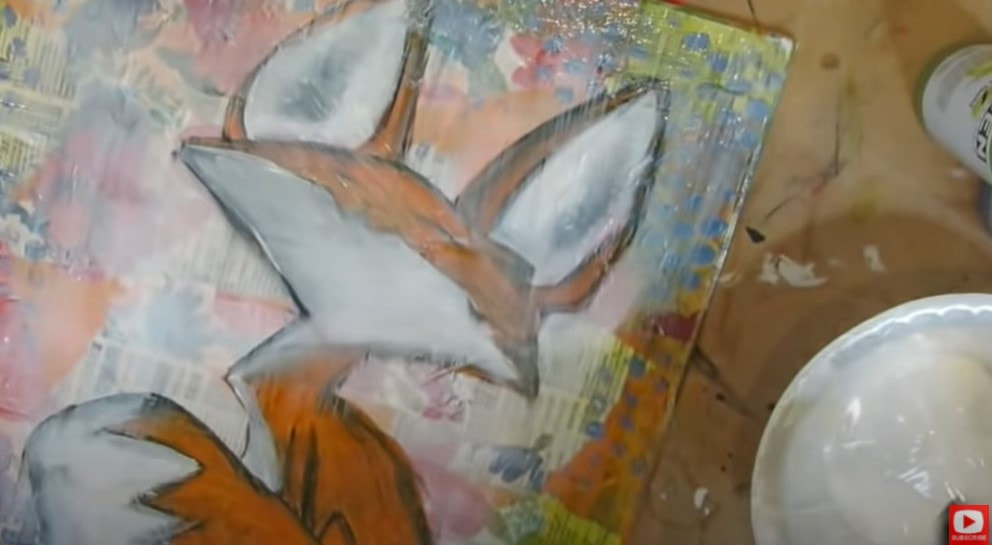
When it was time to start adding in that fluffy white fur, I used more white gesso instead of white acrylic paint. I tend to do this a lot in my mixed media work because I love how the collage layers will peek through gesso.
As you'll see in the video, my stabilo lines activated here and there when the gesso hit them. I love how that softened the fox's edges and helped add shading to my little guy without even trying!
Once I felt happy with my painting layer, I sealed it all in with a layer of matte mod podge. Be prepared because that stabilo can activate again when your mod podge hits it.
Let this dry completely. Just walk away and do something else for a while. Or if you're impatient like me... hit it with your hair dryer or heat gun again.
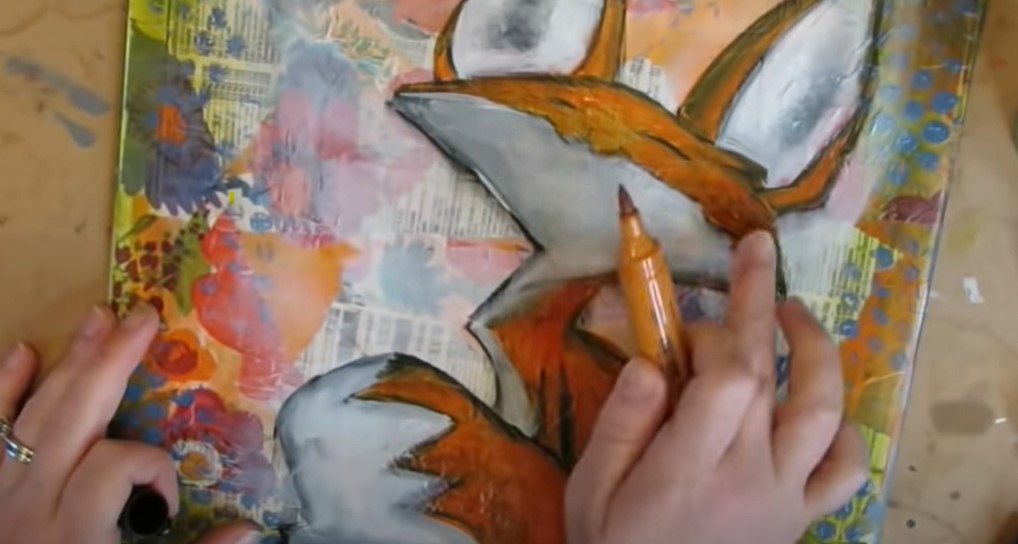
When the surface is slick and dry, it's time to "paint" with our pitt pens! I freaking LOVE this step. It's like ice skating when these babies hit your canvas! If you're following along with your Hamburger Cheatsheet, this is Layer #5.
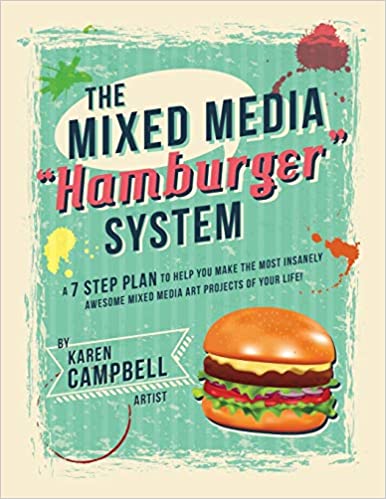
If you're loving the cheatsheet, this actually inspired not only the FREE 9-Part Series on YouTube, but a book by the same name as well. If you love the feel of a book in your hand, it's available on Amazon.
Once you're done "painting" and doodling with your pitt pens, it's time to add a cute quote. I love using stamps for quotes because I don't love my handwriting. Feel free to do either, or no quote! This is YOUR art.
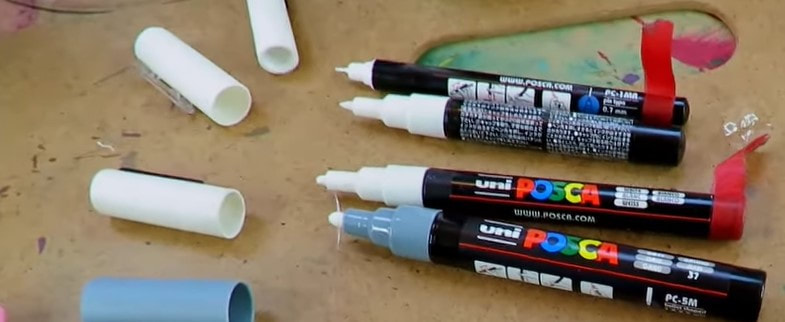
Next to the last step is to pop in some highlights with a white paint pen. I love this simple set of three in varied nibs from Posca. I also love my Sharpie White Poster Paint Pen.
I love the look of a bold black outline, so you'll often see this in my work. I also love using a stamp pad and adding the look of black, distressed edging all the way around my canvas. Make sure you click over to the video to see exactly how it's done!
Just a quick heads up, when you do click over to this fun mixed media fox video, this was shot BEFORE I had even named my magical mixed media layering process, so you won't hear me talk about the burger layers in this video. You'll just see them in action, set to music!
Wanna learn TEN ways to save money with your art supplies? Check out this video. It explains how the layers in this very project can help you from buying out your local craft store :) Thanks for hanging out with me today! ❤️ CHECK OUT ALL MY ONLINE ART CLASSES & Art Clubs ❤️ CHECK OUT ALL my art books ❤️ MY FAVORITE ART SUPPLIES on AMAZON ❤️ MY BELOVED FACEBOOK GROUP
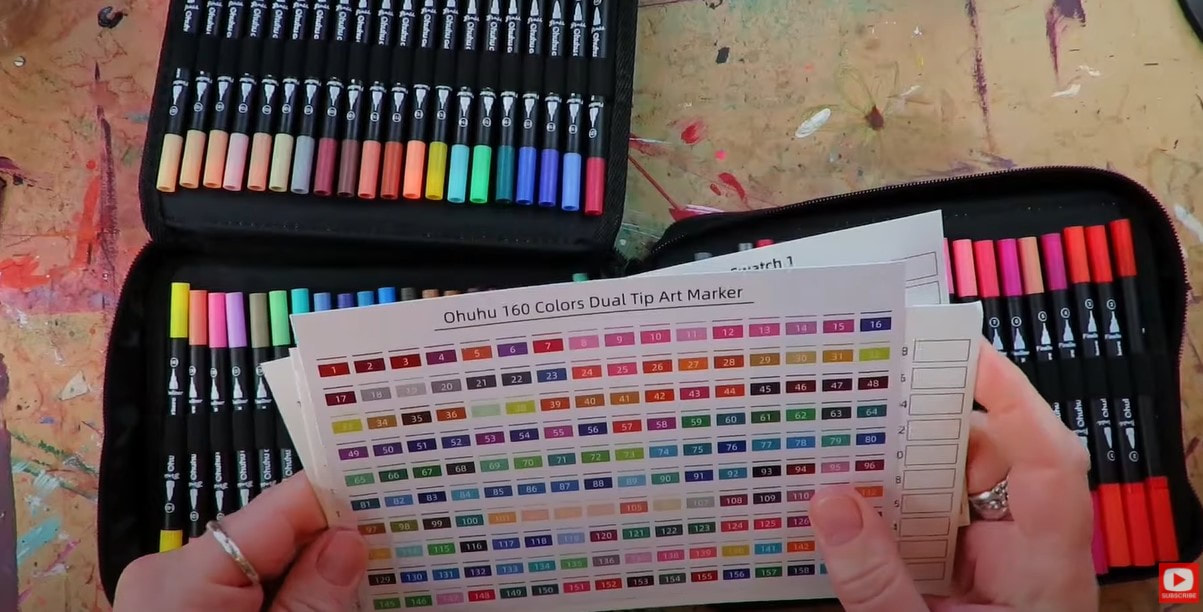
Today's water soluble markers showdown puts Ohuhu water based markers to the test! How do they compare to SEVEN other water soluble brush pens and fineliners in price, color selection and quality?
Out of the box, my Ohuhu marker set of 160 provides a gorgeous array of colors, and the price per marker can't be beat! But will they provide the watercolor painting effect I NEED from a water based marker?
Whenever I get a new art supply with multiple colors - whether that's a new set of markers, watercolors, etc. - I ALWAYS swatch them out. That's because I learned the hard way that the color on the cap, tube or bottle often doesn't really look like what ends up on your paper. TRUST ME. Now my rule of thumb is to ALWAYS swatch.
I actually made a cute FREE swatch sheet for you to download to make your swatching a bit more fun!! Simply click the button below to grab your FREE swatchsheet and I'll send it right over.
I had so much fun making this swatch sheet, I actually turned it into a BOOK with my Facebook group!! I know!! We had a blast doing this together. Each page was created by another Awesome Artist. Here's a link to buy the finished book on Amazon if you're interested.
Before we continue, super quick announcement: All product links are Affiliate. I may earn a small commission if you choose to order through these links, but by law, there is never any additional cost to the consumer for doing so. I thank you for your support!
Let's take a look at some of the water soluble products I've laid out for us as a comparison to see how my new water based Ohuhu markers stack up.
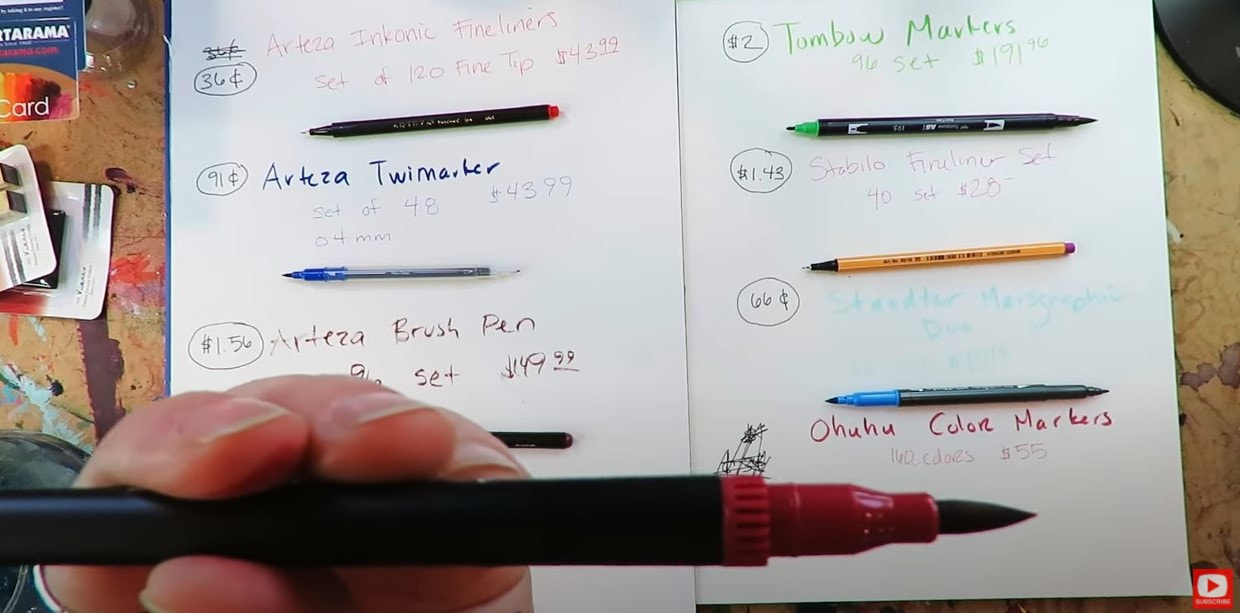
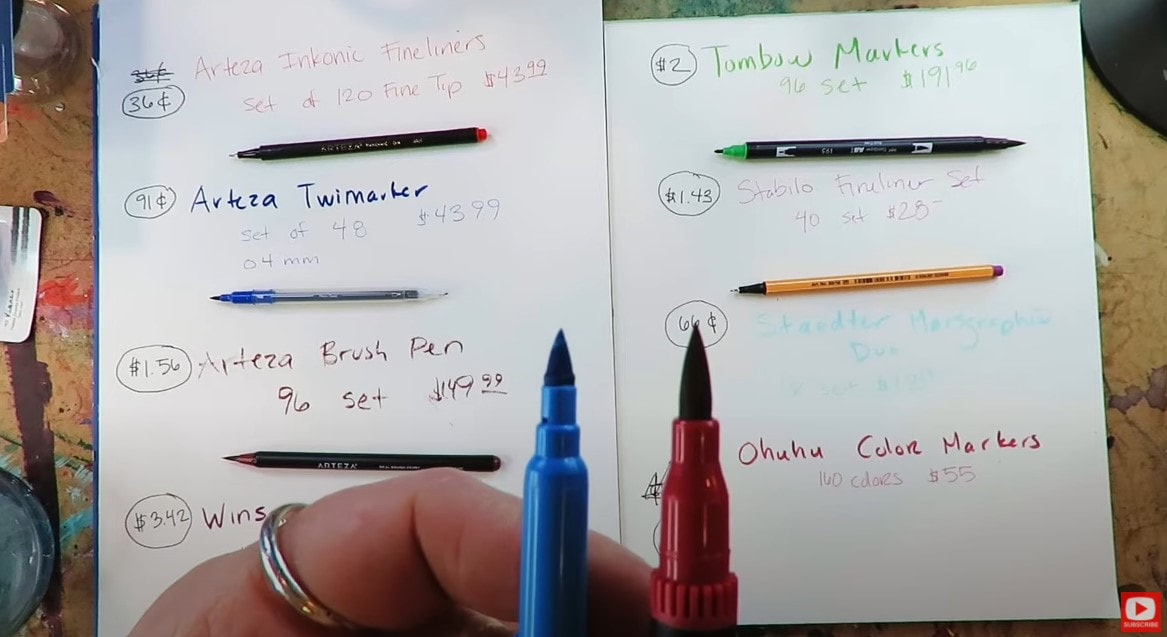
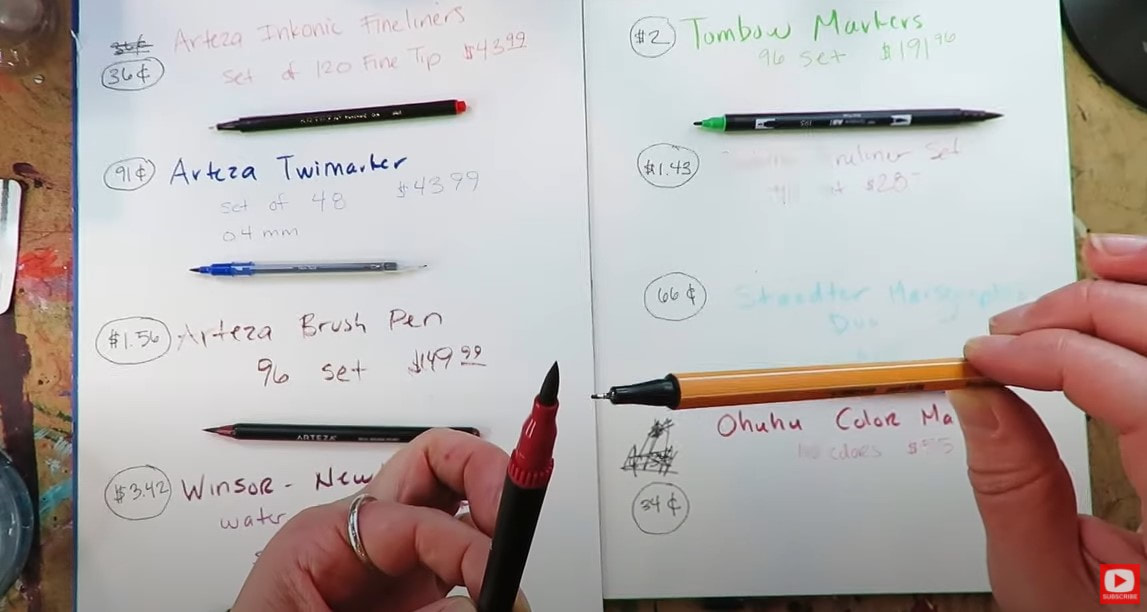
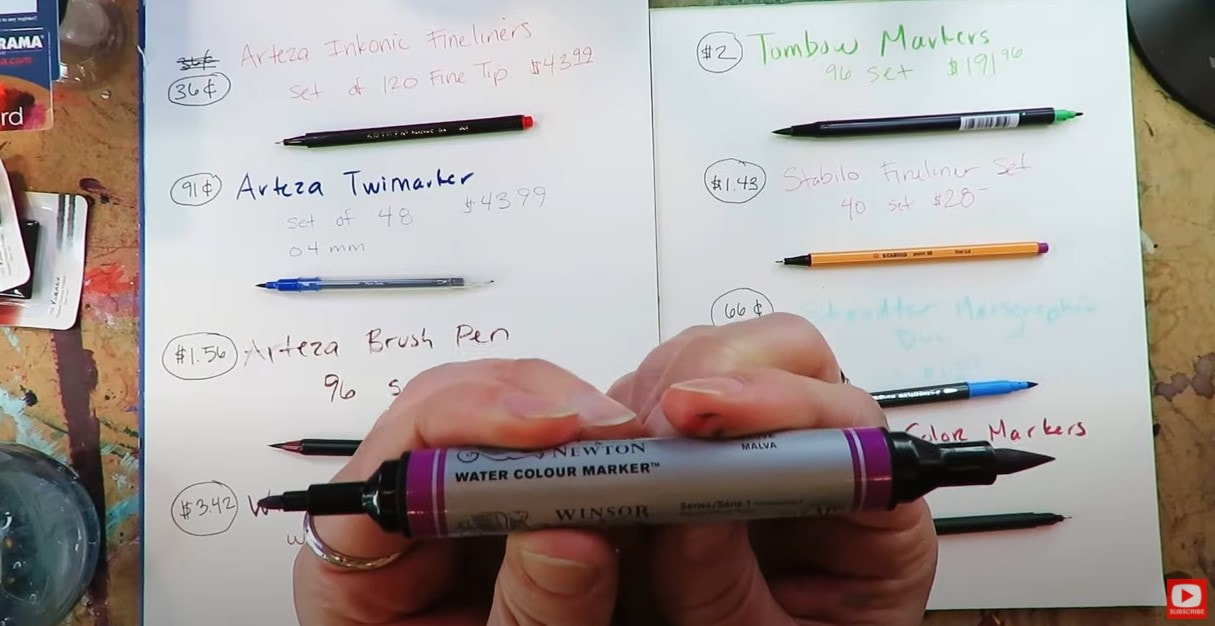
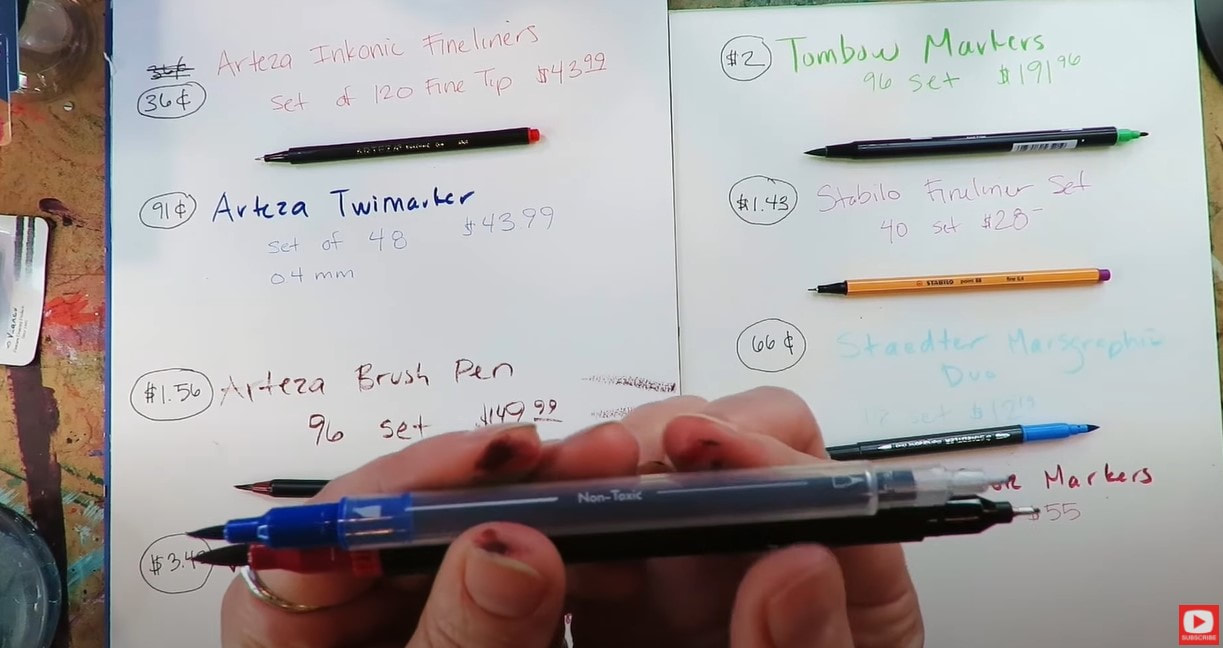
I'm comparing the Ohuhus to SEVEN other water soluble markers & fineliners:
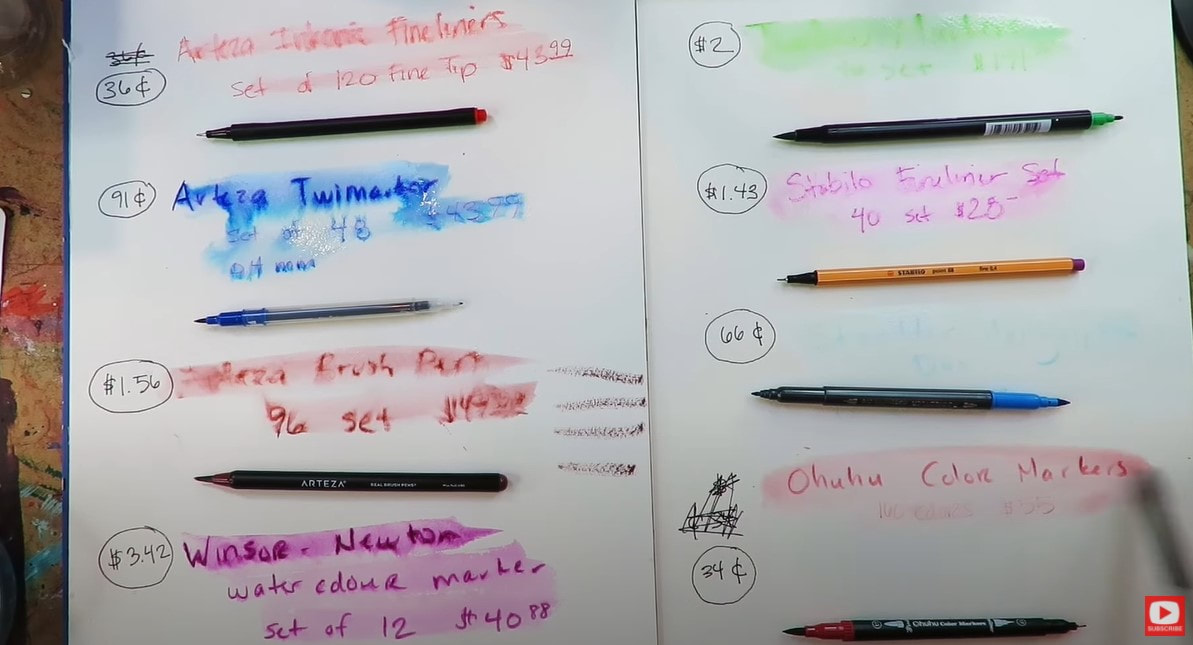
The water soluble ohuhu markers are dual nib. On one side you'll find the brush nib (above). On the opposite side, you'll find a fineliner. They come in a set of 160 for just $55, making each marker a steal, at just 34 cents each. I couldn't find my set of 160 for you on Amazon, so here is the Ohuhu Water Based Marker set of 100 for $34.
The Staedtler Marsgraphic Duo (above left), has a brush nib as well, but it's not nearly as sexy as the one from Ohuhu. This marker also has a bullet nib on the opposite end. Their largest set contains 18 markers, and only costs $12. This low cost set makes it feel like an amazing deal, but when you look at the cost per marker, the Staedtlers are actually more expensive than the Ohuhus at 66 cents each.
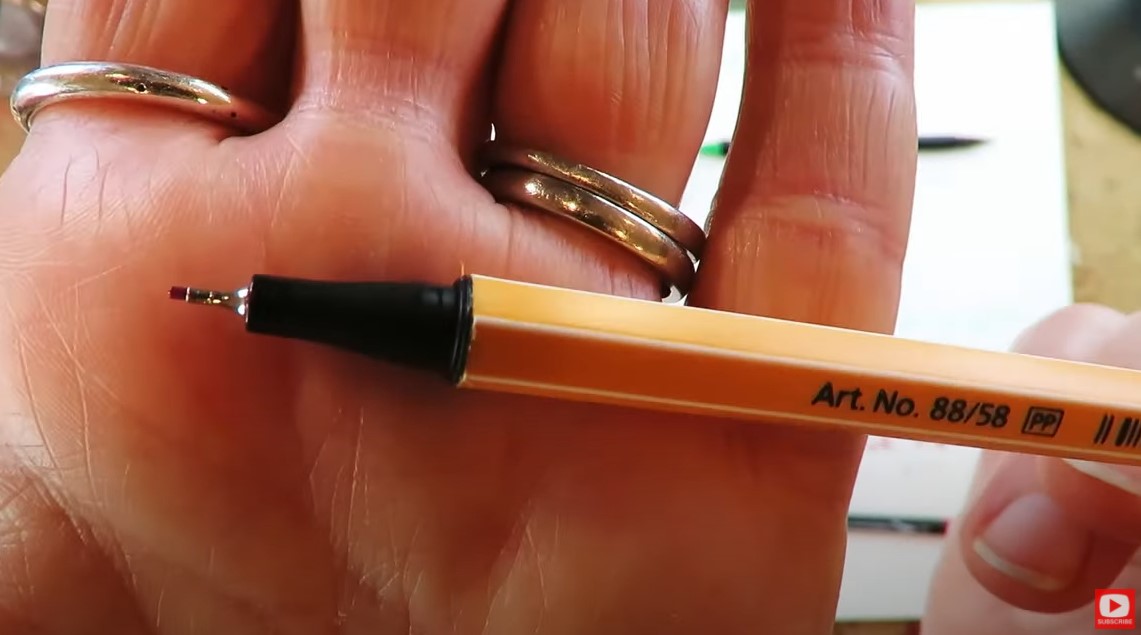
Lots of artists enjoy using Stabilo fineliners (above) because they are great for coloring books and getting into teeny weeny spots. You can get a set of 40 for just $28, making each marker $1.43/each.
I LOVE stabilo as a brand, and if you know me, you know one of my absolute FAVORITE art supplies is my black stabilo all pencil. But when I did this water soluble marker comparison, I was a little disappointed to see how expensive the Stabilo fineliners actually are when compared to the others.
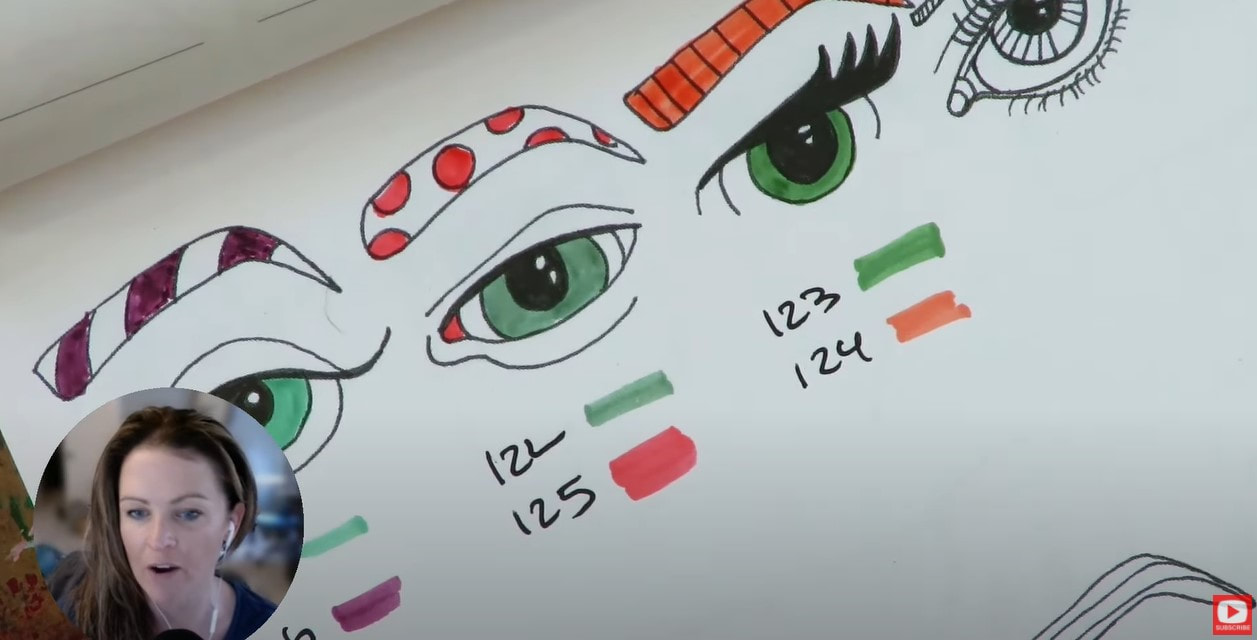
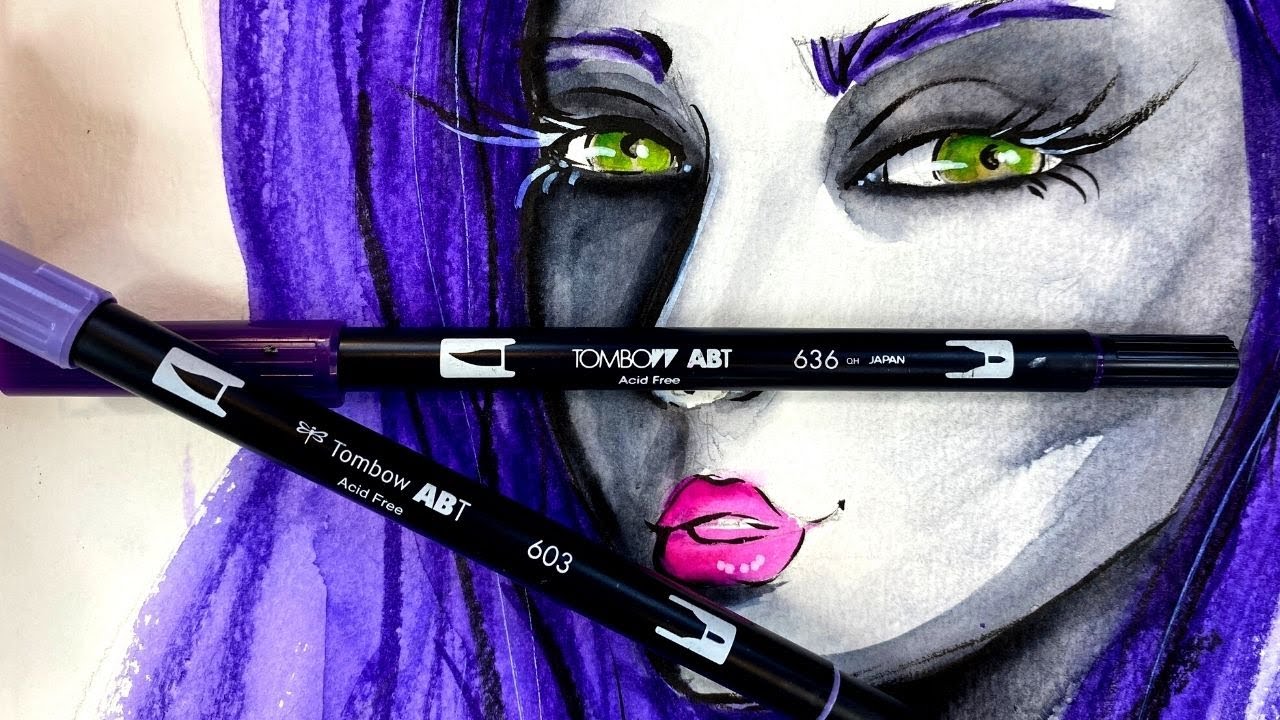
Tombow is another brand I totally love! I take my Tombow dual brush pens everywhere, and have completely fallen for the watercolor painting effect I can achieve with them (below). Isn't that fun?!
I was a little disappointed to realize just how much my beloved Tombows cost per brush pen. My set of 96 cost just under $200, making each marker about $2 per piece. (Sadly this set is currently listed on Amazon for $279, but there are three smaller sets for less, saved in my store for you).
Next on my list to test today is Winsor Newton Water Colour Markers. These are the only product in today's comparison that contain a fine art product inside the tube. They're lightfast and gorgeous.
The biggest set you can buy is only a set of 12, and it's about $40. That makes each marker an expensive $3.42 each. They're not cheap, because they are a fine art product. There really is no comparison when I look at the other products on the table today. In a way that's not really fair, because this is the only product from the rest that isn't a dye based craft product. But I use these all the time, so added them to the test. Here are the current Winsor Newton watercolor marker sets I could find for you on Amazon: Sky, Landscape, and Basic (don't be deterred from the "basic" set - the colors are FAR from basic!).
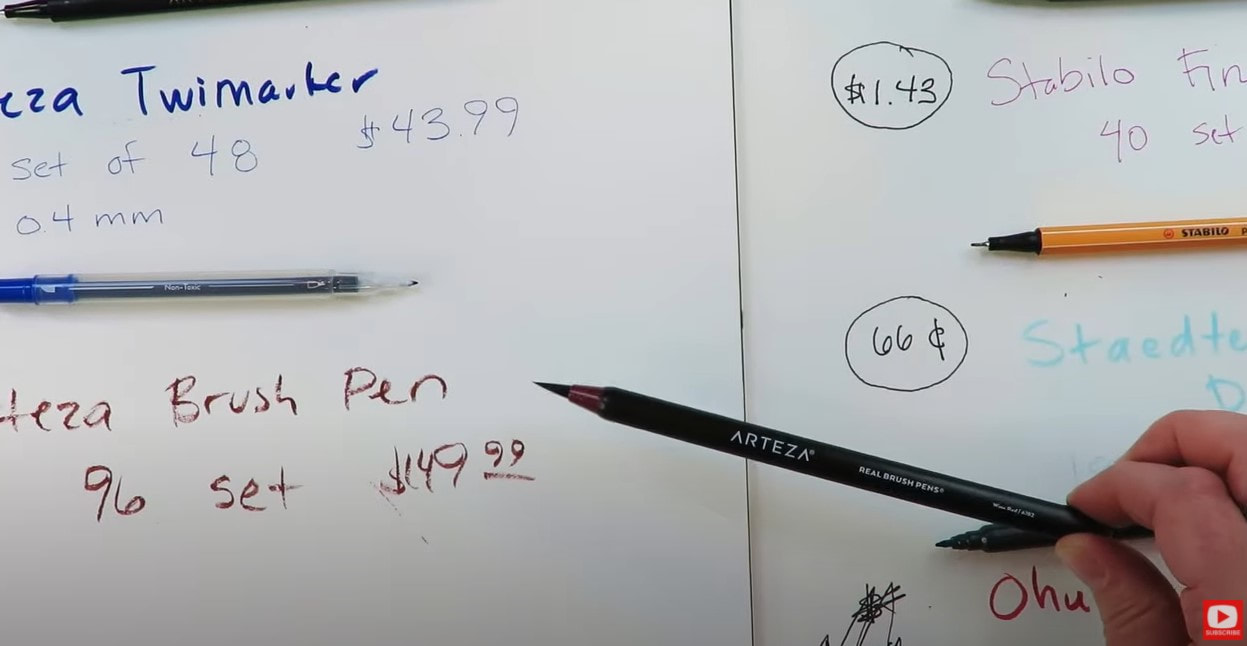
The Arteza Brush Pens really don't do anything for me (so no link to buy). As you can see in the above photo, the ink doesn't even really flow the way it should just to write the simple product name on my paper. These are not nearly as juicy as I think they should be for the price. And, there's nothing you can do to get the ink flowing better.
Their nib is actually bristles like a paint brush instead of a foam tip shaped like a paint brush tip. You would think this is a benefit, but I think it actually makes them harder to work with.
On the other hand, Arteza Twimarkers are a much better value and compare more appropriately with the Ohuhu color markers (shown above). These have both a brush nib and fineliner nib in one. However, you may have seen there are a lot of negative reviews out there on the Twimarkers, because the bullet nib frays easily. It's not encased in metal like the Ohuhu marker, so this creates a problem.
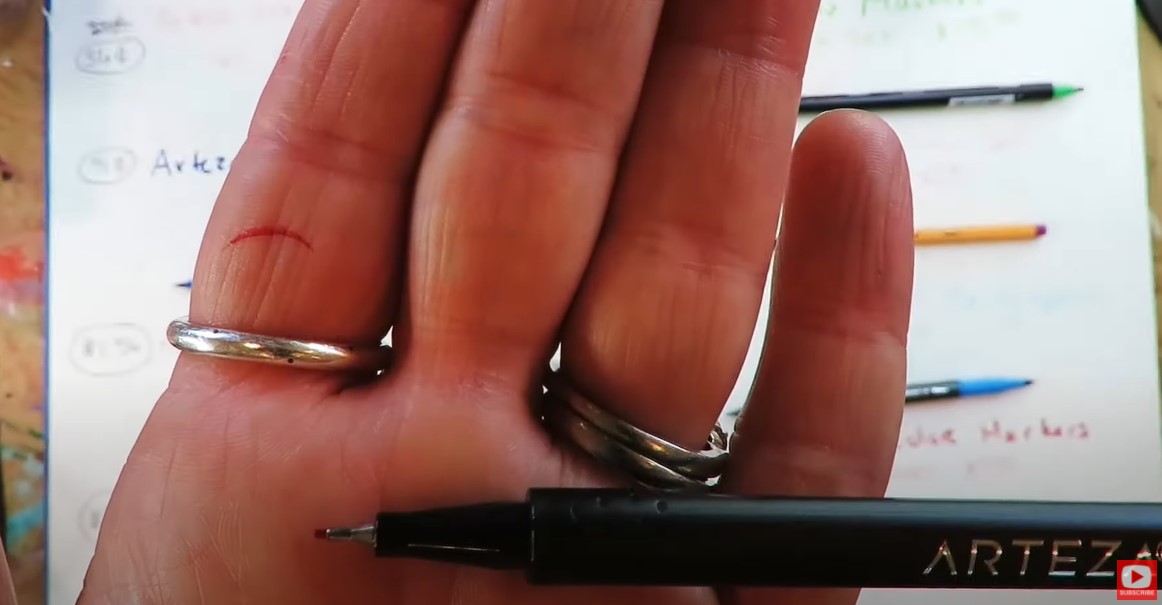
The Arteza Inkonic fineliners are just a classic fineliner. They come in a beautiful set of 120, but the Ohuhus come with a brush nib too, plus 40 additional colors and are 2 cents/marker CHEAPER! I was really surprised to see this when I did the math. The Ohuhus are killing it so far in value.
After I run my watercolor brush (with plain water) over each sample, you can see how water soluble each product is. The Tombows disolve the most. If watersolubility is important to you- you might want to keep that in mind when buying a set of these markers - the Ohuhus seem to disolve too, but not nearly to the extent of the Tombows.
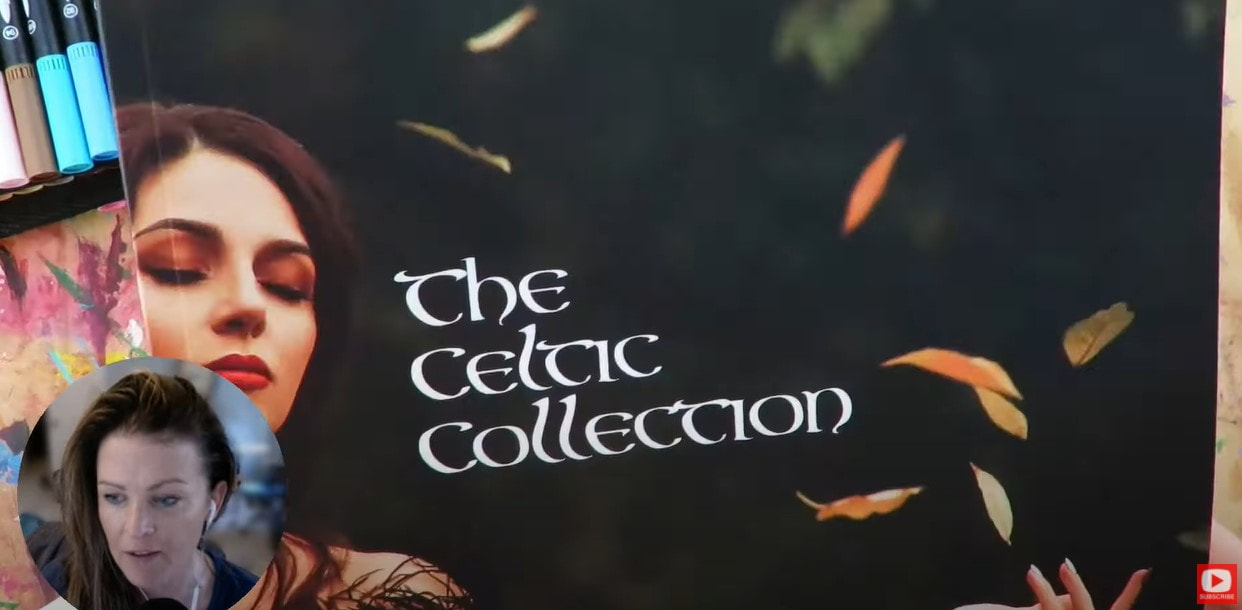
To get started with this particular project, I decided to flip through the reference photos for drawing I compiled in my book called The Celtic Collection.
This is a fun book of copyright free fantasy art reference images I compiled for one of my art clubs called The Celtic Collective, that I run with one of my art besties, Lucy Brydon. If you love fairies and fantasy art, click here to learn more about The Celtic Collective.
Press play on today's video to see if I was able to achieve the watercolor painting effect I love from the water based Ohuhus. Thanks for hanging out with me today! ❤️ CHECK OUT ALL MY ONLINE ART CLASSES & Art Clubs ❤️ CHECK OUT ALL my art books ❤️ MY FAVORITE ART SUPPLIES on AMAZON ❤️ MY BELOVED FACEBOOK GROUP
Wanna find out which drawing pencils, pens & erasers I won't leave home without?! Today, I'm dumping out my travel art supplies bag to show you EXACTLY what I brought on our last trip so I could play in my new toned paper travel sketchbook! If you've got a trip coming up and can't decide how to narrow down your drawing supplies - today's video is FOR YOU!!
Before we continue, super quick announcement: Some of the product links below are Affiliate. I may earn a small commission if you choose to order through these links but by law there is never any additional cost to the consumer for doing so. I thank you for your support!
So many times in the past when I've brought a travel art bag on vacation, I didn't even use half of the art supplies I brought with me! I kinda got sick of dragging around a ton of stuff, so started challenging myself to bring less.
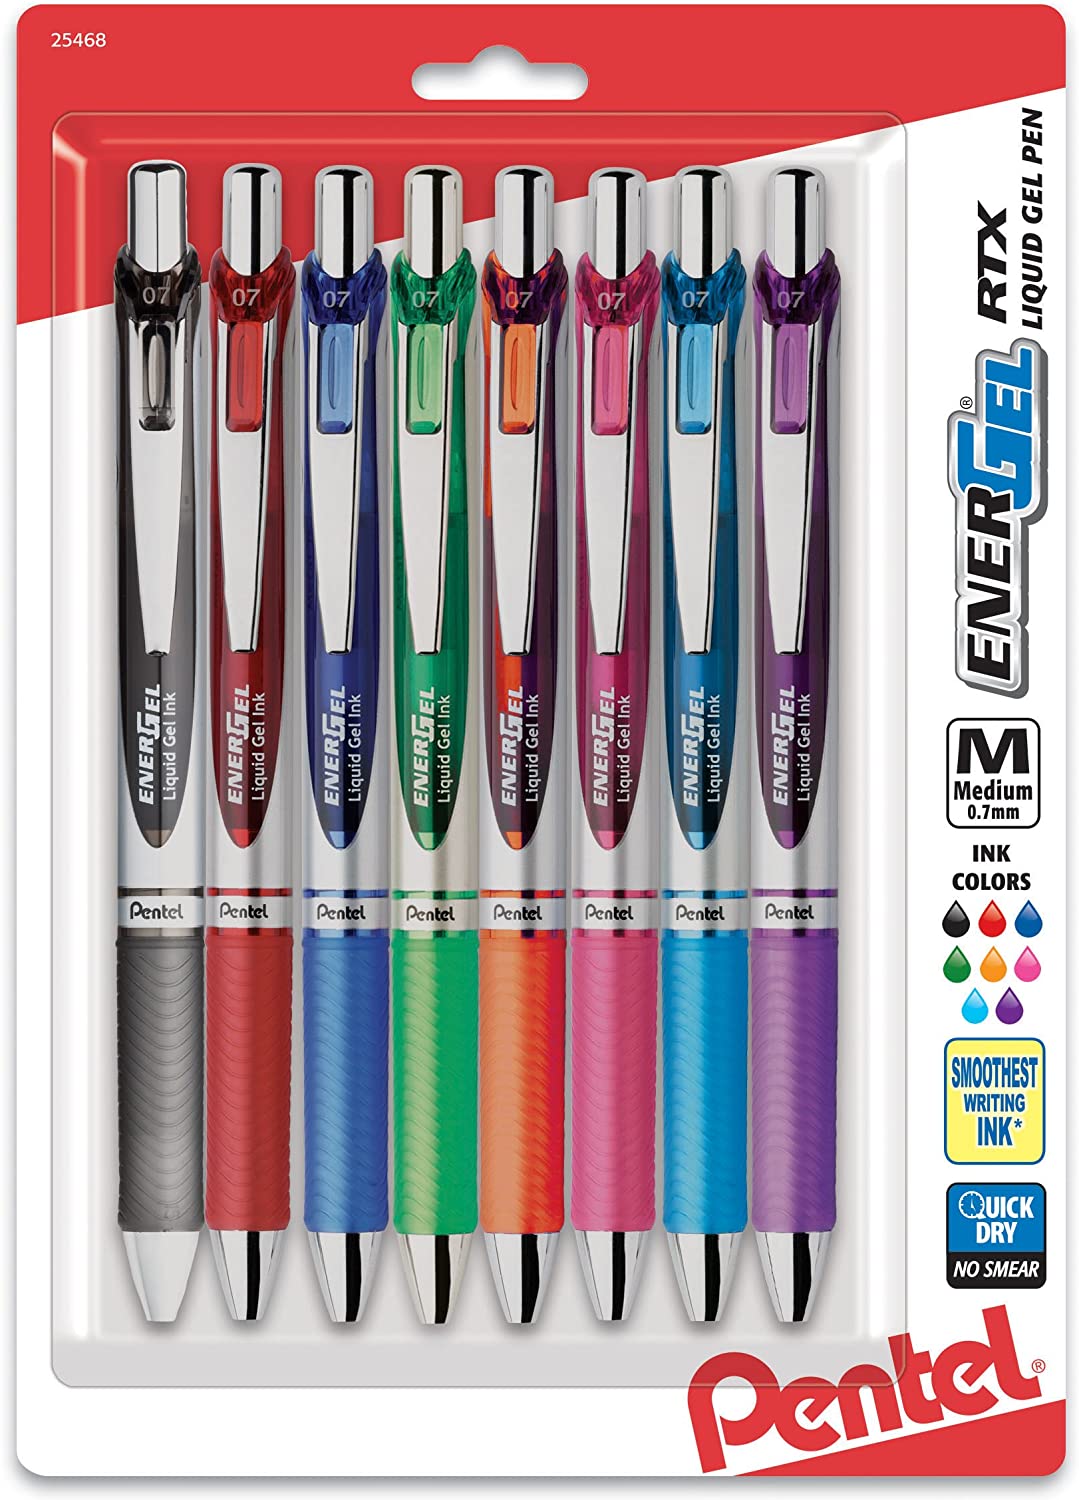
Sometimes I'll limit myself to paper and a pencil if I wanna go super minimalist - but most of the time, I'll bring a pouch with me and fill it with an assortment of drawing pencils, erasers and gel pens like I'm going to show you today. On my most recent trip I decided to only bring dry media drawing supplies, which means my black stabilo all pencil and my waterbrush had to stay at home! Simply deciding something like "only dry media supplies" is a super easy way to narrow things down when you're trying to bring less. Click over to the video to see each supply and why I've chosen to include it! Here are my top ten favorite travel art supplies for drawing - in no particular order!! I've really been in love with my clicky pens from Pentel lately. I use the .07 nibs for writing and the 1.0 nib for drawing. I LOVE a juicy gel pen for drawing - it's like ice skating on my paper!
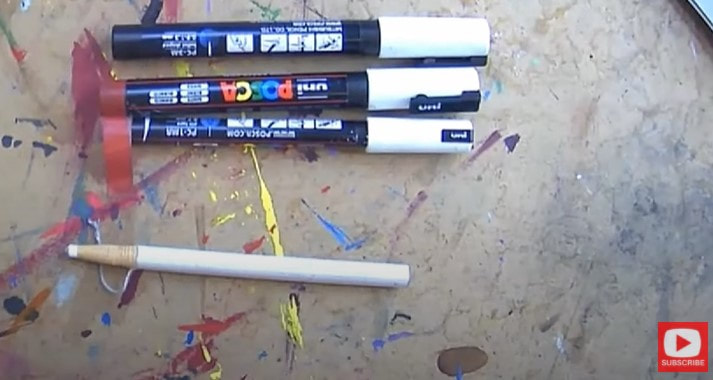
Next, I've gotta have white drawing supplies for adding highlights to anything and everything I create, so there is always a little collection of white posca pens (I'm always afraid one might not work, so I bring at least two!). I also throw a few black posca pens in my bag for outlining!
If I'm bringing toned paper (which I did on this trip!), I'll bring my china markers as well (the white, wax pencil at the bottom in the above picture). They're super opaque and fun to use. If you've never used china markers or worked with toned paper before - I've got a whole series JUST for you!
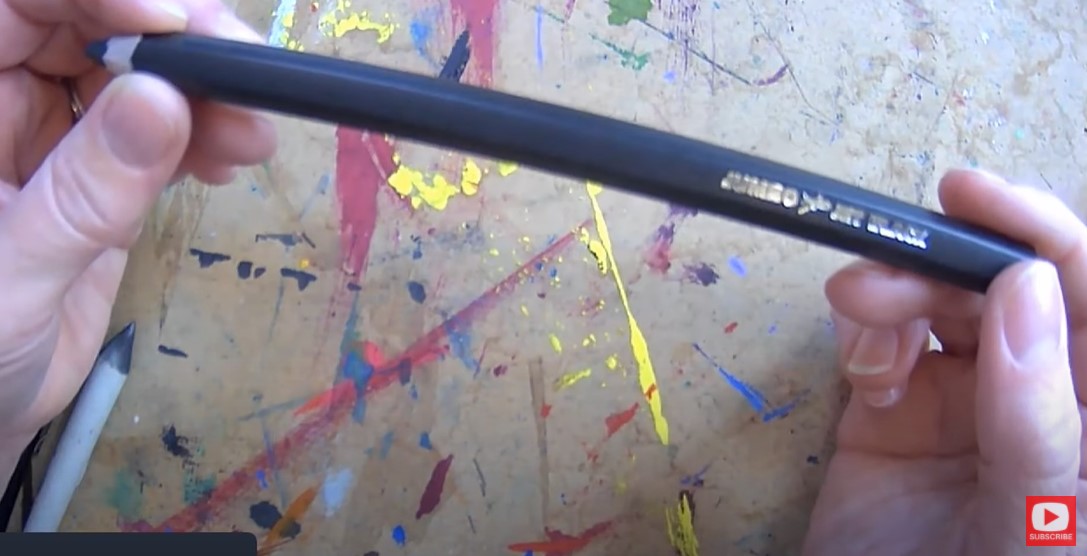
Normally I'd also bring my black china marker, but was in a hurry and couldn't find it before I left, so grabbed my jumbo jet black pencil (shown above). I buy these at Jerry's Artarama. They also go on really opaque and have a similar feel to a china marker. It's oil impregnated charcoal!
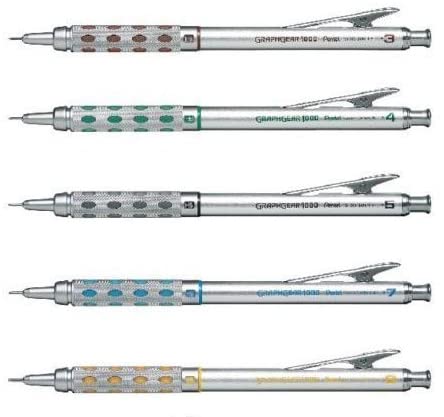
Next, I need my drafting pencils - also from Pentel. These have some weight to them and feel heavy in my hand- which I love. I use the .09 for really bold lines. This one is great for when I'm teaching online because people can see the lines from it really well. I use the .07 and .05 for more detail. They also make a .03- but I find that I don't use that one as much.
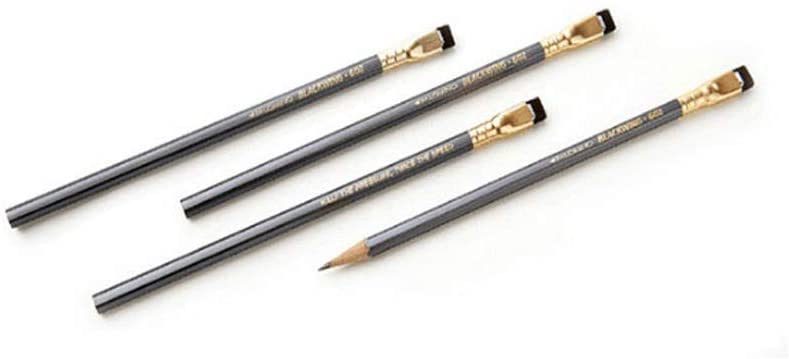
When I want to do some shading- I really love my Palamino Blackwing Pencils. I feel like you can do everything with one of these suckers! They're so soft. It's like having an entire pencil set wrapped up in one pencil!!
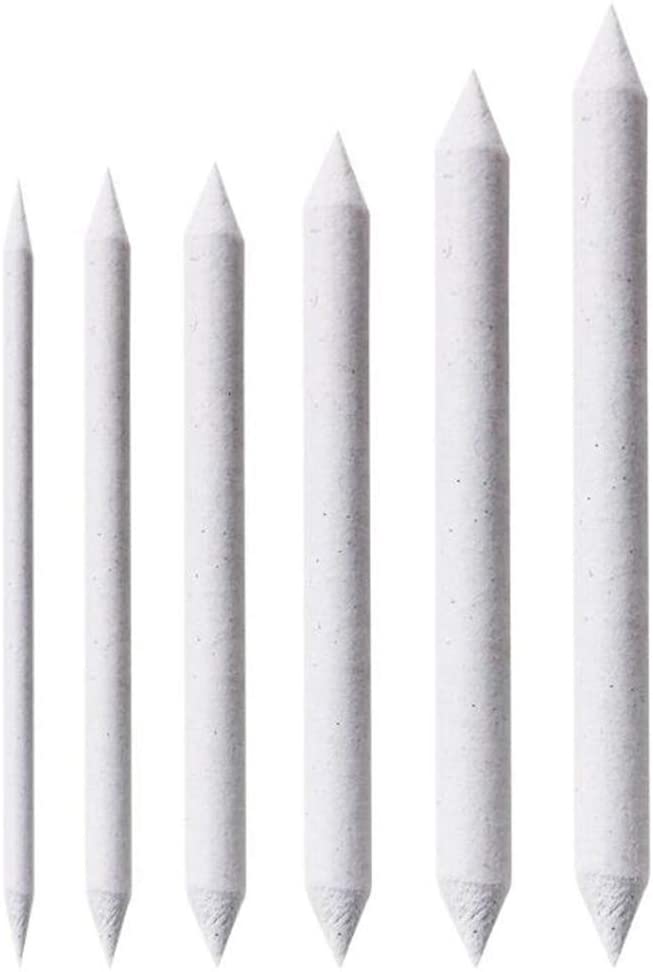
Honestly, if I only had a blackwing pencil, a blending stump (below) and one of my white posca pens, I'd be a happy camper (if we're talking bare minimum supplies). Remember with blending stumps - the dirtier, the better!
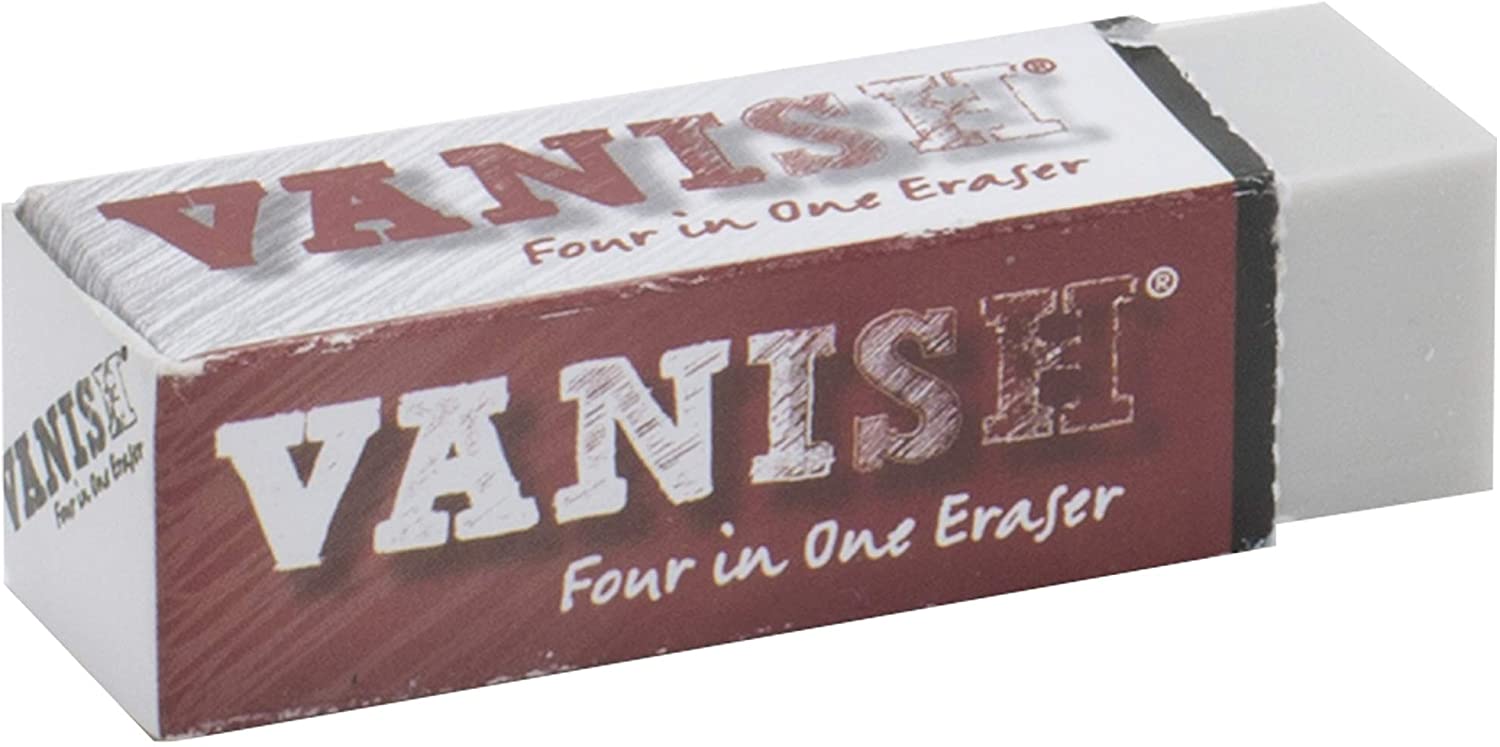
Next - let's talk drawing erasers. I have two favorites. I use my vanish eraser absolutely ALL the time. It's super gentle on your paper and very effective at lifting graphite off the page.
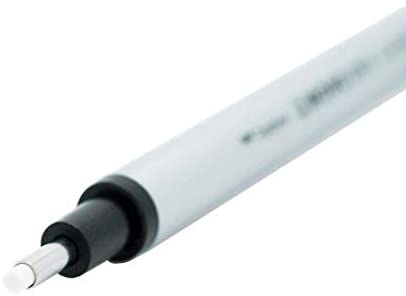
My next favorite eraser for drawing is by Tombow. It's called the mono zero eraser. It's basically like a mechanical pencil, but an ERASER! It's amazing to chisel out teeny tiny highlights!
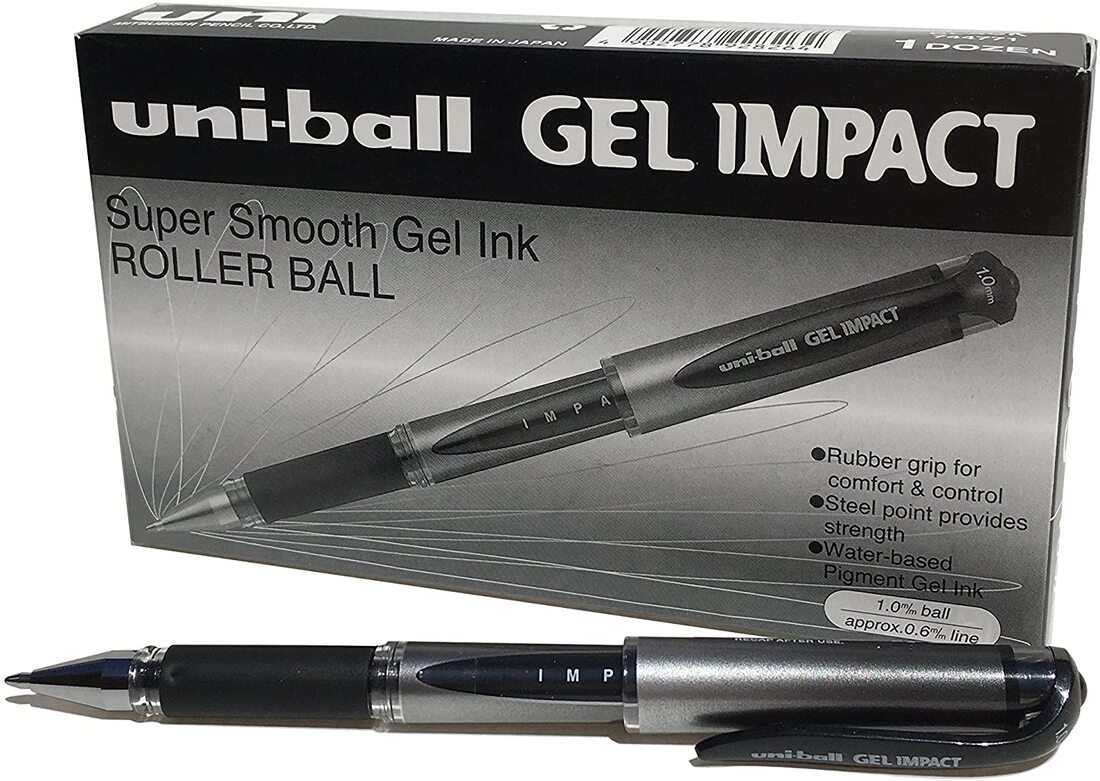
I've been loving my Uni-Ball Signo gel pens for quite a while! Sometimes I'll draw with these alone, but typically I'll use them for adding fun outlines and doodles at the end of a drawing. They also work amazing well on top of watercolor!!
Depending on the kind of line weight I want to use in my drawing for outlining at the end - I may also choose to use a thicker, black posca pen as well.
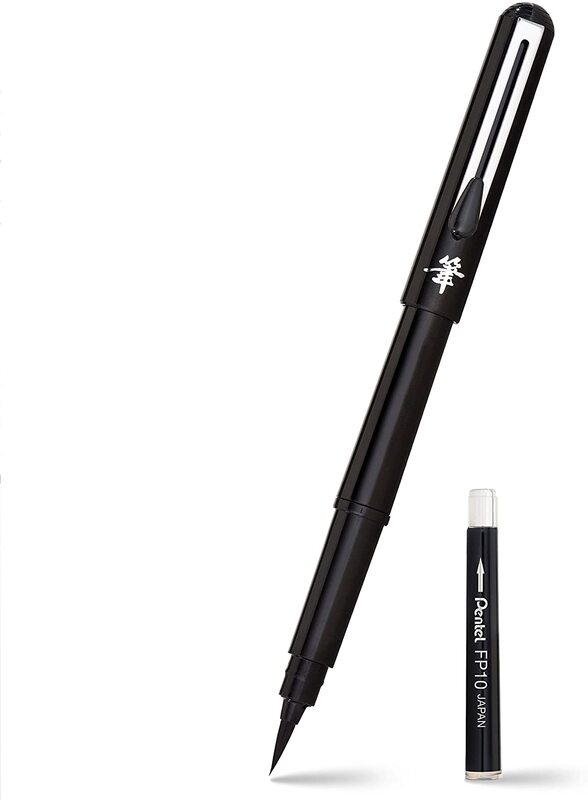
Finally - I WON'T leave home without my beloved pentel pocket brush!
This thing makes the most AMAZING eyelashes and I use it for both drawing and mixed media portraits! If you've never worked with this before- it really has the feel of a paintbrush and can take a little getting used to. Here's a video to help you use the pentel pocket brush for drawing eyelashes in drawings (featured at the end of that video), and one for using the pentel pocket brush in mixed media drawings!
I recently discovered a similar product with an even teenier brush nib at Michael's, so that was in my travel art supplies bag this trip as well!
That's it! I hope you find today's video helpful!! I know it can be such a challenge narrowing down you art supplies when you're traveling - but this list should really help you out!
❤️MY ARTIST BESTIE, LUCY BRYDON & I created a NEW ART MEMBERSHIP together called The Celtic Collective! It's now open for enrollment! Join us before the price increases on August 7.
Posca paint pens are one of my all time FAVORITE art supplies! In today's art supply demo, I'll show you why they're a MUST HAVE in my studio + the EASY way I use them to create MAGICAL effects on my mixed media portraits. If you're a beginner in the world of mixed media art, or just curious about what posca paint pens can do for you - today's video is a MUST SEE!!
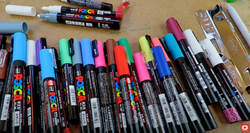
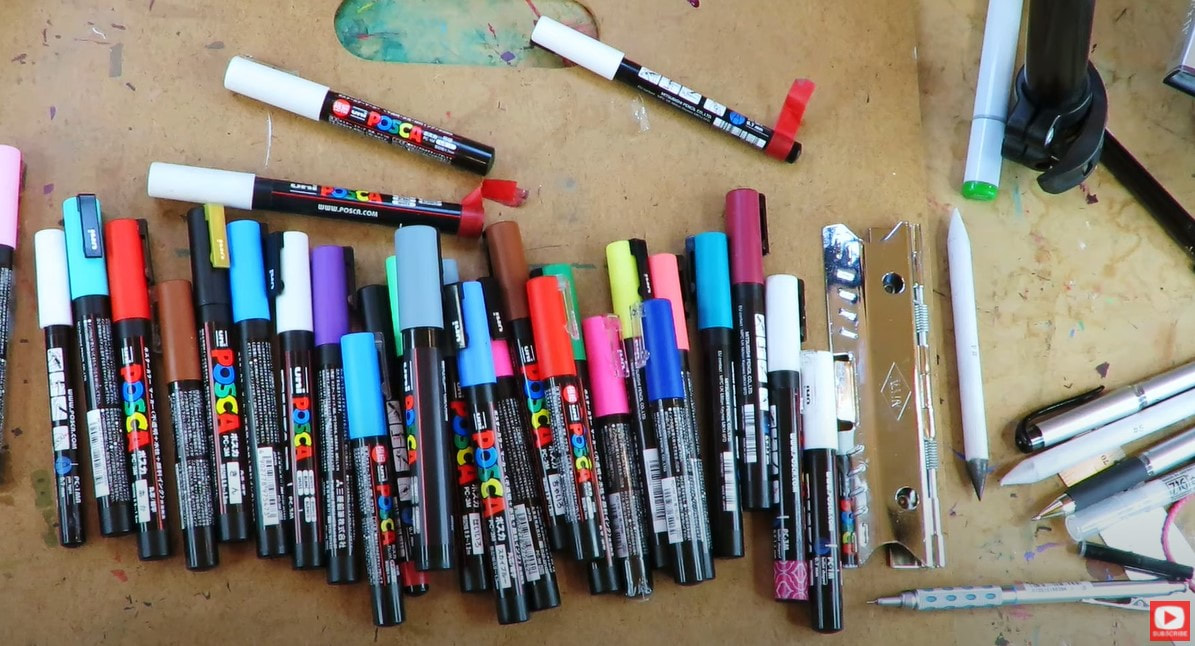
Uni posca paint pens are available worldwide and filled with acrylic paint. Posa pen sizes range from fine tip to thick tip, so you're sure to find what works best for you.
If you're like me and struggle with doing details using a paintbrush - these paint pens make it SUPER easy to add those in. You'll love the control of a pen with the look of acrylic paint!
I've found white posca pens make some of THE BEST highlights on my mixed media portraits! They layer up beautifully over whatever you've got going on from acrylic paints and mixed media collage, to sealers like mod podge, matte medium, etc. They're a really fantastic product!
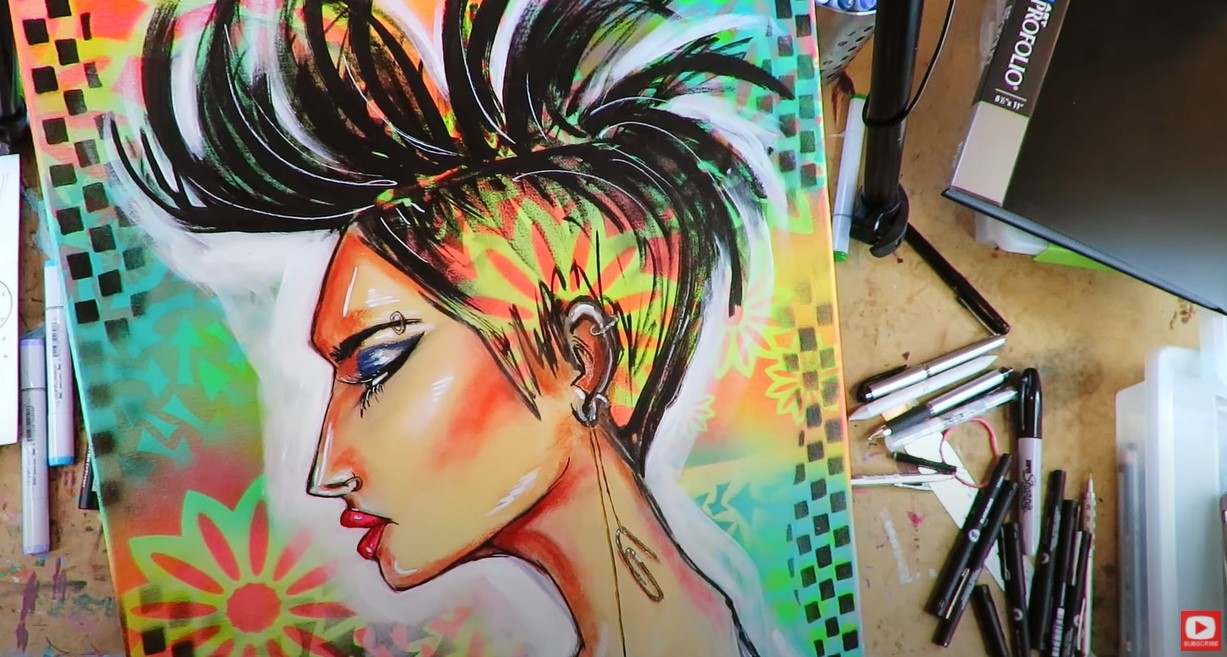
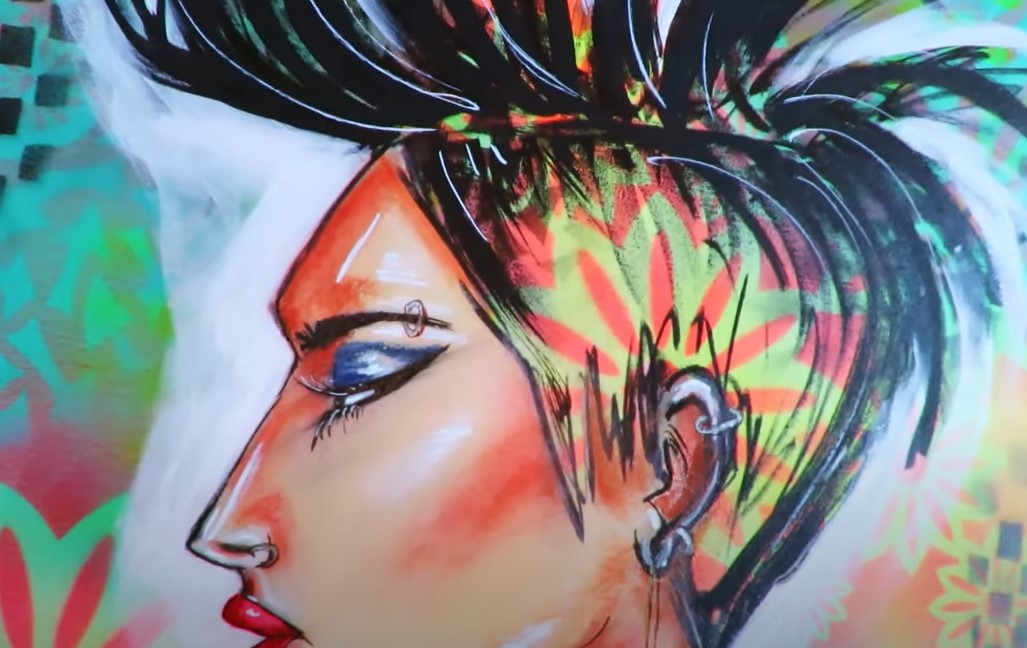
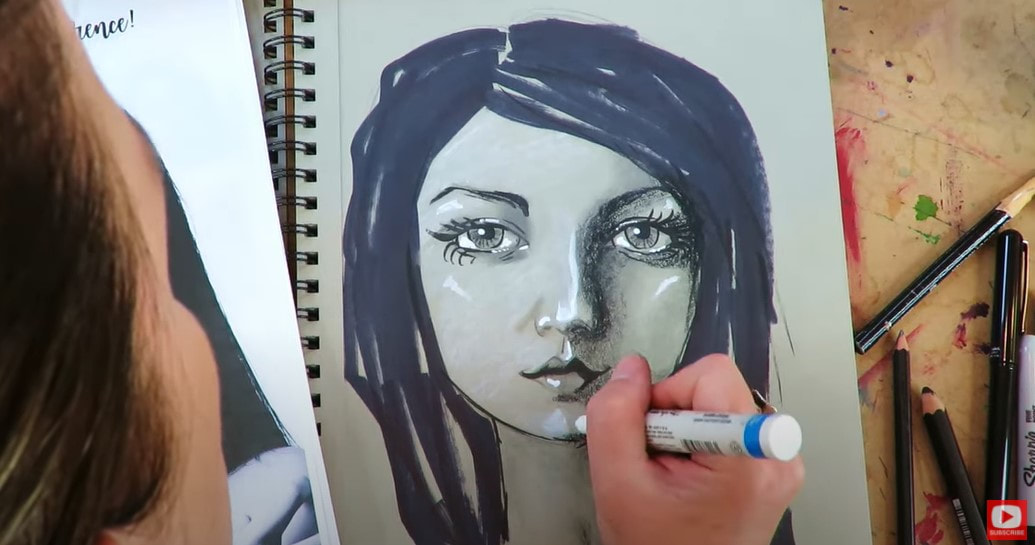
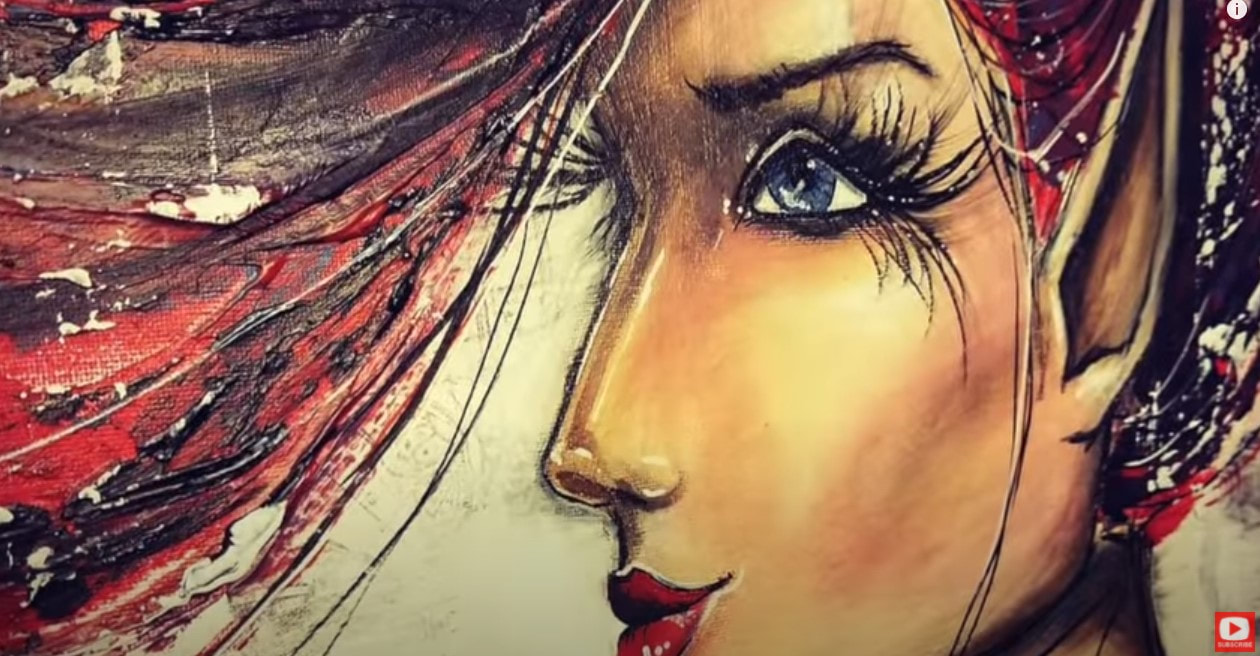
Look closely. Do you see all the fine white doodly lines in this chick's hair and on her face? Look at her eyelid, nose bridge, top lip, cheekbone and even her jawline and eyelashes. Those were all made with my white posca pen!
Popping in a few posca pen white lines helps bring this mixed media portrait to life! Suddenly she has more dimension with this added detail. AND- I had more control because I'm using paint PENS instead of traditional acrylic paint on a brush.
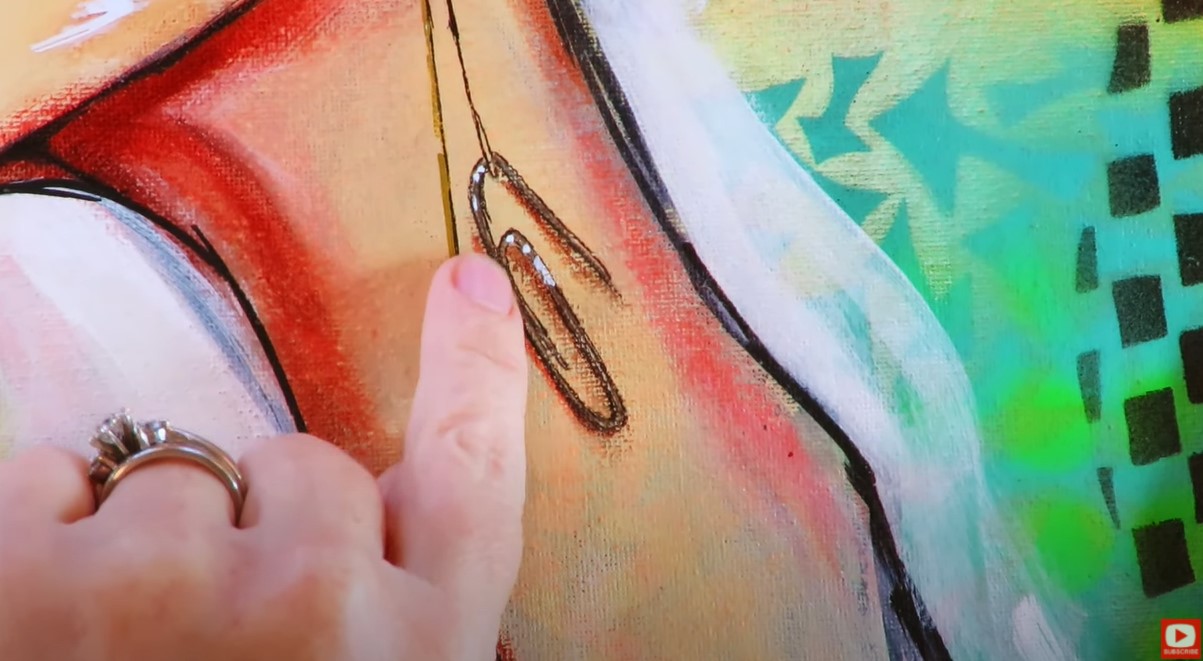
Here's another example of teeny detail in the same mixed media painting. I used my gold posca pen to indicate a gold chain on this chick's funky earring and just a couple of tiny white dots to indicate reflections or sparkle.
If you were hanging out with me last week on my Drawing YouTube Channel, I of couse added white highlights with my paint pens in this mixed media drawing as well.
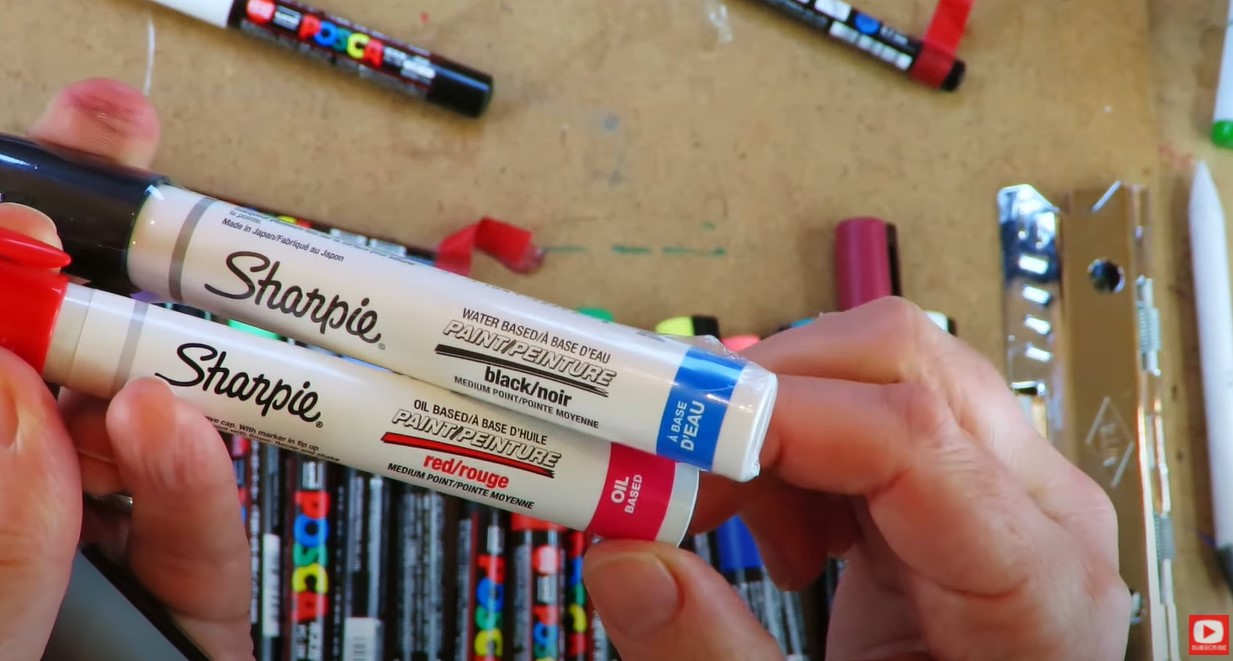
I happened to be using a water based Sharpie paint pen in that video.
You'll notice similar highlights have been marked on this mixed media portrait - on the eyelids, checkbones, brow bones, nose, lip, chin and my favorite - the tiny white eyeshine dot in the pupils!!
Sharpie makes an oil based paint pen too. I really don't recommend that one because they can be a pain in the butt if the nib dries, and difficult to reactivate. The water based version is the one below with a blue label around the bottom. The oil based version (to avoid) is below with a red label.
If you're thinking of posca pens vs sharpies - I would lean posca because they have SO many more colors and nib sizes to choose from.
What's amazing about posca vs other brands is that you don't have to do a lot of work to get these going or to keep them working. They're also totally opaque.
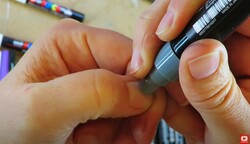
If you're not quite sure how to activate a new posca pen, you just need to give it a minute to get the acrylic paint flowing.
Make sure you shake it up really well and then push the "nib" of your paint pen to paper (or I actually use my fingernail- who knows why?!). Keep that nib depressed until the paint starts pooling out.
You'll be happily surprised to find out that poscas are SUPER affordable. You can get a great set for under $40 or so.
In today's video, I'm using my posca paint pens in a less "messy" application, over alcohol markers.
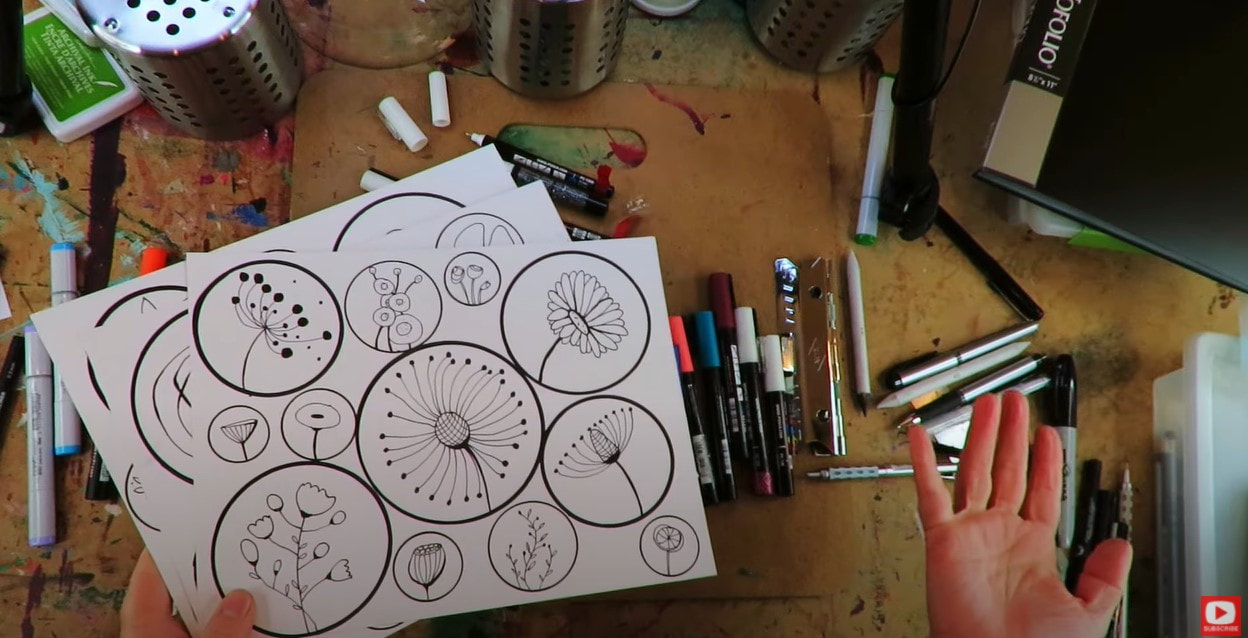
Be sure to click over to the video to see today's demo! I'm creating a floral library with my Fun Fab Drawing Club students over at Awesome Art School. The base layer is alcohol markers (copics are my favorite!), and I'm doodling with posca pens on top after my copic marker layer is dry.
HOT TIP: If you plan to use paint pens like poscas - make sure your previous layers are completely DRY, otherwise you can have a mess on your hands.
I hope you found this helpful!! Thanks for hanging out with me today!!
Wanna Create Even MORE Cool Drawing Projects
|
Karen CampbellFounder of Awesome Art School. Mixed Media Artist. Author of 19 Instructional Art Books! Whose work has appeared in...Archives
July 2024
Categories
All
|
|
"Karen is flipping hilarious and she's very real...I like the way she teaches in a way that really gives you confidence, whether you're a beginner or advanced there's always something new to learn!"
- Elizabeth W. |
What Fans Are SayingKaren, you are absolutely fabulous! You make me feel like I can draw anything. I have recently retired and finally have the time to do some of the art that I have loved since I was in school. I am really at the beginning of my art journey and I hope to learn as much as I can. Thank you for all you do. |
Contact ME |










 RSS Feed
