|
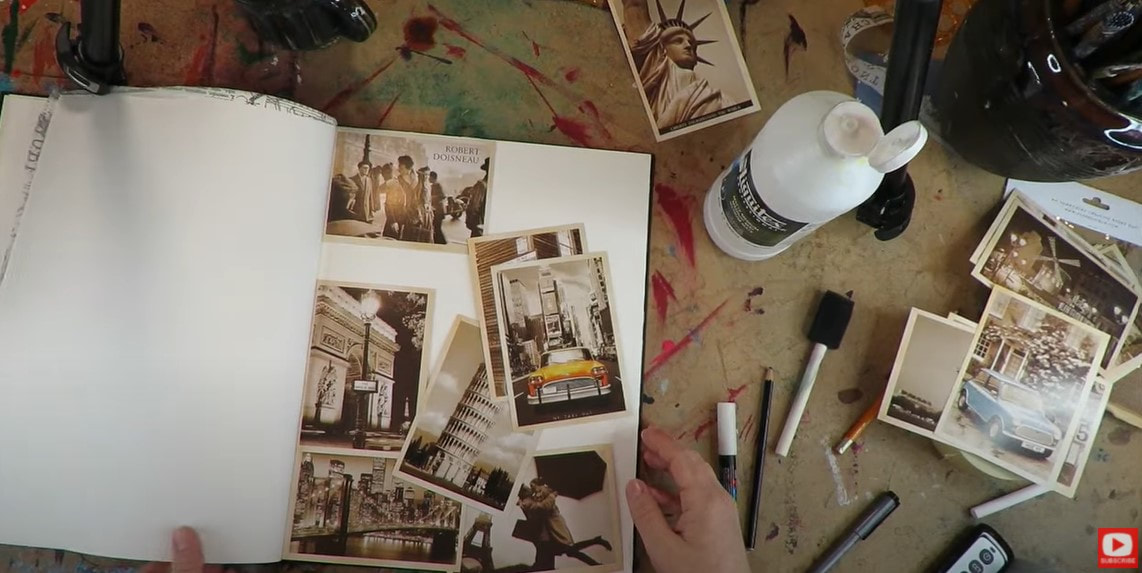
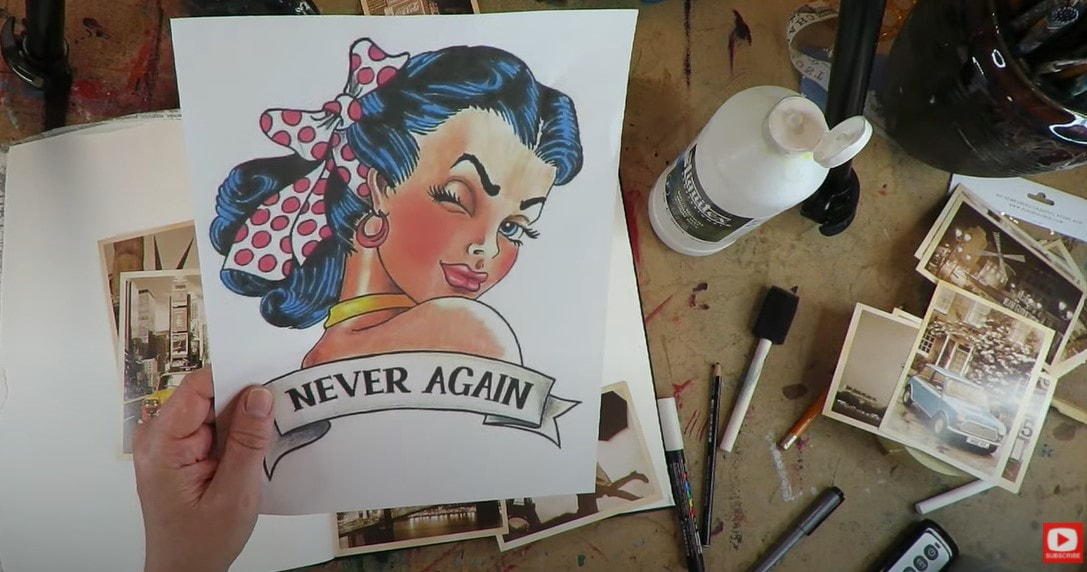
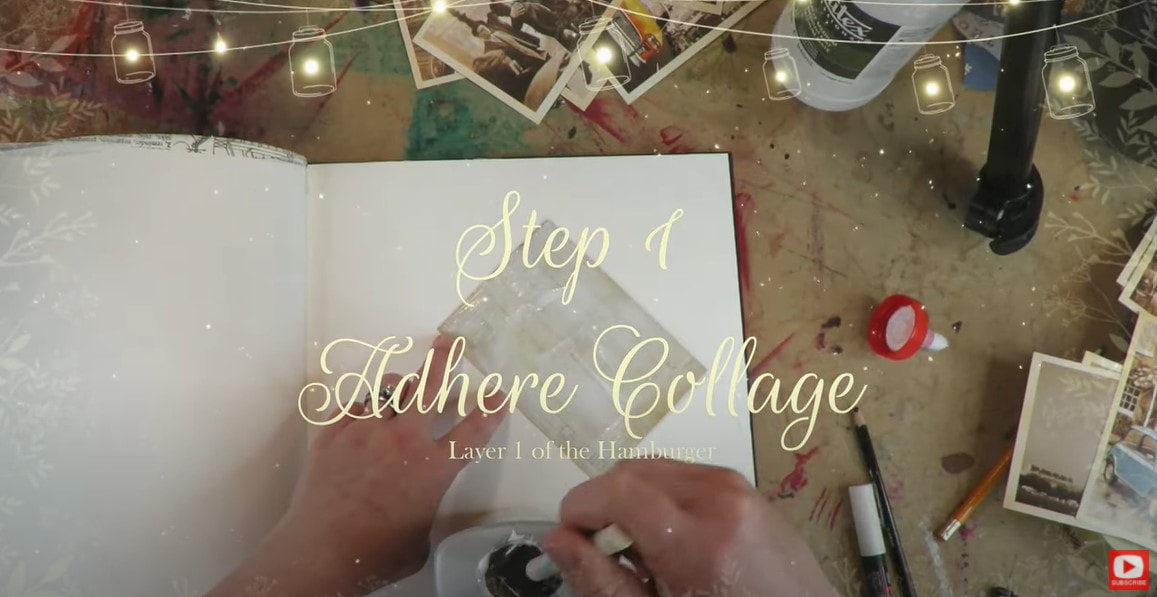
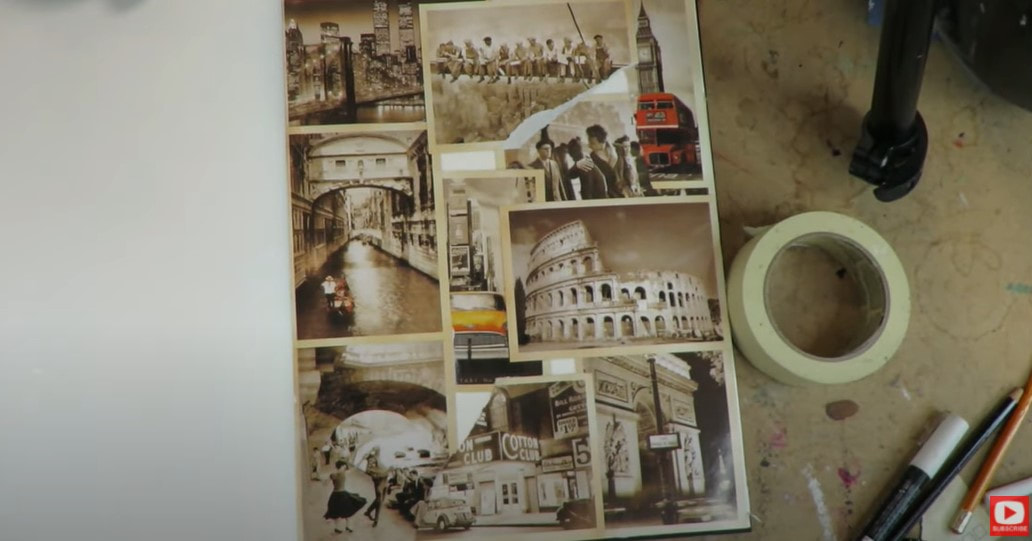
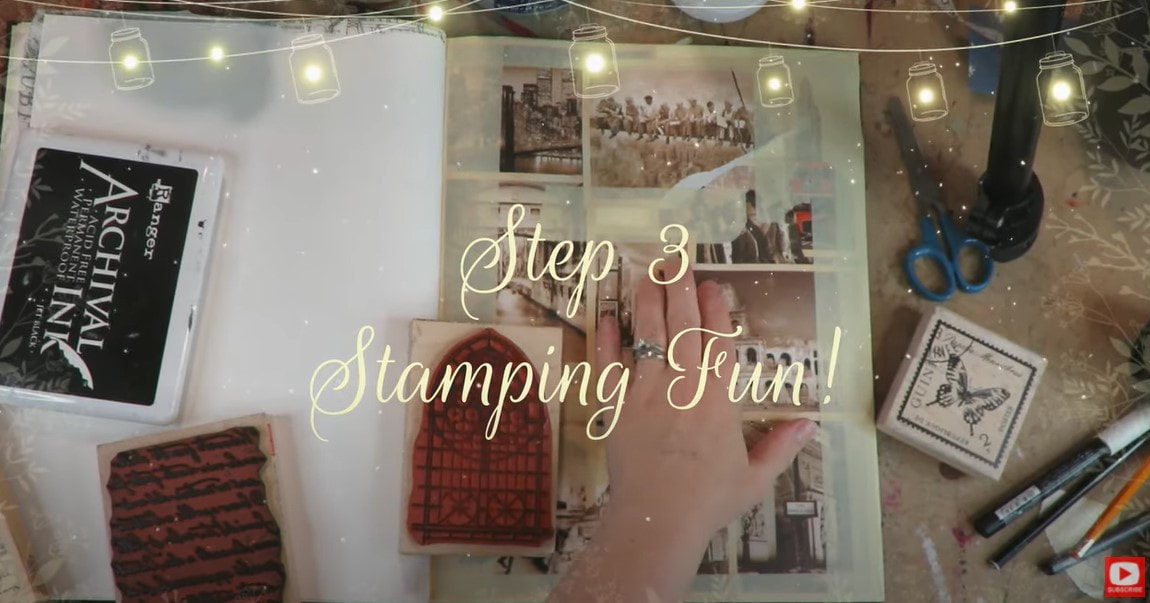
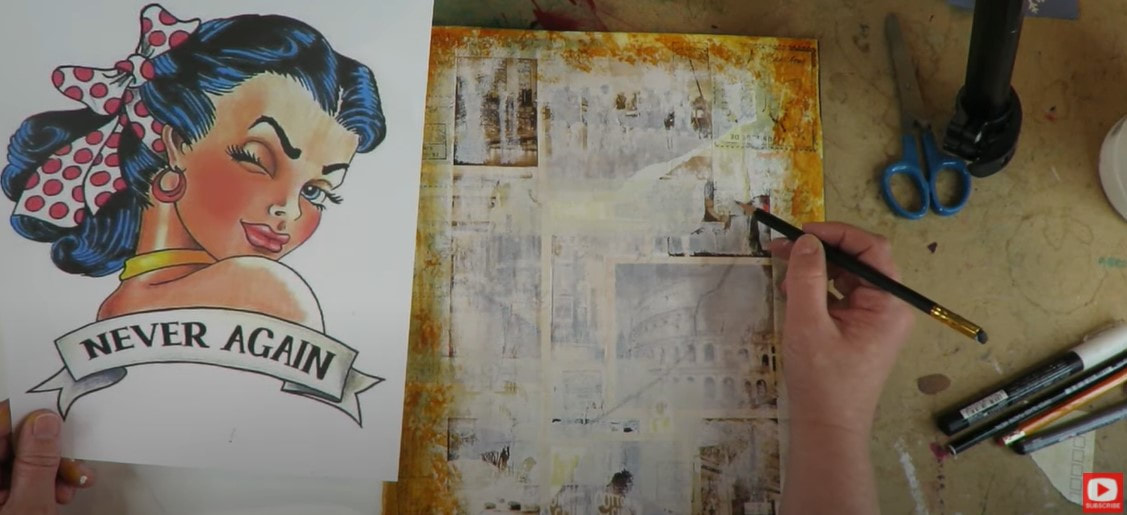
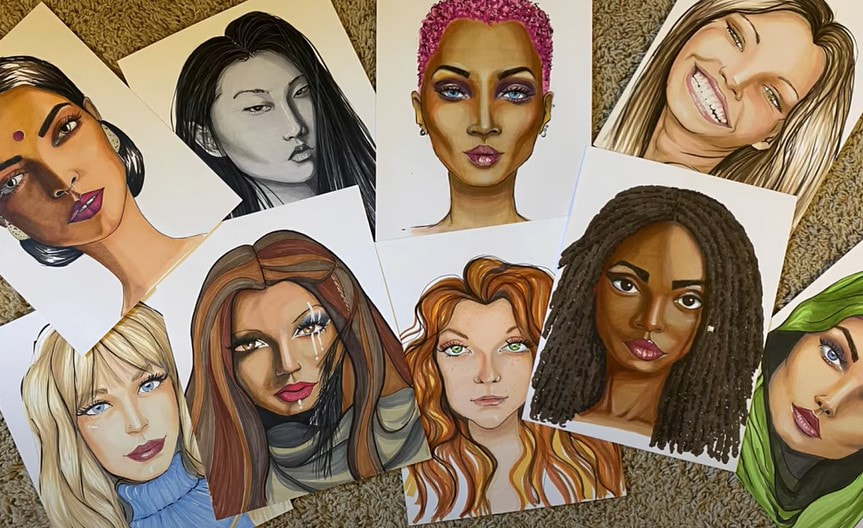
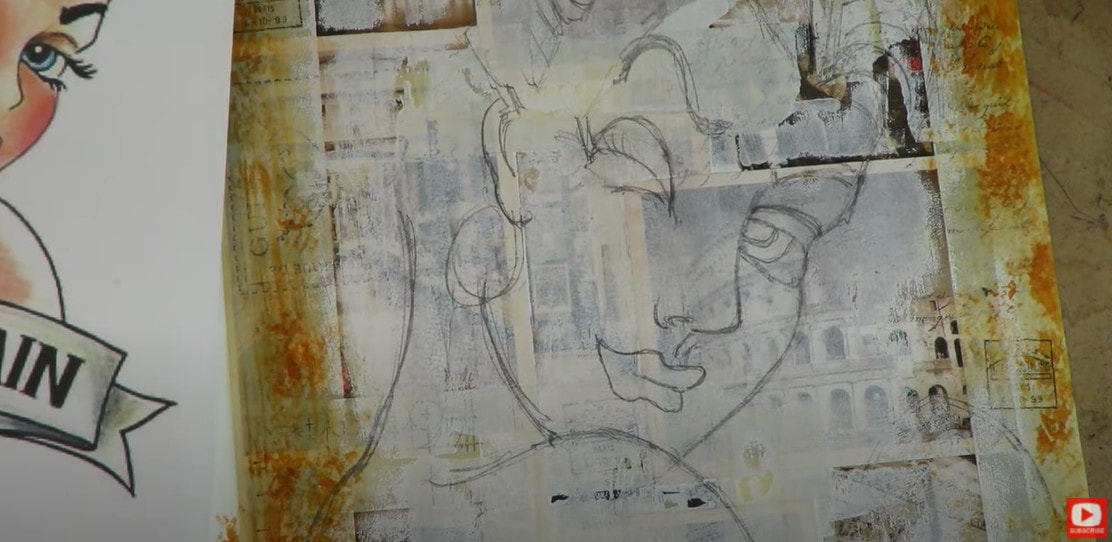
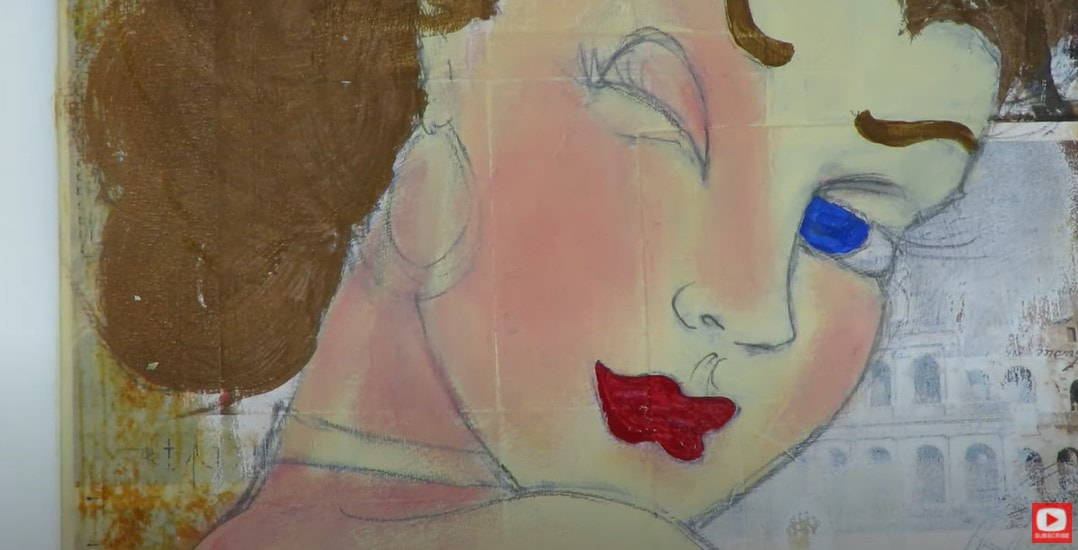
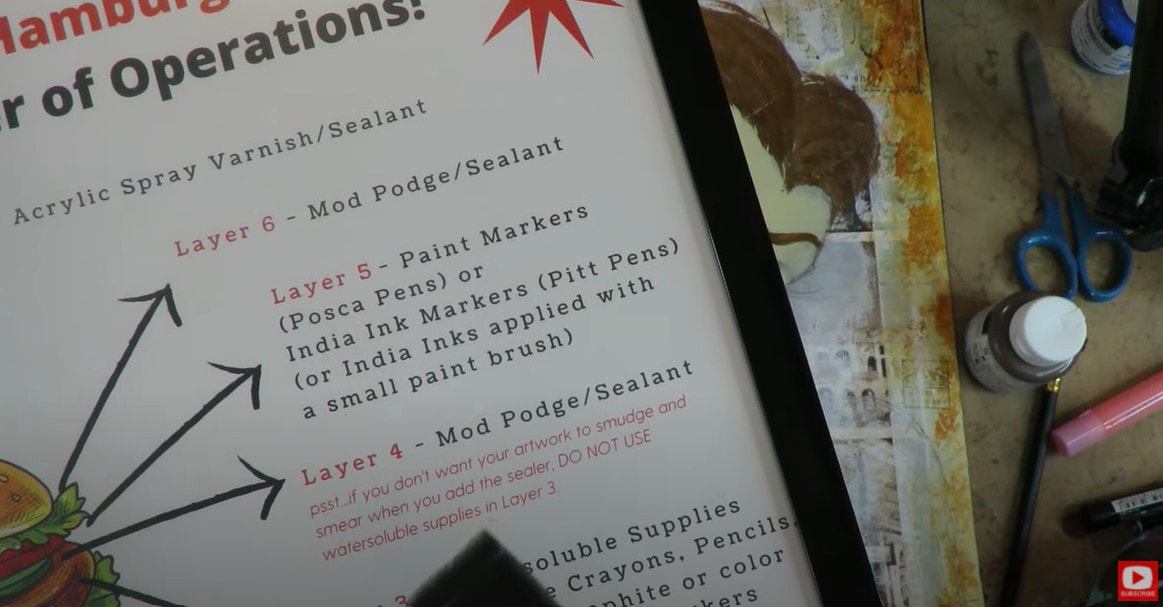
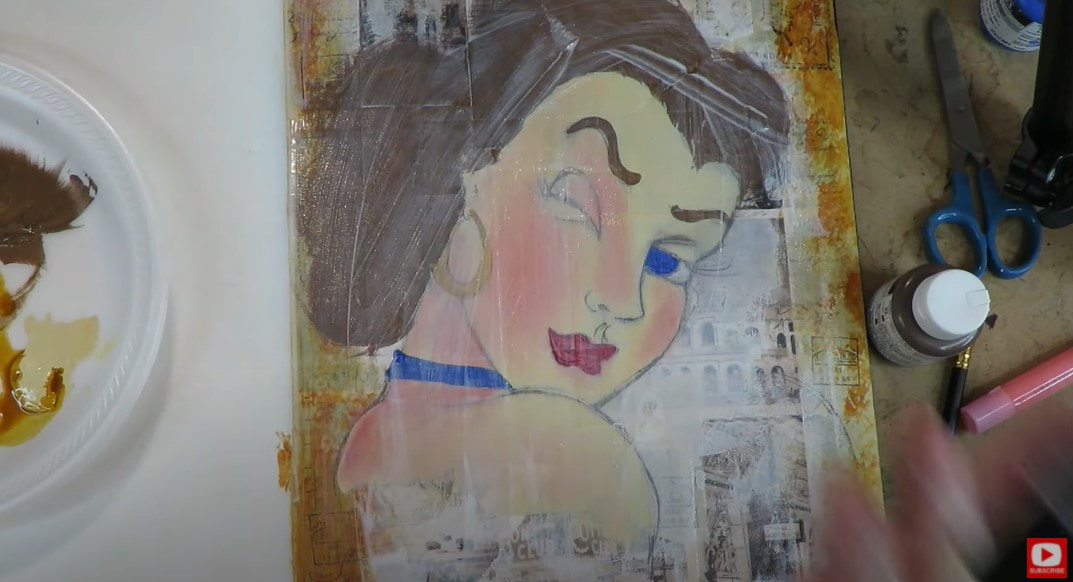
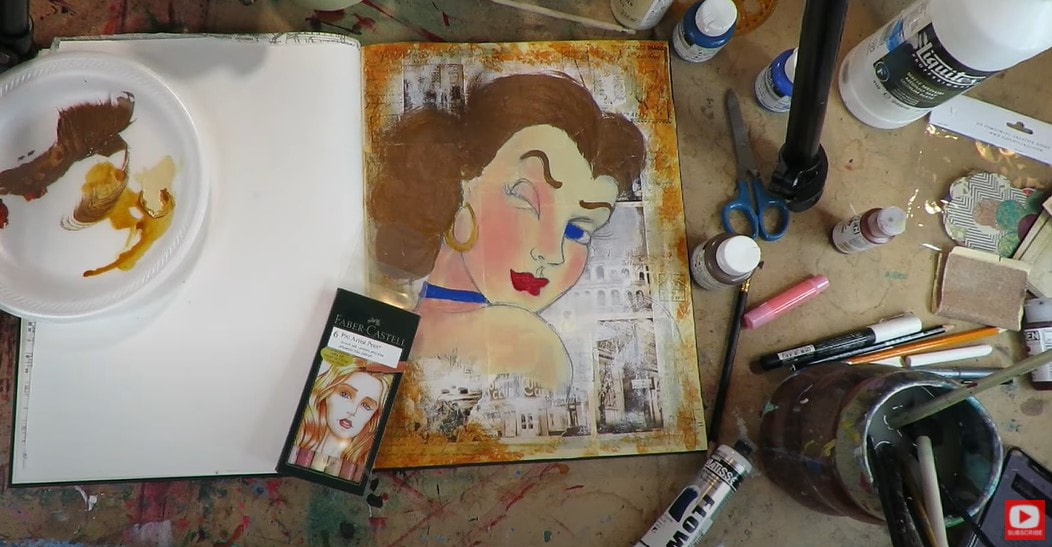
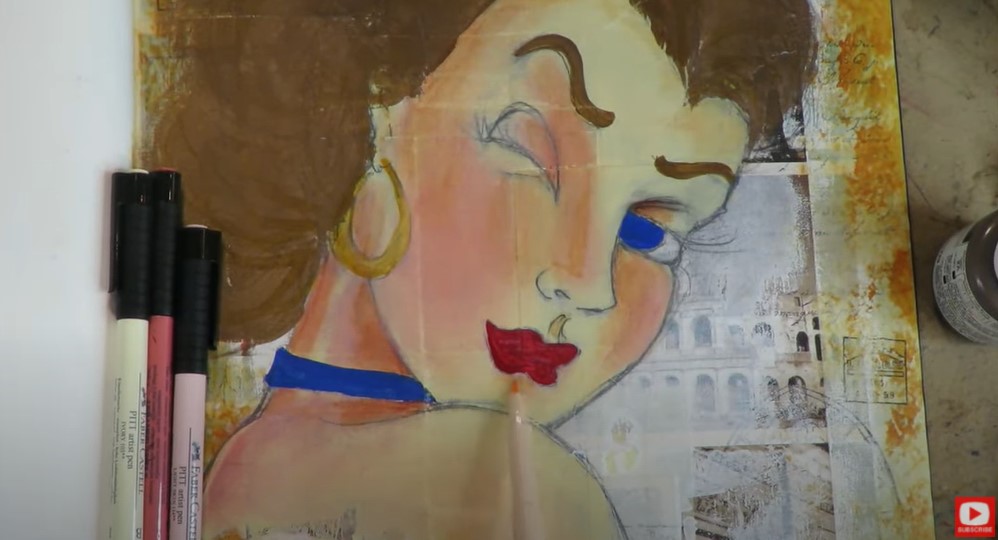
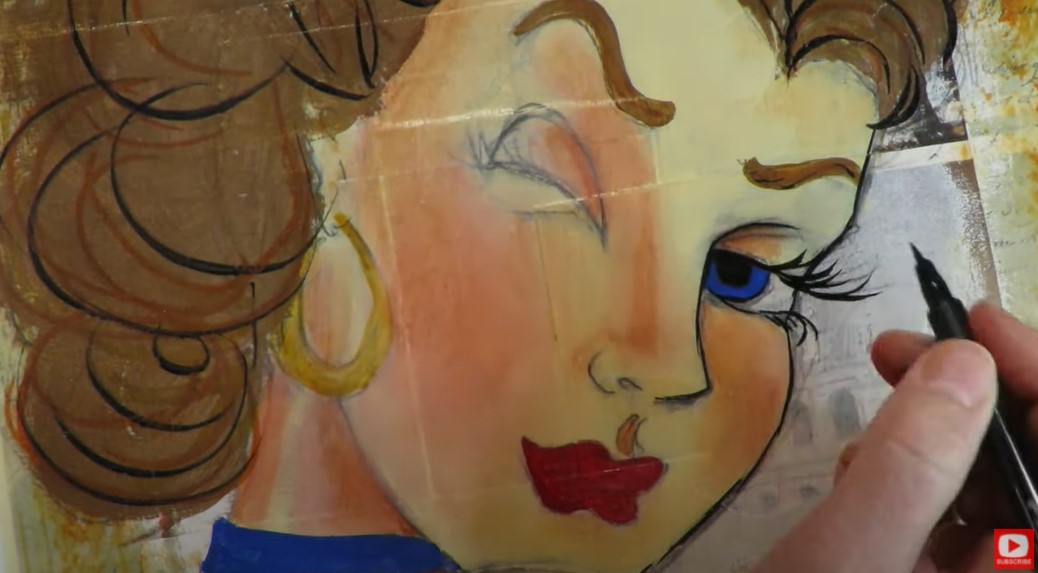
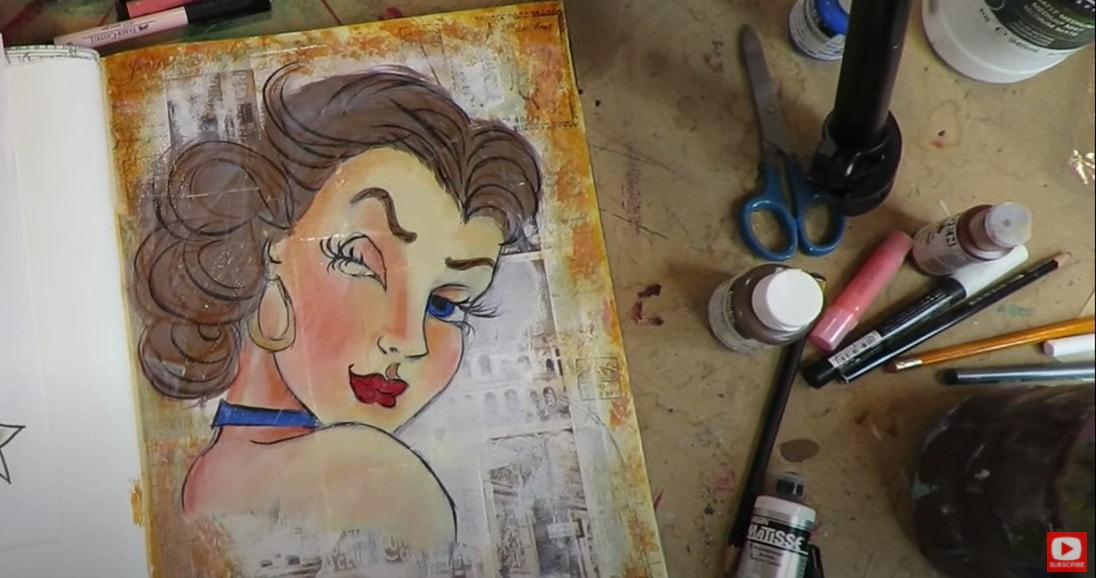
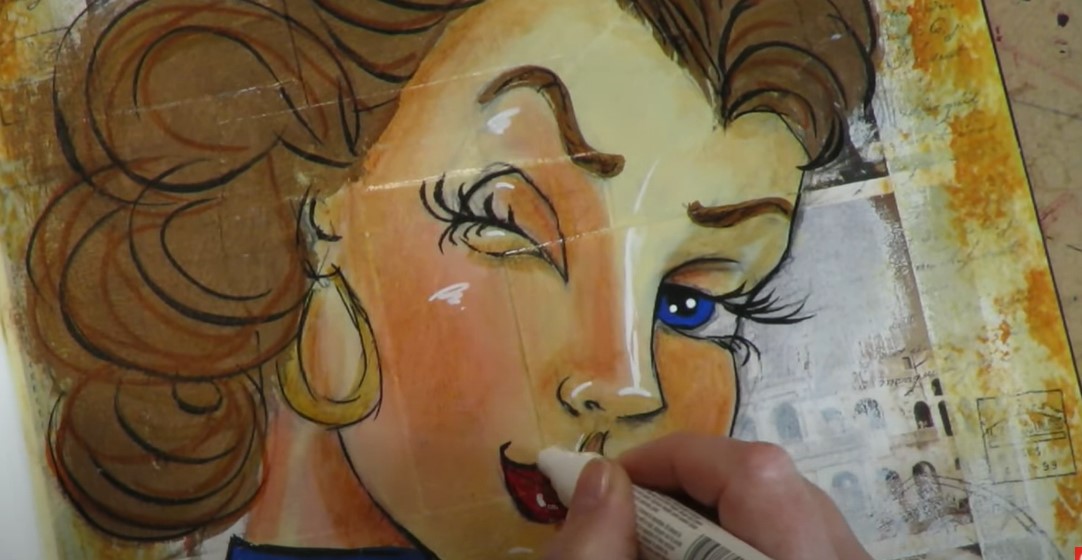
Who doesn't love SASSY Pinup Girl Art?! Seriously!! Why have I not shown you how to draw a pinup girl before?! I had such a blast with this art journal page and can't wait for you to try it! Today’s video is a FULL LENGTH mixed media art project, so if you love vintage collage, pinup girl drawings, art journaling, my hamburger system OR mixed media tutorials - this is for YOU! Not sure what I'm talking about when I say "Hamburger System?" NO PROBLEM!! I've got you!! My Hamburger System is a simple mixed media layering system I've developed over time after TONS of trial and error from playing with ALL the art supplies I could get my hands on!! I used to get asked all the time (and still do!) about my mixed media process, and what order I layer my mixed media art supplies in. I've broken it down for you layer by layer and created a fun step by step video series on YouTube, created a FREE cheatsheet you can download, and EVEN ending up pouring it all into a book because I think it's that helpful to have as a reference on your art table. I love collaging art journal backgrounds with new materials and trying out new art journal ideas, so was thrilled to try doing a postcard collage! I was not sure how this was gonna work because I've never done much with postcard art, or collaging materials with a glossy sheen, but I was in the mood to BREAK a FEW RULES!! Grab your art journal, some vintage postcards, your acrylics, gelatos, pitt pens and ALL your mixed media hamburger supplies because it's TIME TO PLAY!!! How ADORABLE is this retro pinup girl I found to use as our reference image for todays' project??!! I'm SO excited to paint her into the foreground!! Before we go any further, super quick announcement: All product links are Affiliate. I may earn a small commission if you choose to order through these links, but by law there is never any additional cost to the consumer for doing so. I thank you for your support!! If you follow me, you know I'm a super fan of liquitex matte medium for my collage layer, but since I've already started this project in a rebel mood- I'm gonna go ahead and continue that streak! These postcards are pretty substantial, so I grabbed my good old fashioned Weldbond adhesive because I don't want them buckling or separating. I want them to be locked down and rock solid. Initially I hadn't planned to use masking tape for this project, but it was sitting next to my art journal, and I've used masking tape tons in the past on my collage layer, so decided to frame my page around the edges. Not only will this add some additional texture to my collage background, it will help to strengthen the edges of my page. Before we get TOO FAR into the project- we need to talk about background vs. foreground. While I totally love each and every one of these postcards individually AND the composition they've magically created together in my background - I'm not gonna let myself get attached. I KNOW it's hard, but you need to do this to if you intend to paint or draw something into the foreground of your piece. A background is simply that- a background. Of course we want it to be awesome, but we can't be precious about it. To help me with that, I've added a few scrappy pieces of masking tape in the center of my page, and my stamps! Next, I added some gesso with my brayer to kick the background back even more, so I have some space to draw. Don't let this hurt, ok? Background is background! We're prepping the space for someone fun to appear in the foreground, so we need this to head backstage. The rough application with my brayer helps the background take on a bit of a grungy look - which I LOVE. To bring that out a bit more- I added some brown acrylics around the edges. I know some mixed media art fans kinda hate drawing, but I love it, so a lot of my work ends up as mixed media portraits (because I LOVE drawing faces and teaching people how to draw a whimsical face!). If you love drawing faces, you HAVE to join me over on my YouTube Drawing channel for my Whimsical Women of the Women of the World series. We're having a blast and you can do this on your own time, any time you want! If you're totally new to drawing faces, check this series out on my YouTube Drawing Channel to get you started!! You'll learn how to draw a whimsical face in pencil. It's super easy and relaxed. Then I show you how to add a little bit of shading, and we build on those skills when you're ready for more! I get a ton of questions about how to draw so many random things, and I really encourage using a reference photo because everything you need to know to create a beautiful drawing is already in the photo. All you do have to do is draw what you see! A reference makes things SO much easier. And if you choose to draw in a whimsical style like I typically do - it's way more forgiving than realism. AND more fun (I think!!). After your pinup girl drawing is all sketched in - it's time to kick things up a notch and add some color!!! Have FUN layering in your acrylics and gelatos. Just keep on moving up the hamburger layering system from the bottom up! If you have questions about your supplies and where or when they go, just use your cheatsheet! If you didn't grab that yet, click the button below to have it sent straight to your email! When I'm happy with my gelatos and acrylic layers, I'm ready to seal it - which is layer number 4. At this point, nothing should move when I add mod podge except for my gelatos. They will melt a little bit, so be prepared for that. If you don't want anything to move (this totally freaks some people out, and that's ok!) - you can just choose to work only with materials that are nonwatersoluble, and permanent - like acrylics! Tons of students ask me if watercolors are ok to use in the Hamburger System and where to put them. I honestly don't use them AT ALL in the Hamburger system because they are SO reactive, and just their own animal! I save up my watercolor love for other projects. Watercolors play nicely with colored pencils, paint pens, fountain pen ink, pens, etc. - and I totally love them, just not for my "Hamburger" projects. Remember - my Hamburger System is not the only way to go with mixed media- it's just a fun pattern I've developed for layering over time that I love and find to be pretty fail safe. It always gives me gorgeous results, and because I want YOUR art to be AWESOME - I've shared this with you so you have NO questions about what supplies play nicely together and you can just have FUN, which is the most important part of art-ing, am I right?! Once my mod podge layer dries, it's time to have some fun with my pitt pens! They're made by Faber Castell and filled with India Ink, and I LOVE using them to "paint" more details on the mixed media faces and mixed media animals I love creating. They actually make an awesome skin tone pack that you might want to check out if you don't have any pitt pens and are interested in trying them out. So fun!! Make sure you do a test swatch of these before you put them on your project because the caps can totally can trick you here and there! At this point, I just have a blast shading and doodling all over the place with my pitt pens to add detail and depth on my slippery mod podge surface. I use my finger to blend for shading in the face. The amazing thing about this layer and playing with pitt pens, is they can be erased with a baby wipe if something happens that you don't like!! If you're following along with my cheatsheet for the Hamburger System, you can feel free to seal this layer with mod podge, and then go back to add even MORE doodles! If you do get any smears with your mod podge here - like I did (because my black pitt pen marks weren't quite dry in one spot before I added my mod podge), that's ok! Everything is fixable- we can figure it out. Just take a breath and redirect the smear! I always finish up with a white sharpie pen or posca pen / paint marker to add some highlights that pop - they make SUCH a huge difference in your art! Watch the video to see exactly where I love to jazz my girls up, and make them glow!! Once I'm good to go with my highlights and have finished adding some distress marks to the edges of my art journal page, it's time to seal her up so she doesn't move and so my art journal pages will not stick together. This is one the HUGEST questions I get from students- "How to keep art journal pages from sticking together?!" So here ya go - my answer is at the end of today's video. Be sure to stay with me till the end for that tidbit!! Thank you so much for hanging out with me today! I hope you LOVED this project and will see ya back here next Friday!! Have a fab weekend!!
0 Comments
Leave a Reply. |
Karen CampbellFounder of Awesome Art School. Mixed Media Artist. Author of 19 Instructional Art Books! Whose work has appeared in...Archives
July 2024
Categories
All
|
|
"Karen is flipping hilarious and she's very real...I like the way she teaches in a way that really gives you confidence, whether you're a beginner or advanced there's always something new to learn!"
- Elizabeth W. |
What Fans Are SayingKaren, you are absolutely fabulous! You make me feel like I can draw anything. I have recently retired and finally have the time to do some of the art that I have loved since I was in school. I am really at the beginning of my art journey and I hope to learn as much as I can. Thank you for all you do. |
Contact ME |


 RSS Feed
