|
I'm not gonna lie, today's project started off as a HOT MESS CANVAS. I fought with my mixed media collage background WAY longer than I thought I would. I've had this happen WAY too many times in my journey with mixed media art to give up. I chose to push through what I call the "ugly phase," & I'm SO glad I did!! If you were with me last week- we did a very similar NO DRAW, decoupage collage project using scrapbook paper, wood canvas & the same female body template :) I loved doing that so much, I thought we'd do her one more time in a totally different way! Here is your supply list for today's mixed media art tutorial:
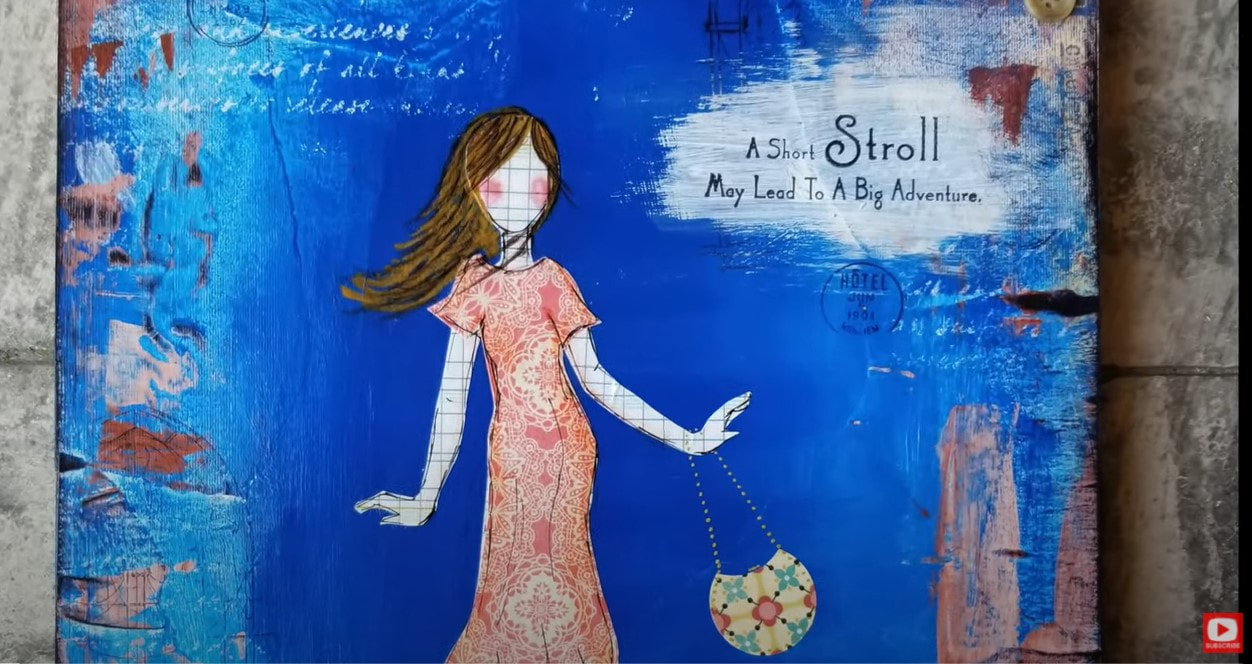
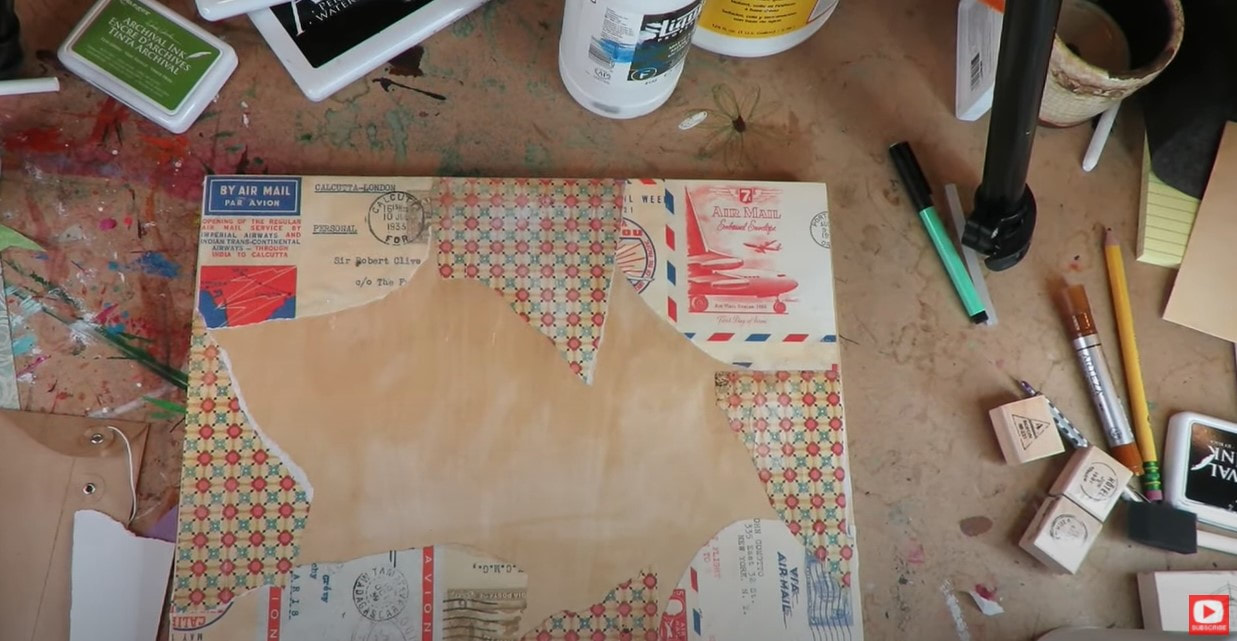
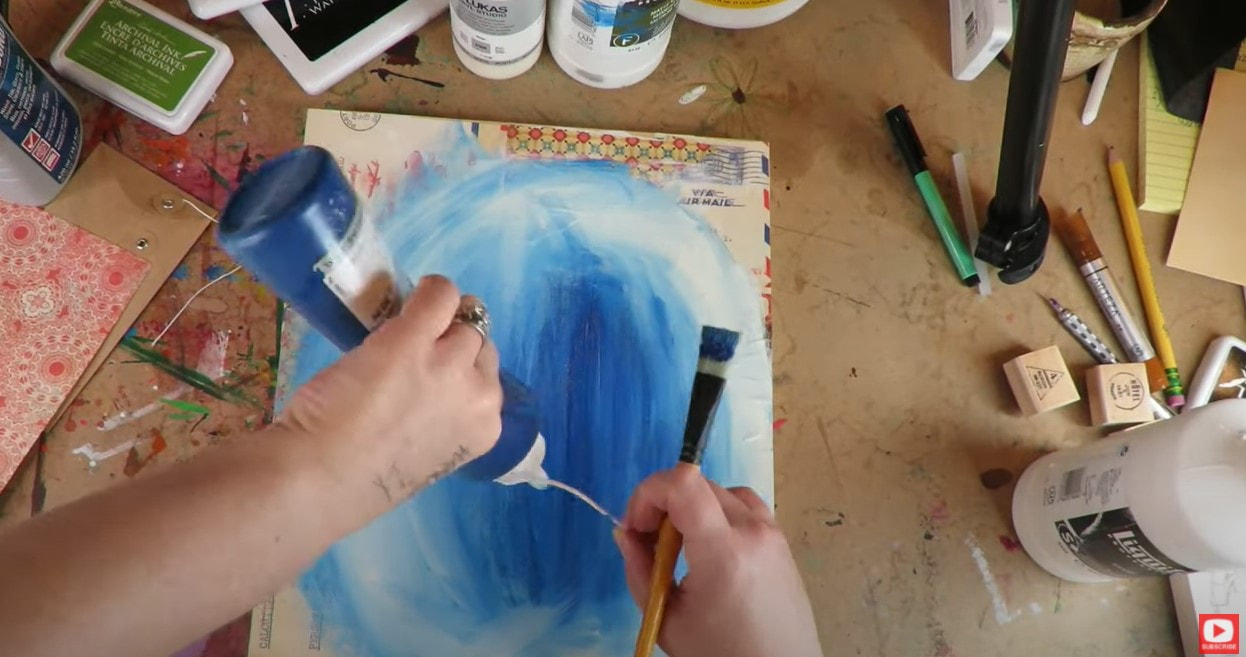
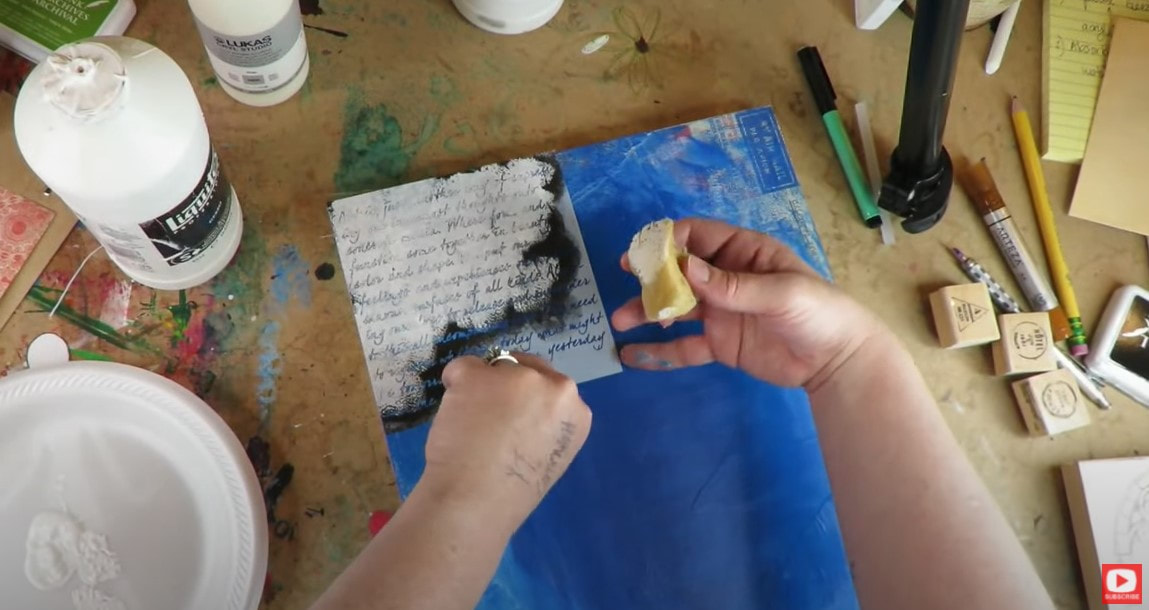
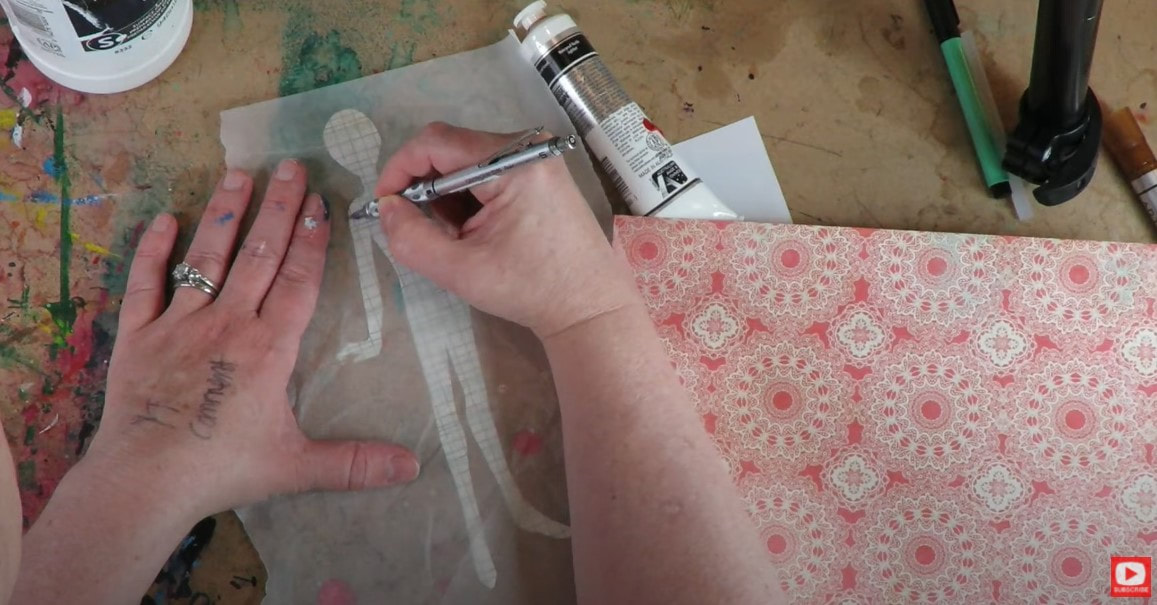
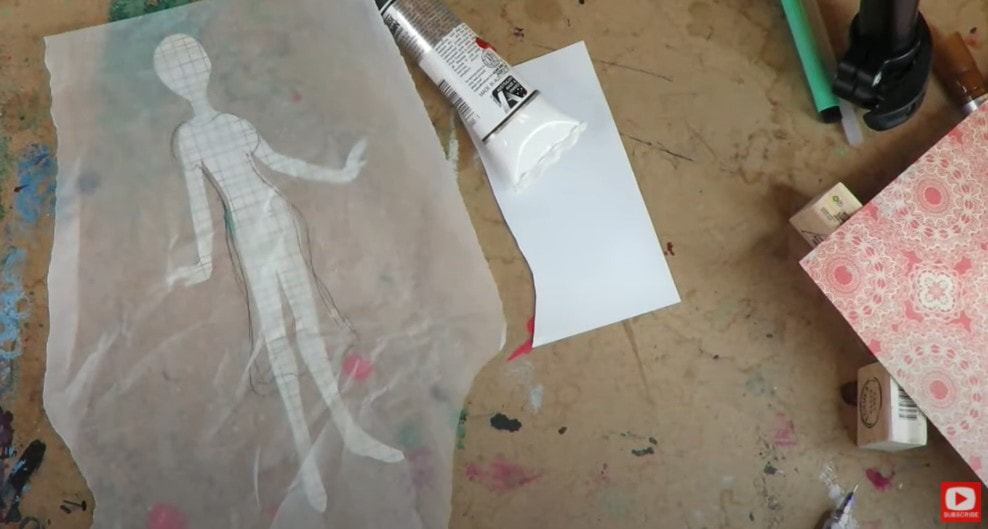
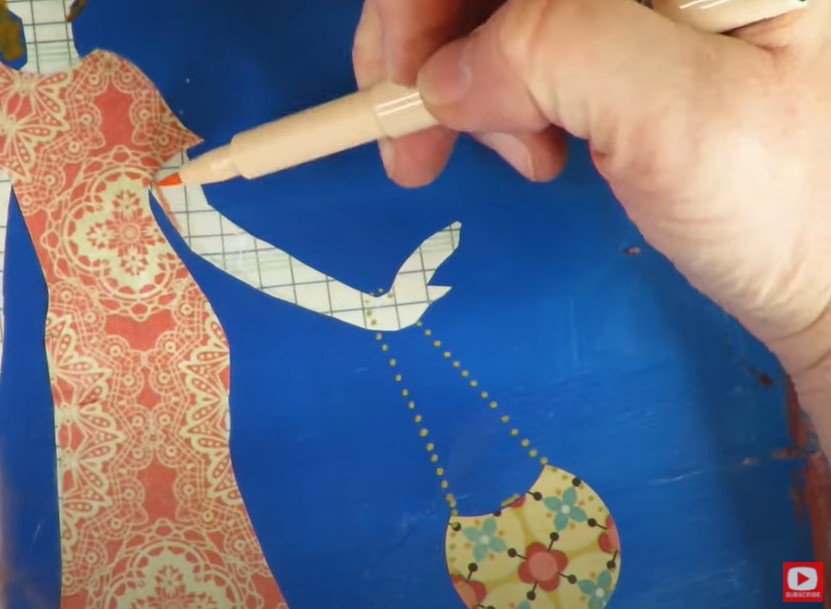
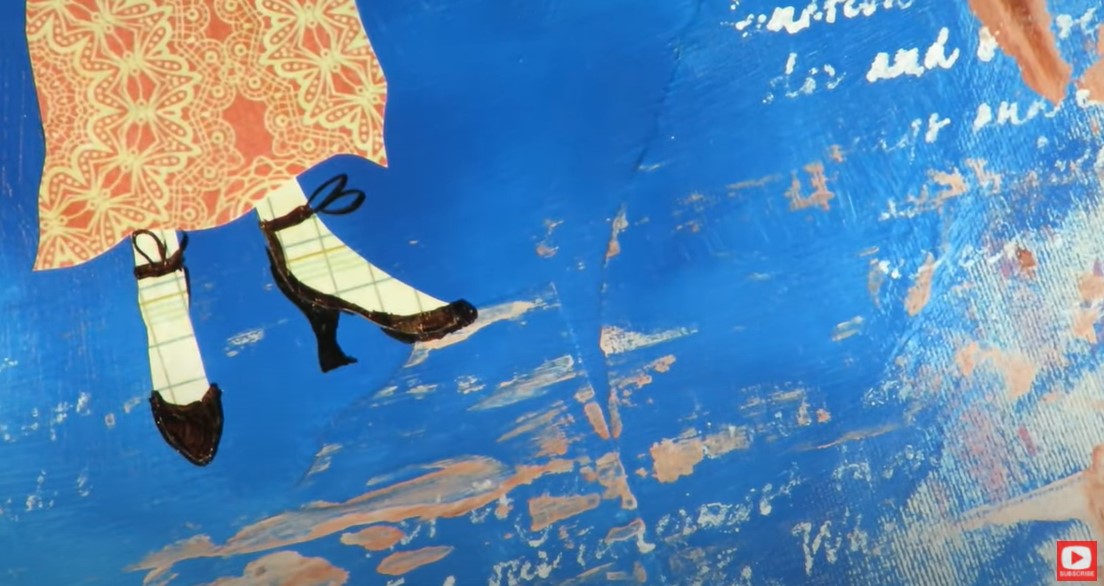
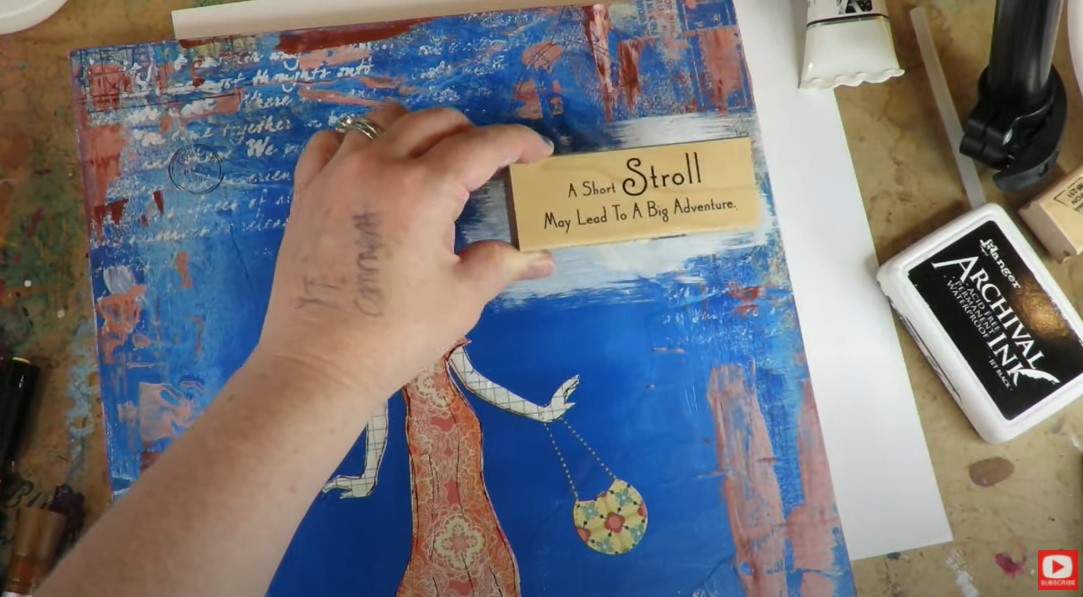
As you'll see in the tutorial, if you choose to work with a wood canvas or wood panel, this material will TOTALLY soak up your matte medium, mod podge, and acrylic paint - just like a sponge! Luckily I knew that going in, and reached for my Weldbond glue to get my scrapbook pieces onto my wood. Even so - I ran into issues, soon after. I used WAY more paint & covered more of my cute scrapbooking paper than I had intended. Y I K E S !!!!!! Instead of giving up- I reached for my stencils and stamps to help me, and KEPT GOING!!! When you've got your background to a place where you're happy... it's move on to your girl! You'll need your sheet of transfer paper, a sheet of trace paper , 1-2 sheets of scrapbook paper for your girl's clothes, a separate sheet of scrapbooking paper (or sheet music, etc.) for the girl's body, and a printout of my body template. We'll start with the sheet of paper you want to use for the girl's body. Lay that sheet face down on your art table, then lay the transfer paper dark side down on top of that, and my body template printout over that. Use a sharp pencil or pen to trace the body template. When you're done, you'll see her on the back of your scrapbook paper- all ready to be cut out ;) At this point, it's time to create some clothes. Lay your girl cutout right side up on your art table. Then lay a sheet of trace paper on top of that. Using a pencil, simply draw an outfit right onto your trace paper. We're basically making a pattern for her clothes! If this part of the video goes too fast, you can click on this video from last week to see me working in real time on this step. For this project I decided to create a one piece, flowy dress. If you want to do a 2-piece outfit using multiple pieces of scrapbook paper, and are feeling stuck at this point, click over to last week's video for a quick demo of how I did that. When your clothes pattern/s are all drawn out onto your trace paper, you'll need the scrapbook paper you've selected for her outfit. You'll also need your transfer paper again. Lay your clothes scrapbooking paper face down on your art table, then lay the transfer paper face down on top of that. Finally, lay the trace paper with your pattern right on top! Cut your outfit pieces out once everything has been transferred the way you want. Set those pieces aside and pop back to your canvas to glue your girl & her clothes down with some good old mod podge! After my girl and her outfit were glued down and dry, I added a cute little bag, drew in shoes with my pitt pen... Added hair with a paint marker, and shaded a bit of dimension on the sides of her dress and arms (with faber castell pitt pens). When I felt like she was all finished, I added a few stamps as well - one of which came out TOTALLY crooked. OOOOPS!!!! The good thing is- THIS is mixed media. If ya don't like how something looks- keep going. Try something else! When I hit a point like this - I tend to throw a quote over my mistakes ;) Just like this ... And there ya go!!! I HOPE you have even MORE FUN than I did making this girl. And YES- I STILL had TONS of fun even though I had a hot mess canvas for a while (twice in one project actually!!). I hope I've inspired you with some new ways to work out the kinks if run into any while you're making your own creations! Just remember to KEEP GOING. Try everything until you're happy ;)
0 Comments
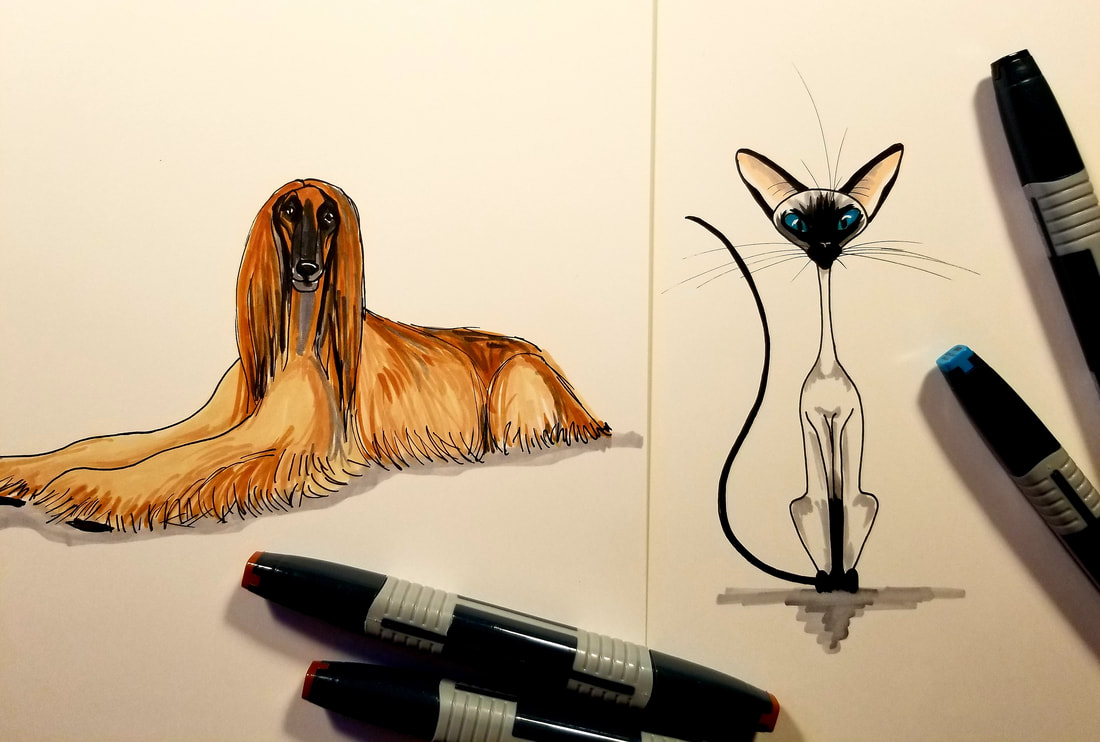
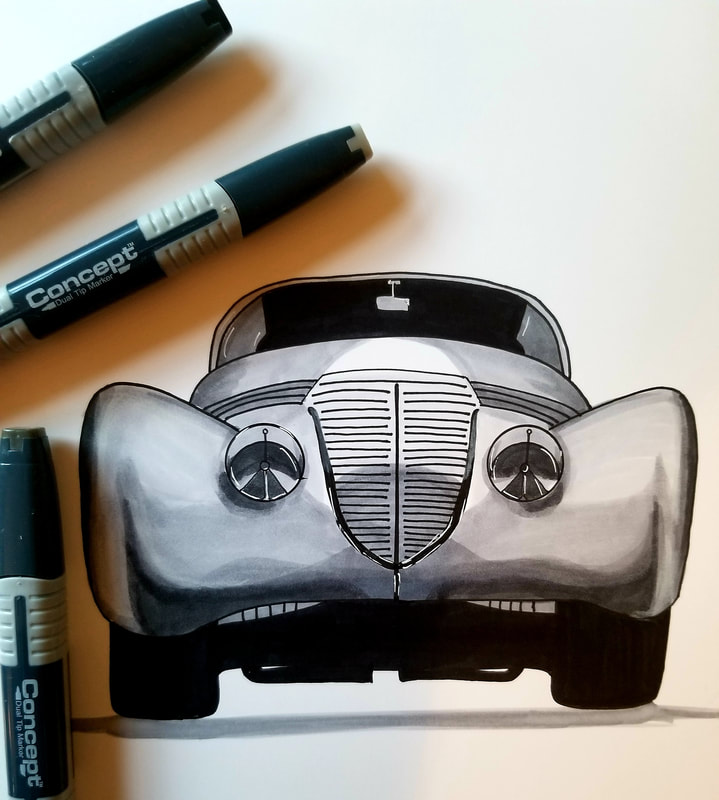
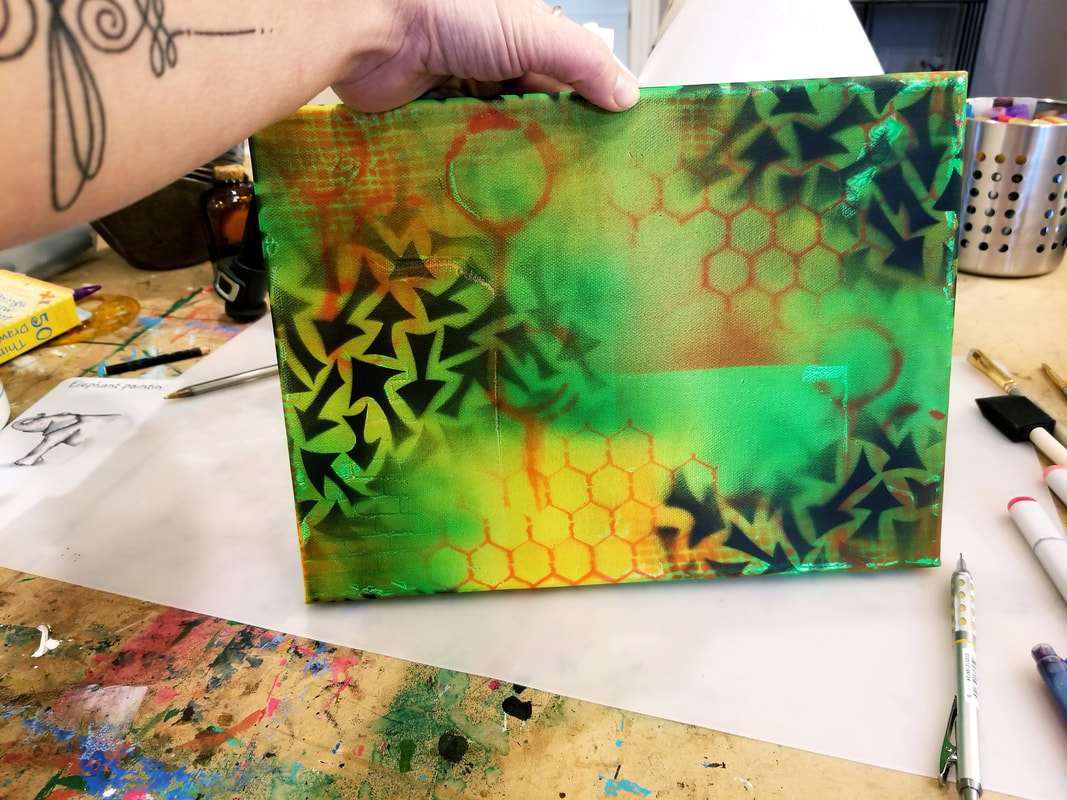
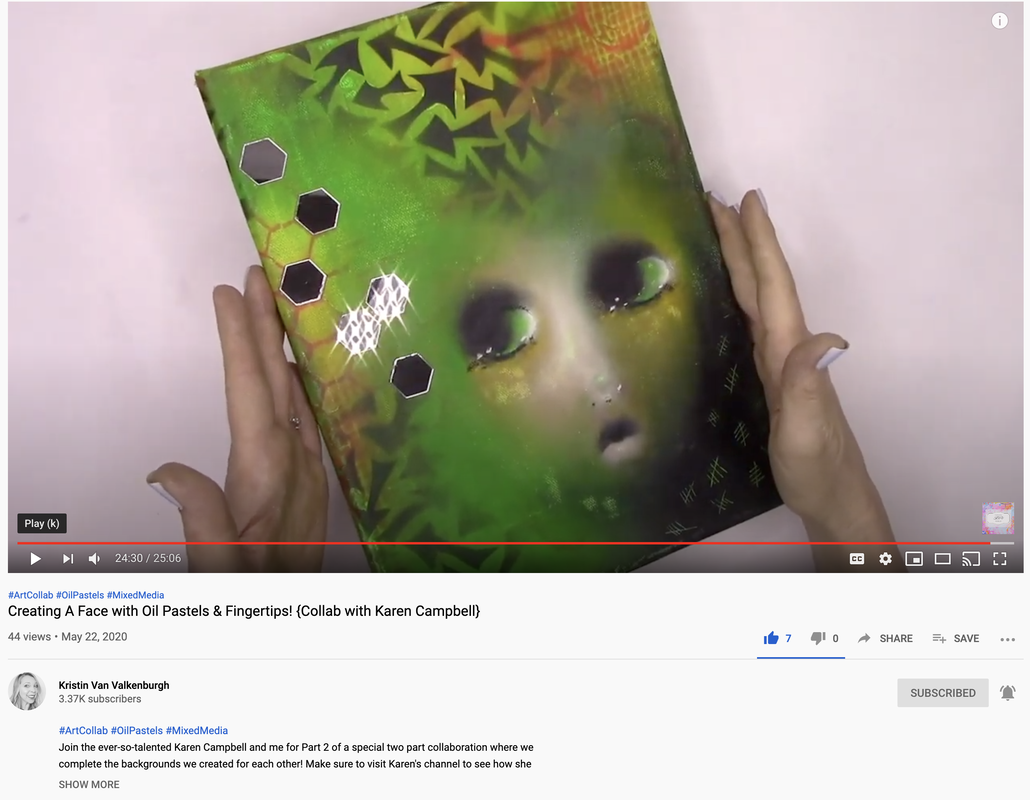
Time is flying by! My kids go back to school on Monday (virtually), my 16 year old is 2 weeks away from getting his driver's license (shriek!) and I've just finished up work on Vol 2 of Learn to Draw Art Deco Style. It's a BIG week! Here's a peek at some of the projects inside Vol 2!! I've had many many requests to include more animals so there's lots of furry friends including this next book! Here's a peak at 2! (oooooh make sure you have images enabled on your email so you can see how cute they are!) And here's one of a super sleek car. Why why WHY are cars not made like this anymore?! I don't even LIKE cars, but cars this sexy are too good to pass up! But as much fun as the furry friends and cars, I really enjoyed drawing the house furnishings!!! And cocktails!! And handsome mens, oooooh MAN there are sooo many things in this new upcoming book!!! But BACK to mixed media, as this is why I'm writing today! If you're anything like me, you have WAY more art supplies than you actually use. Or need. Or both. Wouldn't it be awesome to know the EXACT bare minimum of supplies to use to make the MOST awesome projects? Well that's what's covered in today's video! It's a list of the most important supplies. I hope this video helps you sort out what you have and also helps determine all that you DON'T need to use OR to buy!! Especially in light of the world's uncertainties. I also hope that it sheds light on how much you can do with so little!! You'd be surprised! I'm also answering a lot of questions I get about managing smear control from highly reactive products like the Stabilo, best surface prep options, sealers, paint markers and MORE!! This really is an info PACKED video so if you have questions about Mixed Media supplies I highly recommend a watch! Click the play button below to be on your way! Last week my good friend, Kristin Van Valkenburgh and I swapped backgrounds and challenged each other to create foregrounds on top!! Here is the background that I made for her... It is sooooooooo easy!! Just grab your favorite spray paints and some stencils and you're good to go!!! And she made a gorgeous background for me as well!! Well this week we each had the challenge to create some magical on top!!! This was for sure a challenge! I did a test on the background she sent me and I THOUGHT it was permanent. So I proceeded to slap on some ink but then discovered quite quickly that the background was, very much, totally water-soluble!! If you're new to mixed media you may not know that water-soluble means that when you add any liquid (in this case, inks), that underneath layer is sure gonna move!!! And move it did!!! I've learned long ago that mixed media art is more or less a matter of problem solving and so that's what this project became! Watch here to see how I was able to overcome the watercolors mixing in with my inks on top! If you could learn from my trials and errors, than it's a double win! Plus you get to see the little added bonus character that showed up along side my magical watercolor mermaid!! After you're done watching this video you should DEFINITELY go and check out Kristin's video!!! You would not believe the ADORABLE little creature that showed up on her canvas!! Omgeeee!!! Here's a tiny sneak peek!!! Isn't it the cutest?! The craziest part is that I challenged Kristin to incorporate something sparkly into her project. She ended up having these little hexagonal mirror stick on thingies that were the EXACT same size as the chicken wire fence stencil I used to create my background. Say whaaaa?!! are the chances of her having those...on hand?? I still can't believe it!! At the end of the day, the most special aspect of this collaboration was that we both inspired in each other, a new sense of curiosity (what do I do with this???), creativity (I have these mirrory thingies!!), and friendship (that was sooo fun, let's play again!!).
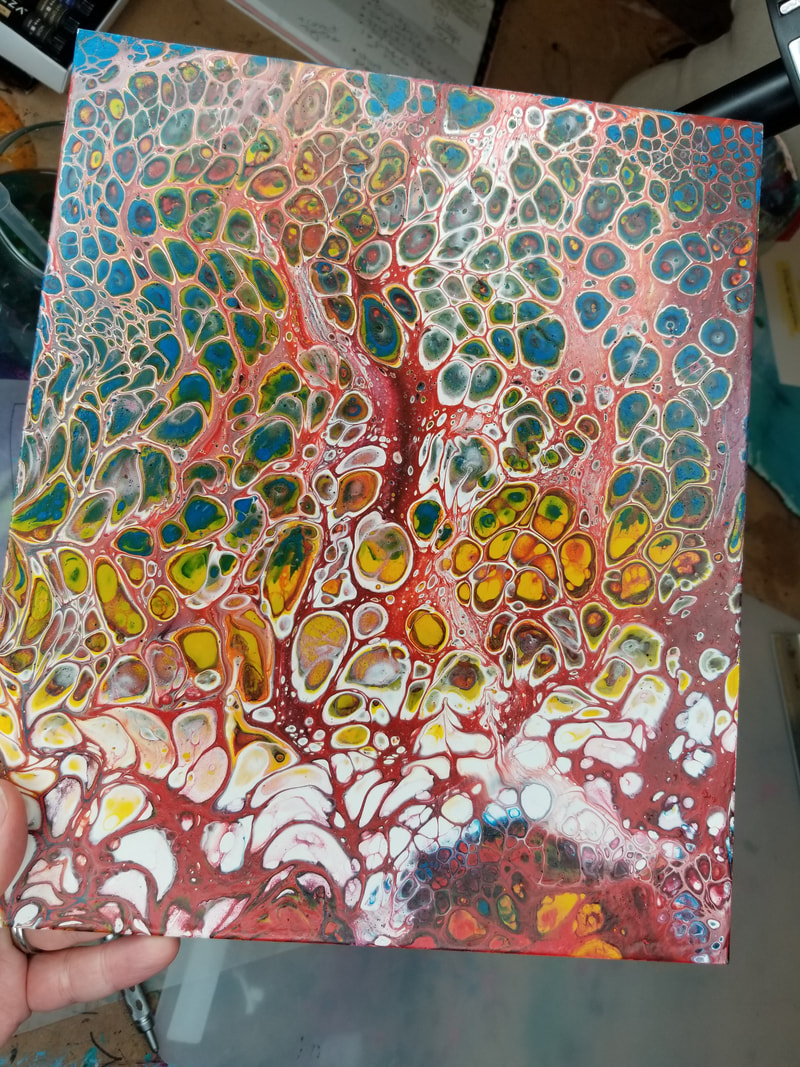
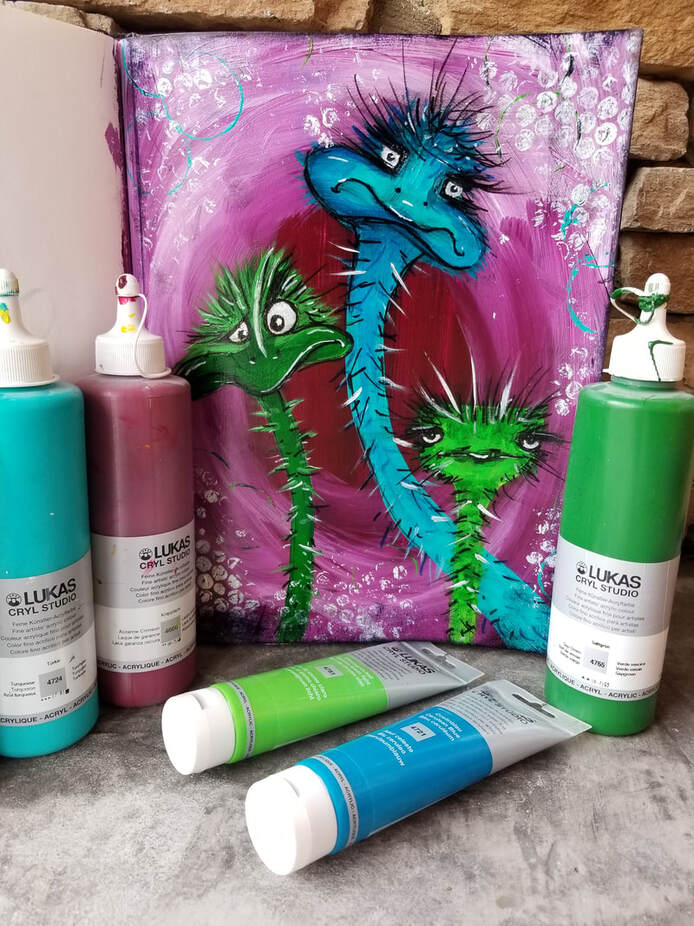
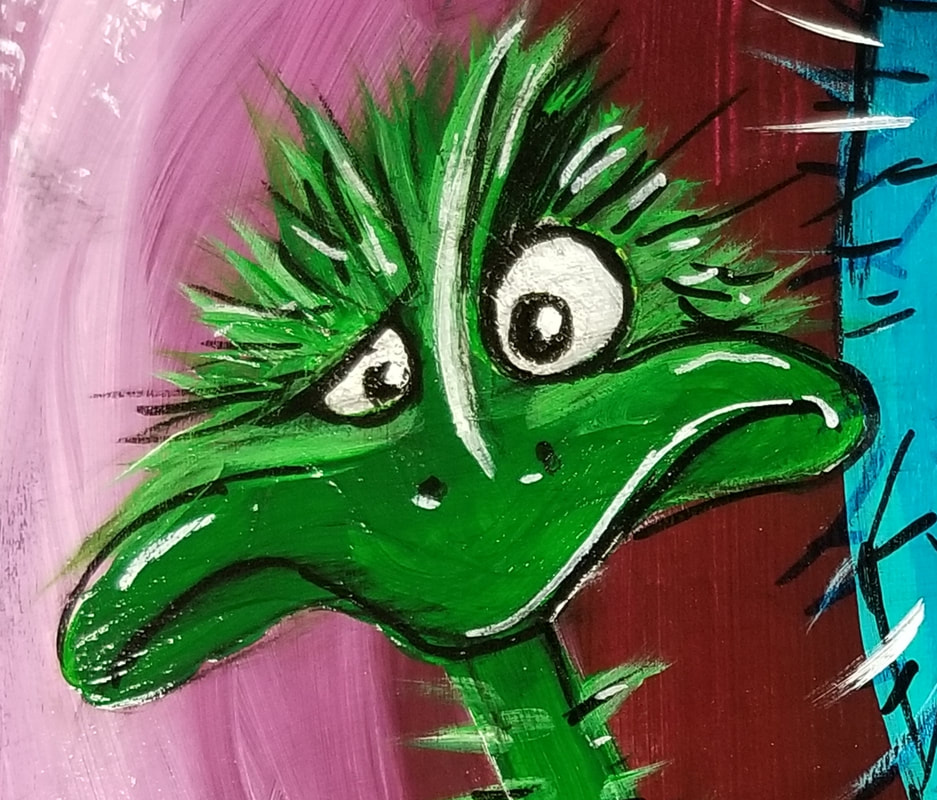
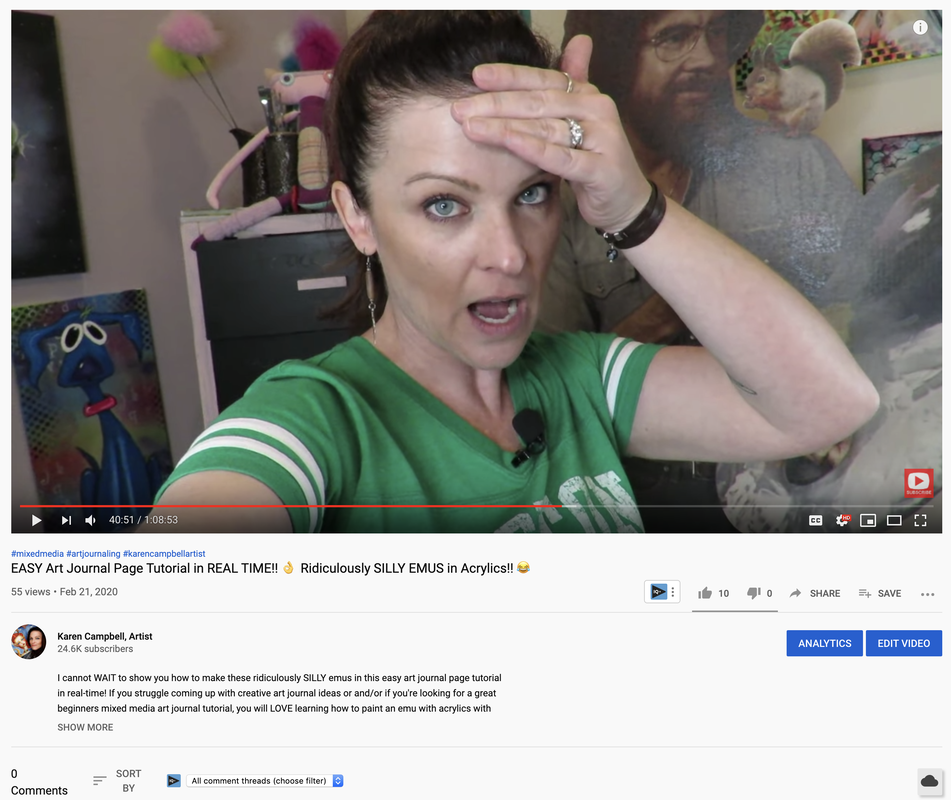
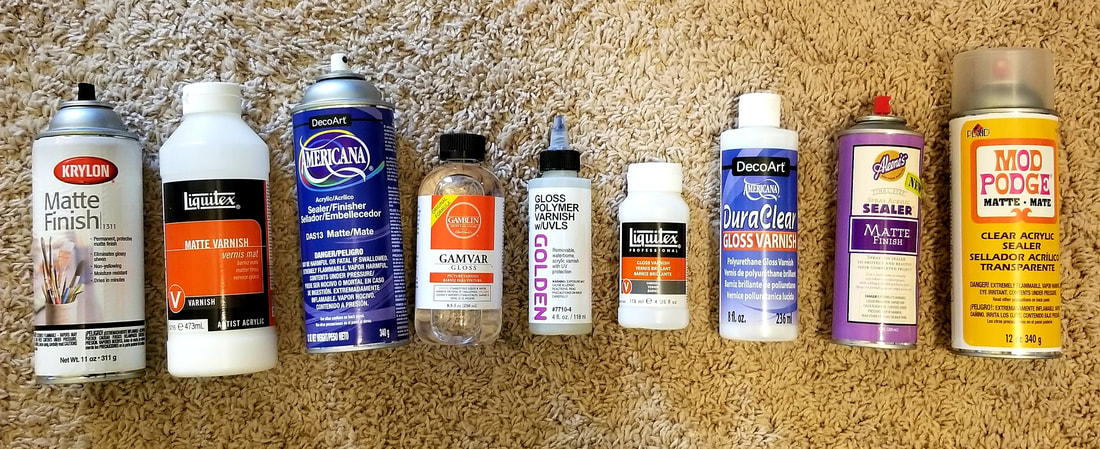
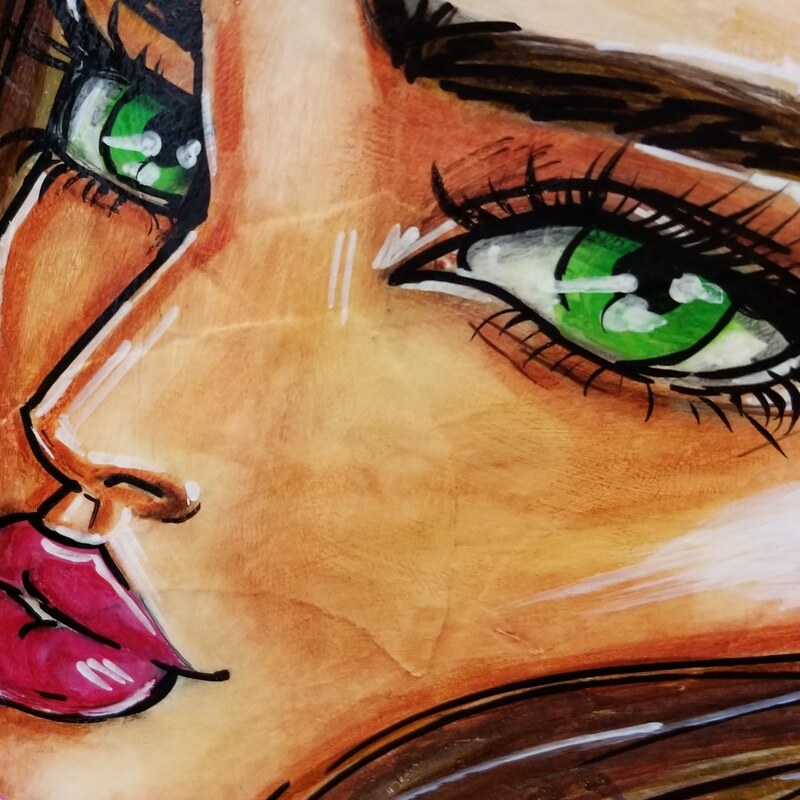
So while we are still in a period of uncertainty and COVID-19 strangeness, we were able to create a connection from the comfort and complete safety of our homes, even though they are 3,000 miles apart! If you are in a fun Facebook Group (and if not, come join mine!! www.facebook.com/groups/awesomeartschool) and can "meet up" with some others, virtually, maybe you can suggest a collaboration just like this one!! It's a great way to spark YOUR creativity and make a friend! What a beautiful way to spend a day. ❤️ My super creative student and friend, Karina Aguirre, sent me this super cool background that she made from acrylic pouring. That's when you intentionally ooze a liquid acrylic mixture down over a flat surface and let it do it's magic!! It creates all these cool designs and textures over the surface, designs that would never be possible with a paintbrush or any other tool! She sent me two designs. Isn't this so cool?? I haven't had time to play or do anything spontaneous and fun for FOREVER so I was SO EXCITED that last week I finally found time to do just that. I found this adorable cat sketch on Pinterest and the rest is history!! I ended up making this super cute mixed media cat in just a few minutes!! The best part is that it only called for a hand-full of supplies: just Gesso, a Stabilo All pencil, some Mod Podge, Pitt Pens and then DONE! Click the play button to watch the whole kaboodle! Each Friday I publish a free video on YouTube related to drawing, mixed media or art journaling. Well in today's video I am going the extra mile and bringing you a full blown, 1 hour, real time lesson on how to paint this ridiculously absurd trio of....EMU's!!! I'm so proud to say that the page was painted with paints from my Signature Collection over at Jerry's Artarama. Even though I have 2 kits (one for Fairy Faces and one for Whimsical Animals), these Silly Emus were painted with paints from the Fairy Faces collection, lol!! That's the beauty of art I guess, at the end of the day, can you REALLY put paints into a single category?! But back to the "emus"...I know what you're thinking..."What in the WHAT?!" In addition to laughing my head off while painting this (for obvious reasons, I mean, look at the guys little face!!!), I ALSO ALMOST did not pull this off!! I really didn't!! Do you know how much pressure there is to teach online? Knowing that thousands of people may be laughing hysterically and NOT with you? But AT YOU? I know we ALL struggle with feelings of not being good enough or talented or creative enough to finish our art pieces from time to time. Today you can see me struggle as well. I hope by watching you'll know that you're not alone!!! I don't want to spoil too much of the ending but suffice it to say I do get some help... Thanks to the 5 page sheet of Bob Ross encouraging words, and my own Kick-in-the-Pants suggestions (and if you're lost, it'll make sense when you watch the video), I was able to - mid way through (minute 41 to be exact!) - get back on track and keep going until this ridiculously fun art journal page was created!! PHEW!! THANK GOD! lol! Don't believe that I almost can't finish this?? And that I'm totally mortified? I kept all of that on the video so you can see THAT I STRUGGLE TOO!!! And oh man, did I struggle. And laugh!!! But yeah, struggled. Hope you get lots and lots of great takeaways from today's lesson, but mostly I hope you take away that we are all students, it's okay to laugh at your own struggles and that it's important to give yourself permission to mess up and HAVE FUN! Like I did!! Press Play below to get your weekly dose of inspiration and FUN!!! You made it to the Hamburger Series Finale! I’m assuming you know what that means by now 😂 😂 😂 I know, it MAY have felt like we were done last week. We already sealed the beautifully detailed pitt pen doodling layer with mod podge. That should be it right? Not quite… You know I’m a HUGE mod podge fan, but as the final layer in mixed media painting on paper, canvas, or wood… this isn’t gonna seal the deal. In today’s video, I’ll demo not one, but NINE artist vs. craft grade varnishes to show you which ones will do the trick, and which ones will last a lifetime when you are ready to protect all the layers of your mixed media your finished masterpieces. One amazing product will EVEN make your artwork look more vibrant than it already does (I know - I didn’t think that was possible either!). This same product (hint: by Liquitex), EVEN got me to fall in love with a gloss finish, when I’m typically a matte girl. Just check out this project, soooooooo smooth and shiny with it's final coat on! Did you grab my FREE Hamburger System Cheatsheet yet to help you work right along with me? Simply click the button below and I'll send it straight to your inbox. In today's video, we will try out 5 products you can pour and brush on, and 4 that come as spray varnish. I’ll teach you how to apply varnish to protect your art journal pages to keep them from sticking together, and how to varnish a painting, when it's done. Which varnishes are stinky? Which one takes forever to dry? Which one is JUST right? Watch the video and find out! I loved creating this Hamburger System Series so much, I turned the resources into a full on book (affiliate link)! Now available on Amazon.
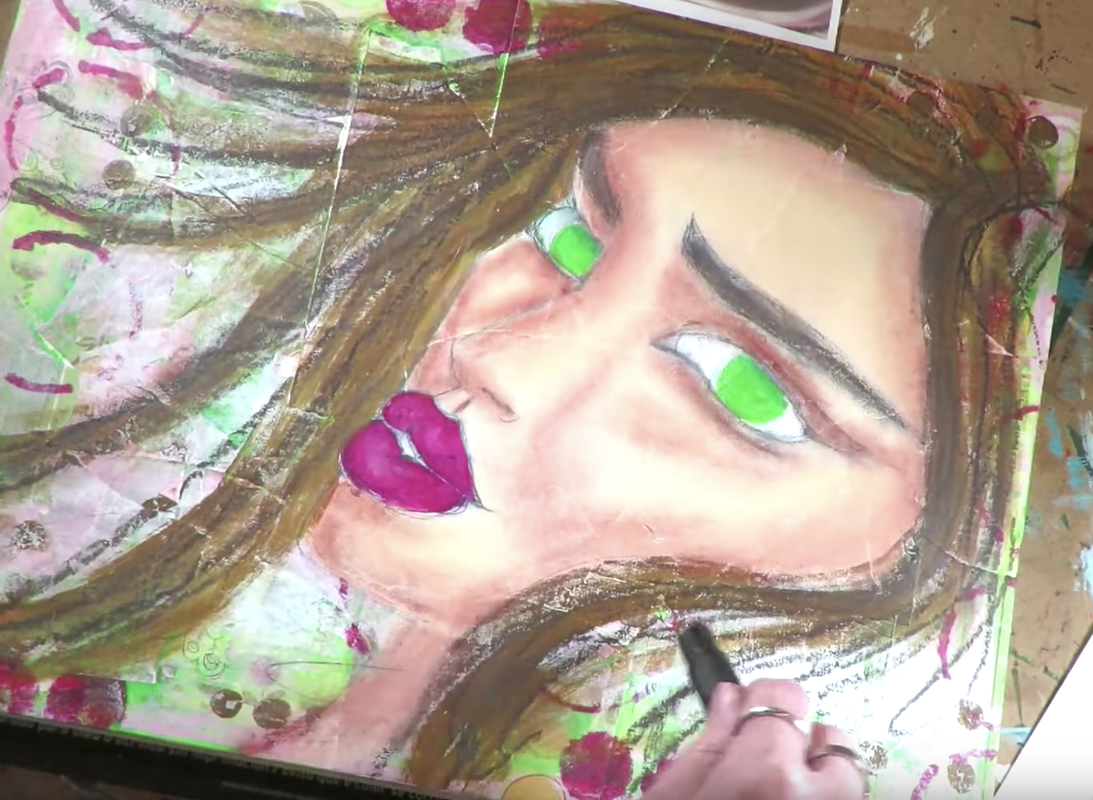
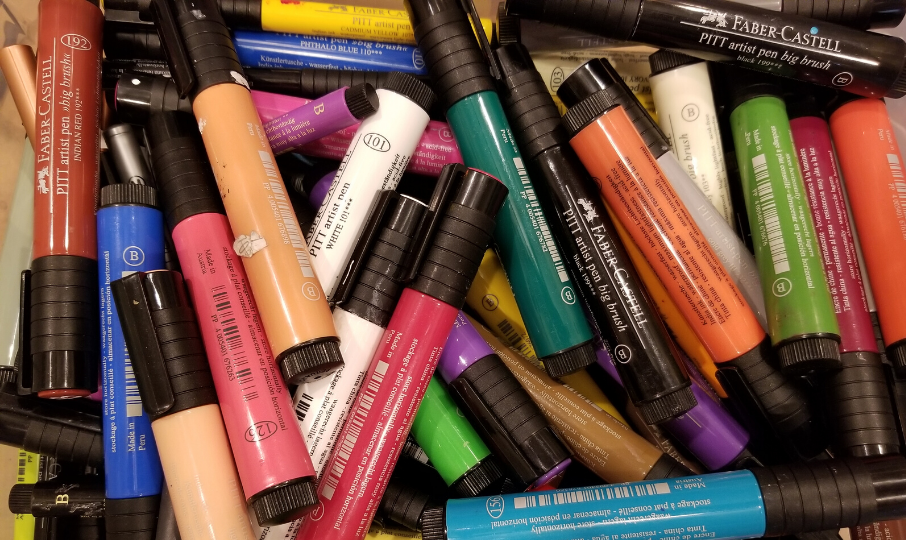
I know I am!! This is week 7 of 8 in my Mixed Media Hamburger System series on YouTube! In today's video I'm teaching you the EXACT method I use for adding shading, drama AND details to ALL of my mixed media projects! AND we're gonna FINALLY help the mixed media portrait I left sitting on my art table last week to grow out of her ugly phase! 😂😂 And sweet Jesus she was ugly so how nice it is to make her beautiful after all this time! lol! This was her after last week... And this is her now! A little bit of transformation there, AMIRIIIIGHT?! And, magically, the ONLY product I used to make her go from ugh to aaaaaaaaah, are these Pitt Pens by Faber-Castell. And, of course, my favorite product in the whole wide world, Mod Podge. Pitt pens come in a variety of nibs. Personally I love the big brush version - but the nibs don't matter as much because all of these babies are filled with the same, juicy india ink. It's glorious for mixed media painting and glides beautifully over a dry coat of mod podge. In this video, I'll demo blending skin tones with faber castell pitt pens, and will show you two of their most MAGICAL features: they are easy to blend, and are actually ERASEABLE (for about 30 seconds!). If you lay down color you don't like or if you feel like your mark didn't land in the right spot, you can wipe it away with your finger or a baby wipe while the mark is still glistening! Did you grab my FREE Hamburger System Cheatsheet yet? It tells you exactly how I do my layers for my mixed media art projects. Simply click the link below, and I'll send it straight to your email inbox. But that's not all!! This mixed media "Hamburger" series has already been so helpful and fun for so many people, that I've compiled ALL my brains and tricks and tips and techniques into a 70 page published paperback!!! And yep, it's now available on Amazon (affiliate link). So if you've ever craved a little bit of a plan, something to take away the mystery of mixed media. I got you. Stay tuned for next week's final episode (number 8) all on varnishes!! See you then and Merry Christmas!!!! 
I have an OBSESSION with Mod Podge.
It’s one of my absolute fav mixed media art supplies, and I buy it by the gallon and use it in 99% of my mixed media art projects!
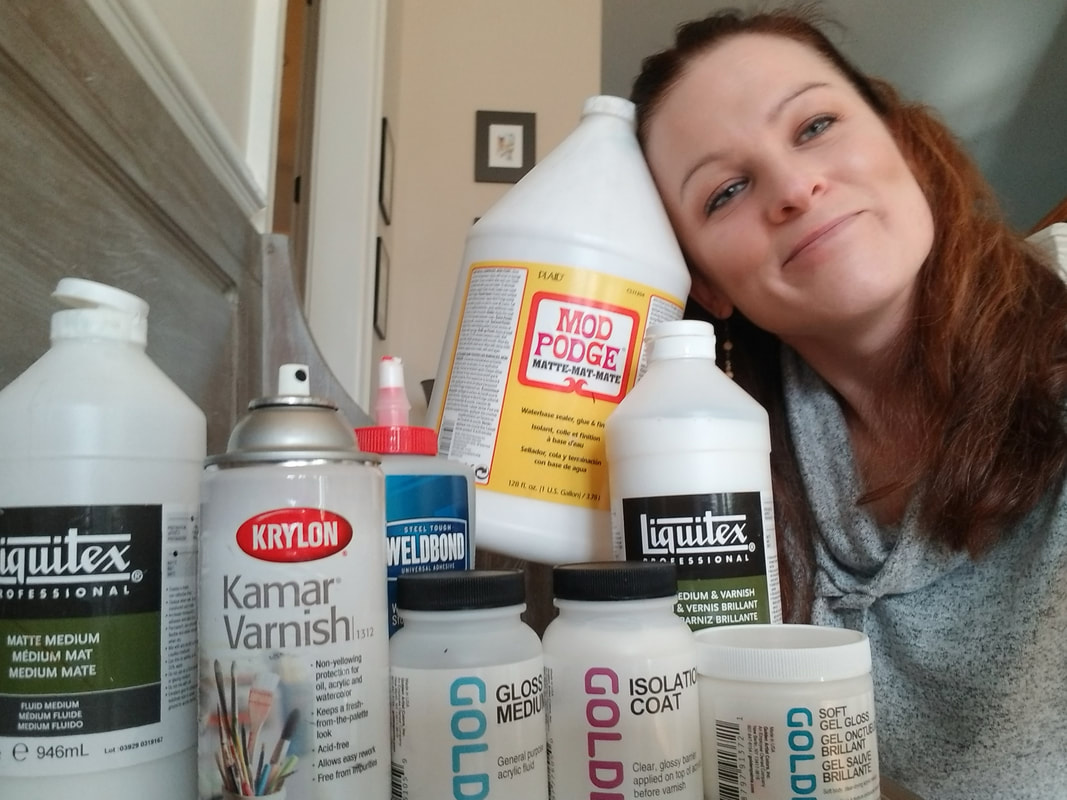
Even though I use it all the time, tons of students still ask me if there are artist grade equivalents to Mod Podge that can be used to seal the acrylic layers in their mixed media art journal pages and canvases. And THAT is a GREAT question!! Especially if you are creating art to last through the decades or even centuries!
I thought I’d answer with an art supply demonstration of 7 ADDITIONAL sealants and mediums so you can decide for yourself which looks like the best fit for you!
To demo the differences, I created 8 mini canvases using my tried and true mixed media “Hamburger System.” Did you get my FREE Hamburger System Cheatsheet yet? It tells you exactly HOW to layer your mixed media art supplies so you can make a masterpiece, instead of a hot mess!
Simply click the button below and I'll send it straight to your inbox!
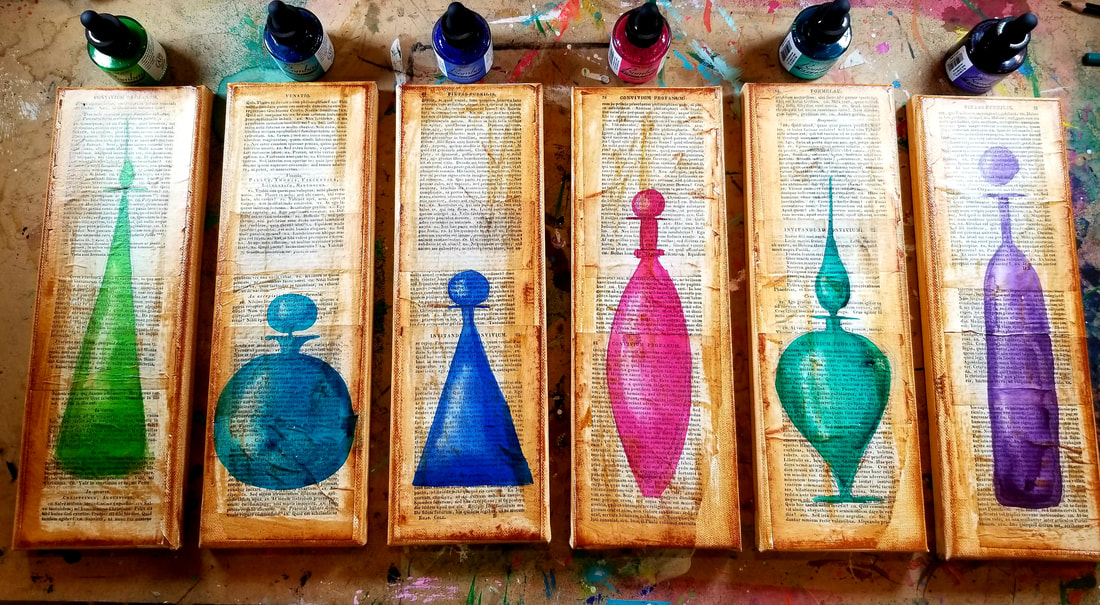
I must confess, I LOVE THESE little canvases! Here you can see them after I completed the first layer of ink and prepared them for their first layer of sealant!
After my ink layer, I added a few scribbles with my Stabilo All pencil (so I could test how well the sealant reacted with a super watersoluble supply like the Stabilo!), then tested one of the following on each canvas:
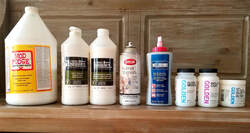
Here you can see the full line up! Any products you recognize? Any that you don't? What do you think will work as well as Mod Podge?
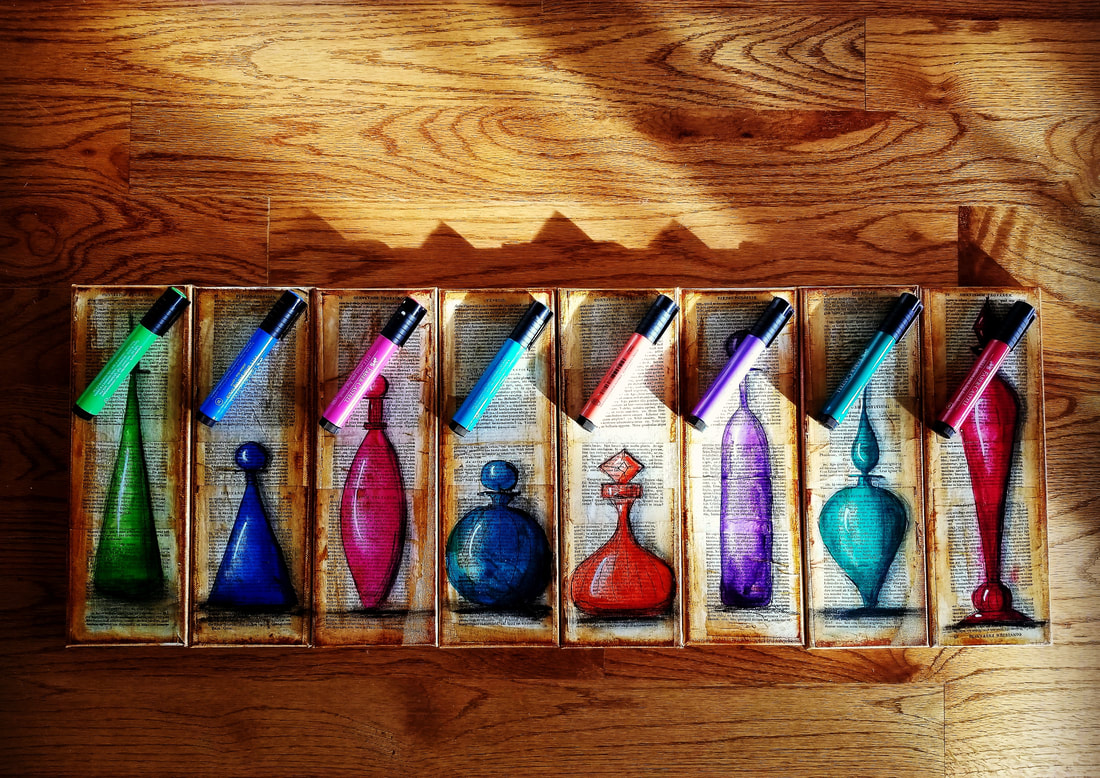
Here's the line up of vases after having been tested with each product! So cute!
I'll give you a hint...
One of these mediums TOTALLY surprised me and one I was COMPLETED DISGUSTED by. Watch the full video to see!
Wanna binge watch the entire Hamburger System Series on YouTube? Click the link to watch the whole playlist.
I had so much fun with this series, I actually turned it into a book (affiliate link). Happy art-ing! If you love this video and creating mixed media portraits, you might just LOVE my Mixed Media Society art club over at Awesome Art School. Click here to learn more about The Mixed Media Society, and to get notified when enrollment opens! ❤️ CHECK OUT ALL my art books on AMAZON ❤️ MY FAVORITE ART SUPPLIES on AMAZON ❤️ MY BELOVED FACEBOOK GROUP ❤️ FOLLOW ME ON INSTAGRAM As per usual, I've been a busy beaver! Since 7 short days ago I've released 3 brand new, real-time tutorials and one fun timelapse! I've also been to Seattle and Vancouver with my husband and 3 kids, and as I write this, am nursing my sick 13 year old back to health excruciatingly slowly! We landed from the airport at 1 a.m. this morning and my poor boy, Billy, has been throwing up every hour on the hour, since 3 a.m. Oh the joys of parenting. Oh my poor poor boo. On a brighter note, here's a pic from our trip! In Seattle, we spent a day forging knives from horseshoes...how cool is that?! Its so much harder than it looks, but our knives actually came out really well! In the art land of my life, and prior to this 10 day long trip, I was scurrying to complete all the videos and lessons that would be released in my absence. Lessons for the Mixed Media Society and Fun Fab Drawing Club are released the first of every month, so those lessons were all done and edited before we departed on the 24th of September. Mixed Media Society members this month got a real-time whimsical girl lesson!! This is hands-down, my favorite type of project to teach! Awesomely enough, I picked out (what I thought was) a really cool color scheme made up entirely of Lukas Cryl Studio acrylic paints. Not a member of the Society at AwesomeArtSchool.com but still want to peek at the lesson? No problem! Today's free YouTube video is a time-lapse of this very same project. The Fun Fab Drawing Club members learned how to use the Stabilo All pencil to make really, seriously, layered and dimensional faces! (psst...there will be a timelapse version coming up on that one too if you want a sneakier peek!) But wait there's more! I WAS vacationing last week as well and didn't have time to churn out a fresh new blog post so I'm including last week's project here now. It is similar to that of the Stabilo All project because the entire portrait is rendered with only a single instrument and water. This time, instead of the Stabilo All pencil, I drew with an Elegant Writer. (affiliate link) If you haven't heard of this before, it is a Calligraphy marker you buy at your local crafts store or online. While made specifically for lettering, the chisel tip (available in quite a few different nibs) is filled with the most unusual ink inside! It goes on black like a regular pen, but when you add water to it, it somehow magically melts into a gorgeous array of blues, grays, purples, greens and even pink!! You'll want to watch this video for sure if you've never seen this pen in action! The beauty of THIS tutorial is that it is Real-Time so no sneak peeks here! Yep, you'll be getting the full monty of fun. Click play to enjoy! Better yet, pick up a pen and draw with me!
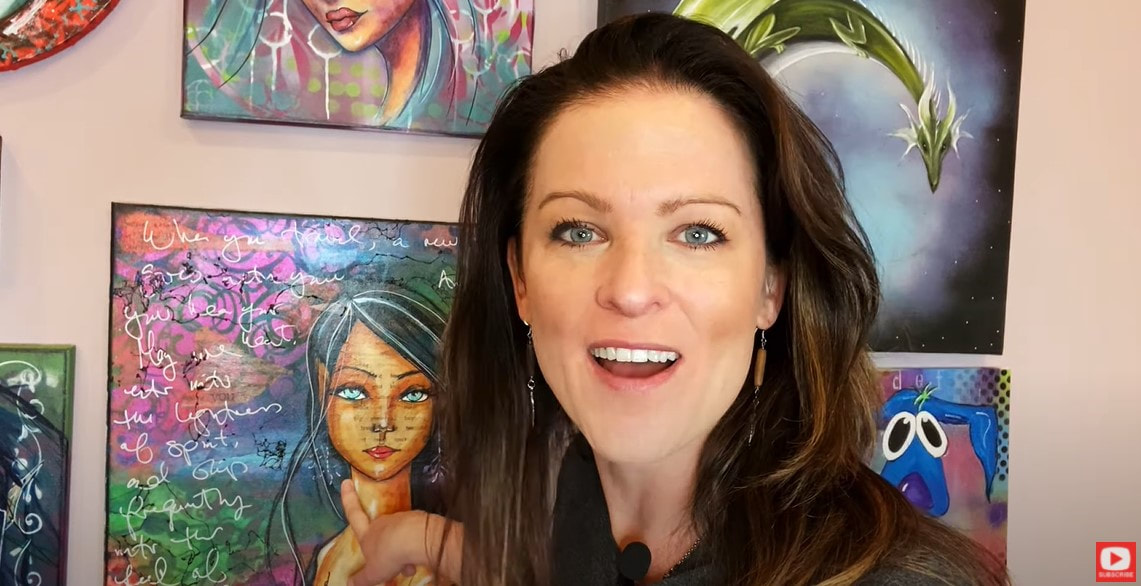
I LOVE creating mixed media portraits! If you're new to my world, my name is Karen Campbell, and I LOVE to draw and create mixed media portraits on canvas or in my art journal. Even more - I LOVE to break the steps down in simple to follow instructions so others can create right along with me.
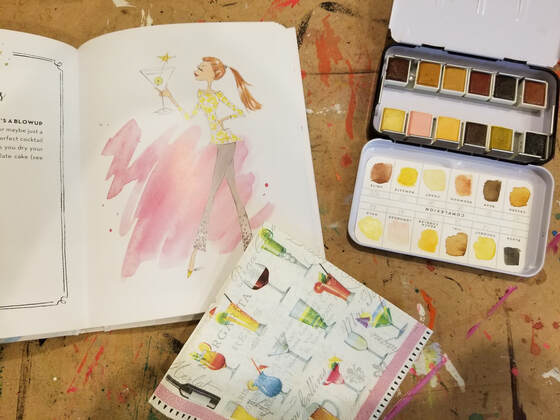
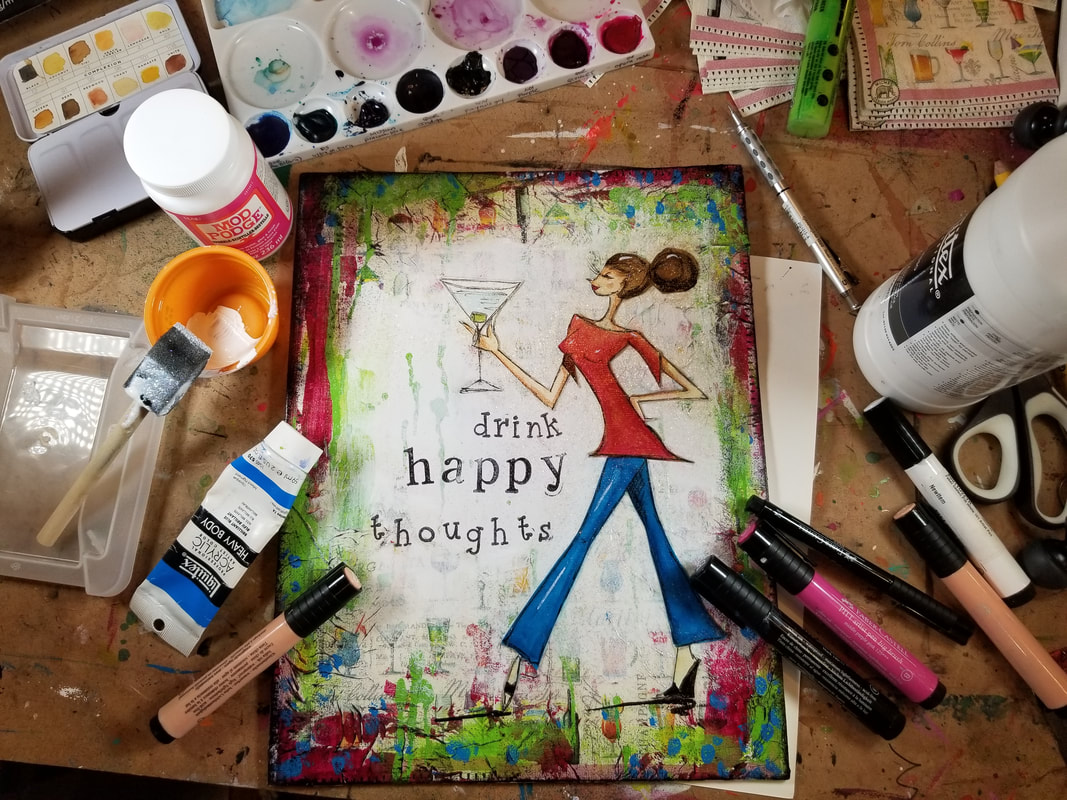
When I'm getting ready to create something, I often look for reference images to get my creative juices flowing. Check out the ADORABLE illustration (below) by Anne Keenan Higgins, and the cute cocktail napkin I found to go with it!
I honestly don't know what I love more in this picture. The illustration, the cocktail napkin, or my skin tone watercolor palette!
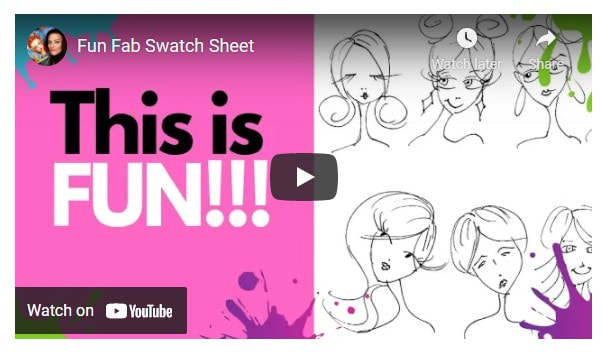
Regardless of what colors or medium you select for your own project - it's important to SWATCH your colors. I've tried to make this process MORE FUN for you by creating this FREE Swatchsheet! Simply click the button below, and I'll send it straight to your inbox.
The collection of inspiration above lead me to the development of one of my VERY FIRST LESSONS in my art club called The Mixed Media Society over at Awesome Art School.
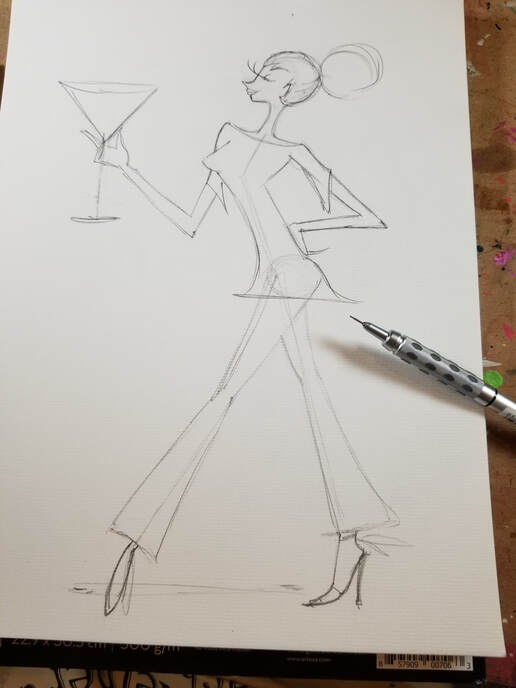
We started out by sketching this cute figure below... then we grabbed our watercolors!
Before we continue, super quick announcement: All product links are Affiliate. I may earn a small commission if you choose to order through these links, but by law there is never any additional cost to the consumer for doing so. I thank you for your support!!
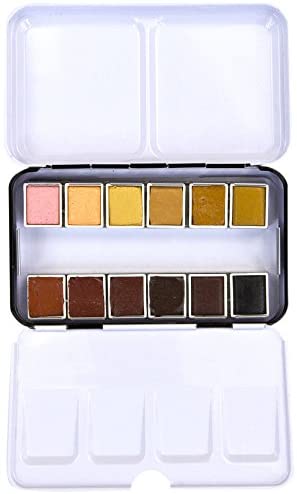
If you're lazy like me, or struggle with getting JUST the right skin tone when you're watercoloring faces, the Watercolor Complexion Set by Prima is an amazing "out of the box" solution! (Scroll down for product review video).
I don't know about you, but I have grabbed the wrong tube of paint or marker ZILLIONS of times (based on the tube or cap color), only to find out the hard way, (when I applied it right to my drawing) that it wasn't the color I had expected! It's the WORST if you're working with skin tones.
Lesson learned. Swatch every color for every project - don't just grab and go like I have!! Use my FREE Swatch Sheet to swatch your colors, and you'll be good to go. Here's a look at the finished project from this cute Mixed Media Society lesson. Isn't she so cute?!
If you're interested in doing this lesson with me (and SO many more!!), check out The Mixed Media Society over at Awesome Art School. Baby beginners are welcome!!
Only into drawing? Or don't know how to draw, but have always wanted to learn how to draw faces? Check out The Fun Fab Drawing Club! Interested in fantasy art, watercolor and trying your hand at drawing fairies, castles, and other mystical creatures? Join my Scottish bestie, Lucy and I in The Celtic Collective! Wanna see my full product review video of the Prima Complexion Watercolor Set? Watch the video below. Thanks for hanging out with me today!! ❤️ CHECK OUT ALL my art books on AMAZON ❤️ CHECK OUT ALL my online art classes @ Awesome Art School ❤️ MY FAVORITE ART SUPPLIES on AMAZON ❤️ MY BELOVED FACEBOOK GROUP |
Karen CampbellFounder of Awesome Art School. Mixed Media Artist. Author of 19 Instructional Art Books! Whose work has appeared in...Archives
July 2024
Categories
All
|
|
"Karen is flipping hilarious and she's very real...I like the way she teaches in a way that really gives you confidence, whether you're a beginner or advanced there's always something new to learn!"
- Elizabeth W. |
What Fans Are SayingKaren, you are absolutely fabulous! You make me feel like I can draw anything. I have recently retired and finally have the time to do some of the art that I have loved since I was in school. I am really at the beginning of my art journey and I hope to learn as much as I can. Thank you for all you do. |
Contact ME |




 RSS Feed
