|
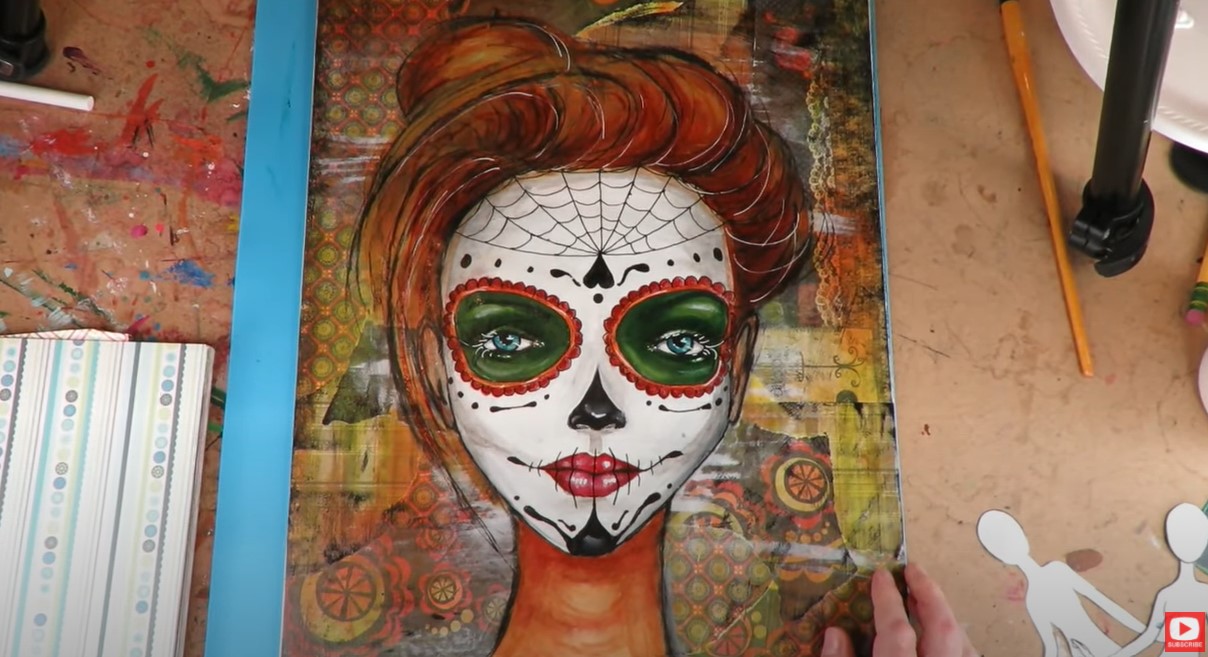
I'm not gonna lie, today's project started off as a HOT MESS CANVAS. I fought with my mixed media collage background WAY longer than I thought I would. I've had this happen WAY too many times in my journey with mixed media art to give up. I chose to push through what I call the "ugly phase," & I'm SO glad I did!! If you were with me last week- we did a very similar NO DRAW, decoupage collage project using scrapbook paper, wood canvas & the same female body template :) I loved doing that so much, I thought we'd do her one more time in a totally different way! Here is your supply list for today's mixed media art tutorial:
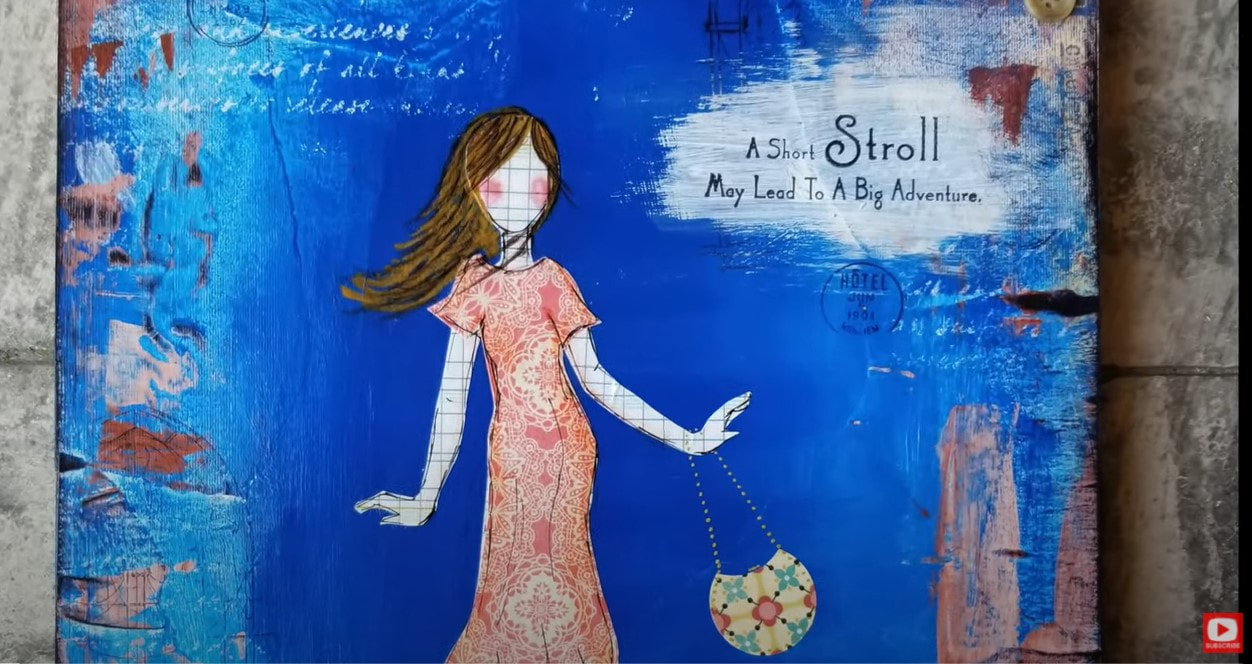
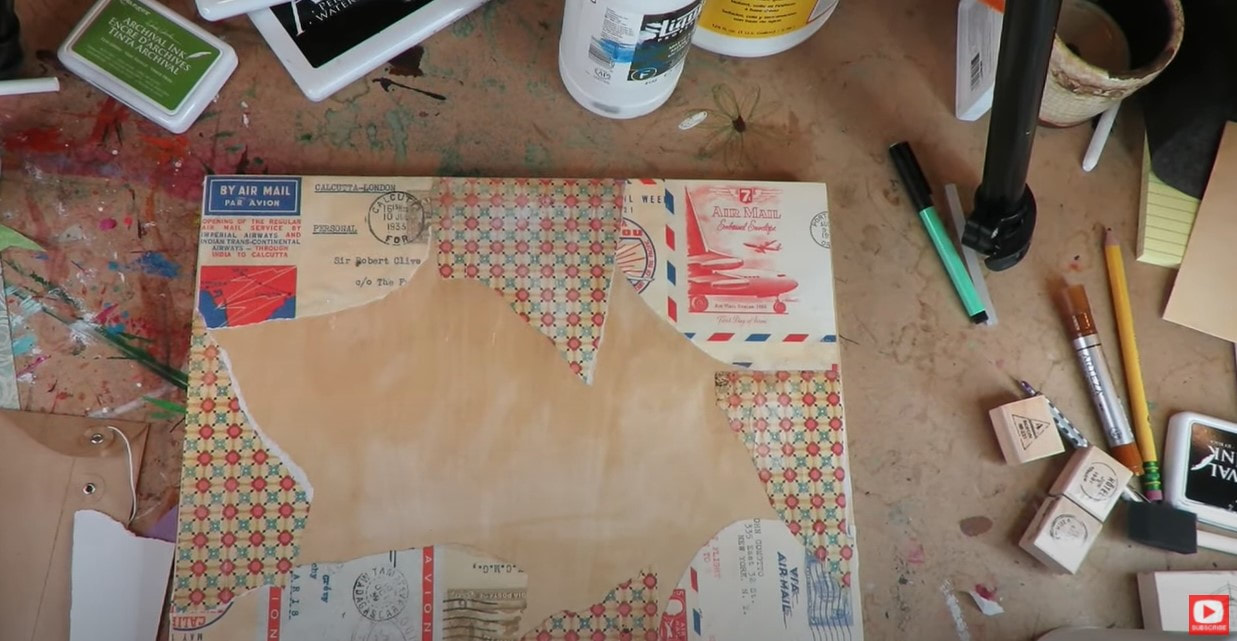
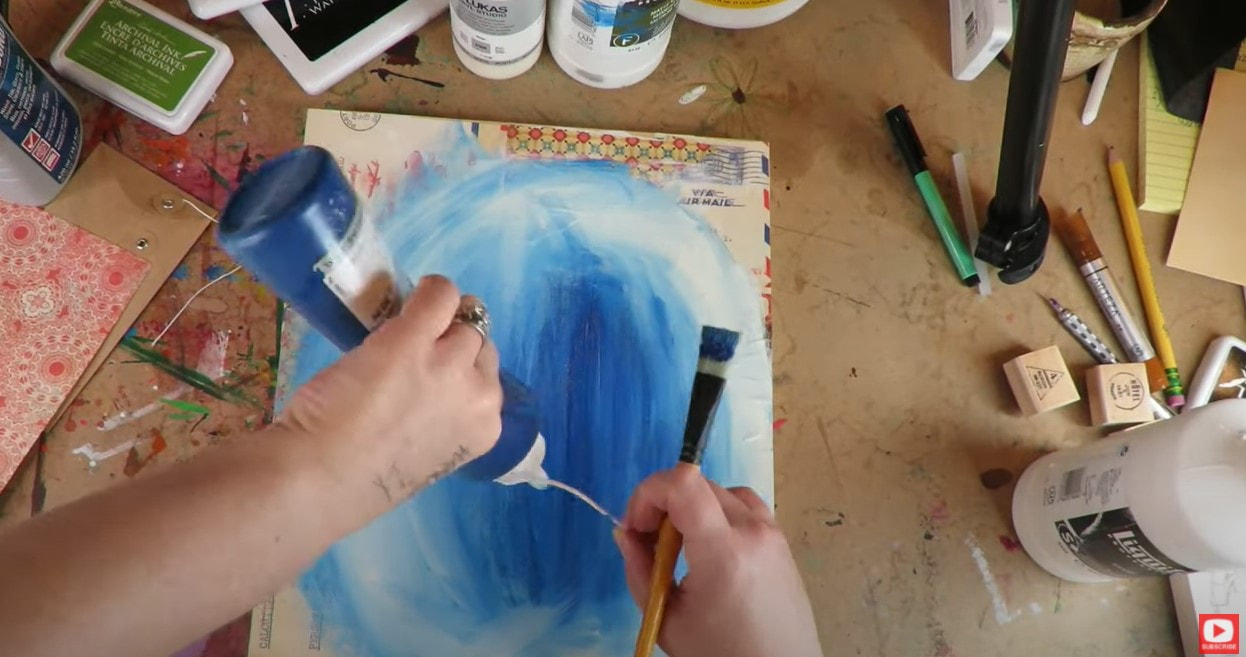
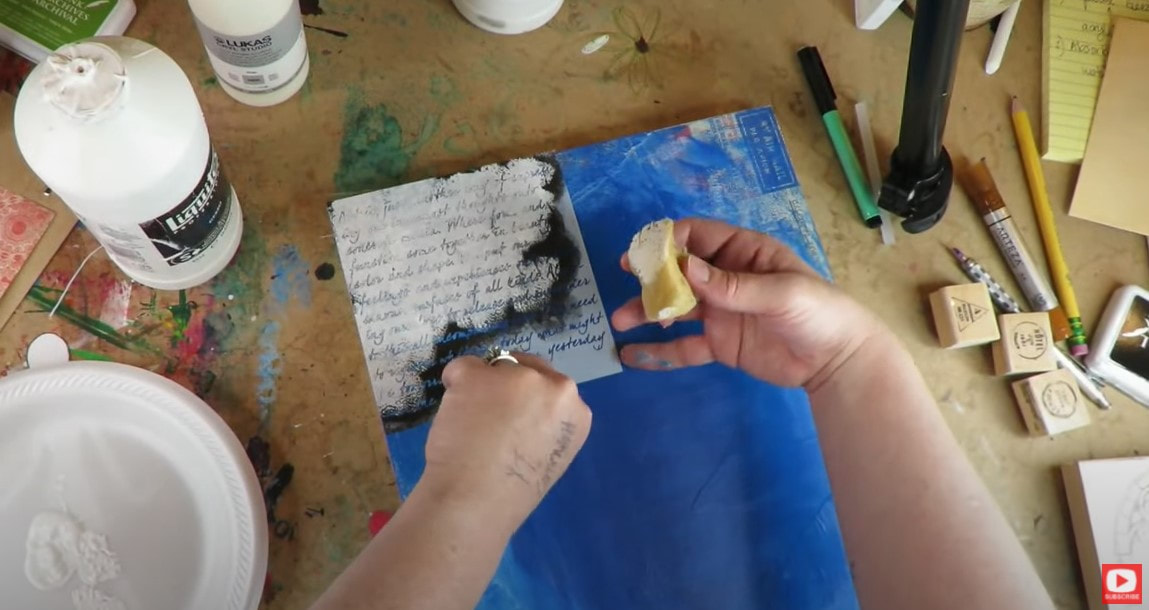
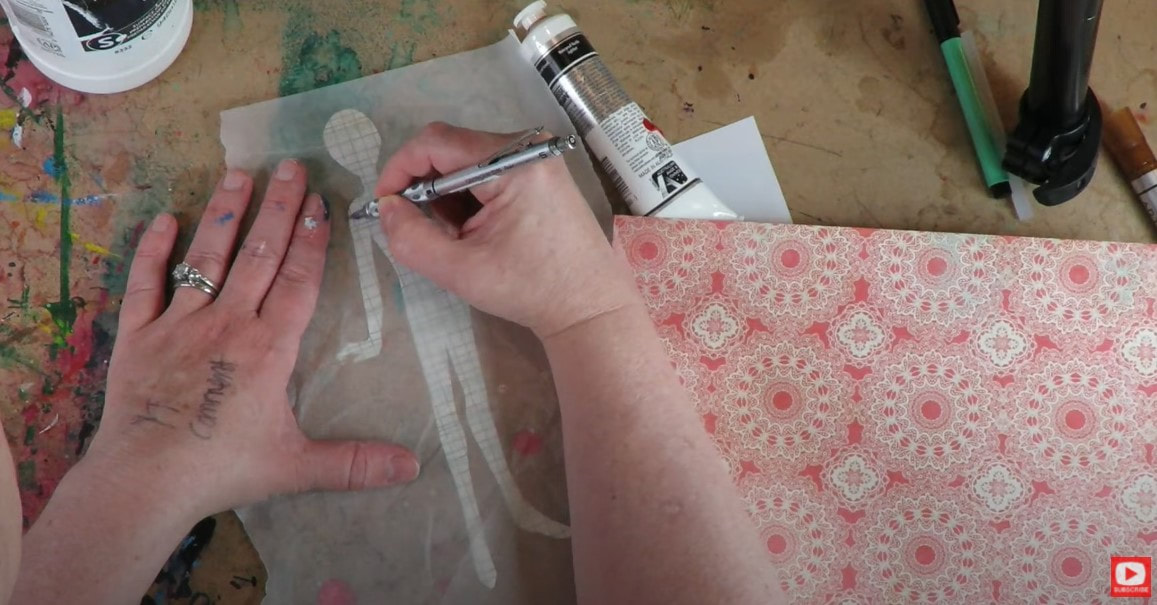
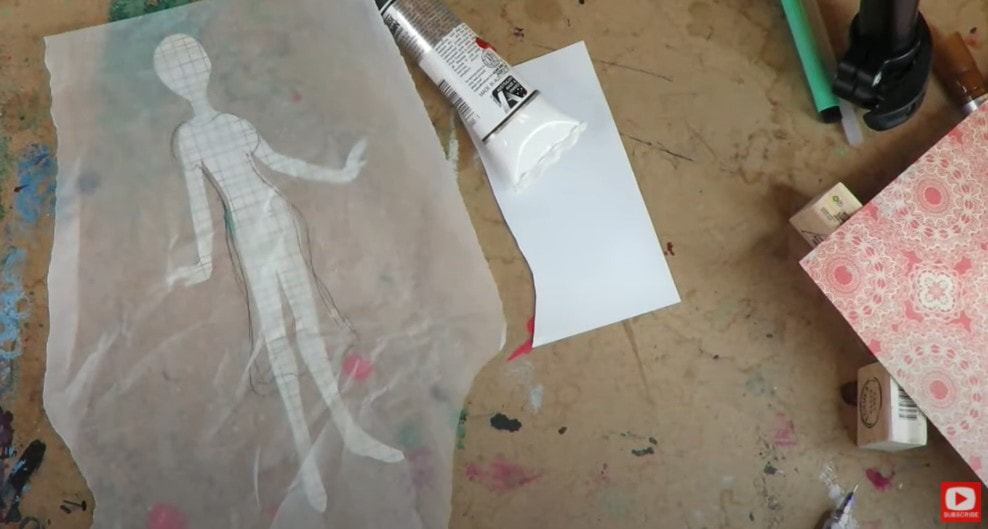
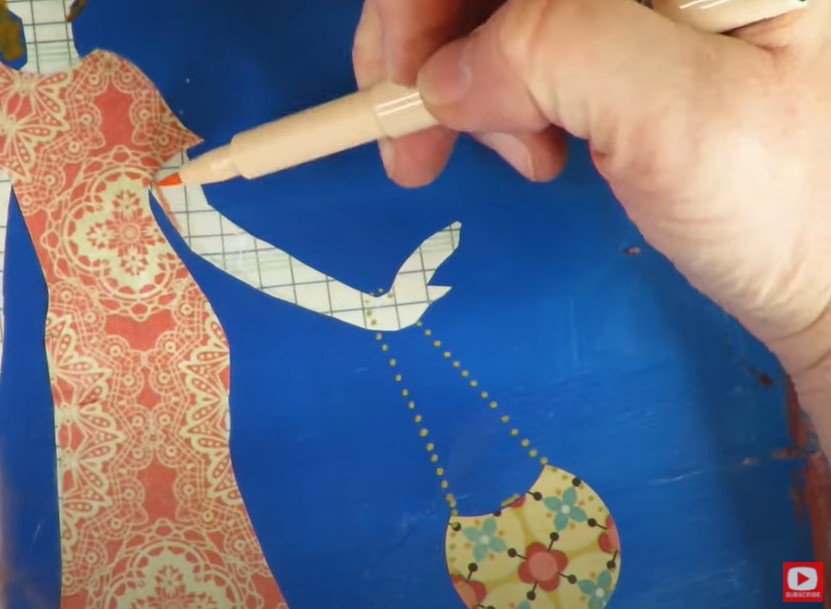
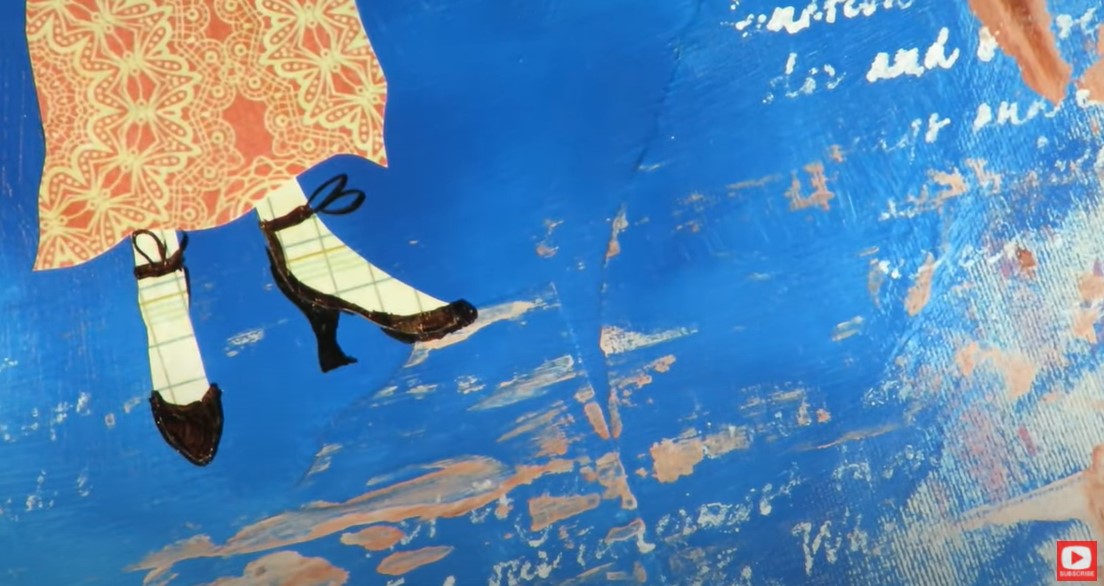
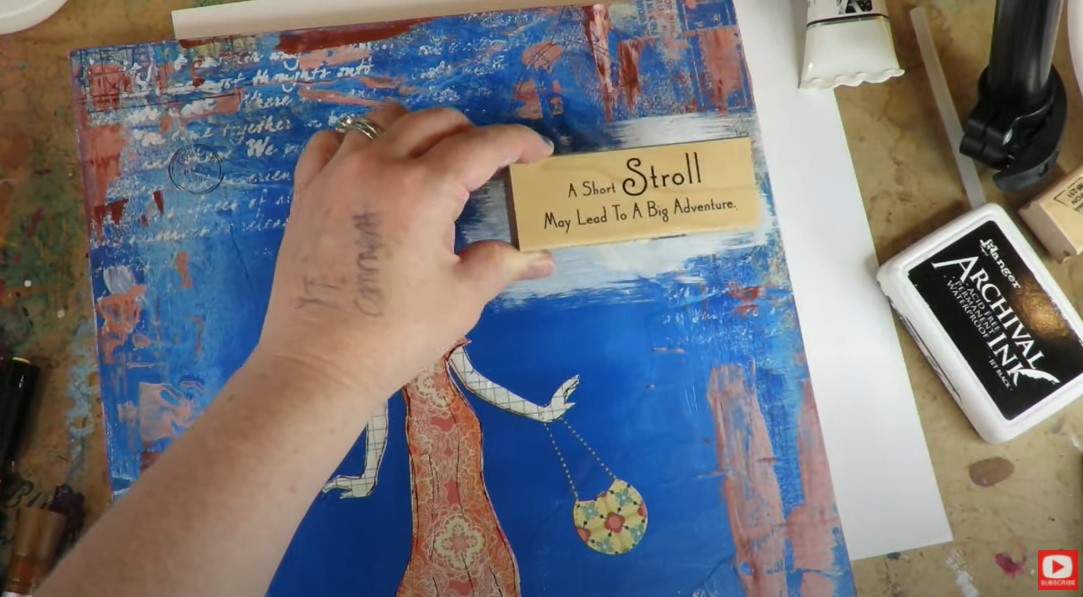
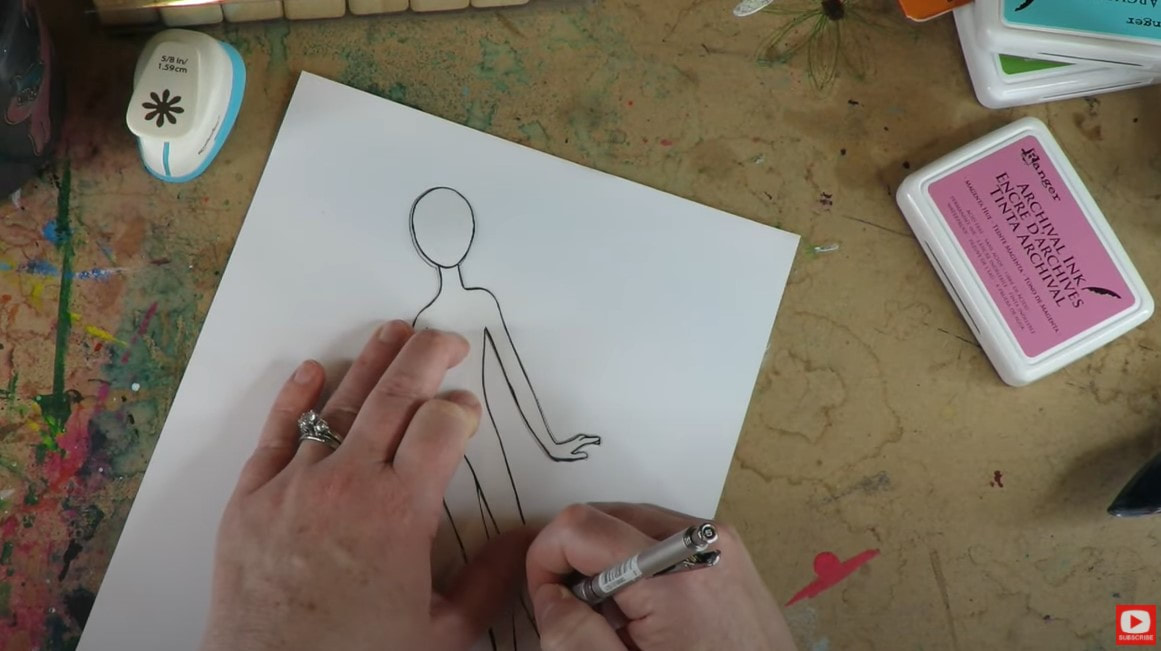
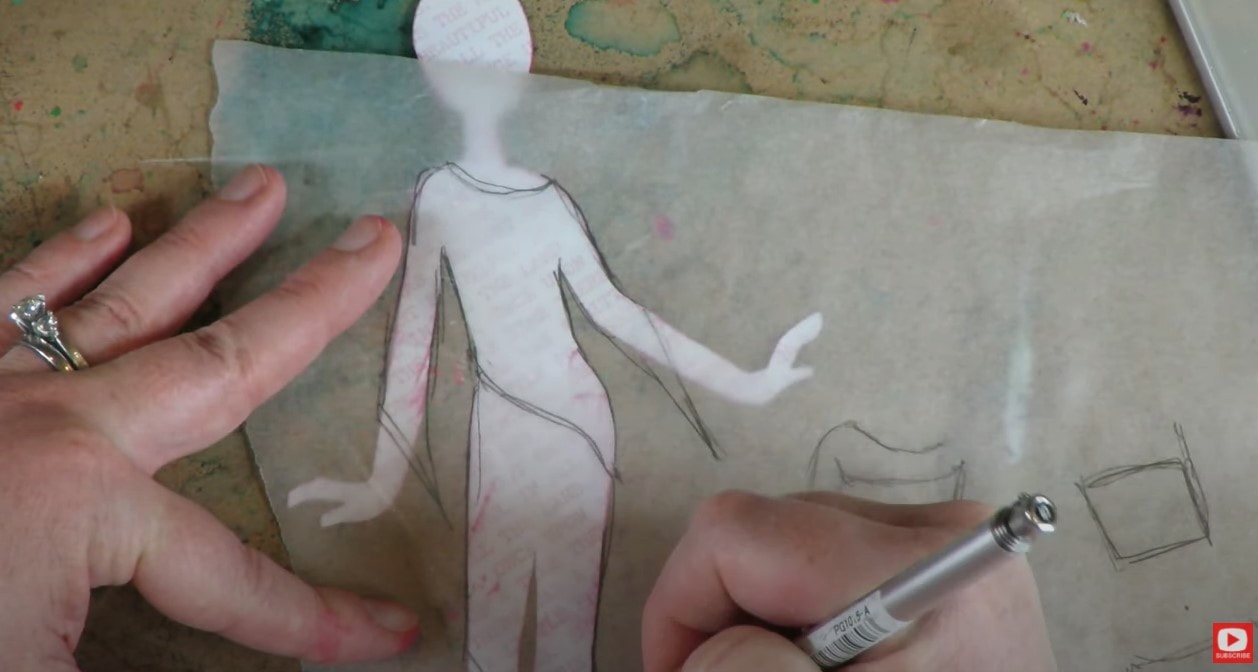
As you'll see in the tutorial, if you choose to work with a wood canvas or wood panel, this material will TOTALLY soak up your matte medium, mod podge, and acrylic paint - just like a sponge! Luckily I knew that going in, and reached for my Weldbond glue to get my scrapbook pieces onto my wood. Even so - I ran into issues, soon after. I used WAY more paint & covered more of my cute scrapbooking paper than I had intended. Y I K E S !!!!!! Instead of giving up- I reached for my stencils and stamps to help me, and KEPT GOING!!! When you've got your background to a place where you're happy... it's move on to your girl! You'll need your sheet of transfer paper, a sheet of trace paper , 1-2 sheets of scrapbook paper for your girl's clothes, a separate sheet of scrapbooking paper (or sheet music, etc.) for the girl's body, and a printout of my body template. We'll start with the sheet of paper you want to use for the girl's body. Lay that sheet face down on your art table, then lay the transfer paper dark side down on top of that, and my body template printout over that. Use a sharp pencil or pen to trace the body template. When you're done, you'll see her on the back of your scrapbook paper- all ready to be cut out ;) At this point, it's time to create some clothes. Lay your girl cutout right side up on your art table. Then lay a sheet of trace paper on top of that. Using a pencil, simply draw an outfit right onto your trace paper. We're basically making a pattern for her clothes! If this part of the video goes too fast, you can click on this video from last week to see me working in real time on this step. For this project I decided to create a one piece, flowy dress. If you want to do a 2-piece outfit using multiple pieces of scrapbook paper, and are feeling stuck at this point, click over to last week's video for a quick demo of how I did that. When your clothes pattern/s are all drawn out onto your trace paper, you'll need the scrapbook paper you've selected for her outfit. You'll also need your transfer paper again. Lay your clothes scrapbooking paper face down on your art table, then lay the transfer paper face down on top of that. Finally, lay the trace paper with your pattern right on top! Cut your outfit pieces out once everything has been transferred the way you want. Set those pieces aside and pop back to your canvas to glue your girl & her clothes down with some good old mod podge! After my girl and her outfit were glued down and dry, I added a cute little bag, drew in shoes with my pitt pen... Added hair with a paint marker, and shaded a bit of dimension on the sides of her dress and arms (with faber castell pitt pens). When I felt like she was all finished, I added a few stamps as well - one of which came out TOTALLY crooked. OOOOPS!!!! The good thing is- THIS is mixed media. If ya don't like how something looks- keep going. Try something else! When I hit a point like this - I tend to throw a quote over my mistakes ;) Just like this ... And there ya go!!! I HOPE you have even MORE FUN than I did making this girl. And YES- I STILL had TONS of fun even though I had a hot mess canvas for a while (twice in one project actually!!). I hope I've inspired you with some new ways to work out the kinks if run into any while you're making your own creations! Just remember to KEEP GOING. Try everything until you're happy ;)
0 Comments
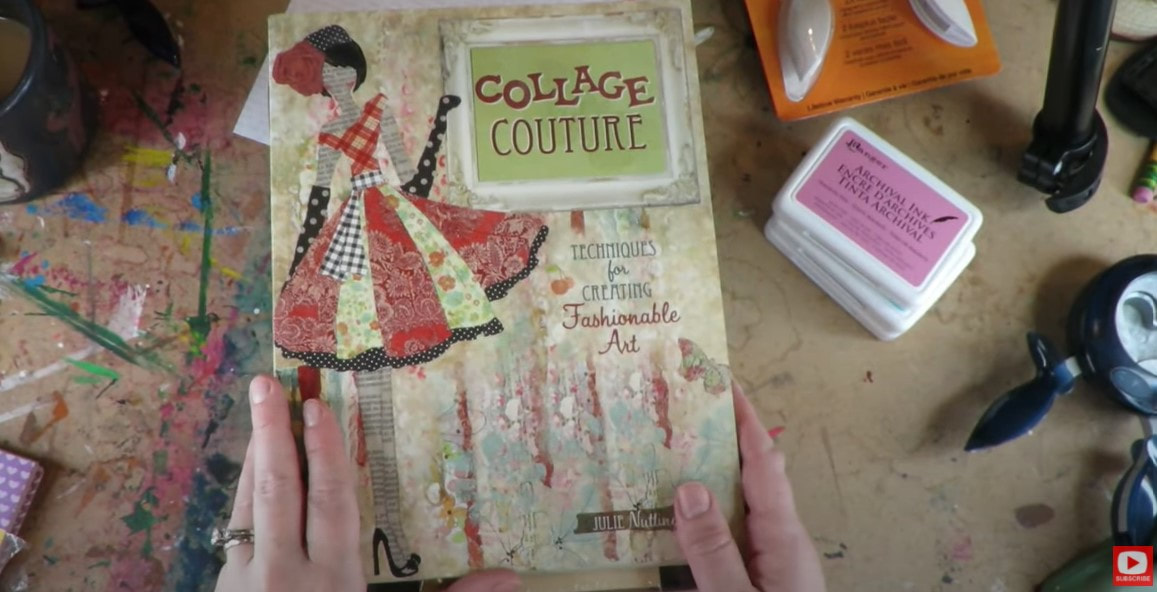
Today's SUPER FUN Mixed Media tutorial is a cute piece of art inspired by a book by Julie Nutting called Collage Couture Techniques for Creating Fashionable Art. I'm a HUGE fan of Julie's and have loved this book since it came out in 2011. In fact- I used to do a variation of some of her cute projects with my students when I used to teach art classes in person! For today's project I've got a FREE download for you in case you'd love to SKIP OVER the DRAWING part and get straight into the mixed media goodness! Here are the supplies you need for today's project:
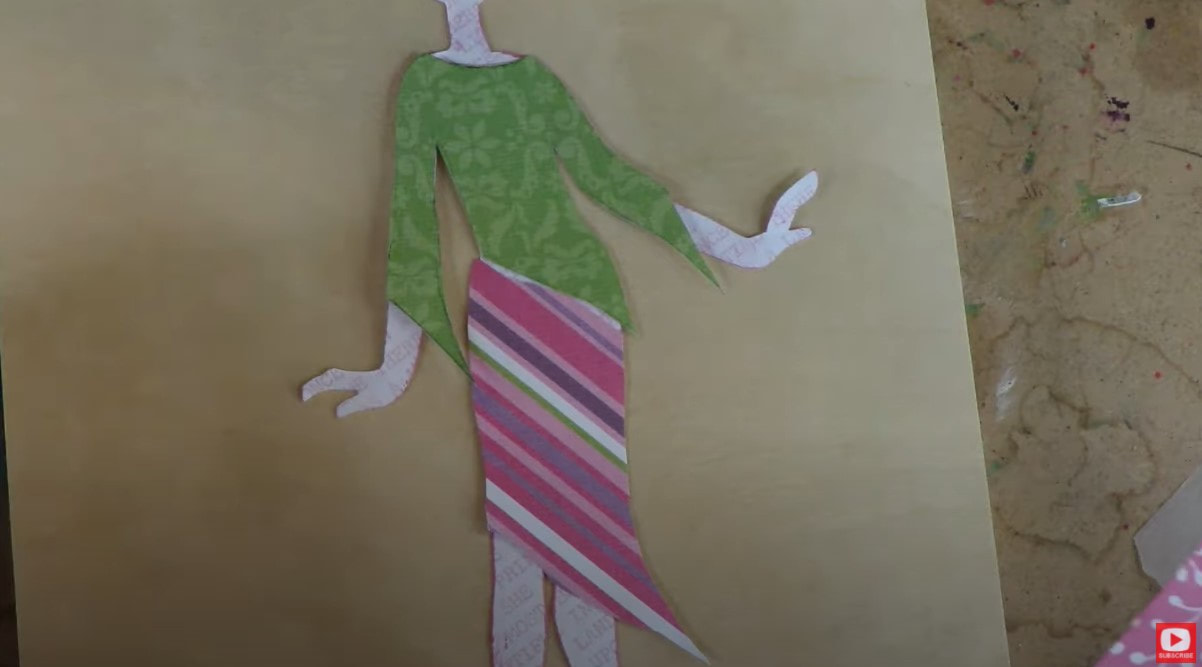
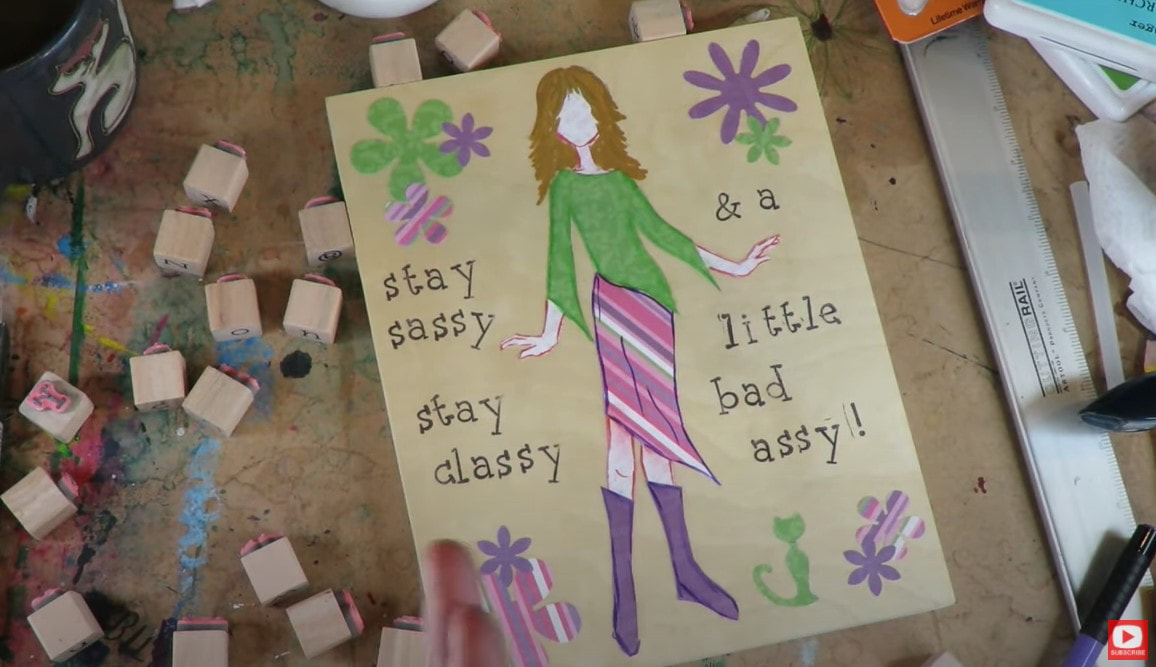
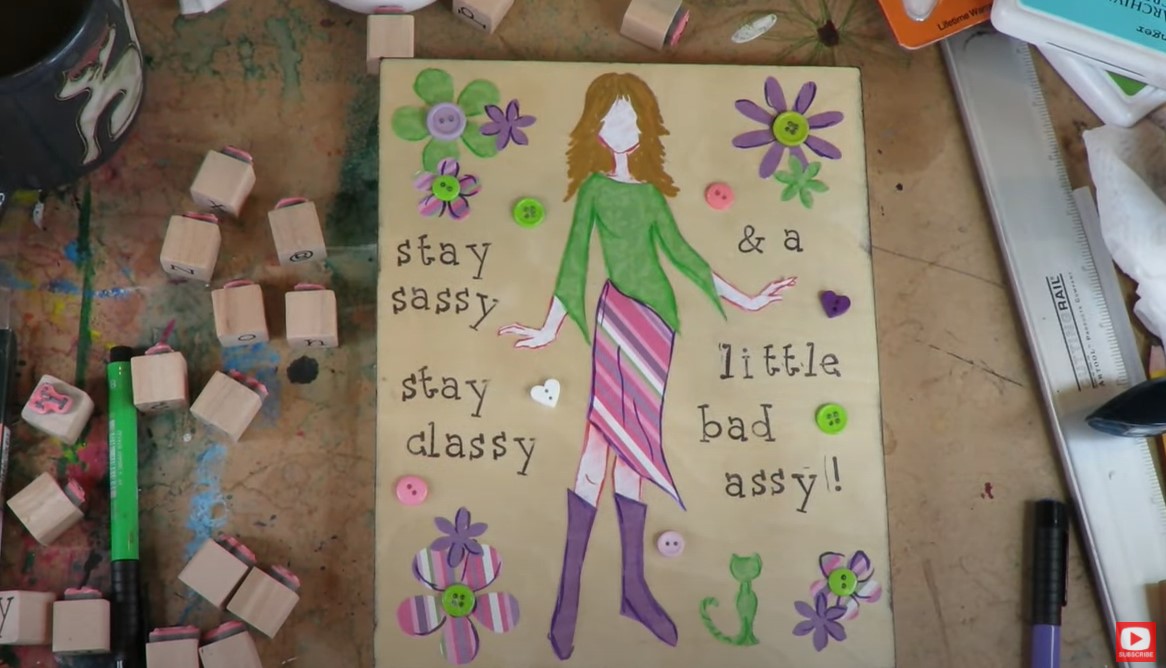
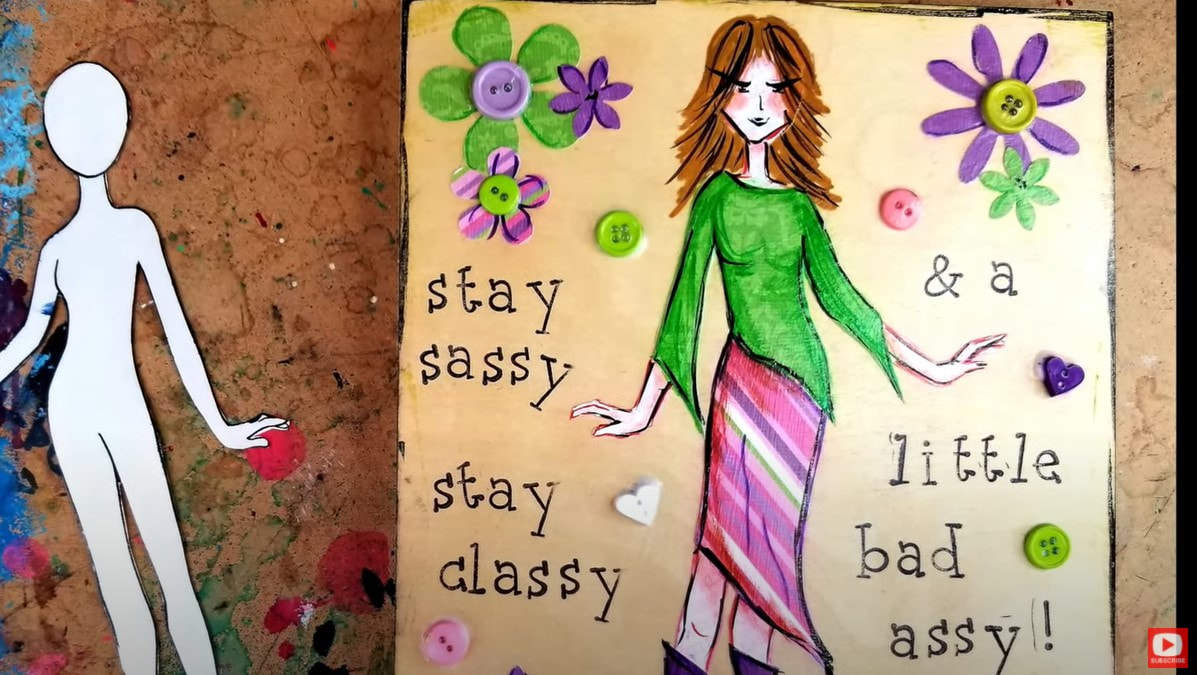
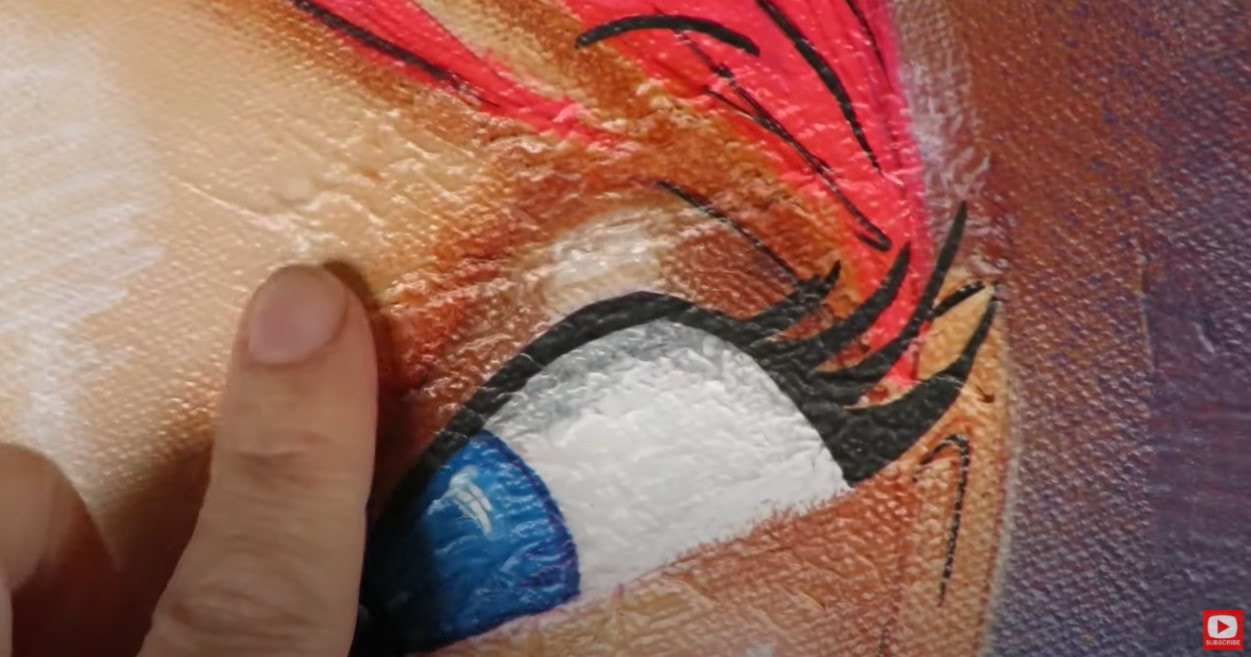
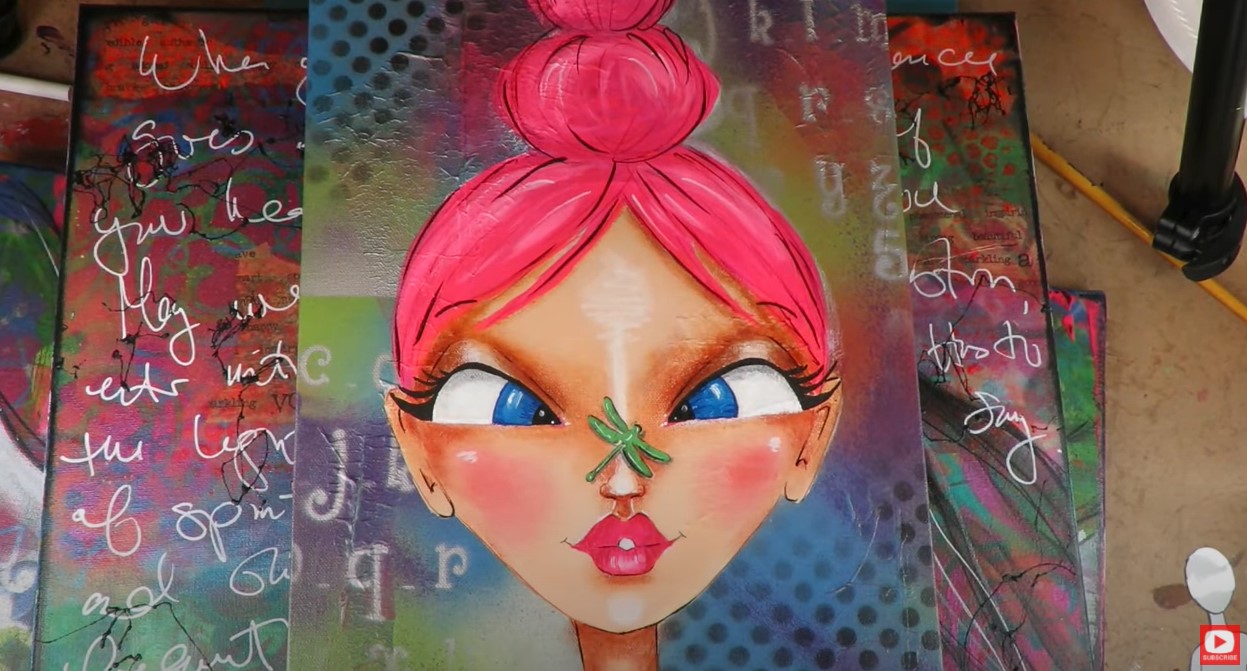
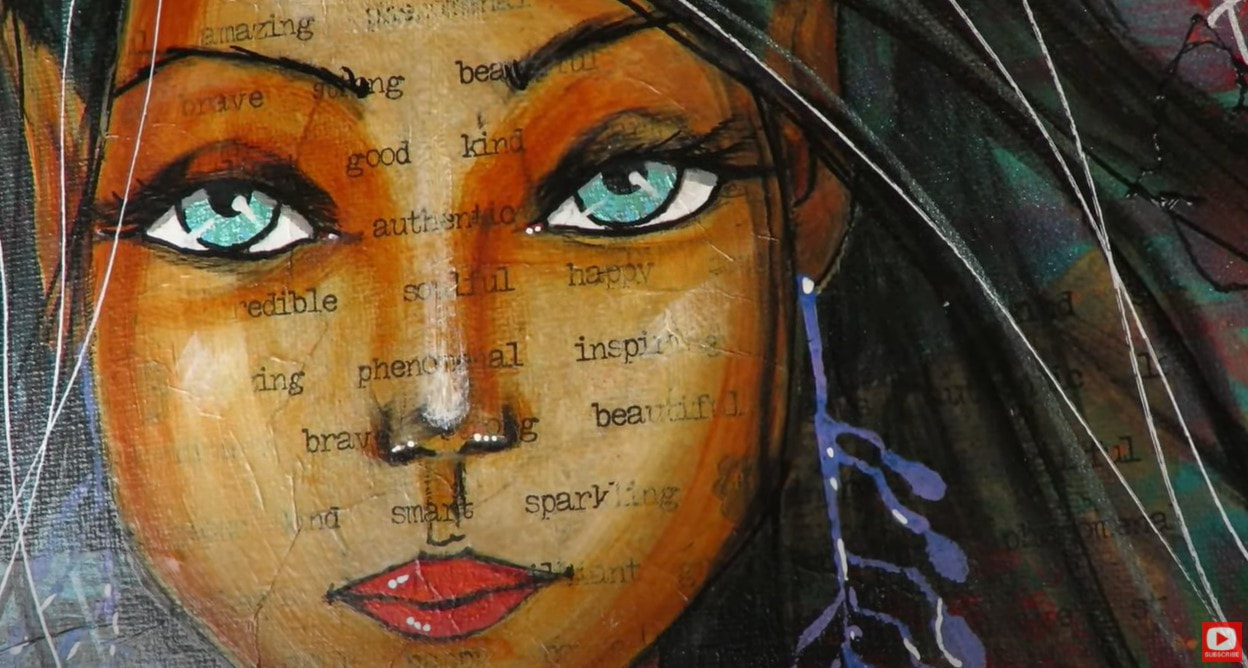
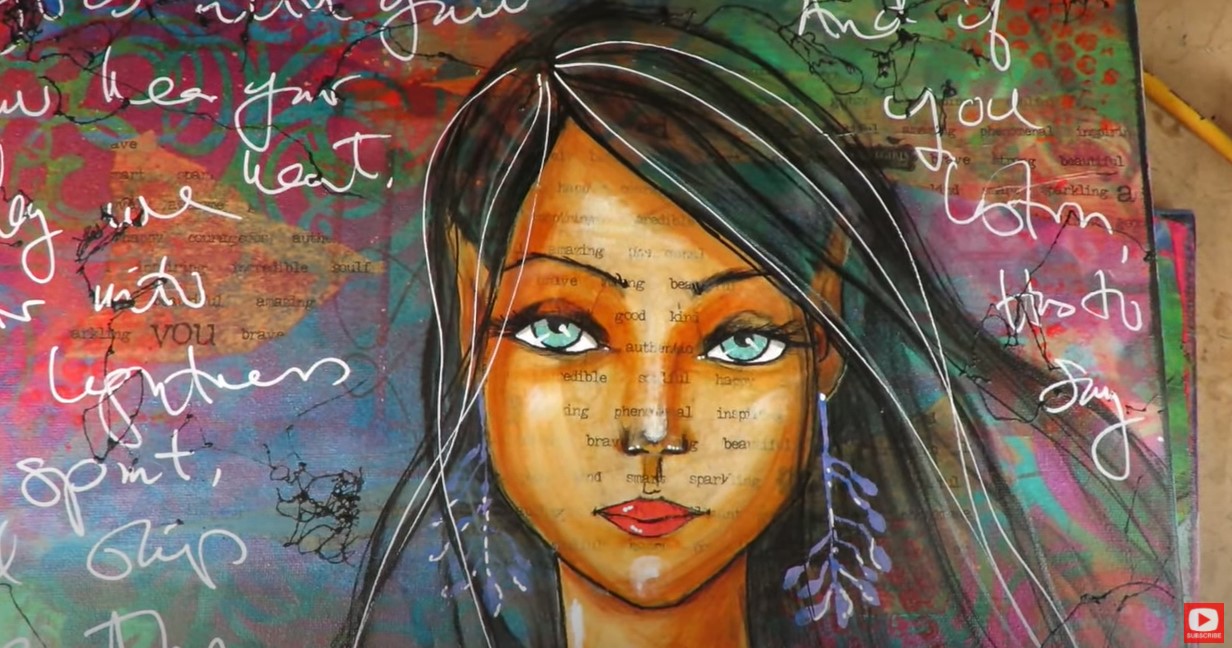
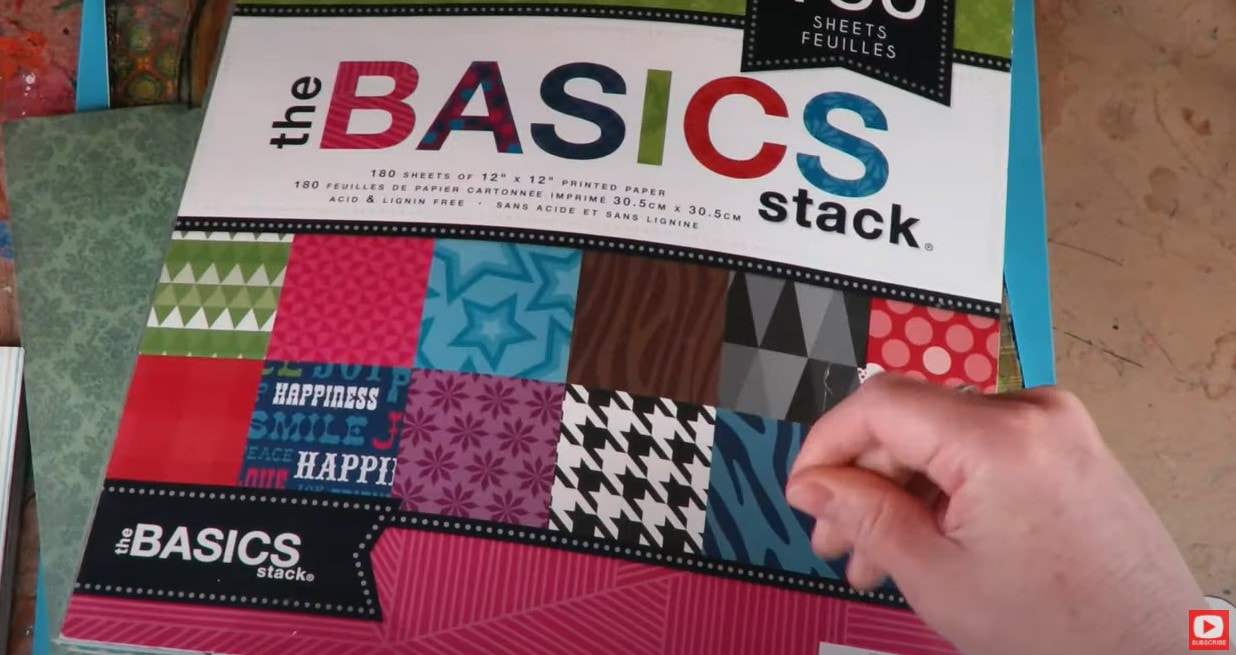
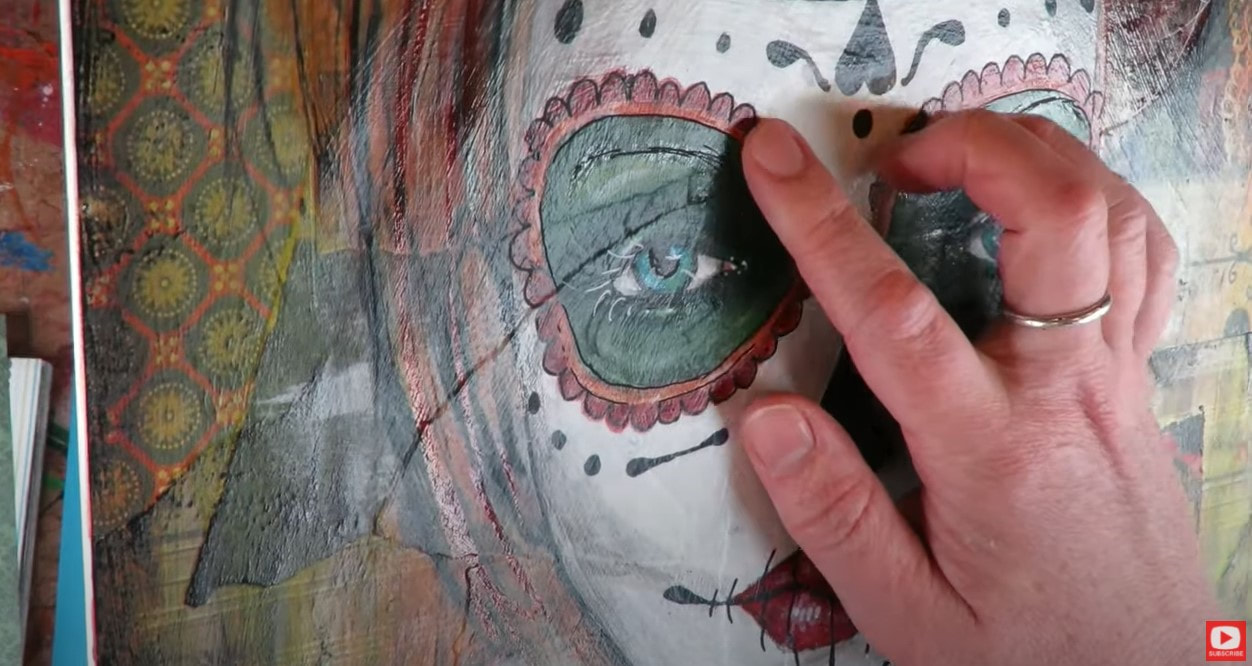
Once you have your body template cut out, trace her onto the back of a piece of scrapbooking paper. Quick tip here - choose a contrasting pattern for the body vs. clothes. For example- if you pick a tiny/subtle pattern for the body/skin - select a bolder pattern for the clothes (or try the reverse!). Next we're gonna design some clothes! We need a mini pattern first, so lay a sheet of trace paper right over your cutout and let your imagination run wild! Today, I drew in a 3/4 sleeve shirt, skirt, and some cute boots for my girlie!! Next, choose 2-3 sheets of scrapbook paper that go together to be her clothes. Lay one sheet of scrapbook paper face down on your art table. Then lay one sheet of transfer paper face down (dark side down) on top of your scrapbook paper. Finally, lay your trace paper with the clothes patterns you just created on top of that. Sound confusing? CLICK HERE to watch the video. I promise it's SO EASY! I used different sheets of scrapbooking paper for the top and the skirt for my girl. Look how cute she is looking already!!! Since I'm working on a wood panel (and I LOVE the look of wood), I'm leaving the background somewhat naked for now. If I had chosen to work on canvas or a canvas board, I totally would've painted a background of some kind before gluing my girl down. GRAB YOUR MOD PODGE to glue your collage pieces to the board. I used matte medium and I actually wish I hadn't!! Mod Podge will make your collage pieces slippery and creates a beautiful surface to doodle on top of. So go for that look if you can!! Once your girlie is glued down, just HAVE FUN with her! I have a ton of cute punches and am a cat mama of 3 - so my cat punch came out to play for this piece, along with some flower punches in different sizes. I used a paint pen to add hair, and then stamped a quote to make me smile ;) I continued doodling on the flowers and cat to carry over that look from the outlines on her clothes and tie it all together. Lastly, I added buttons to my large flower punches, and DONE! Isn't she SO CUTE?!!! Once I had everything all glued down, I applied a huge layer of mod podge over the entire thing. That allowed me to doodle in a bit more dimension with my pitt pens because this is something I LOVE to do. You can leave bold pen strokes, smudge your strokes to add shading, or do a combo. It's what I do ALL the TIME with my hamburger style girls!!! I love the way it turns out... I hope you ENJOY this super fun project!! Remember to DOWNLOAD your free, no-draw BODY TEMPLATE here. Then come back and press play for the full length, mixed media tutorial!! See ya next week ;) Scrapbook paper backgrounds are my GO TO for the mixed media art I create on canvas or in my art journal! Before I get into WHY - I want to show you some of the effects you can achieve with various types of collage material - in case you're new to the world of collage or creating mixed media backgrounds! In the pic below you'll see a closeup view of one of my favorite mixed media collage projects from my book, Mixed Media Magic. See the wrinkly, raised bumps of texture? That happens when you collage with NAPKINS in your bottom layer! Some people LOVE this kind of texture in their art (I'm one of them!!). From a distance, the texture in the background is very prominent. You can see the wrinkles and bumps from my napkin pieces. This is a look I was going for on purpose in this particular painting. Some people aren't into this bumpy goodness, and that's ok! YOU do YOU!!!! In case you're one of them... here's what collaging with TISSUE PAPER can do in your mixed media art backgrounds!! See the typewriter words smack dab in the middle of her face? That is a ripped piece of tissue paper! Tissue paper will give you a transparent effect in your collage, which I also LOVE!!! You can definitely see there are some bumps and wrinkles up close, but it's more chill than using napkins like I did in the previous piece. From a distance, the tissue paper texture is VERY understated... The next example I'm going to show you is a piece I started with a collage layer of torn scrapbook paper pieces! Look closely at the background of this mixed media girl painting. You'll see there are 3-4 sheets of scrapbooking paper that were collaged into my first layer of this canvas. I like to rip palm sized chunks from papers that have the same color scheme going on. It's SO easy to find matching colors with an assortment of patterns because ALL the craft stores sell these giant books of gorgeous sheets with repeating color schemes that are totally designed to be used together! Personally, this is my FAVORITE collage material because you really DON'T get any wrinkles at all! This type of collage creates a smooth surface that is PERFECT to paint on. That doesn't mean it will create a "boring," or texture-less background. Take a look at this painting close-up! As you can see below... there are pretty subtle, raised edges from each chunk of scrapbook paper I used. And I have to say, I'm OBSESSED with this look!! I really feel like it adds a layer of sophistication to my art. You can achieve some VERY rich, complex backgrounds that really pull your eye around the piece as a whole, and make it interesting to look at- both from a distance, and up close!! In today's mixed media tutorial, I've got a FULL-LENGTH, FREE art lesson for you!! I'm showing you my EXACT mixed media collage process using scrapbook paper so you can play right along with me at home. I find this process works amazing on canvas boards, wood panels, or as an art journal page or spread. It's a little harder to do on pre-stretched canvas because the middle of a pre-stretched canvas isn't super sturdy, so you have to be a bit more gentle. When you do collage work, you add a lot of pressure to whatever surface you're working on, and I don't want to be precious about anything- so I reach for something like a canvas panel, because it's more substantial (AND they are super cheap!!). Here is your supply list for today's project:
Go grab your supplies and meet me over on YouTube to get crafting with me!!!! CLICK HERE or press the play button below when you're ready to start!! 💜Product Links listed may be affiliate. I only link to products that I have personally used and tested and love! I may receive a few pennies if you purchase through these links, but no worries, there is never any cost to the consumer for doing so! |
Karen CampbellFounder of Awesome Art School. Mixed Media Artist. Author of 19 Instructional Art Books! Whose work has appeared in...Archives
July 2024
Categories
All
|
|
"Karen is flipping hilarious and she's very real...I like the way she teaches in a way that really gives you confidence, whether you're a beginner or advanced there's always something new to learn!"
- Elizabeth W. |
What Fans Are SayingKaren, you are absolutely fabulous! You make me feel like I can draw anything. I have recently retired and finally have the time to do some of the art that I have loved since I was in school. I am really at the beginning of my art journey and I hope to learn as much as I can. Thank you for all you do. |
Contact ME |


 RSS Feed
