
|
There's NO wrong way to store your watercolors. It's totally personal preference. But if you're an art supply hoarder like me, your studio can become a MESS in no time!
And, if you're a watercolor beginner, you likely have no idea what your organization options are. Today I'm going to show you MY FAVORITE way to store watercolors at home, and will demo the entire process so you can create YOUR OWN at-home palette if you want! Stay with me till the end for a timelapse of one of my first watercolor projects for the Celtic Collective! 
*All product links are affiliate & for U.S. residents only.*
If you've been following me for a while, you likely already know that my absolute FAVORITE watercolors of all time are by Daniel Smith. These colors come in tubes instead of little trays or pans (like the Prima watercolor sets I've been reviewing lately).
I get asked all the time by watercolor beginners what the deal is with me making my own watercolor palettes. Why don't I treat my watercolor tubes like my acrylic ones and simply squeeze a little watercolor out each time I want to paint? 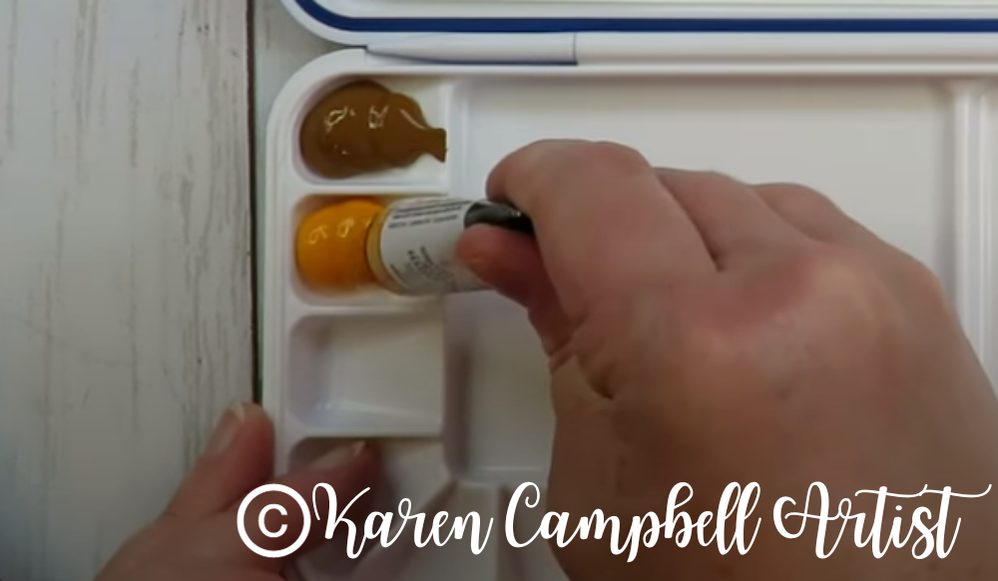
Lots of reasons actually!
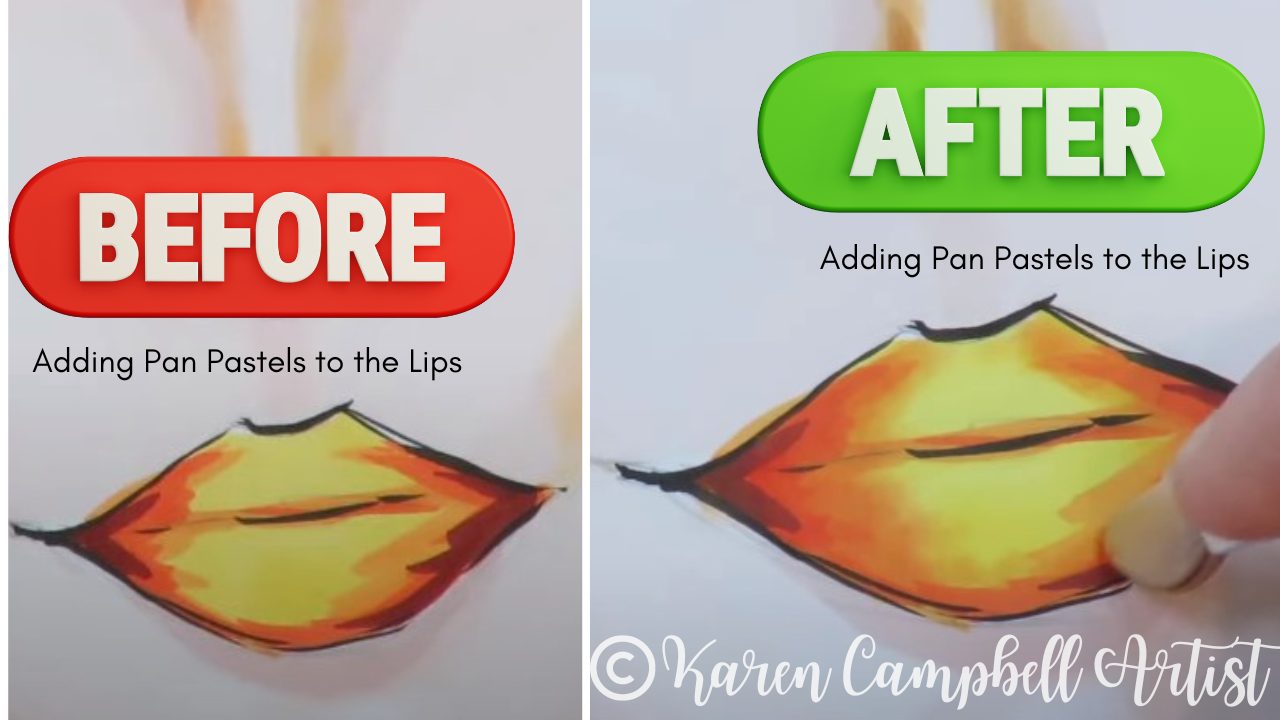
The first one is, you can't really tell from that blob of watercolor, the color of it's packaging OR the color's individual name HOW it will actually look on paper. Watercolors can be really sneaky like that. Take a look at the pic above again. Now look at the one below. THIS is what those two colors actually look like on paper. 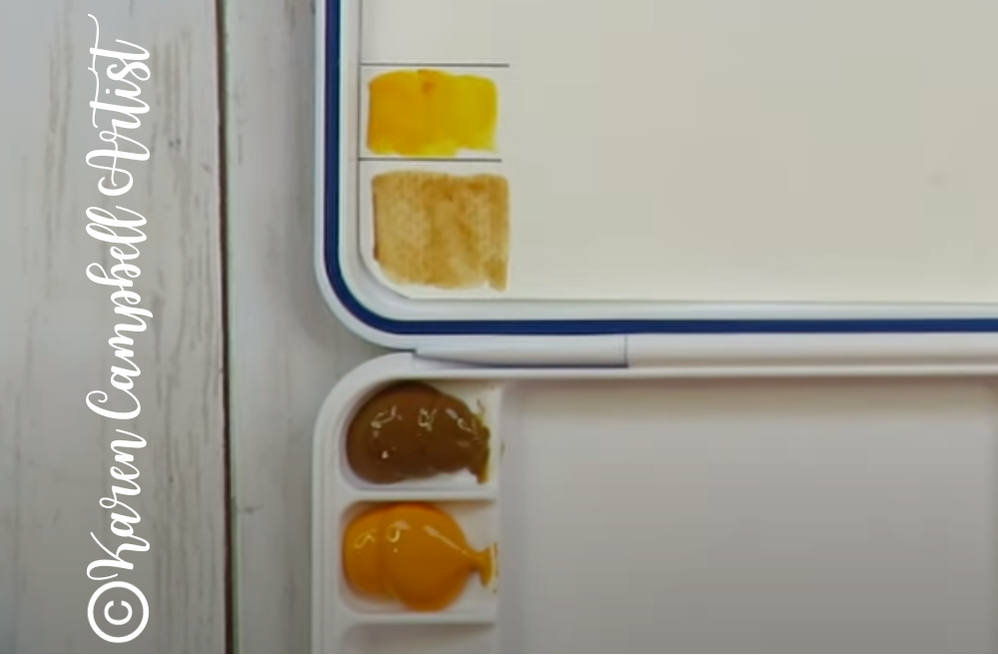
Not quite what you may have expected from the darker brown, right? This happens all the time.
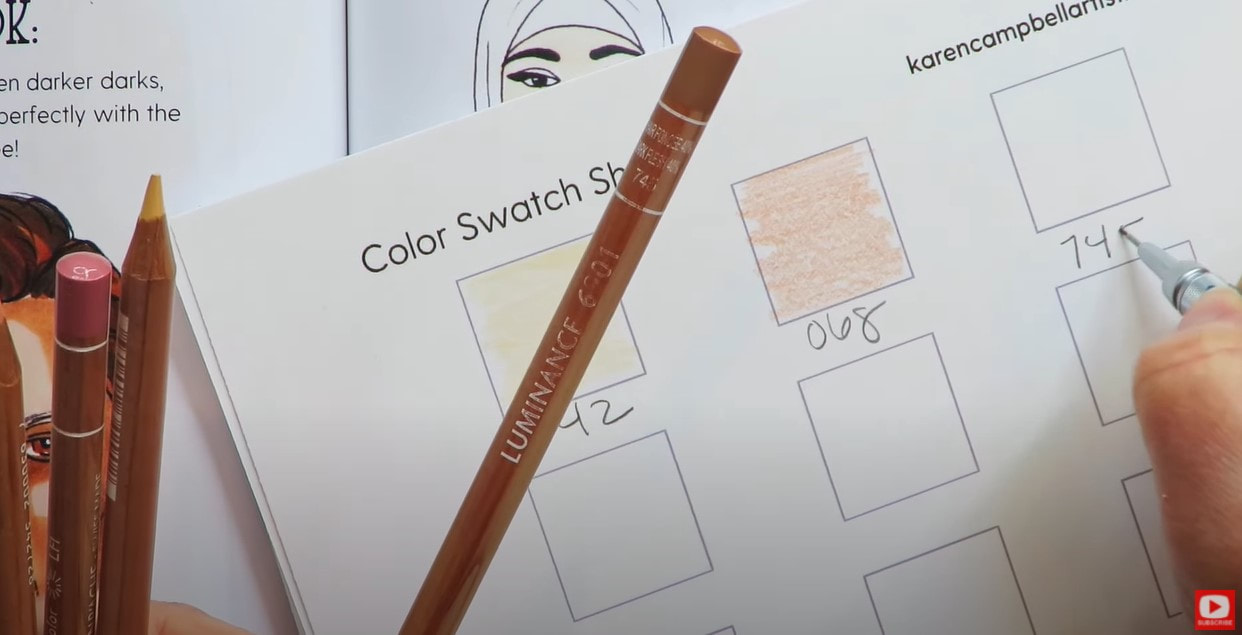
As an artist, I need to be able to quickly glance down at my watercolors and KNOW how they will look on paper. The only way I can do that is with a swatch card. If I've decided to squeeze a tiny amount of watercolor out to use each time I want to paint, and decided I want to use multiple watercolors, it can be SO easy to forget which blob of color is which. Another reason why it's essential to swatch! 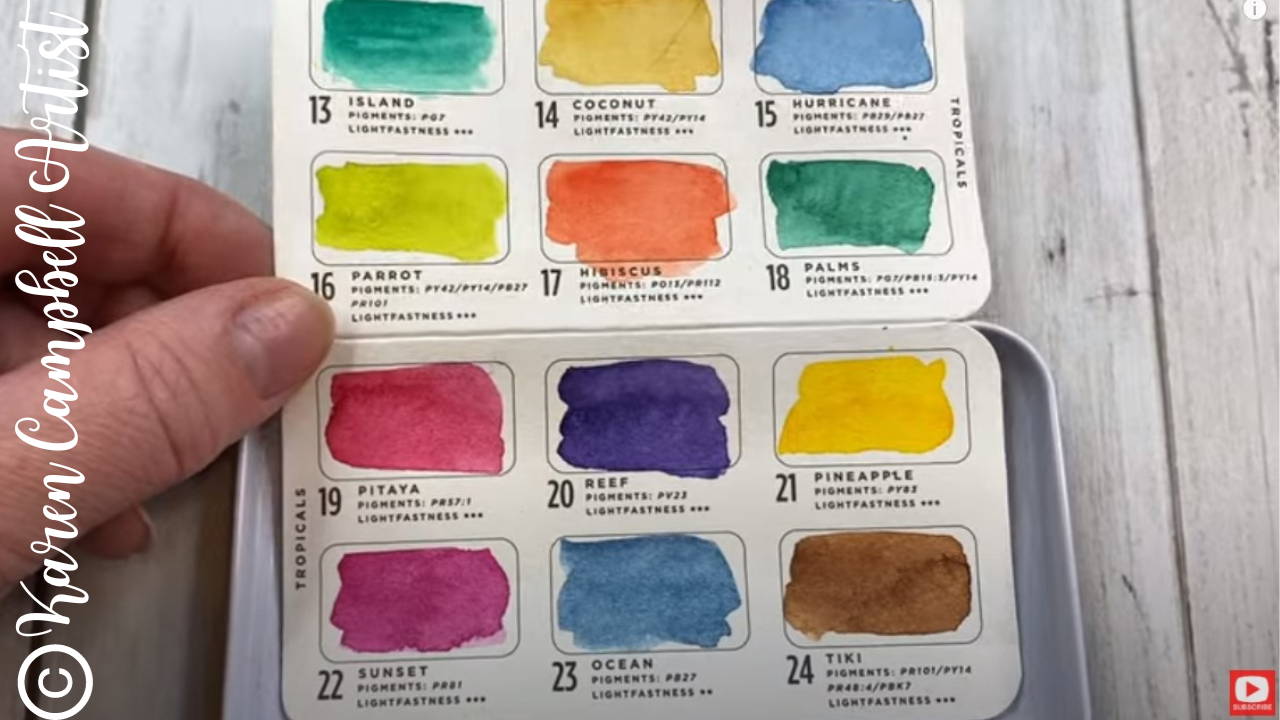
The second reason I don't work straight outta the tube and prefer to squeeze my watercolors into palettes is because I don't want to waste a single drop of my precious (and expensive!) watercolors.
When it comes to watercolor, we NEVER need as much as we think we do. So if you were to squeeze out a big blob of some beautiful expensive watercolor that you only needed a tiny bit of, what happens to the leftover? Does it get saved for a while, until you forget what color it was, and eventually dump it? I can't bear the thought!! 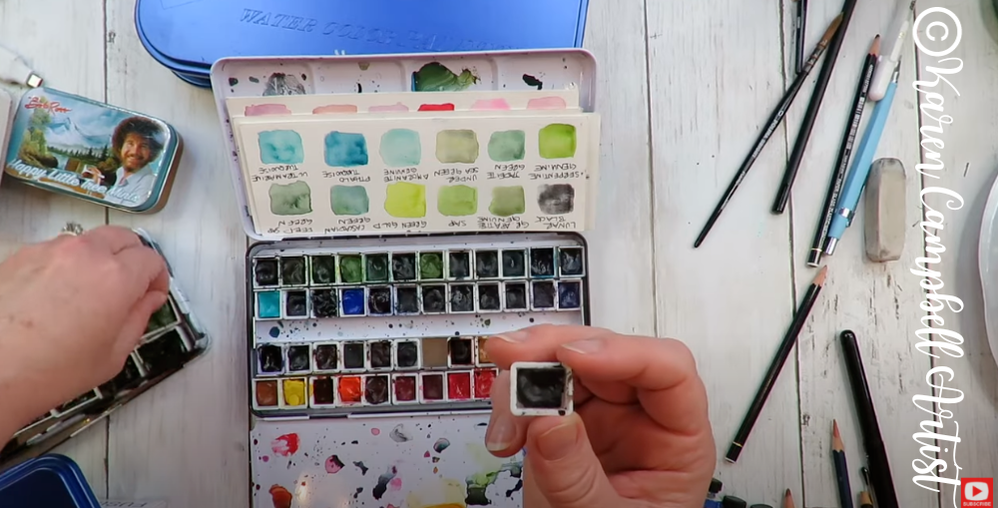
Enter, the watercolor palette solution!
As you'll see in today's video, I've tried a number of palettes over the years. The one pictured above started out as an empty watercolor tin with no little squares of color (these are called half pans). I purchased the little half pans separately, then squeezed my colors into each pan and snapped them into place. Cool, right!? This is an awesome way to store your colors and is very portable. You can use them at home or take them on the go like this. An empty watercolor tin like the one above doesn't come with a swatch card for colors, so you have to get a little creative to make one of your own. Click over to watch the video to see these ideas in action. 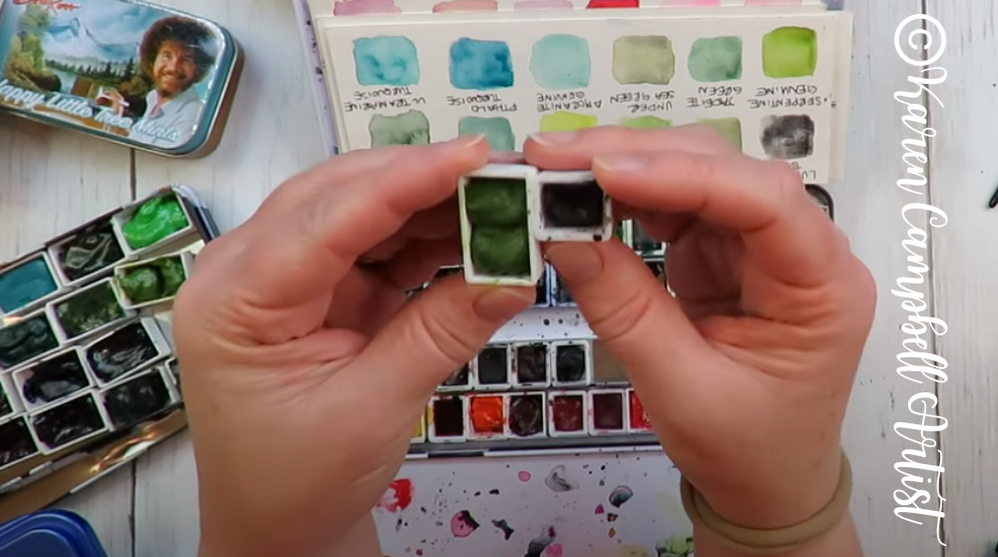
I've also made a few palettes using full pans of watercolor, like the one shown above, left. A full pan is exactly what it sounds like, double the size of the half pan.
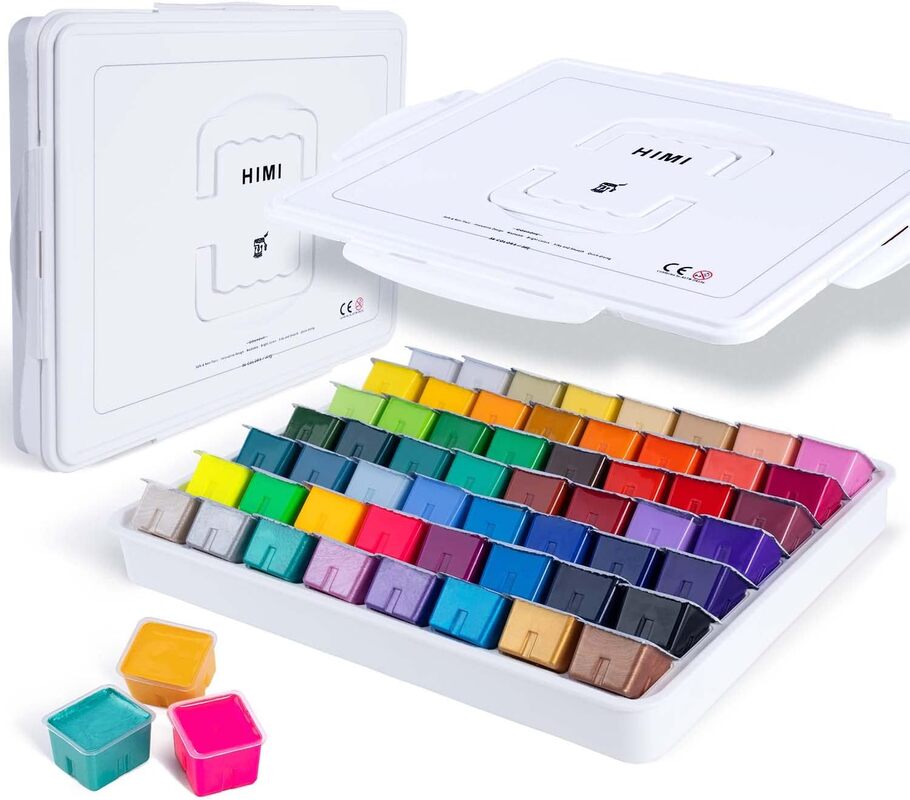
As you'll see in the video, I've tried everything from hot glue to magnets over the years to get my little pans to stick to the watercolor tin. They've all worked ok, but not amazingly well. That brings me to my FAVORITE way to store watercolors!! An empty palette with built-in wells. I've actually purchased at least four of these Mijello Airtight watercolor Fusion 18-well watercolor palettes because I love them SO much!! 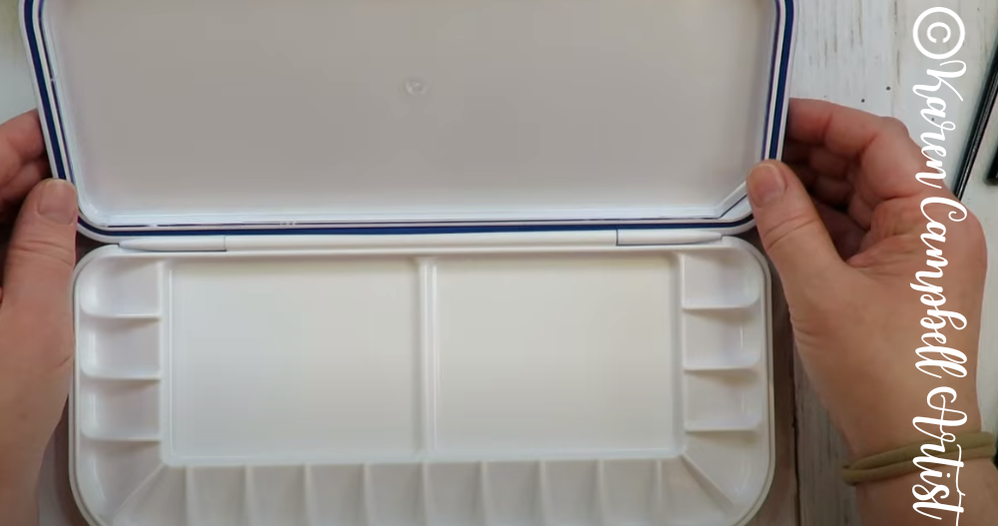
Cool, right?! Now I don't have to worry about my full or half pans sliding around or coming loose from the tin anymore! Perfect solution, right?!
I also love watercolor wells in a palette because they honestly hold more color than a half pan, but aren't quite the size of a full pan. The way the mixing trays have been arranged in this particular palette above, also makes it very accessible for my larger watercolor brushes! Another essential for me :) One more little bonus with this palette, I can create my own swatch card and store it neatly behind the removable, plastic mixing tray that snaps into the top cover of this set. Awesome, right?! 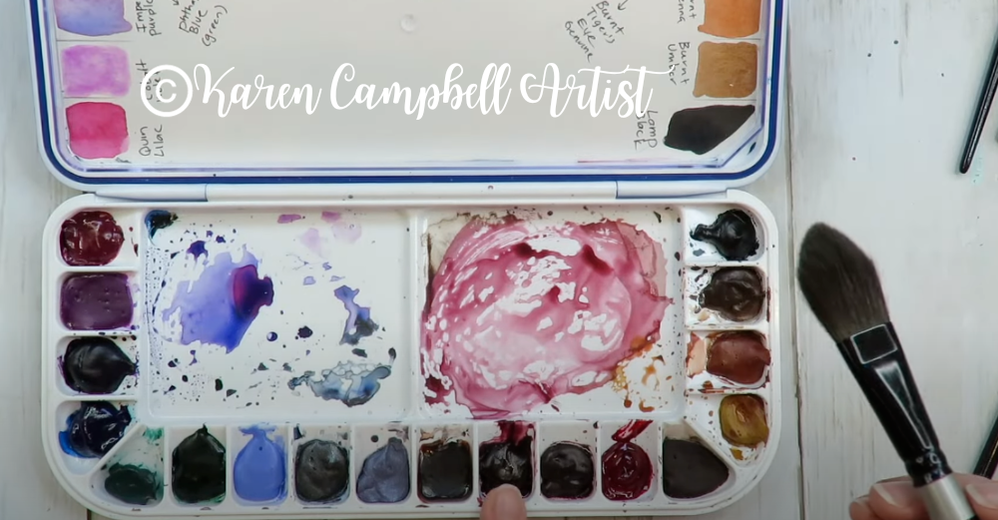
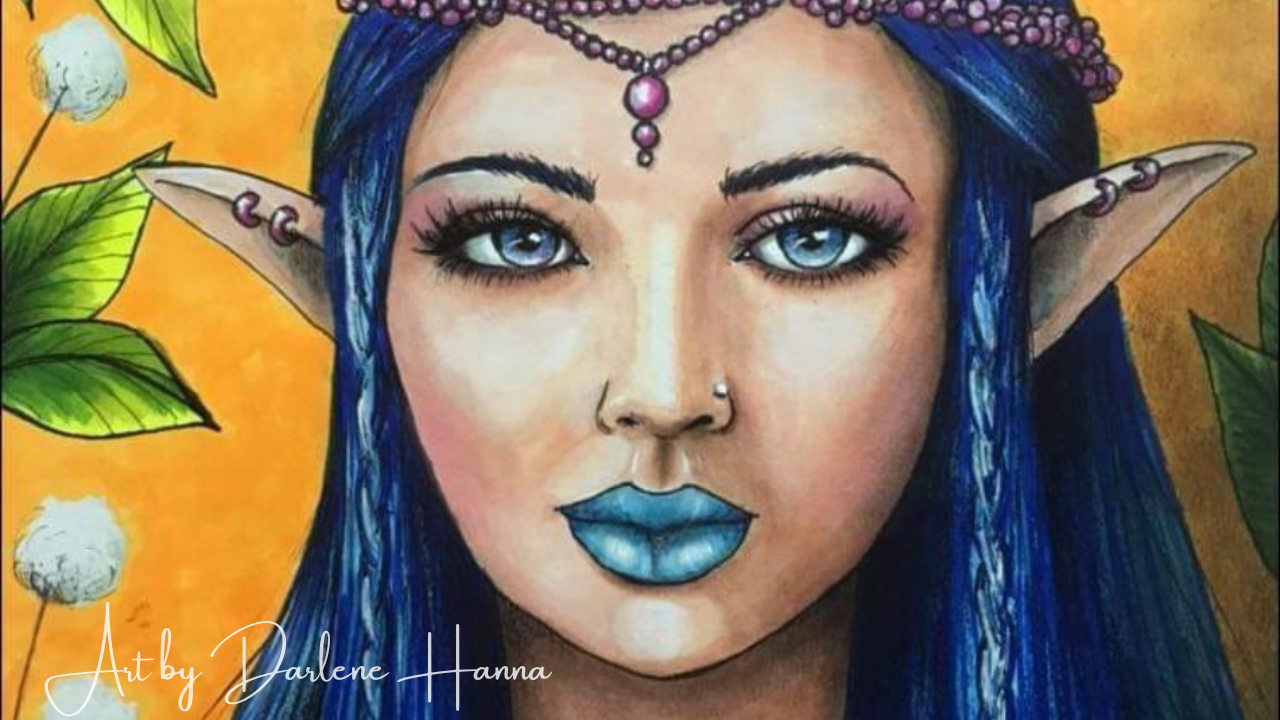
I hope you find today's video helpful for considering your own watercolor storage options at home! Thanks for hanging out with me today!! Make sure you stick around to the end to see this Spiderwick Fairy come to life for my fantasy art club membership called the Celtic Collective! 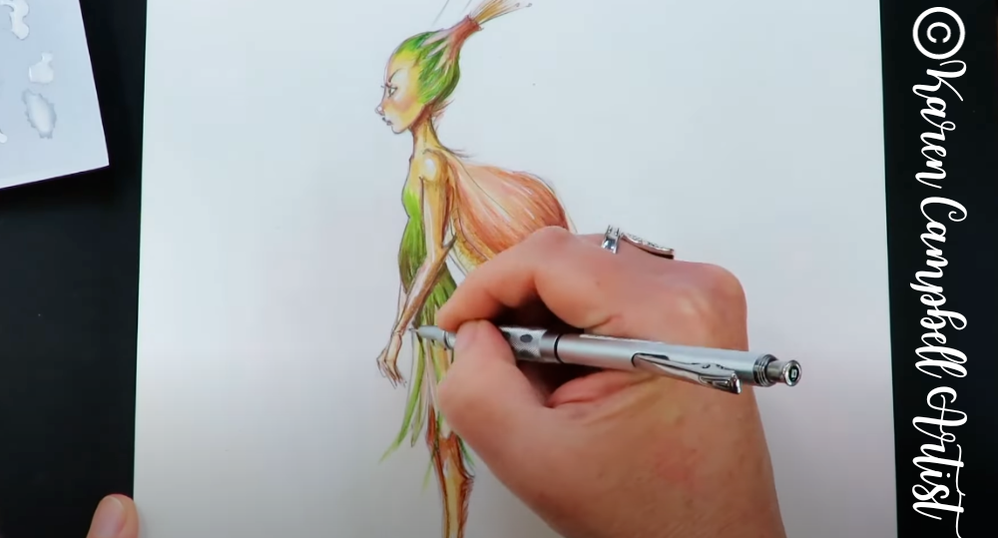
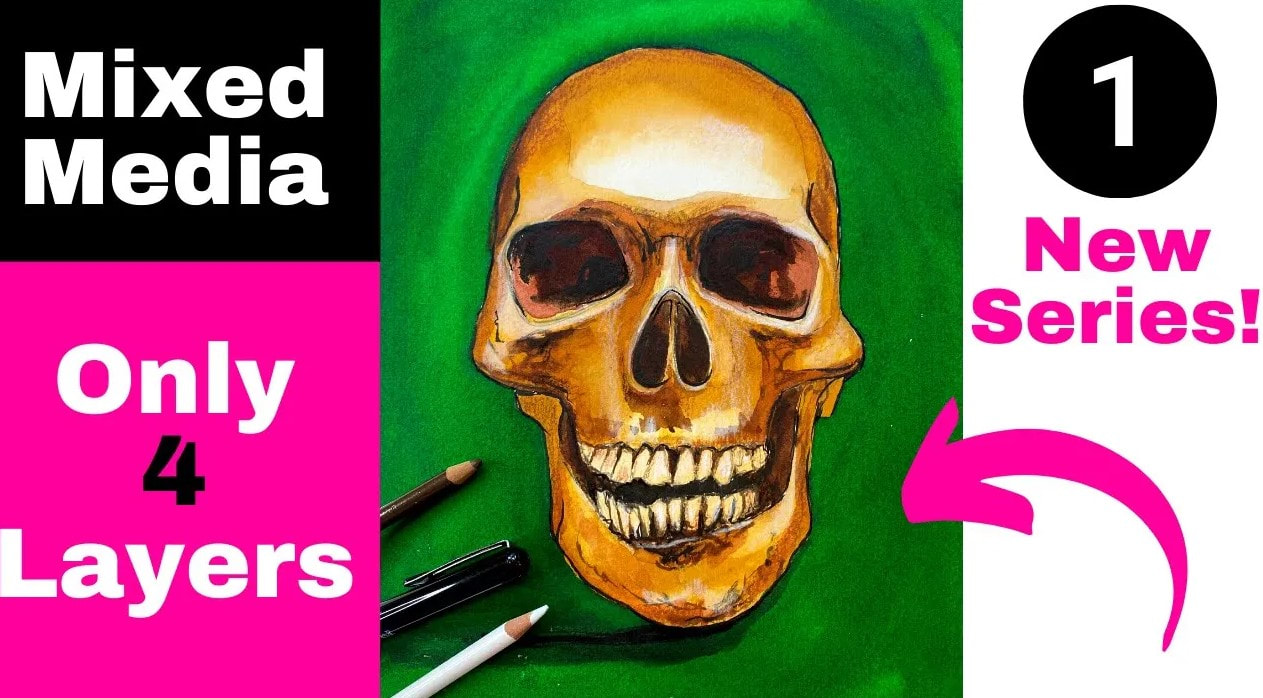
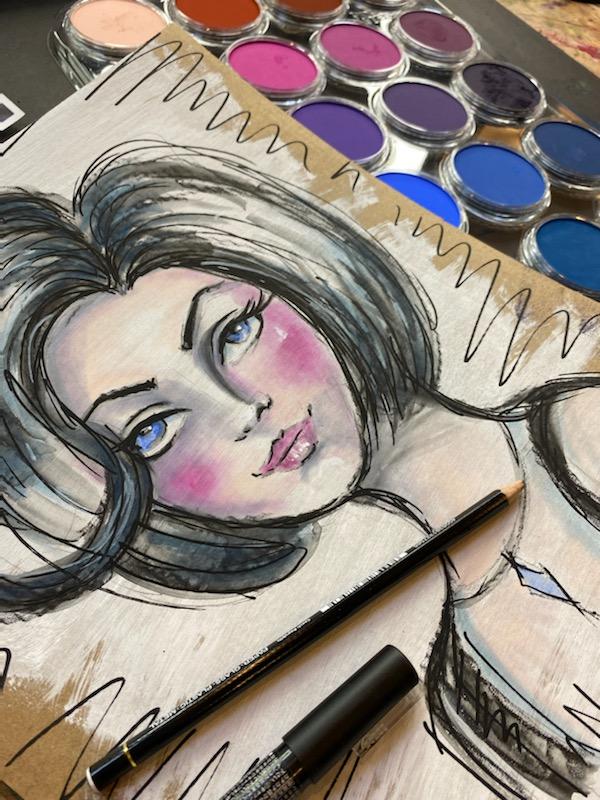
Love How I Added Colored Pencil OVER My Watercolors?
Me toooooo!! Did you know the addition of that ONE super simple art supply makes this a piece of mixed media art?! So cool, right?!
Mixed media art doesn't always have to mean doing collage and using tons of art supplies. Sometimes it's just a combination of a few art supplies. ?♀️Wondering what other art supplies go well together like watercolors and colored pencils? You need my FREE HOT DOG PACKET! Say wha????! It's a free 32-page PDF filled with tried-and-true mixed media art supply combos (4 supplies or less!) that my artsy friends and I have come up with together. Even better, I've got a WHOLE YouTube series all about it. Also for FREE! Simply click the button below, and I'll send it straight to your inbox! 
What to Watch Next
Watercolors also come in ready-to-use pans or half pans like the adorable sets by Prima that I've been reviewing on YouTube lately. Check out this playlist to learn more about them and which ones I love most!

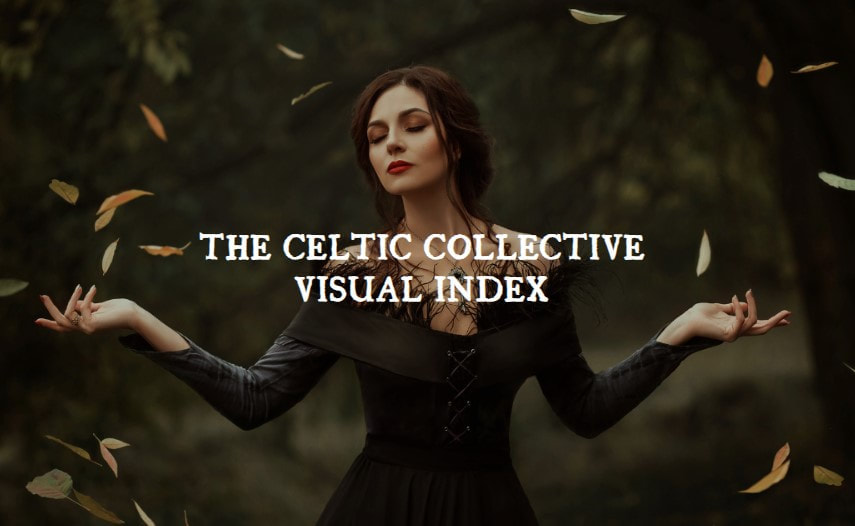
What's the Celtic Collective?
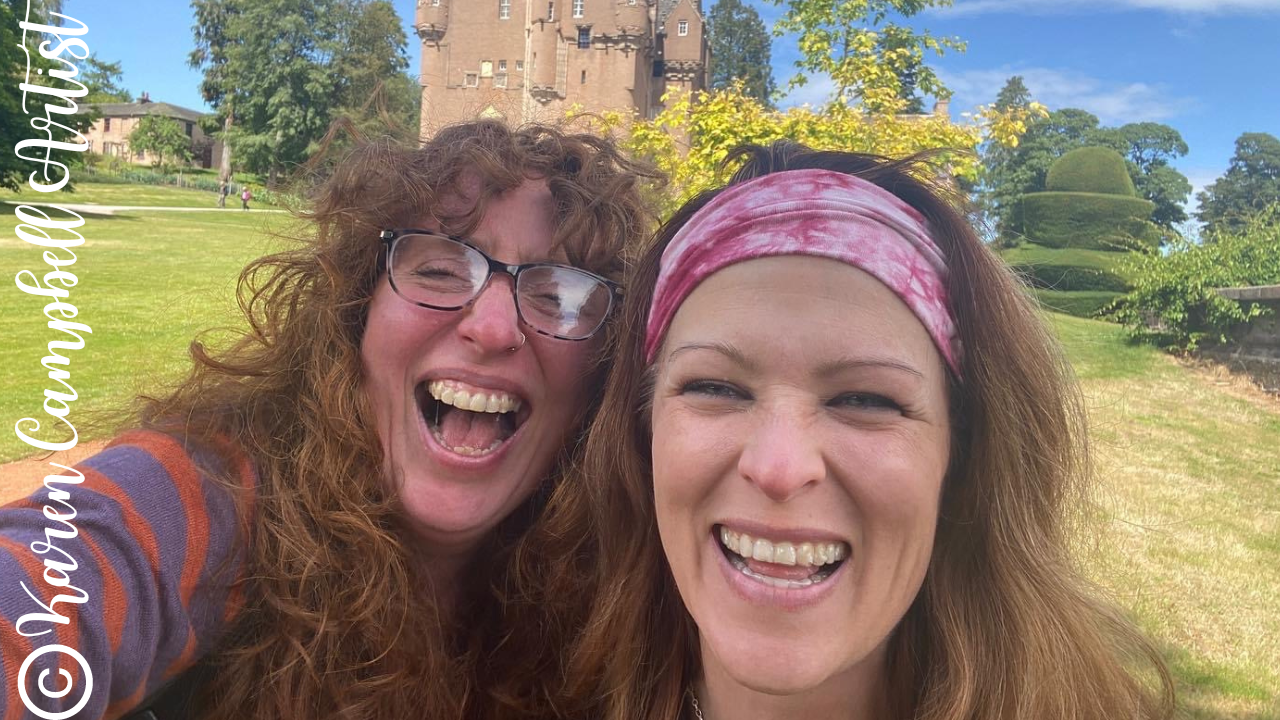
The Celtic Collective is an online fantasy art themed membership that I co-host with my Scottish bestie, Lucy Brydon, over at Awesome Art School! We have an absolute blast together creating beautiful lessons of mermaids, fairies, castles, unicorns, and SO much more for our students.
Want a sneak peek at ALL the projects inside the club?! Check out our Visual Index to see what we've been up to :)
Need More Resources?
❤️ CHECK OUT ALL my art books on AMAZON
❤️ MY FAVORITE ART SUPPLIES on AMAZON (affiliate links) ❤️ MY BELOVED FACEBOOK GROUP
0 Comments
I get asked ALL the time about which mixed media art supplies can be layered ON TOP of watercolor (and other water-soluble art supplies!).
Today on my Mixed Media YouTube channel, I'm demo-ing a couple of my favorite art supply combos to use with watercolor, PLUS sharing an entire 32-page PDF full of tried-and-true mixed media art supply combos from other artists that you might want to try at home in your own projects! 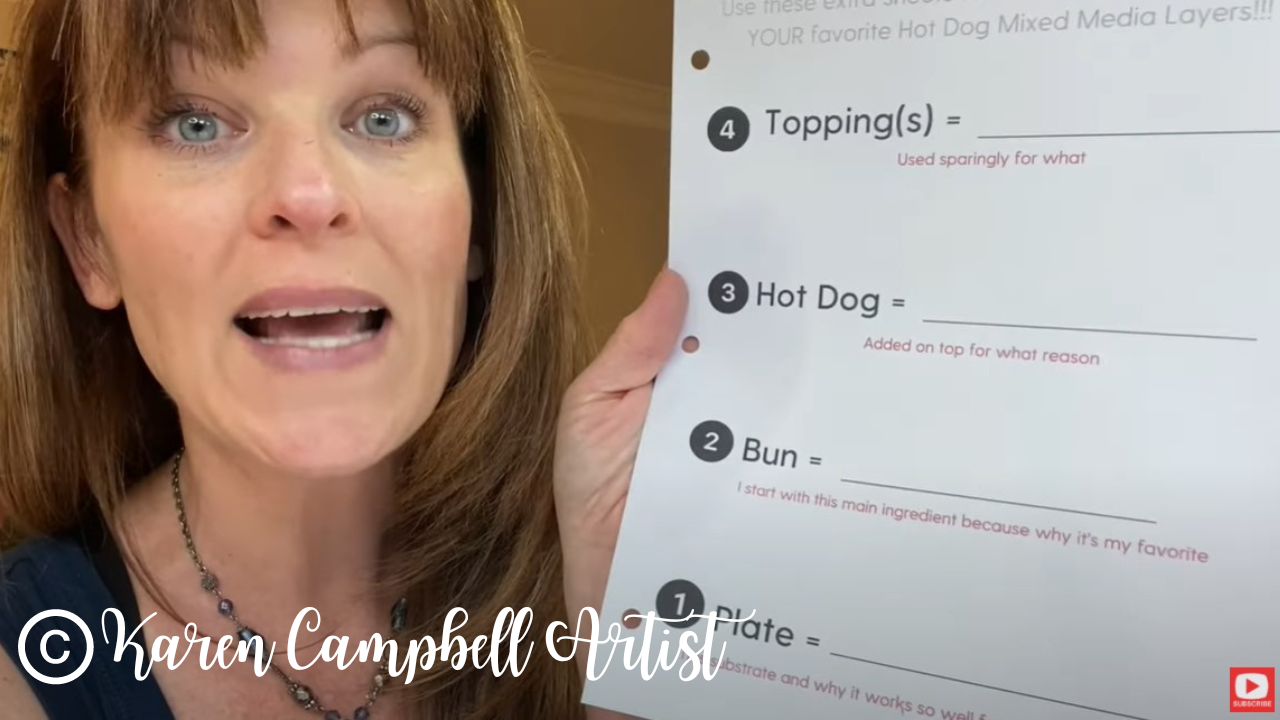
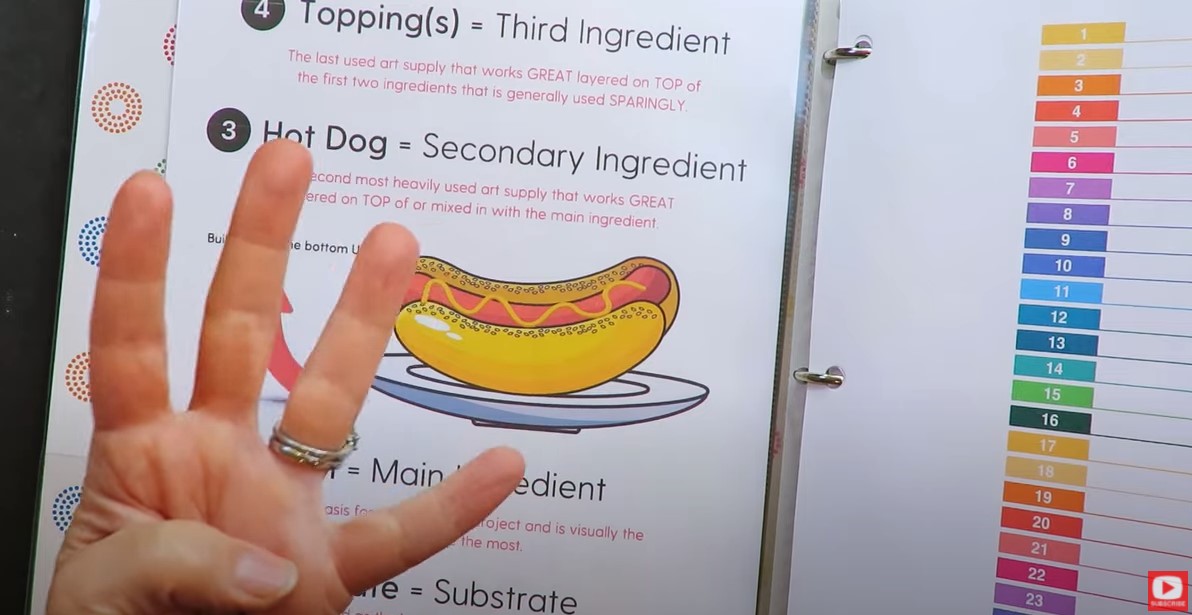
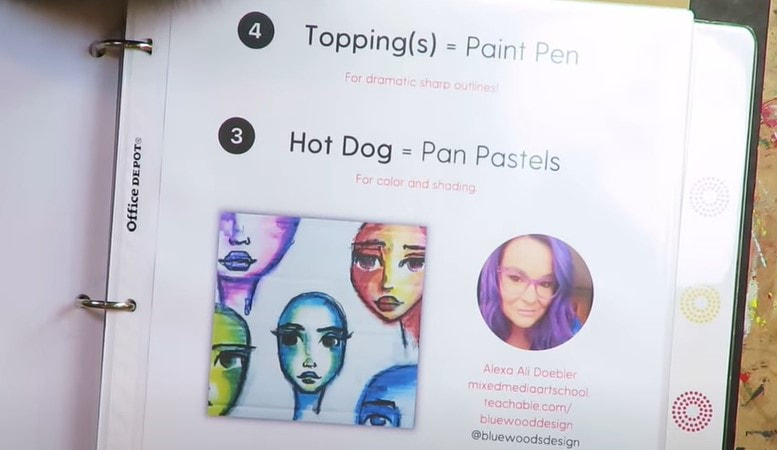
As you'll in today's video, I'm referencing my FREE 32-page "Hot Dog Packet." The "hot dog system" is the EASY mixed media layering process I use when I only want to use a couple of art supplies to create a project and be done. The main way this differs from my Mixed Media Hamburger System, is fewer layers (no collage) and fewer supplies.
Since I of course don't have all the answers and love learning just as much as I love teaching - I reached out to a number of my artsy friends a while back, and asked them which mixed media art supply combos they loved. I compiled all their answers in the "Hot Dog Packet" so you know exactly which mixed media art supplies to reach for to create a masterpiece instead of a hot mess express! CLICK HERE or press the button below to download your own FREE copy of the "Hot Dog Packet" so you can follow along at home!
The "Hot Dog Packet" also includes BLANK "hot dog worksheets" that you can fill in with your OWN favorite mixed media art supply combos when you discover combos you love and want to use again. Enjoy!!

*All Product links are affiliate and for U.S. Residents only.*
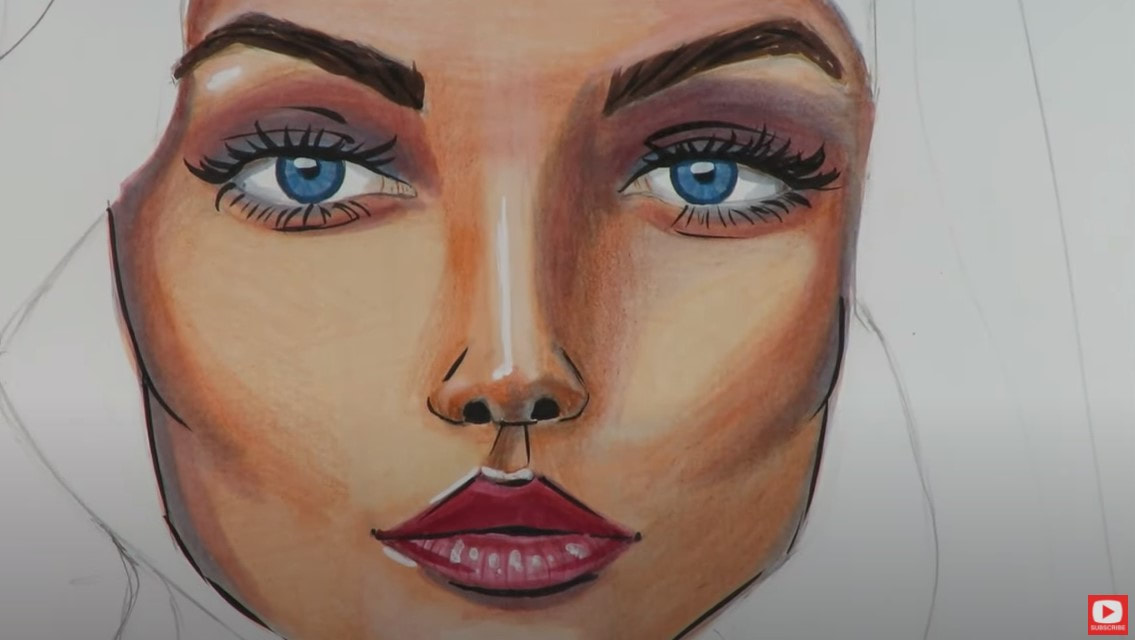
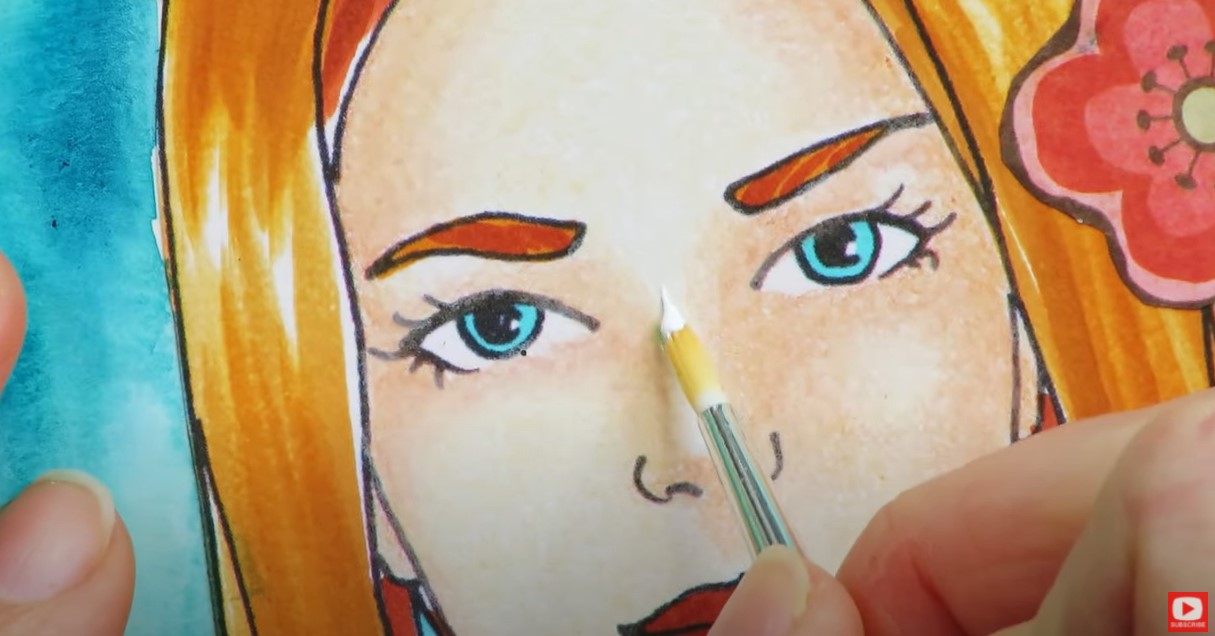
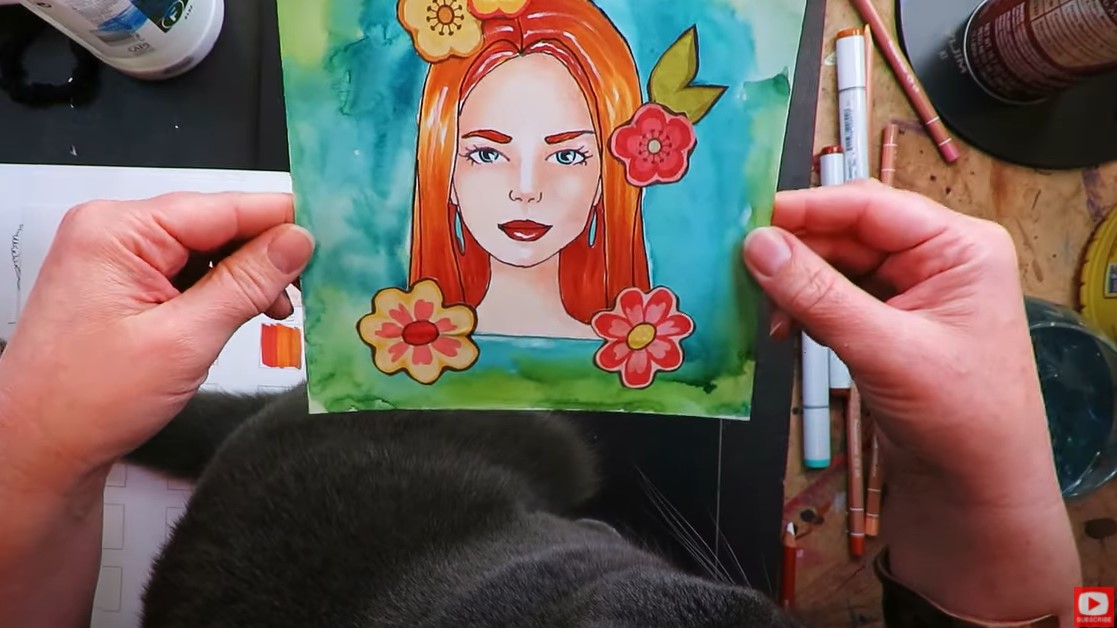
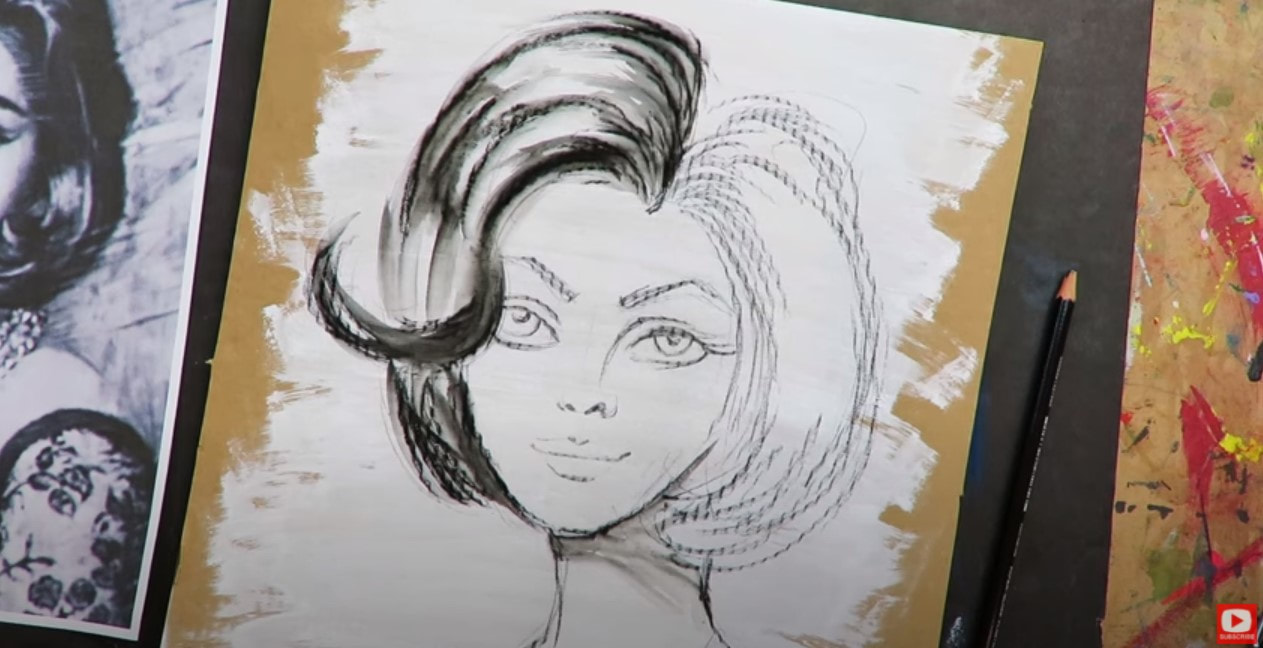
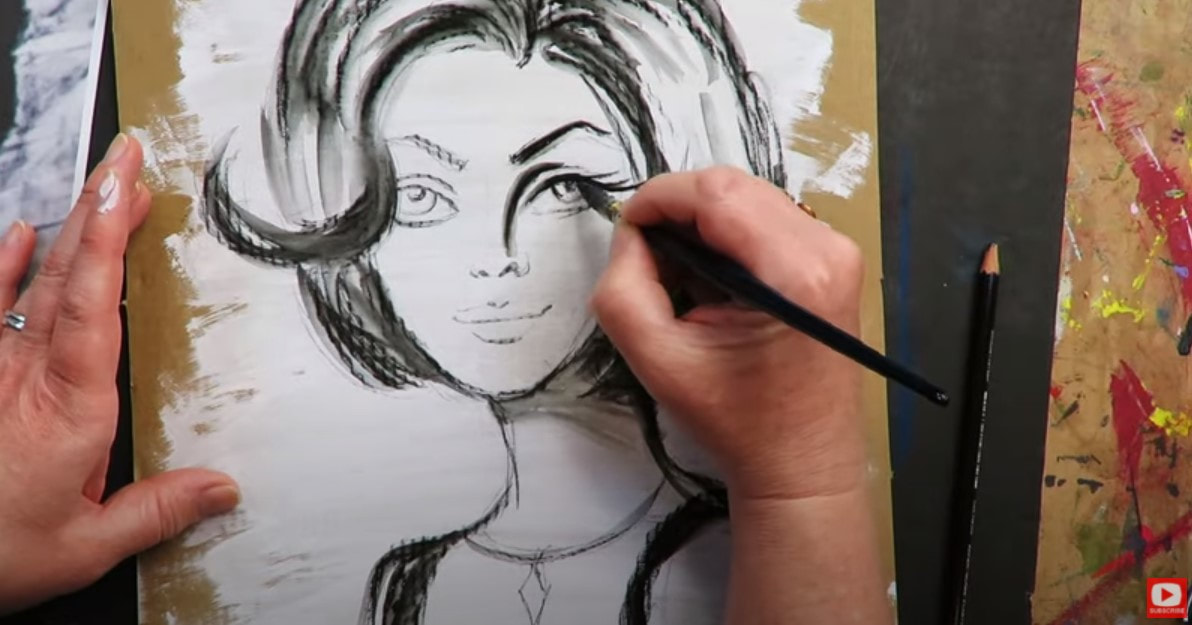
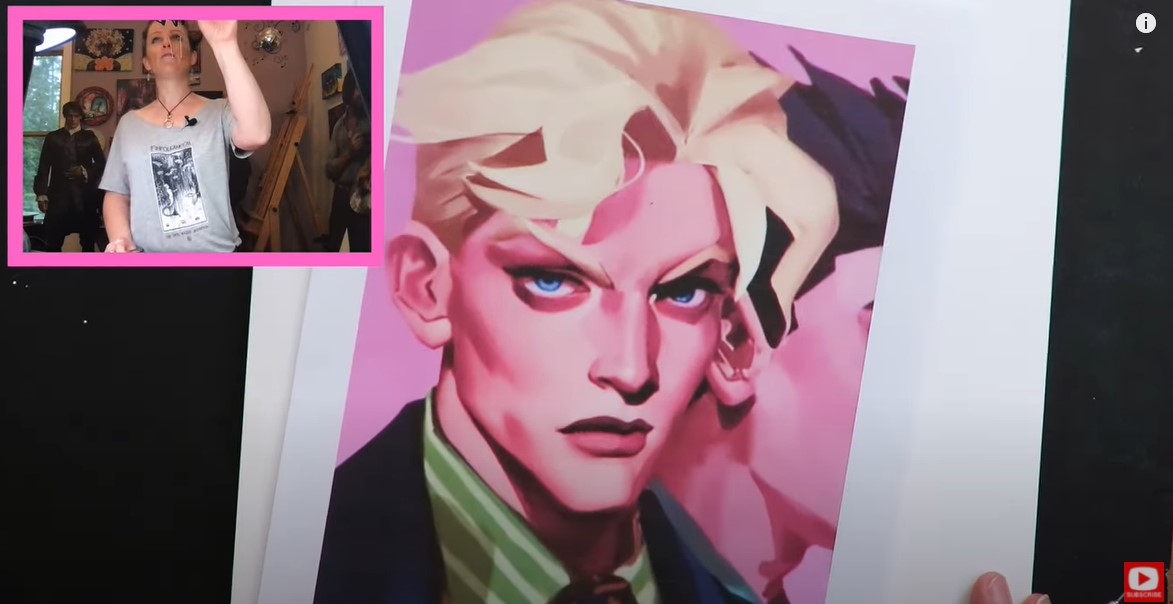
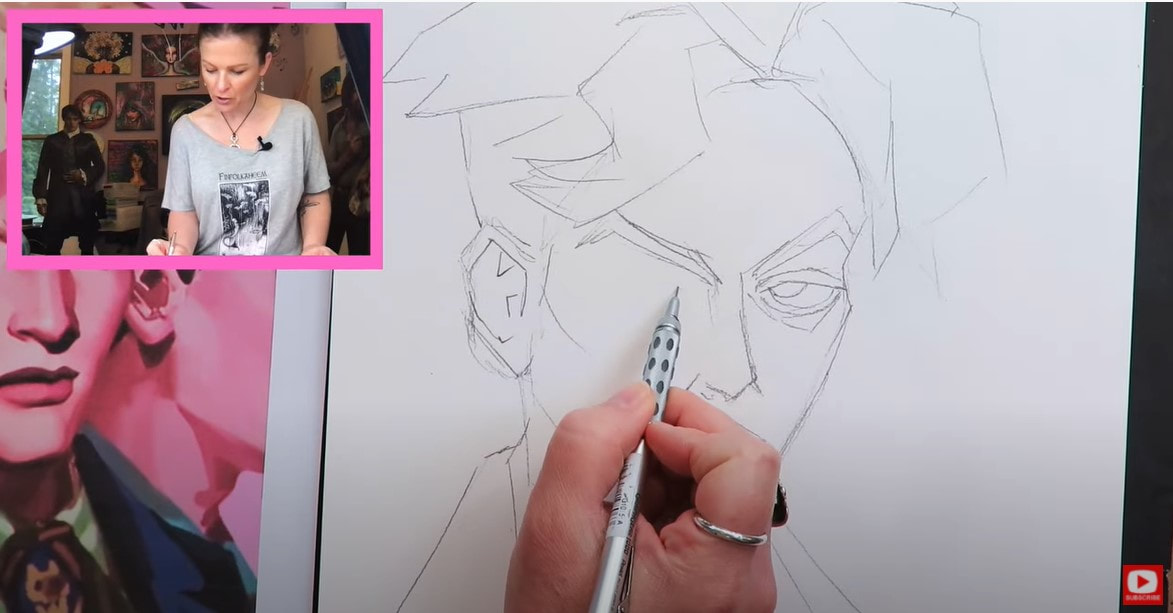
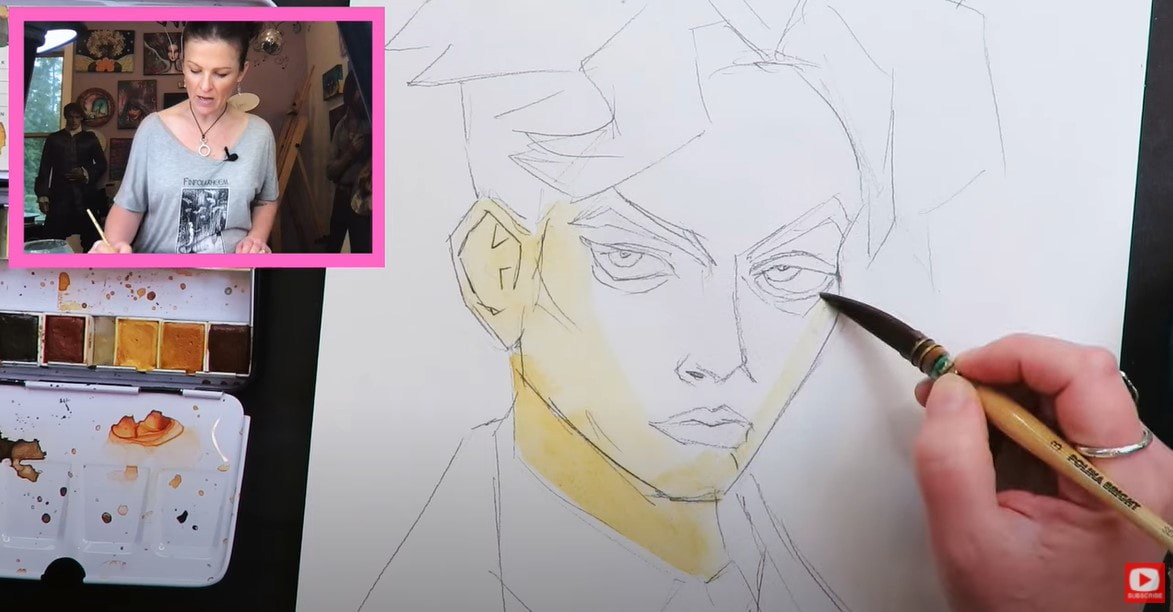
During today's demo, you might notice I'm going to be watercoloring the "anime goddess" I drew on my YouTube drawing channel last week during my book review of How to Draw Anime and Manga for Beginners (highly recommend that book, by the way- grab it here on Amazon).

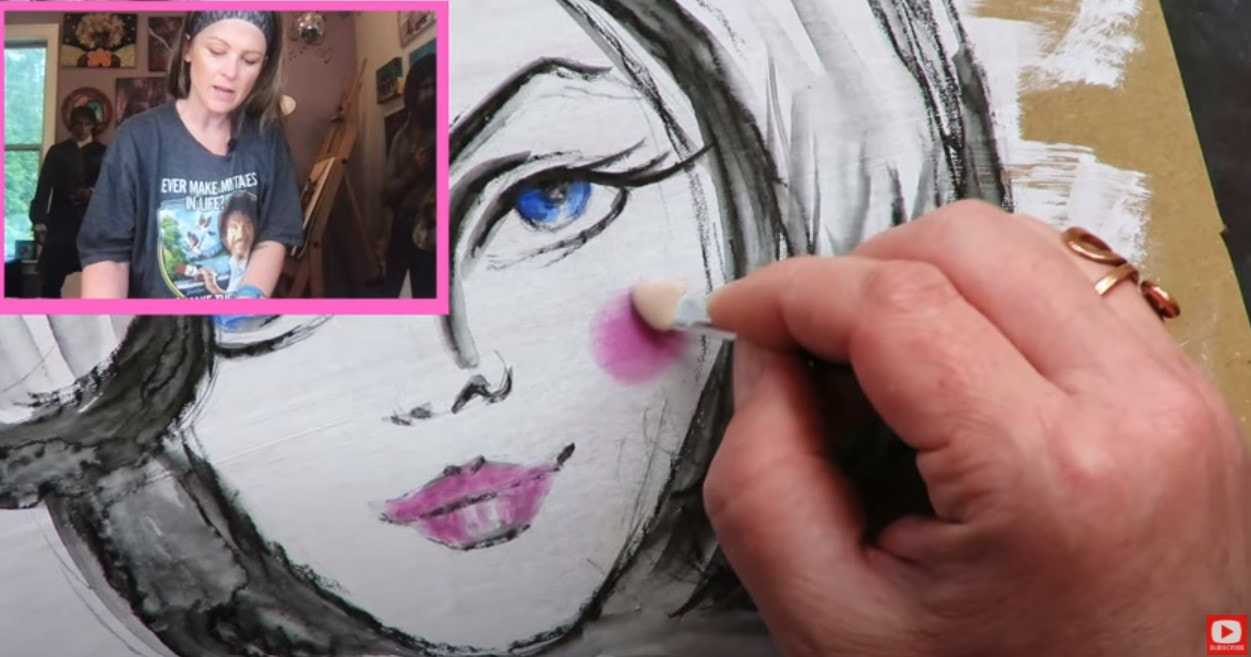
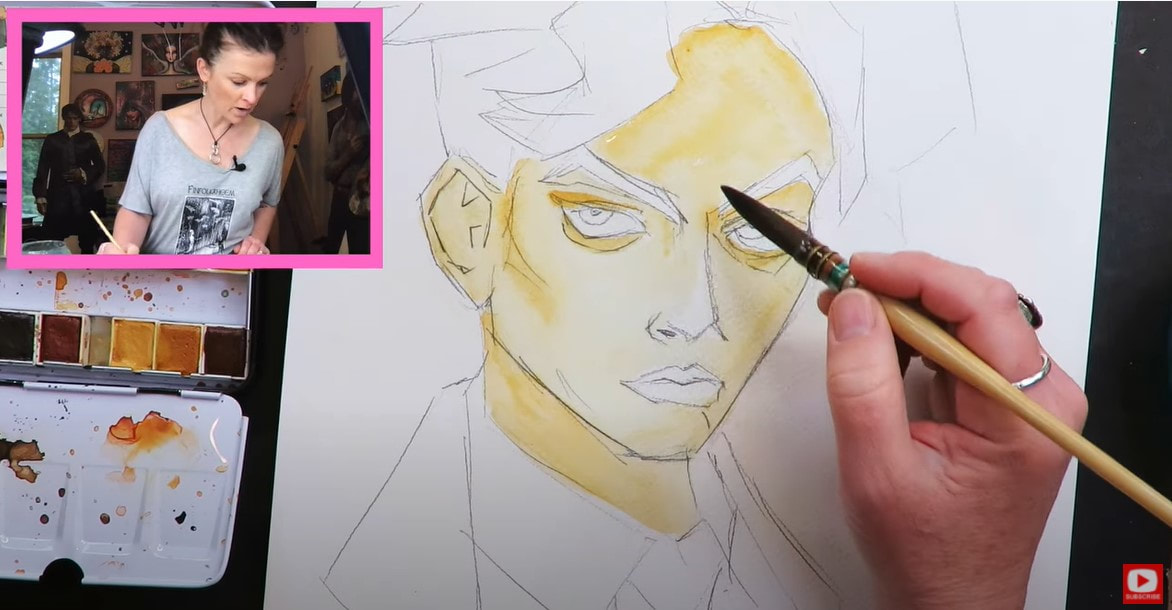
Today I'm using another cute little watercolor set by Prima called Essence. You can grab one off of Amazon here if you'd like. This is the third Prima watercolor palette I've reviewed on my Mixed Media YouTube channel. I'm not gonna lie, this particular set is not my favorite, but that's ok.
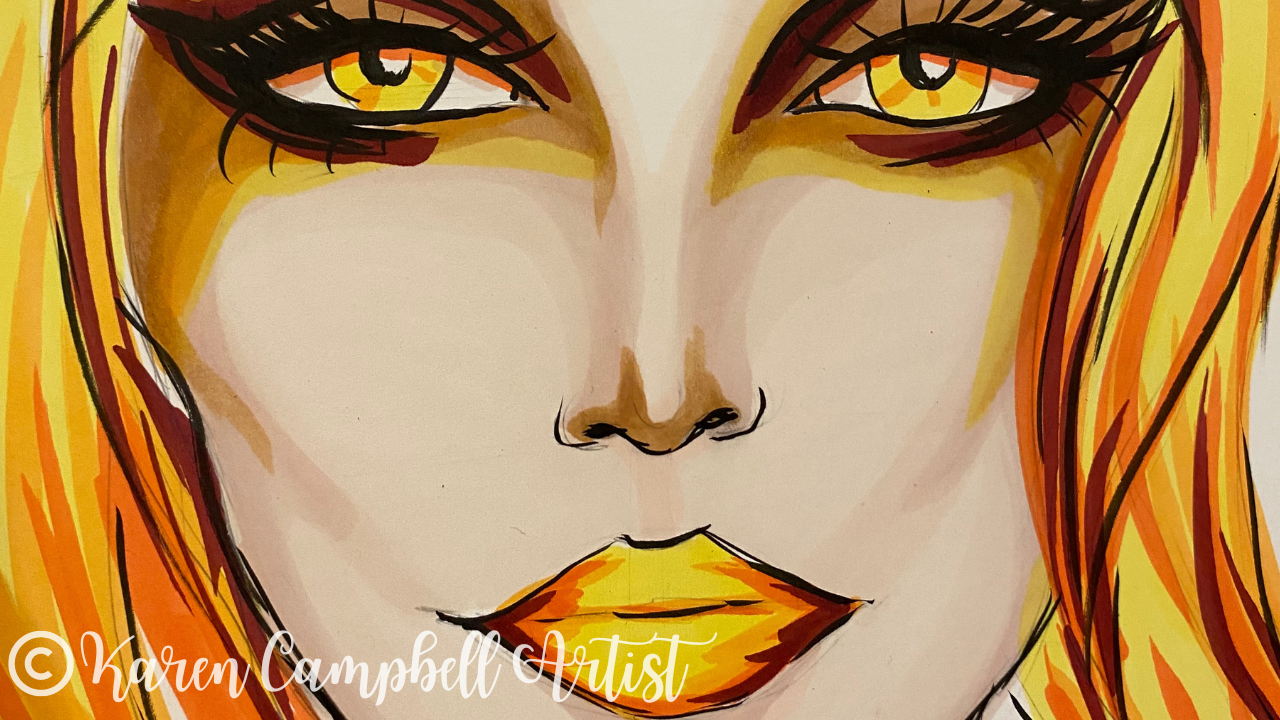
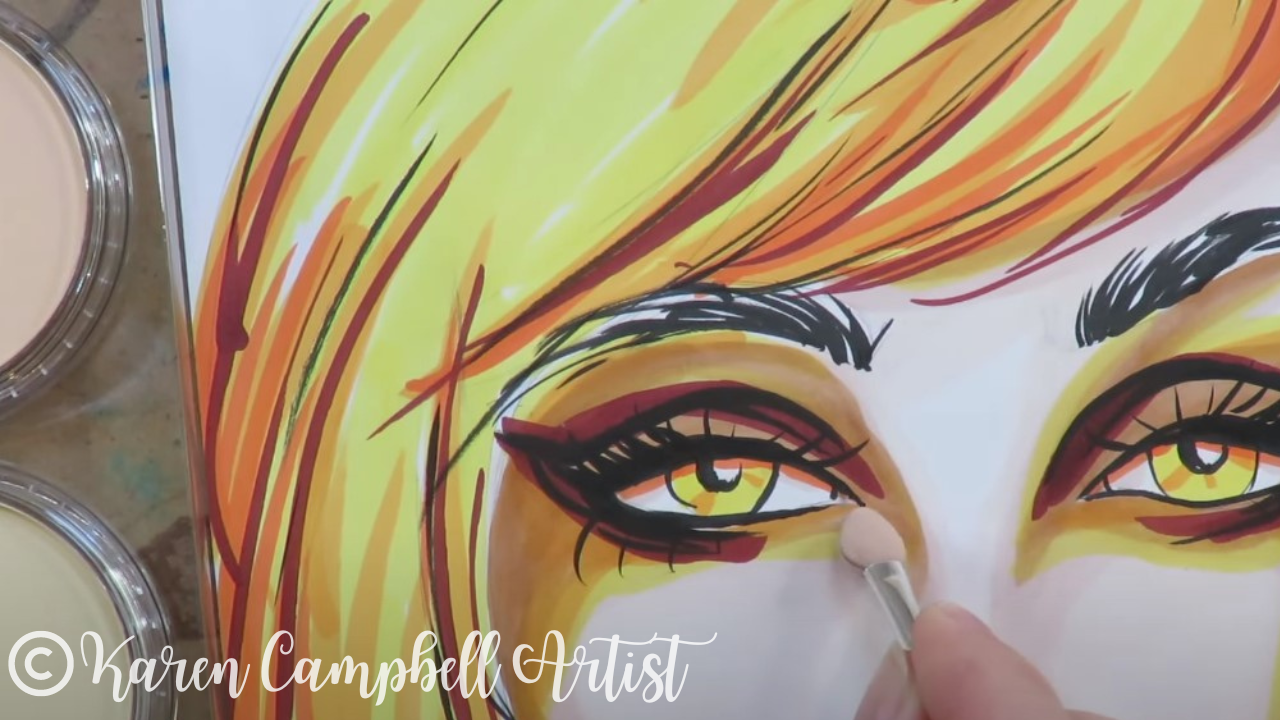
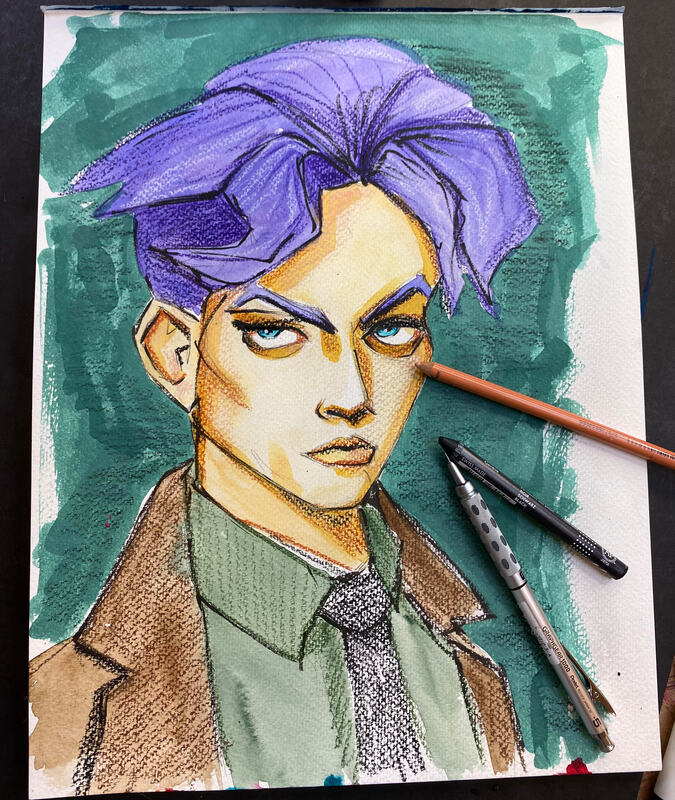
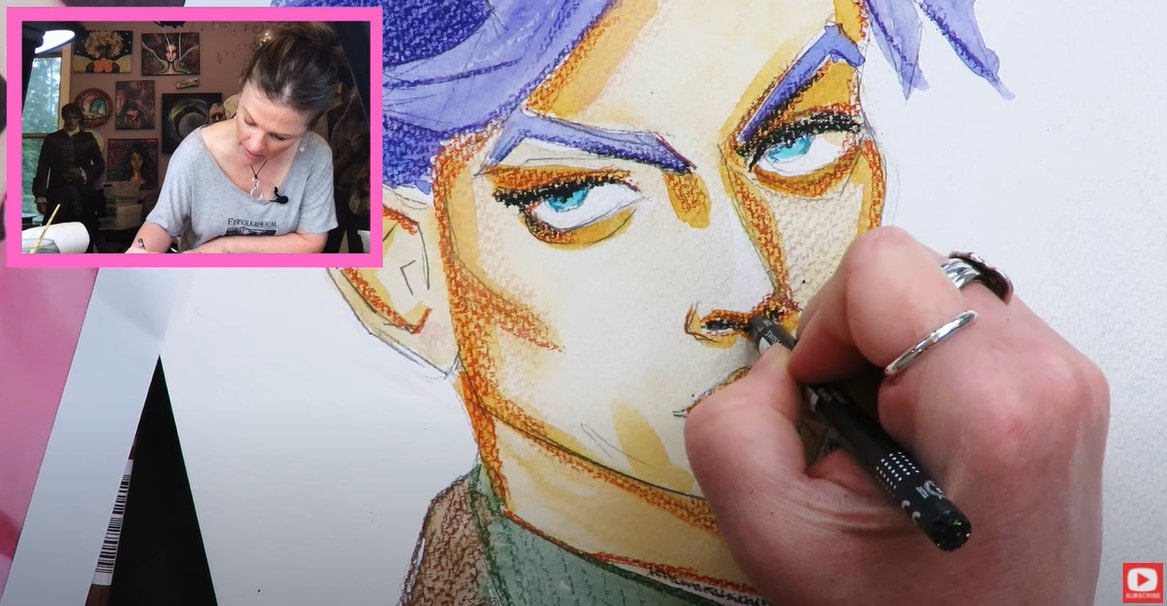
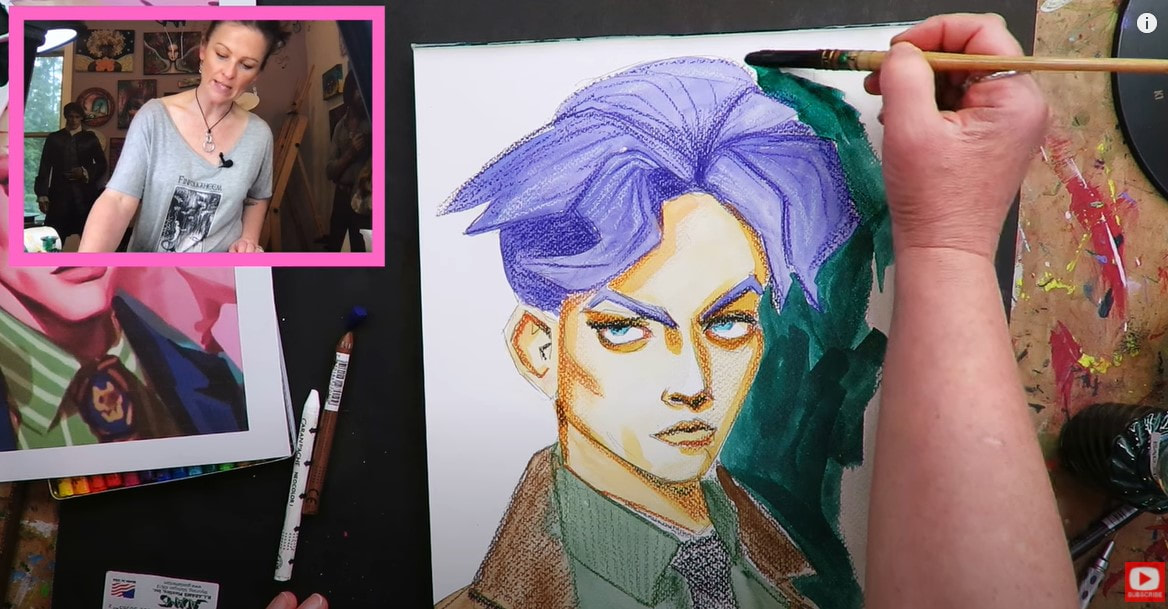
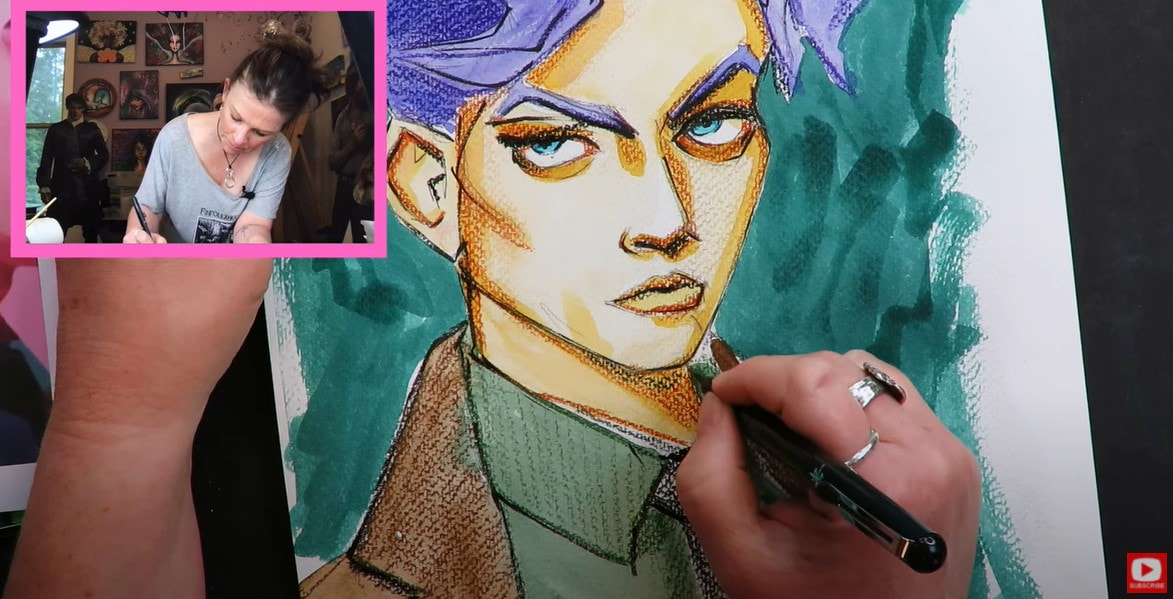
I think the Current set (blues & greens), is still my favorite (used to create this handsome dude below; watch that video here). 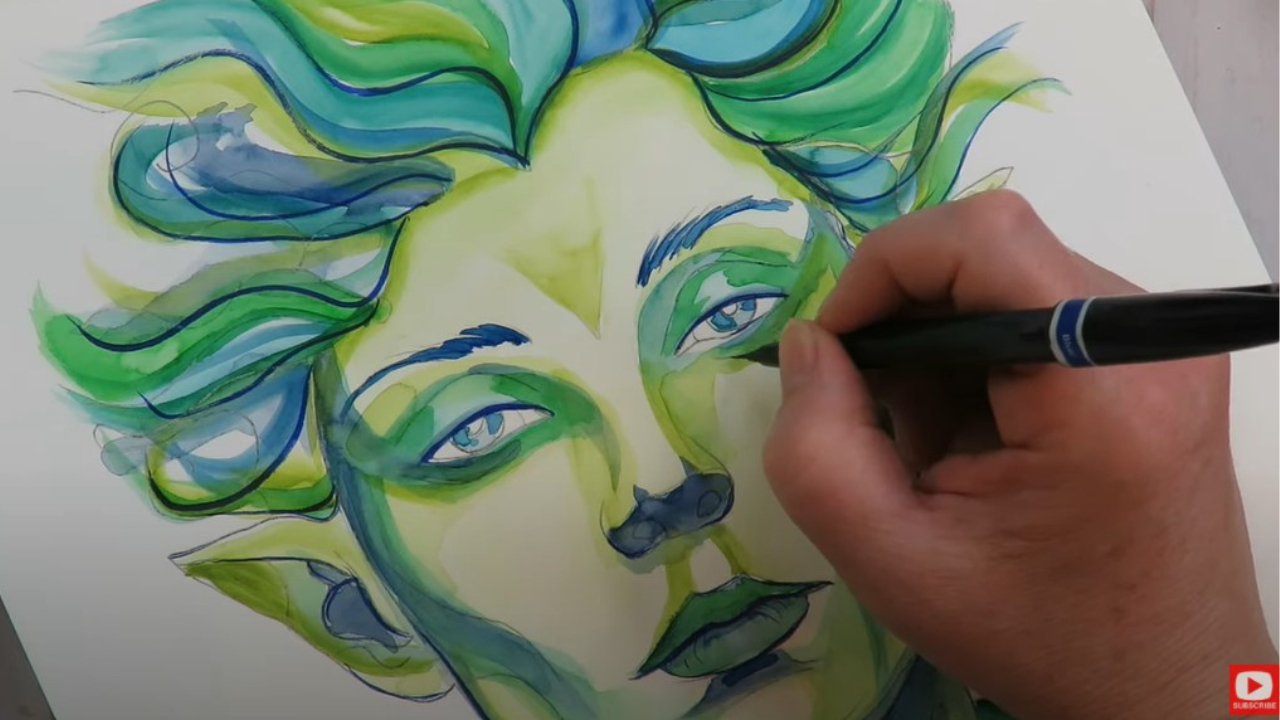
In case you haven't seen my other Prima watercolor set reviews, and are looking for a fine art quality palette - these little sets are NOT what you're looking for (Click here to watch How to Start Your First Daniel Smith Watercolor Collection).
Like anything, you get what you pay for. Prima watercolor sets include 12 watercolors and run around $25 or less on Amazon. They are PERFECT for beginners - especially if you've never tried watercolor, and aren't sure if you'll even enjoy it. The quality and value you'll get out of these little palettes in insane. 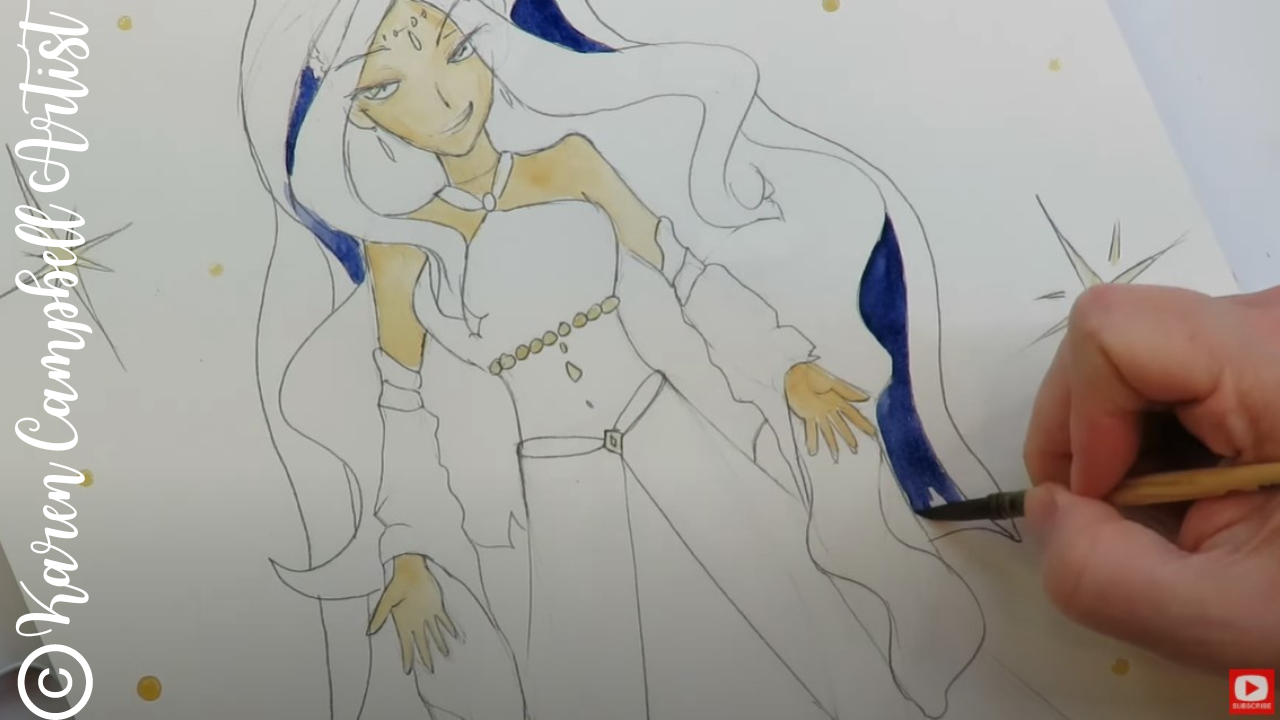
If you're NOT a watercolor beginner, I think these Prima palettes are are still "good enough" quality for just playing around and having a little fun. I can definitely tell the difference between these and my Daniel Smith watercolor collection. These are definitely a bit of a downgrade. But... they're an awesome size to use for travel if you enjoy art-ing on the go.
And I really do think Prima does a great job of compiling striking assortments of colors that go together well so you can sit right down and start creating a project with confidence. This is ESPECIALLY true with their Currents collection :) 
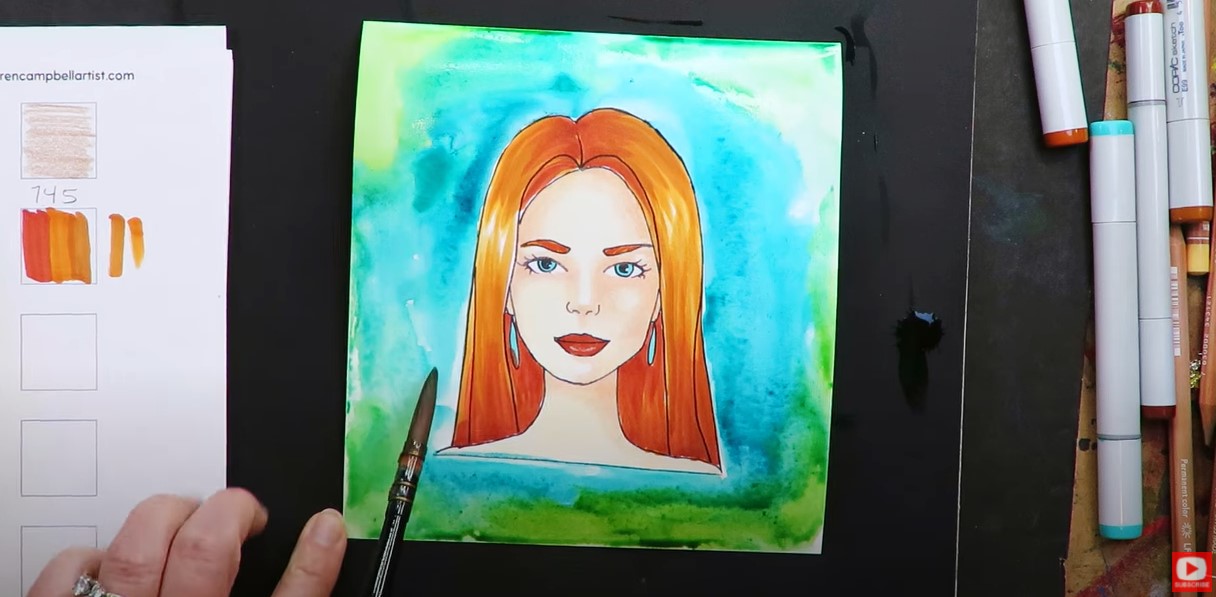
If you were hanging out with me a couple of weeks ago on my Mixed Media YouTube channel, I demo'd three easy watercolor techniques for beginners. One of those techniques was wet-on-wet watercoloring, which you'll totally notice is used in the entire background for today's project.
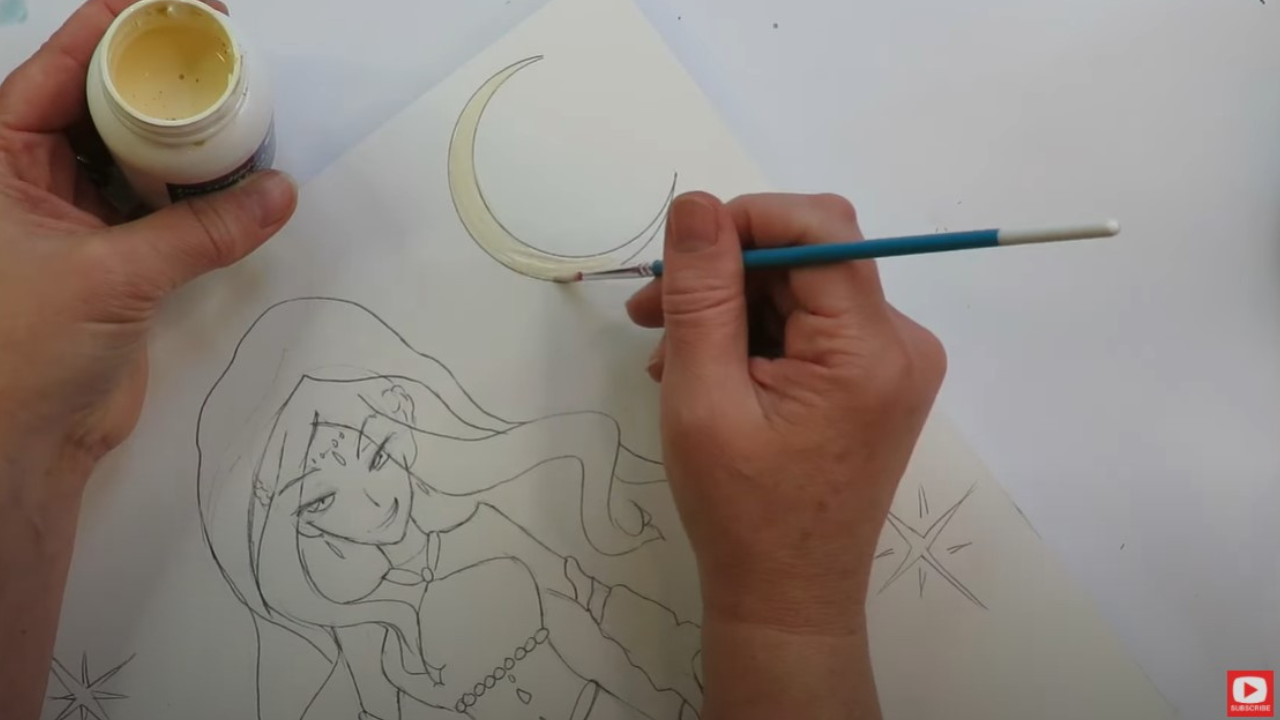
Before I even dive into my watercolors, I prepped my watercolor paper used a little masking fluid, or frisket, so I can keep the stars in my background super white while I watercolor the rest of this project!
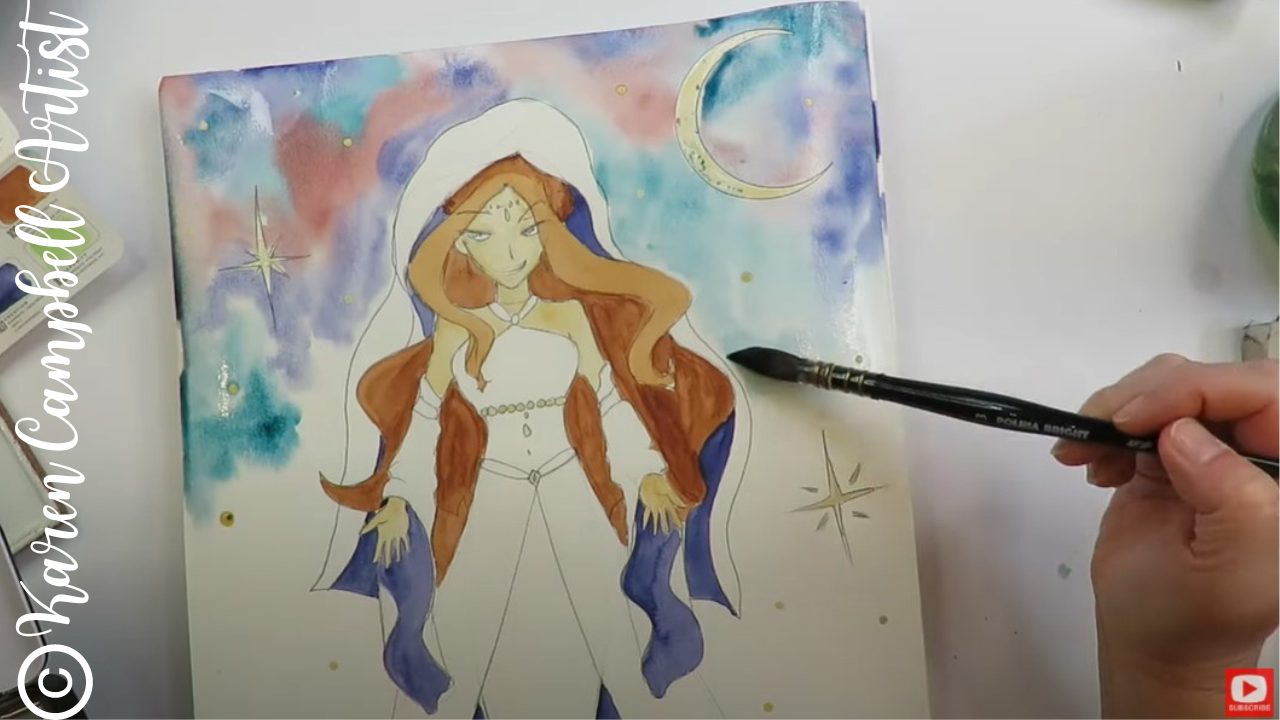
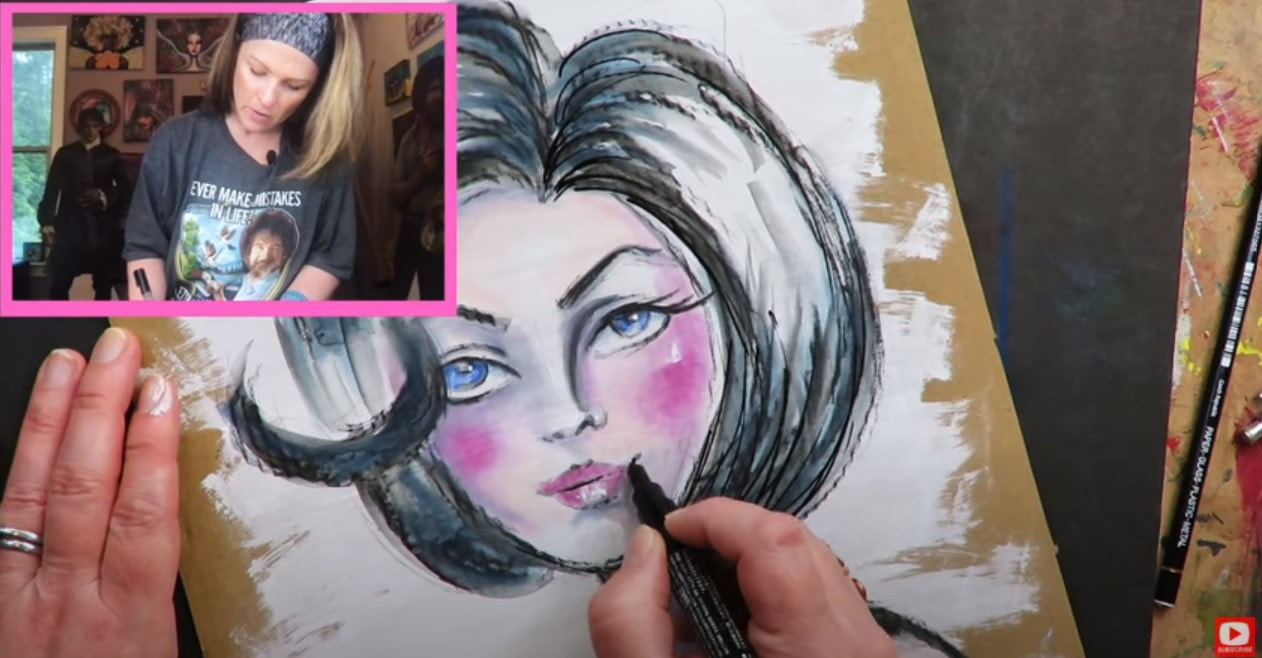
As you'll see in the video, after finishing my wet-on-wet background, I was feeling a little underwhelmed with the Essence palette and frankly the boldness of watercolor in general.
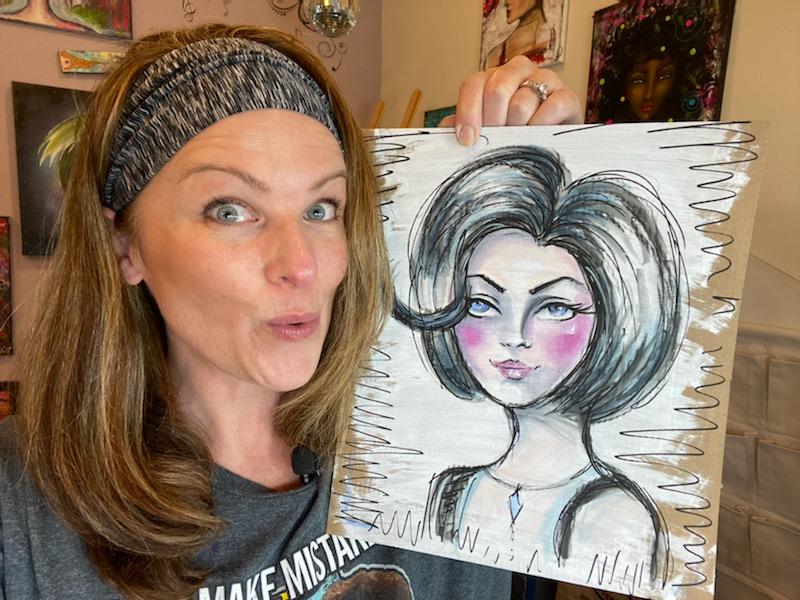
This is something I struggle with often about watercolor because I LOVE bold and vibrant colors. A lot of the time watercolor - even the expensive ones- can leave me wanting something more. When I'm feeling like this, I might add in some Noodler's Ink (check this playlist out for WHY I'm OBSESSED with Fountain Pen Ink Painting) like I did in the piece below. 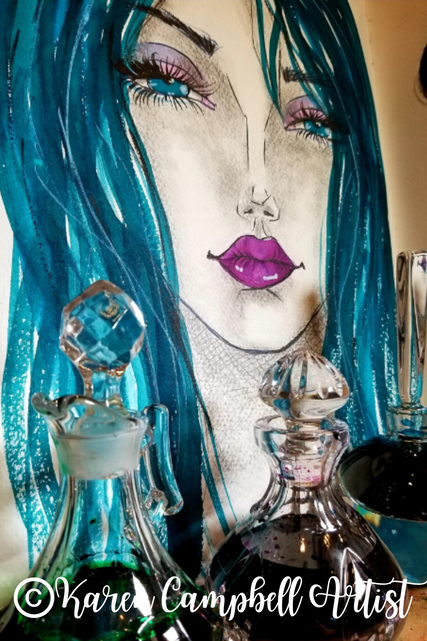
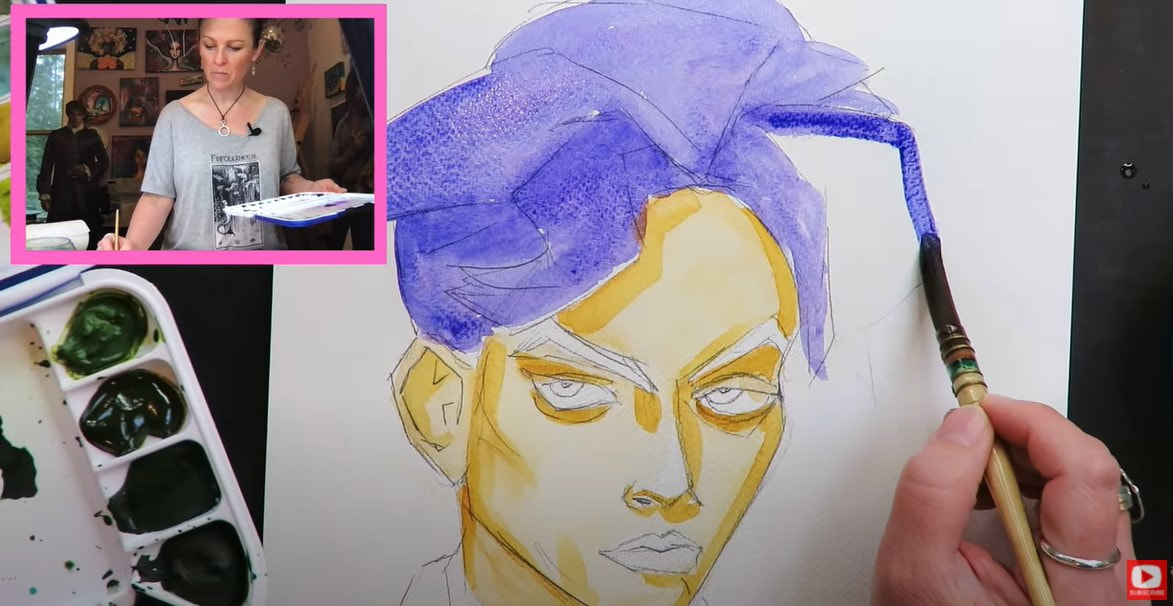
Other times, like today, I'll look to another mixed media supply to help me achieve the intensity I'm after!
Today, I was in the mood for gouache! In case you don't even know what the heck gouache is, check out this video. Long story short, gouache is an opaque watercolor that kinda looks like acrylic when it's dry. This is a good gouache set of 24 to try if you're in the mood to experiment with a LOT of colors for not too much cash. Spend another $20 and you can double the number of colors you get!
I learned everything I know about gouache from my Scottish bestie, Lucy Brydon! She uses it ALL the time and has some great info tucked into the Celtic Collective art club that we run together at Awesome Art School in case you're interested in trying this super fun medium with friends and diving DEEPER than you can into this world than YouTube.
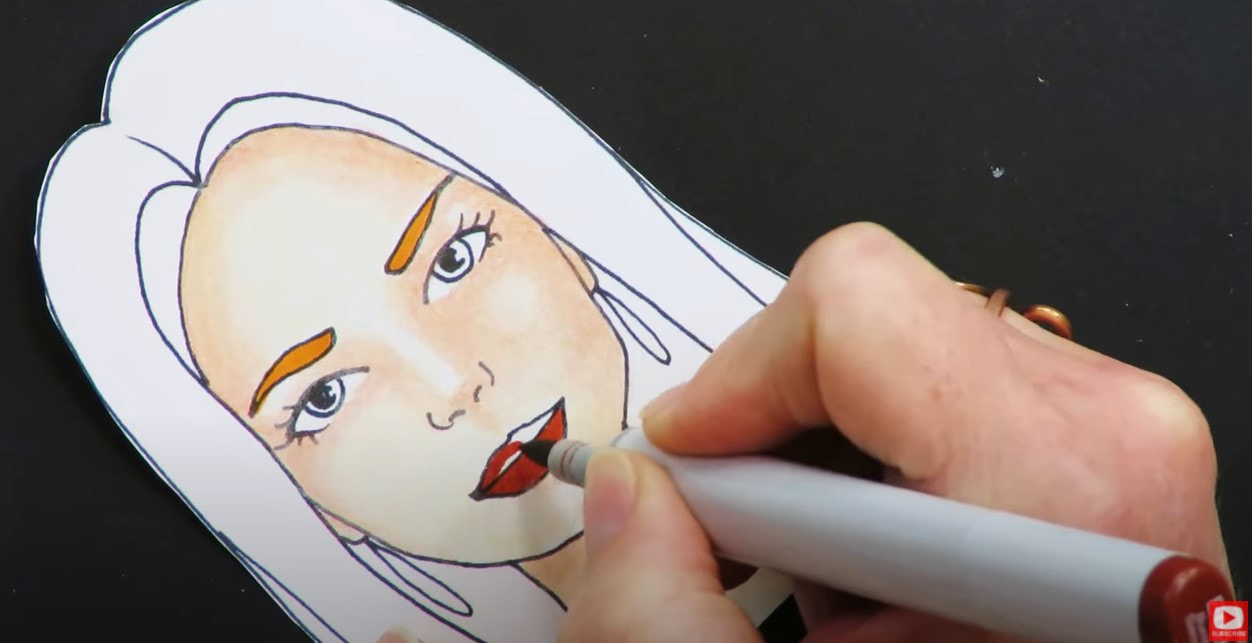
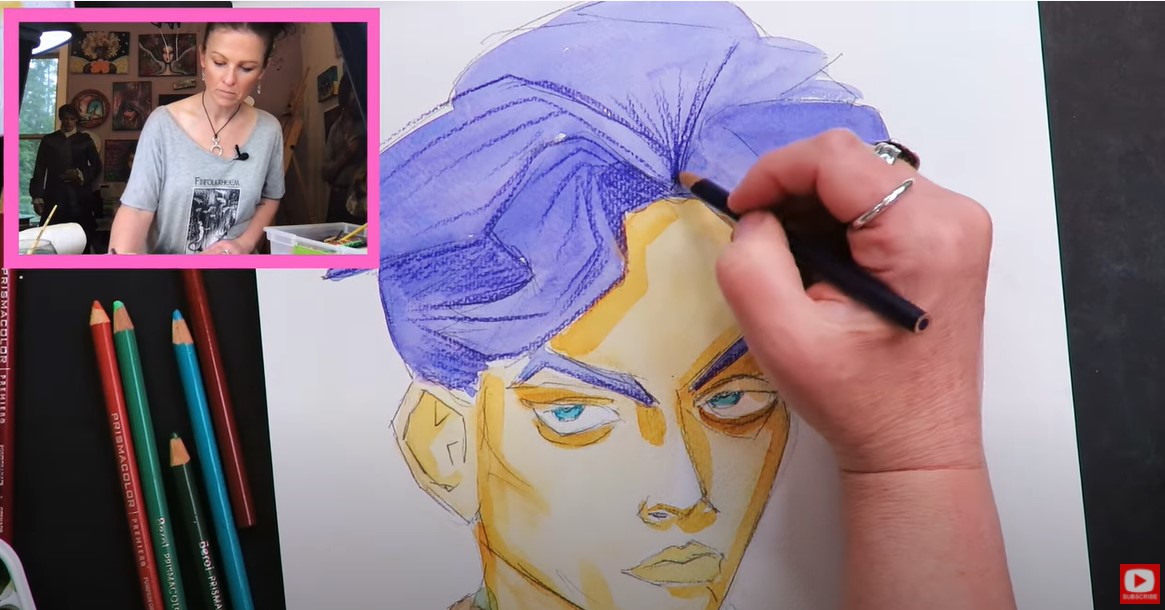
Once my gouache layer was complete in today's project, I reached for my PERMANENT art supplies that I knew wouldn't reactivate either the watercolor or gouache layers. Some of my permanent favorites include posca paint markers, sharpie paint pens or acrylic paint markers.
What you want to stay away from if you want to doodle over your watercolors is water-reactive dye-based ink pens. These will bleed into your other layers and reactivate them. I hope you found today's video helpful, and thanks for hanging out with me!!
|
Karen CampbellFounder of Awesome Art School. Mixed Media Artist. Author of 19 Instructional Art Books! 
Whose work has appeared in...
   
 Archives
July 2024
Categories
All
|


 RSS Feed

"Karen is flipping hilarious and she's very real...I like the way she teaches in a way that really gives you confidence, whether you're a beginner or advanced there's always something new to learn!"
- Elizabeth W. |
What Fans Are SayingKaren, you are absolutely fabulous! You make me feel like I can draw anything. I have recently retired and finally have the time to do some of the art that I have loved since I was in school. I am really at the beginning of my art journey and I hope to learn as much as I can. Thank you for all you do. |
Contact ME |