|
Need an EASY pencil shading drawing tutorial that's simple enough to do even if you've never tried shading a drawing before? You're in the right place!
Today we're creating 3 line drawings & taking them to the next level by adding a simple shadow with one of the easiest pencil shading techniques I've learned to date.
If you feel comfortable with the line drawings and shading practice in today's video, I'd LOVE to teach you how easy it is to draw a simple FACE in pencil.
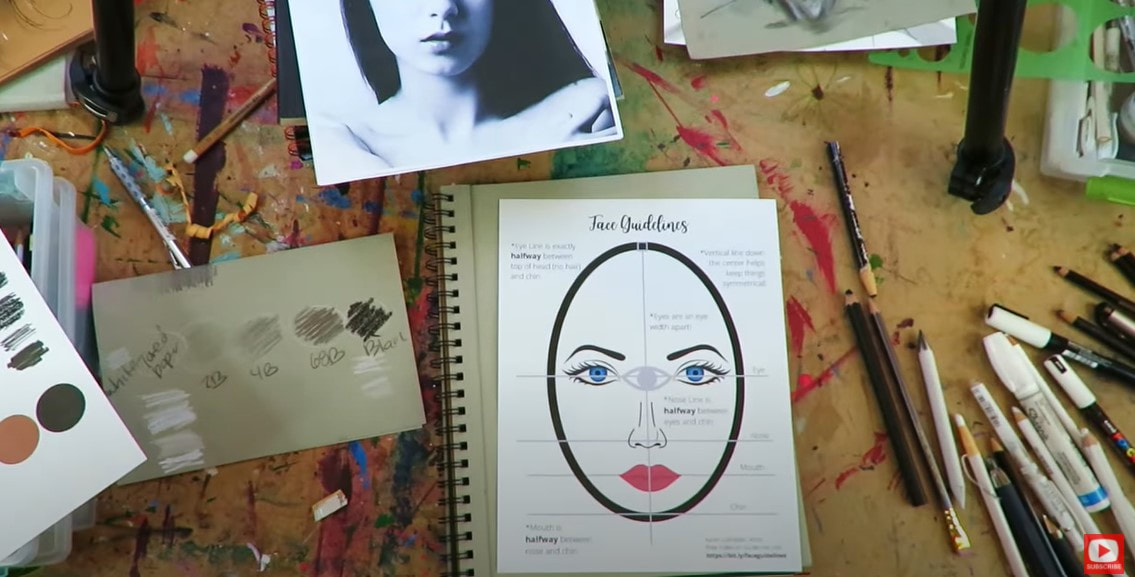
I make cheatsheets and videos for EVERYTHING - especially when it comes to drawing faces! Click the button below to request my FREE whimsical face drawing guidelines, and I'll email them right over.
After you print your guidelines cheatsheet, here's a playlist of FREE face drawing videos from my YouTube drawing channel so we can practice drawing and shading simple faces together, step by step.
Let's get back to today's lesson!
If you've been following either of my YouTube channels lately, you know I've been introducing you to some of my favorite art books - showing a flip through, and then trying an entire project or demo-ing a technique from the book. The book I'm featuring this week on my drawing channel is actually more of a mixed media book, but there is a BRILLIANT pencil shading technique for beginners in it that I just had to share with you.
Before we continue, super quick announcement: All product links are Affiliate. I may earn a small commission if you choose to order through these links but by law there is never any additional cost to the consumer for doing so. I thank you for your support.
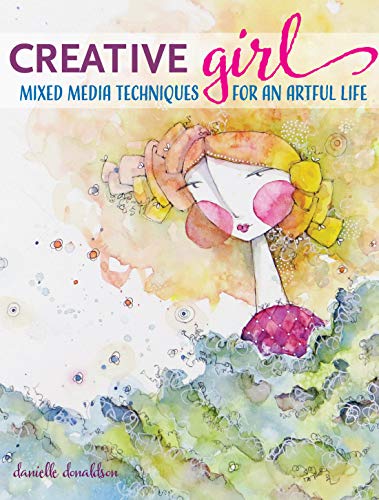
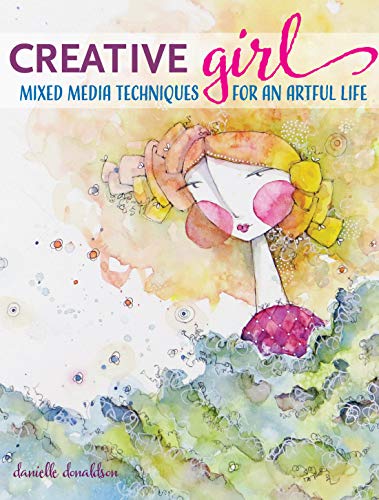
Danielle Donaldson's Creative Girl: Mixed Media Techniques for an Artful Life is simply gorgeous (if the book isn't available on Amazon, you can also find it here).
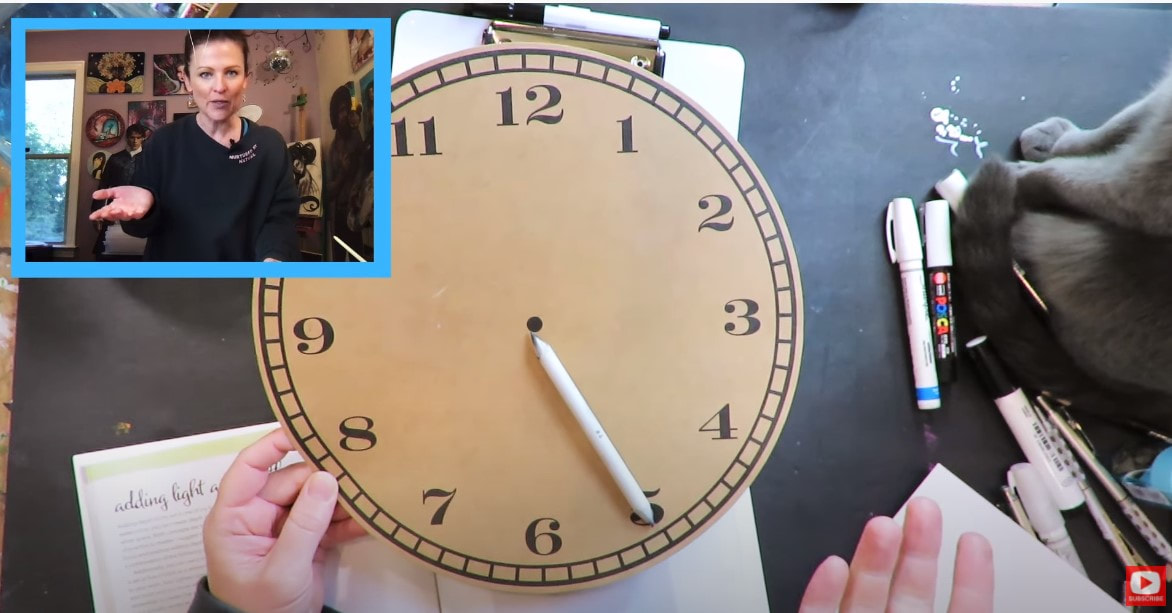
I actually love this book so much that I featured it last week while doing the watercolor trees for beginners project on my mixed media channel. Today, I'm sharing Danielle's super simple analogy of adding shading to a drawing at "5 o'clock."
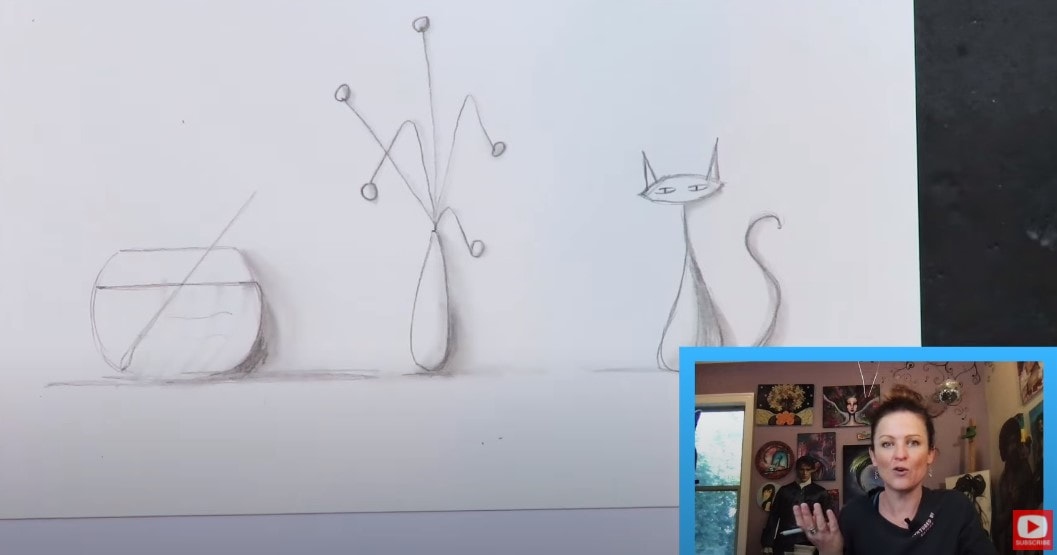
On page 54 of her book, Danielle says "Shadows are the thickest at 5 o'clock." I decided to try this shading technique out on three simple line drawings.
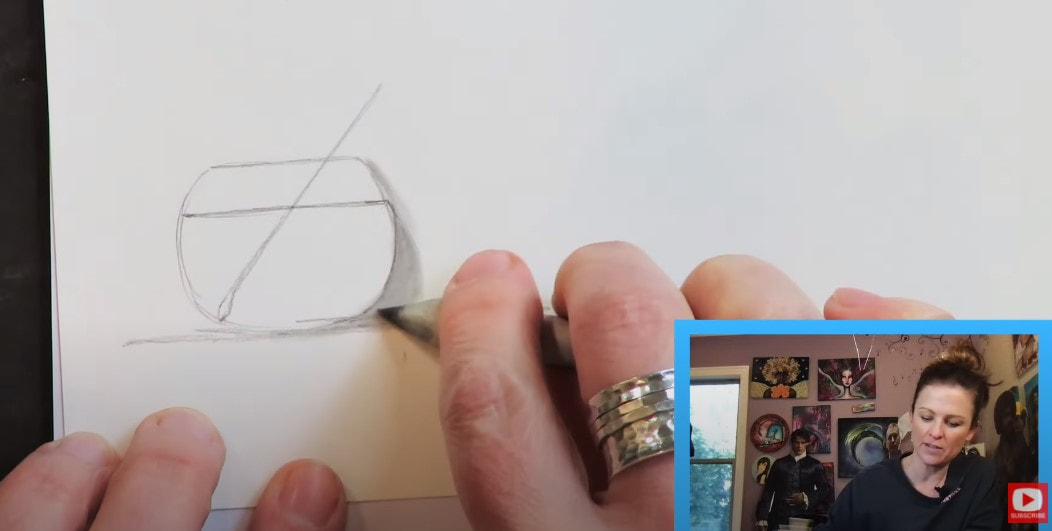
First, I drew the water bowl sitting on my art table with a paint brush inside. Then I picked up a blending stump (remember - the dirtier, the better when it comes to blending stumps), and thickened the shadow at an imaginary 5 o'clock position of my water bowl.
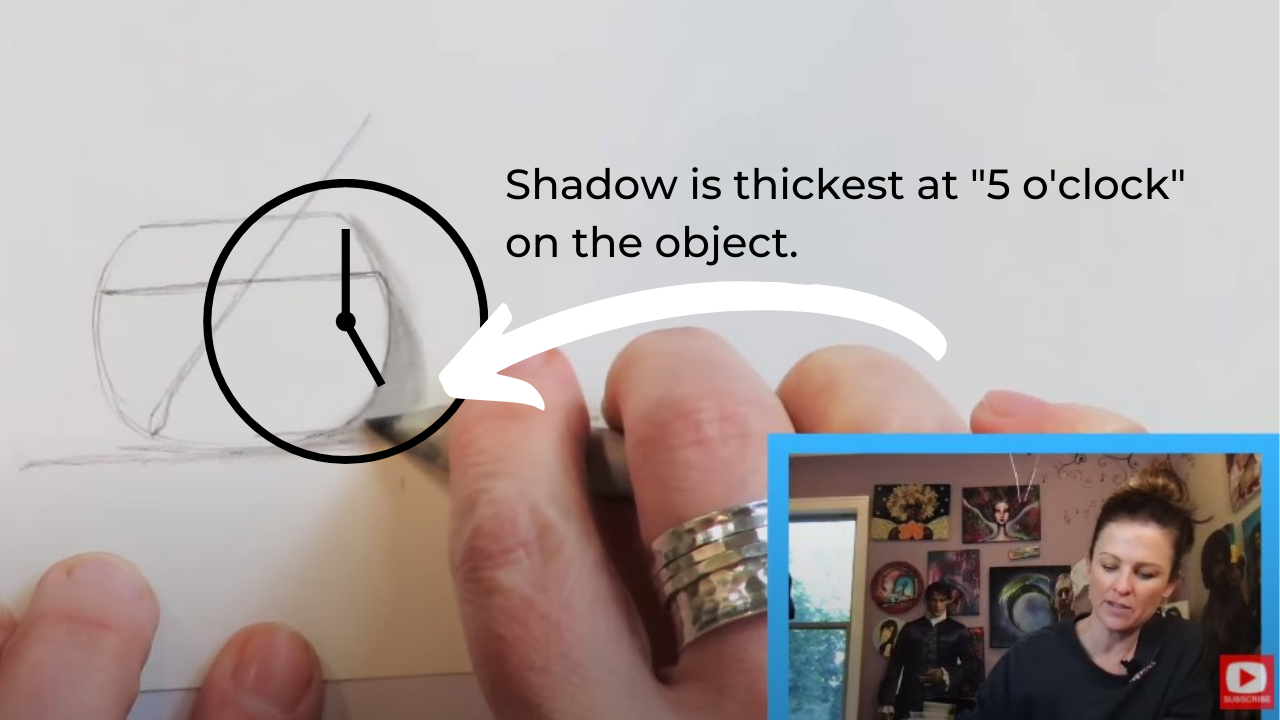
Here's another shot showing you what I'm imagining in my head...
Right where the imaginary hour hand of the clock is pointing to 5 is where I'm thickening the shadow with my blending stump.
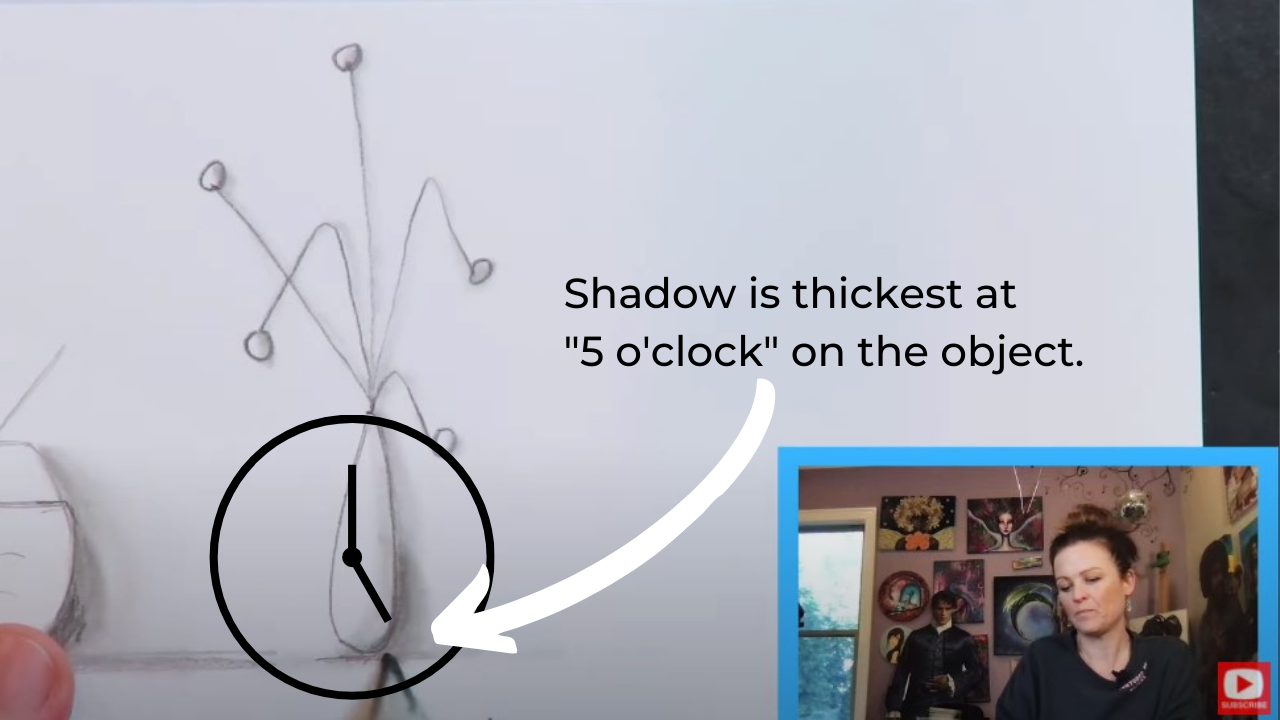
Below is another example of this easy shading technique for beginners on a line drawing of a flower vase.
Isn't that the easiest concept to imagine so you know exactly where to add shadows to your drawing?! I think it's brilliant.
My final doodle example for today, below, is of a cat - inspired by my art studio "terror," Tippie (she's just recently claimed my art table as her own)! When I look at all three drawings together, I immediately notice how all the shading looks consistent, showing shadows off to the lower right. This is a really important concept to think about for beginner artists.
Your work will look more sophisticated if you your shadows are all drawn in the same direction, like they're all being hit by the same light source. It makes more sense visually, and can make even simple whimsical, or semi-realistic drawings like these, look more advanced.
Make sure you watch today's video to see these simple shading techniques in action. And grab a pencil and piece of paper before you press play so we can do this together!
Stay with me till the end for a quick flip through of Danielle's adorable book. Thanks for hanging out with me today!! When you watch the video, you'll hear me mention my Retro Redezvous Art Party. While the live portions of the Retro Party have passed, the lessons are still available at Awesome Art School, here. If you are a member of an Awesome Art School club (The Fun Fab Drawing Club, Mixed Media Society, or Celtic Collective), you've been given access to these lessons for free as a membership perk. Enjoy!! Happy drawing! ❤️ CHECK OUT ALL MY ONLINE ART CLASSES & Art Clubs ❤️ CHECK OUT ALL my art books ❤️ MY FAVORITE ART SUPPLIES on AMAZON ❤️ MY BELOVED FACEBOOK GROUP
1 Comment
We're painting whimsical watercolor trees in today's mixed media tutorial! If you've never played with watercolor before, the loose watercolor painting technique featured in today's project, is perfect for beginners!
If you're new to watercolor, or have a new palette to swatch, make sure you grab my FREE Swatch Sheet so you can swatch your watercolors out before we get to the painting portion of today's project. Simply click on the button below, and I'll send it straight to your email!
Before we continue, super quick announcement: All product links are Affiliate. I may earn a small commission if you choose to order through these links, but by law, there is never any additional cost to the consumer for doing so. I thank you for your support!
Today's mixed media art book review is of Danielle Donaldson's Creative Girl: Mixed Media Techniques for an Artful Life. (If the book isn't available on Amazon, you can also find it here). I actually love this book so much I'm doing a painting project from it for my mixed media YouTube channel, and a drawing project for my drawing channel next week!!

I think seasoned artists will also love today's watercolor painting, especially if they're in the mood for a relaxing project that isn't gonna take all day!
Let's get started with the flip-through of Danielle's book...
What I love about Danielle Donaldson's watercolor art, is her light and airy touch. It's SO whimsical. She has a very dinstinct way of leaving white space throughout her paintings and illustrations, that I just love! You'll really begin to recognize that if you start to look for it.
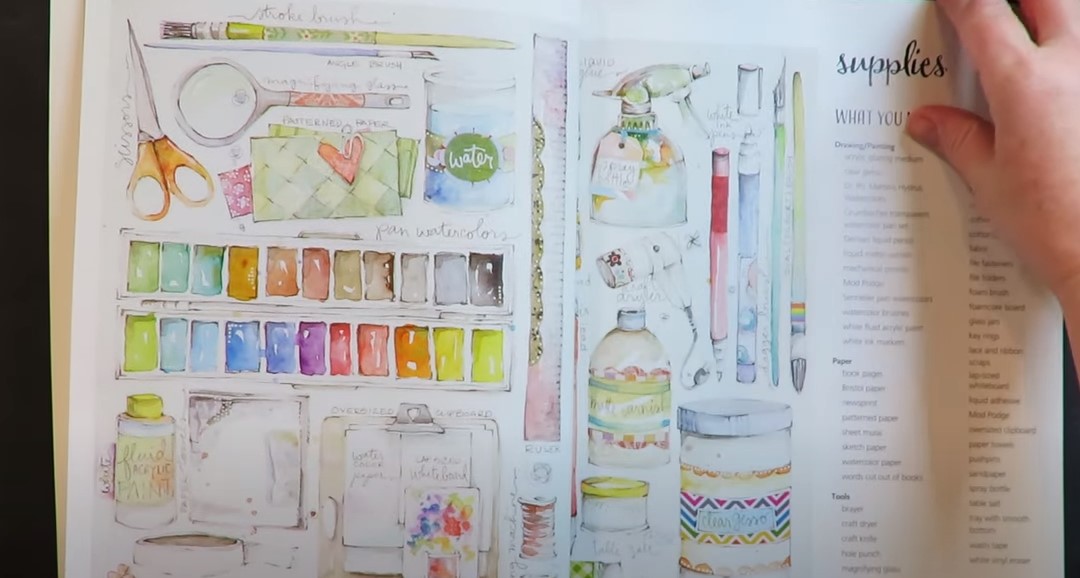
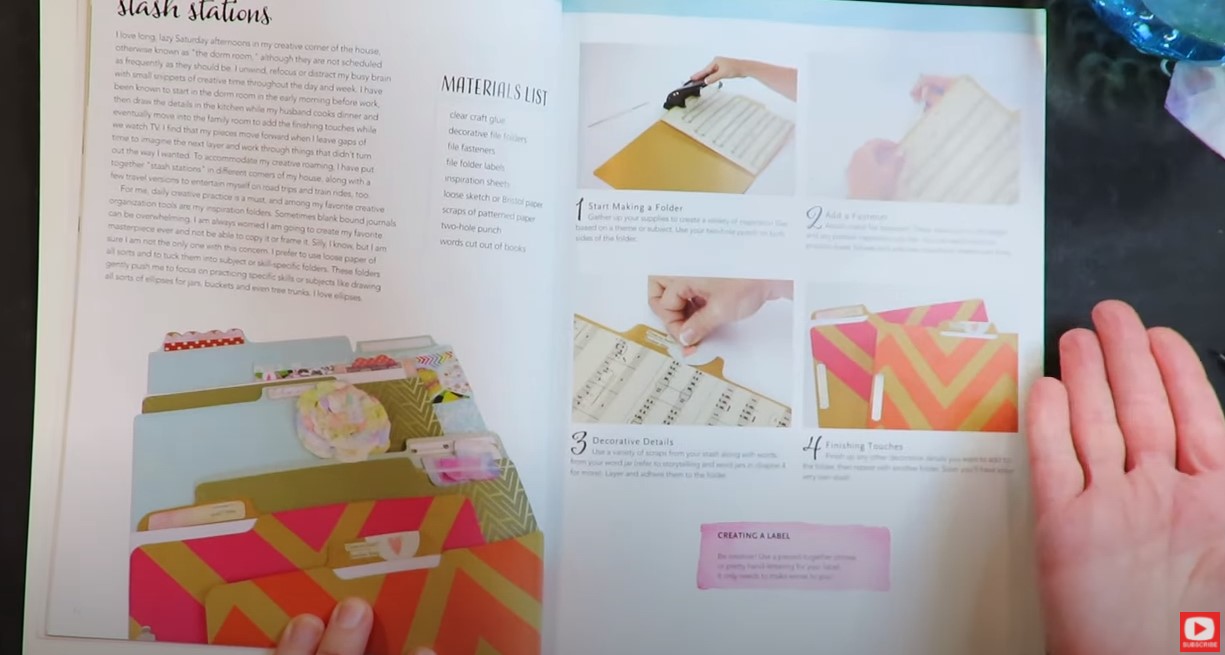
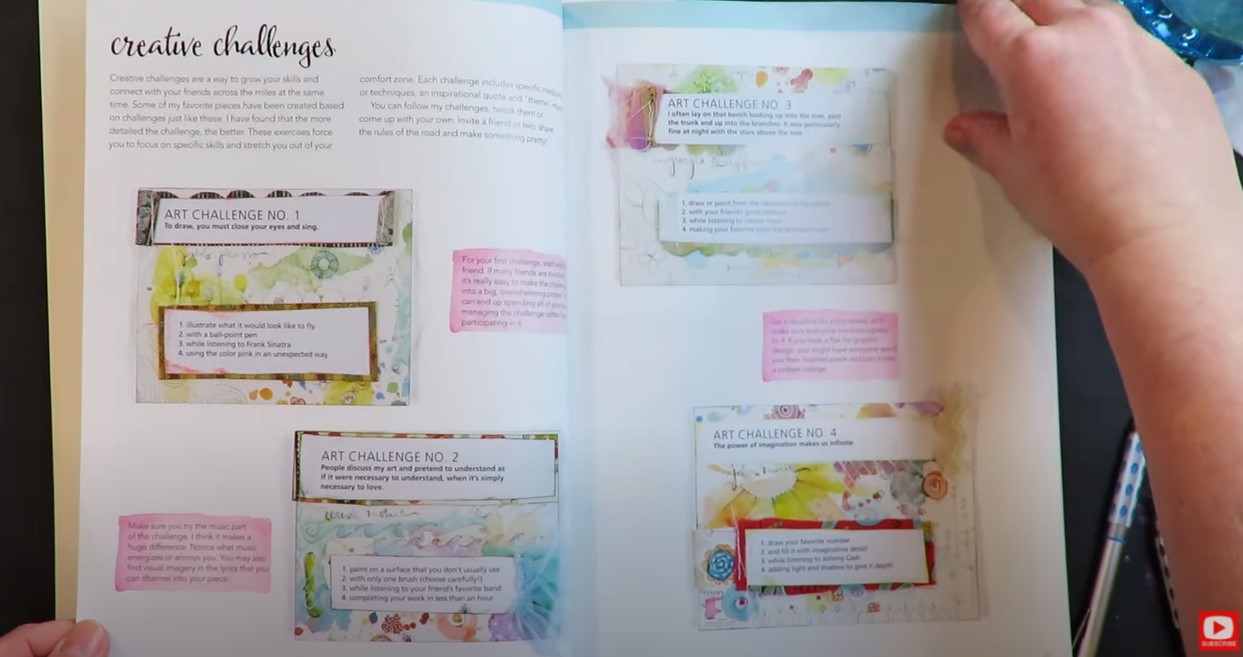
In this book, she opens with an overview on supplies, an adorable little project called "Stash Stations," and 3-4 pages of art challenges that you can use to break through creative block with a friend! Personally, I think these are just genius!
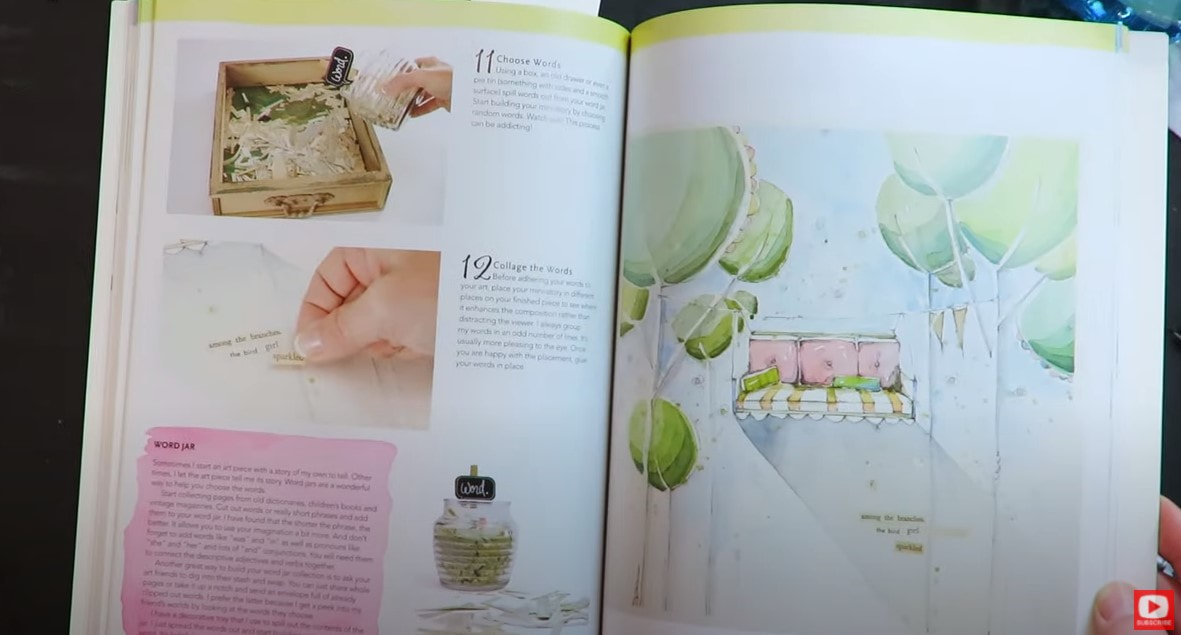
Danielle fills her book with so many unique ideas to get your creativity rolling - from saving cutouts of words from books (so they're always ready to be turned into art journal quotes!), to cute new ways to illustrate watercolor girls with tutus and so much more.
Throughout this book, Danielle also builds on projects from earlier chapters as the book progresses. I love how she helps us continue thinking about a project after we think it's "done," and turns it into a layer for a completely new project.
Today I thought I'd try to do one of Danielle's projects from this book, in her style - allowing white of the paper to peak through my watercoloring!
For me- this is WAY harder than it looks! LOL!
I'm using hot pressed paper becuase it's nice and smooth for drawing.
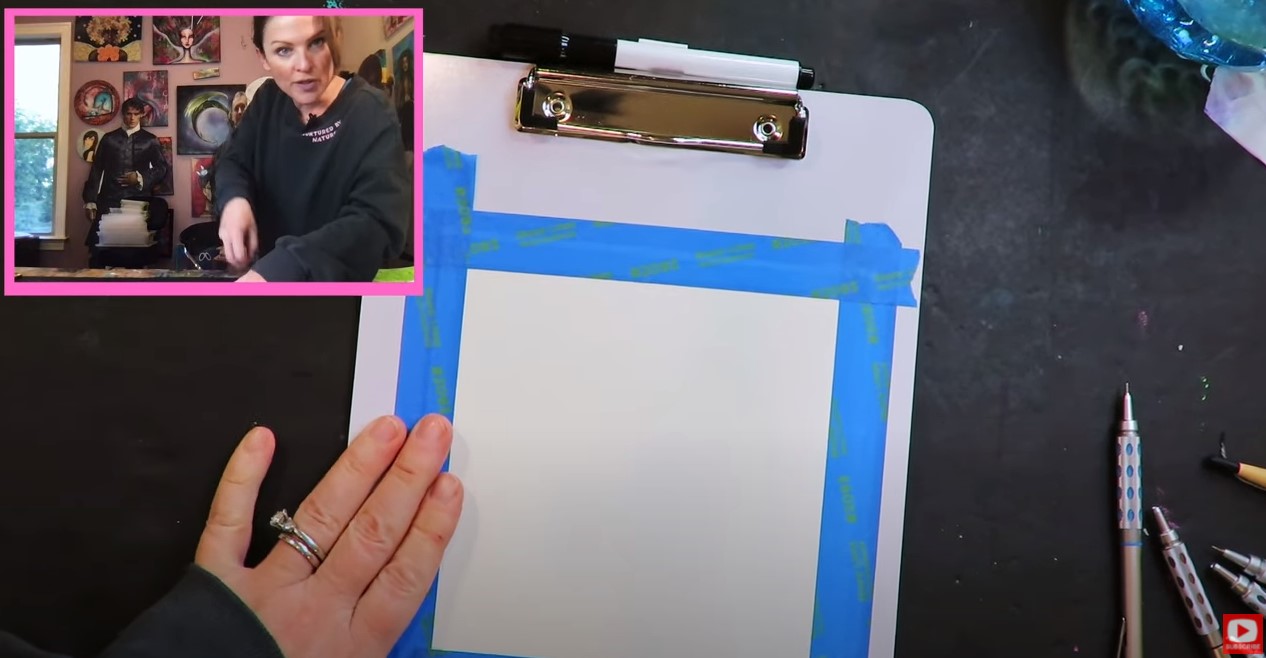
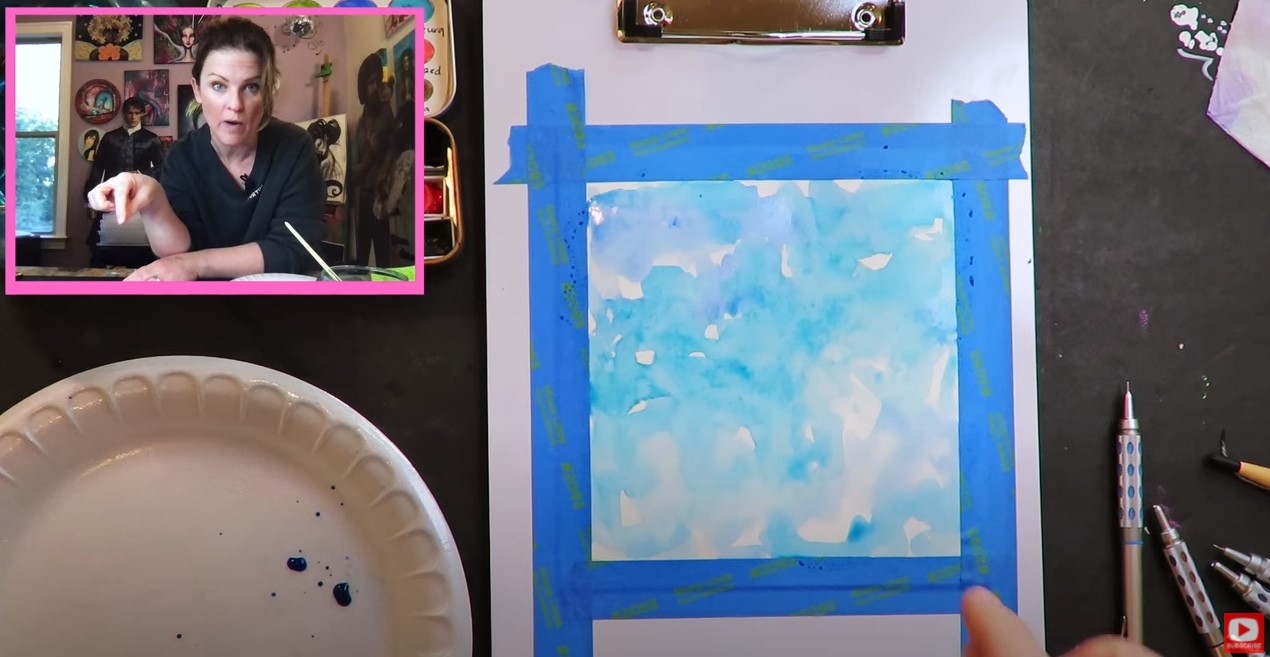
To get us started, I'm taping my watercolor paper down to a clipboard, which is actually something Danielle taught me in one of her workshops! Stick with me to the end of the video to see how beautiful the straight edged border looks around my painting after the blue tape is peeled away.
For the background, I'm trying to really do some loose watercolor painting in a "Danielle style" - keeping the shades I've selected very pastel.
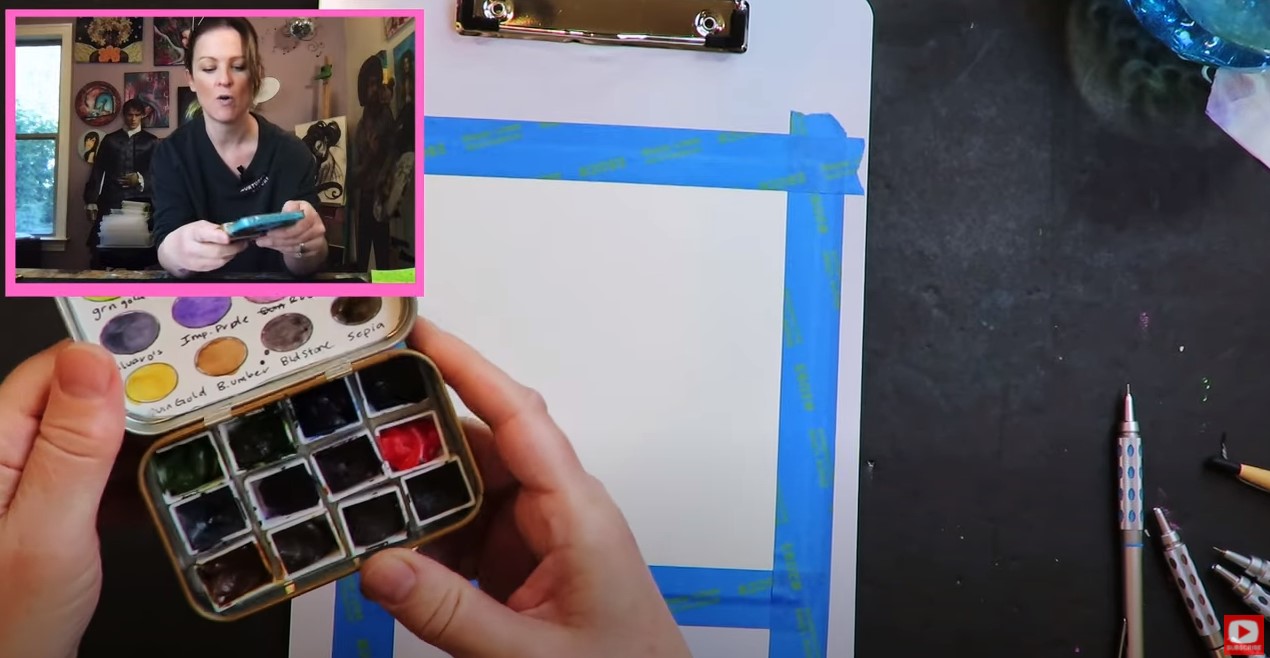
The colors I'm using are by Daniel Smith and in a cute little travel watercolor palette I made from scratch! If you want to learn how to make one too - check out that fun tutorial.
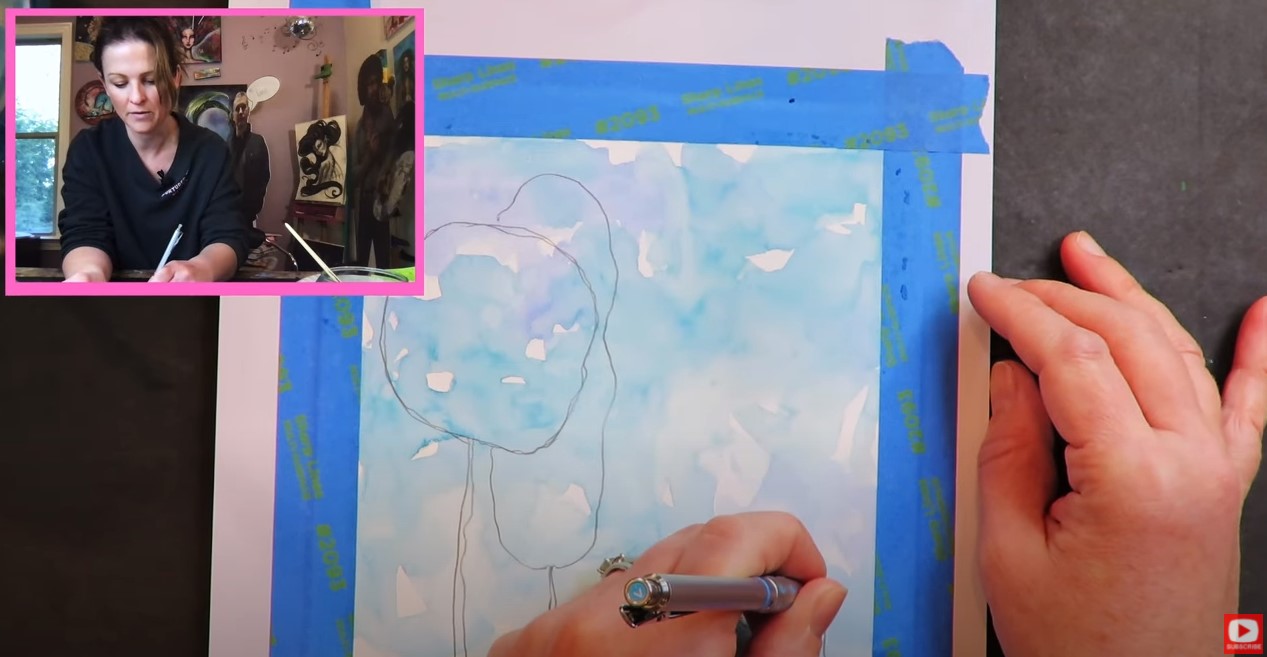
I hit the background for today's whimsical watercolor trees with my hair dryer to make sure it's fully dry, so I can starting drawing on top. I thought it might be fun to use my non-dominant hand (left!) to draw some cute little trees with wobbly lines.
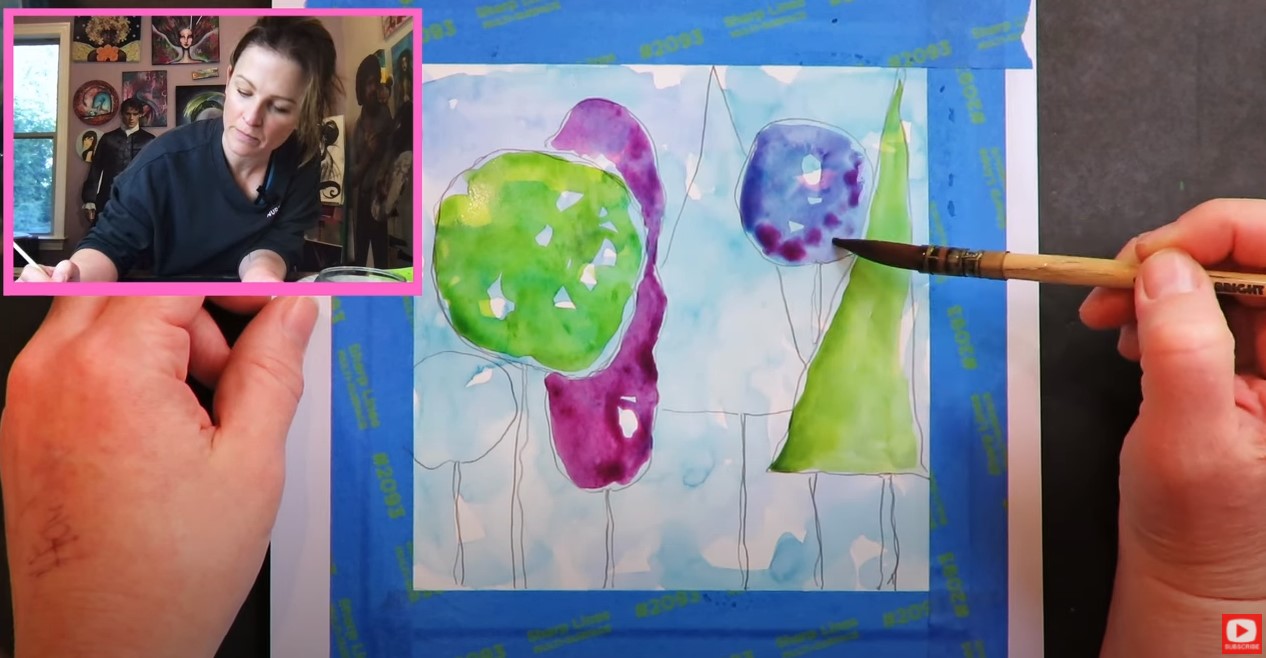
Next, I did a light wash of loose watercolor for each tree, and tried to leave those little white specks of the paper showing through, but it's hard! My instinct is to cover them up!
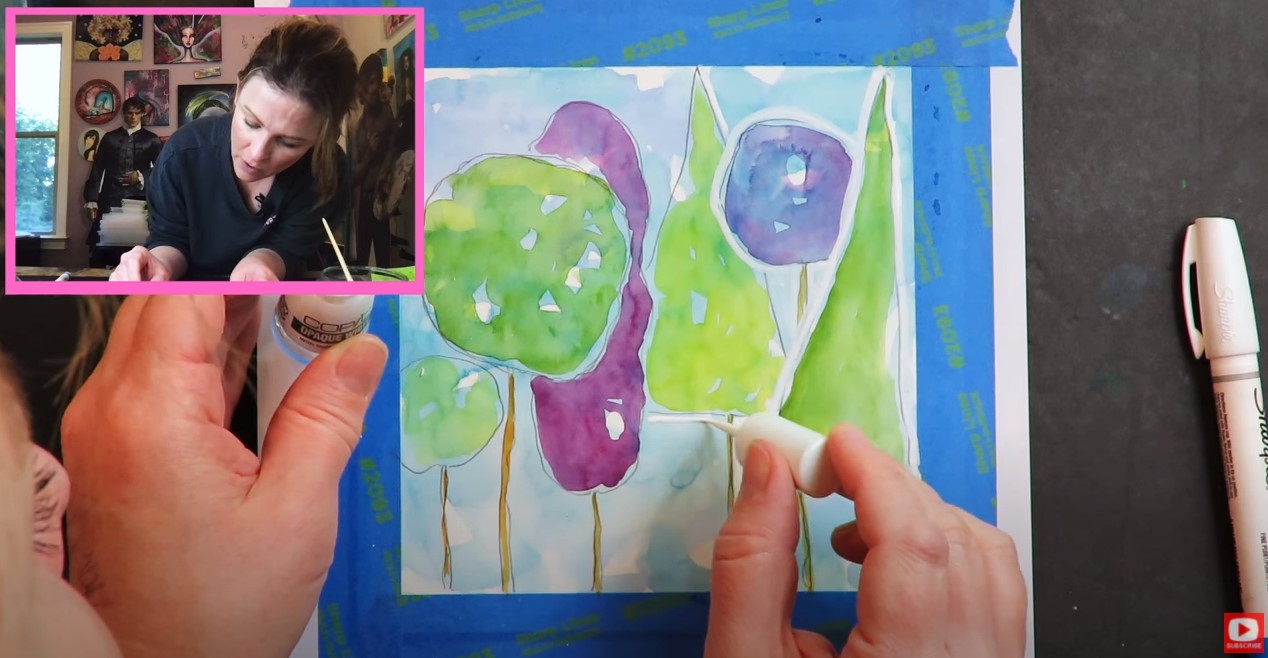
After the trees are painted and dry, I used my white sharpie paint pens to add outlines in a variety of thicknesses. I'm struggling to find one that works well or isn't dried out, so I decided to pull out this really cool gift my husband got me for Christmas from Copic. It's an opaque white and like a nail polish applicator. It does the trick perfectly and looks adorable.
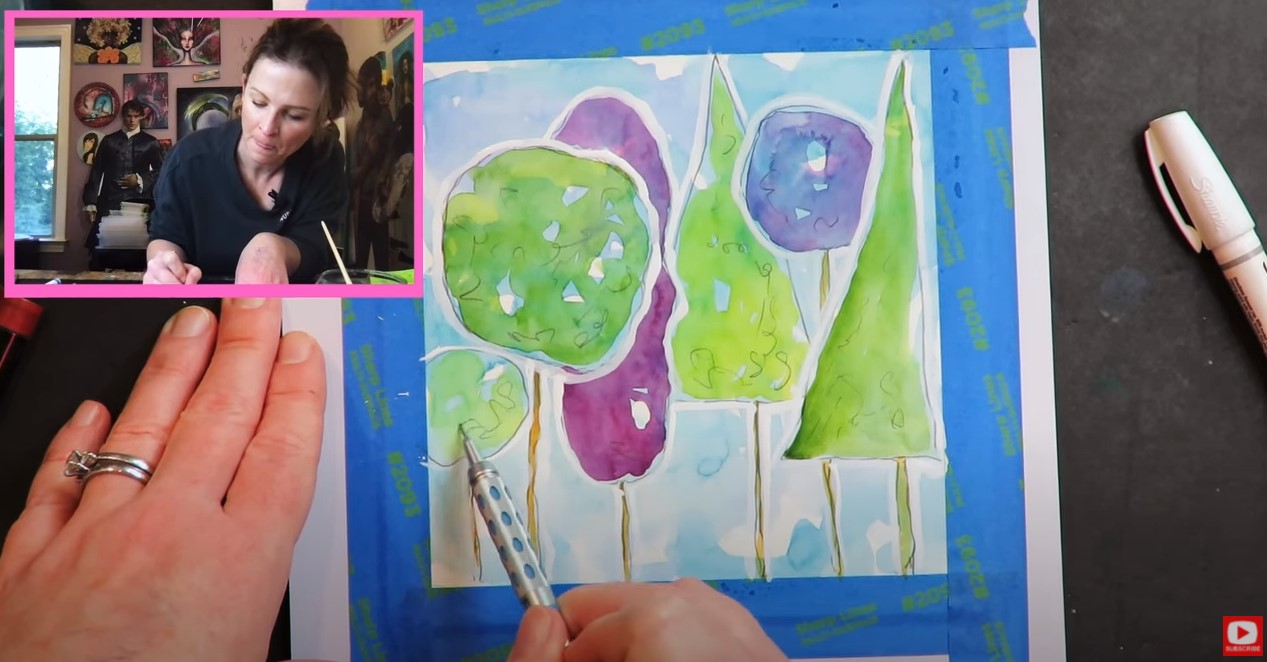
I totally felt the urge to do some pencil squiggles on top for a little more interest, followed by a few splatters of watercolor on top for a fun, artsy effect. Whenever you've got the urge to try something - you've gotta go with it!
Make sure you WATCH today's video to see everything in action. I hope you learn something and have SO much FUN trying this at home! If you'd like to learn a little more about drawing, I've got the PERFECT event coming up and would LOVE for you to attend! SIGN UP FOR MY ART RETRO RENDEZVOUS with this special link for just $15. Beginners welcome (even if you've NEVER drawn a thing before). It's 5 days, filled with 10 beginner drawing lessons for you to enjoy! Here's a sneak preview of the projects... I hope to see you there!! ❤️ CHECK OUT ALL MY ONLINE ART CLASSES & Art Clubs ❤️ CHECK OUT ALL my art books ❤️ MY FAVORITE ART SUPPLIES on AMAZON ❤️ MY BELOVED FACEBOOK GROUP
Need a FUN handmade bookmark design that's step by step and EASY enough to do even if you've never tried drawing before? You're in the right place!
In today's drawing video, you'll get a sneak peek at one of my favorite drawing books filled with inspiring dangle art drawings (similar to zentangling, but even easier). I'll show ya what inspired this bookmark tutorial, then go grab some markers & draw along with me as I guide you through this CUTE handmade bookmark design idea - perfect for artists of ALL levels to enjoy!
If you're new to drawing and coloring with markers, make sure you grab my FREE Swatch Sheet so you can swatch your markers out before we get to the coloring portion of today's project. Simply click on the button below, and I'll send it straight to your email!
Before we continue, super quick announcement: All product links are Affiliate. I may earn a small commission if you choose to order through these links, but by law, there is never any additional cost to the consumer for doing so. I thank you for your support!
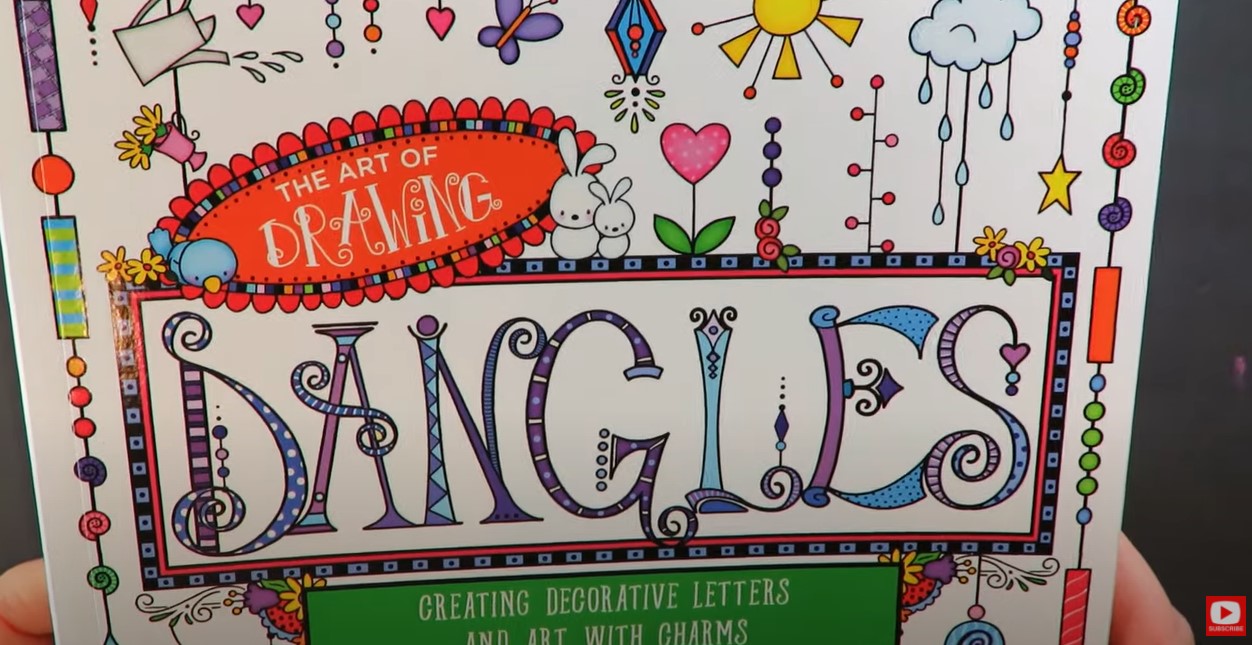
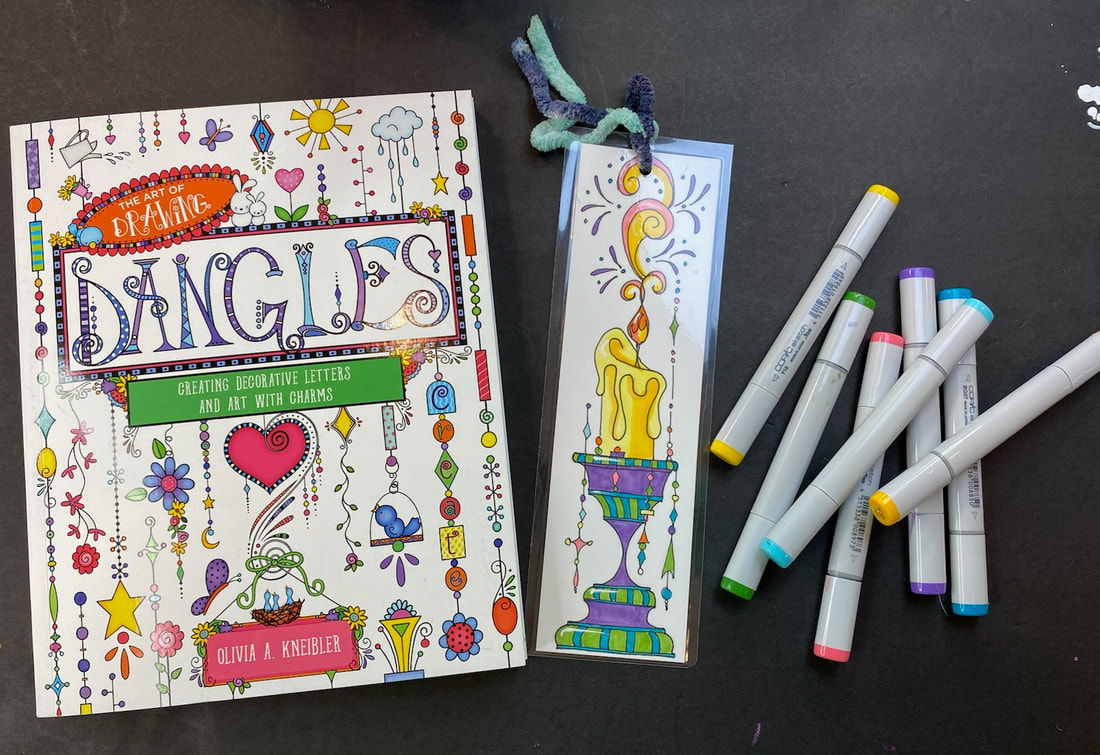
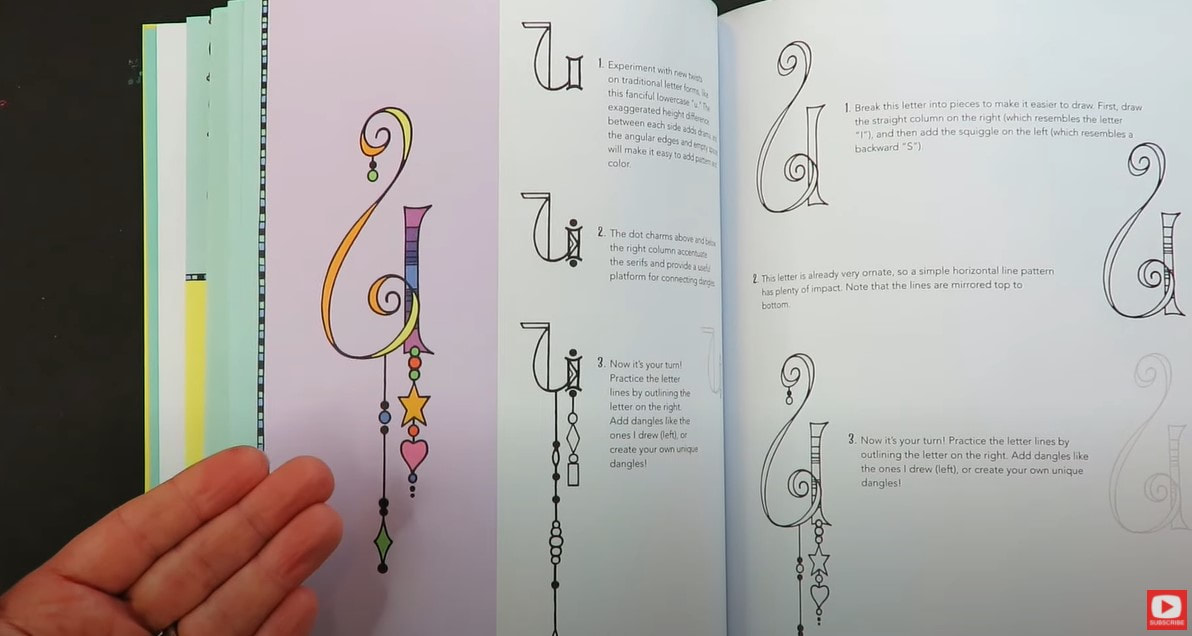
Today I'm reviewing a drawing book filled with fun dangle art called The Art of Dangles by Olivia A. Kneibler.
What's a dangle? They're basically what they sound like - a line with decorative embellishments, tiny shapes, or charms hanging from them. They're adorable hanging from letters, and you can create super FUN projects out of them, like today's bookmark!
I actually enjoy drawing dangles more than I like zentangling because they're SO simple! Zentangling is super fun, but can get a little fussy for me. If you'd like to try a simple zentangle art project with me - be sure to check out this video and art book review from last week. That project and today's are excellent beginner drawing lessons.
The only criticism I have of today's book is that everything in it has been drawn digitally. I love drawing by hand and teaching beginner drawing lessons, so that's my only tiny complaint.
One of the reasons I really love drawing by hand and appreciate hand drawn art is because of the imperfections that come out of them. You don't see those in digital art. Everything is much more "perfect." Don't get me wrong- I have a serious appreciation for digital drawings too - I just prefer things to be hand drawn.
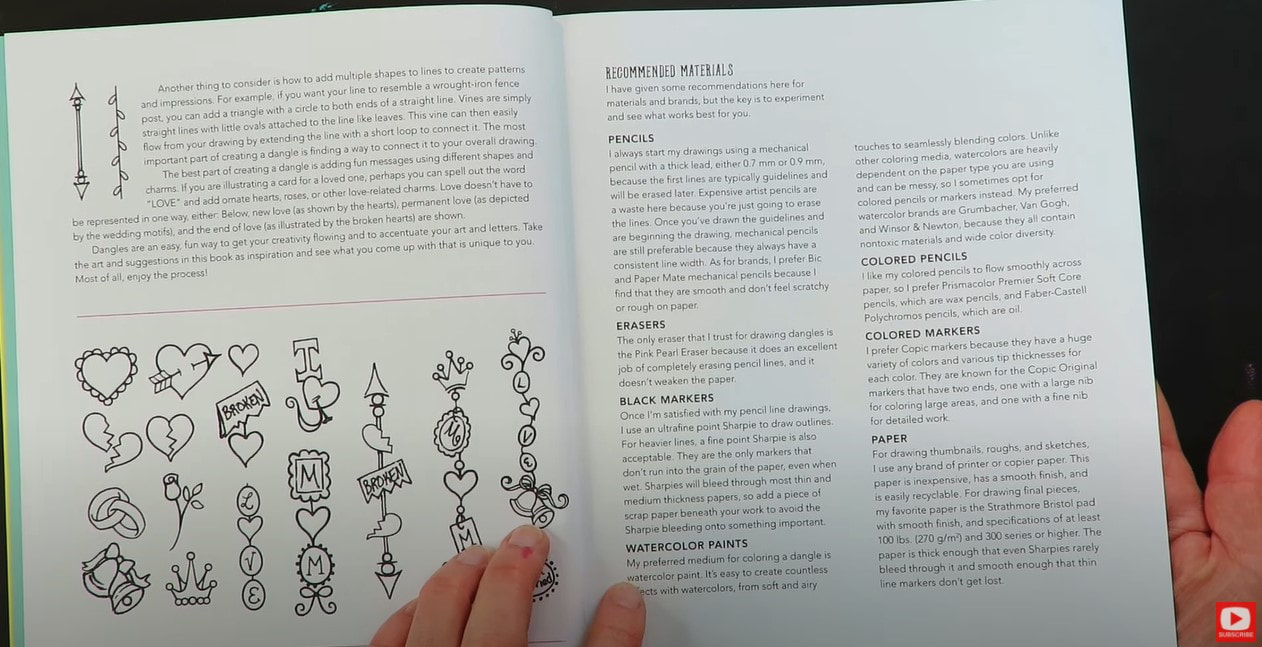
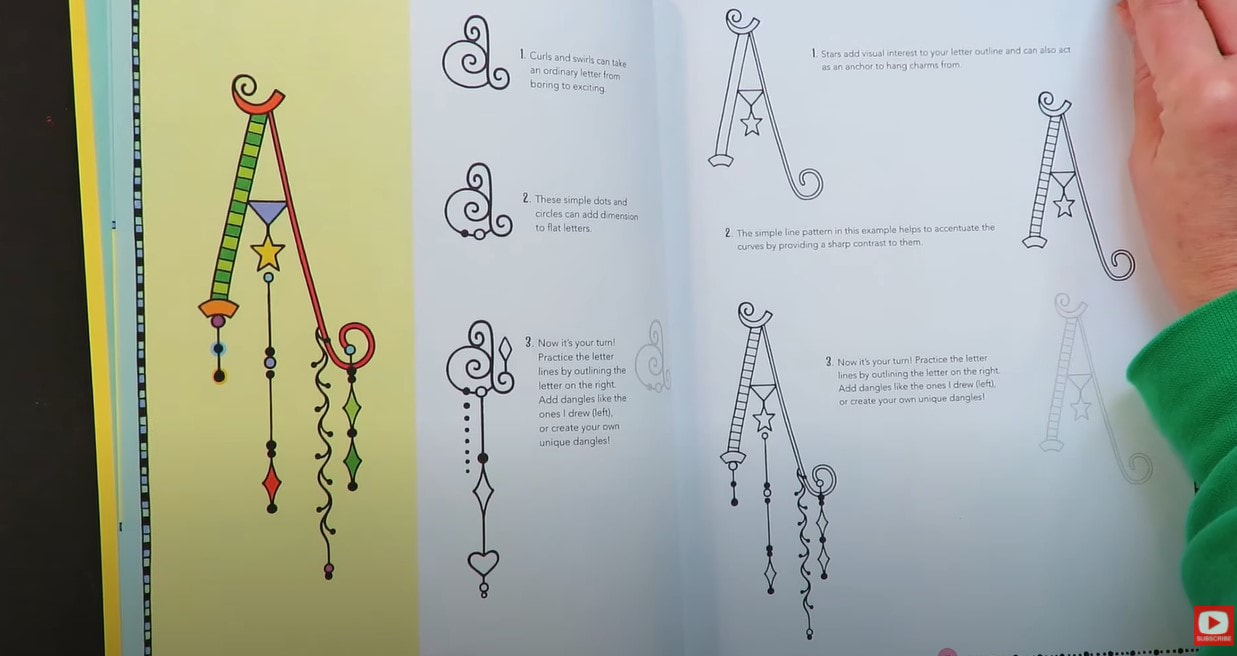
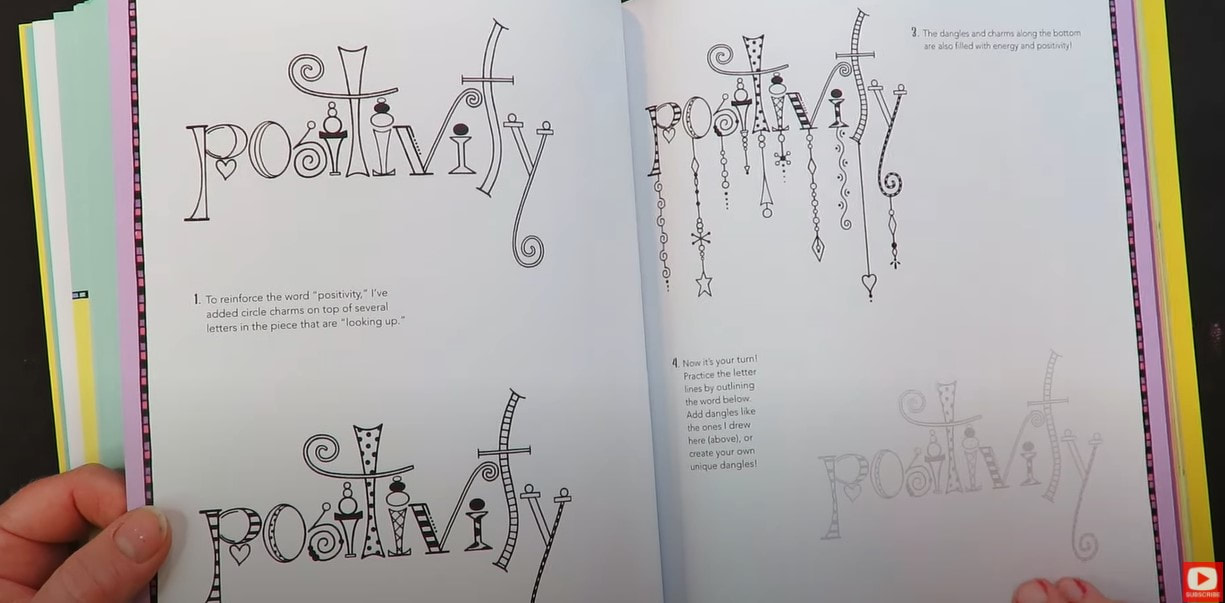
Regardless of my preference, I think the author does a fantastic job of providing inspirational drawing ideas to try. She shows how-to's for the entire alphabet in her book, and includes dangles from each letter in upper and lower case. There isn't a ton of step by step direction- but it's totally enough to get you going, whether you want to create along with her in black and white, or in color.
If you have anything coming up that you need a personalized gift for, and want to create something for someone with their name on it - this book would be an excellent asset to help you get started with some amazing ideas.
There are also some fun examples of words showing you how to put creative letters together, and where to add some cute zentangle patterns and dangles.
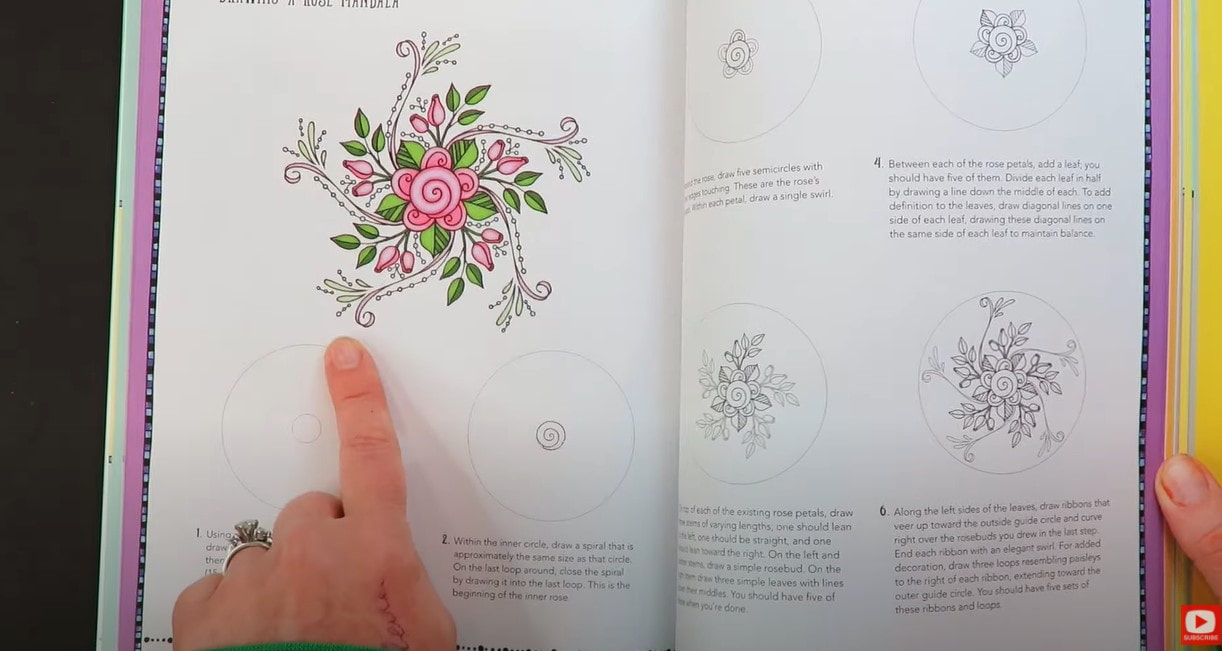
The book closes with tons of adorable dangle projects you can create from roses, trees and snowflakes to random shapes and mandalas, followed by an index of charms and geometric dangles you can use as thought starters to get your own creativity going.
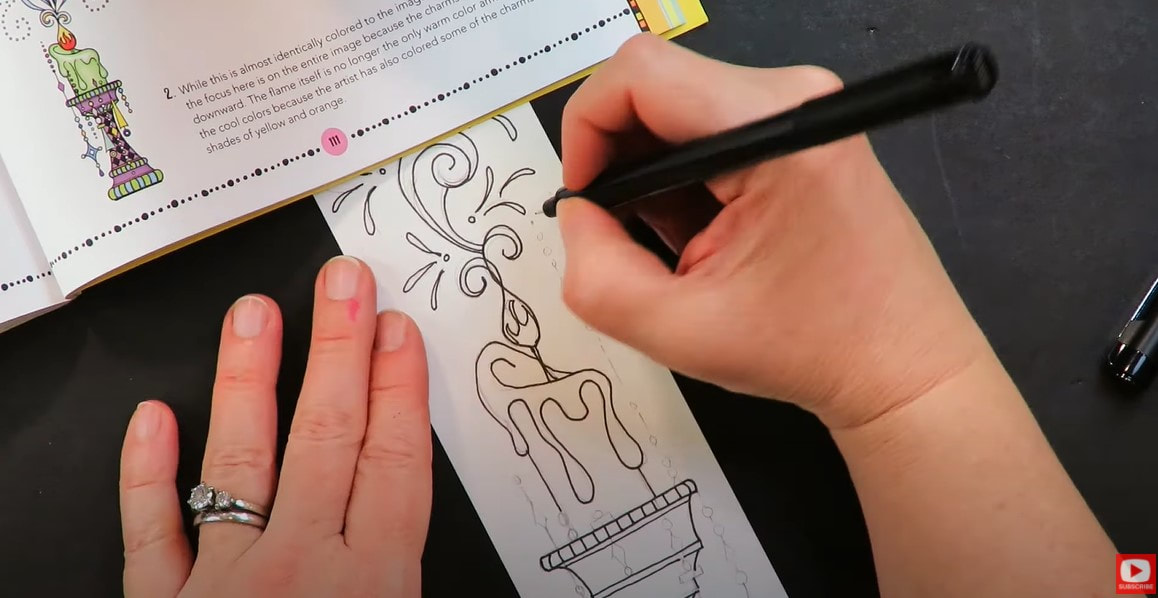
I felt inspired to combine two of my favorite dangle art projects from this book into one, and decided to do a handmade bookmark design.
To create my project- I'm just using a sheet of hammermill cardstock (it's equivalent to Bristol- just WAY cheaper). I also used a WATER BASED black fineliner to outline my drawing before coloring with my copics.
HOT TIP: If you use a water based fineliner prior to coloring with alcohol markers, the black marker won't bleed (don't use sharpies for this because they are alcohol based). If you're new to my world - I've been collecting my copic markers for years (because they cost an arm and a leg!). I LOVE using my copics, but I highly recommend using what you can afford and/or have on hand. Ohuhus are an excellent copic marker alternative and cost much less per marker if you'd like to start a cheaper alcohol marker collection.
I finished my coloring off by adding in my signature white highlights using my white sharpie paint pen (a white posca paint pen works just as beautifully here- the sharpie is just what I had on the table at the time of filming).
Thanks for hanging out with me today! If you'd like to learn a little more about drawing, I've got the PERFECT event coming up and would LOVE for you to attend! SIGN UP FOR MY ART RETRO RENDEZVOUS with this special link for just $15. Beginners welcome (even if you've NEVER drawn a thing before). It's 5 days, filled with 10 beginner drawing lessons for you to enjoy! Here's a sneak preview of the projects... I hope to see you there!! ❤️ CHECK OUT ALL MY ONLINE ART CLASSES & Art Clubs ❤️ CHECK OUT ALL my art books ❤️ MY FAVORITE ART SUPPLIES on AMAZON ❤️ MY BELOVED FACEBOOK GROUP |
Karen CampbellFounder of Awesome Art School. Mixed Media Artist. Author of 19 Instructional Art Books! Whose work has appeared in...Archives
July 2024
Categories
All
|
|
"Karen is flipping hilarious and she's very real...I like the way she teaches in a way that really gives you confidence, whether you're a beginner or advanced there's always something new to learn!"
- Elizabeth W. |
What Fans Are SayingKaren, you are absolutely fabulous! You make me feel like I can draw anything. I have recently retired and finally have the time to do some of the art that I have loved since I was in school. I am really at the beginning of my art journey and I hope to learn as much as I can. Thank you for all you do. |
Contact ME |




 RSS Feed
