|
If you're new to the world of mixed media art, you're in THE BEST PLACE!! I have so many mixed media ideas, tutorials & tips for you.
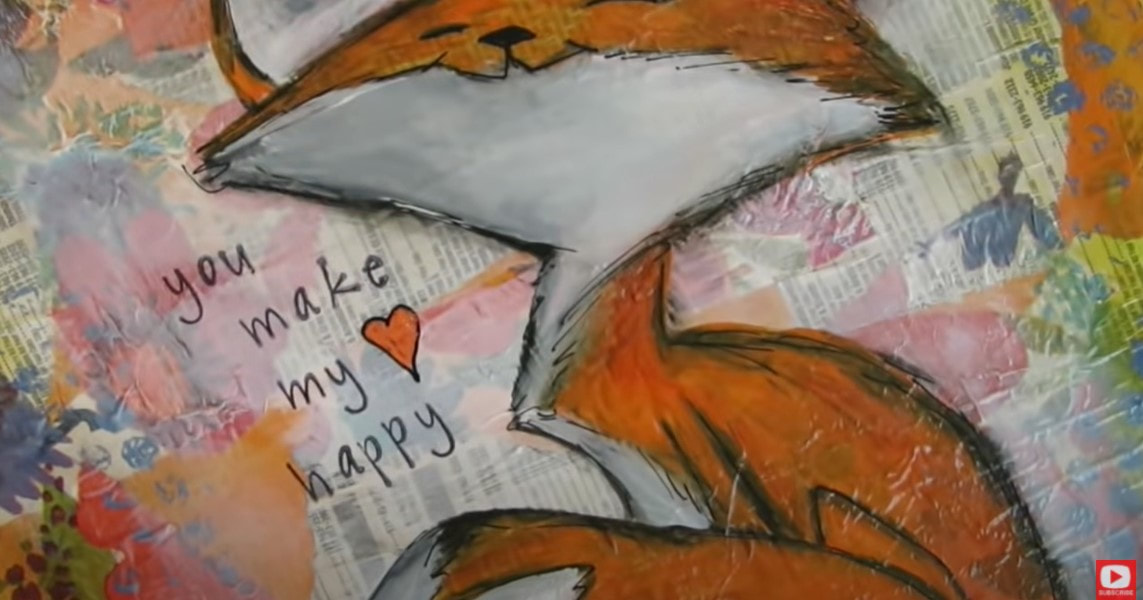
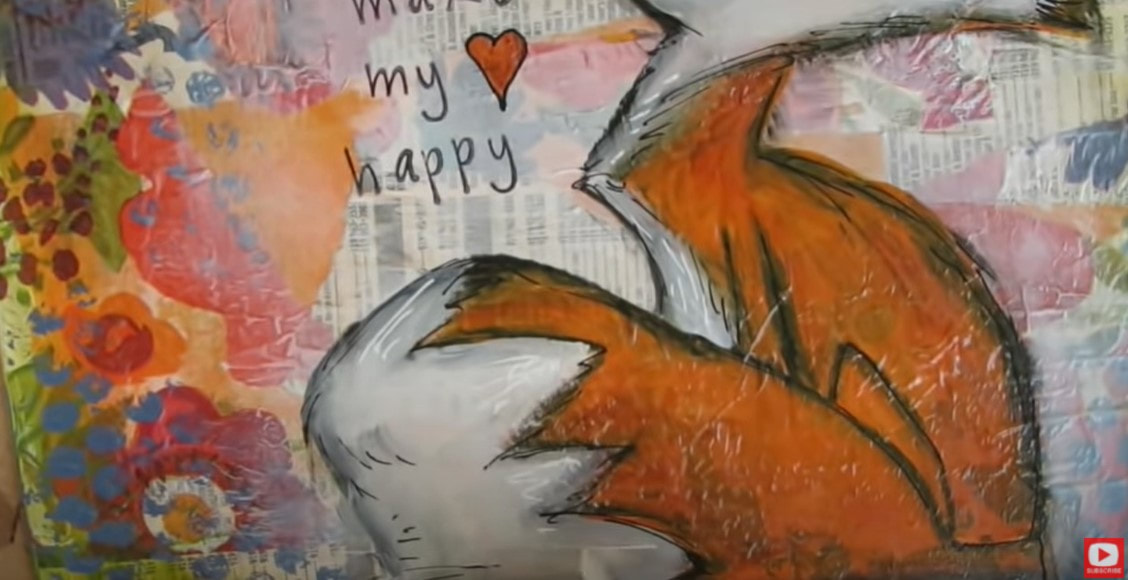
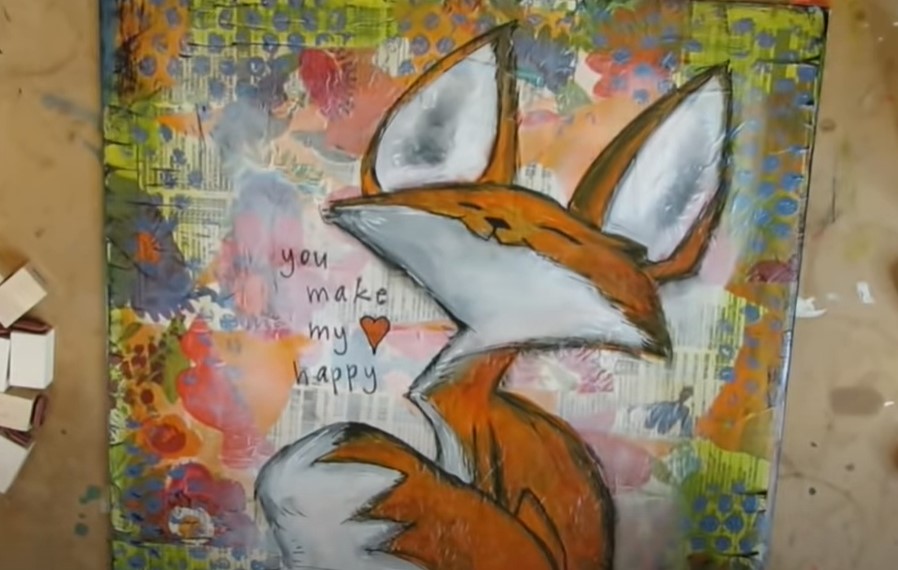
If you're intimidated by mixed media, or struggling with how to layer your supplies, I'd love to teach you my SIMPLE mixed media technique for layering my supplies (it's the exact process I used to create this adorbale fall fox!).
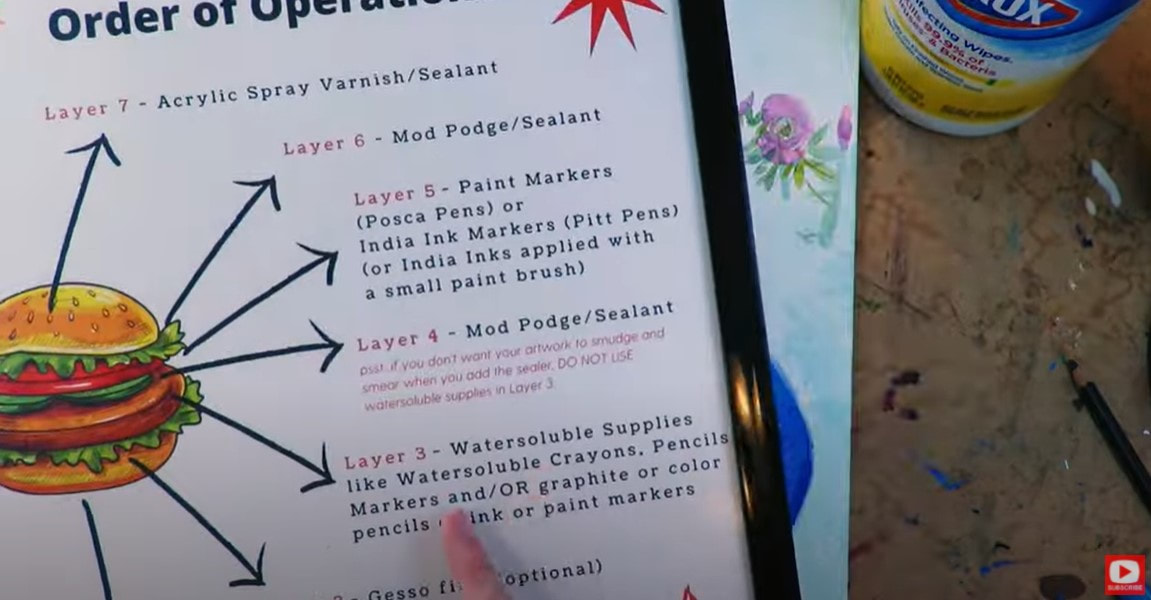
Simply download my FREE Mixed Media Hamburger Cheatsheet. I know, "hamburger" sounds funny - but I pile on my art supply layers one by one - like I'm making the perfect burger. Click the button below, and you'll see exactly what I mean!
After you click the button above, you'll get an email with your cheatsheet. Make sure you print it out because it's an awesome reference to keep at your art table.
Now you're ready for action and have TWO choices...
#1: Learn how to make this adorable fall fox (stay right here & keep reading). OR #2: WATCH my entire FREE Mixed Media Hamburger Playlist on YouTube. There's a video for every single layer of the cheatsheet (you printed that out, right?!) to help you learn my signature process from start to finish, step by step.
Before we continue, super quick announcement: All product links are Affiliate. I may earn a small commission if you choose to order through these links but by law there is never any additional cost to the consumer for doing so. I thank you for your support.
Yay! I'm glad you stayed. Let's get moving on the fox project!
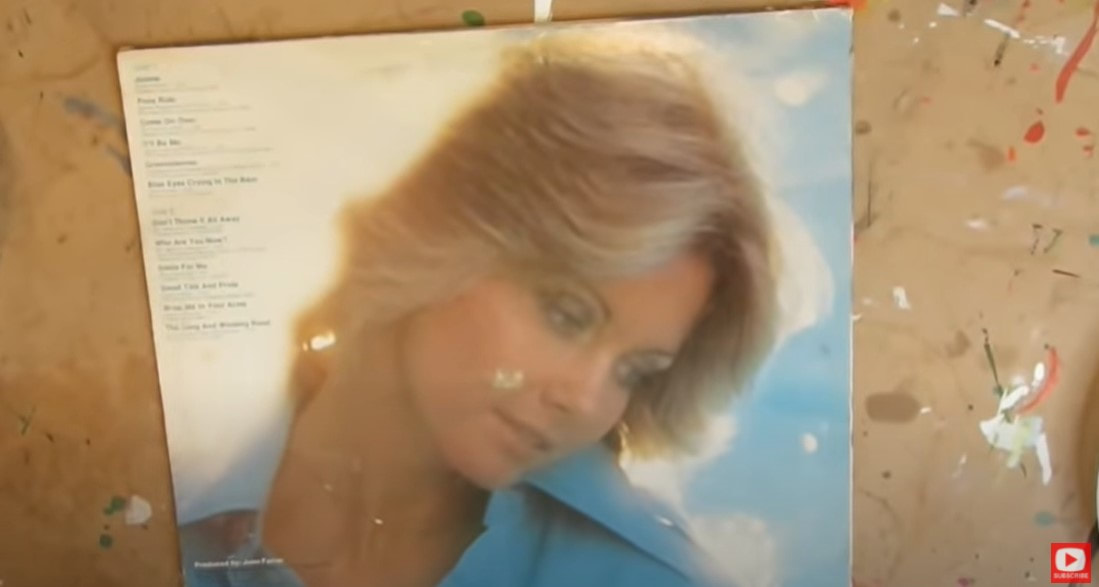
If you haven't met me yet, you'll soon learn I love hoarding art supplies as much as the next girl, but I ALSO love saving money and upcycling thrift store finds for my art. One of my tricks is to purchase old record album covers to turn them into canvas! Kinda brilliant right? They're dirt cheap and I love the square shape.
You can also create your own mixed media fox on canvas, canvas panel, or in an art journal (just make sure the paper is super thick -preferrably watercolor paper). Do what YOU love!
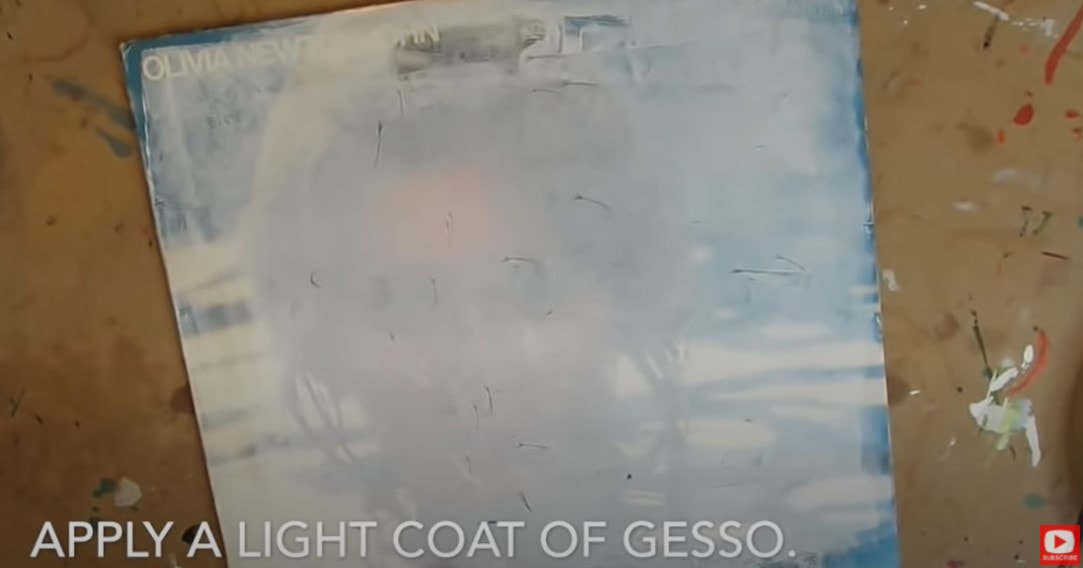
If you're upcycling any old surface like a once glossy record cover, we need to cover it with a light layer of gesso.
Now it's time to start painting!
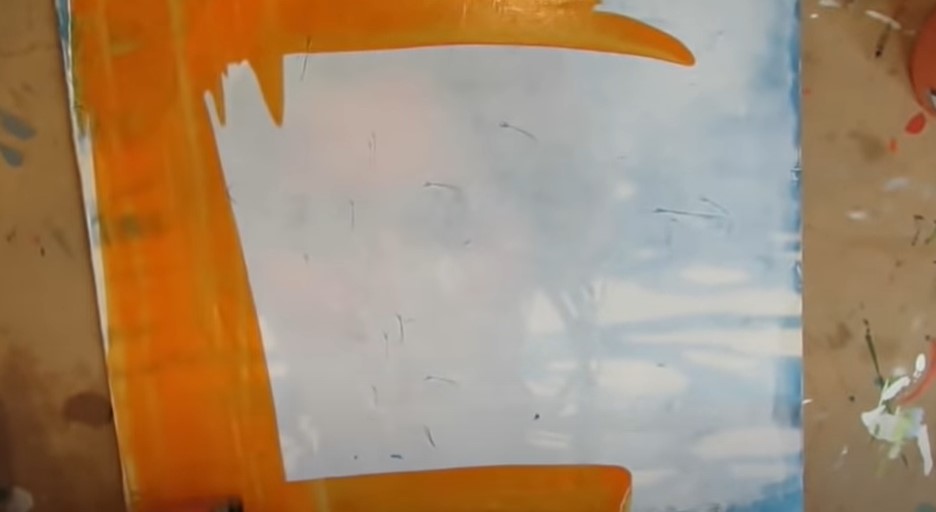
Apply a thin layer of orange acrylic paint. I love acrylic paint by Lukas Cryl. I discovered it years ago when my kids were tiny and I was REALLY on a budget. This stuff is gorgeous and lasts forever. I've been recommending it to my students ever since. I wanted an edgey look, so instead of using a paint brush- I used the edge of an old credit card to spread the paint around. Looks cool, right? If you prefer using a paint brush, that's cool. Use whatever you have on hand. If you're looking for a new acrylic set of brushes, this is a great one.
Another cool element to upcycle in your mixed media art for collage is phone book pages or thrift shop books! I always look for the books that are on their last legs. The paper is thin and perfect for mixed media collage.
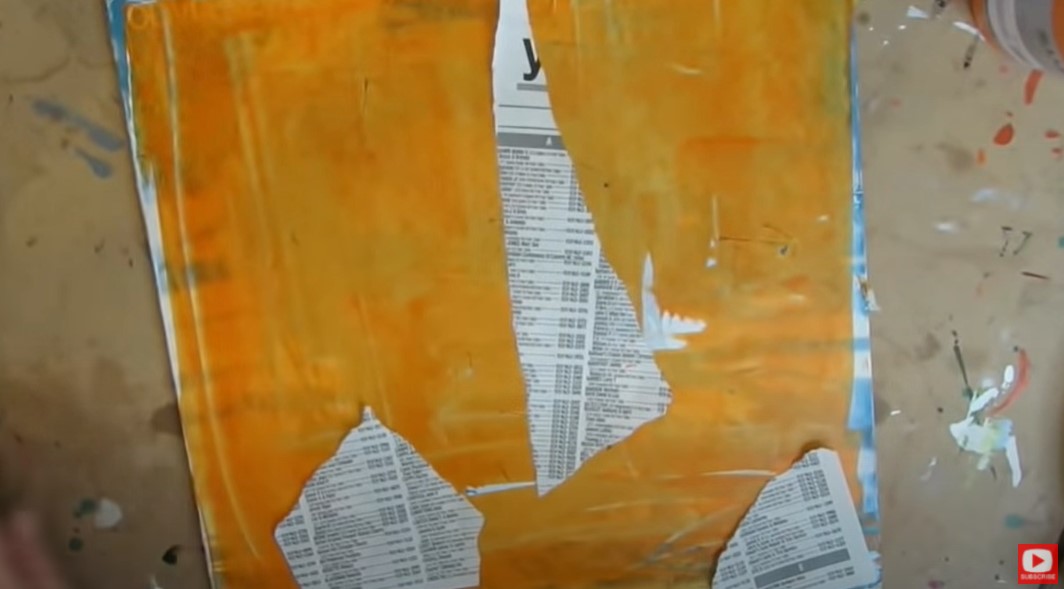
For the fox, I ripped up a page from an old phone book. Does anyone even get these anymore?! ?
Lots of people use mod podge to adhere collage pieces to their art journal pages and canvases, but I actually use matte medium. Why? It's designed to work with acrylic paint, and it actually has secret adhesive properties! I paint a thin layer on the bottom of my collage pieces, and another right on top.
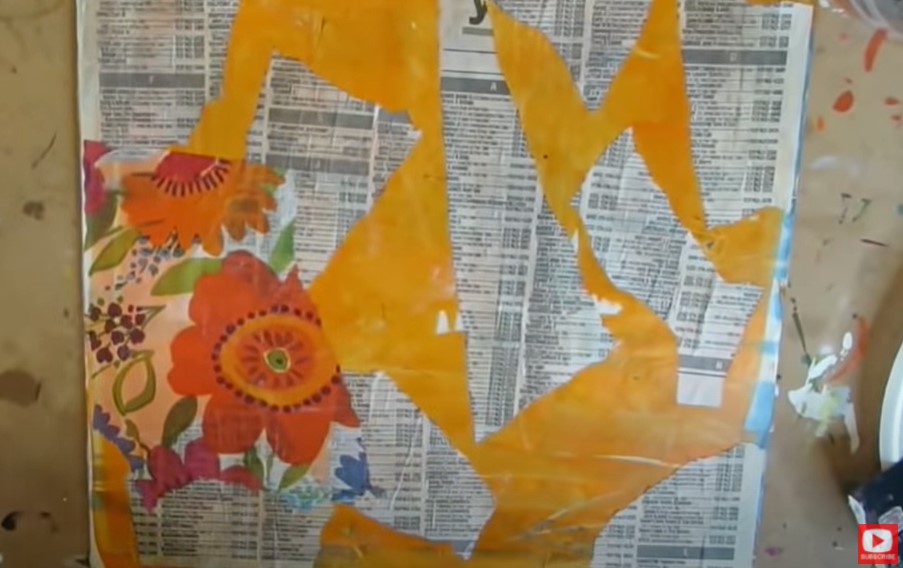
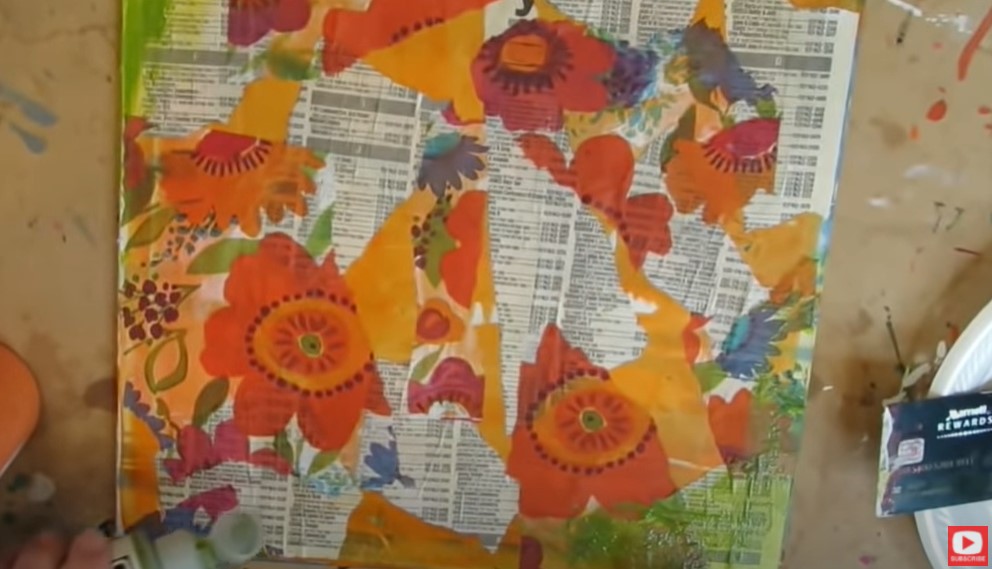
Napkins and tissue paper are also excellent for mixed media collage. For this project, I had an adorable, floral napkin I was dying to incorporate. I peeled the napkin backing from the pattern side (this is really important because it makes your collage pieces thinner and easier to control). Then I ripped it into pieces and carefully adhered it to my piece.
If you struggle with getting the wrinkles out of your napkin pieces when you're collaging, this video is for you. It really demos my technique of using TONS of matte medium! I pour it on so there's a lot under my napkin pieces, and then coat them on top as well. If you think you're using too much matte medium, add more :)
Next start adding in some acrylics that tie in with the color scheme from your napkin. I did a very thin layer and used my finger to spread it into the corners to kind of tie things together.
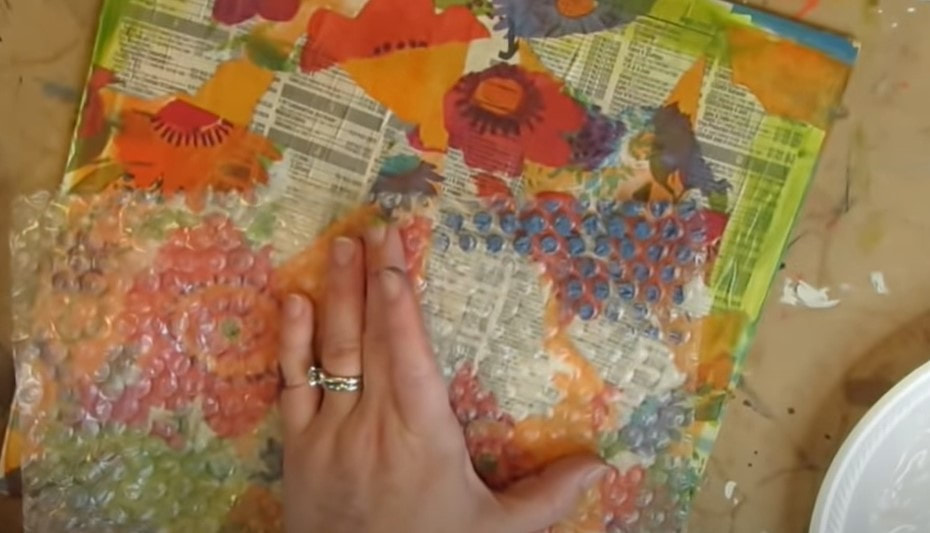
My next step was to add a bit of texture. I love the look of polka dots, and I've found that painting a bit of acrylics over a corner of bubble wrap looks AMAZING in the backgrounds of my mixed media portraits! I've been doing this trick for years, and it costs nothing! Win-win!!
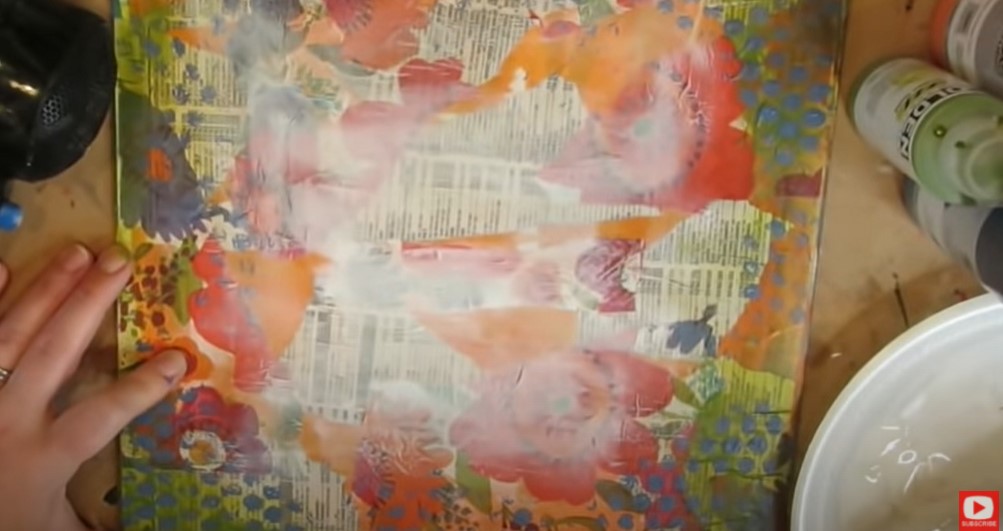
After I hit my layers up with my hair dryer, it's time to start making room for our adorable fox! To knock my background back a bit, I add a super thin layer of gesso all over in the middle of my piece. I used an old credit card here too, to keep that edgey look.
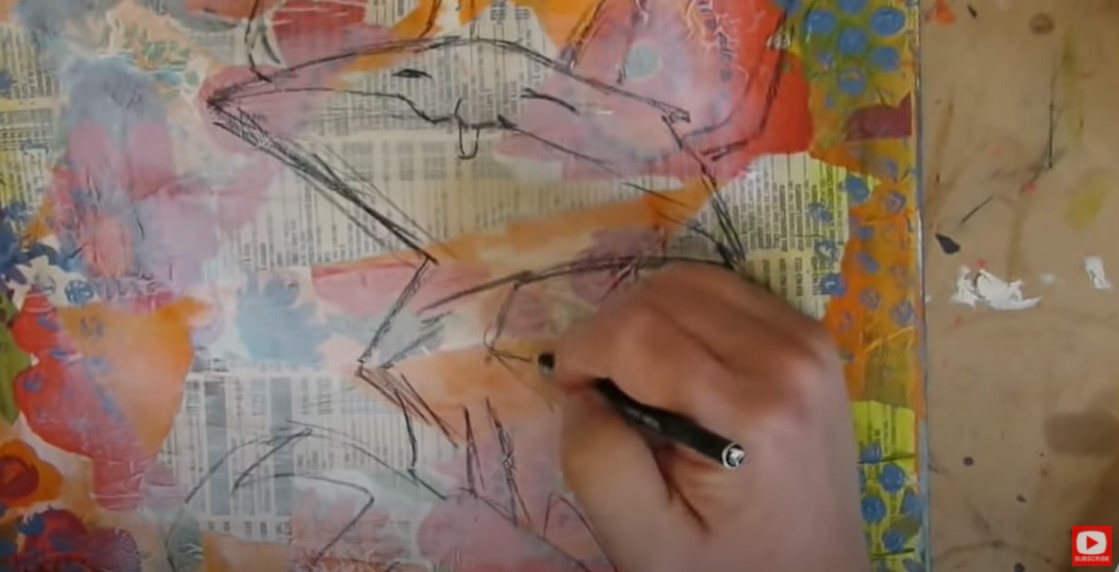
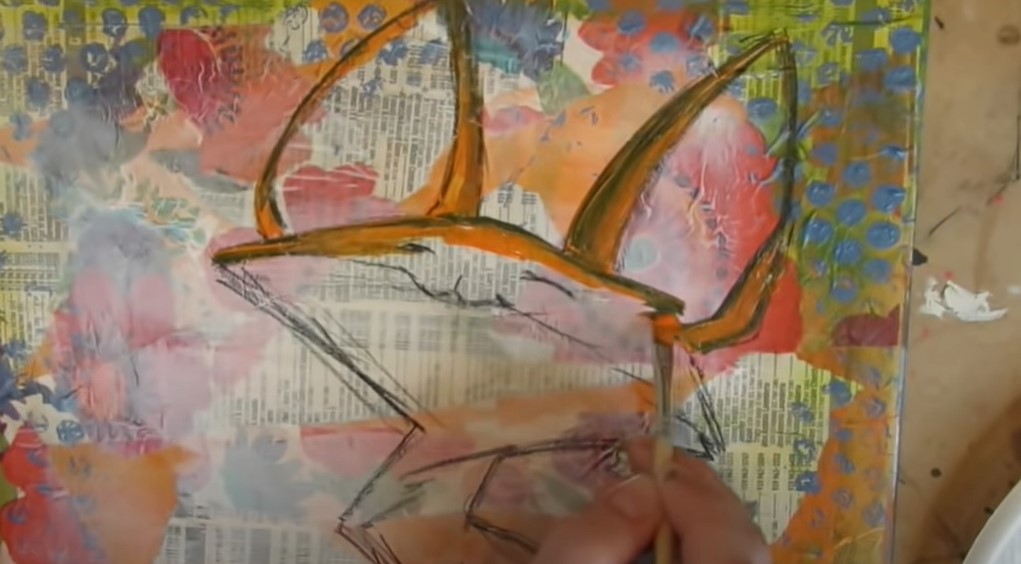
Next, I penciled in my fox outline. I used a black stabillo all pencil because I love how watersoluble it is. It smears when you add something wet to it from water to gesso. Some of my students don't like the unpredictability of the stabilo like I do. If you're one of these people, just use a pencil. When you like the way your drawing looks, start painting again with your acrylics.
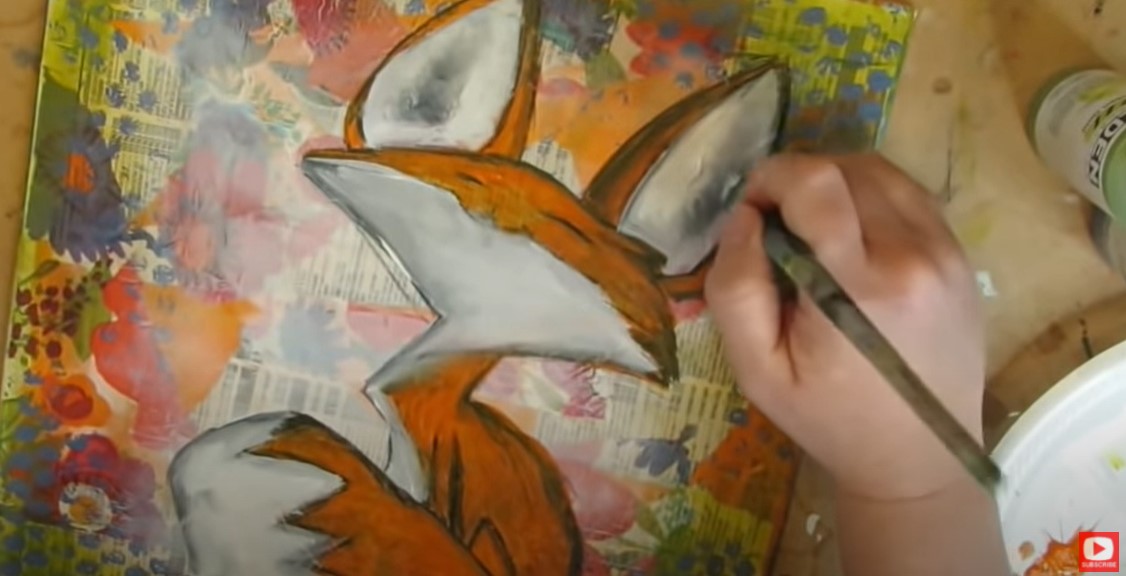
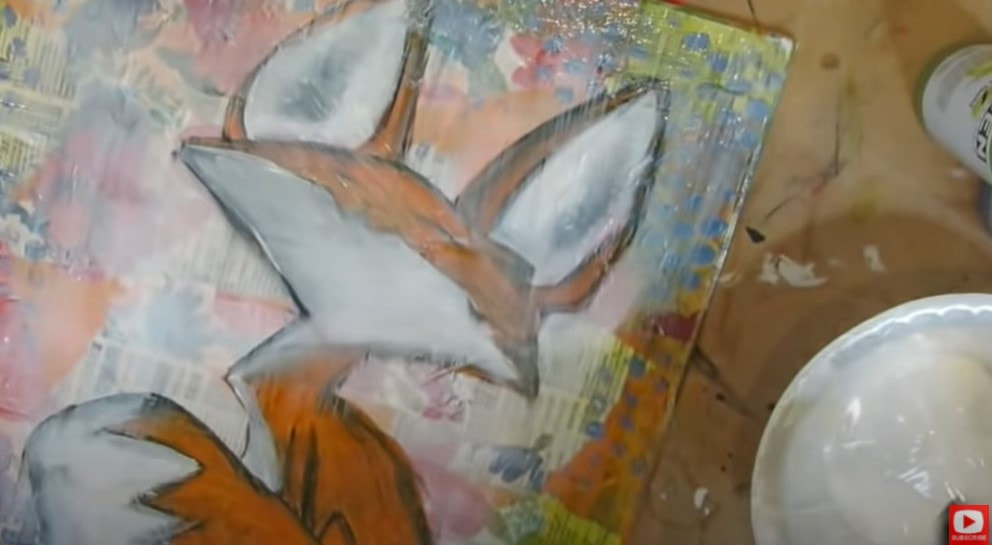
When it was time to start adding in that fluffy white fur, I used more white gesso instead of white acrylic paint. I tend to do this a lot in my mixed media work because I love how the collage layers will peek through gesso.
As you'll see in the video, my stabilo lines activated here and there when the gesso hit them. I love how that softened the fox's edges and helped add shading to my little guy without even trying!
Once I felt happy with my painting layer, I sealed it all in with a layer of matte mod podge. Be prepared because that stabilo can activate again when your mod podge hits it.
Let this dry completely. Just walk away and do something else for a while. Or if you're impatient like me... hit it with your hair dryer or heat gun again.
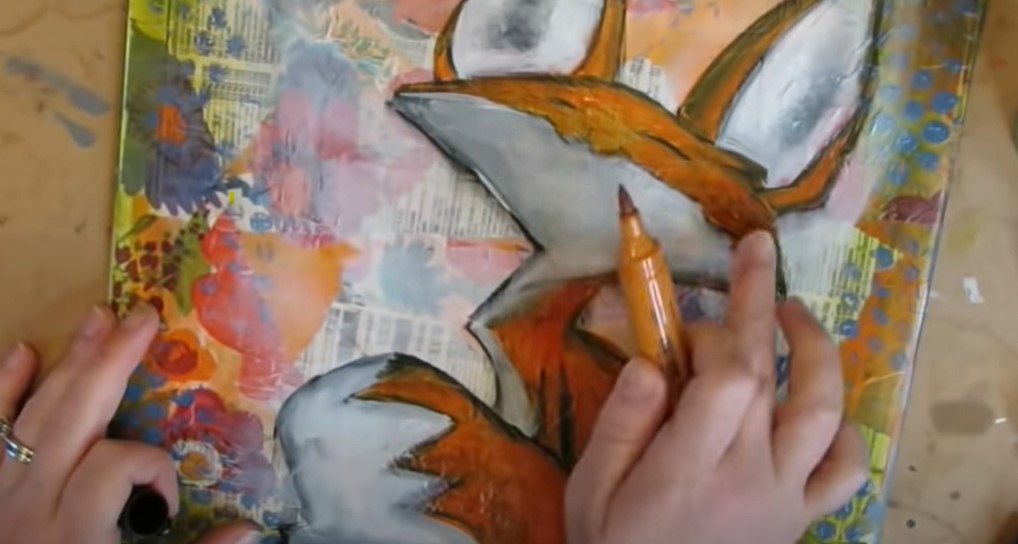
When the surface is slick and dry, it's time to "paint" with our pitt pens! I freaking LOVE this step. It's like ice skating when these babies hit your canvas! If you're following along with your Hamburger Cheatsheet, this is Layer #5.
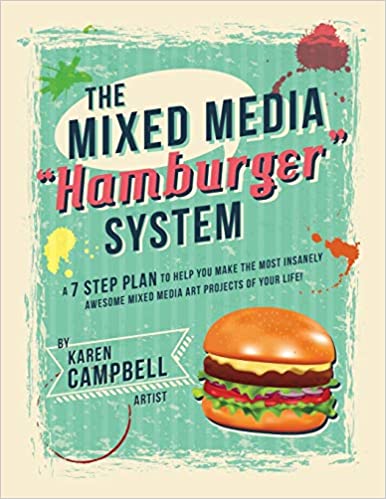
If you're loving the cheatsheet, this actually inspired not only the FREE 9-Part Series on YouTube, but a book by the same name as well. If you love the feel of a book in your hand, it's available on Amazon.
Once you're done "painting" and doodling with your pitt pens, it's time to add a cute quote. I love using stamps for quotes because I don't love my handwriting. Feel free to do either, or no quote! This is YOUR art.
Next to the last step is to pop in some highlights with a white paint pen. I love this simple set of three in varied nibs from Posca. I also love my Sharpie White Poster Paint Pen.
I love the look of a bold black outline, so you'll often see this in my work. I also love using a stamp pad and adding the look of black, distressed edging all the way around my canvas. Make sure you click over to the video to see exactly how it's done!
Just a quick heads up, when you do click over to this fun mixed media fox video, this was shot BEFORE I had even named my magical mixed media layering process, so you won't hear me talk about the burger layers in this video. You'll just see them in action, set to music!
Wanna learn TEN ways to save money with your art supplies? Check out this video. It explains how the layers in this very project can help you from buying out your local craft store :) Thanks for hanging out with me today! ❤️ CHECK OUT ALL MY ONLINE ART CLASSES & Art Clubs ❤️ CHECK OUT ALL my art books ❤️ MY FAVORITE ART SUPPLIES on AMAZON ❤️ MY BELOVED FACEBOOK GROUP
1 Comment
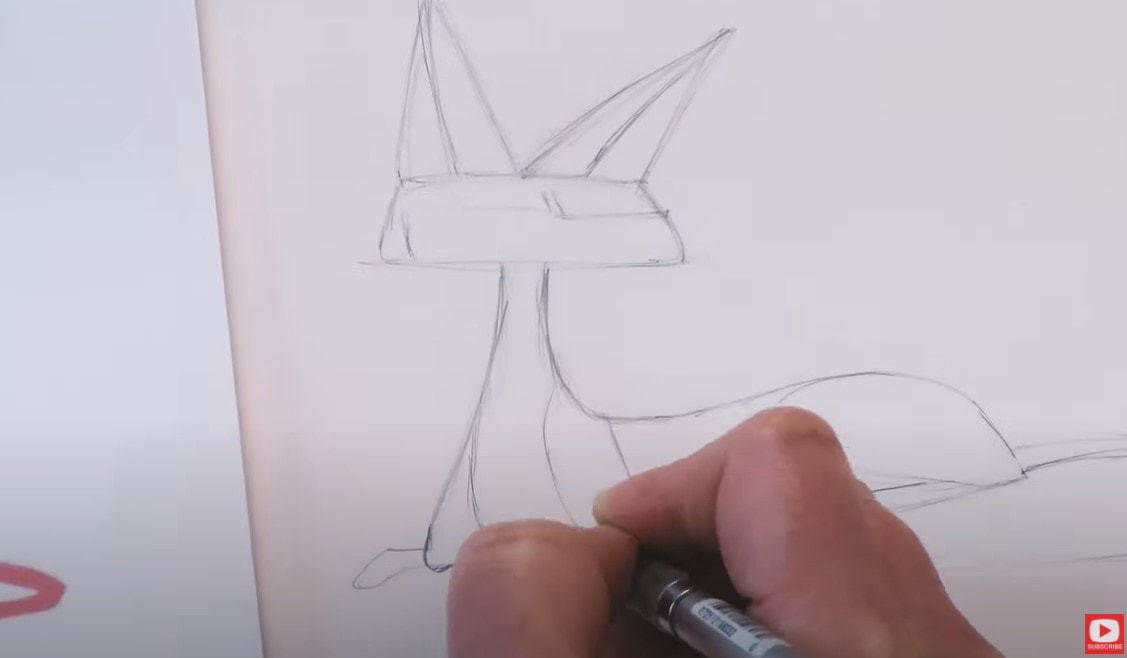
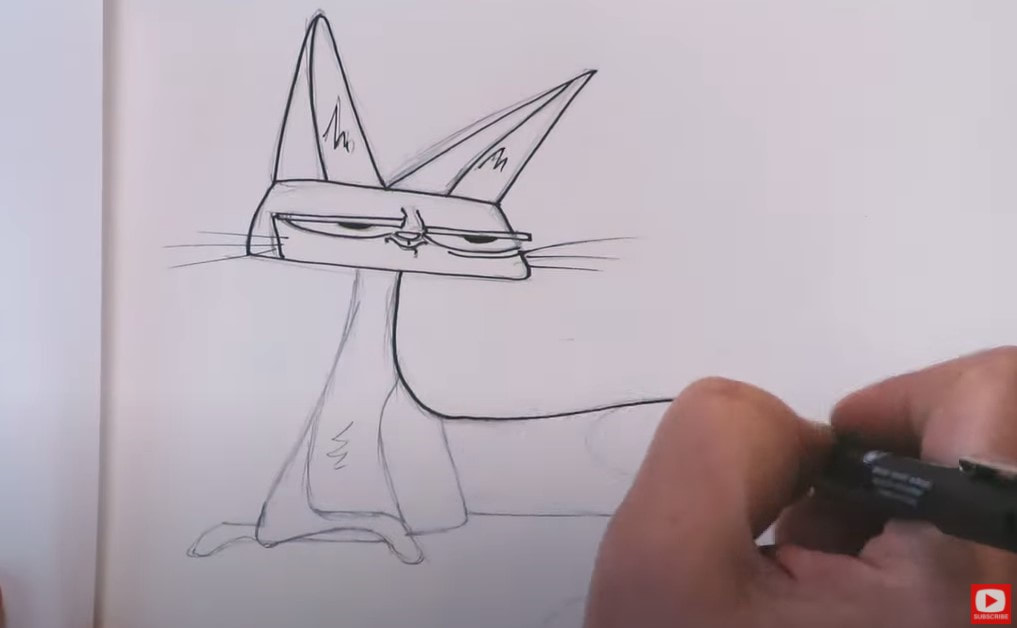
Today I'm starting a FUN cartoon cat drawing series over on my YouTube Drawing channel!
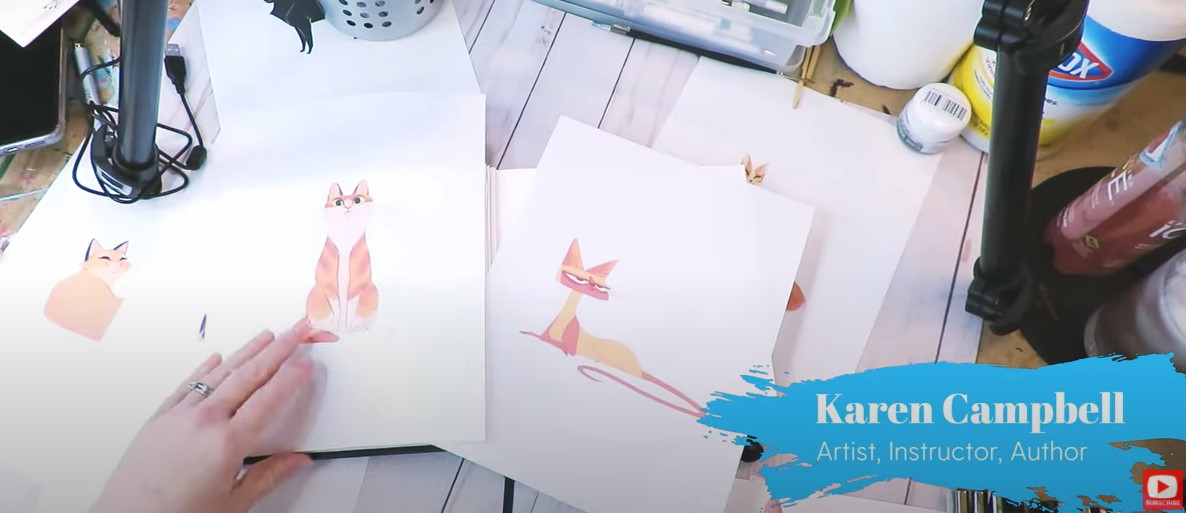
I've been teaching my students in The Fun Fab Drawing Club over at Awesome Art School how to draw cartoon cats & dogs, and thought YOU might like a sneak peek at what we've been up to! Feel free to use this funny Siamese cat lying down as YOUR OWN cat drawing reference so you can play along with us!
I'm keeping it easy with supplies - just a pencil, fineliner and some copics to shade! Come draw with me! BEGINNERS WELCOME!!
Before I get too far into this drawing tutorial, I HAVE to give a shout out to the talented artist who inspired these drawing lessons - Heather Nesheim!
I'm actually dedicating this WHOLE series to Heather because I think her work is amazing and when I asked her if we could study her work and use it to inspire our own cat drawings, she said YES!
So a HUGE thank you to, Heather!!
Through this whole series - we'll be honing our drawing skills with a wide variety of cat cartoons!
I think it's SUPER important to have an awesome reference that YOU LOVE when you're just learning how to draw because you'll be way more interested in actually drawing it! And...the more you draw- the BETTER you'll get!! I'm drawing all my cats in pencil and doing the cat drawing outline with a fineliner before I pull out my copics for some alcohol marker shading.
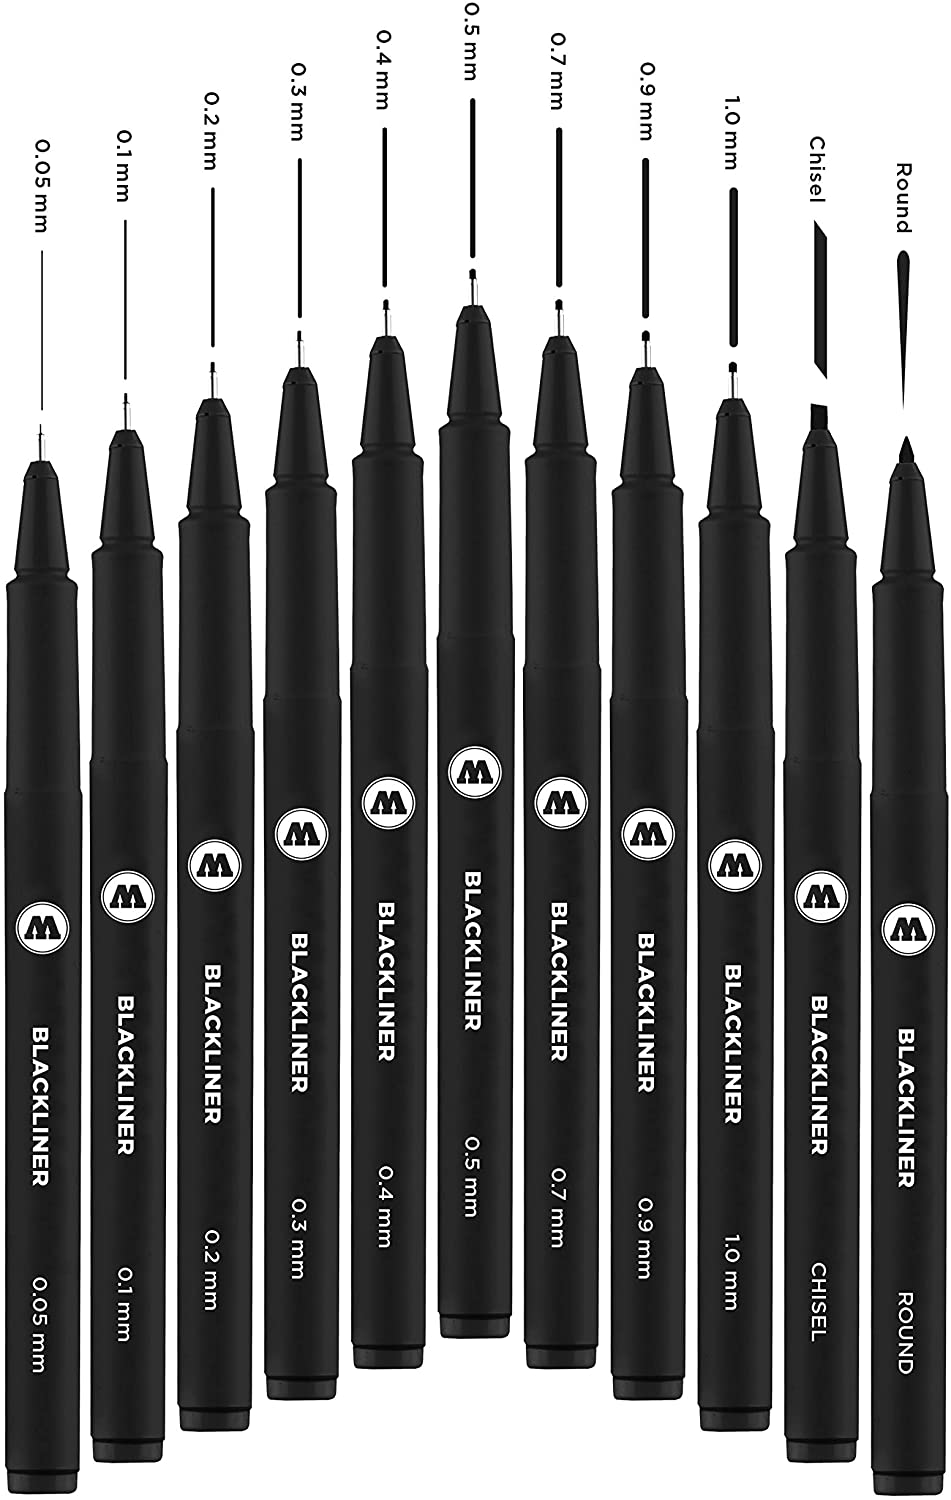
I've tried TONS of brands out for fineliners and I have to say I'm really in love with a new set made by MOLOTOW. You can find them in my store over on Amazon if you need a fineliner that WON'T SMUDGE under your alcohol markers.
The set I've got comes in multiple nibs to help me vary my line weights. I love their water based pigment in the ink, and the way they feel kinda heavy in my hand - which makes me feel like I've got more control over my work.
Real quick - if you do feel like you need some fineliners or find another something you love over in my Amazon store - my links are Affiliate, which means I may earn a small commission if you choose to order through these links, but by law there is never any additional cost to the consumer for doing so. I thank you for your support!
Thanks again Heather for inspiring such a FUN drawing series for us over at Awesome Art School in the Fun Fab Drawing Club! We love your work and are so appreciative that you let us practice drawing like YOU!! You can check Heather's website out here or go follow her on Instagram @heddarsketch. Wanna do this and MORE fun cat cartoon drawings with me in REAL TIME (not timelapsed/ sped up) over at Awesome Art School? Join the waitlist in The Fun Fab Drawing Club!
❤️Did you miss my Fun Fab Fairies Workshop? NO worries!! You can STILL sign up and enjoy each of these lessons on your own time at your own pace in this stand alone classroom at Awesome Art School! CLICK HERE to REGISTER.
❤️MY ARTIST BESTIE, LUCY BRYDON & I are creating a NEW ART MEMBERSHIP together called The Celtic Collective!! Learn More & add your name to the waitlist here. Opens July 7th!
I've been a full-time working artist for 15 years! If you've been wondering how to become an artist, how to become a better artist, or if it's too late to start your own art journey, you NEED to watch today's YouTube video on my Mixed Media channel, because that is EXACTLY what I'll be talking about!! Would it surprise you to know that I don't sell ONE SINGLE PIECE of my art? I don't!! So WHY do I make art and spend all of my time and energy on TEACHING art with a team of people behind me? Because I know the way art makes us FEEL. It can have a HUGE impact on our own lives and the lives of others. You might find it interesting to know that becoming an artist was NEVER even on my to do list when I was growing up!! Not for one second did I even consider becoming an artist! I grew up thinking art was a hobby - no more, no less. So how did I get where I am today- with two YouTube channels, an online art school, and 12 art books already under my belt?! I got into art later in life because I got addicted to the way it made me feel when I spent time being creative. If I was having a bad day, stuck home when my kids were little and I was changing diapers and wanted to cry, the minute that I sat down to draw, sketch or paint, all of those feelings melted away. It was like a drug. There was a transformation that happened inside of me - in my brain, in my soul, in my heart...and it made everything ok again. Art gave me ALL the FEELS inside, and was something I craved because this goodness washed over me every single time I sat down to create. These amazing feelings are what I hope ALL my students can experience, and they're WHY I spend SO much time coming up with cheatsheets and shortcuts and break things down step by step for my online art classes - because I want my students to get to their happy place TOO, and to get there even faster than I did!! I became a good artist by default. Because ALL the chasing of those good "happy place feelings" lead to practice, and all of that practice lead to really great results. Why does that matter? Because I grew up believing people who made art were BORN with talent. I didn't even entertain the thought that I could make art because I didn't think I was born with that talent. Yet here I am, a successful working artist impacting students who are now making masterpieces of their own. So how does that happen?! This is my philosophy on what happened... if I CAN LEARN to be a good artist... so can anyone!!! SO CAN YOU!!!!! After you watch today's video, make sure you sign up to join one or both of the art challenges I'm running next week. They start on MONDAY!!! ✅ SIGN UP for my MIXED MEDIA CHALLENGE ✅ SIGN UP for my DRAWING CHALLENGE Now press play already for today's video so I can show you how YOU can become an awesome artist too ;) I can't wait to show you!!!! I hope you had a fantastic weekend!! I have a LOT to tell ya today, so buckle your seat belt... On Friday, I did a LIVE STREAM on my mixed media channel to celebrate 30K subscribers!! While I was there, I showed a sneak peak of some of my 30K giveaway prizes: MY 30K GIVEAWAY PRIZE WINNER WILL RECEIVE:
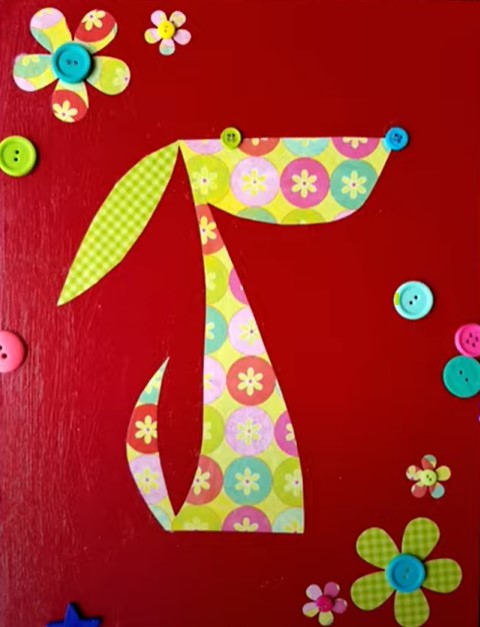
HOW CAN YOU WIN the GIVEAWAY PRIZES? All you need to do is subscribe to my new Drawing Channel on YouTube. After that- just pop back over to my LIVE STREAM video from Friday, and leave a comment telling me you've subscribed. That's it ;) The winner will be selected at random and announced this Friday (9/4) on my Mixed Media channel!! KAREN's CHALLENGE DETAILS While I was LIVE on Friday, I also announced ALL the details about the Challenge I'm running next month!!! I decided to go BIG... We're starting September 21st, and the Challenge will run for 5 days. I'm giving away prizes EVERY SINGLE DAY in my Facebook Group!!! CLICK HERE to learn more & sign up for my DRAWING CHALLENGE - beginning Sept. 21st CLICK HERE to learn more & sign up for my MIXED MEDIA CHALLENGE - beginning Sept. 21st **IF you're a Club member of either The Fun Fab Drawing Club or The Mixed Media Society - you've automatically been enrolled in the challenge and will see that bonus in your classroom.** If you're NOT a club member, it's just $5 to participate in either challenge to receive the daily 1-hour lesson. I HOPE you'll join me!!! NEW Drawing Video Today My last bit of news today is to let ya know I've added another video to my profile series on my Drawing Channel. Today she's an adorable fairy that I've shaded using some super cheap copic marker alternatives from a brand called Par Koo! I was actually really surprised by how much I loved these juicy markers! Even better- they're only 37 cents/ each - so if you're in the mood to add a ton of colors to your alcohol marker stash - I highly recommend giving them a try!! CLICK HERE when you're ready to watch today's drawing tutorial & please draw along with me!!! See ya next week!!! This project is SO FUN!! If you were with me on YouTube the last couples of weeks - this project is similar - another decoupage / collage project, AND it's easy enough to share with an artsy little one in your life if you want to - OR to gift to that special little one for his/her bedroom walls (if you can bear to part with him!!). SUPPLY LIST for THIS no draw Mixed Media Collage PROJECT:
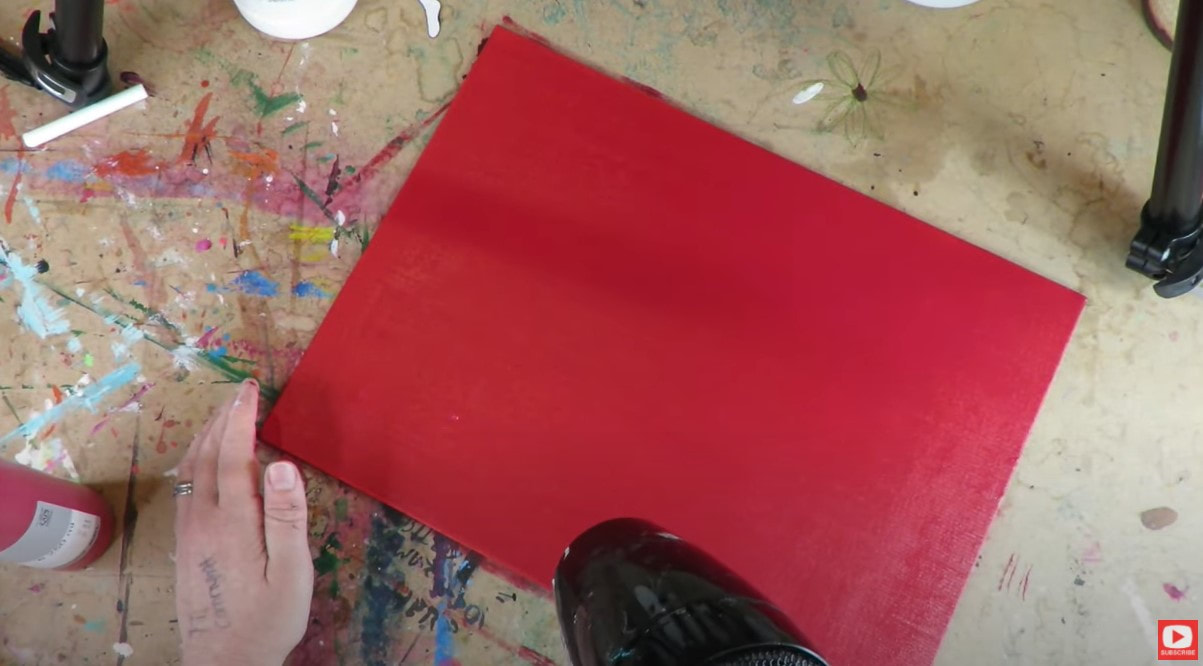
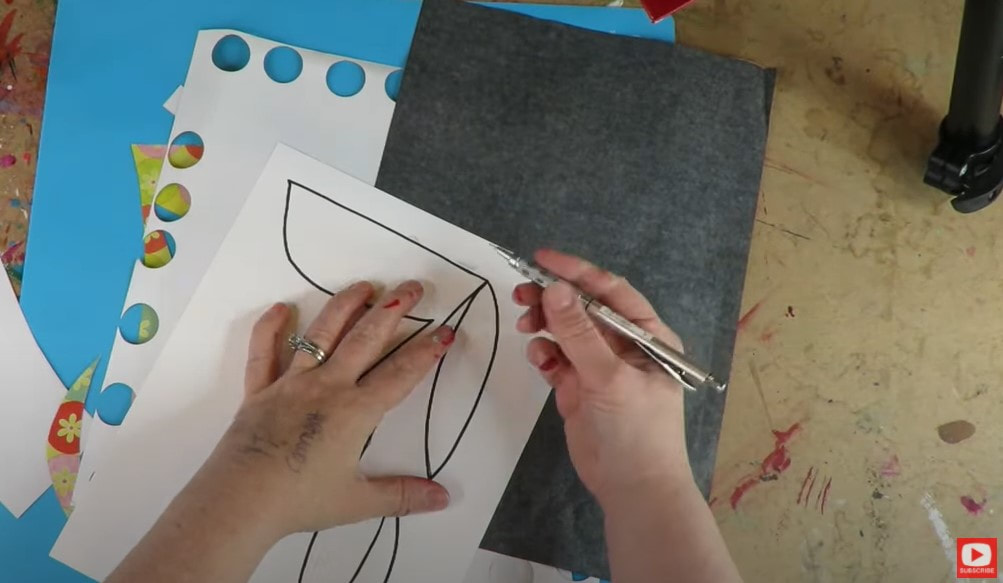
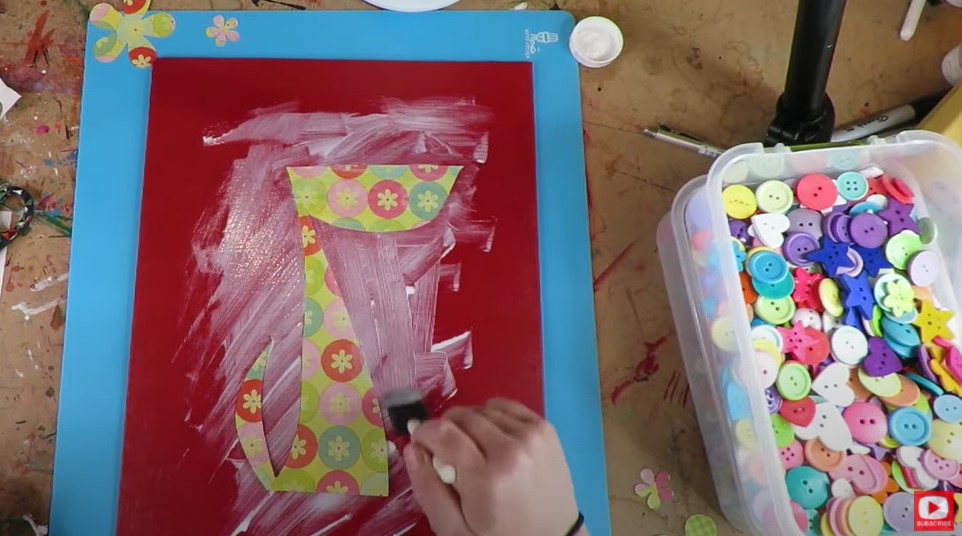
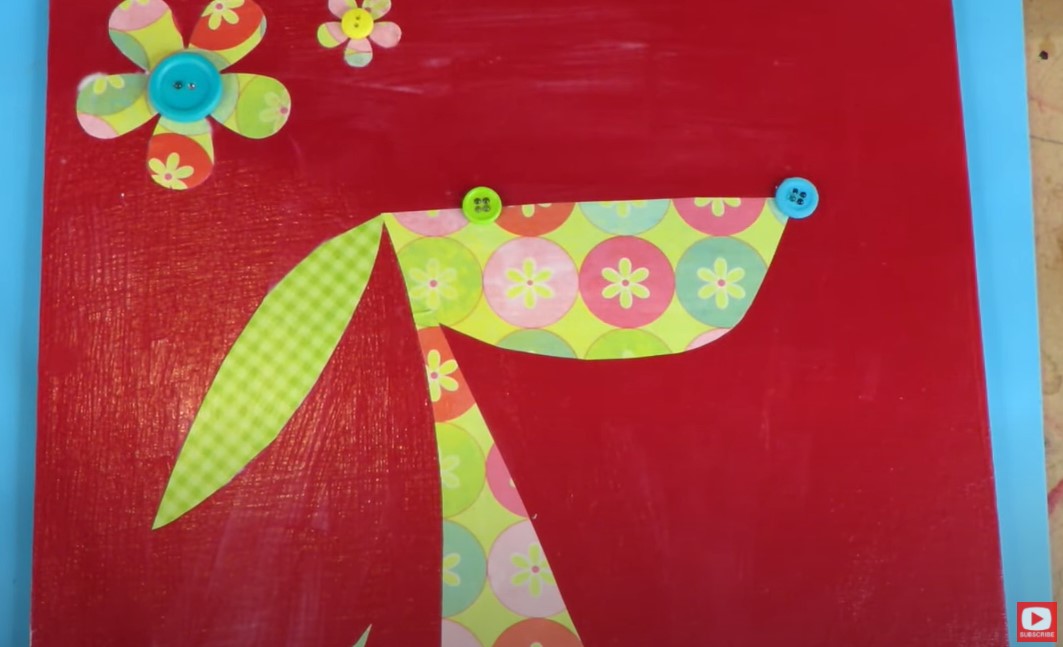
Once you've gathered your supplies, CLICK HERE to meet me on YouTube for this mixed media tutorial! The first thing we're gonna do is cover your entire art journal page or mixed media canvas with two complete layers of acrylic paint! I know you'll probably think one layer should do it- but trust me ;) I've got you! Apply one juicy coat of acrylic horizontally, dry it, then apply a second juicy coat of acrylic vertically. This will ensure you've covered every inch of your canvas, so when it dries- no teensy white space will be poking through! While you're waiting for the second layer of background paint to dry, let's move on to your puppy! Grab you sheet of transfer paper and one of your sheets of scrapbooking paper. Lay the scrapbook paper face down, then lay your transfer paper face down on top of that. Finally, stick your puppy template printout on top. Finally, just trace the outlines of the puppy FACE and BODY from the template with a sharp pen or pencil and the design will totally transfer onto the back of your scrapbook paper! It's EXTRA cute if you trace the puppy ear and/or tail onto your second sheet of scrapbook paper ;) Or - use a different sheet of scrapbook paper for each body part!! That would be adorable too - do whatever YOU think will be cutest!! When all of the body parts have been outlined and transferred to scrapbook paper, simply cut the pieces. If you have a favorite punch - use that to cut out some additional scrapbook paper decorations in the background. Then it's time for mod podge!! Slather a thick layer of mod podge where you want your puppy to sit on the canvas and set him down gently. Next cover him on top with a thick layer of mod podge, and just keep going- allllll over your canvas! Even if you're using matte mod podge- there will be the teeniest bit of sheen in the areas of your canvas WITH mod podge- so just cover the entire canvas at this point so everything looks uniform. As you're slathering that top layer of mod podge... lay down the puppy ear (and tail if you chose to cut that out separately) and any background decorations you may have punched out (in my case- they're flowers). Be sure to fling that puppy's cute little ear in whatever direction you want to add a little extra personality to your piece!! Remember to layer even MORE mod podge on top of the ear and background decorations so everything has mod podge under AND on top of it. The more mod podge you use, the fewer wrinkles you'll have in any of the scrapbook paper you lay down. Once you have your mod podge over the top of your entire piece, hit it with the hair dryer (if you have zero patience like me!!) LOL!!! Then go ahead and add a button eye, nose, and center to your flowers (if you added those to the background). A dab of hot glue works great to glue those buttons down. Isn't he SOOOO CUTE?!!! I hope you have as much FUN making him as I did!!!
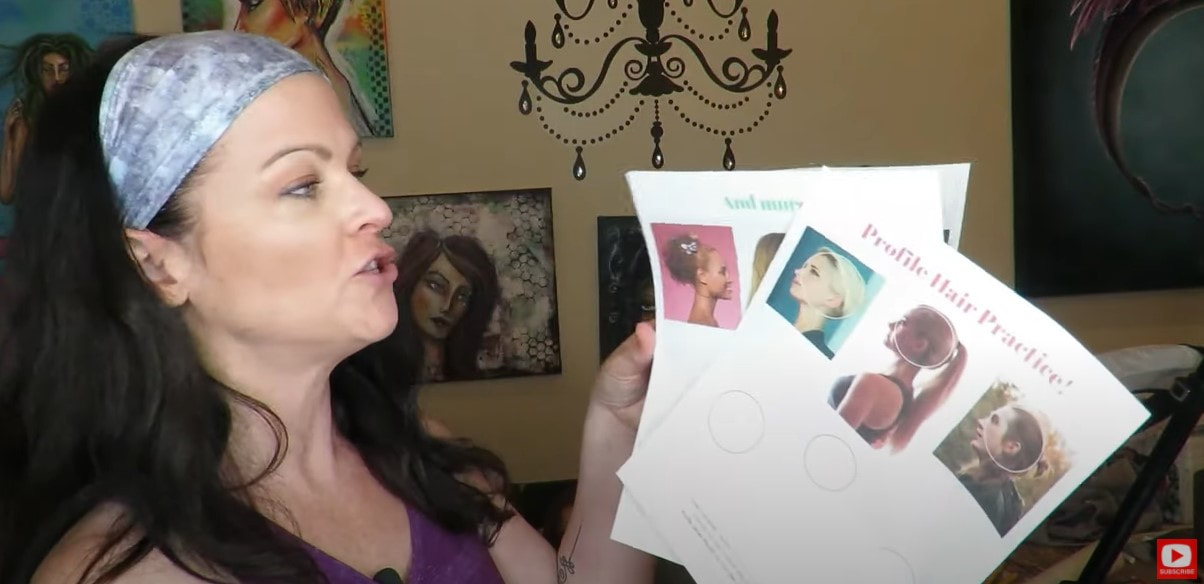
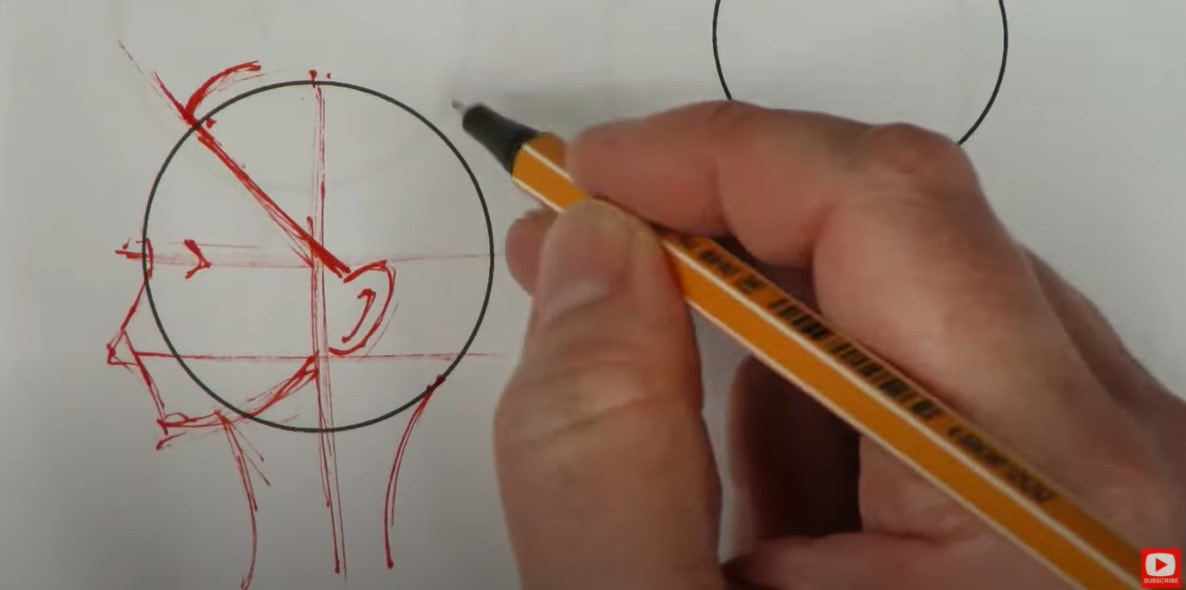
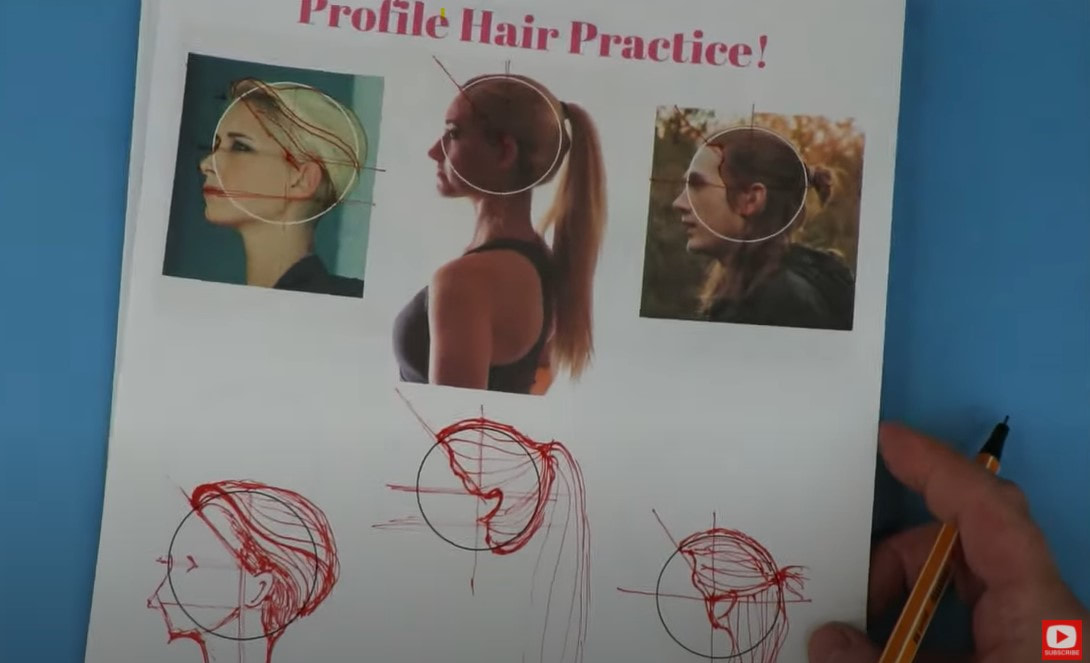
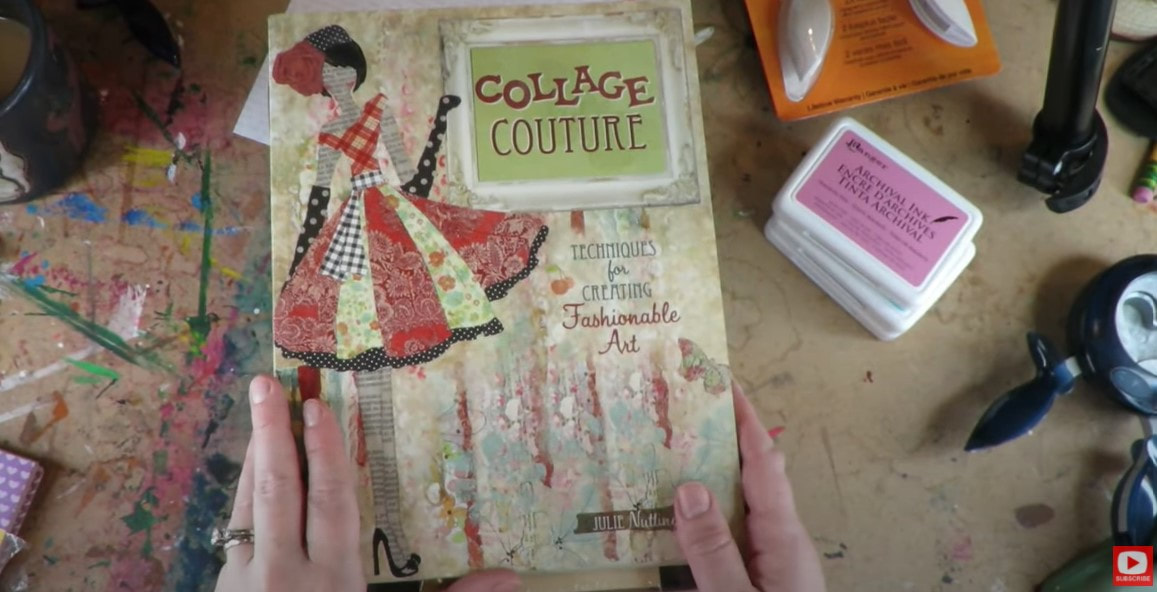
See ya next week ;) I hear ALL the time from my students at Awesome Art School about how challenging it can be for many of them, not only to draw hairstyles, but how to come up with fun hairstyle ideas to draw in the first place! Since we've been working on drawing and shading a profile face over the last couple of weeks on YouTube, I thought we'd spend some time drawing profile hairstyles to make this part a little easier! As you'll see in this hair drawing tutorial, one of my best tips for drawing hair (& to stay inspired!!) is to LOOK AT PHOTOS!!! When I was learning how to draw, I didn't like using photographs for my references because they made me feel pressured. I just wanted to learn how to do whimsical drawing, and not be bothered by all the details in a photo since I wasn't drawing realistically! Now I know there is SO MUCH you can learn from a photo that can inspire you while you're drawing!! To help you get you started, I made you a 4-page reference you can print out with 12 unique profile hairstyles. There is also space below each style to practice drawing the hairstyle above it. The first thing you need to remember about how to draw hair on a face from any angle, is that hair has volume. Hair will always extend out and above the head shape you've drawn - whether that head shape is an oval for a forward facing face, or a circle for a profile face. Even if the hairstyle you are drawing is a ponytail or braid that has been pulled back super tight, there will still be volume that extends above and outside of the head shape you've drawn. The next things that will help you with drawing hairstyles are to add in a neck and the profile face drawing guidelines. Then you will begin to see where the hair should naturally sit. Once your guidelines are in place, really look at the photo you're using as a reference for this drawing. Begin sketching your hairstyle at the root (see above), and extend your line back, away from the face - just as if you were brushing your own hair with a hairbrush. If you imagine your pencil as a hairbrush - it will help you draw your hairstyles realistically from root to tip. It can also be helpful to draw the outline shape of a hairstyle first - almost like you're drawing a helmet, then start adding in your detail, strand by strand. Feel free to draw right on top of the profile hairstyles PDF I'm giving out as a resource to accompany today's video - then see if you can recreate those same lines on the circle below. Using a photo as a reference point for drawing hair really eliminates the pressure of dreaming hairstyles up on your own from scratch (unless you want to). Find a photo of a style you like, then see if you can replicate it on your whimsical or realistic face drawings! Let me know in the comments section of today's video if you'd like a copy of my 4-page cheatsheet so you can draw along with me! HAVE FUN drawing your profile hairstyles!!! Today's SUPER FUN Mixed Media tutorial is a cute piece of art inspired by a book by Julie Nutting called Collage Couture Techniques for Creating Fashionable Art. I'm a HUGE fan of Julie's and have loved this book since it came out in 2011. In fact- I used to do a variation of some of her cute projects with my students when I used to teach art classes in person! For today's project I've got a FREE download for you in case you'd love to SKIP OVER the DRAWING part and get straight into the mixed media goodness! Here are the supplies you need for today's project:
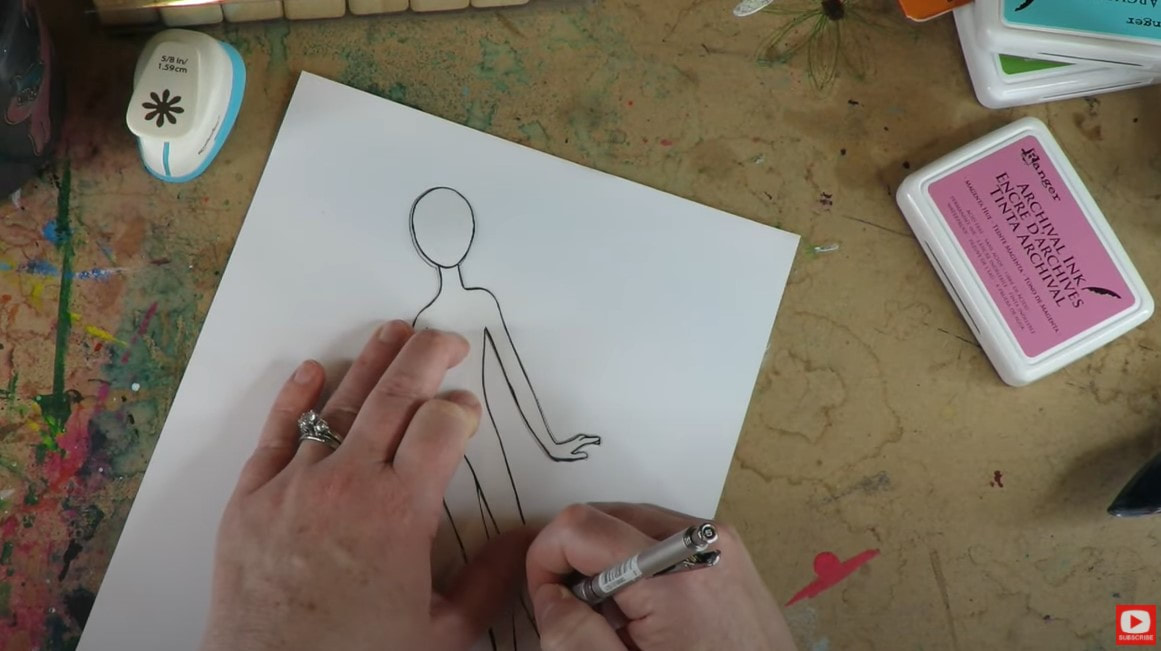
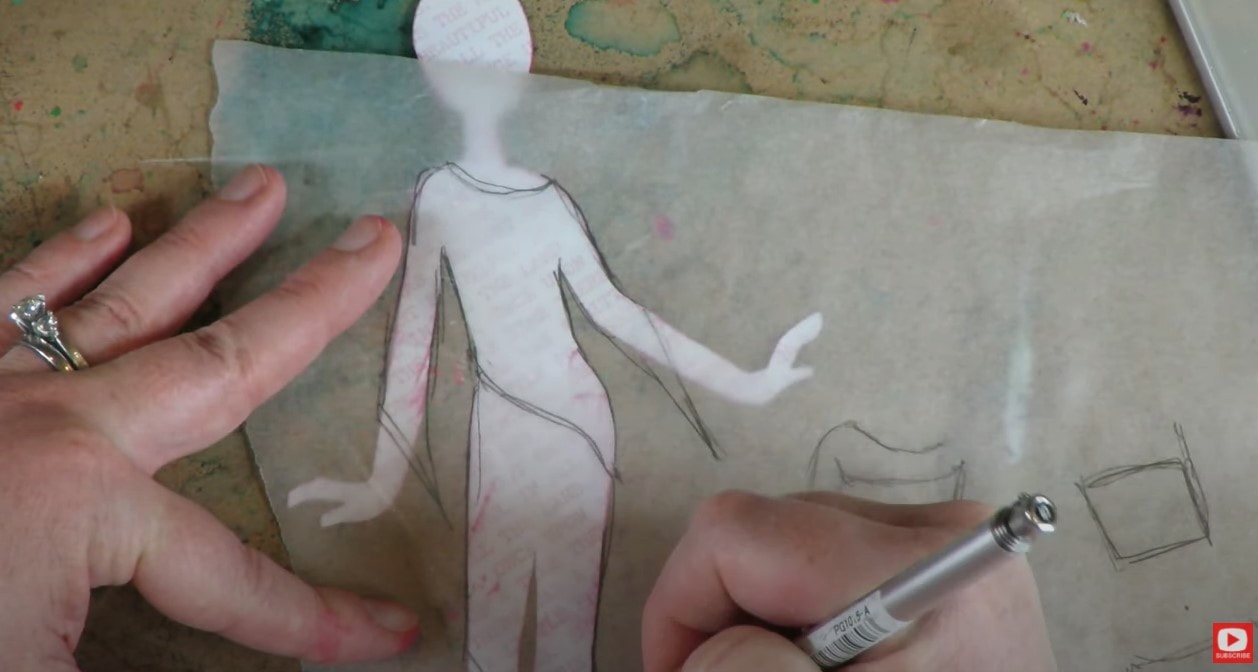
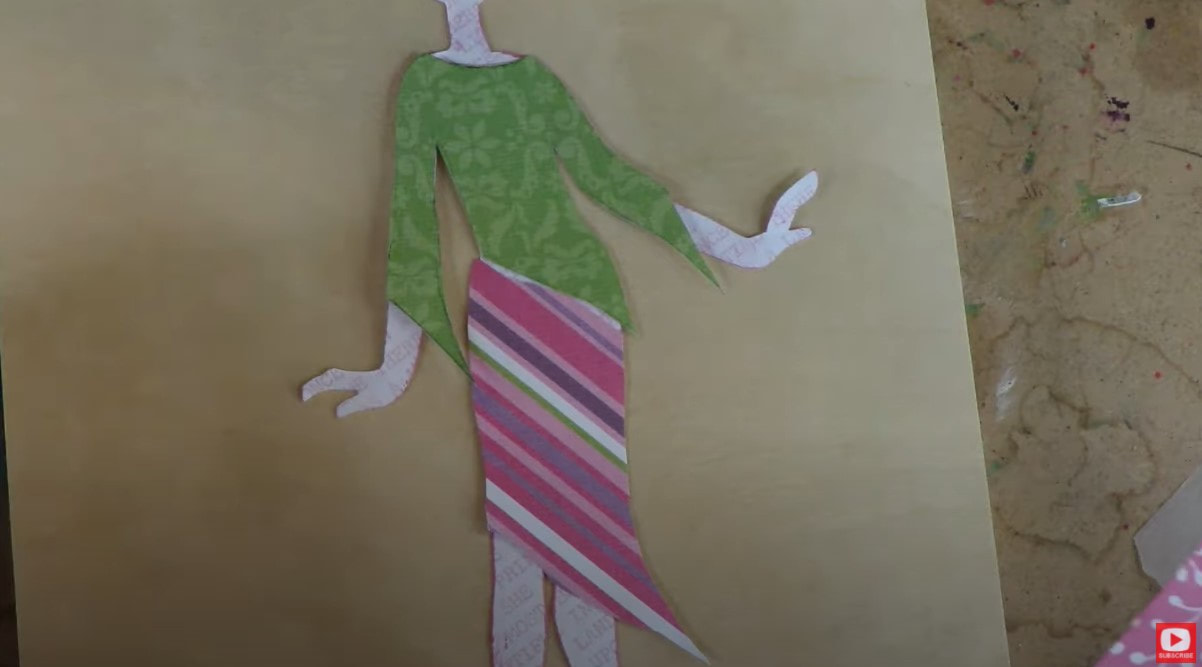
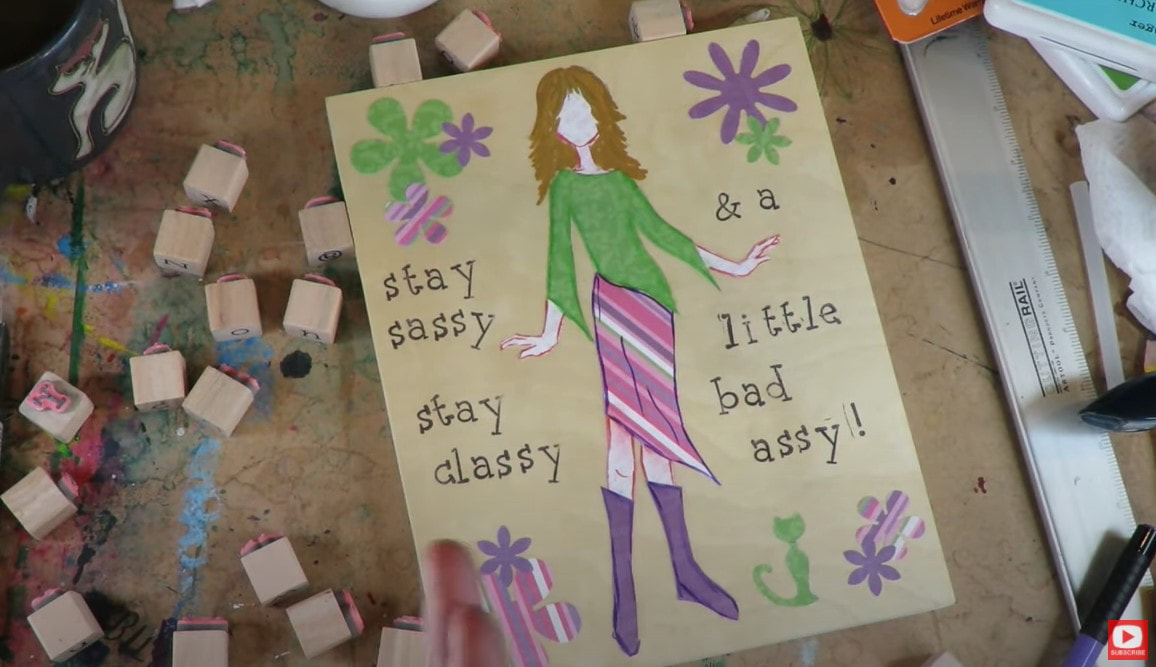
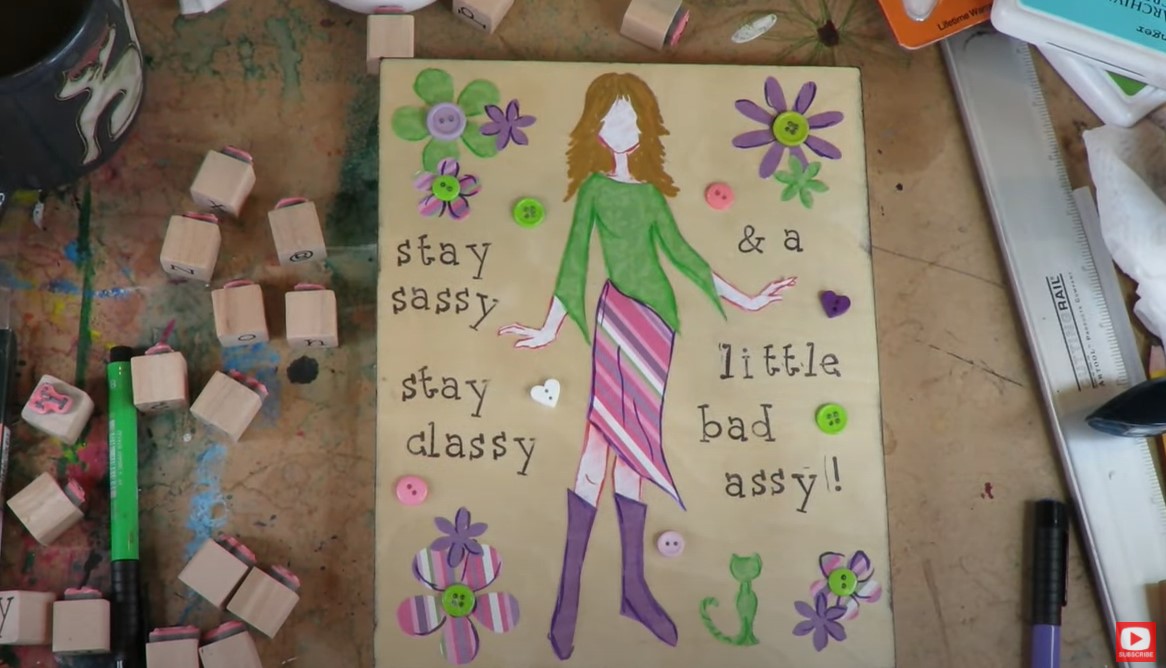
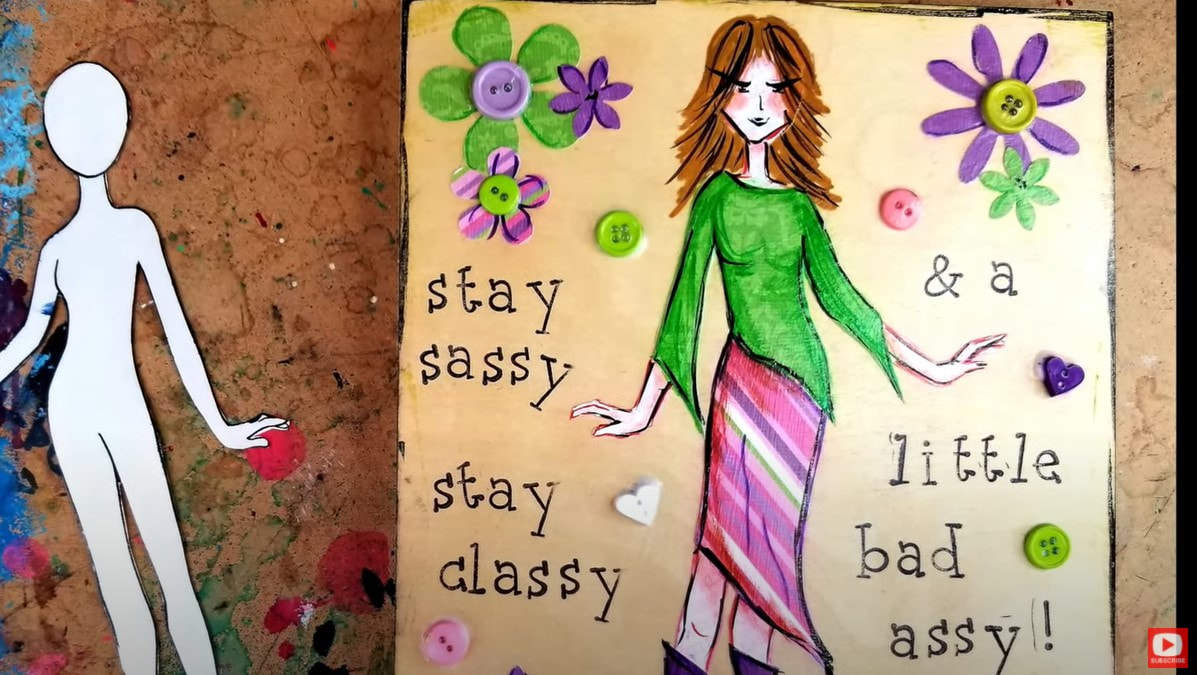
Once you have your body template cut out, trace her onto the back of a piece of scrapbooking paper. Quick tip here - choose a contrasting pattern for the body vs. clothes. For example- if you pick a tiny/subtle pattern for the body/skin - select a bolder pattern for the clothes (or try the reverse!). Next we're gonna design some clothes! We need a mini pattern first, so lay a sheet of trace paper right over your cutout and let your imagination run wild! Today, I drew in a 3/4 sleeve shirt, skirt, and some cute boots for my girlie!! Next, choose 2-3 sheets of scrapbook paper that go together to be her clothes. Lay one sheet of scrapbook paper face down on your art table. Then lay one sheet of transfer paper face down (dark side down) on top of your scrapbook paper. Finally, lay your trace paper with the clothes patterns you just created on top of that. Sound confusing? CLICK HERE to watch the video. I promise it's SO EASY! I used different sheets of scrapbooking paper for the top and the skirt for my girl. Look how cute she is looking already!!! Since I'm working on a wood panel (and I LOVE the look of wood), I'm leaving the background somewhat naked for now. If I had chosen to work on canvas or a canvas board, I totally would've painted a background of some kind before gluing my girl down. GRAB YOUR MOD PODGE to glue your collage pieces to the board. I used matte medium and I actually wish I hadn't!! Mod Podge will make your collage pieces slippery and creates a beautiful surface to doodle on top of. So go for that look if you can!! Once your girlie is glued down, just HAVE FUN with her! I have a ton of cute punches and am a cat mama of 3 - so my cat punch came out to play for this piece, along with some flower punches in different sizes. I used a paint pen to add hair, and then stamped a quote to make me smile ;) I continued doodling on the flowers and cat to carry over that look from the outlines on her clothes and tie it all together. Lastly, I added buttons to my large flower punches, and DONE! Isn't she SO CUTE?!!! Once I had everything all glued down, I applied a huge layer of mod podge over the entire thing. That allowed me to doodle in a bit more dimension with my pitt pens because this is something I LOVE to do. You can leave bold pen strokes, smudge your strokes to add shading, or do a combo. It's what I do ALL the TIME with my hamburger style girls!!! I love the way it turns out... I hope you ENJOY this super fun project!! Remember to DOWNLOAD your free, no-draw BODY TEMPLATE here. Then come back and press play for the full length, mixed media tutorial!! See ya next week ;) I love a simple mixed media art project!! This one is quick and easy and trust me, ANYONE can do it (even YOU!). All you need are the following supplies:
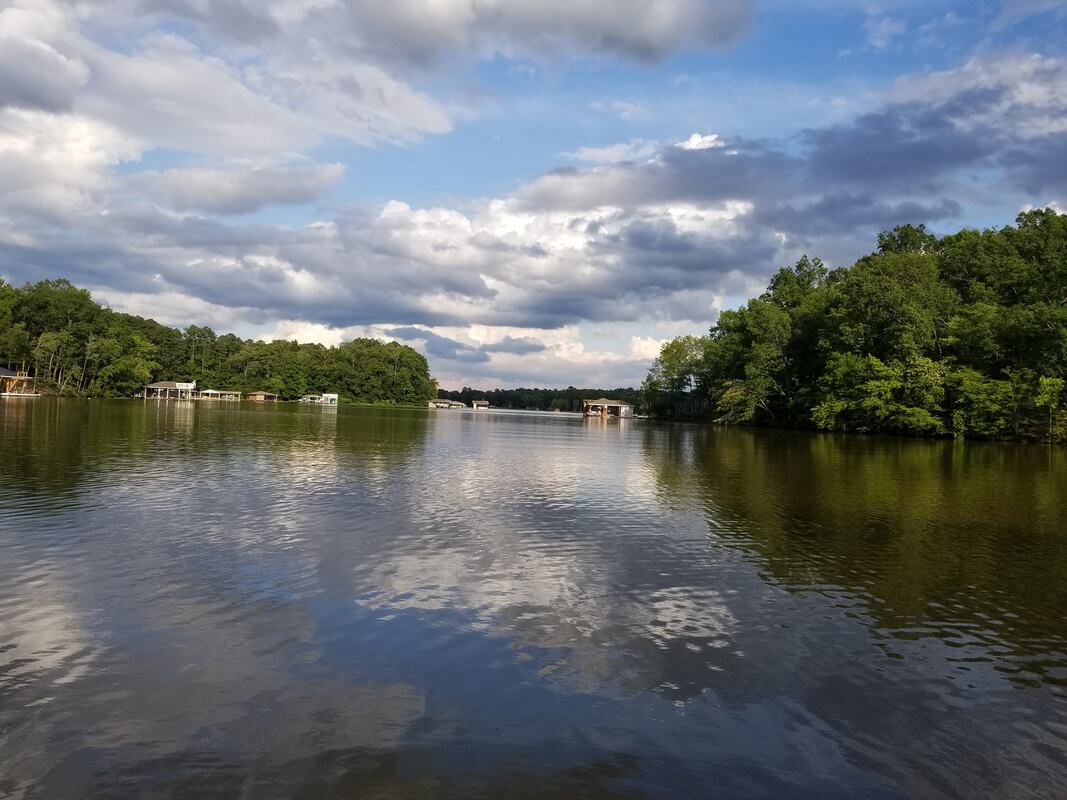
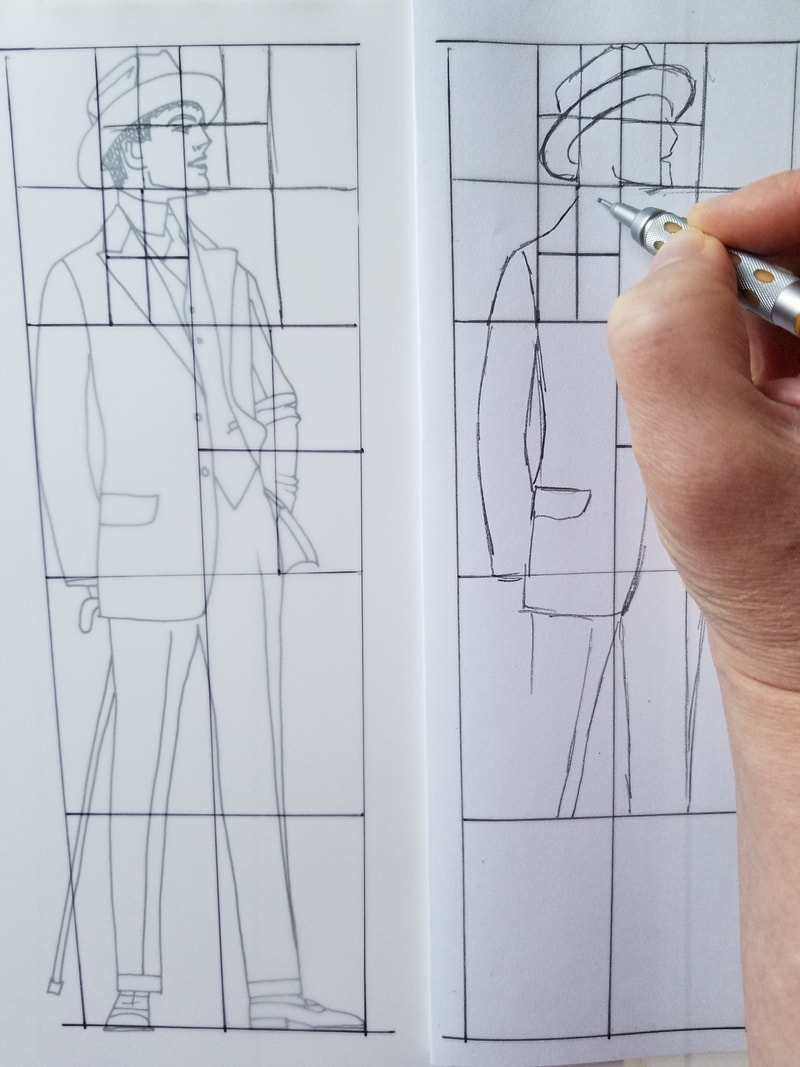
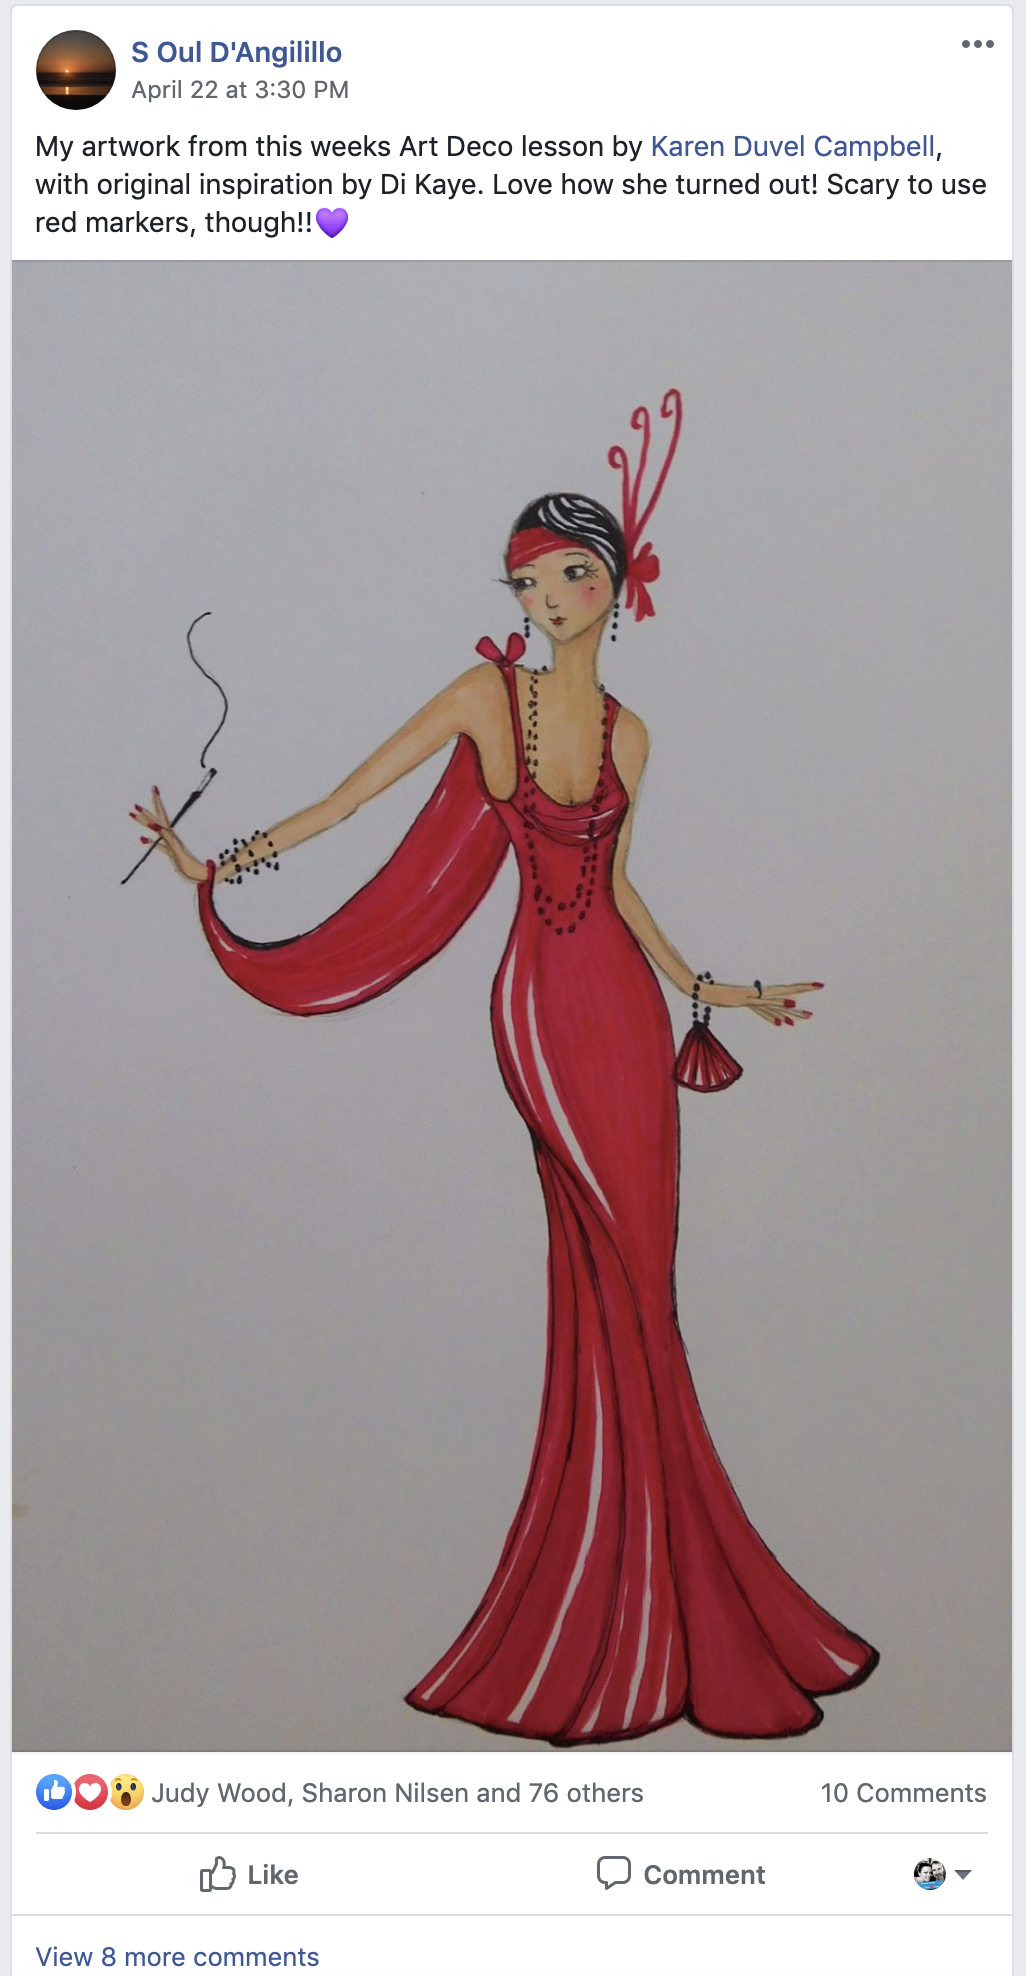
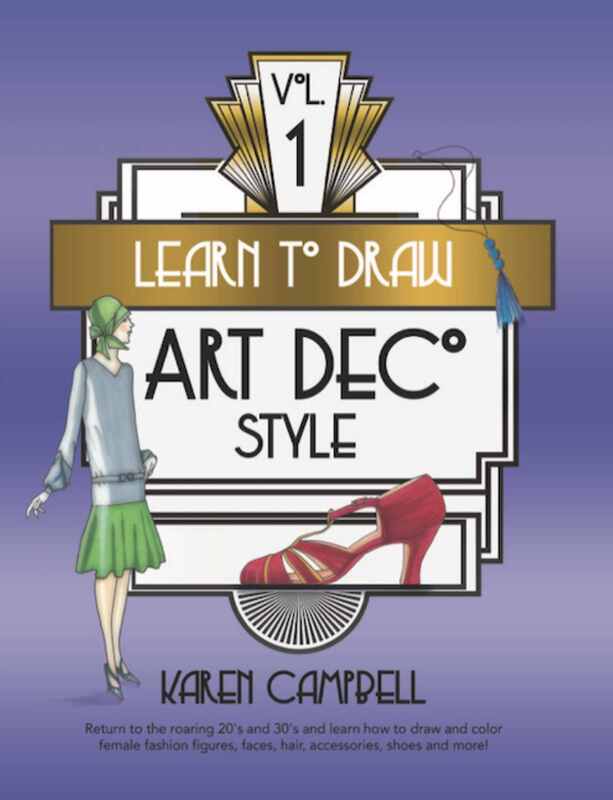
Also, if you have been wondering when to choose matte medium instead of mod podge for your mixed media art projects, THIS VIDEO is A MUST WATCH! So grab your supplies and meet me at your art table and press play! there's so much fun to be had! If you've been following my journey, you know I've been obsessed with teaching people how to draw!!! There's just something so magical about having an idea in your head and then making it come to life on your paper! It's also such a great distraction during these very difficult times. It's been hard having three kids home for so many months and I find myself wracked with a lot of emotions. I am worried about my children, growing up in an age of a Pandemic, wearing faces masks and not shaking hands or seeing their friends. I get anxious when I think about this as being the new "normal" when there's nothing but fear and worry when we leave the house. We left the house for the first time in four months this week, for just three nights. We went to a small cabin, close to our house, that was on a lake. My kids and I didn't leave the water all day I don't think!!! Just getting OUTDOORS for an extended period of time was heaven. Being out of the same four walls, also heaven. I find that drawing, for me, offers me a similar feeling of peace. When I'm in the lake, I'm fully absorbed by the water, staying afloat, watching my kids to be sure they're safe, totally immersed in the beauty of nature. When I'm drawing I am so totally absorbed in my lines, in the gorgeous reference picture I may be using, in my drawing tools and if they're behaving and moving in the ways that my brain is envisioning. And in both instances I'm leaving all outside thoughts and anxieties behind to focus on the task at hand. I also did a drawing while we were at the lake! It's supposed to be of a video game characters my kids play although they informed me afterwards that it looks nothing like her. Nice. Thanks boys. I also love drawing so much because it takes very little in the way of supplies! You can create so much using so few tools! Unlike mixed media (my other true love) which usually takes everything and the kitchen sink to make the same effect! lol! Oh well, I still love them both equally. I also love to come up with systems for things, to make art easier for people. I know a lot of my students just want to get to their happy place, and start creating, but that's really hard if you don't know how to do it!! In the past I've come up with a fun system for creating successful mixed media projects. I call it my "Hamburger" system. People LOVE IT!!! Well I also know how hard it is for people to draw PEOPLE and so I've come up with a cool, fun and easy method for drawing people as well!! Although in reality, you can use this exact system to draw really ANYTHING. It's a little bit tricky to explain but it's similar to the Grid Method. Although instead of drawing an exact grid on your reference and then using the same grid lines to draw the object on your own paper, you draw Quadrants instead. The beauty of this Quadrant Method is that there is no limit to how many Quadrants you can draw to help you out if you need more reference lines!! You can see in this photo how the Quadrants look on both the reference image (left) and my own drawing (right). It's a little bit easier to explain in person that on paper (although in my new Art Deco book I take quite a lot of time and project and pages to explain it as best as I can!!) so I made a video that shows exactly what this entails. If you're skeptical if this system can work for you, don't take my word for it!! I've been teaching this to my students who are in the Fun Fab Drawing Club (at AwesomeArtSchool.com) and the results have been OUTSTANDING!!! Even beginner drawings have had HUGE success with this!! Here's just one example of many... So if you're looking for a way to break down difficult subjects into easy ones, I highly suggest to give this a shot!! You can also check out my brand new book, Learn to Draw Art Deco Style Vol. 1 (available on Amazon's worldwide and soon-to-be in my Etsy Shop) where I teach you, step by step, this exact Quadrant method to draw amazing fashion figures of the 1920's and 30's. SOOOOOO fun!!! I also included videos for many of the projects in the book as well!!! All of these are completely free and are on BOTH of my YouTube channels. Just follow the links inside and you can get another whole spin on each project!! One of my favorite projects in the book (and favorite videos to boot!) is making SMOLDERING eyes from the 1920's!! This era was a BIG DEAL to women because it marked the first time in history that women got to where make-up, OTHER than stage performers and streetwalkers that is!!! Also, these make-up techniques are SUPER fun to draw!! Want to see? Of course you do!!! You can watch (and hopefully draw) along with me right here!! Just press play and away we go! Subscribe to my YouTube channel while you're there so you never miss the new videos when they are posted weekly! Have a great week and I'll be popping back over to the blog soon for more fun news and videos for you!!
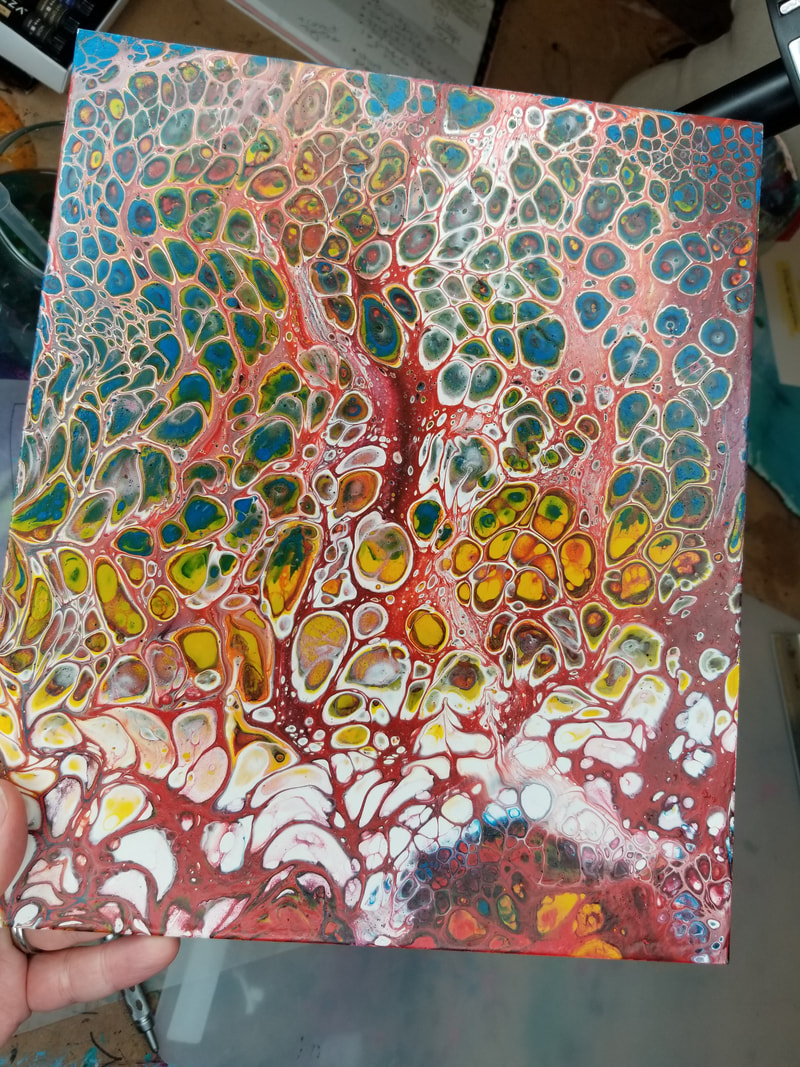
My super creative student and friend, Karina Aguirre, sent me this super cool background that she made from acrylic pouring. That's when you intentionally ooze a liquid acrylic mixture down over a flat surface and let it do it's magic!! It creates all these cool designs and textures over the surface, designs that would never be possible with a paintbrush or any other tool! She sent me two designs. Isn't this so cool?? I haven't had time to play or do anything spontaneous and fun for FOREVER so I was SO EXCITED that last week I finally found time to do just that. I found this adorable cat sketch on Pinterest and the rest is history!! I ended up making this super cute mixed media cat in just a few minutes!! The best part is that it only called for a hand-full of supplies: just Gesso, a Stabilo All pencil, some Mod Podge, Pitt Pens and then DONE! Click the play button to watch the whole kaboodle! |
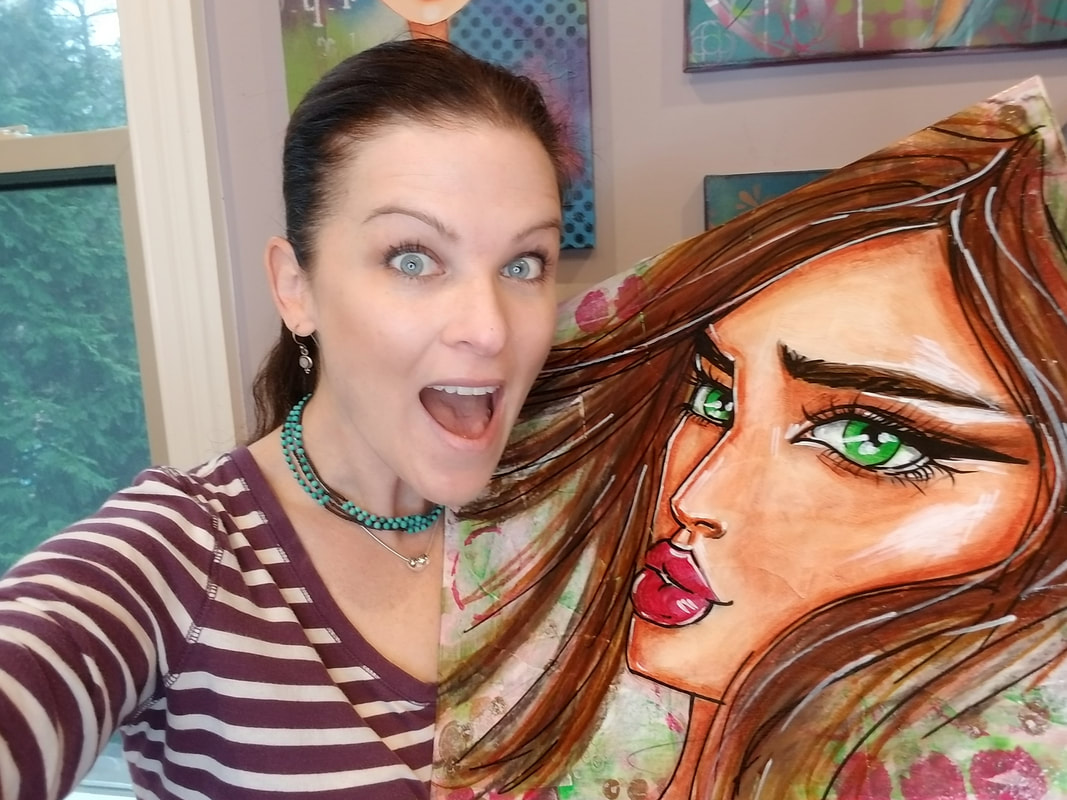
Karen CampbellFounder of Awesome Art School. Mixed Media Artist. Author of 19 Instructional Art Books! Whose work has appeared in...Archives
July 2024
Categories
All
|
|
"Karen is flipping hilarious and she's very real...I like the way she teaches in a way that really gives you confidence, whether you're a beginner or advanced there's always something new to learn!"
- Elizabeth W. |
What Fans Are SayingKaren, you are absolutely fabulous! You make me feel like I can draw anything. I have recently retired and finally have the time to do some of the art that I have loved since I was in school. I am really at the beginning of my art journey and I hope to learn as much as I can. Thank you for all you do. |
Contact ME |





 RSS Feed
