KAREN CAMPBELL, ARTIST
  • HOME
    • About Me
    • Courses
    • Add your art to Instagram!
    • Fan Artwork
    • Retreats
    • What Students Say...
  • Drawing Club
    • See ALL the Projects!!
  • MIXED MEDIA SOCIETY
    • See ALL the Projects!!
  • CELTIC COLLECTIVE
  • Books
  • Blog

blog

Let's Get Your Creative Juices Flowing!!!

CUTE & EASY! Colorful Cow Painting on Canvas with Acrylics [Awesome for Beginners!]

1/3/2022

0 Comments

 
You NEED this colorful cow painting in your life, and you're about to feel like a kid again because we're playing with ALL the colors of the rainbow today!

Whether you want an EASY project to spark JOY in your day, or have been searching for acrylic canvas painting ideas for beginners - this cow painting on canvas with a flower in her mouth was made for you!

If you don't have a canvas - paint her in your art journal or on the back of a cereal box. 
Picture
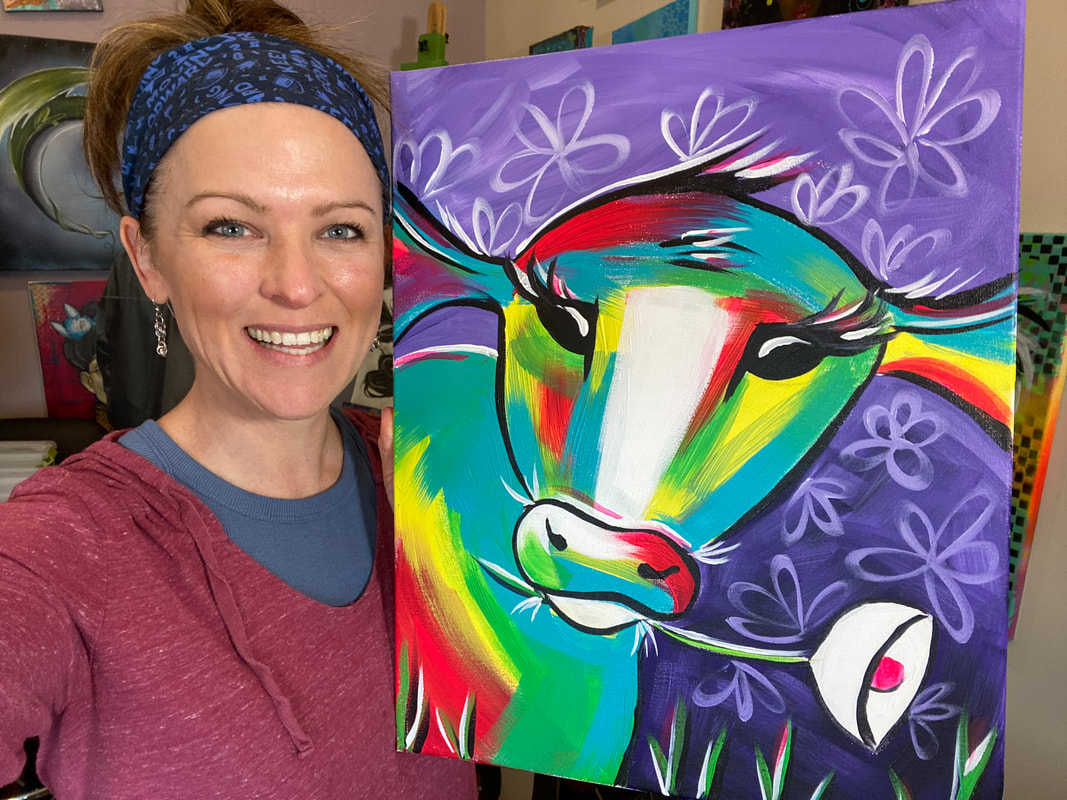
​If you feel comfortable with the easy acrylic painting tutorial in today's video, I'd LOVE to introduce you to the magical world of mixed media art!

I make cheatsheets for everything so you can have MORE FUN with your art! Click the button below to request the FREE cheatsheet for my signature mixed media layering process, the Hamburger System, and I'll email it right over. 
Picture
​After you print your cheatsheet, here's my FREE Hamburger System Playlist on YouTube so you can see the process in action and create along with me.

If you've been following me on YouTube lately, you know I've been doing a series of projects inspired by the authors of my favorite art books. I've also been showing flip throughs of my favorite books because they are just filled with inspiration. 
Before we continue, super quick announcement: All product links are Affiliate. I may earn a small commission if you choose to order through these links but by law there is never any additional cost to the consumer for doing so. I thank you for your support.
Picture
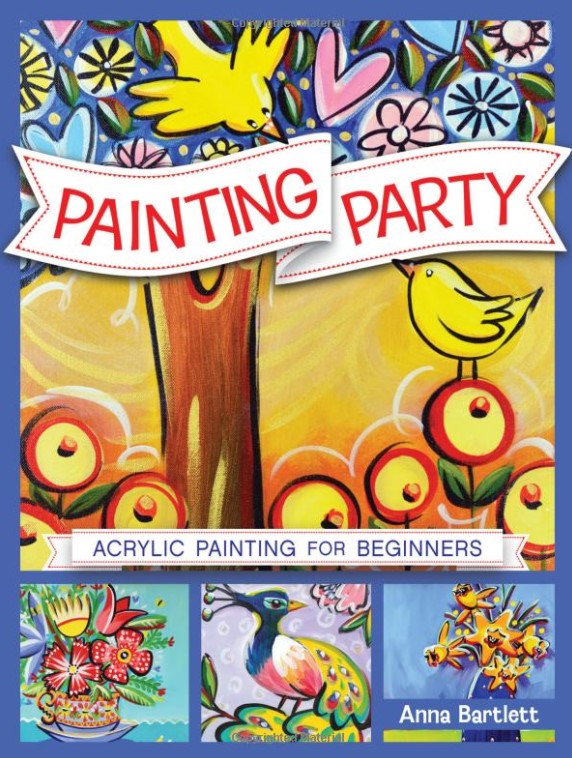
I can't say enough about the adorable book by Anna Bartlett that I'm featuring today. Seriously... her projects are the cutest, and her instructions are so simple to follow.

Anna goes out of her way to show you tons of photos and really keeps things simple so anyone can pick up her book and start painting with acrylics - from beginners to seasoned artists looking for easy acrylic painting ideas. 
Picture
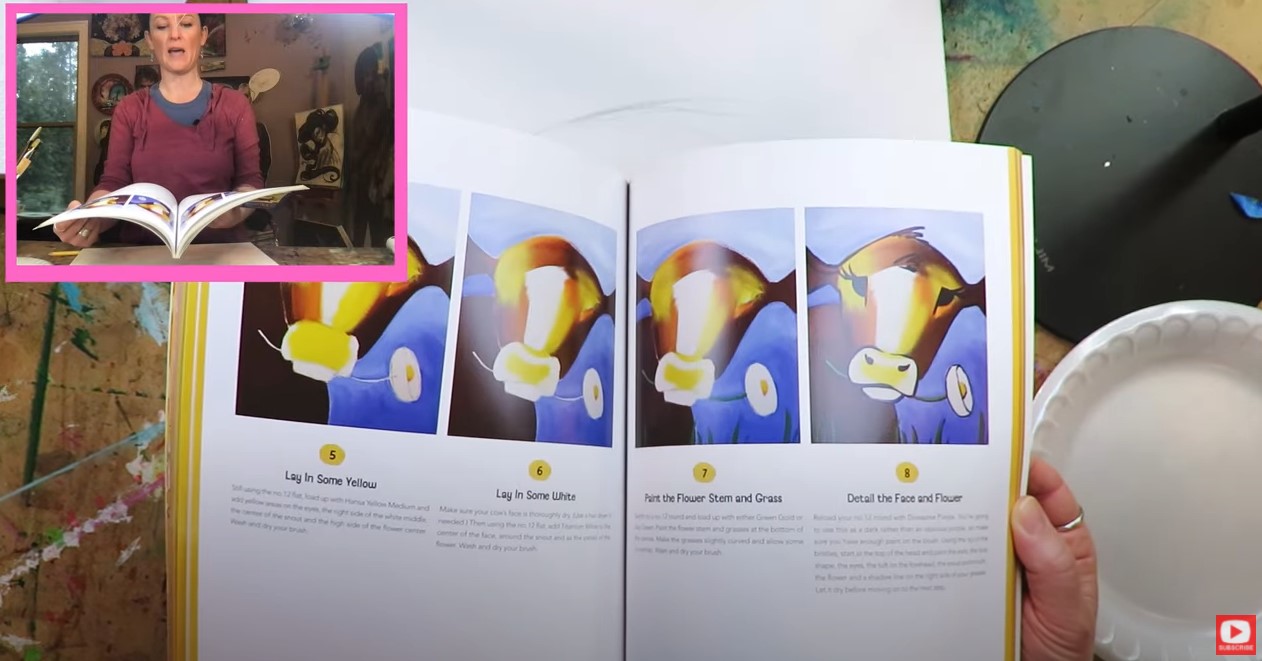
​Stay with me till the end of today's video so you can catch a glimpse of Anna's book. It's jam packed with even more EASY canvas painting ideas I just know you're gonna love!
Picture
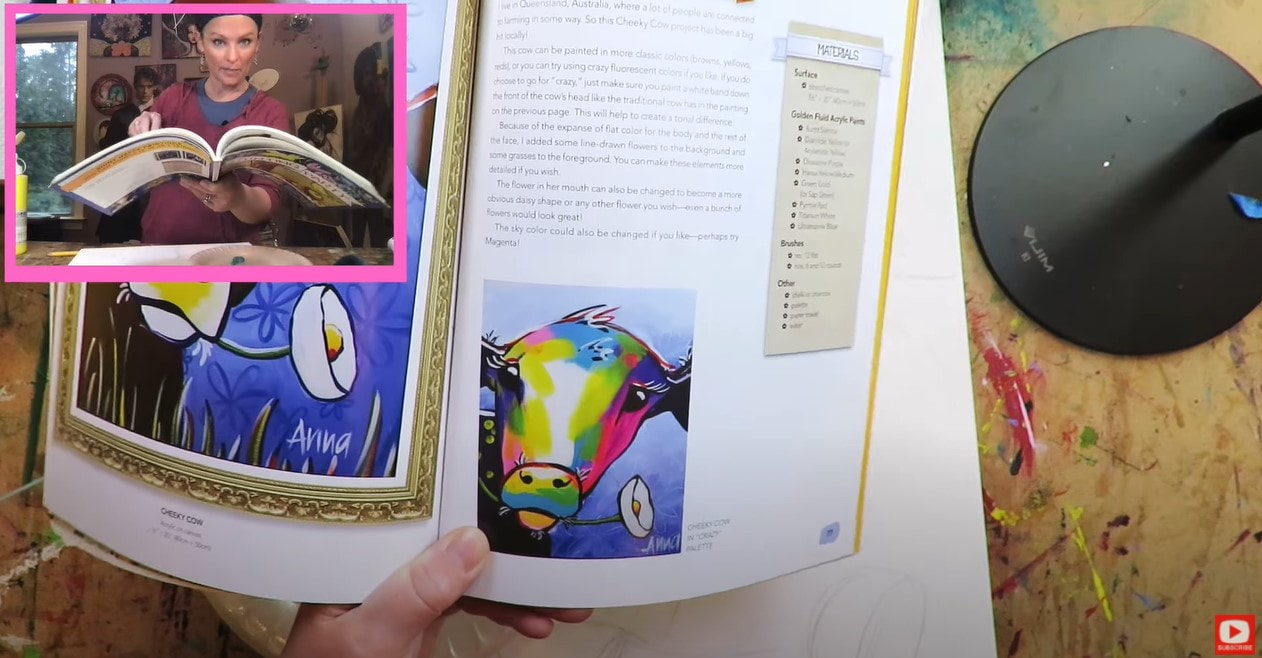
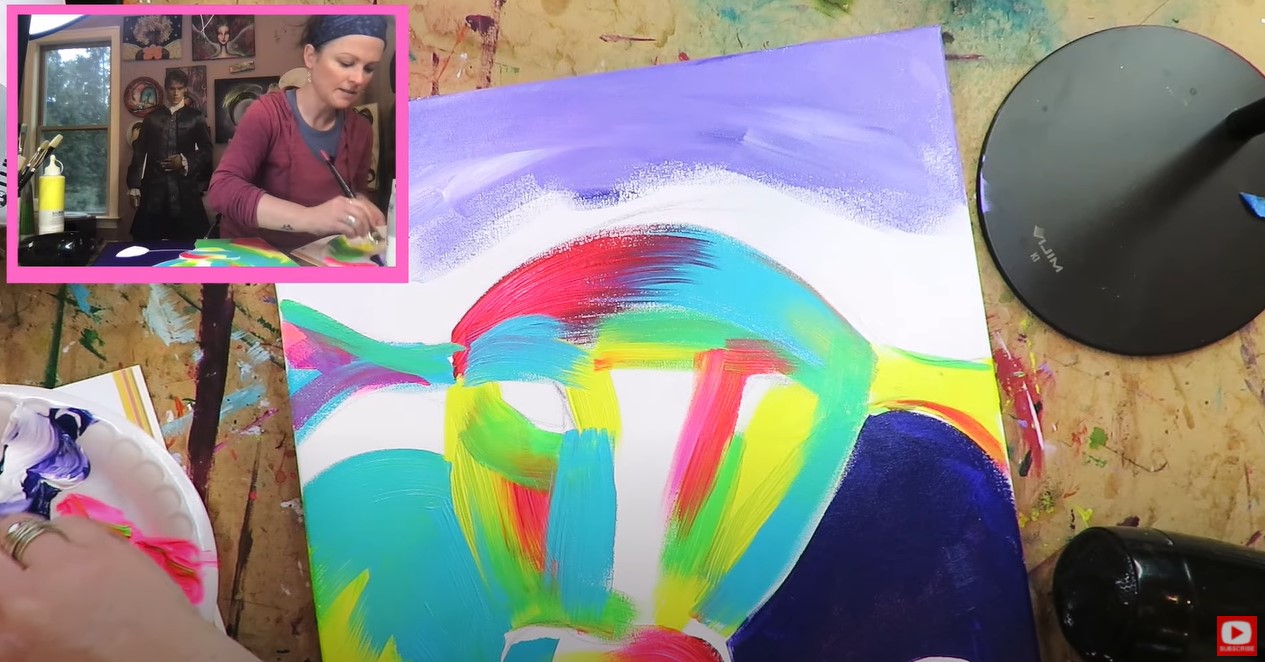
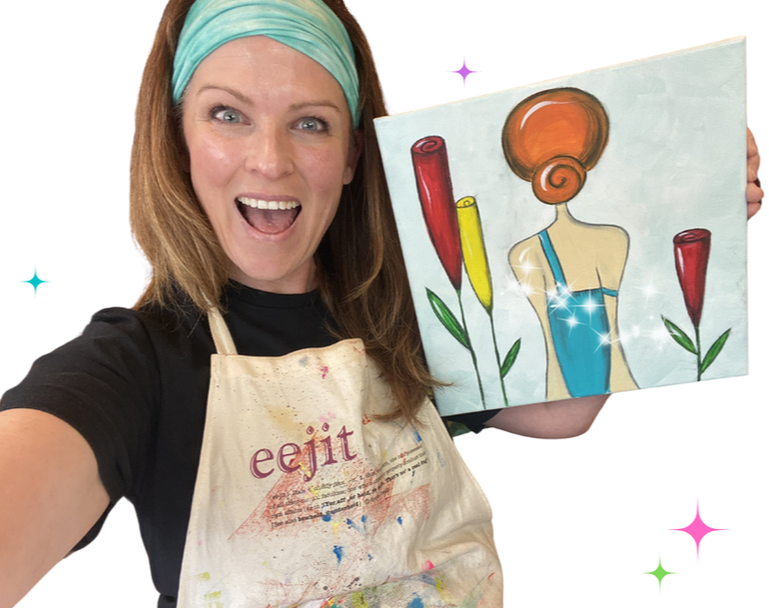
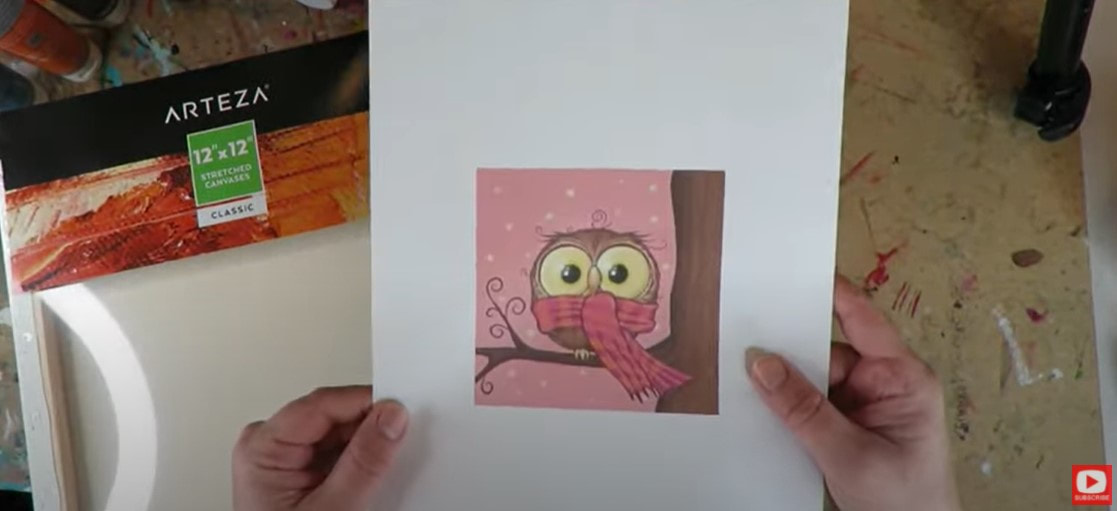
What really inspired me to choose this particular project is the variation of it that Anna showed at the begining of her lesson (above). I fell in love with the bright colors and immediately knew this was the project I wanted to showcase from her book! 
Picture
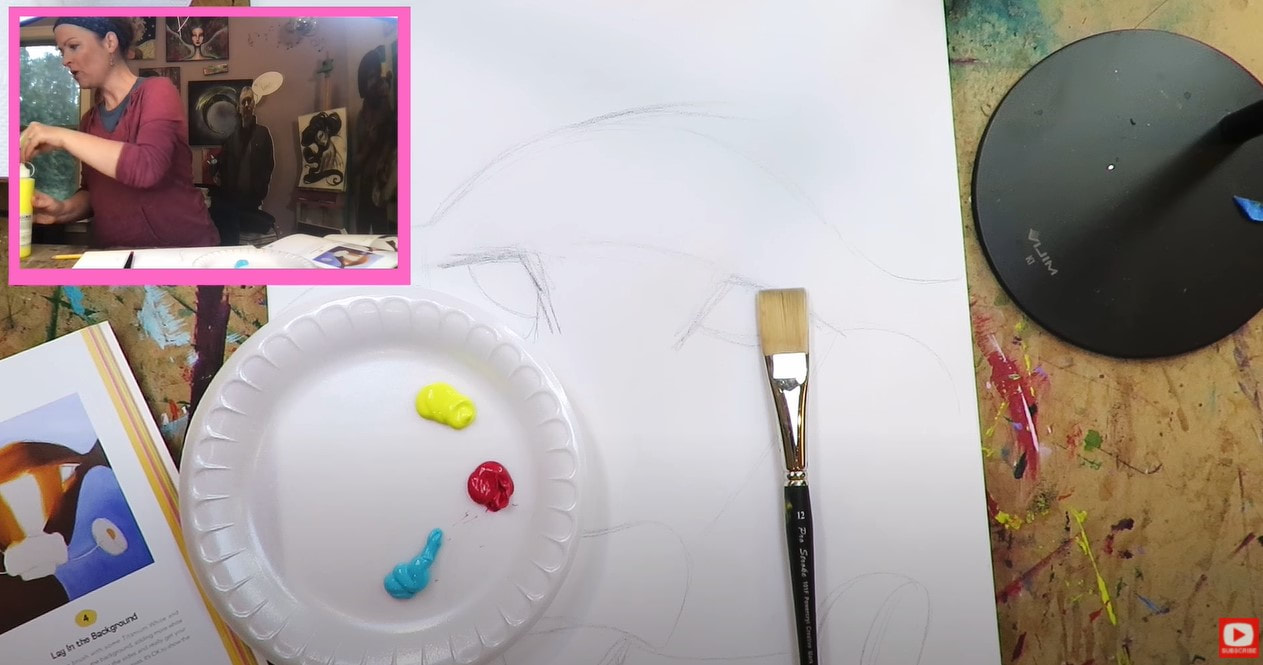
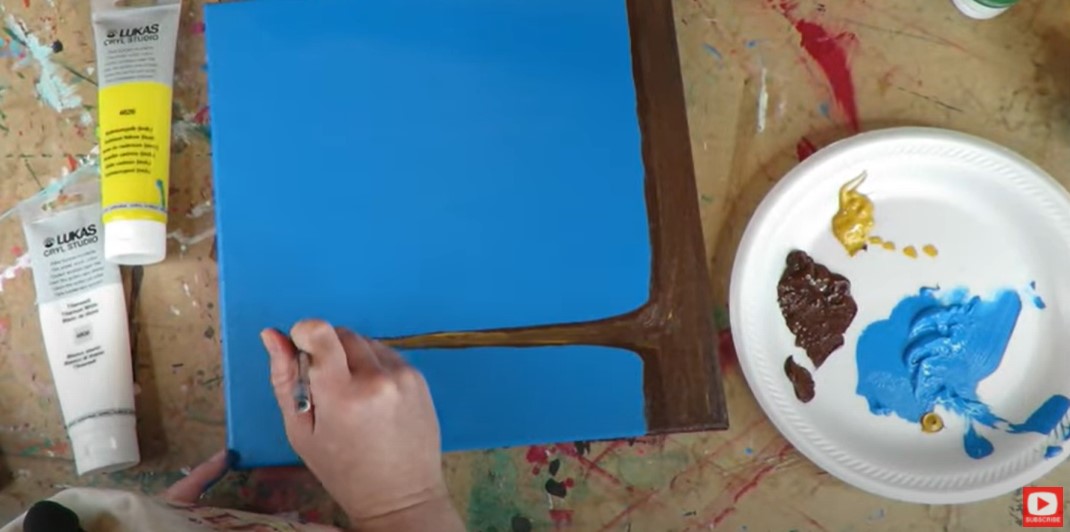
I'm using a ginormous canvas today, and don't even know what size this is! That's just my thing. I LOVE to work big. You choose what's right for you. And if you don't have a canvas at home - use whatever you do have! You could do this on a canvas board, in an art journal (as long as the paper is super sturdy!), in an altered book, or on the back of a cereal box (learn how to make your own cereal box journal here).

​It doesn't matter WHERE you paint... just paint! 
Picture
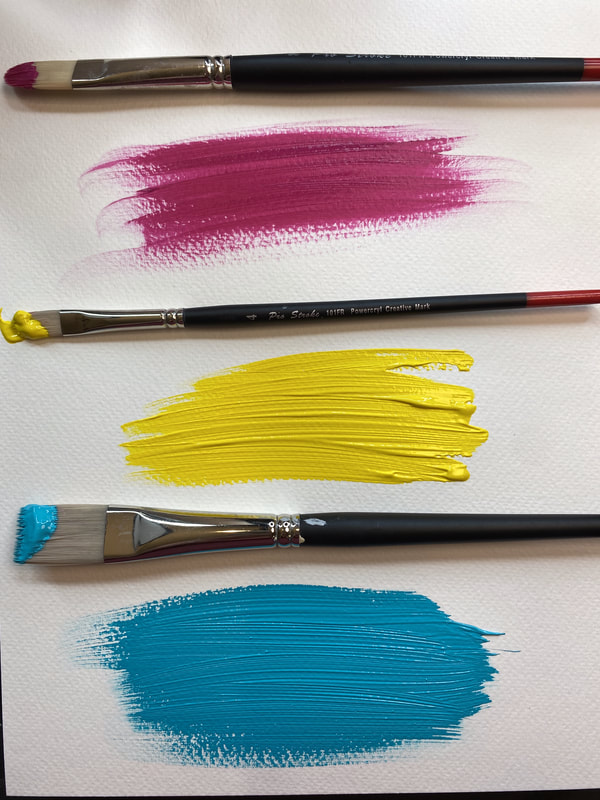
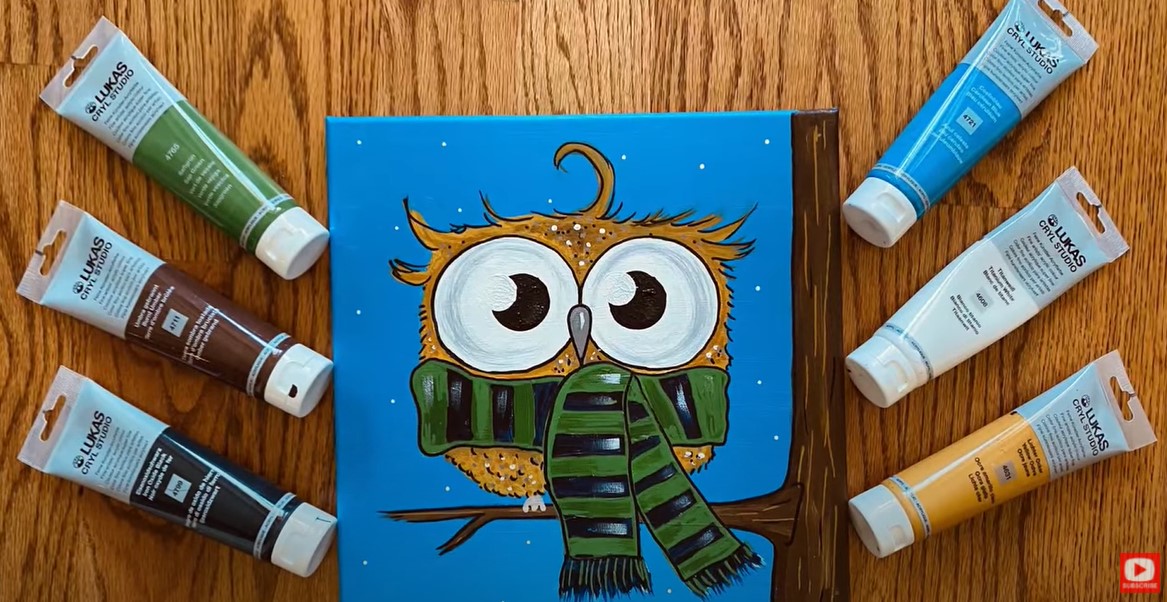
Speaking of paint - the colors I'm working with today are one of my FAVORITE color palettes: Turquoise, Carmine and Yellow. It's delicious!

​
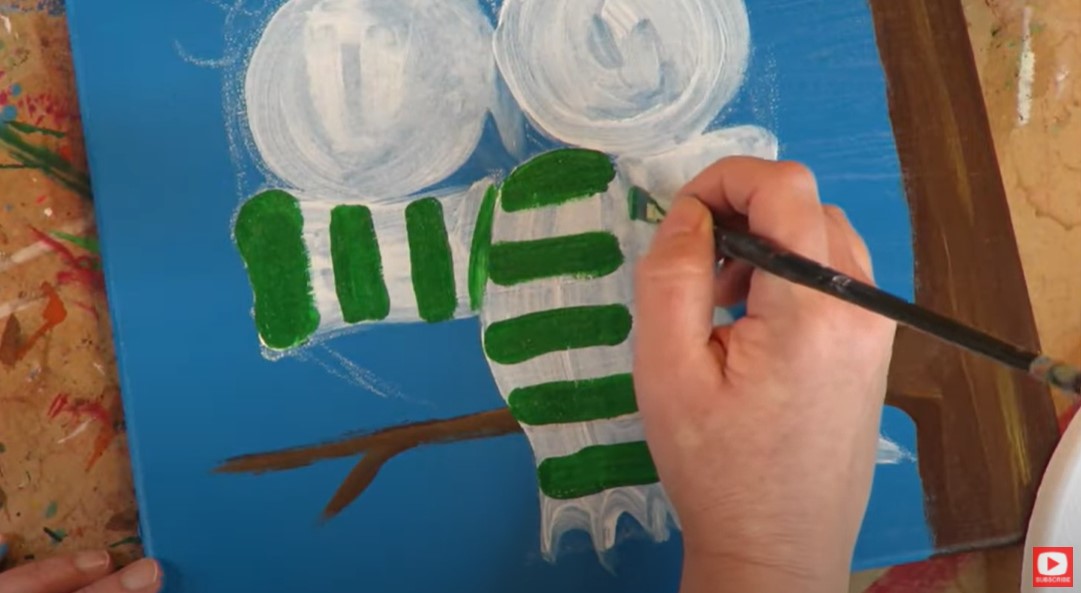
Anna suggests you do this project in a #12 flat paint brush. If you're not sure what this is, just choose a paint brush that has a squared off top to the bristles, like one of the two at the bottom of the above painting (why yes, I do happen to have a video about how to select the right brush). 
Throughout her project instructions, Anna suggests we wash and dry our paint brushes with each layer of color we add. This is actually a really important step - especially the "dry your brush" part, because you can make mud really fast if you don't wash your brush between colors.

Plus, acrylics don't need water to work - they're awesomely formulated and ready to dive in with, straight outta the tube! 
Picture
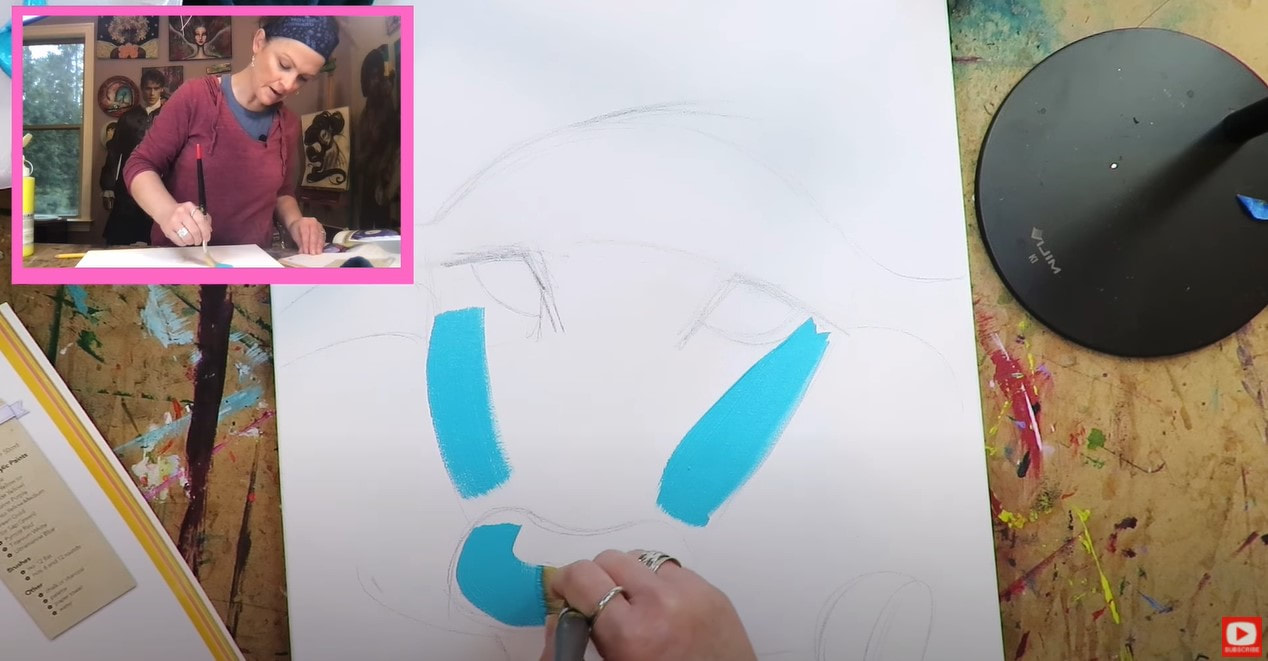
How gorgeous is this turquoise?! It's SO happy!!

I'm even in the mood to jazz up my carmine by dding some flourescent pink for pure FUN, and because it lights my soul on fire!
Picture
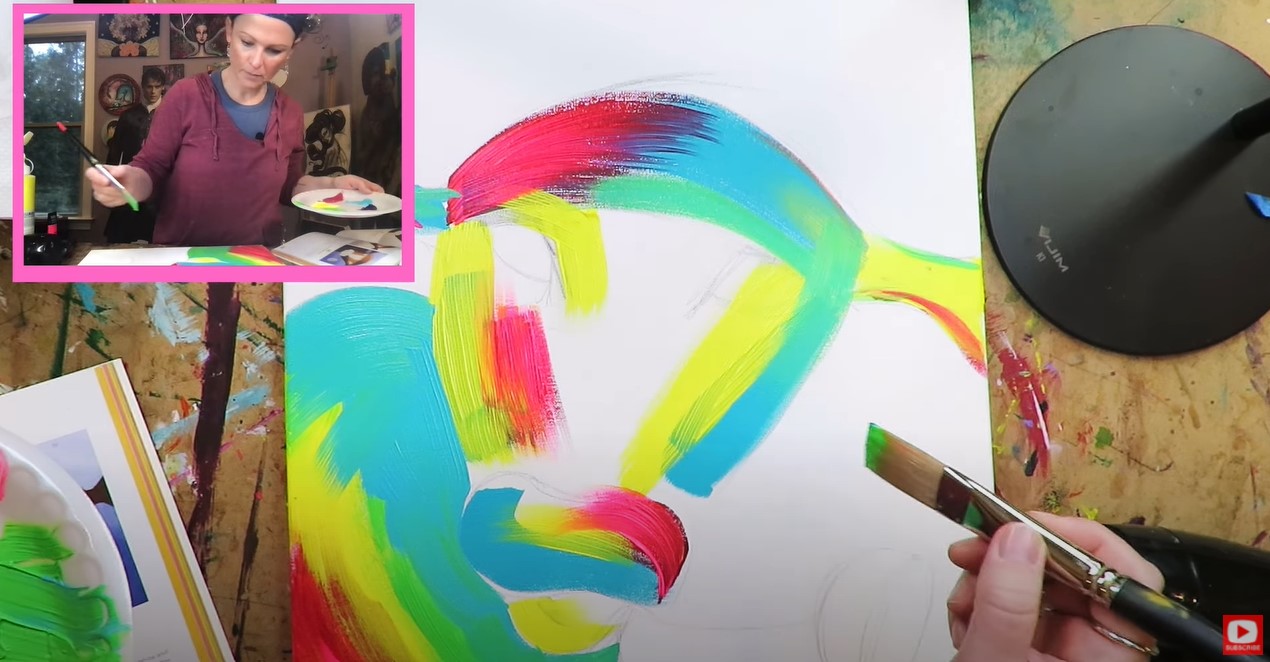
I'm using all Lukas Cryl acrylic paints because I've been using them forever. I discovered them when I moved to Raleigh in 2007 on my first trip to Jerry's Artarama. These acrylics are super affordable, and the quality is amazing. They're a step above student grade and a great value.
Picture
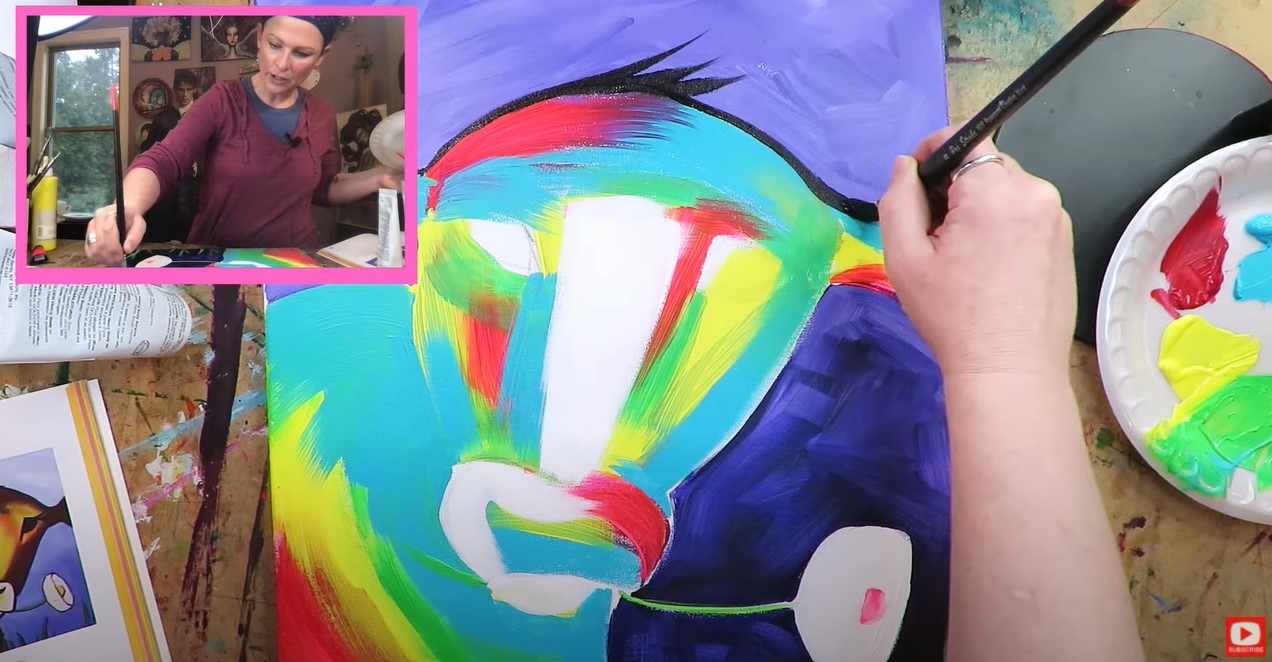
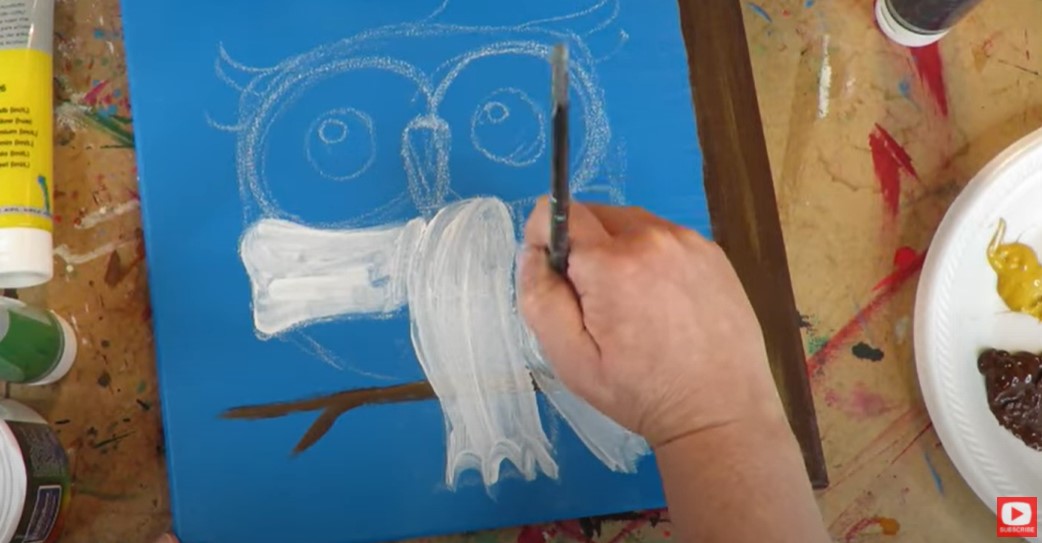
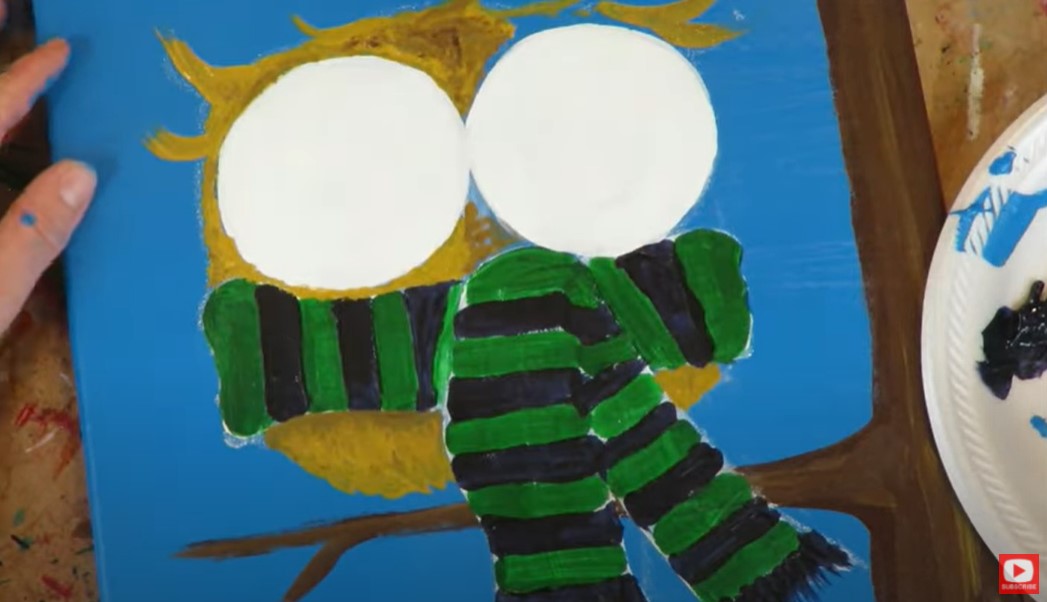
After I get all the initial colors added to the cow's face, the next step is to add in some white. Before we do this- we need to make sure ALL the other shades of paint are thoroughly dry. Dry layers are your "friend" with acrylics! 

One of the things that immediately attracted me to Anna's book is the fact that she's an "outliner." Personally I LOVE outling and feel like it really ties a piece together.
Picture
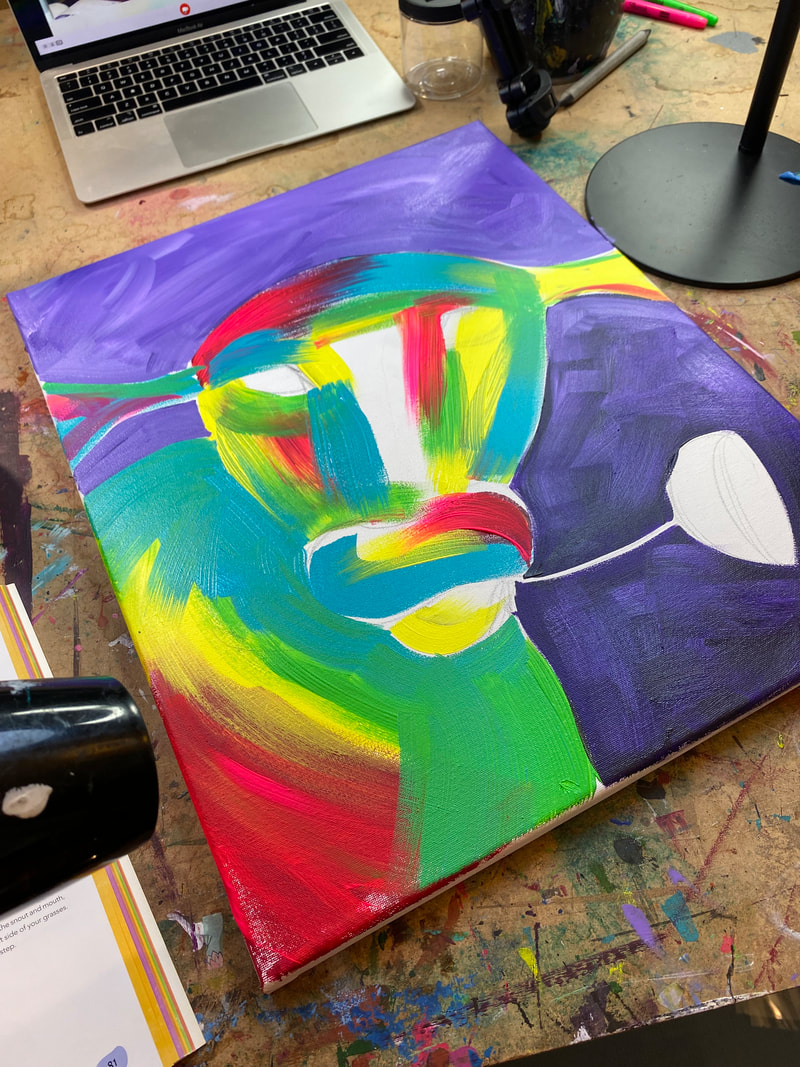
I used to fight my love of outlining but I decided it's something that makes me happy, so I embraced it! If you look closely at the pictures for Anna's project- she used an indigo to outline instead of black. I decided to add some black to the purple I used in the background for my outline color. 
Picture
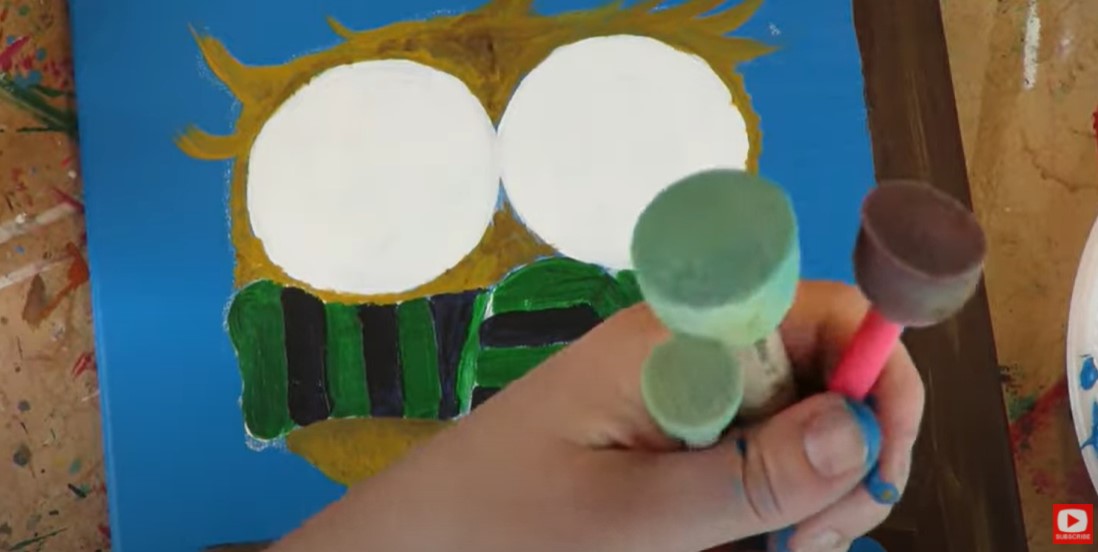
Just a quick reminder - if at any point you feel like you've made a giant mistake- remember this is acrylic paint, you can just paint right over it with another layer, and problem solved! 
Picture
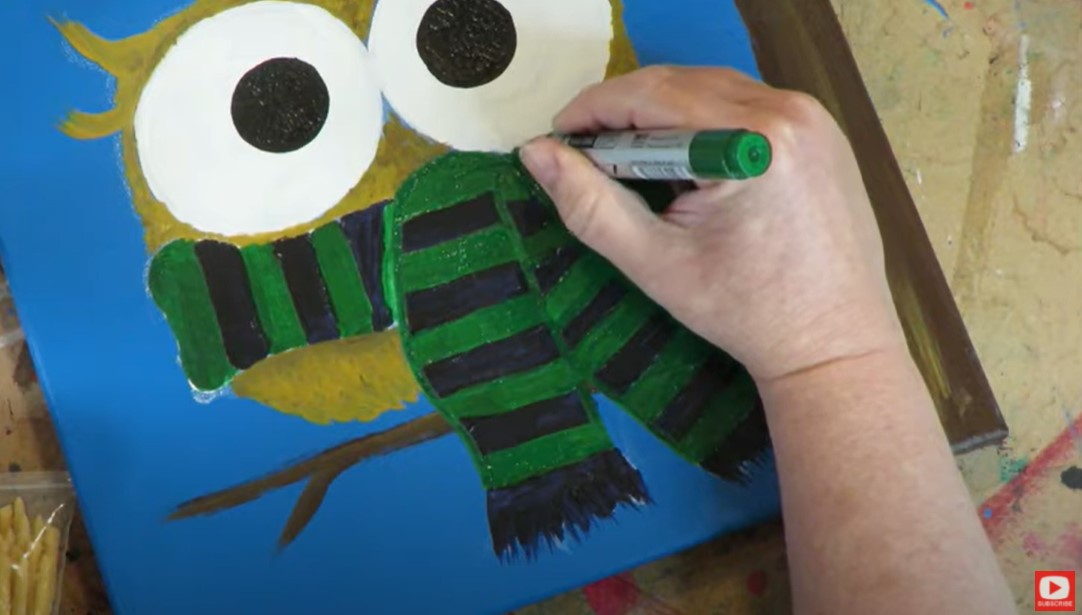
I love that Anna calls the nostrils on this adorable cow, "apostrophes!" Itsn't that the cutest?! After all the outlines are added, it's time for highlights in white AND red! I know... red highlights?! 

At first I doubted myself on doing the red highlights too, but decided to follow the directions exactly instead. Letting someone else gently guide you through a project is a GREAT way to get out of creative block. It helps you to not overthink your decisions so you can just enjoy the creative process.
Picture
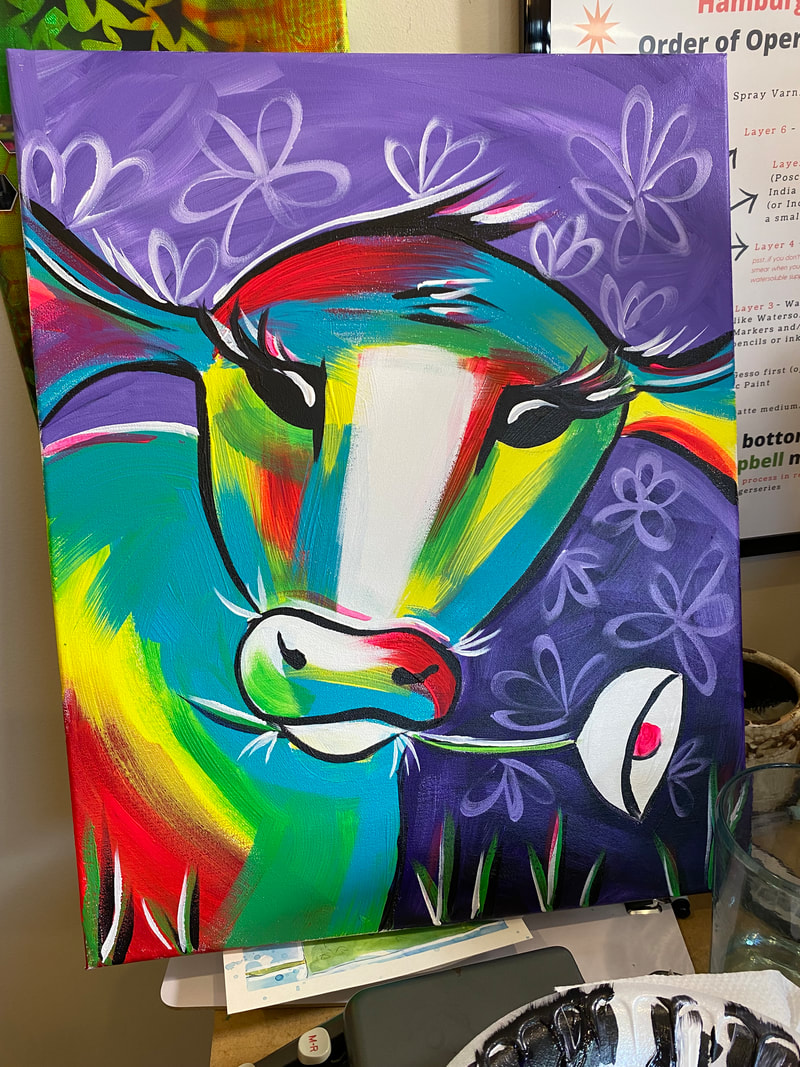
Thanks for hanging out with me today! Make sure you stick with me till the end of the video so you can see a page by page flip through of Anna's book. You're gonna love it!!

​Happy painting!


❤️ CHECK OUT ALL MY ONLINE ART CLASSES & Art Clubs
❤️ CHECK OUT ALL my art books
❤️ MY FAVORITE ART SUPPLIES on AMAZON
❤️ MY BELOVED FACEBOOK GROUP  
0 Comments

PAINT a GIANT CANVAS BACKGROUND in 2 MINUTES for Your Mixed Media Art!

17/5/2021

1 Comment

 
Yes, you CAN paint a giant canvas background in JUST 2 minutes!! I know it sounds too good to be true - especially if you're intimidated by large canvas painting. I can't wait to show you this spray paint on canvas idea! It's one of my all time favorite mixed media painting techniques!! ​Even better... it's FAST, EASY... and CHEAP! If you're a beginner in the world of mixed media art, or just curious about how to attack a giant canvas - today's video is FOR YOU!! 
Picture
It's funny - while I was filming - I took a little look around my studio and was kinda surprised to realize how MANY of my canvases on the wall started with the SAME mixed media painting technique for the background. Check out the video to see the examples up close!! ​
As you'll see, I work on BIG canvases all the time, and LOVE IT!!

I feel like large canvas painting is more free-ing as an artist and it's actually EASIER because I have room to spread out my ideas, and don't have to get hung up on tiny little details.
Picture

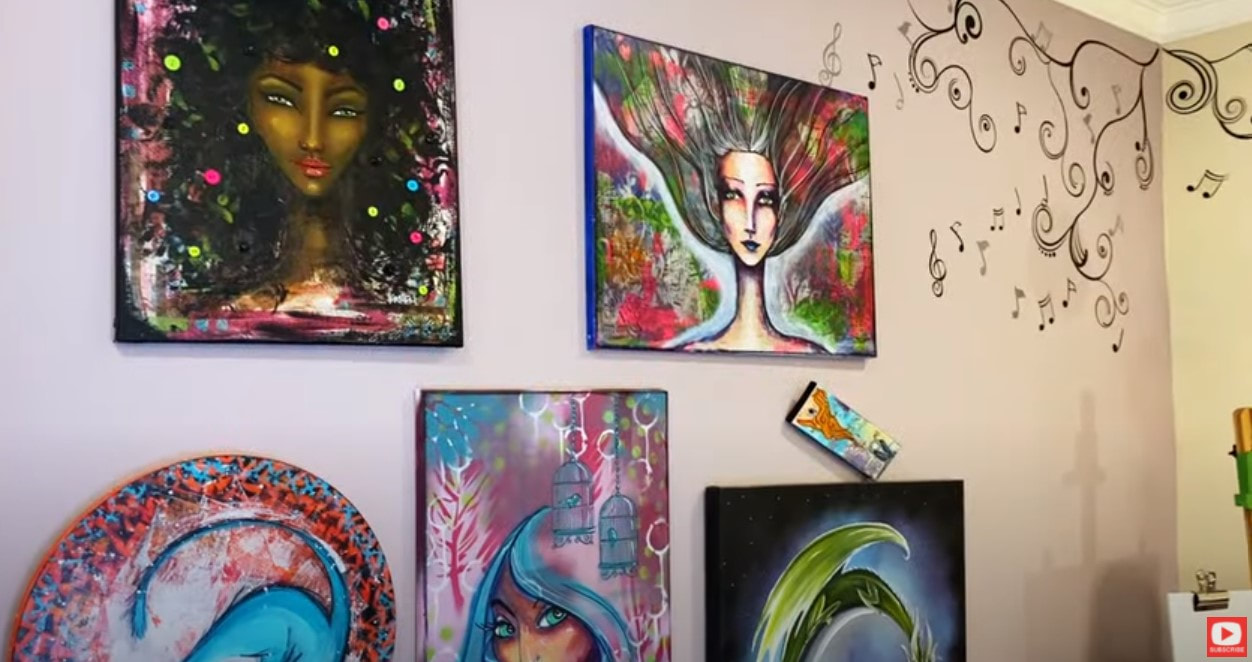
The first giant canvas painting I want to share with you up close is my pink mixed media mermaid. She's actually 4 feet tall, and was created out of two, 2 foot canvases. The background for this piece took me all of FIVE MINUTES. No joke!! That's 2.5 minutes per canvas... and DONE.

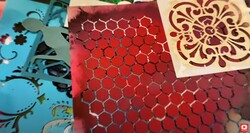
All I did was spray paint on my canvas, then I misted a second color of spray paint through a stencil sheet to create the look of underwater bubbles! SERIOUSLY!! That's it!!
Picture
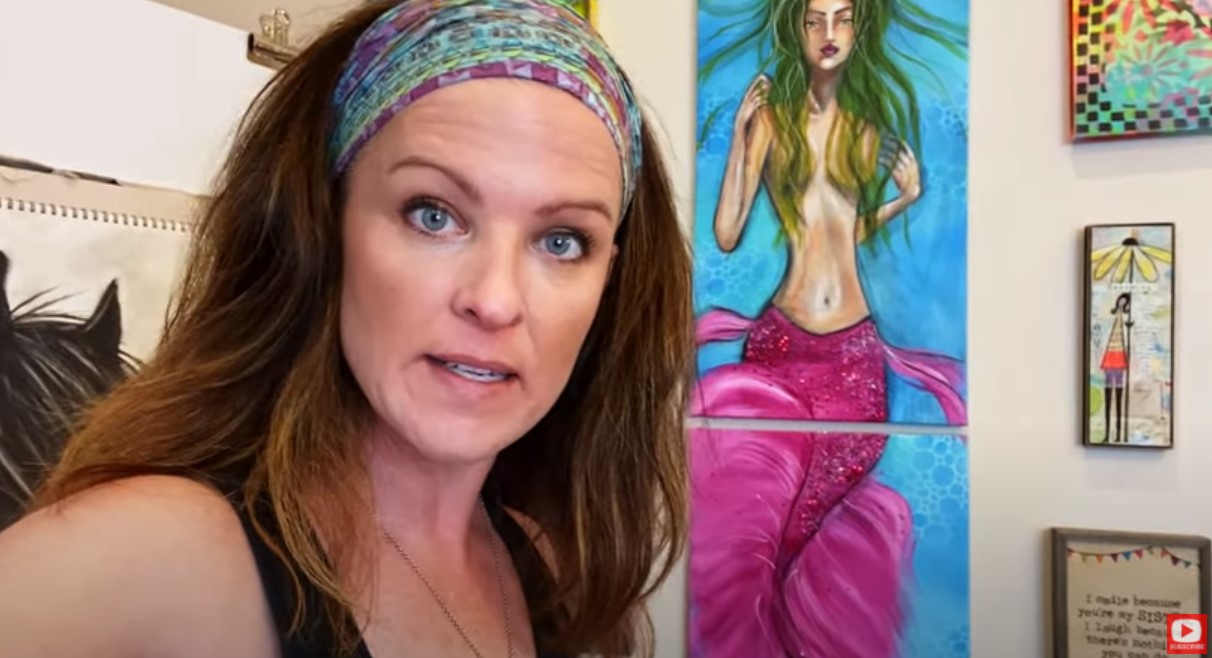
The next canvas background idea I want to show you is of my dragon in acrylics. This one took just a little longer because I used more colors.
Picture
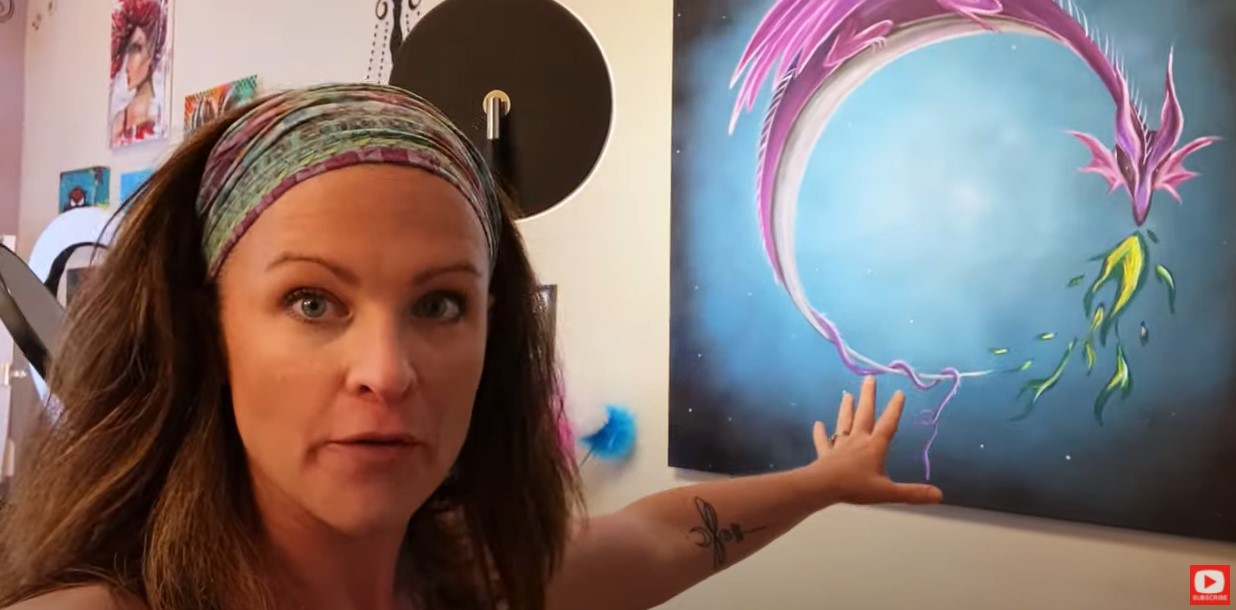
Even with adding more color- the dragon background didn't take me longer than 10 minutes to do. Can you imagine how much LONGER (and EXPENSIVE!!) this would be painting with acrylics and a paint brush?! 

For my art deco painting below,  I taped off a section in the background because I wanted a frame behind the couple. That part took a little longer to tape off, but then I just used a can of black matte spray paint on canvas for the backgound, and I was done. EASY!! 
Picture

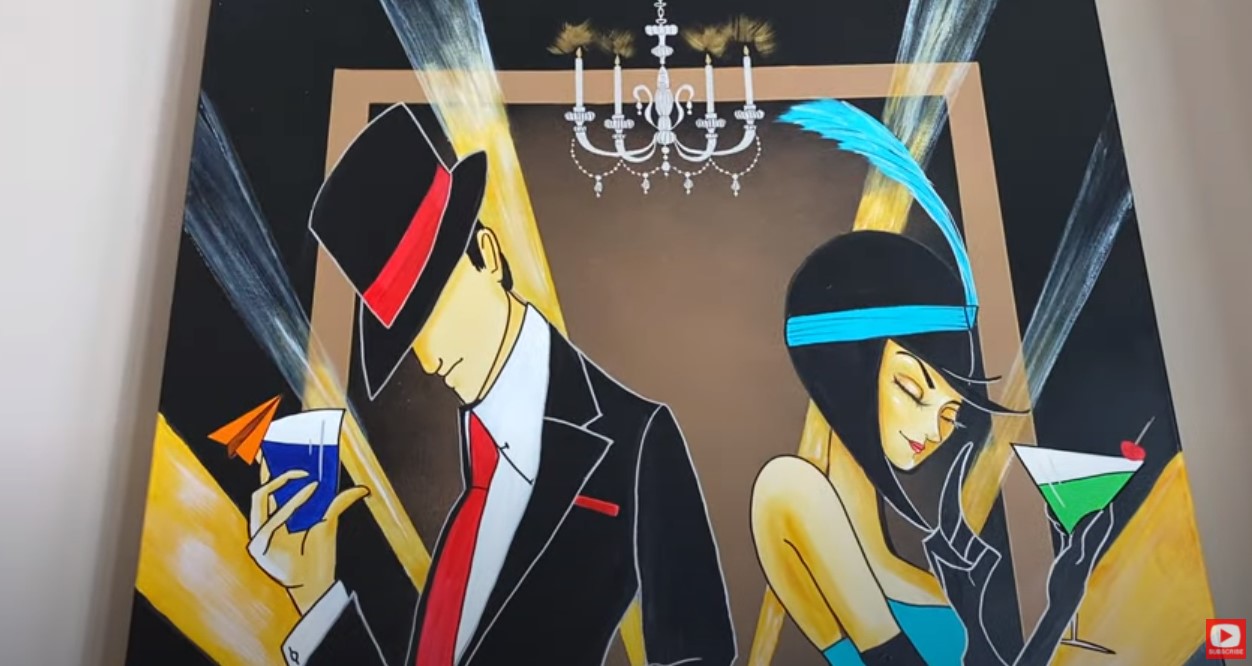
As I walk you through these pieces, you'll start to understand the THREE main reasons why I love to paint canvas backgrounds using spray paint:

1.  Spray paint is really inexpensive - I've tried all the brands from the cheapest to the most expensive, and there's no difference. That means I spend about $3.99/can, and am FINE with grabbing the ones on sale for 99 cents. I promise you- they work JUST as well!! This is SO much cheaper than buying an inexpensive tube of acrylic paint!!

When shopping for spray paint, I suggest you only pick up cans in satin or matte because glossy can be kinda tough to work with if you plan to do any adhesive collage layering or acrylic painting on top. For some reason, the glossy cans feel like they're stronger smelling to me too!

2.  Spray paint comes in a HUGE array of colors - There are SO many fun colors you can pick up to add to your mixed media projects. And because they're so cheap in a can - you can probably afford to buy MORE of them :) They also last forever!!

3. Spray paint is amazing to COVER LARGE AREAS - If you haven't tried  spray paint on canvas before - you're gonna be shocked at how much real estate you can cover in a short amount of time! It takes forever to cover a giant canvas with acrylic paint. Plus, you end up getting brush strokes that may be distracting to look at. Spray paint really glides over canvas well and gives it a smooth look! 
​
The only downside to using spray paint is if you want or need to do touch ups to your canvas background later.  It can be tough to replicate what you did with multiple colors, but if you need a teeny touch up - here's my trick!! 
Picture
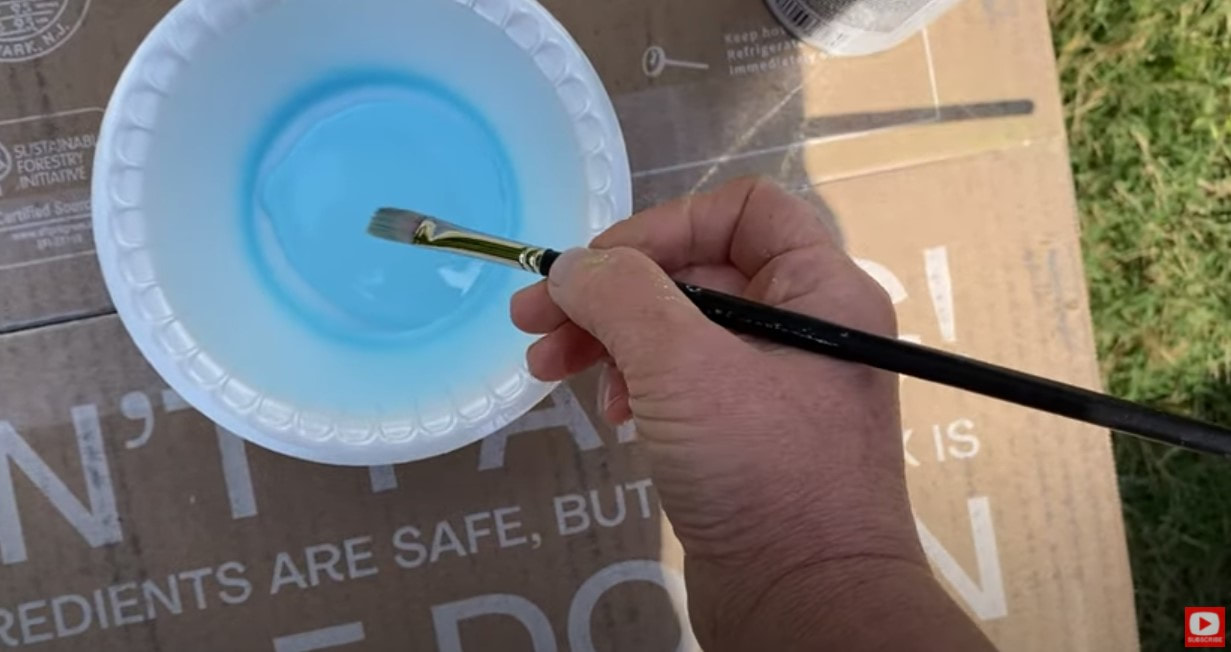
Spray a puddle of paint into a disposable plate, bowl or cup and dip your paint brush in. Simple, right?! 
Picture
When you're choosing colors to work with for your canvas background painting, you can keep things really simple and use one or two like I did for my mixed media mermaid, or if you want to show more depth - grab 3-4 shades of the same color in a light, medium, and dark for contrast.
Picture
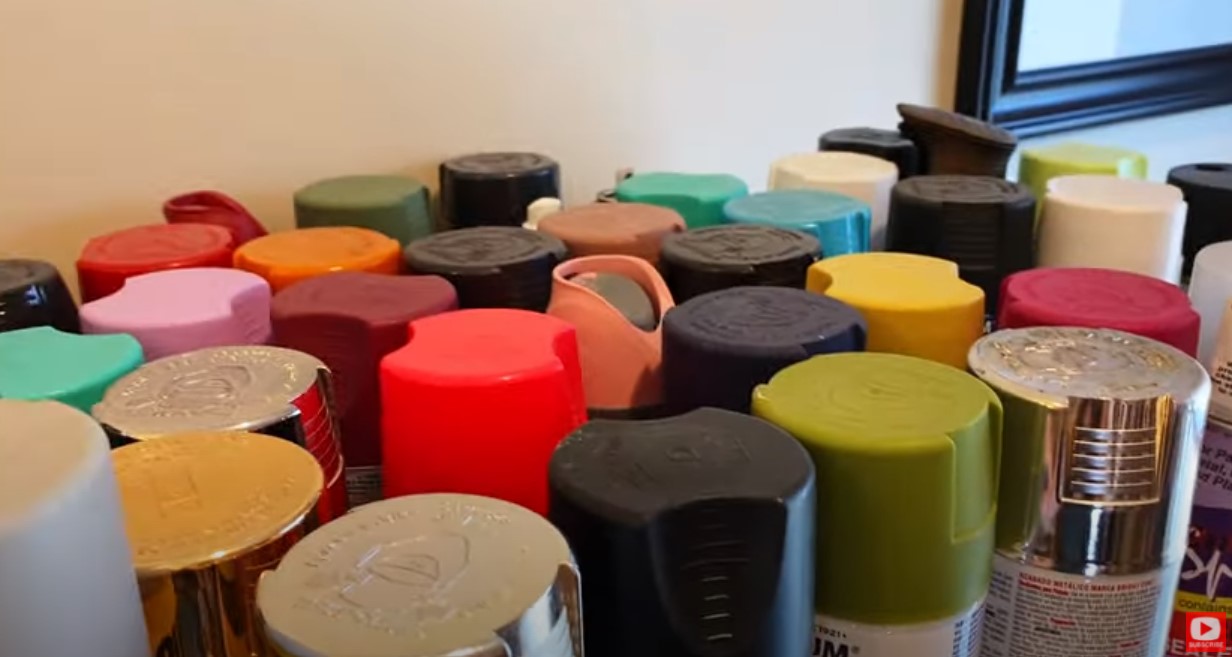
I have SO many fun colors. This is probably only half of my stash!! ​
If you haven't used stencils with spray paint before, you're gonna love this!! Stencils work SO well with spray paint because spray paint dries really fast. When you mist a new color through a stencil over your previous color of spray paint - then two colors WON'T MIX! Each shade can lay beautifully right on TOP of the other!!
Picture

Do you clean your stencils after you use them? Students ALWAYS ask me this!!

I NEVER clean my stencils- I just keep reusing them over and over. Some may think this is lazy, but it actually makes the stencils work better over time this way! The paint eventually builds up a bit and in a way ends up making the stencils stronger so they work even better!
Check out the stencil below. This one is really cool! I used it to make the underwater bubbles in my pink mixed media mermaid painting.

Watch the video so you can understand exactly what I mean here. This particular stencil doesn't have a "hard line" or edge to it.  It's been trimmed so the edges are a bit softer and easier to blend into a background. 
Picture
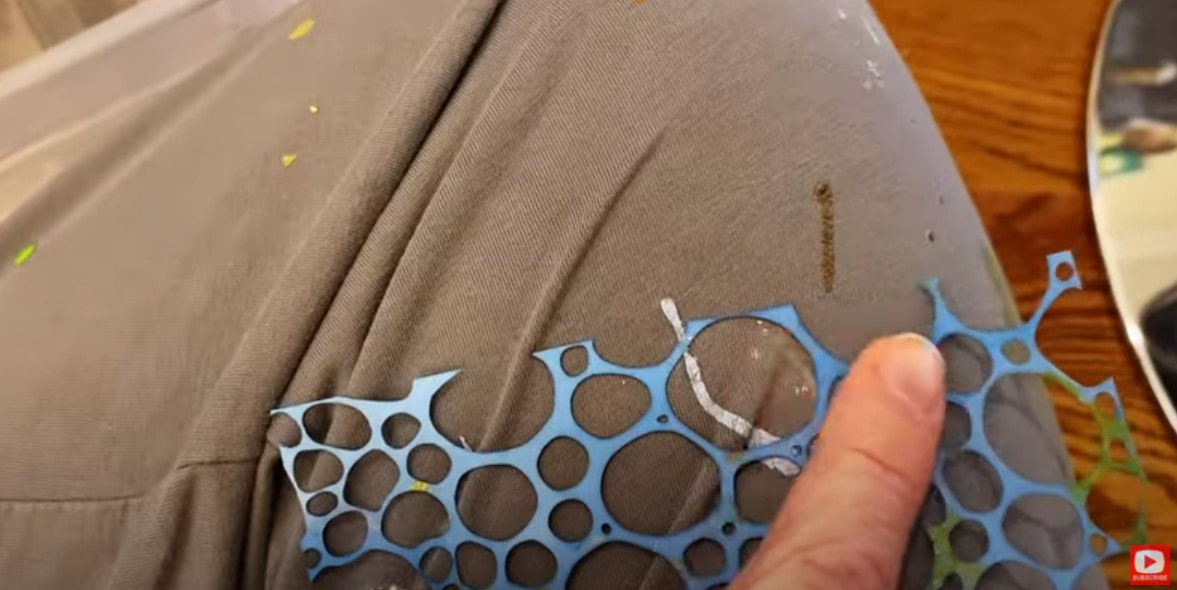
STENCIL & SPRAY PAINT TIP:  To avoid a hard edge showing up on your canvas, trim the edges of your stencil off like I did in the stencil above. You can also work on perfecting your spray painting technique. Try to mist your paint right into the center of your stencil. 

Ok! Reay to see how FAST this process really is?! CLICK over to the video and you can see it in real time. It takes me less than a minute to cover this 18" x 24" canvas in one solid color. 
Picture
​

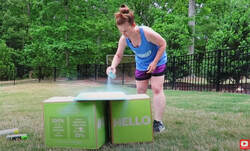
For the stenciled parts, I simply pull my white spray paint out and gently hold my stencil above the freshly painted canvas. You don't want to lie it on top of the canvas because it could stick!
Picture
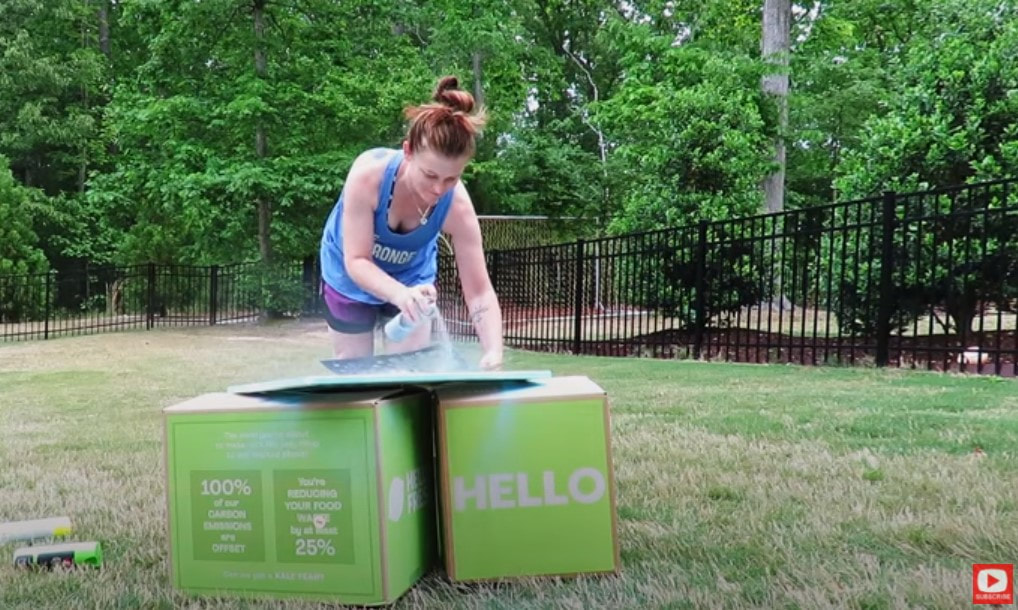
One of my favorite things to do with a stencil is to mist it into the corners of my canvas. I think it adds a really nice frame to whatever I end up putting into the foreground.

HOT TIP! Make sure you hit your CANVAS edges with color too. Trust me!! You'll be so mad if you come back to your art table and notice they're all WHITE!! LOL :)

I hope you enjoy this demo and find this spray paint on canvas idea just as helpful as I have!! 
​
Have fun art-ing!!
​

❤️Did you miss my Fun Fab Fairies Workshop? NO worries!! You can STILL sign up and enjoy each of these lessons on your own time at your own pace in this stand alone classroom at Awesome Art School! CLICK HERE to REGISTER.

❤️Did you know I've started a FUN new podcast with my Scottish, artsy​ bestie, Lucy, ALL ABOUT SCOTLAND & the mythical goodness I can't get enough of about this magical place?! YES - we talk about everything including ARE Fairies Real?! (You know I think they are!!)

The podcast is called 1 Scot, 1 Not! Check us out on YouTube and here's our podcast website! ​

❤️Want FREE, immediate access to my Fun Fab Drawing Club and/or Mixed Media Society plus discounts on all my art books, sneak peek at YouTube videos and new book content, behind-the-scenes fun and MORE? Join me over on Patreon today and get HUGE PERKS in return for a small monthly donation. 
​
❤️ CHECK OUT ALL my art books on AMAZON (available in both Kindle and Paperback)

❤️ SIGNED COPIES of my art books on ETSY


❤️ MY FAVORITE ART SUPPLIES on AMAZON

❤️ MY BELOVED FACEBOOK GROUP  

❤️ FOLLOW ME ON INSTAGRAM

❤️ FOLLOW ME ON FACEBOOK
1 Comment

EASY Owl Acrylic Painting on Canvas [Full Tutorial]

15/10/2020

0 Comments

 
You HAVE to do today's acrylic owl painting with me over on my Mixed Media channel!!

Not only is he the cutest, this is the perfect acrylic painting for beginners to try. The whimsical style alone means there's absolutely NO PRESSURE!! Plus there's just something extra fun about doing an acrylic painting on canvas!
Picture
NEW to mixed media art? That's technically what this tutorial is because we're also using acrylic paint pens! Wanna learn how to layer MORE mixed media art supplies without making a mess?

Click the button below to download my FREE Mixed Media Hamburger System layering cheatsheet.
Picture
Once you print that out and finish today's EASY acrylic painting, check out this playlist to learn ALL about the world of mixed media art for beginners on my YouTube Mixed media channel. It's seriously SO. MUCH. FUN.

Let's get back to today's project, shall we? 
Picture

For my reference, I'm using an adorable royalty free stock image of an little owlette. So cute, right?! ​
Picture

I've pulled out one of my ARTEZA canvases and have selected paint colors from my "Whimsical Animals" Signature Paint Kit by LUKAS Cryl Studio - which you can get over at Jerry's Artarama!

Real quick - if you have any questions about the paint brushes I'm using, or if you missed last week's video, you might want to check that out first, because I shared
everything you need to know about paint brushes for mixed media. Make sure you watch that if you need tips, or before you head out to the craft store! 

Today's acrylic owl painting starts off with a super simple layer of blue for the sky. Try not to worry about being precious with your paint here. Use a generous amount because I  want you to be able to spread it freely. Keep all of your brush strokes going in the same direction, and remember to paint the edges of your canvas before you move on to the next step. 
Picture

Once my canvas is covered  AND dry (this part is SUPER important!), I'm ready to add a cute tree to the right side of my canvas in brown. Before your tree trunk dries - blend a little yellow into your brown for some added dimension. Don't worry if you're not in love with the shade of your tree trunk when you add your yellow-  just add a little more brown until you're happy with the shade you've got! 
Picture

​Next, I pulled out my chalk (YES - it's totally just regular, school chalk). I used this to "pencil in" my drawing of the owl because the chalk is totally erasable when used on top of acrylic like this!! If you draw a line you don't like - you can wipe it away with your finger! ​

If drawing perfect circles stresses you out - grab a stencil or mug to trace so you can draw in the eyes of your owlette. You can totally just freehand it like me- a little wonkiness will make your owl just that much MORE adorable!!
Picture

Since I wanted the scarf of my owl to have stripes, and I've already painted a dark blue all over my whole canvas, I decided to lay down a thin layer of gesso to "prime" the scarf and eye areas for new colors. You don't have to do this- but I find throwing a layer of gesso down will help me cover a darker background color if I want something white or light in the foreground. 

​If you caught my video last week - you'll remember I talked about the importance of having ONE flat acrylic paint paint brush reserved just for gesso. I used my gesso brush for this light application below.
Picture

​QUICK TIP for ACRYLIC PAINTING: If you want to keep your colors sharp and crisp (especially for something like stripes!), take the time to make sure one color is fully dry before going in with the next shade of paint. If you're impatient like me, hit your first color with the hairdryer for a few minutes until you're good to go! 
Picture

Once all of my stripes are done, I headed over to the eyes to lay down a nice coat of white. Since my gesso is there already, this goes down in no time and covers SUPER well!  If you don't have gesso- you might just need to do two coats of white paint to fully cover the blue here.
Picture

For the owl's body and feathers, I decided to start with yellow. Feel free to gesso that area as well before you go in with whatever color you're using for your owl's body. I also worked in some brown (wet on wet) to texture his feathers. ​
Picture

While my feathers were drying, I pulled out these cute art supplies left over from when my kids were little. I call them "pouncers." Basically they are these little foam brushes with a handle, and if you cover the spongey end with paint, you can use them to stamp down a perfect circle. They work amazingly well for doing polka dots, suns, moons, and of course for the pupils on whimsical animal eyes!! 
Picture

After the pupils, I'm ready for my paint markers! Typically I will use my posca pens when I'm adding outlines or doodling on top of my mixed media paintings, but something about this little guy was calling for my chunky Arteza paint markers!! They have a super juicy nib - and I had a green to exactly match the acrylic I used earlier in my scarf stripes. 
Picture
 
I used my yellow ochre paint marker to doodle over the feathers, outline near the whites of my little owl's eyes, and on top of my tree trunk to add depth.  

Because I LOVE the look of a black outline - I pulled out my sharpie and added those in everywhere! Outlines are kinda one of those things that you either love or hate. They're also something that you either have to be "all in" for, or leave out completely. If you use outlines for some of your painting, but not all of it - it can make your piece look disjointed or unfinished.

After the outlines were done, I went in with a dry brush to add some teeny strokes of light gray around the inner edges of the eyes so they didn't look quite so flat! 
Picture

​That's it!! He's done :) I hope you have as much fun with this project as I did!!  I totally loved it. 

​A GREAT break from the outside world for a bit!! 

There's an Arteza product giveaway mentioned in this video. Sadly that has already passed - so ignore that part of the video, and just enjoy the acrylic painting tutorial!

Thanks for hanging out with me today!

❤️ CHECK OUT ALL my art books on AMAZON
❤️ CHECK OUT ALL my online art classes @ Awesome Art School
❤️ MY FAVORITE ART SUPPLIES on AMAZON
❤️ MY BELOVED FACEBOOK GROUP
0 Comments

    Karen Campbell

    Founder of Awesome Art School.  Mixed Media Artist.  Author of 18 Instructional Art Books!

    Posting on YouTube every single Wednesday of the year!  

    The Alliance of Independent Authors - Author Member

    Archives

    January 2023
    December 2022
    November 2022
    October 2022
    September 2022
    August 2022
    July 2022
    June 2022
    May 2022
    April 2022
    March 2022
    February 2022
    January 2022
    December 2021
    November 2021
    October 2021
    September 2021
    August 2021
    July 2021
    June 2021
    May 2021
    April 2021
    March 2021
    February 2021
    January 2021
    December 2020
    November 2020
    October 2020
    September 2020
    August 2020
    July 2020
    June 2020
    May 2020
    April 2020
    March 2020
    February 2020
    January 2020
    December 2019
    November 2019
    October 2019
    September 2019
    July 2019
    June 2019
    May 2019
    April 2019
    March 2019
    February 2019
    January 2019
    December 2018
    November 2018

    Categories

    All
    #50FunFabFairies Drawing Challenge
    5 Minute Drawing Practice
    Acrylic Brushes
    Acrylic Painting Basics
    Acrylic Painting For Beginners
    Acrylic Painting On Canvas
    Acrylic Painting Supplies
    Acrylic Painting Tutorial
    Acrylic Paint Types
    Alcohol Ink Painting
    Alcohol Ink Tutorial
    Alcohol Marker Art
    Alcohol Marker Blending
    Alcohol Marker Brands
    Alcohol Marker Drawing
    Alcohol Markers By ArtBeek
    Alcohol Markers Tutorial
    Altered Book
    Altered Book Art Journal
    Art Book Reviews
    Art Deco
    Art Deco Drawing
    Art Deco Style
    Art For Beginners
    Art Heals
    Artist Collaboration
    Art Journal
    Art Journal For Beginners
    Art Journal Ideas
    Art Journal Inspiration
    Art Journal Page
    Art Journal Techniques
    Art Studio Makeover
    Art Supplies
    Art Supply Demos
    Art Supply Reviews
    Art Supply Storage
    Asian Eye Drawing
    Beginners
    Behind The Scenes
    Blackwing Pencils
    Brush Pens
    Canvas Painting
    Cartoon Cat Drawings
    Cat Art
    Charcoal Drawing
    Charcoal Portrait
    Christmas Watercolor Ideas
    Collage
    Collage Ideas
    Collage Techniques
    Collage Tutorial
    Colored Pencils
    Copic Marker Alternative
    Copic Marker Art
    Copic Marker Drawing
    Copic Marker Tutorial
    Copic Skin Tones
    Copic Vs Ohuhu Alcohol Markers
    Craft Gem Projects
    Daniel Smith
    Daniel Smith Watercolor Palette
    Daniel Smith Watercolors
    Dip Pens
    Drawing
    Drawing A Baby Face
    Drawing Books On Amazon
    Drawing Cats
    Drawing Challenge
    Drawing Eyelashes
    Drawing Eyes In Pencil
    Drawing Faces
    Drawing Faces For Beginners
    Drawing Facial Features
    Drawing Female Hairstyles
    Drawing For Beginners
    Drawing Hairstyles
    Drawing Necks Realistically
    Drawing Pencils
    Drawing Tutorial
    Ear Drawing Practice
    Easy Acrylic Painting
    Easy Drawings For Beginners
    Easy Mixed Media Projects
    Easy Owl Painting
    EASY Watercolor Tutorial
    Ecoline Brush Pens
    Eyelashes Drawing
    Faber Castell Gelatos
    Faber Castell Watercolor Markers
    Face Chart Inspired Drawing Tutorial
    Face Drawing
    Face Drawing Practice
    Face Drawing Tutorial
    Face Shading
    Face Shape Drawing
    Face Sketch
    Fantasy Art Drawing
    Fantasy Art Drawing Projects
    Fantasy Art Painting Projects
    Fashion Face Drawing Tutorial
    Fashion Figure Drawing
    Fashion Illustration For Beginners
    Fineliner Tips
    Flip Throughs Of MY BOOKS
    Fountain Pen Ink
    Fountain Pen Ink Painting
    Free Art Lesson
    FREE Drawing Lesson
    Free Lesson
    FREE Watercolor Lesson
    Full Length Drawing Tutorial
    Full Length Face Drawing Tutorial
    Full Length Mixed Media Projects
    Fun Fab Drawing Club
    Fun Fab Fairies
    Gesso Brush
    Glass Dip Pens
    Gouache Meaning
    Graphite Transfer Paper
    Halloween Face Drawing Tutorial
    Halloween Projects
    Hamburger
    Hot Dog System
    How To Art Journal
    How To Choose Face Drawing References
    How To Color A Baby Face In Copic Markers
    How To Create A Watercolor Palette
    How To Draw
    How To Draw A 3/4 View Face
    How To Draw A Baby's Face
    How To Draw A Face
    How To Draw A Fairy
    How To Draw A Fairy Face
    How To Draw A Male Face
    How To Draw And Shade A Face In Copic Markers
    How To Draw And Shade A Whimsical African American Face
    How To Draw Art Deco Style
    How To Draw Asian Eyes
    How To Draw A Smile With Teeth
    How To Draw Bangs
    How To Draw Cartoon Cats
    How To Draw Dreadlocks
    How To Draw Ears
    How To Draw Expressions
    How To Draw Eyebrows
    How To Draw Eyelashes
    How To Draw Eyes Realistically
    How To Draw Fairy Ears
    How To Draw Figures
    How To Draw Freckles
    How To Draw Hair
    How To Draw Lips
    How To Draw Lips Realistically
    How To Draw Noses Realistically
    How To Draw Realistic Ears
    How To Draw Teeth
    How To Draw Wrinkles
    How To Paint Eyelashes
    How To Shade
    How To Shade DARK Skin Tones With Alcohol Markers
    How To Shade Faces With Alcohol Markers
    How To Sketch A 3 Quarter Portrait
    How To Sketch A Face
    How To Transfer A Drawing
    LARGE Canvas Painting Technique
    Magical Mashup
    Marker Tips
    Martini Glass Drawing
    Mermaid
    Mixed Media
    Mixed Media Art
    Mixed Media Art Ideas
    Mixed Media Art Journal
    Mixed Media Art Journaling
    Mixed Media Art Supplies
    Mixed Media Art Techniques
    Mixed Media Art Tutorials
    Mixed Media Backgrounds
    Mixed Media Brushes
    Mixed Media Canvas
    Mixed Media Challenge
    Mixed Media Collage
    Mixed Media Collage Background
    Mixed Media Drawing
    Mixed Media Eyes
    Mixed Media Faces
    Mixed Media Girls
    Mixed Media Hamburger
    Mixed Media Hot Dog System
    Mixed Media Ideas
    Mixed Media Paintbrushes
    Mixed Media Painting
    Mixed Media Portraits
    Mixed Media Project
    Mixed Media Society
    Mixed Media Techniques
    Mixed Media Tutorial
    Mixed Media Tutorials
    Mixed Media Watercolor
    Mixed Media YouTube
    Monochromatic Drawing
    My Favorite Art Supplies
    My Favorite Watercolors
    New Book!
    No Draw Mixed Media Art Project
    Noodler's Ink
    Nose Drawing Practice
    Ohuhu Alcohol Markers
    Old Book Crafts
    Owl Painting
    Paint Brush Types
    Painting On Canvas
    Painting With Ink
    Paint Markers
    Palette Knife Painting
    Pan Pastels
    Paper Napkin Art Journal Background
    Pencil Drawing Tutorial
    Portrait Drawing
    Portrait Drawing Tutorial
    Posca Alternatives
    Posca Paint Pens
    Profile Drawing
    Quadrant Method
    Reference Drawing
    SEE INSIDE MY Art Books!
    Shading Faces
    Sheet Music Art
    Side Profile Drawing
    Side View Drawing
    Silver Black Velvet Brushes
    Sketching Tutorial
    Skull Watercolor Tutorial
    Spray Paint On Canvas Idea
    Stabilo All Pencil Projects
    Stenciling & Stamping Techniques
    Three Quarter View Face
    Time Lapse Drawing Video
    Tissue Paper Art Journal Background
    Tombow Brush Pens
    Tombow Mono Zero Eraser
    Toned Paper Drawing
    Travel Art Supplies
    Upcycled Art
    Upcycle Old Books
    Value Scale Drawing
    Vintage Book Pages
    Watercolor
    Watercolor And Colored Pencil
    Watercolor Brushes
    Watercolor Fairy
    Watercolor Markers
    Watercolor Marker Tips
    Watercolor Marker Tricks For Mixed Media
    Watercolor Portrait
    Watercolors
    Watercolor Sets I Love
    Watercolor Supplies
    Watercolor Tutorial
    WatercolPainting Techniques
    Watersoluble Art Supply Tricks
    Water Soluble Markers
    Water Soluble Pencils
    What Is Mixed Media Art?
    Whimsical-christmas-tree
    Whimsical Face Drawing Tutorial
    Whimsical-face-drawing-tutorial
    Whimsical Women Of The World World Portrait Drawing Series
    YouTube Drawing Channel
    Youtube-giveaway
    Youtube-video
    Youtube-video

    RSS Feed

Picture
"Karen is flipping hilarious and she's very real...I like the way she teaches in a way that really gives you confidence, whether you're a beginner or advanced there's always something new to learn!"

- Elizabeth W.

What Fans Are Saying

Karen, you are absolutely fabulous! You make me feel like I can draw anything. I have recently retired and finally have the time to do some of the art that I have loved since I was in school. I am really at the beginning of my art journey and I hope to learn as much as I can. Thank you for all you do.

​-Jill Y.

I ordered your Fun Fab Faces book and loved it! I was having a little trouble getting the noses I wanted and now it's easy! Also, I love how you stressed how important having the three tones in your drawing is. Thanks a bunch!

-Donna L.

Thank you Karen! I never though I could do faces. You broke it down so it was understandable! And I love your book! I got it yesterday! Can't wait to start practicing! It's so much fun!!!!!

​-Debbie M.

Thank you for the encouragement to get back into my drawing and painting. After being away for 35 years.  THANK YOU.

- Teresa S.

Contact Us

  • HOME
    • About Me
    • Courses
    • Add your art to Instagram!
    • Fan Artwork
    • Retreats
    • What Students Say...
  • Drawing Club
    • See ALL the Projects!!
  • MIXED MEDIA SOCIETY
    • See ALL the Projects!!
  • CELTIC COLLECTIVE
  • Books
  • Blog