|
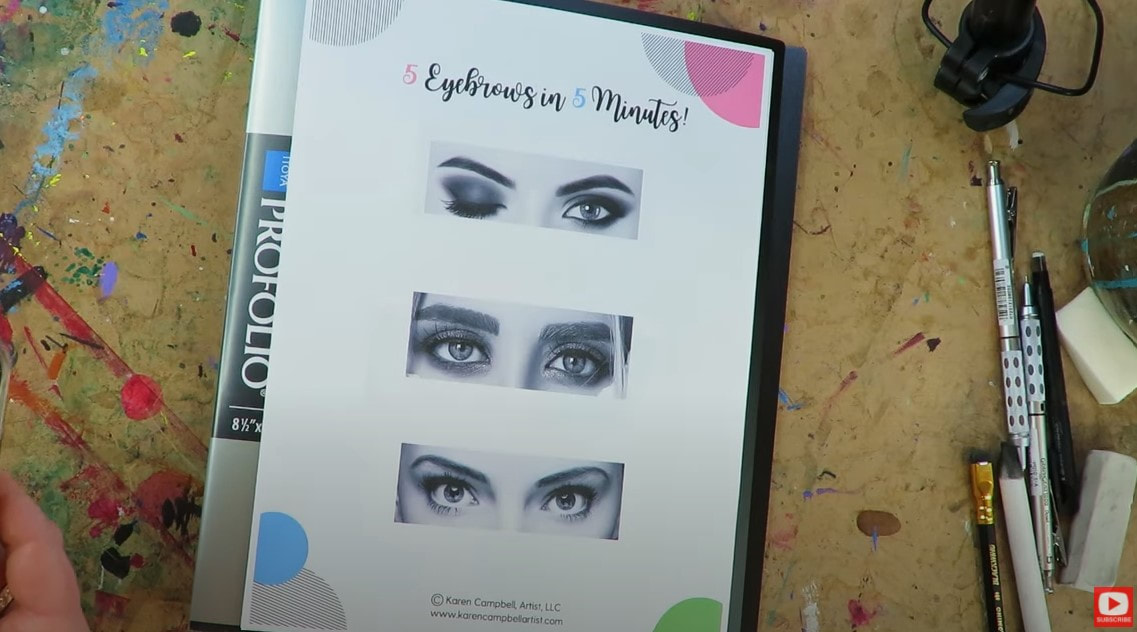
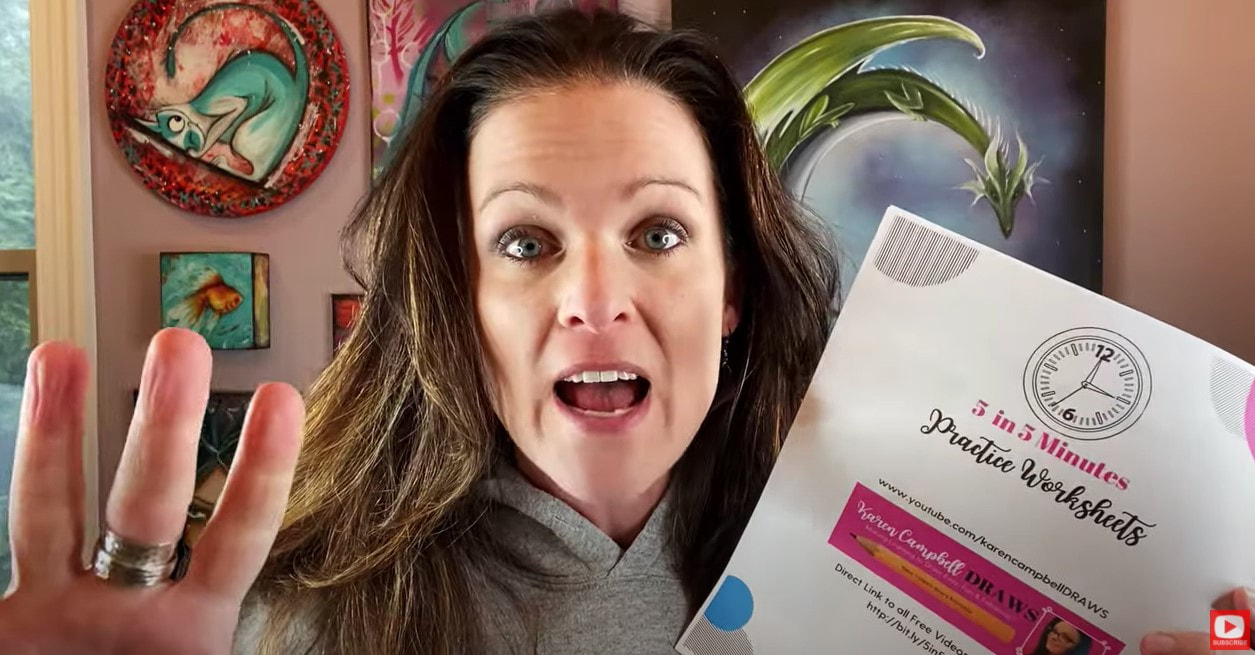
Ready to learn realistic eyebrow drawing in just 5 minutes?! LET'S DO IT!! In today's step by step lesson, we're going to be drawing 5 sets of eyebrows in real time, directly onto my FREE drawing worksheet. If you need help with how to draw eyebrows, have always wanted to learn how to draw a face, are struggling with how to work drawing practice into your daily life, or need to add MORE FUN into your art practice, THIS SERIES IS FOR YOU!!
I'd love for you to draw right along with me! Simply click the button below to grab my FREE 5 in 5 Facial Features Drawing Packet, and I'll send it straight to your email inbox.
Today's video is a follow up to a facial features drawing series I did a couple of months ago because I'm getting a lot of requests for how to draw eyebrows and how to draw necks!
If you're just discovering this series on how to draw facial features, the whole point of this thing is just to get us practicing our drawing skills. We're not making it our "life's work," it's just a little drawing exercise, and we're just going to spend about 5 minutes working with each reference photo, then we're moving on.
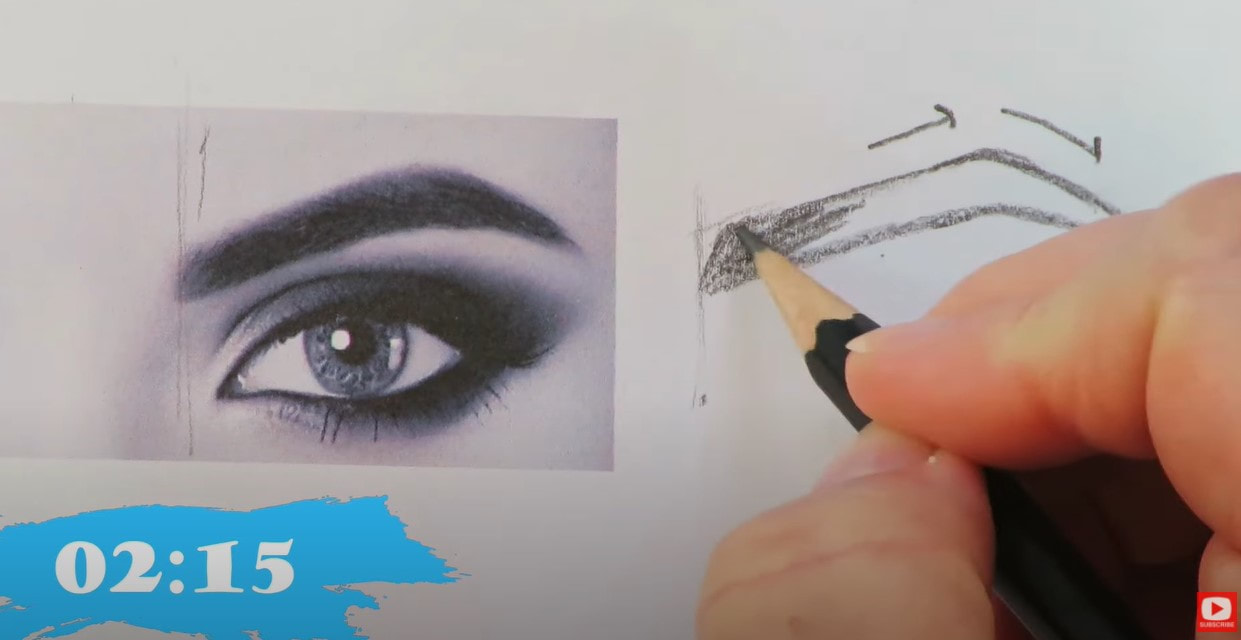
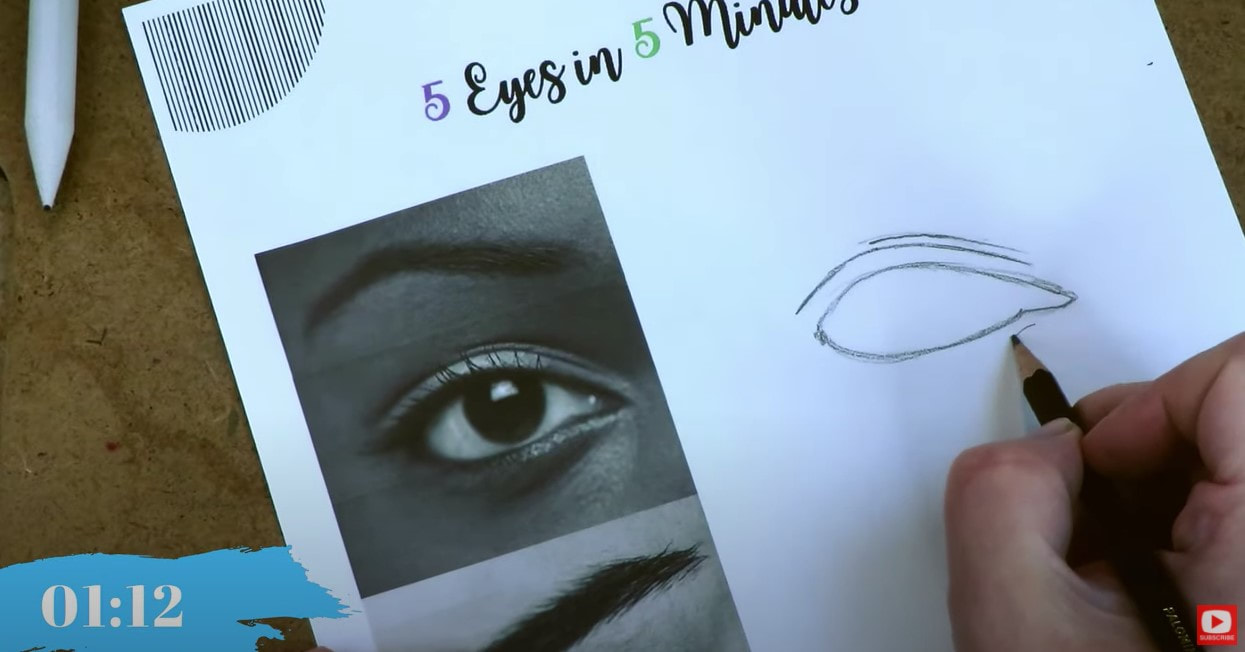
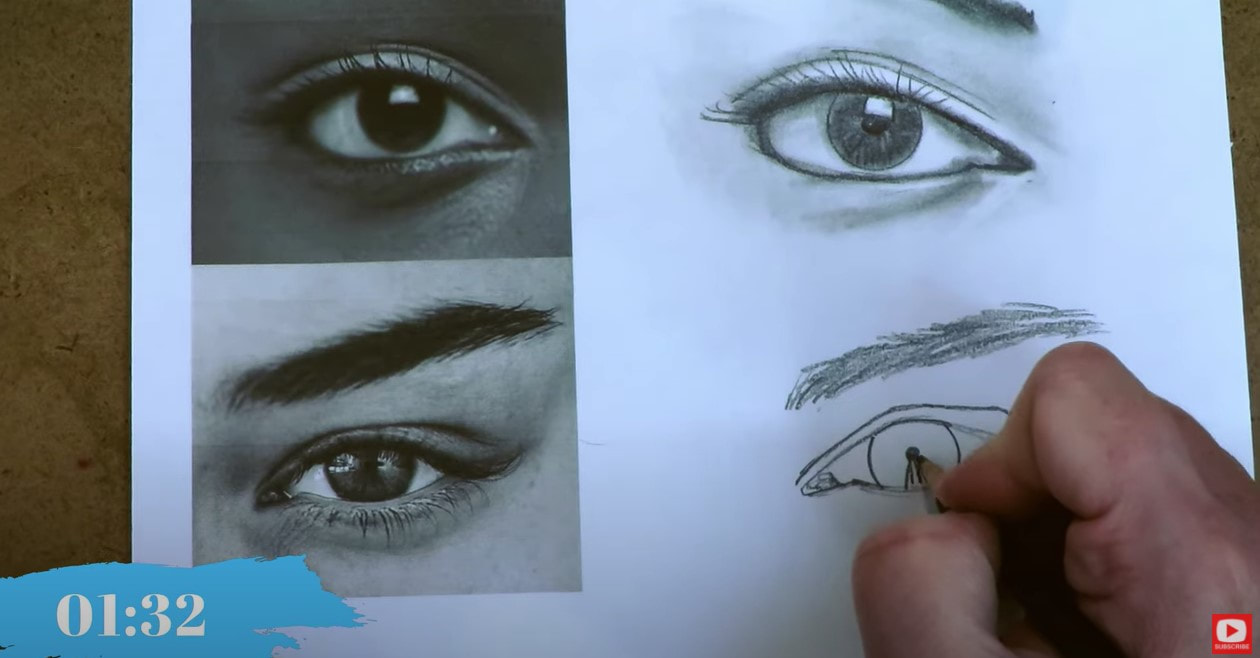
You'll see a stop watch going in the bottom of my screen. It's not here to stress anyone out. It's just to remind me not to spend more than 5 minutes with any one reference image. Before we continue, super quick announcement: All product links are Affiliate. I may earn a small commission if you choose to order through these links but by law there is never any additional cost to the consumer for doing so. I thank you for your support!
There are three things I'd love for your to focus on one at a time, when looking at each eyebrow reference image:
1. Eyebrow Shape 2. Value 3. Details For my supplies today- I'm just using my favorite Blackwing pencil - it's like a soft 4B, and super smooth to work with. You're also gonna need a blending stump, an eraser (I love my vanish eraser and the tombow mono eraser).
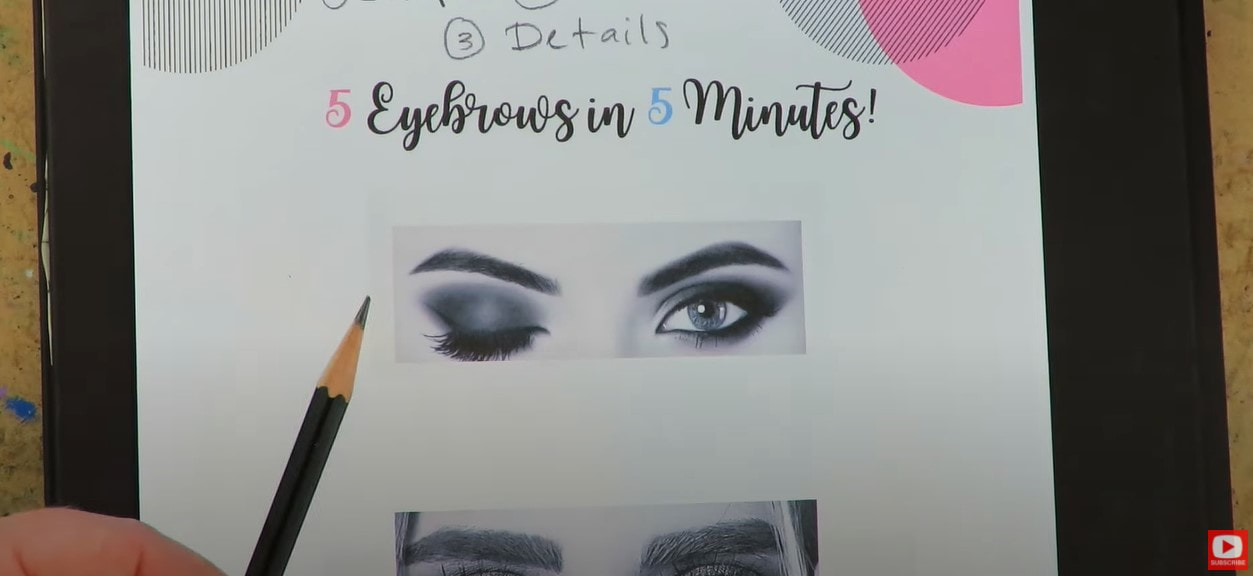
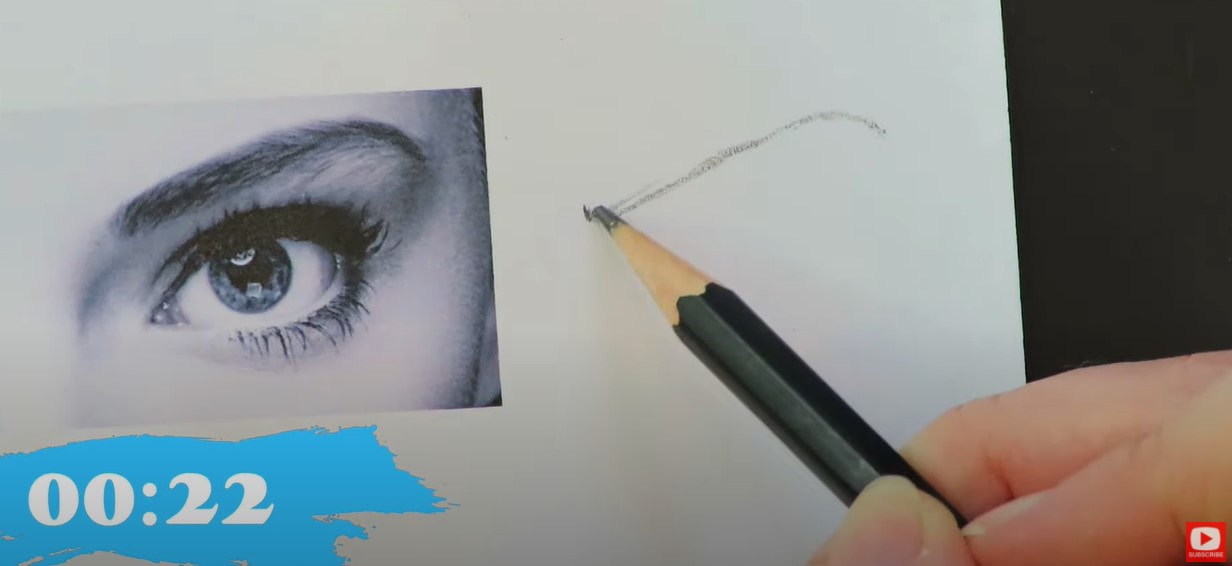
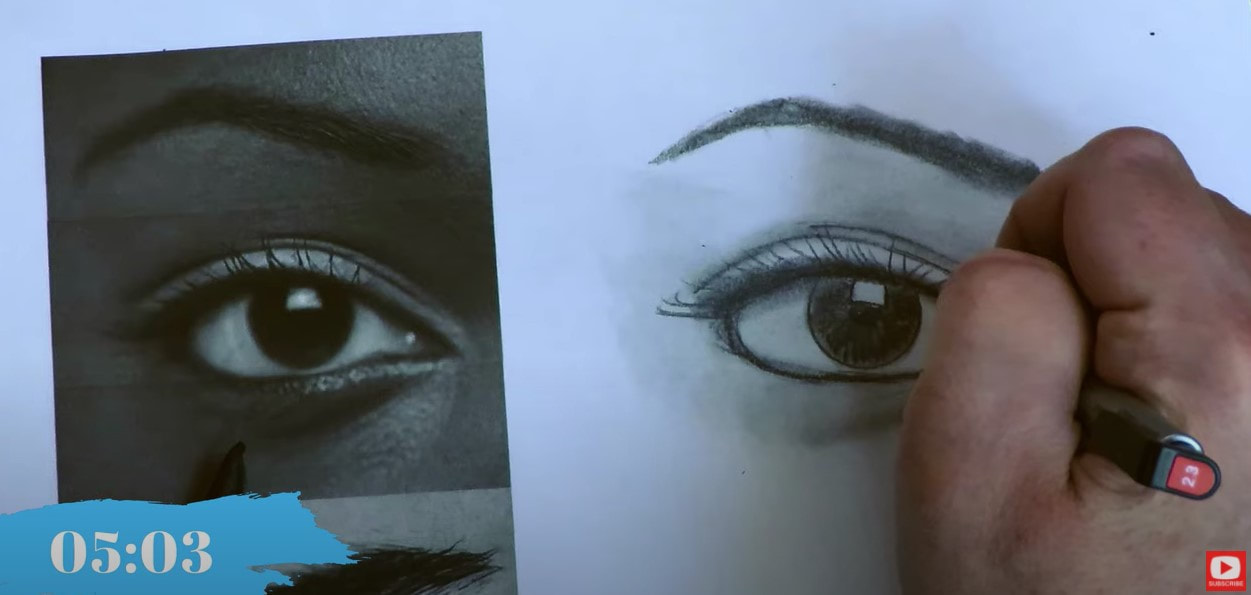
So with our first reference, as you can see- I draw in the general shape I'm seeing for the right eyebrow. The value I see is really pretty black, so I reach for my blending stump right away and then try to add in a few individual hairs even though I don't really see them in this particular photo - they're definitely there.
On the left eyebrow in this reference image, (above) you can definitely see a LOT more individual hairs, so I make sure to add those in where I see them, to make my drawing look more realistic.
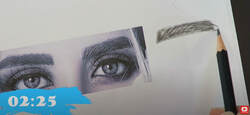
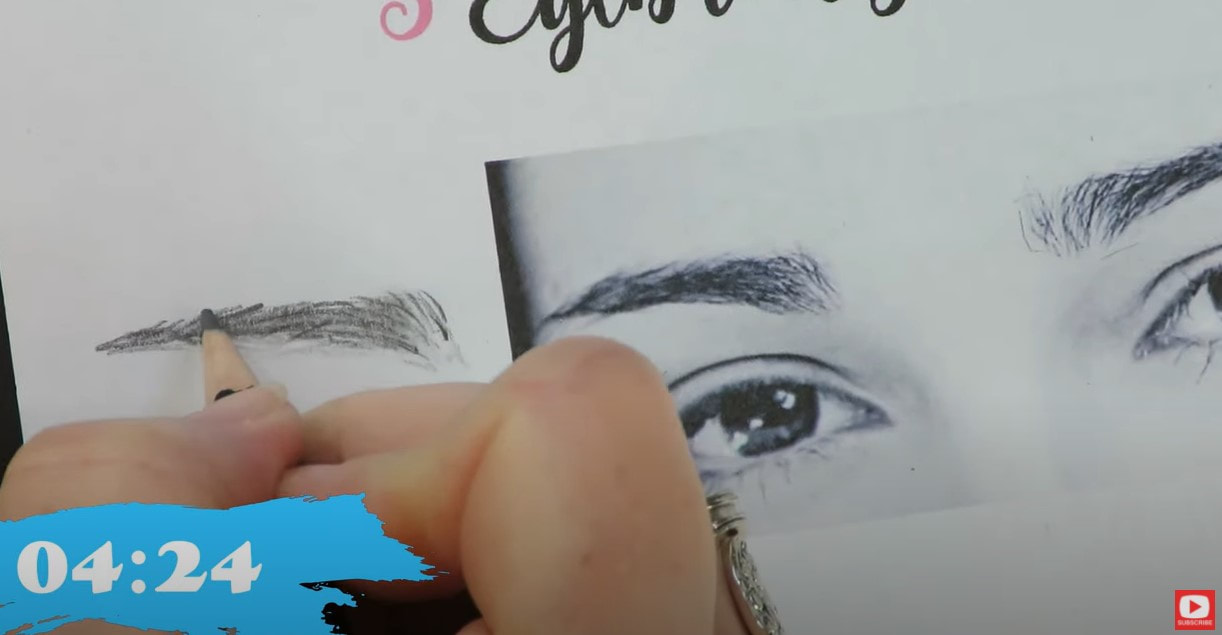
or our second reference image, I'll show you how to draw bushy eyebrows - 2020 style. Lol! After these were drawn in with a little shading added, I carved out some highlights using my tombow eraser for detail.
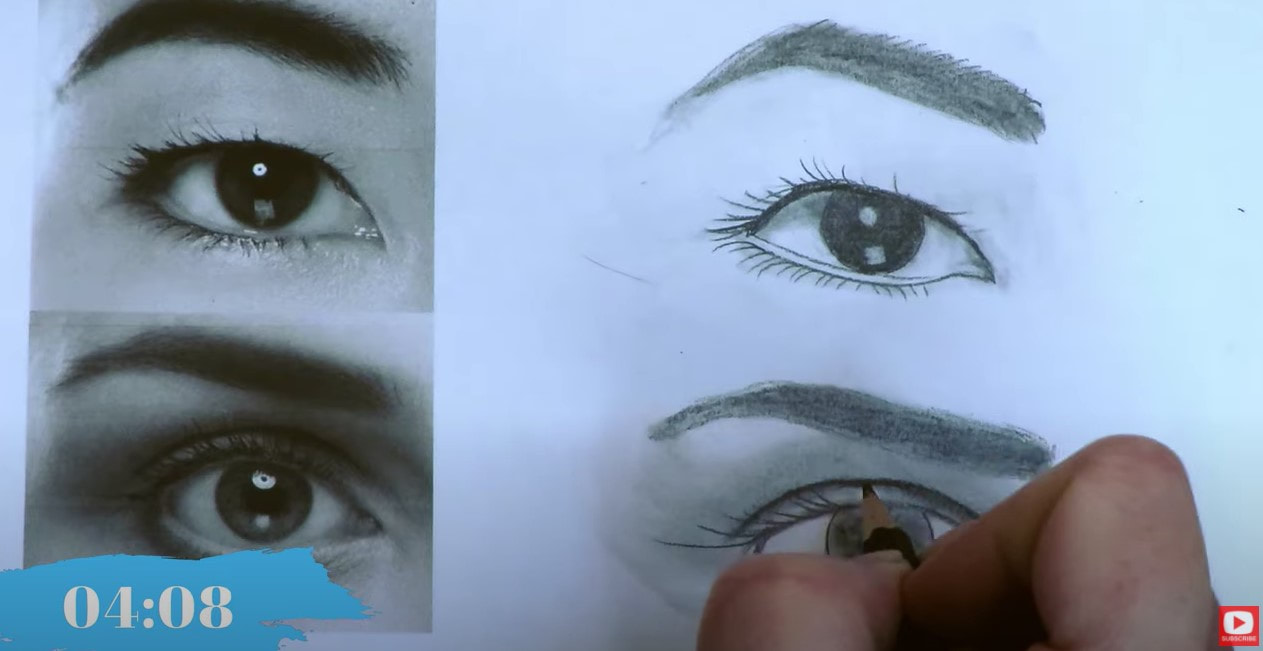
The next face drawing reference has some really unique eyebrows for us to draw. They're much thinner than the last set, and are great practice if you're trying to learn how to draw curved eyebrows.
This style (above) is actually my favorite to draw on the mixed media portraits and whimsical drawings I love to create.
QUICK TIP: When you're ready to draw the individual hairs on the eyebrow, make sure your pencil tip is really sharp, or switch to a mechanical pencil. Doing drawing practice like this with drawing reference photos and cheatsheets can help you think of new ways to draw from your imagination later.
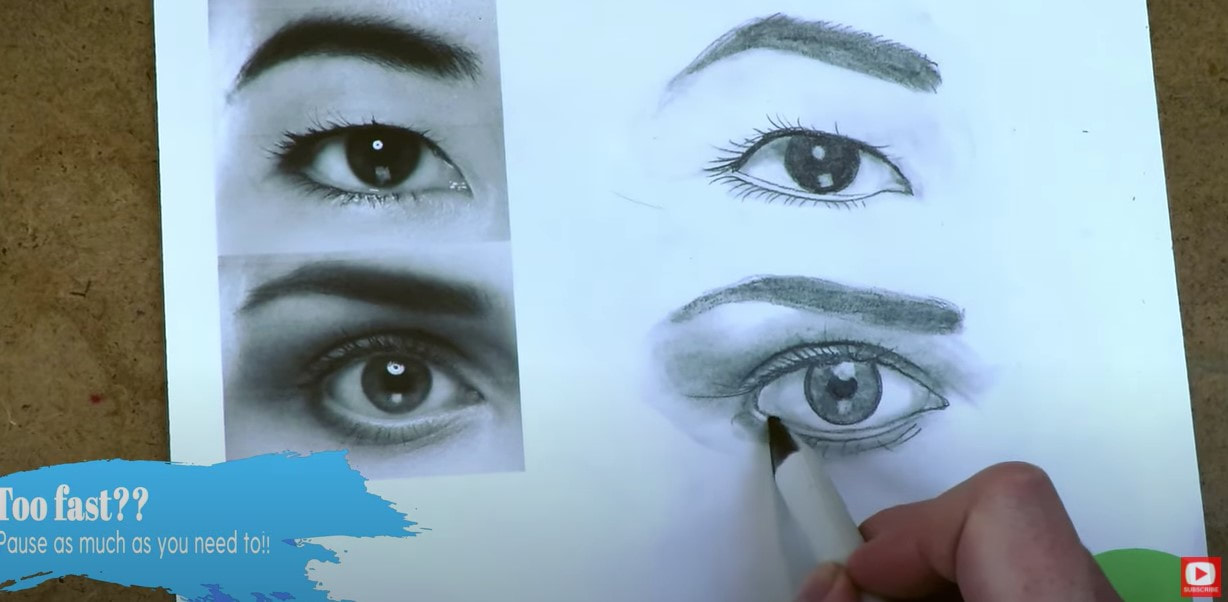
Our fourth reference today has a very different shape and is a great face drawing reference photo if you've been looking for something to help you with how to draw a natural eyebrow.
QUICK TIP: You always draw things that grow (hair, grass, etc.) from the ROOT up to the tip.
I hope you find these eyebrow drawing references helpful for your own face drawing practice. Remember to grab my cheatsheet so you can do your drawing practice right on the drawing worksheet like me. This drawing worksheet is part of my 5 in 5 Facial Features Drawing Series on my YouTube drawing channel. In case you missed that- it's a super helpful 6-part video series on how to draw facial features with a worksheet of drawing references to go with each feature. We worked on how to draw realistic eyes, how to draw realistic noses, how to draw realistic lips, ears, how to draw different face shapes and how to draw fun female hairstyles in 5 minutes. I popped these new eyebrow drawing worksheets at the end of my drawing packet. You'll also see worksheets for how to draw necks - that's coming up on my YouTube channel soon, so stay tuned for that! Thanks for hanging out with me today!
Interested in learning how to create gorgeous mixed media portraits and learning how to draw art deco style? Join me for my upcoming 1-week, online art workshop starting September 27, 2021.
I'll teach you how to upcycle an old record jacket from the thrift shop into your very own mixed media canvas. Then we'll collage our hearts out, do a little mixed media drawing, and I'll show you ALL my tips and tricks to mixed media layering like a pro!
CLICK HERE to SIGN UP for the WORKSHOP and take advantage of my special 60% OFF Coupon Code before September 27th If you do plan to join me for this upcoming workshop, one of the mixed media art supplies I ALWAYS use is faber castell gelatos. I have heard from a number of my students that they can't get their hands on gelatos, so I just did a video on my mixed media YouTube channel about Faber Castell Gelatos Alternatives, and test a huge variety of gel crayons out for you so YOU don't have to! Make sure you check this out before the workshop starts on September 27th. See ya there!! ❤️ CHECK OUT ALL my art books on AMAZON ❤️ MY FAVORITE ART SUPPLIES on AMAZON ❤️ MY BELOVED FACEBOOK GROUP ❤️ FOLLOW ME ON INSTAGRAM
0 Comments
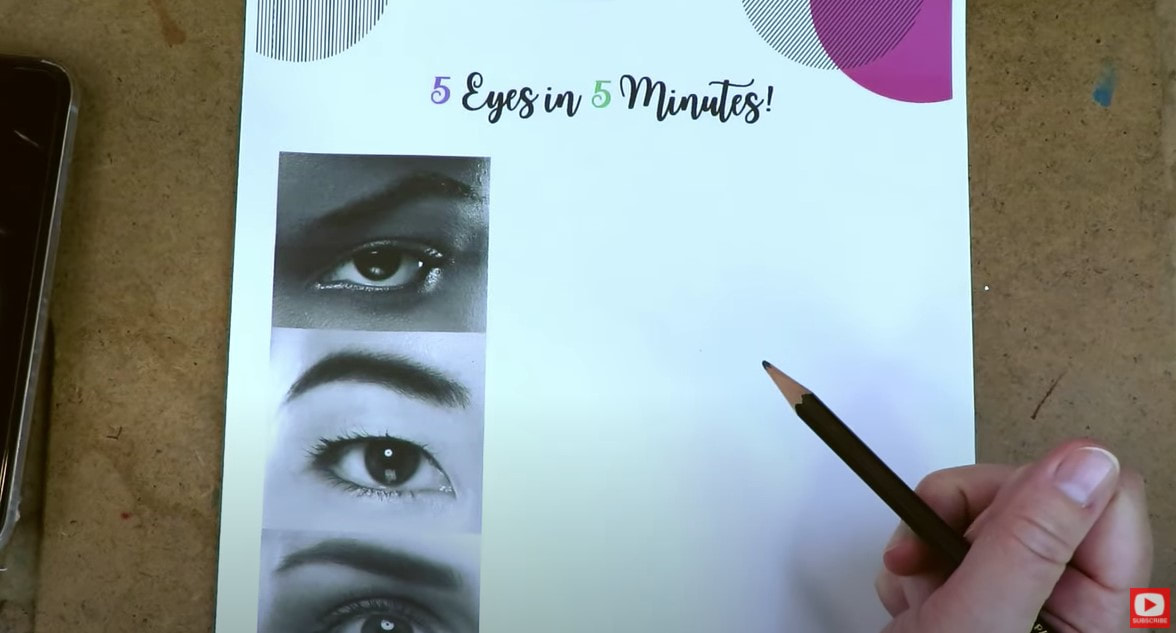
HOW to DRAW EYES REALISTICALLY in Just 5 MINUTES! (#DrawingFacialFeatures with Karen Campbell)15/2/2021 Want me to teach you how to draw eyes realistically in just 5 minutes?! LET'S DO IT!! We're drawing facial features right now on my YouTube drawing channel and spending about 5 minutes drawing each reference image. If you've always wanted to learn how to draw a face, have been struggling to work drawing practice into your daily life, or need to add MORE FUN into your art practice, THIS SERIES IS FOR YOU!! We're in week three of the 5 in 5 Drawing Facial Features series, and focusing on how to draw eyes - everyone's favorite! Make sure you download my 20-page drawing practice packet so you can draw right along with me. It's got all the drawing reference images in it and is yours FREE. Simply click the button below, and I'll send it straight to your inbox! Even though I'm on week three of the series, don't feel like you're behind if you are just discovering this. These drawing exercises are for YOU to do on your own time, at your own pace. There is no schedule, ok? I thought this packet might help us to "get out of our own heads" about how much time we need to set aside each week to actually DO an art project. That's one of the main reasons I'm trying to only spend about 5 minutes per eye drawing. I also know perfectionism is a big thing we all grapple with at times, especially when it comes to drawing. I'm hoping this will help! If you missed the first episode - I talked a lot about mindset shift, so make sure you check that out if it's something you struggle with.  Let's get to it!! We've got five gorgeous eyes to focus on today. As we work on each eye drawing picture provided, I mainly want you to think about three things:
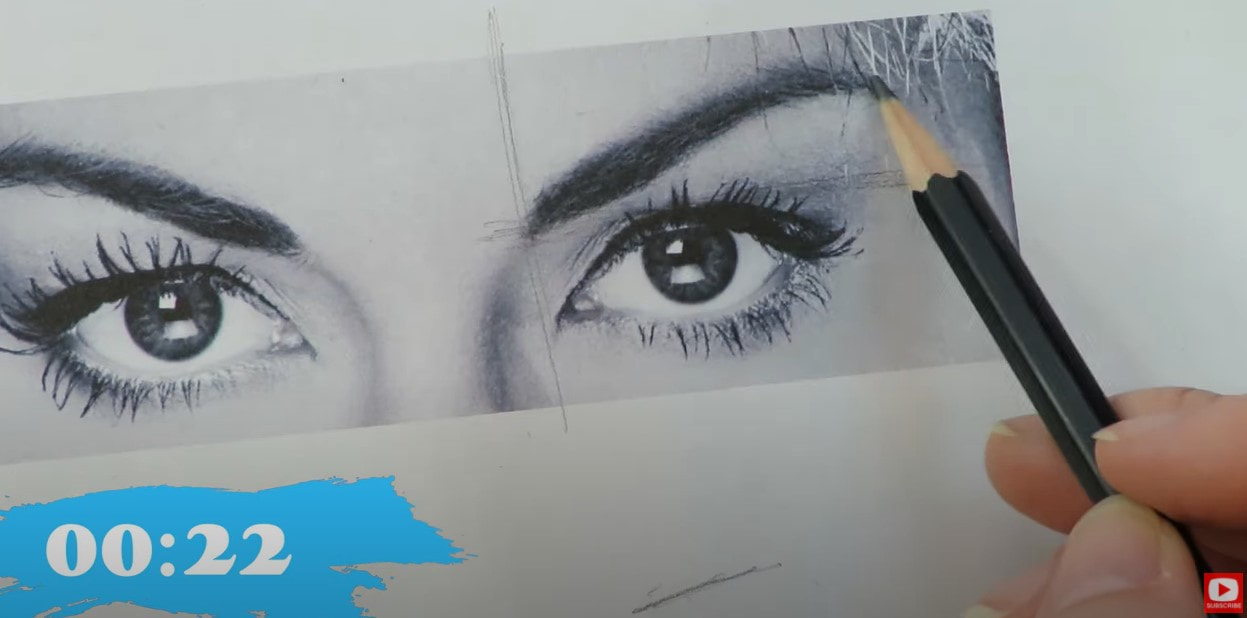
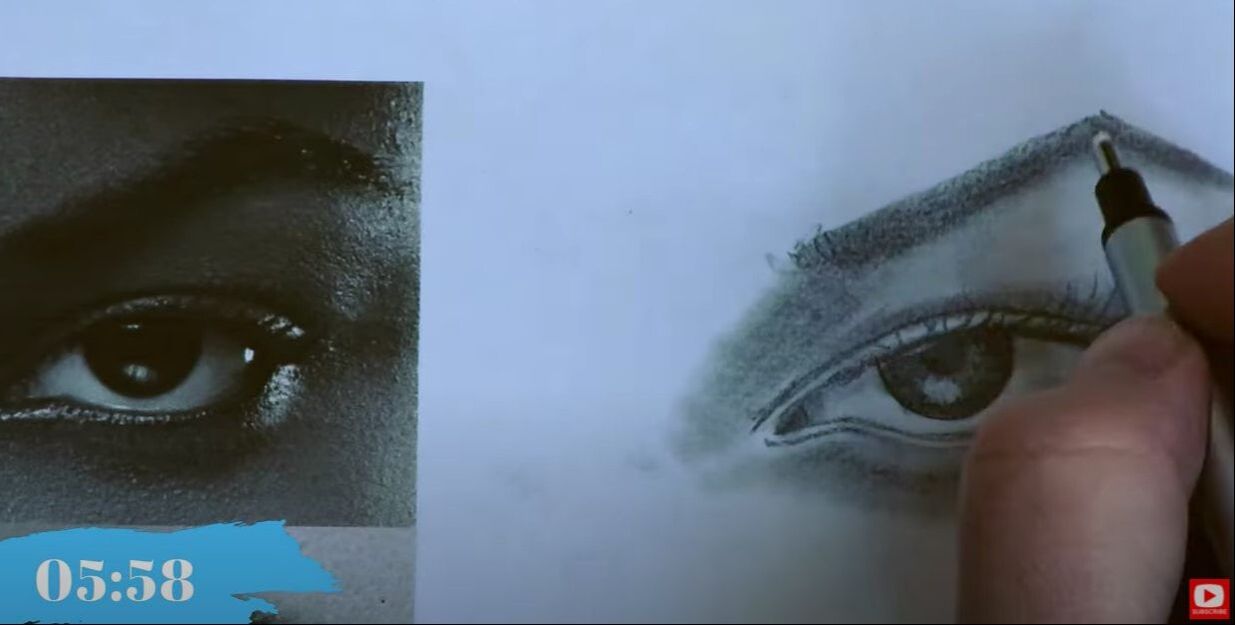
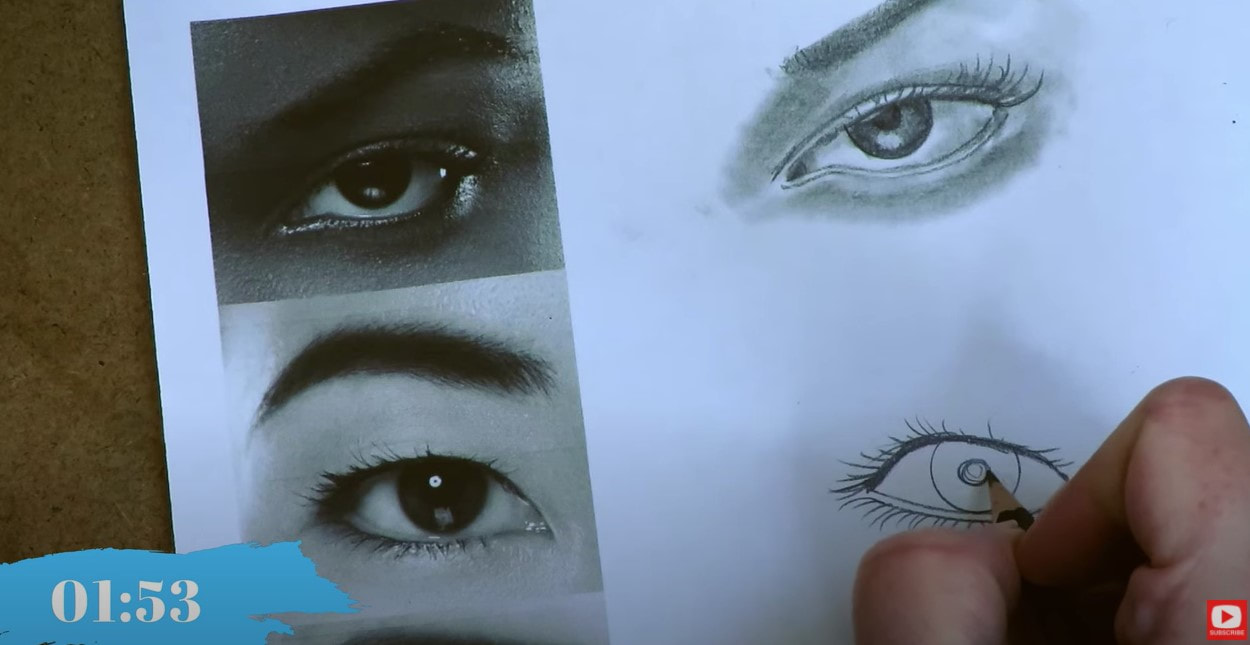
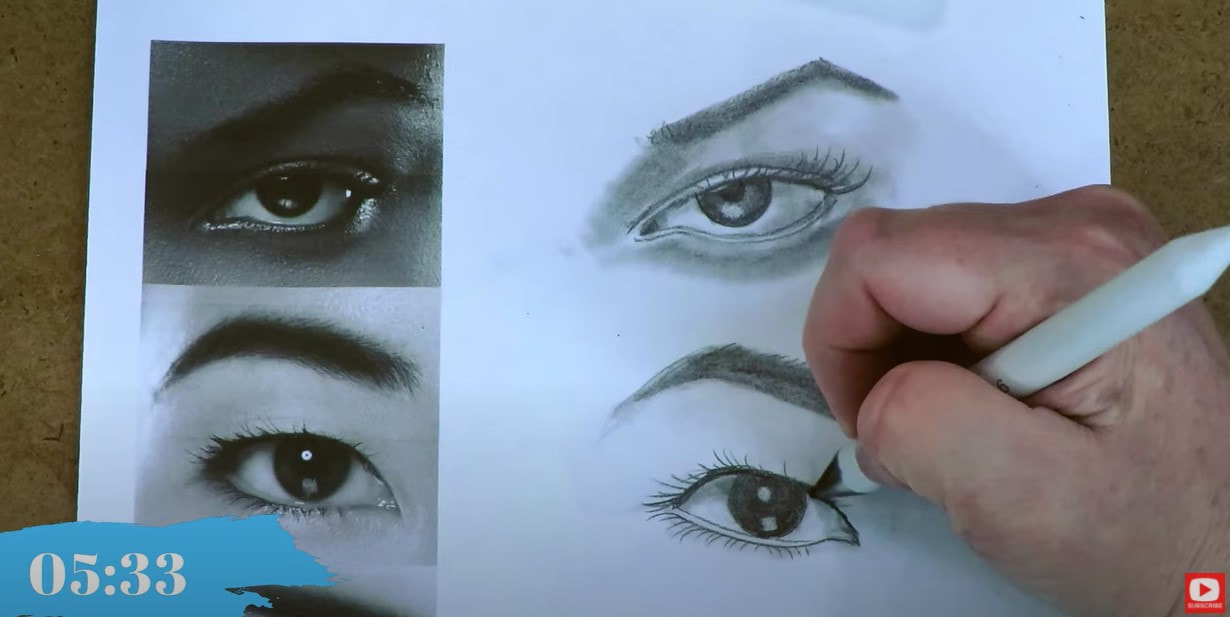
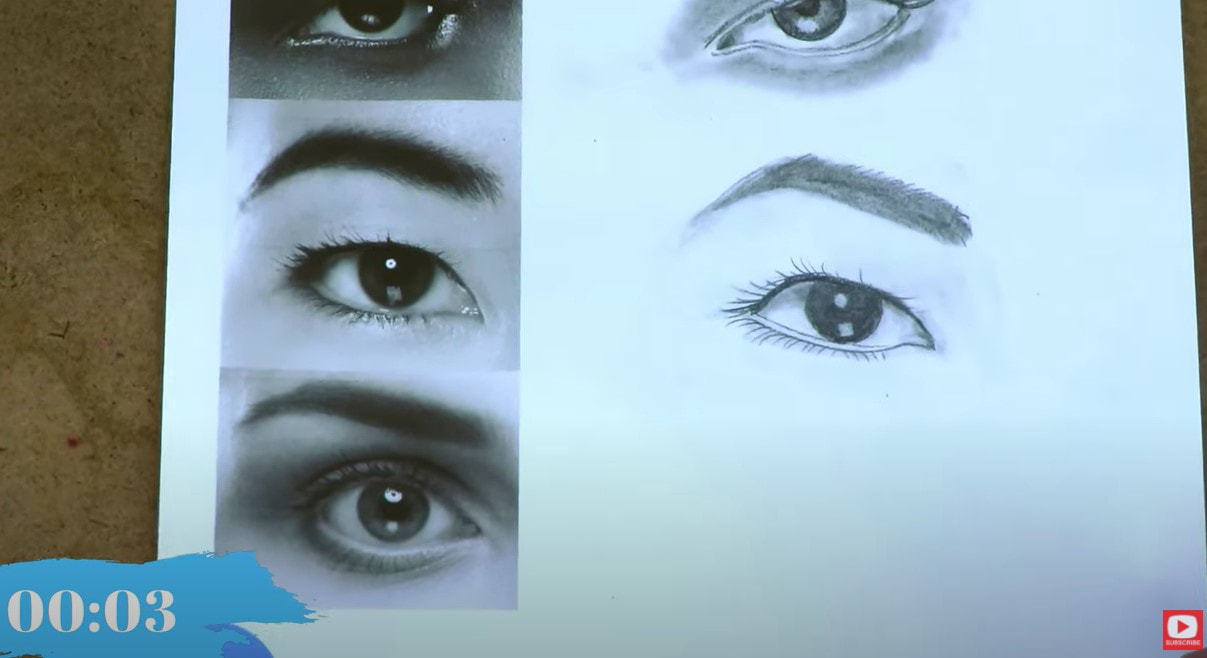
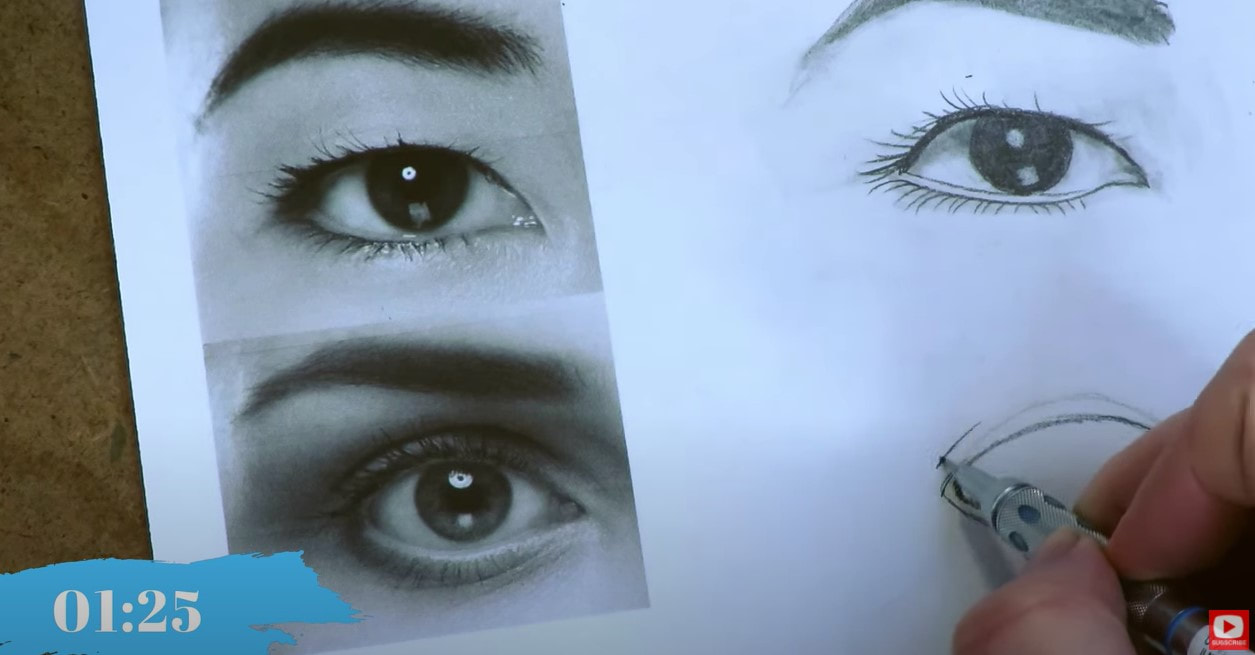
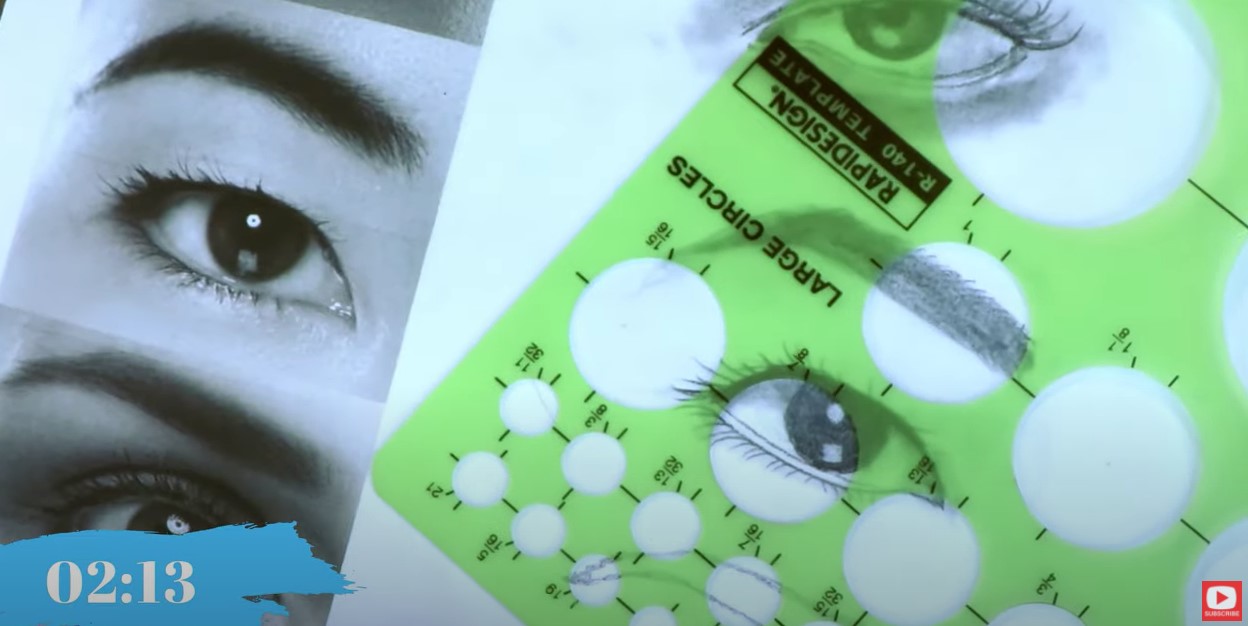
Before we continue, super quick announcement! All product links noted below are Affiliate. I may earn a small commission if you choose to order through these links, but by law there is never any additional cost to the consumer for doing so. I only reccommend products I actually use and love. Thank you for your support! We're doing all of drawing practice in pencil, so grab your favorite and make sure you have a good eraser. If you have a blending stump - get your dirtiest one ready! If you don't have one- no problem, use your finger or a q-tip to help you with blending. If you are interested in some fancier drawing tools - I'm using my favorite Blackwing pencil, vanish eraser, and Tombow Mono Eraser (that's the one that looks like a mechanical pencil, but is an eraser!). This thing is seriously magical for chiseling out teensy highlights!!! This week I also busted out my mechanical pencil because there really are some fine lines when you're drawing eyes and I feel like a thinner lead can really help with replicating that detail. 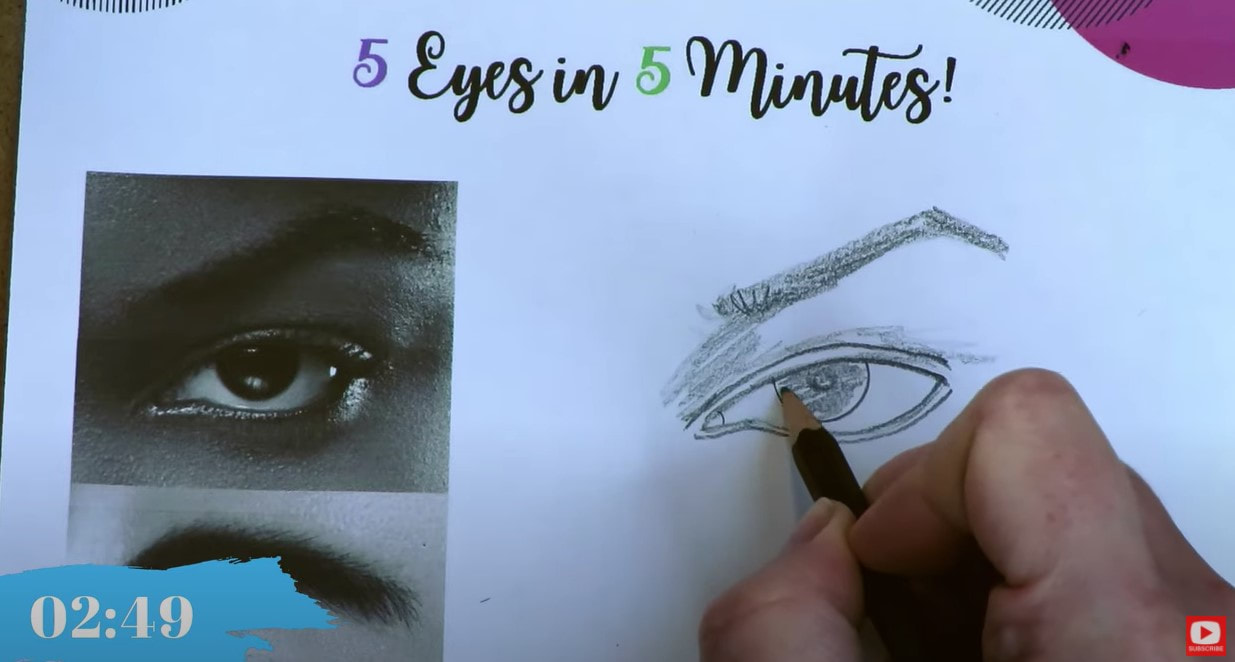 I spend the bulk of my time on each eye trying to get the SHAPE right so it looks like the photo. It really helps to have a black and white image when you're drawing in pencil. And I gotta say, I really love working directly in the packet because I'm drawing right next to each reference. My goal was to spend roughly 5 minutes on drawing each reference image. This one took right around 6, so not bad - especially considering I threw an eyebrow into the drawing as well! Look ot this gorgeous second prompt! I'm trying to challenge us by using a variety of references from different ethnicities, AND I've switched things up so some of the references are the right eye, and some are the left. Aren't her lashes just stunning?? If you are interested in learning how to draw Asian eyes, I have two different tutorials you can check out from my last series that spend a little more time on this specifically. I've got one in greyscale of an Asian woman, and one of an Asian male, in color. Isn't this one pretty?! I JUST LOVE how each eye is so unique. As we move on to the third reference, you'll see her eye has a much different shape than the other two. When you're studying a reference photo, and things feel overwhelming, try to look for shapes you can copy in your drawing. For example, I always find it helps me to look at the tear duct of an eye as its own shape. In our third eye in today's worksheet, there is a very pronounced tear duct, as well as a pronounced wet line under her eye (this is where I felt the need for the mechanical pencil to jump in!). If you haven't seen me do this before, I totally help myself out and use a circle template when it comes to the iris, and sometimes even will use it for the pupil! I have no shame in using a template here, and neither should YOU!! It's just a little cheat to save time and get over that perfectionism trap we can all fall into when trying to draw a "perfect" circle. Can you spend time drawing each iris from scratch? Of COURSE you can! But that's not what this exercise is about. We're doing quick and easy practice. My circle template is a tool that helps me achieve that goal, so I encourage you to use one if it helps you too!! When it comes to the eyelashes - I LOVE adding eye makeup drama here. I know eyelashes can really be tough to draw for all of us at times, so I've got a cheatsheet with all my tips on eyelashes drawing. You can grab that here if you haven't already! Don't forget to kinda zoom out and hold your drawing out from a distance to compare it to the reference every so often. This will help you find little tweaks you can make to get your drawing to look more like the reference. When I did that with the above image, I noticed I needed a bit more shadow under the lower lid, so popped that in with my blending stump. lf you've never done drawing like this before, please don't be intimidated, and come try this with me. Beginners are ALWAYS welcome, and this is an amazing exercise to work on together. I LOVE the highlight on the iris in our 4th photo!! It's like a perfect little window!! The lashes on our last reference photo are AMAZING!! They're also downturned a smidge. Gorgeous right? Make sure you're watching the video so I can show you exactly how I sweep in with my pencil to capture what I see in these unique eyelashes. In case you need my 5 in 5 Practice Packet link one more time - here ya go - cick the button below and I'll send it straight to your inbox!! Good luck with today's eye drawing tutorial over on my YouTube drawing channel! I can't wait to see your work!! Please share it with me!
Thanks SO much for hanging out with me today!! I'll see you back here NEXT Monday for our next facial feature... Have a wonderful week!!! ❤️ Want FREE, immediate access to my Fun Fab Drawing Club and/or Mixed Media Society plus discounts on all my art books, sneak peek at YouTube videos and new book content, behind-the-scenes fun and MORE? Join me over on Patreon today and get HUGE PERKS in return for a small monthly donation. ❤️ CHECK OUT ALL my art books on AMAZON (available in both Kindle and Paperback) ❤️ SIGNED COPIES of my art books on ETSY ❤️ MY FAVORITE ART SUPPLIES on AMAZON ❤️ MY BELOVED FACEBOOK GROUP ❤️ FOLLOW ME ON INSTAGRAM ❤️ FOLLOW ME ON FACEBOOK |
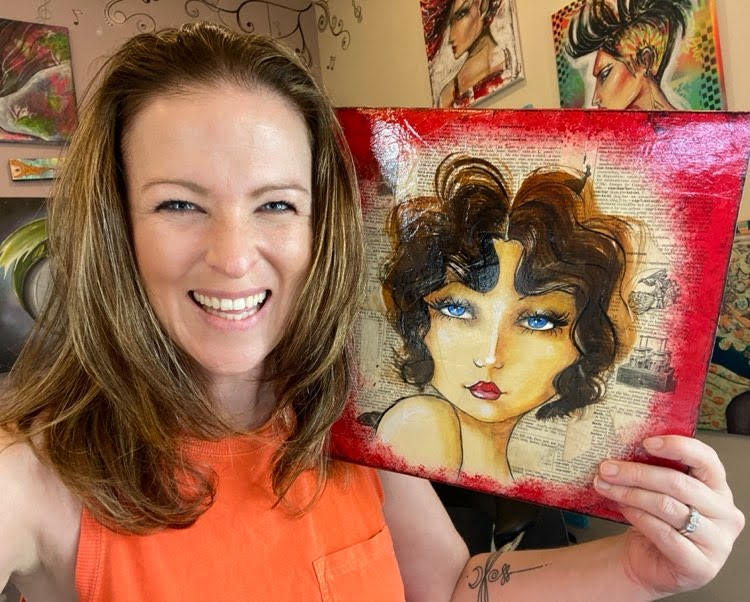
Karen CampbellFounder of Awesome Art School. Mixed Media Artist. Author of 19 Instructional Art Books! Whose work has appeared in...Archives
July 2024
Categories
All
|
|
"Karen is flipping hilarious and she's very real...I like the way she teaches in a way that really gives you confidence, whether you're a beginner or advanced there's always something new to learn!"
- Elizabeth W. |
What Fans Are SayingKaren, you are absolutely fabulous! You make me feel like I can draw anything. I have recently retired and finally have the time to do some of the art that I have loved since I was in school. I am really at the beginning of my art journey and I hope to learn as much as I can. Thank you for all you do. |
Contact ME |



 RSS Feed
