
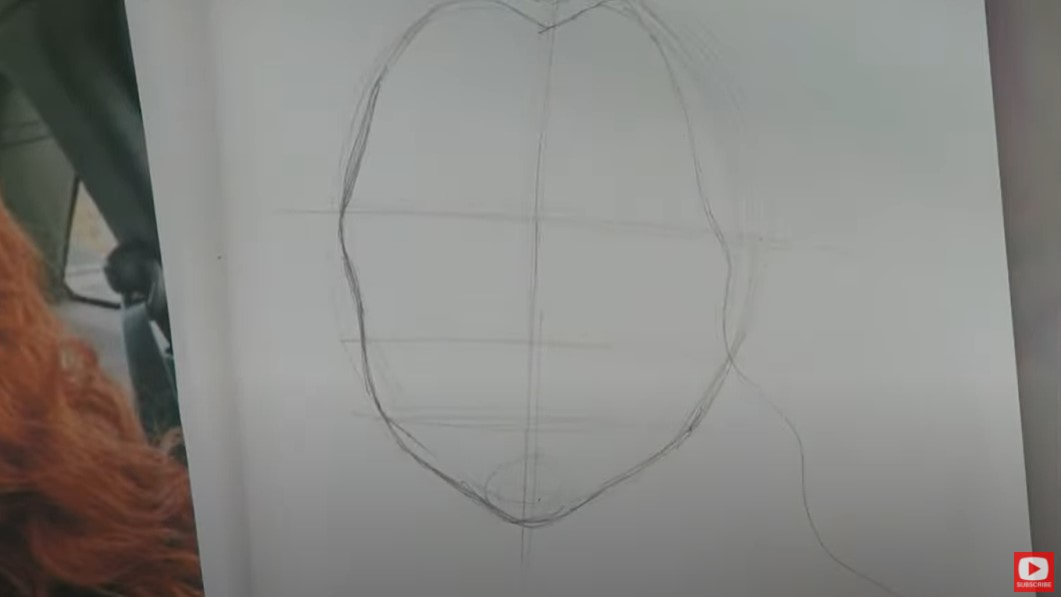
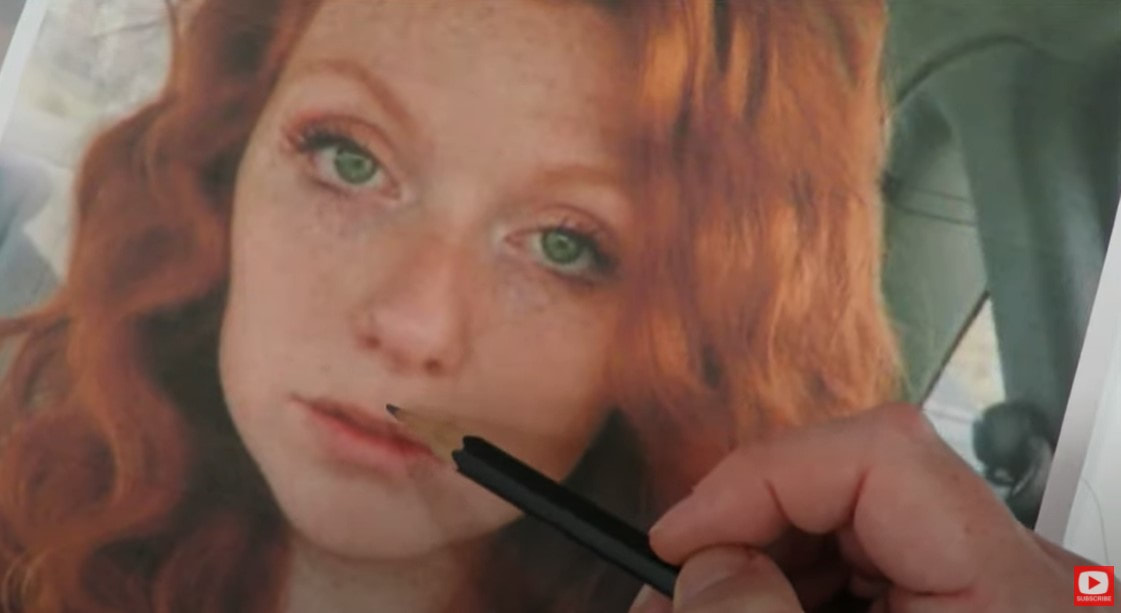
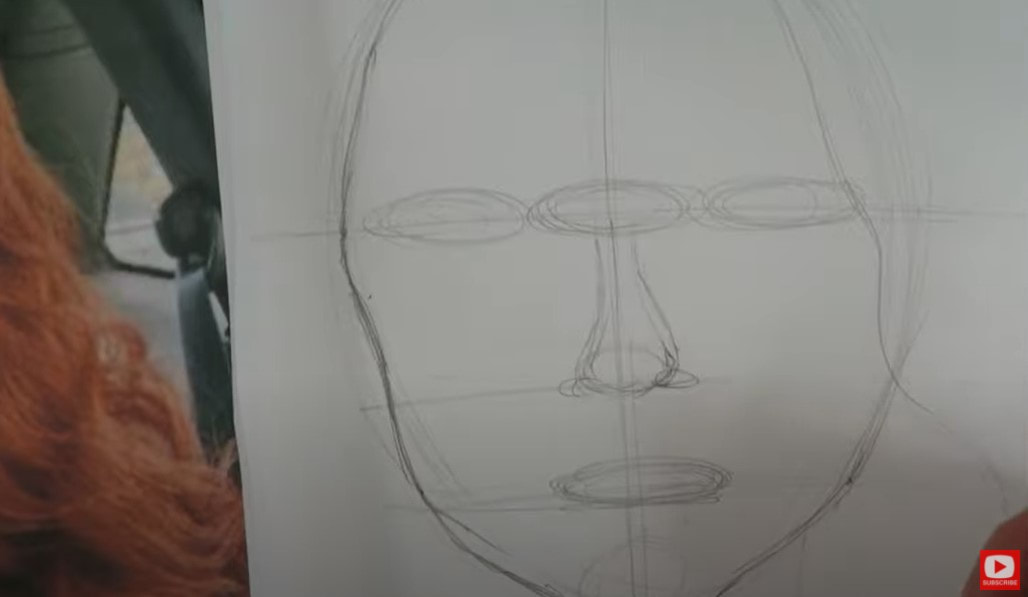
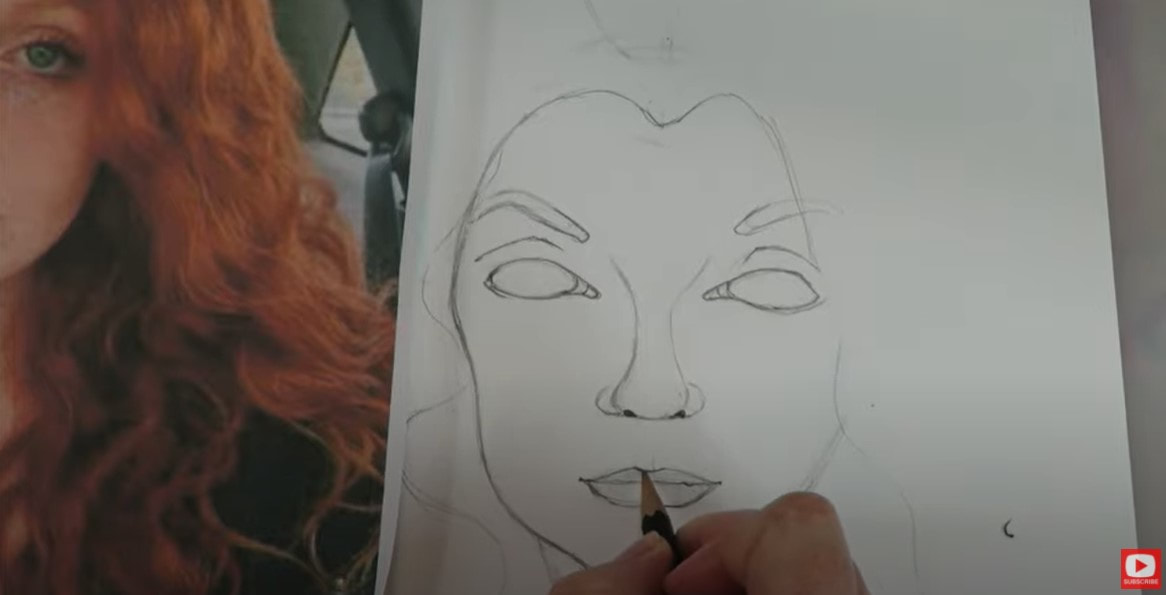
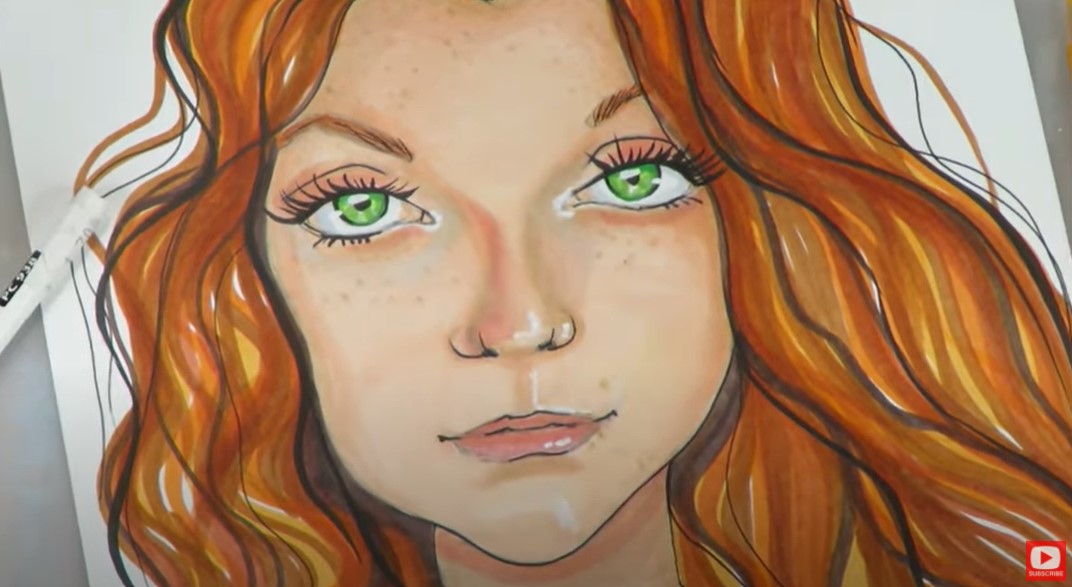
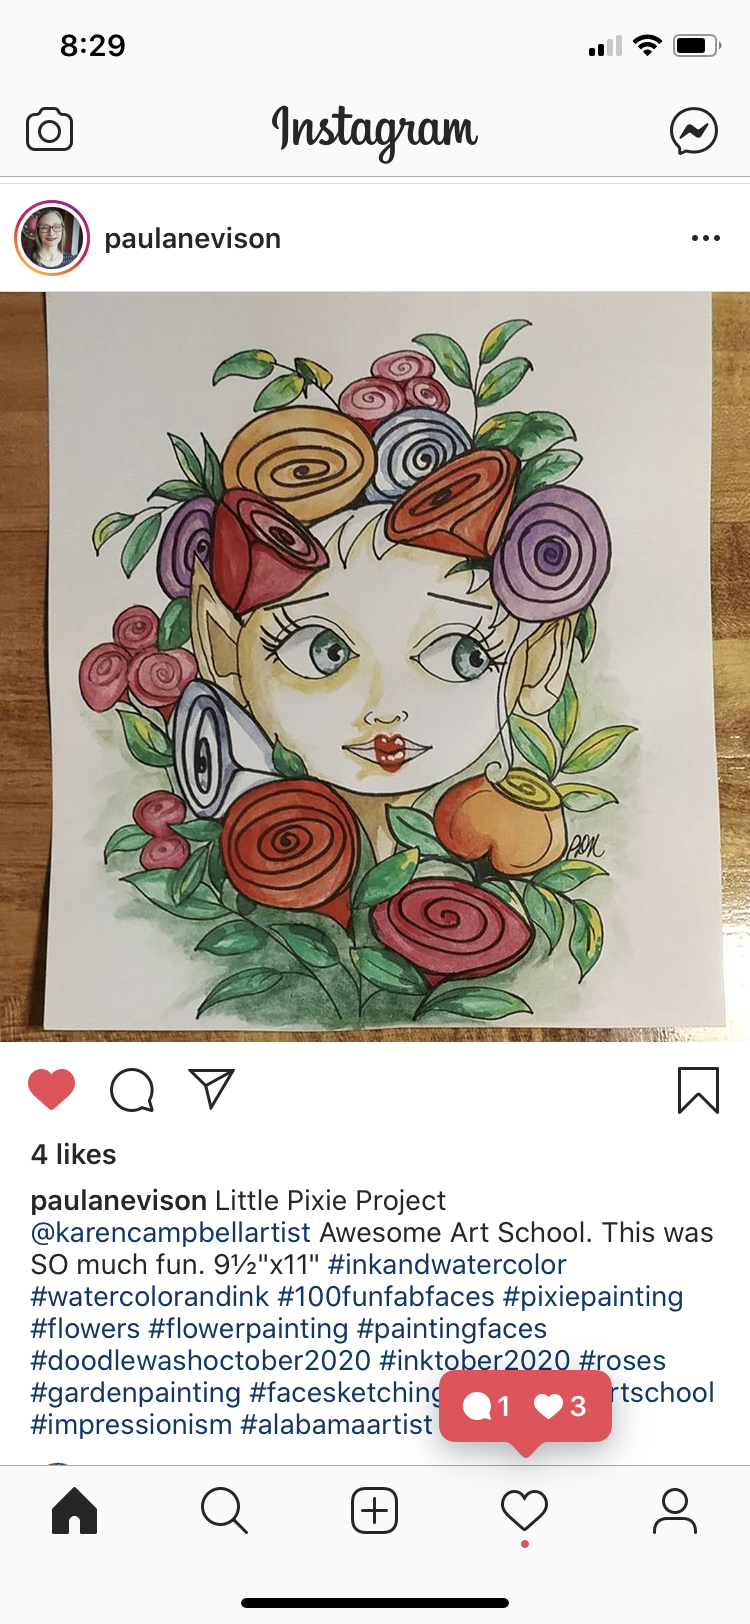
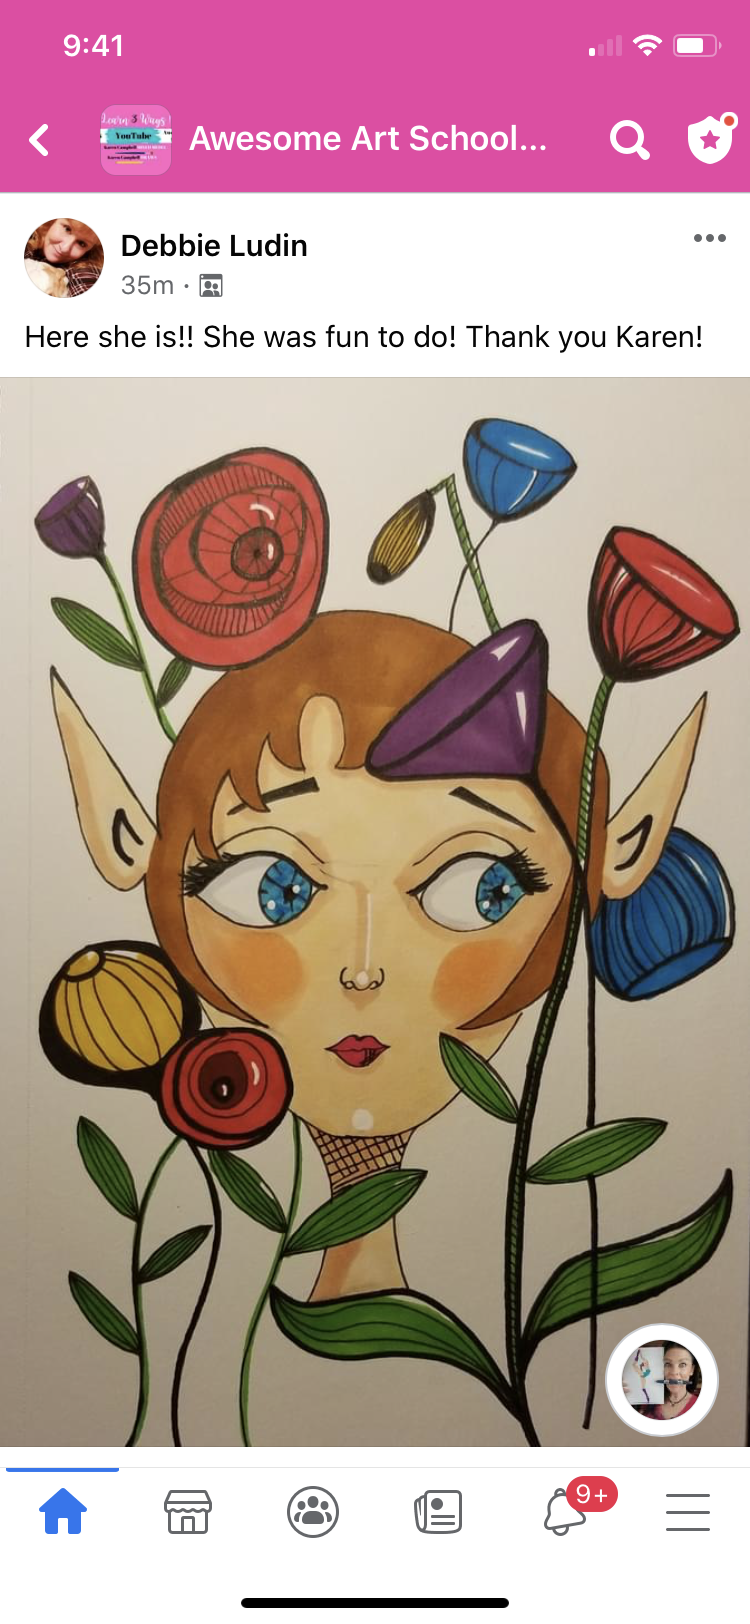
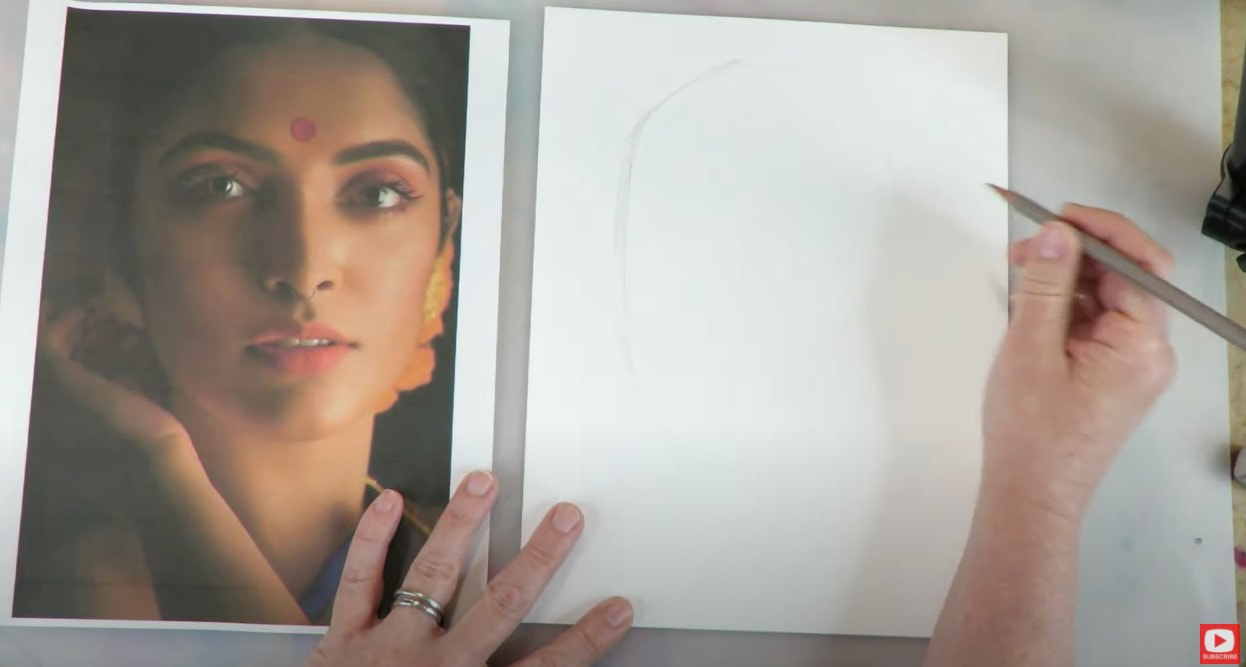
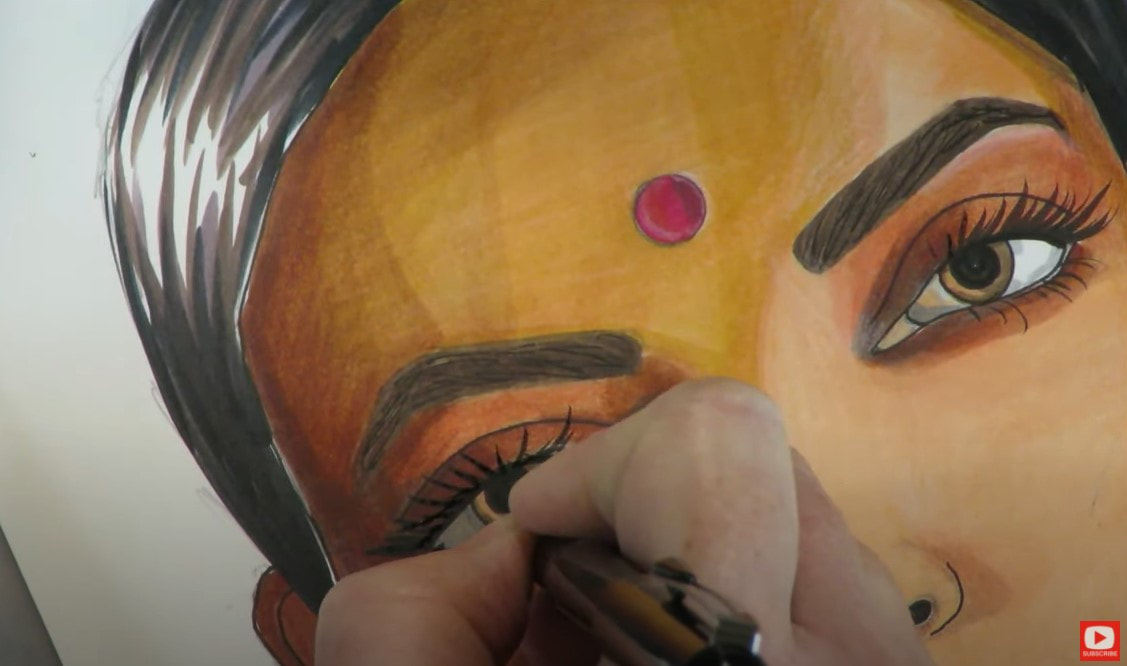
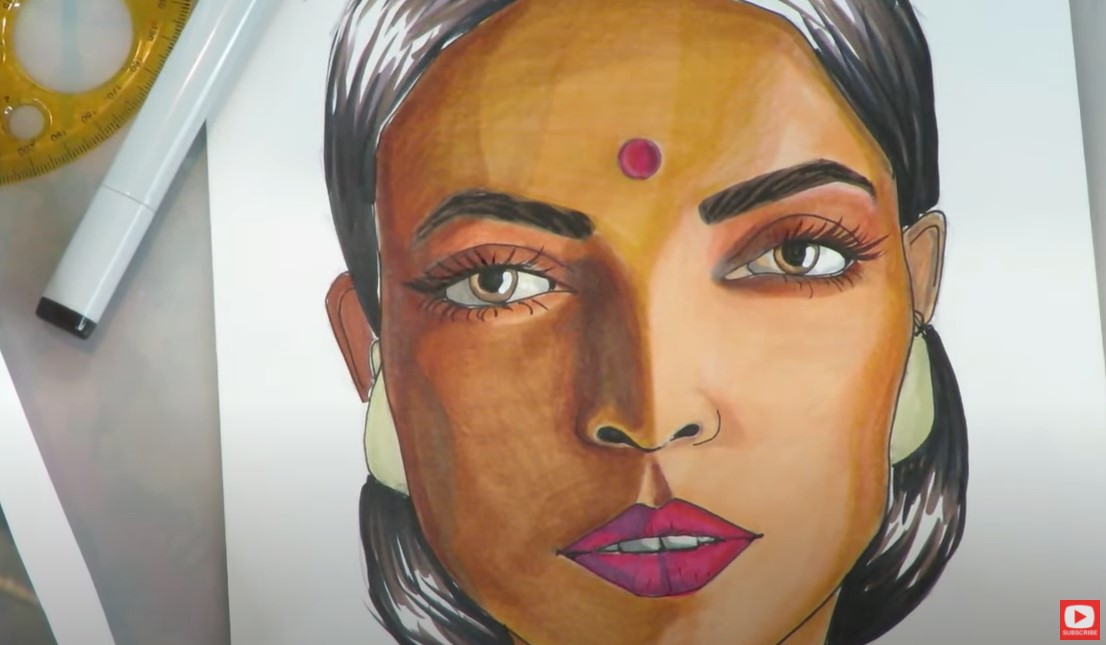
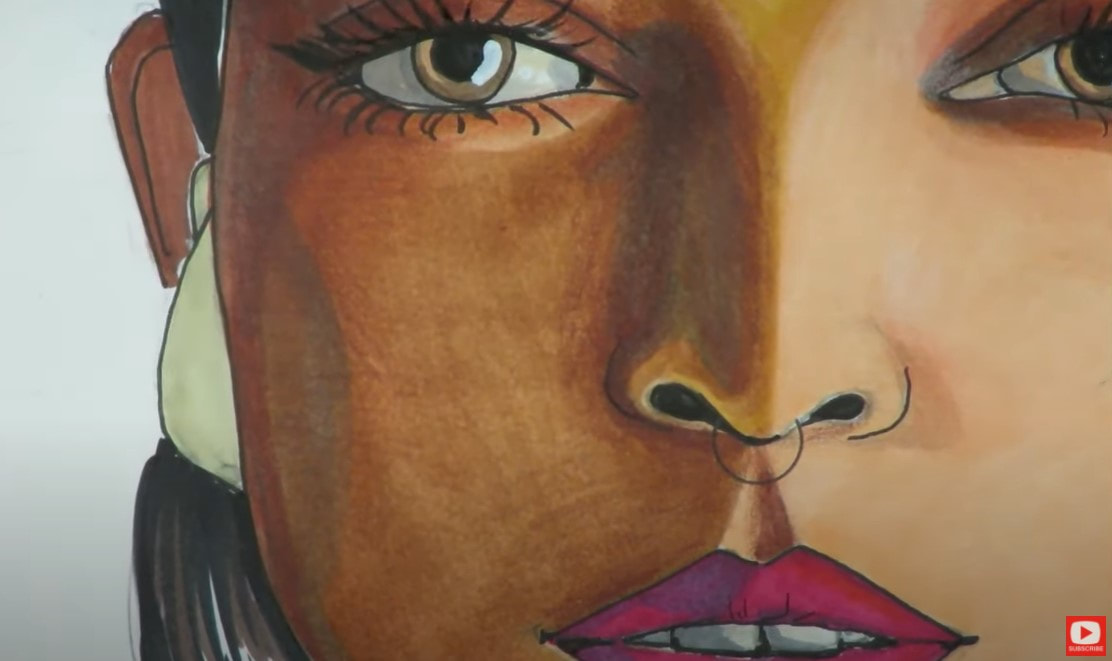
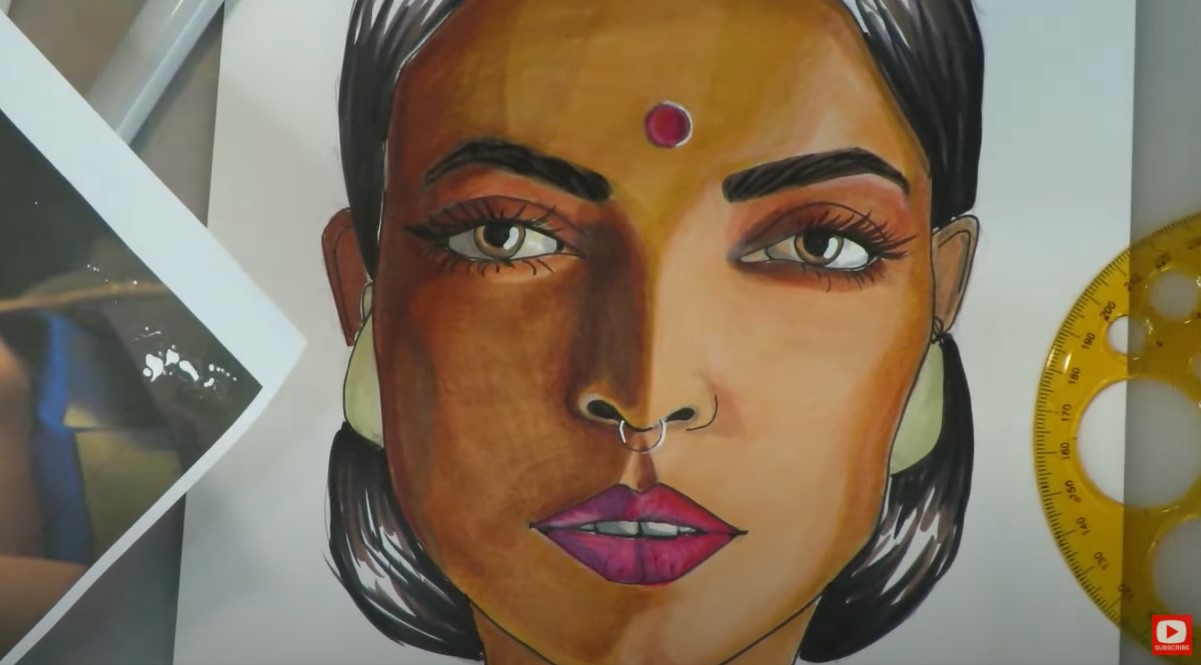
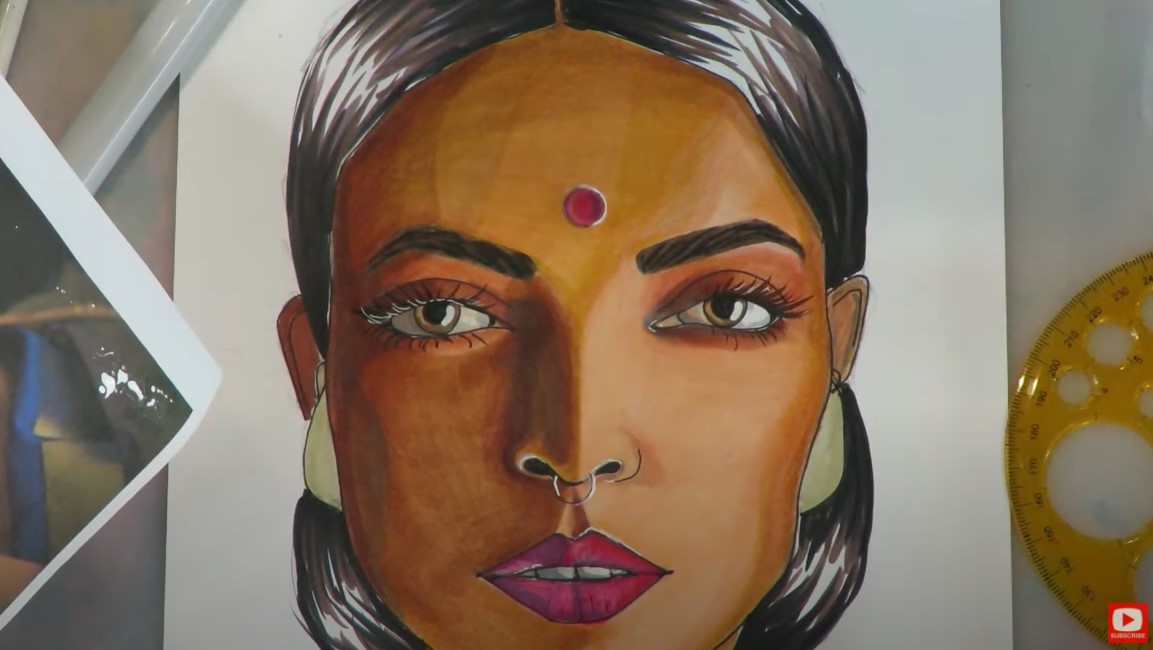
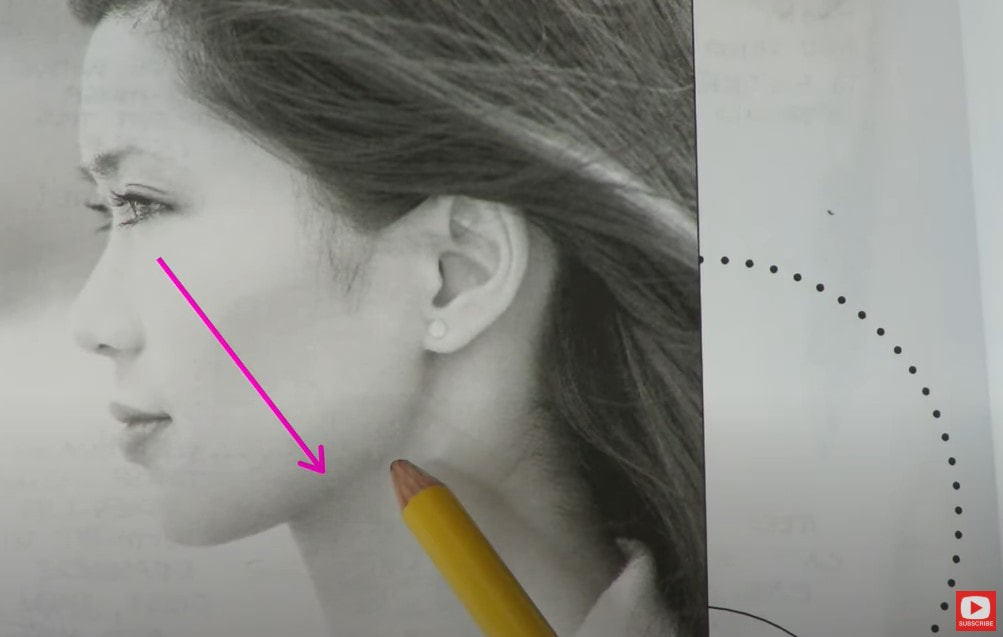
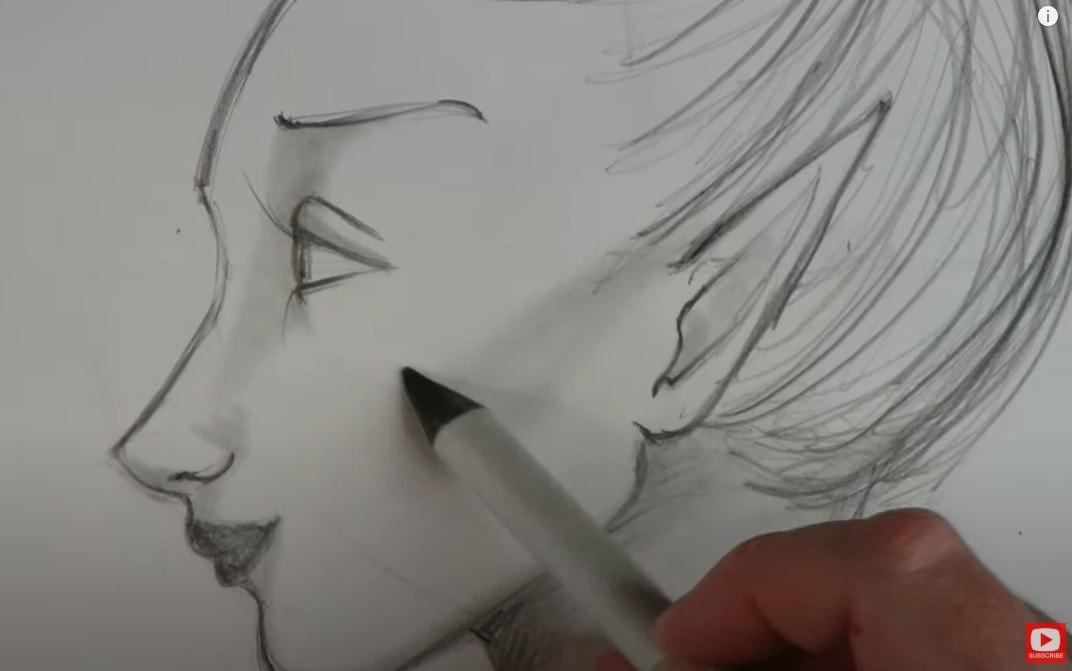
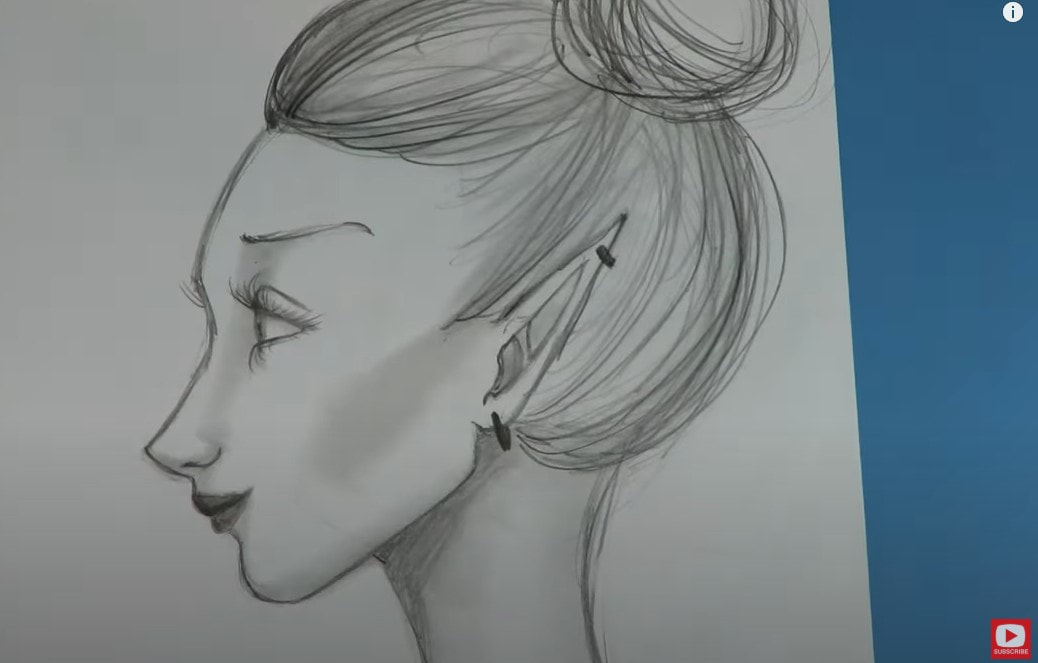
How to DRAW & SHADE a WHIMSICAL Middle Eastern Face with Hijab in Copic Markers (Whimsical Women #6)14/11/2020 I love teaching how to draw a whimsical face, and am having an absolute blast with the portrait drawing tutorials in my Whimsical Women of the World series! Today's art reference photo is of a GORGEOUS Middle Eastern woman wearing a hijab. 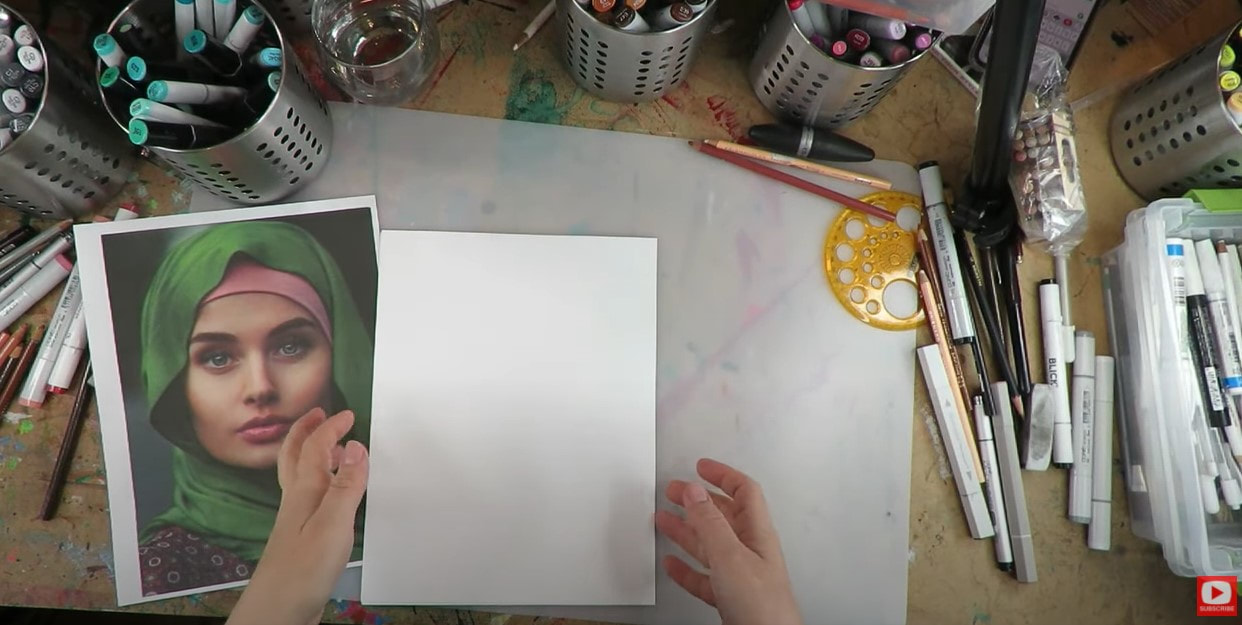 My reference photo for this project didn't have any information attached to her, so unfortunately, I don't know the model's actual ethnicity. I'm guessing she is from somewhere in the Middle East, or at least has roots there. I called a friend of mine who has helped Syrian refugees for years to see if she could provide a little insight. She thought possibly Syrian or Turkish? At the moment, that is our best guess. If YOU have any opinions to share here, I need your help on this one! I'm super curious and would love to identify her background. I'd also love for YOU to draw along with me, so grab a sheet of cardstock or whatever your favorite paper is for doing alcohol marker art / copic marker art, and let's sketch in our face drawing guidelines. 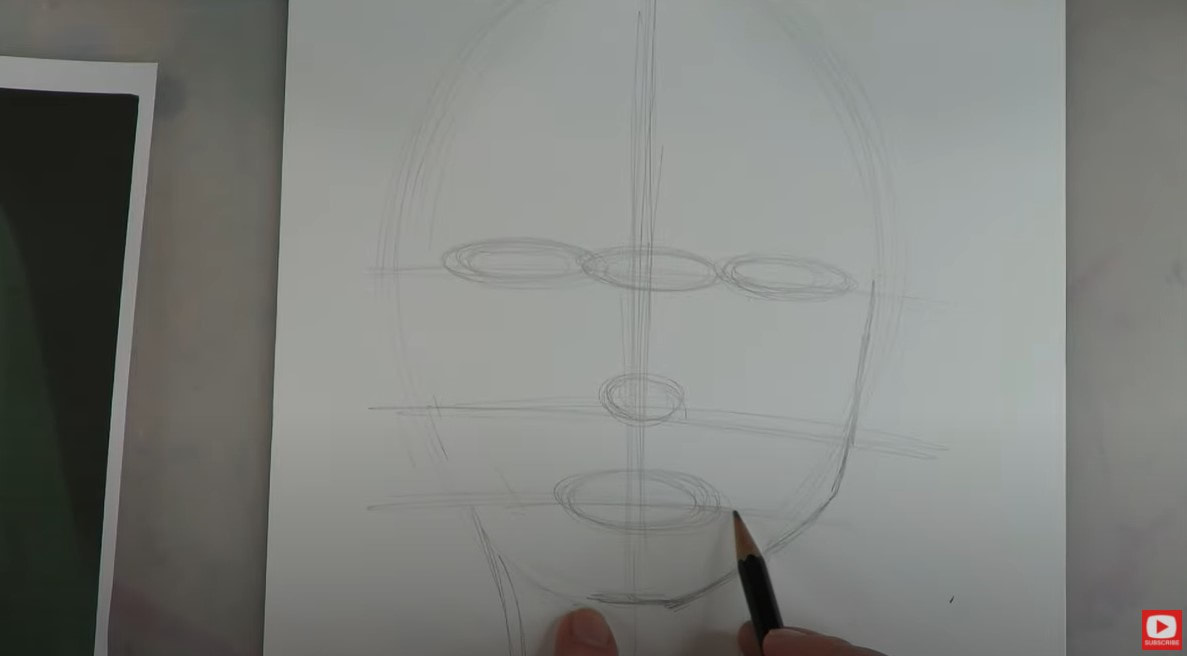 If you're not sure what I'm talking about, you HAVE to download my FREE Face Drawing Guidelines Cheatsheet to help you out! I printed and laminated this for myself because drawing proportions of the face are so important. They also really are the same no matter what ethnicity you are drawing. It's a reference I've ALWAYS got on my art table. Click the button below and I'll send it straight to your email ;) 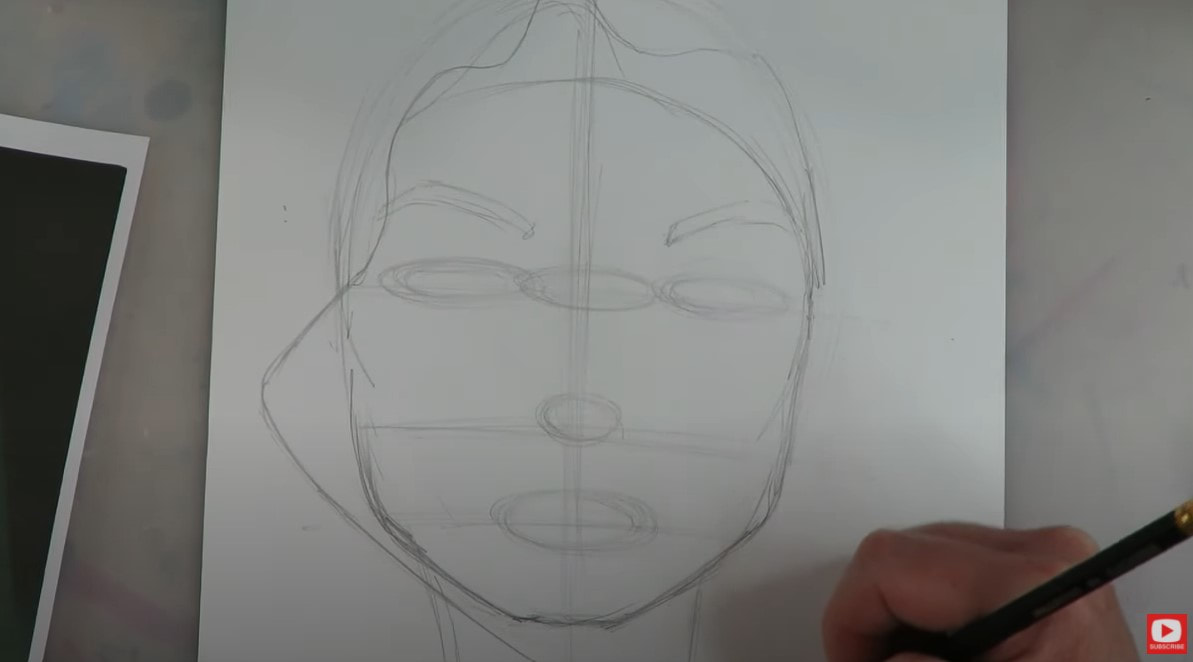 Ok back to our gorgeous girl for THIS week!! She has stunning cheekbones so I really study my art reference photo to try and capture them! As I sketch in the placeholders for drawing facial features later - I also rough in the shapes I'm seeing close to her face that are formed by her headscarf. 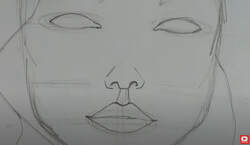 Slowly, I begin to darken the facial features as I gain a bit more confidence in their placement. If you're struggling with this - make sure you click over to the video so I can demonstrate for you step by step!! 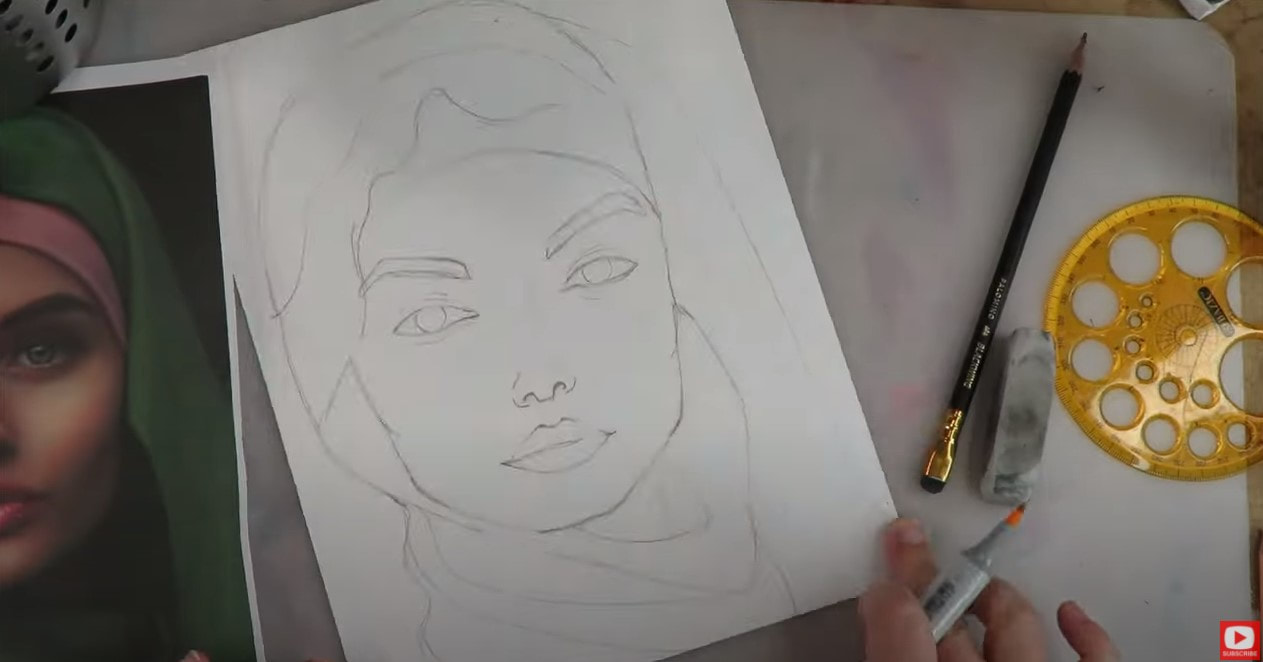 If the idea of how to draw a hijab, how to draw a headscarf, or how to draw fabric folds stresses you out, I HEAR YOU!! I was totally intimidated at first, but like anything - you just gotta dive in. Honestly, it ended up being a LOT like drawing hair! Drawing a hijab may EVEN be easier!! Now let's get our copic markers out to start shading!! 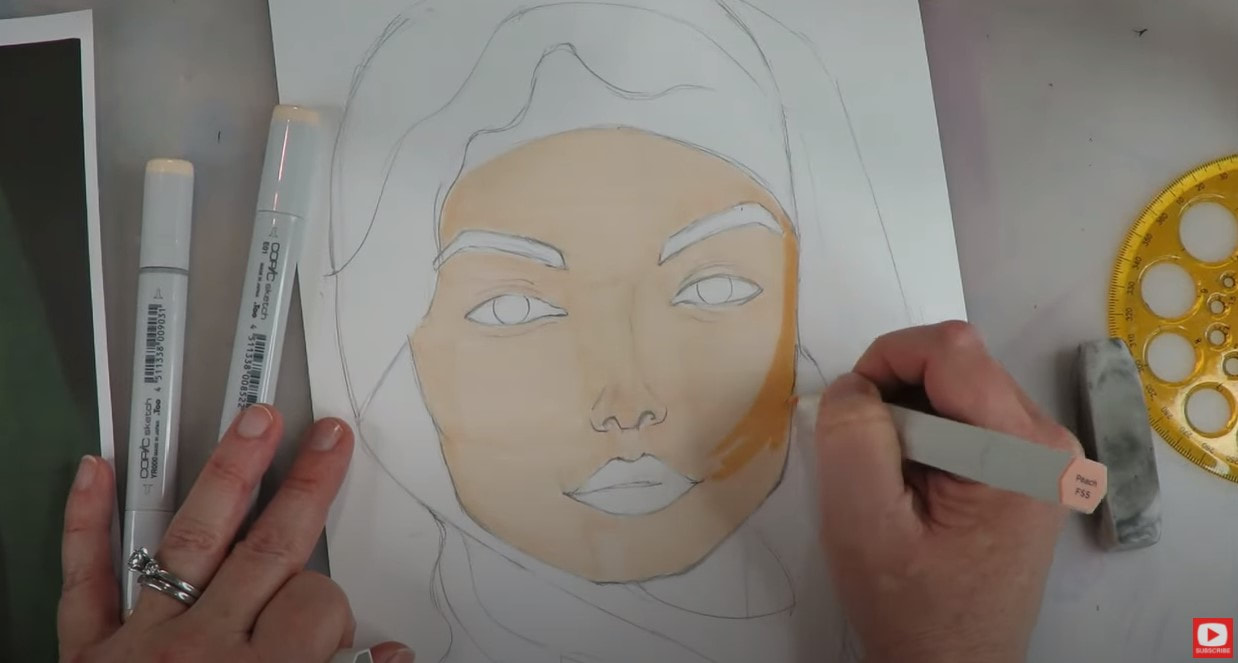 Remember, if you don't have copics, any alcohol markers will do! I know copics are super expensive, so I'm constantly looking for alternatives for my students to try. Over the weekend I posted in my Facebook Group about the skin tone pack from Ohuhu. These are actually SUPER juicy and totally worth a try at around $1/marker. 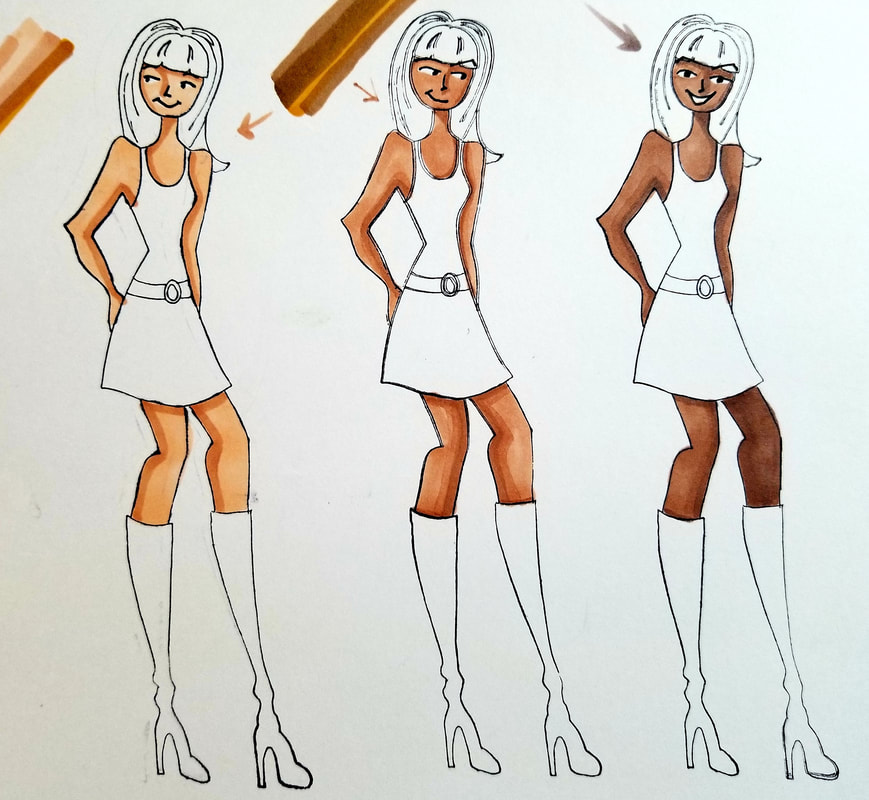 Before we continue, super quick announcement: All product links are Affiliate. I may earn a small commission if you choose to order through these links, but by law there is never any additional cost to the consumer for doing so. I thank you for your support! If you're in the market for new skin tone markers, or just love trying new art supplies, click here to grab some on Amazon. I totally think the 24 pack is sufficient for ANY face drawing project you have in mind!! If you're new to me - you'll soon find out I'm a HUGE FAN of using WHATEVER you have on hand for any and all art projects! For me - art is just about creating and having fun!! You can do both with ANYTHING you already have. As a teacher, students are always asking me my advice on art supplies, so I'm constantly testing things out. This way you don't have to buy all the things! I'll tell ya what's worth trying whenever I find something good. That way, I can help you save a little of your money so you can spend it on the supplies YOU LOVE!! 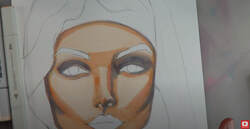 There are two ways to shade a face with copic markers. Either start with the lightest shade and work dark, or start dark and work light. I find it's a bit less scary to start light and work dark. It feels WAY less intimidating! I do my best to "map out" the shadows on her face as we go. As you can see- I'm incorporating gray and even using some purple grays to get my shadows in. This helps to tone down all the peach and pinky "heat" from the warmer skin tones. It evens it all out and makes her look a little more neutral. 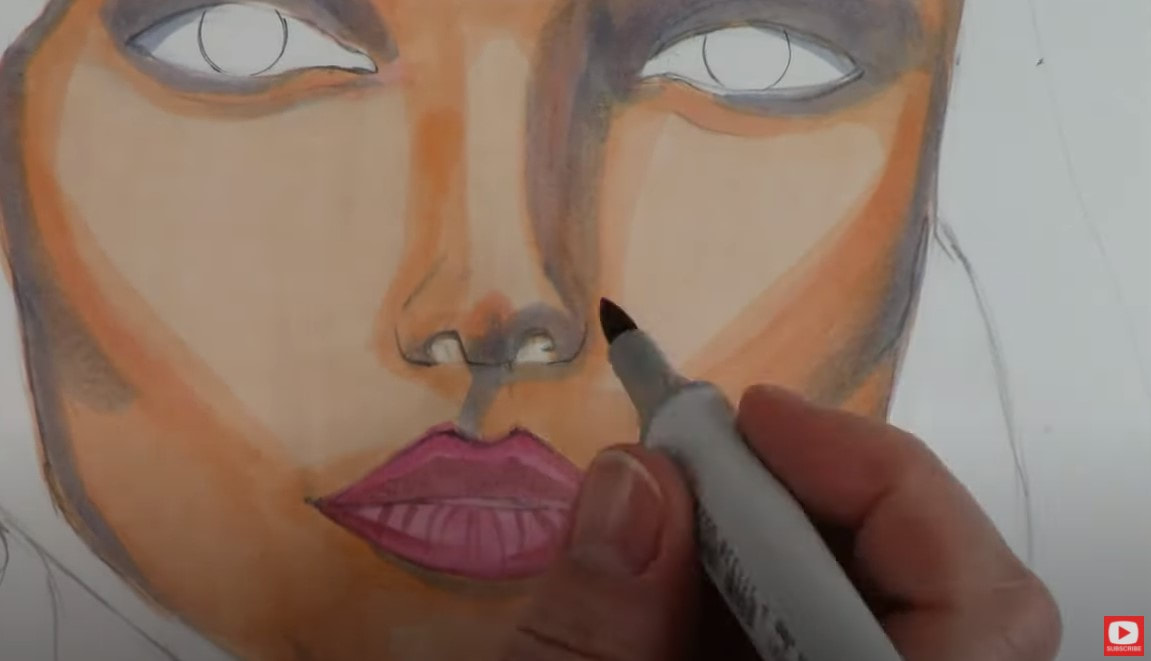 Right now you're probably thinking EWWW!!! LOL. We've just entered what I lovingly refer to as "The Ugly Phase." Unfortunately, we're stuck in the "ugly phase" for quite a long time when we're working with alcohol markers because we do a lot of layering! When you hit this phase, you've just gotta embrace it! Acknowledge it and KEEP GOING! 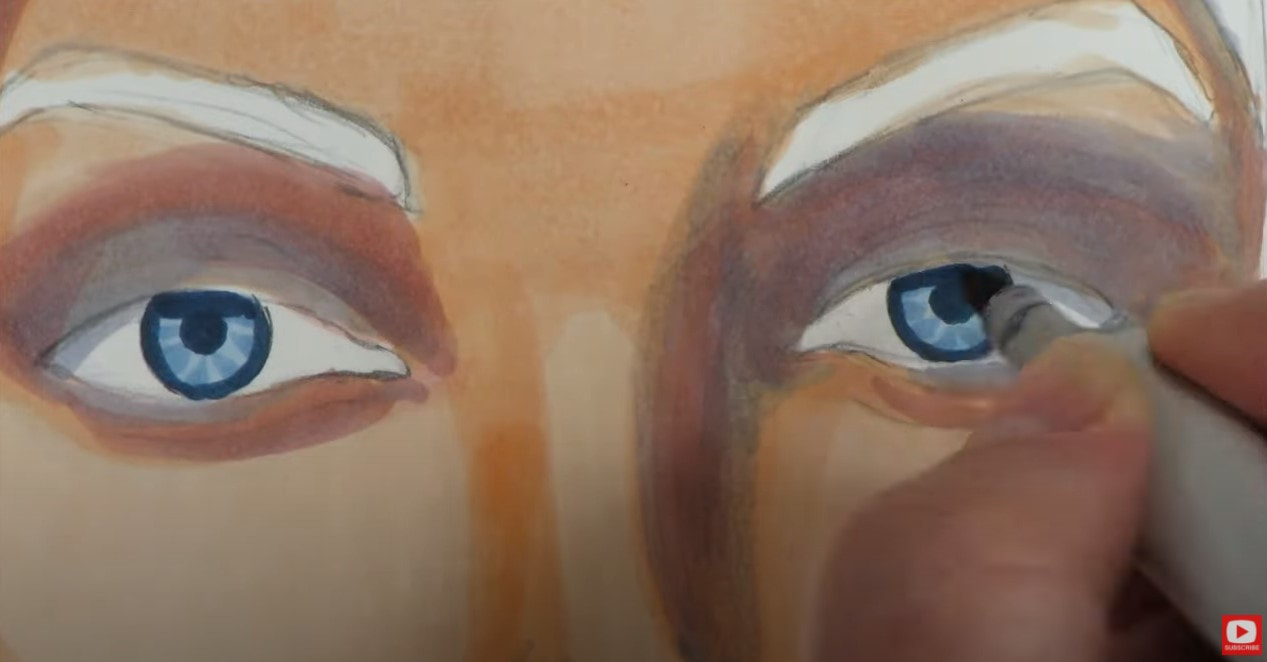 Every time I introduce a new color in my shading, I try to pop a little of that color throughout the entire piece. I've found this helps me to unify each piece of art and really stick to a color scheme. 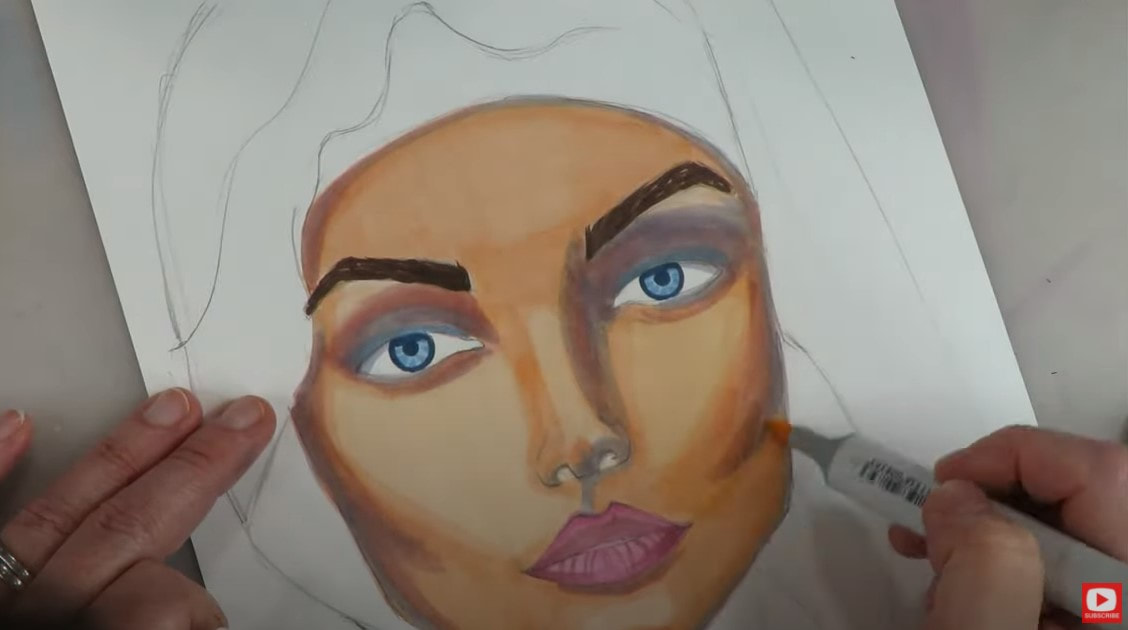 This week I tried a new technique for shading eyebrows. First I used a skin tone color, then I drew individual hairs in a darker brown. I like the way it turned out! This might be a fun technique for you to try, too. 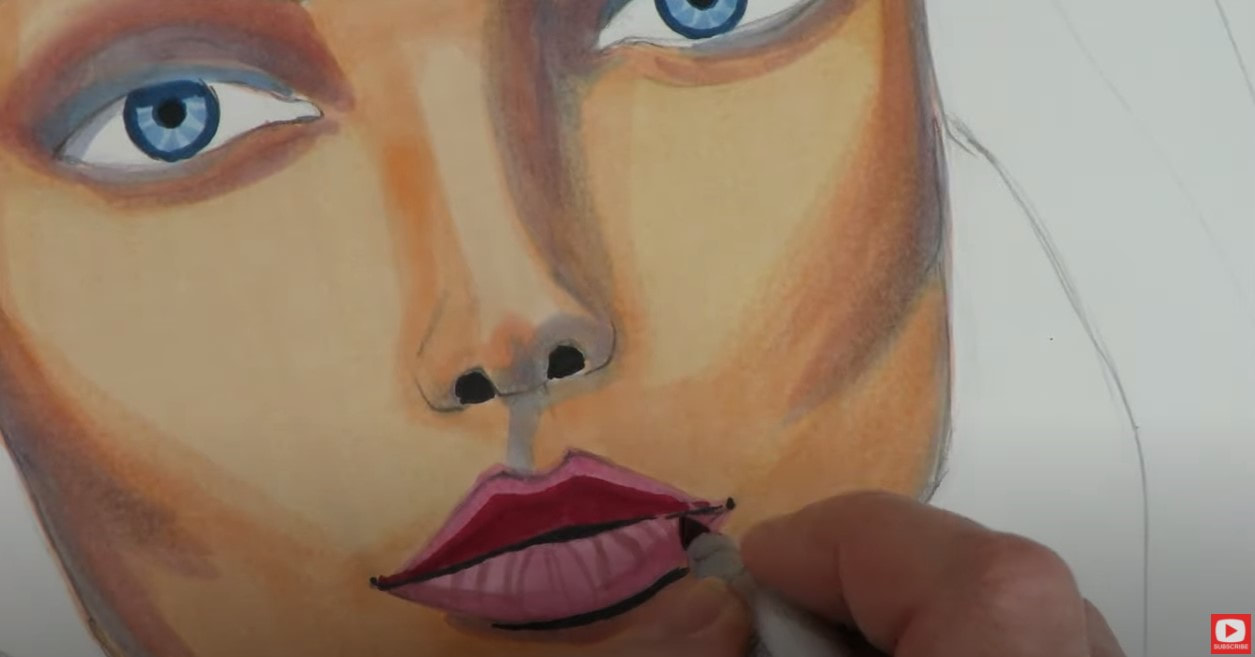 She's starting to look a little more human, isn't she? LOL. We're slowly working our way out of the ugly phase! 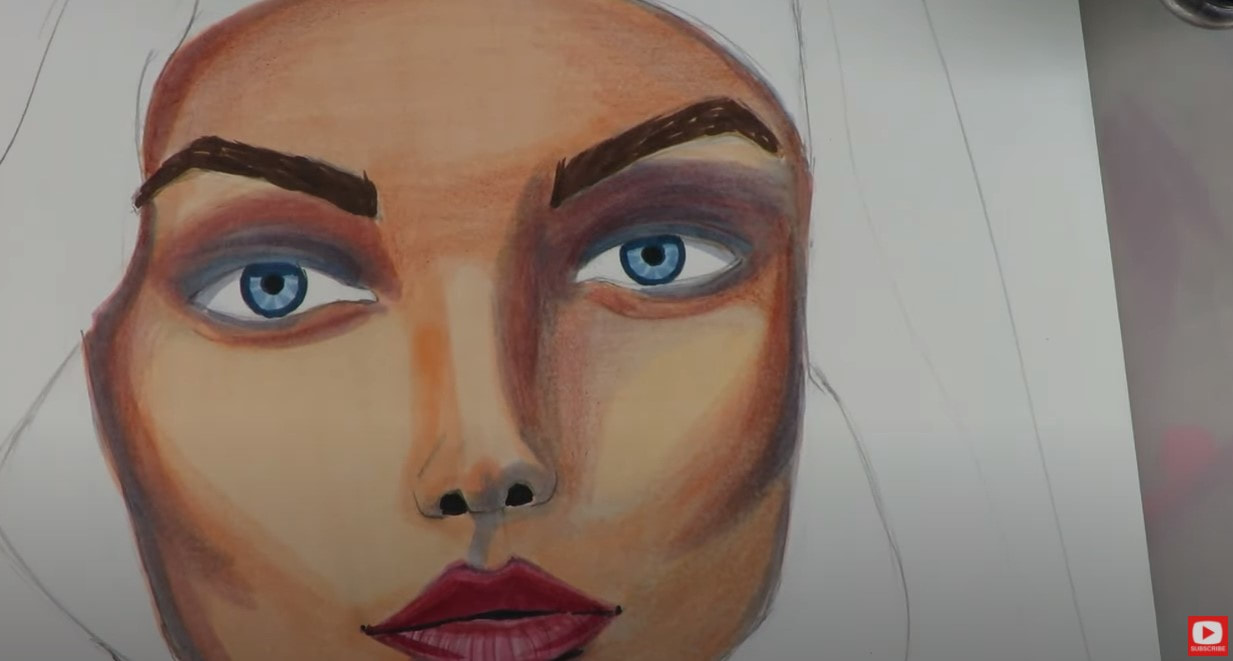 After I've got some good layering going on with my alcohol markers, it's time to pull the transitions together with my colored pencils. I find this helps A TON with copic marker blending and really minimizes the streaks that are bound to happen. There's a lot of magic that happens when the colored pencils come out!! As you'll see in today's whimsical portrait drawing tutorial, I alternate quite a bit between my copics and my colored pencils. Go ahead and keep doing this until you get what you're looking for in terms of skin tones and blending. 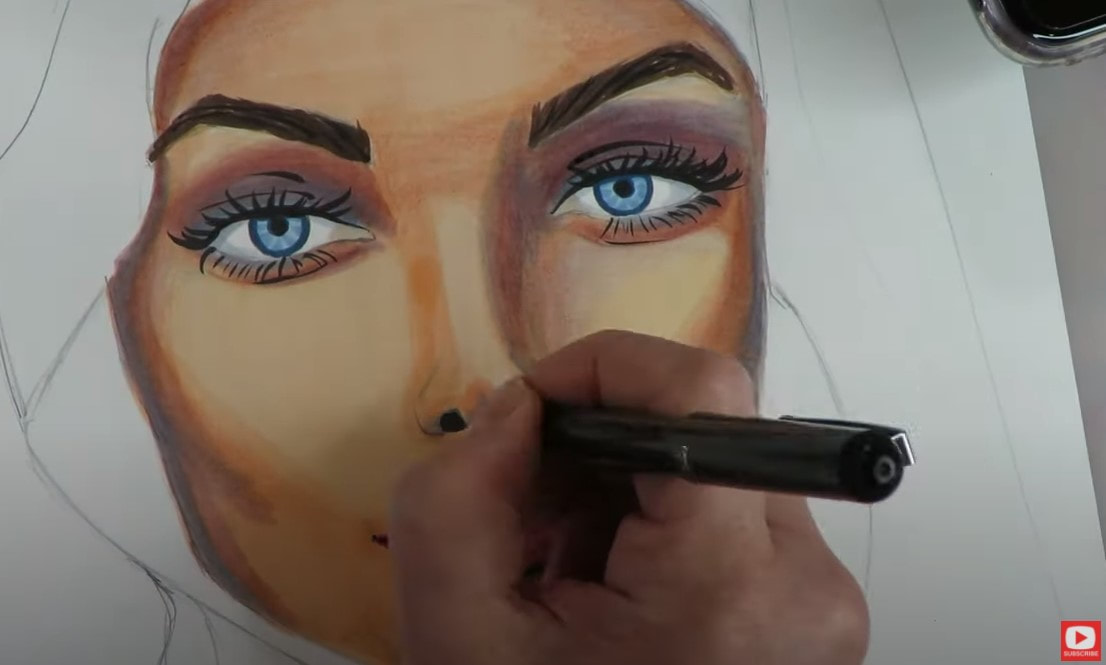 Next, I pull out my "secret weapon" for drawing eyelashes! I am obsessed with my pentel pocket brush and use it for drawing eyelashes on all of my girls- no matter what medium I'm doing. If you struggle with how to draw eyelashes, you have to check out this video, because I did a whole tutorial on it. I've also got a cheatsheet for that!! This is another awesome reference to keep on your art table. As you'll see - directionality of your lines are SUPER important when it comes to eyelash drawing. 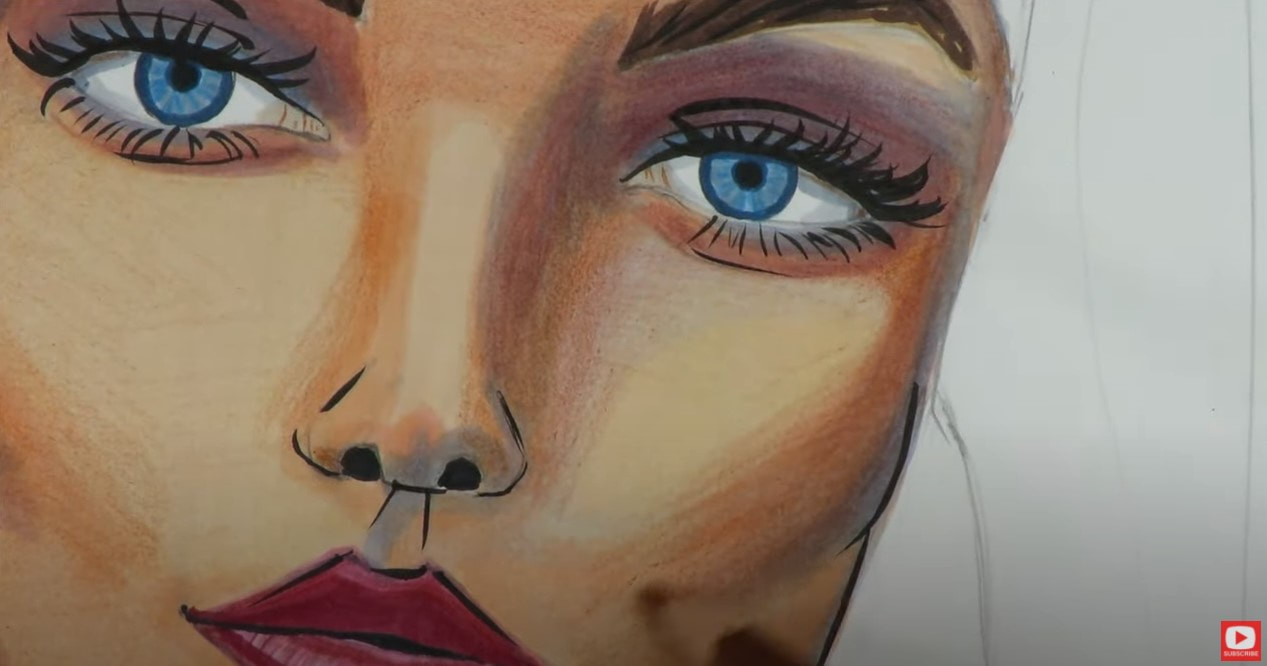 Now she's coming alive, right?! As soon as those pupils get popped in, and the eyelashes are added - she really starts looking human AND beautiful, doesn't she?! It's only gonna get better from here! Now it's time for the eyeshine...one of my favorite parts!! 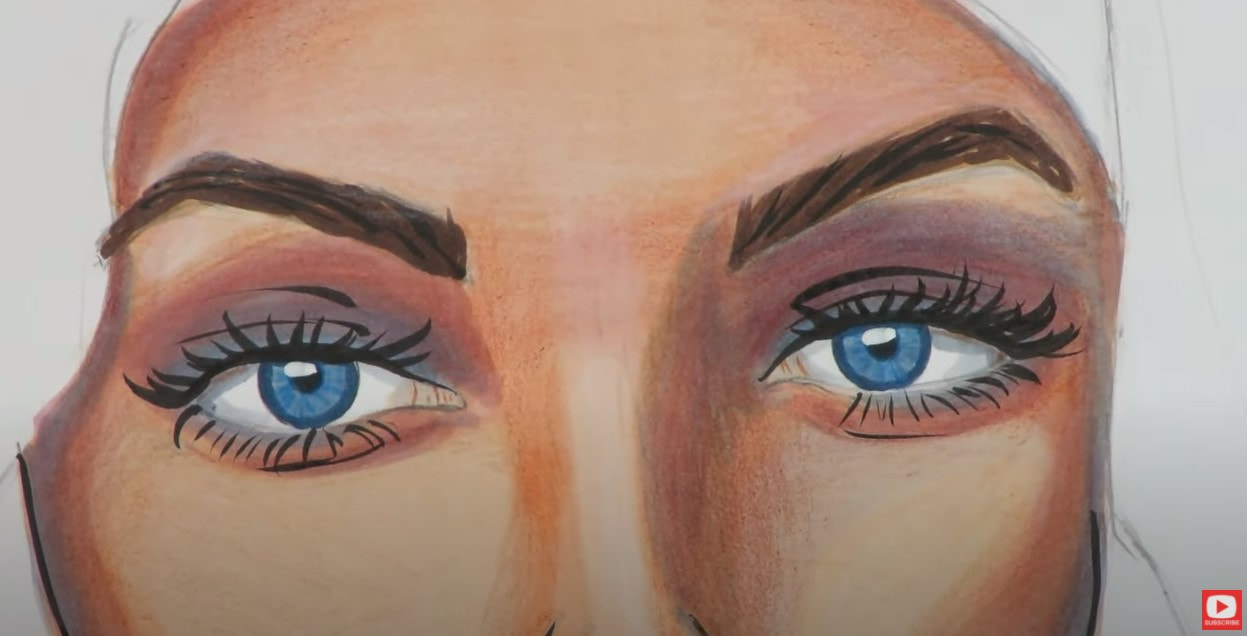 I add the eyeshine wherever I see it in my reference photo. I either use a white sharpie or my white posca pen for this. Wherever you add the eyeshine to the first eye, add the same style mark to the second eye, so both eyes match. Then I continue with my white paint pen highlights -adding a little to her nose and to her lips. My reference photo for today has a TON of gorgeous shine on her lower lip. Excited to get that in! 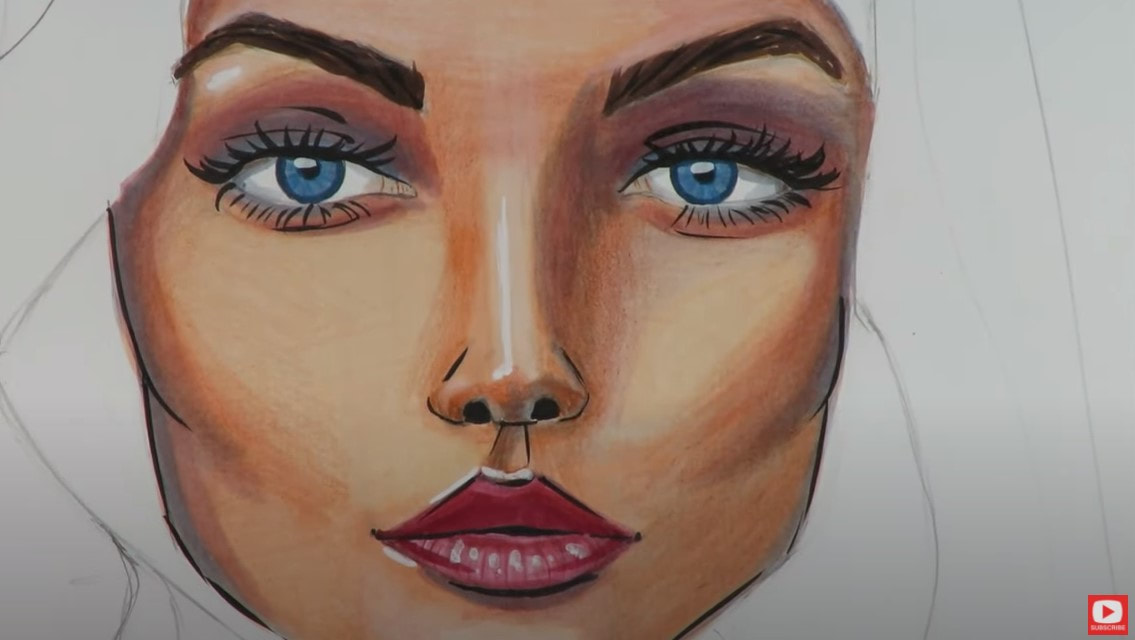 Always take a step back and look at your work from a distance. What do you see? What can be improved? 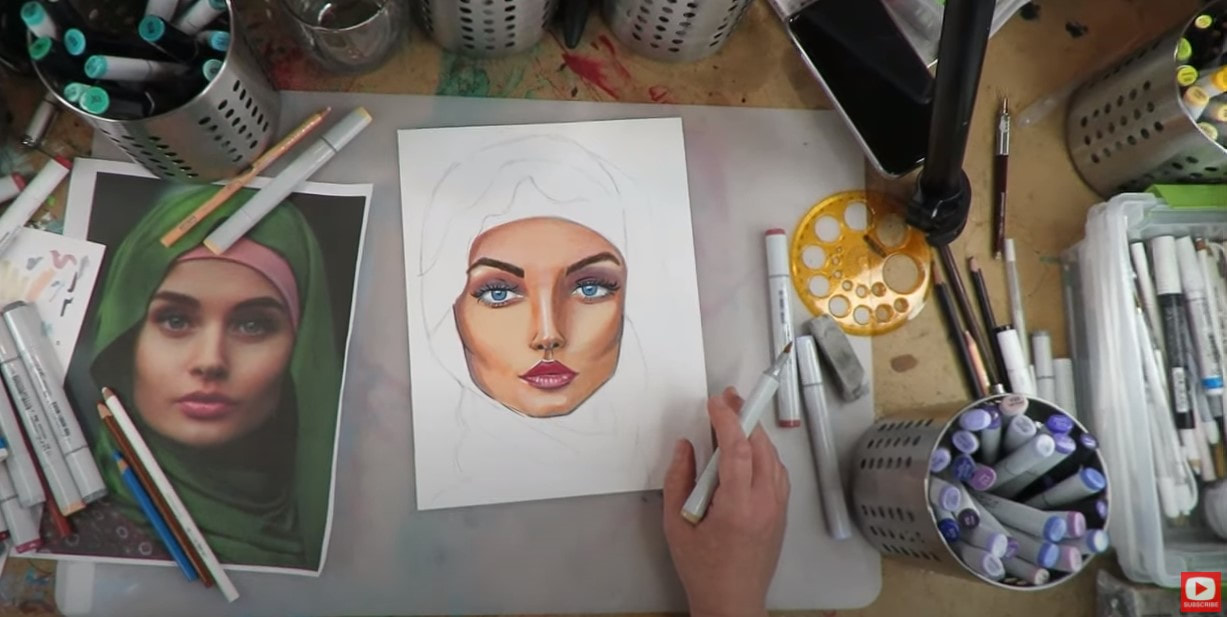 I decide to add a few more shadows to the outer corners of her forehead - right near where the edges of her hijab are resting. Remember, when you want to add more drama to your shading, always darken a small subsection of an area you've already shaded. Watch the video to see exactly what I mean! 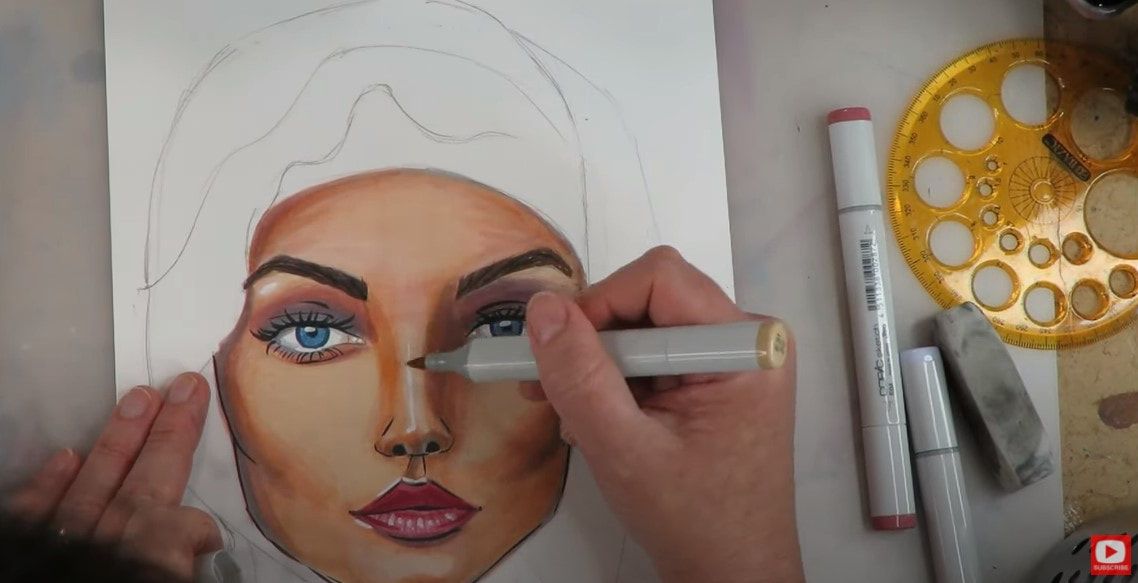 I could seriously keep layering over her gorgeous face ALL DAY!! But I'm sure you're ready to move on... 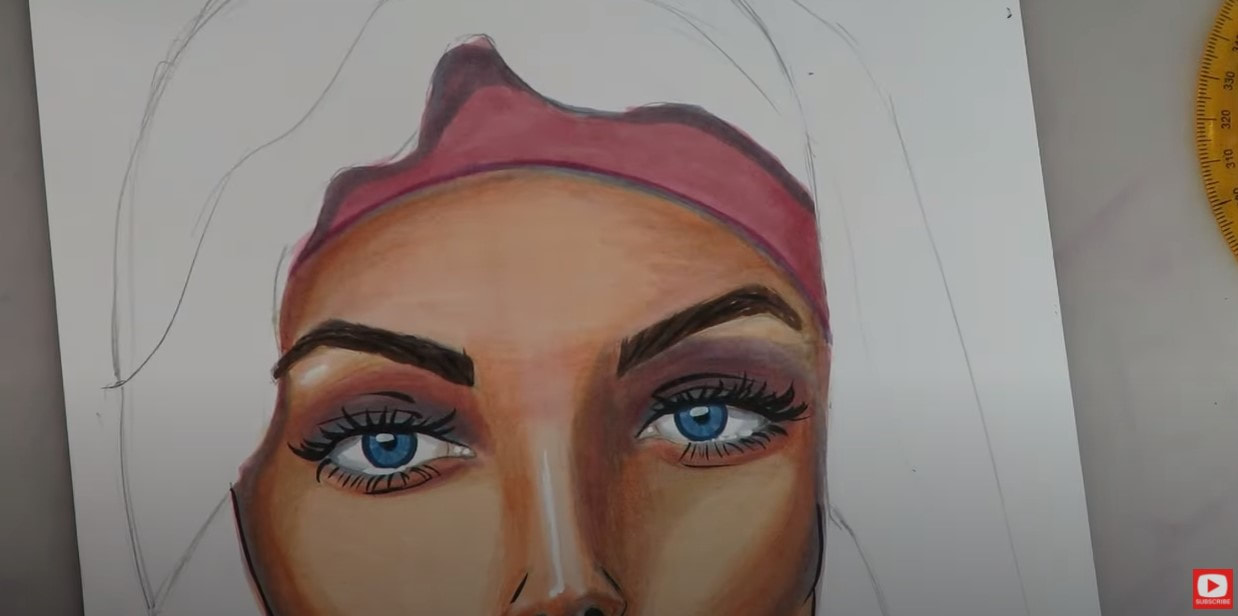 Just a quick reminder - there is a WHOLE BOOK coming out of this fun Whimsical Women of the World portrait drawing series!! I'd love to feature YOUR interpretation of these drawing projects in my book! Simply hop over to GET PUBLISHED, read through the submission requirements, and send in a photo of your work. I can't wait to see!! 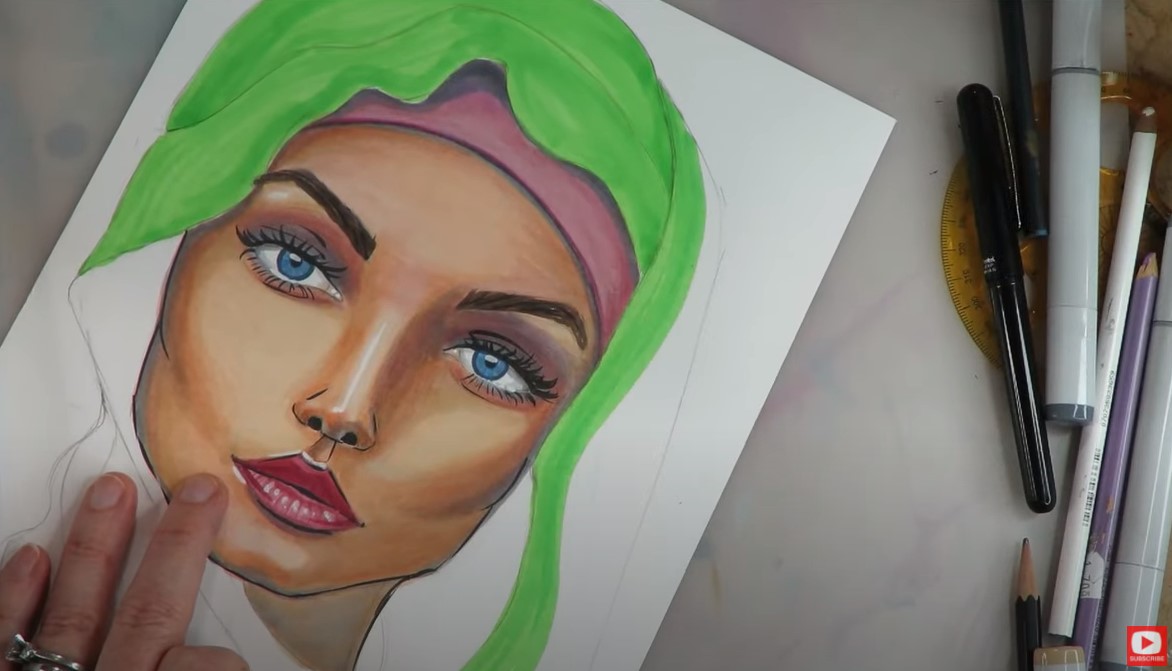 Now, onto shading her headscarf... I started out by coloring the entire hijab in one shade of green. I'm using copics here, and my shade is called Acid Green. GORGEOUS!!! If you move quickly with your alcohol marker shading, it helps to reduce the streaking. Next, I begin layering some shadows with a darker shade called Moss. I simply study my art reference photo and try to replicate exactly what I see. 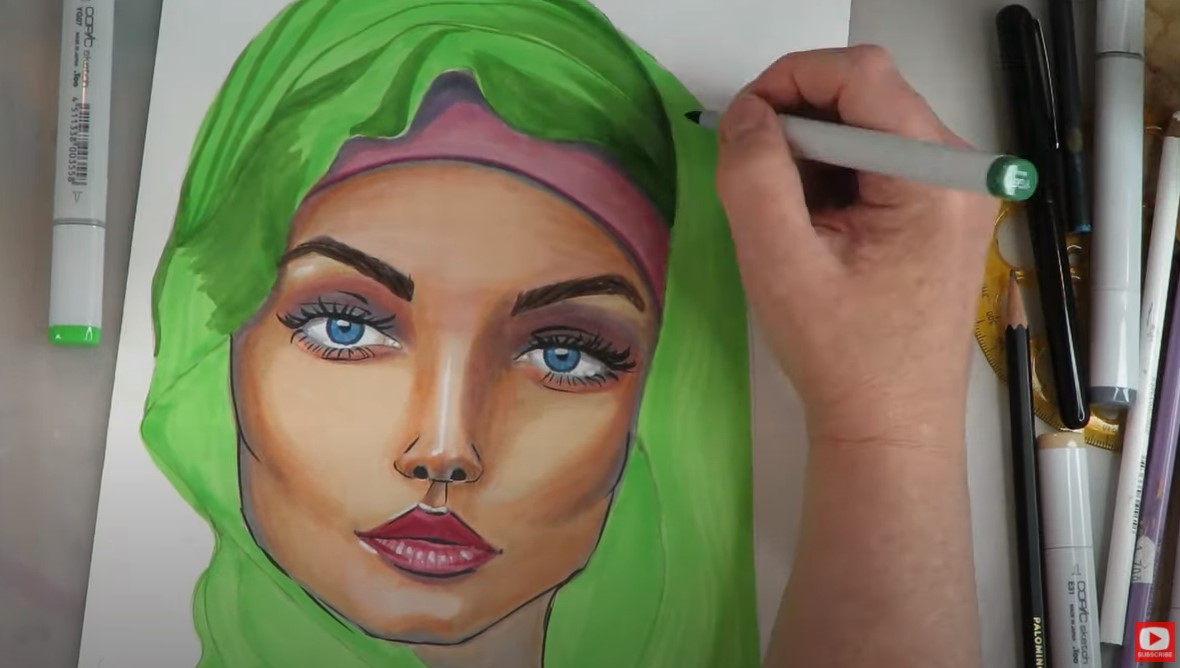 My second shadow layer is in a dark gray, Copic N7. This is to hit the darkest areas of depth, and the underside areas of her scarf. As you'll notice, these darkest shadows all occur along the edges of the face. 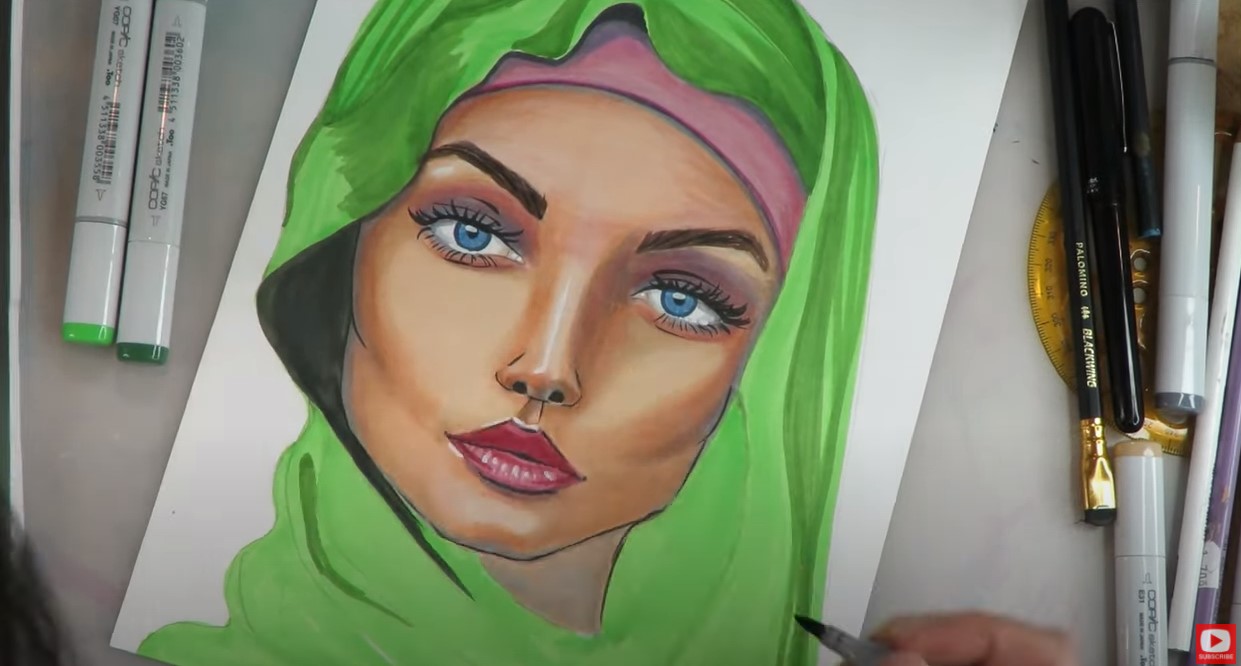 SOOO pretty!!! 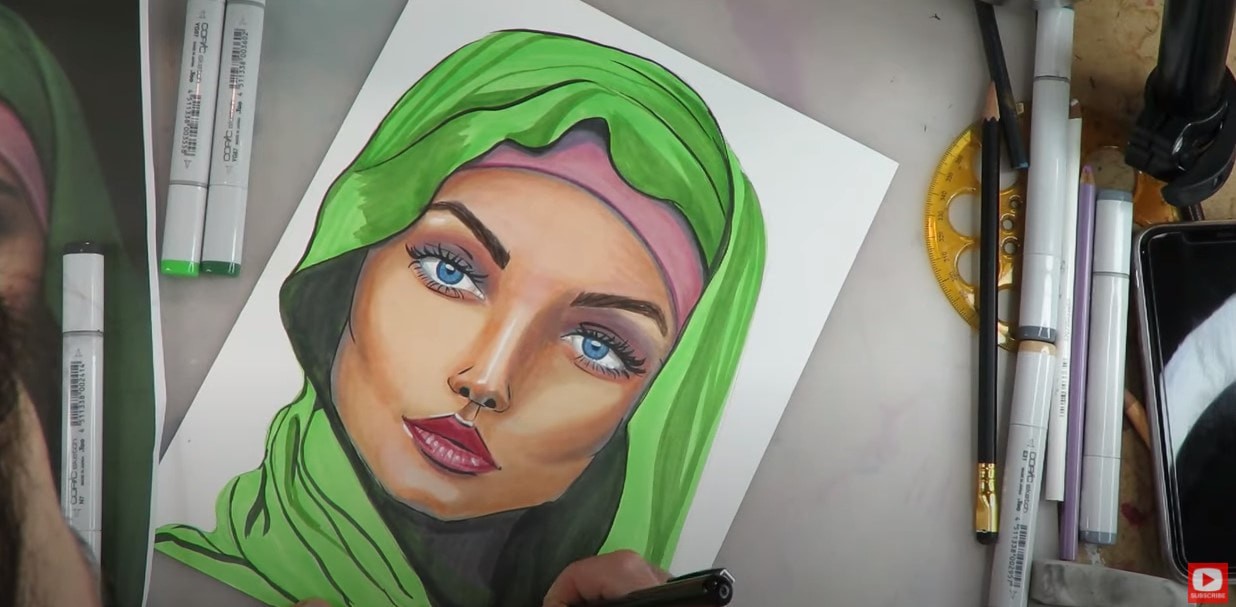 Hijab drawing is really similar to drawing hair, and could even be a little easier! With hair, the strands closest to the face are darkest. I'm seeing the same pattern happening in the folds of fabric closest to her face. These are the darkest darks. Once they are shaded, they REALLY make her face pop forward.  I finished up my hijab girl drawing by adding a few more details with my pentel pocket brush (what I used for drawing her eyelashes!), and she's done! I hope you enjoy today's FREE 30 minute portrait drawing tutorial, Whimsical Women of the World #6. Thanks for watching!! See ya Friday.
0 Comments
Last updated 5/31/24
Let's kick this week off with another fun FREE art lesson!!
In today's video, I'm going to teach you how to draw dreadlocks on a whimsical African American face, using copic markers and colored pencil. If drawing dreads or copic marker blending have been tricky for you in the past, today's face drawing tutorial is for YOU! As you can see, today's beauty has lots of exciting challenges in store for our face drawing practice from how to draw dreads to shading with a variety of skin tone markers. If you're not sure how to blend copic markers - you're in luck, because I demo 3 different ideas to help you conquer the streaks that are SUPER common with copics / alcohol markers! If you've struggled with how to draw curly hair, or if you're feeling intimidated by drawing dreads, don't worry- I was too at first, but it didn't take me long to come up with an EASY drawing / shading technique I liked. I can't wait to show it to you!! Ok!! Go grab some art supplies and meet me back here for the tutorial. 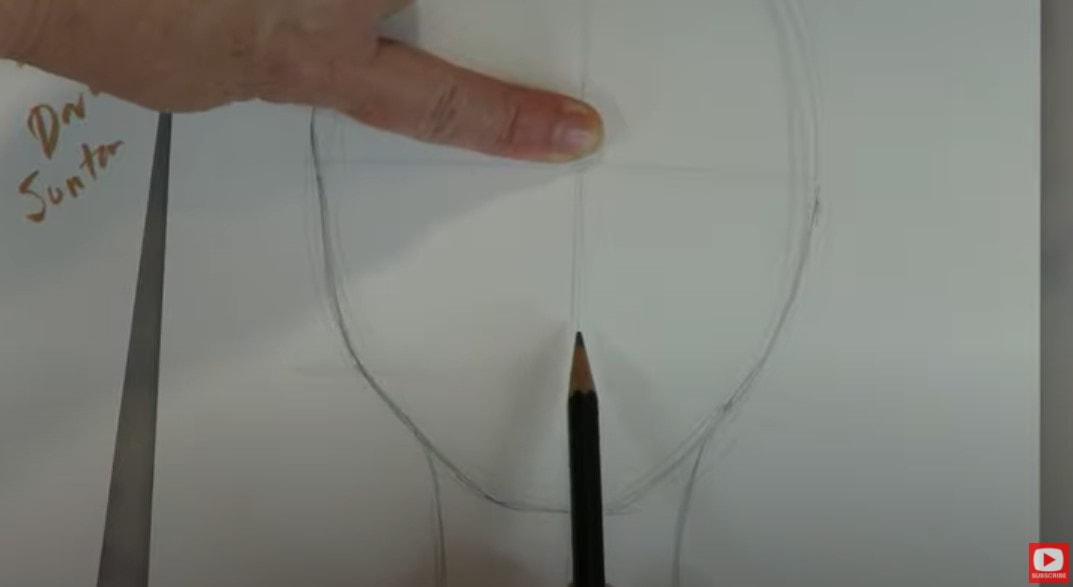
*All product links are affiliate & for U.S. residents only.*
I'm working on hammermill cover cardstock because I've found it to be the best value at 4-8 cents per sheet when I get a box of 250 sheets on Amazon. The paper is perfect for working with alcohol markers!
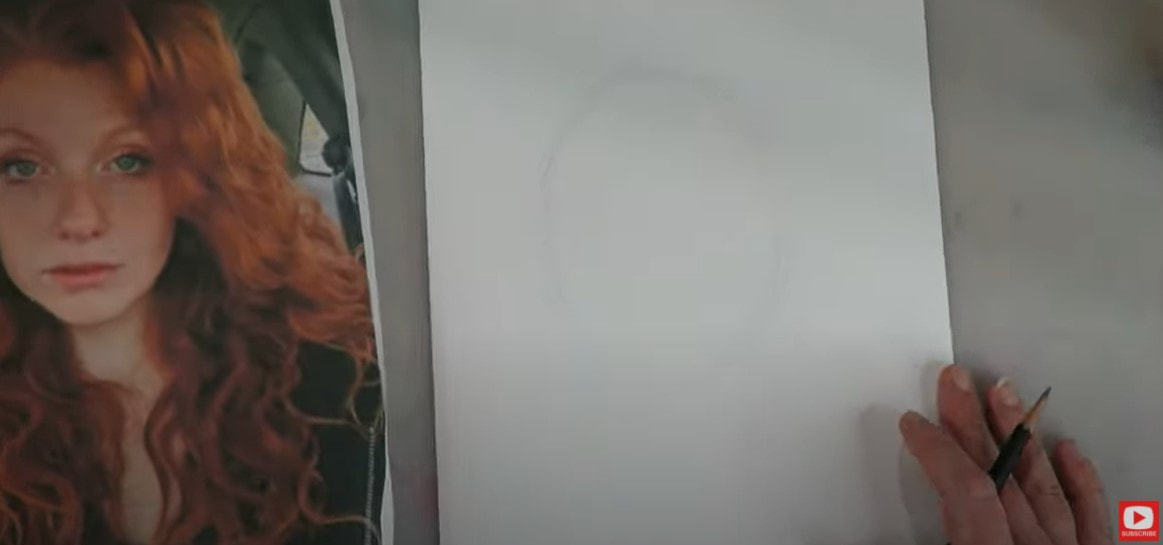
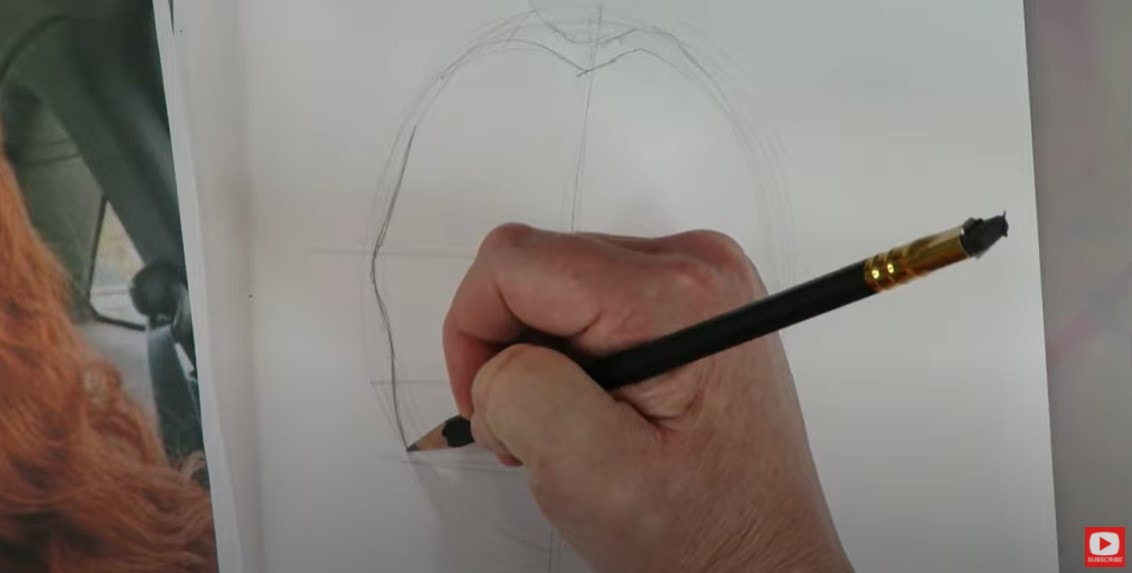
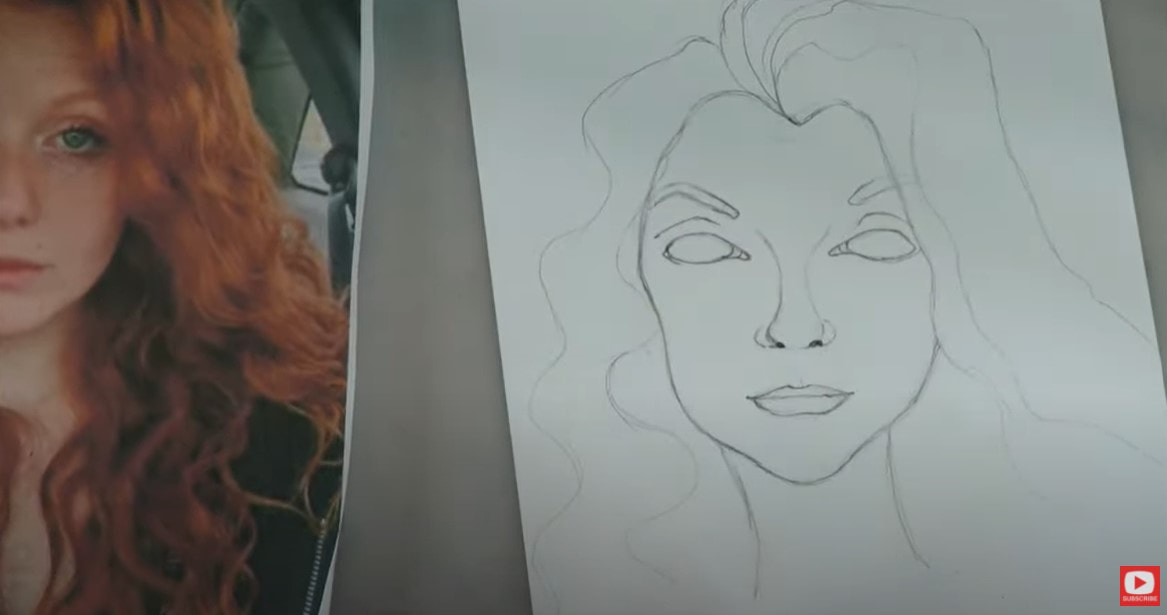
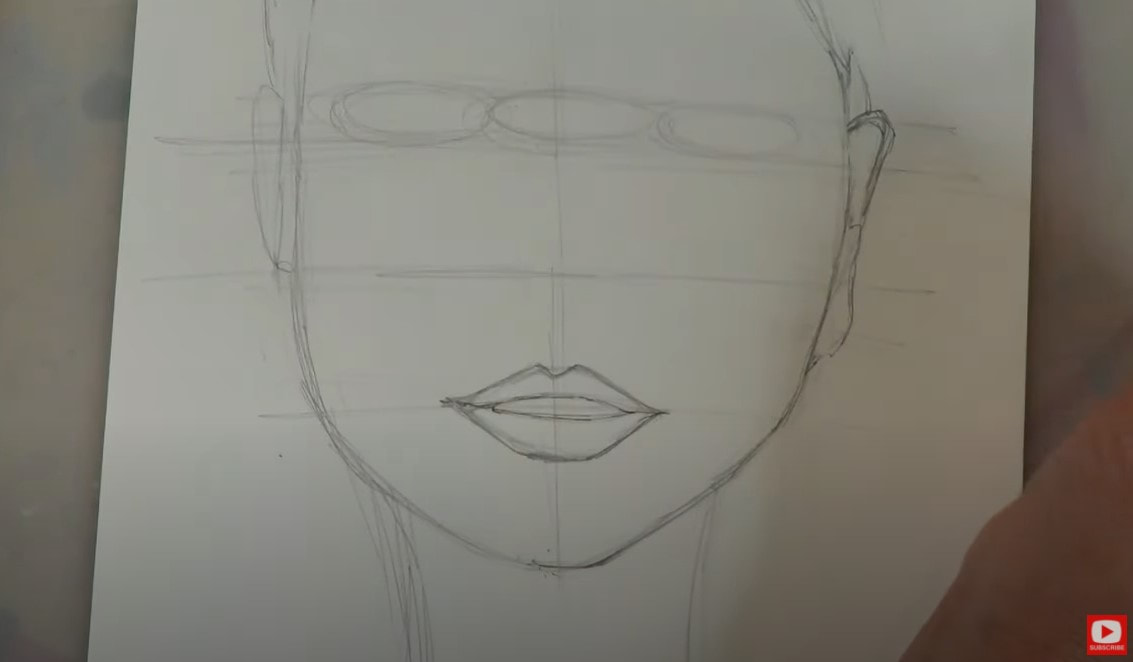
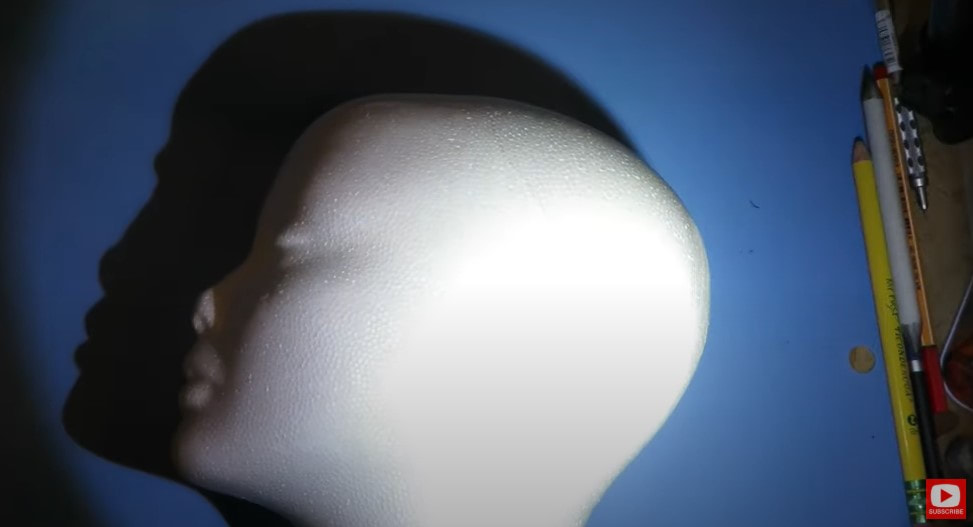
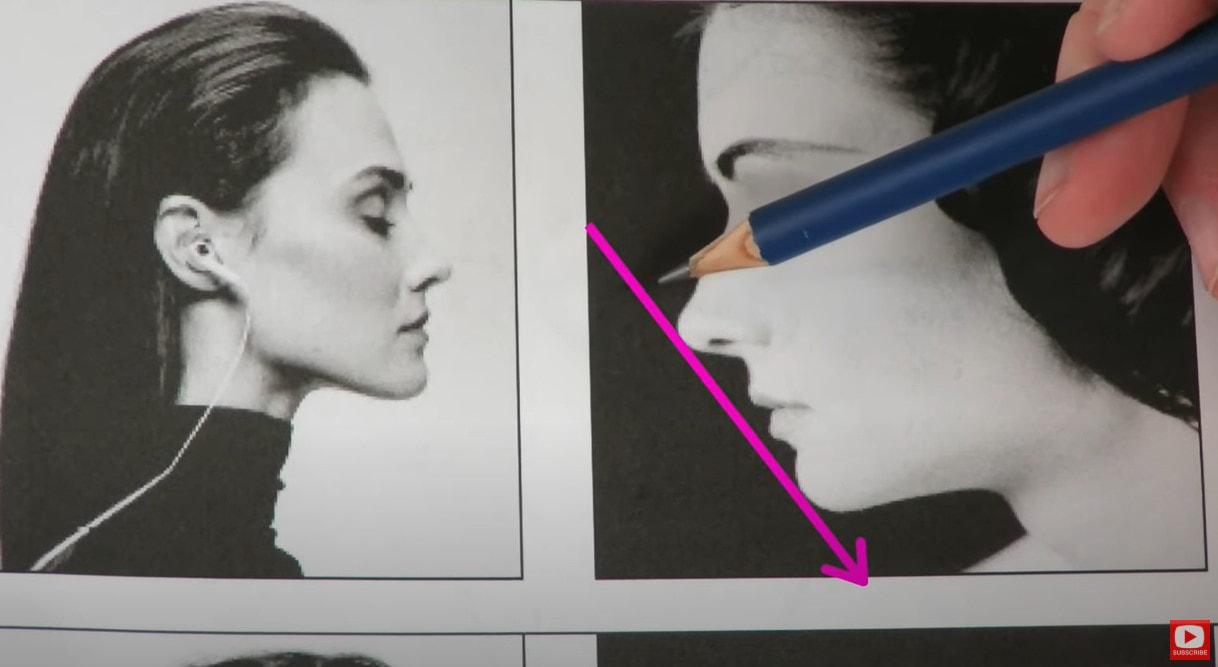
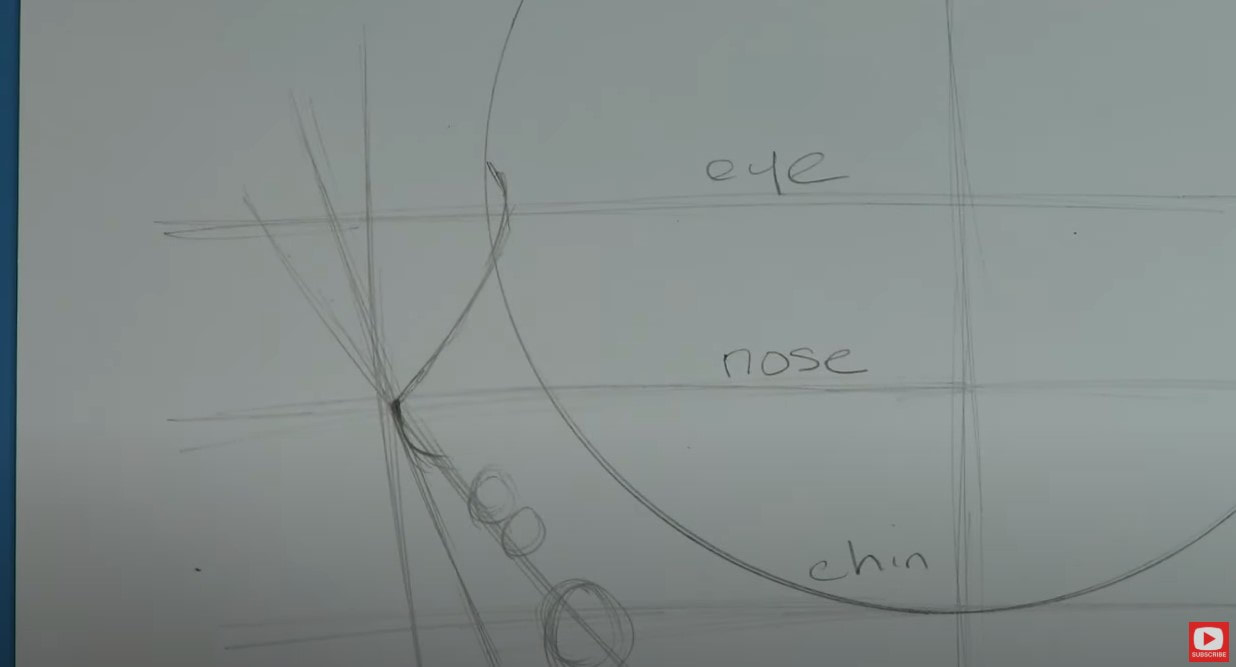
To get this project going, I'm sketching in my whimsical face drawing guidelines, just like I always do. Remember to NEVER skip this part because it makes such a difference when you're trying to get drawing proportions of the face right! While I sketch in some placeholders for the facial features, I also block in the main shapes I'm seeing in my art reference photo for this model's hair. Hair is a HUGE part of our lesson today ;) 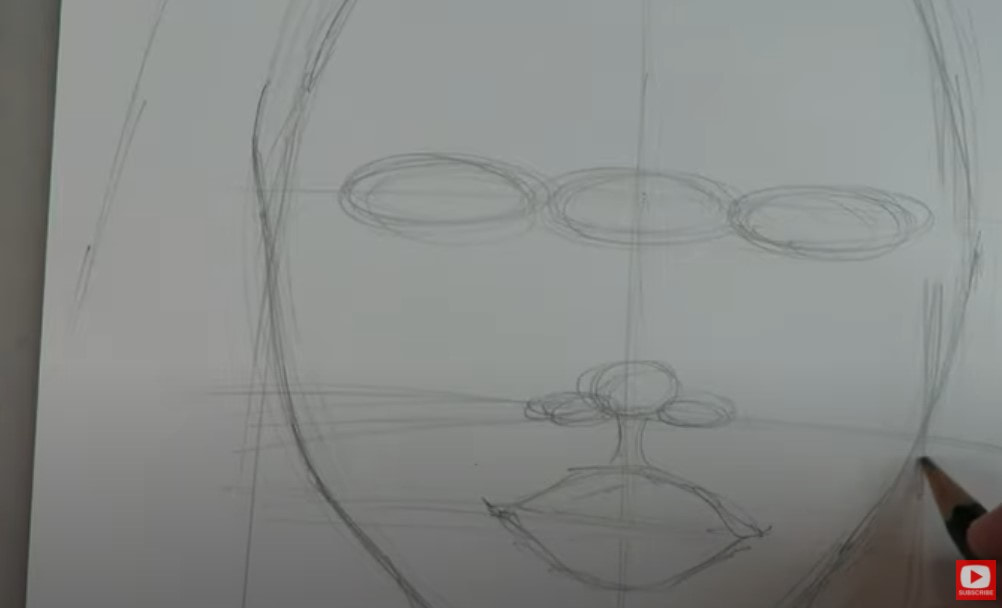
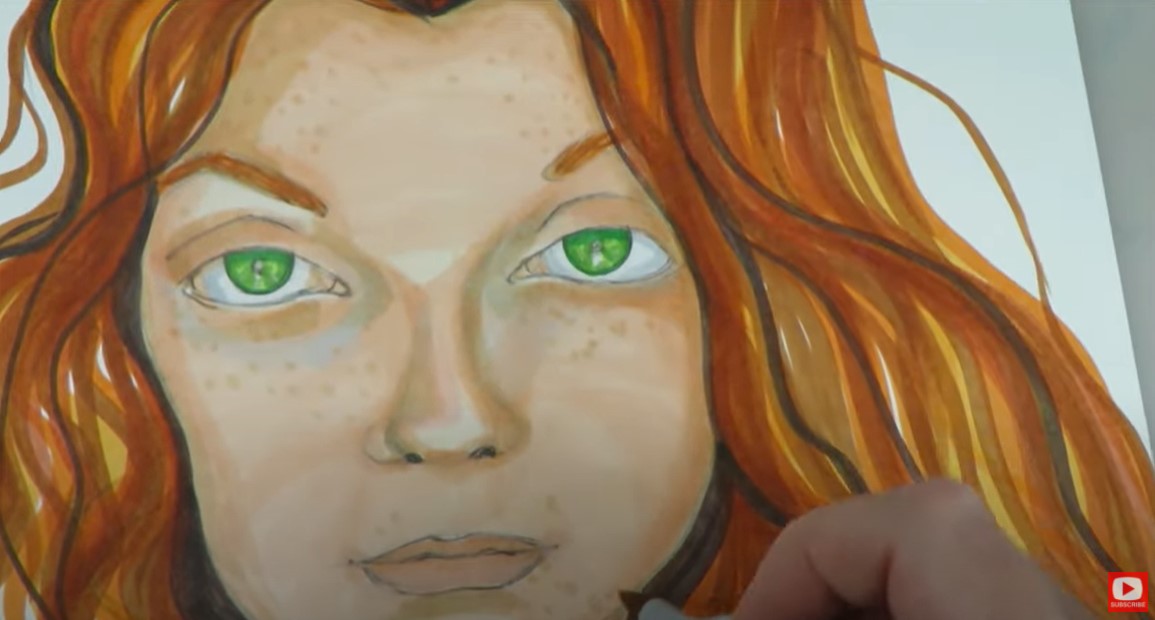
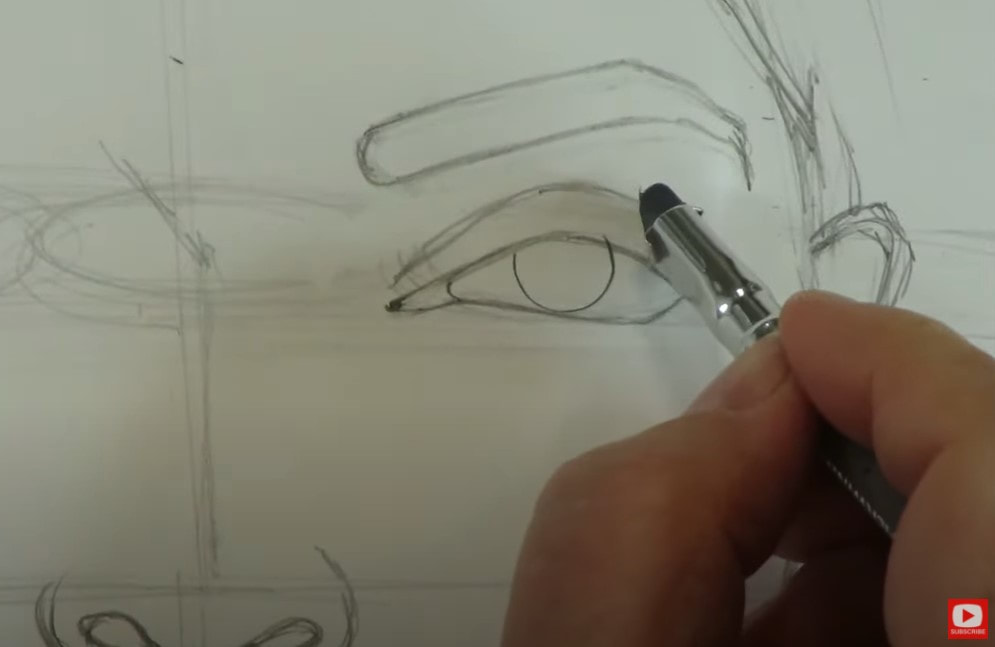
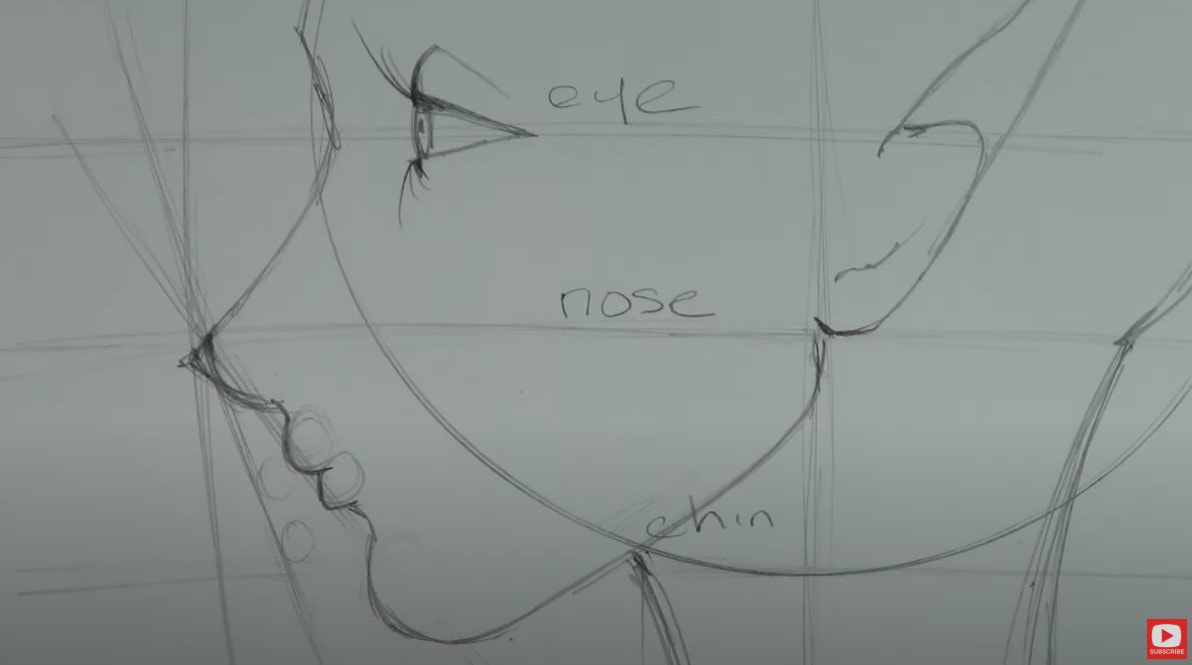
The model in our reference photo today has gorgeous, HUGE eyes. If you're just learning how to draw faces, and struggle with getting your eyes to match - especially after you've got one you like and then don't know how to draw the other eye... I've got you!! Here's my trick: If you "build" your eyes up at the same time while you're drawing, this can really help to make them even. I start with the tear duct lines and for whatever reason pencil that in on the right side, then do the same on the left. Then I go back to the right to draw in another line and do the same to the left side, until I've got two eyes staring back at me ready for more detail! Not bad right? They're not a perfect match, but they're close enough for me because I'm just having fun, keeping things light and into teaching you how to draw and shade a WHIMSICAL face! 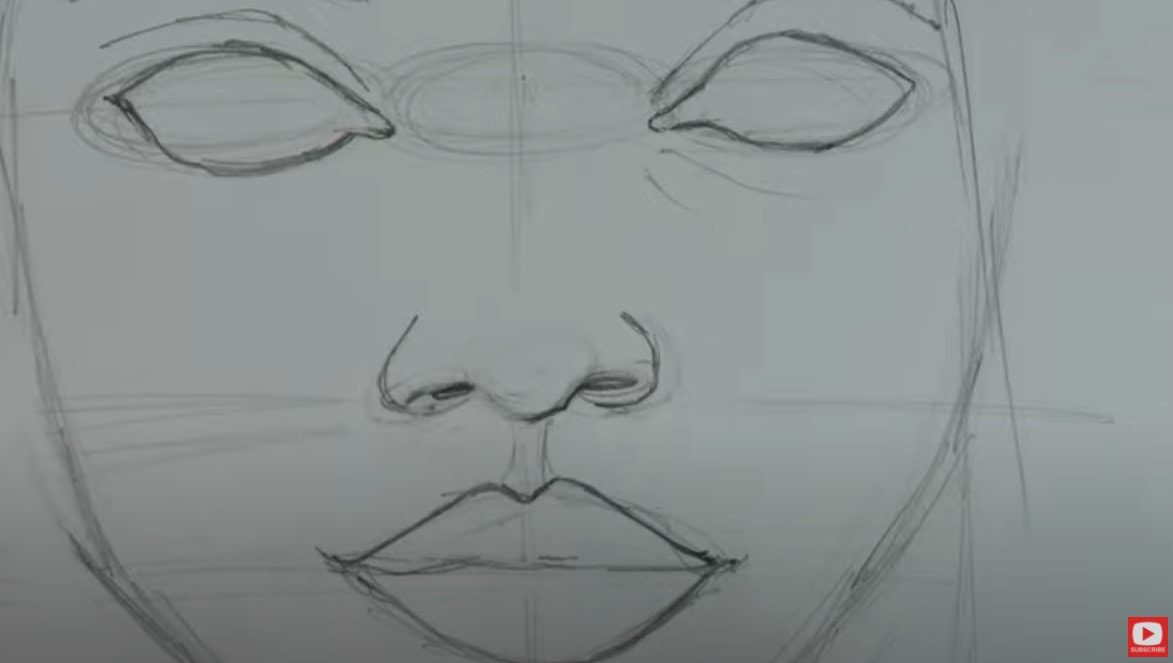
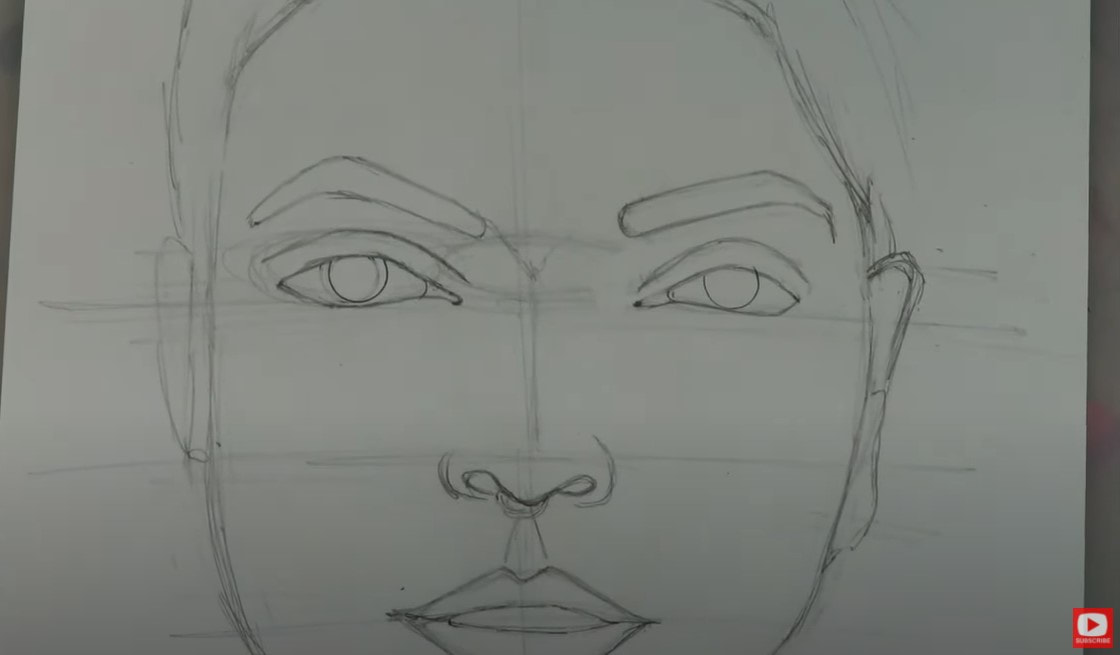
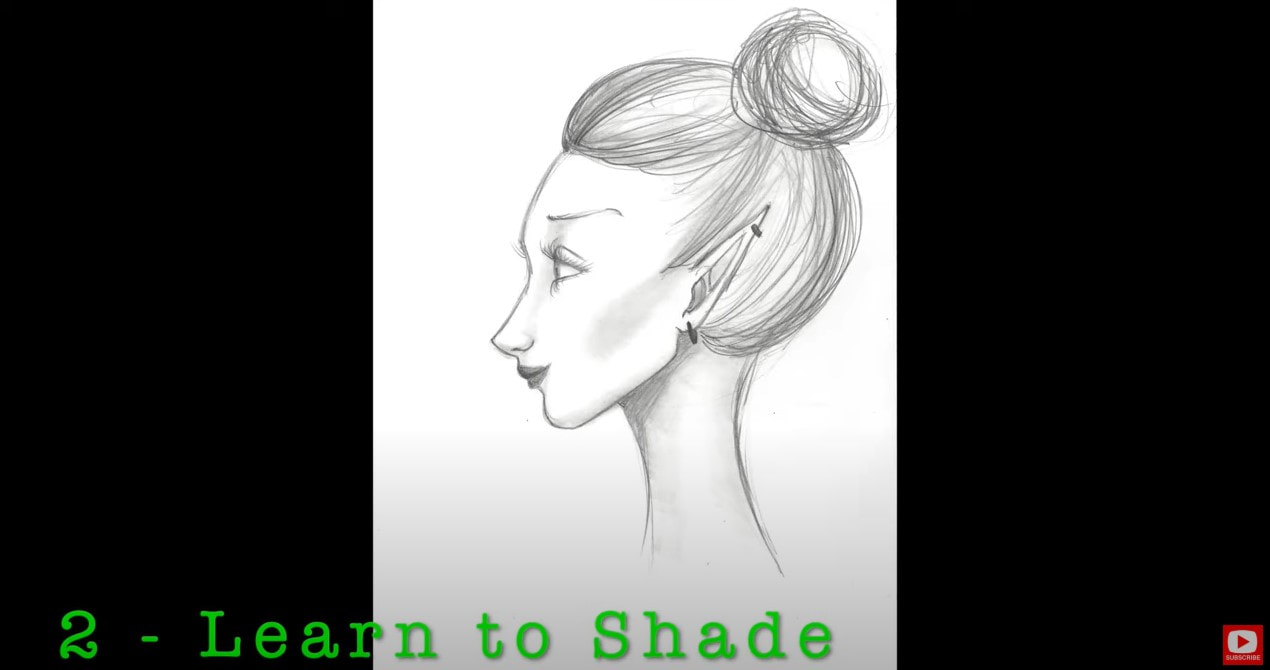
Once you've got your features all sketched in, go ahead and start erasing all of the guidelines. If you need a new eraser, or have been looking for one that does a super job but doesn't kill your paper, I LOVE my vanish eraser. I have NO SHAME in using a circle template to draw in the irises and pupils, and neither should you!! Make something a little easier on yourself. We're just having fun :) 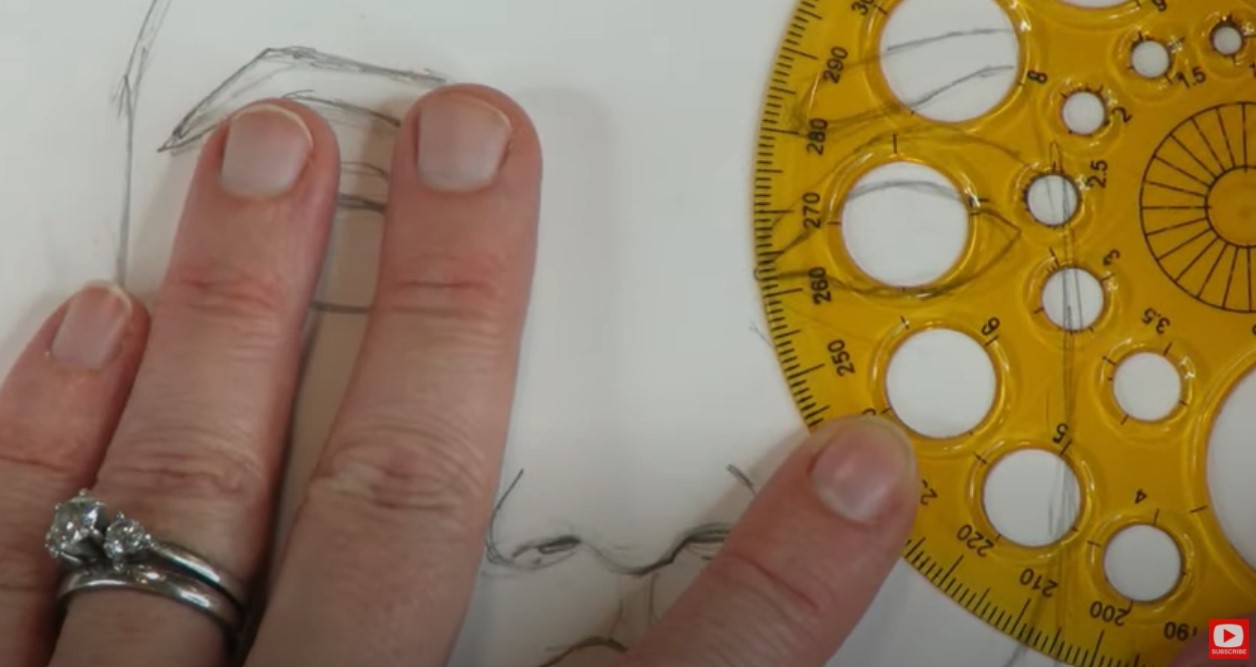
Isn't she looking pretty already?! 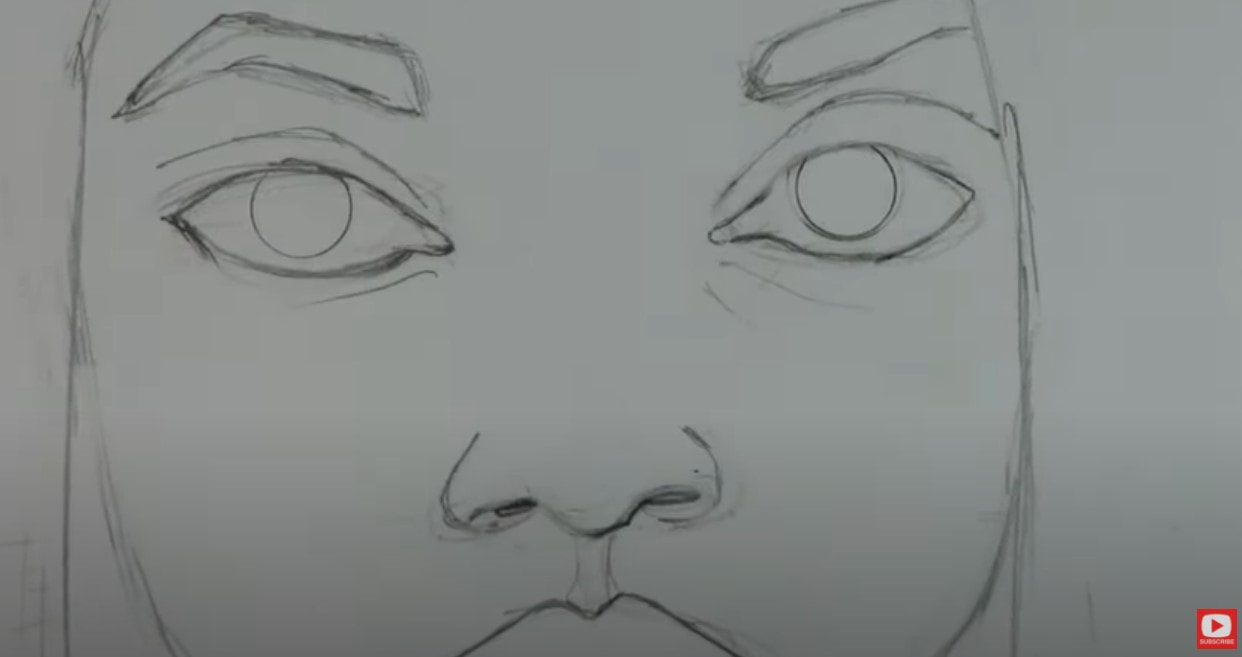
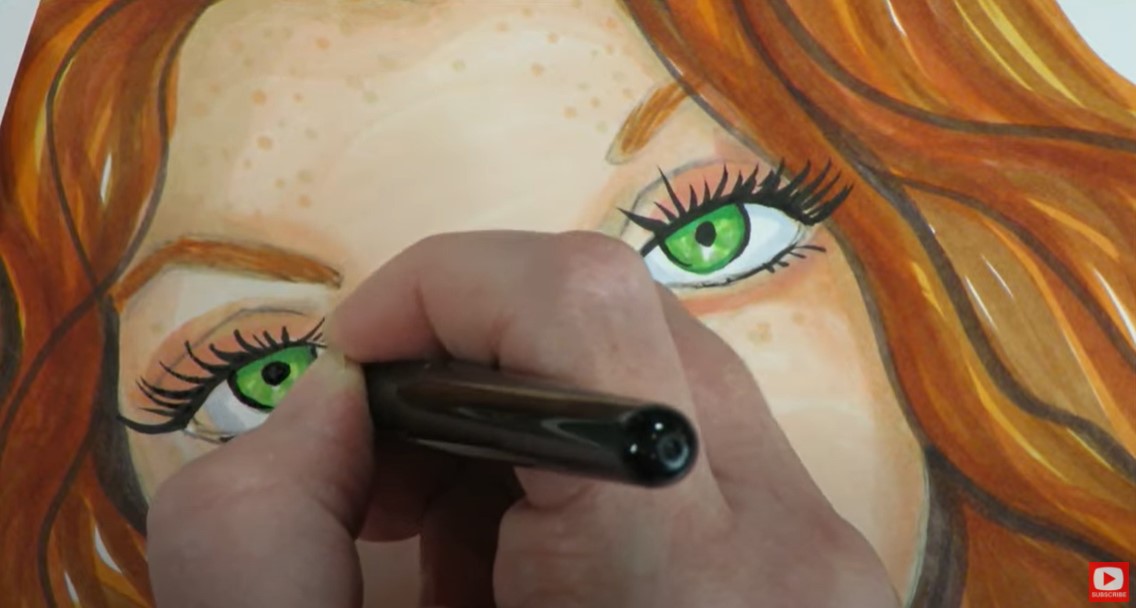
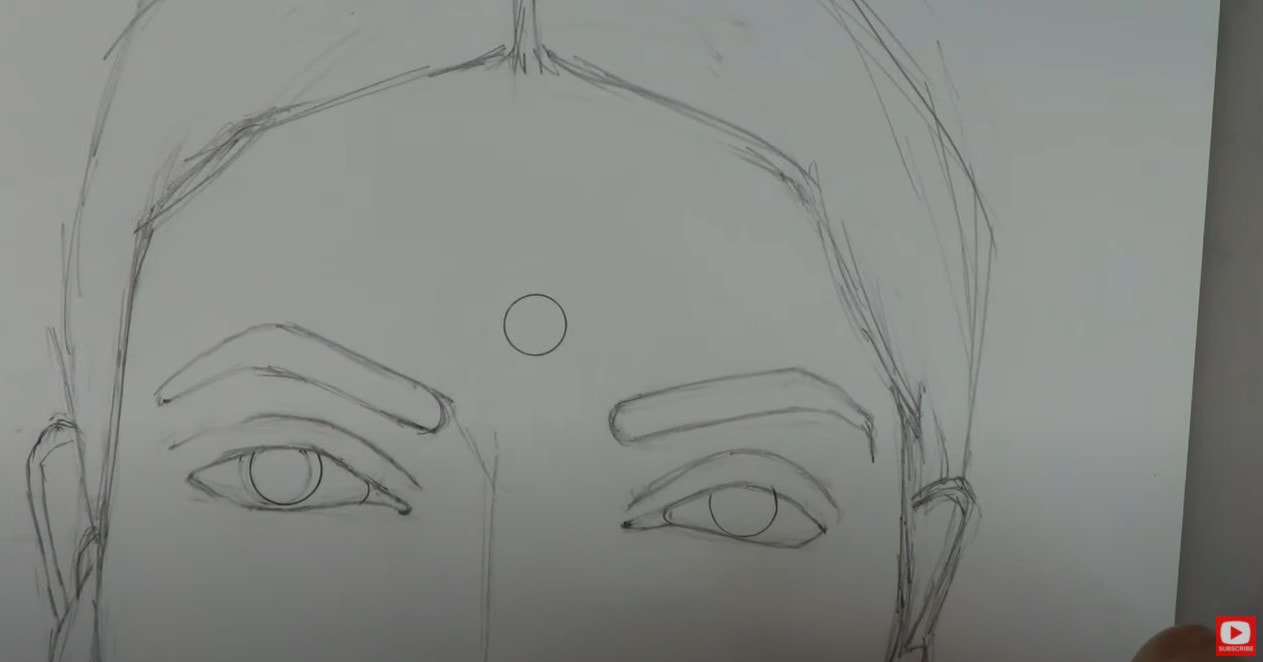
I LOVE her cat eye makeup and feel like it just needs to be penciled in asap! I usually do this near the end, but I just can't wait :) 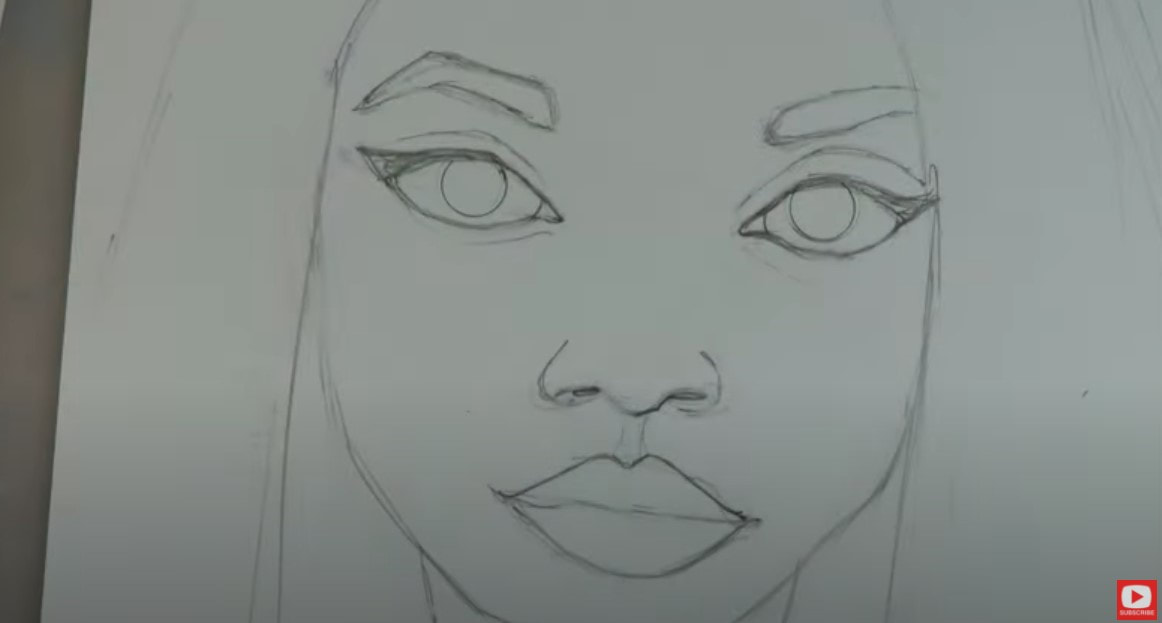
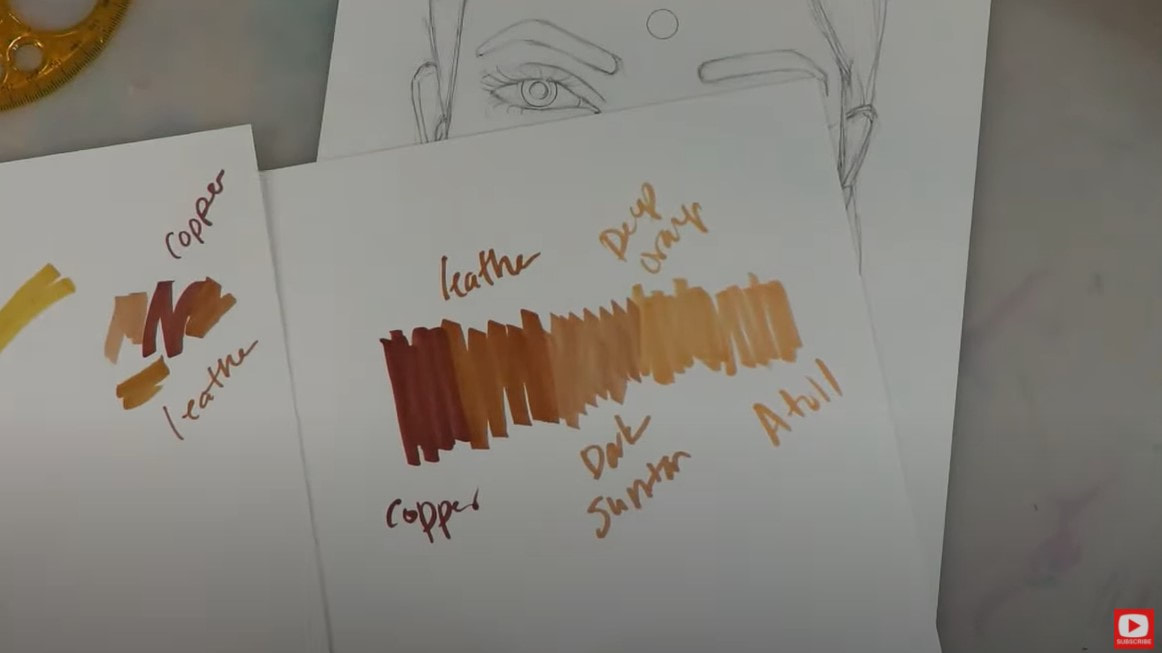
Once all your guidelines are erased, it's time to swatch your skin tone colors and start shading. I know you may feel tempted to skip this step, but don't! It's super important and will save you! I don't know how many times I've reached for a marker or paint tube based on the cap / packaging - only to find out it looks COMPLETELY different on paper! So do yourself a favor and take the time to make yourself a little cheatsheet of the colors you have on hand for whatever supply you're using! Mine totally isn't fancy and was super quick to do, as you can see in the bottom left. 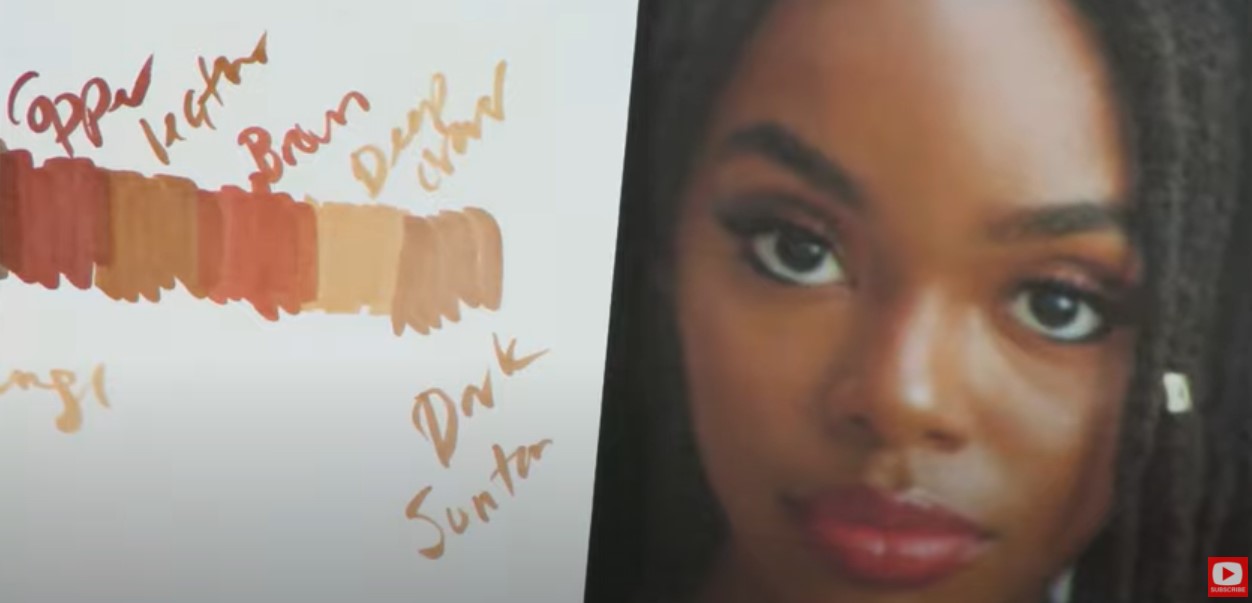
Selecting skin tone markers can feel really overwhelming. If you feel like you need help picking out alcohol marker combinations for skin tones, I created a book to help you called Skin Tone Secrets. It's available on Amazons worldwide and gives you MY FAVORITE three marker shades (using Ohuhu skin tone markers) in a light, medium, and dark for each ethnicity.

Ok! Back to today's cutie... 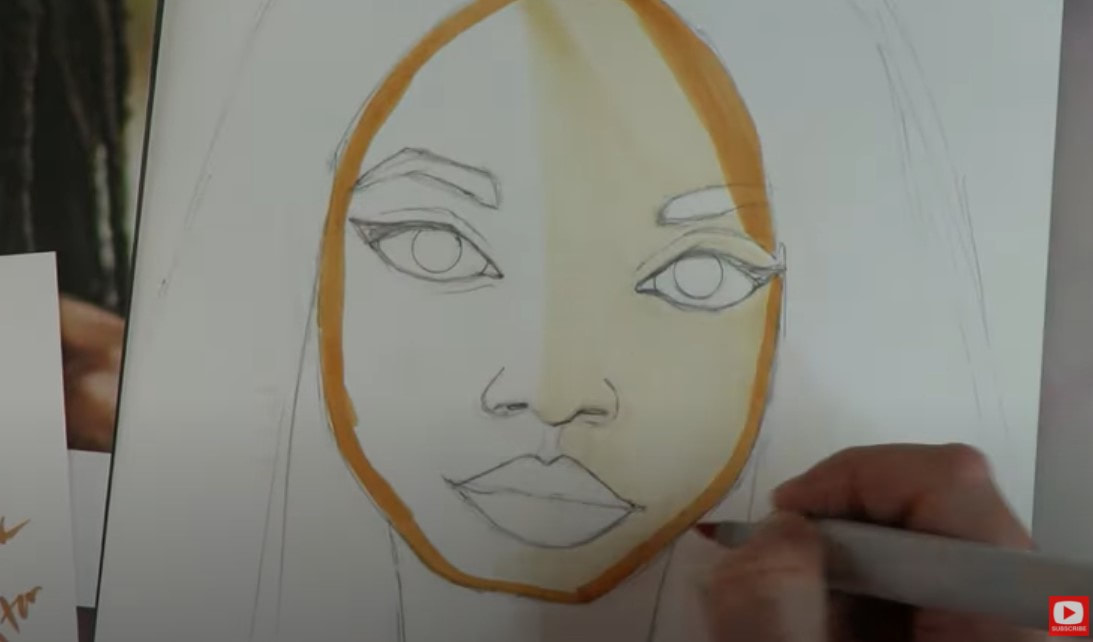
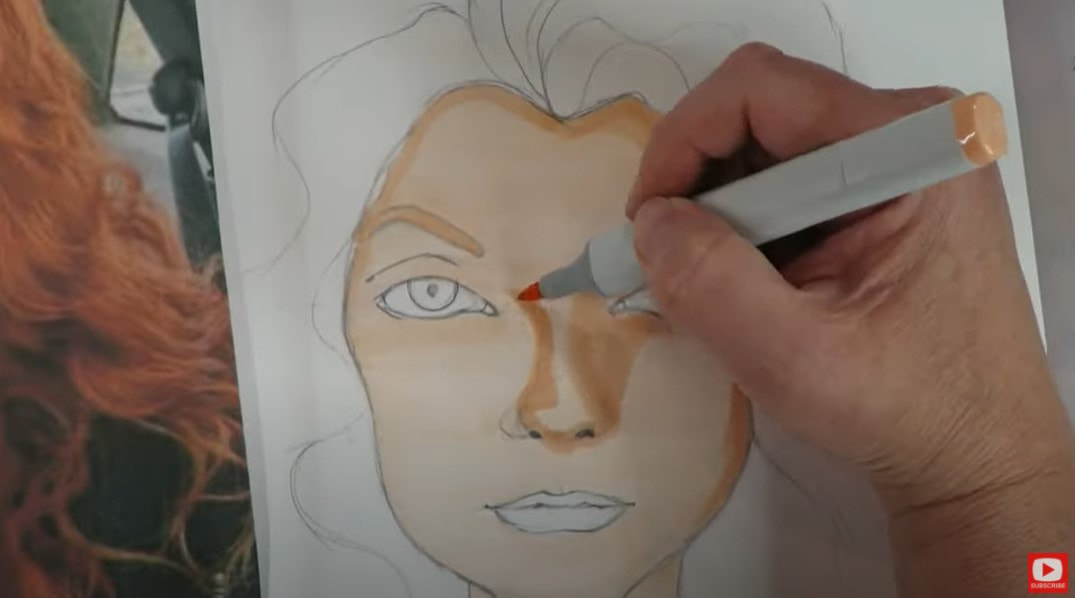
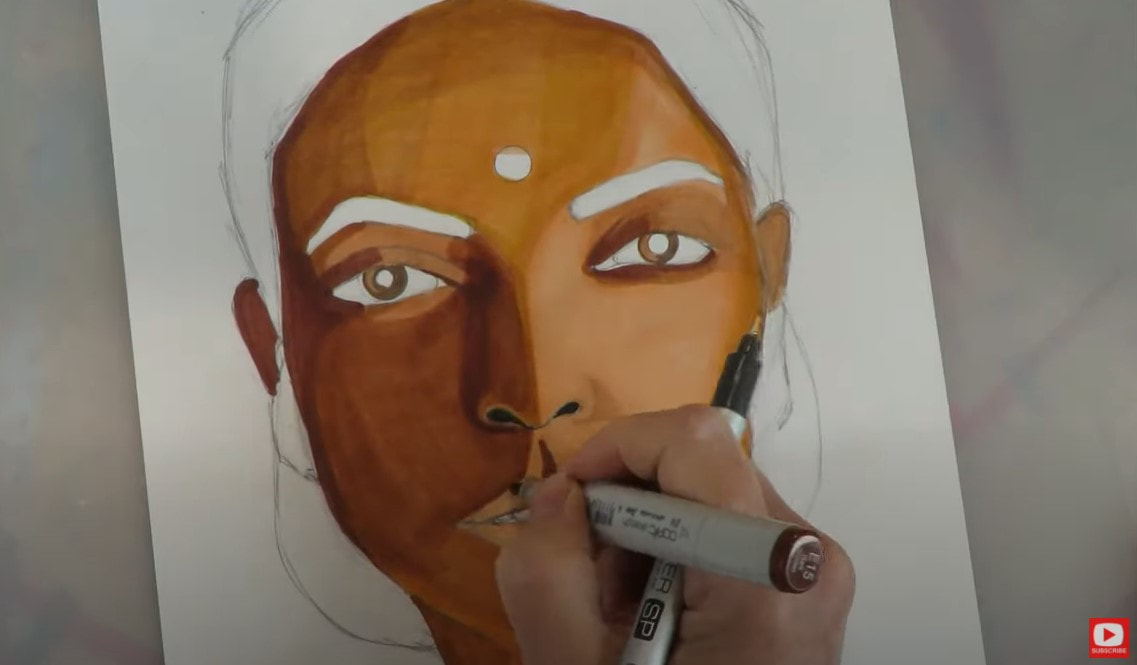
I started with my lightest skin tone today and used that almost everywhere, then slowly started building up my layers going through a variety of colors to catch the medium and eventually darkest of darks that I was seeing in my art reference photo. 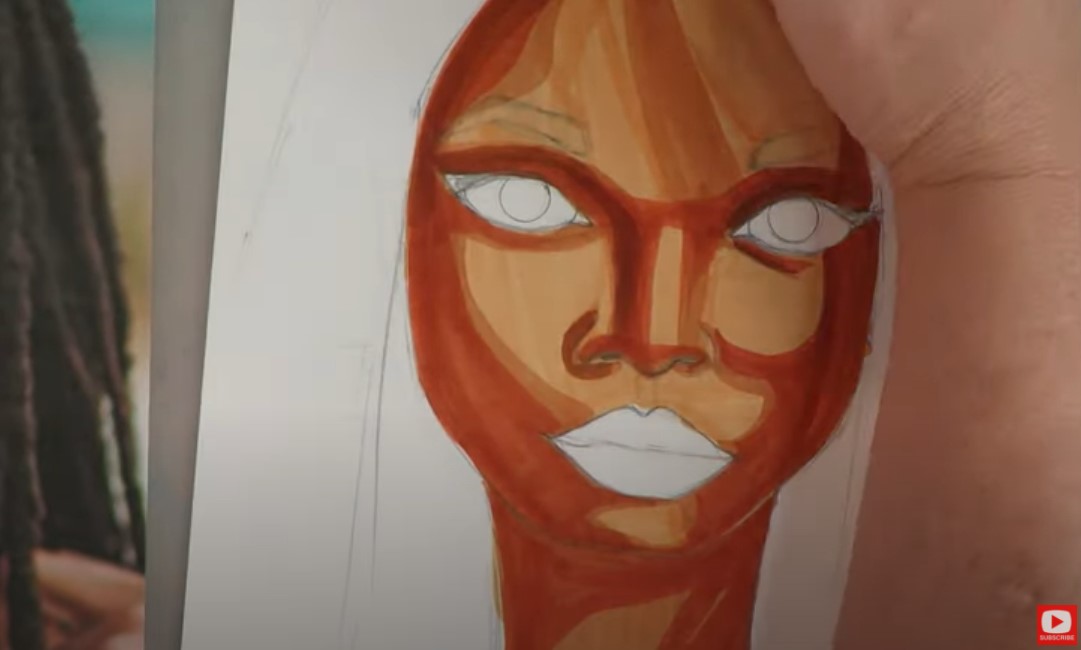
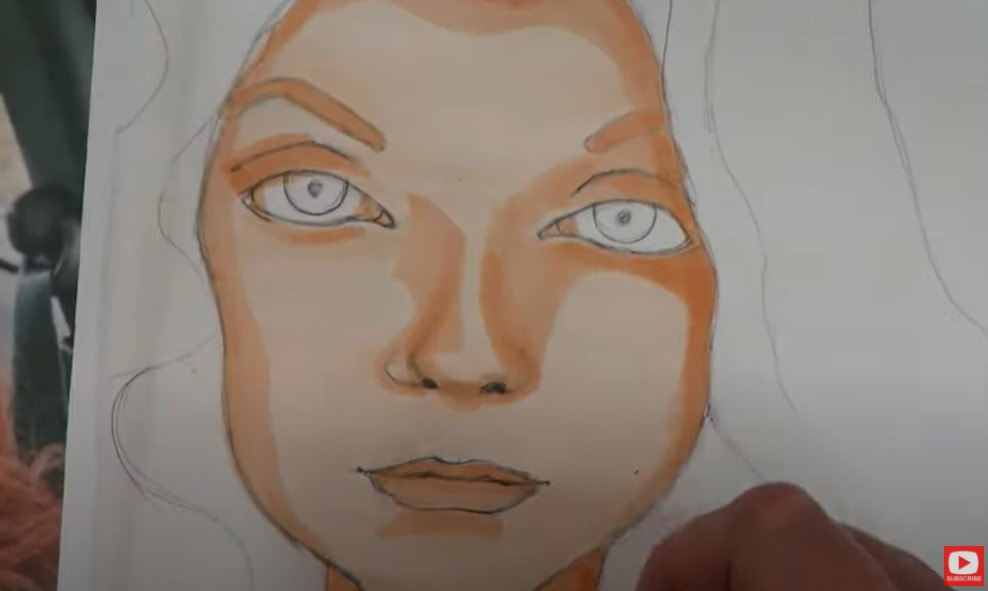
Now!! If you have been following this series at all- you know I've been specifically calling out "the ugly phase" every single time it kicks in for me because you HAVE to know how common this is!! If you look at the pic above- my girl IS IN IT big time!! The ugly phase starts to kick in when you are about HALF way done. And while it can feel frustrating because she looks SO unfinished and it may feel like you're never gonna pull it all together, you have to be patient. KEEP GOING. If you give up on your art when you hit this phase, the ugly phase will "win." Just IGNORE it and keep chuggin' full steam ahead!! 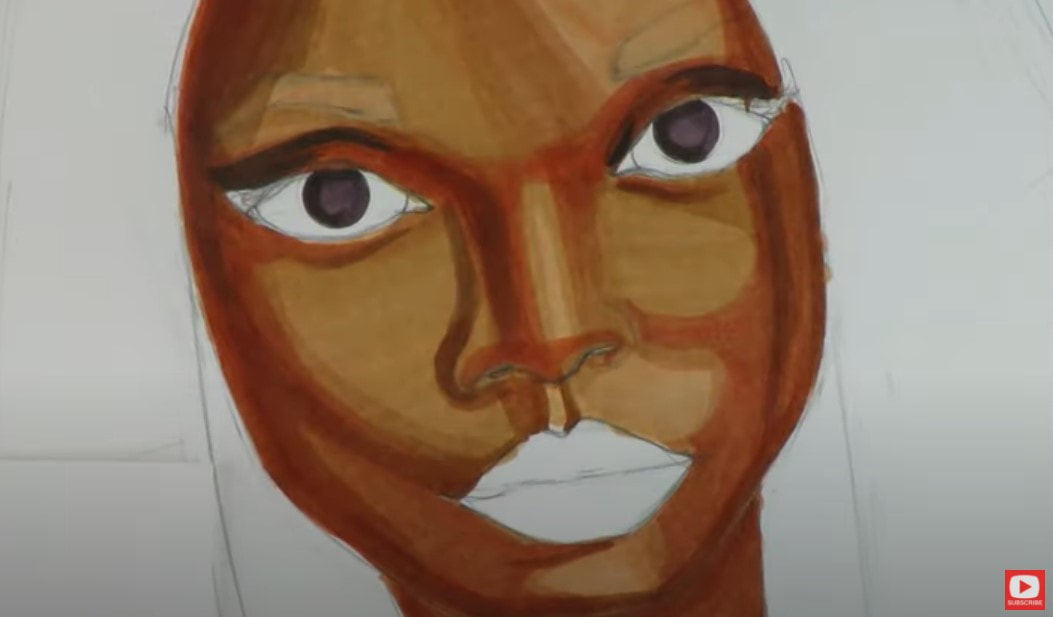
If blending your marker streaks is bugging you at this point in your project - remember you can totally use colored pencils on top at the end to help you out. This is going to get better as well - just keep layering. Watch the video and do what I do. Pause as much as you like! 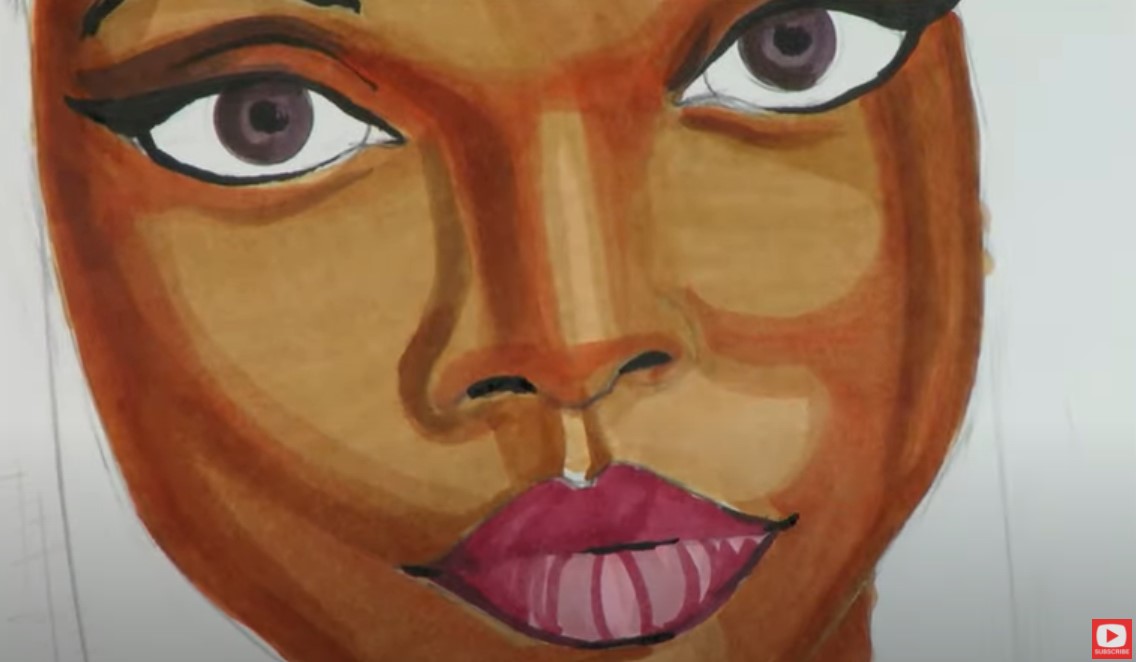
Not sure how to blend copic markers?
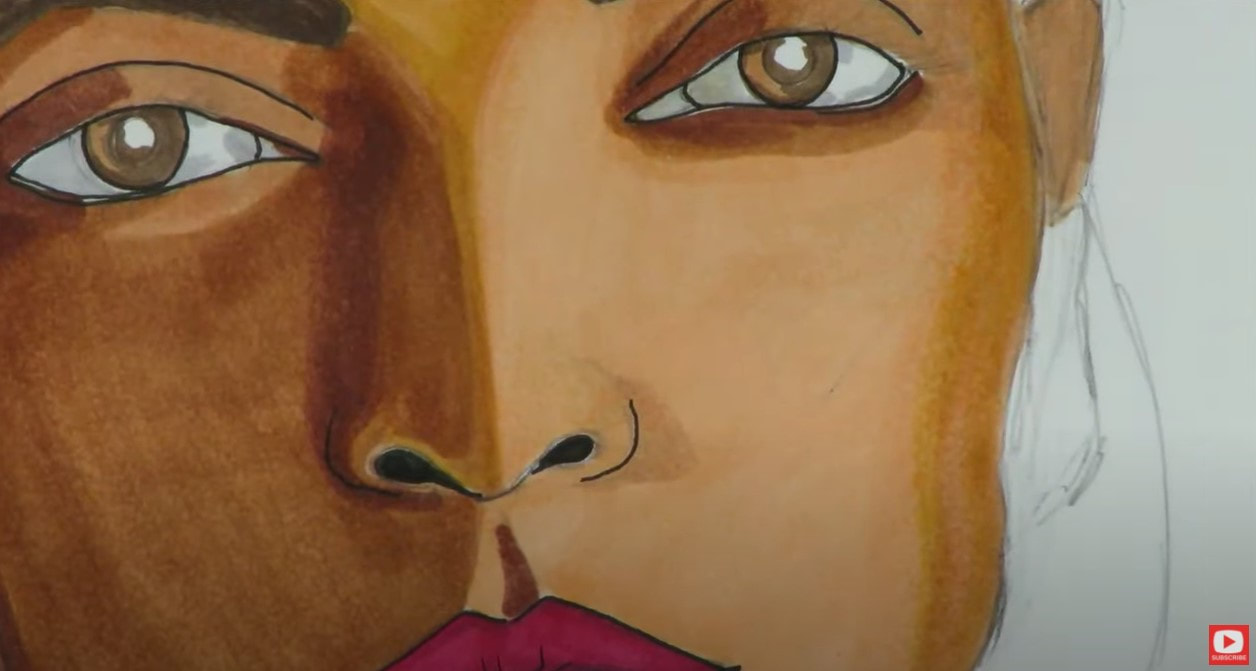
When it's time to blend, I choose to work with one shade lighter than the lightest color I've used. Using this lighter marker, I'll lay down both a horizontal and vertical layer to "erase" the streaky marks in the transitional areas. If it's still not blending the way I want it to, I'll take the lightest shade marker I used, or go a shade up to a medium color to cover the entire face, both horizontally and vertically. For this particular project, I decided to try something new and incorporated one of my favorite products I love for my mixed media portraits when I'm blending the shading and skin tones- my faber castell gelatos! Even thought these are considered a "craft" product, I LOVE what they do in terms of blending. They're SUPER buttery and honestly did the job quicker and better than my colored pencils for larger face areas. They're super simple to blend with your finger and leave a smooth effect. Check out the upper right corner of the pic below... 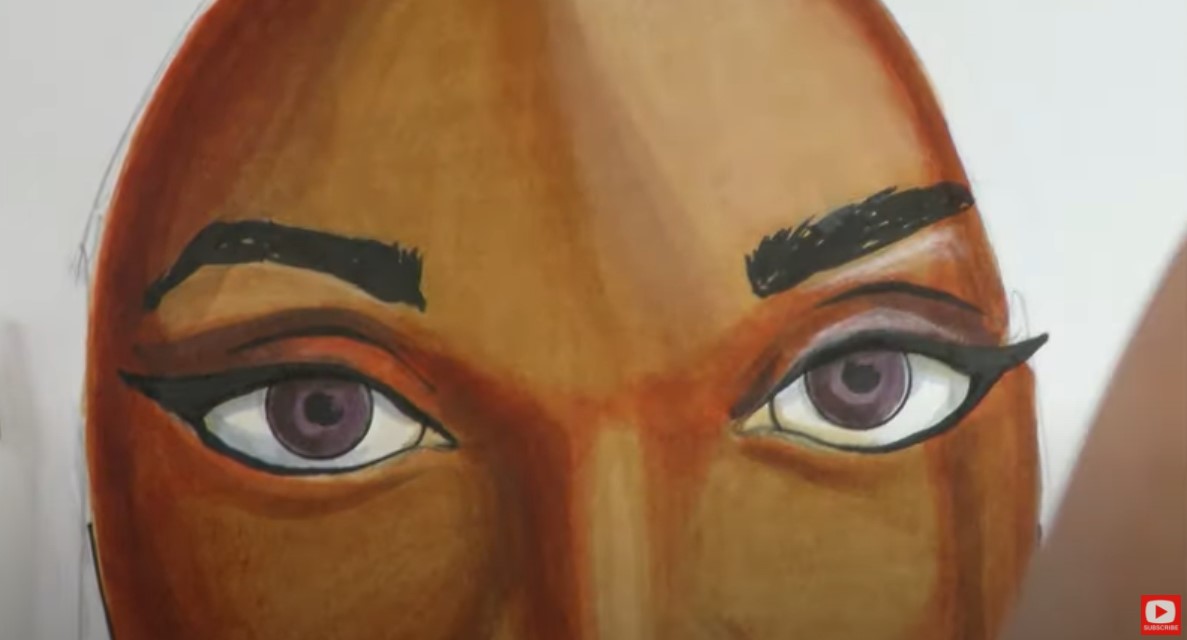
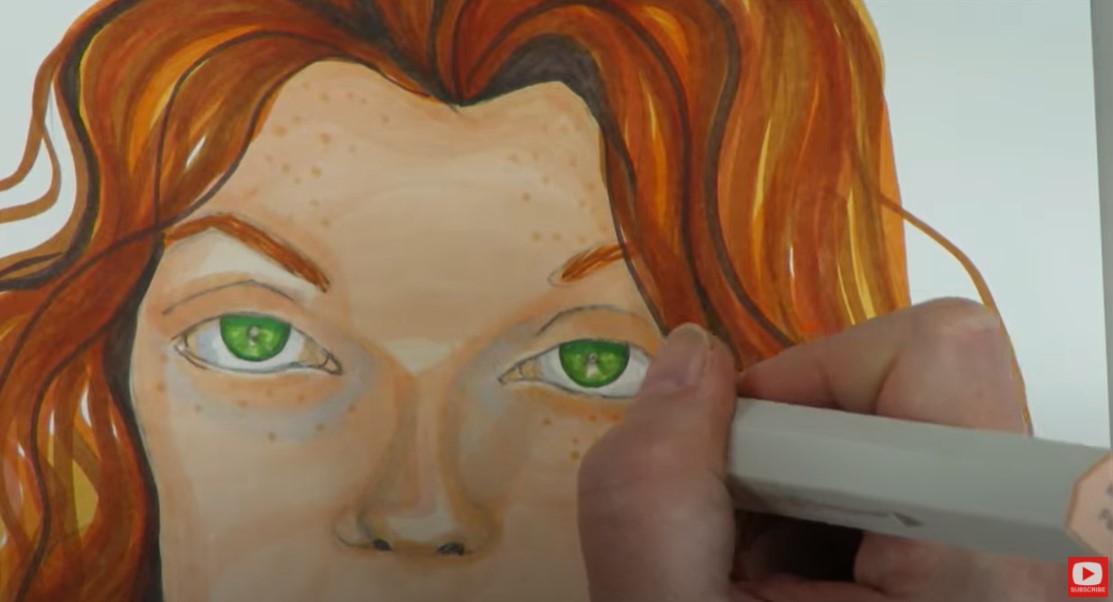
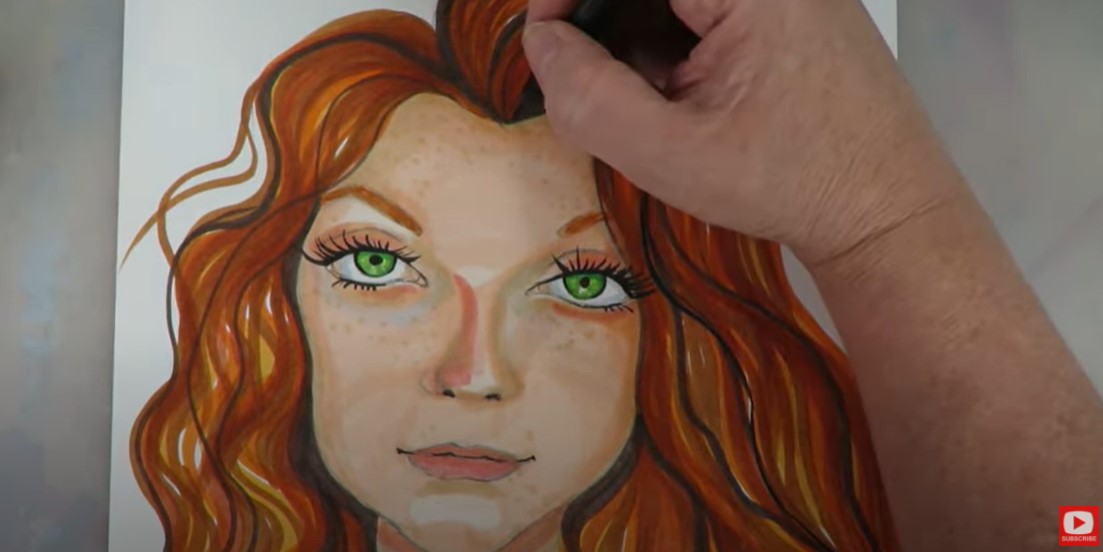
You'll notice I also worked some light gray (alcohol marker) into the whites of my girl's eyes, and used a pale peach colored pencil on top of her eyelids to drop in some highlights. 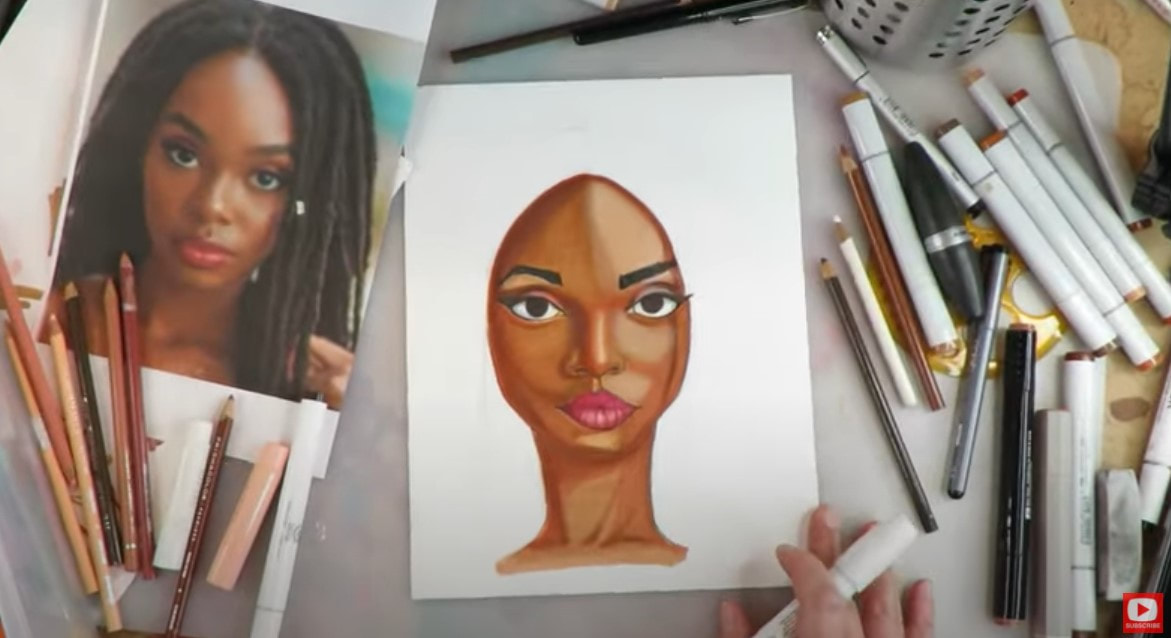
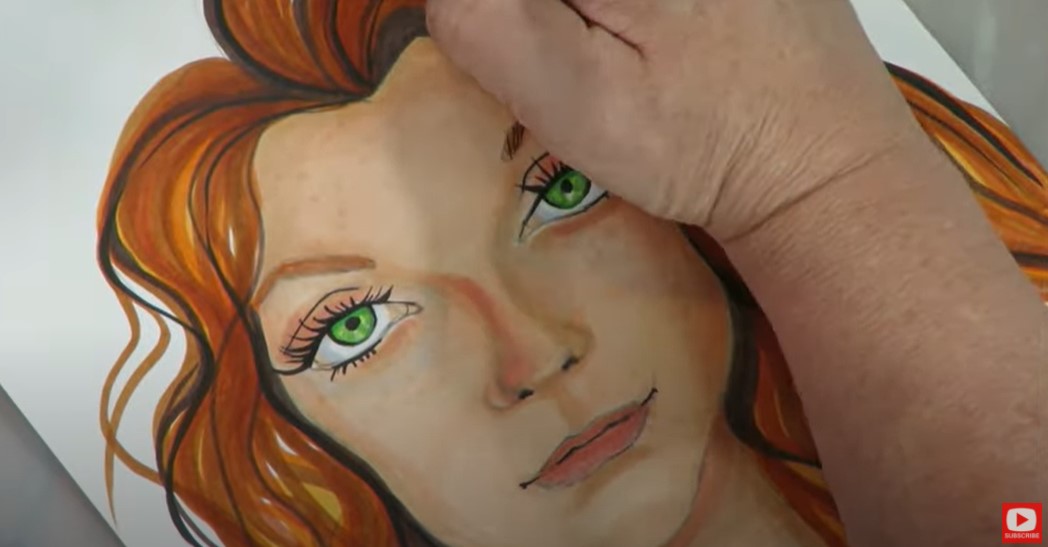
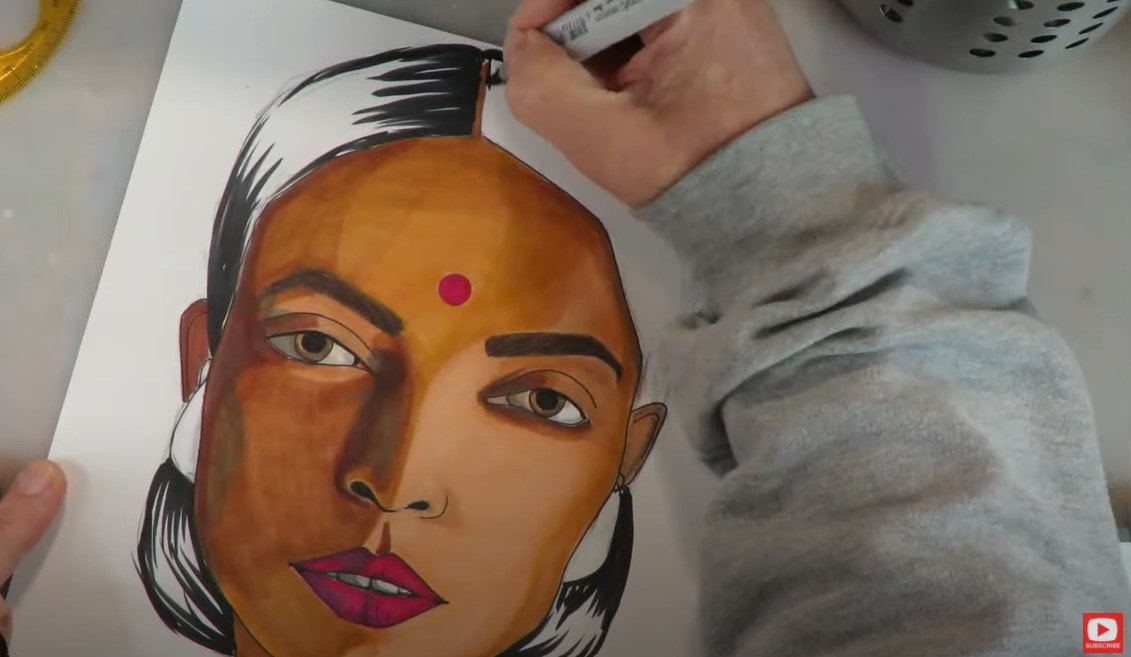
Looking good!!! Remember to always take a step back to hold your drawing from a distance. Your eye will typically see something you want to adjust, and you'll probably also be more than a little amazed at what YOU have just accomplished!! I feel like my girl's left eyebrow needs a little love, so I quick take care of that, then move on to some white highlights - like the eyeshine (which I think TOTALLY makes my girls "come alive!"). I also add a few taps to her lips and the white highlight down the center of her nose. 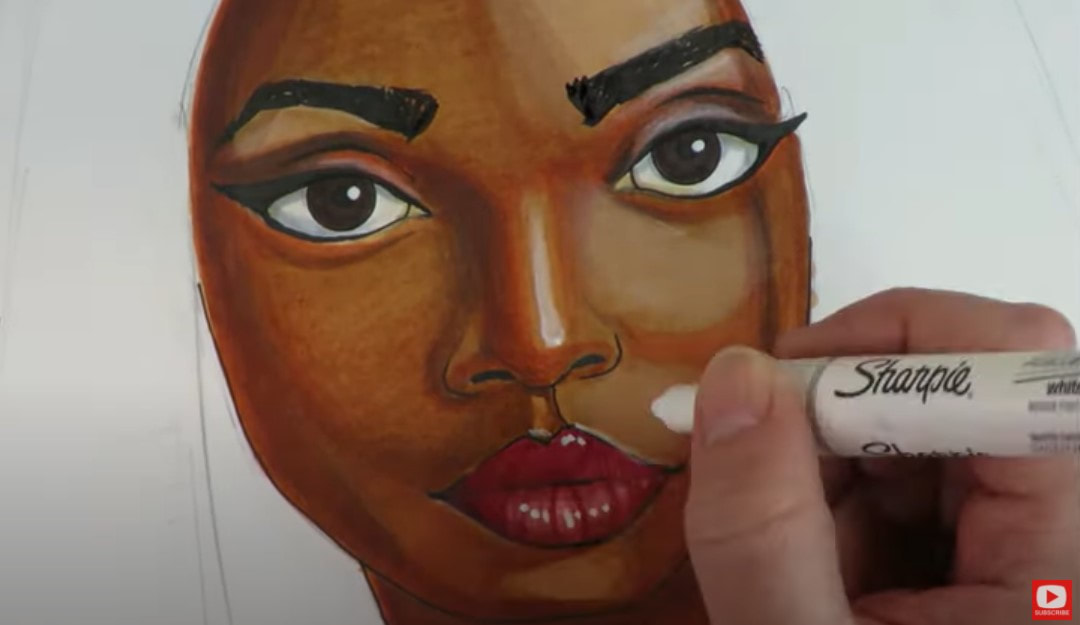
Now it's time for HAIR, but I have no idea how to draw dreadlocks!! LOL. Not a problem! We've got this!! I decided to get my pencil back out to sketch in the shapes I'm seeing in my reference photo. While I was sketching, I decided to try diving in with my marker using a circular movement, and I ended up LOVING the effect! It gave me just what I was hoping for. Be sure you watch the video to see how this goes! 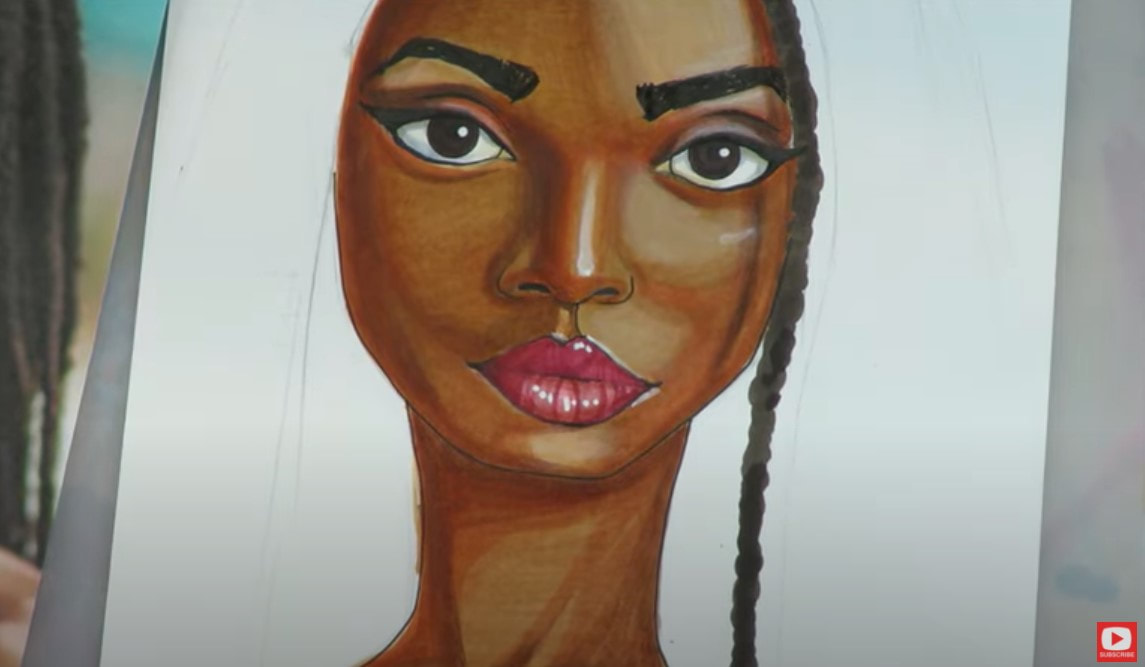
To give the appearance of texture, I experimenting with using a lighter colored pencil and did squiggly circles on top. This is what it looks like up close... 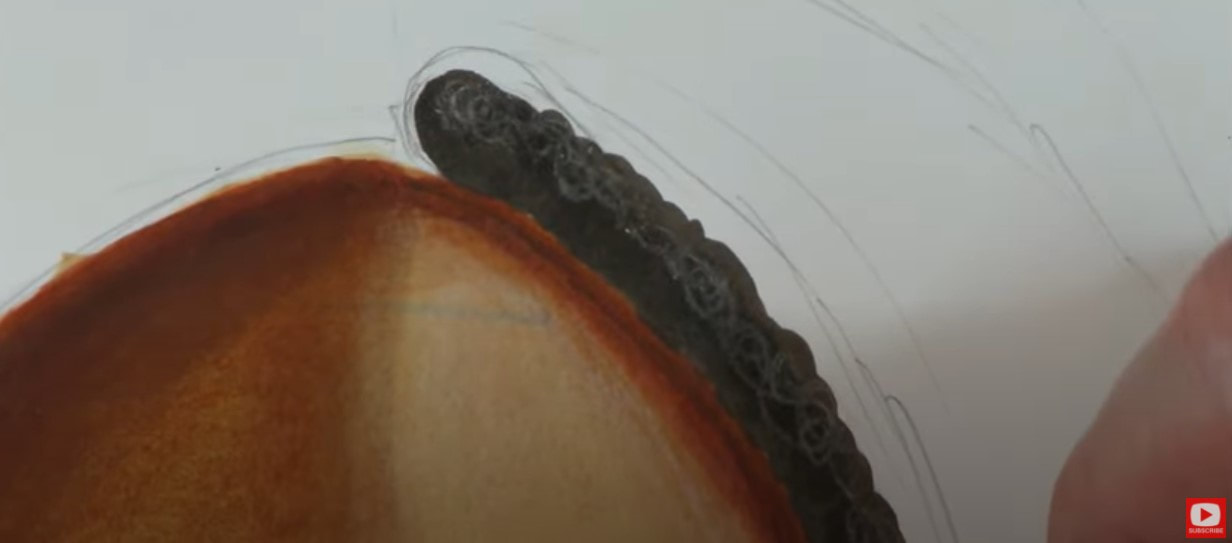
When I pull the camera back, I kinda love the effect and feel like this technique for drawing dreads really helps to indicate the texture I see in the model's hair from my reference photo. Not bad, right?! 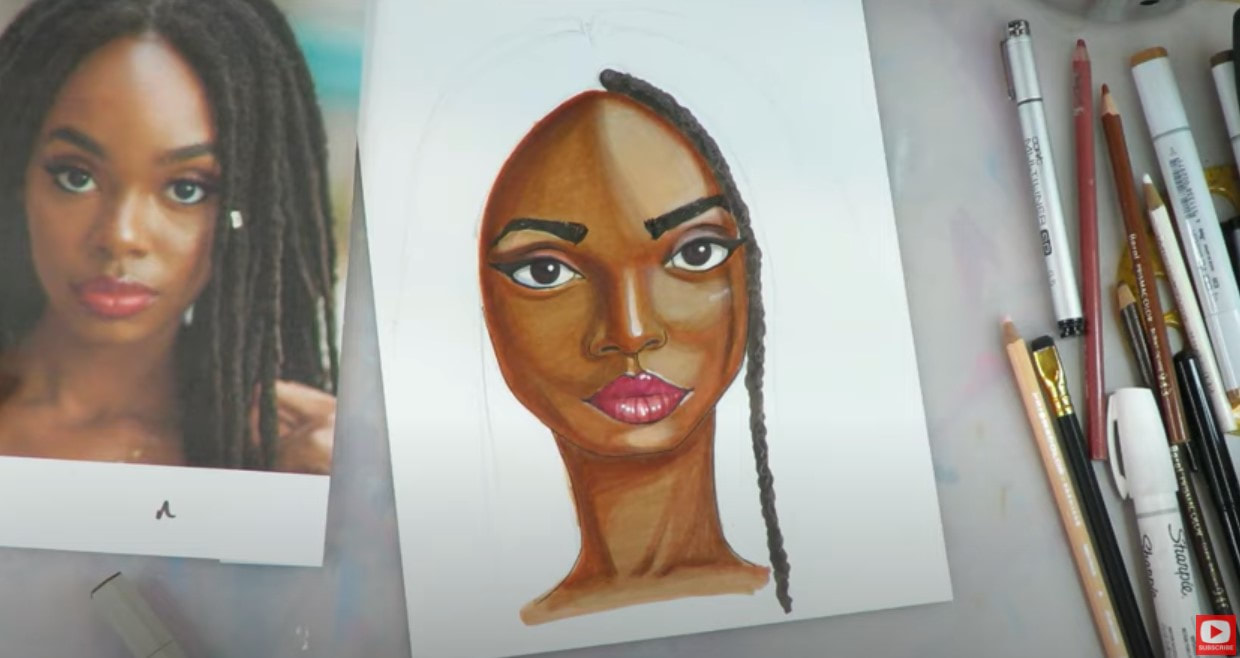
If you're not sure how to draw dreads, be sure to watch the video because I'm really happy with the simple technique I made up. I switched up my markers a bit as well and incorporated some black to indicate depth, as you can see below... 
I can't wait to see how you do with this week's project!! Please share your work with us in the Facebook Group with the hashtag #karensyoutube for a chance to win one of my monthly giveaways that take place on the first of every month :)
|
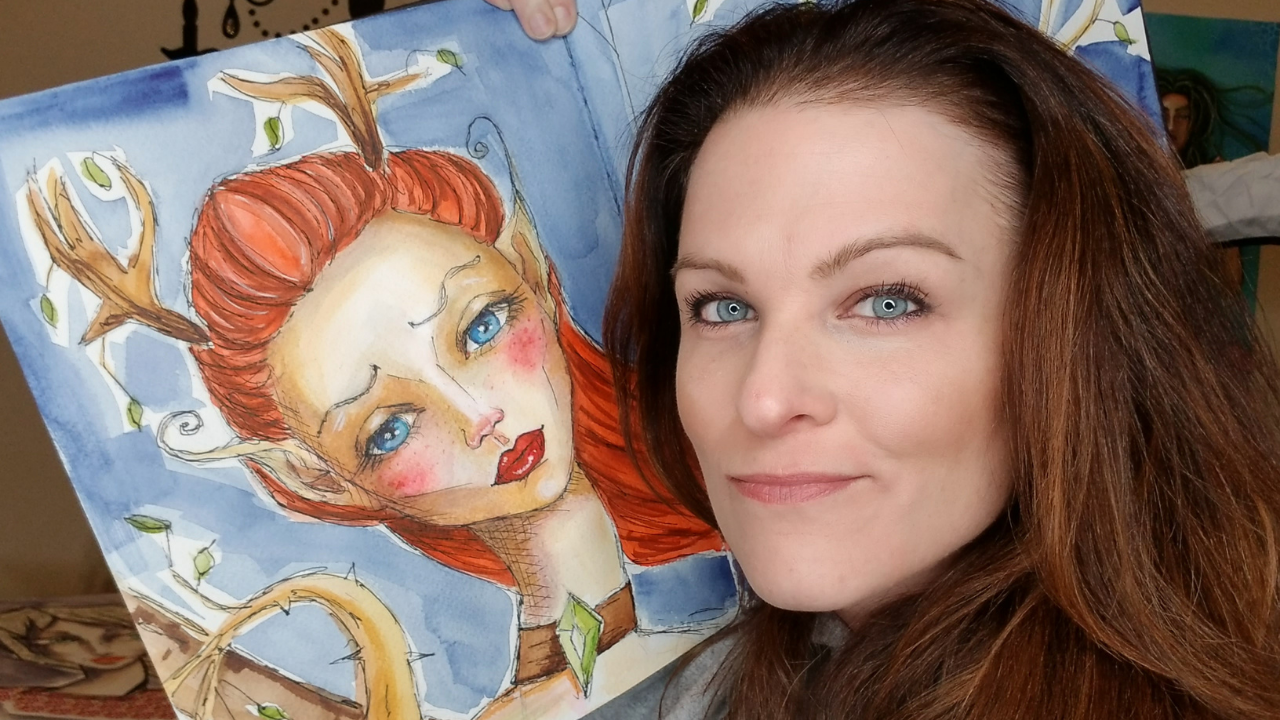
Karen CampbellFounder of Awesome Art School. Mixed Media Artist. Author of 19 Instructional Art Books! 
Whose work has appeared in...
   
 Archives
July 2024
Categories
All
|


 RSS Feed

"Karen is flipping hilarious and she's very real...I like the way she teaches in a way that really gives you confidence, whether you're a beginner or advanced there's always something new to learn!"
- Elizabeth W. |
What Fans Are SayingKaren, you are absolutely fabulous! You make me feel like I can draw anything. I have recently retired and finally have the time to do some of the art that I have loved since I was in school. I am really at the beginning of my art journey and I hope to learn as much as I can. Thank you for all you do. |
Contact ME |