
|
In today's drawing tutorial, I'm trying an expensive new set of skin tone markers by Winsor Newton called ProMarkers. I have high expectations for these alcohol markers because Winsor Newton is a top-of-the-line, fine art brand for artists.
I'm curious to see how ProMarkers compare to the go-to alcohol marker brands I reach for every day. My biggest question today is ARE PROMARKERS WORTH IT?! 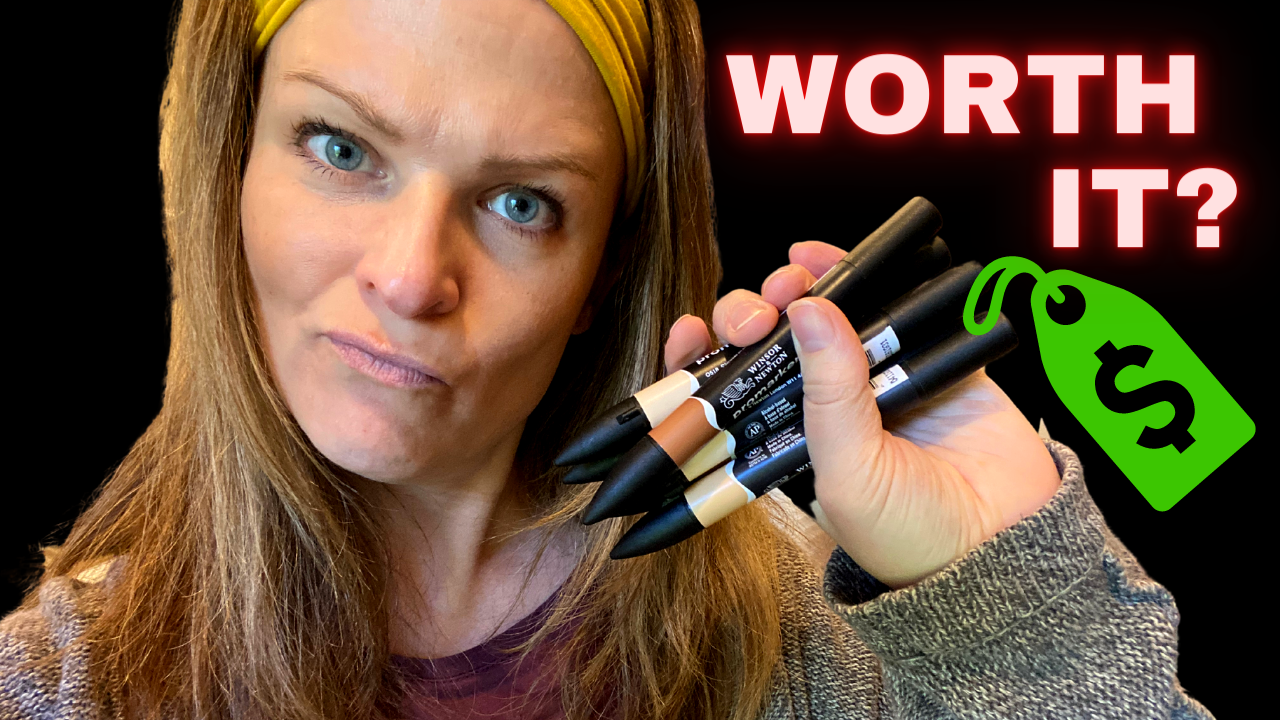
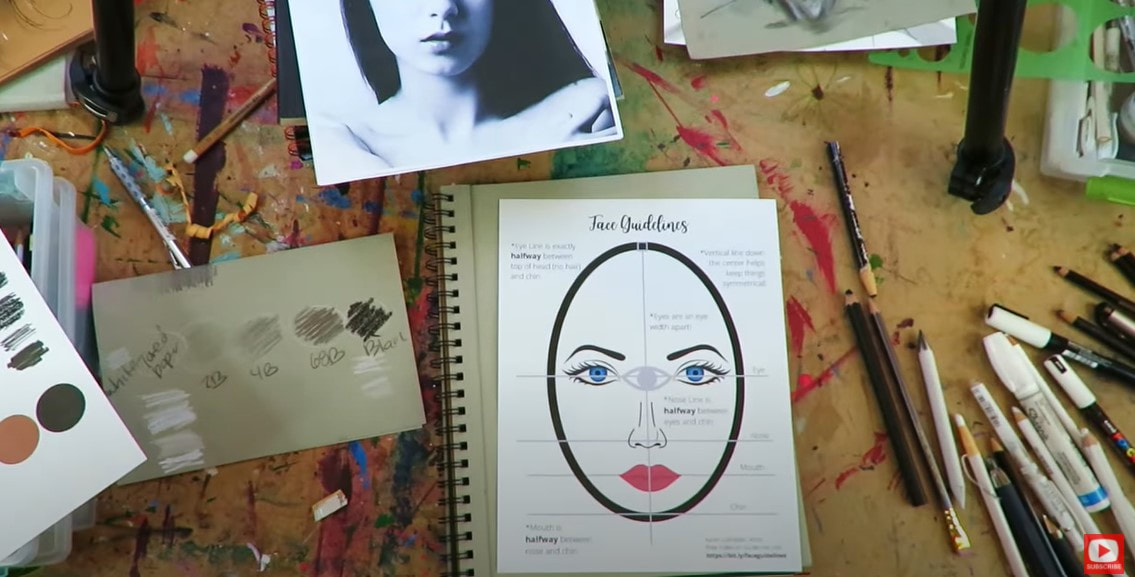
Wanna draw along today, but not quite sure how to draw a face, or how to make the facial features look proportional? It's WAY easier than you think!
Simply click the button below to download my FREE whimsical face drawing guidelines. I never start a face drawing without them! 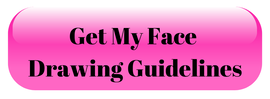
Before we continue, super quick announcement: All product links are Affiliate. I may earn a small commission if you choose to order through these links but by law there is never any additional cost to the consumer for doing so. I thank you for your support.
I've been shading the faces I draw with alcohol markers for years, and
am constantly testing new brands to ensure I'm recommending art supplies with the BEST VALUE for my students over at Awesome Art School. After testing a million brands of alcohol markers, I've discovered expensive isn't always better, and multiple brands of alcohol markers can be used successfully on the same project - regardless of price point. 
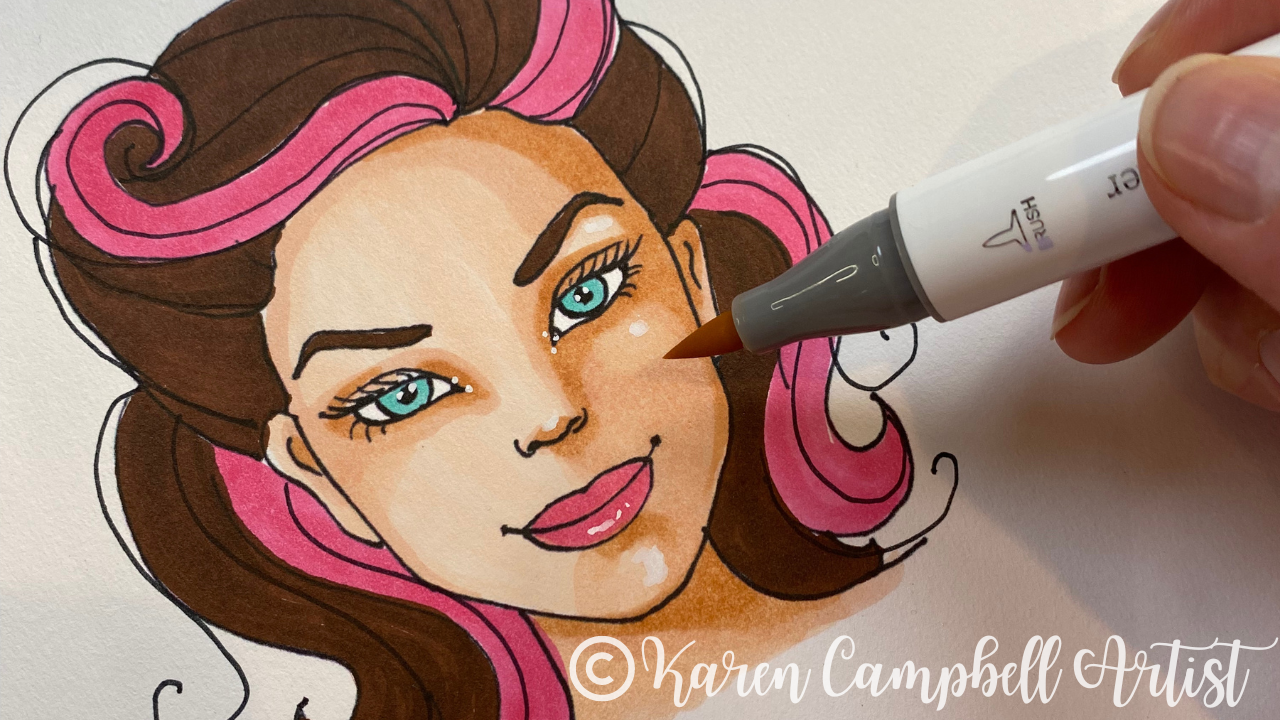
The ProMarker set I'm demo-ing today runs around $30 on Amazon and contains six skin tone alcohol markers. Depending on your budget, this might not sound too bad, until you start comparing ProMarkers to less expensive brands like Ohuhu, which will give you a full 30 more markers for just $9 more!
I don't know about you, but I want MORE COLORS to play with, so will choose that every time! 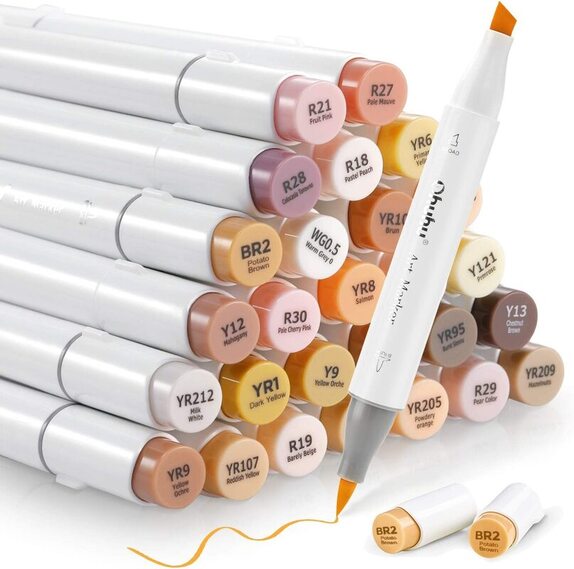
If you're sensitive to smells, you may want to steer clear of ProMarkers. They definitely have more of an odor to them than I notice from my Ohuhus or Copics.
This Promarker set has dual nibs like most alcohol markers. There's a brush tip on one side and a chisel tip on the opposite. Right away I noticed how flexible the brush nib felt. Not sure if I'm gonna love this or get annoyed with it while shading larger areas!
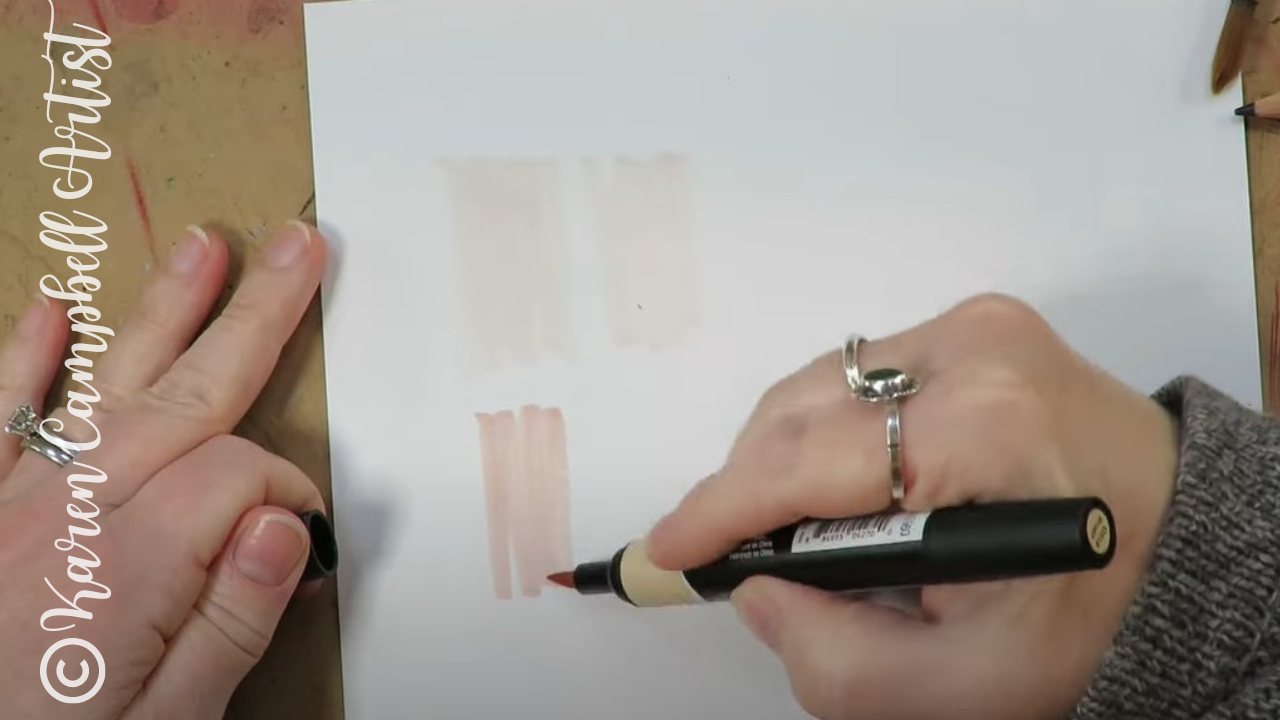
While swatching, I was seriously surprised by the shades Winsor Newton selected for this palette. If you've been following me for a while, or have a copy of my book, Skin Tone Secrets, you know I always recommend selecting three shades of the same color in light, medium and dark to shade ANYTHING.
These subtle variations in color will help give your drawings dimension and make them look more sophisticated. As far as skin tone colors in the Promarkers set of 6 are concerned, I'm not impressed because I can only find two shades in this palette that will truly go together as my light and medium skin tones. The darker markers included are too big of a jump from the medium shades for most artists to use successfully - as you can see below. 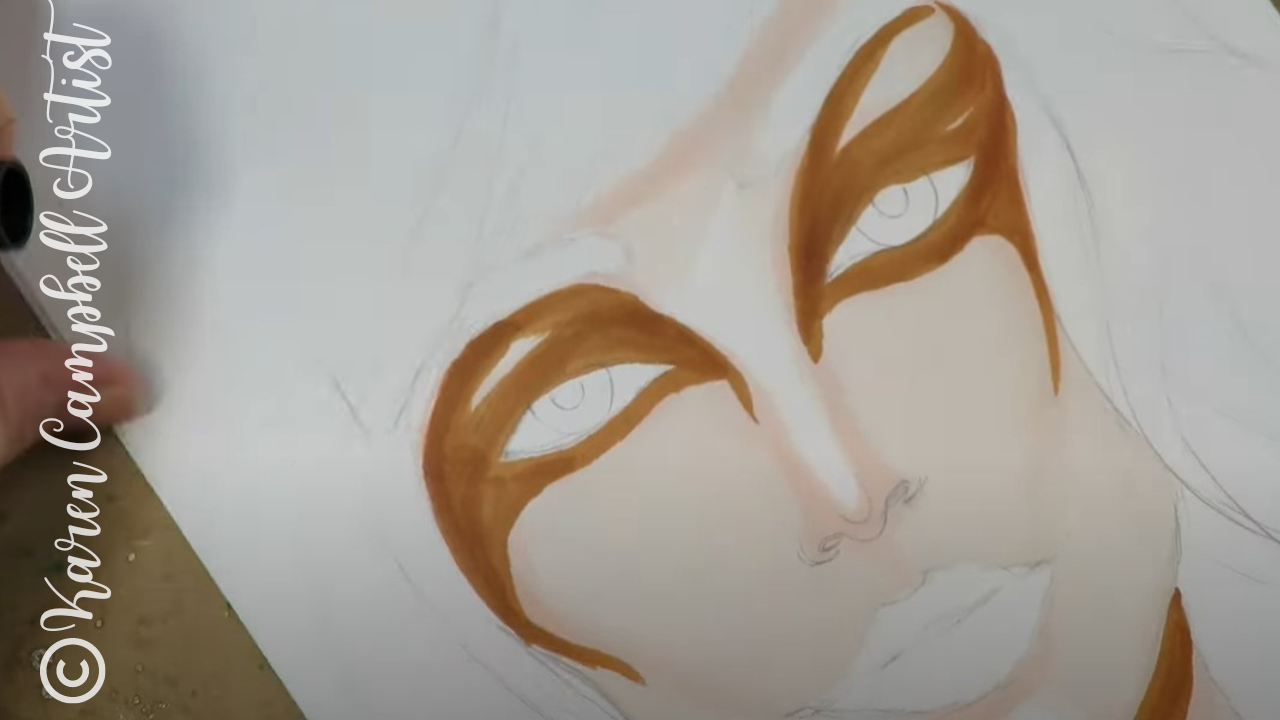
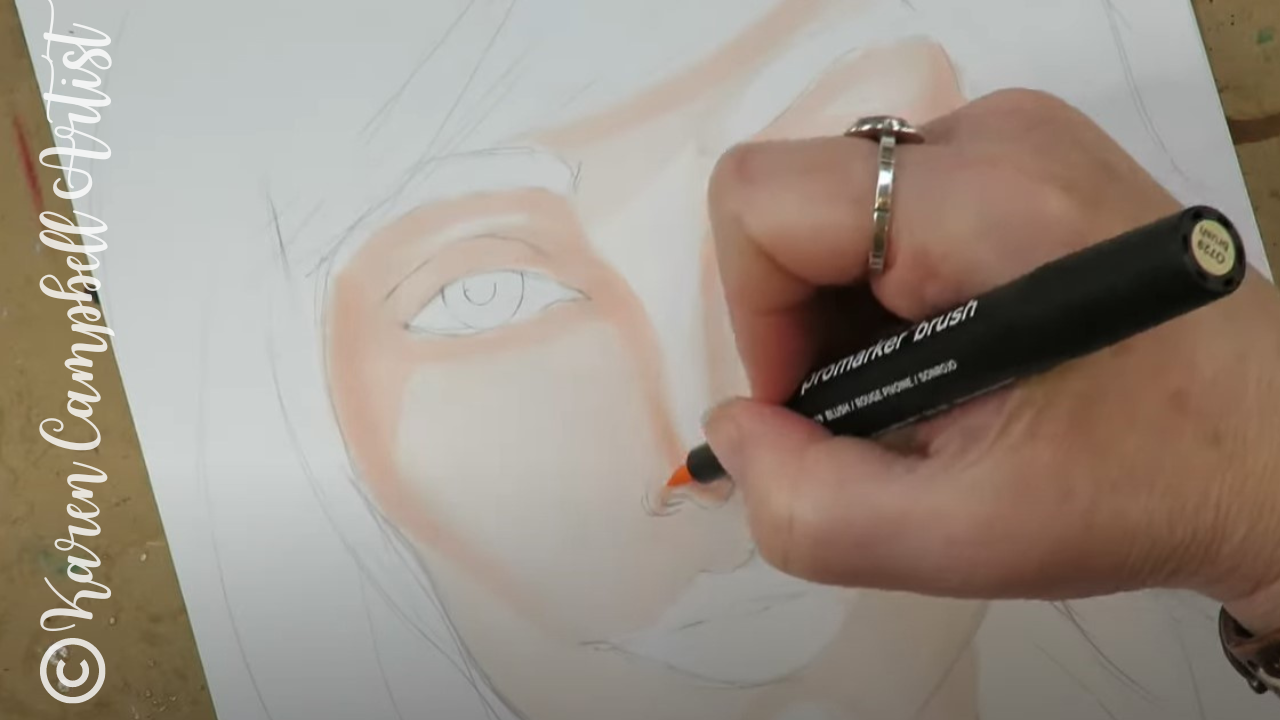
If you watch the video, I'll show you the face chart I selected as today's drawing reference. It has super dramatic makeup in rich fall colors, but my first layer of brown makeup and shadows looks intimidating, even to me!
I keep going though, because I know the only way out of this is more layers of shading, blending, and doodling. If you'd like a copy of today's drawing reference, you can grab that as a PDF in my YouTube & Cheatsheet Library over at Awesome Art School. 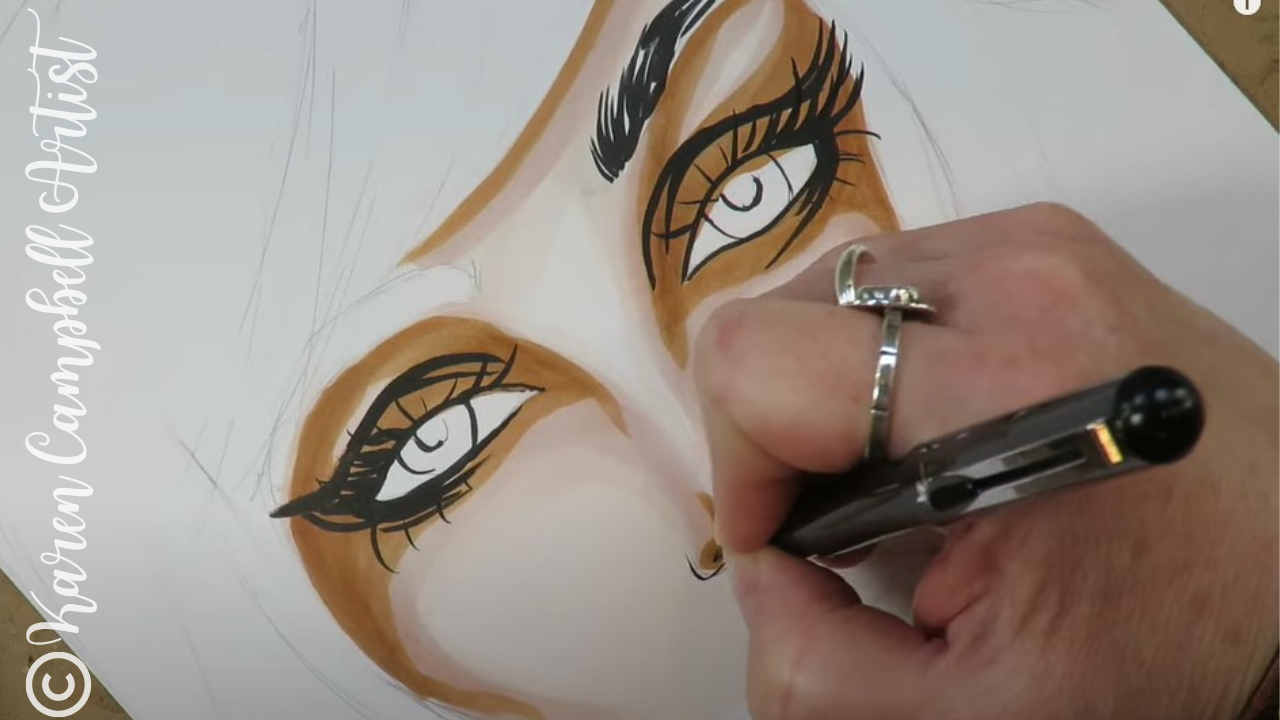
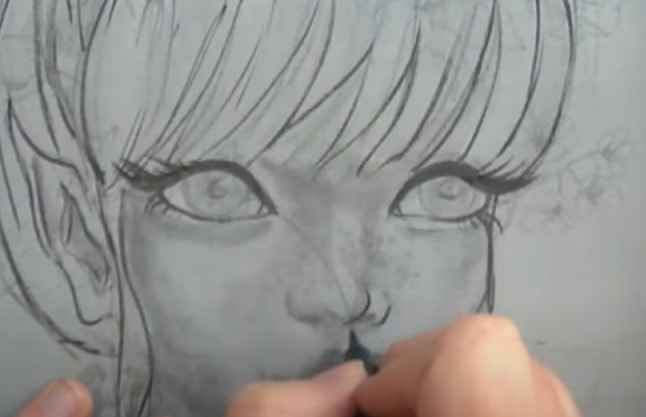
Once I've added detail to the eyes and eyelashes with my Pentel Pocket Brush, the darkest skin tone shading begins to push into the background and becomes less intimidating.
I use my Pentel pocket brush pen for drawing eyelashes on all the faces I draw and paint. It's amazing but has a bit of a learning curve to it. If you need help with it or want to learn how to draw gorgeous eyelashes, check out this video. 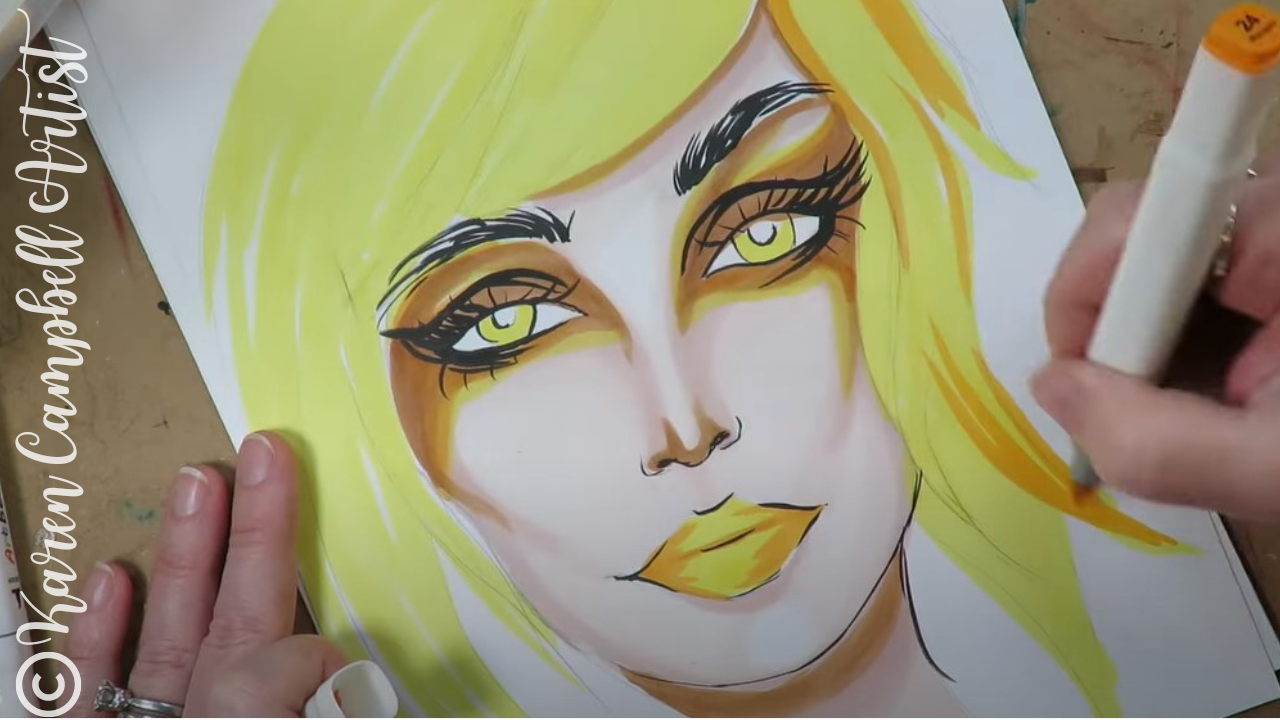
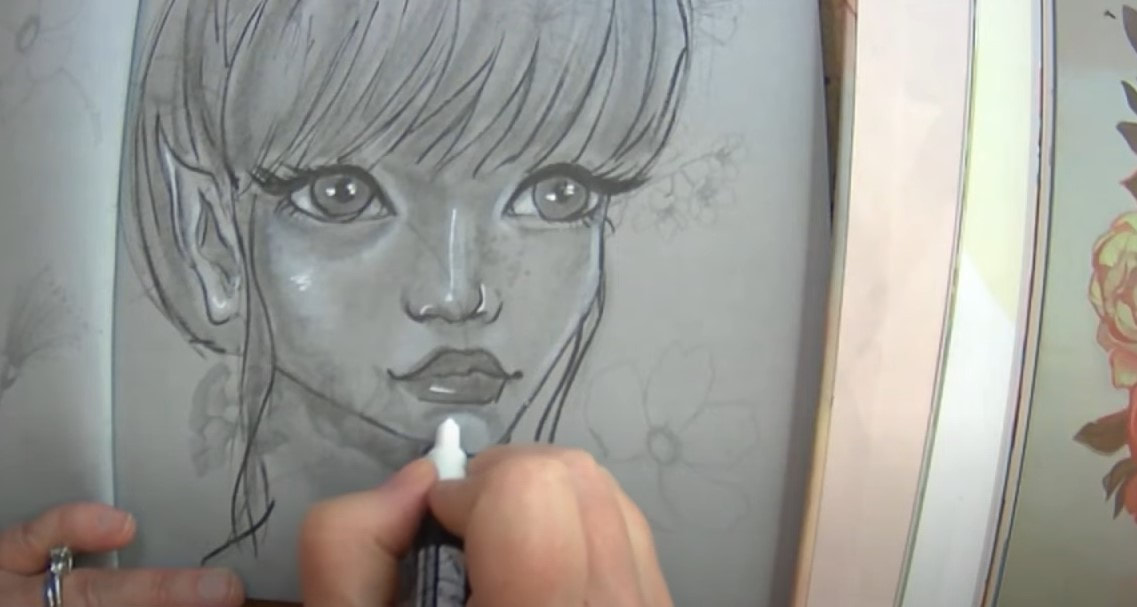
Make sure you click over to the video to get my final thoughts on this skin tone ProMarkers set by Winsor Newton.
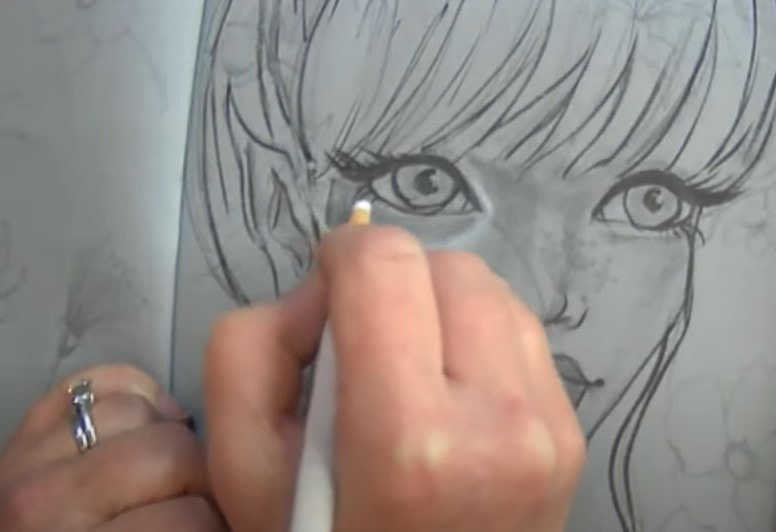
As you'll see, I did end up getting annoyed with the brush nib on these markers. They just felt too flimsy and flexible to me so I switched sides and continued the project with the chisel tip for greater control. 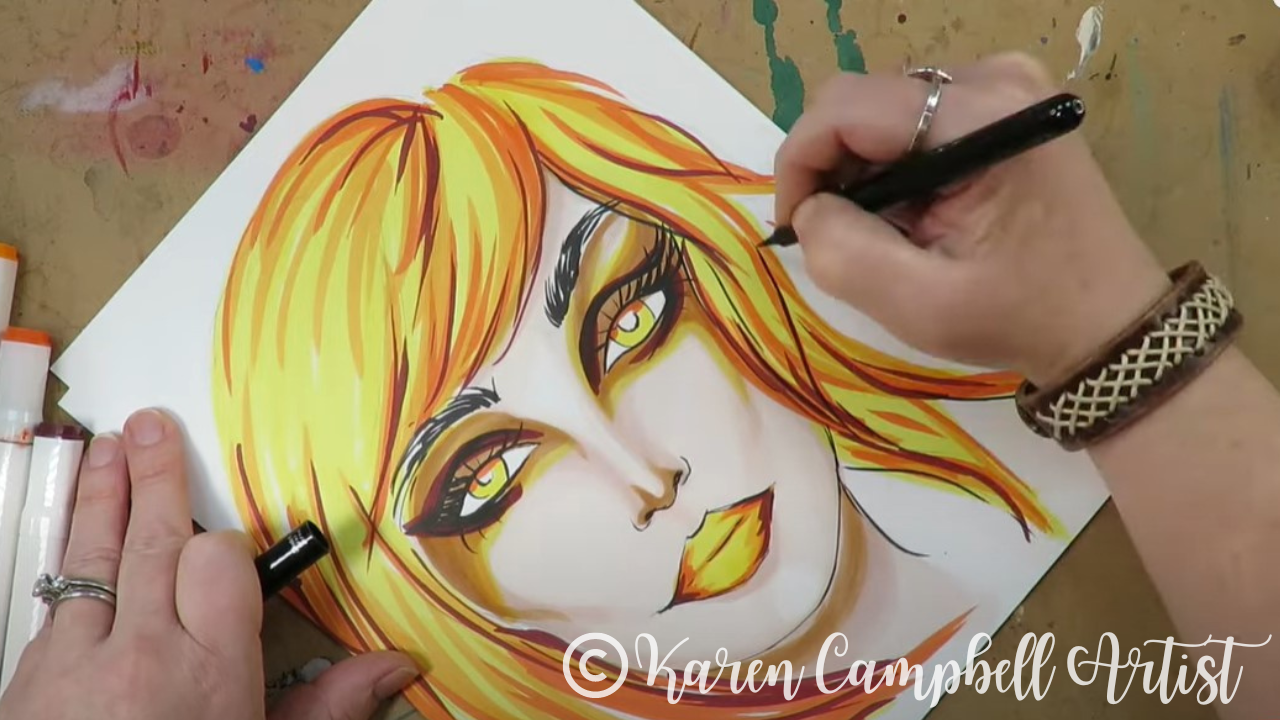
I hope you found today's product review and demo helpful, and I sincerely hope you take a minute to stop and draw along with me in today's video!
See ya next week!!
Need more resources to get your creative juices flowing?
❤️ CHECK OUT ALL my art books on AMAZON ❤️ CHECK OUT ALL my online art classes @ Awesome Art School ❤️ MY FAVORITE ART SUPPLIES on AMAZON (affiliate links) ❤️ MY BELOVED FACEBOOK GROUP
2 Comments
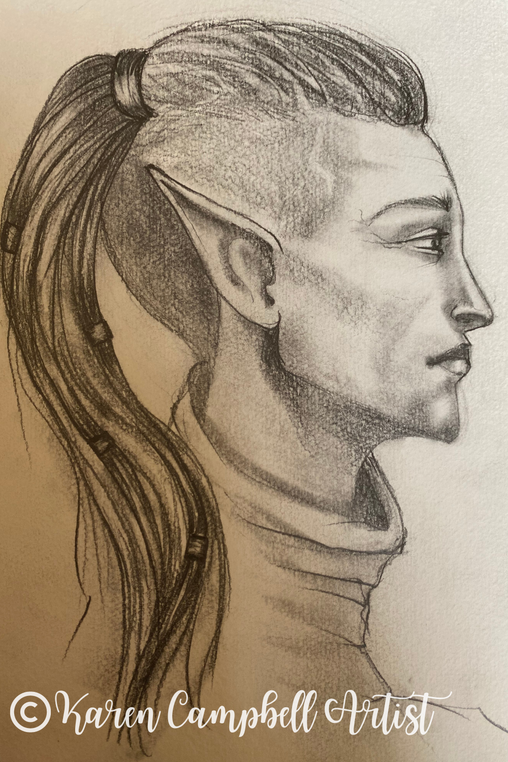
How to Draw ELF EARS in PROFILE on a HOT Male Elf Warrior (#50FunFabFairies Drawing Challenge)8/8/2022
Wanna learn how to draw elf ears in a side profile drawing of a HOT male elf warrior? Heck yeah, ya do! In lesson seven of the #50FunFabFairies drawing challenge, you'll learn how to draw a male face in profile and just how EASY it is to turn him into an elf warrior.
Make sure you bring a blending stump to today's drawing tutorial. I've got TONS of pencil shading and blending tricks up my sleeve to help you shade pencil drawings more quickly & create COOL male fantasy art hair for your own characters! Let's get this party started... 
Want easy access to today's lesson and even MORE fairy drawing ideas? Join my FREE #50FunFabFairies drawing challenge over at Awesome Art School!
Simply click the button below to receive instant access to ALL the fairy reference images for each drawing prompt (including today's elf ears drawing reference!), plus info on supplies, cheatsheets, and more! 
Wanna become a better artist? Do today's lesson (and every lesson of the challenge) five times, making a few creative alterations of your choice, and watch your skills soar as you practice fairy eyes drawing, fairy and elf ears drawing AND fairy hair drawing 50 different ways!
Before we continue, super quick announcement: All product links are Affiliate. I may earn a small commission if you choose to order through these links but by law there is never any additional cost to the consumer for doing so. I thank you for your support.
For today's drawing tutorial I'm working in my favorite 11x14" watercolor sketchbook by Strathmore. The cold press paper has a gorgeous texture to it. Cold press paper is perfect for watercolor and wet mixed media art projects. The texture is also excellent to draw on because it makes shading super easy!
To get us started on our male elf warrior drawing, we first need to sketch in our profile face drawing guidelines. If you know me- you know I'm a stickler for drawing in my guidelines EVERY time I draw a face. Guidelines aren't just for drawing realistic faces. Your whimsical drawings will have a more sophisticated look to them too, because the facial features will be more proportional. 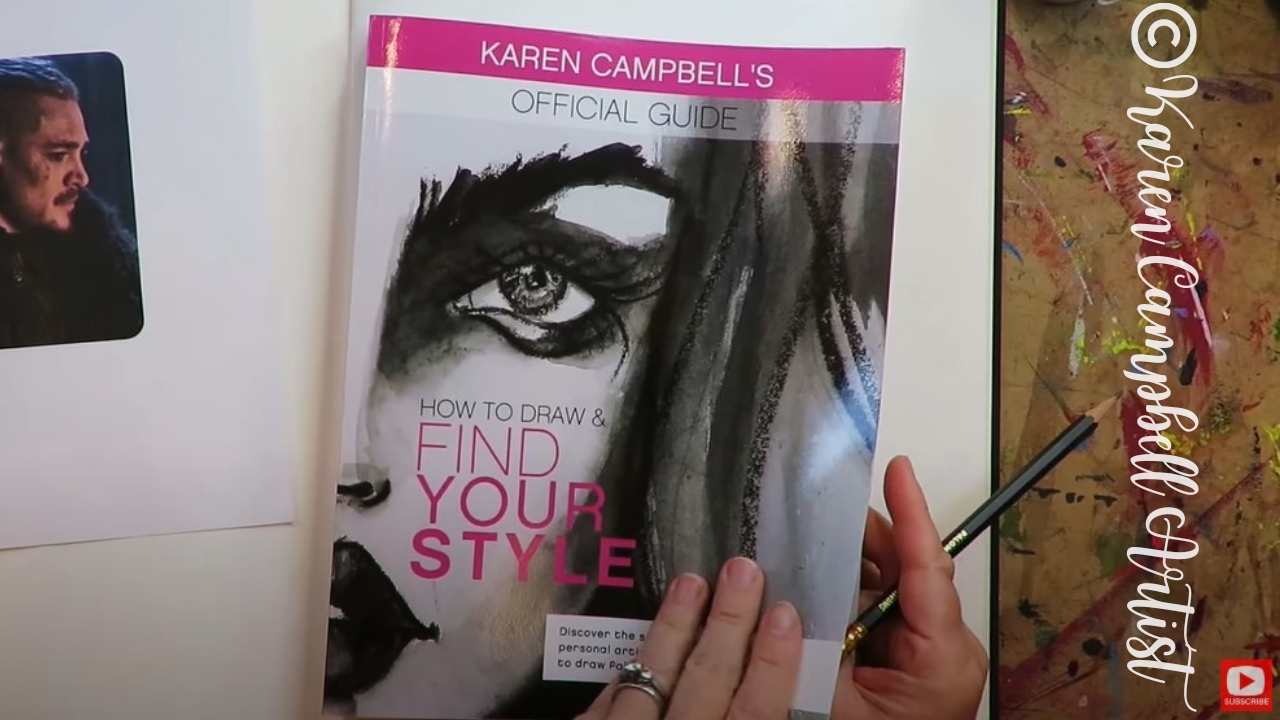
If you're not sure how to do a side profile drawing, you can grab those face drawing guidelines from two of my books (How to Draw MORE Fun Fab Faces and How to Draw & Find Your Style). The book above was on my art table, so I'm using that one in today's lesson. If you've already got this book at home, turn to page 179 to follow along.
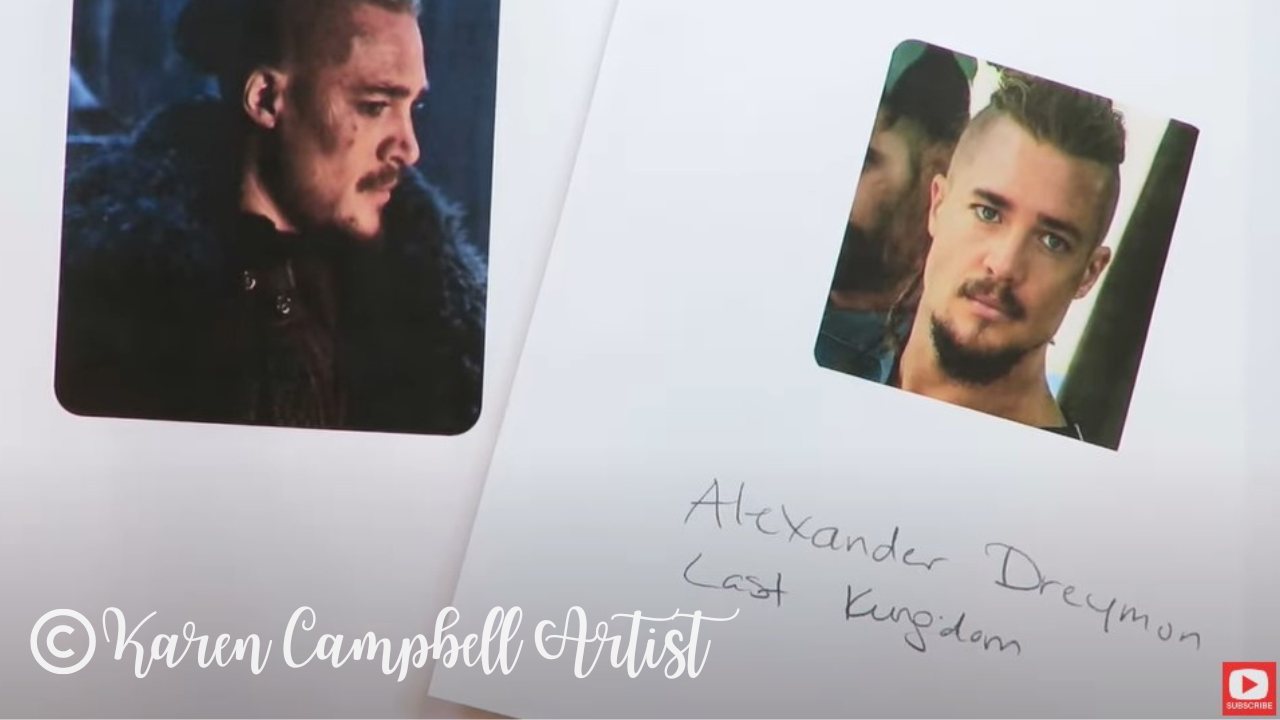
We're using a face drawing reference of Uhtred of Bebannburg (Alexander Dreymon) from The Last Kingdom because I love him and this show. Both the reference image (on the left) and my side profile drawing guidelines are in the FREE #50FunFabFairies Drawing Challenge classroom waiting for you over at Awesome Art School so you can draw along with me.
I love to start my side profile face drawings off by tracing a circle. Some people prefer to freehand this, but I figure why bother wasting time trying to recreate the perfect circle? Trace something and move on already. Am I right?!
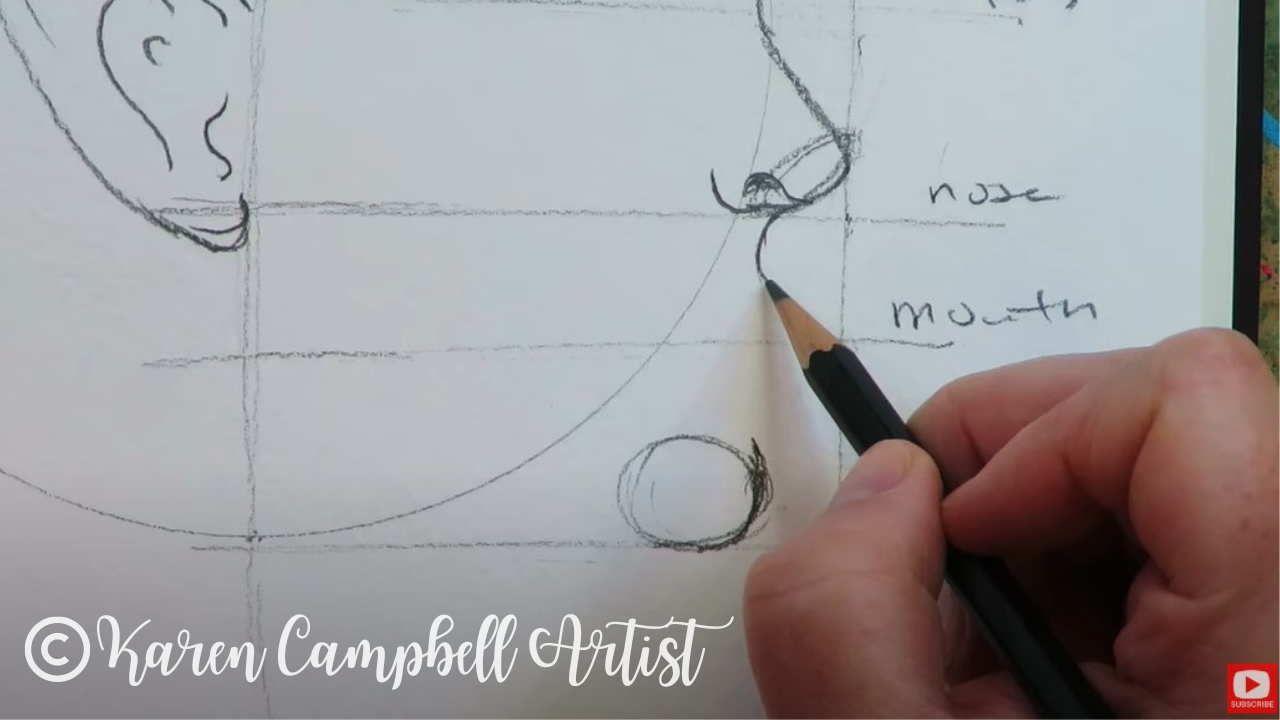
After your circle is sketched in, it's time to mark where your eyes, nose, and mouth will sit. Make sure you click over to watch this while I do it because the placement of these lines is super important.
Not sure how to draw elf ears? Check out how EASY it is in today's step-by-step drawing tutorial. I promise you can totally do this!
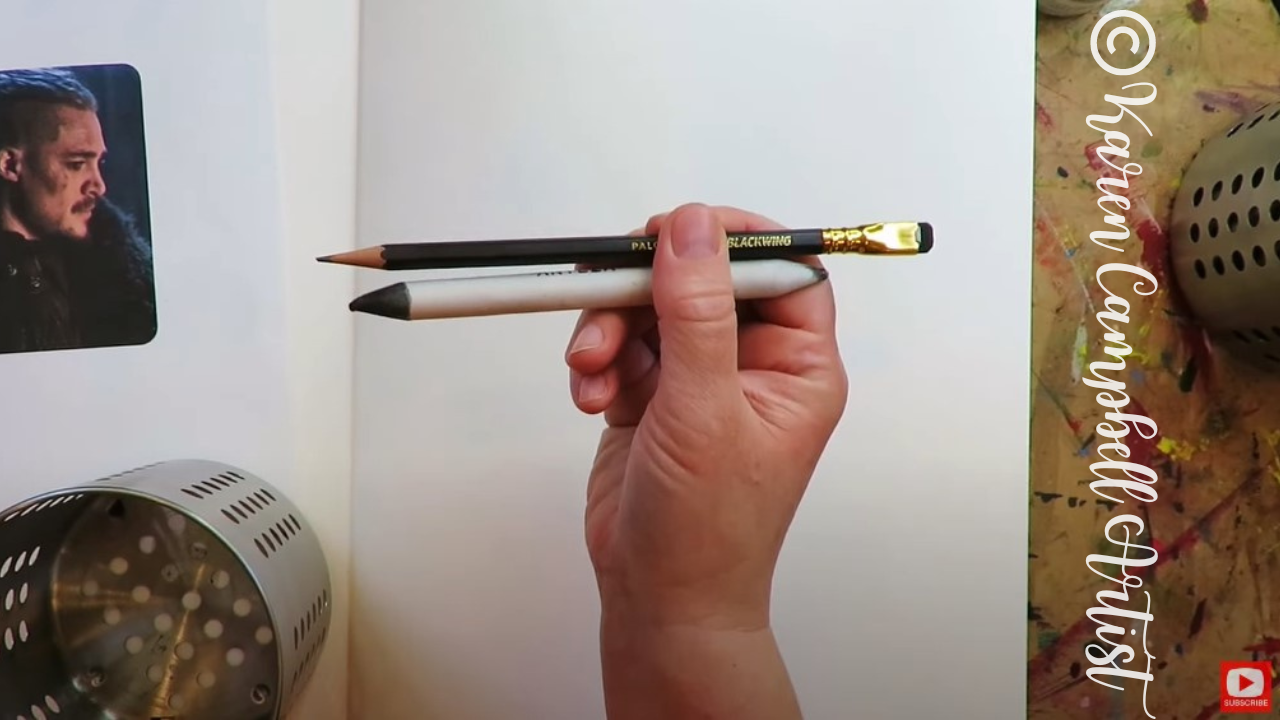
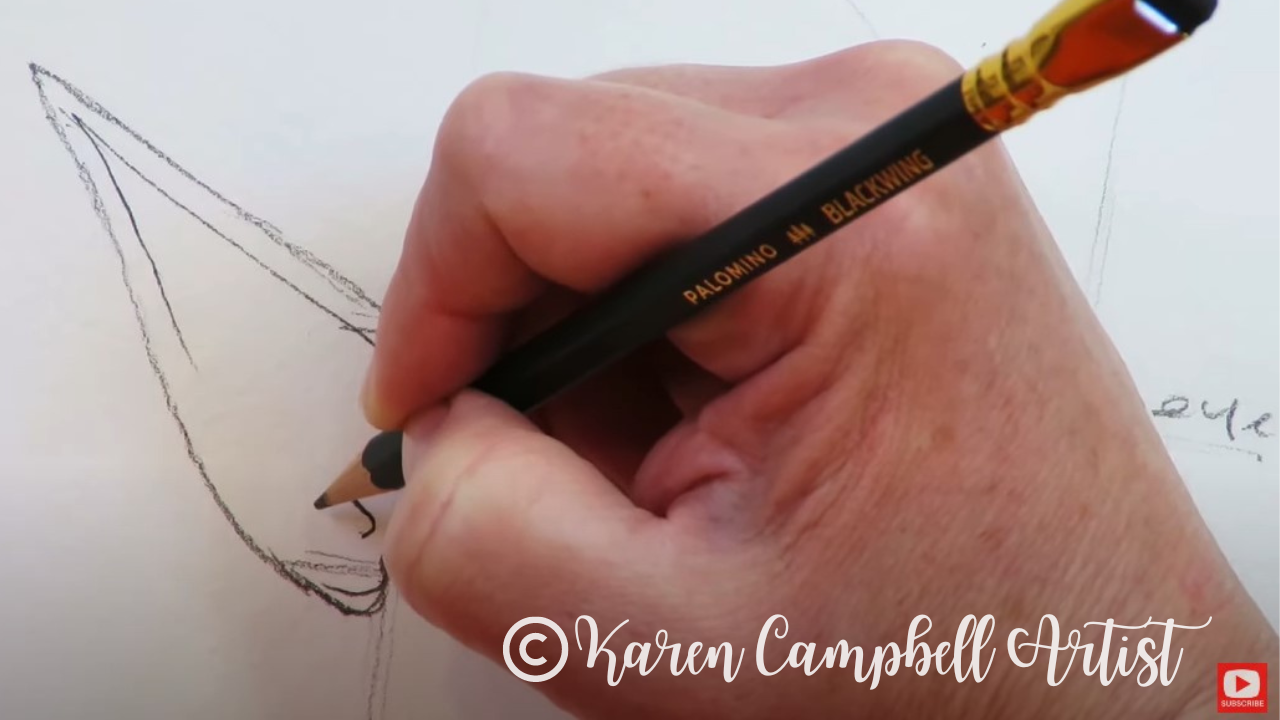
As you can see in the pic above, I'm drawing with my favorite pencil. The graphite is super soft and feels similar to a 6B to work with. One Blackwing pencil will replace an entire pencil set because you can get so many different values from it while you're shading faces just by changing the pressure of your pencil as you draw. 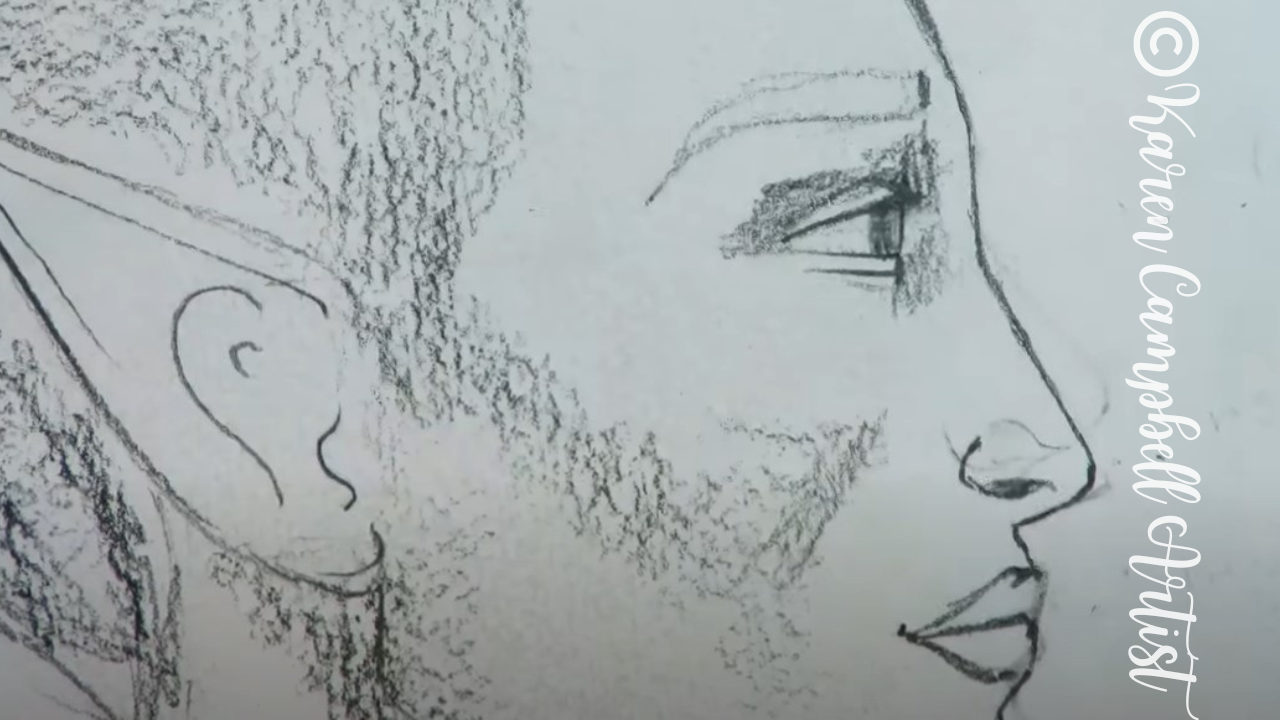
Now before you judge my quick and dirty shading above, I already know if looks like a scribble scrabble mess at this point, but I promise you - when I start using my blending stump- it's gonna get magical.
Tons of students ask me how, or if I clean my blending stumps. The answer is I DON'T clean them ever, because "the dirtier, the better" is my rule as far as blending stumps go. However, if you start blending and feel like you're kinda losing control or your drawing is getting too dark- you can absolutely switch to a cleaner blending stump to lighten things up. You can also knock some of the graphite back using an eraser. I love using my vanish eraser for this, but you can also use a kneaded eraser. 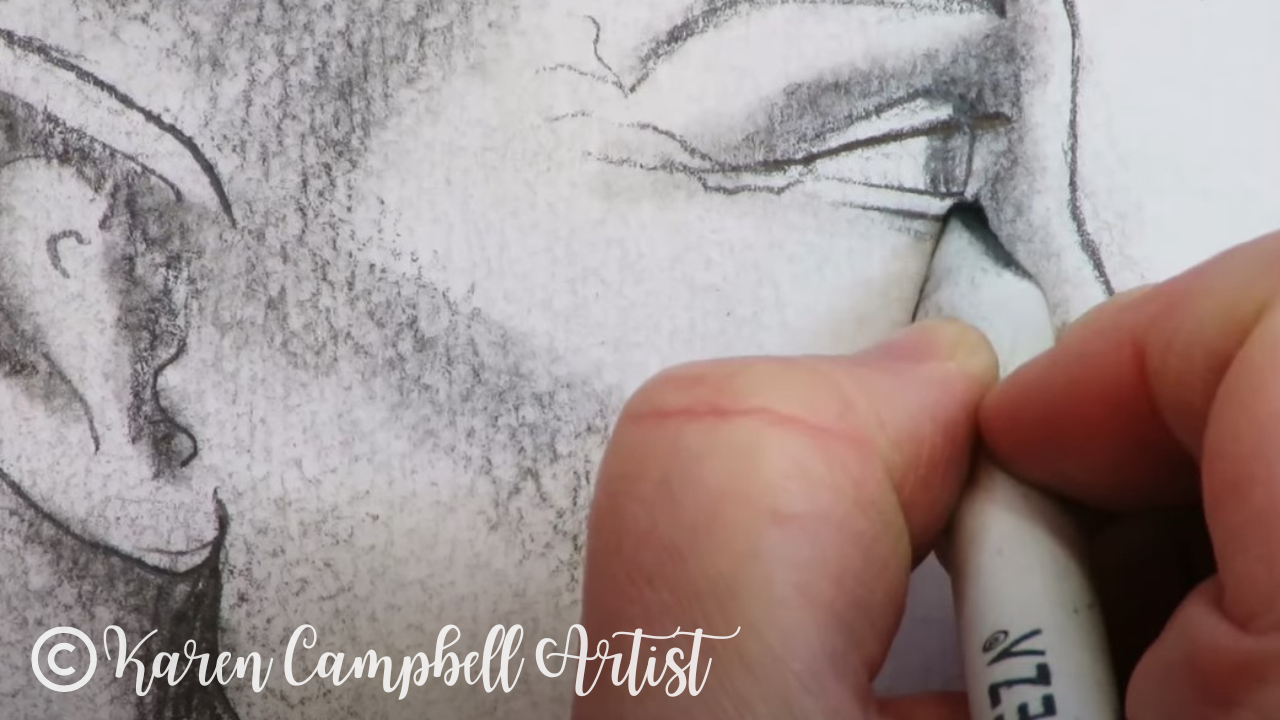
After I've blended in the first layer of shading throughout, I press my pencil down firmly to add some contrast wherever I see dramatic shadows and details in my face drawing reference image featuring the lovely Mr. Dreymon.
When you're ready to work on the hair, make sure you click over to watch this in action because I've got a lot of really cool tips to help you if you don't know how to draw male hair. 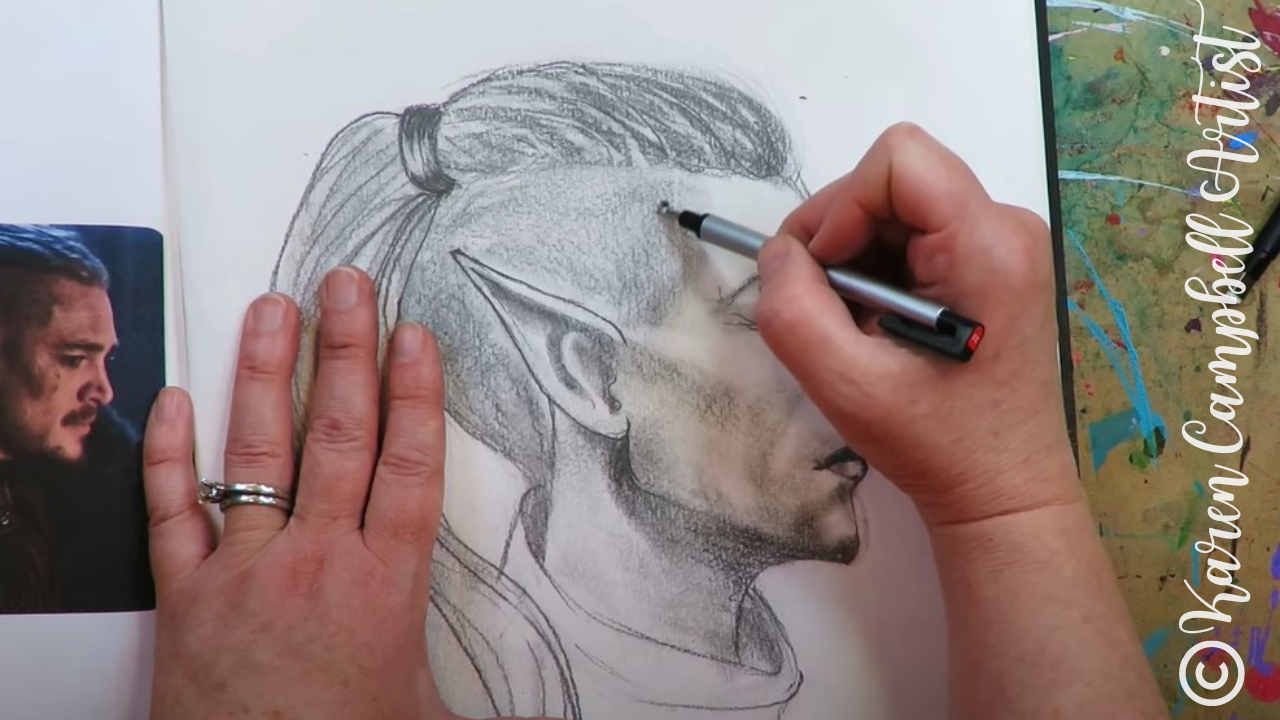
A great tool to try when you're drawing hairstyles is the Tombow Mono Zero eraser (pictured above). It's basically like a mechanical pencil, in eraser form. It's awesome for carving out highlights when you're shading faces too.
I hope you enjoyed today's free drawing tutorial on YouTube. If you're drawing along with me in this series, make sure you share a pic of your work in my Facebook Group with the hashtag #50FunFabFairies for a chance to win giveaway prizes on the 1st of the month :) I can't wait to see what YOU create!
If you're OBSESSED with fairies and fantasy art like me, you might just LOVE the Celtic Collective over at Awesome Art School that I run with my Scottish bestie, Lucy Brydon. Add your name to the waitlist to be notified when it's open for enrollment.
You might ALSO enjoy our podcast 1Scot,1 Not. We talk about everything under the sun to do with Scotland - whether it's historical, fantasy, whatever. Just a quick warning - we have a blast and are totally ourselves on the podcast, which means there is some drinking and swearing. ❤️ CHECK OUT ALL my art books on AMAZON ❤️ MY FAVORITE ART SUPPLIES on AMAZON ❤️ MY BELOVED FACEBOOK GROUP ❤️ FOLLOW ME ON INSTAGRAM
Today's REALISTIC fairy drawing tutorial with watercolor flowers is lesson six of the #50FunFabFairies drawing challenge- featuring Awesome Art School guest teacher, Bryn Nguyen.
A master of the grid drawing method, Bryn will show you step by step how to use this technique to achieve a fairy portrait that looks EXACTLY like any fairy drawing reference image you select! You'll learn how to draw fairy ears in Bryn's whimsical style and how to add colorful, loose watercolor flowers to bring your fairy to life. Enjoy!! 
Want easy access to this and even MORE fairy drawing ideas? Join our FREE #50FunFabFairies drawing challenge over at Awesome Art School!
Simply click the button below to receive instant access to ALL the fairy reference images for each drawing prompt (including today's!), plus info on supplies, cheatsheets and more! 
I'm excited to introduce you to today's Awesome Art School guest teacher, Bryn Nguyen. Bryn is a very accomplished artist with a distinct style (below) that my students and I have been admiring in my Facebook Group for years!
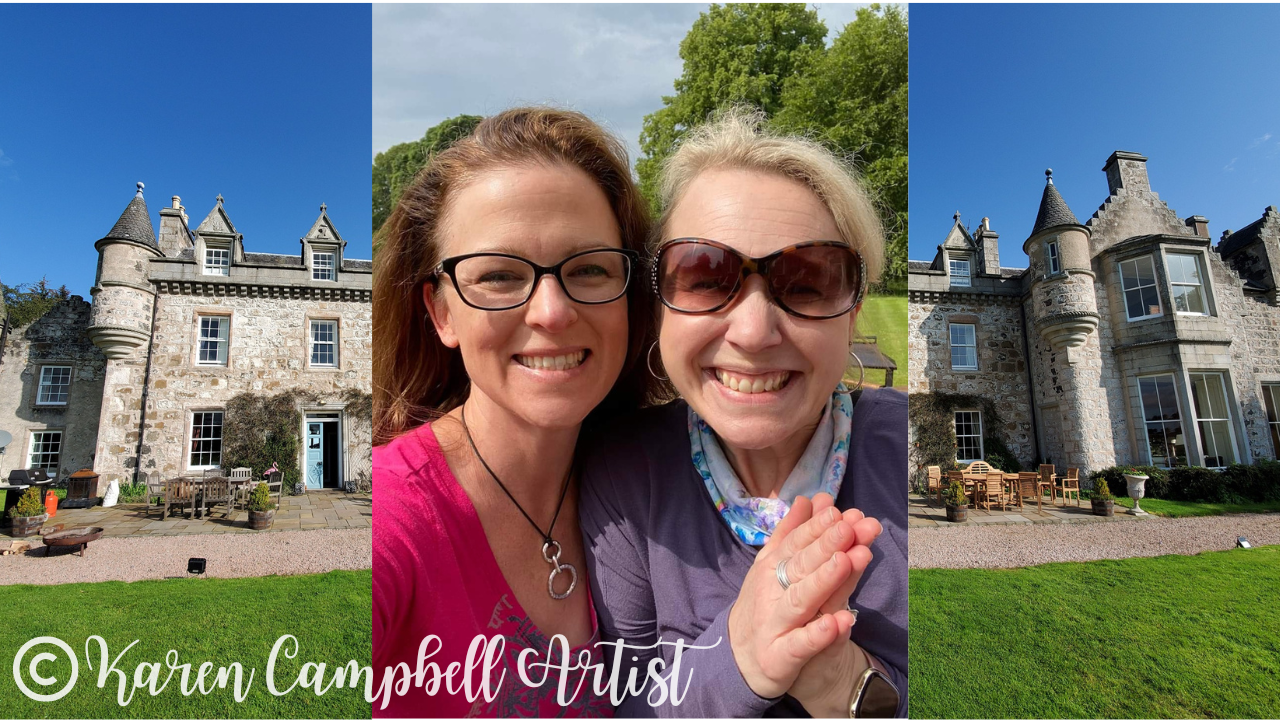
Bryn and I have known each other online for years, but finally got to meet in person for the first time this summer, on my 2022 Scotland Castle Art Retreat at Wardhill Castle with Lucy Brydon!
Before we continue, super quick announcement: All product links are Affiliate. I may earn a small commission if you choose to order through these links but by law there is never any additional cost to the consumer for doing so. I thank you for your support.
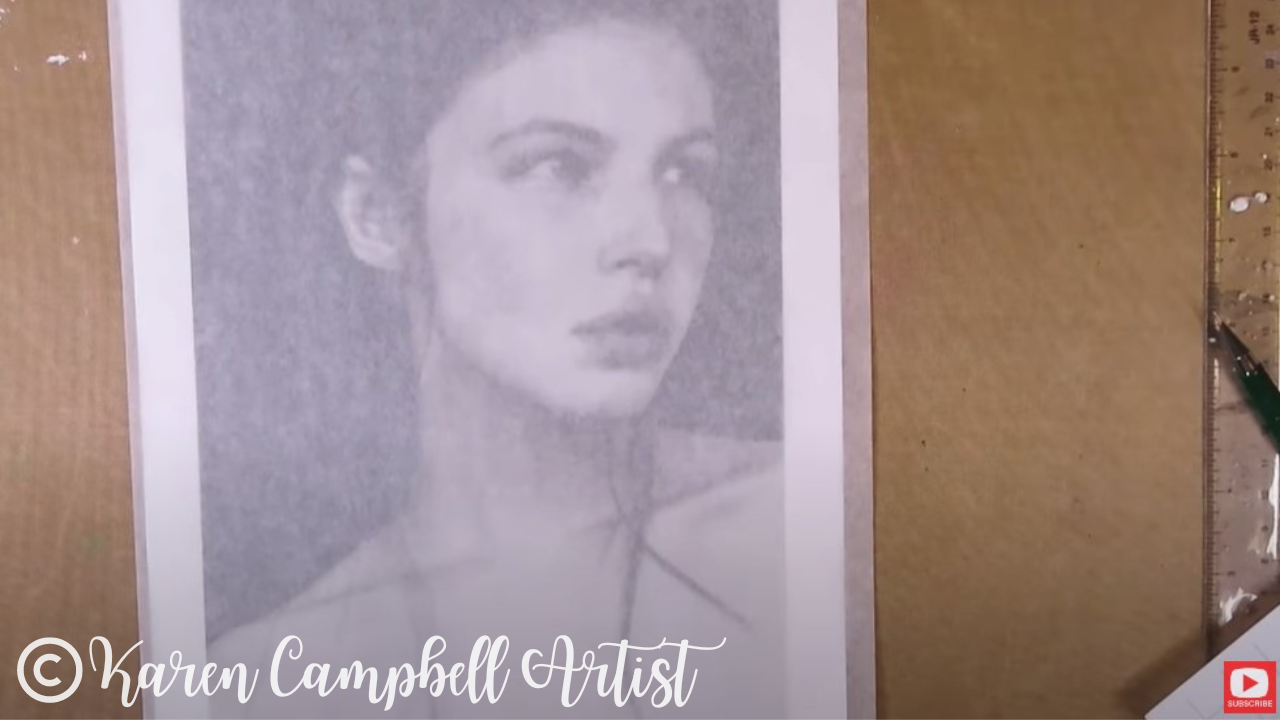
To get us started, Bryn demos how to trace the key lines of a drawing reference image using a sheet of trace paper and a lightboard. This helps her achieve greater accuracy, and she finds the process therapeutic.
You may be wondering why we're tracing today instead of freehand drawing. The freehand drawing part is coming up! As you'll see in the video, this is a great way to zero in on the key features of a drawing reference photo, and removes the distraction of all the shadows and highlights. I've been asked many times over the years if "tracing is cheating" when it comes to art. I believe tracing can be a very effective tool when it's used like it is today to create an original piece of art that's all your own. Check out this video for more of my thoughts on that subject. 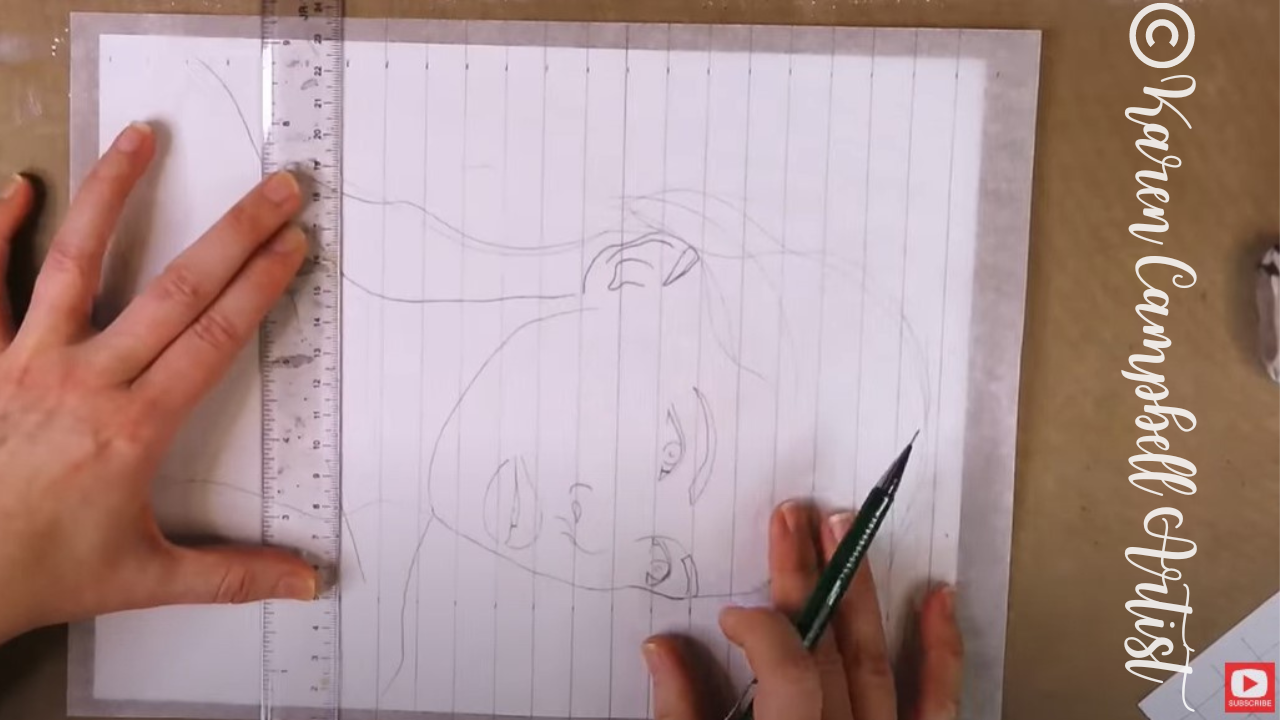
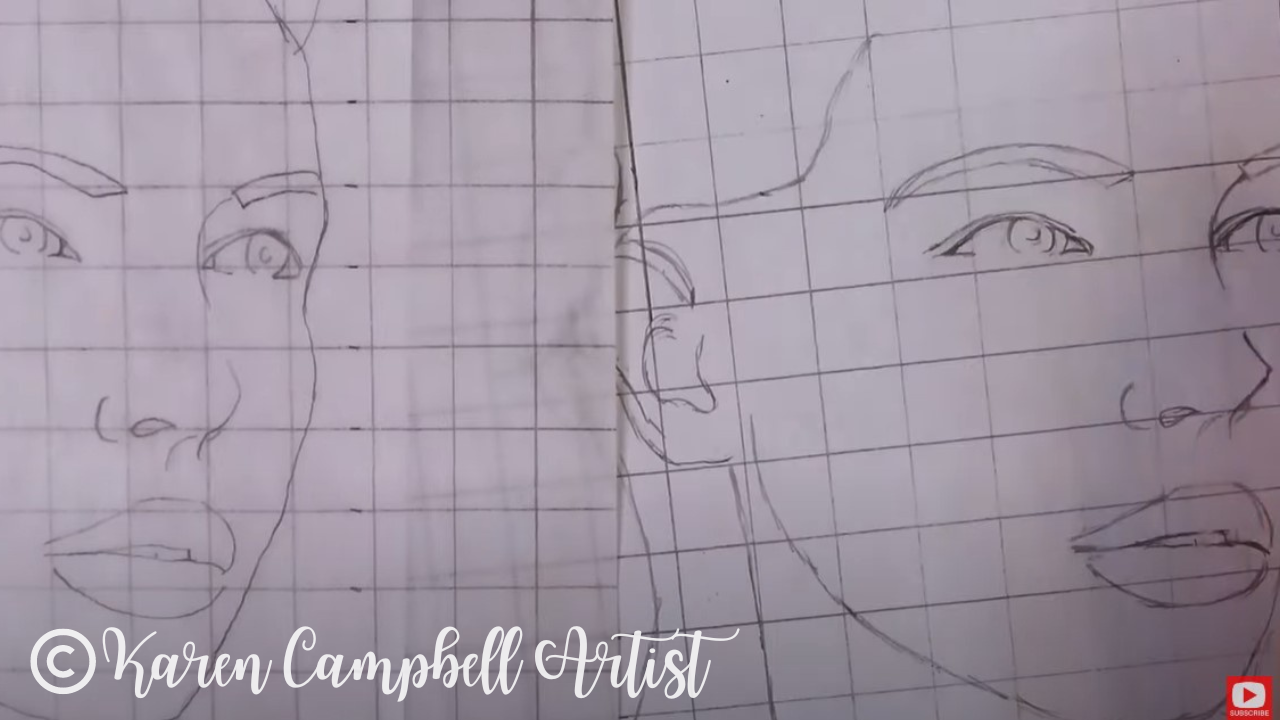
Once her face outline is complete, Bryn explains how to pencil in grid lines over a tracing. She loves to get super detailed at this point and creates 1/2" x 1/2" boxes for this process. Then she transfers what she sees (this is the freehand drawing part!), box by box onto another sheet filled with 1/2" squares.
If you'd like to learn Bryn's process in even greater detail without time-lapsed (sped up) video, Bryn is a guest teacher in The Fun Fab Drawing Club with me over at Awesome Art School in my Realistic Face Drawing classroom. Add your name to the waitlist here to get notified when the Fun Fab Drawing Club is open for enrollment.
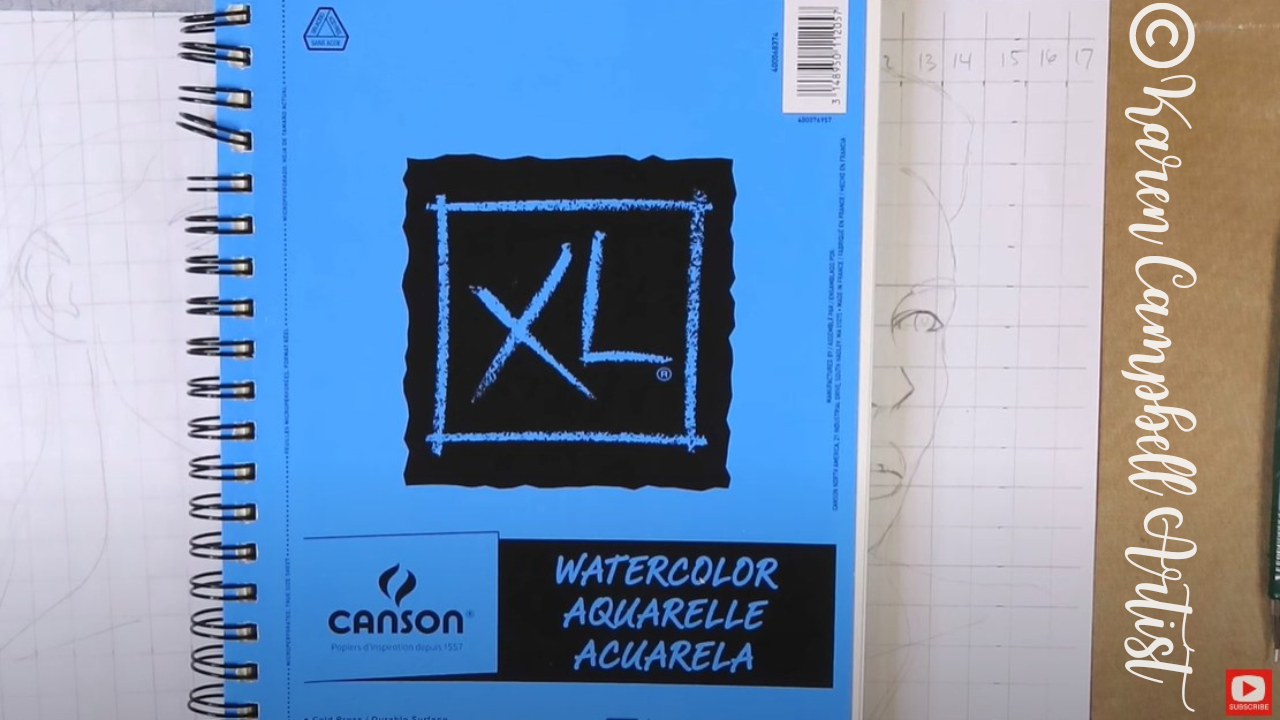
Since Bryn plans to add loose watercolor flowers to her fairy drawing, she needs watercolor paper. Today she's using a sheet of 140 lb. cold press (textured) watercolor paper by Canson. Bryn enjoys working small, so cut a sheet of this paper in half for today's project.
Make sure you watch the video to see exactly how Bryn transfers a scaled down printout of her original drawing to watercolor paper using graphite transfer paper. 
I LOVE using transfer paper as well when I'm doing watercolor portraits because this process really saves my paper.
If you do a freehand drawing from scratch directly onto your watercolor paper, you risk wrecking your paper from tons of erasing. Drawing from scratch on another sheet of paper first (even plain old printer paper!) and transfering your finished drawing to watercolor paper is totally the way to go. 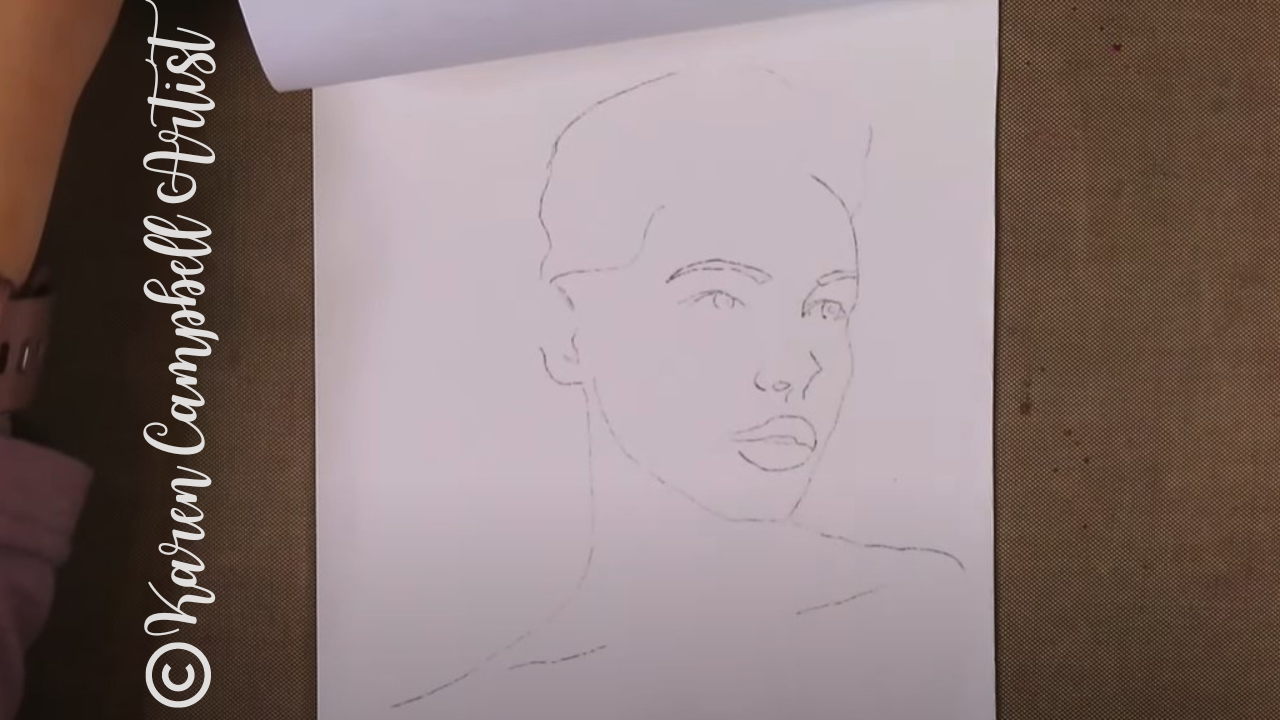
As you'll see in the video, Bryn uses a kneaded eraser to lift some of the bold graphite lines from her watercolor paper once her transfer is complete. This is a great tip, because if you skip this step, your watercolors can smear the graphite and turn brown.
When Bryn's finished with erasing, she uses a purple Copic multiliner (in .5) to outline portions of her drawing. This fineliner is non watersoluble so it will stay put once watercolor is added. Notice how Bryn doesn't add fineliner to each and every line of her drawing, and sometimes only outlines a piece of each line. This technique really adds a sophisticated look to her artwork. 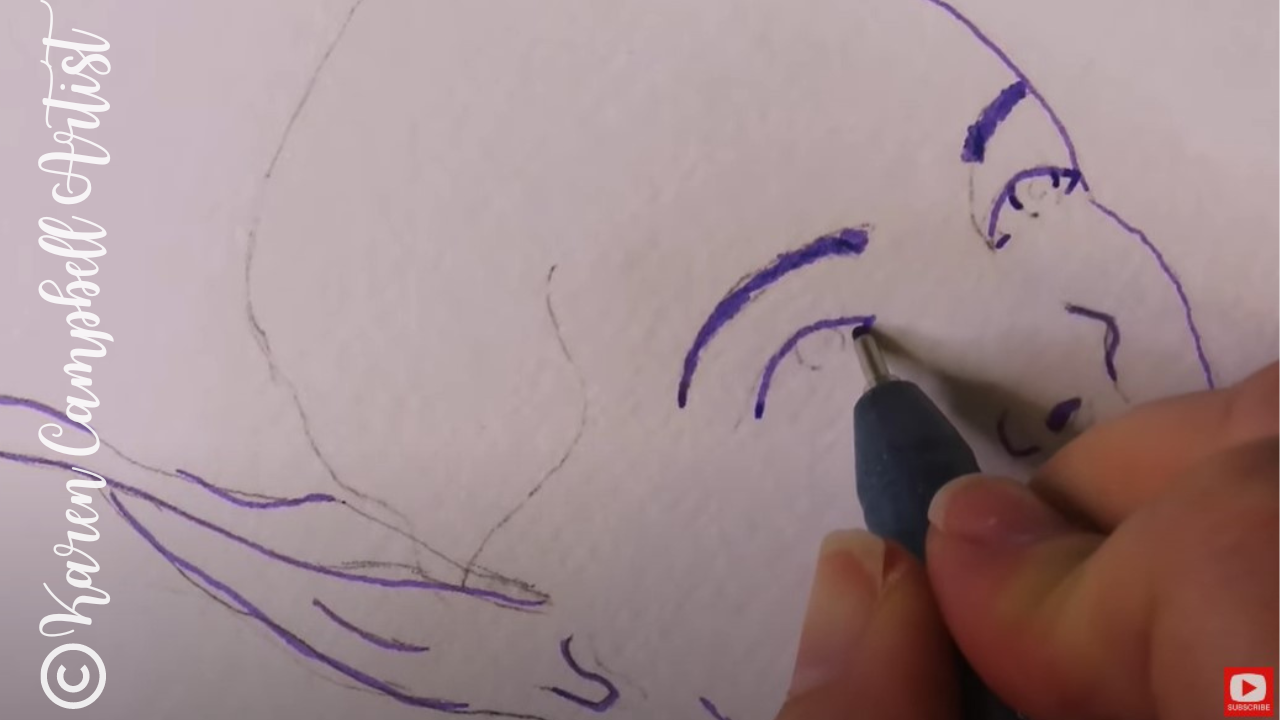
Once the ink is totally dry, you can erase any remaining pencil lines, and get ready to add watercolor! Bryn is using "The Classics" watercolor palette by Prima today for this project, but you can use any kind of watercolor you like. I typically use Daniel Smith watercolors, and have a wide variety of my favorite shades recommended for you in my Amazon shop if you need ideas.
If you need help starting a Daniel Smith watercolor collection of your own, check this video out to learn about Daniel Smith dot cards to inexpensively discover YOUR favorite shades, and this one to start your first Daniel Smith watercolor collection. 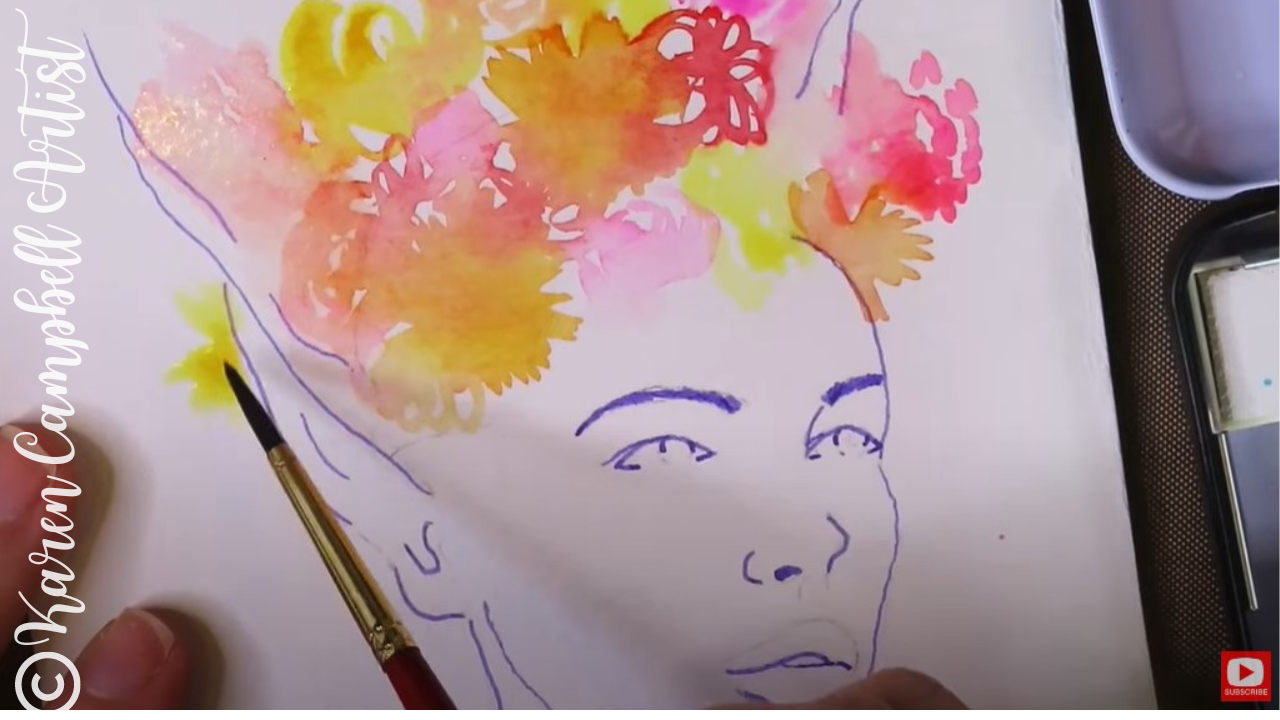
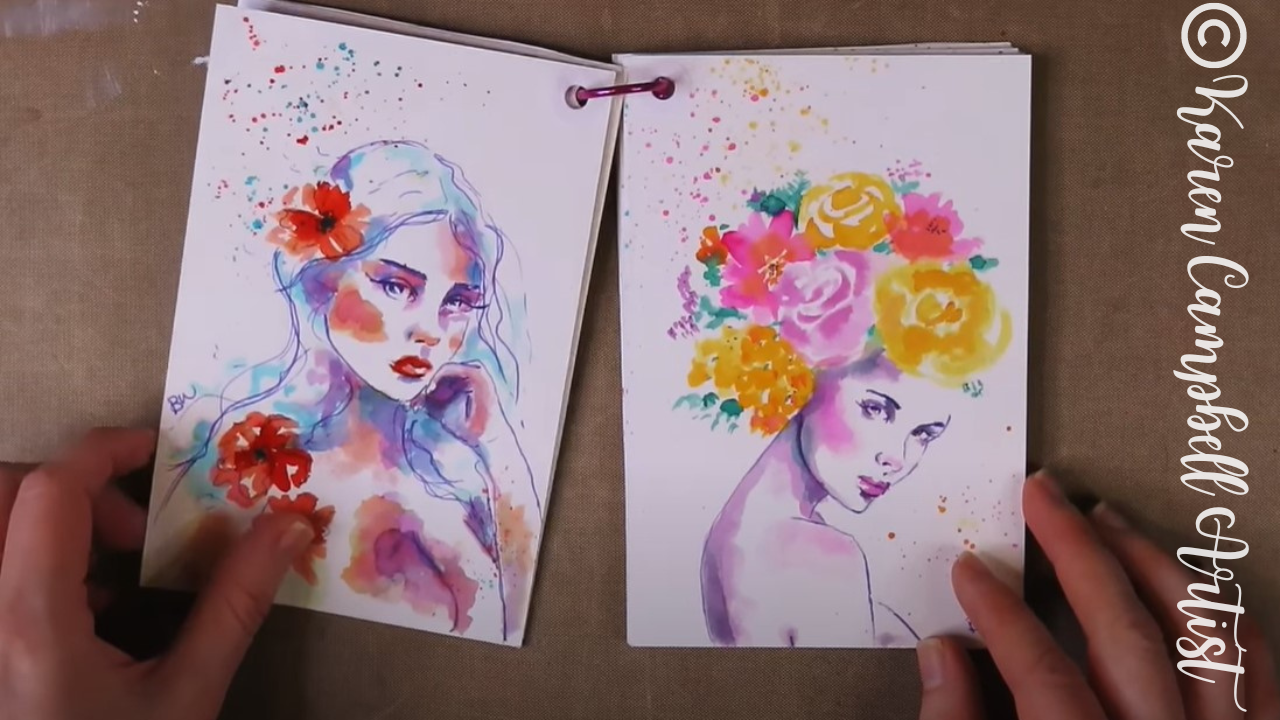
To create loose watercolor flowers on a tiny scale, Bryn uses a #3 round watercolor brush and adds abstract doodles of color in spikes and swirls to indicate flowers. Watch this process in the video because each moment has been recorderd step by step so you can paint along from home.
After the first layer of watercolor is dry, Bryn darkens portions of the flowers to add contrast, and adds bits of yellow green throughout to suggest foilage and leaves.
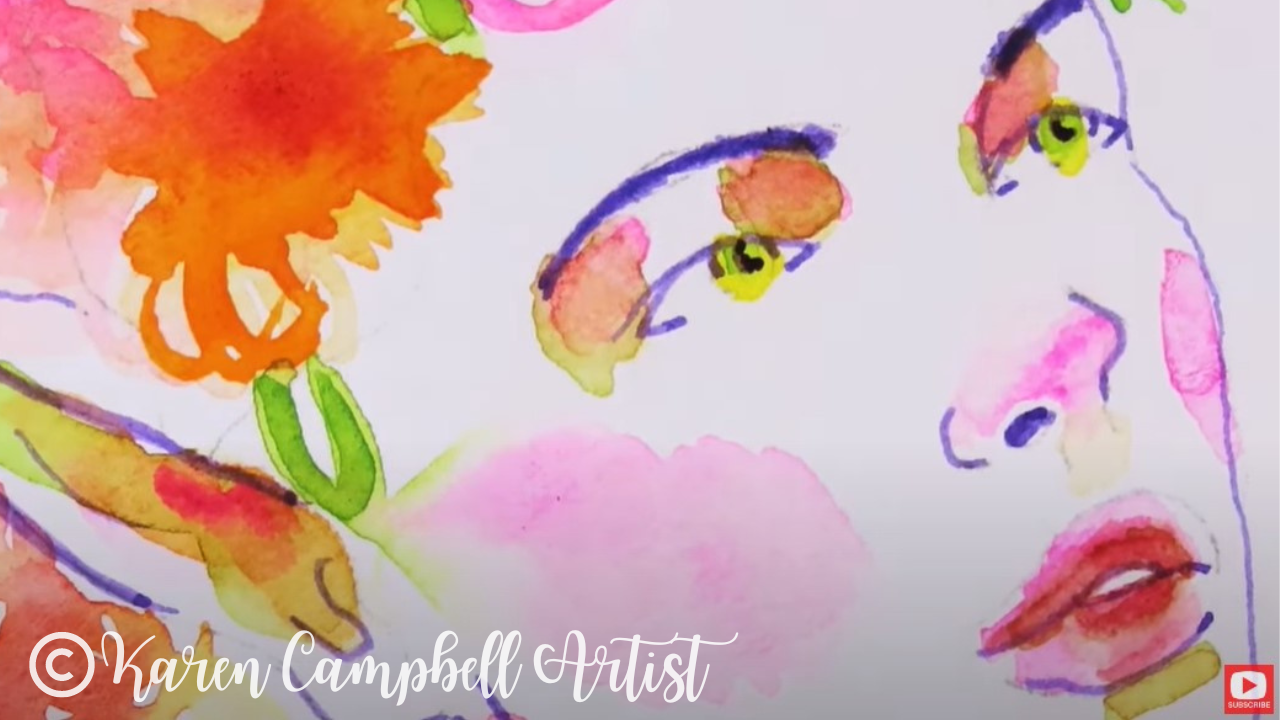
For the skin tones on her fairy's face, Bryn adds in layers of pink from her existing palette. Once these layers are dry, she adds a light layer of yellow green to indicate the darkest shadows.
I LOVE this look! Just make sure your original layers are FULLY dry before doing this at home, so your colors don't turn into brown. 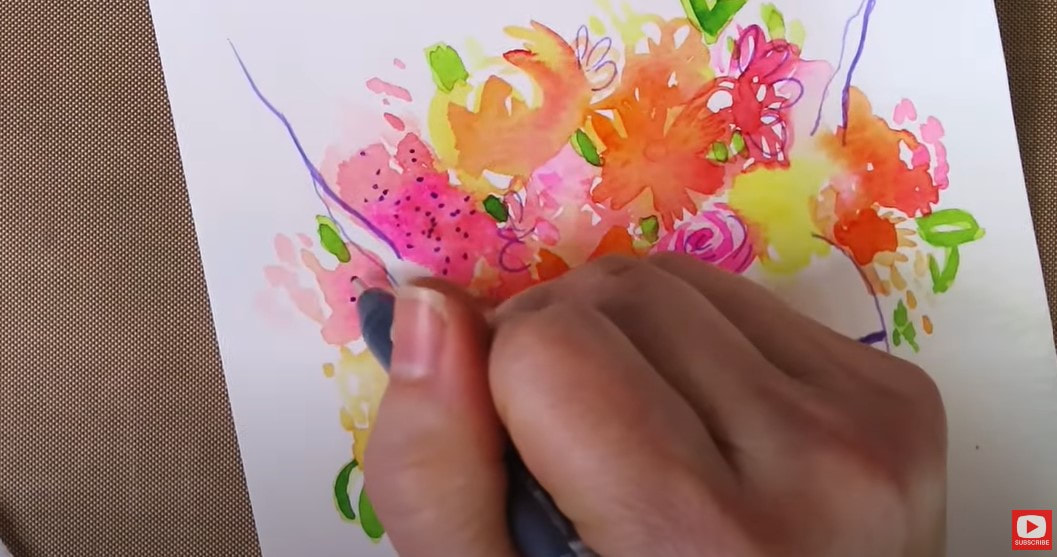
Next, Bryn thickens a few of the lines from her original drawing using her copic multiliner (above), and draws in a few light embellishments throughout her watercolor flowers to tie things together.
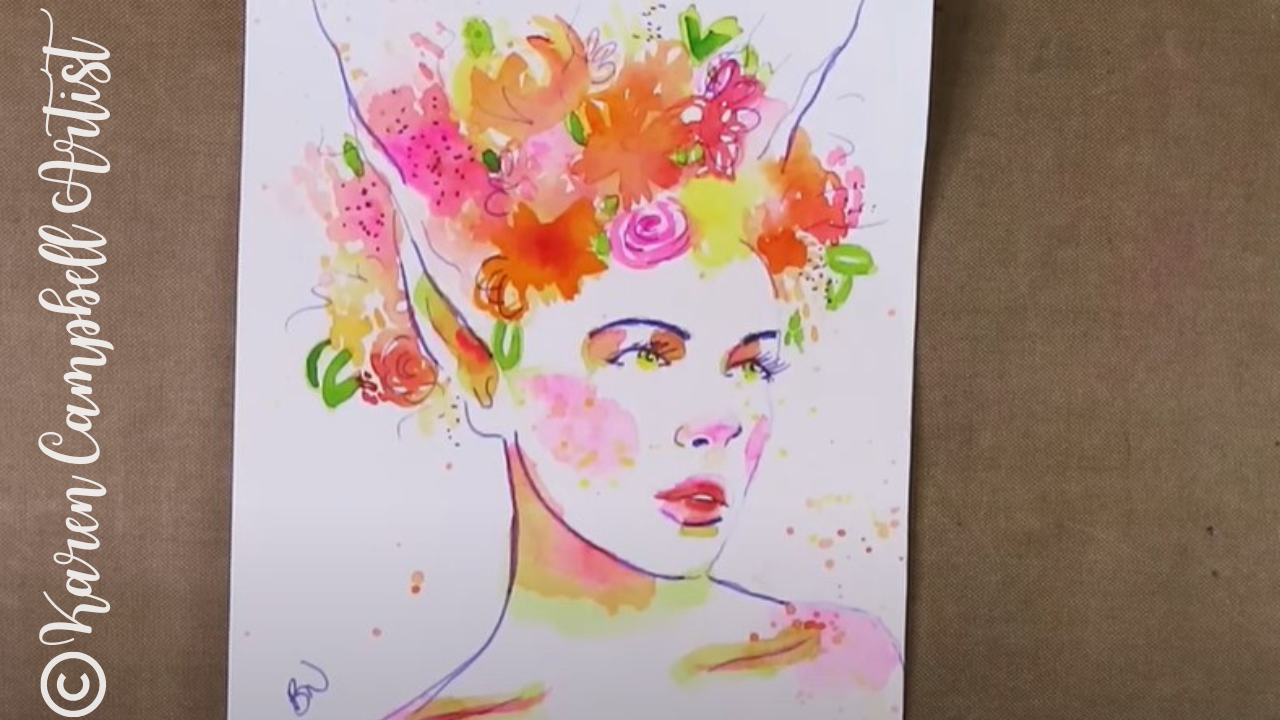
To finish her fairy, Bryn adds a little watercolor splatter paint. I LOVE this effect too!! The key to getting this just right is having a really wet brush. Watch the video to see this technique in action, and paint along with Bryn in real time!
Thanks for hanging out with us today! We hope you have fun with lesson six of the FREE #50FunFabFairies drawing challenge!
If you're OBSESSED with fairies and fantasy art like Bryn and I are, you might just LOVE the Celtic Collective art club over at Awesome Art School.
Add your name to the waitlist to be notified next time we're open for enrollment, or when there's a club member cancellation so you can join in the fun with us! ❤️ CHECK OUT ALL my art books on AMAZON ❤️ MY FAVORITE ART SUPPLIES on AMAZON ❤️ MY BELOVED FACEBOOK GROUP ❤️ FOLLOW ME ON INSTAGRAM FUN & EASY Male Fashion Illustration Sketches like Christopher Hart! [Perfect for Beginners]12/4/2022
Feel like adding some MALE fashion illustration sketches to your sketchbook? I hear ya! I LOVE drawing female faces & fashions. But every once in a while- I like to mix things up and draw a dude.
Today we're sketching an EASY fashion illustration figure in pencil, and coloring him in with alcohol markers. He's simple enough to do even if you've never tried fashion figure sketching before. Grab a pencil, some markers & come draw with me! 
If you're new to drawing and coloring with alcohol markers, or have a brand new set of markers, make sure you grab my FREE Swatch Sheet so you can swatch your markers out before we get to the coloring portion of today's project. Simply click on the button below, and I'll send it straight to your email!

Before we continue, super quick announcement: All product links are Affiliate. I may earn a small commission if you choose to order through these links but by law there is never any additional cost to the consumer for doing so. I thank you for your support.
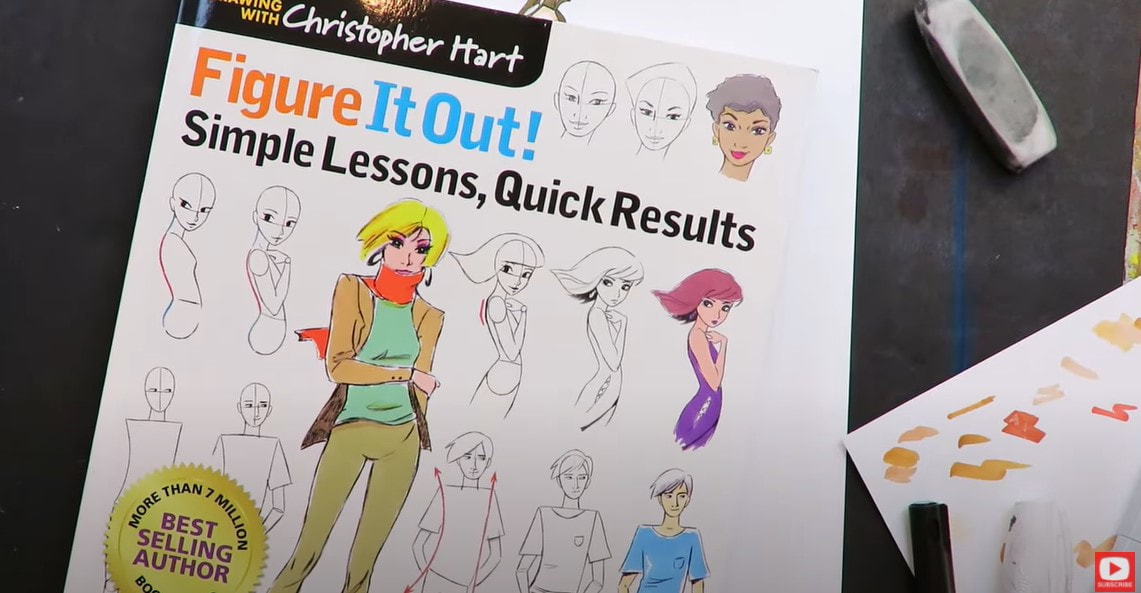
I can't wait to show you a flip through of the fashion sketching book that inspired today's video, Figure it Out! Simple Lessons, Quick Results by Christopher Hart. It's literally filled with lessons & drawing references that will keep you drawing for days.
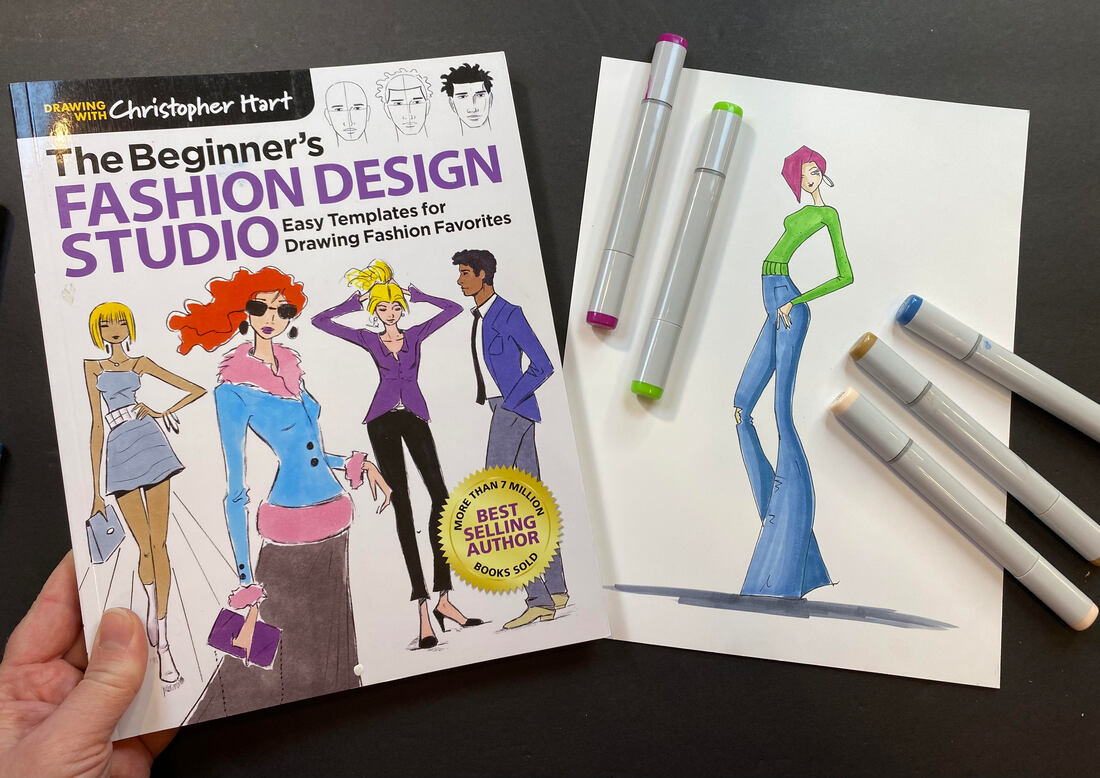
A couple of weeks ago I did a female fashion sketch tutorial inspired by another one of Christopher Hart's books (I have ELEVEN of them because I LOVE him that much!). SO many people in my Facebook group were drawing along with me and I just loved it, so decided I had to do another one!
There are so many ways to draw the figure. I'm actually writing a new book right now about how to draw figures using my own Quadrant Method (check this video out if you want to see how the Quadrant Method works for figure drawing).
As I said in my previous Christopher Hart project video - I LOVE his instruction. It's clear, concise, and simple to follow.
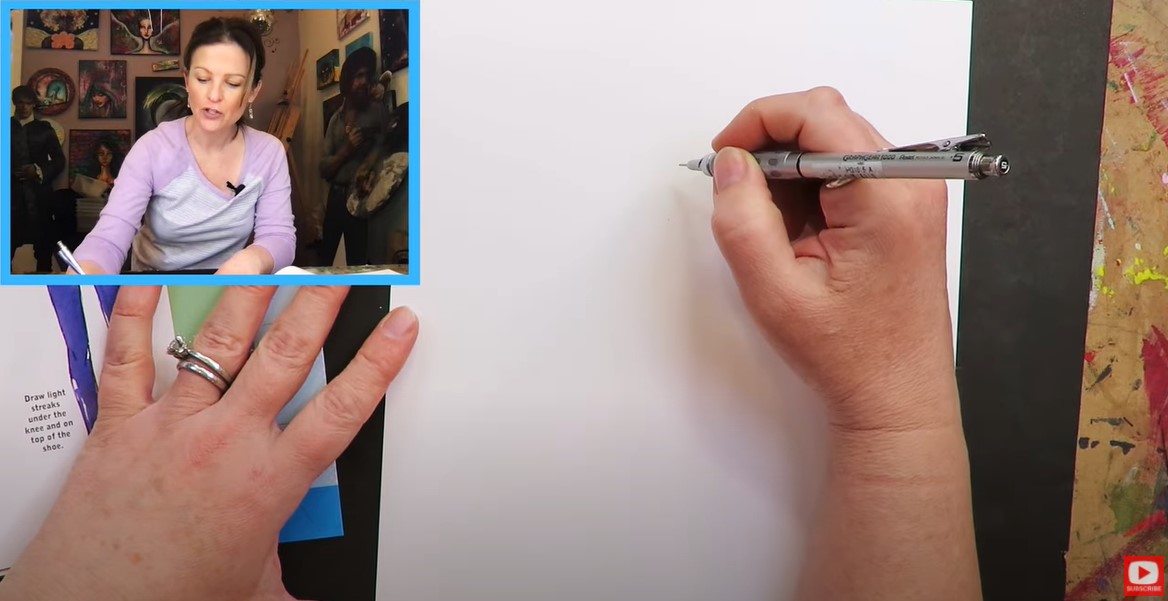
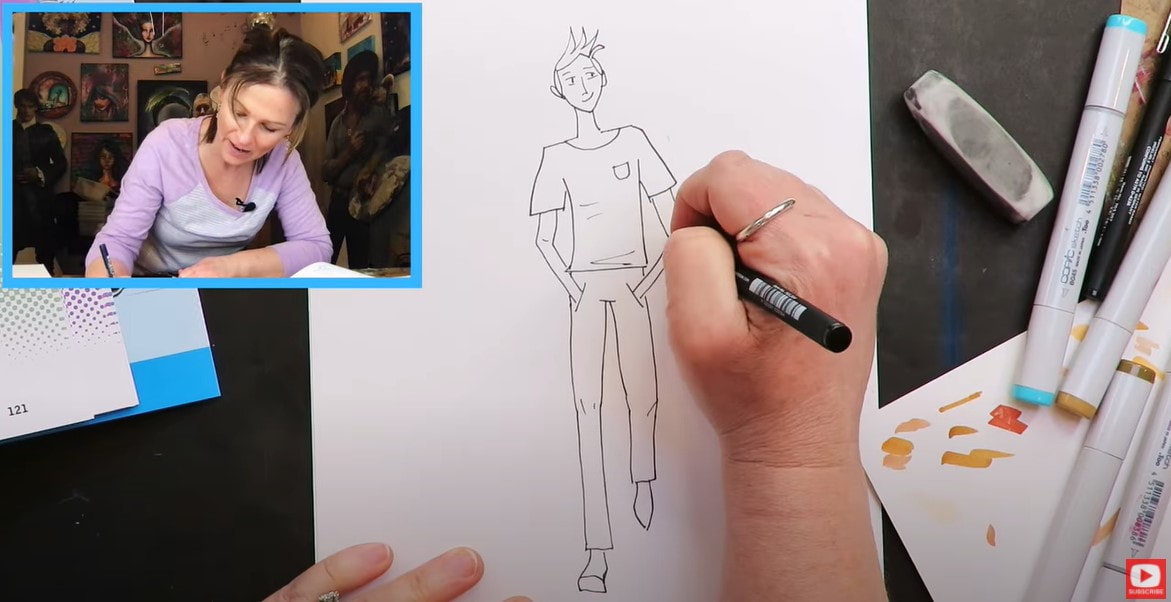
I'm using a mechanical pencil to sketch today's male fashion figure. I love the Graphgear Set by Pentel that I'm using in the video because it's weighted and helps me feel like I've got better control. 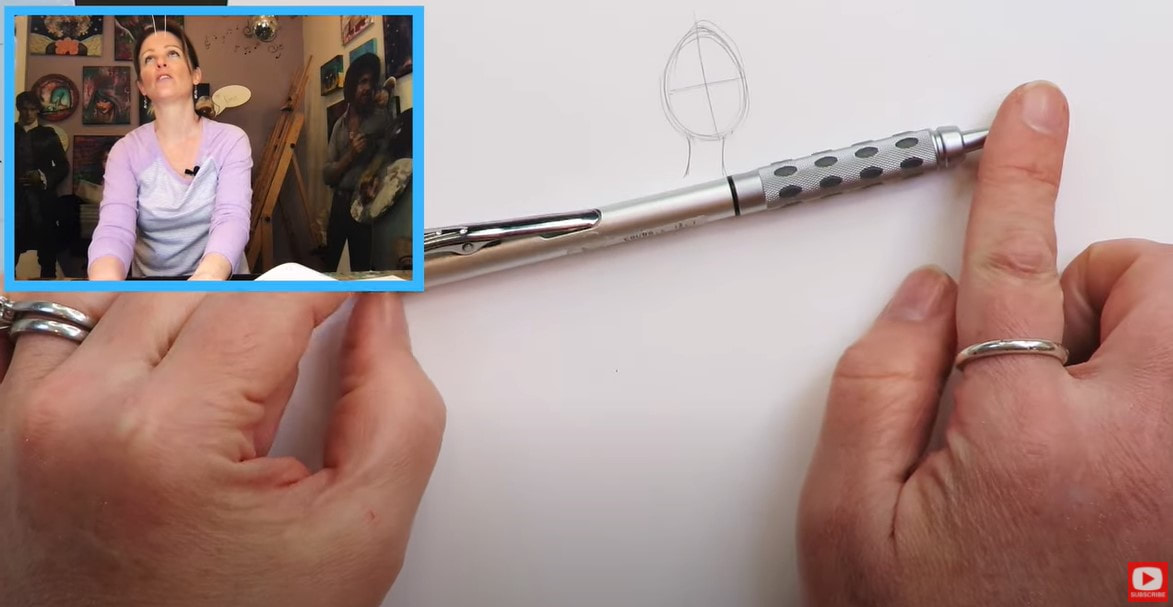
This particular drawing prompt from Christopher Hart shows the head tilted just a bit, as well as the shoulders. Since we're drawing a guy- the shoulders are fairly squared off and angular.
Our dude has a bit of a swagger in his step, which makes his torso curve. We're also drawing one leg "shorter" than the other to indicate he's in motion, mid-step. 
You'll notice the joints in fashion illustration are initially sketched in as balls or circles. These guidelines will get erased when the drawing is finished, leaving a gentle curve behind.
Fun fact about fashion figure sketching - the elbows of your figure should always end up at the waist of your model, so keep that guideline in mind as you're drawing. I love that this illustration has the guy's hands in his pockets! Makes things SO much easier - no fingers to worry about. If you are someone who wants to learn how to draw hands and fingers realistically, I've got a course over at Awesome Art School just for you, and a book of the same hand drawing projects on Amazon. 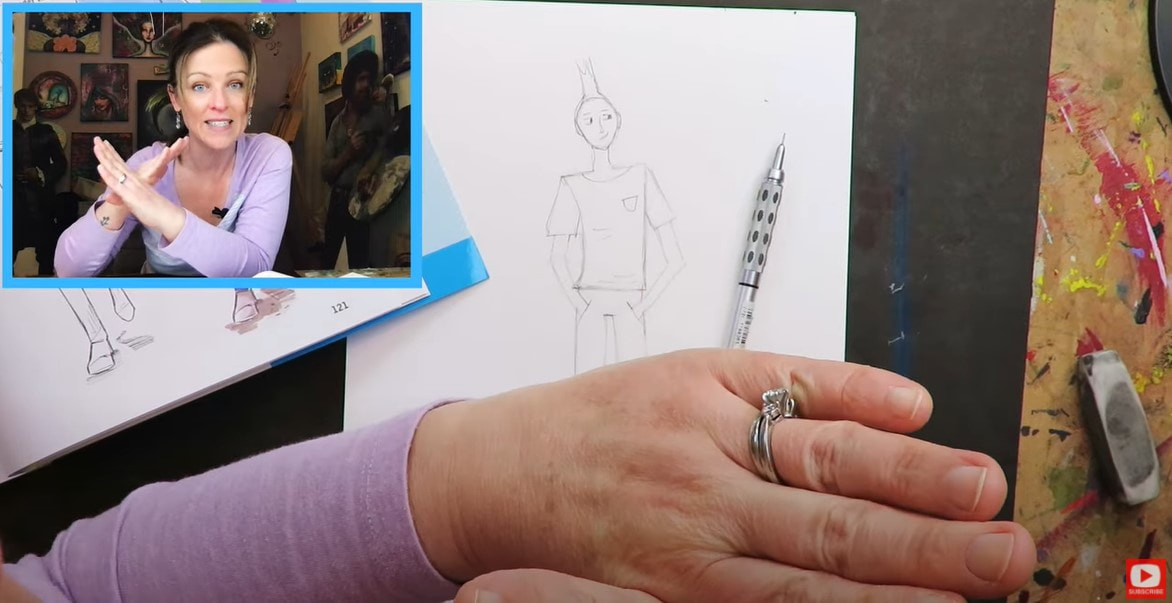
Once you've got the arms of today's guy sketched in, and have a little detail added to the pants and shirt, it's time to get rid of some of your guidelines.
I'm using my favorite vanish eraser. It's super gentle on your paper and really lifts the graphite quickly. They sell these at Jerry's Artarama for $2! If you don't have a Jerry's near you, you can also pick them up on Amazon at that link above. 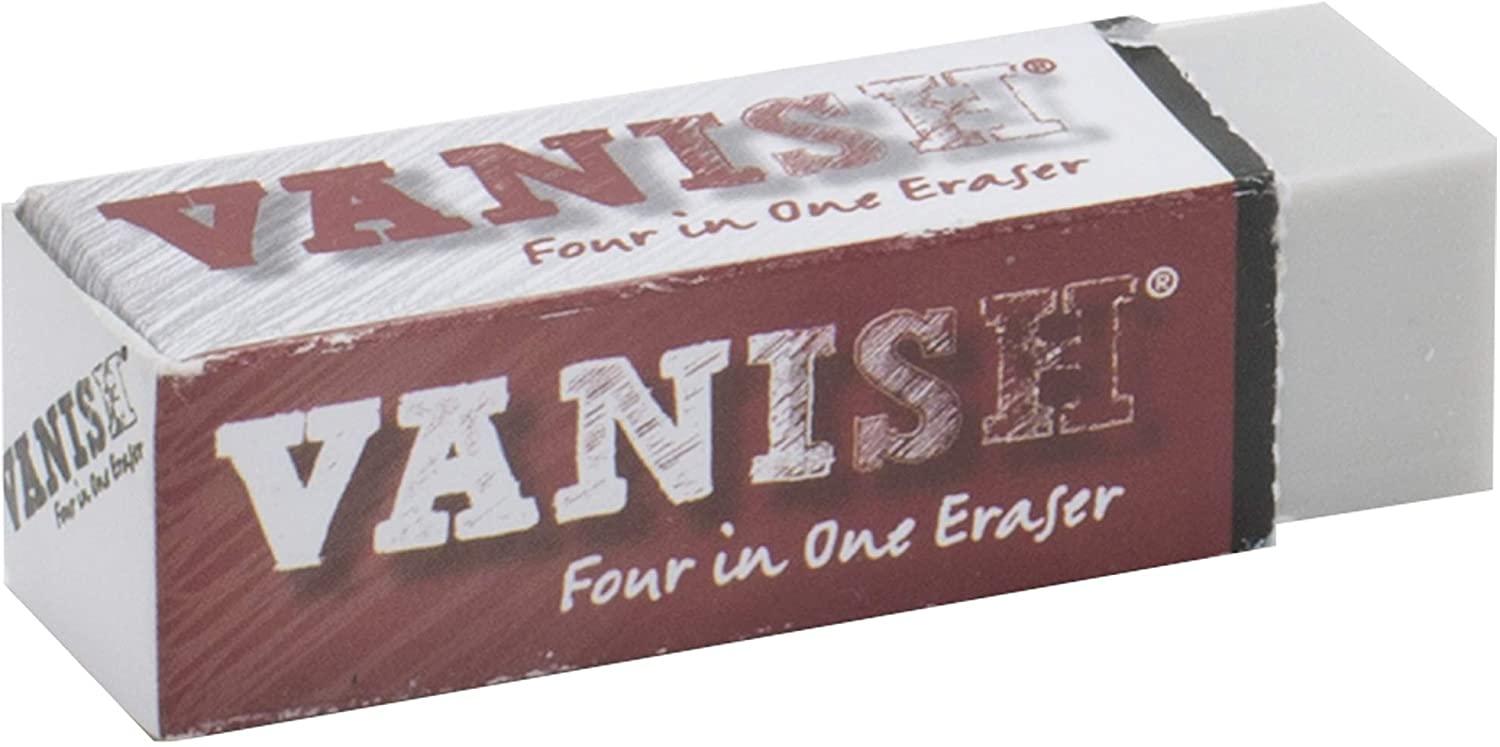
Super important tip if you're planning on using alcohol markers (Copics, Ohuhus, sharpies, etc.) to color your dude in...
You'll want to outline first in a fineliner, then erase all remaining graphite because if you color OVER graphite with your alcohol markers, the underlying graphite will smear. It can also really wreck/stain your lighter marker shades like yellows, light skin tones or pastels. You also need to really make sure you pay close attention to what your fineliners are made of. Alcohol markers blend beautifully with other alcohol markers. But... if you outline in sharpies (this is ALSO an alcohol marker)- you're gonna get smearing or "bleeding" because the fineliner is gonna try to blend with the alcohol markers you're shading with. Do yourself a favor and use a fineliner that's a water based or pigment based. This will ensure NO blending takes place where you don't want it. I love this set by Molotow. It's a great value (11 fineliners in a variety of nib sizes for around $28). 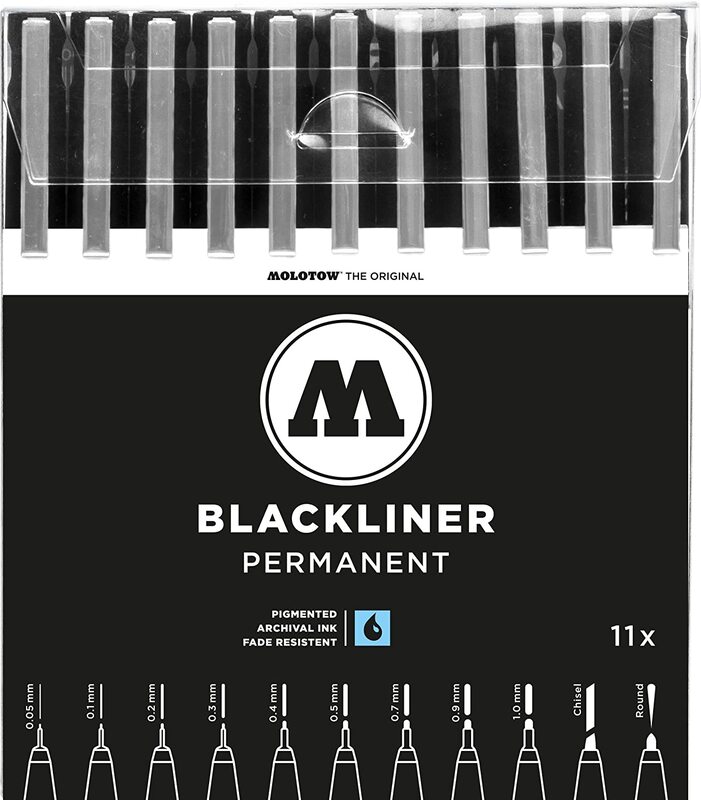
After your finelining is done, take another pass over the whole drawing with your eraser to make extra sure there is no remaining graphite.
You'll notice just before I grabbed my fineliner, I decided I wasn't as in love with the mohawk I'd drawn in for my dude's hair as I thought I would be. My How to Draw Fun Fab Fellas drawing book was on my art table, so I decided to flip through it for a little men's hairstyle inspiration.
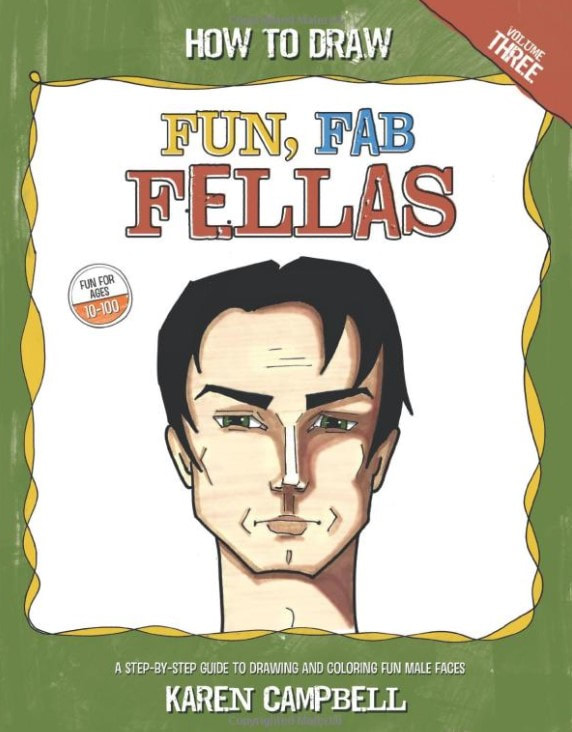
This book was part of my original How to Draw Fun Fab Faces trilogy, and came about because I've got three sons. They used to joke about how I only drew girls, so this book was kinda for them (and anyone out there who loves drawing faces or wants to learn how to draw a male face).
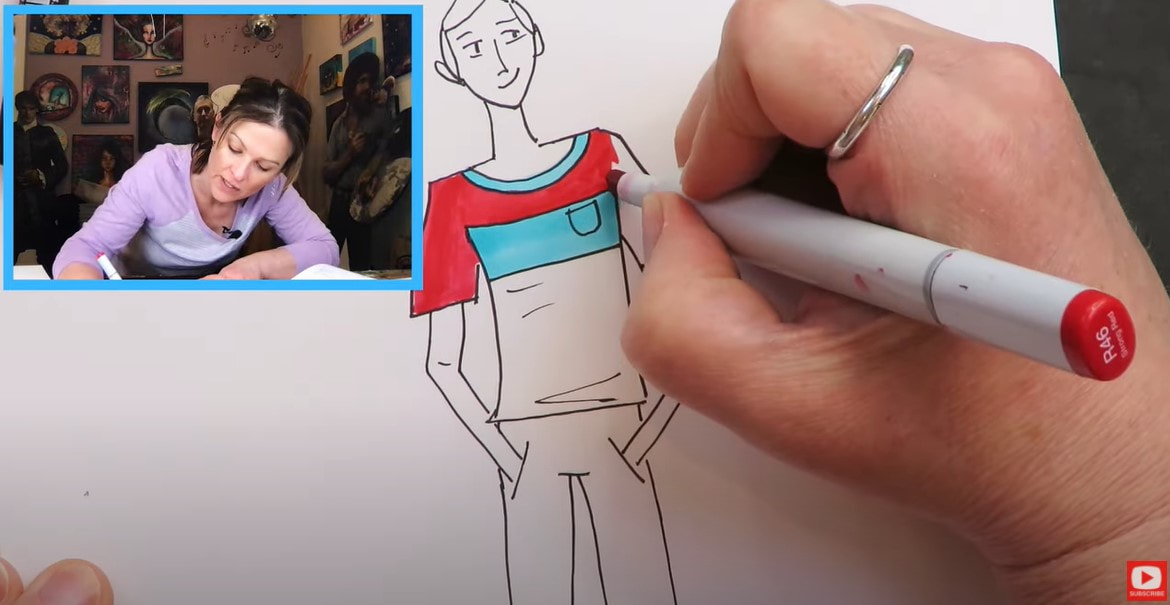
For coloring with alcohol markers (or really any art supply), I recommend you use at least 2 shades of the same color so you can show a little dimension in your shading. It just makes your drawings look so much more sophisticated.
If you don't have two shades of a color available - just use the same color and add another layer to darken parts of your drawing and indicate shadows. That's what I'm doing today. If you've been following me for a while, you know I'm in LOVE with my copic markers! But they cost an arm and a leg to collect (trust me- I've been adding to my collection for YEARS!). Usually I tell my students to purchase a set of Ohuhu alcohol markers because they're much cheaper and still great quality. You can get this giant set of 120 shades for around $99. I know $99 for markers still sounds kinda high - but if you want to play with the rainbow and not sacrifice quality, this is your brand. 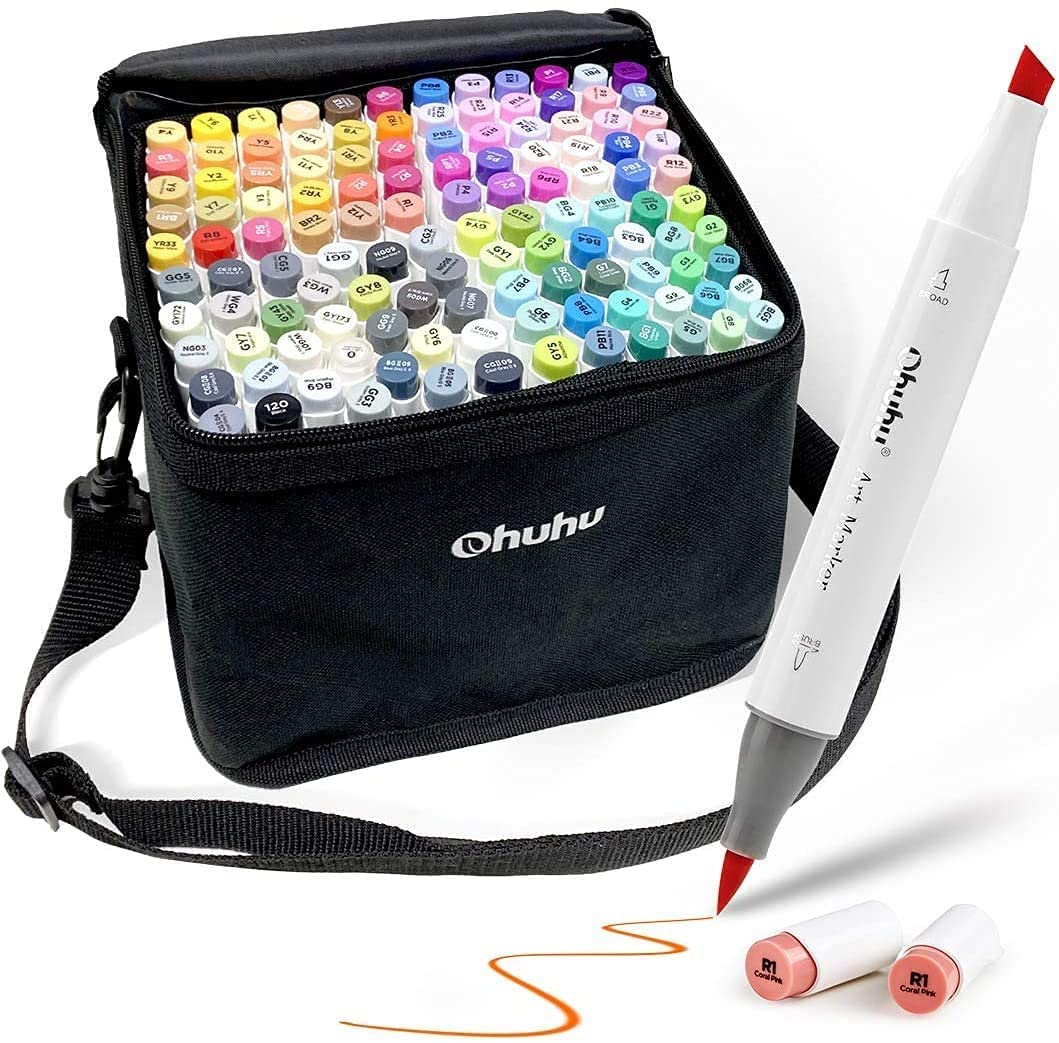
They have an excellent skin tone set too! Just for comparison, this Ohuhu skin tone set comes with 24 markers and runs around $30 on Amazon. The copic marker skin tone set (while gorgeous & top of the line), only comes with 6 markers and costs around $45.
If you're new to working with alcohol markers, watch this video - it's everything you need to know to get started. You can totally mix and match your alcohol marker brands too. So if you feel like splurging on a smaller set of copics and grabbing the Ohuhu skin tone set - they work beautifully together. I work with both brands interchangeably all the time! Can you tell I've mixed brands below? 
Didn't think so ;) Once you've finished coloring today's adorable fashion dude, don't forget to add some white highlights at the end. This is one of my absolute favorite parts of my projects, and really takes your art to the next level.
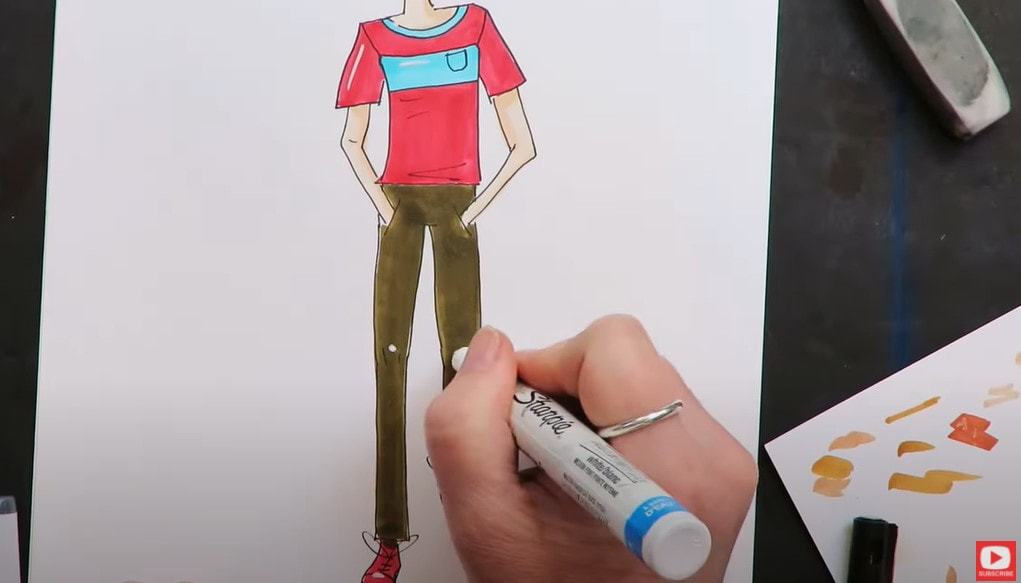
I had a white poster paint sharpie nearby, so I simply grabbed that to add my highlights in. You could also use a white posca pen here. They're interchangeable too, and both work really well on top of alcohol markers.
Make sure you stick with me until the end of today's video for a FULL flip through of Christopher Hart's book, Figure It Out! Simple Lessons, Quick Results. You're gonna love it! Thanks for hanging out with me today! ❤️ CHECK OUT ALL MY ONLINE ART CLASSES & Art Clubs ❤️ CHECK OUT ALL my art books ❤️ MY FAVORITE ART SUPPLIES on AMAZON ❤️ MY BELOVED FACEBOOK GROUP
Need an EASY pencil shading drawing tutorial that's simple enough to do even if you've never tried shading a drawing before? You're in the right place!
Today we're creating 3 line drawings & taking them to the next level by adding a simple shadow with one of the easiest pencil shading techniques I've learned to date.
If you feel comfortable with the line drawings and shading practice in today's video, I'd LOVE to teach you how easy it is to draw a simple FACE in pencil.
I make cheatsheets and videos for EVERYTHING - especially when it comes to drawing faces! Click the button below to request my FREE whimsical face drawing guidelines, and I'll email them right over. 
After you print your guidelines cheatsheet, here's a playlist of FREE face drawing videos from my YouTube drawing channel so we can practice drawing and shading simple faces together, step by step.
Let's get back to today's lesson!
If you've been following either of my YouTube channels lately, you know I've been introducing you to some of my favorite art books - showing a flip through, and then trying an entire project or demo-ing a technique from the book. The book I'm featuring this week on my drawing channel is actually more of a mixed media book, but there is a BRILLIANT pencil shading technique for beginners in it that I just had to share with you. 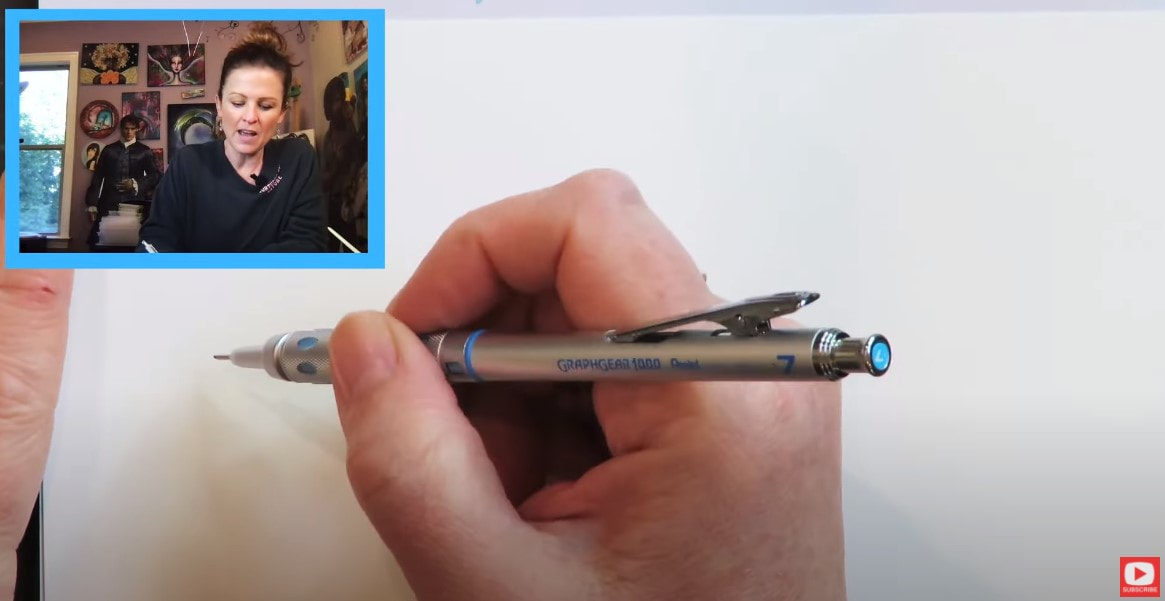
Before we continue, super quick announcement: All product links are Affiliate. I may earn a small commission if you choose to order through these links but by law there is never any additional cost to the consumer for doing so. I thank you for your support.
Danielle Donaldson's Creative Girl: Mixed Media Techniques for an Artful Life is simply gorgeous (if the book isn't available on Amazon, you can also find it here).
I actually love this book so much that I featured it last week while doing the watercolor trees for beginners project on my mixed media channel. Today, I'm sharing Danielle's super simple analogy of adding shading to a drawing at "5 o'clock." 
On page 54 of her book, Danielle says "Shadows are the thickest at 5 o'clock." I decided to try this shading technique out on three simple line drawings.
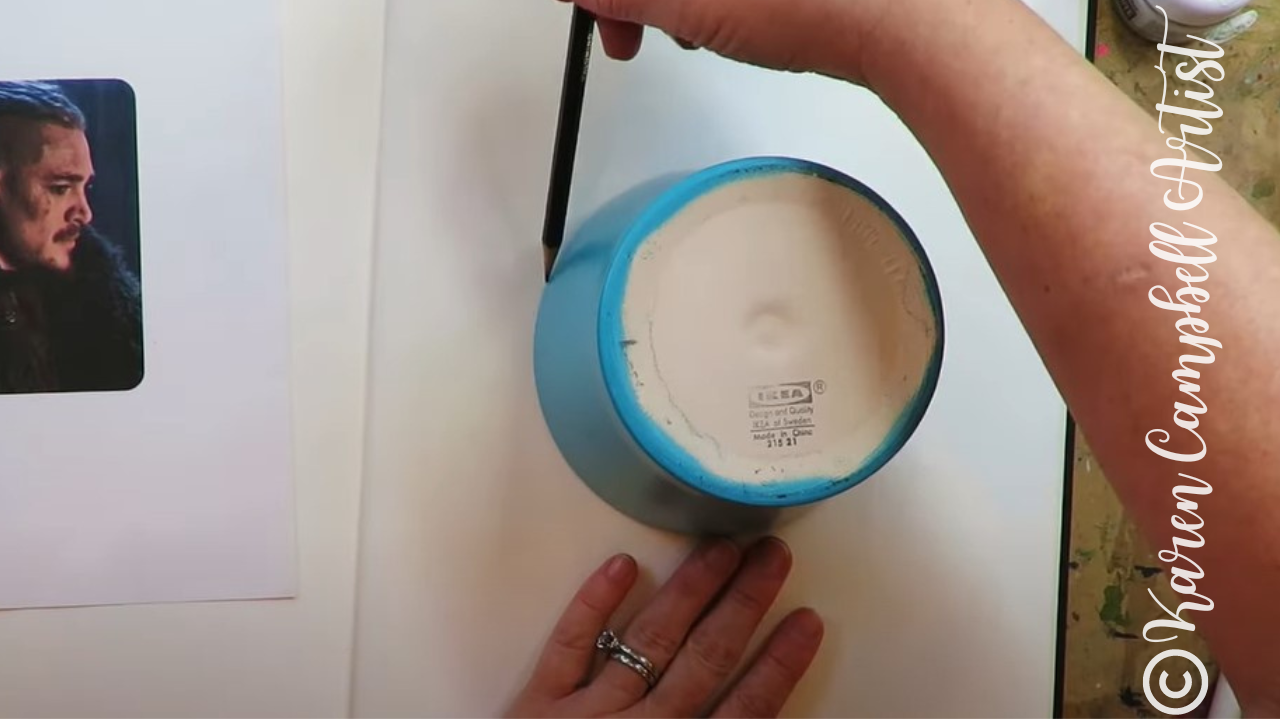
First, I drew the water bowl sitting on my art table with a paint brush inside. Then I picked up a blending stump (remember - the dirtier, the better when it comes to blending stumps), and thickened the shadow at an imaginary 5 o'clock position of my water bowl. 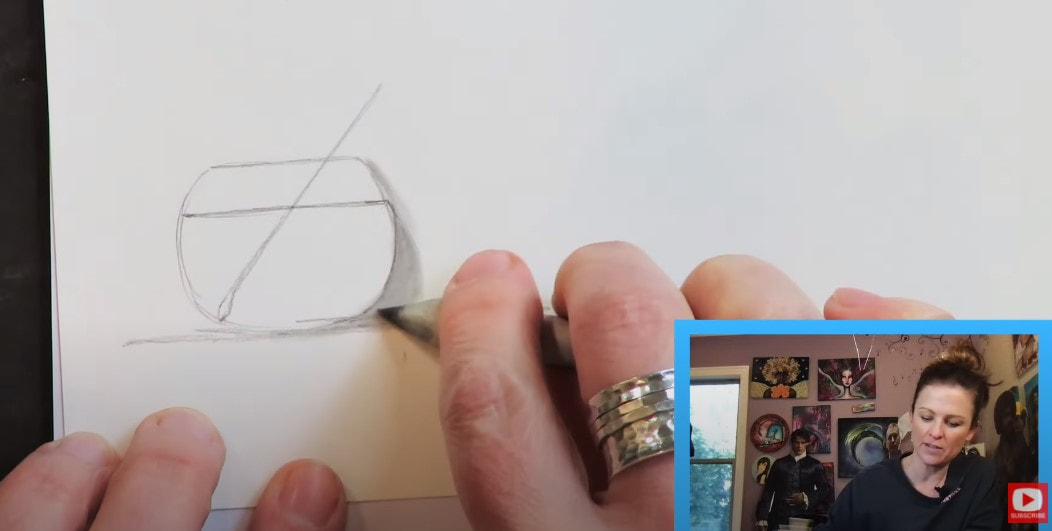
Here's another shot showing you what I'm imagining in my head...
Right where the imaginary hour hand of the clock is pointing to 5 is where I'm thickening the shadow with my blending stump. 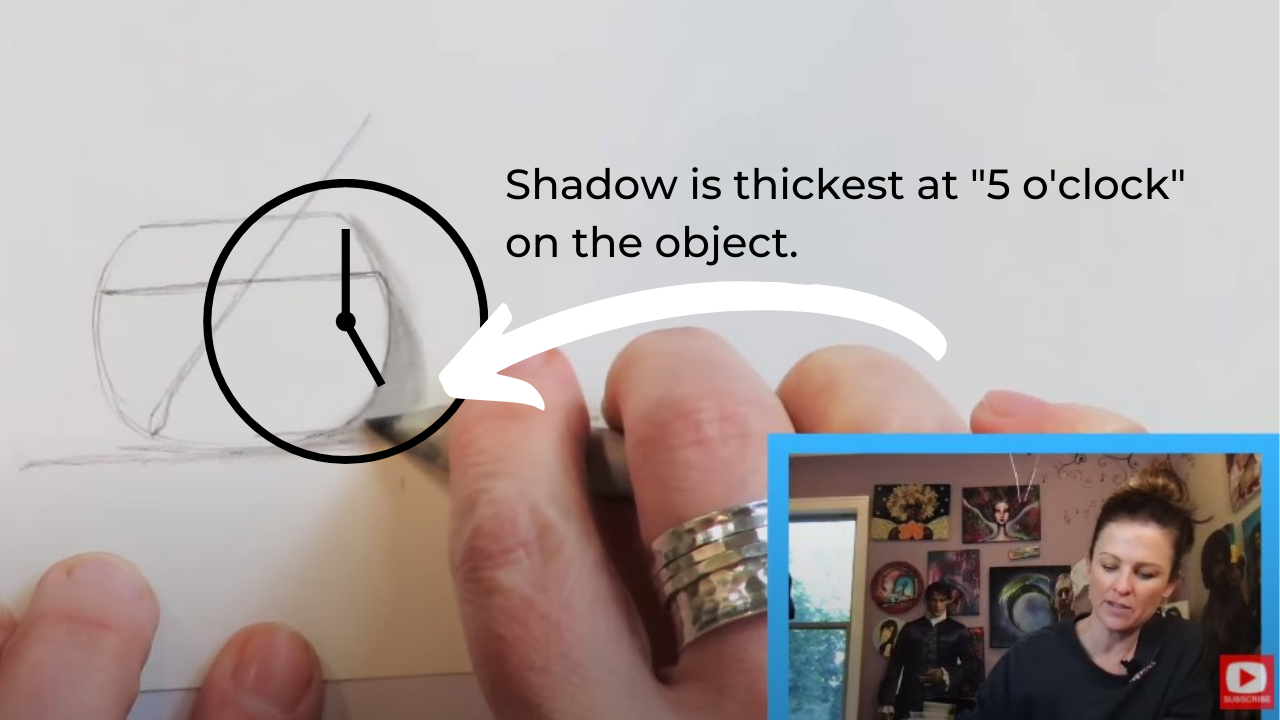
Below is another example of this easy shading technique for beginners on a line drawing of a flower vase.
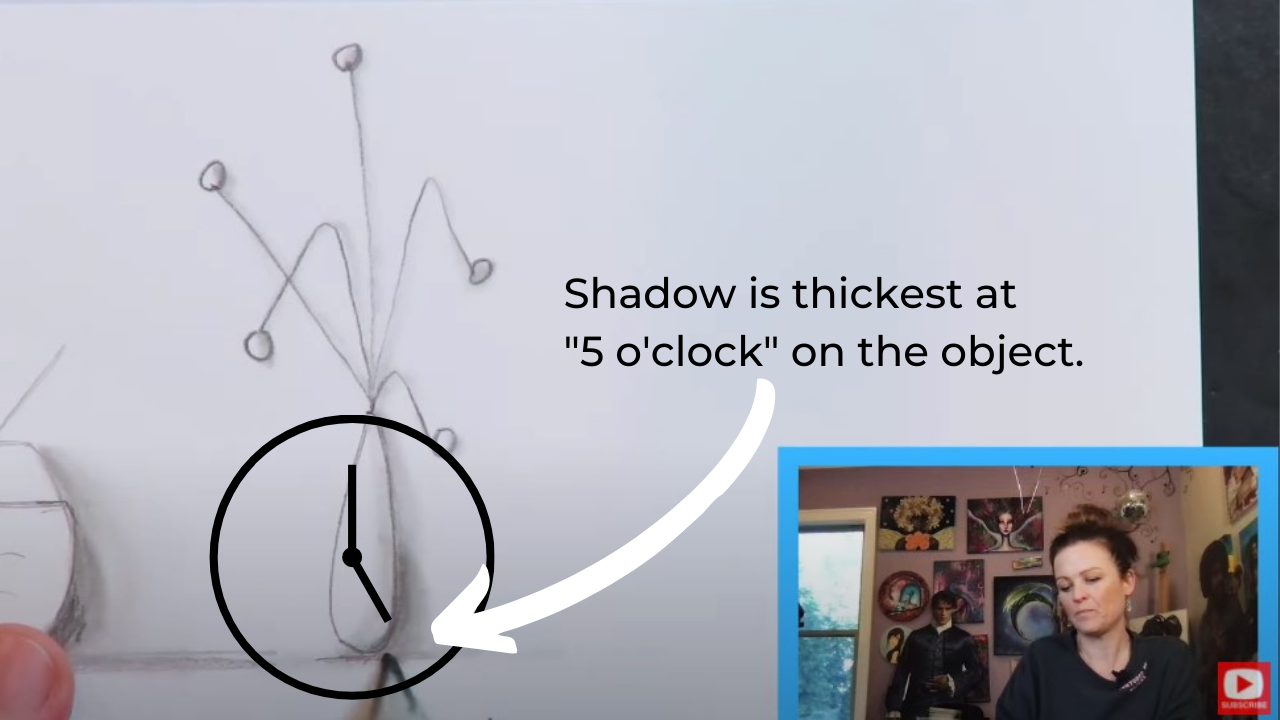
Isn't that the easiest concept to imagine so you know exactly where to add shadows to your drawing?! I think it's brilliant.
My final doodle example for today, below, is of a cat - inspired by my art studio "terror," Tippie (she's just recently claimed my art table as her own)! When I look at all three drawings together, I immediately notice how all the shading looks consistent, showing shadows off to the lower right. This is a really important concept to think about for beginner artists. 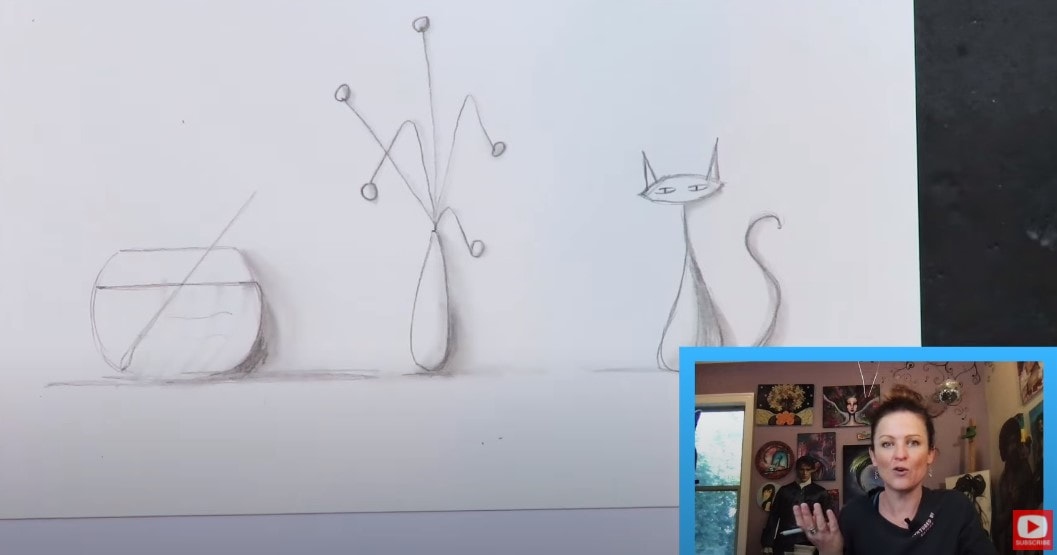
Your work will look more sophisticated if you your shadows are all drawn in the same direction, like they're all being hit by the same light source. It makes more sense visually, and can make even simple whimsical, or semi-realistic drawings like these, look more advanced.
Make sure you watch today's video to see these simple shading techniques in action. And grab a pencil and piece of paper before you press play so we can do this together!
Stay with me till the end for a quick flip through of Danielle's adorable book. Thanks for hanging out with me today!! When you watch the video, you'll hear me mention my Retro Redezvous Art Party. While the live portions of the Retro Party have passed, the lessons are still available at Awesome Art School, here. If you are a member of an Awesome Art School club (The Fun Fab Drawing Club, Mixed Media Society, or Celtic Collective), you've been given access to these lessons for free as a membership perk. Enjoy!! Happy drawing! ❤️ CHECK OUT ALL MY ONLINE ART CLASSES & Art Clubs ❤️ CHECK OUT ALL my art books ❤️ MY FAVORITE ART SUPPLIES on AMAZON ❤️ MY BELOVED FACEBOOK GROUP
Need a FUN handmade bookmark design that's step by step and EASY enough to do even if you've never tried drawing before? You're in the right place!
In today's drawing video, you'll get a sneak peek at one of my favorite drawing books filled with inspiring dangle art drawings (similar to zentangling, but even easier). I'll show ya what inspired this bookmark tutorial, then go grab some markers & draw along with me as I guide you through this CUTE handmade bookmark design idea - perfect for artists of ALL levels to enjoy!
If you're new to drawing and coloring with markers, make sure you grab my FREE Swatch Sheet so you can swatch your markers out before we get to the coloring portion of today's project. Simply click on the button below, and I'll send it straight to your email!

Before we continue, super quick announcement: All product links are Affiliate. I may earn a small commission if you choose to order through these links, but by law, there is never any additional cost to the consumer for doing so. I thank you for your support!
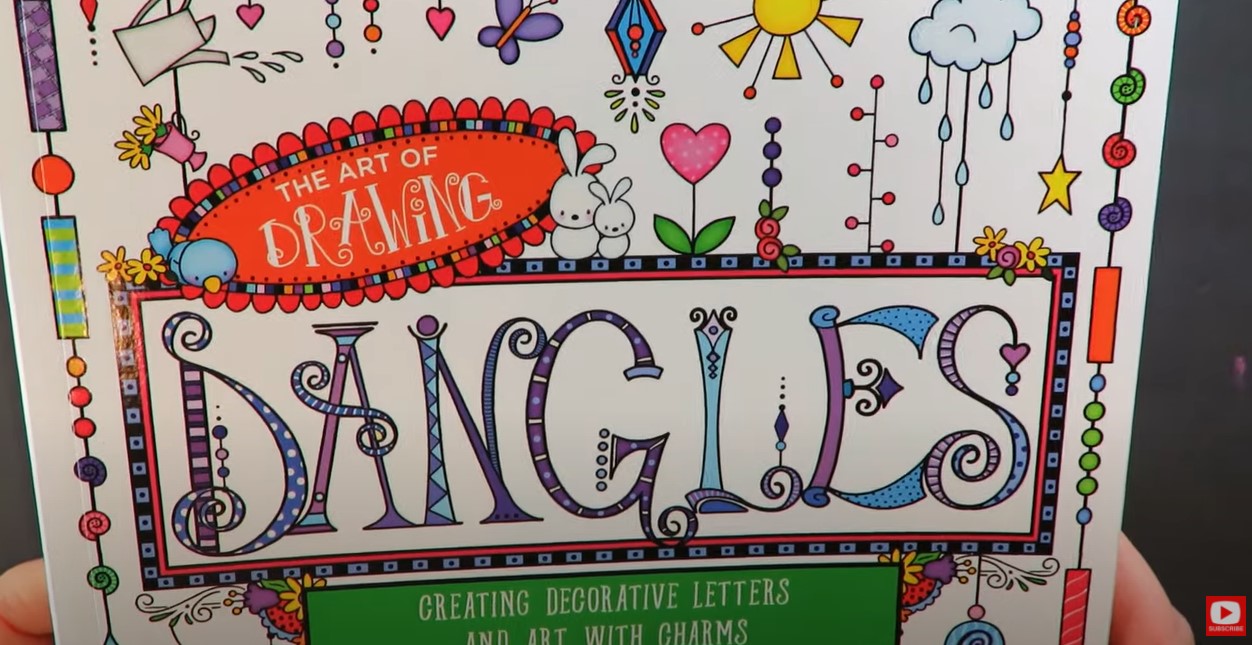
Today I'm reviewing a drawing book filled with fun dangle art called The Art of Dangles by Olivia A. Kneibler.
What's a dangle? They're basically what they sound like - a line with decorative embellishments, tiny shapes, or charms hanging from them. They're adorable hanging from letters, and you can create super FUN projects out of them, like today's bookmark!

I actually enjoy drawing dangles more than I like zentangling because they're SO simple! Zentangling is super fun, but can get a little fussy for me. If you'd like to try a simple zentangle art project with me - be sure to check out this video and art book review from last week. That project and today's are excellent beginner drawing lessons.
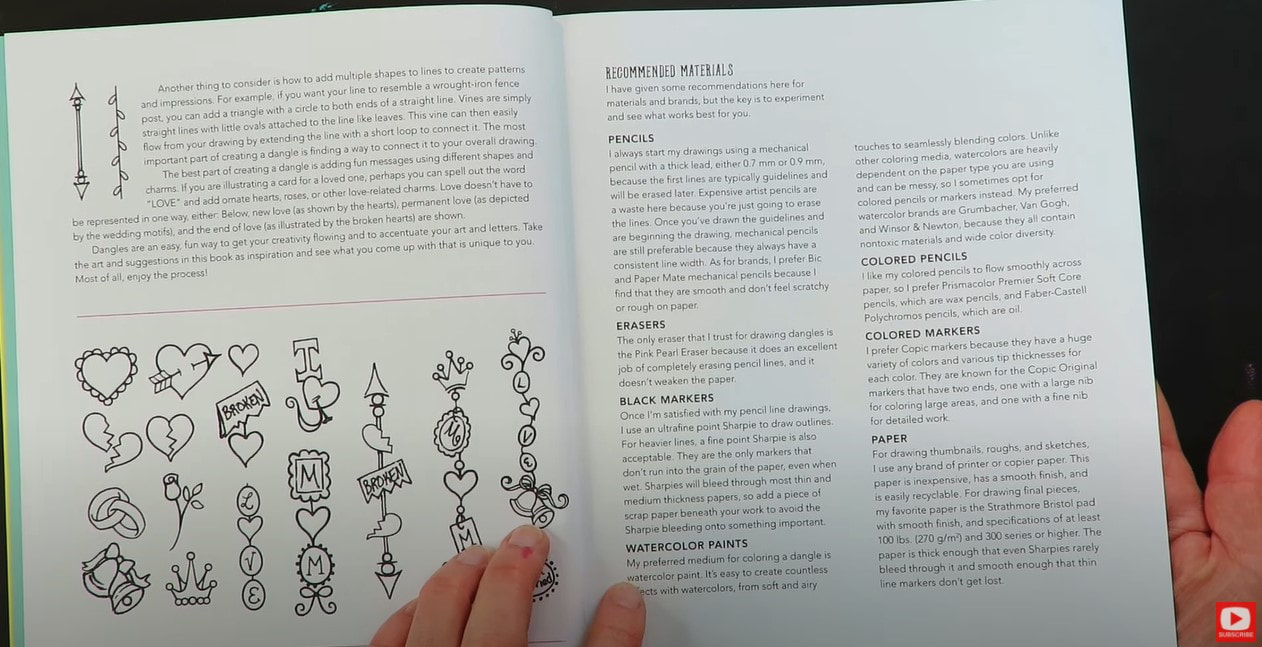
The only criticism I have of today's book is that everything in it has been drawn digitally. I love drawing by hand and teaching beginner drawing lessons, so that's my only tiny complaint.
One of the reasons I really love drawing by hand and appreciate hand drawn art is because of the imperfections that come out of them. You don't see those in digital art. Everything is much more "perfect." Don't get me wrong- I have a serious appreciation for digital drawings too - I just prefer things to be hand drawn. 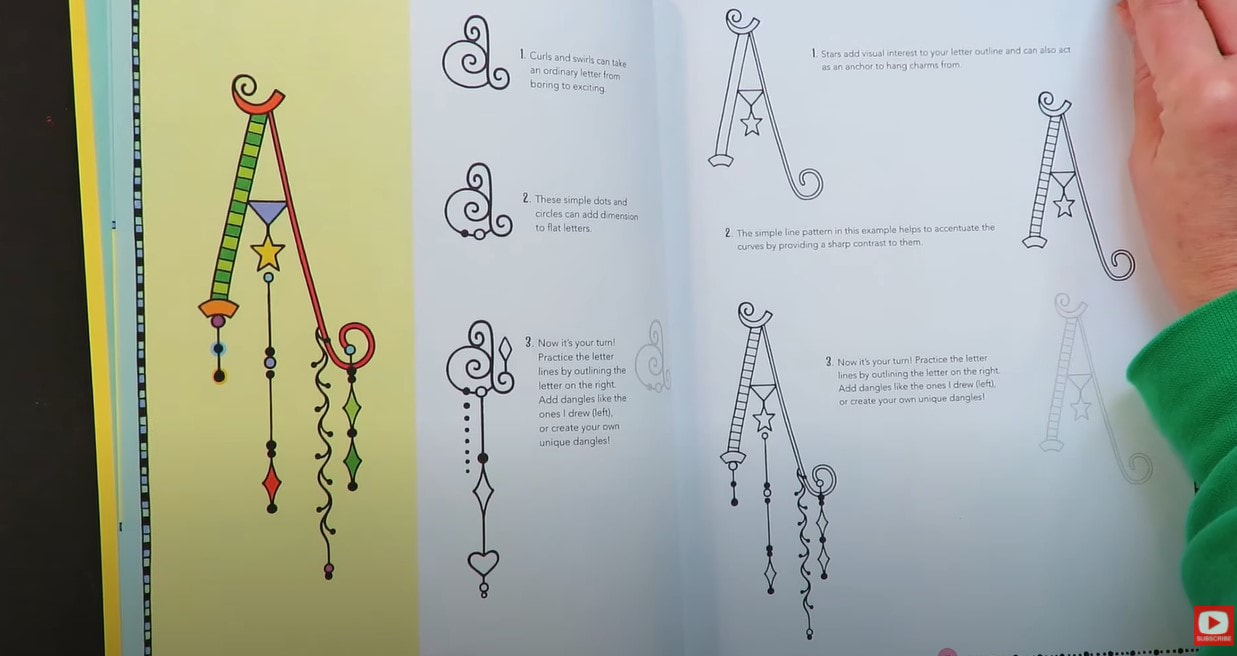
Regardless of my preference, I think the author does a fantastic job of providing inspirational drawing ideas to try. She shows how-to's for the entire alphabet in her book, and includes dangles from each letter in upper and lower case. There isn't a ton of step by step direction- but it's totally enough to get you going, whether you want to create along with her in black and white, or in color.

If you have anything coming up that you need a personalized gift for, and want to create something for someone with their name on it - this book would be an excellent asset to help you get started with some amazing ideas.
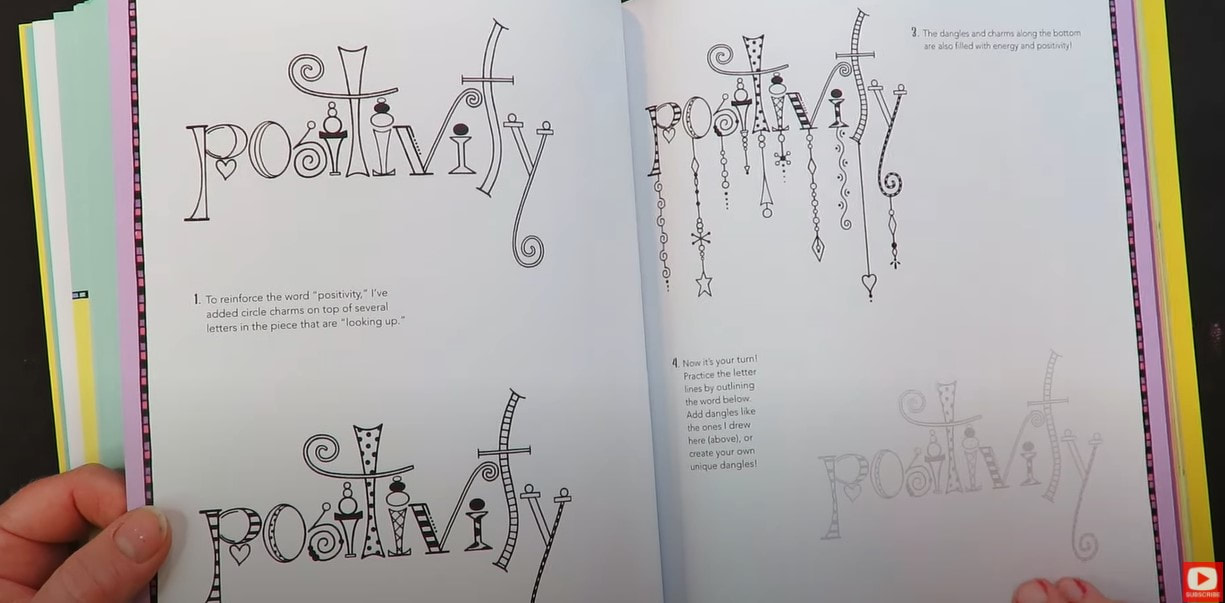
There are also some fun examples of words showing you how to put creative letters together, and where to add some cute zentangle patterns and dangles.
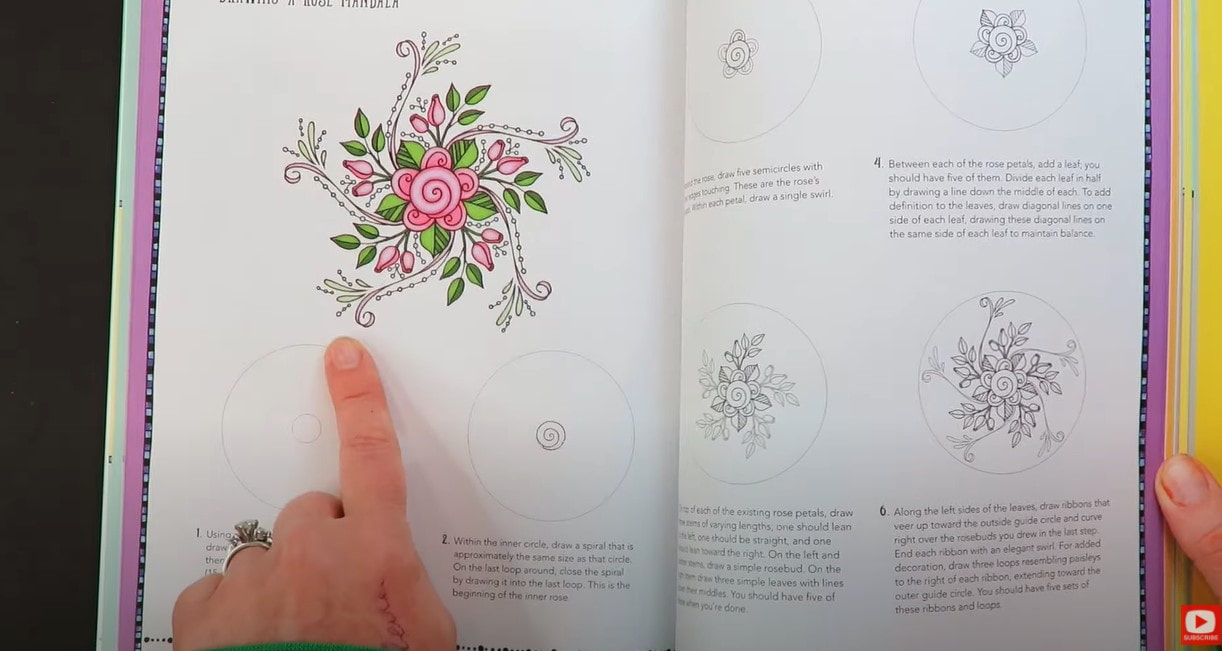
The book closes with tons of adorable dangle projects you can create from roses, trees and snowflakes to random shapes and mandalas, followed by an index of charms and geometric dangles you can use as thought starters to get your own creativity going.
I felt inspired to combine two of my favorite dangle art projects from this book into one, and decided to do a handmade bookmark design.
To create my project- I'm just using a sheet of hammermill cardstock (it's equivalent to Bristol- just WAY cheaper). I also used a WATER BASED black fineliner to outline my drawing before coloring with my copics.
HOT TIP: If you use a water based fineliner prior to coloring with alcohol markers, the black marker won't bleed (don't use sharpies for this because they are alcohol based). If you're new to my world - I've been collecting my copic markers for years (because they cost an arm and a leg!). I LOVE using my copics, but I highly recommend using what you can afford and/or have on hand. Ohuhus are an excellent copic marker alternative and cost much less per marker if you'd like to start a cheaper alcohol marker collection. 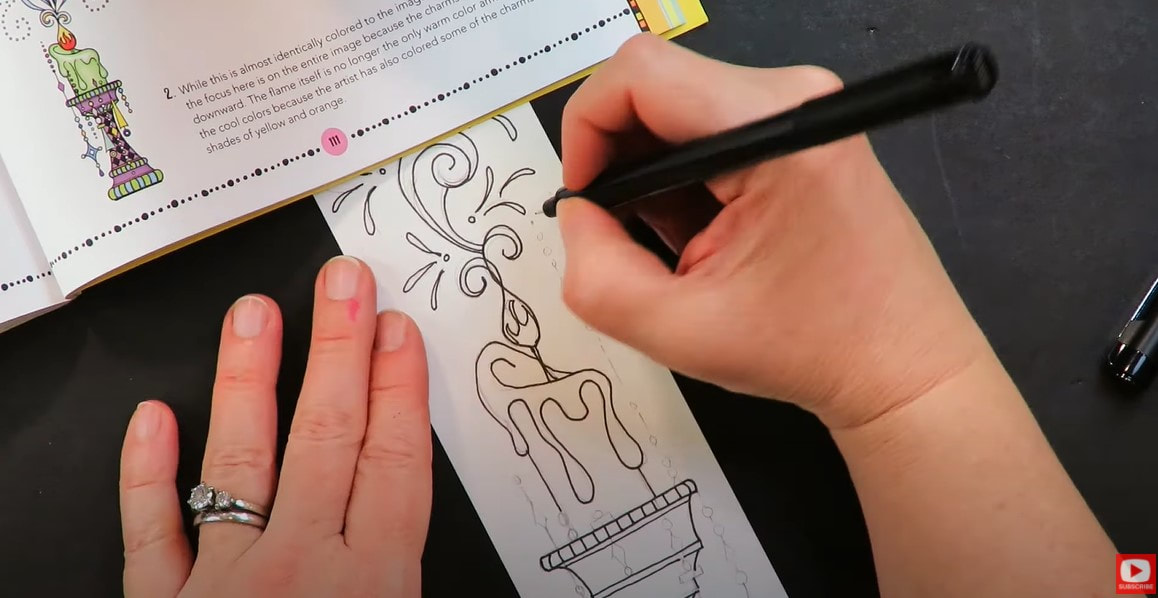
I finished my coloring off by adding in my signature white highlights using my white sharpie paint pen (a white posca paint pen works just as beautifully here- the sharpie is just what I had on the table at the time of filming).
Thanks for hanging out with me today! If you'd like to learn a little more about drawing, I've got the PERFECT event coming up and would LOVE for you to attend! SIGN UP FOR MY ART RETRO RENDEZVOUS with this special link for just $15. Beginners welcome (even if you've NEVER drawn a thing before). It's 5 days, filled with 10 beginner drawing lessons for you to enjoy! Here's a sneak preview of the projects... 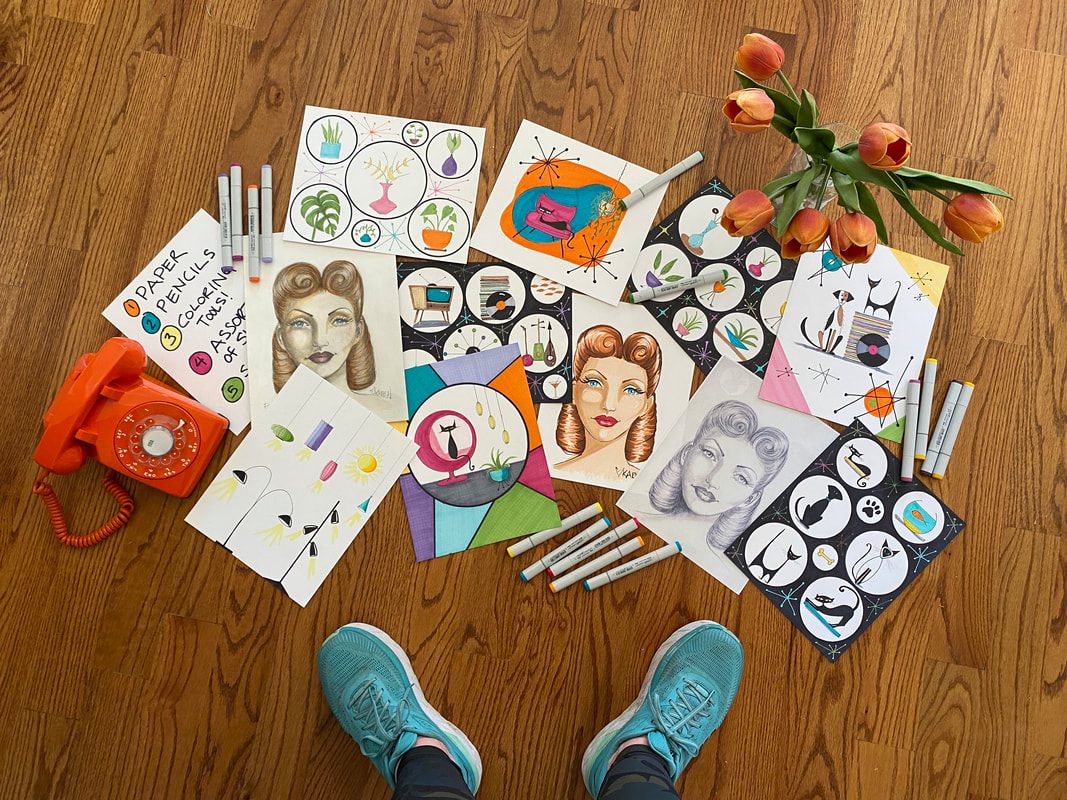
I hope to see you there!! ❤️ CHECK OUT ALL MY ONLINE ART CLASSES & Art Clubs ❤️ CHECK OUT ALL my art books ❤️ MY FAVORITE ART SUPPLIES on AMAZON ❤️ MY BELOVED FACEBOOK GROUP
The Tombow mono zero eraser is an ESSENTIAL drawing supply in my studio. If you've never used it before - the mono eraser is built like a mechanical pencil, but filled with a long, skinny eraser instead of graphite.
In today's drawing supply demo, I'll show you why the Tombow mono eraser is a MUST HAVE in my studio + the QUICK & EASY ways I use it to add dimension when I'm shading faces in graphite. If you're just learning how to draw faces, or curious about what the mono zero eraser can do for you - today's video is a MUST SEE!! 
Before we continue, super quick announcement: All product links are Affiliate. I may earn a small commission if you choose to order through these links but by law there is never any additional cost to the consumer for doing so. I thank you for your support.
The mono eraser is one of my MOST FAVORITE drawing tools on the planet! As you can see, the mono eraser (right) is WAY smaller (less than half the size!) of the eraser on my pentel mechanical pencil.
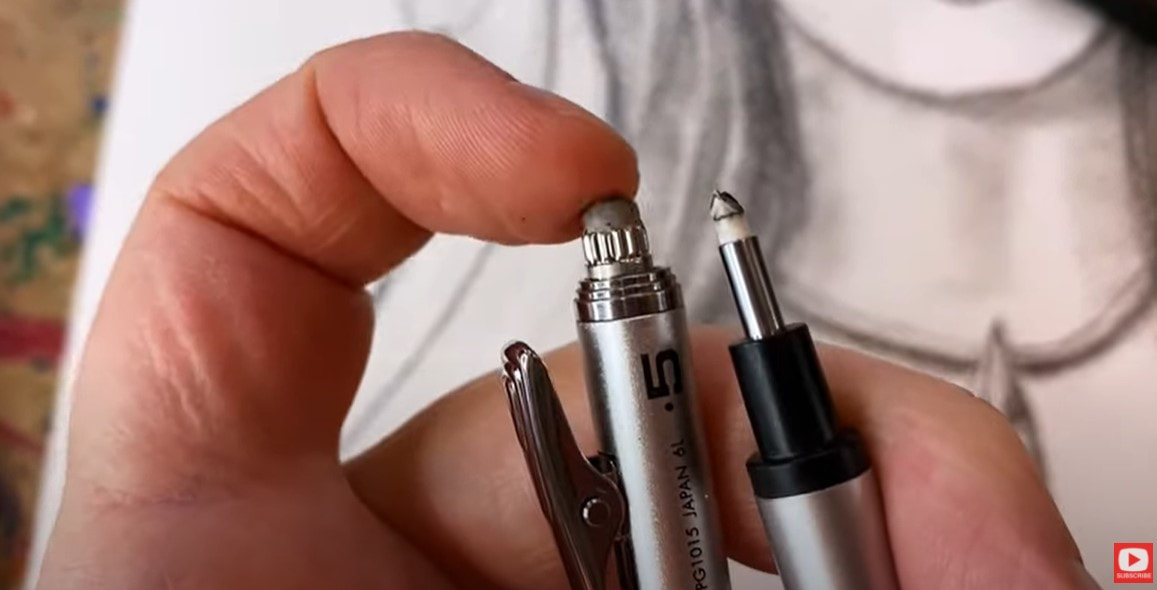
The mono's tiny eraser nib enables me to chisel highlights into my drawings after I've already done some shading.
I've nearly finished a Fairy Witch graphite drawing project for The Celtic Collective, and just need to add in some highlights. I thought you might like to watch how I do this using the mono eraser. Interested in learning MORE about the Celtic Collective? Add your name to the waitlist here to be notified the next time we're open for enrollment! 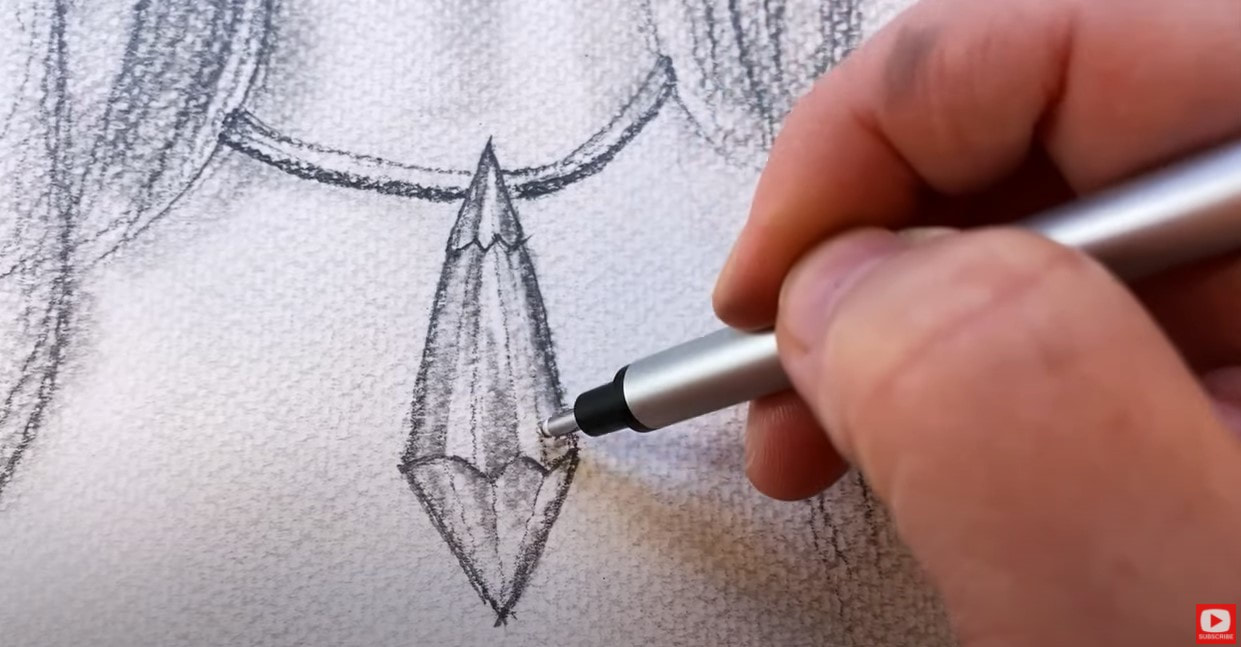
The crystal necklace around this girl's neck is definitely an area where I need to add some thin reflections. I use my mono eraser in a similar way to my drawing pencils and tend to just "draw in" highlights wherever I want them to go.
It's literally like sculpting - I carve the highlights OUT of previously shaded sections to remove some of the graphite and add dimension by revealing newly "drawn" white highlights. 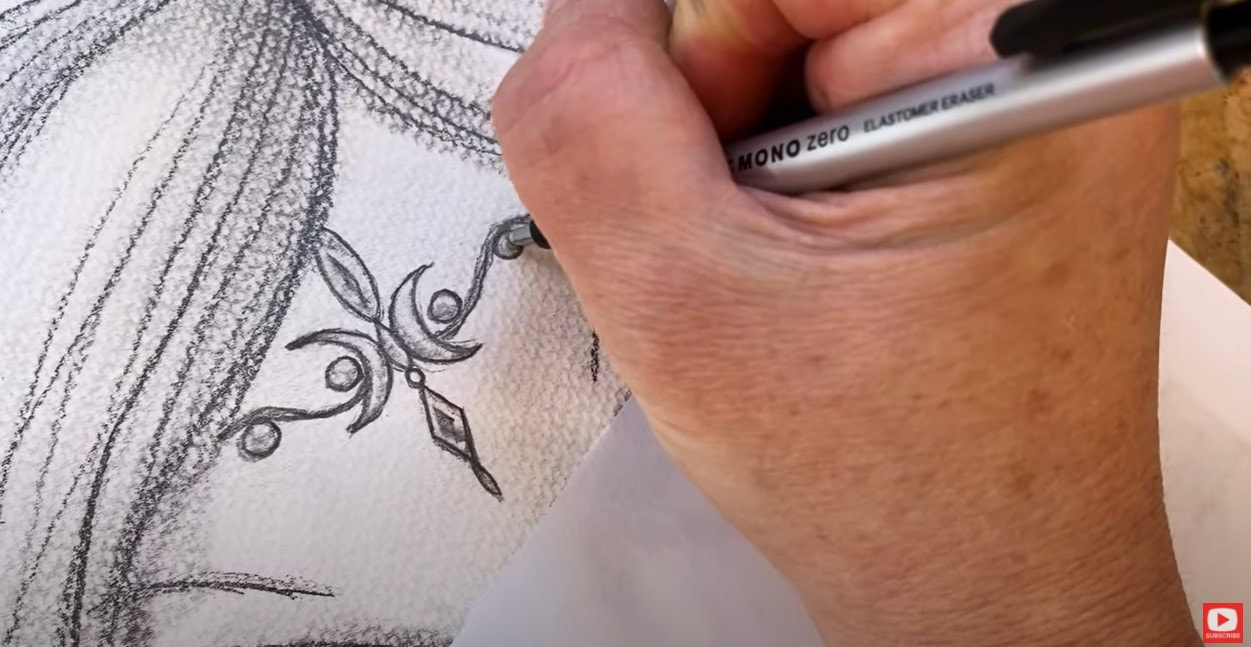
Another way I like to use the mono eraser is for cleaning up my edges. In the photo above, I ran the tiny eraser nib along the darker outlines of this piece of jewelry to remove sketchy lines, smudges, etc.
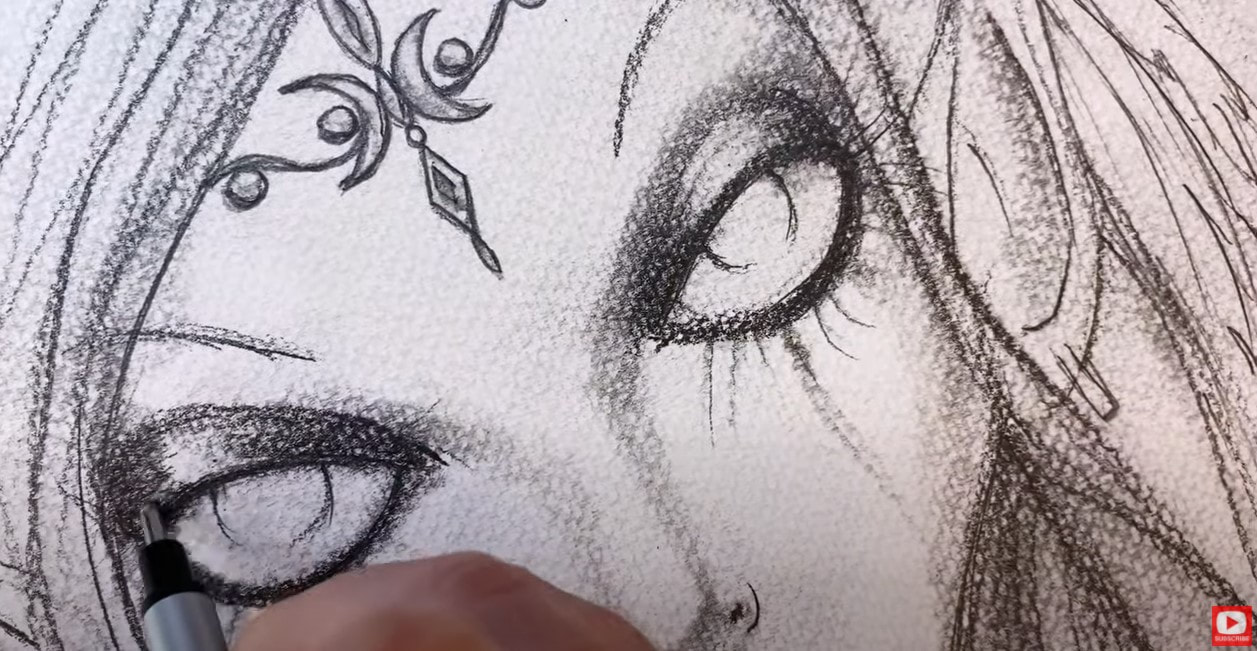
I LOVE adding drama to the center of the upper eyelids when I'm shading faces. My Tombow mono zero eraser is perfect for blending out highlights here to help the eye look more bulbous and realistic.
Do you love drawing and shading faces too? Or maybe you're just learning how to draw faces? You NEED my FREE whimsical face drawing guidelines. They're super easy to follow, and will help you draw proportional facial features every time. Simply click the button below to request your free guidelines cheatsheet, and I'll email it right over!
If you're just getting starting with learning how to draw faces, I've got a quick playlist of face drawing tutorials for you to practice with, that is perfect for beginners! It's FREE on YouTube, and is the perfect way for you to start playing with the whimsical face drawing guidelines.
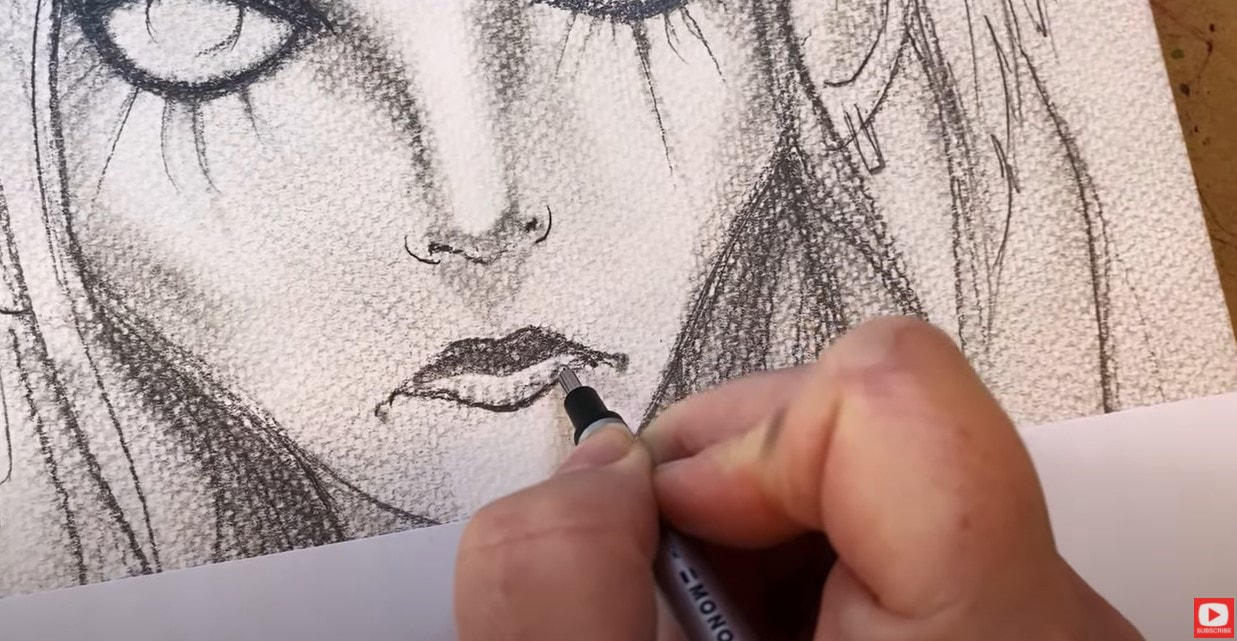
If you know me and my work at all, you KNOW I'm not a huge fan of detail work. LOL! But the Tombow mono zero eraser has helped me add another layer of dimension to my work and I kinda love doing it!!
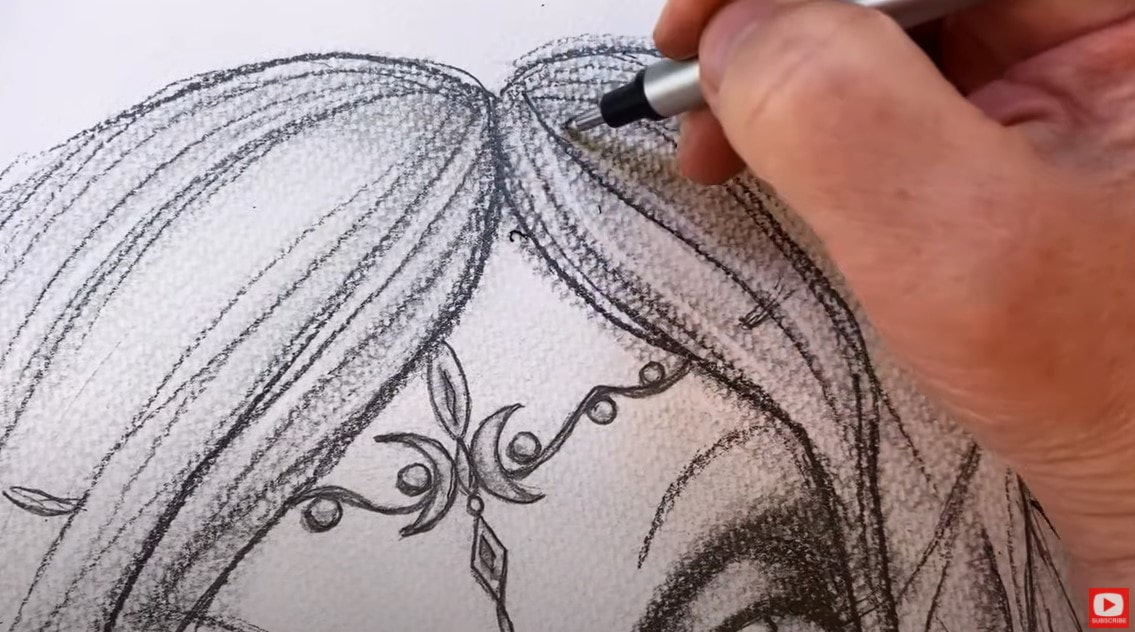
Whenever I'm drawing hairstyles in pencil, I also love using my mono zero eraser to create the illusion of individual strands of hair within my drawing. CLICK OVER to the video to see this technique in action.
Thanks for hanging out with me today! ❤️ CHECK OUT ALL my art books on AMAZON ❤️ MY FAVORITE ART SUPPLIES on AMAZON ❤️ MY BELOVED FACEBOOK GROUP ❤️ FOLLOW ME ON INSTAGRAM
I've never used ecoline brush pens for a full project before, so today's the day! I was really interested to see how they compare to my beloved Tombow brush pens and Winsor Newton watercolor markers because I LOVE doing brush pen drawings and paintings in my signature mixed media style. Click over to the video to see the demo, brush pen comparison, and my thoughts as I work with Ecolines in real time to create this fun mixed media portrait in 3/4 view. Before we continue, super quick announcement: All product links are Affiliate. I may earn a small commission if you choose to order through these links but by law there is never any additional cost to the consumer for doing so. I thank you for your support! 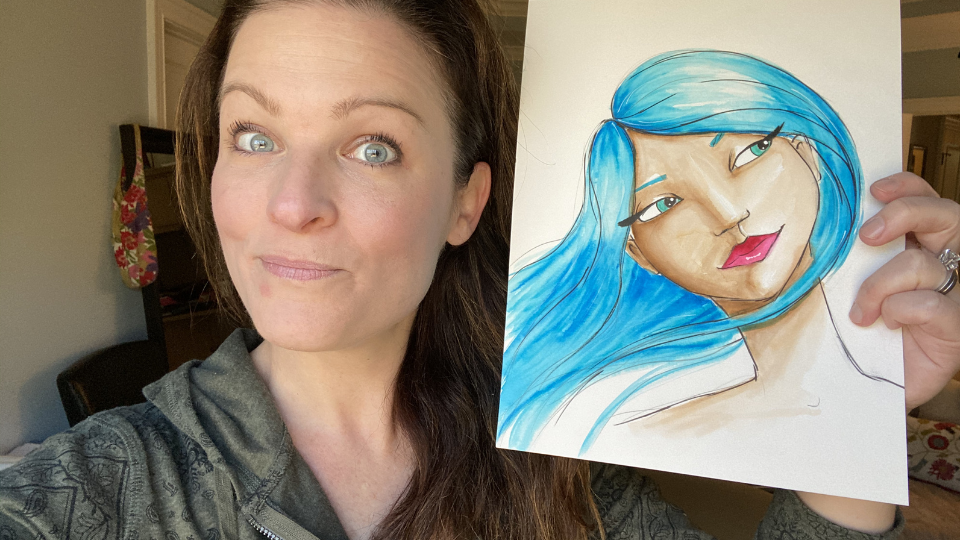
I typically create brush pen drawings and end up adding water to them with a paint brush or water brush because I love the effects you can get. They look so much like watercolor, and are WAY cheaper to work with!
If you're someone who feels a little intimidated by working with a paint brush, you might enjoy the control of working with brush pens and working your way up to adding water. You can also use them completely dry, like a regular marker, and not add water if you want! 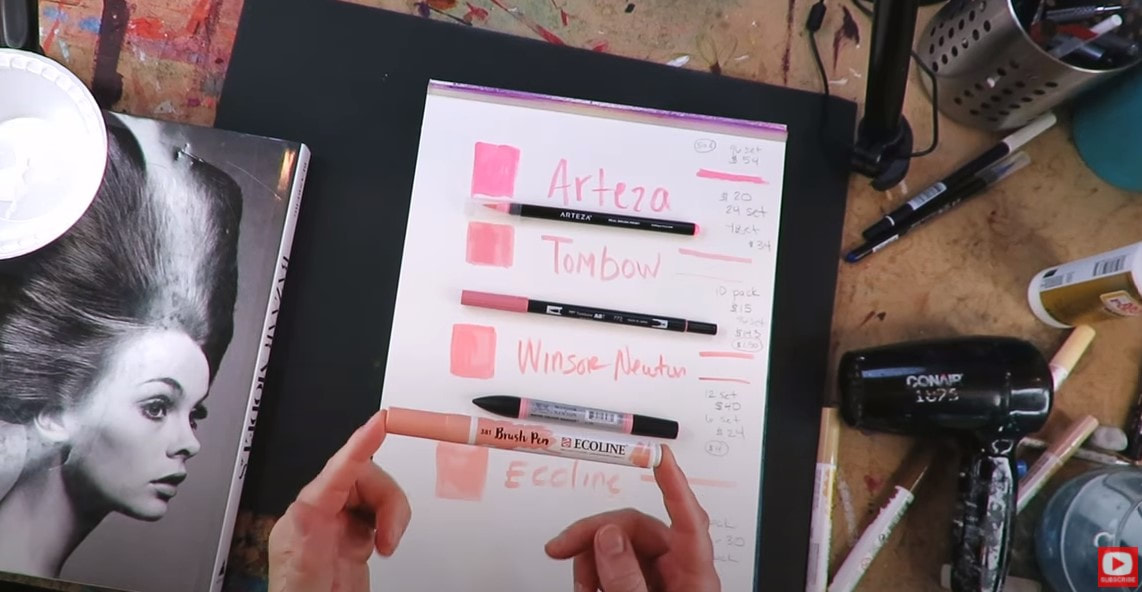
As you'll see in the video- I'm comparing the Ecolines to 3 others brands: Arteza, Tombow, and Winsor Newton.
The Arteza brush pens are a bit different because they're the only one in this product mix with a brush nib that is actually like a paint brush with individual hairs at the tip. 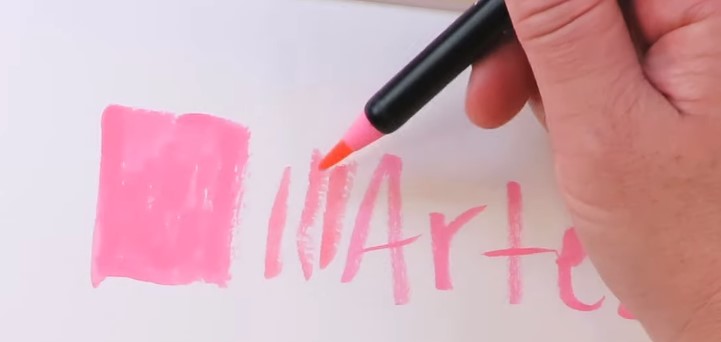
While this is really cool - it actually makes coloring much more difficult because they're not super juicy. The Arteza brush pens also have a hard barrel which means you can't squeeze them to get more color flowing.
As you can see in the pic above, the individual hairs will separate while you're coloring, so the coverage isn't amazing. The one bonus is - this set is way cheaper than the others, so if you don't mind working a bit harder to get the coverage you want, you can get 96 colors for around $54 (or just 50 cents/marker). 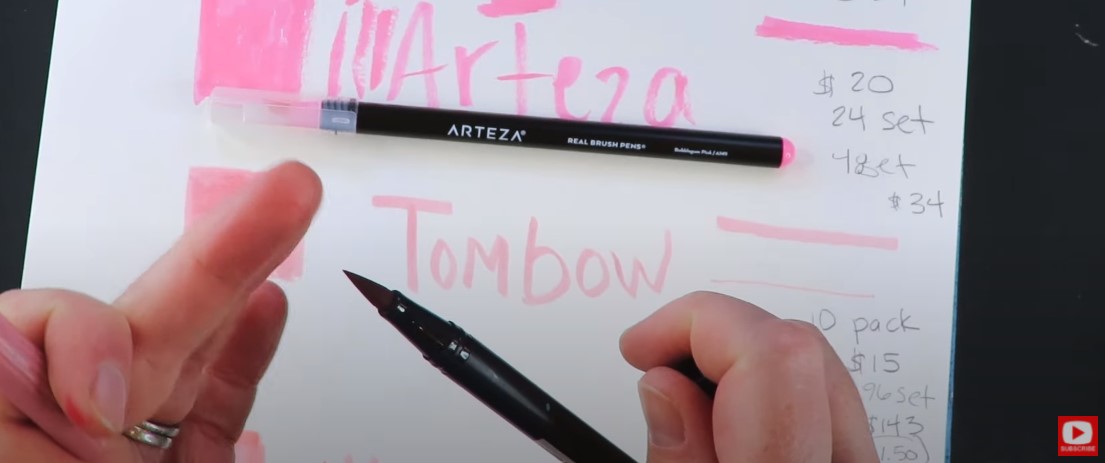
When I pick up the Tombow brush pen in one hand and the Arteza in the other hand, I can definitely feel a difference in weight. Tombows are super juicy, so I'm guessing that weight difference is more ink in the barrel.
Tombows also have TWO nibs in each marker: the brush nib, and the bullet for helping you get into teeny, tiny spaces. Tombow has a set of 96 for around $146. You're definitely paying more per marker here, but I've actually never had one run out on me yet, so you can be confident these will last you quite a while!! 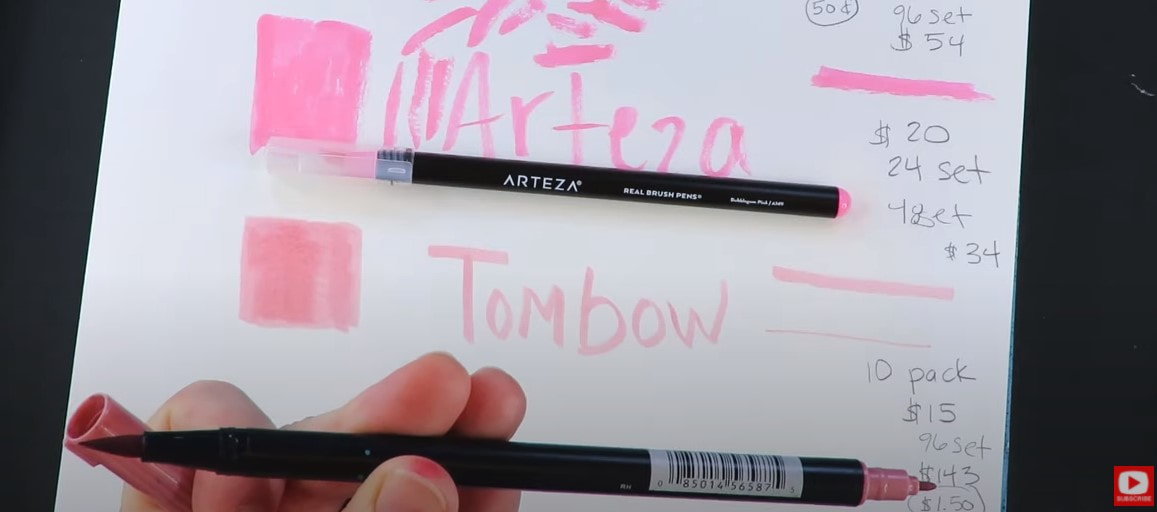
Tombows are definitely my fave when I'm doing art journal pages because they're so easy to take on the road if I want to art while I'm on vacation, or whatever. I even used to take them to carpool and do art in my car while waiting for the boys to get out of school!!
The only downside about Tombows is they're not lightfast, so if you want to make something that's never gonna fade, and will last forever, this may not be the brush pen for you! The same is true for the other lower priced brush pens we're looking at today (Arteza and Ecoline).
HOT TIP: If you are on a budget and need to buy the lower priced brush pens, take a photo (or photocopy, scan, etc.) to preserve your art before the color begins to fade. Remember, it will fade much quicker if you hang it up in direct sunlight. 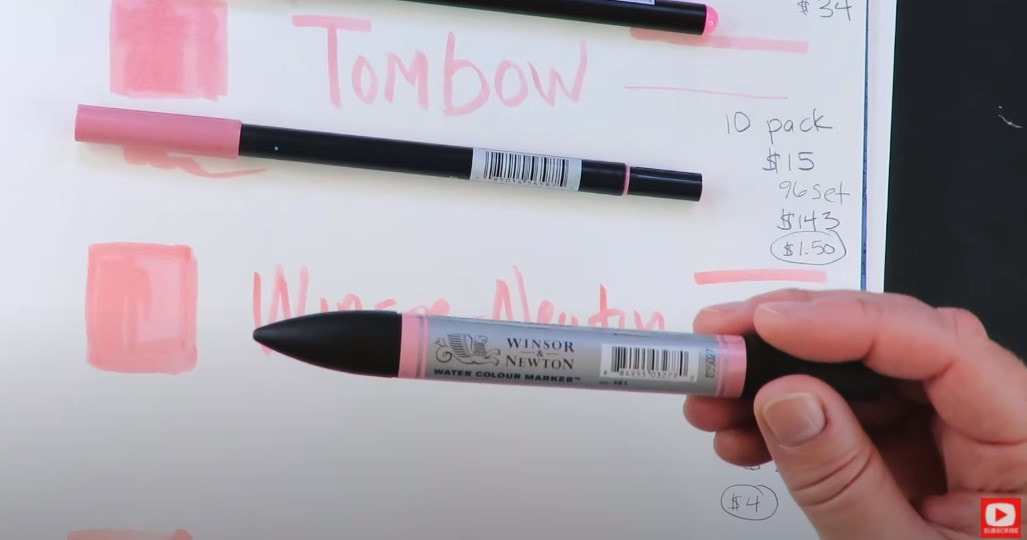
Winsor Newton watercolor markers are my top fave in terms of quality. The pigment is gorgeous and lightfast, so it will not fade because they're considered a fine art product.
Like the Tombows, these have both the bullet and brush nibs in each marker, and they're gonna last you forever. They also "move" the most when you add water to them, so they're not just watersoluble, they really FEEL like watercolor. The downside of Winsor Newtons is they don't come in nearly as many colors, and being a fine art product, they're more expensive. The cheapest you can get them is around $4/each, but their quality is outstanding. 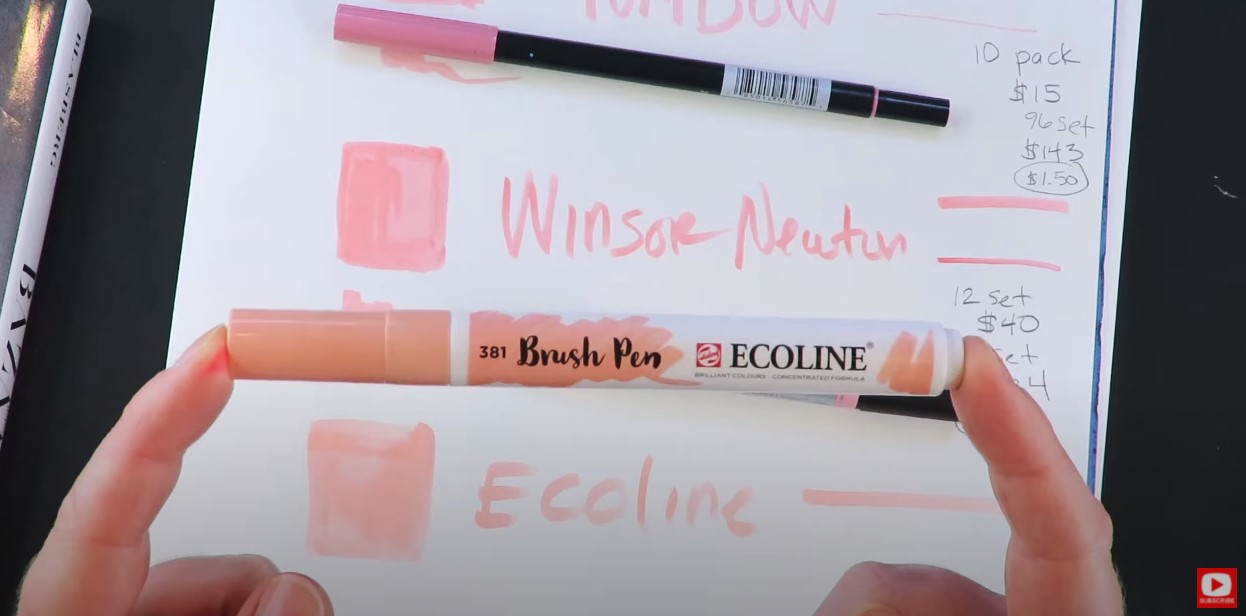
What I'm playing with for today's mixed media portrait tutorial are the Ecoline Brush Pens. They're NOT lightfast, but are super fun to play with, and easy on your budget at about $2/marker when you buy a set of 30 for $60.
They have a bunch of skin tone shades, which is what attracted me to them, so of course I had to check these out for you to let ya know if I think they're worth it! The Ecolines have a smaller nib than the others I tested them against today, but I definitely don't hold that against them because they're nice and juicy. Click over to the video to see how each marker compares when activated with water and come do this tutorial with me in REAL TIME! 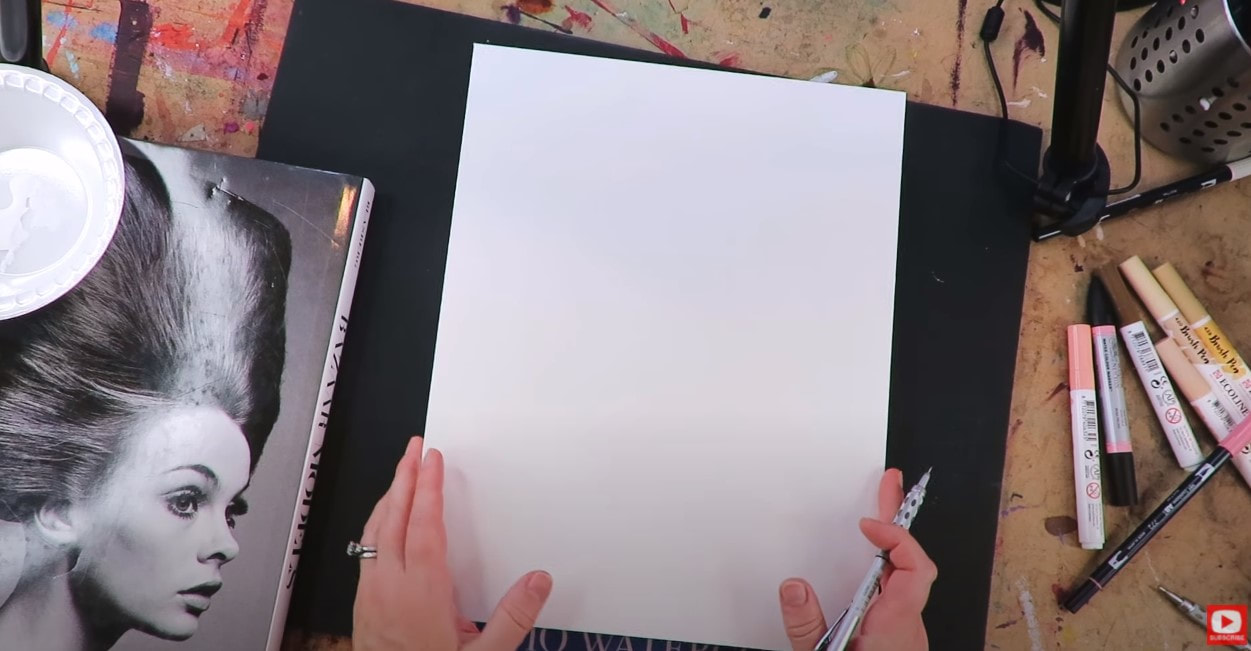
Today's watercolor marker tutorial is of a face in 3/4 view. A portrait in three quarter view is one of the hardest face angles to draw, so if you're new to drawing faces, or feel you need some tips to get you started - I've got a cheatsheet for that!
Simply click the button below, and I'll send you my face drawing guidelines for how to draw a 3/4 view portrait.
If you are totally new to drawing faces, and interested in learning, I recommend the following playlists for you (in order):
1. How to Draw & Shade a Forward Facing Face 2. Side Profile Drawing 3. 3/4 View Face All of the above playlists have cheatsheets to help beginners and step by step face drawing tutorials to help you. Back to today's tutorial... 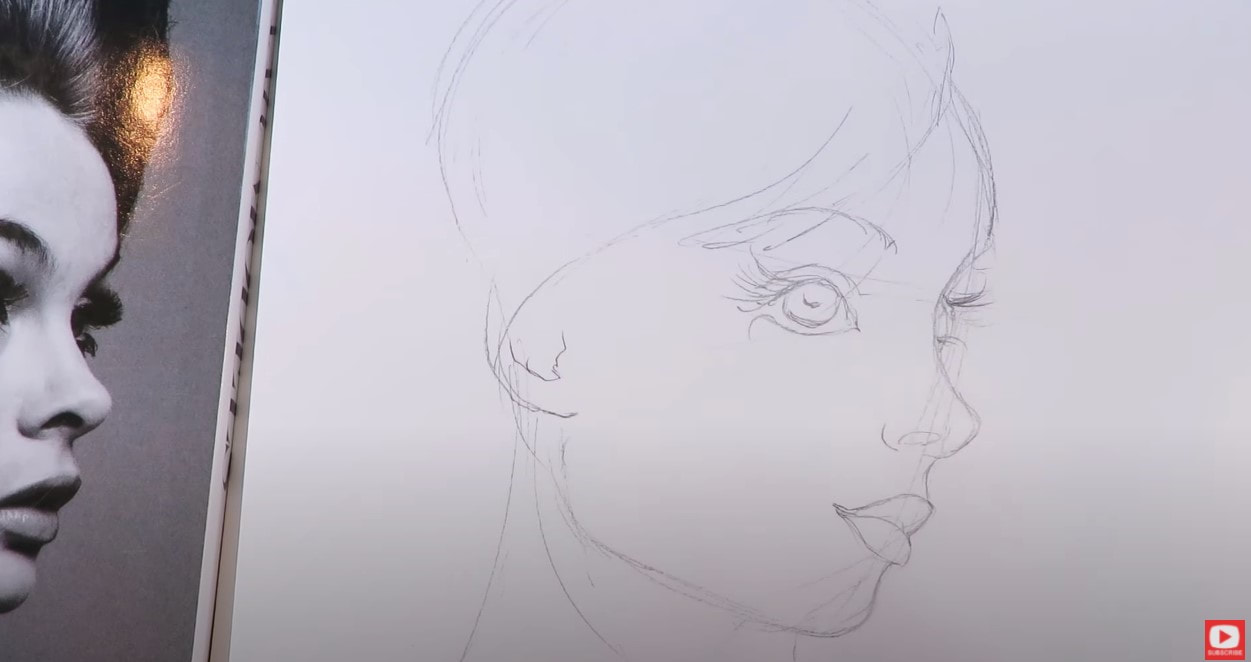
I'm not being too fussy with my face sketch today because I really want to get to the coloring portion of the project!
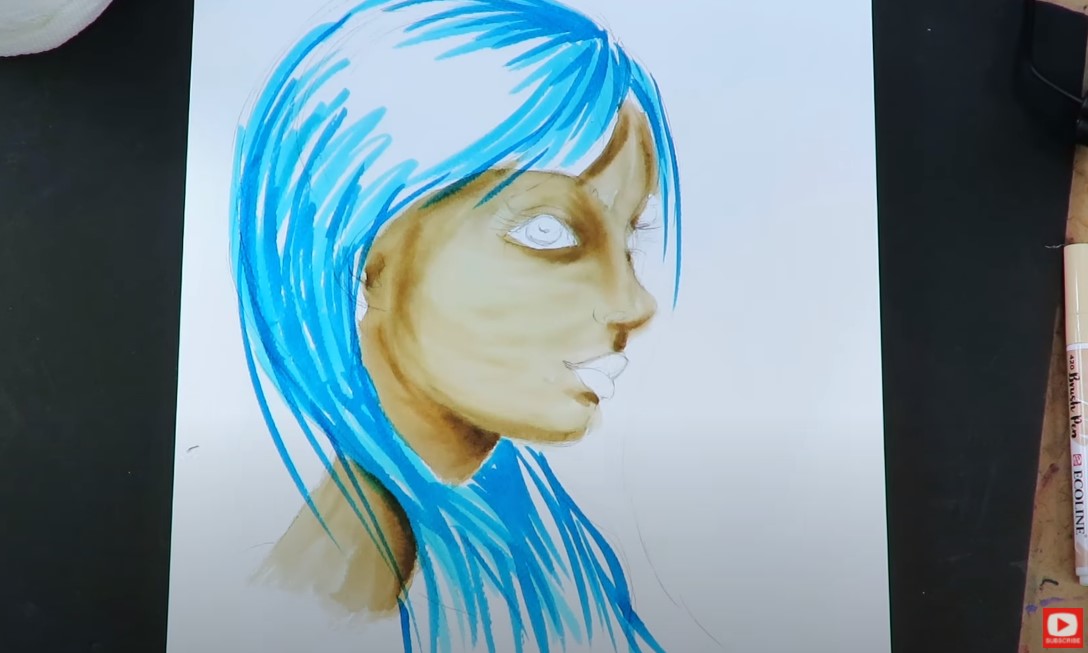
After my face was sketched in, I selected 3 Ecoline marker shades that went well together to create light, medium, and dark skin tones. I tried using the same technique I do when shading with Tombows. I add streaks of light, medium, dark - then activate with water to blend. 
I leave things streaky on purpose because that typically blends right out with water - at least that's my experience with Tombows. When I added water with my paint brush to the Ecoline pigment, I felt like the skin tones blended pretty well, but the blues I used for her hair were much juicier and a bit easier to activate with water. Not sure why!!
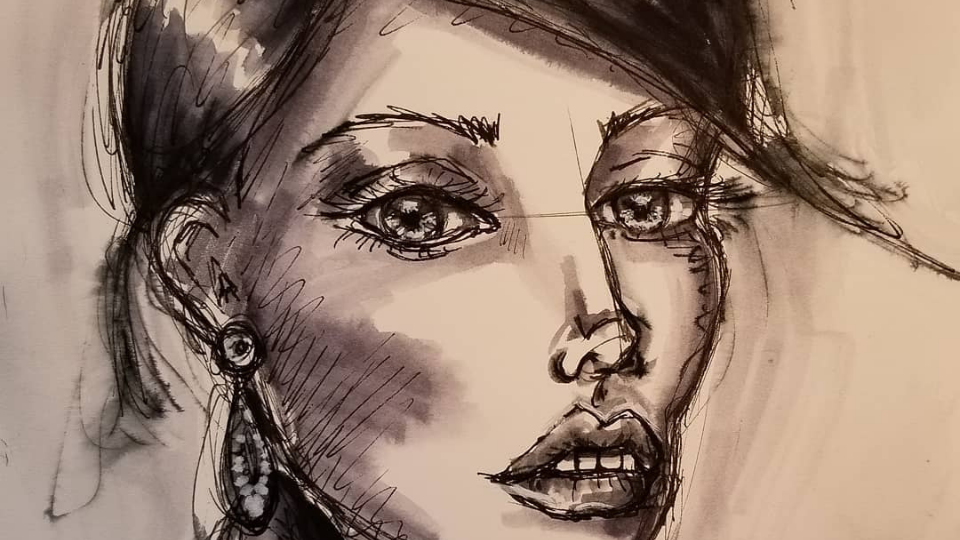
I don't have any black brush pens in my Ecoline set, so I incorporated my pentel pocket brush to start adding in detail (especially when drawing eyelashes!)
If you have questions about the pentel pocket brush, I've got two different videos on it - one about how to draw eyelashes on mixed media portraits on my mixed media YouTube channel, and one on my drawing channel. 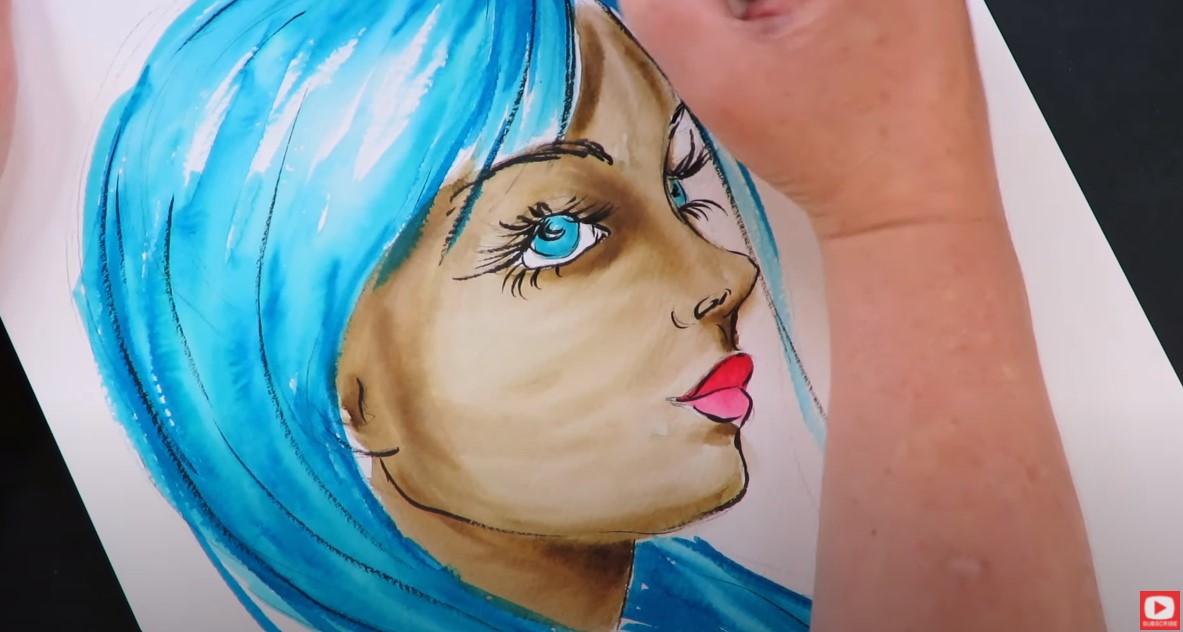
Make sure you click over to the video to find out my FULL opinion on whether or not I think Ecolines a great addition to your art supply stash!
Thanks for hanging out with me today!! ❤️ CHECK OUT ALL my art books on AMAZON ❤️ MY FAVORITE ART SUPPLIES on AMAZON ❤️ MY BELOVED FACEBOOK GROUP ❤️ FOLLOW ME ON INSTAGRAM
This martini glass drawing tutorial is SO fun & easy! Pour yourself a drink & come hang out with me for our own little draw & paint party. If you love art deco style already - you'll LOVE seeing a glimpse of the projects in my recently released trilogy of Learn to Draw Art Deco Style books. Then, I'll show you how to draw a martini glass and shade it 2 different ways- once using Noodler's Ink (it's basically like watercoloring!), and the other using my favorite alcohol markers (copics)!!
Before we continue, super quick announcement: All product links are Affiliate. I may earn a small commission if you choose to order through these links but by law there is never any additional cost to the consumer for doing so. I thank you for your support! 
In 2020, I went down a serious 1920s -1930s / art deco rabbit hole just for me. I fell in love with the styles and just had a blast getting into the fashion, figures, hats, shoes, jewelry, furniture, pets, men, cars and cocktails of that era!
During that time period I published not one, but THREE Art Deco Drawing books (1, 2, 3). 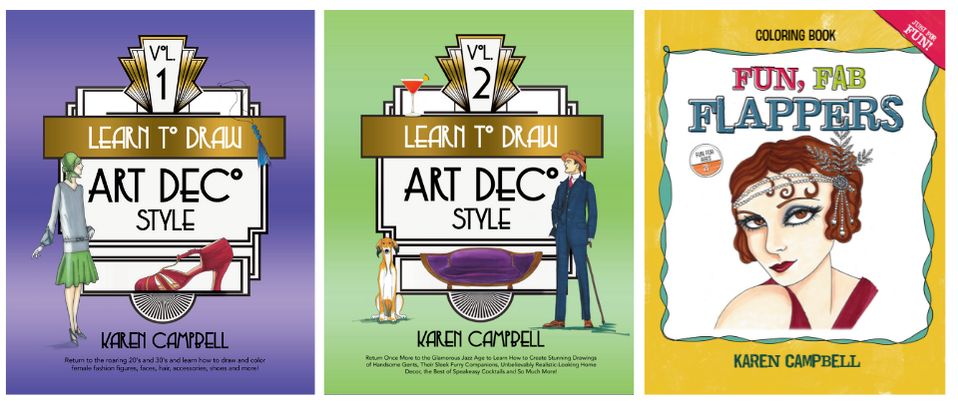
What's fun about these books is I do have a lot of FREE videos on YouTube to accompany the book, so if you've ordered a book and see a little film icon in the corner- make sure you check that link out because there is a video lesson you can play while you work your way through lessons in the book.
I used a lot of watercolor, alcohol markers, and fountain pen inks. In each of these books you'll even find a few fun facts about this time in history because I'm a bit of a vintage history nerd! And when I look stuff up, I've gotta share!! I love everything OLD!
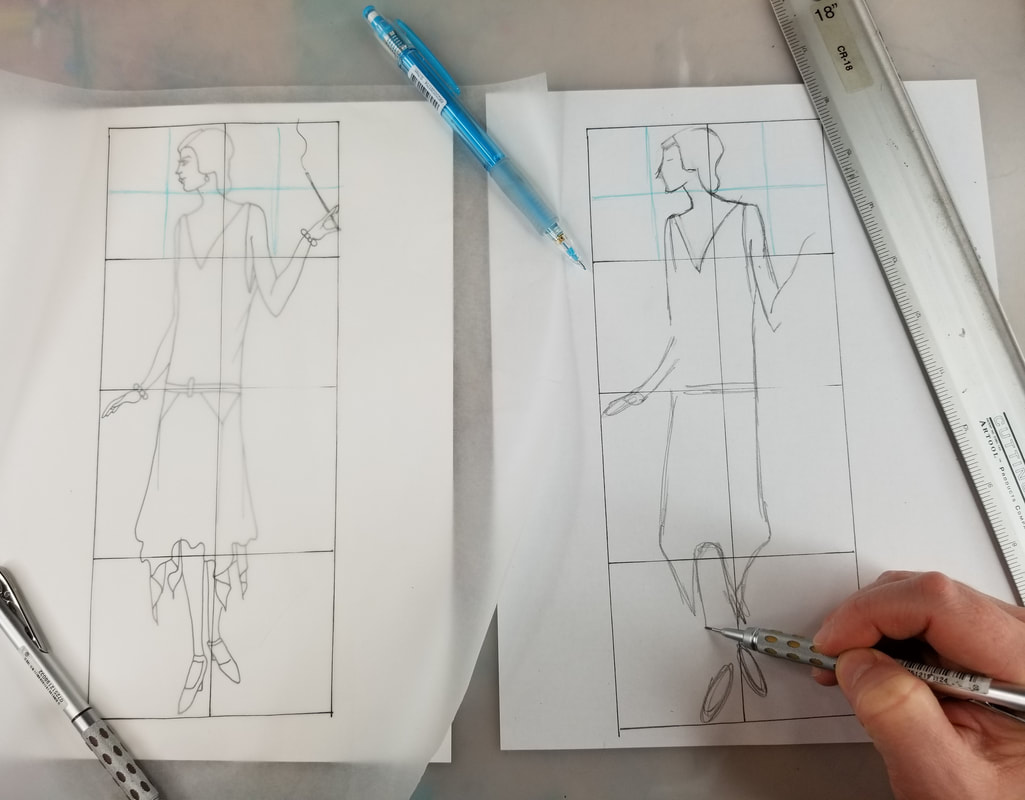
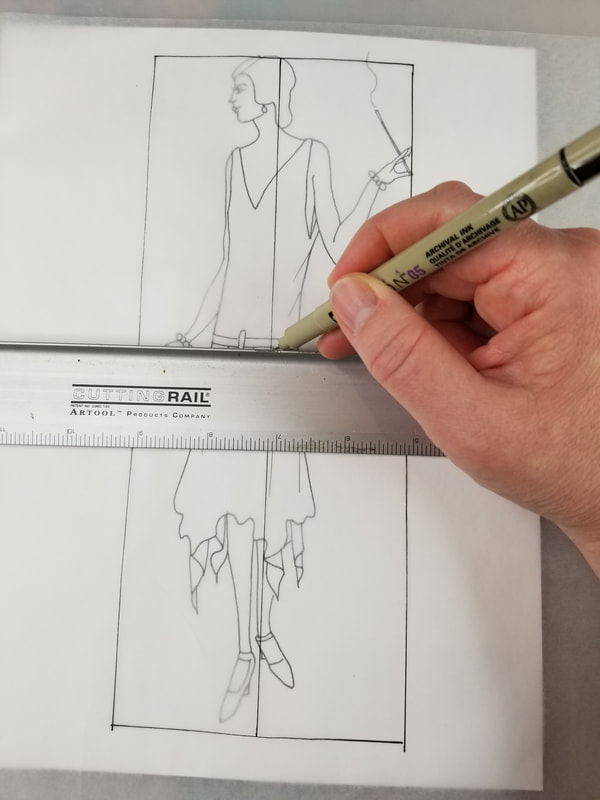
Volume #1 is super "girly" with lots of fashion, shoes and jewelry. In this book I go in depth about how to use my Quadrant Method for drawing figures too, so if you've been wondering how to draw figures easily - this is a great way for beginners to get started!
In my second volume, I'll teach you how to draw male figures as well as popular dogs and cats from the Art Deco era. If you're not sure how to draw a dog or how to draw a cat, I teach you how to use my Quadrant Method for this as well. It's SUPER easy!!
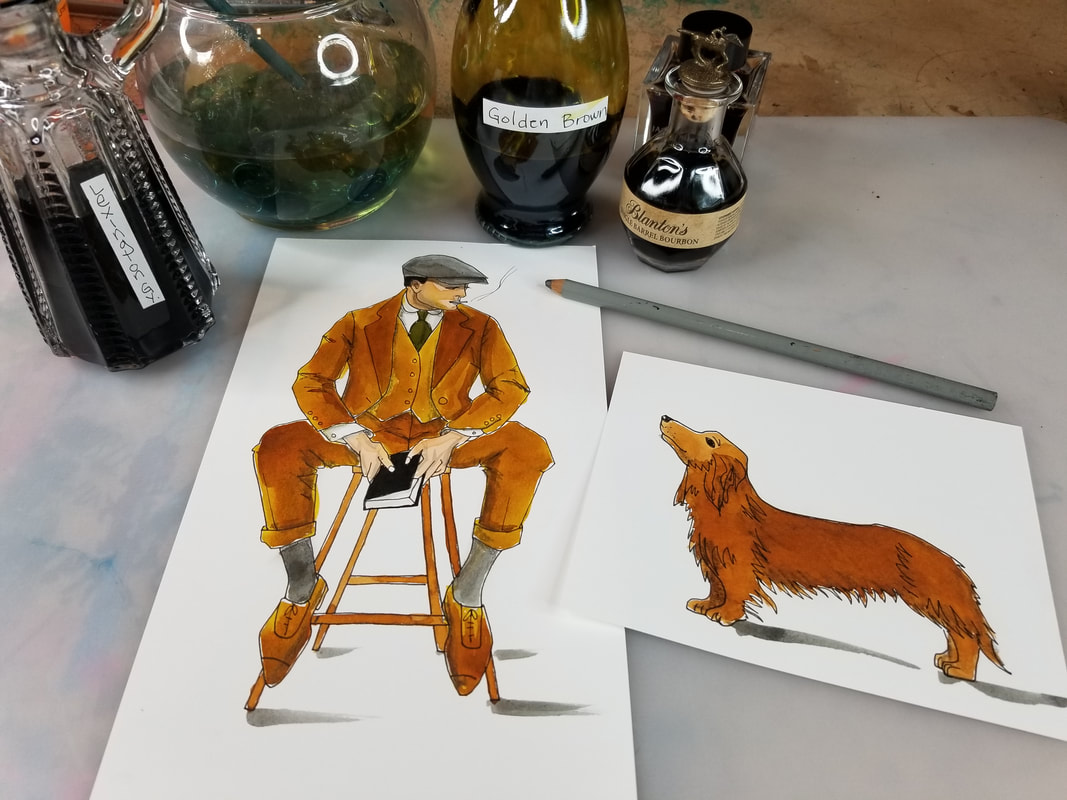
Art deco furniture was GORGEOUS, so you'll find quite a few fun pieces in this volume as well. If you've been following me for a while, you may already know I've got an obsession of painting with fountain pen inks!
I find fountain pen ink to be even MORE vibrant than my favorite Daniel Smith watercolors, and I love to just dip my watercolor brush straight into the bottle to get some serious pigment onto my paper. 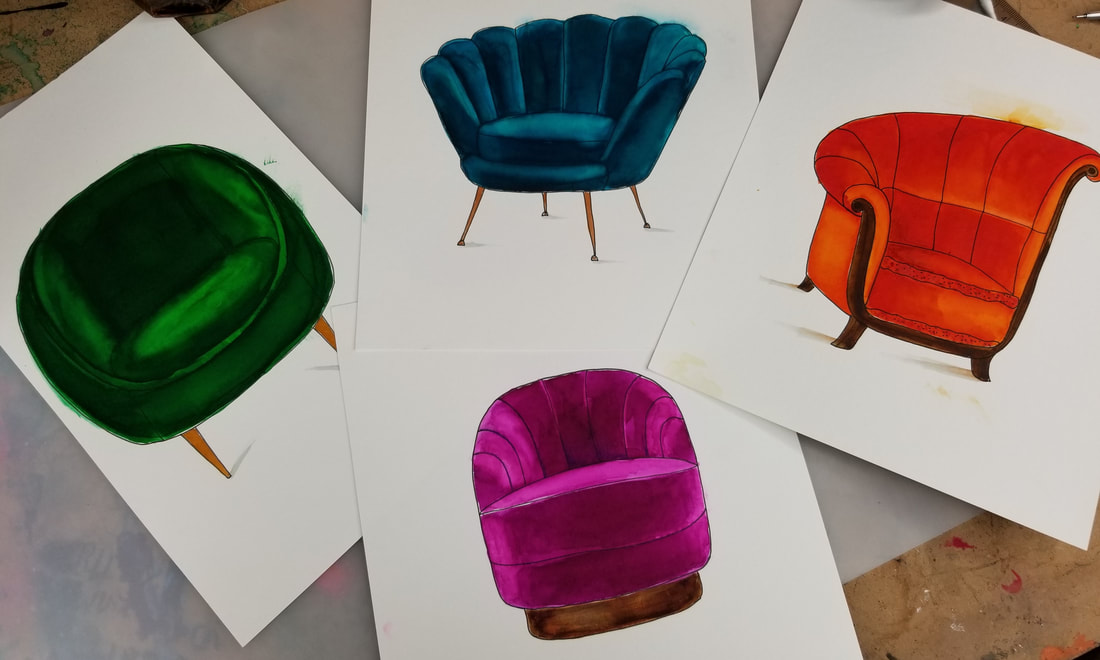
When I was painting the Art Deco furniture projects for this book, I felt my fountain pen inks really made the velvet I was rendering look realistic! You kinda have to see it to believe it.
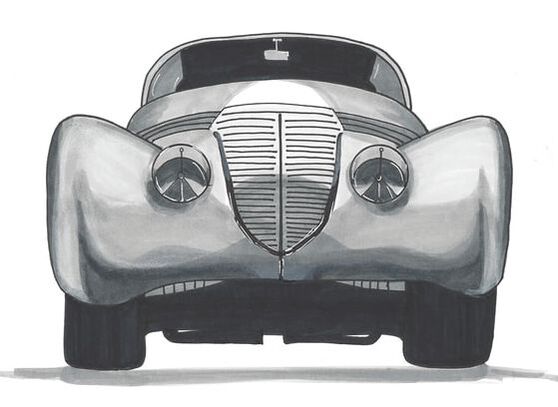
I wrapped up Volume #2 of Learn to Draw Art Deco style with a chapter on cars and cocktails from this era. It's really remarkable how realistic some of these drawings look!
You can totally achieve this too when you learn how to layer your art supplies properly. Even if you're a beginner- you can do this! I'll show you how and keep each project step by step, so even beginners just learning how to draw feel comfortable!
To dotoday's full length drawing tutorial with me - all you need is a sheet of watercolor paper (if you want to color your martini using a wet medium like watercolor), or a sheet of bristol, card stock, or marker paper if you'd like to shade your martini in alcohol markers.
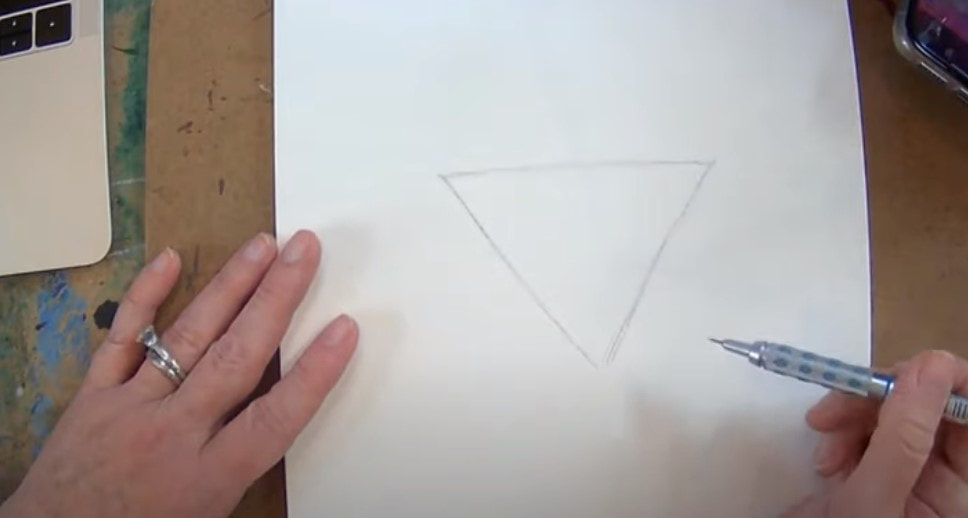
Be sure to click over to the video to draw with me in real time (22:22). The drawing itself is fairly simple, so if you're a beginner interested in learning how to draw - this project is perfect for you!
We're starting with an upsidedown triangle and adding a stem. Once everything is sketched in, I pulled out my Habannero Fountain Pen Ink and simply started coloring in the liquid for my martini. If you're not sure how to paint with fountain pen inks, just follow me. It's basically the same as using watercolors - just richer. 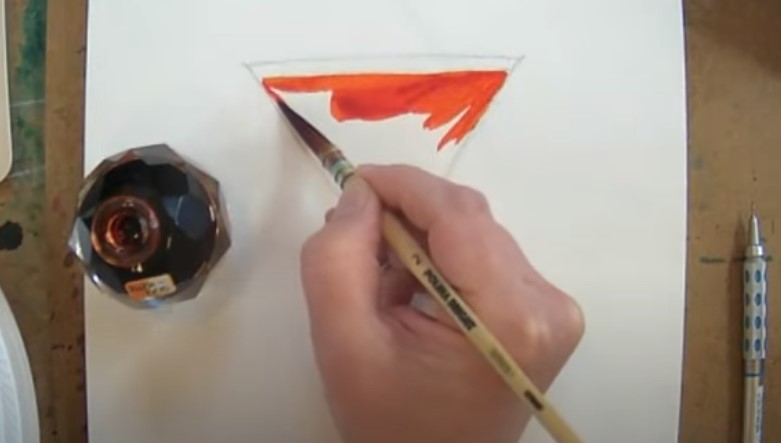
If you don't have any fountain pen ink, you can definitely use Dr. Martin's acrylic ink in a similar way or watercolors.
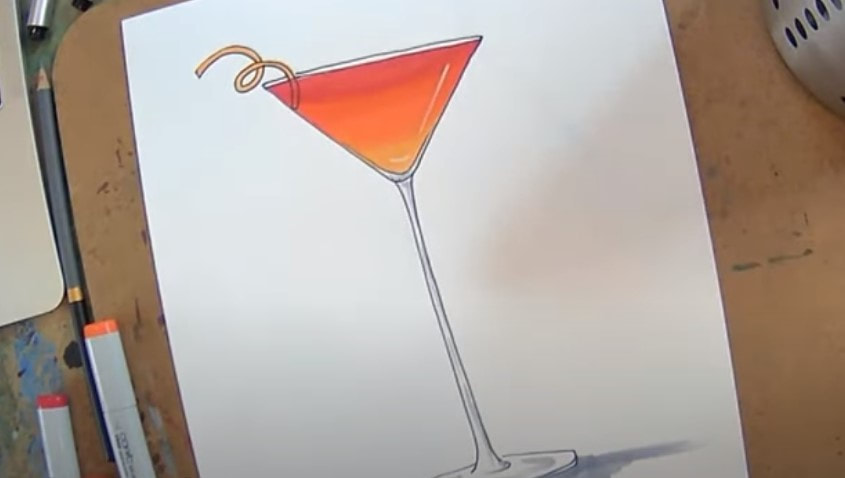
Click over to the video to see how I shade the stem of the glass. I often reach for my Daniel Smith Hermatite Genuine. This is a really soft gray. You can also just really water down some Bloodstone Genuine or Payne's Gray as well to paint a fine line down the stem of the glass. 
If you'd like to see the same project done in alcohol markers while your ink painting is drying, click over to the video (42:00). If you enjoy the look of outlining in your work and are going to shade with alcohol markers, you can outline your glass before or after you shade.
If you choose to outline first, make sure you're NOT working with an alcohol based fineliner because it will bleed. The fineliner should be pigment based or water based (warning: SHARPIES will bleed, so don't use these). Check out my Amazon Shop of favorite art supplies for drawing and mixed media. I recommend Moltows for outlining with copics or other alcohol markers.
Make sure you swatch your alcohol marker shades off to the side so you know ahead of time that they will blend well together. Before your start shading in marker, be sure to erase your graphite because your markers will drag that around and smear.
HOT TIP: To ease your shading transitions between marker shades, just keep on layering because each top layer rewets the bottom layers and helps them blend. You can also use your lightest of the three colors to blend, or work in a layer of colored pencil, followed by some highlights with a posca paint pen. Click over to this video for more tips on how to copic marker blending!
Make sure you click over to the video because I walk you through both versions of this project step by step!
Thanks for hanging out with me today!!
❤️ CHECK OUT ALL my art books on AMAZON ❤️ MY FAVORITE ART SUPPLIES on AMAZON ❤️ MY BELOVED FACEBOOK GROUP ❤️ FOLLOW ME ON INSTAGRAM
Whether you already love toned paper drawing, drawing faces, or have never tried either, and are curious - TODAY's VIDEO is FOR YOU! Join me for a face drawing demo in my cute little toned paper sketchbook (that I recently designed) - complete with adorable little flowers in the background! I'll show you how I picked my face drawing reference, and will teach you why drawing on toned paper is actually QUICKER than drawing on white paper.
If you're new to toned paper drawing, I've got an awesome set of FREE cheatsheets for you to download and a Toned Paper Drawing three-part video series for you to help you get started over on my YouTube Drawing Channel.
Click the button below to grab those cheatsheets, and I'll send that straight to your inbox! 
This cheatsheet packet includes my face drawing guidelines, plus a drawing reference face photo to help us in video #3, so make sure ya click that button!!
Before we continue - super quick announcement! All product links below are Affiliate. I may earn a small commission if you choose to order through these links but by law there is never any additional cost to the consumer for doing so. I thank you for your support! 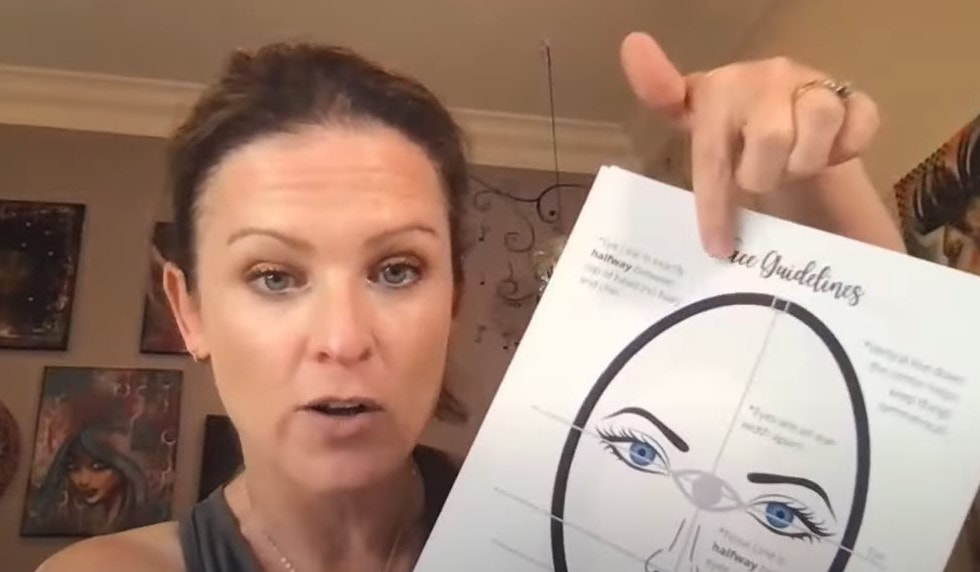
For today's drawing tutorial, I'm working in my new toned paper sketchbook that I actually designed! It's got adorable little flowers in the background, which I love, because those flowers end up peeking through the cheeks of the faces I've been drawing.
The picture below shows a great closeup of how the background flowers look behind a drawing. SOOOOO cute!!!
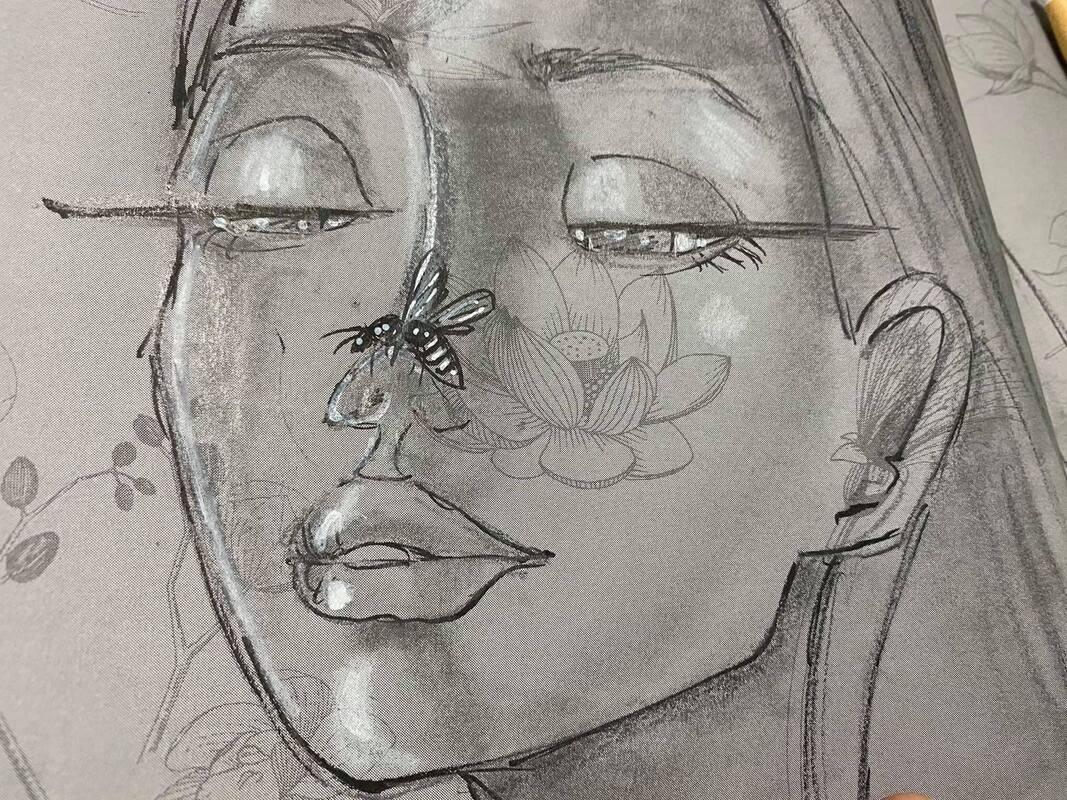
It's perfect for doing some quick little face drawings in pencil with china markers and white posca pens!
Here is the link for the sketchbook over on Amazon in case you're interested! I hope you enjoy it as much as I have!!
Click over to the video and I'll talk you through a few things I think about when I'm looking for faces for drawing reference. Mostly, I just keep it easy. Basically, I just think to my self - do I love this girl and think she's cute? Then I usually give it a try!
As you'll see in the video - I also will look at the face shading. In this particular image, it's really unusual! I felt she had some beautiful highlights on her eyes, nose and lips that I instantly could imagine doing in my white posca pens. Just one more feature that made this face drawing reference an instant YES for me, besides I'm obsessed with absolutely anything done by Loish. 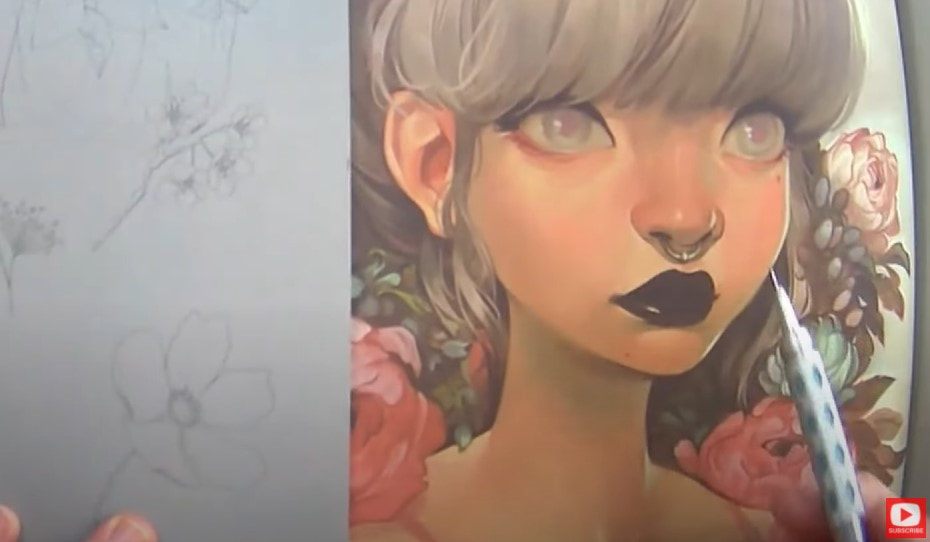
One of the most important things to remember when drawing on toned tan paper or gray toned paper vs drawing on white paper, is that "your job" is just to pop in the darkest darks and lightest lights when it's time to start shading faces.
That's why I think doing toned paper portraits and sketches are SO fast! Half your job has already been done for you because your "skin tone" is the tone of the paper. 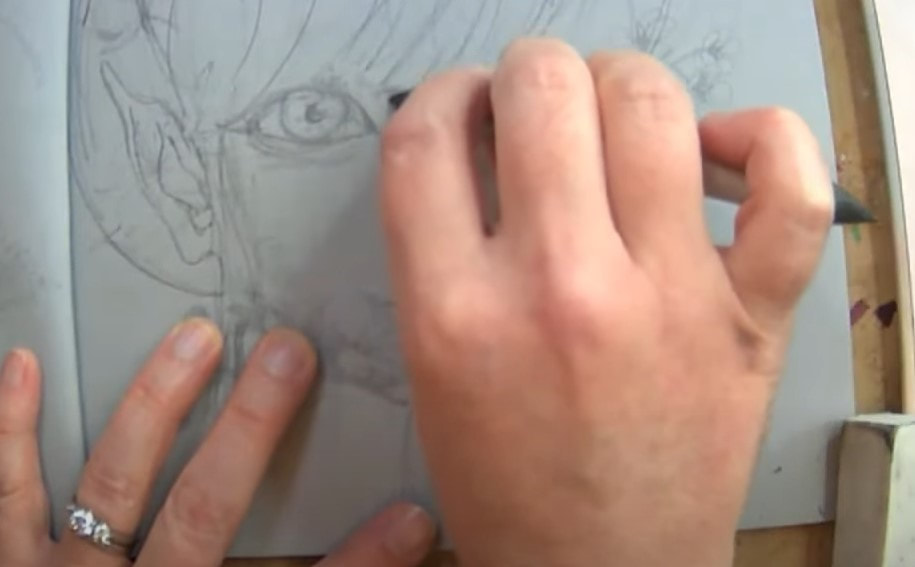
As you'll see, I did a lot of the face shading with my blending stump. Since the paper is already gray, I really didn't have to push down very hard to get some beautiful effects. Once I was happy with my shading, I just grabbed my pentel pocket brush to outline everything loosely with a light touch.
I LOVE the lashes in this reference so really enjoyed popping those in with my pentel pocket brush! If you've never used this before - you have to give it a try. Here's a video to help you on my drawing channel, and here's one to help ya on my mixed media channel (because it works amazingly well for mixed media faces too!).
I love using the china markers for highlights here because they sit beautifully on top of my graphite. These marks really add dimension to the drawing and pop those areas forward.
And of course, no whimsical face drawing of mine is complete without some dramatic highlights using my white posca pens!!
I hope you enjoy today's video! Thanks for hanging out with me!!
❤️MY ARTIST BESTIE, LUCY BRYDON & I created a NEW ART MEMBERSHIP together called The Celtic Collective! It's now open for enrollment! Join us before the price increases on August 7. 
|
Karen CampbellFounder of Awesome Art School. Mixed Media Artist. Author of 19 Instructional Art Books! 
Whose work has appeared in...
   
 Archives
July 2024
Categories
All
|
 RSS Feed

"Karen is flipping hilarious and she's very real...I like the way she teaches in a way that really gives you confidence, whether you're a beginner or advanced there's always something new to learn!"
- Elizabeth W. |
What Fans Are SayingKaren, you are absolutely fabulous! You make me feel like I can draw anything. I have recently retired and finally have the time to do some of the art that I have loved since I was in school. I am really at the beginning of my art journey and I hope to learn as much as I can. Thank you for all you do. |
Contact ME |