|
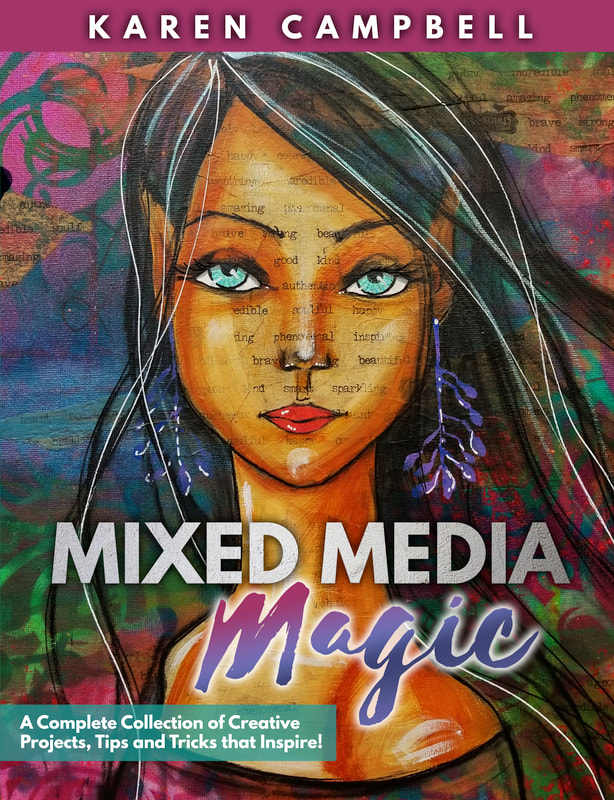
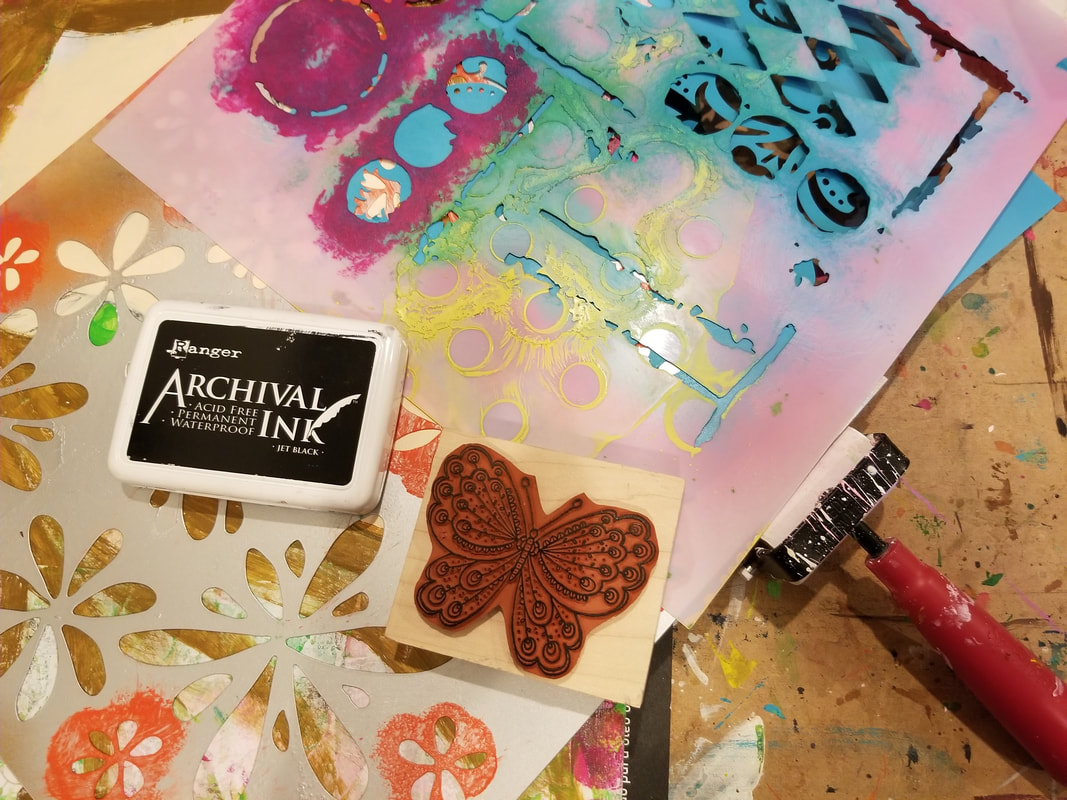
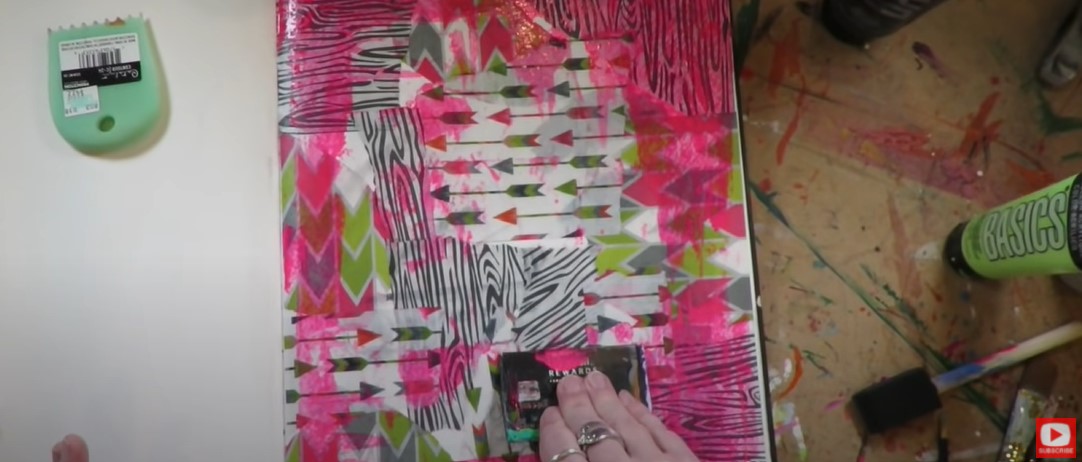
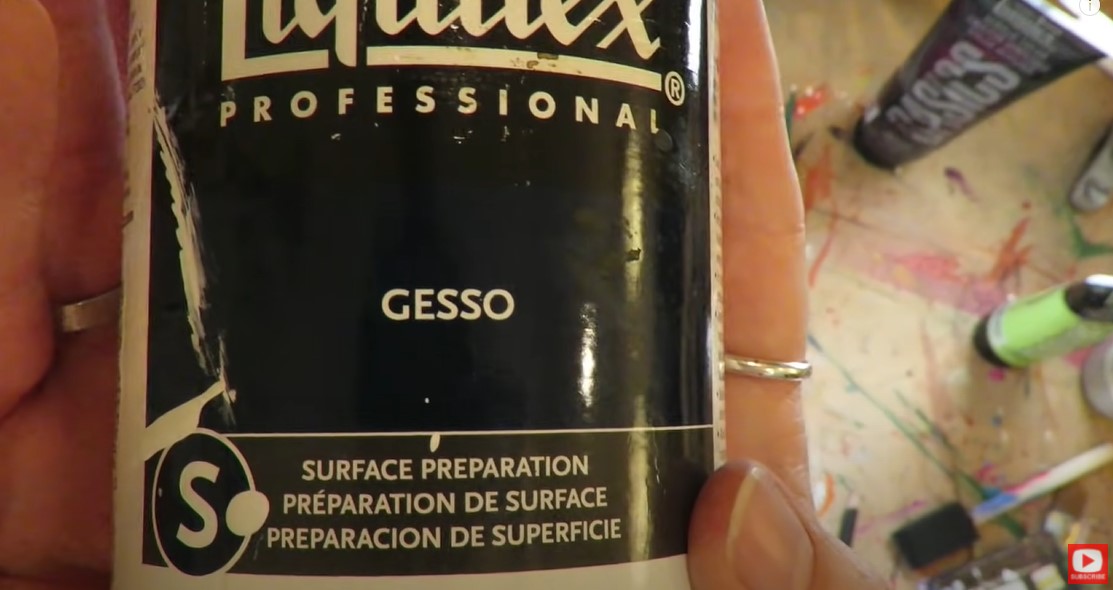
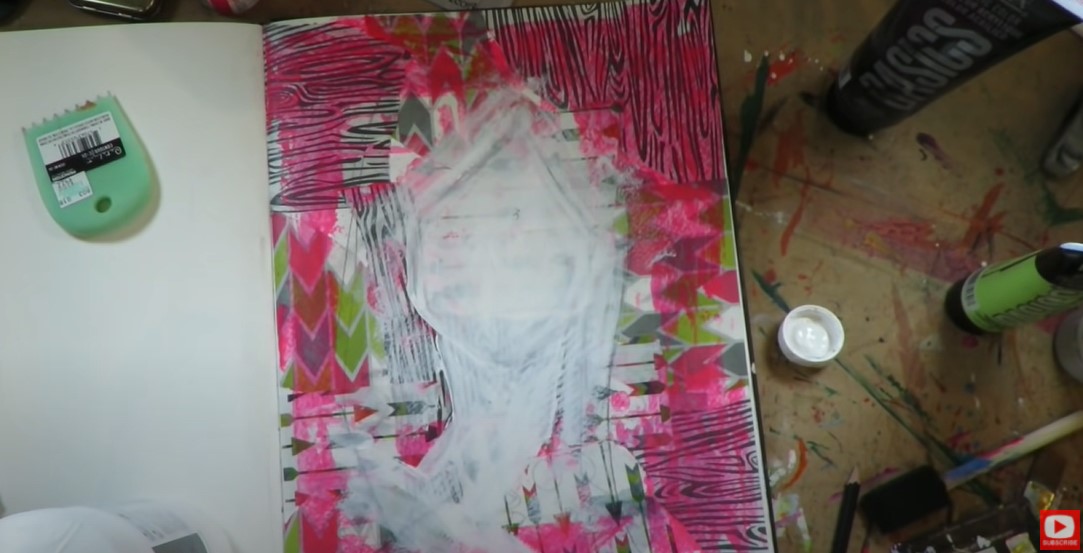
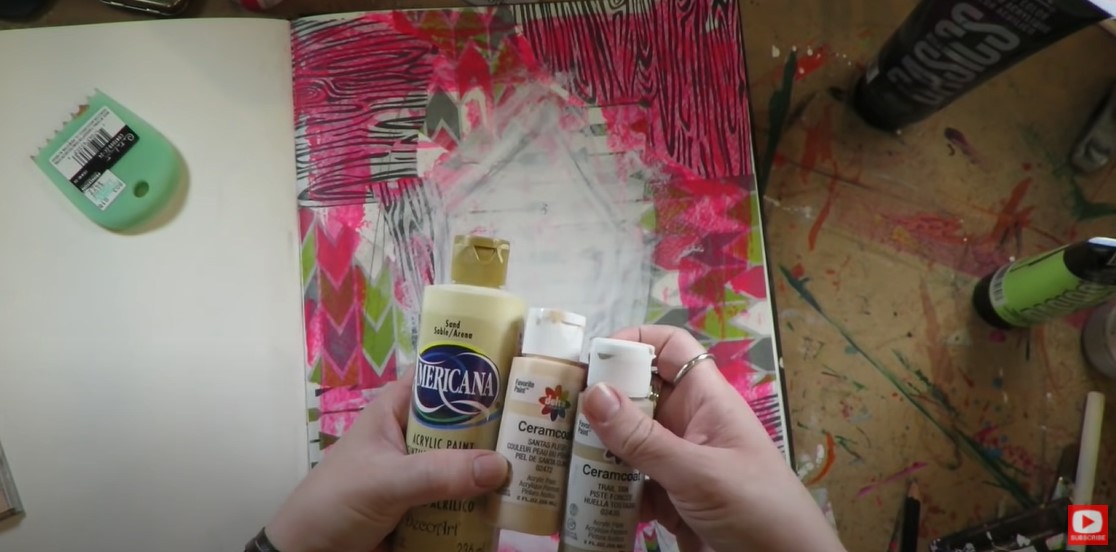
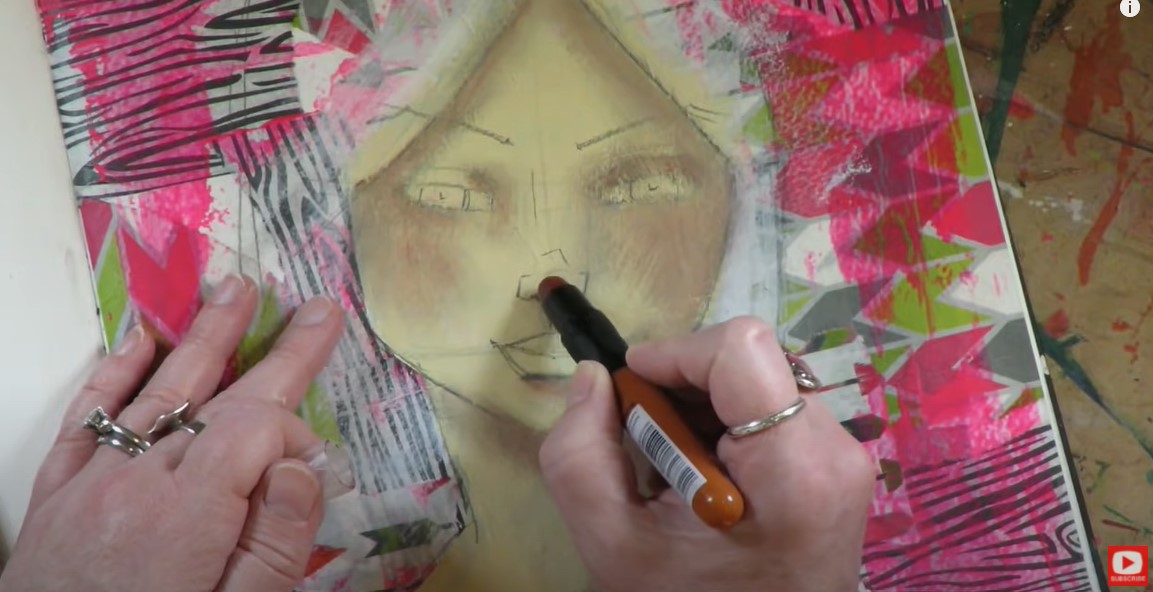
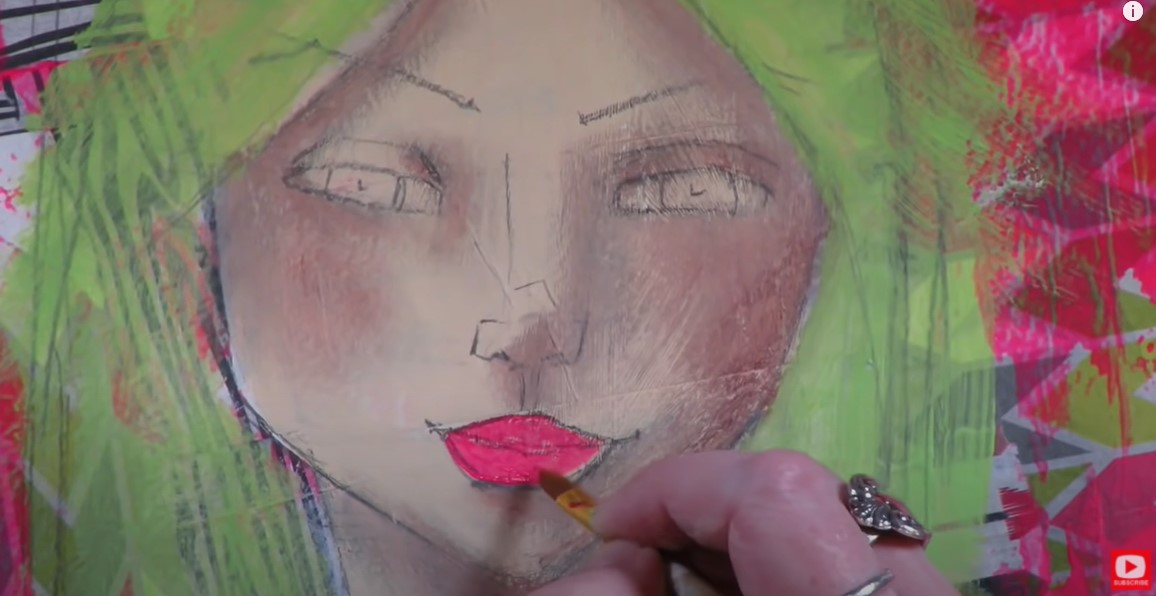
Today, I'm teaching you my FAV techniques for adding acrylic paint to the collage layer of my mixed media art projects. To get started with this layer, I look to my collage papers for direction on how to choose a color palette, and select 3 colors. At this stage of the game, I don’t have a big end result in mind and am typically still just having fun- playing with color, pulling out my stencils, stamps, and smearing paint with everything from a brayer to my finger. (You can read about these same techniques and learn about my favorite products in my Mixed Media Magic book!). As you’ll see in the video (link below, just scroll down a wee bit)… I prefer to keep my background paints fairly transparent because I like to see my collage papers and patterns peeking through. Since I usually love to draw and paint a female face in the foreground of my mixed media work, I tend to keep my background acrylics on the outer edges of my art journal page or canvas, and add them in one color at a time (drying each color with my hair dryer before starting the next). I often lay down a thin layer of gesso wherever I plan to draw out what will become my next mixed media girl. Once she’s penciled in, I typically add another layer of gesso to her face, followed by skin tones. Then, I incorporate THE SAME three paint colors used in the background for features like eyes, lips, and hair. Quick Tip: Keep the gesso nearby to paint over anything you don’t like! Today's vid will take you up to the "ugly stage" of my next mixed media process (YES- we ALL have to go through this! Press play to see MINE!). Would you like a copy of my Hamburger System cheatsheet, showing you each layer of my mixed media layering process? Simply click on the button below and I'll send it straight to your inbox! Wanna binge the whole series? Here's a link to the whole Hamburger System playlist. I had SO much fun with this series, I compiled all my resources into a book (affiliate link)! Thanks so much for hanging out with me today! I hope you enjoy.
0 Comments
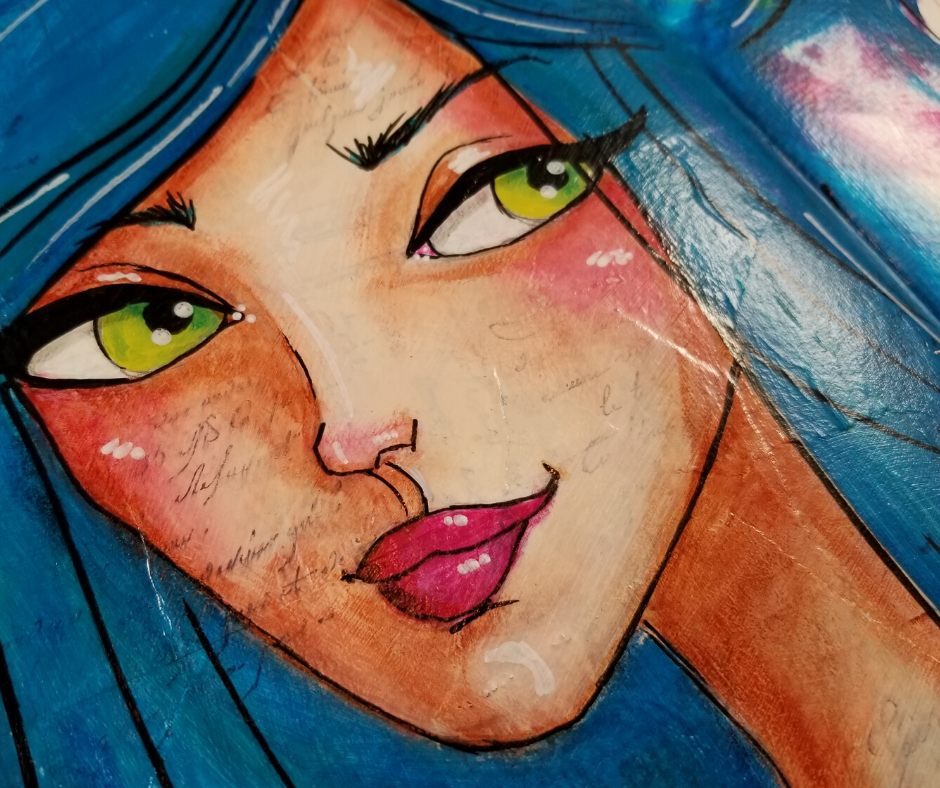
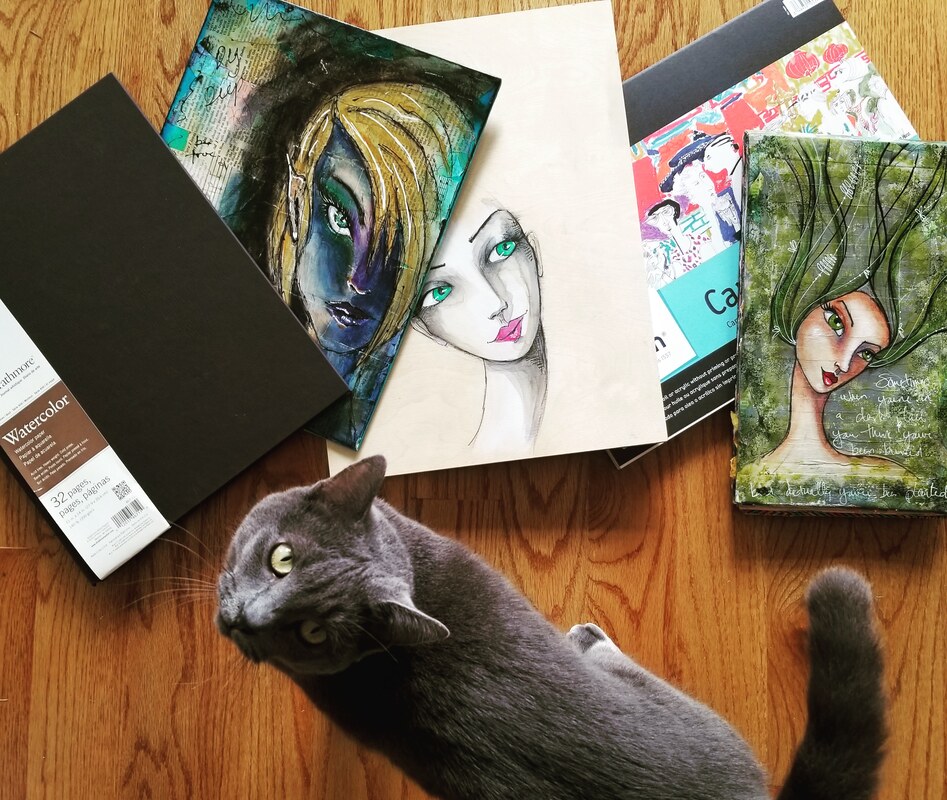
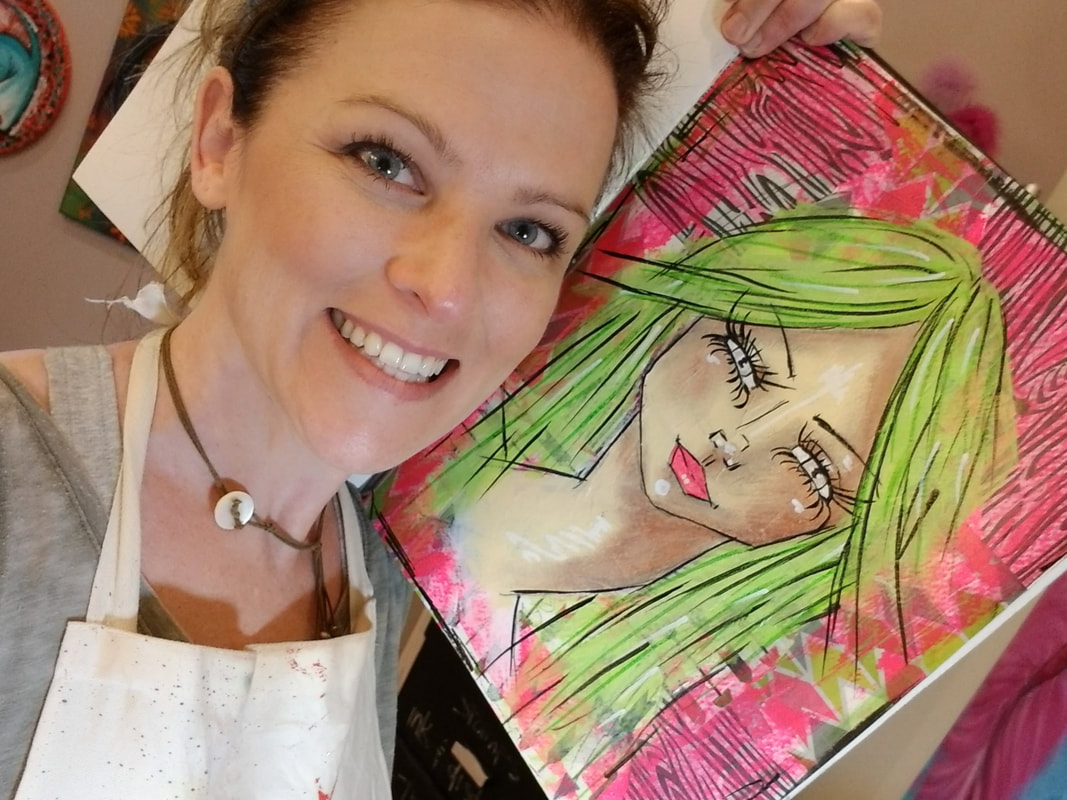
When I first started playing around in the world of mixed media art, I used to wonder what the point of collage was. Sure the scrapbook papers were pretty and fun to sort through, but why bother if we're just going to paint all over it later? Now that I've been at this for a while, I finally get just how many points collaging has-in the world of mixed media!! Starting an art journal spread or mixed media canvas with a layer of collage is like a warm up exercise for a mixed media artist! Collage can actually help you clear your head, get your creative juices flowing, help you overcome creative block, and even help you figure out how to choose a color palette for your painting layer. See the texture in her cheek? That's ALSO the magic of mixed media collage! It can really add a layer of sophistication to your work. Join me in my studio for a behind the scenes peek at my favorite mixed media collage materials from upcycled thrift store gems like vintage books and sheet music to fancy collage paper by Tim Holtz! I also demo adhesive supplies like matte medium (my FAV!), glossy medium, and gel medium (so you don't have to buy them ALL!), explain WHY you don't want to do your collage layer with mod podge, and show you my favorite mixed media collage techniques. If you've been following along in the "Hamburger Series," this is Video #3 of that playlist. Need my Hamburger System cheatsheet so you can create along with me at home? You got it! Simply click the button below, and I'll send that straight to your email inbox. This super fun YouTube Series helped inspire me to compile the resources I created for this series into a book. I hope you enjoy it! The above link is an affiliate link, which means I may earn a small commission if you choose to order through this link, but by law there is never any additional cost to the consumer for doing so. I thank you for your support! Tuesday's at 2 pm EST is when I hang out LIVE on my YouTube channel! This past Tuesday I did a half hour lesson on how to fix the following problems with eye drawings like: * Preventing uneven Eyes! * Preventing and fixing eyes that look too huge. * Eyes that are too close together. * Eyes that aren't the correct shape. * Tips for making one eye match the other. * Why and how not to skip the important tear duct. * How to correctly size the iris and pupil. * How to make eyelashes using proper placement and directionality. * And lastly, I give you my secret cheat that both rescues bulbous eyes while making amazing makeup affects! I hope you learn something new today! Mixed media art can feel super confusing for beginners! Am I right?! Not only do you need to learn about which art supplies "play nicely" with one another... there's the whole issue of WHAT SURFACE do you create your masterpiece on to begin with?! The surface, or substrate (think paper, canvas, wood) you choose to work on serves as the foundation for your mixed media art project or art journal, and is actually a pretty important decision that can turn your creation into a success, or a hot mess! Speaking of a hot mess, do you need my FREE Mixed Media Hamburger System Cheatsheet to help you keep your layers straight? Simply click the button below, and I'll send it straight to your inbox. Then, make sure you click over to the video, because today I'm kidnapping you and taking you on a field trip to my local Jerry's Artarama to take the guesswork out of which surfaces ARE strong enough to support your mixed media layers, and which ones just aren't gonna cut it (hint: my favorites do NOT include mixed media paper!). Tippie (my gray kitty, below) was being my helper filming this video! Stay tuned for next week's video where I show you what mixed media art supplies and adhesives work best for the first layer of your project! That's right, I'll be showing you my go-to mixed media collage techniques! Catch the entire Hamburger System series on this playlist. I loved doing this series so much, I turned it into a book (affiliate link)! I truly hope this helps you! If you have any questions, you know where to find me!
I've shared my Mixed Media Secrets before, but NEVER like this... in 7 Easy to Follow Steps!!! If you're a mixed media beginner, THIS video series is all you need to get started.
If you've ever been lost or confused as to what mediums go where in the world of mixed media art, OR in what order they should be assembled to create gorgeous mixed media portraits in your art journals and mixed media canvases, you're in the right place for all the answers.
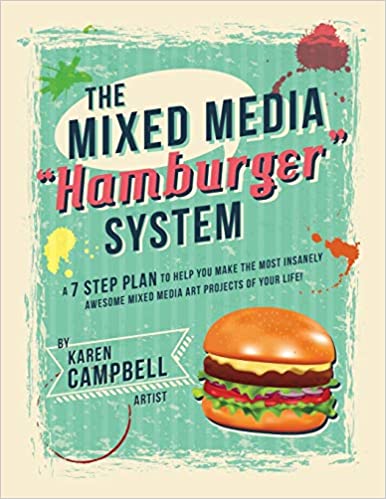
I've named my signature mixed media process "The Hamburger System," and have broken it down into 7 simple steps. I've even created a cheatsheet for you!
Simply click on the button below and I'll send your cheatsheet straight to your email inbox.
The BIGGEST problem I hear from my students and other artists in the mixed media / art journaling space, is that they don't know the "order of operations" when it comes to layering their mixed media art supplies, so they end up with SUCCESS, instead of a mixed media mess!
Over the years, I've developed a consistent way of layering my mixed media art supplies that works beautifully on both art journal pages and on mixed media canvas. I call it "The Hamburger System," because it's kinda like layering the perfect burger or sandwich. There are 6 simple steps (7 if you count the sealer/finishing layer!), and I guarantee you will have mixed media success IF you used the same products, in the same order!
Real quick, before we continue- All product links are Affiliate. I may earn a small commission if you choose to order through these links, but by law, there is never any additional cost to the consumer for doing so. I thank you for your support!
Make sure you download my Hamburger Cheatsheet so you can follow along with me when you watch today's video!
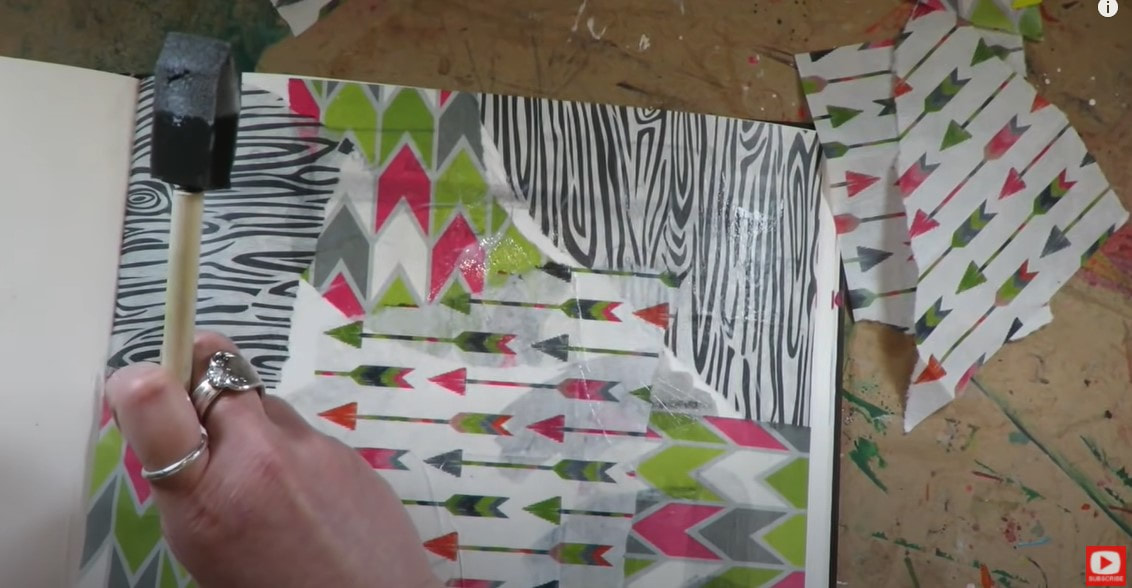
For layer number one, I love to start my projects with mixed media collage because it's relaxing, it's FUN, doesn't take any brain power at all (so kinda serves as a warm up), plus it basically picks out my color scheme for me so I don't even have to think! I ALWAYS use matte medium for my collage layer. Lots of people ask me why I don't use mod podge here. I LOVE mod podge, but even matte mod podge has a sheen to it, that can present some problems here. If you paint over it- you run the risk of your acrylics peeling or flaking off the mod podge. You also can't really draw over a dry layer of mod podge using pencil, because the pencil will slip right off! Matte medium also helps to prep whatever surface I'm working on (art journal page, canvas board, even wood!) to accept a layer of acrylic water based paint, because matte medium was developed specifically to work with acrylics. If you want to learn more about when to choose matte medium instead of mod podge, I did a whole video on that as well.
Your second layer in my Hamburger System is where your acrylic paints go. Lots of people choose to do stenciling here. There are tons of different ways you can apply paint at this stage. When I made today's video, I was going for an edgier look, so used an old credit card to swipe paint across my collage.
Typically my mixed media art pieces have a subject in the foreground - often a girl's face or a cute animal. Wherever this subject is going to go, I will often lay down a light layer of gesso to kick my collage layer into the background a bit, and prep this area to accept more acrylics.
Gesso is your best friend here, and kinda like a primer. It can also serve as your "eraser" if you hate what you've created and want to start over in an area. I've also got a video for you ALL about gesso, if you need or want to learn more about this product.
If I'm painting skin tones in next for a mixed media portrait- I will often reach for a bottle of craft grade paint here because I prefer to use something right out of the bottle rather than mix paints to come up with the perfect skin tones. Personal preference! That's just me, I find it saves time, these are cheap and yes, I'm a little lazy here :)
For Layer 3, there are SO many products you can play with! I will typically draw back in my facial features in pencil as needed, and then have a blast working with my gelatos to do a little face shading. This is SO fun. If you've never worked with gelatos or art crayons before- I've got a video ALL about Faber Castell Gelatos for you as well.
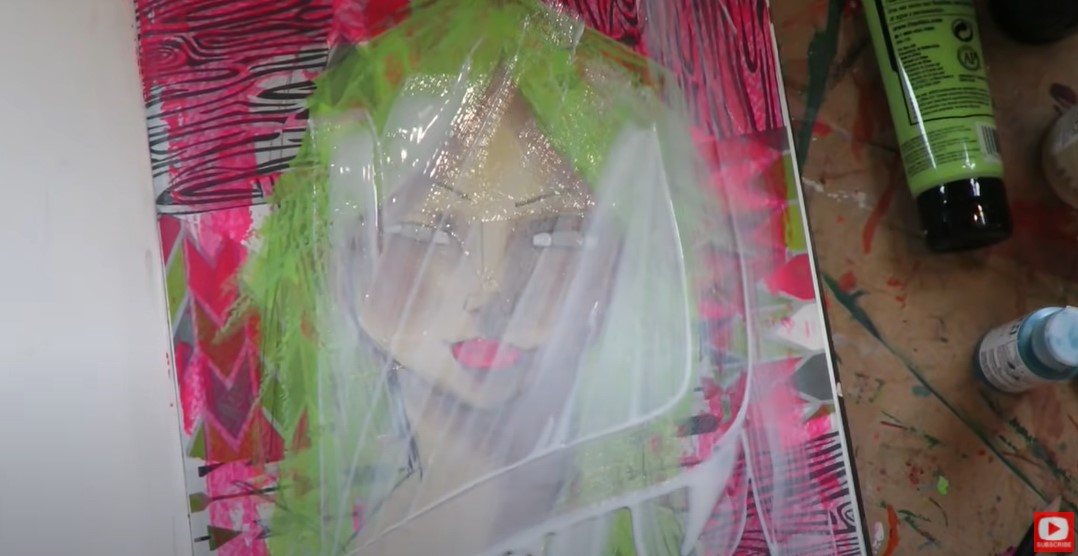
Once you've finished with your acrylic paint and art crayons layer, it's time to move on to layer number 4 - adhesive/sealer. This is where I finally bring in my mod podge! A generous coat of matte mod podge over my entire piece at this point will lock everything I've done up to this point, and also prep my piece for the next fun layer.
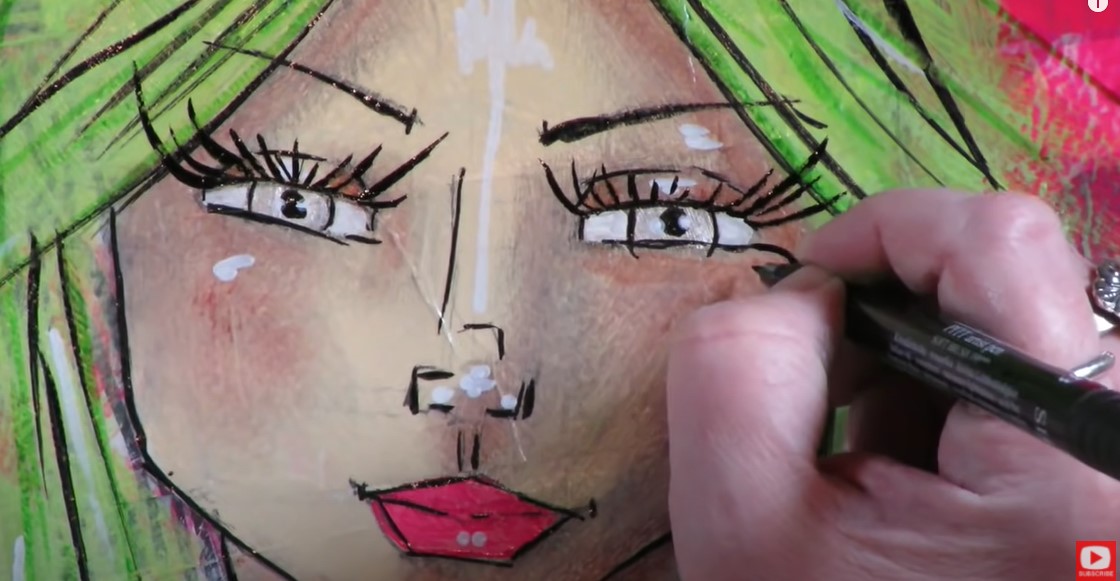
Layer 5 is my FAVORITE layer because I love to draw just as much as I love to paint, and in layer 5, I can doodle all over and add details to the facial features that are waiting to come to life.
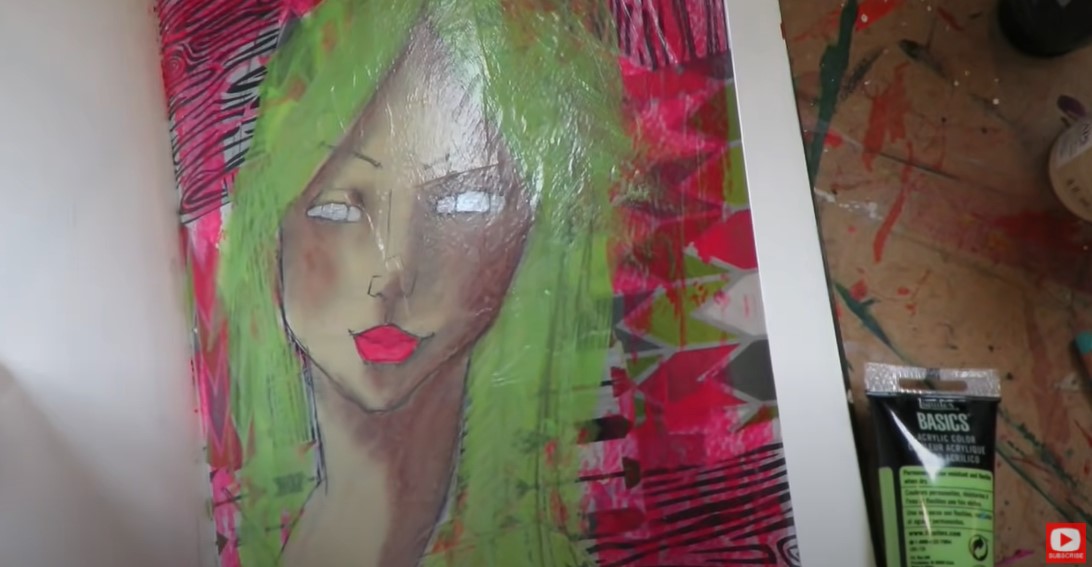
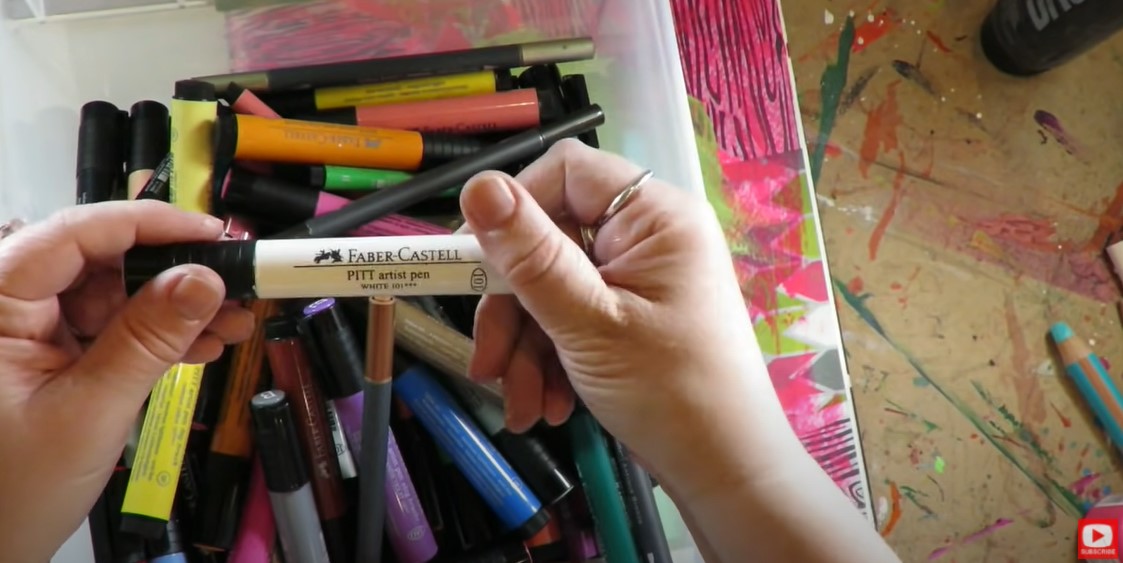
Once that layer is dry (I typically just hit it with my hair dryer for about two minutes), there is this gorgeous new surface to draw on top of with my pitt pens and posca pens. See that beautiful sheen in the pic above? It feels like my pitt pens and posca pens are ice skating when they hit this surface!
Pitt pens work amazingly well on this shiny surface. They are an archival product filled with permanent ink and will last you forever! I think I've only ever had to replace my white and a couple of skin tones over the years. I've got an entire video dedicated to working with pitt pens if you'd like to learn more about them as well.
When you're happy with your pitt pens and paint pens (remember WATER based paint only) layer, it's time to seal your piece up once more with another layer of mod podge, and we're almost done!
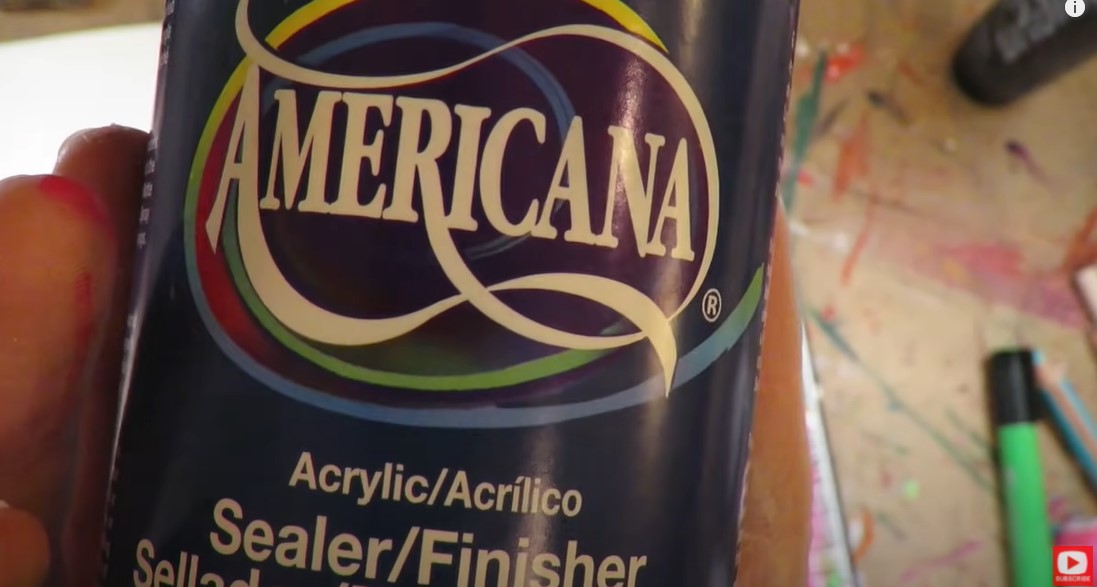
I get asked ALL the time how to keep art journal pages from sticking together. Our very last step is dedicated to this issue. I use this simple sealer/finisher spray by Americana, and that's it! No more sticky art journal pages. Beware this stuff is super stinky so I take my art journal outside for this step.
Be sure to watch ALL the videos in my Official Hamburger Series because they are seriously jam packed with mixed media goodness!
Each video takes a deeper dive on every individual layer of my signature Hamburger System so you can learn EVEN MORE about:
If you'd like to get a hard copy of my Mixed Media Hamburger System book, you're welcome to check that out on Amazon, along with all of my other how to draw books and art books.
Thanks for hanging out with me today!
Don't forget to grab my FREE HAMBURGER SYSTEM CHEATSHEET. Once you print it out, join me on YouTube for my Hamburger System Series, and I'll explain everything you need to know about mixed media art supplies, and my simple mixed media layering process! ❤️ CHECK OUT ALL MY ONLINE ART CLASSES & Art Clubs ❤️ CHECK OUT ALL my art books ❤️ MY FAVORITE ART SUPPLIES on AMAZON ❤️ MY BELOVED FACEBOOK GROUP |
Karen CampbellFounder of Awesome Art School. Mixed Media Artist. Author of 19 Instructional Art Books! Whose work has appeared in...Archives
July 2024
Categories
All
|
|
"Karen is flipping hilarious and she's very real...I like the way she teaches in a way that really gives you confidence, whether you're a beginner or advanced there's always something new to learn!"
- Elizabeth W. |
What Fans Are SayingKaren, you are absolutely fabulous! You make me feel like I can draw anything. I have recently retired and finally have the time to do some of the art that I have loved since I was in school. I am really at the beginning of my art journey and I hope to learn as much as I can. Thank you for all you do. |
Contact ME |



 RSS Feed
