
|
Hey there, creative soul! I’m SO excited for today’s mixed media art tutorial!! It’s been a while since I dove into the world of full-on mixed media with collage and ALL the FUN supplies using my favorite layering process, the Hamburger system!
I’m feeling SUPER inspired after last week’s Fun Fab version of Vermeer’s Girl with a Pearl Earring alcohol marker drawing tutorial. I got even MORE excited about turning her into a Hamburger-style project when I discovered my favorite YouTube channel (Royalty Now Studios) had created a modern-day facial reconstruction for Vermeer’s model for this painting. If you’re not familiar with this YouTube channel - I shared it last week on my Drawing channel. They’re incredible! They take bring faces from history - either historical figures or subjects of famous paintings (like Girl with the Pearl Earring or the Mona Lisa), and “bring them to life” using facial reconstruction graphic design after studying whatever art is available on the subject from paintings to death masks, sculptures and more. This channel is fascinating and I HIGHLY SUGGEST you check it out right after this video! I asked Royalty Now if I could use their modern version of Girl with a Pearl Earring as a drawing reference. They said of course, so she’s my model for today’s grungey, mixed media art journal spread :) Isn't she gorgeous?!!! 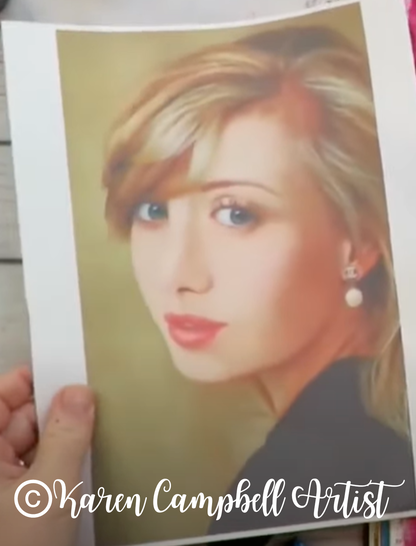
*All product links are affiliate & for U.S. residents only.*
Before we get started - if you’re art-ing along with me from home, make sure you’ve got a copy of my “Hamburger System Cheatsheet.” This will serve as your guide to help you through what supplies go where AND WHEN in your mixed media layering process. It’s kinda like my tried-and-true “recipe” for creating mixed media MAGIC every time I sit down to create instead of creating a hot mess!!
Grab the cheatsheet here, or click on the button below. 
My students loved the “Hamburger System” so much, that I created an entire book about it - going even more in-depth on what supplies work well together and when they should be used in your mixed media layering to avoid a hot mess.
Back to TODAY’s art project! I’m working in my hardcover Strathmore watercolor journal because it’s my fave, and these babies can totally handle any wet mediums you decide to throw at them (even collage!).
On a recent trip to HomeGoods, I scored some super cute butterfly napkins, which are gonna be perfect for the mixed media collage portion of today’s project.
If you haven’t collaged with napkins before – they're thin, thinner than paper, so a bit tricky to work with. They also add SERIOUS texture to your mixed media art! So beware- collaging with napkins (or tissue paper for that matter!) means you’re gonna get visible wrinkles poking through your piece, which I happen to love!! If you hate wrinkles, don’t reach for napkins- grab something sturdier to collage with like scrapbook paper! 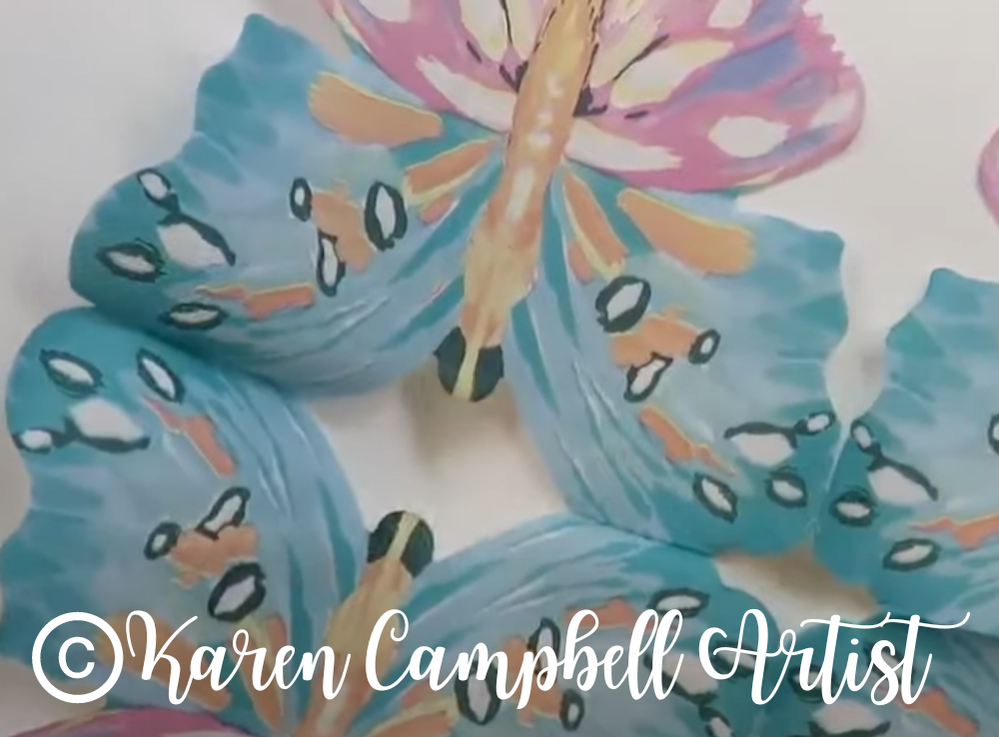
When it comes to gluing down delicate collage materials like napkins, I swear bymatte medium. AND using a LOT of it both under and over your collage materials (this helps minimize wrinkles).
I also prefer to get down and dirty as a mixed media artist, and I simply use my fingers to smooth out those inevitable wrinkles and bubbles where I can. Embracing the messiness is all part of the true mixed media experience, right? Fast forward to the inky part – I pulled out my inks and went a bit crazy on the page. The streaks from the fan brush added a unique touch that I just rolled with. Today's project was less about perfection and more about pouring my emotions onto the paper. That's the beauty of mixed media – it's a truly expressive outlet where I can let loose and make a mess and embrace the process. 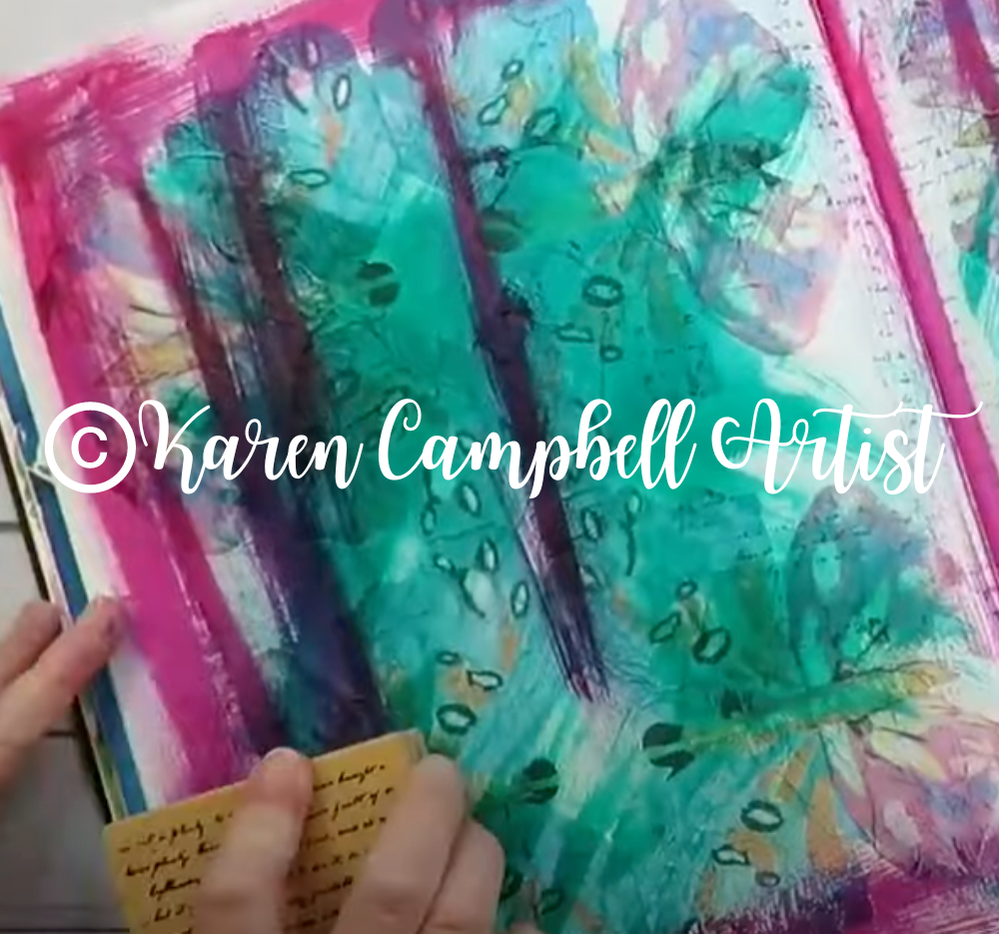
Embracing imperfection is key in this process. I didn't even use a palette today and poured all my supplies directly onto the paper, with ZERO precision. The goal was to see what happens, and trust me, the results were liberating! For me, and a LOT of other artists- the art isn’t even really about the art.
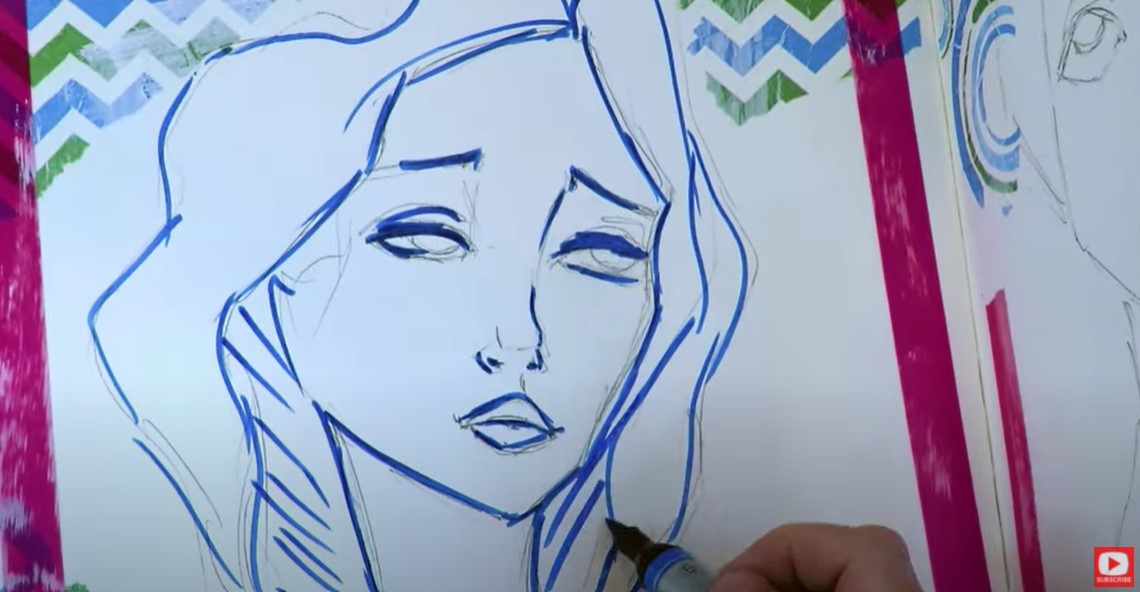
It’s about WHO is behind the art and what they were feeling the day they created it, WAY MORE than the end result. Now, the real fun began as I introduced doodles with my trusty pitt pens. They're filled with permanent India ink, allowing me to smudge them for added character. And here's a tip – if you go overboard with your pitt pens, a quick wipe with a baby wipe erases any mishaps. 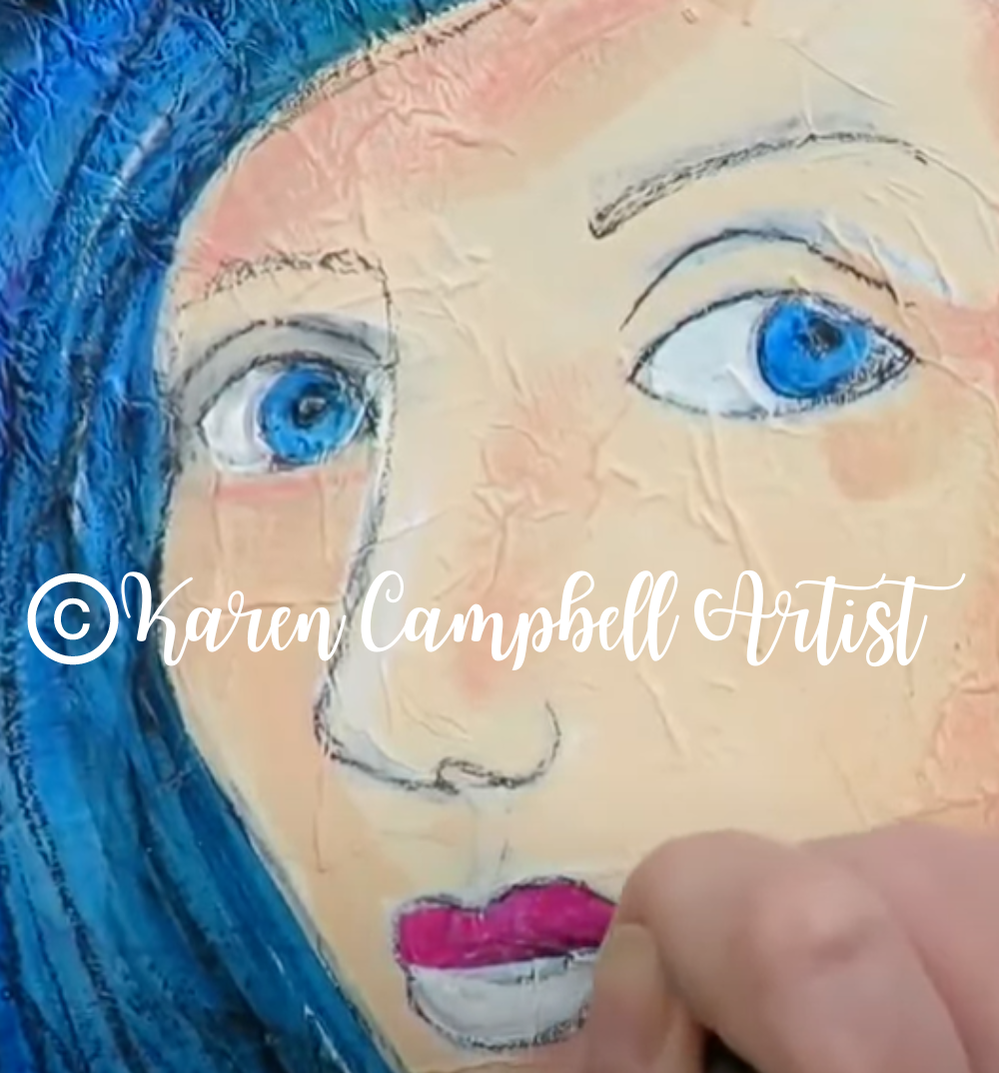
As I wrap up this unique mixed media art journal spread of “modern day” Girl with a Pearl Earring, I'm excited to announce that this is just the beginning of a Historical Faces series I'll be running on both YouTube channels, inspired by Royalty Now Studios. I plan to bring historical figures to life in my own signature Fun, Fab style.
It's my way of making history relevant and intriguing. A quick reminder for if you're venturing into mixed media and just getting started – be fearless. The journey may look rough along the way, but the end result can be surprisingly satisfying. So, don't stop, keep going, and embrace the creative process. 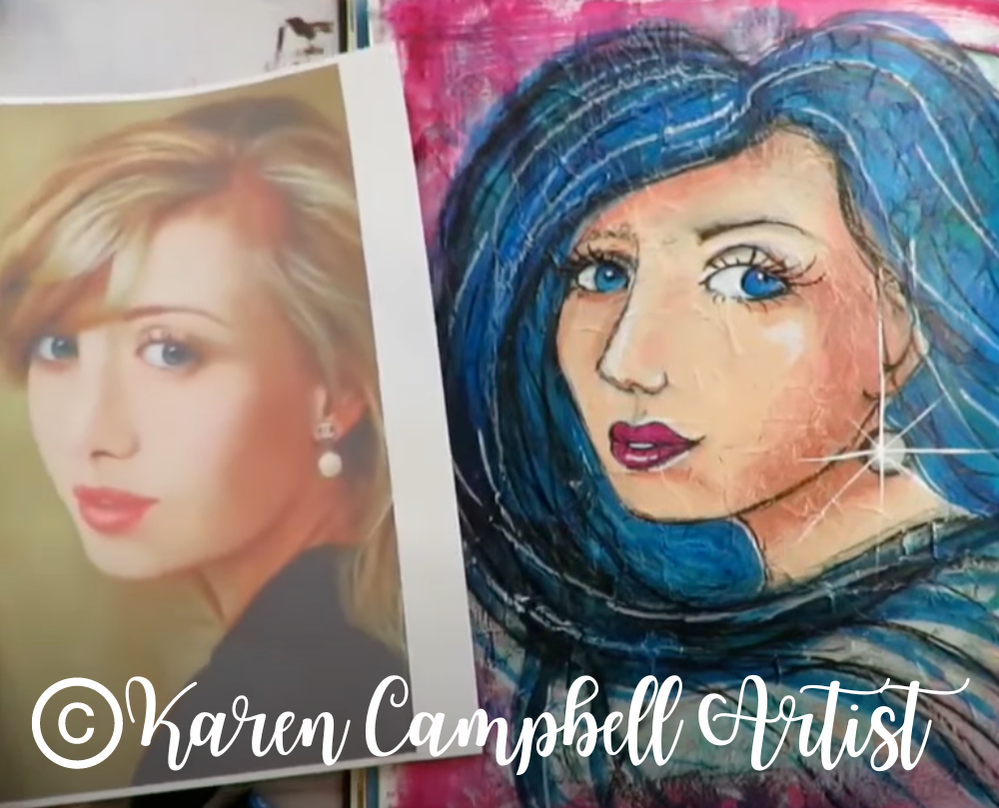
Once the final touches with my pit pens and pentel pocket brush (my secret weapon for GORGEOUS eyelashes) are finished, my wrinkled, grungy, mixed media masterpiece is complete.
Remember, it's not about the perfect end result, but the journey and expression that matter. So, fellow artists, don't be afraid, keep creating, and enjoy every messy, beautiful moment. Thanks for joining me on this artistic adventure. Until next time, happy art-ing!! LOVED this Video?Share it with an artsy friend!! Maybe she's always wanted to learn how to paint or art journal too, but never taken the time!! Here's the link to copy & paste into a text or email to her: https://youtu.be/TK8nhi2-J-I If you're watching the video on YouTube using your phone, try this! 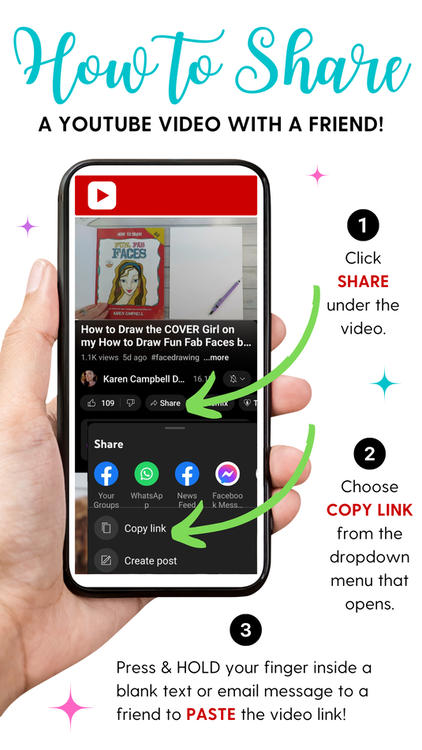
Loved this Project & Wanna Do MORE?Check out the Mixed Media Society over at Awesome Art School!! It's perfect for artists of ALL levels including beginners. We're having SO much FUN over there learning about ALL the mixed media supplies and how to use them to create mixed media art we can be proud of!! We would LOVE to have YOU join us!! 
Looking for Something Else?
2 Comments
Gesso vs Absorbent ground? Which one would you reach for if you're in the mood to do a little watercoloring in your mixed media art journal and feel the need to prep the surface first? Today I'm doing a little experiment in my own art journal so you don't have to! We'll compare how watercolor on gesso looks on an art journal page vs. how watercolor looks on a page prepped with golden absorbent ground!

If you've never started an art journal on your own before (GASP!!!) You're missing out on SO MUCH FUN!!
SO many people think about trying something like art journaling and never follow through with it. A lot of them get intimidated by that big empty white page, or ALL the empty white pages in a journal. If you're one of these people - this is so common. I can help you to get over that hurdle so you can start having FUN with art!! Click the button below to get my FREE pdf to give you the KICK IN THE PANTS you need to start art journaling ;) It's filled with tons of tips and advice from not only me, but one of my artsy idols - Bob Ross! We'll have you "breaking the blank page" and creating in no time!!! 
Before we continue, super quick announcement: If you're in the market for new art supplies, or curious what I'm using, supply links are included below. All product links are Affiliate. I may earn a small commission if you choose to order through these links but by law there is never any additional cost to the consumer for doing so. I thank you for your support!

I love Liquitex gesso for my mixed media work, so that is what I'll be using for today's little experiment. Because gesso is specifically MADE for acrylic paints, it preps any surface you want to work on for acrylic paints. I also love to use white gesso as a replacement for white acrylic paint when I'm creating my mixed media portraits because it's more transparent than your typical white acrylic paint, and I love the way that looks when I'm doing mixed media art - especially if there is a collage in the background! For the purpose of today's demo, I'm testing how gesso works with watercolor so you don't have to!! I've decided to start these art journal pages off with a bit of simple collage in the background. Colorful, patterned napkins are one of my go-tos for collage art. I find they're easier to work with if you pull the layers apart so you're only working with one ply. If you're curious about how to do wrinkle free mixed media collage backgrounds with paper napkins, I recently did a YouTube tutorial on that- so be sure to check it out if you missed it and simply hate those wrinkles!! 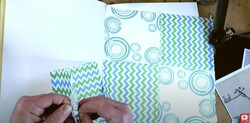
I almost always use matte medium as my collage adhesive whether I'm working in my mixed media art journal or on canvas. If you'd like to know more about WHY matte medium is typically what I reach for, check out this mixed media art tutorial on my YouTube channel for the side by side comparison of matte medium vs mod podge.
Today I'm working in one of my Strathmore watercolor art journal because I absolutely LOVE this for mixed media art journaling. I also love to work big, so I buy the 11" x 14" version. It's filled with 140 pound cold press (cold press paper has texture to it - it's not smooth) watercolor paper. If you're art-ing along with me (and I hope you do!!!)- be sure to take care when selecting your paper, journals, or whatever substrate you choose to work on. It's EQUALLY important as the art supplies you are using. 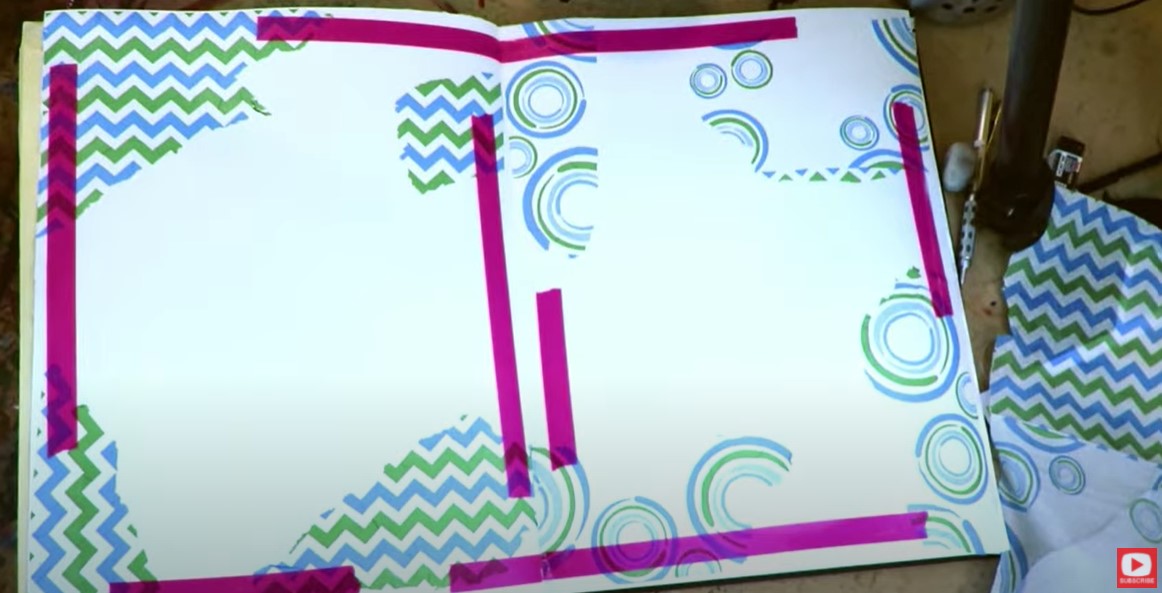
I felt like these collage pages needed some bright color so added some hot pink washi tape then got right to it - covering the middle of my left side journal page with gesso, and the right side with absorbent ground.
I feel like a lot of mixed media artists skip over absorbent ground all together, so I want to make sure you know what it does and how to use it if you enjoy watersoluble art supplies. 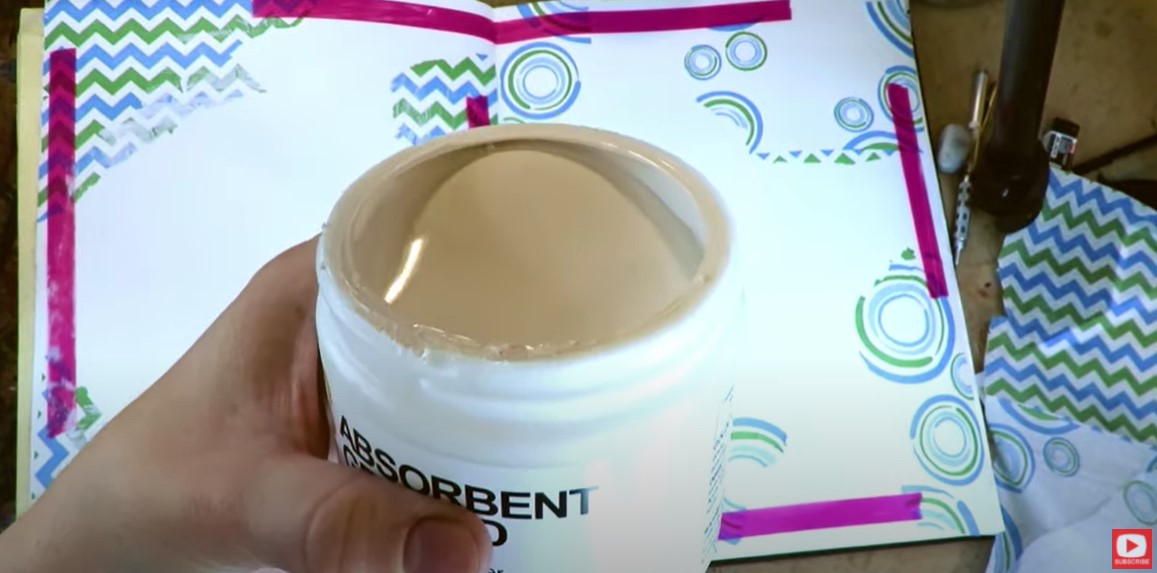
Golden's absorbent ground has basically the same consistency as Liquitex Gesso, and has the same level of transparency to it - which I love, because I enjoy a little collage art peaking through the face of whatever mixed media girl I'm painting into the foreground of my art journal pages!
Just so you know, absorbent ground can be added to basically ANY surface that normally wouldn't "play nicely" with watersoluble supplies (even wood!). It's especially awesome if you like to upcycle old books into altered book art journals and enjoy watercoloring! Typically I will do two coats of absorbent ground to keep the coverage fairly light and transparent. When I'm using gesso, I typically do one coat for the same reason. Acrylic paint dries itself into a plastic so it doesn't need heavy priming. Watercolors need a little more baby-ing. I hit both pages with my hair dryer to dry them. Once dry, I can feel right away with my hands how much smoother the right side page of my paper is because of the Absorbent Ground. The gesso on the left side really kind of preserves the original texture of my cold press paper, while the absorbent ground minimizes the texture and makes it feel more like hot press watercolor paper. 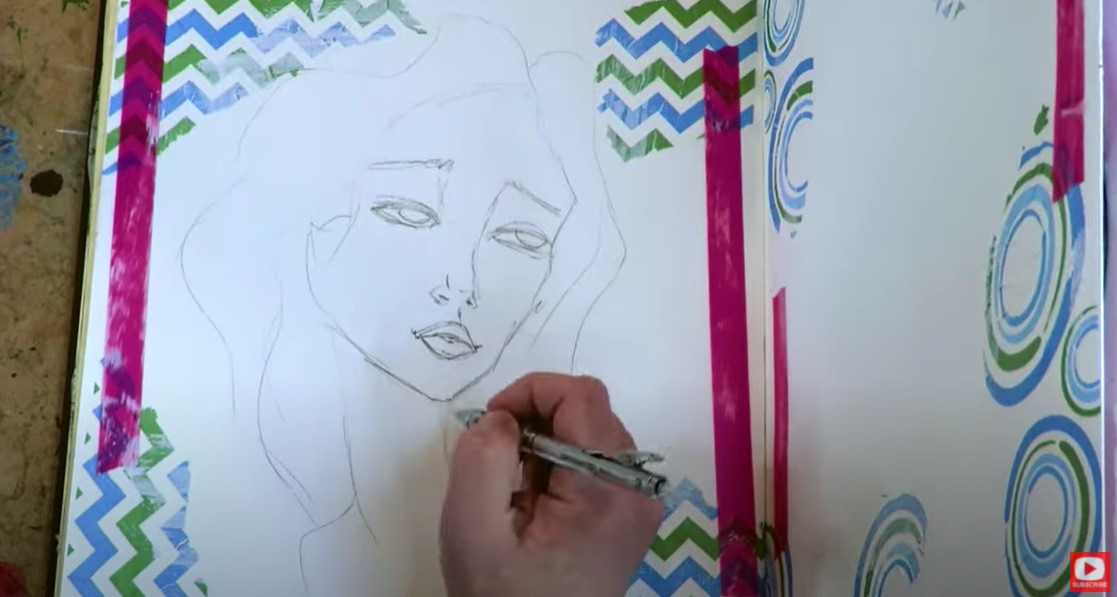
I sketched a simple face on both pages in pencil, and doodled on top of that with my watercolor markers.
When I start brushing some water onto the gesso side of my paper to activate the watercolor marker lines (see below - it's the side in blue), I can still see some of the texture from the paper poking through underneath it. Both the paint and any water I add stay very much on the surface due to the gesso. It blocks the paper from absorbing the color or the water, so the paint just pools on top. My brush can move the pools around, but the paper can't absorb it, which isn't a desirable effect to me.
It's not "wrong" in any way- it's just not how I prefer to work with these supplies, so let's test out the absorbent ground page to see how things go over there... 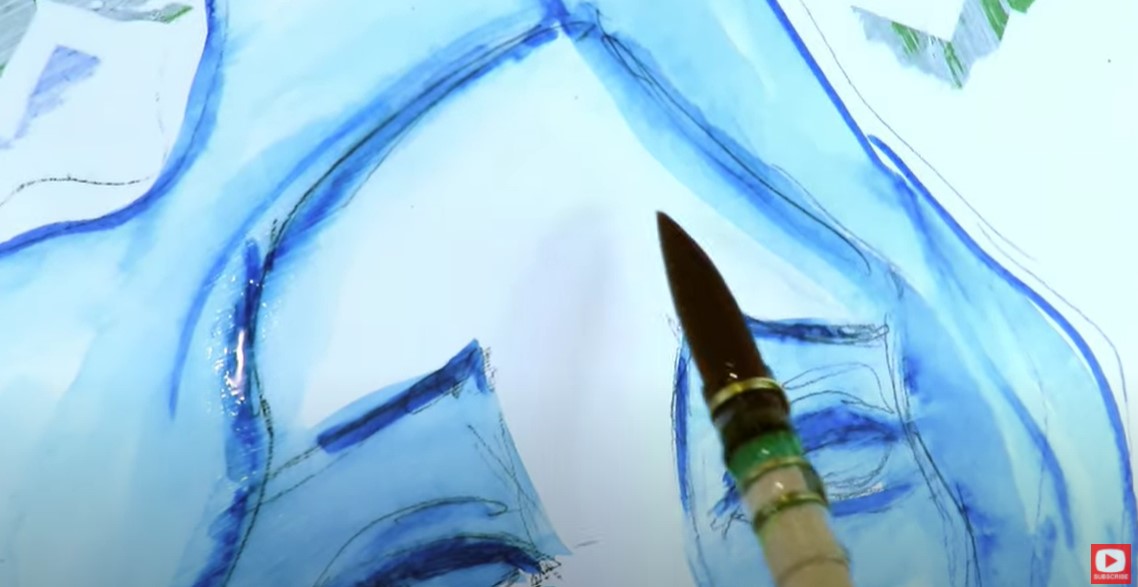
On the absorbent ground side (in green, below), when I activate my lines with water, there is definitely less pooling of paint and water. You can see this for sure when I attempt to soften a "hard edge" by reactivating a line that had started to dry. The surface feels a bit more predictable to work on with watercolor and is much easier to blend on - both of which, I really like and prefer.
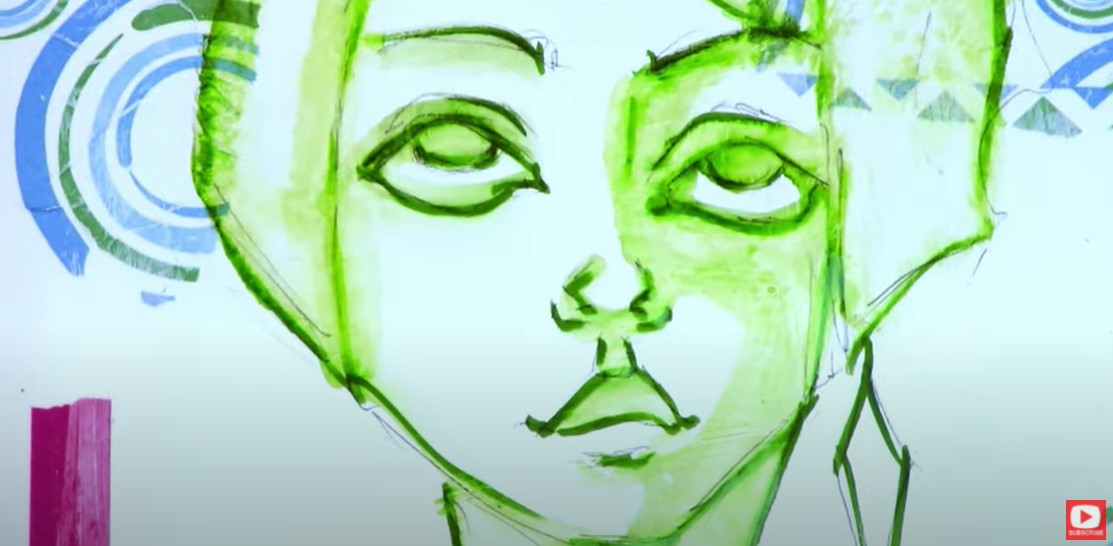
These effects may not matter to you, but if you are someone who likes to go back in and blend lines out, touch things up, etc., absorbent ground is really gonna be your friend. It allows watersoluble mediums (any art supply you can activate with water) to really behave as they typically would on watercolor paper.
It's funny - I posted a sneak peek of this project early over on Instagram and a ton of followers - even my professional artist friends - actually asked me about the markers I was using! In case you're interested too - they're watercolor markers by Faber Castell, and I just love them! They are a bit more expensive because they are a fine art product, but they're worth it in my book, and they won't fade over time because they're light fast.
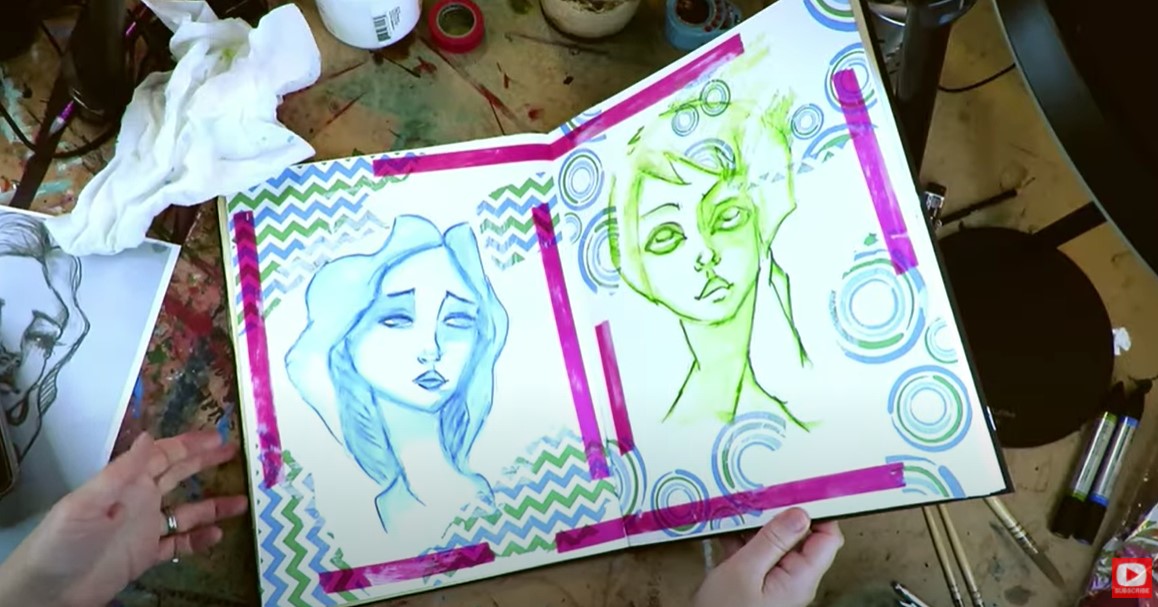
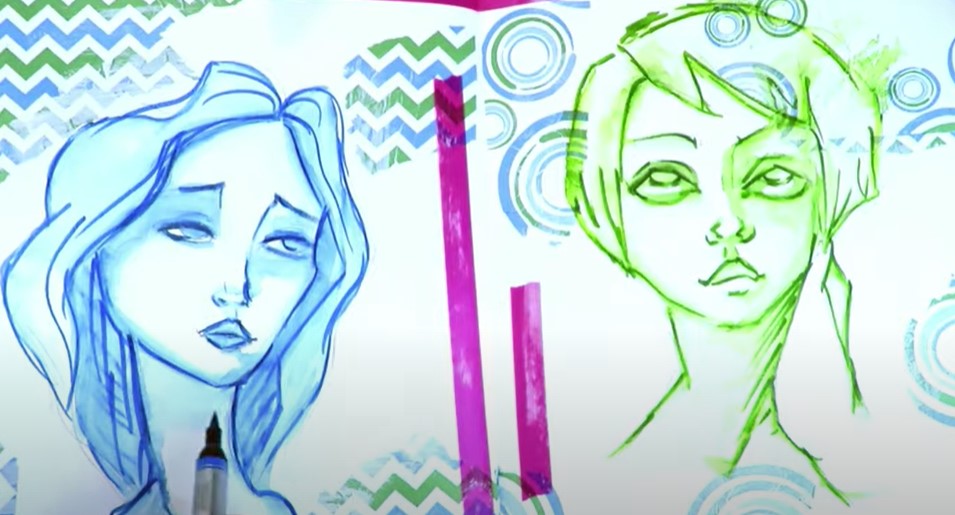
These two are in what I lovingly refer to as "the ugly phase" (above!), which means they're about half way done, and not looking nearly as beautiful as they will if I keep on layering my supplies and pushing through till the end!
After a few more layers with the watercolor markers, I decide to go in and doodle on top of my girls with pen because I LOVE the way pen looks on top of watercolor! 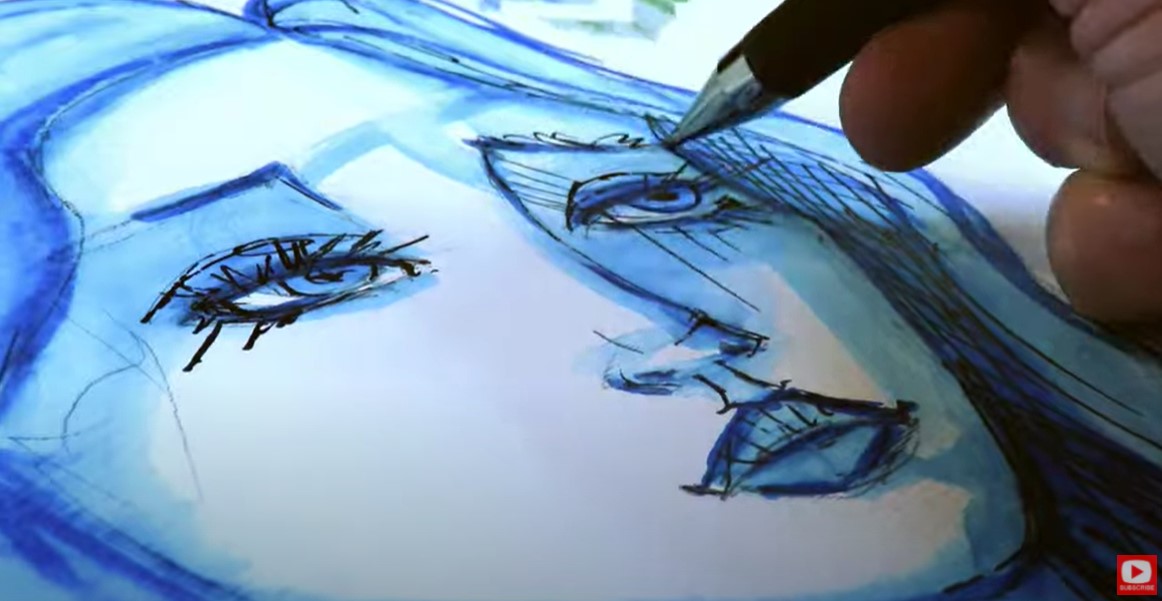
Make sure you actually watch the video for today's demo to see for yourself what I experienced. I'm a big fan of learning about how an art supply behaves and using it in that way so I don't just make a mess!
LOVE MIXED MEDIA & ART JOURNALING? Learn more about the Mixed Media Society and join the waitlist to get notified when I'm open for enrollment! ❤️ CHECK OUT ALL my art books on AMAZON ❤️ MY FAVORITE ART SUPPLIES on AMAZON ❤️ MY BELOVED FACEBOOK GROUP ❤️ FOLLOW ME ON INSTAGRAM Happy Friday!! Mixed media collage backgrounds with paper napkins are EASY to create and can add a gorgeous pop of color to your mixed media art journal. Today’s video is a FULL LENGTH project, so if you love collage mixed media art & mixed media tutorials - this is for YOU! I know what you’re thinking about collaging art journal backgrounds with napkins...those WRINKLES!! Don’t worry - I've got collage techniques that will make your napkins BEHAVE so there is a little texture, and your collage background can PEEK through your mixed media portrait, without taking over your whole art journal page! Grab your art journal, a beautiful paper napkin, TONS of liquitex matte medium, some gesso, a black stabilo all pencil & come play with me!!  Today I'm working in my favorite Strathmore watercolor journal. These thick, beautiful pages can take anything I throw at them, which today is gonna be a vat of liquitex matte medium!! If you haven't used paper napkins to create an art journal background - you totally need to give it a try! There are so many beautiful patterns and colors out there! The possibilities are endless. A pretty napkin can also create a no-fail color scheme for your mixed media project if you intend to do a little painting, like I did. Just look to the colors you see in your napkin, find paint shades to match, and BOOM. Solid win! Napkins can be a bit tricky to work with because they are SO fine. To make matters worse, we need to separate the plys EVEN MORE so we're only working with the ply that has the pattern. If you haven't done this before, just work your nail into the edges of the napkin like I show you in the video, and slowly pull the plies away from each other. Sometimes the pretty napkins are 3-ply, like mine is today. So just watch for this so you isolate only that thin sheet filled with the pattern you love. 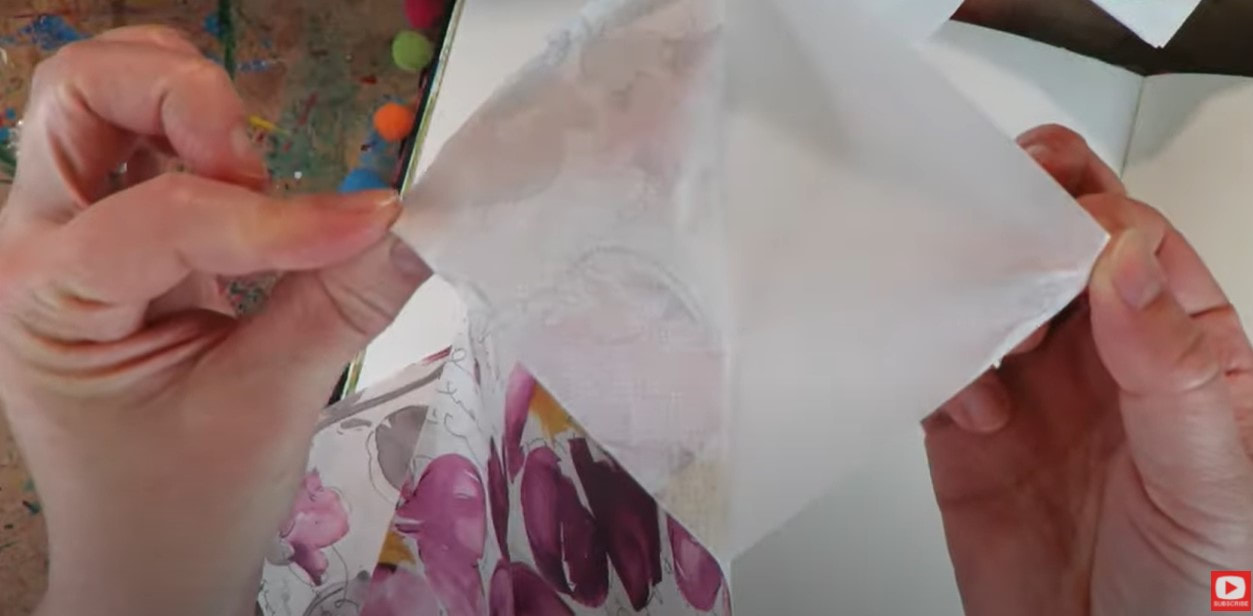 When you're ready to glue this down into your journal, I suggest working with liquitex matte medium as your adhesive. I love this stuff because it's super fluid, and WAY LESS gloppy than mod podge for this type of work. Plus, matte medium was CREATED to work with acrylic paint. So if I decide to add a painting layer to this piece, my surface is already prepped and ready to go. Some people like to try and glue down the whole napkin sheet at once, but I find it's easier to manage and I can control the wrinkles a bit better if I work with smaller sections of my napkin at a time. Your napkin sheet is going to be fragile, so gently tear chunks of it apart. Now, here is my HUGE SECRET... you need a TON of matte medium to work out the wrinkles that will inevitably pop up while you're gluing. No matter how tiny your ripped pieces of napkin are- you're till gonna get wrinkles! To combat this, I pour my matte medium directly onto my art journal page and use what many would think is an "uncomfortable amount" of product. If you don't have an uncomfortable amount of it on your page right now- dump some more. 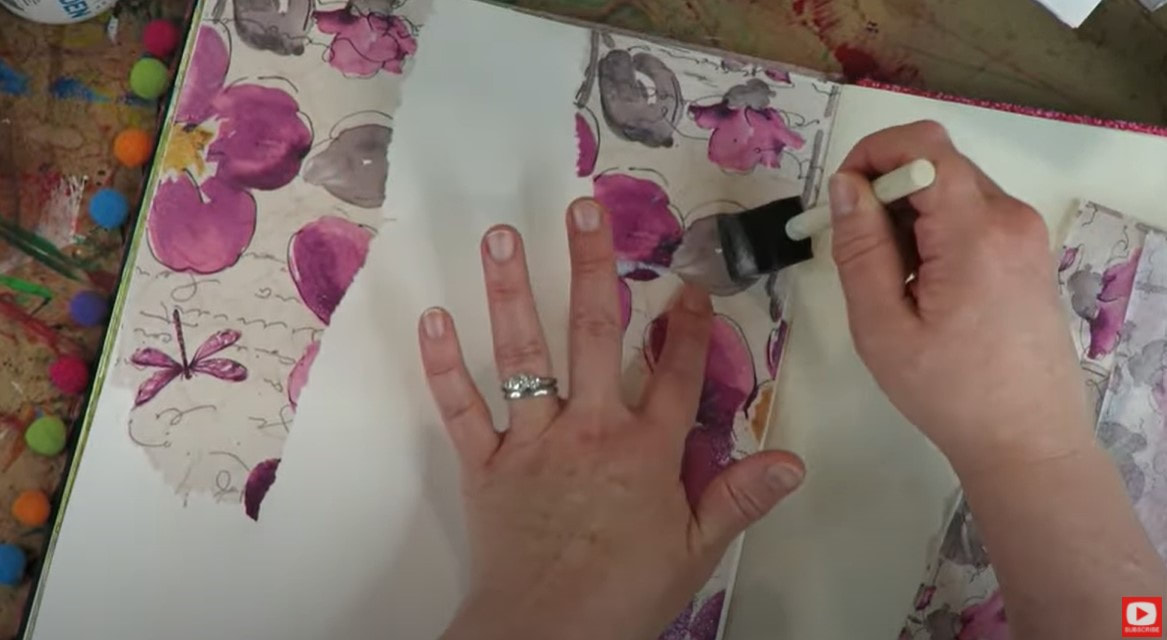 Don't be precious about your matte medium - you want a TON of it both UNDER and OVER your napkin pieces, so they are sopping wet. Any areas that aren't soaking, go back and add more product to. This helps you get rid of any psycho wrinkles trying to creep up! My SECOND TIP for you to create a wrinkle free surface has to do with your foam brush technique! If you just drag your foam brush around, it's going to be easier for your napkin pieces to tear. Try using a pouncing motion with your brush to tap the napkin chunk onto your paper. This tapping motion will help your under layer of matte medium rise up and soak into the napkin. Watch the video to see what I mean. After you've pounced a napkin chunk into position, try to systematically smooth the wrinkles out on top. Going slowly will help you not rip the napkin. Trust me! You'll see I rammed through a couple of them too quickly and had to slow myself down. LOL! As you work around your art journal page, and sections begin to dry - just add more matte medium to edges that try to pop up on you. This will knock them back down. When I'm done gluing all my napkin pieces down, I use a hair dryer to dry the page instead of a heat gun, because a hair dryer won't get hot enough to ruin my work, and it's faster because of the "blower" part. A heat gun doesn't have that kind of air flow/power so takes longer. And if you know me- you know I'm in a hurry and don't have the patience to watch wet stuff dry!! 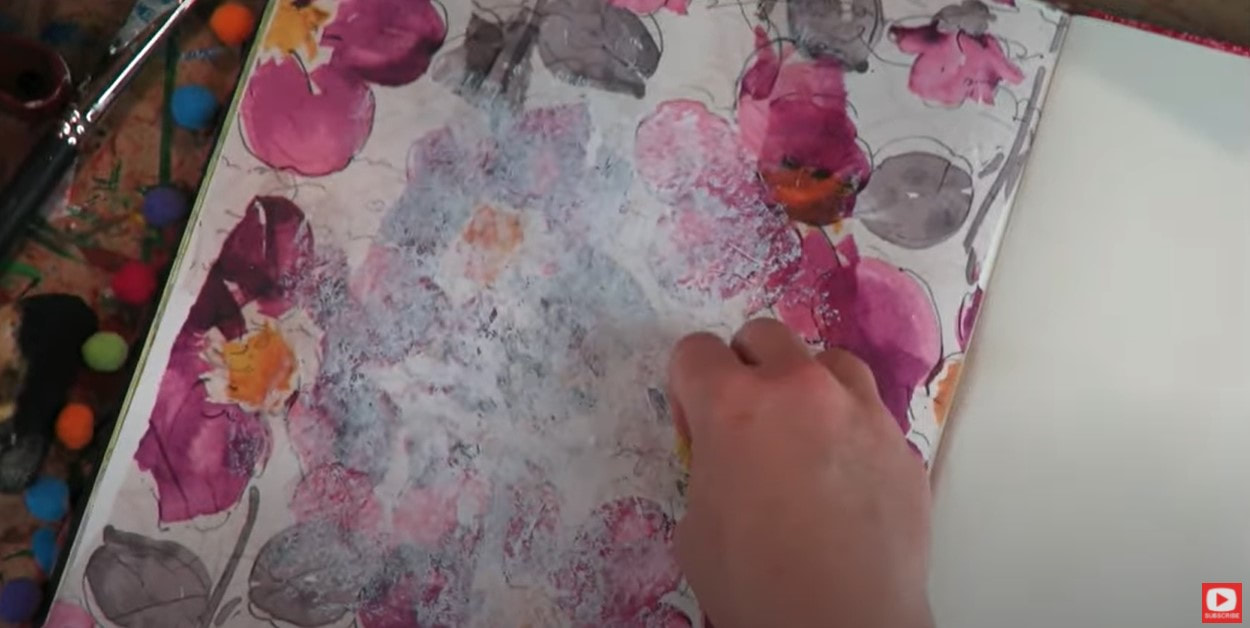 I decide to add gesso to the center area of my page because I want to draw a face on top. While the background pattern from my napkin is beautiful, it is too dark and busy to draw anything over. To dial that back a bit, I turn to my gesso. I have 5 favorite ways I like using to apply gesso and demo them in today's video. My favorite gesso application method for under a face is just using a foam brush or my flat gesso brush. If I want more of an edgy look and want the texture to really pop forward from any wrinkles that do show up in my background, an old credit card is perfect to rake your gesso over the page with. I also love to pounce the gesso down with a sponge wherever I want it. This is primarily the technique I ended up using today. Then I pulled out my brayer to spread the gesso out a bit further and to draw a little texture into the foreground. 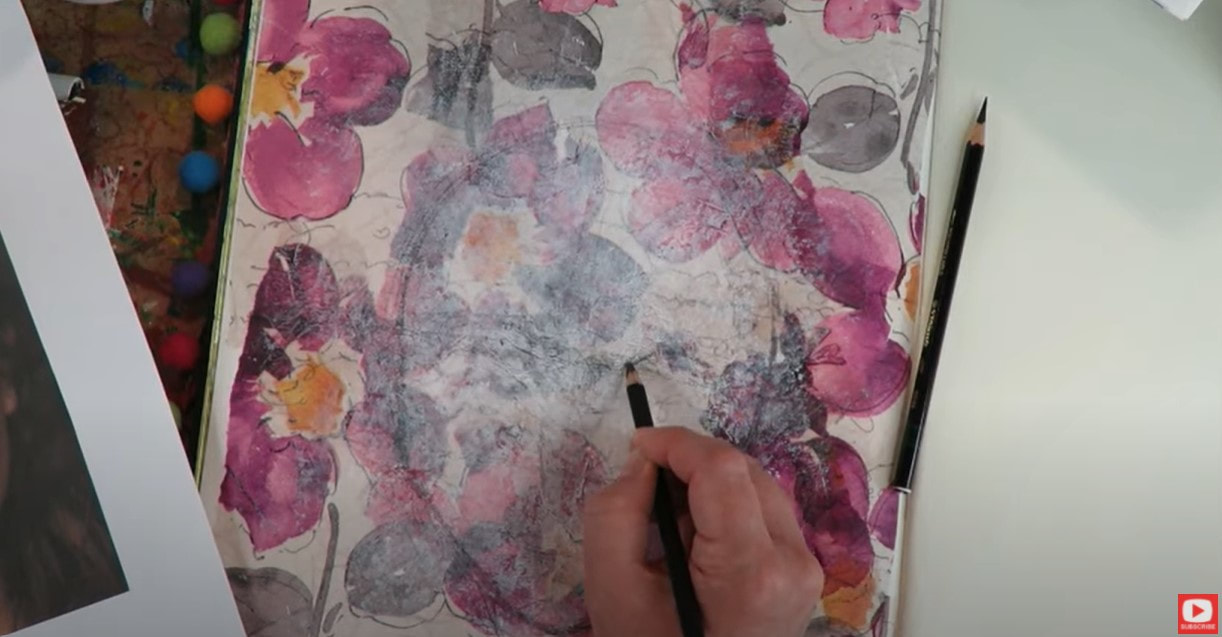 After I hit this with the hair dryer once more, and everything is completely dry- it's time to do a little mixed media drawing! As you'll see in the video, I ALWAYS sketch in my face drawing guidelines. They're too important to skip and will set you up for success. I start my sketch in regular pencil, then when I'm happy with my lines, switch over to my stabilo to darken my lines. 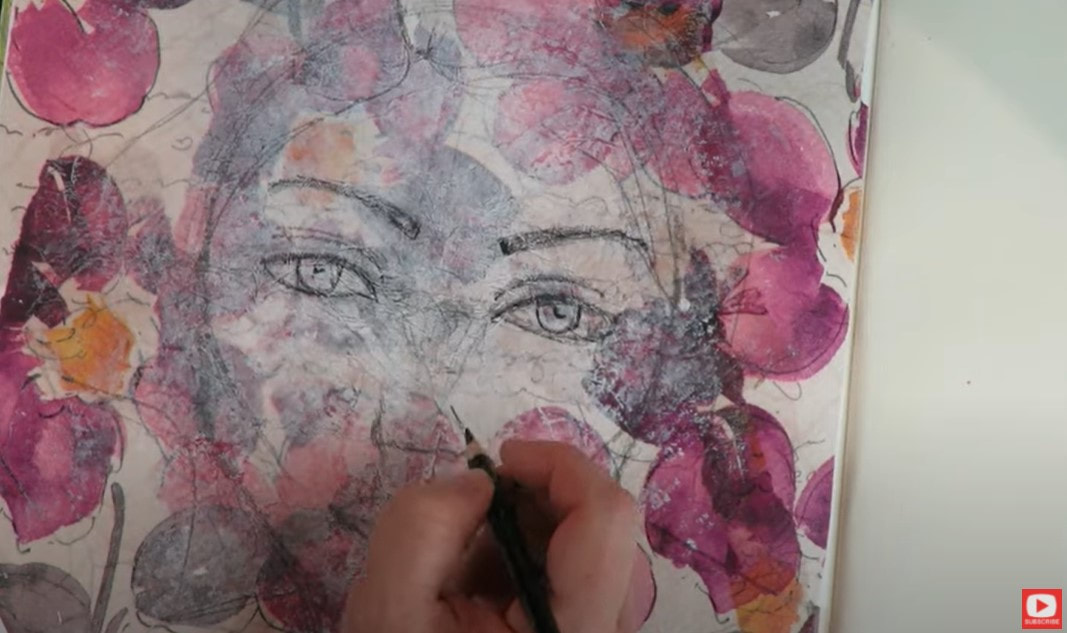 As you can see, my stabilo lines are actually fairly light. When I hit them with my paintbrush and some water- it's pretty magical, what happens. Look... 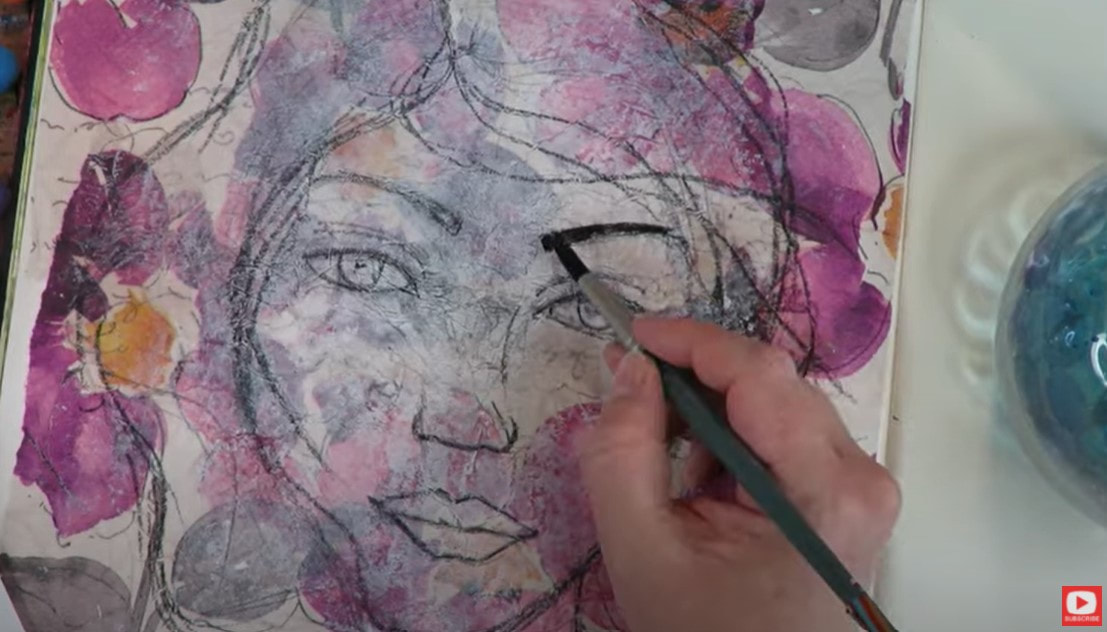 Isn't it amazing how easily the stabilo is to activate with water?! It literally melts as soon as my brush touches it, and can be spread around like watercolor. This is one of my FAVORITE mixed media techniques!! 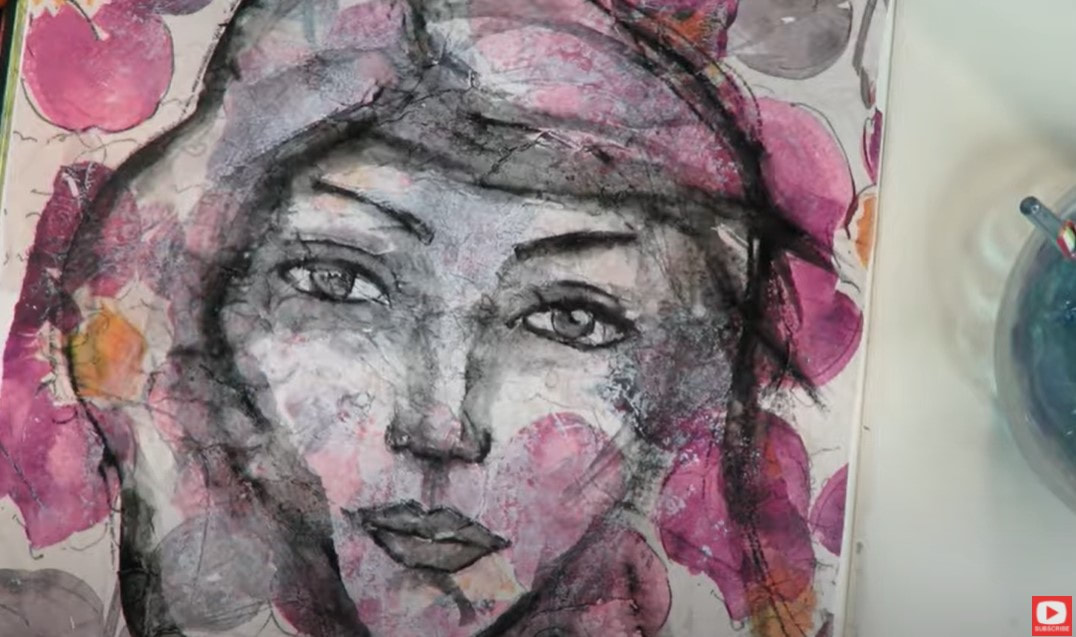 I typically do my stabilo in 2 -3 layers for a drawing like this. After I activate the first layer, I let that dry, then add more dry stabilo marks wherever I feel like there needs to be a little more definition. Sometimes I activate that second layer of stabilo too - it just depends on the look I'm going for! 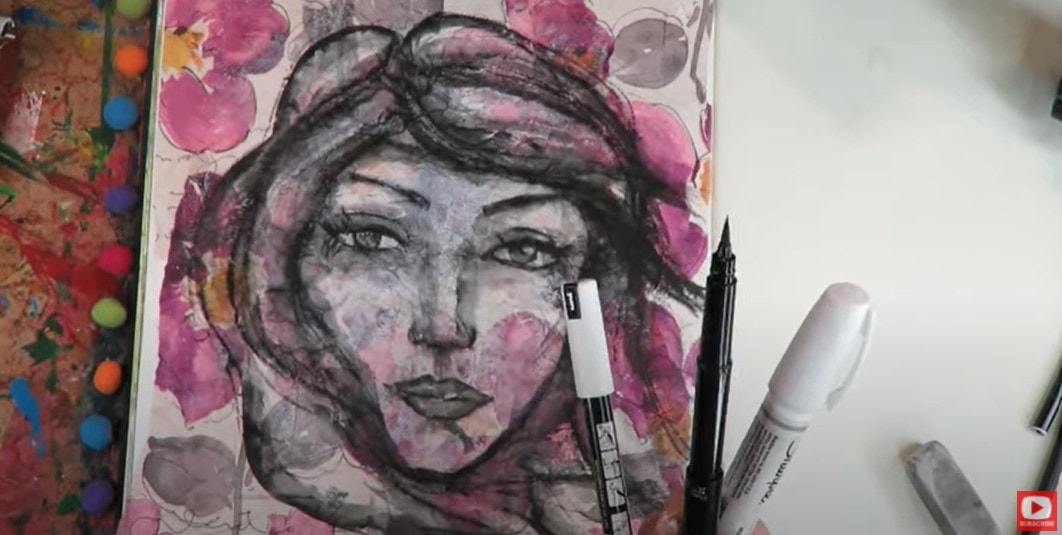 For the finishing touches, I use my favorite white paint pens- posca and sharpie, along with my pentel pocket brush. Look at how just a few lines of ink from the pocket brush and a couple of dotted white highlights in and around the eyes and on the nose really make her pop! 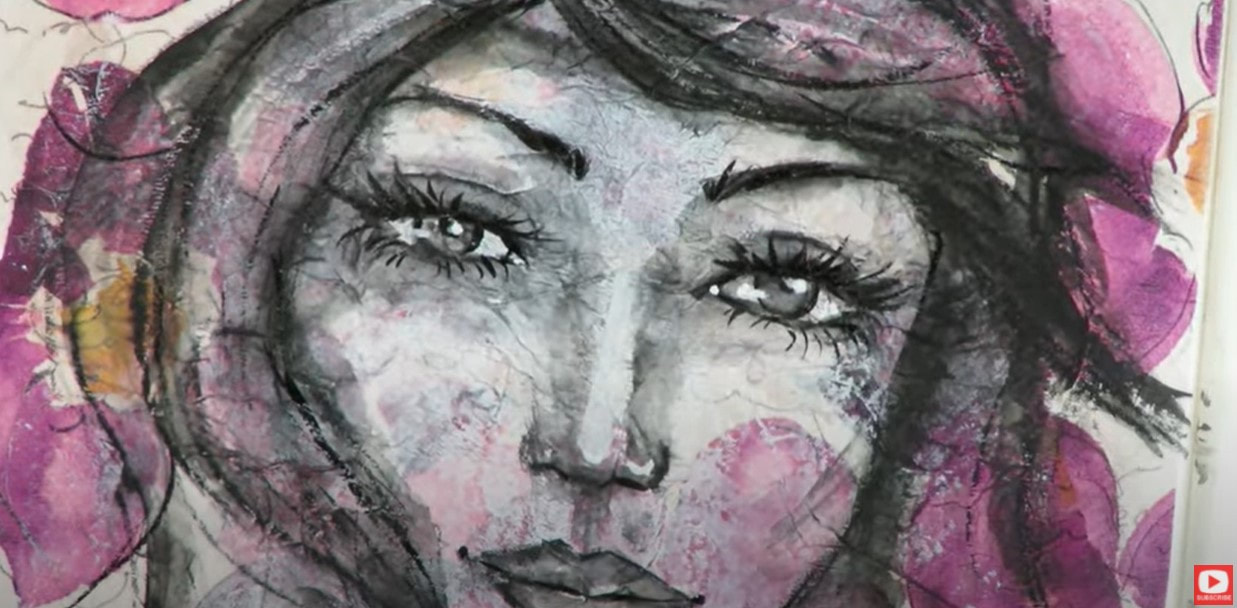 Look at how the texture of that napkin peaks through, up close! LOVE IT ! In the end, I decided to add some of my Noodler's Ink around the edges in the background to tie into the florals of the napkin together, and I'm LOVING how that looks!!! So fun! 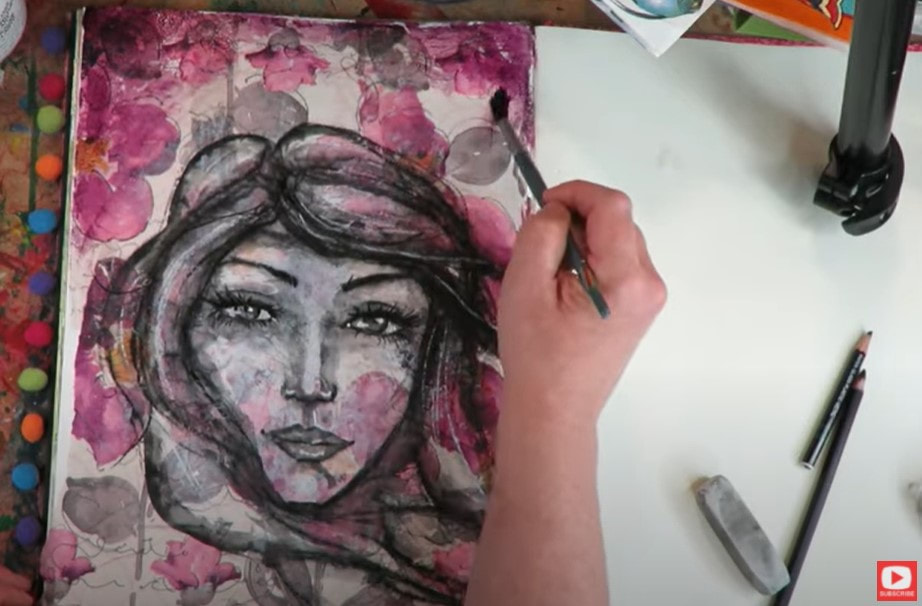 I hope you enjoy this mixed media tutorial / art journal project!! Thanks for watching!! Stay tuned for Monday's Whimsical Women of the World Portrait Drawing prompt!! |
Karen CampbellFounder of Awesome Art School. Mixed Media Artist. Author of 19 Instructional Art Books! 
Whose work has appeared in...
   
 Archives
July 2024
Categories
All
|
 RSS Feed

"Karen is flipping hilarious and she's very real...I like the way she teaches in a way that really gives you confidence, whether you're a beginner or advanced there's always something new to learn!"
- Elizabeth W. |
What Fans Are SayingKaren, you are absolutely fabulous! You make me feel like I can draw anything. I have recently retired and finally have the time to do some of the art that I have loved since I was in school. I am really at the beginning of my art journey and I hope to learn as much as I can. Thank you for all you do. |
Contact ME |