
|
Hey there! Are you itching to try your hand at mixed media art but feeling a bit overwhelmed by the supplies and how to layer them successfully? You're in the RIGHT place!
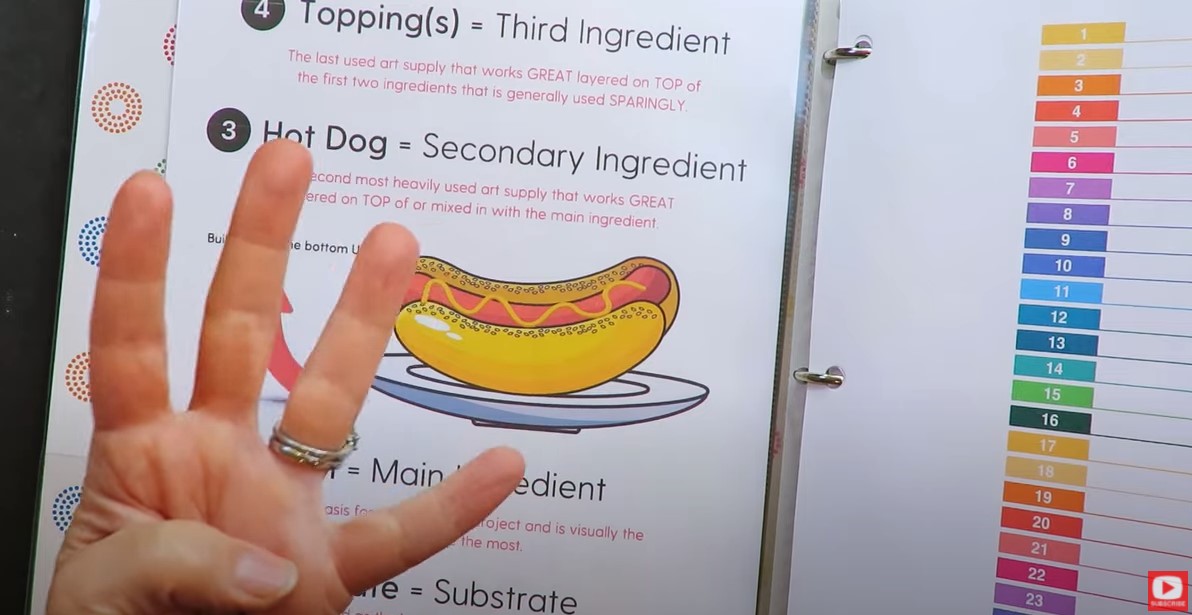
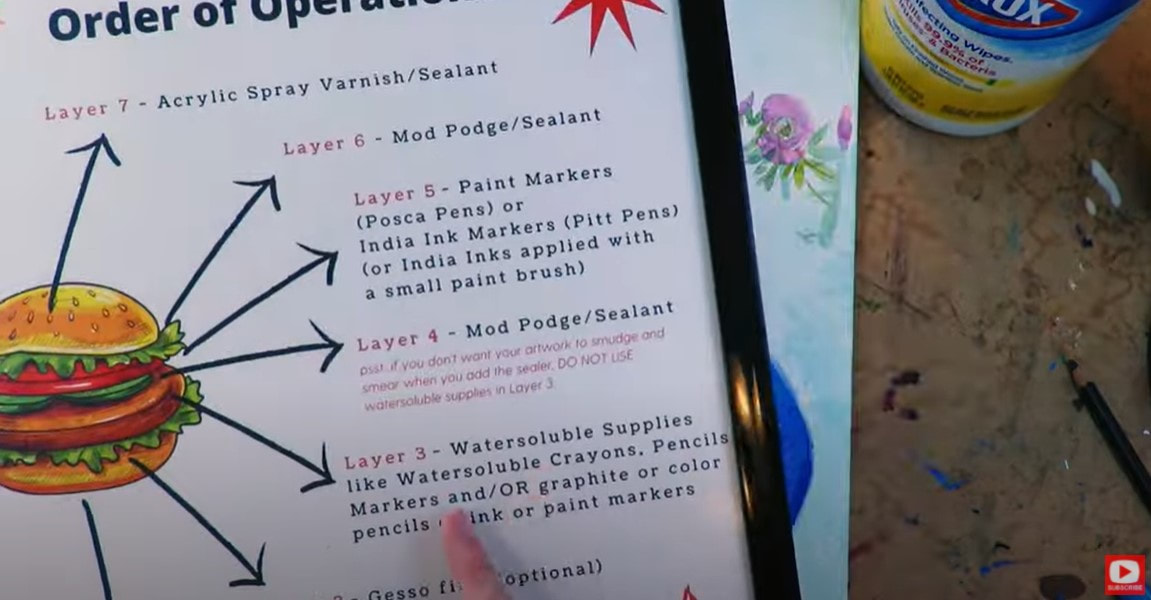
I've got a solution that will make it super easy and fun for you. I call it "The Hamburger System," and it's seriously going to revolutionalize your approach to mixed media art (if it hasn't already!). In my signature 7-step process, you'll learn MORE about your art supplies (what they do & if they play nicely with others), plus I'll teach you exactly how, and when to layer your supplies to set you up for mixed media success EVERY time you sit down to create. Let's dive in!! 
Need a Cheatsheet Before We Get Started?
I thought so!! Click the button below, and I'll deliver a 1-page, printable PDF straight to your inbox outlining each step of the Hamburger System.

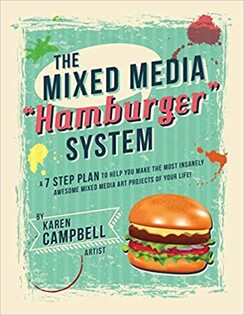
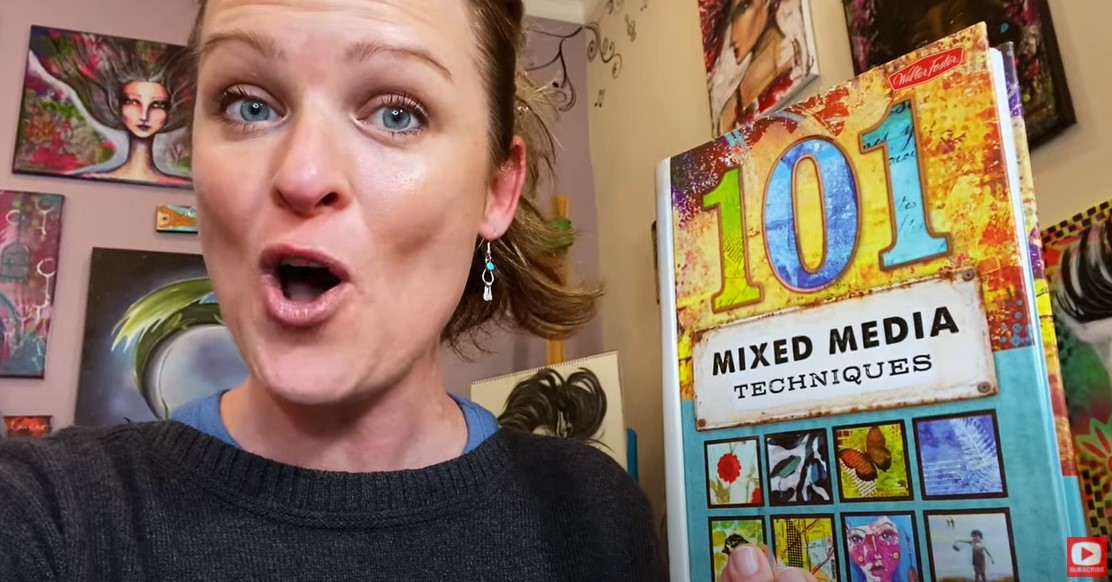
Feel like you want an even MORE TANGIBLE way to understand the Hamburger System? I turned it into a BOOK so you can have the entire step-by-step process ready and waiting for you at your art table! Check it out on Amazon here.
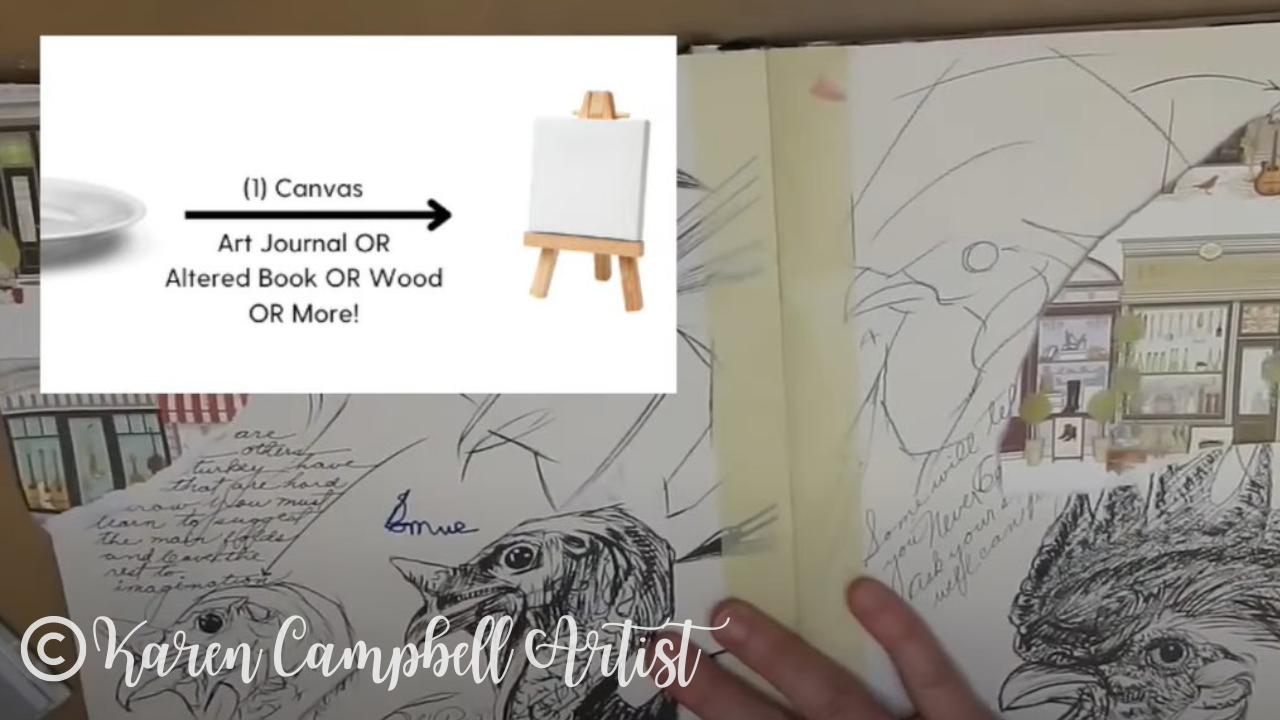
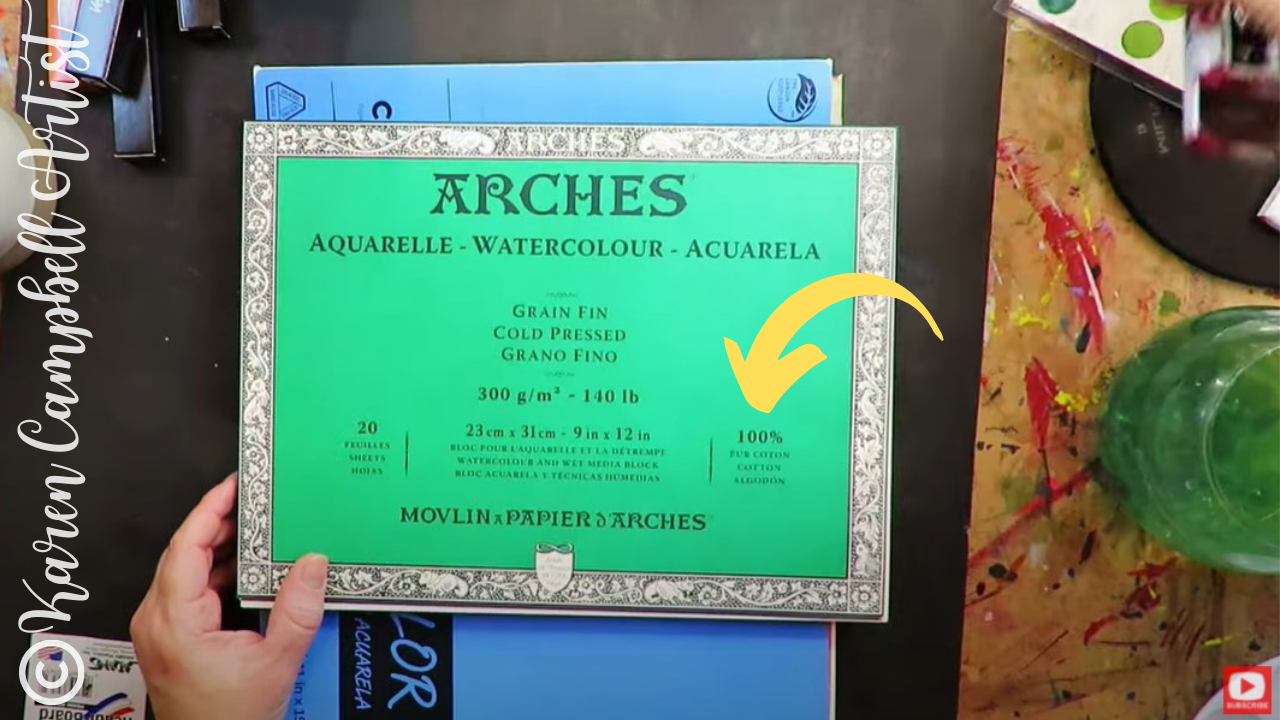
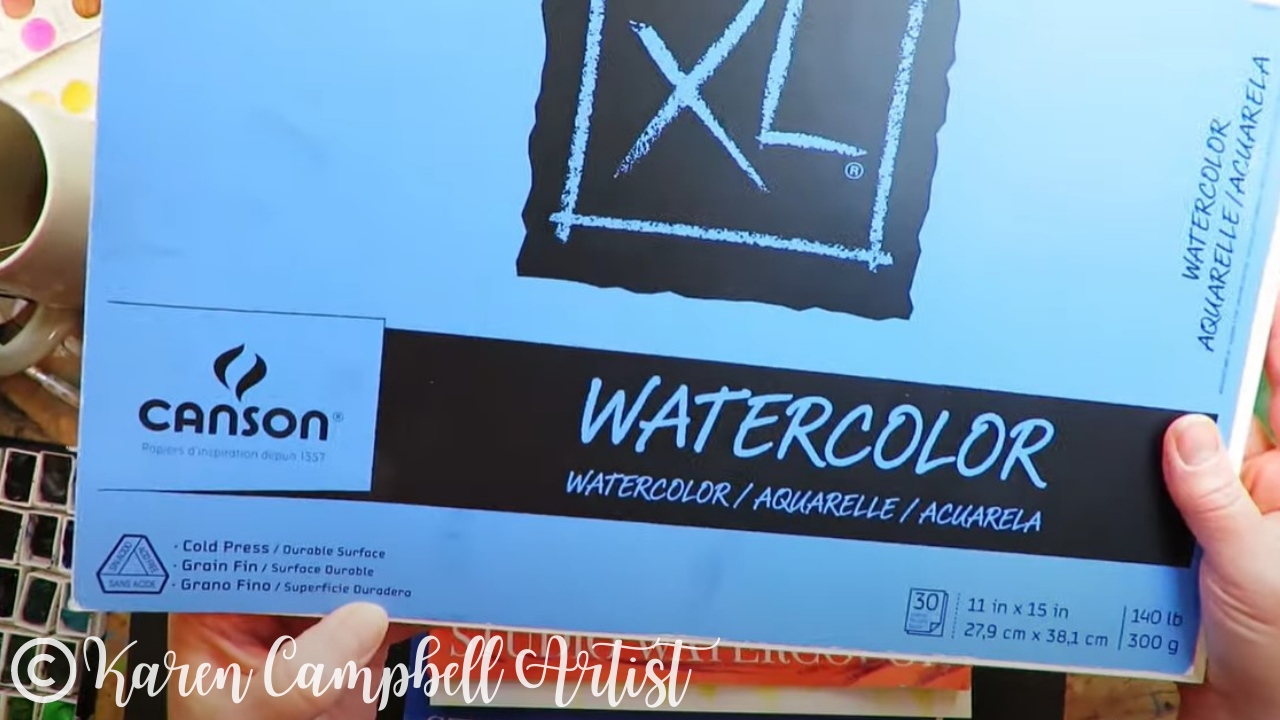
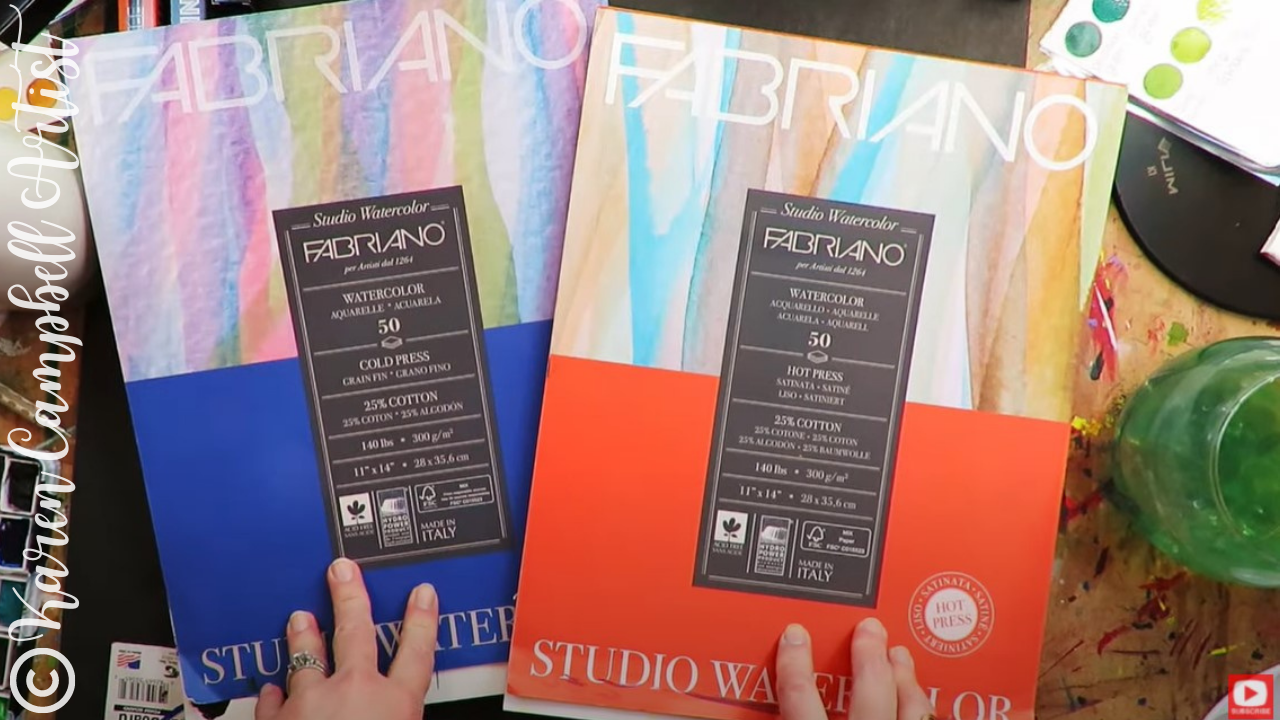
Layer 1: Substrate
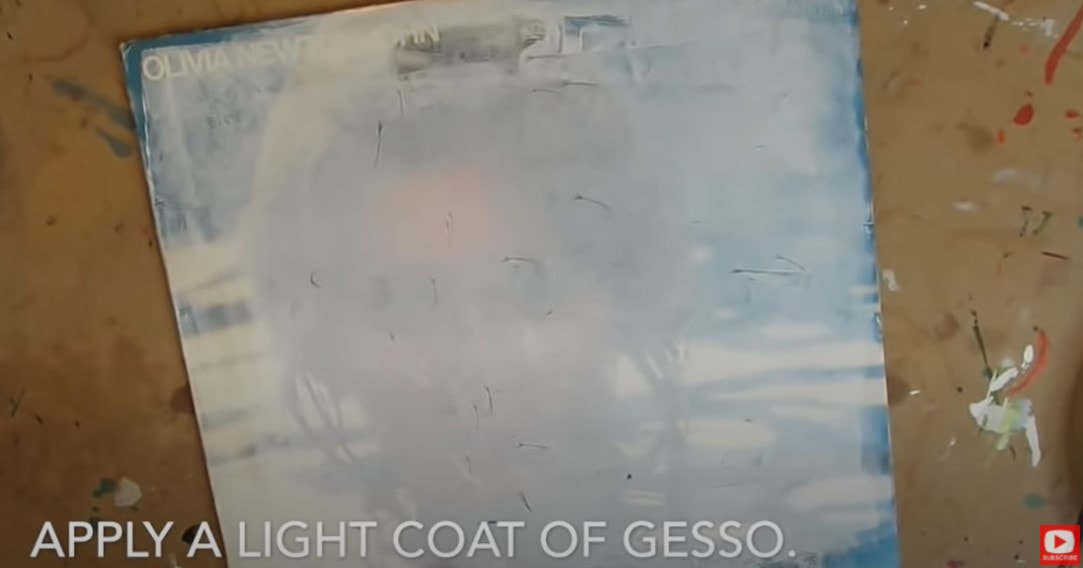
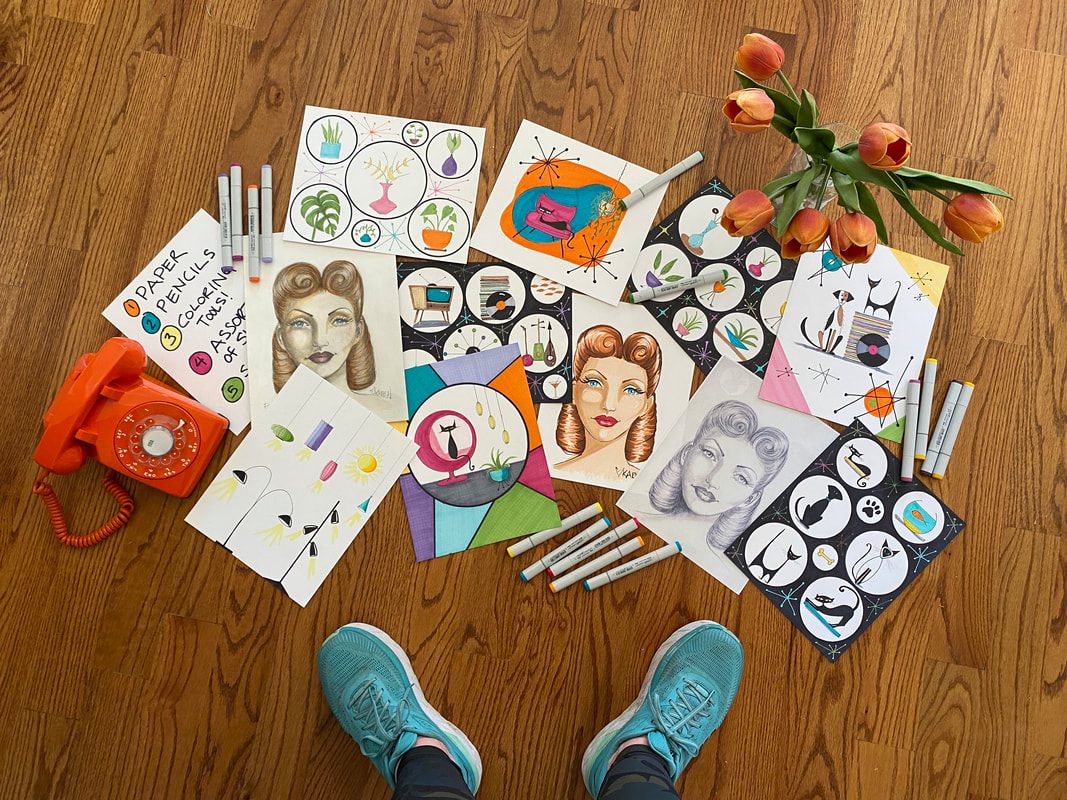
Back to today's video :) Our FIRST LAYER is super easy! It's the substrate or "plate" for our hamburger. A substrate is simply whatever surface you plan to create your masterpiece on. Canvas? An art journal, watercolor paper, altered book, or wood panel? One of the beautiful things about mixed media is there are SO many options to choose from!
Before we continue, super quick announcement: All product links are Affiliate. I may earn a small commission if you choose to order through these links but by law there is never any additional cost to the consumer for doing so. I thank you for your support.
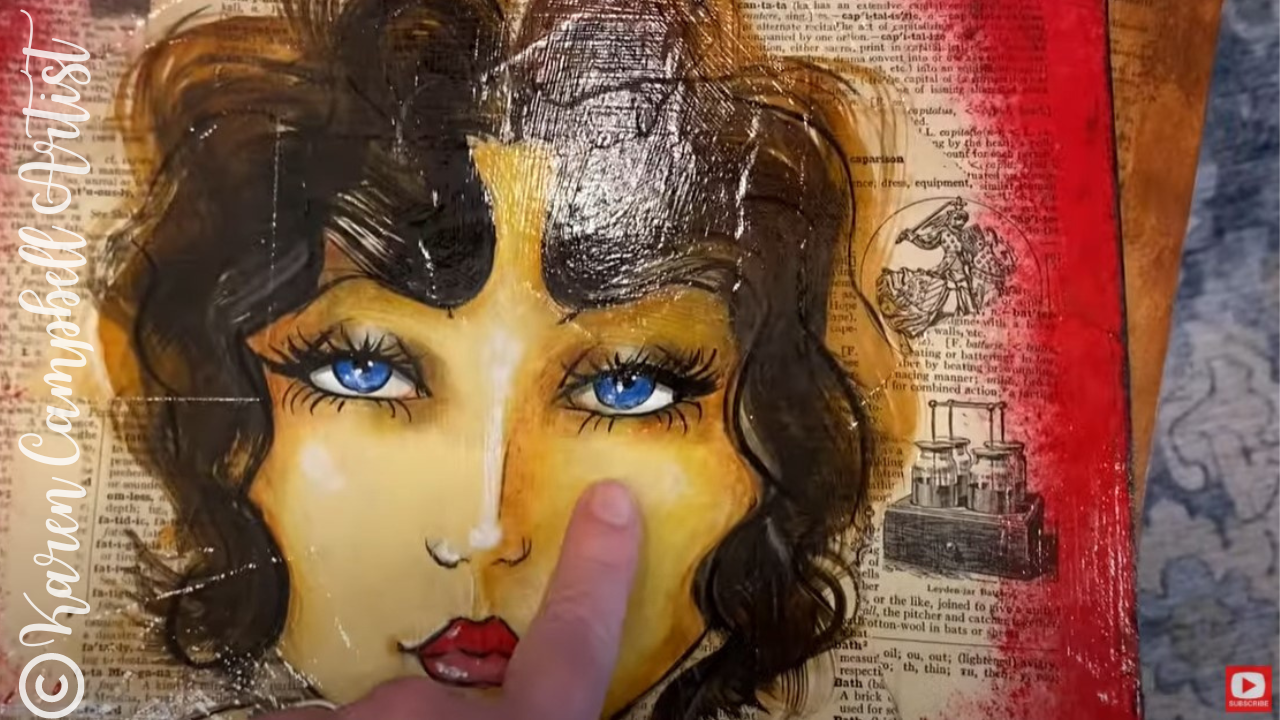
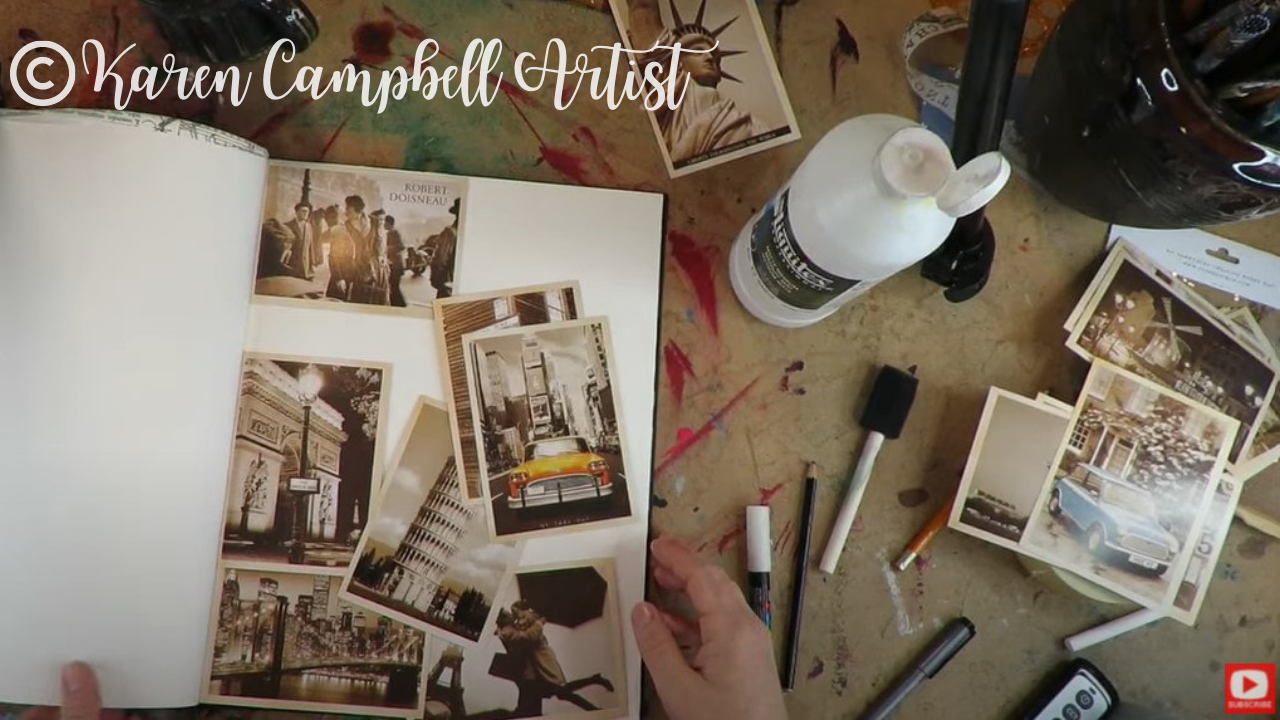
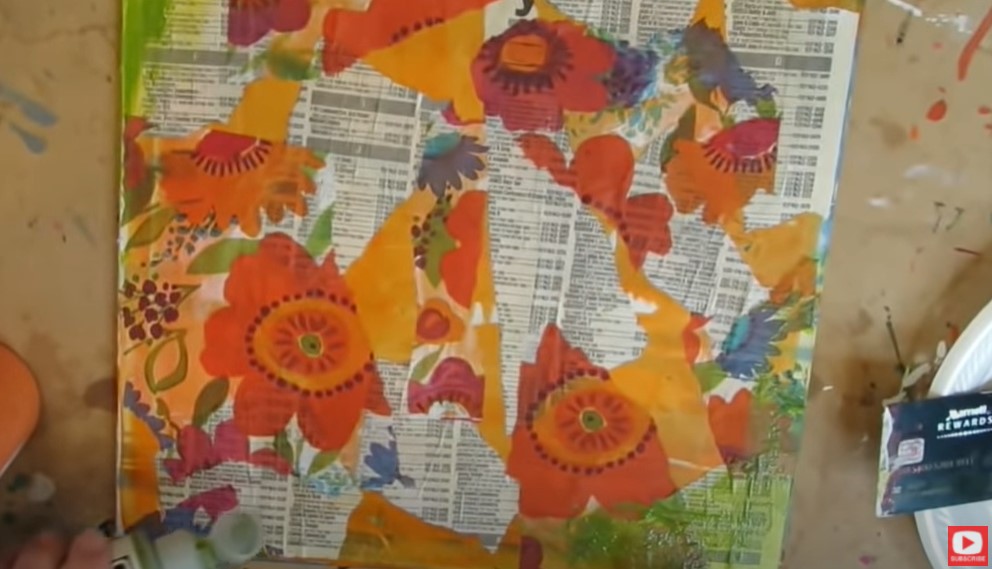
Layer 2: Collage
Collage is our second layer. It's is a SUPER FUN way to get in the mood to art, and a great way to move through creative block if you're feeling stuck or have no idea what you want to create yet.
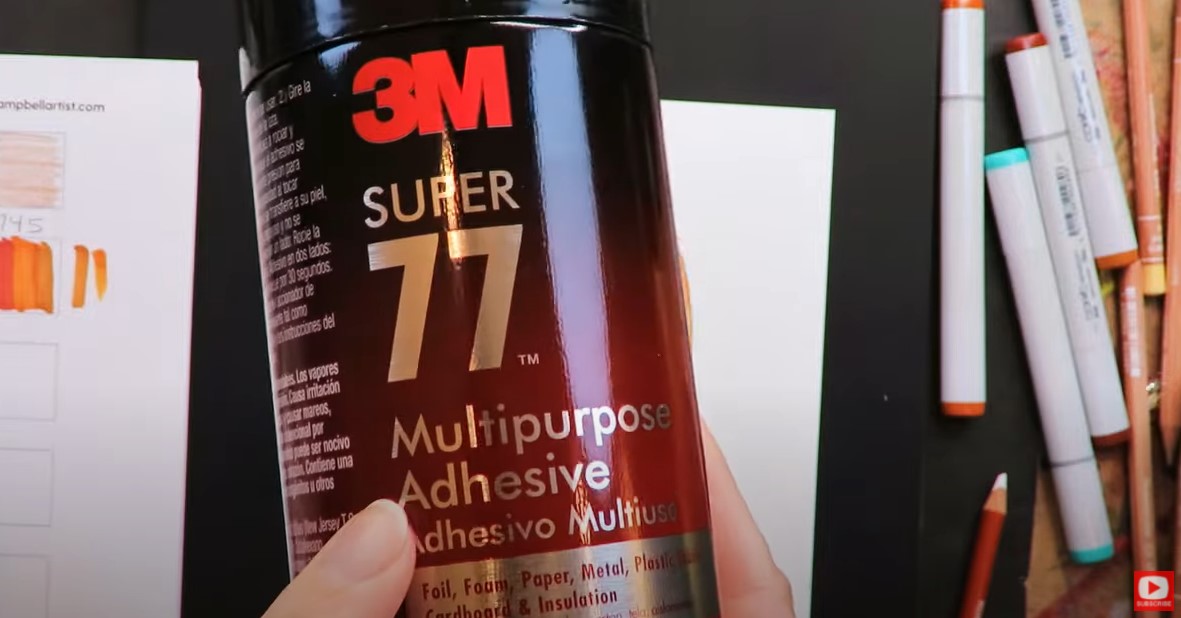
Grab your matte medium (or any adhesive YOU like) along with a few sheets of scrapbook paper. Then rip the scrapbook paper into chunks and start gluing it to your substrate. I think collage is an awesome foundation for your piece and adds visual sophistication to your work! 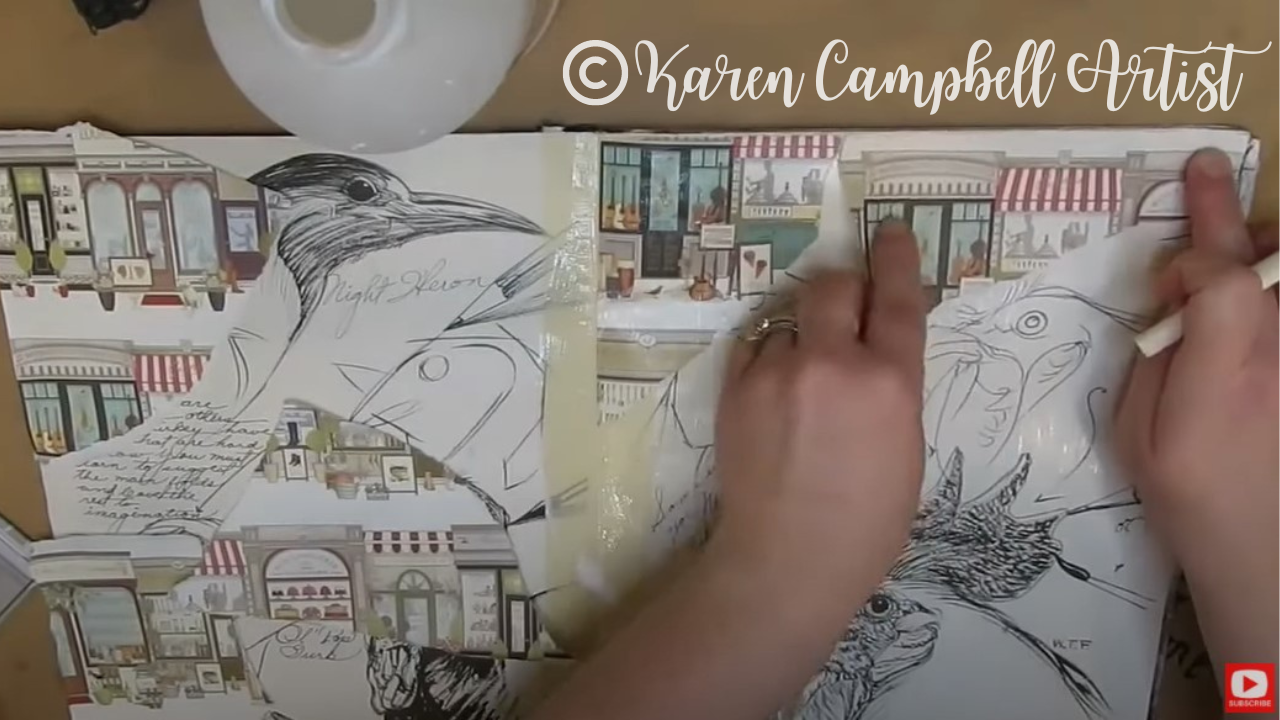
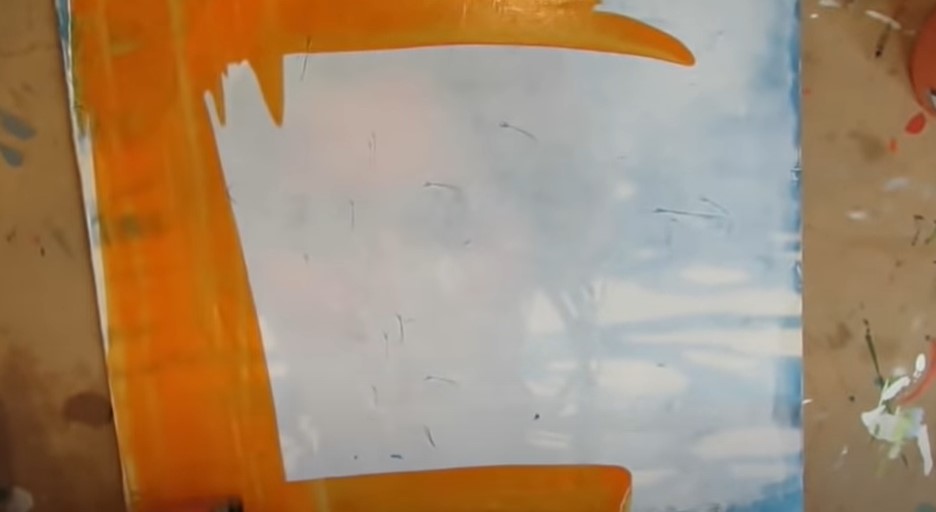
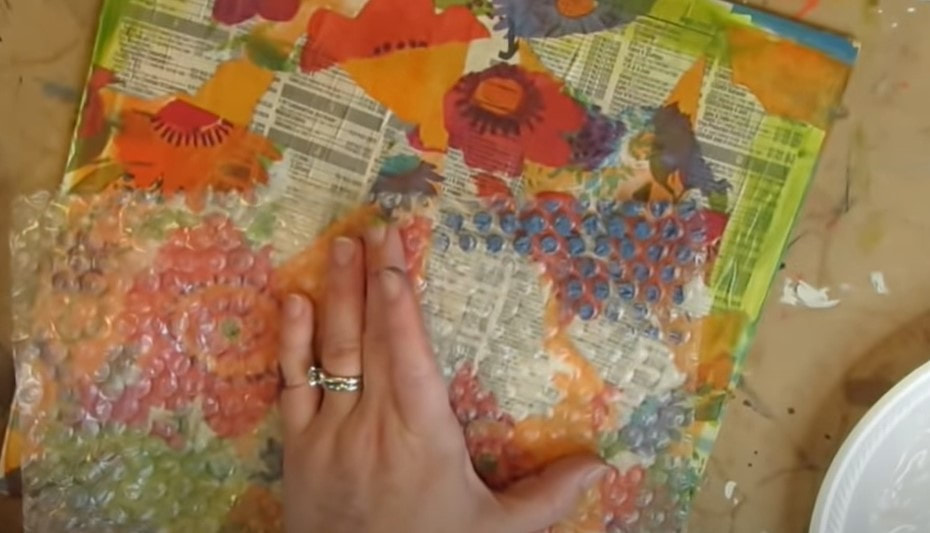
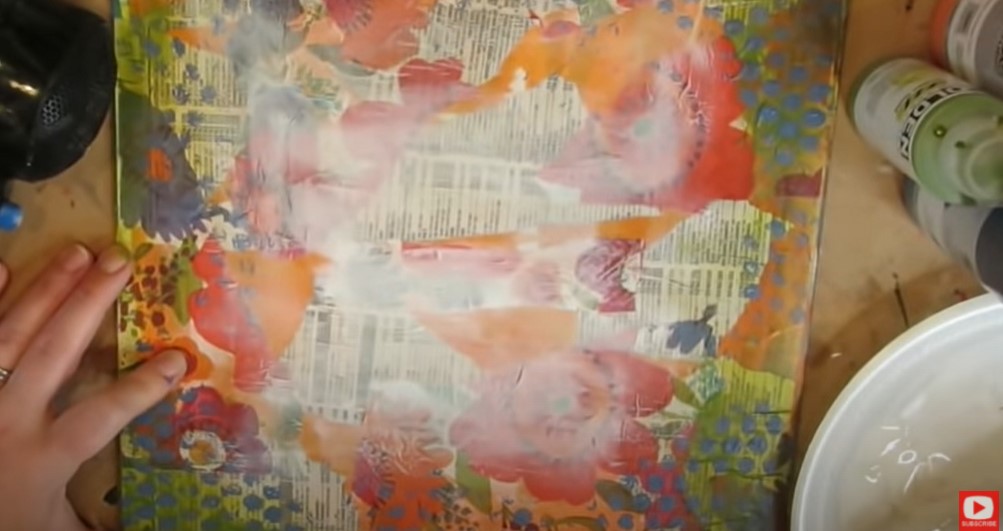
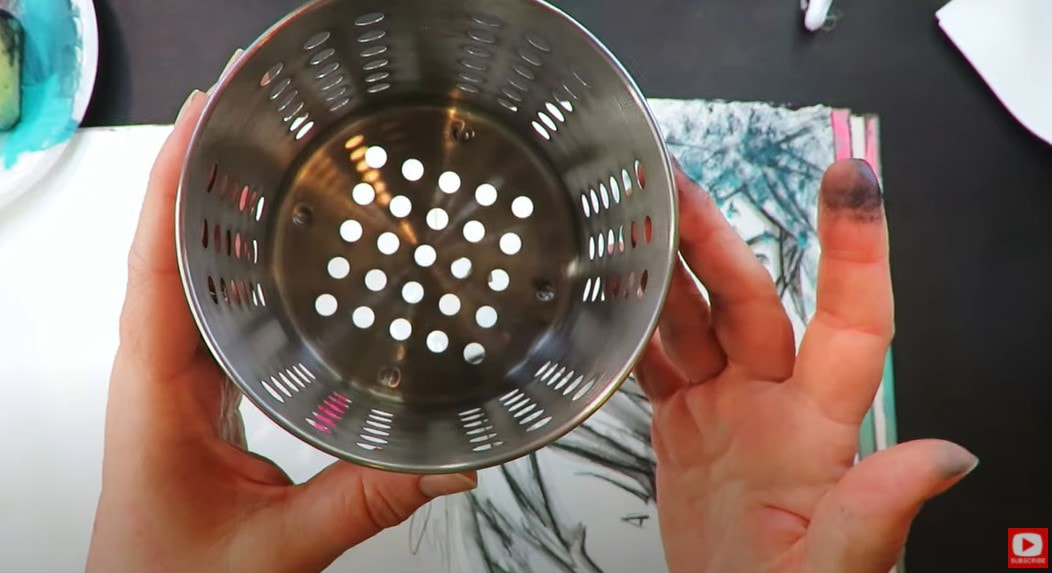
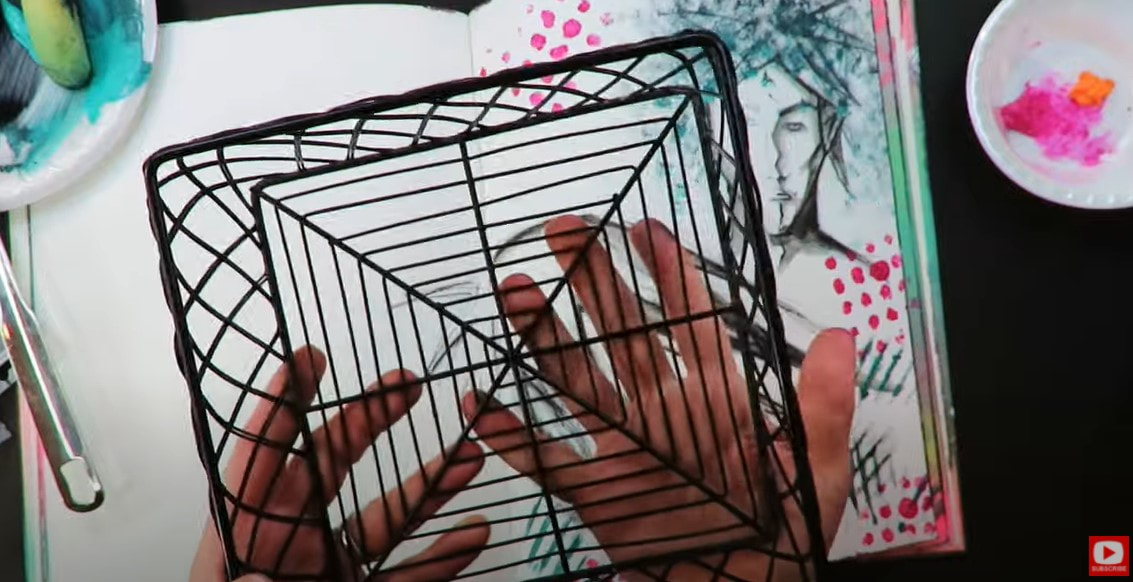
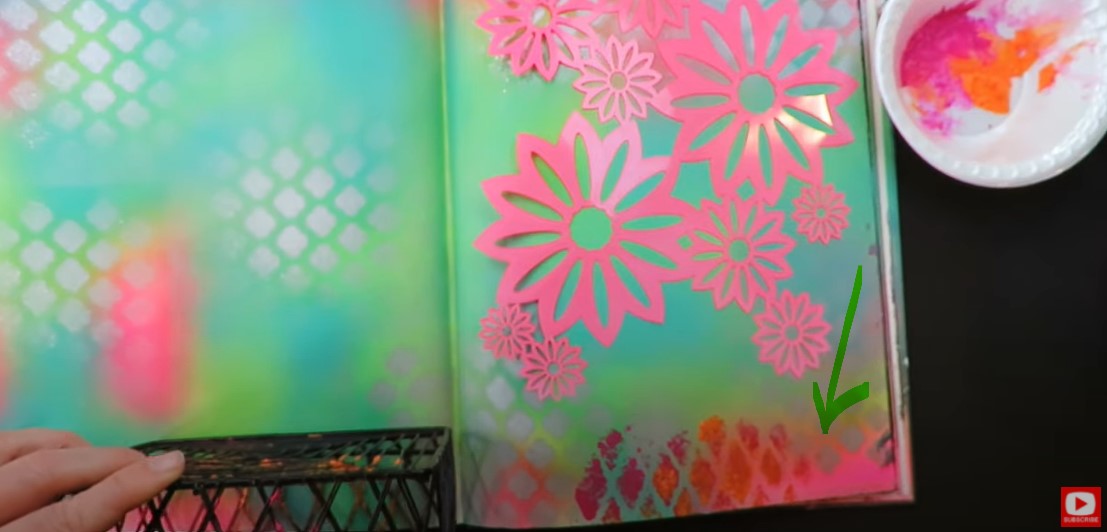
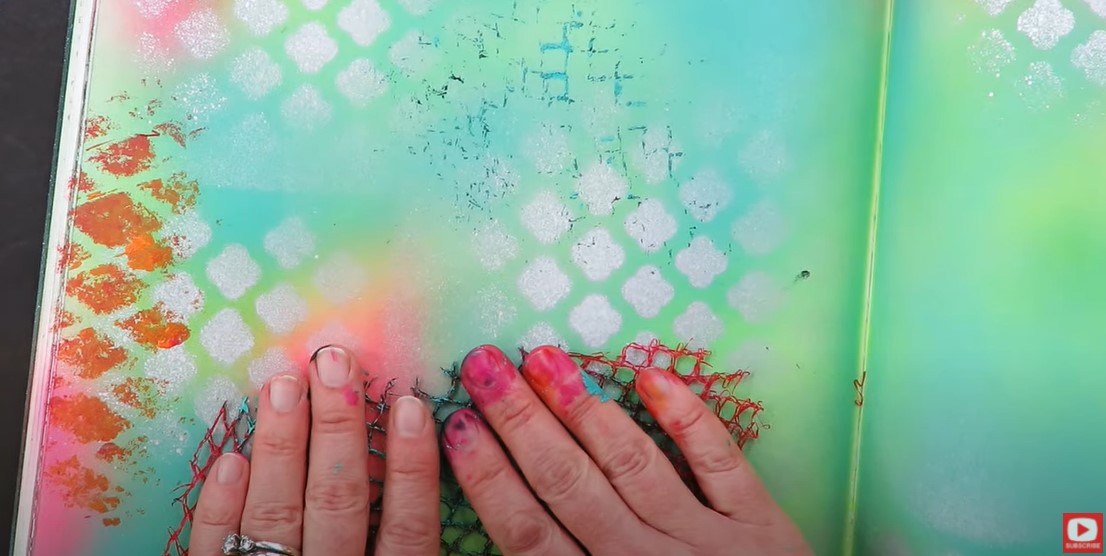
Layer 3: Acrylic Paints (This Includes Stencils!)
Once you're done with the collage layer, it's time to bring out the paints! Acrylic paint is your best friend in the Hamburger System.
Lots of people ask me how I choose my paint colors for each project. Typically I look to my collage layer for inspo, and simply pull 3 shades of paint that match my scrapbook paper. Easy, right? Once you've got your colors, add them throughout your collage layer wherever you want to jazz things up, or even cover something up that you don't like. Feel free to experiment with different colors and techniques like stenciling to achieve the effect you're after. 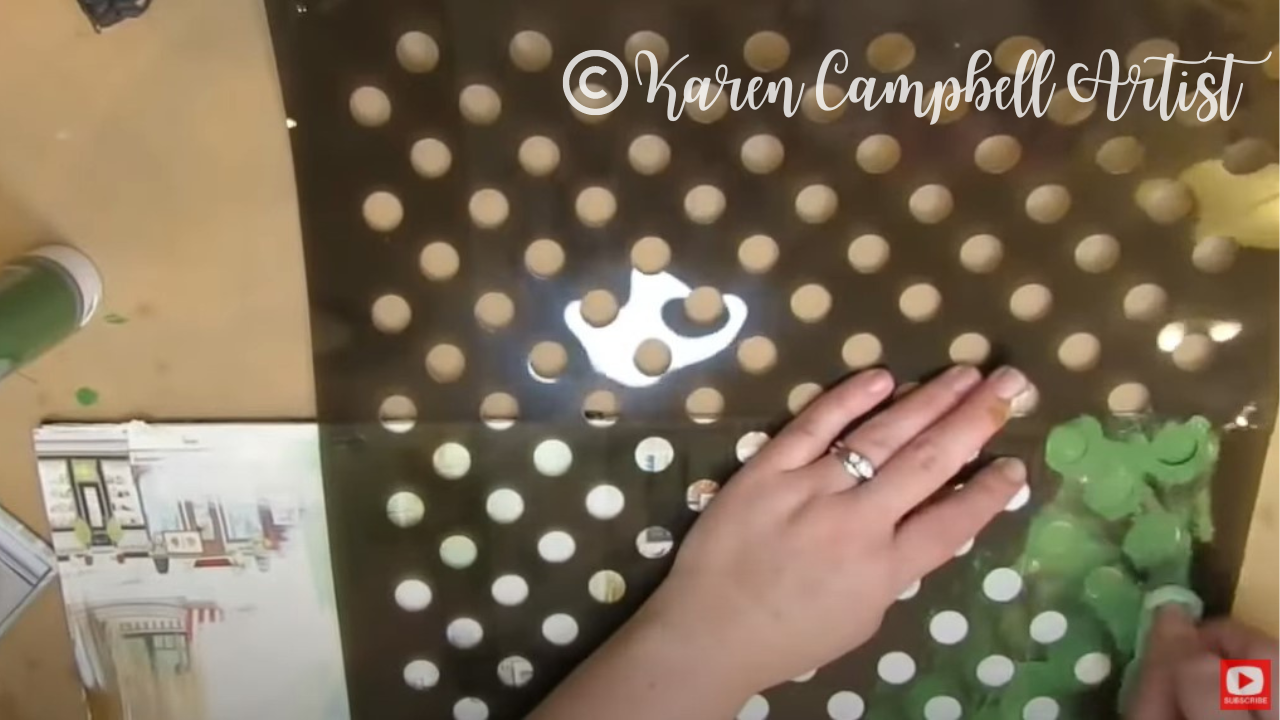
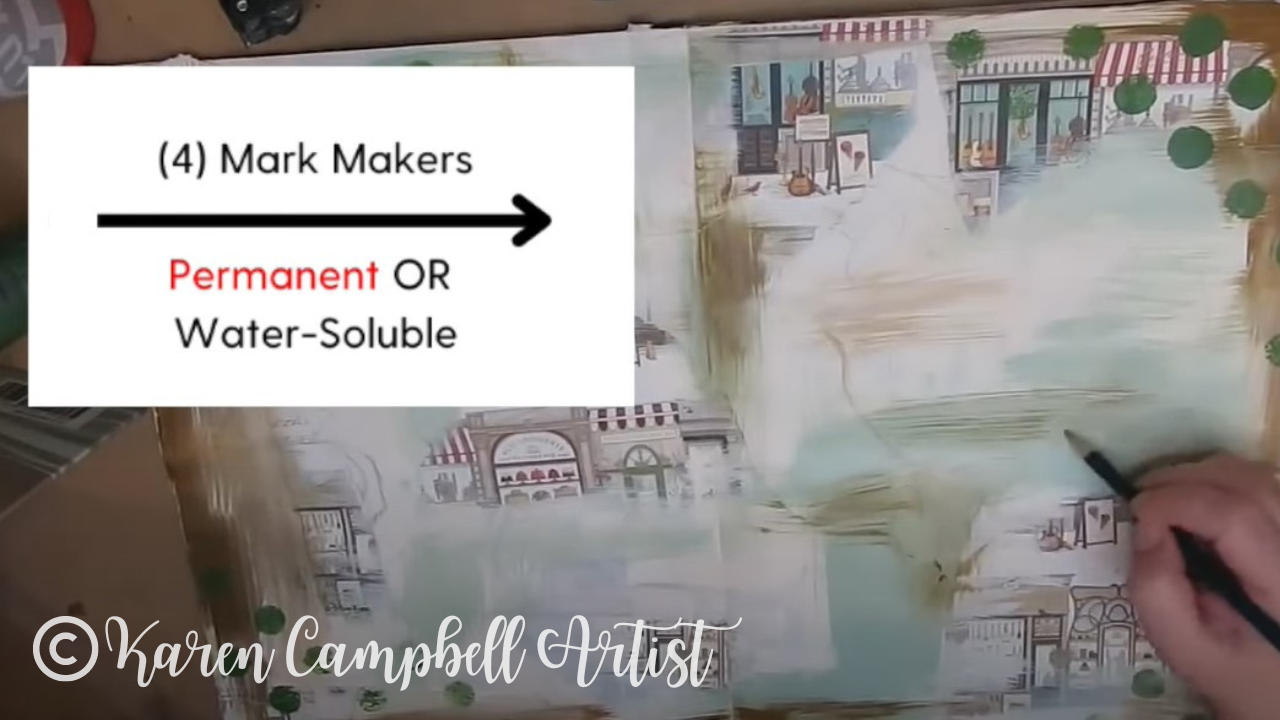
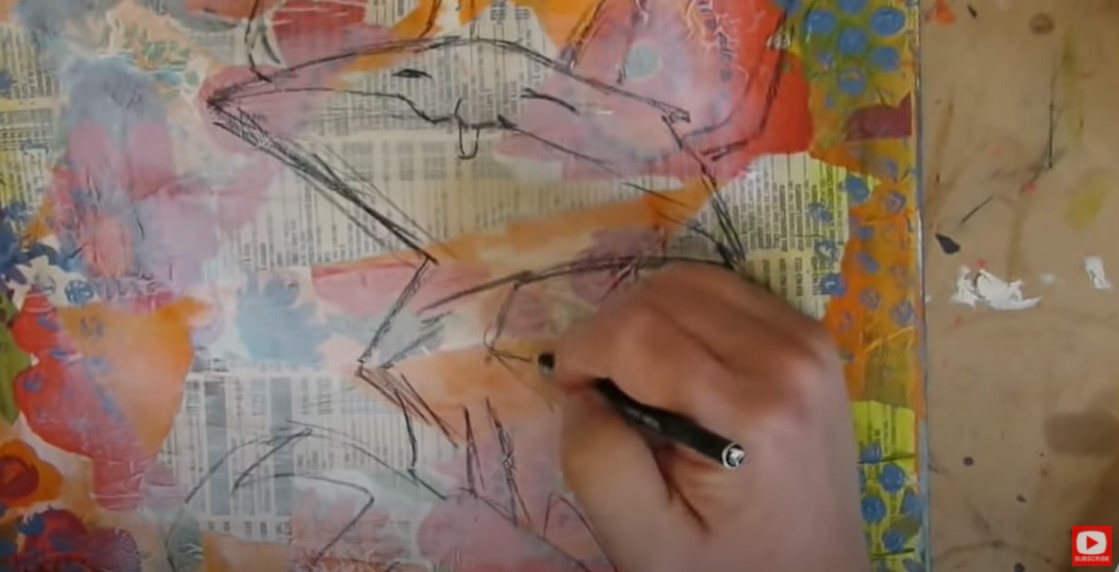
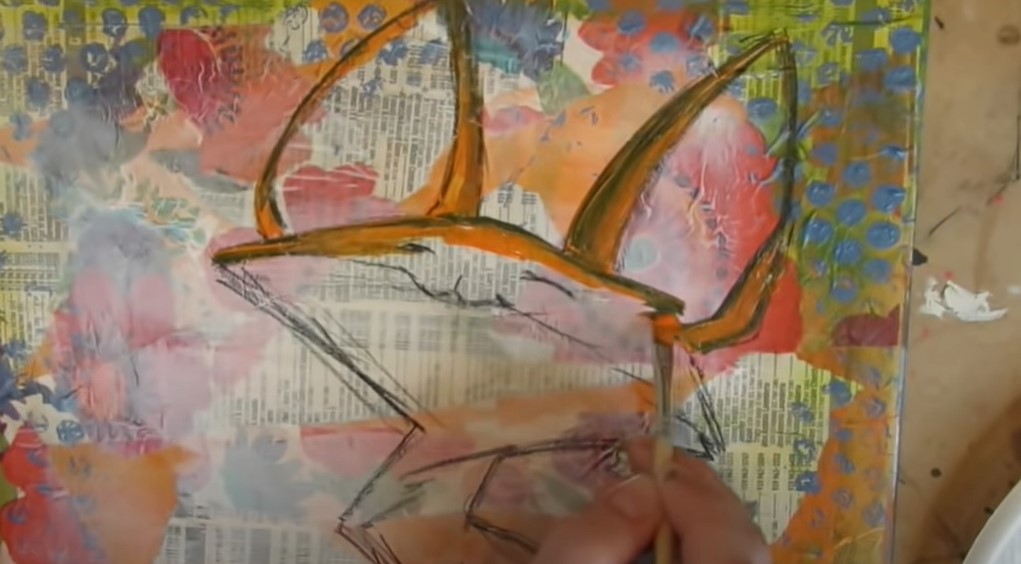
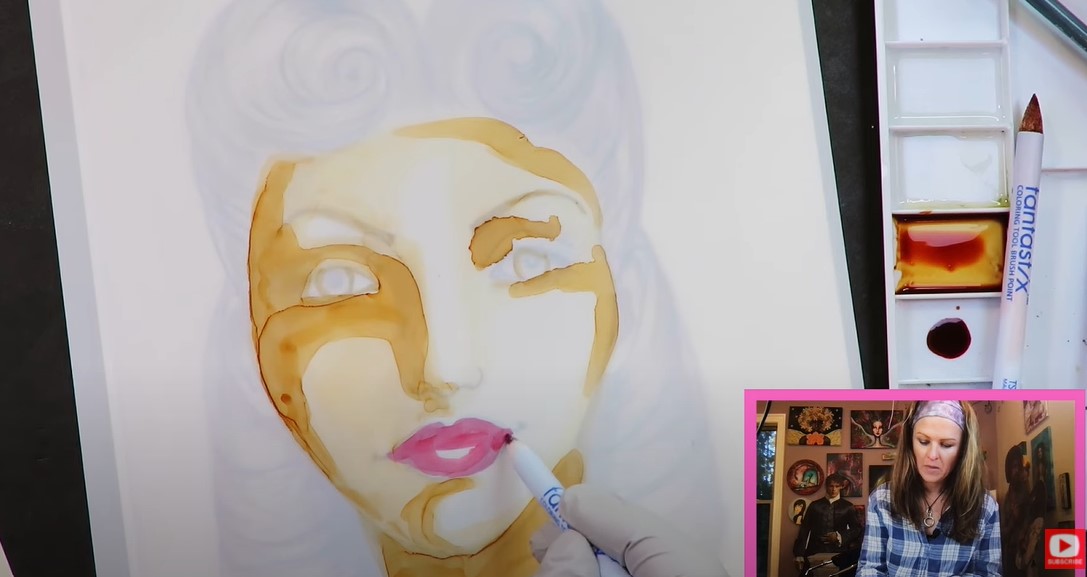
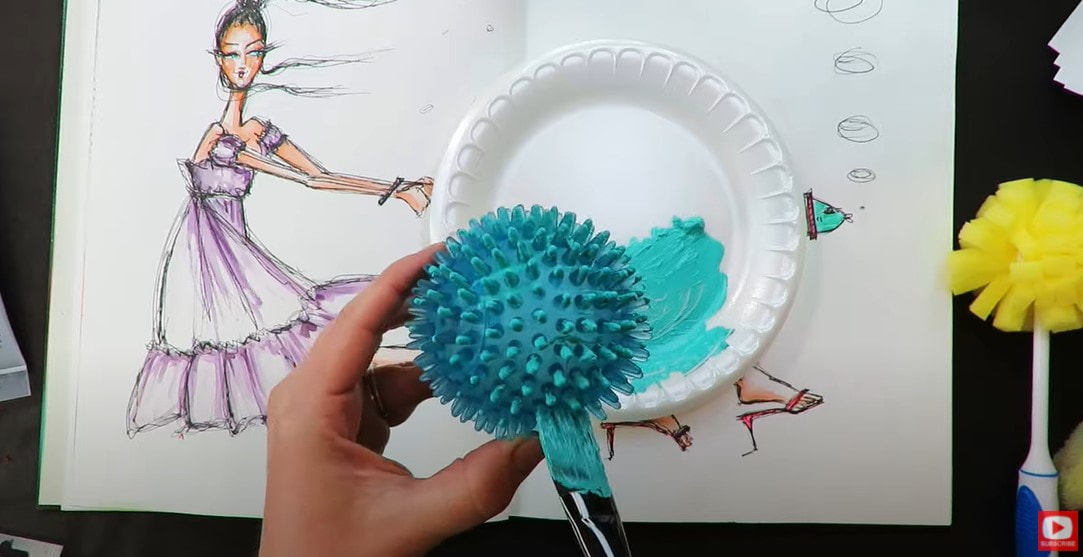
Layer 4: Mark Makers
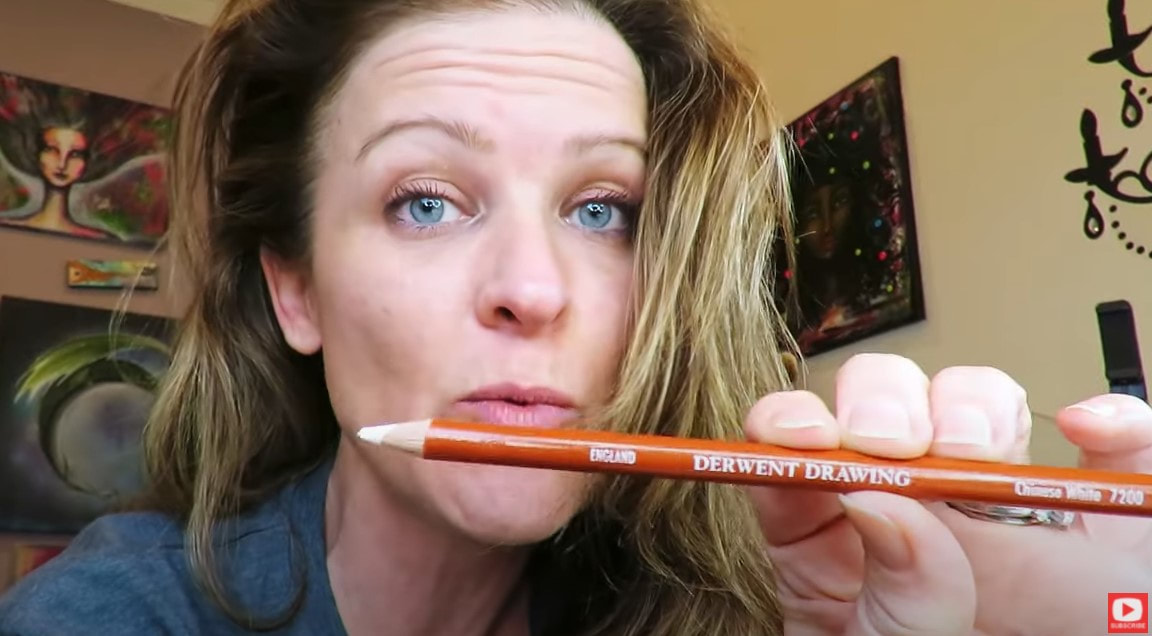
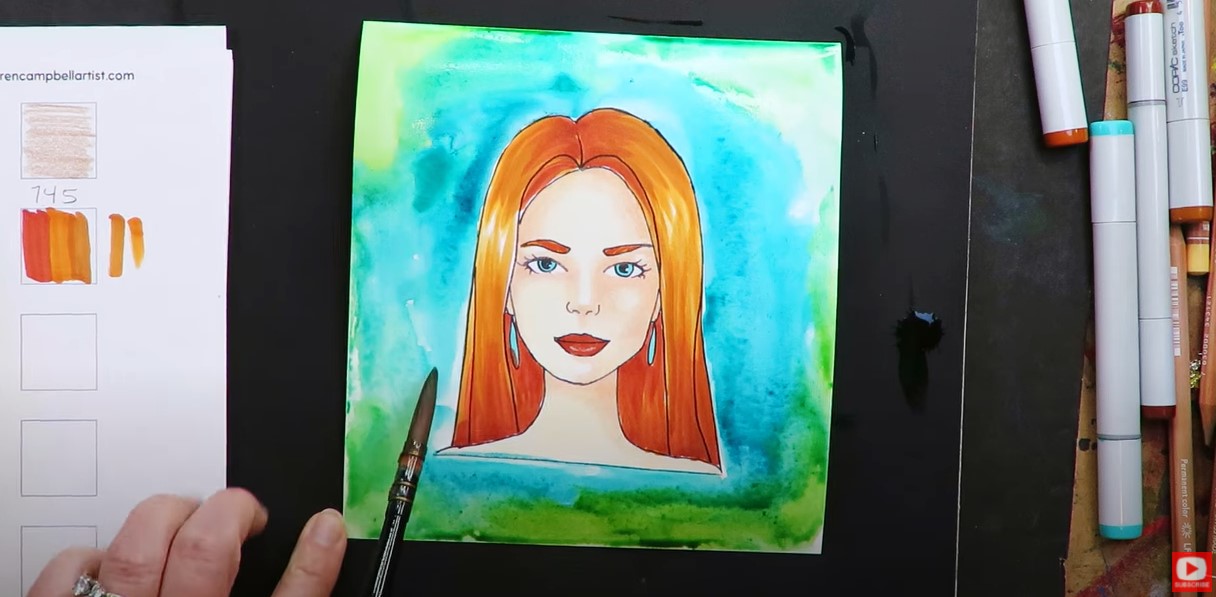
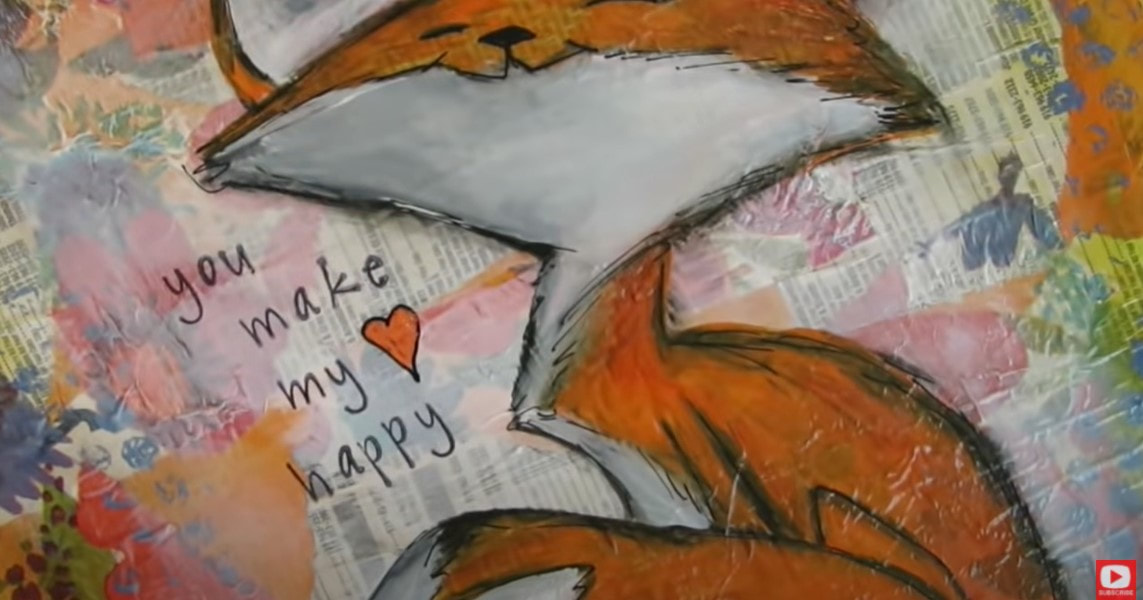
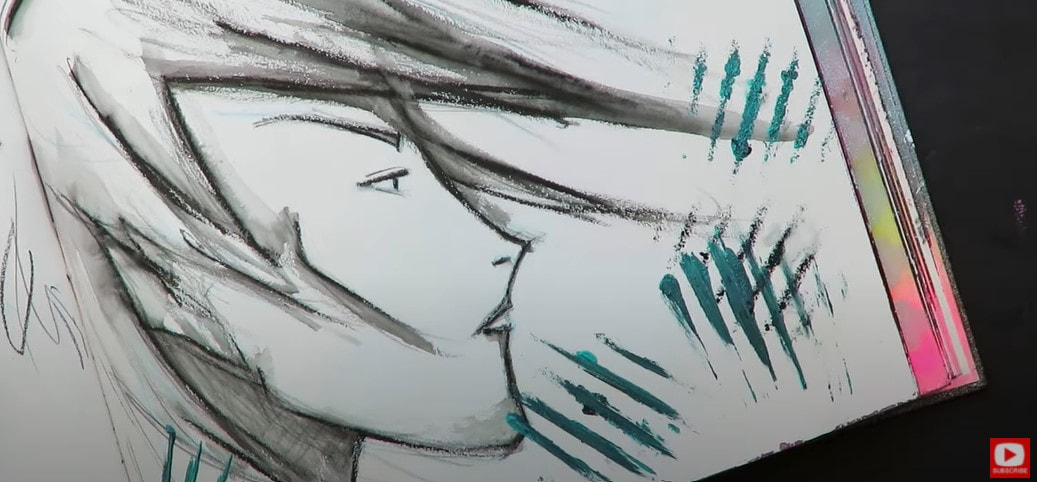
Here's where things get even more interesting. The magical mark maker layer is all about adding a focal point to your artwork. You can use any drawing tool you like—permanent or water-soluble (like the Black Stabilo All pencil I'm using in today's video) to create a foreground subject like a face, flower, or animal. No drawing skills? No worries! Many mixed media classes (LIKE MINE, in the Mixed Media Society!!) provide traceable templates to make it super easy for you.
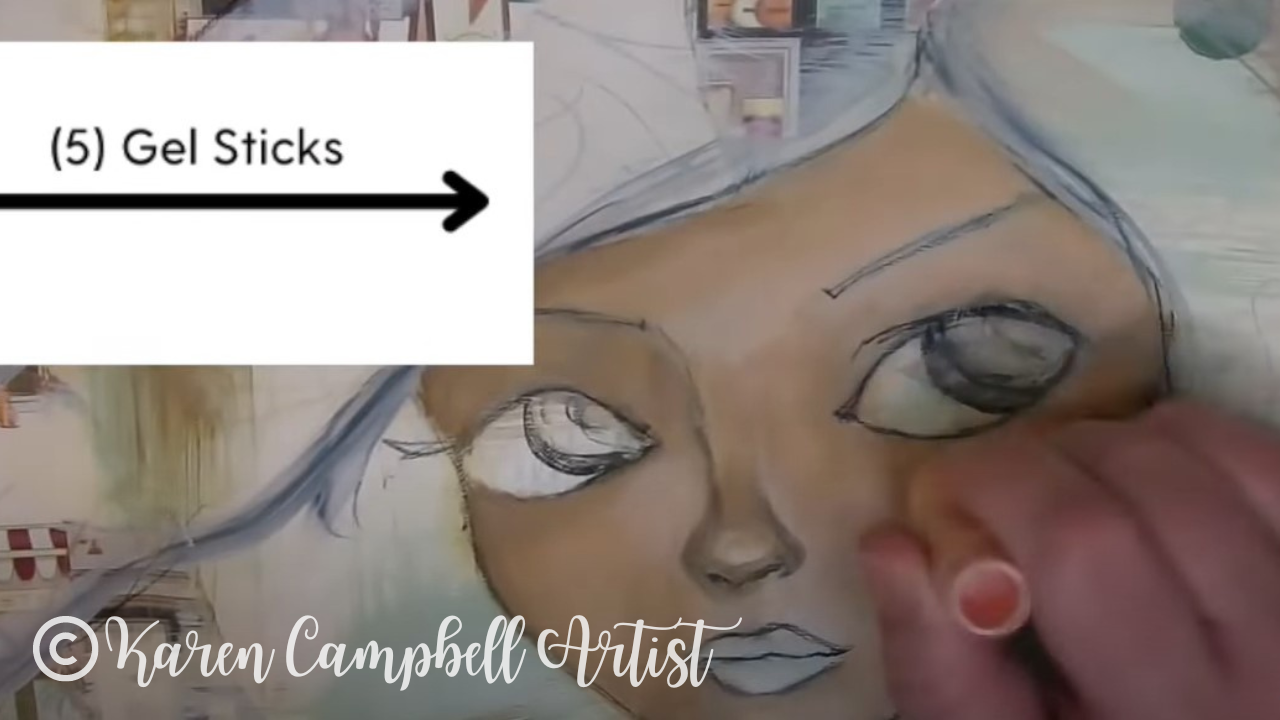
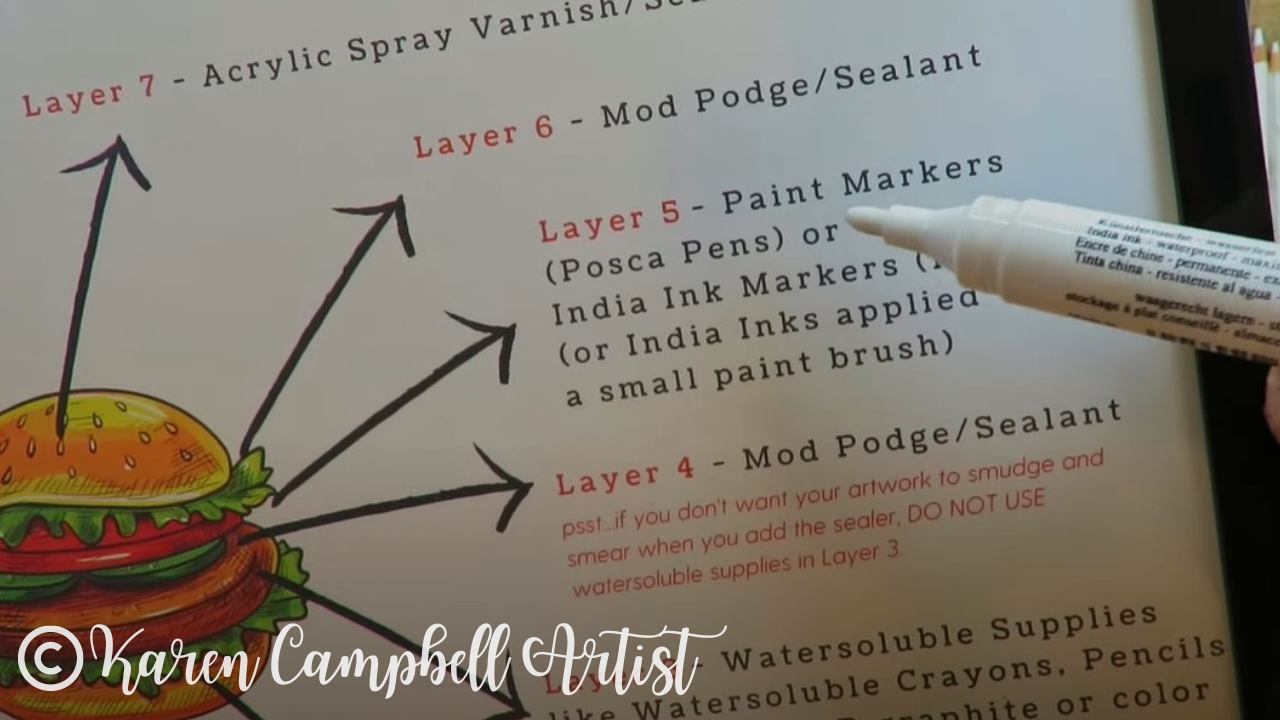
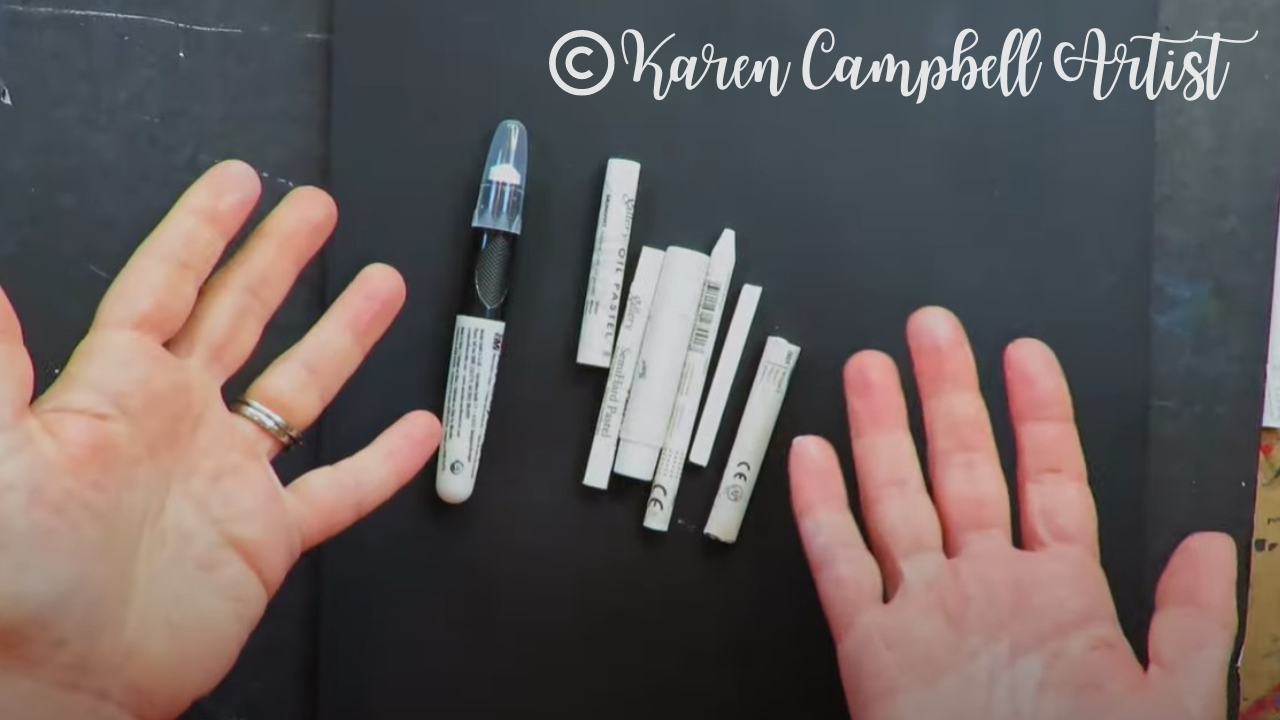
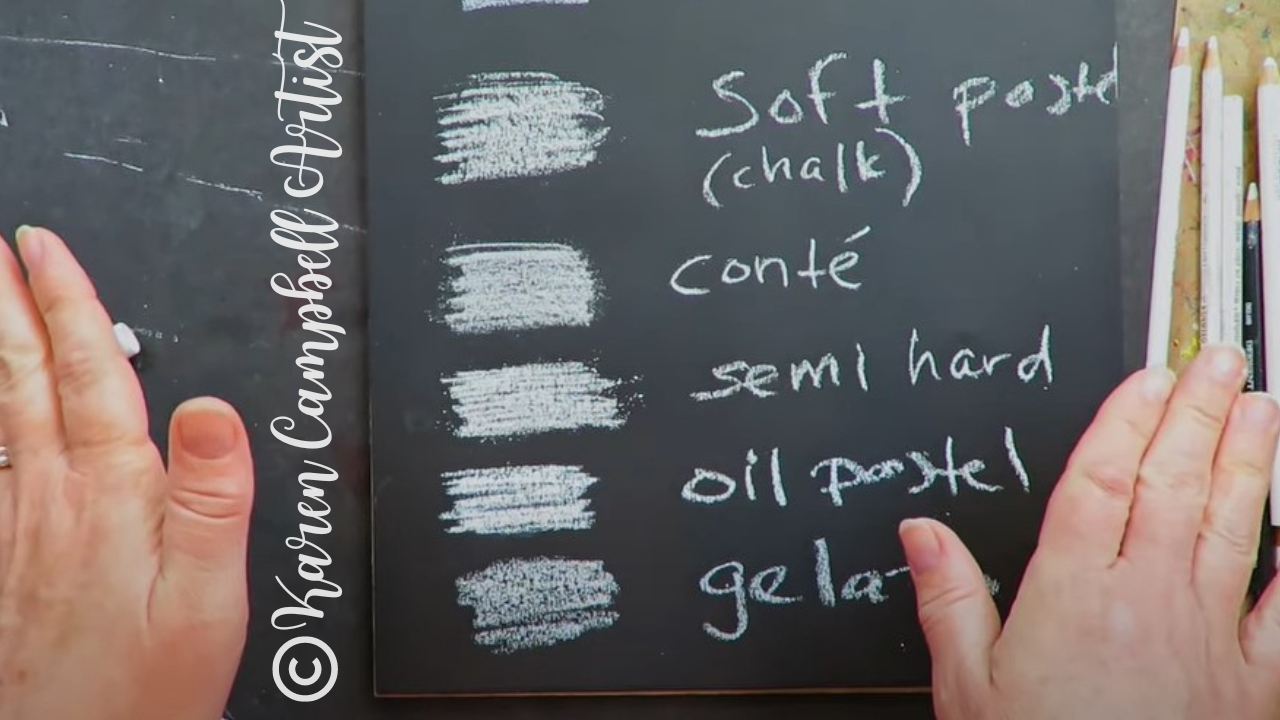
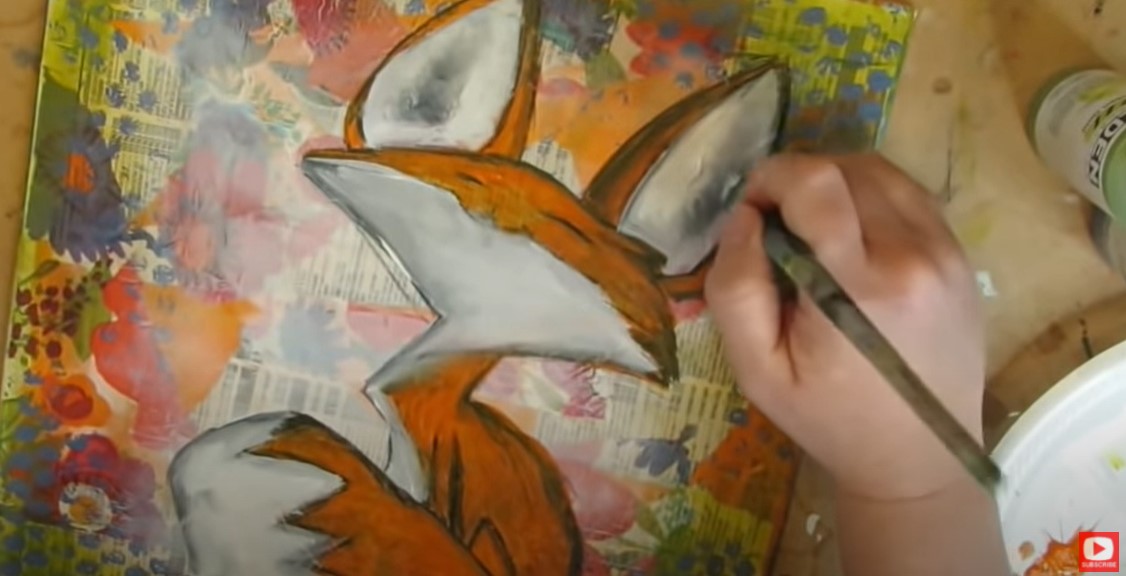
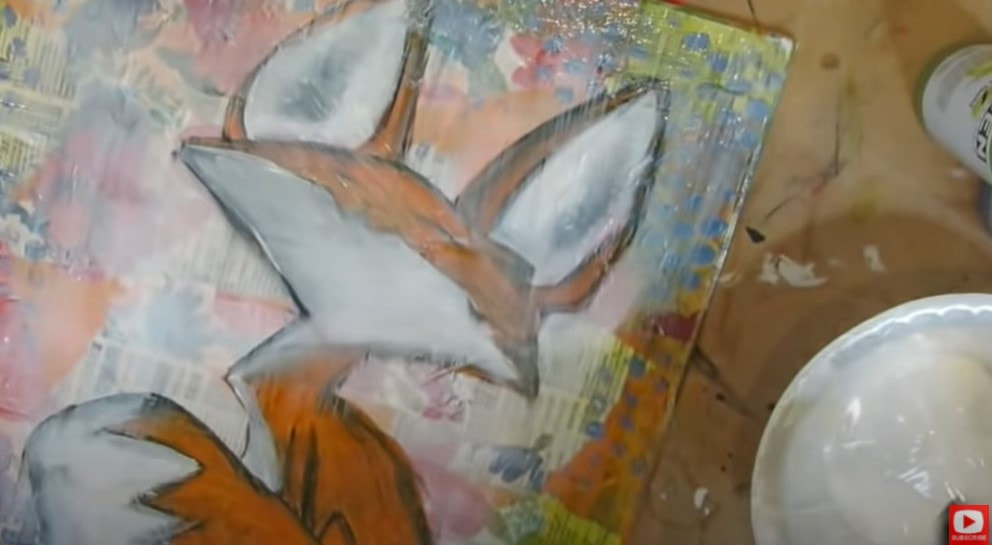
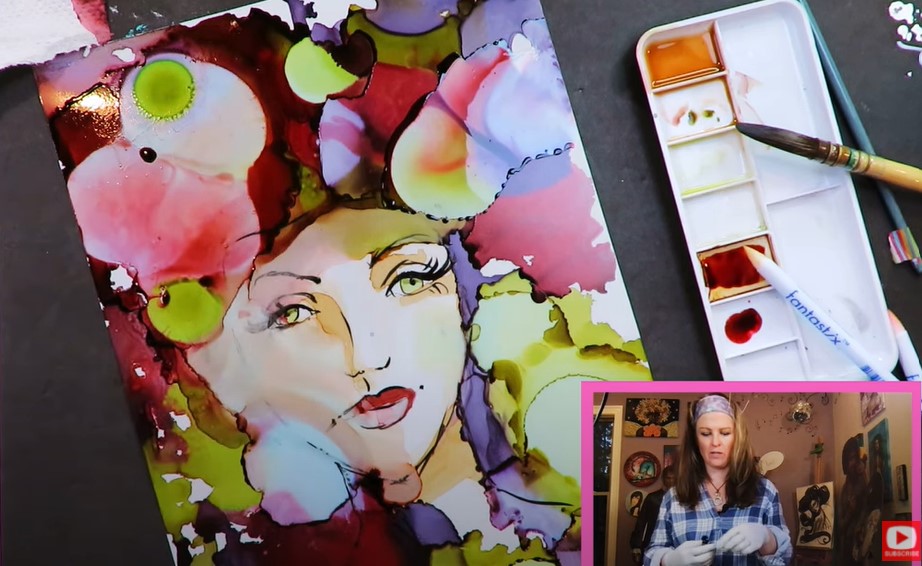
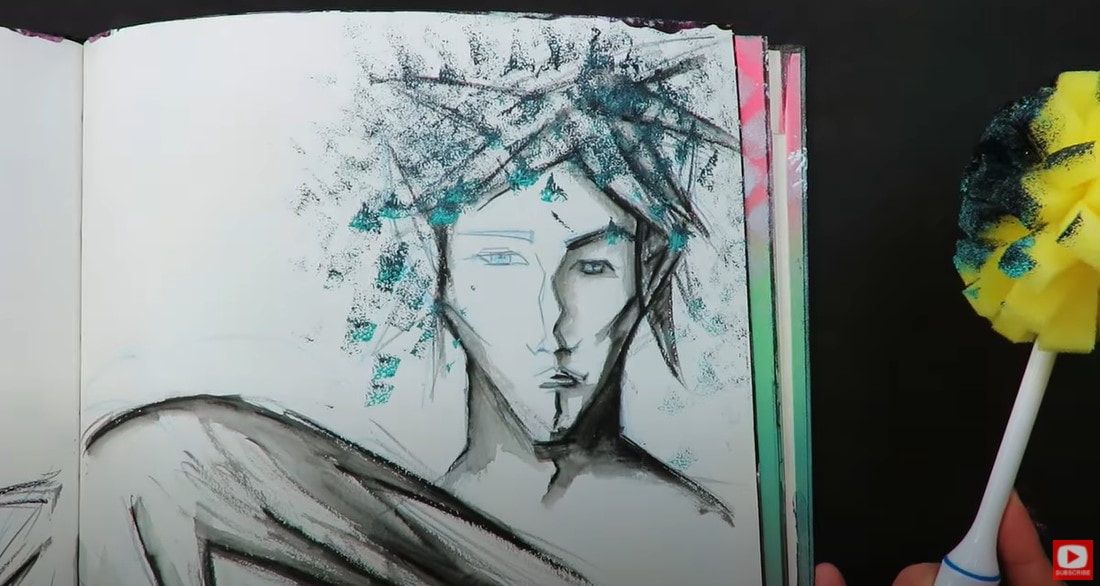
Layer 5: Gel Sticks
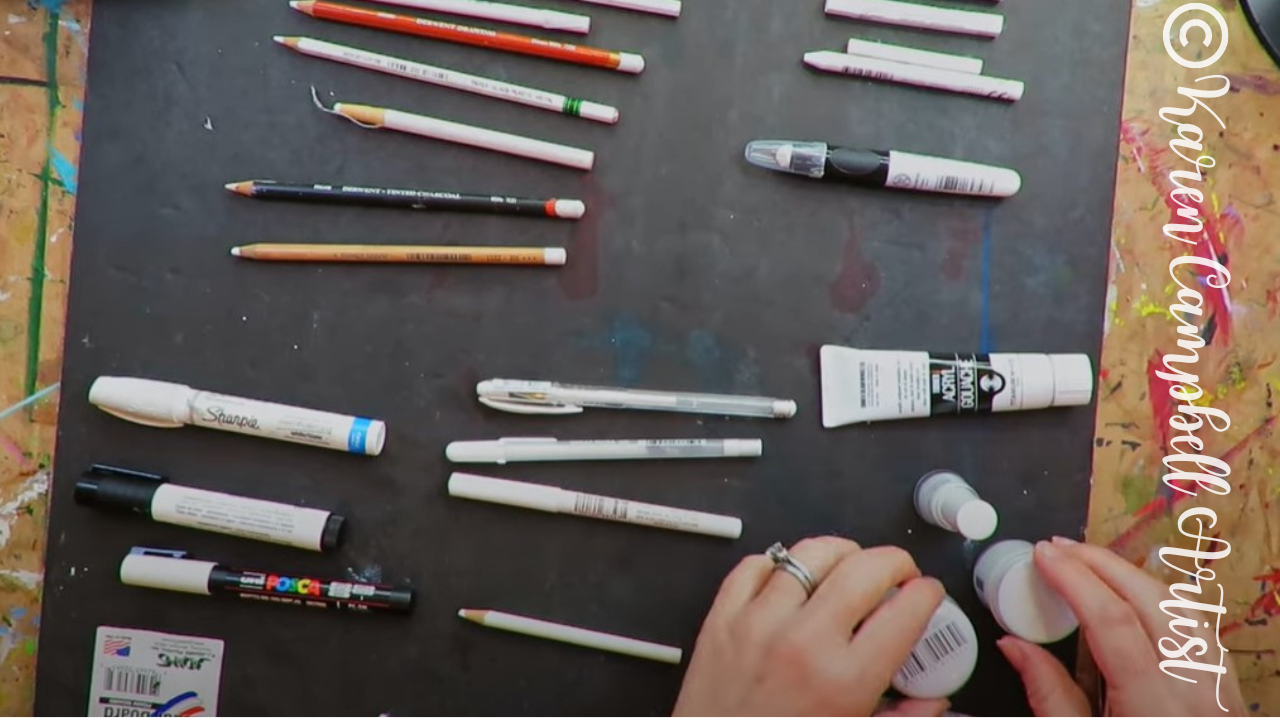
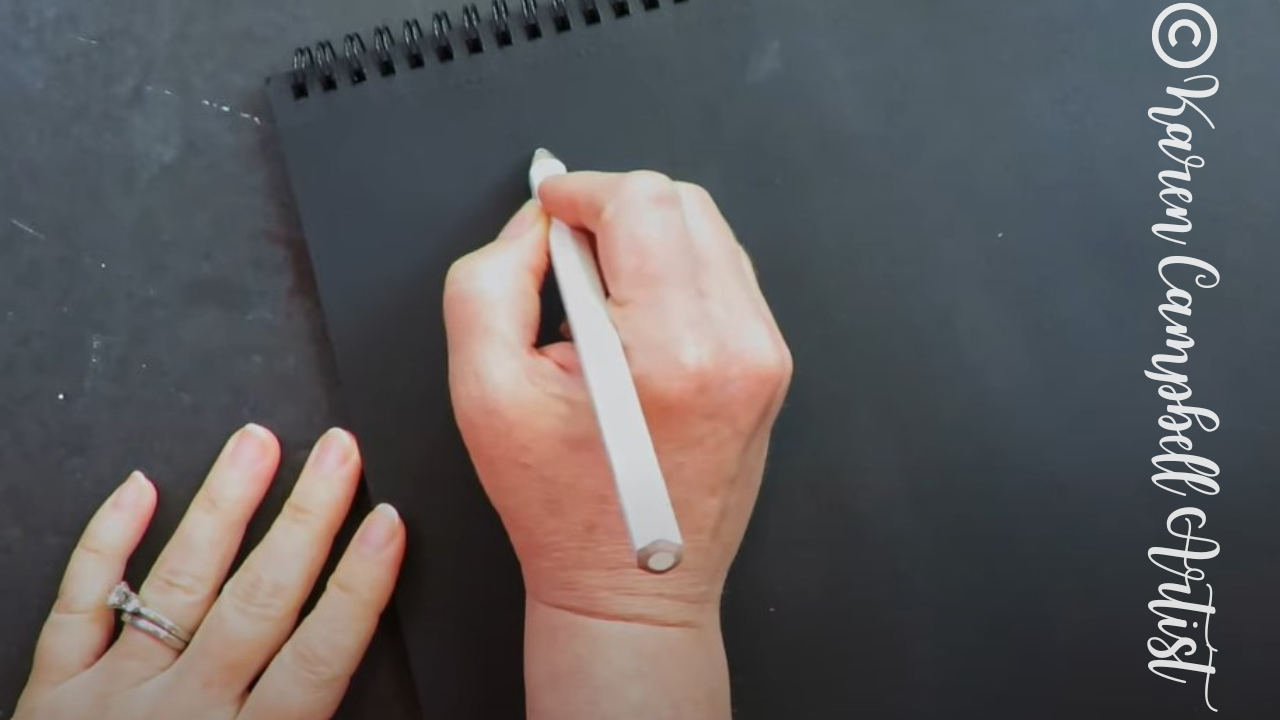
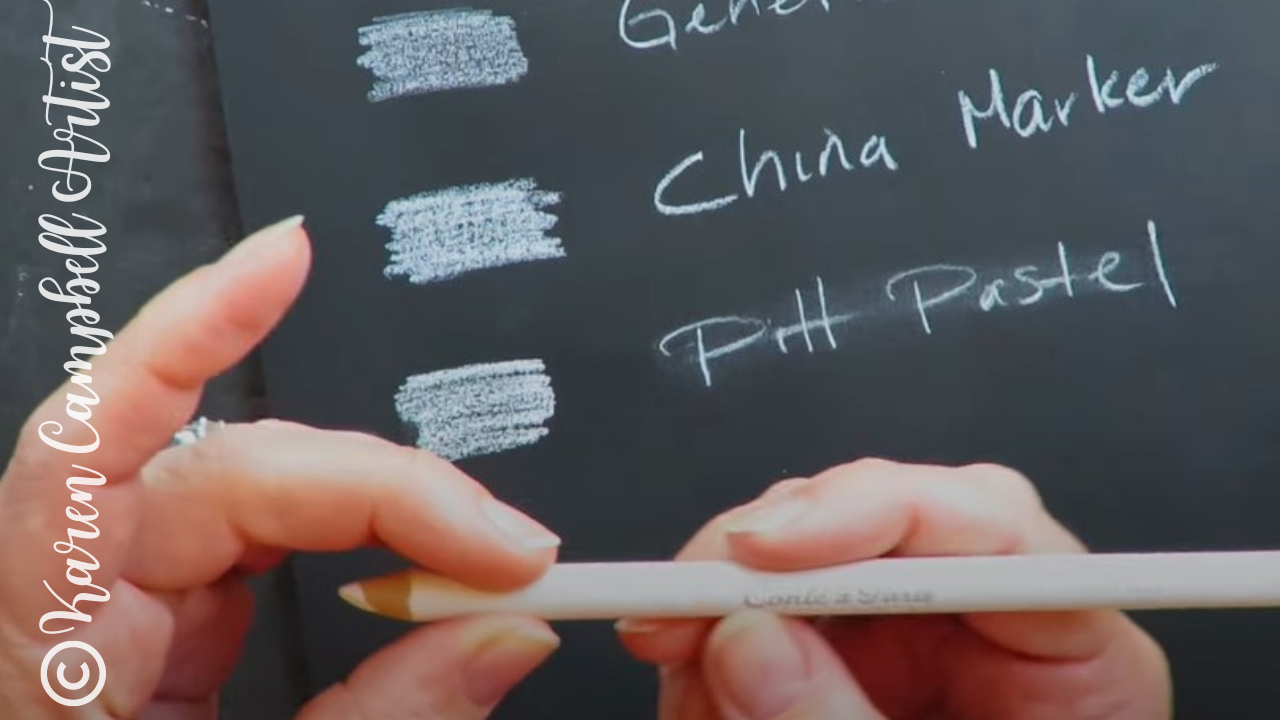
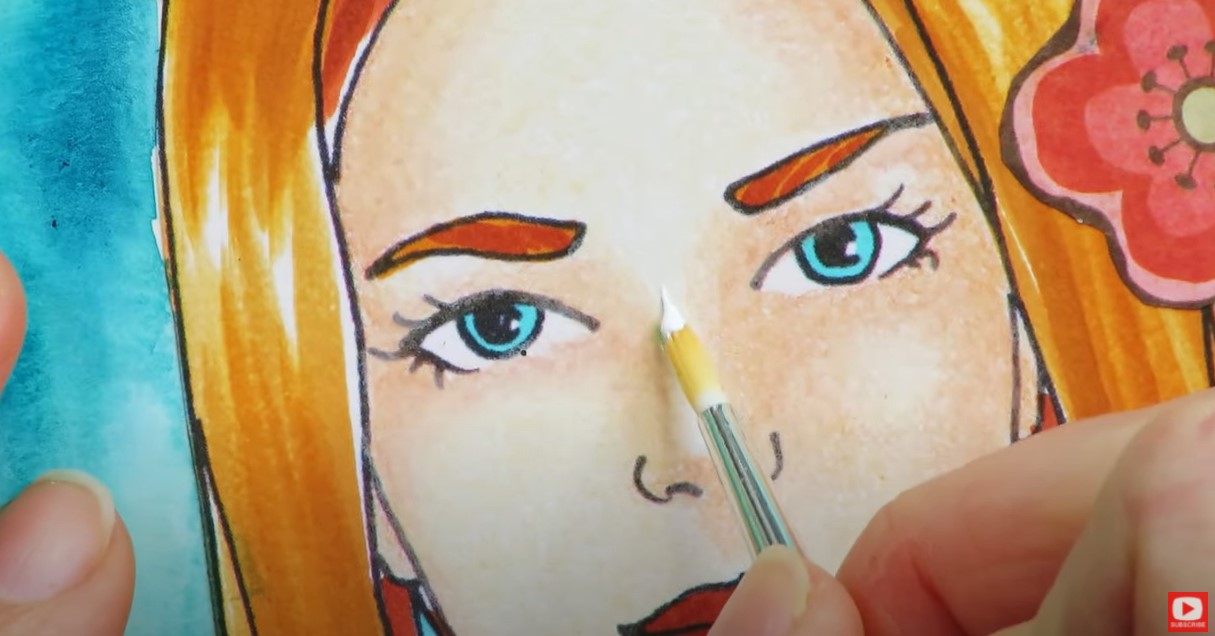
Now, it's time for some serious shading. Enter gel sticks or gelatos! These highly pigmented sticks can be smudged with your fingers, creating beautiful shading effects. It's super easy to blend them to create realistic-looking shadows and depth. They're forgiving and allow for easy corrections, which makes them perfect for both beginners and experienced artists.
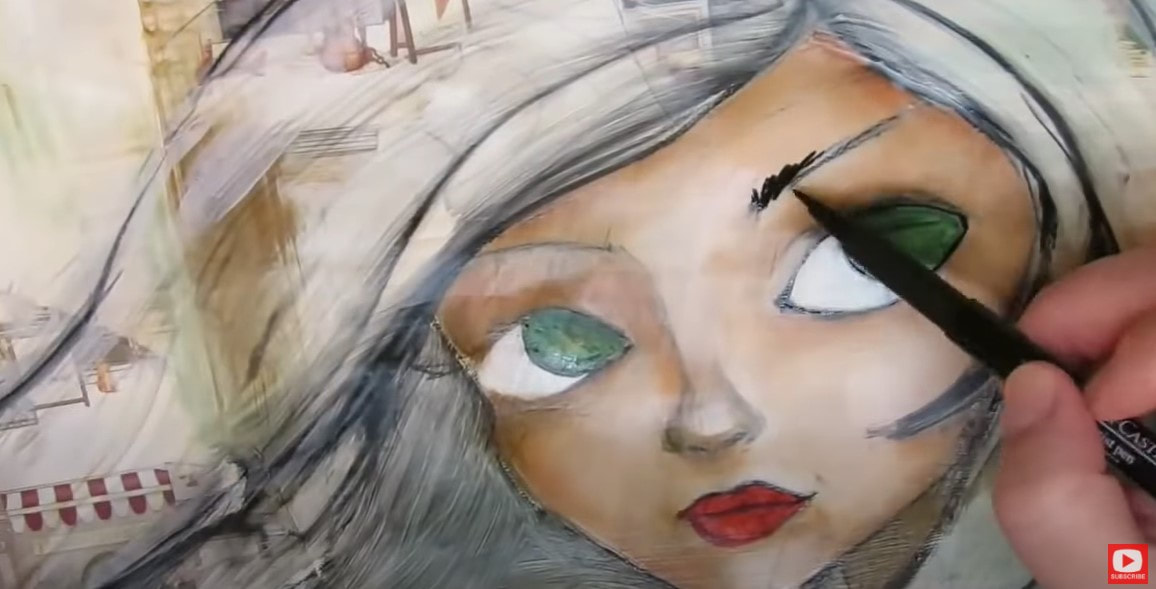
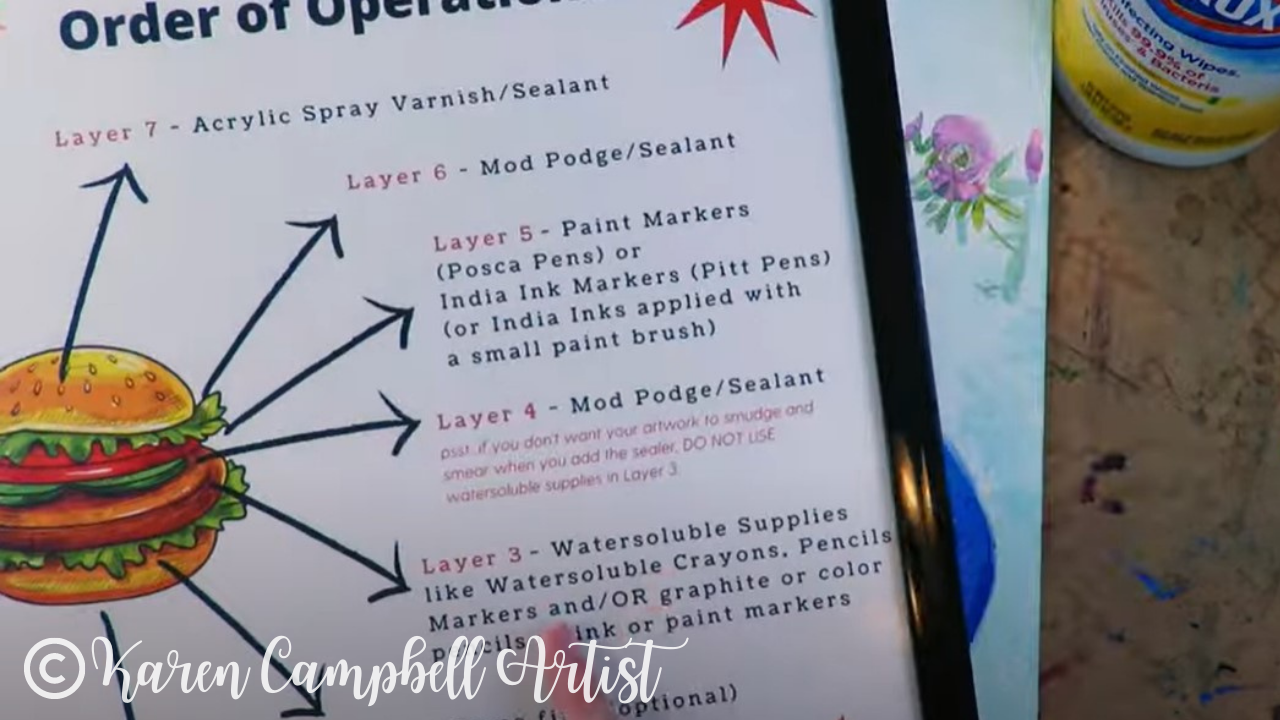
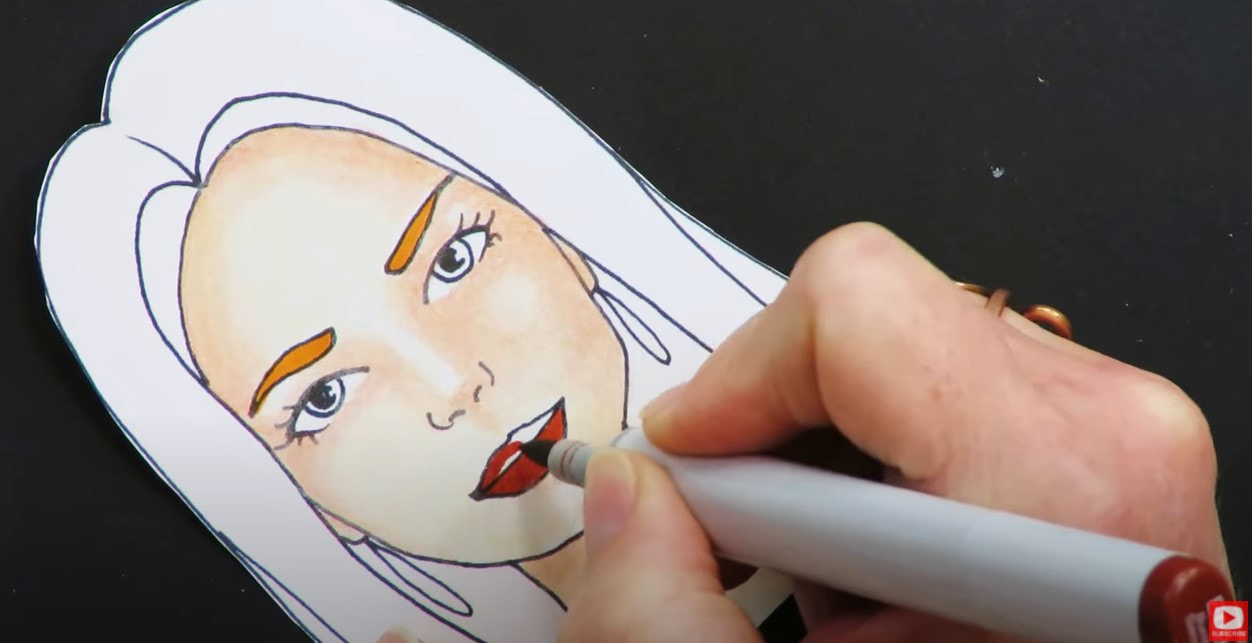
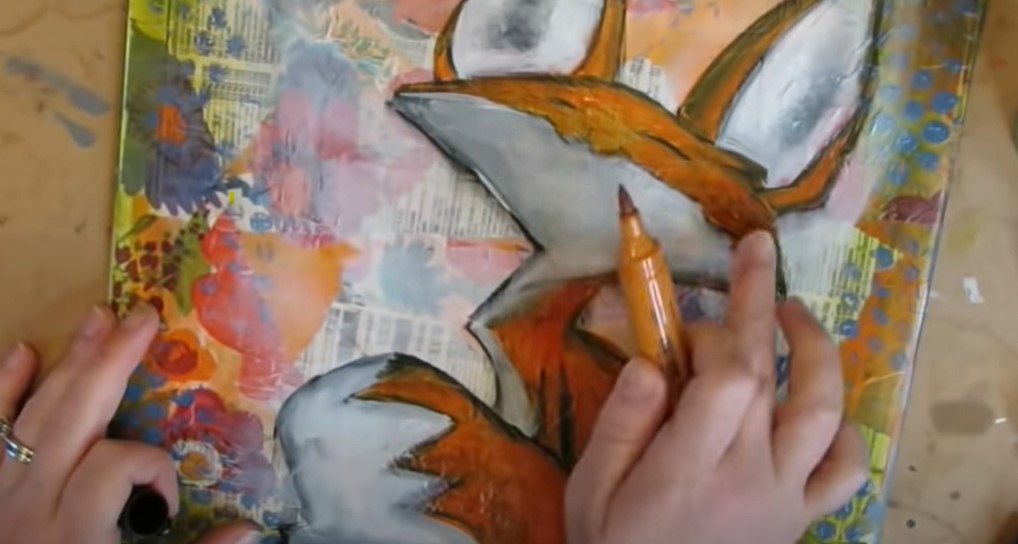
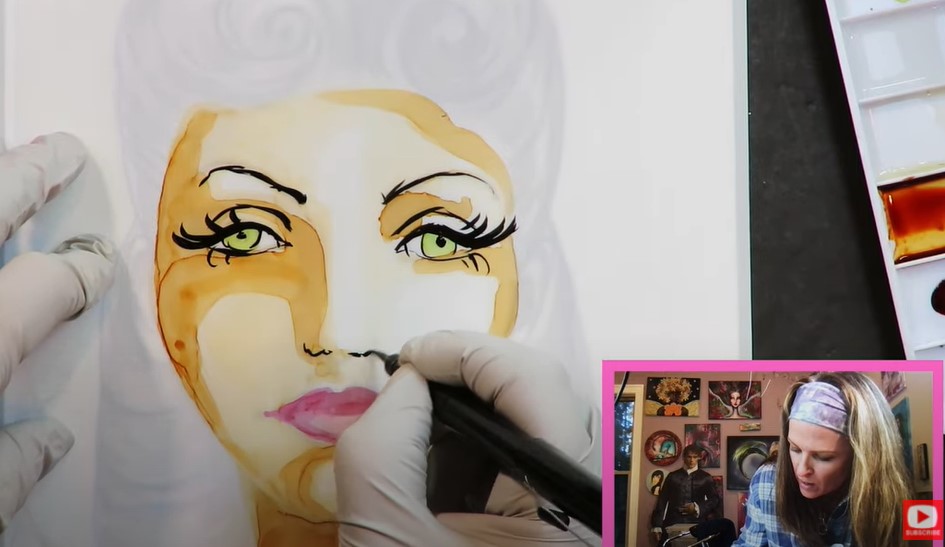
Layer 6: Pitt Pens
We're almost there! In the 6th layer of the Hamburger System, Pitt pens take the spotlight. These pens are fantastic for adding details, outlines, and more shading to your artwork. Their India ink pigments create rich and permanent lines, giving your composition that extra oomph. The best part? If you make a mistake or want to modify your design, Pitt pens are erasable with a baby wipe, so you have total control!
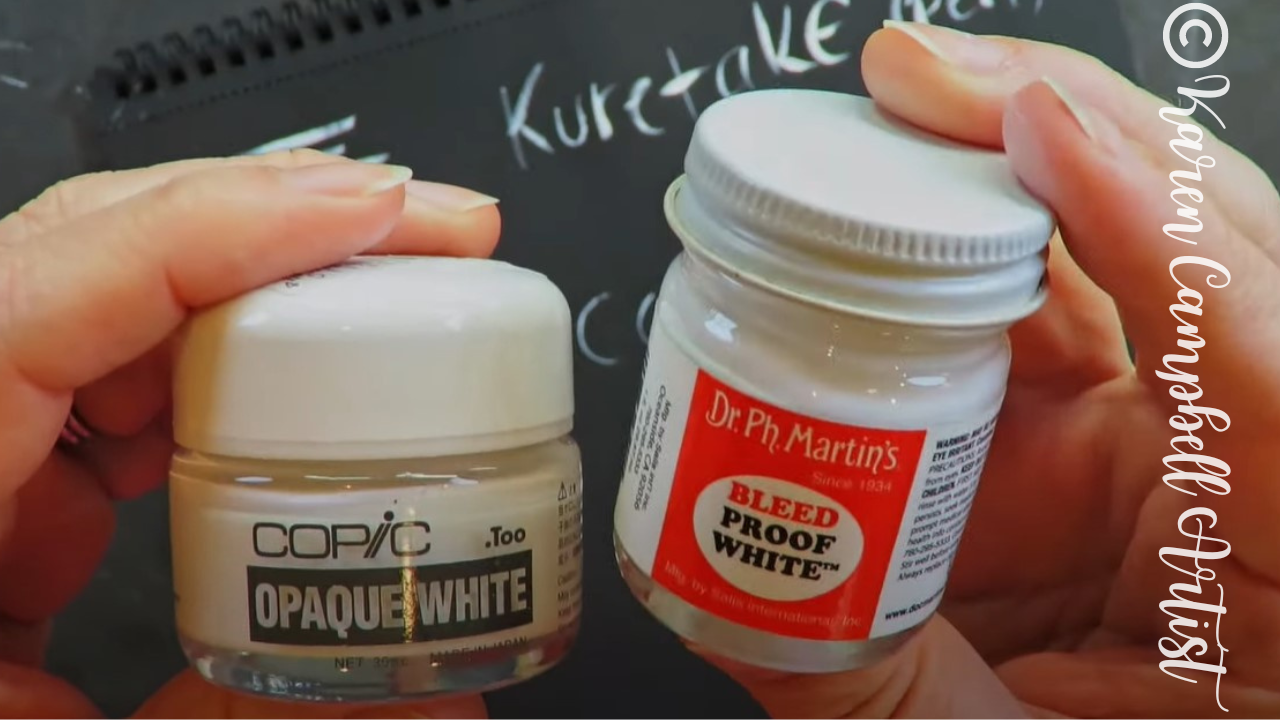
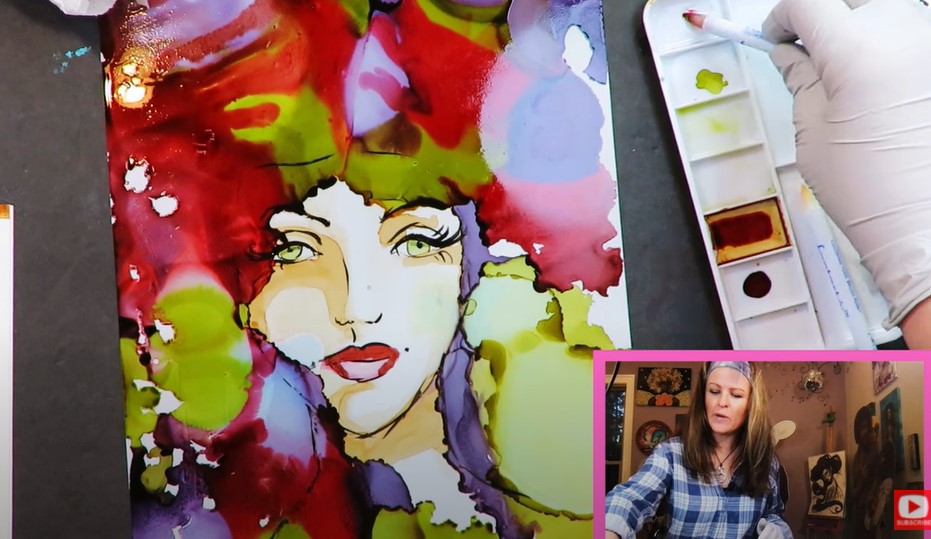
Layer 7: Sealer
You've already made it to the final layer!! Time to seal the deal! A sealer like Mod Podge ensures the longevity of your mixed media piece. Plus, if you want to remove or adjust anything you've applied with the Pitt pens, sealer makes it a breeze. Simply let that layer of mod podge dry, then make your adjustments with a second Pitt pen layer!
Not long ago I tested Mod Podge against SEVEN other sealers to see if there were any others I wanted to start working with. Check out what I learned and which glossy one I I fell in love with! 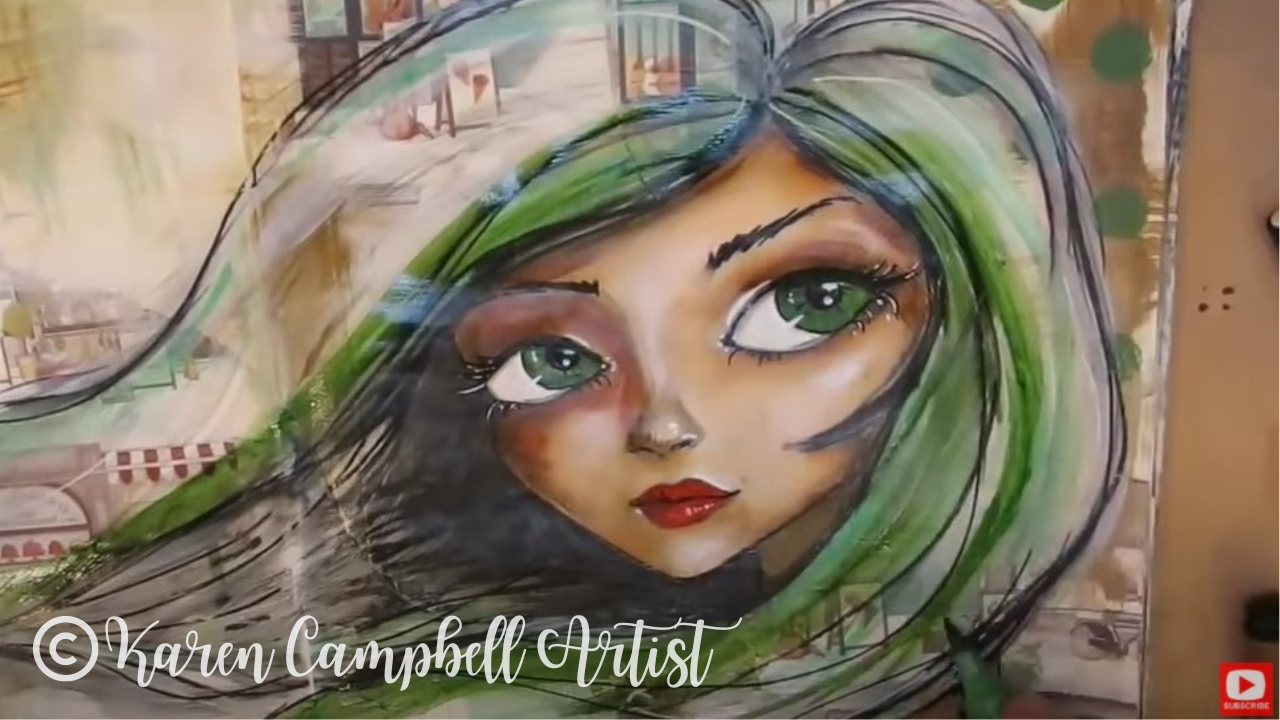
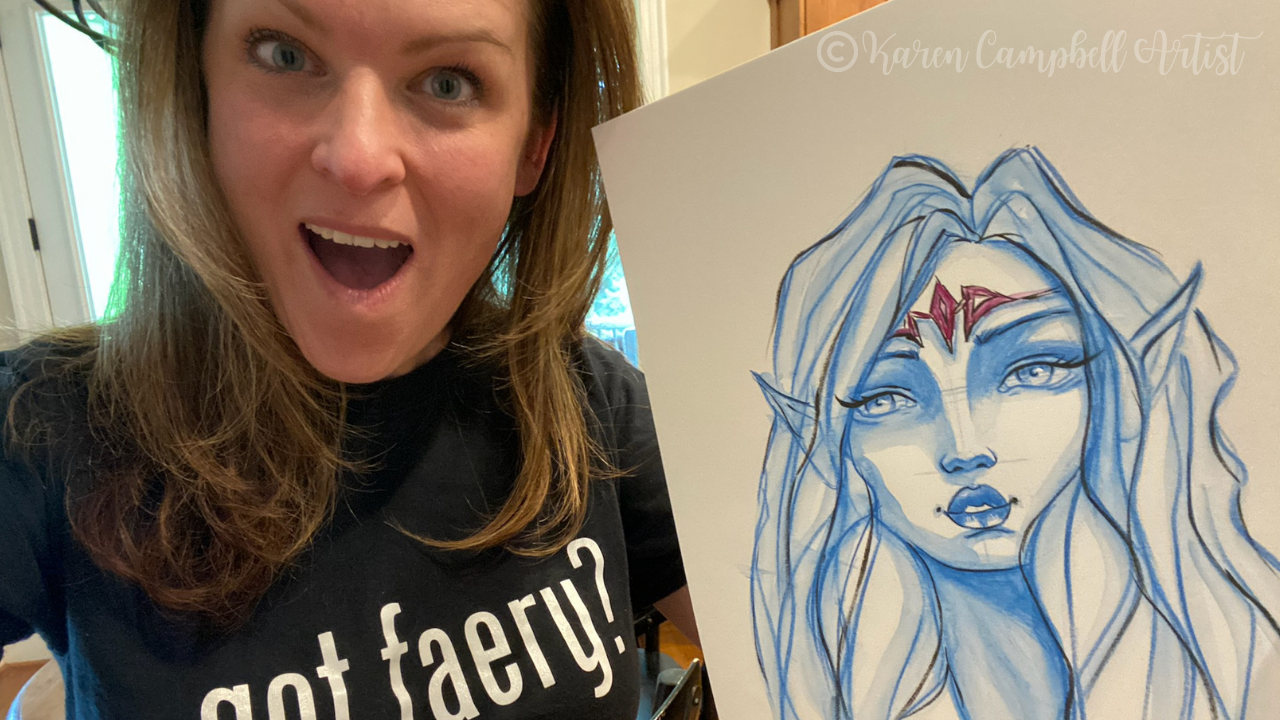
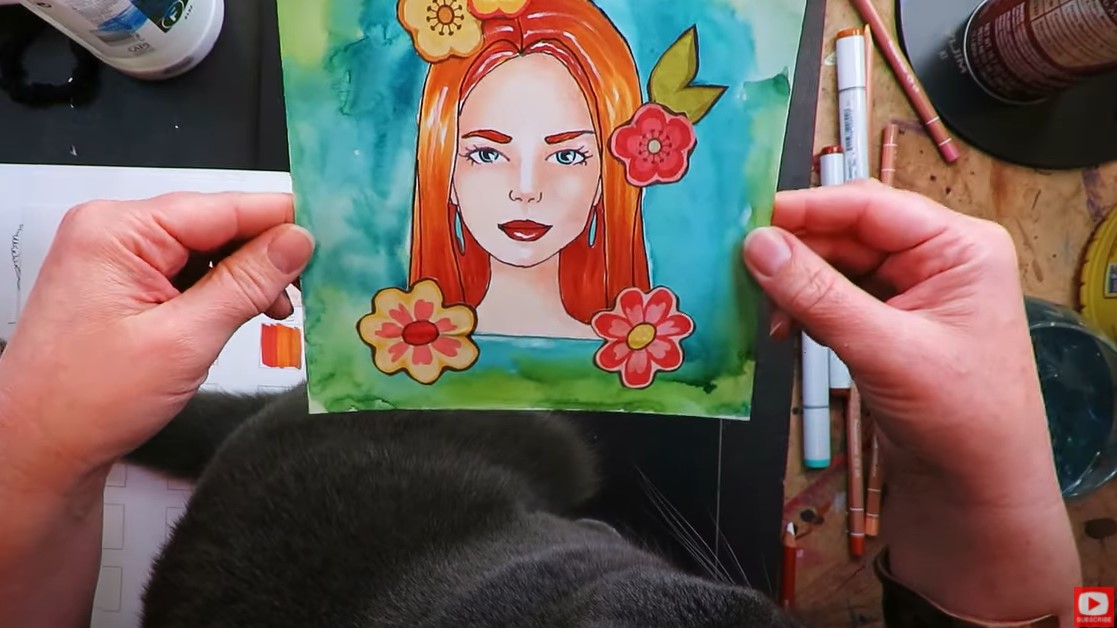
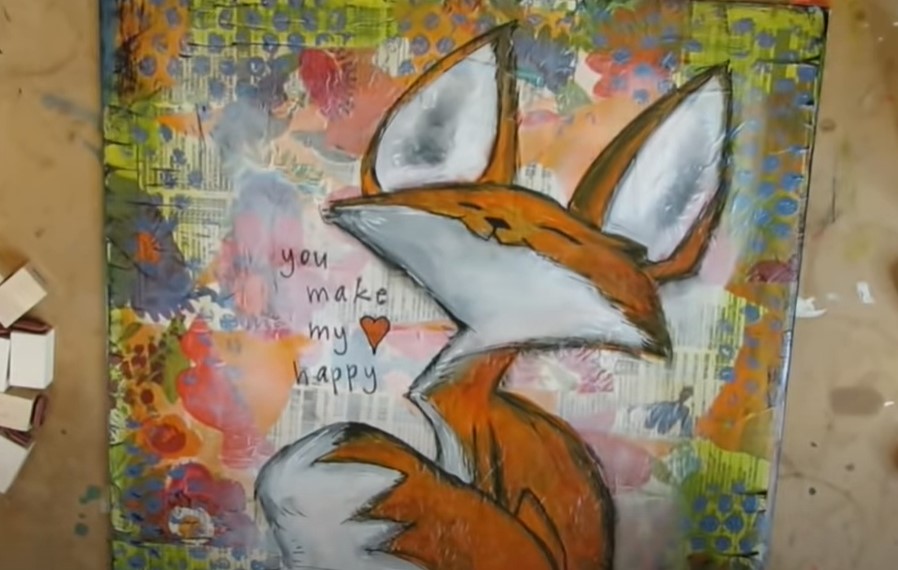
Voila! Isn't she adorable?! I hope you enjoy the Hamburger System as much as I do! It really has provided me with a structured and foolproof approach to mixed media art. It eliminates the fear of making mistakes and will truly give you the confidence to unleash your creativity!
Did you grab my Hamburger Cheatsheet yet? Here's that button again in case you need the link again! 
Dying to TRY the Hamburger System with Me?!
I have SOOOO many fun mixed media projects waiting for you in my art club at Awesome Art School called the Mixed Media Society. Tons of them are "Hamburger Style" using the exact process shown today.
Add your name to the waitlist to be notified the next time I'm taking new members! Wanna See MORE "Hamburger Style"
|
Karen CampbellFounder of Awesome Art School. Mixed Media Artist. Author of 19 Instructional Art Books! 
Whose work has appeared in...
   
 Archives
July 2024
Categories
All
|


 RSS Feed

"Karen is flipping hilarious and she's very real...I like the way she teaches in a way that really gives you confidence, whether you're a beginner or advanced there's always something new to learn!"
- Elizabeth W. |
What Fans Are SayingKaren, you are absolutely fabulous! You make me feel like I can draw anything. I have recently retired and finally have the time to do some of the art that I have loved since I was in school. I am really at the beginning of my art journey and I hope to learn as much as I can. Thank you for all you do. |
Contact ME |