blog
Let's Get Your Creative Juices Flowing!!!
I'm OBSESSED with using brush-tip alcohol markers to shade the faces and figures I draw! If you've never tried shading your drawings with alcohol markers, or if you've been holding out on trying them because you're worried about the cost of copics - I can't wait to introduce you to Alcohol Markers by ArtBeek in today's video!
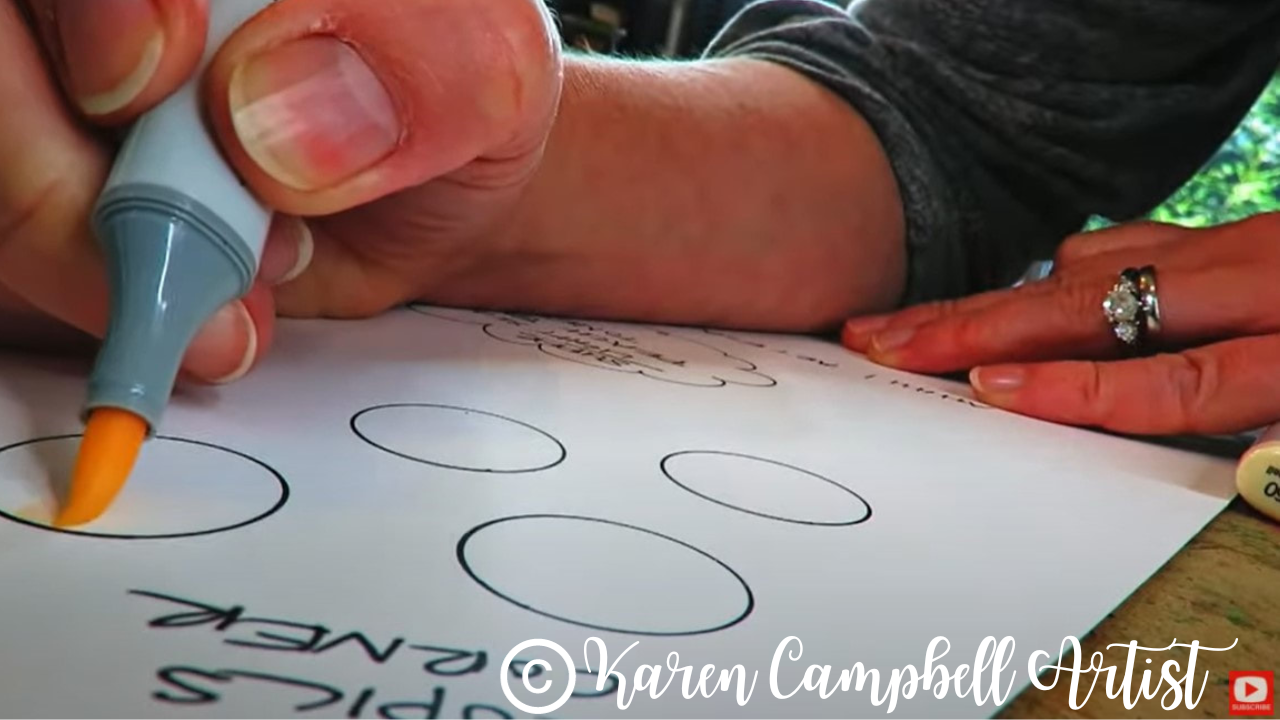
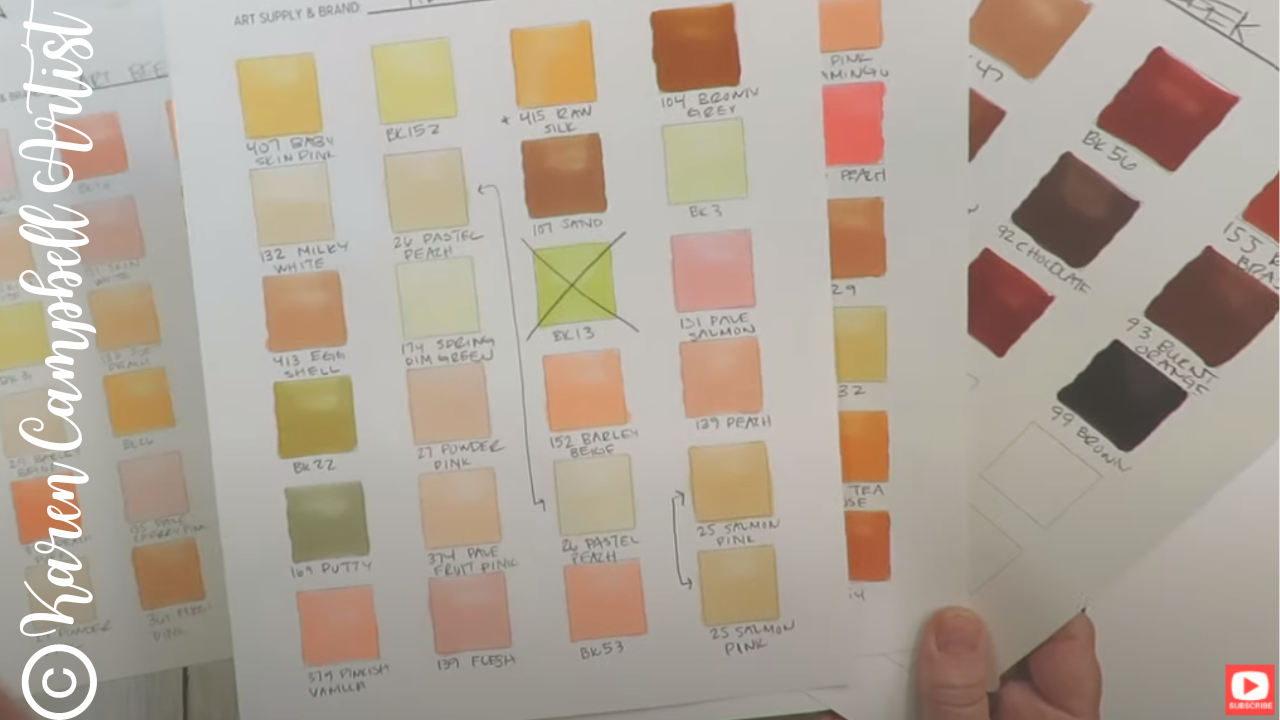
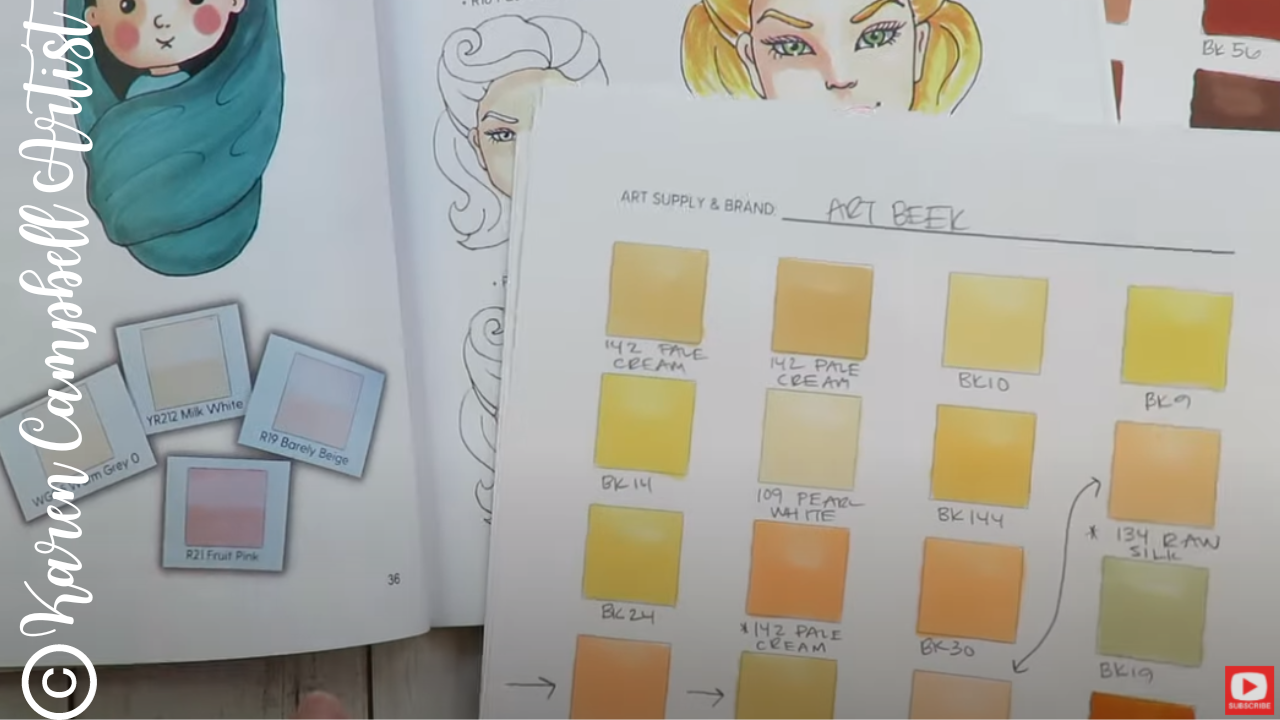
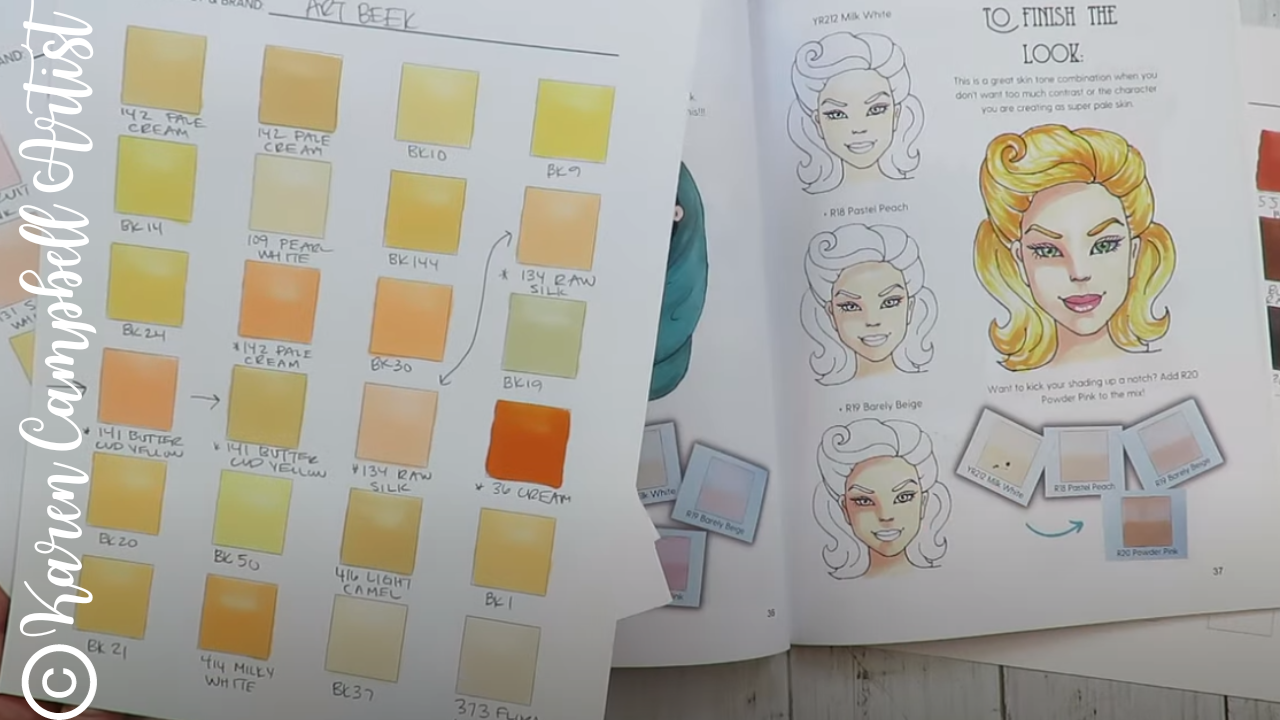
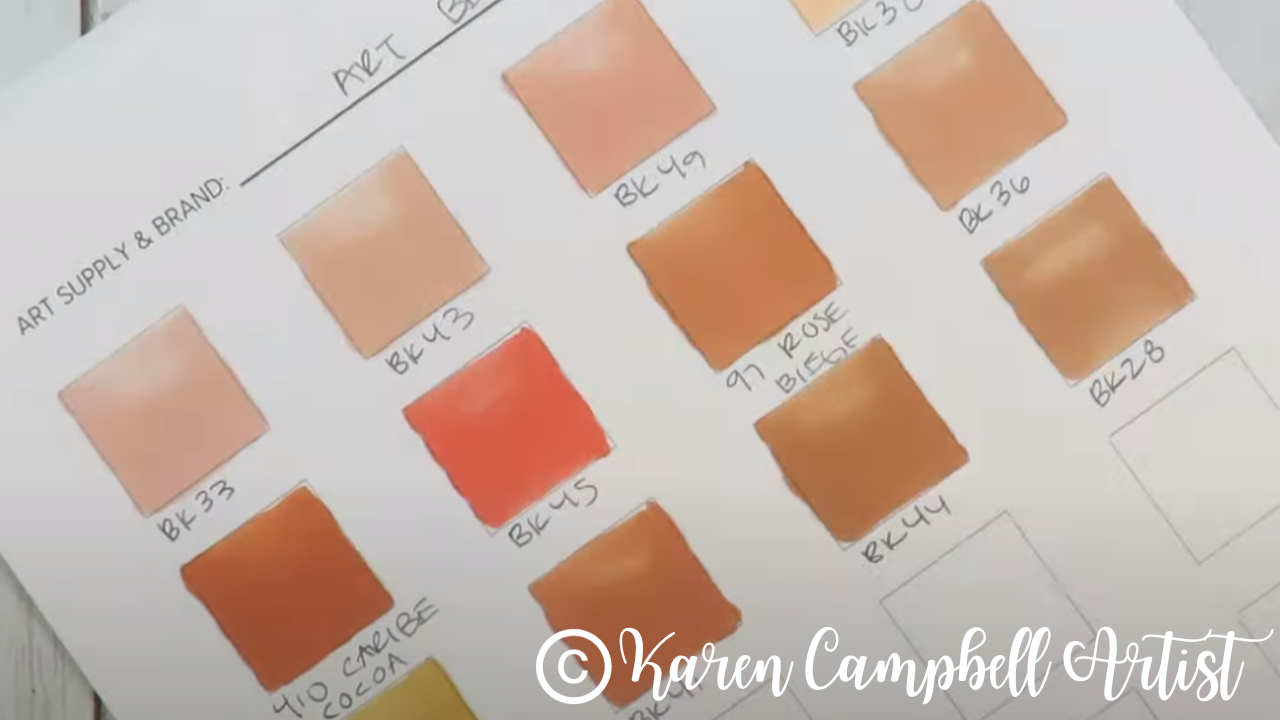
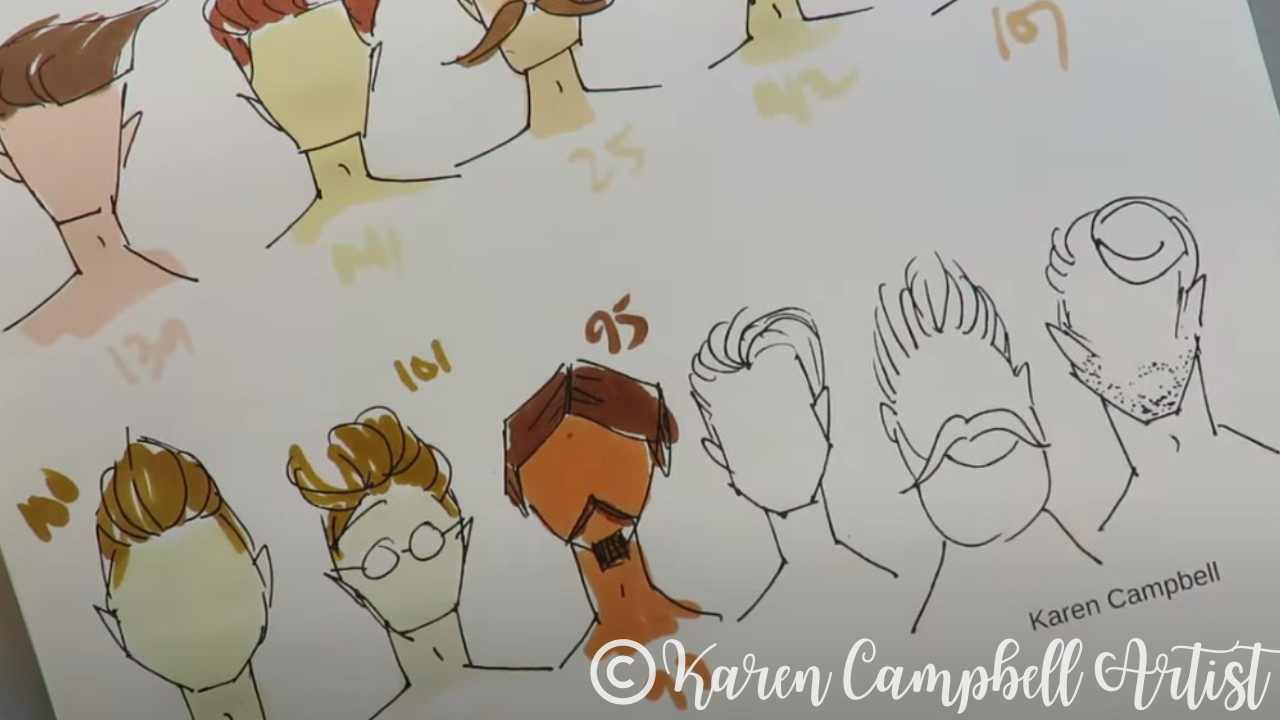
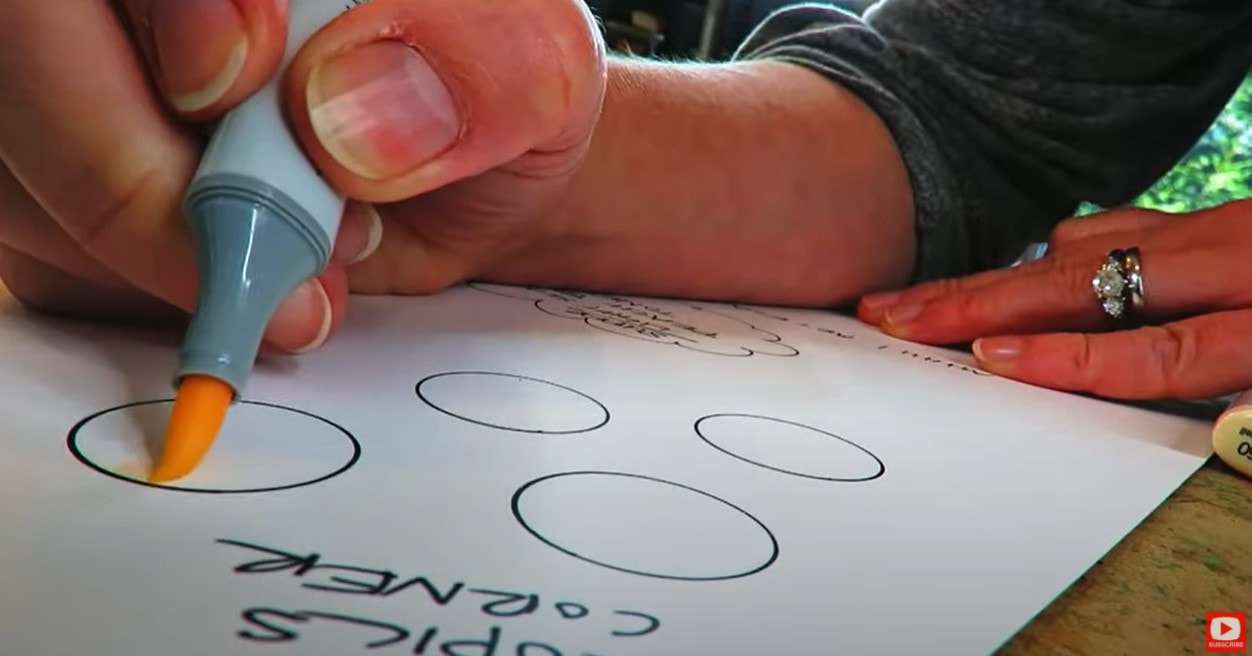
Whenever you get a new art supply with multiple colors, PLEASE make sure you take the time to swatch your colors. It might feel like a tedious job, but it's honestly super relaxing and your future self will thank you because marker caps and color names can be deceiving!!
I've created a FREE Fun Fab Swatch Sheet for you to print out at home to make this process a bit more fun.
Simply click the button above and I'll send your FREE Swatch Sheet straight to your inbox.
Before we continue, super quick announcement: All product links are Affiliate. I may earn a small commission if you choose to order through these links but by law there is never any additional cost to the consumer for doing so. I thank you for your support.
If you've been thinking about starting an alcohol marker collection, but have been intimidated by the price of Copic markers, I HEAR YOU!
I've made it my mission over the last few years to test as many alcohol brands as I can, so I can recommend the BEST VALUE brands (including Copic marker alternatives) to my students over at Awesome Art School. It's ridiculous to expect everyone can afford to spend around $10/marker to have a little fun at their art table (even if I STILL LOVE my Copics!!).
If you've been hanging out with me for a while, you know I love the Ohuhu skin tone marker set (and really anything by Ohuhu!). But I also discovered an even CHEAPER brand of alcohol markers on Amazon that I also recommend you check out by ArtBeek - especially if you're looking to save a buck.
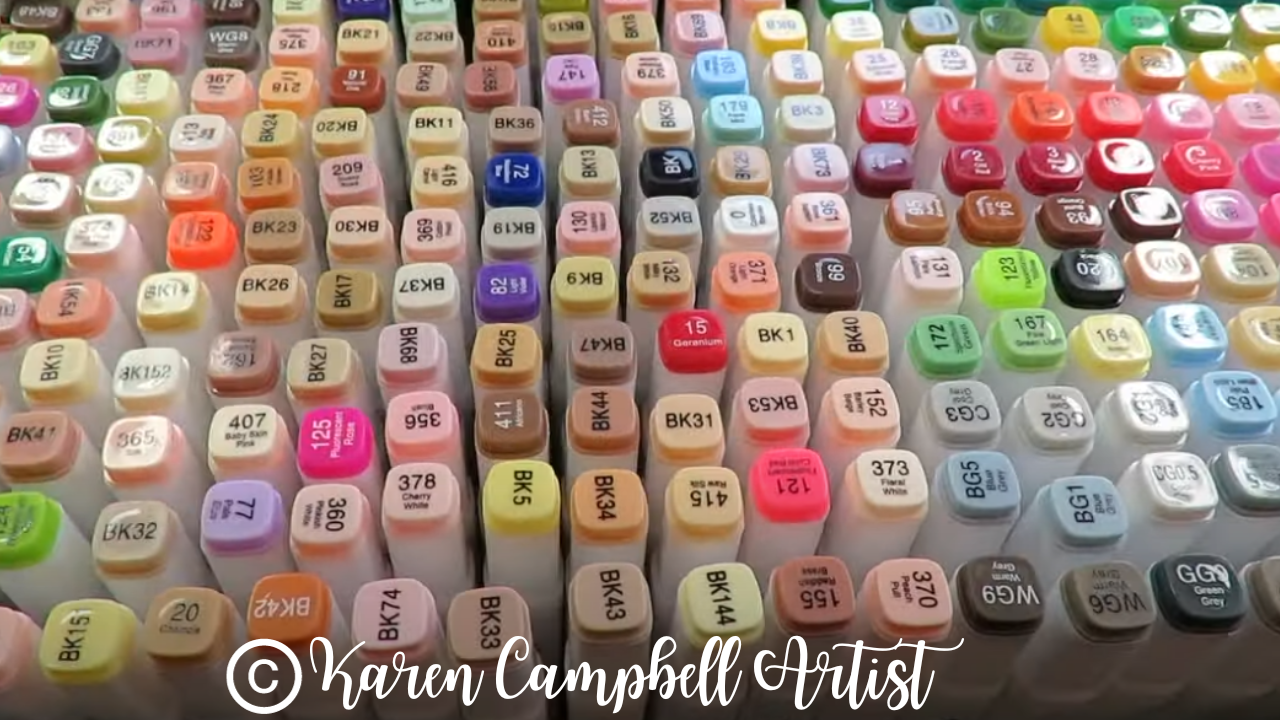
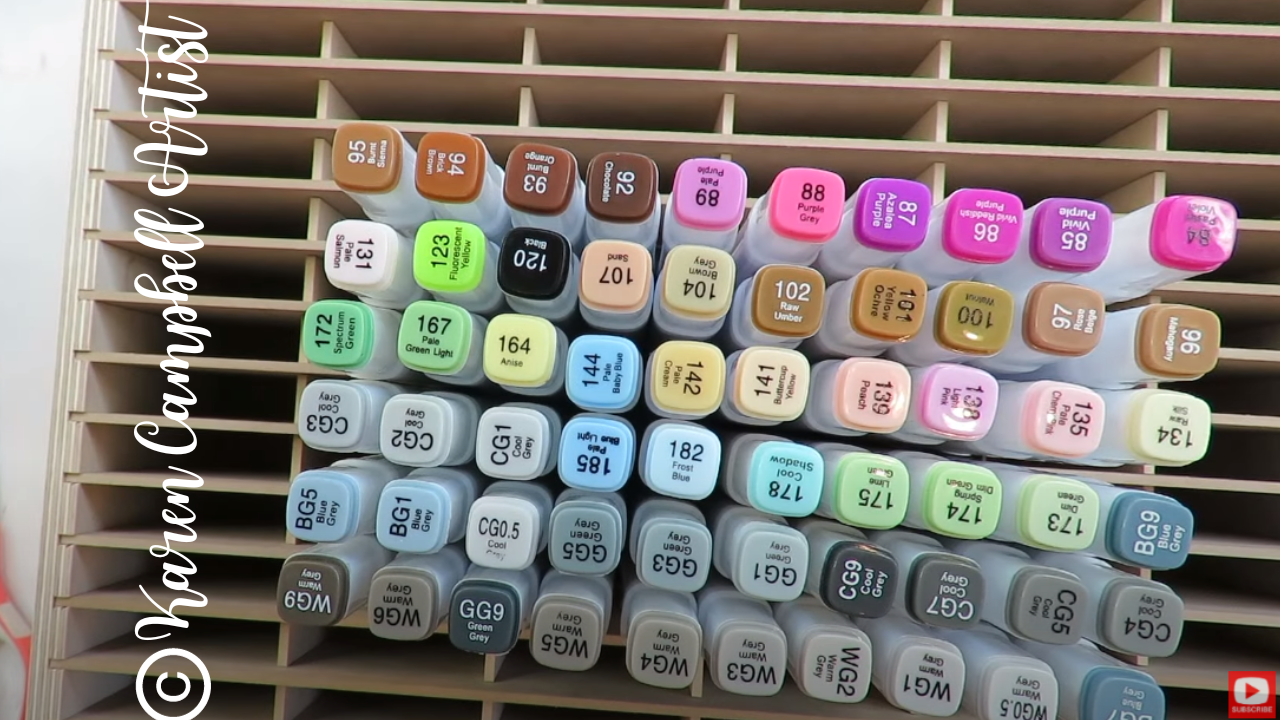
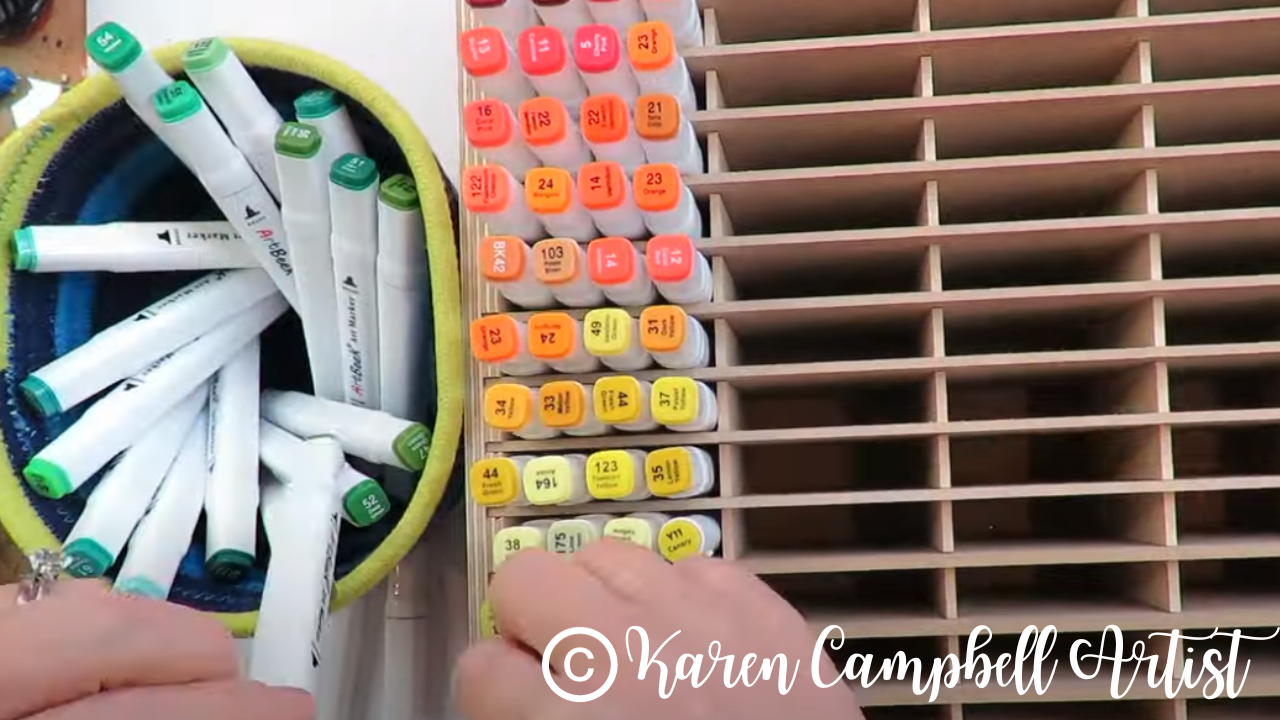
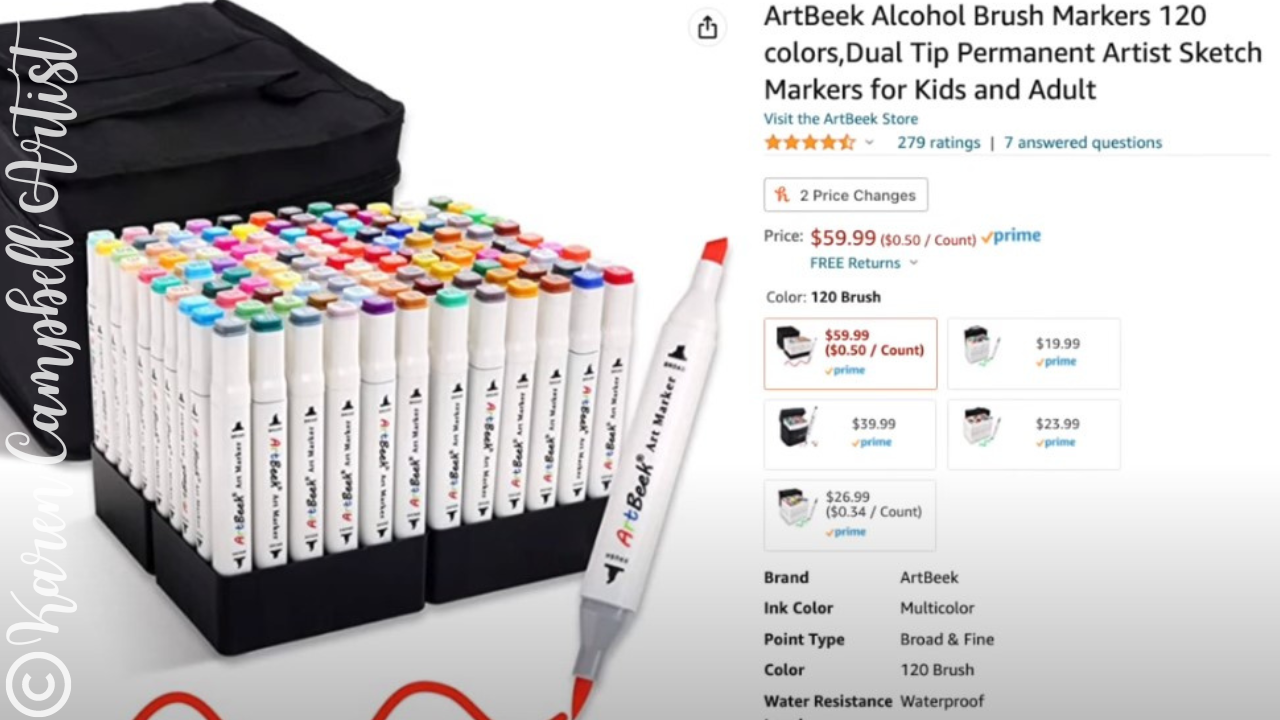
This is a screenshot of the ArtBeek Alcohol brush markers set of 120 colors for just $60!! I know!!! Who doesn't want 120 colors?! AND, at only 50 cents/per marker ?? - you can't go wrong!!
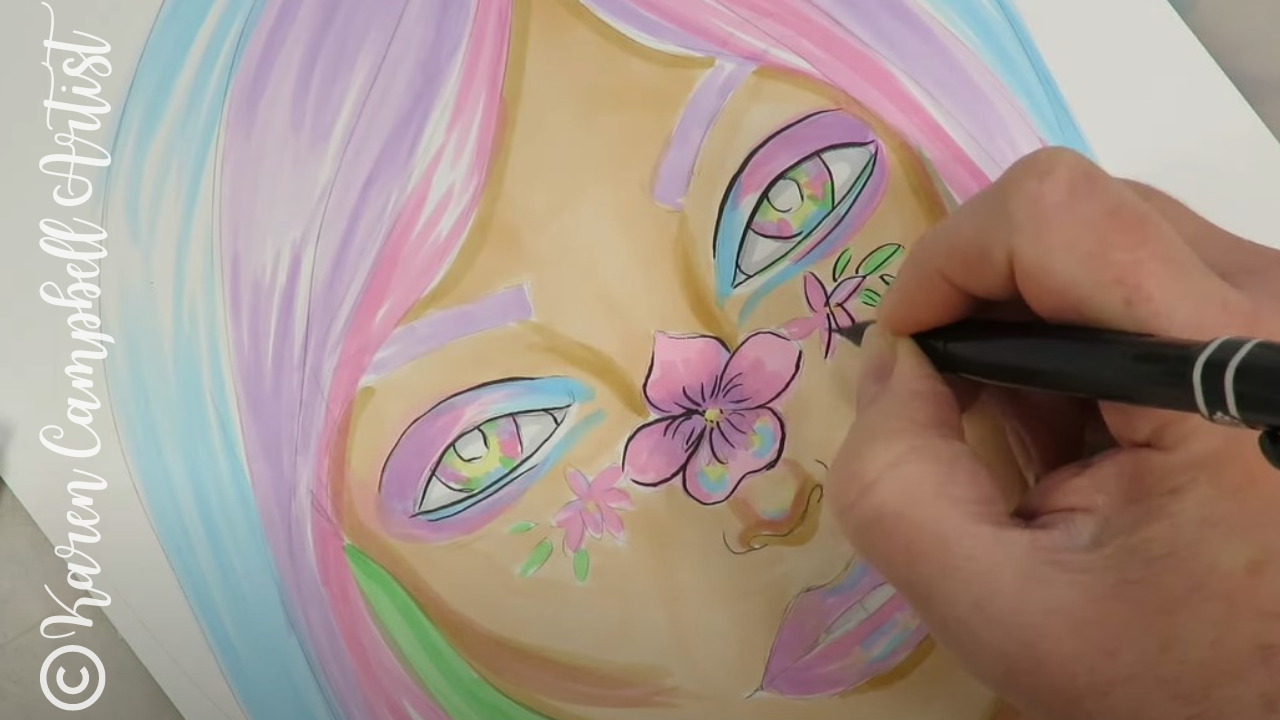
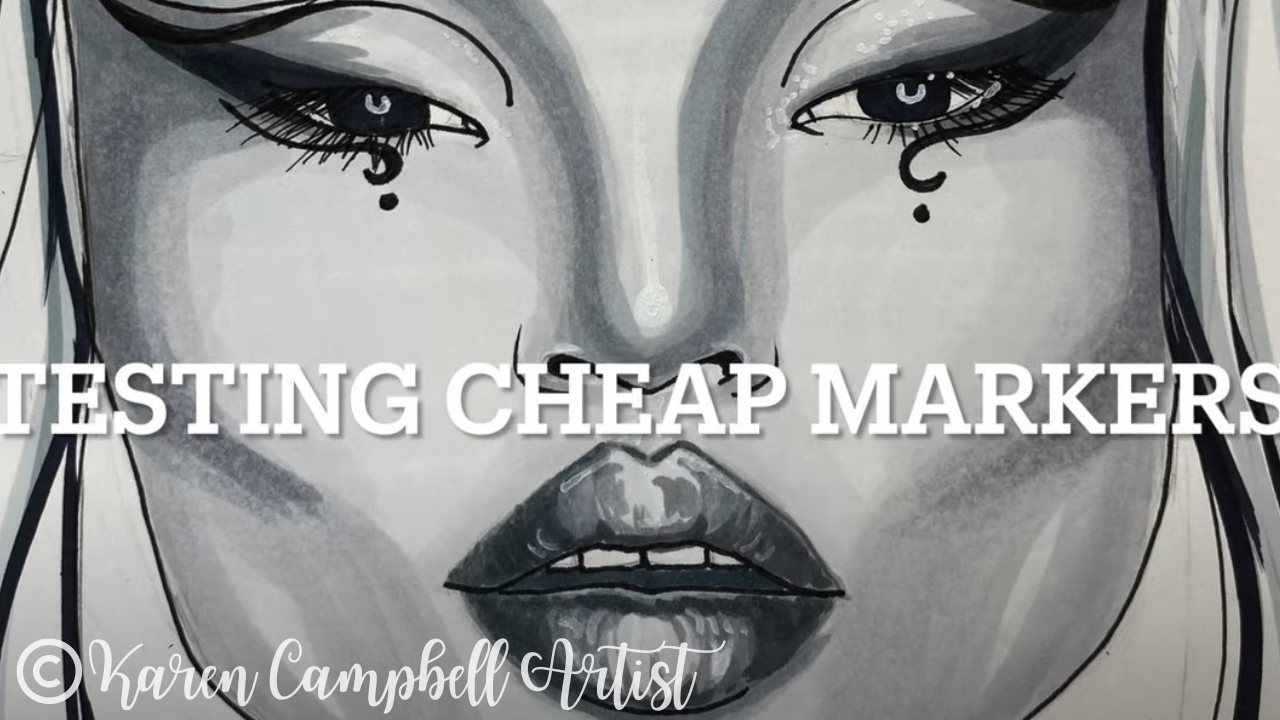
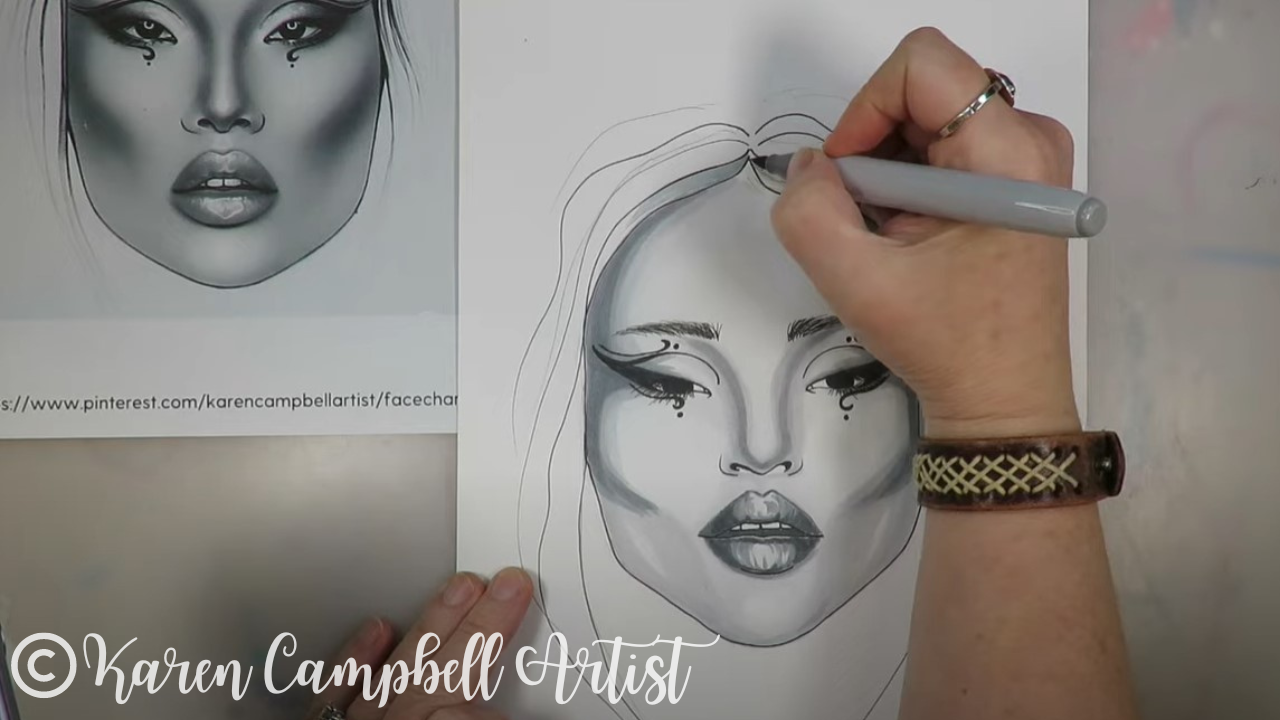
A couple of weeks ago I did the above face chart inspired drawing tutorial and used a ton of my ArtBeeks alongside a variety of more expensive alcohol marker brands from Copic to Winsor Newton, and felt the ArtBeeks performed beautifully.
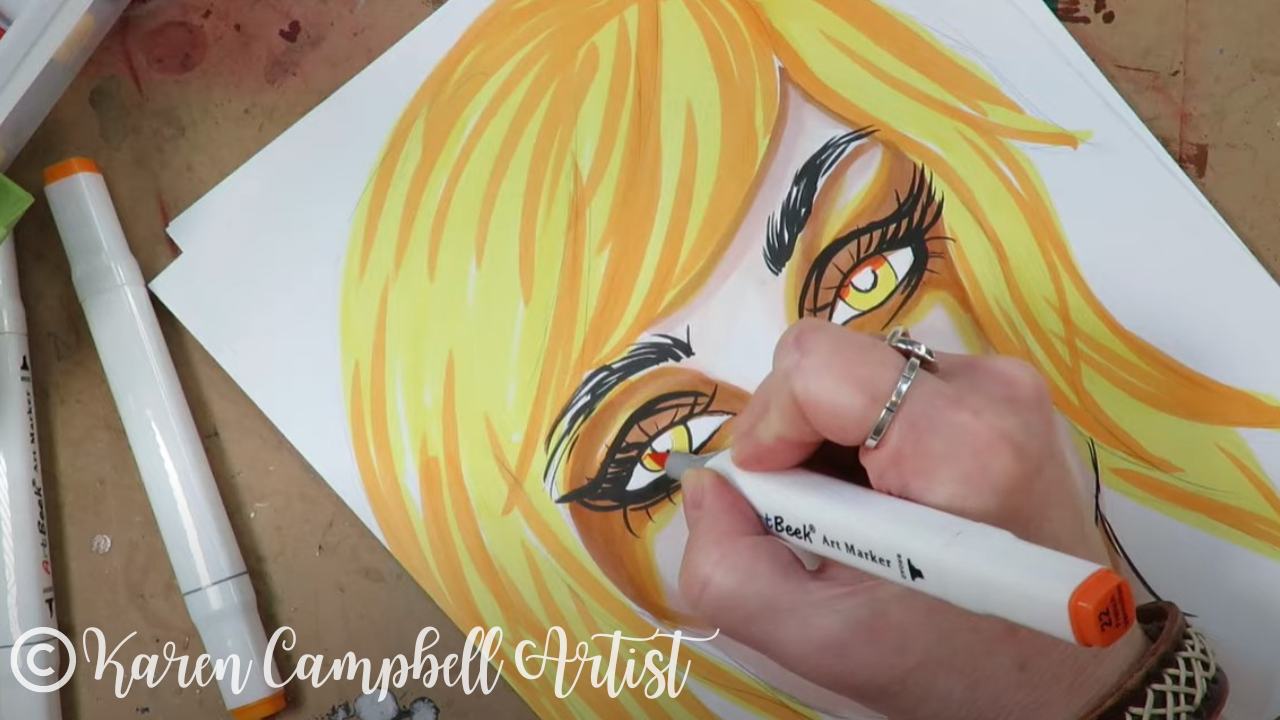
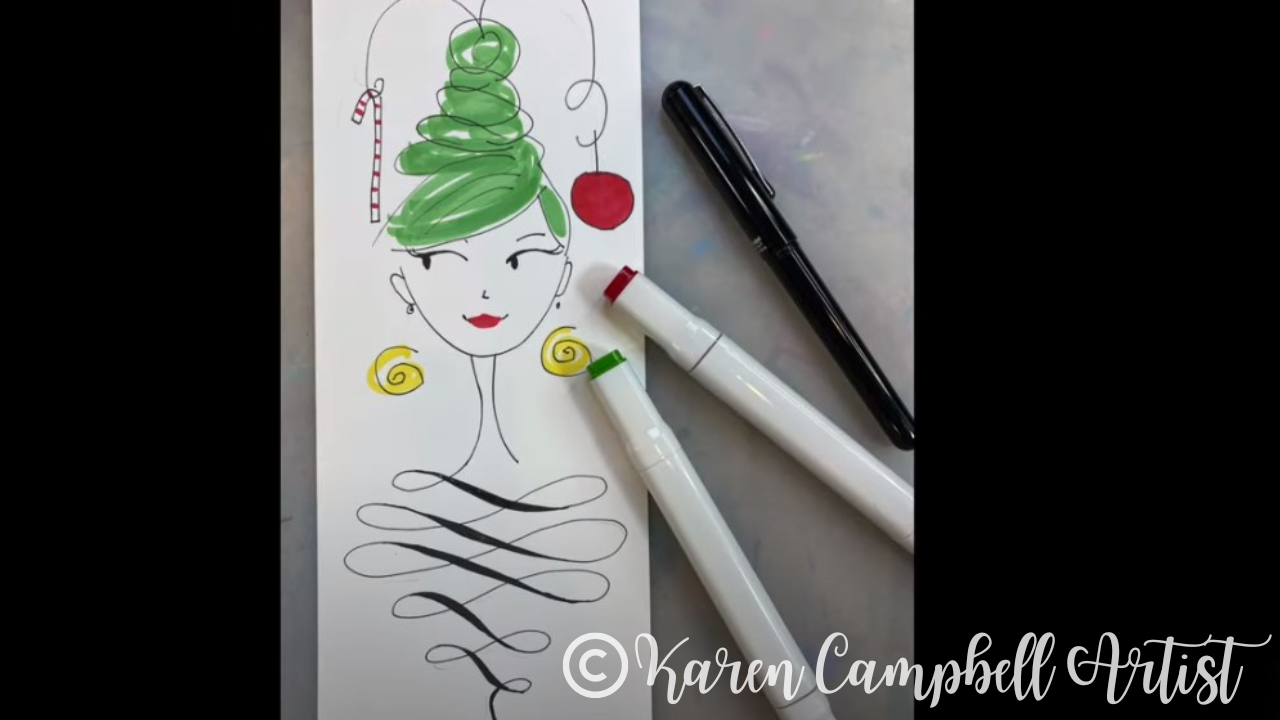
The brush nibs on the ArtBeeks are just right- not too firm or too soft. The ink is perfectly juicy!! I've used mine for everything from shading faces to creating Christmas cards (full-length lesson for the card below & MORE in The Fun Fab Drawing Club over at Awesome Art School).
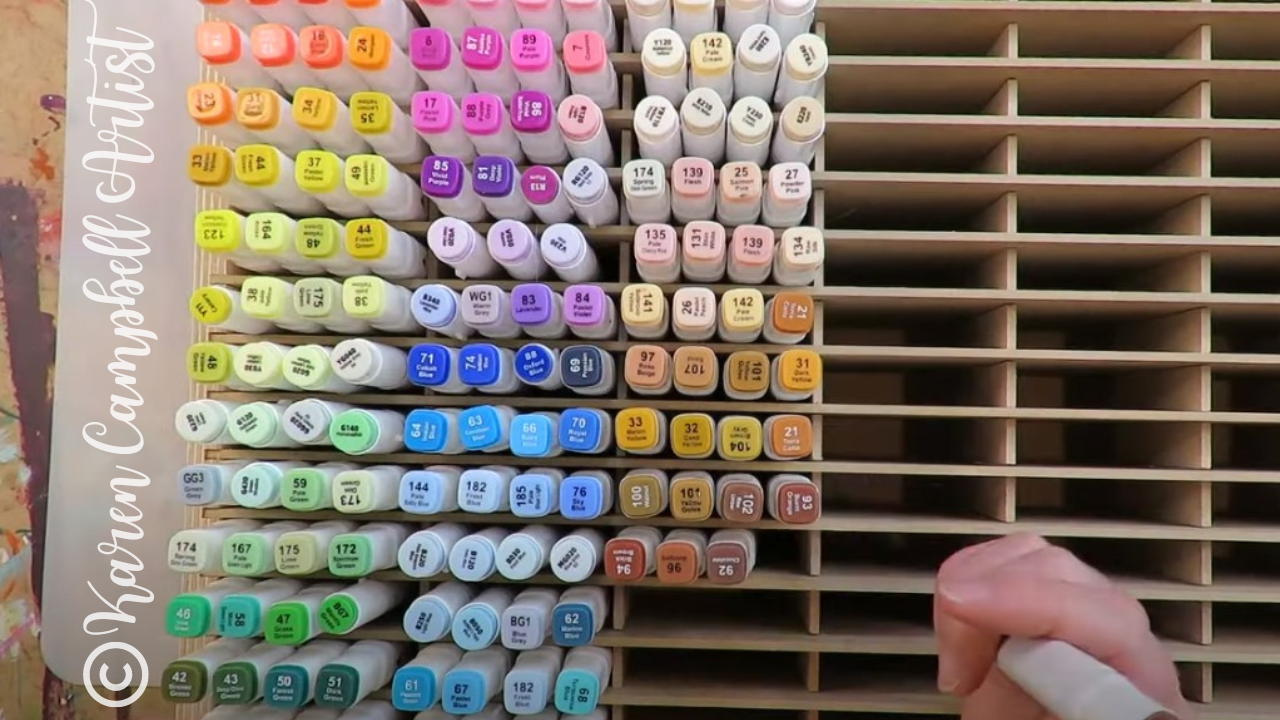
My only little complaint about this ArtBeek set is that they really should've included more PURPLES in this set (you only get 3). But, they do redeem themselves a bit with the giant collection of skin tone markers included (I think there are 24) - making the set of 120 perfect for anyone just starting an alcohol marker collection to shade faces.
I highly recommend dropping them in your cart for yourself or as a gift for an artsy friend for the holidays. Check out today's video to see them in action!
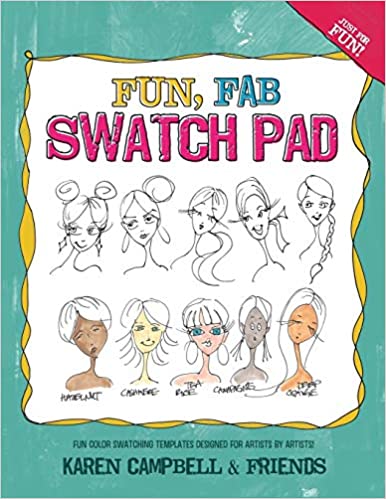
And remember, if you've got a TON of new colors to swatch, use my FREE Fun Fab Swatch Sheet, or pick up a copy of my Fun Fab Swatch Pad over on Amazon.
I created this book with my beloved Facebook Group a couple of years ago and still use it ALL THE TIME (as you can see in today's video!).
Thanks for hanging out with me today!!
After today's video, make sure you watch this one because it gives you MY BEST skin tone marker secrets for shading faces with alcohol markers! ENJOY!!
NEED MORE resources to get your creative juices flowing? ❤️ CHECK OUT ALL my art books on AMAZON ❤️ CHECK OUT ALL my online art classes @ Awesome Art School ❤️ MY FAVORITE ART SUPPLIES on AMAZON (affiliate links) ❤️ MY BELOVED FACEBOOK GROUP
0 Comments
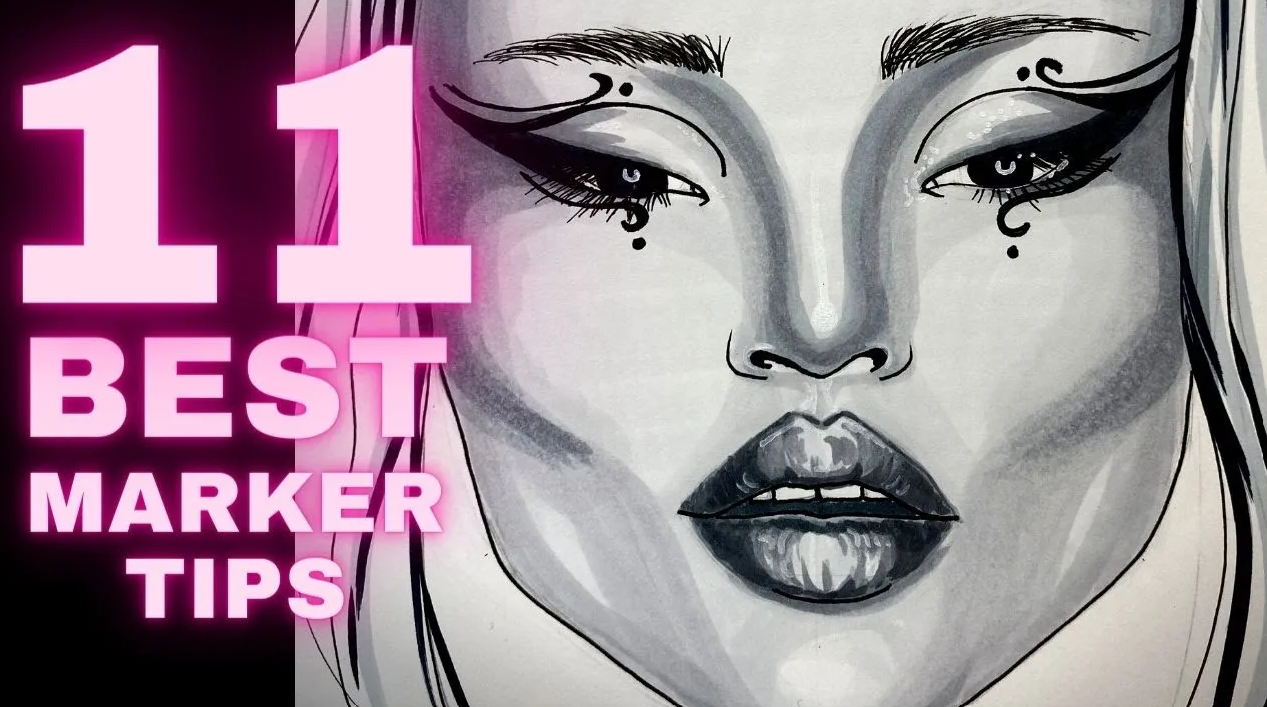
Why Cheap Alcohol Markers are AWESOME **PLUS** 11 HOT Marker TIPS! (FaceChart Inspired Art No. 4)30/11/2022
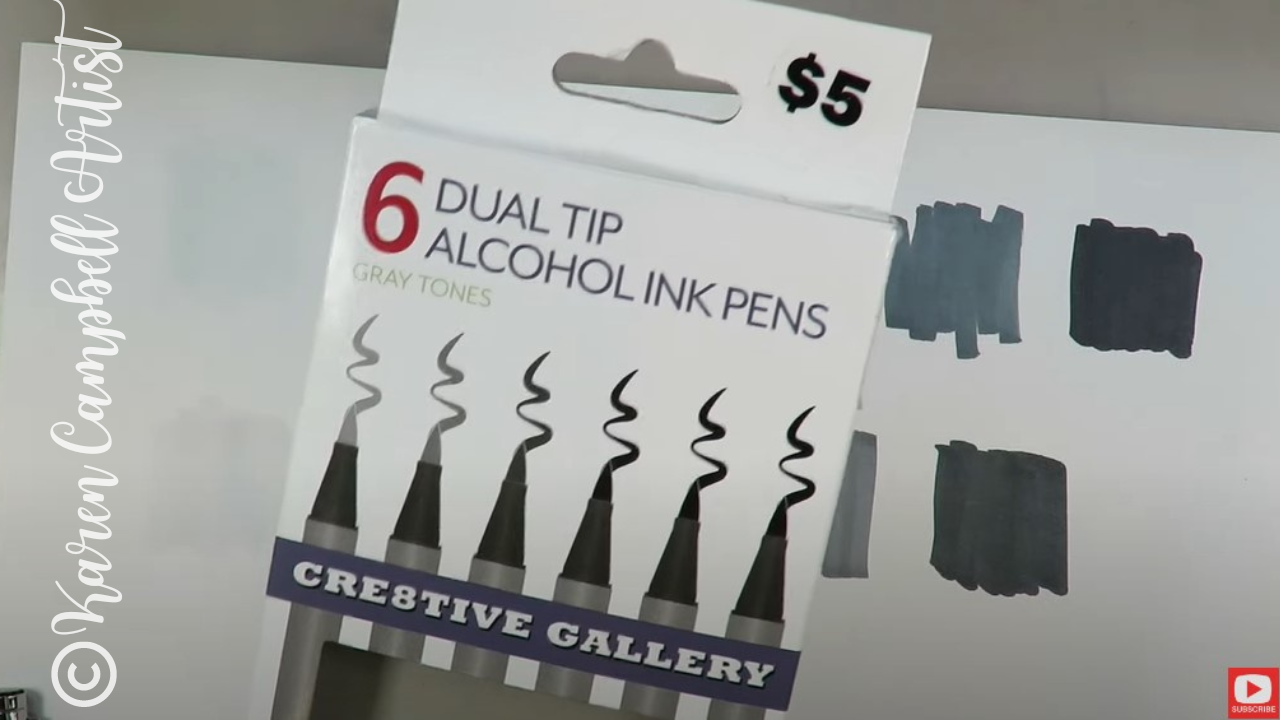
When it comes to alcohol markers, I keep noticing there is such a HUGE range in price points. WHY is THAT?! For example, I bought a 5-pack Copic Sketch Marker set in grayscale that comes with a fine liner, for $38 (~$6.33/marker) on Amazon. Recently I also grabbed a 6-pack grayscale set of alcohol markers FOR $5 at my local Five & Below shop. You can't really beat the price at less than $1/marker.
But...will they perform? Let's find out!!
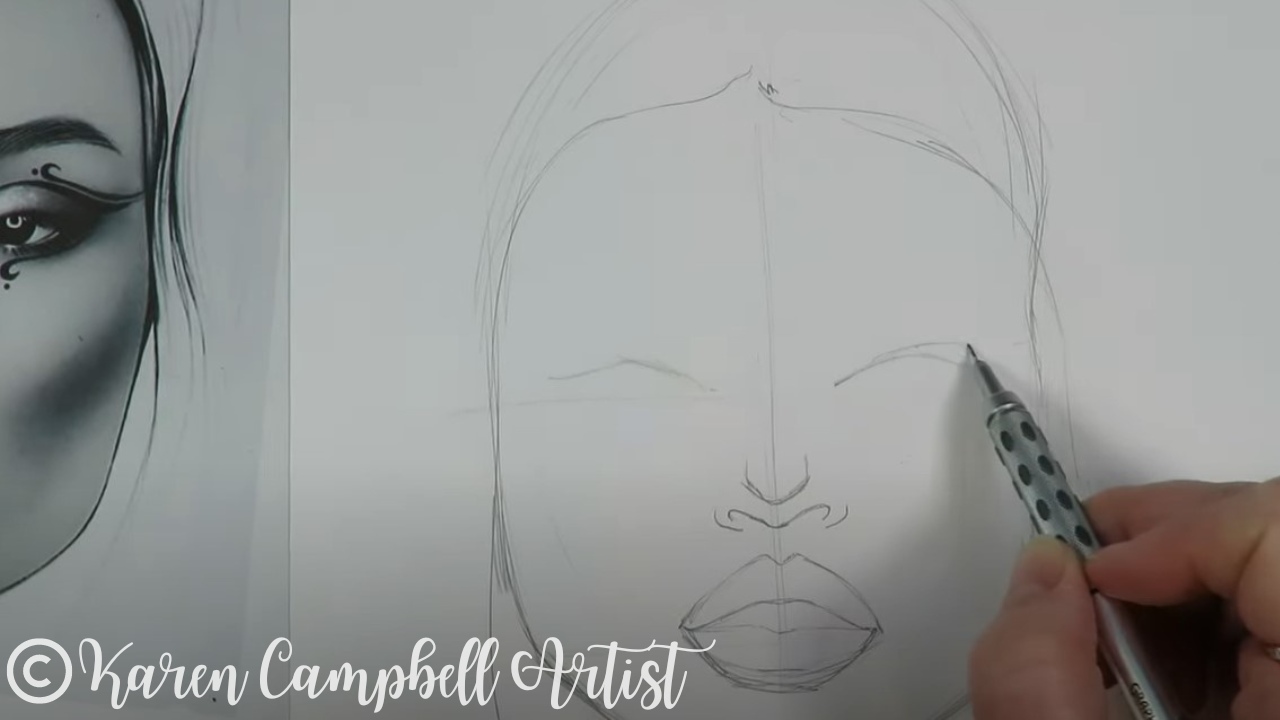
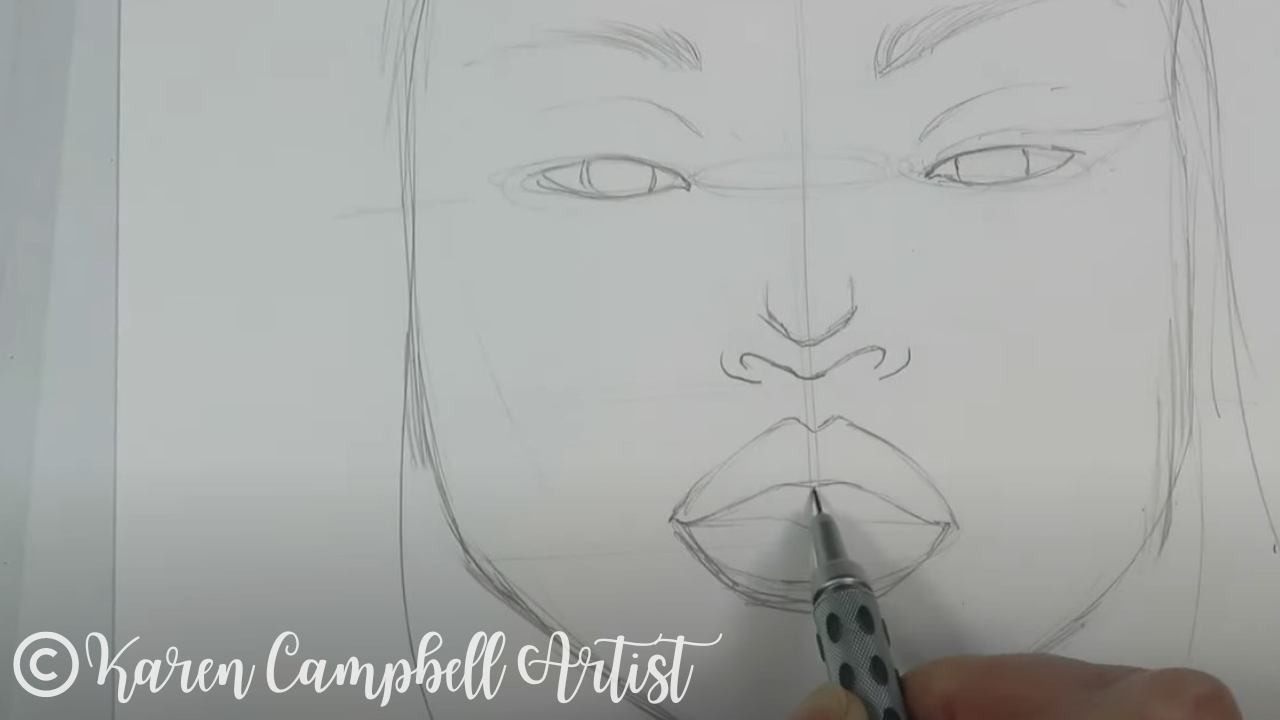
I seriously HOPE you are drawing along with me today! Face charts make amazing face drawing references!!
But before you even attempt drawing the fun makeup in today's reference, you NEED to make sure your facial features are proportional! How do you do that?! With my FREE whimsical face drawing guidelines! Click the button below and I'll send them straight to your inbox!
Before we continue, super quick announcement: All product links are Affiliate. I may earn a small commission if you choose to order through these links but by law there is never any additional cost to the consumer for doing so. I thank you for your support.
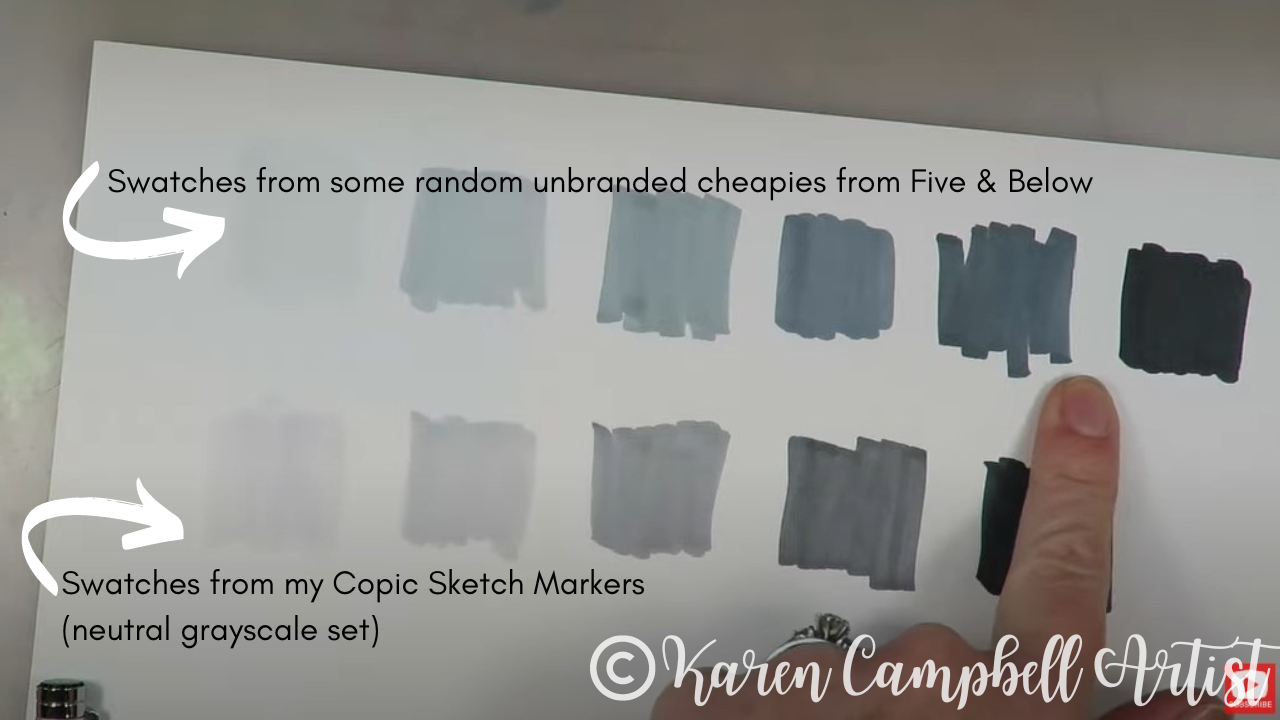
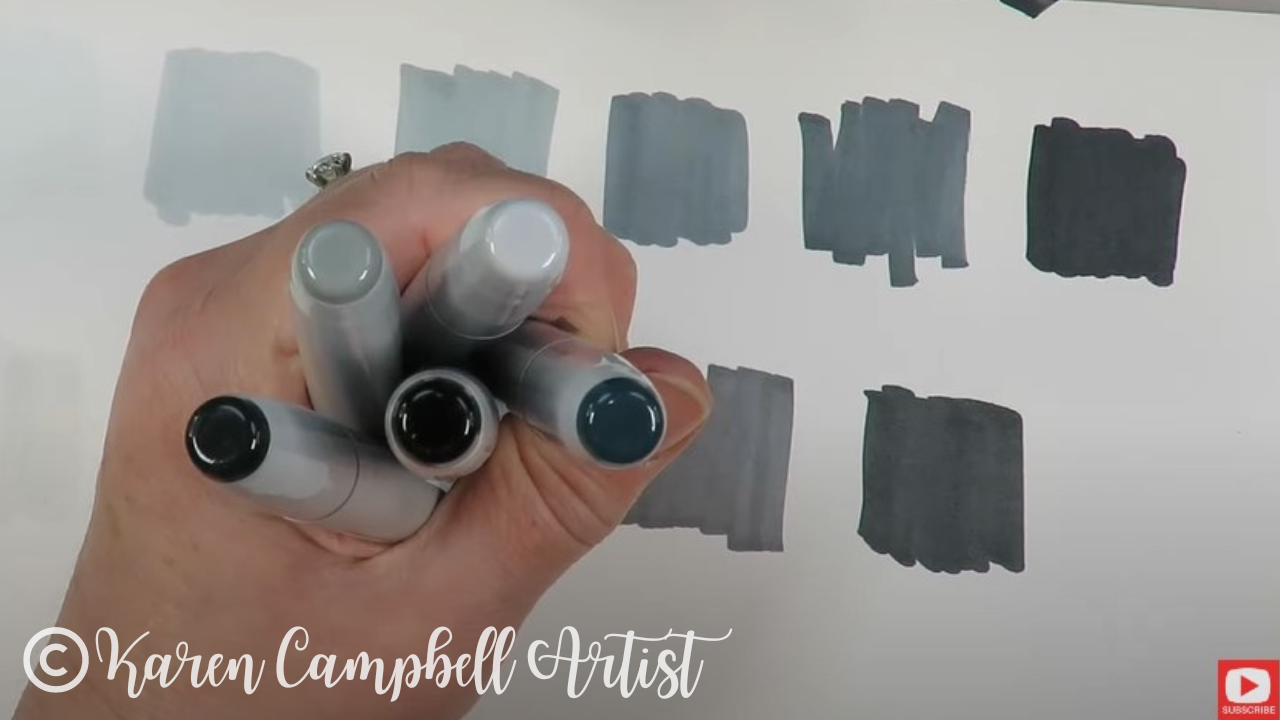
Whenever I get new markers, I've gotta swatch 'em to see what I've got! I compared the Five & Below cheapies with my neutral grayscale set of copic sketch markers (see how they compare below). The top line is the cheapies (that set came with one additional marker, so score!), and the bottom line is my copics.
I love the gradation and the value scale range included in both sets, but I gotta say - whenever you can get MORE colors - I tend to gravitate toward that option, so way to go Five & Below!
However, I also REALLY love how Copic included one of their black fineliners in this set. The fineliner they included retails for about $12 on its own - so adding this to their grayscale pack is really pretty generous.
Whoever manufactured the cheapies from Five & Below DID cut some corners by producing their alcohol markers without labels. Kinda hilarious. At least the opposite sides of these caps have labels so I don't have to swatch again every time I grab a marker!!
In terms of quality- the nibs in this set are great, and the ink is nice and juicy, so these were definitely worth picking up. I have no idea how readily available this specific pack of alcohol markers are, but I guess my general advice is not to shy away from grabbing a set of cheapie alcohol markers when you find them at your local dollar or craft store.
Pretty much every set I've picked up, I've been happily surprised by in terms of quality. Now let's see how they PERFORM in an actual project!
Make sure you click over to see today's face chart inspired drawing tutorial so you can DRAW ALONG with me!! Don't just sit back and watch - go grab your markers and come draw with me!
Need today's face drawing reference? Grab today's along with the last 3 in this series right here in my YouTube & Cheatsheet Library.
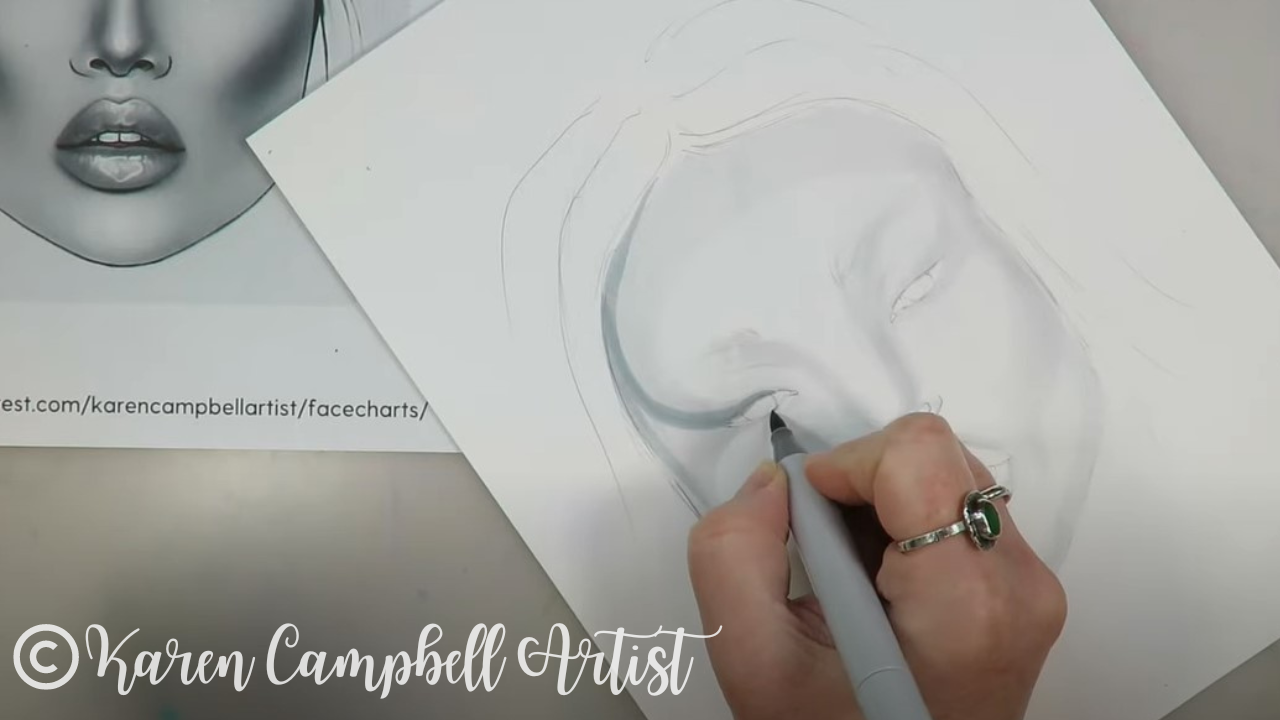
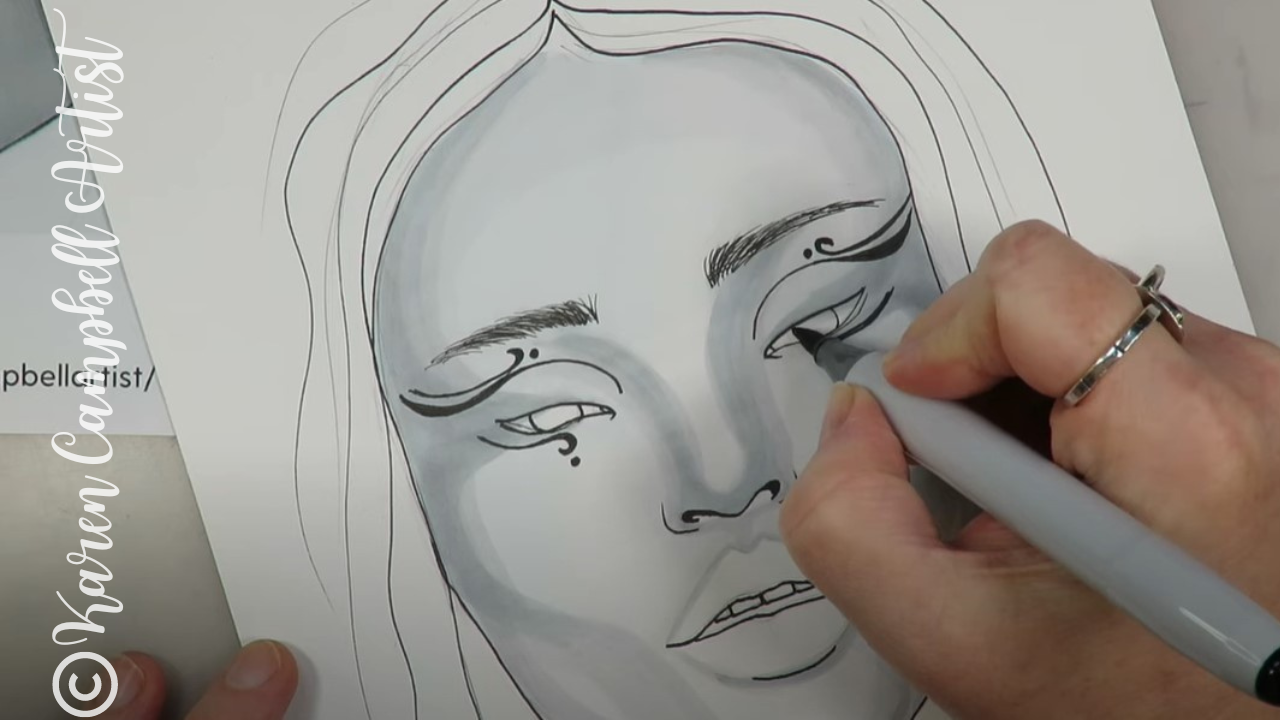
Definitely check out today's YouTube drawing tutorial because I give you TONS of hot tips for shading faces with alcohol markers that will help you tremendously - whether you're new to alcohol markers as a medium or not!
Shockingly, as soon as I started today's face shading with my cheapie alcohol markers, I was surprised to discover they felt identical to my copics. I KNOW!! This is a big deal, because if you've been following me for a while you KNOW how much I love my copics and ohuhus!!
Today's project has once again solidified my opinion that copic marker alternatives are WORTH trying! And really, price point doesn't seem to matter as much as you might think as far as this medium is concerned.
I've shared TONS of copic marker alternative product reviews for you here on YouTube, but hope YOU have confidence to try out whatever you find, especially if you're on a budget. You DON'T have to stop drawing, even when money is tight.
If you've never tried shading a face in alcohol markers, maybe you're addicted to shading faces in pencil - TRY today's free face drawing lesson. It's filled with tips to help you along.
If you're nervous to try shading faces with alcohol markers, especially when it comes to layering in darker shades, you REALLY CAN go at it slowly by adding multiple layers of the SAME shade over and over again. Your piece WILL get darker wherever you've added additional layers, and there's very little risk if you're afraid of screwing up :) Plus- if you're hanging out with me on YouTube (or in one of my online art classes or clubs at Awesome Art School) you're NEVER alone, I'm right there by your side doing the project with you from start to finish!
Thanks for hanging out with me today! If you drew along with me, make sure to share your work so we can give you some love over in my Facebook Group!!
LOVING the whole face chart inspired drawing tutorial thing? Here's a playlist with MORE of them for ya!! NEED MORE resources to get your creative juices flowing? ❤️ CHECK OUT ALL my art books on AMAZON ❤️ CHECK OUT ALL my online art classes @ Awesome Art School ❤️ MY FAVORITE ART SUPPLIES on AMAZON (affiliate links) ❤️ MY BELOVED FACEBOOK GROUP SKIN TONE MARKER SECRETS for Shading GORGEOUS FACES with Copics & Ohuhu Markers [NEW BOOK Flip Thru]27/4/2022
Today I'm spilling ALL my skin tone marker SECRETS for shading gorgeous faces with copics and ohuhu alcohol markers!
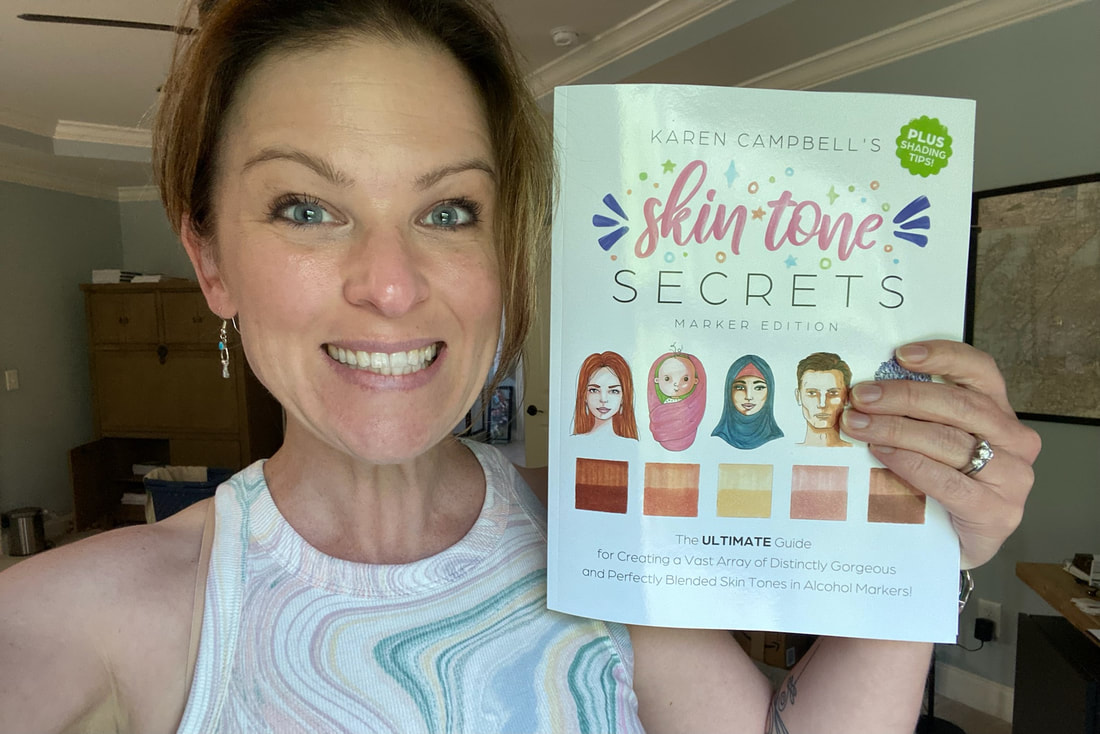
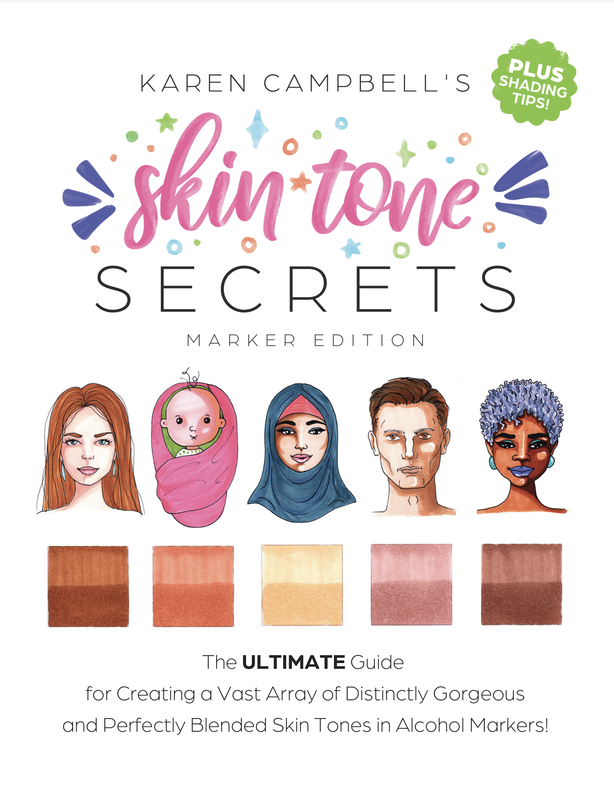
Get a sneak peek at my BEST ohuhu and copic marker blending tips & tricks inside my latest drawing book, "Skin Tone Secrets" - now on Amazons worldwide! Stay with me till the end of this video for a quick face shading demo on an adorable baby face. I'll show you just how EASY it is to add depth to your face drawings using my simple shading guide & just 3 alcohol markers!
If you're not into drawing, but enjoy coloring (or just love any excuse to use your alcohol markers like I do!), I've got a FREE download just for you.
Simply click on the button below, and I'll send you a 25-Page PDF of Coloring Sheets with faces of all the characters in this fun, new book!
Print them out at home and use them for swatching and coloring away till your heart's content!
Before we continue, super quick announcement: All product links are Affiliate. I may earn a small commission if you choose to order through these links but by law there is never any additional cost to the consumer for doing so. I thank you for your support.
My students always ask me what alcohol marker paper I use for coloring. If you're printing these FREE coloring pages at home, I suggest you use a nice cardstock. My favorite is by Hammermill. I just buy a giant pack off Amazon and it lasts forever. The paper is super smooth, feels like Bristol, but is SO much cheaper!
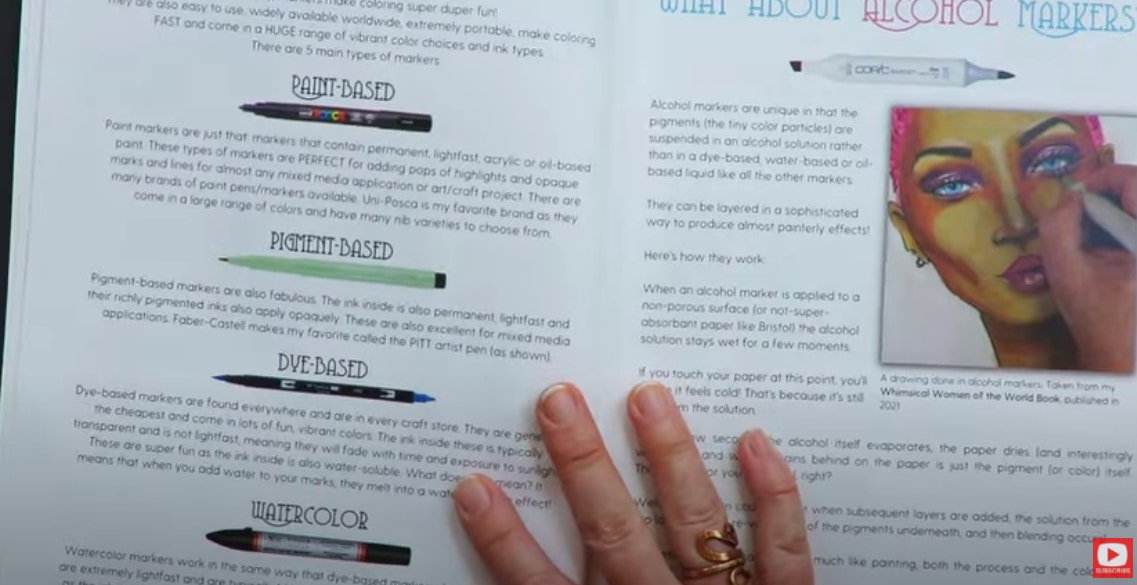
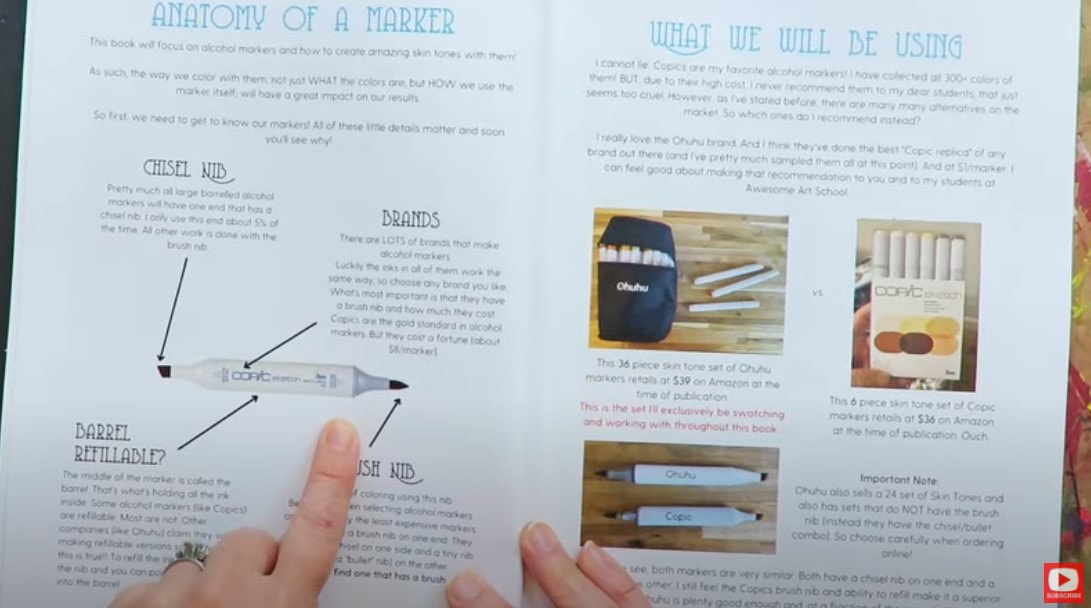
As you'll see in today's video, my new book opens with a general overview of art markers and an intro about what makes alcohol markers so special (to ME, at least).
Next you'll get a quick overview of what I call "the anatomy" of an alcohol marker. Many have both chisel and brush tips, plus a refillable barrel.
As you can see off to the right in the above photo, I have two alcohol marker brands I recommend to my students and use ALL the time myself: Copics and Ohuhu brush markers.
If you've been following me a while, you know I adore my copics and think they feel like butter sliding across my paper.
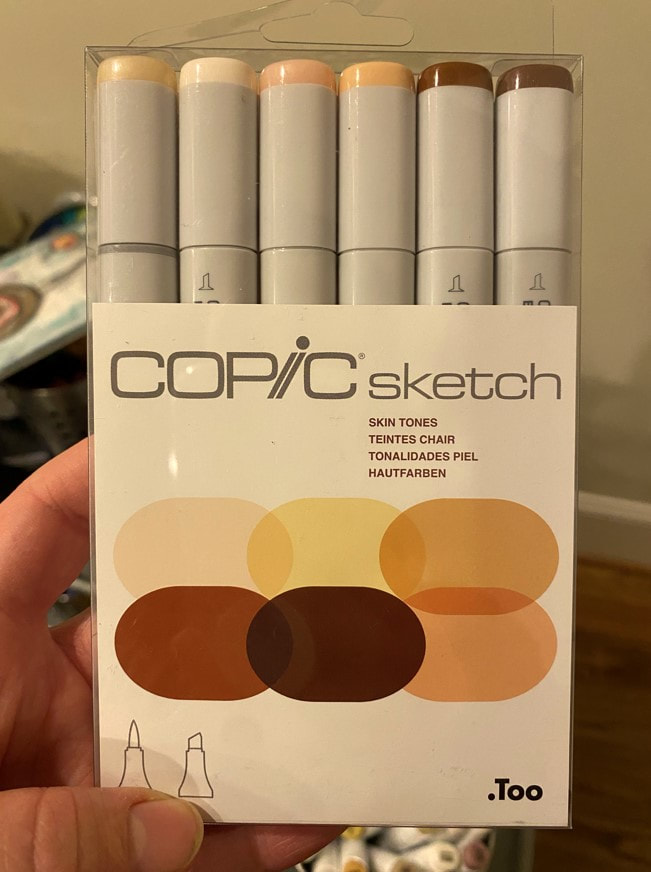
The only catch is, they are super expensive (the above set of 6 skin tone copic markers on Amazon costs ~$36). I've spent years building my copic marker collection, and just about as long testing copic alternatives so I can recommend another brand to my students who want to enjoy high quality alcohol markers at a lower cost.
About a year ago, while I was working on another book, Whimsical Women of the World, I discoverd an amazing brand of alcohol markers for a fraction of the cost. If you look at the Ohuhu Skin Tone Set (below), there are FOUR TIMES the number of colors provided in the Copic marker skin tone set shown above.
That alone gets my attention, but the price for this ohuhu marker set on Amazon is even better- just $30! It's a no-brainer, right?
I adore my Ohuhu skin tone marker set and recommend it all the time! There is such a huge array of colors to shade beautiful faces for any and every ethnicity your heart desires. Even better- the quality of these alcohol markers is really up there with copics. Ohuhs also blend interchangeably and beautifully with copics - in case you've already started collecting those, or want to start!
Back to the flip through...
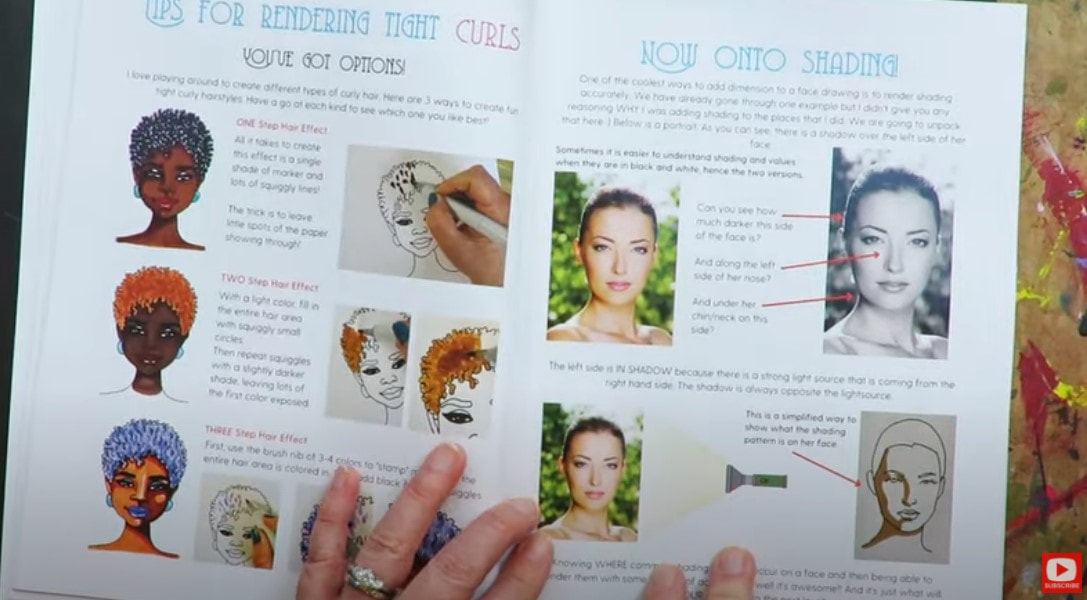
After I run through the basics about alcohol markers in Skin Tone Secrets, my favorite brands, which alcohol marker paper I recommend, how to layer and blend alcohol markers (while avoiding streaking), I'll take you through a series of cute characters that you can draw along with me. You'll notice I spend extra time on their fun hairstyles because TONS of people struggle with how to draw hair. In this book you'll get a little bit of everything from how to draw straight hair and updos, to long hair, short hair, ideas for men and how to draw curly hair!
You'll also get TONS of super helpful tips on how to shade faces - by imagining where the light source is coming from for each face you create. It's much easier than people think, once someone shows you how!
You'll also learn about my three FAVORITE face shading patterns and how those are replicated with alcohol markers.
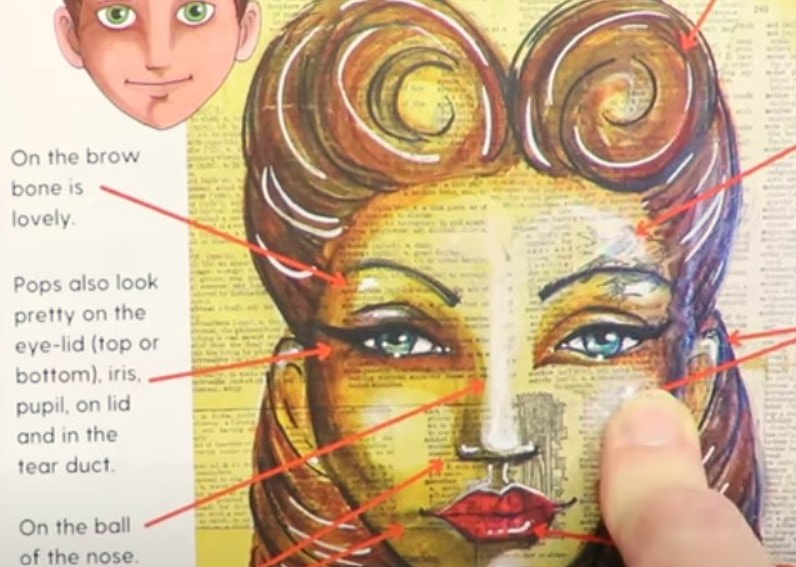
I've even put together a great reference sheet on WHERE to add highlights to your face shading. I'm ALWAYS asked about this, so hopefully this guide clears up any confusion and can become a simple cheatsheet for you to refer back to.
HOT TIP: As you can see in the pic above, these face highlighting tips work for shading faces mixed media style or in any kind of drawing from pencil to toned paper drawing and coloring with alcohol markers.
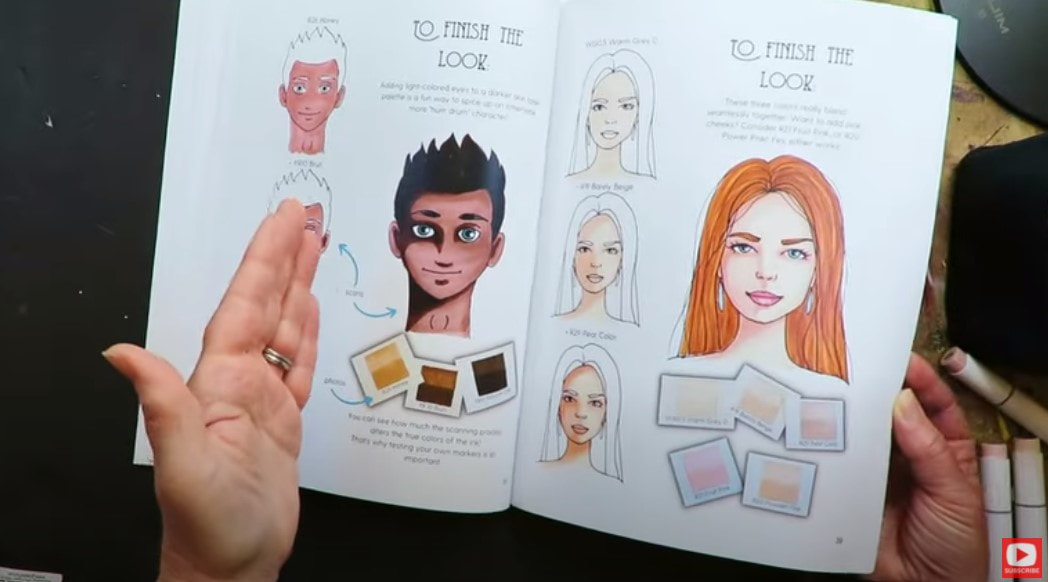
As the book continues, you'll learn exactly HOW and WHERE to layer three skin tone shades of markers on a face step by step, start to finish. I'll teach you exactly which 3-color combos go well together to create light, medium and dark skin tones and will show you the specific marker numbers I'm using in either Ohuhu or Copics.
If you're not into alcohol markers, this book can still be helpful to you because it contains so many valuable tips about how to shade a face. Those concepts are the same, no matter what art supply you want to work with!
Make sure you click over to watch the video so I can walk you through each page, and then show you exactly how to use this book to shade the cute little baby's face!
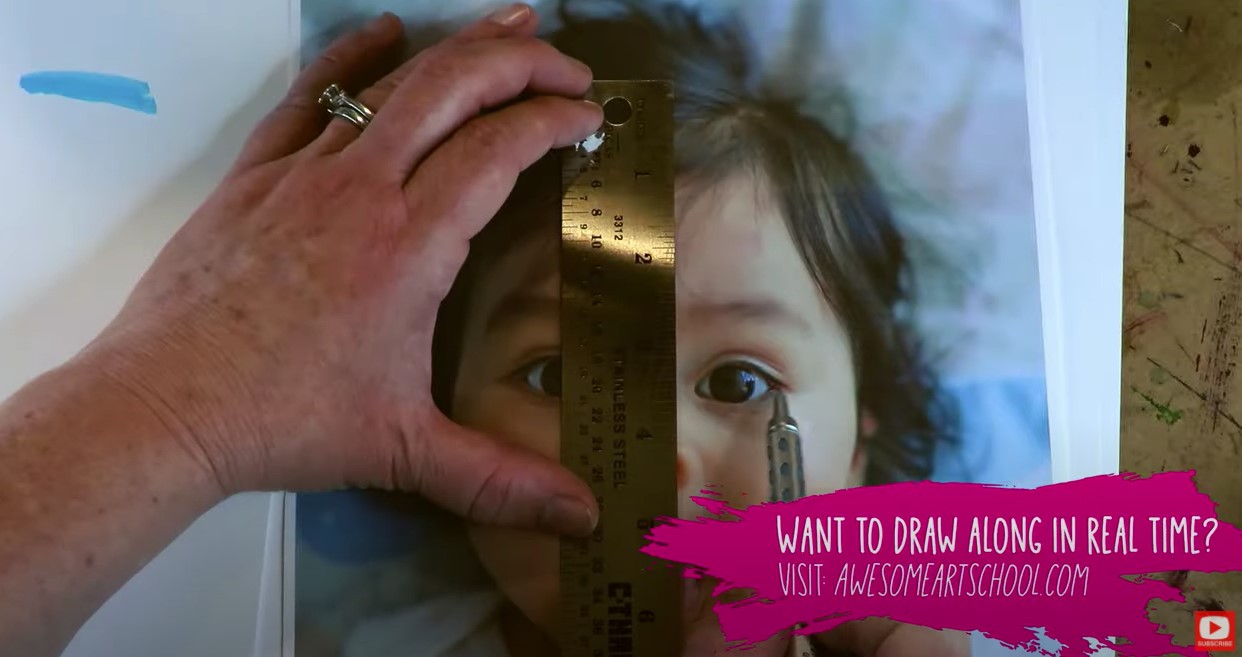
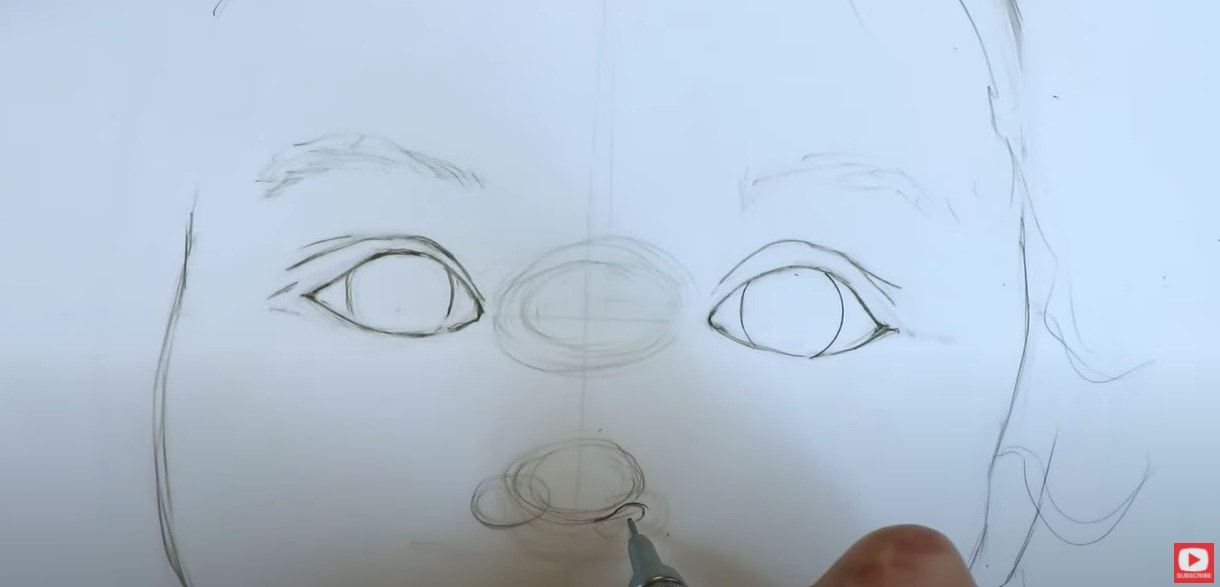
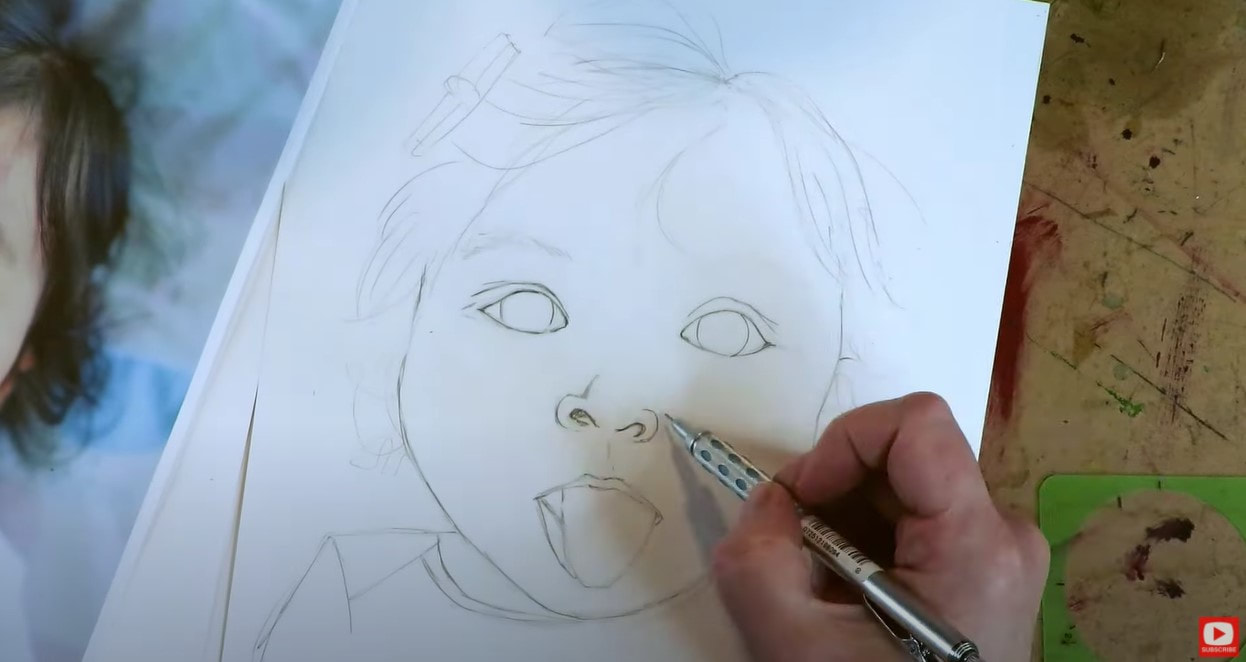
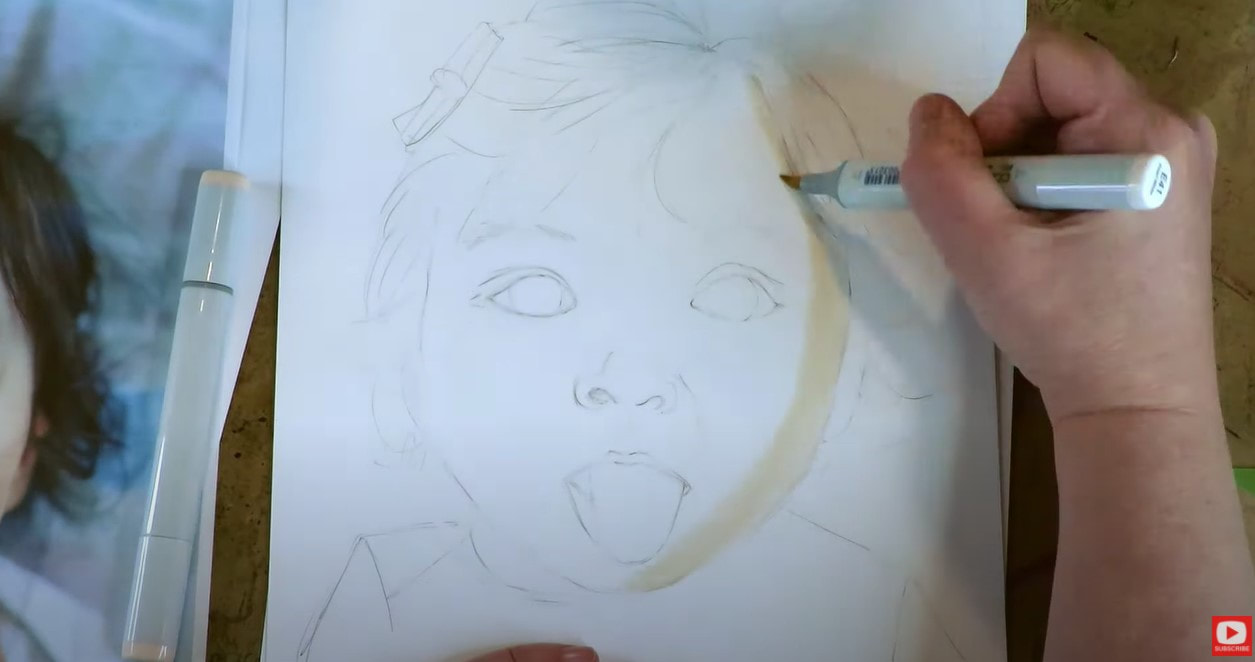
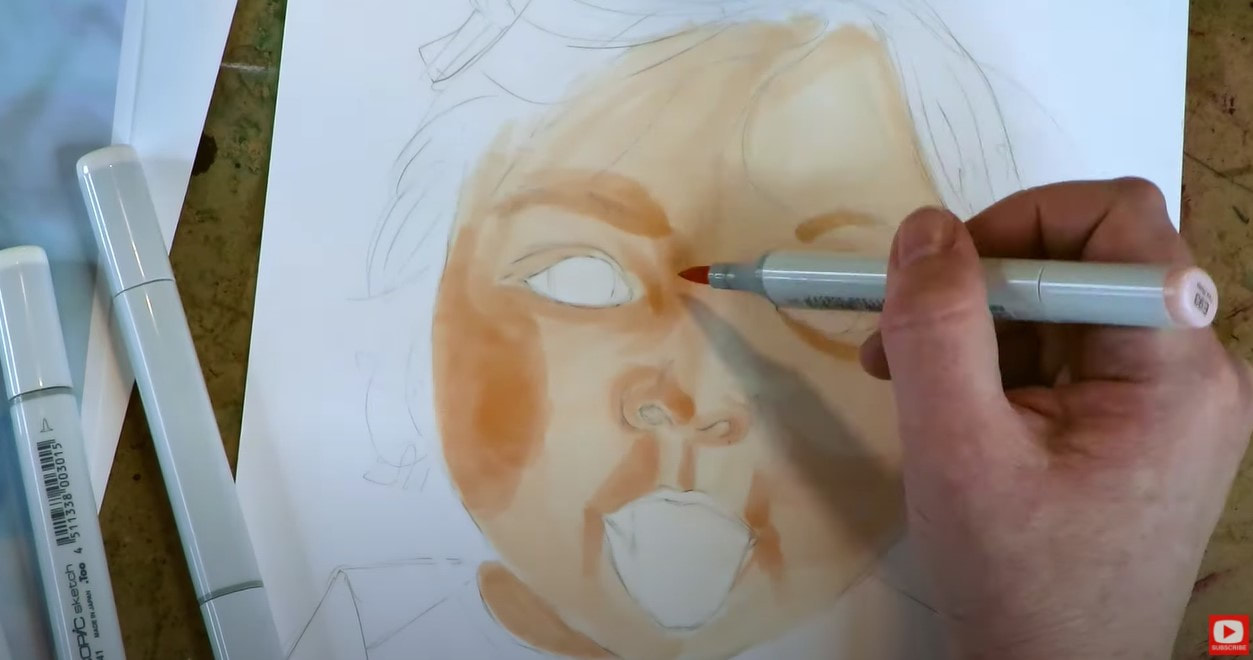
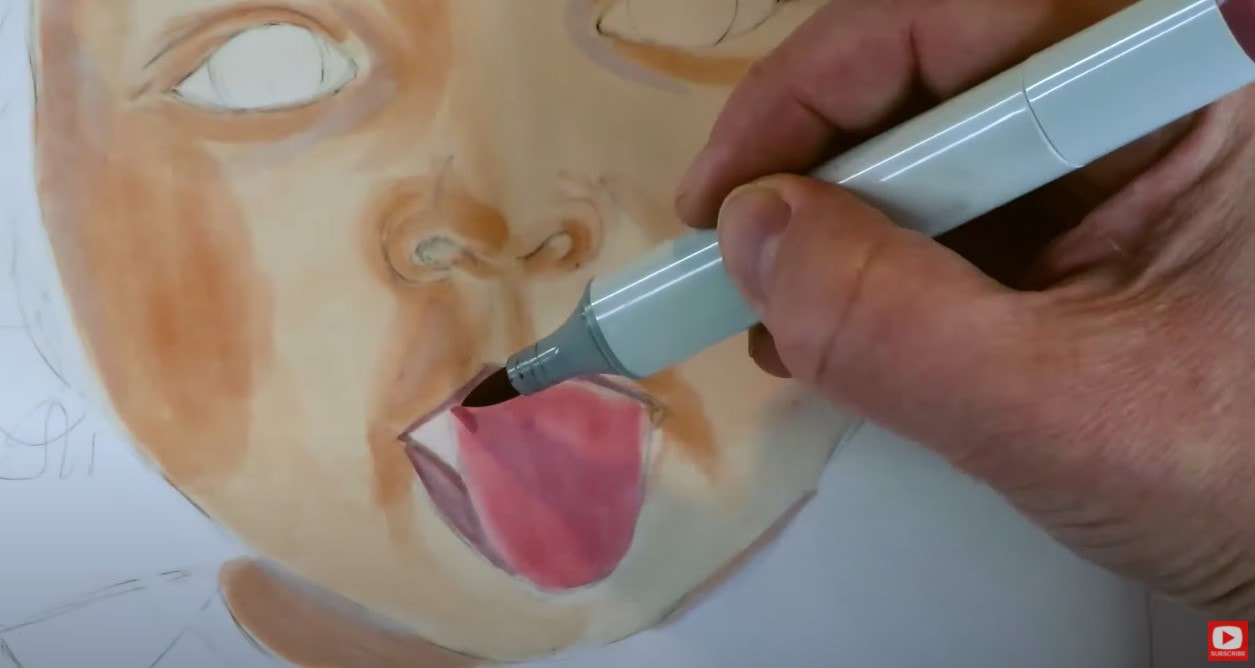
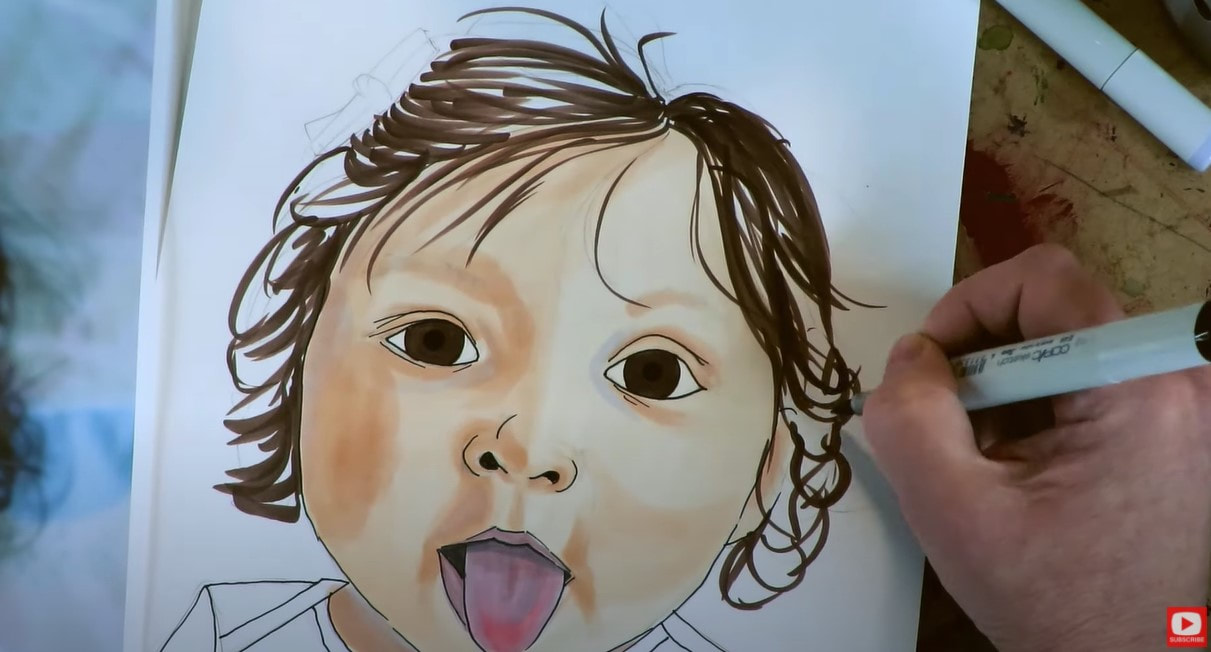
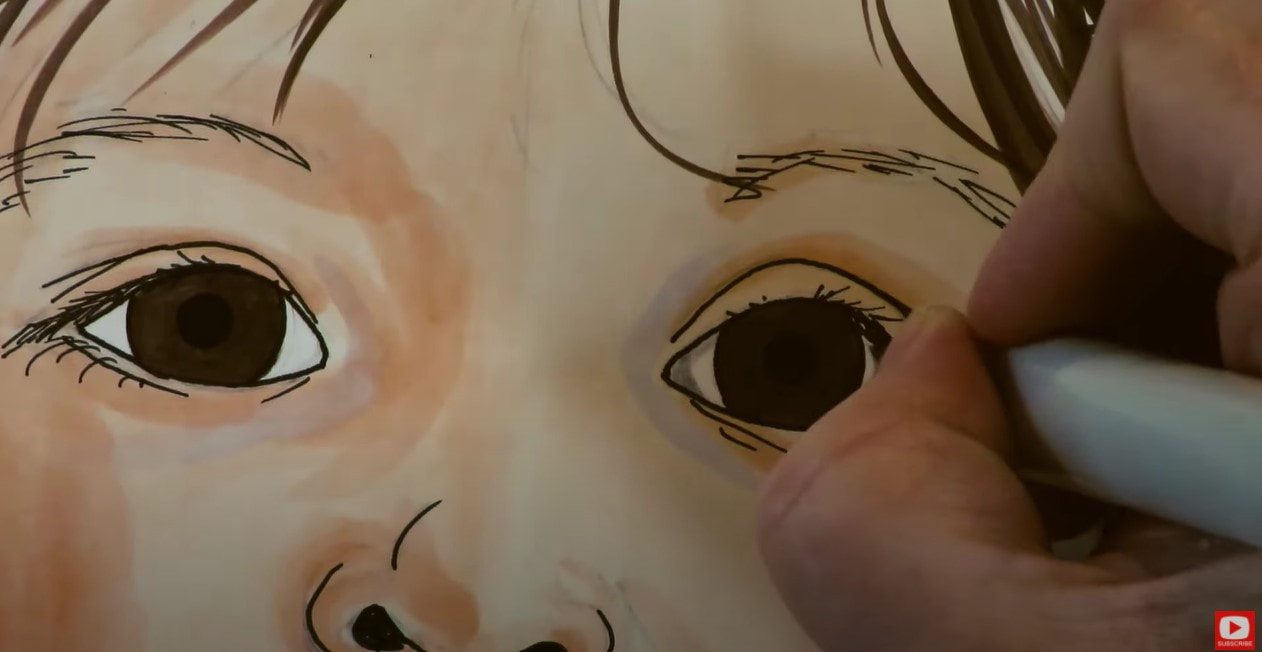
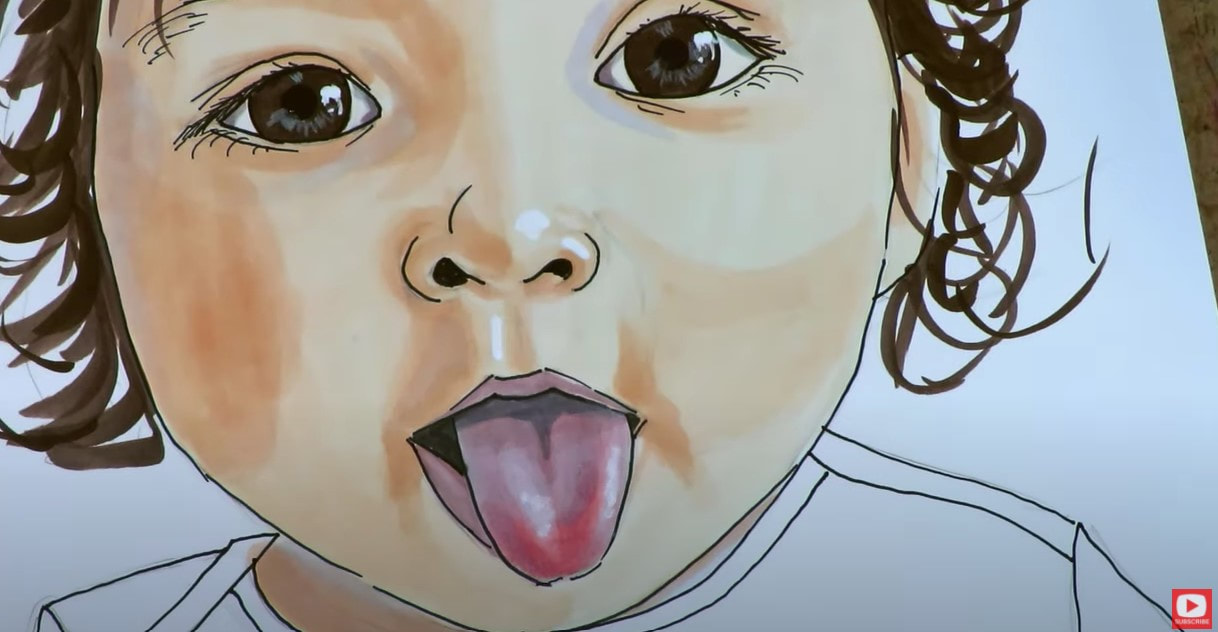
Are you a club member at Awesome Art School? The ebook version of Skin Tone Secrets is already in your library for free as an additional club perk ? Thanks for hanging out with me today! ❤️ CHECK OUT ALL my art books on AMAZON ❤️ MY FAVORITE ART SUPPLIES on AMAZON ❤️ MY BELOVED FACEBOOK GROUP ❤️ FOLLOW ME ON INSTAGRAM HOW to DRAW & SHADE a WHIMSICAL BABY'S Face in Copic Markers & Colored Pencil (Whimsical Women #15)25/1/2021 I LOVE teaching how to draw a whimsical face, and have enjoyed creating the whimsical face drawing tutorials in this series SOOO much!! I can't believe this is the LAST ONE in this series!! Today's art reference photo features the challenge of drawing a baby face because this lesson has been requested AT LEAST a million times by my beloved students!! The proportions are totally different when drawing a baby - so watch closely, and don't worry - I'll talk you through ALL my tips & tricks!! Believe it or not ... this is the FIRST time I've ever taught how to draw a baby's face!! We start this out in a similar way to the other whimsical faces in this series, but as you'll see when you watch the video... the proportions of a baby's face are very different from those of an adult. They are much rounder and wider. The face shape is also more of a circle than an oval. However, because this girlie has her mouth open, the circular face shape does end up morphing into more of an oval. While I was measuring out some of the initial proportions, I noticed that this particular reference seems to follow almost the exact same dimensions as the wrinkled Burmese woman from last week! Isn't that crazy?! If at any point in today's free face drawing lesson, things feel too advanced, you're not alone and this is totally normal. THIS is an advanced drawing project, and really all of the lessons in the Whimsical Women series are. If you're just learning to draw or have never tried drawing a face with pencil before, check this series out for beginners. It's SUPER simple and only takes 5 minutes! Even better- I keep it light and FUN, because I truly believe that the more FUN you're having with your art, the more you're gonna want to do - and the more you do, the better you become!! Back to drawing this baby.... Initially, while I was studying the reference photo, other observations I saw in her facial features were how large and open her cute little eyes were, and how short her nose is compared to the whimsical face drawing guidelines we typically follow when I'm teaching you how to draw a female face. HOT TIP: When you're ready to start shading, make sure you erase all of your guidelines, and even pounce on the lines of your drawing that you DO love - just to remove a smidge of that graphite. I've found this helps to save my lighter skin tone markers from getting muddy, and it helps to keep my markers from dragging graphite around the page. It's pretty crazy how reactive the graphite is if your marker accidentally touches it! Throughout this series, I've been shading all of my projects with alcohol markers, and teaching you along the way how to work through potential issues like blending, streaking, and whatever else might arise if you happen to be using copic markers like me! I recently created a Skin Tone Markers Guide that is basically a 12-page eBook just FULL of alcohol marker swatches from three different brands (of varying price points, because I KNOW full well how expensive copics are, and how LONG it's taken me to build my collection!!). In this free PDF, I walk you through some great examples of alcohol marker shades that go well together to shade light, medium, and dark complexions - across all THREE marker brands (Copic, Ohuhu, and Arteza), so you're sure to be set up for shading success! I feel like a really good copic marker alternative is Ohuhu, followed by Arteza and Parkoo (Parkoo markers aren't in my Skin Tone Markers Guide, but this brand is a SUPER cheap copic marker alternative worth checking out if you're on a tight budget. I did a review of these markers here). I love the Ohuhu brush markers because they have a brush nib like Copics. That nib makes me feel like I'm painting when I'm coloring! If you'd like a copy of my Skin Tone Markers Guide, simply click the button below, and I'll send that cheatsheet straight to your inbox to help you save some time AND money!! Something I've found SUPER interesting throughout this series, is watching all the different art supplies people are choosing to do these projects in! Of course some are working with alcohol based markers and enjoying this medium along with me - but tons are doing the prompts in watercolor, pastels, acrylics, or mixed media - and I just love seeing everyone's individual style and creativity with their preferences! If you're not aware, I'm actually creating a book from the entire Whimsical Women of the World series, and I'll be featuring student artwork as well (4 drawings per prompt, to be exact)! If you've been drawing along with me and are interested in submitting your work for publication, please read through the submission requirements and send along photos of your interpretation of the projects. I can't wait to see them!! All submissions are due on January 31, 2021. QUICK TIP for COLORING with COPIC MARKERS! If you're having trouble with the skin tones you're working with looking too yellow (like mine was getting in this particular drawing), all you have to do to even that out, is select a shade across from it on the color wheel. In my case, since I felt like the skin tone of my girlie was getting too yellow, I worked in some very light lilac to even things out. If you haven't played with this copic blending technique before, you might want to do it on a scrap piece of paper off to the side of your drawing until you come up with a look that you like. When you're happy, try it out on your drawing! Today's little model is also presenting us with the drawing challenge of how to draw a tongue!! LOL! I actually spent quite a bit of time shading this little lady's tongue, and am happy with how it turned out- once my colored pencil layering was added. I feel like my own drawing skills, and really my COLORING SKILLS, have totally improved as a result of doing the proejcts in this series. So if you HAVEN'T been drawing along with me, and are looking for a good drawing challenge - the Whimsical Women Series is PACKED with juicy lessons to help you grow as an artist. I encourage you to really take more time replicating the shadows and highlights you're seeing around the nose and mouth of this face, and ANY face you draw, because the nuances you observe here and render in your own drawing - bring that person to life, and add a realistic quality to your work - even if you're working in a whimsical style like me! I ended up adding more shading with my white colored pencil and sharpie, and I'm really happy with the results. If you'd like to draw and shade along with me in "real time," I've got this lesson and each one from the series ready and waiting for you in the Whimsical Women of the World classroom over at Awesome Art School, where we take everything step by step -from drawing to shading and everything in-between!! Thanks for hanging out with me today. Enjoy the tutorial, and I'll see ya back here next week with something FUN & NEW!! If you need any new drawing supplies, here are links to all of my favorite supplies that were used in this project! All product links are Affiliate. I may earn a small commission if you choose to order through these links but by law there is never any additional cost to the consumer for doing so. I thank you for your support!
👉Hammermill Cover Cardstock 100lb 8.5" x 11" (fave to use with markers and best value at 4-8 cents per sheet and 250 sheets!!) 👉This Arteza pencil set is a new find and a GOOD one!! 👉Pentel GraphGear Mechanical Pencil Set (only ones I use) 👉Ohuhu Markers 24 piece skin tone set (Around $1/marker and with the brush nib, the best alternative to Copics in my opinion!) 👉Copic Skin Tone Pack of 6 ($33) 👉Copic B Set (my fave which has the most skin tones) (72 Set for $330) 👉Arteza Everblend Skin Pack of 36 ($36 - insane value!!!) 👉Arteza EverBlend Alcohol Markers (60 Set for $112 - also insane value!!) ❤️ Want FREE, immediate access to my Fun Fab Drawing Club and/or Mixed Media Society plus discounts on all my art books, sneak peek at YouTube videos and new book content, behind-the-scenes fun and MORE? Join me over on Patreon today and get HUGE PERKS in return for a small monthly donation. ❤️ CHECK OUT ALL my art books on AMAZON (available in both Kindle and Paperback) ❤️ SIGNED COPIES of my art books on ETSY ❤️ MY FAVORITE ART SUPPLIES on AMAZON ❤️ MY BELOVED FACEBOOK GROUP ❤️ FOLLOW ME ON INSTAGRAM ❤️ FOLLOW ME ON FACEBOOK I've been collecting copic markers (especially copic skin tones!) for some time now, but they don't come cheap!!! Tons of students have reached out asking if there is a copic marker alternative I can recommend that is more affordable to do their Whimsical Women of the World face drawing projects with. I bought ALL the ohuhu skin tone markers and artezas I could get my hands on so I could give YOU some answers in today's YouTube video on my drawing channel!!! The questions I've been hearing the most from students, are not only how do the various alcohol marker brands compare to one another, but more specifically - are there equivalent marker shades from brand to brand of alcohol based markers? For example - if you've got the ohuhu skin tone markers set - which number should YOU use if I'm using copic E39? I WISH it was that simple!! Since it's not- I created a cheatsheet to help you out - with my own skin tone marker swatch comparisons!! If you'd like to get your hands on this 12 page PDF for FREE, and save yourself TONS of money and hours in swatch time (it literally took me THREE hours to do this), LOL! Click the button below, and I'll send the Color Swatching Guide/ Cheatsheet straight to your inbox!! Make sure you click over to today's video, so you can see how I decided to swatch colors out across the three alcohol marker brands I'm comparing (Copic vs Ohuhu vs Arteza) - while keeping things as SIMPLE as possile for YOU!! Before we continue, super quick announcement: All product links are Affiliate. I may earn a small commission if you choose to order through these links, but by law there is never any additional cost to the consumer for doing so. I thank you for your support! Personally, I love the copic markers brush tip to do most of my coloring with, because it feels so much like a paintbrush to me when it glides across the page. I can also achieve some really unique effects by changing the pressure I use when pressing down with my marker. However, I DID find ohuhu brush markers have a very similar feel to them and actually found them to be just as juicy as my copics, but for SO much less money!! Ohuhu markers come in a 24 piece skin tone set, for about $32 on Amazon vs the Copic skin tone pack of 6 for around $33. I know- WAY cheaper, right?! Arteza also has a nice set of alcohol markers for beginners available on Amazon. You can get an Arteza Everblend set of 36 skin tone markers for around $36. That's a pretty insane value if you're on a budget and just want to have a little fun!! Did you click over to get the color swatching guide yet? TRUST ME. You NEED this in your life if you are just starting to build an alcohol marker collection, and are looking for a copic marker alternative! ![]() I hope you find the video and cheatsheet helpful!! Thanks for hanging out with me today!! See ya back here next week! |
Karen CampbellFounder of Awesome Art School. Mixed Media Artist. Author of 18 Instructional Art Books! Archives
September 2023
Categories
All
|
"Karen is flipping hilarious and she's very real...I like the way she teaches in a way that really gives you confidence, whether you're a beginner or advanced there's always something new to learn!"
- Elizabeth W. |
What Fans Are SayingKaren, you are absolutely fabulous! You make me feel like I can draw anything. I have recently retired and finally have the time to do some of the art that I have loved since I was in school. I am really at the beginning of my art journey and I hope to learn as much as I can. Thank you for all you do. |
Contact ME |