|
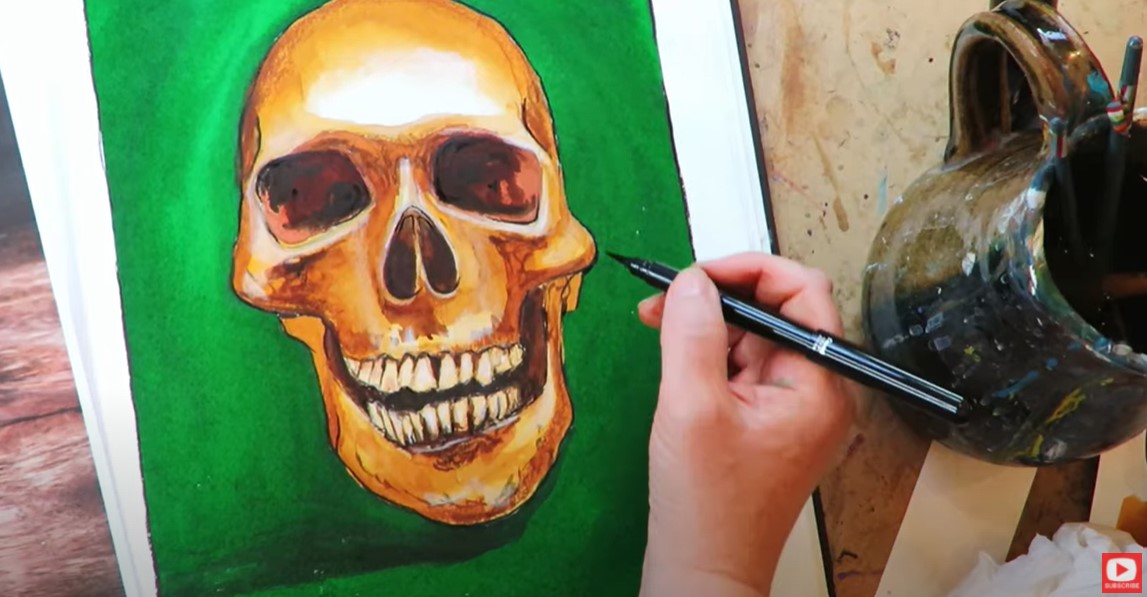
Today's CREEPY skull watercolor project for Halloween was a special request from my students over at Awesome Art School! If you're not sure how to draw a skull, don't worry - I guide you through the skull drawing step by step. Then we'll bring it to life with one of my favorite art supplies that works JUST like watercolor - Noodler's Ink!
If you're curious how I paint with fountain pen ink, complete this project with so few art supplies, or if you're just in the mood for a spooky mixed media Halloween art project, hop over to YouTube because today's Halloween watercolor video is FOR YOU.
Before we continue, super quick announcement: All product links are Affiliate. I may earn a small commission if you choose to order through these links but by law there is never any additional cost to the consumer for doing so. I thank you for your support
I created today's tutorial project in my Strathmore Watercolor Journal. It's filled with cold press (textured), 140# paper. If you're new to art-ing with me - I LOVE using this watercolor journal for my mixed media work because the paper is so hearty. It can really take a beating from whatever layers and art supplies I want to throw at it, and has become one of my go-tos over the years.
If you're new to mixed media art, looking for mixed media examples, or clear instructions on how to layer your mixed media art supplies so you can make a masterpiece instead of a mess, look no further! I've been teaching my 7-step "Hamburger System" for almost 2 years now and it's been a game changer for SO many students. 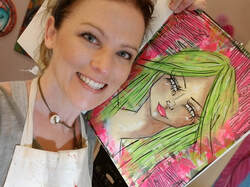
While the Hamburger System is my main mixed media layering process I use when creating full blown mixed media portraits (like the one above), sometimes I enjoy lightening up on the art supplies and layering.
I'm calling this condensed layering process "The Hot Dog System," and it's perfect for mixed media beginners!
There are just four simple layers in my Hot Dog System:
I've put together a ginormous 32-page PDF (you're welcome!), giving you examples of 4-art supply layer combos- HOT DOG STYLE- not just from me, but from TWENTY of my artsy friends to inspire you! Click the button below to download this FREE 32-page stack of cheatsheets just filled with Hot Dog System inspiration!
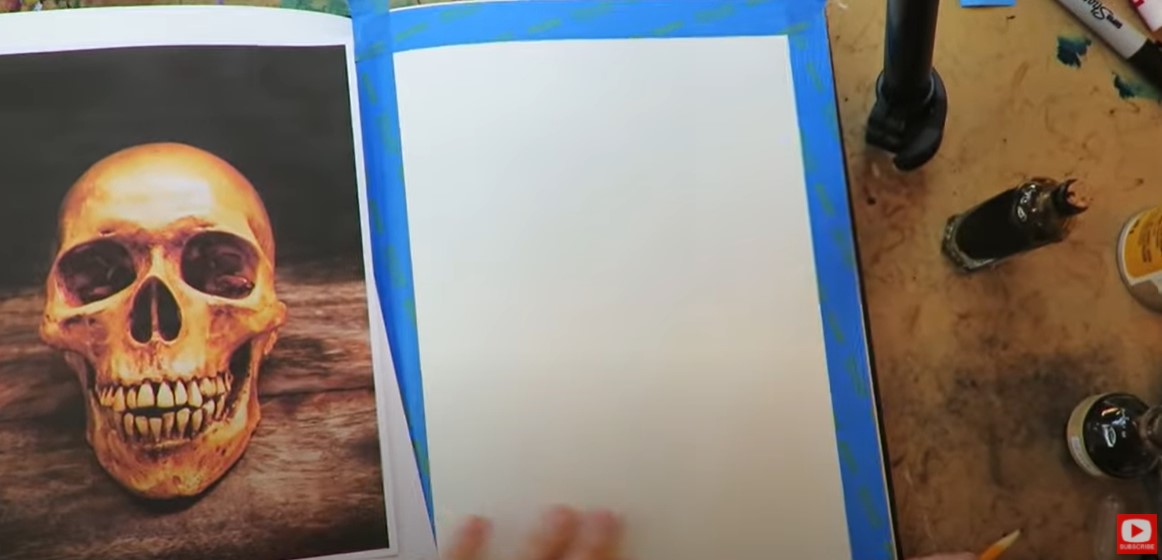
A copy of today's skull drawing reference is included in the above cheatsheet packet, so be sure to click that button and get a copy so you can create along with me!
If you're not sure how to draw a skull, don't worry- I take the skull drawing step by step in this tutorial.
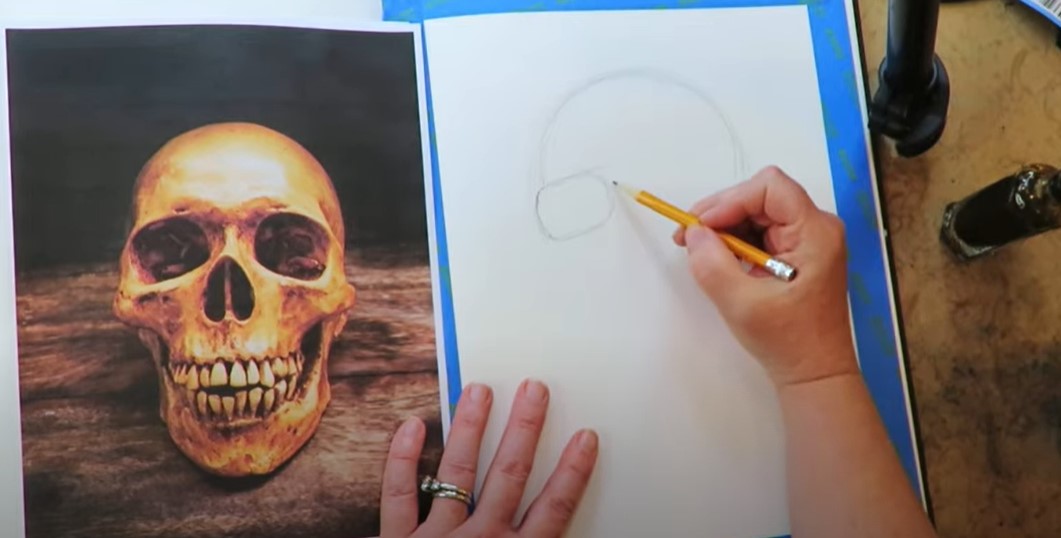
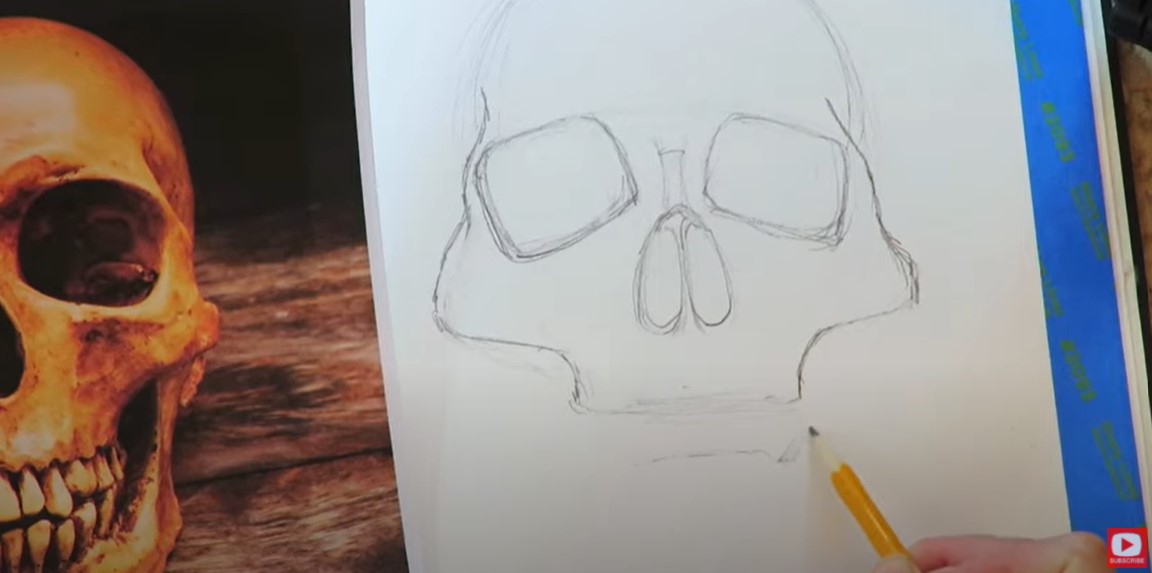
Drawing a skull is like drawing anything - we just break it down and take it shape by shape, starting from the top.
I saw a large circle at the top of the skull and basically decided to warm myself up by sketching a few light circles until I got the shape I wanted and saw in my reference image.
Once I got a bit further down the face of my skull drawing, I started cracking myself up, because my drawing looked like I'm actually drawing Darth Vader! LOL! I swear I'm NOT - he just looked this way before I started drawing the mouth.
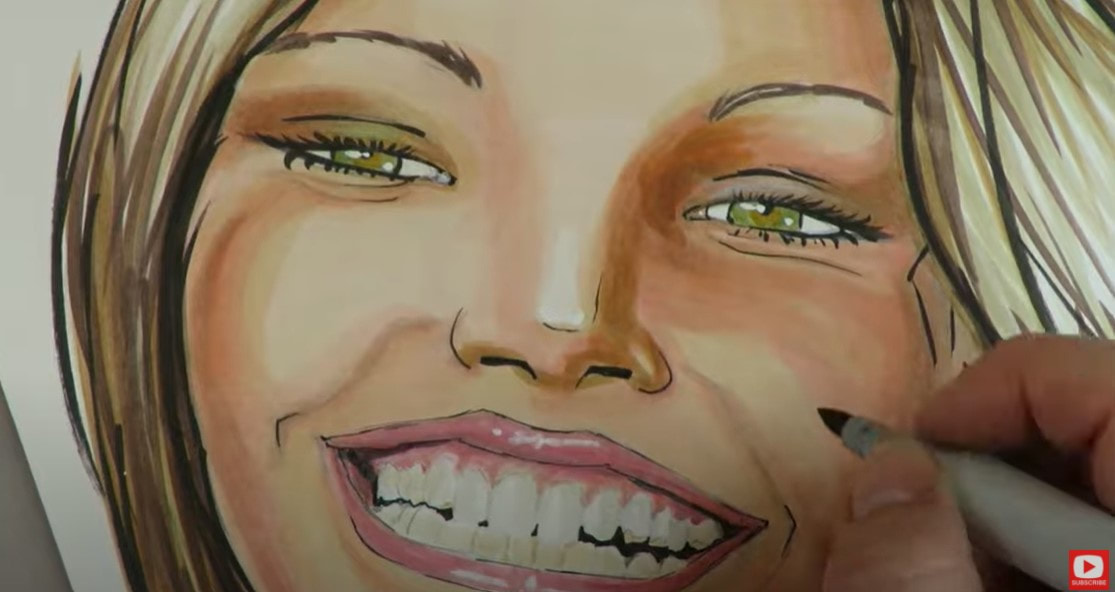
When I sketched in the lower jaw and blocked off the area for the teeth, I was seriously reminded of the smiling Italian woman from my Whimsical Women of the World series on my drawing channel last year! She was another student request (how to draw a smiling mouth with teeth), that I created a lesson around just for my students (see below).
For me, drawing teeth is a laborious process (hence why MOST of my whimsical faces and mixed media portraits have closed mouths!).
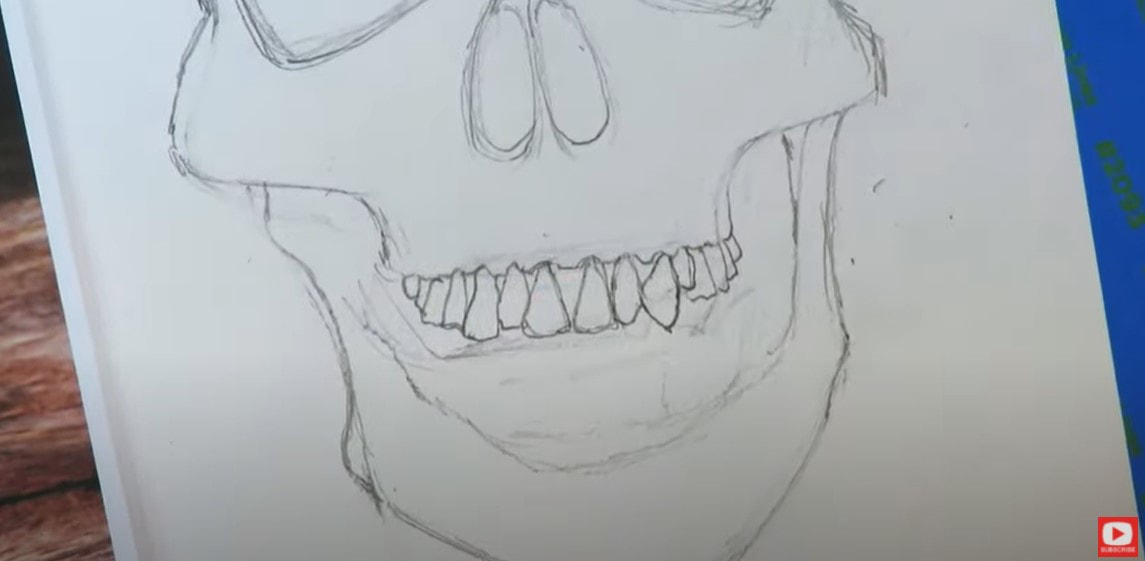
In all seriousness though, I think the biggest mistake people make when drawing teeth is drawing them all straight, perfect and the SAME. Check out how each tooth below has an individual, unique (and wonktastic) shape. It might look crazy - but I'm just drawing in the shapes I see in my reference photo.
As soon as the upper teeth were sketched in, I headed into that bottom row to knock them out so we could move on with the drawing and get to my favorite part - shading!
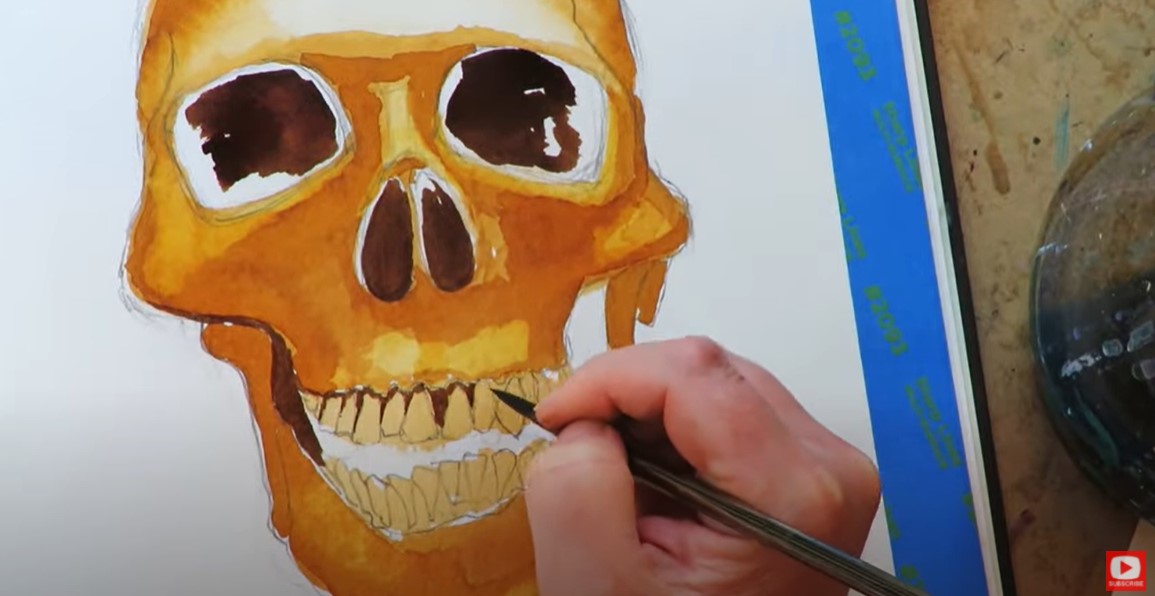
In today's tutorial, I shaded with one of my favorite mixed media art supplies - fountain pen inks. Most people use these for writing or even drawing, but I use them exactly like I do my watercolors, and PAINT with them! If you're new to painting with fountain pen inks, check out this playlist. It's got your name all over it! If you love watercolor - this is definitely something you HAVE to try.
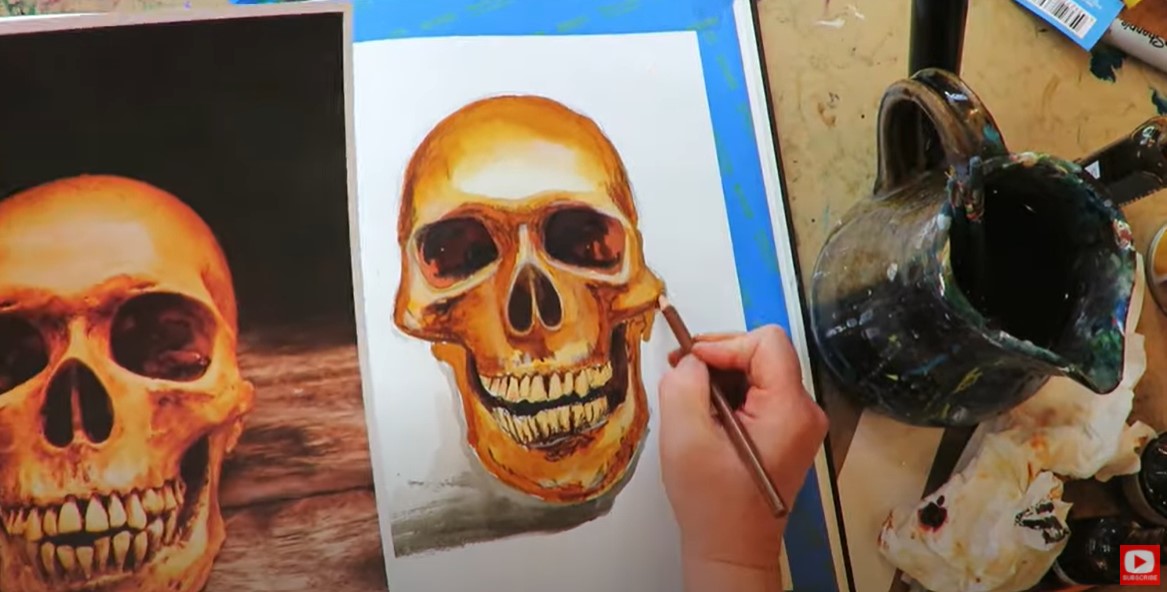
I layered a variety of ink shades (Hot Dog Layer #2: Noodler's Ink) carefully on top of the previous layer (once the previous layer was dry), and worked from light to dark to shade my drawing to look like the skull drawing reference image (Click here if you want to grab a download of the drawing reference and all my HOT DOG SYSTEM layering tips with inspo from 20 of my artsy friends!!).
When I was happy with my "watercoloring," I moved on to incorporate colored pencils to smooth my transitions and work in some highlights (Hot Dog Layer #3).
Once those were in a good place, I pulled the tape off my journal page and started doodling in my 4th layer with my pentel pocket brush (Hot Dog Layer #4), and...DONE! I hope you enjoyed today's project and take some time to go through the helpful PDF I've put together for you!! I think you'll love seeing the mixed media inspiration from not only me, but from TWENTY of my artsy friends who also enjoy creating mixed media art journal pages and canvases with fewer supplies!! Thanks for hanging out with me today! ❤️ CHECK OUT ALL my art books on AMAZON ❤️ MY FAVORITE ART SUPPLIES on AMAZON ❤️ MY BELOVED FACEBOOK GROUP ❤️ FOLLOW ME ON INSTAGRAM
1 Comment
Silver Black Velvet brushes have been a part of my mixed media painting world for YEARS! They are high end, professional watercolor brushes that work like a charm, but unfortunately come with a hefty price tag.
Even though I love them, I'm always on the lookout for alternatives to recommend for my students over at Awesome Art School in case they're on a budget. Join me for a battle of the watercolor brushes today as I compare my Silver Black Velvets against the competition from Polina Bright, Creative Mark and ZenART Supplies.
Before we continue, super quick announcement: All product links are Affiliate. I may earn a small commission if you choose to order through these links but by law there is never any additional cost to the consumer for doing so. I thank you for your support!
Over the years I've developed a few qualities I look for in a watercolor brush.
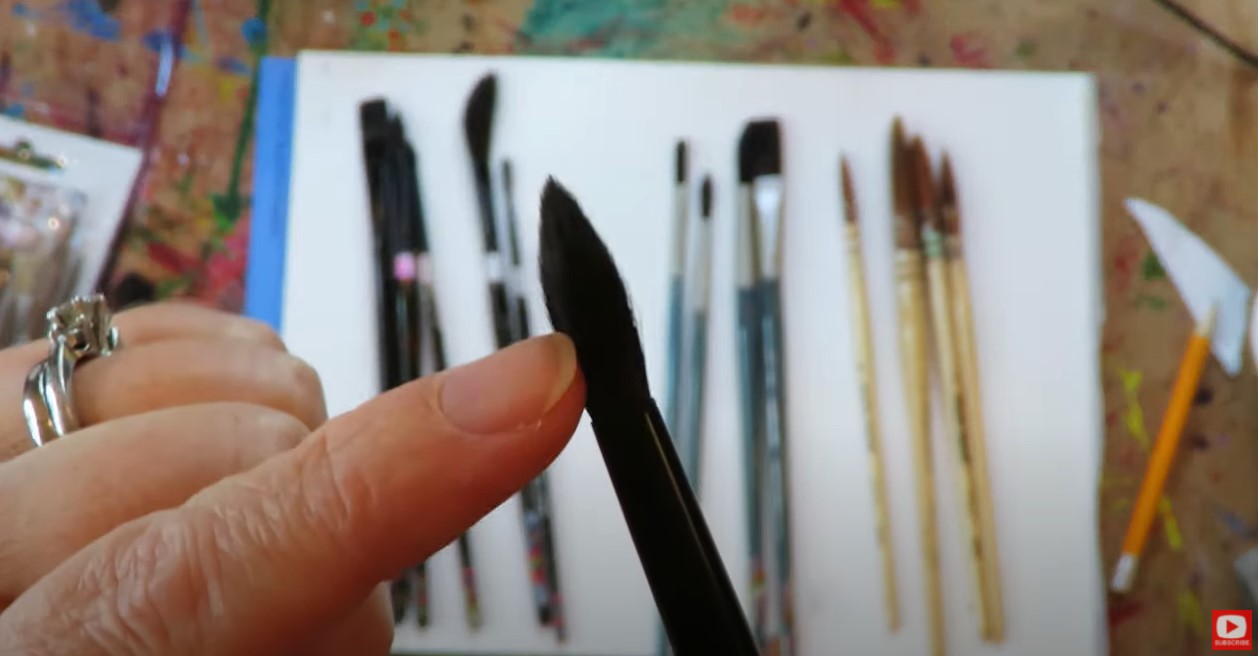
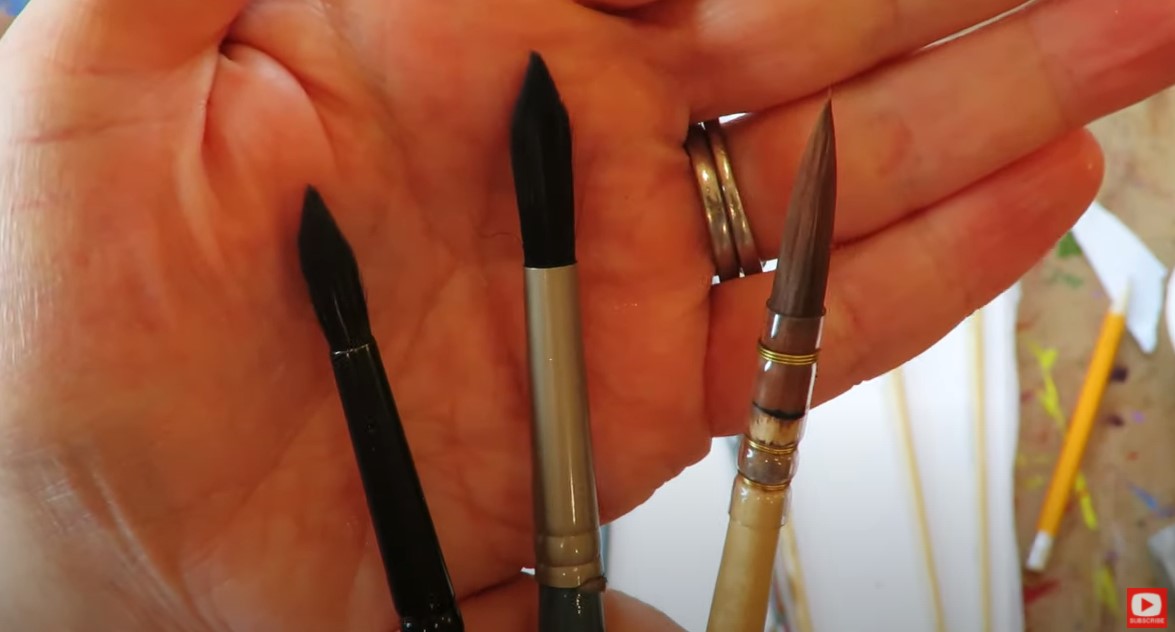
The first feature I look for in a watercolor brush is shape. When you're talking watercolor brushes, this often means the "round" brush shape (you'll likely recognize it as the brush most watercolor artists using). This is what my round Silver Black Velvet brush looks like. See how the taper comes to a point?
For years, this taper is one of the things I loved about this brand and didn't think I'd find from another brand. Since the price is not budget friendly for my students, I've occasionally tried other brands looking for alternatives. If you're not super concerned about cost, I recommend the Silver Black Velvet set of 3 brushes for $47 on Amazon.
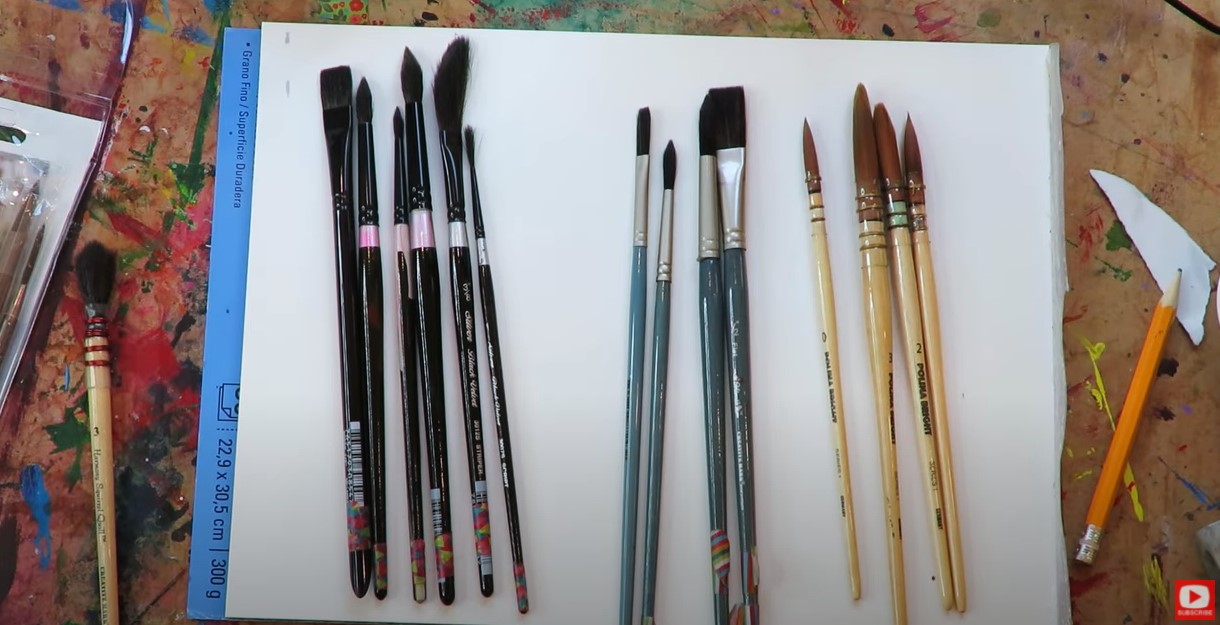
While looking for an alternative, I kinda fell in love with another pricey brand made by Polina Bright. If you haven't see her work before, you HAVE to check her out. Polina's brushes are a little pricey because they ship from Australia, but SHE SPECIFICALLY CREATED A COUPON for my followers so you can save 10%. Simply enter my name in all caps (KARENCAMPMBELL) at checkout. if you can afford a splurge or drop them on your wish list for the holidays - you might fall in love with them too! For the students at Awesome Art School looking for value in their watercolorbrush set, I highly recommend the $17, 5-pack watercolor brush set by Creative Mark. They perform beuatifully for the money and are synthetic like Polina's. Brands shown below from left to right: Silver Black Velvet, Creative Mark, Polina Bright
The second feature I look for in a watercolor brush is it's ability to hold water. Ideally you want it capable of holding tons of water over to the palatte, and tons of pigment from palette to your paper. All three brands performed well here, but I felt Polina's long/lean brush did best (simply my own personal perference).
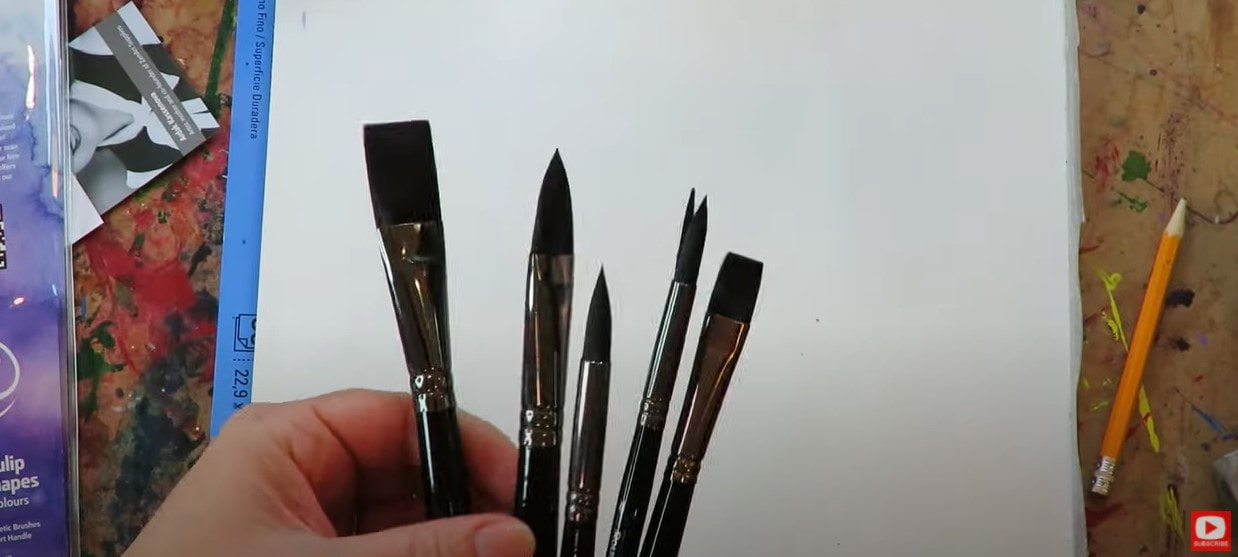
The third thing to look for in a watercolor brush is the "spring," or the brush's ability to glide naturally in the water, and across your page. The spring in Silver Black Velvets is pretty amazing becuase the brush tip is made from squirrel hair, so naturally it will do well in water. Typically this is where a synthetic brush will struggle to keep up and feel a bit stiff in comparison. I don't find the synthetic hair to be a problem in Polina's brushes or Creative Mark's. I was recently sent a watercolor brush set by ZenArt Supplies to review (shown below, 6-pack of brushes for $28 on Amazon). I thought today's video would be the perfect opportunity to give these a try.
Right outta the package, I love the assortment of brushes ZenART sent -especially the fact that they've included "flats" in the set because I LOVE working with flat watercolor brushes (these are the ones that have a straight, flat edge across the bristles). When I unwrap the brushes, they feel a little synthetic, but it's hard to tell how a brush is going to perform until you get it wet. I feel like the best way to really test out a product that's new to me, is to create a full project with it. Click over to the video to watch as I do a little whimsical face shading in watercolor to give the ZenArts watercolor brush set a test run. 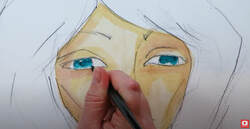
Stick around till the end of the demo for my final thoughts on the ZenARTs when compared to my other three favorite watercolor brush brands!
Thanks for hanging out with me today! ❤️ CHECK OUT ALL my art books on AMAZON ❤️ MY FAVORITE ART SUPPLIES on AMAZON ❤️ MY BELOVED FACEBOOK GROUP ❤️ FOLLOW ME ON INSTAGRAM
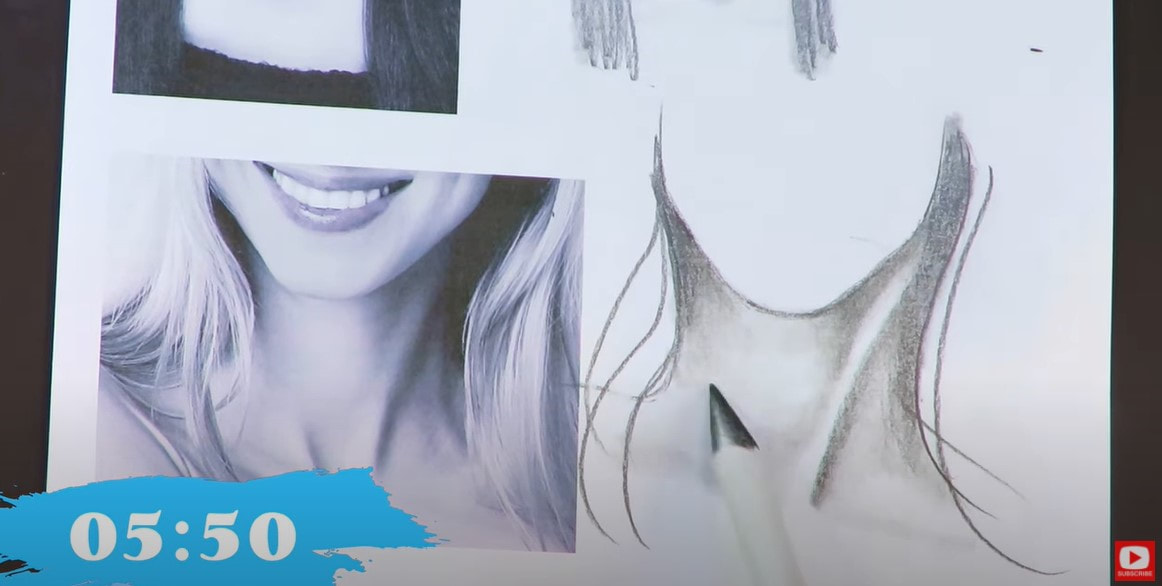
Wanna practice drawing necks realistically in JUST 5 minutes?! LET'S DO IT!! In today's step by step drawing lesson, we're going to be drawing 5 female necks in real time, directly onto my FREE drawing worksheets. If you need help with how to draw necks, have always wanted to learn how to draw a face, are struggling with how to work drawing practice into your daily life, or need to add MORE FUN into your art practice, THIS SERIES IS FOR YOU!!
I'd love for you to draw right along with me! Simply click the button below to grab my FREE 5 in 5 Facial Features Drawing Packet, and I'll send it straight to your email inbox.
Today's video is a follow up to a facial features drawing series I did a couple of months ago because I'm getting a lot of requests for how to draw necks and eyebrows!
If you're just discovering this series on how to draw facial features, the whole point of this thing, is just to get us practicing our drawing skills. We're not making it our "life's work," it's just a little drawing exercise, and we're only going to spend about 5 minutes working with each neck drawing reference photo, then we're moving on.
You'll see a stop watch going in the bottom of my screen. It's not here to stress you out. It's just to remind ME not to spend more than 5 minutes with any one reference image. Before we continue, super quick announcement: All product links are Affiliate. I may earn a small commission if you choose to order through these links but by law there is never any additional cost to the consumer for doing so. I thank you for your support!
When we're working on these drawing worksheets, there are three things I encourage you to focus on one at a time, when looking at each neck drawing reference image:
1. Shape 2. Value 3. Details For my supplies today- I'm just using my favorite Blackwing pencil - it's like a soft 4B, and super smooth to work with. You're also gonna need a blending stump, an eraser (I love my vanish eraser and the tombow mono eraser).
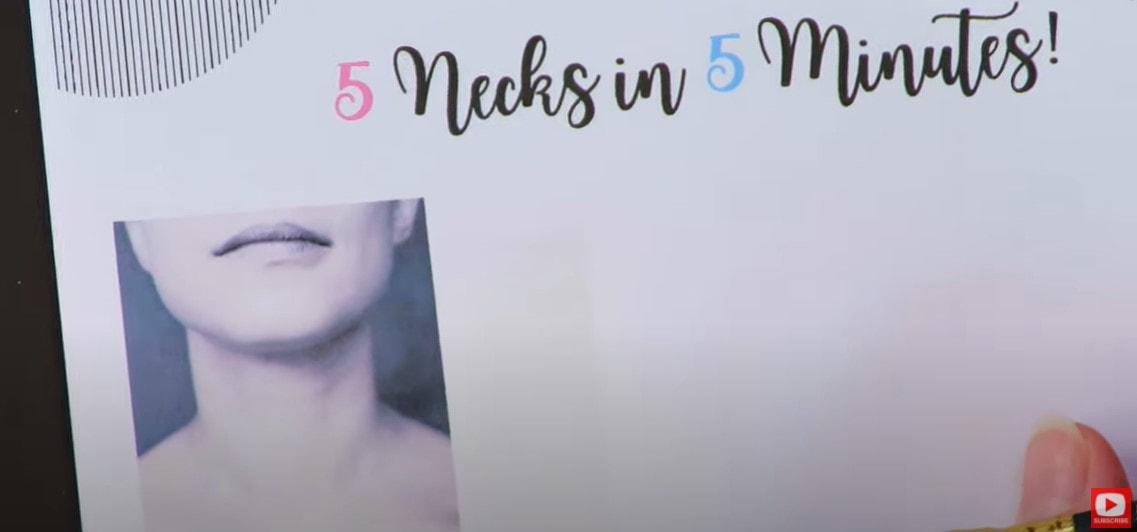
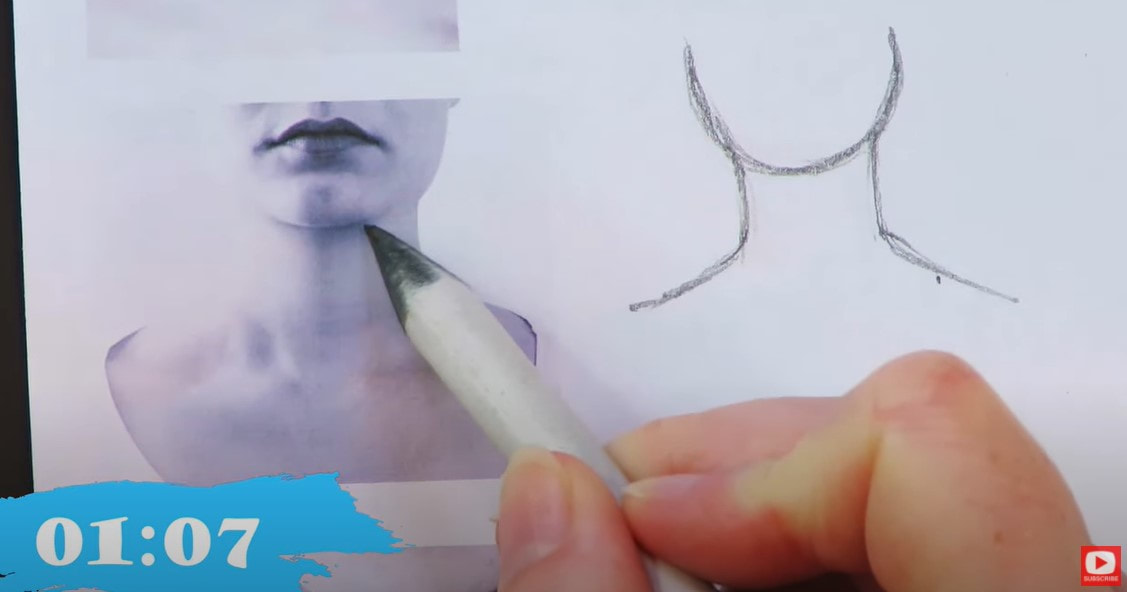
In each neck drawing reference photo, I left in the jawline visible so we can look at how thick the neck is, and where it begins in relation to the head.
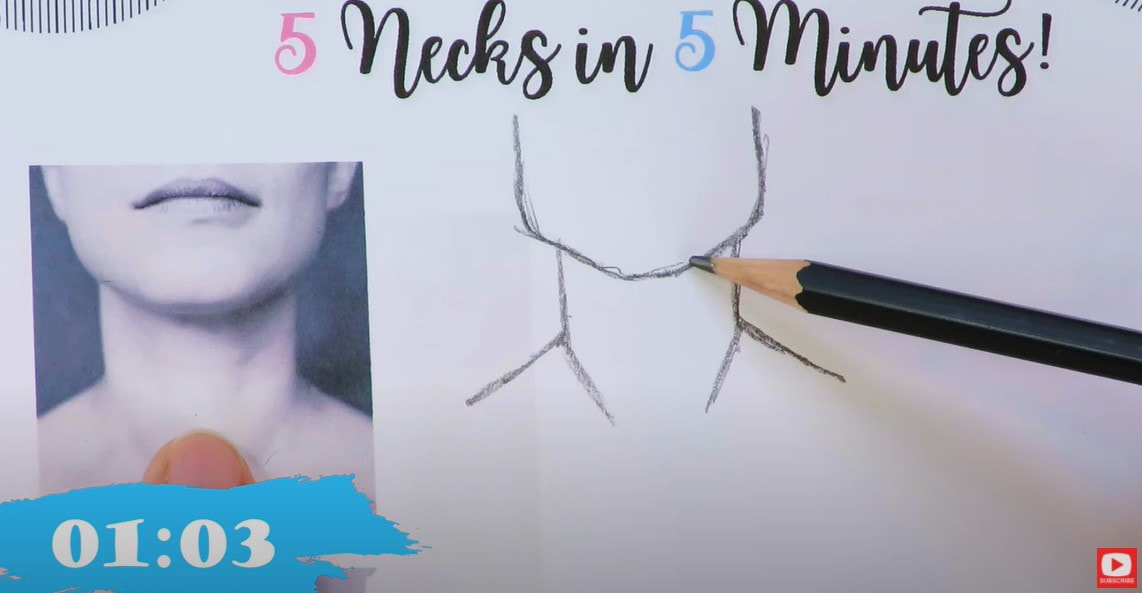
I started drawing the jawline on my first reference image with the chin, then added in the angles I saw in the model's face shape.
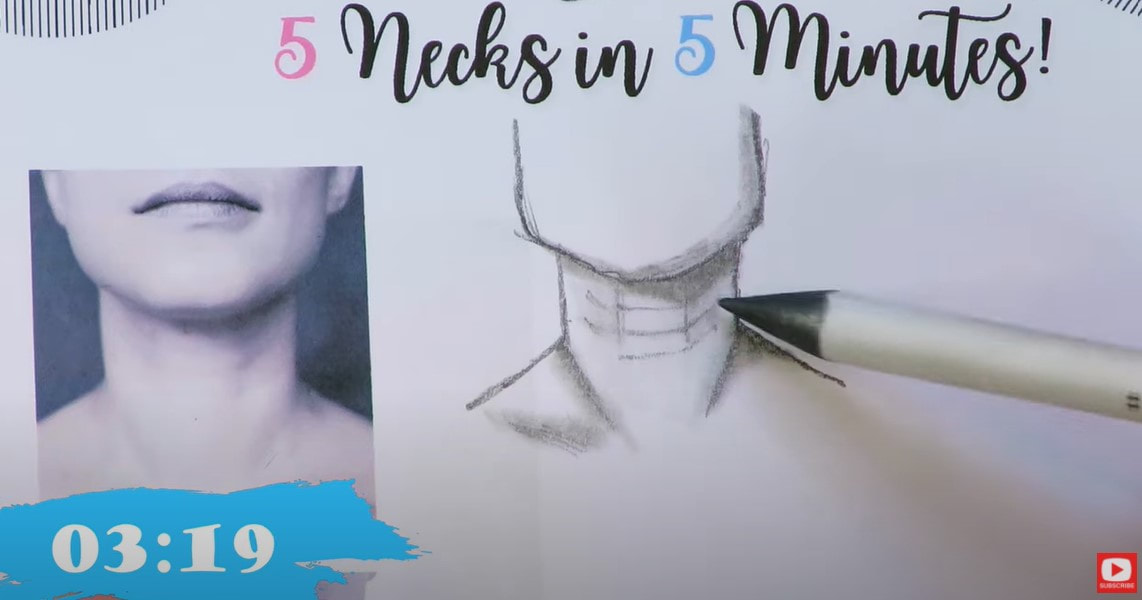
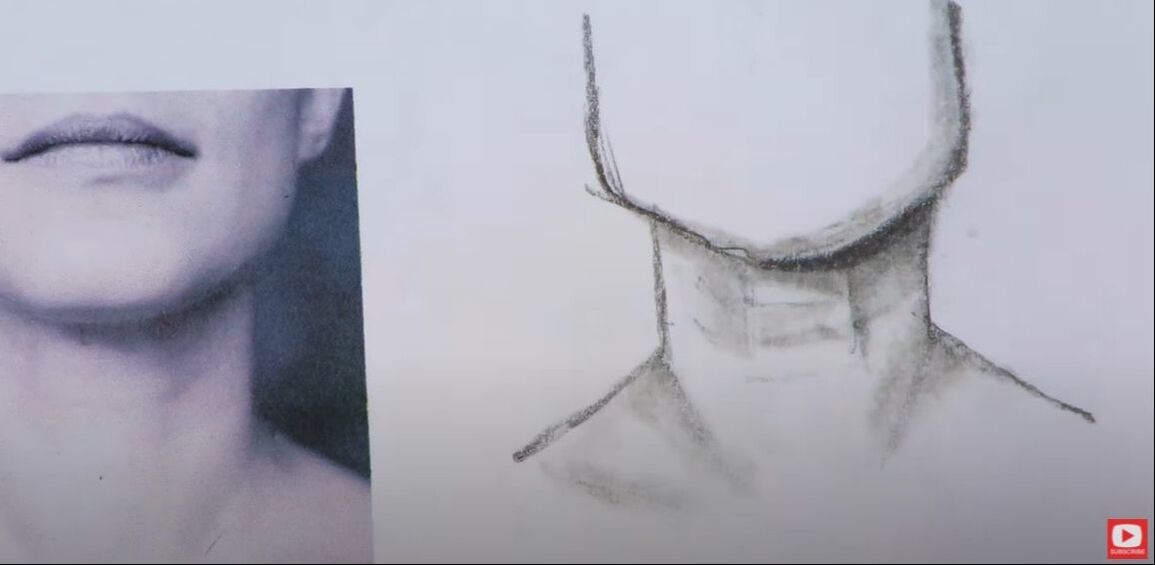
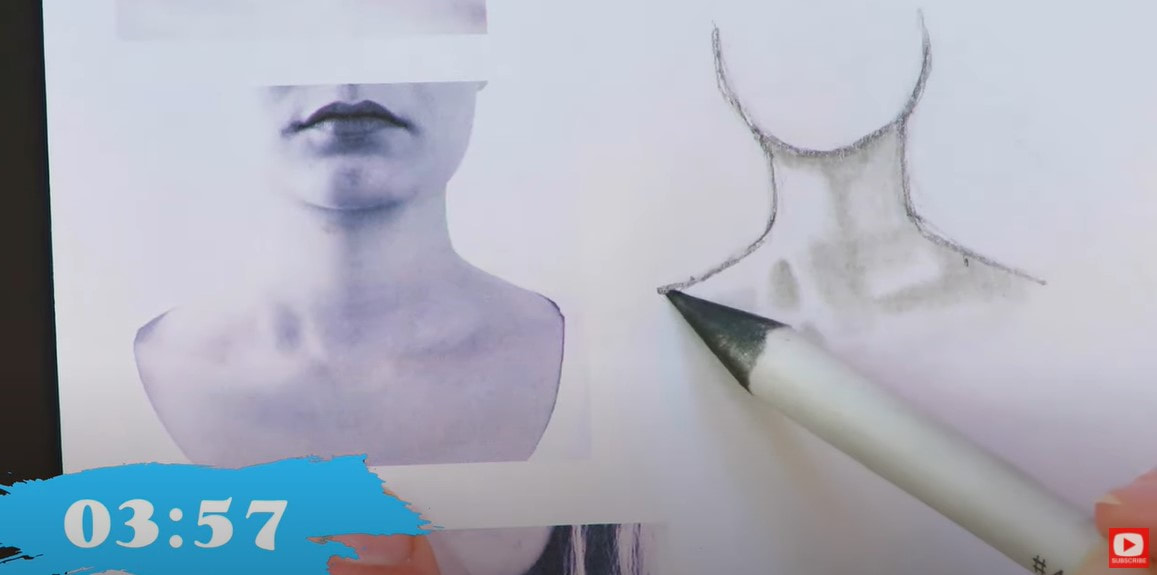
Once the angles were penciled in, I took a minute to study the reference for any other lines that felt like they need to be drawn in (see below). Then I grabbed my blending stump to begin dragging some graphite around to help indicate the shadows I saw in the model's neck.
Make sure you download your 5 in 5 Drawing Packet so you can practice right on the drawing worksheets with me. Then click over to the video so we can do this quick drawing practice together in real time (no timelapse).
While doing this drawing practice, I realized necks are really WAY more about shading than drawing!
If you're someone who's been afraid to try drawing a face realistically, or if you've been afraid to try adding a little bit of shading to your drawings - this is the PERFECT drawing exercise for you! Plus it's quick - something I always love!!
If you need to knock back any areas of your shading because they've gotten too dark, use your eraser to "pounce" and lift a little graphite off the page. Click over to the video to see this drawing technique. Keep checking your reference image to compare the lightest and darkest areas on the model's neck with your own drawing.
Our next reference image has a more rounded face shape than our first model, and a wider neck.
My hope in today's free drawing lesson is that you can sharpen your observational skills, and let go of any fears you have about not having an anatomy background for drawing.
You don't need it for the kind of drawing we're doing! This is just some light practice, and the anatomy can be indicated with your shading.
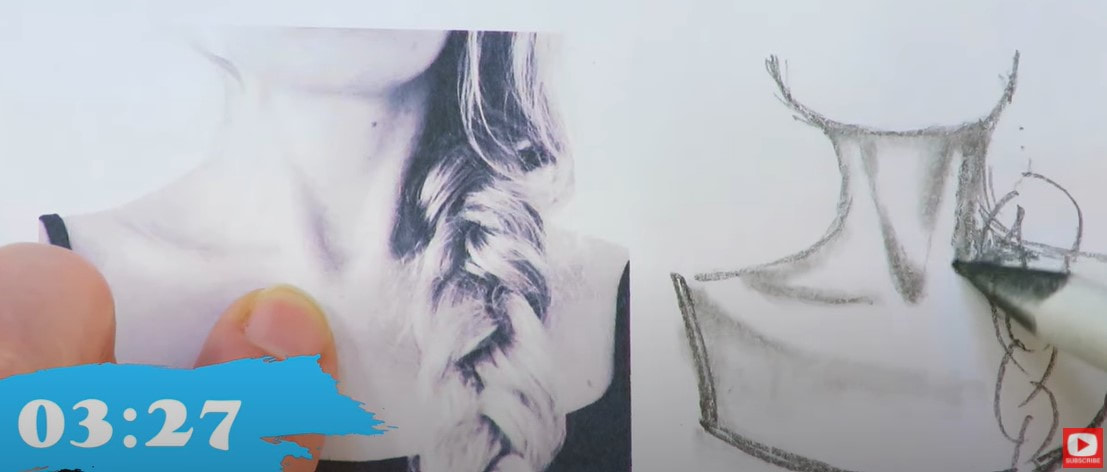
Our third reference image has some super dramatic shading for us to work on in the neck and collarbone. If you want to add in her braid- feel free, but don't stress about it. Today's practice is just about focusing on the neck.
Did you grab yourFREE 5 in 5 Drawing Practice packet and print it out yet? I hope so!!
As I always say, "You'll NEVER get worse with more practice." So print that sucker out, and let's get to work! If you're enjoying today's episode, make sure you check out the entire series on my YouTube drawing channel, because I teach you how to draw and shade eyes, eyebrows, noses, lips, hair, face shapes & more! Plus, each facial feature has 2 pages of black and white face drawing reference images to study and capture in your own drawing practice - right on the same pages. Our fourth neck drawing reference is SUPER subtle, and will help you sharpen your observational skills as we zero in on the highlights and shadows in this image together.
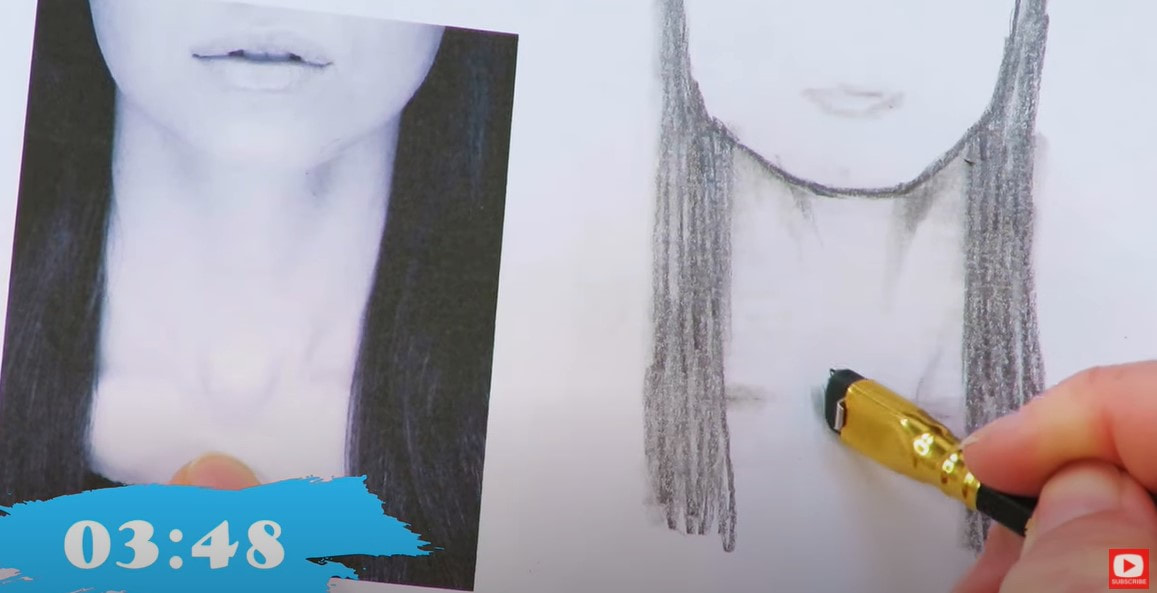
Our last drawing reference (below) for today has a super unique shape and lots of beautiful values for us to concentrate on replicating in our own drawing.
Make sure you grab my 5 in 5 Practice Packet so YOU can sharpen your drawing skills right along with me.
Thanks for hanging out with me today! Interested in learning about how to create a mixed media portrait, but missed my Mixed Media Art Deco Workshop last week? Don't worry! You can STILL sign up and do this at your own pace - any time you want!! No art experience is needed for this super FUN online art class - I'll teach you everything you need to know, and we'll go step by step, together. |
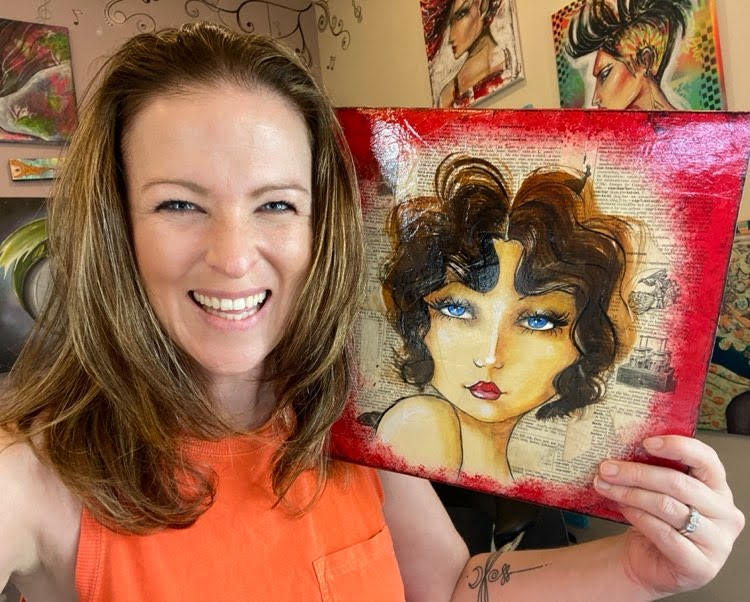
Karen CampbellFounder of Awesome Art School. Mixed Media Artist. Author of 19 Instructional Art Books! Whose work has appeared in...Archives
July 2024
Categories
All
|
|
"Karen is flipping hilarious and she's very real...I like the way she teaches in a way that really gives you confidence, whether you're a beginner or advanced there's always something new to learn!"
- Elizabeth W. |
What Fans Are SayingKaren, you are absolutely fabulous! You make me feel like I can draw anything. I have recently retired and finally have the time to do some of the art that I have loved since I was in school. I am really at the beginning of my art journey and I hope to learn as much as I can. Thank you for all you do. |
Contact ME |





 RSS Feed
