
EASY Fairy Drawing in Alcohol Markers with Karen Campbell [Week 3 #50FunFabFaries Challenge]14/6/2022
Wanna create this EASY fairy drawing with me in alcohol markers? These are one of my FAVORITE art supplies to use when shading faces I draw. If you've never tried them before, stick with me - I'll guide you step by step in today's drawing tutorial as we continue with week three of the #50FunFabFairies drawing challenge!
To find ALL the info for the FREE #50FunFabFairies drawing challenge, simply click the button below to receive instant access to ALL the fairy reference images for each drawing prompt, plus info on supplies, cheatsheets and more!

Wanna become a better artist? Do today's lesson (and every lesson of the challenge) five times, making a few creative alterations of your choice, and watch your skills soar as you practice fairy eyes drawing, fairy ears drawing AND fairy hair drawing 50 different ways!
Before we continue, super quick announcement: All product links are Affiliate. I may earn a small commission if you choose to order through these links but by law there is never any additional cost to the consumer for doing so. I thank you for your support.
Just because we're switching up our supplies for week three of #50FunFabFairies, I don't want you to get distracted from the actual purpose of this fairy drawing challenge - which is increasing your drawing skills!
You're learning how to draw faces and where to look in reference images for face shading guidance so you know how to add depth to your drawings. If all you have is a pencil and a piece of paper and you want to do this drawing challenge - that's perfect. You're good to go! All that matters is you draw. 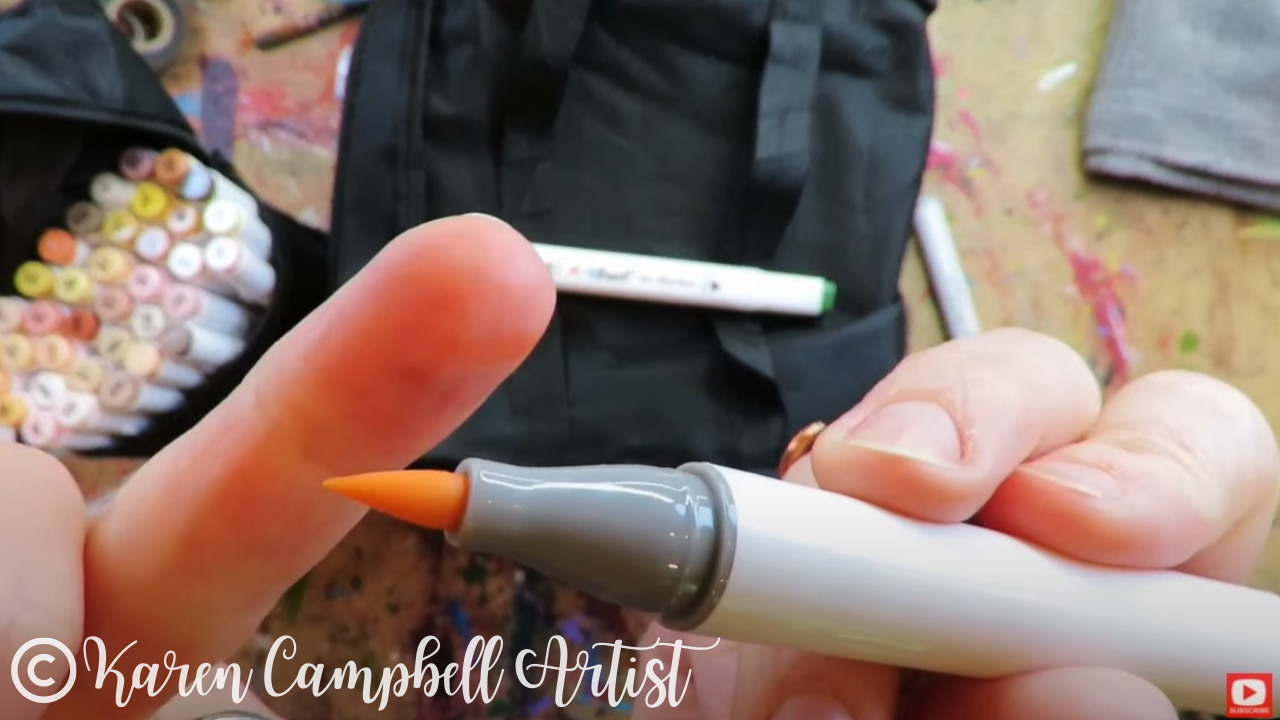
If you're new to my world, my absolute favorite alcohol markers are copics, but they cost between $8-9/each, so when I teach my students how to use alcohol markers I use Ohuhus (especially for skin tones!) because they only cost $1/marker.
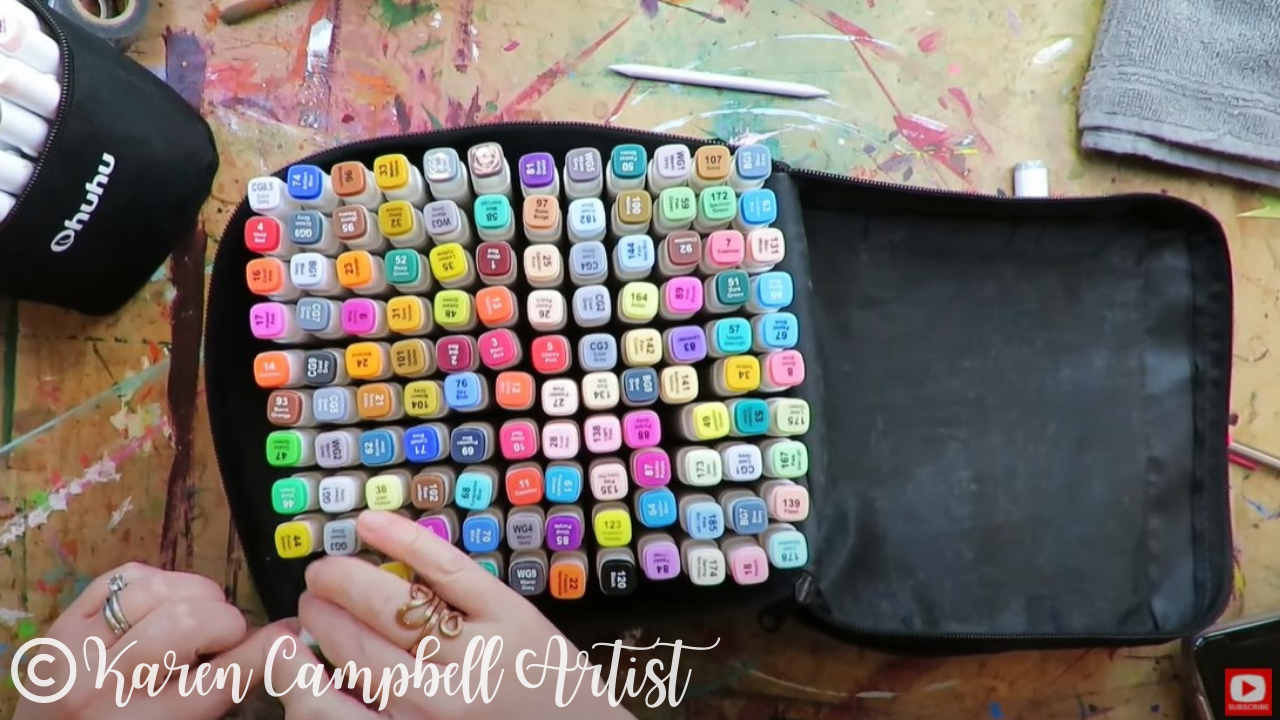
I was recently approached by a company called ArtBeek to try out their alcohol markers. I said I would because their cost per marker is only 40 cents and they have a brush nib on their markers -which is a must have for me. So today's project is not only our #50FunFabFairies drawing prompt number 3, it's a product test and review for ArtBeek Alcohol Brush Markers. 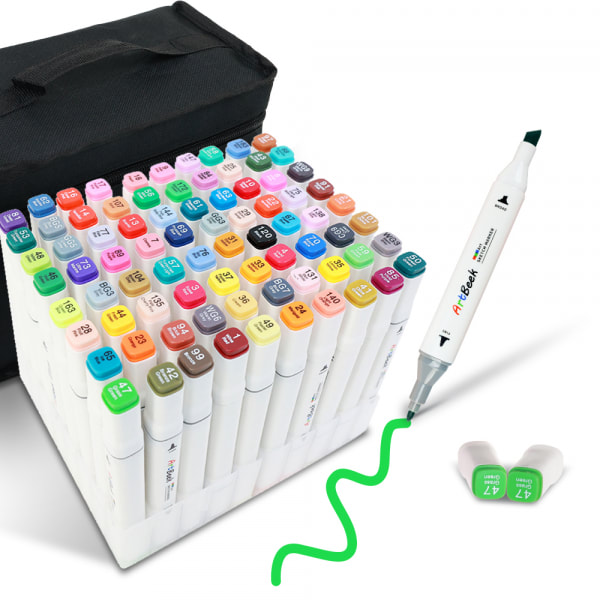
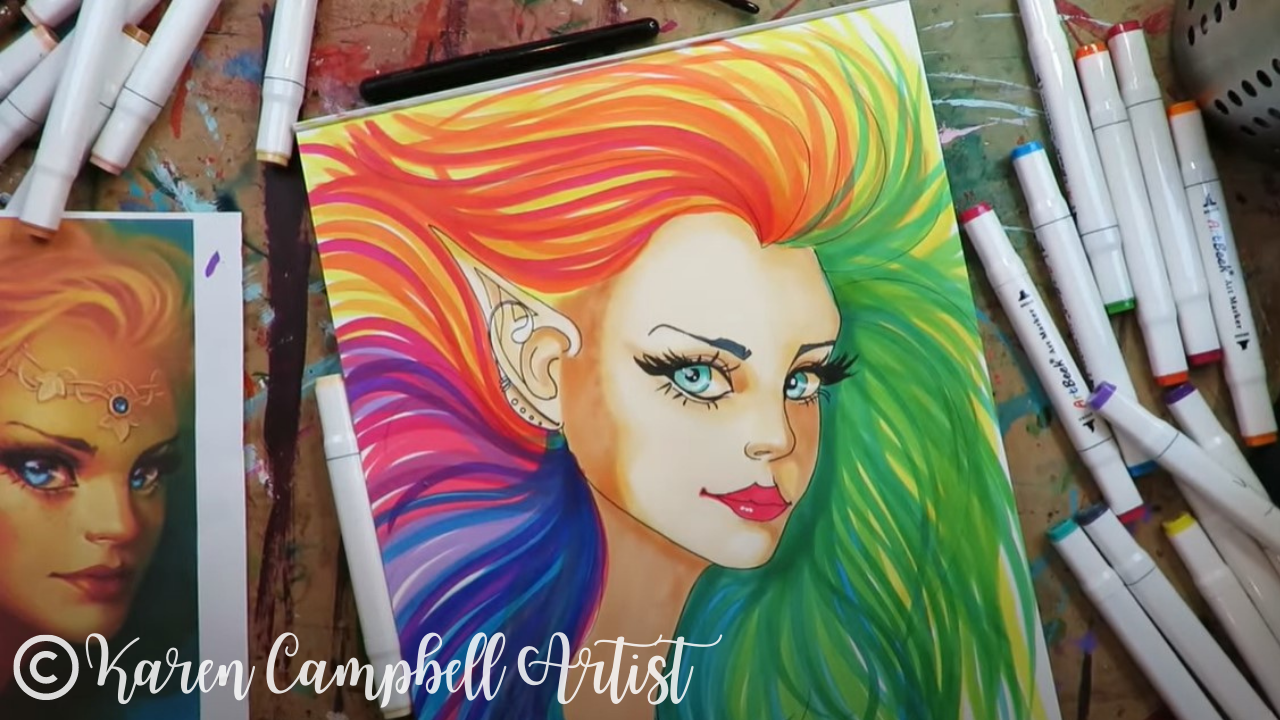
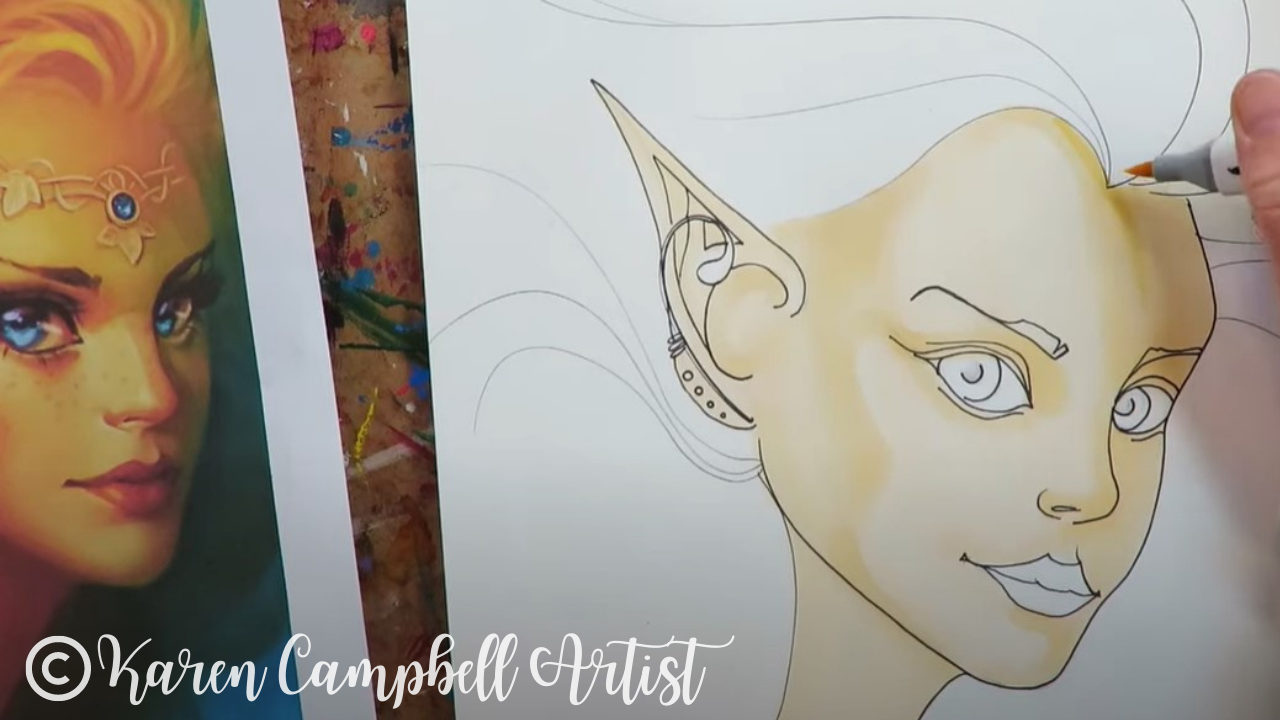
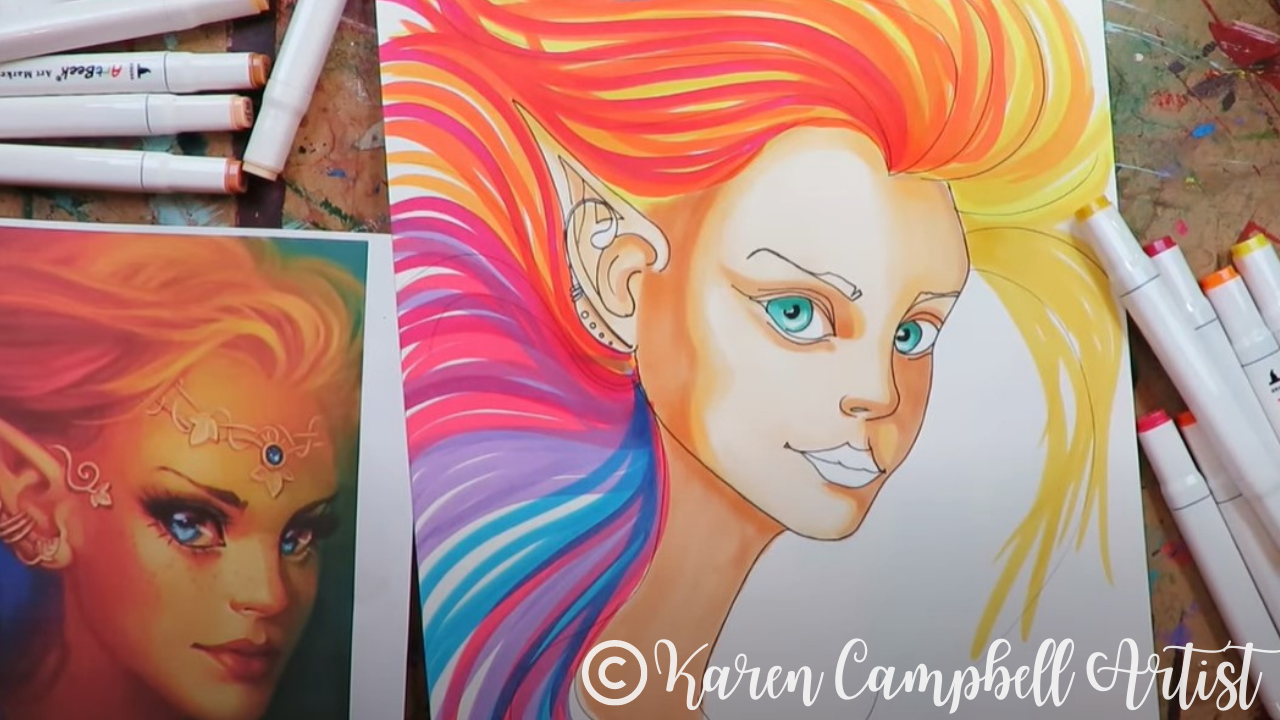
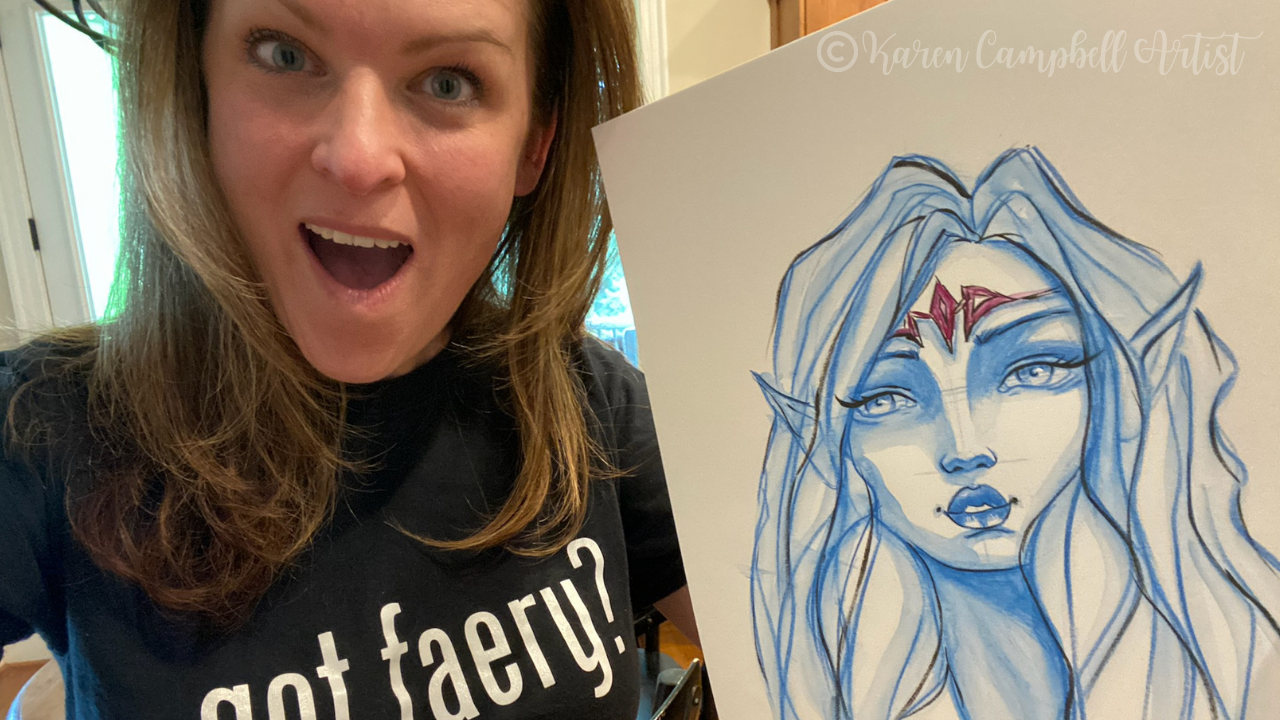
The fairy face drawing we're doing today is a side profile drawing in the three quarter view pose. While this is the most challenging view to draw - I think it's important for you to start practicing this right away so you don't feel intimidated.
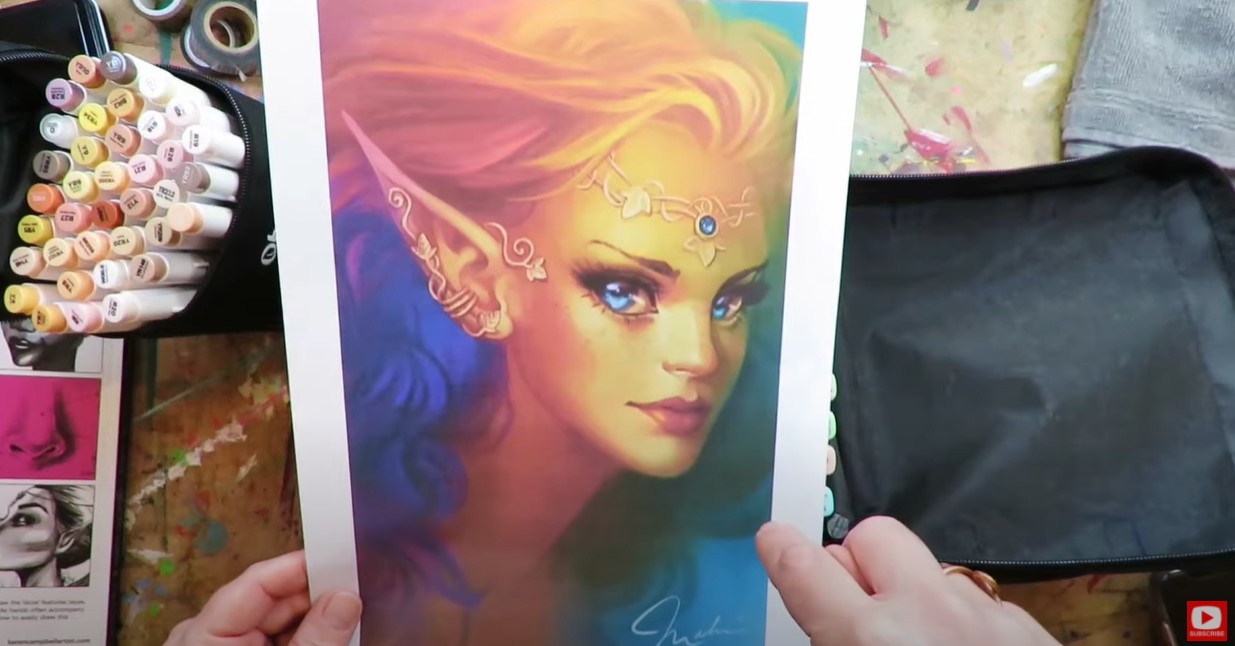
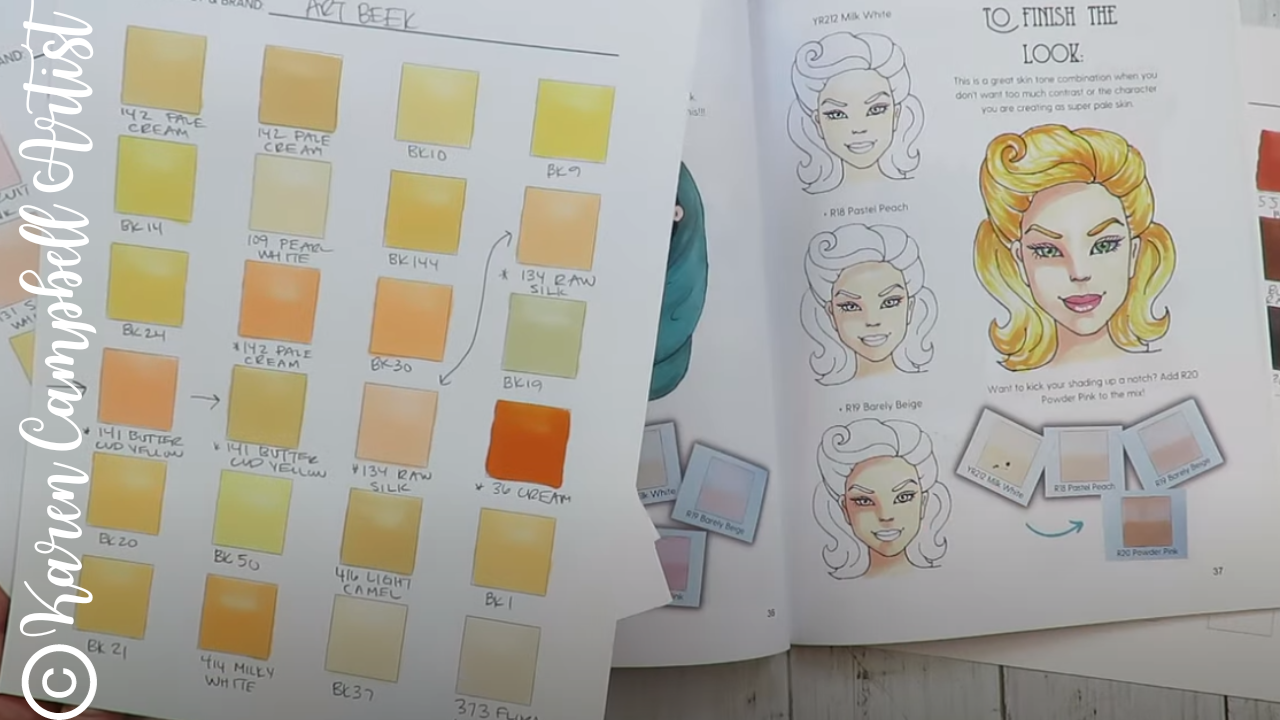
I'm including cheatsheets on how to draw a three quarter portrait from my book How to Draw & Find Your Style in the #50FunFabFairies classroom for you over at AwesomeArtSchool.com. I'm also referring to my book Skin Tone Secrets for a little help in locating the skin tone marker shades I want to use for this drawing. I love the rainbow vibe in our reference fairy drawing image. I see seeing a lot of yellow in the lightest areas, so immediately connected with this page from Skin Tone Secrets. 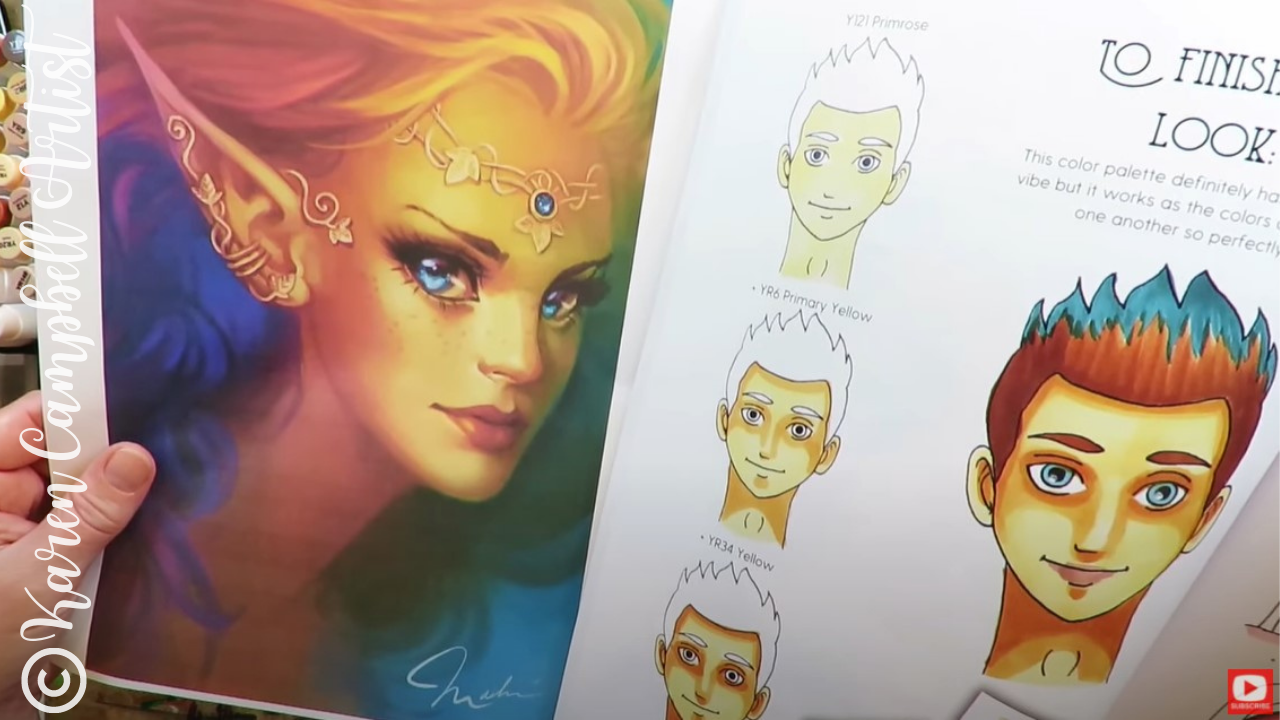
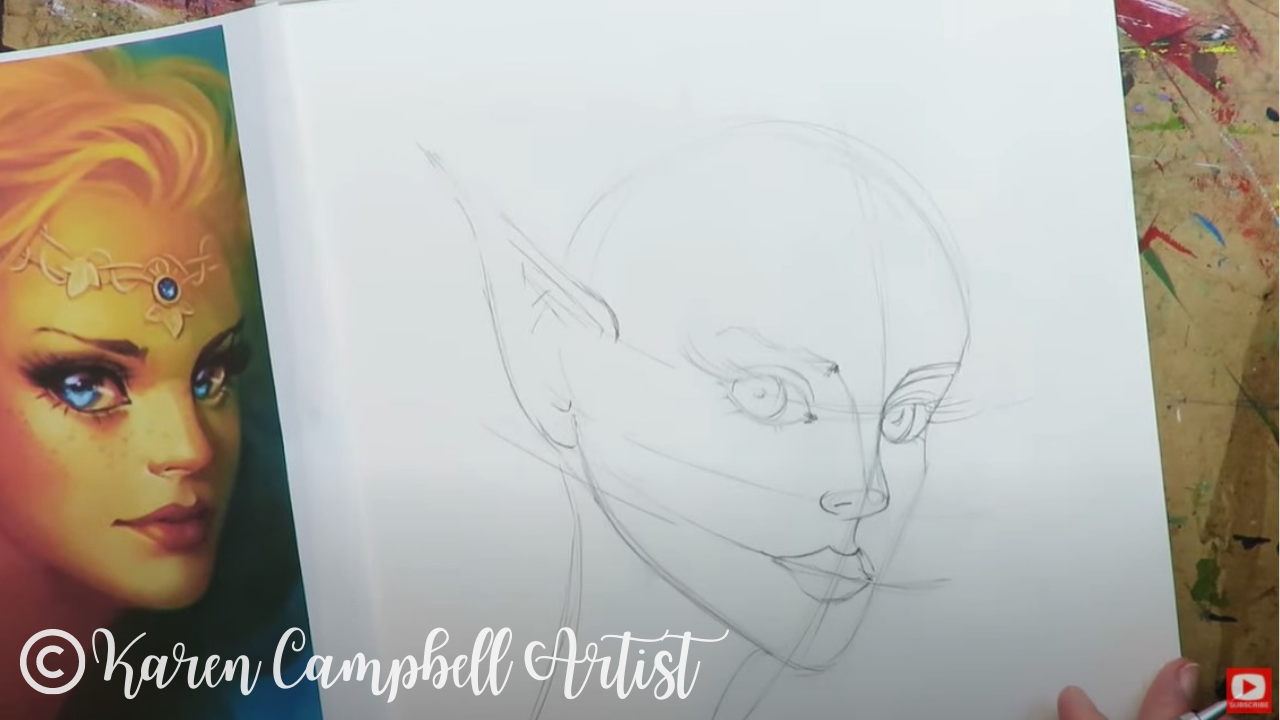
To get started, we need to sketch in the basic side profile drawing shape for a three quarter portrait AND the facial feature guidelines. If you know me - you know I NEVER draw a face without guidelines, because they're just too important!
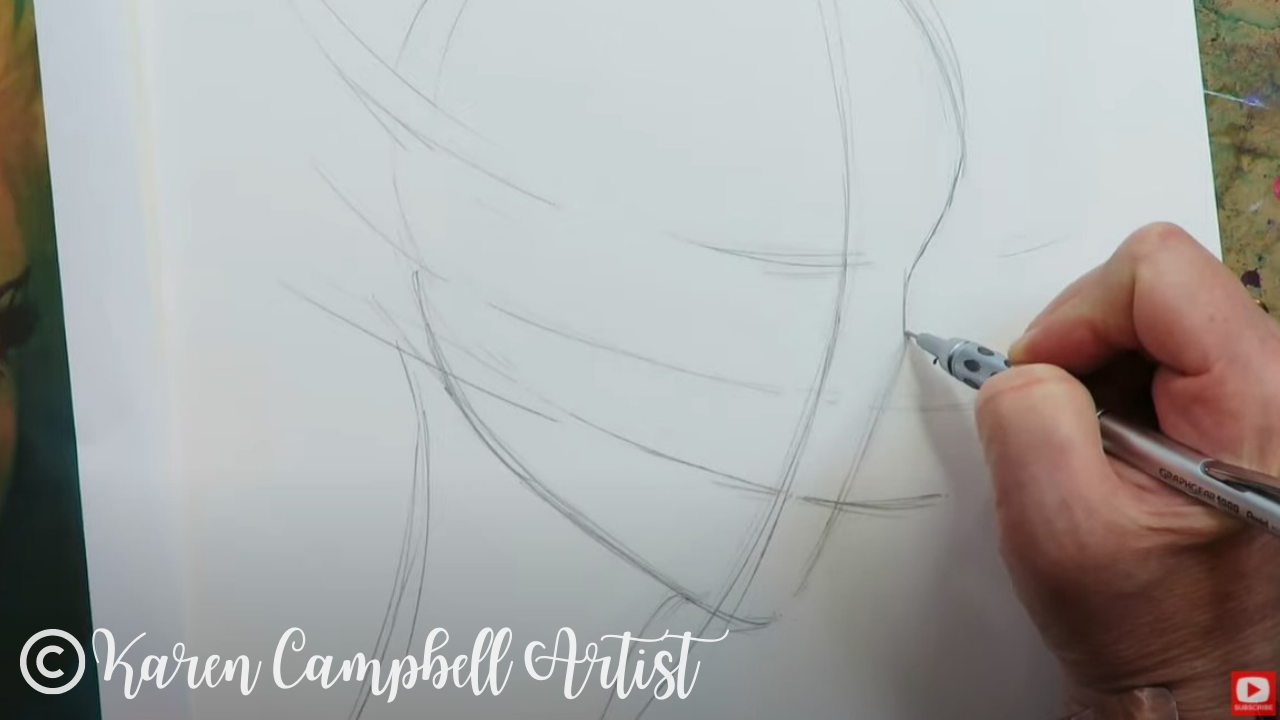
If you're not sure how to draw fairy ears, I've got you! Simply watch the video, and I'll show you step by step.
Once I've penciled in a few swirly hair lines, it's time to get rid of our graphite as well as we can, because graphite and alcohol markers really don't mix. The brush nib of an alcohol marker can get dirty and pick up graphite super easily. This can drag all over your drawing and muddy things up, so make sure you take enough time to erase as much of the graphite as possible.
I use my vanish eraser for this. After the guidelines are gone, I actually pounce my eraser over the rest of my lines just to remove even more. 
HOT TIP: If you're an outliner like me, and want to do those first, make sure you're NOT using a sharpie because these are also alcohol markers and they will naturally want to bleed and blend in with the other colors you're using.
Instead, opt for a fineliner that is water-based or pigmented, like this one from Molotow. These will NOT smear when you're working with Copics, Ohuhus, or the new markers I'm testing out today by ArtBeek. 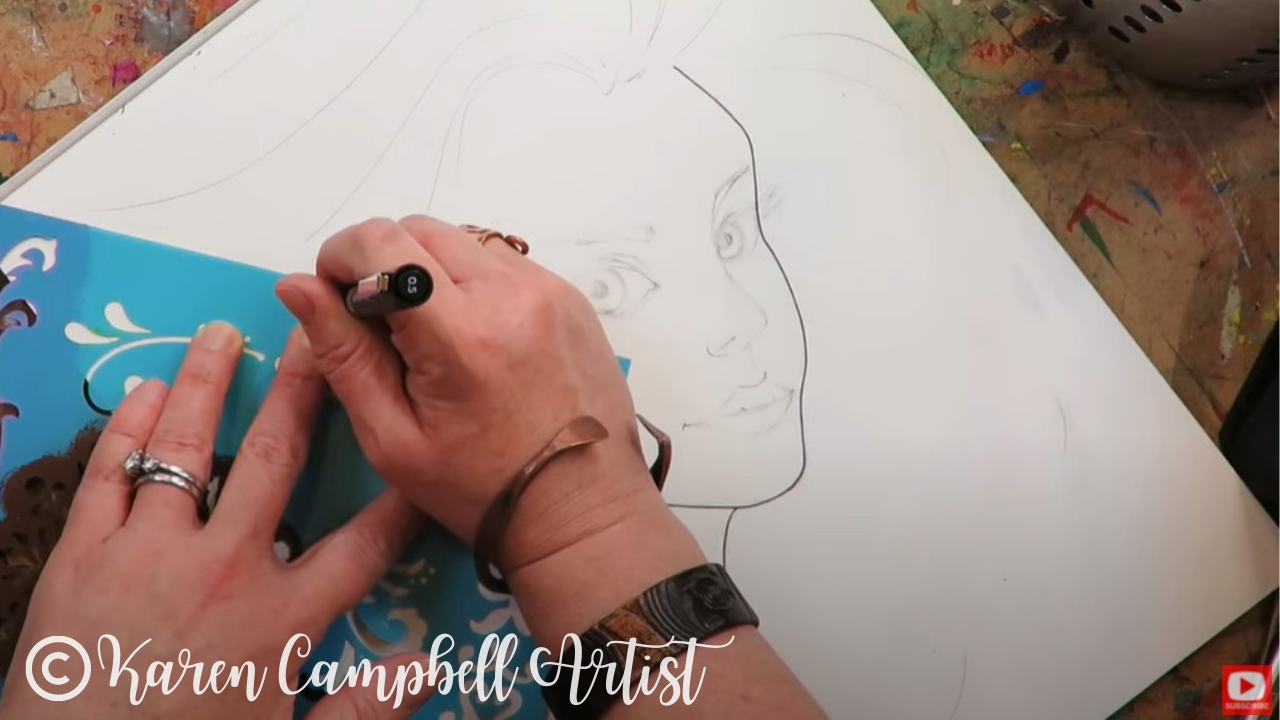
HOT TIP: There are lots of fun swirlies in our fairy drawing image for jewelry, I love using a STENCIL to do this! It takes the pressure off trying to copy something exactly and looks SO precise in your drawing. I highly recommend you do this as well :)
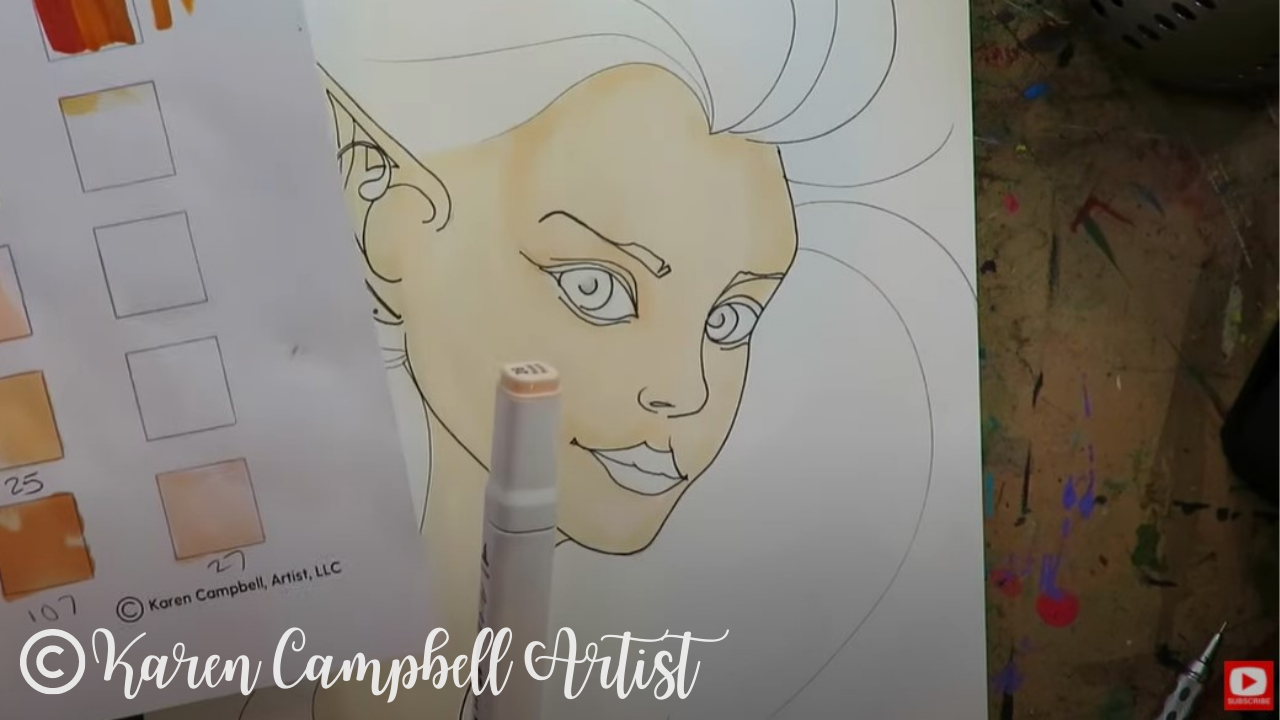
Since I'm using a new to me set of alcohol markers, I do need to swatch them out prior to coloring today. As I do this, I'm loving the soft brush tip of the ArtBeek markers. There aren't a lot of skin tones (even in the large set of 120), but I do feel like they're even softer to work with than the Ohuhus, which kinda surprises me!
In the video, you'll really see how I look to my reference fairy drawing image to "inform" my face shading. If you're scared to change marker shades as you get into shading the face - that's ok. Just use the same shade you were working with for layer one and darken your drawing with a second coat of that same color to start creating subtle shadows (above). It's totally fine to do this in baby steps until you're comfortable.
Typically I recommend using three shades of a color to do face shading in alcohol markers. As you can see in the photo above, each time you add a layer of shading that is slightly darker than the one you did previously, leave that a bit of that previous color exposed to really add depth to your drawing. In the photo above, you can see all four skin tone marker shades I used in the shadow on her face, next to her ear.
The hair on this fairy is wild and SO much fun! I am in love with the rainbow and the fact that it gives me the opportunity to use so many colors from this fun new marker set by ArtBeek.
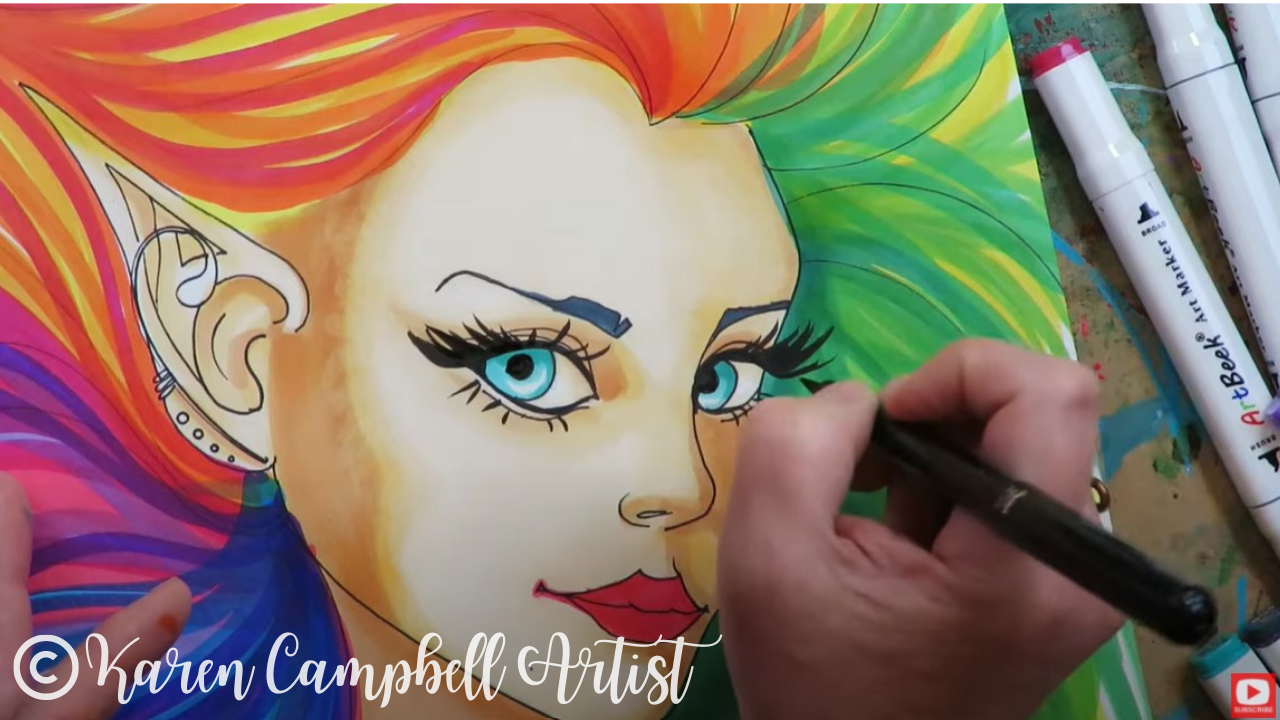
After my fairy is done, it's time for me to pull out my secret weapon for drawing killer eyelashes! I LOVE my pentel pocket brush. It's also water-based so works just as beautifully with alcohol markers as it does over china markers and my mixed media paintings!
I hope you enjoyed today's fairy drawing lesson. Remember, if you haven't signed up for the FREE #50FunFabFairies drawing challenge - you can still do that whenever you want to. It's not too late to join, and there is no "behind" with the challenge. Everything is draw at your own pace on your own time! I've stocked the FREE classroom at AwesomeArtSchool.com for you with PDFs of our fairy reference images for each lesson, plus drawing cheatsheets to help you along, info on supplies and SO much more! Have so much fun and I'll see ya in the classroom, or if you're posting your progress in the Facebook group! If you're OBSESSED with fairies and fantasy art like me, you might just LOVE the Celtic Collective over at Awesome Art School. It's an art membership my Scottish bestie, Lucy Brydon, and I run together! 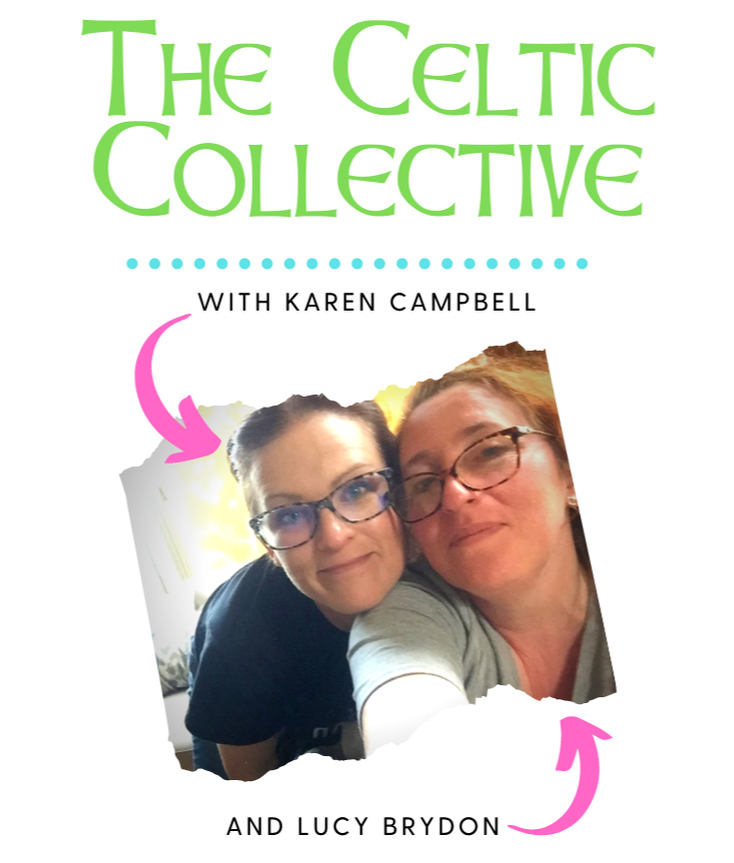
You might ALSO enjoy our podcast, 1Scot,1 Not. We talk about everything under the sun to do with Scotland - whether it's historical, fantasy, whatever. Just a quick warning - we have a blast and are totally ourselves on the podcast, which means there is some drinking and swearing.
❤️ CHECK OUT ALL my art books on AMAZON ❤️ MY FAVORITE ART SUPPLIES on AMAZON ❤️ MY BELOVED FACEBOOK GROUP ❤️ FOLLOW ME ON INSTAGRAM
0 Comments
WHAT IS GOUACHE?! How to Use it in Mixed Media Art + Gouache Alternatives for Matte Finish Lovers!8/6/2022
What is GOUACHE anyway?! I get asked about the meaning of gouache all the time by my mixed media beginners. In today's mixed media art supply demo, I'll show you WHAT gouache is, explain WHY mixed media artists might want to use it, plus give you a demo of my favorite brands and gouache alternatives for EVERY budget.
If you've been searching for a gouache definition, info on gouache vs acrylic, gouache vs watercolor, or simply want to know about ALL the supplies - today's video is FOR YOU!
Are you new to mixed media art, or just wanna learn more about mixed media art supplies so you can create mixed media masterpieces instead of a hot mess?! You're in the RIGHT PLACE!
Simply click the button below to grab my FREE Supplies Guide! 
Need a video of me explaining the Supplies Guide in Action, after you print it out? I've got you!!

Before we continue, super quick announcement: All product links are Affiliate. I may earn a small commission if you choose to order through these links but by law there is never any additional cost to the consumer for doing so. I thank you for your support.
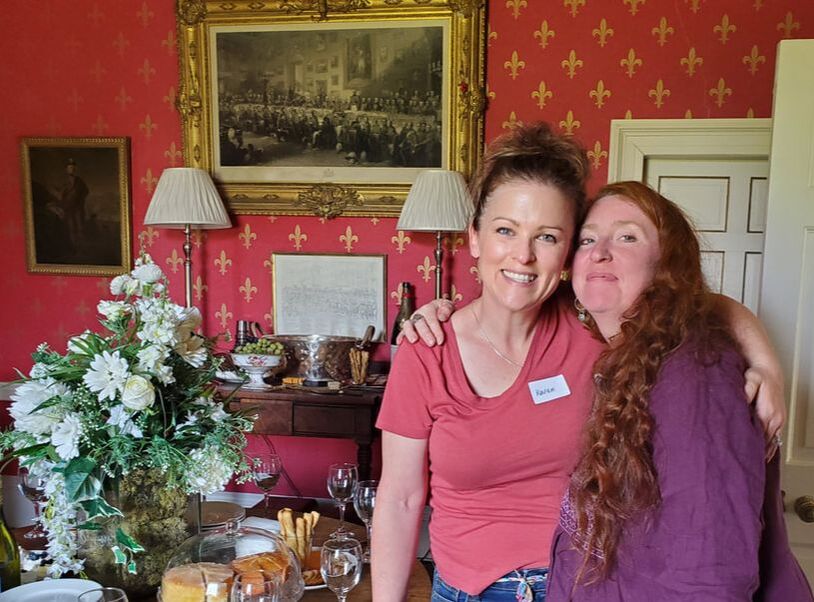
Everything I know about gouache, I've learned from my Scottish bestie, artist, Lucy Brydon (top right - that's us just a few short weeks ago, moments before we opened the doors to Wardhill Castle for our 2022 Castle Art Retreat!).
Lucy is truly a gouache artist! She loves painting portraits, animals and doing goache flower painting in the backgrounds of her work. Take a look at this recent piece she did of her dog, Miso! Isn't this gorgeous?! 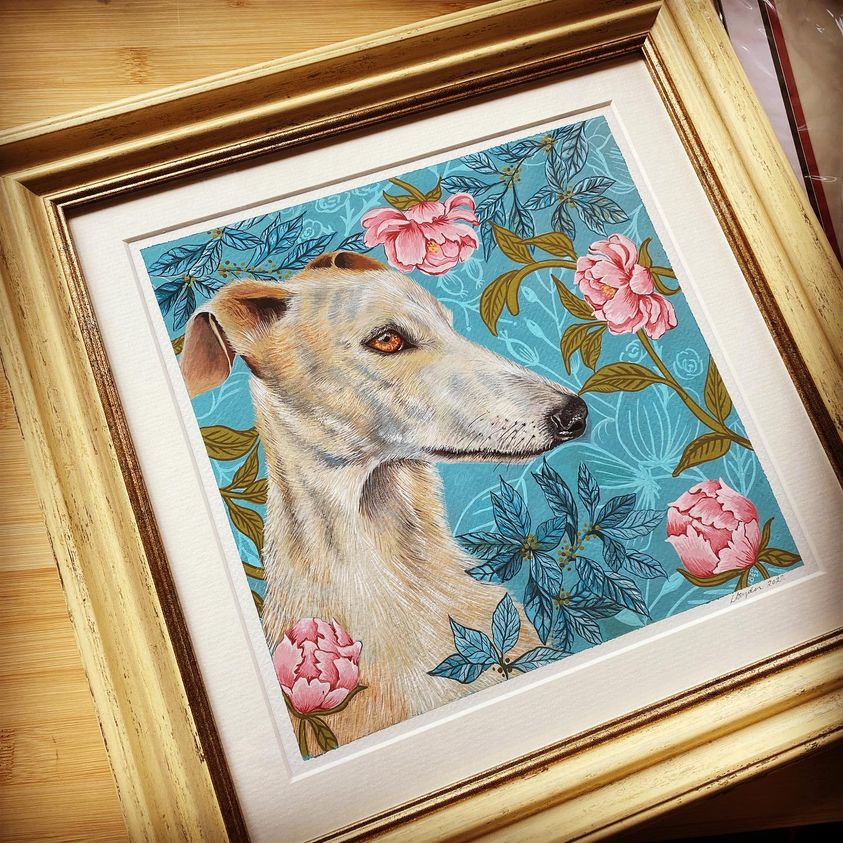
If you look closely at Lucy's piece above, you'll notice there's no sheen to her paint, and it's very opaque. You might even guess that the painting was done in acrylics, but it wasn't, it's gouache.
Time for a quick gouache definition... Gouache is a watercolor that is totally opaque, and very, very matte. Take a closer look at the red background on my gouache portrait painting on the left, or the blue hair and skin tones in my girl on the right. This is the look gouache can help you achieve in your mixed media art projects. 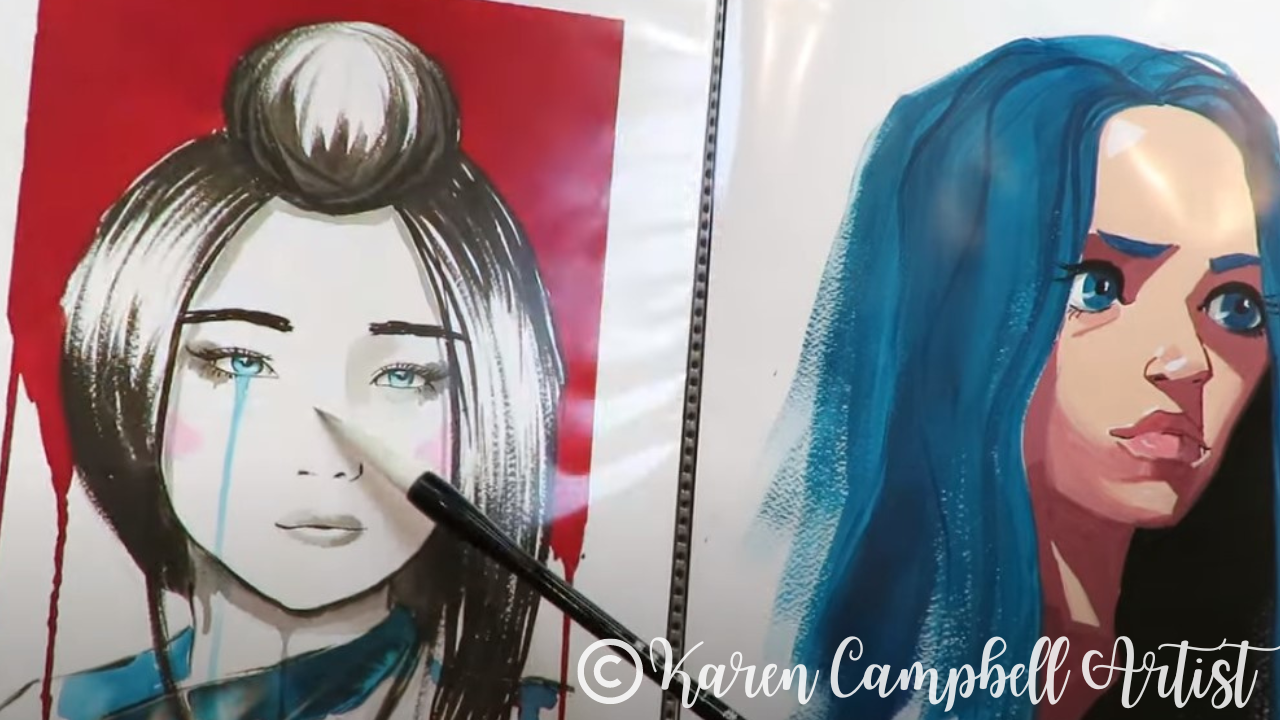
Lots of students wonder about gouache vs acrylic paint. If you like a matte look, and that's really all you're after, why not just paint with acrylics?
Gouache doesn't behave like acrylics. Because it's actually watercolor, it's highly water reactive, it will keep reacting when water is added. This is really important to understand, because if you're working in layers, whenever you add a new layer of gouache on top of a previous layer, you can easily reactivate your bottom layer. Lots of artists love playing with these effects, but in case that's not YOU, stay with me, because I've got gouache alternatives to share with you today! 
Before I get to today's demo, there are two other things you need to know about gouache...
1. Gouache works beautifully on ANY surface from cheap watercolor paper to wood or canvas (yup, I've tried them all!) 2. You DON'T need a a special gouache brush to work with this medium. In fact, I use my cheapies, because gouache texture is a thicker consistency than watercolor, but not quite as thick as acrylics. Choose a brush that is kind of inbetween a soft watercolor brush and a stiff acrylic paint brush. I recently found this brush set on Amazon for $7, and they're perfect for gouache! 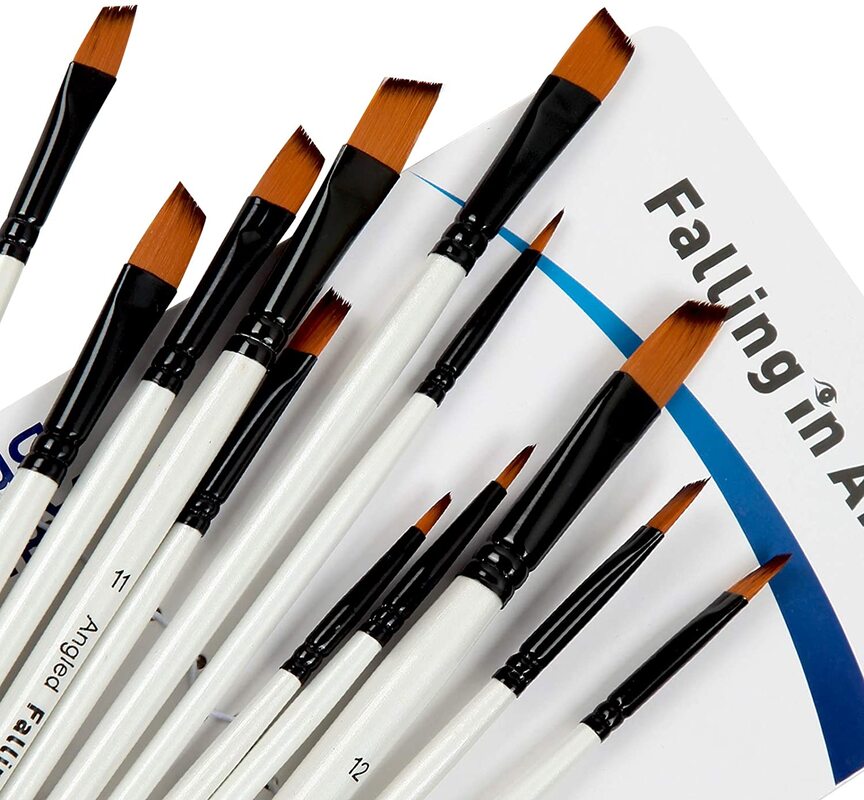
Let's get to the demo. First I'm swatching a square of of red guache by Turner Design. I found this brand at my local Jerry's Artarama for about $15/tube.
In general gouache can get expensive, so if you're chasing that gorgeous matte look, stay with me to see how you can achieve that from a number of cheaper gouache alternatives. 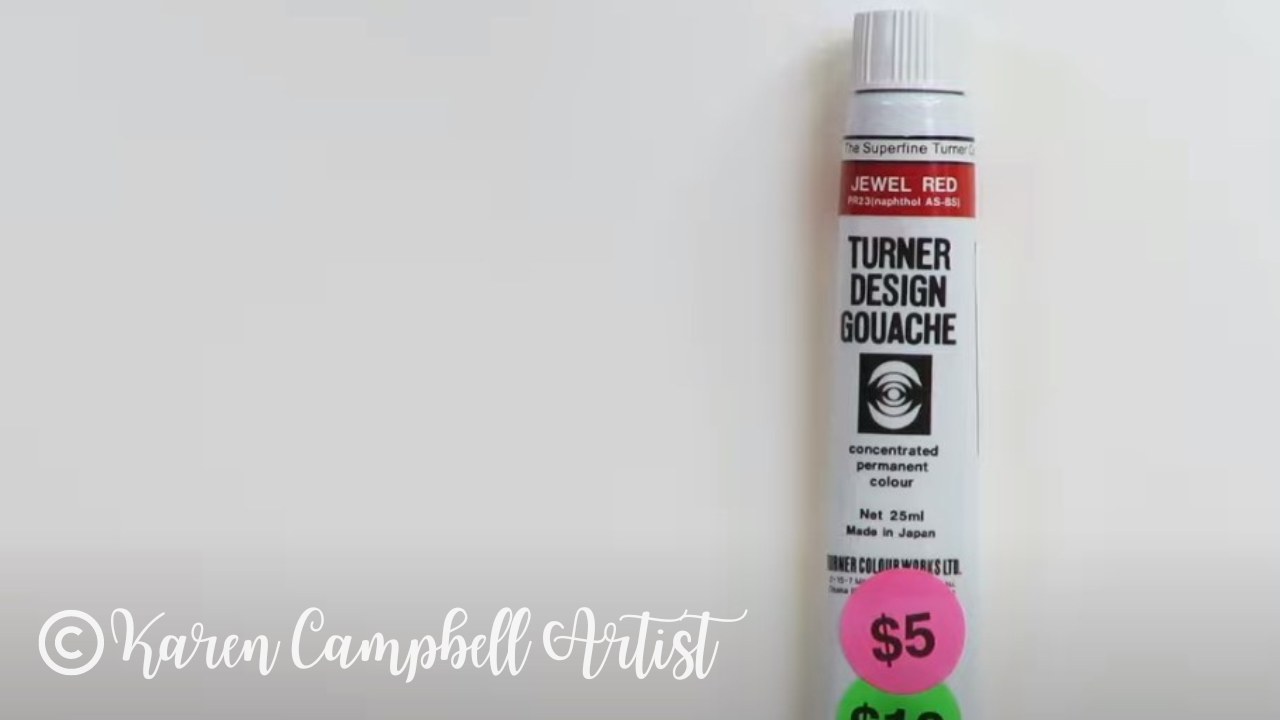
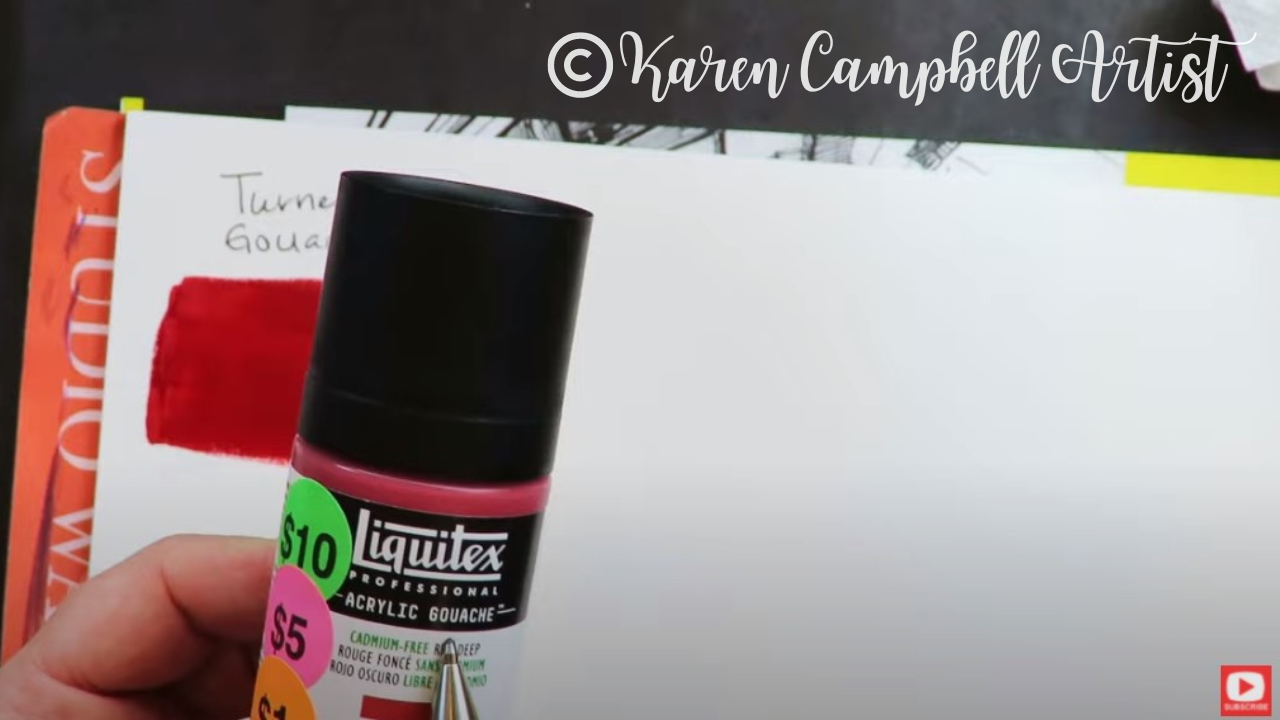
The next product I'm testing today is an acrylic gouache by Liquitex. Since this is an acrylic paint, it's NOT water reactive, which some artists prefer. If this is you, you might want to consider trying a bottle (also around $15/color).
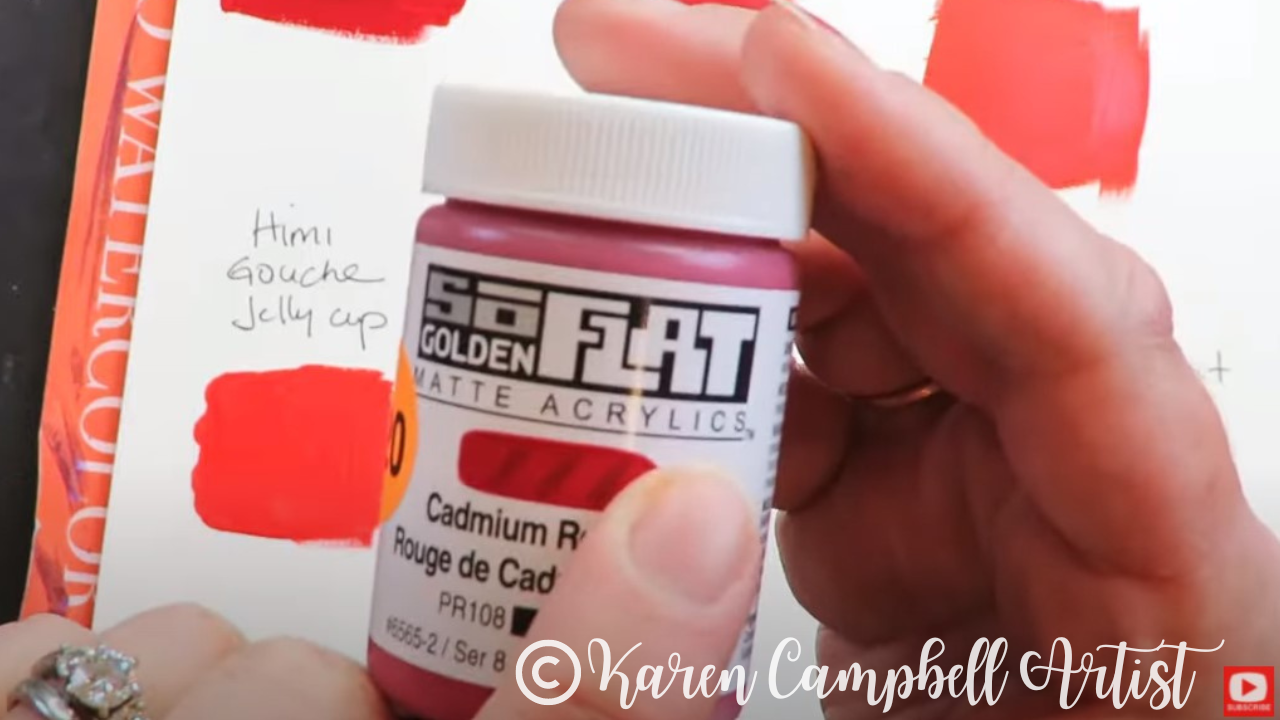
If you're in the mood to play with a watercolor gouache and don't want to spend a ton of money, check out Himi gouache. These are super interesting gouache "jelly cups." I purchased a set of 50 shades, for about $50. This type of gouache is very thick in consistency.
In case you DON'T want water solubility, Golden just came out with a line of "flat" acrylics. They're pretty pricey at $20 for a tiny jar, but if you compare it to the other brands of gouache and gouache alternatives I tested today, it's amazing quality for a matte finish, and I can't see any of my brush strokes like I can in the rest of today's swatches.
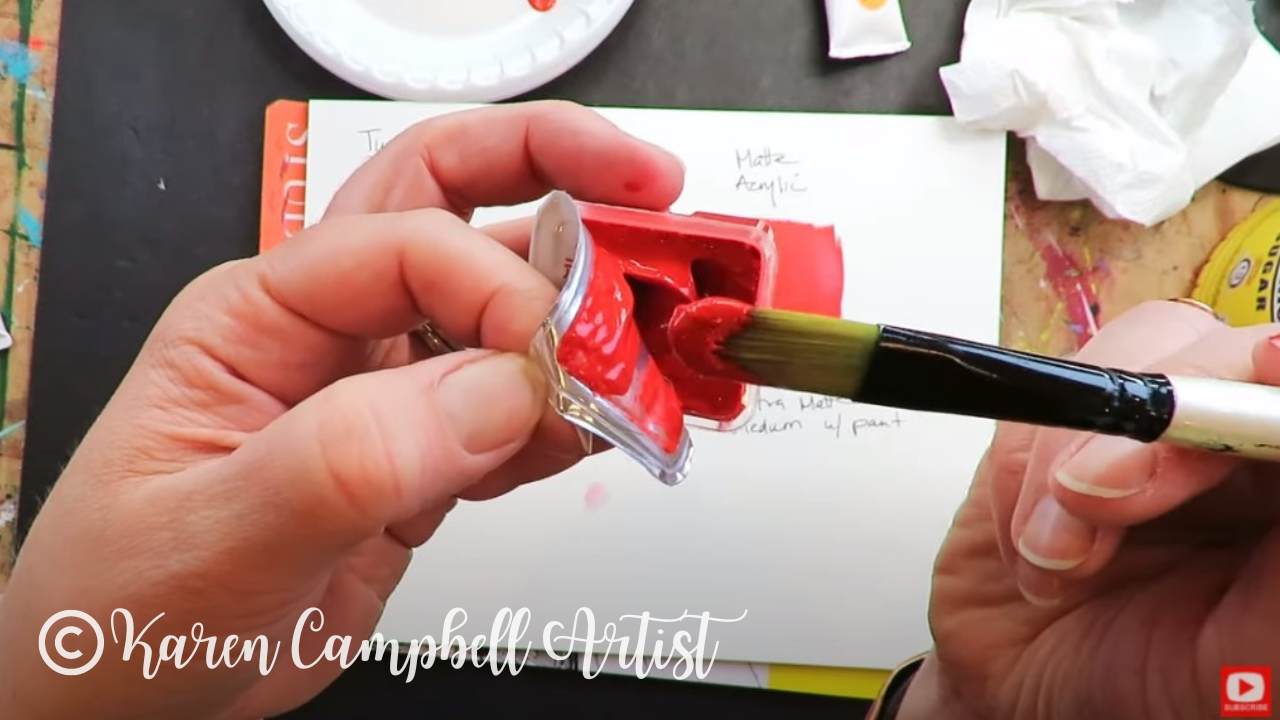
Another great "cheat" you can try if you're after that look of a super matte finish, is mixing your acrylic paint with matte medium. Now, if you're in my world, you know I use matte medium ALL THE TIME in my mixed media art projects as a type of glue for my collage because it's got great adhesive properties and is made to work with acrylic paint (which I typically use OVER my collage layers).
I recently discovered this "ultra matte" version of matte medium by Liquitex, and decided to test this out today mixed with a little acrylic paint to see how it compares to our other options. 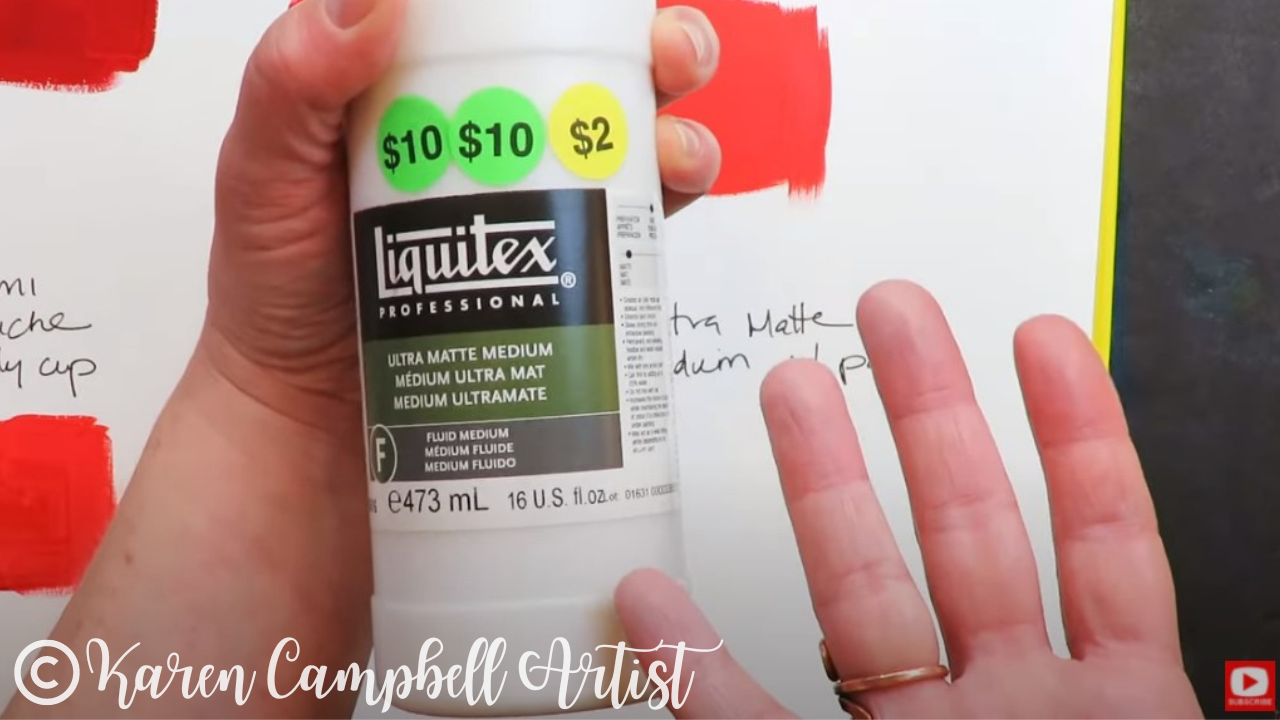
In terms of opacity for the variations I tested today, Golden's So Flat line is definitely a notch above the rest. I can't see a single brush stroke line, so if this is the look you're after, and you can pay around $20/tube for it- I highly suggest choosing this one.
The Mattise Matte Acrylic is a runner up for me in terms of opacity, but still fairly expensive at $15 - 20 /tube. 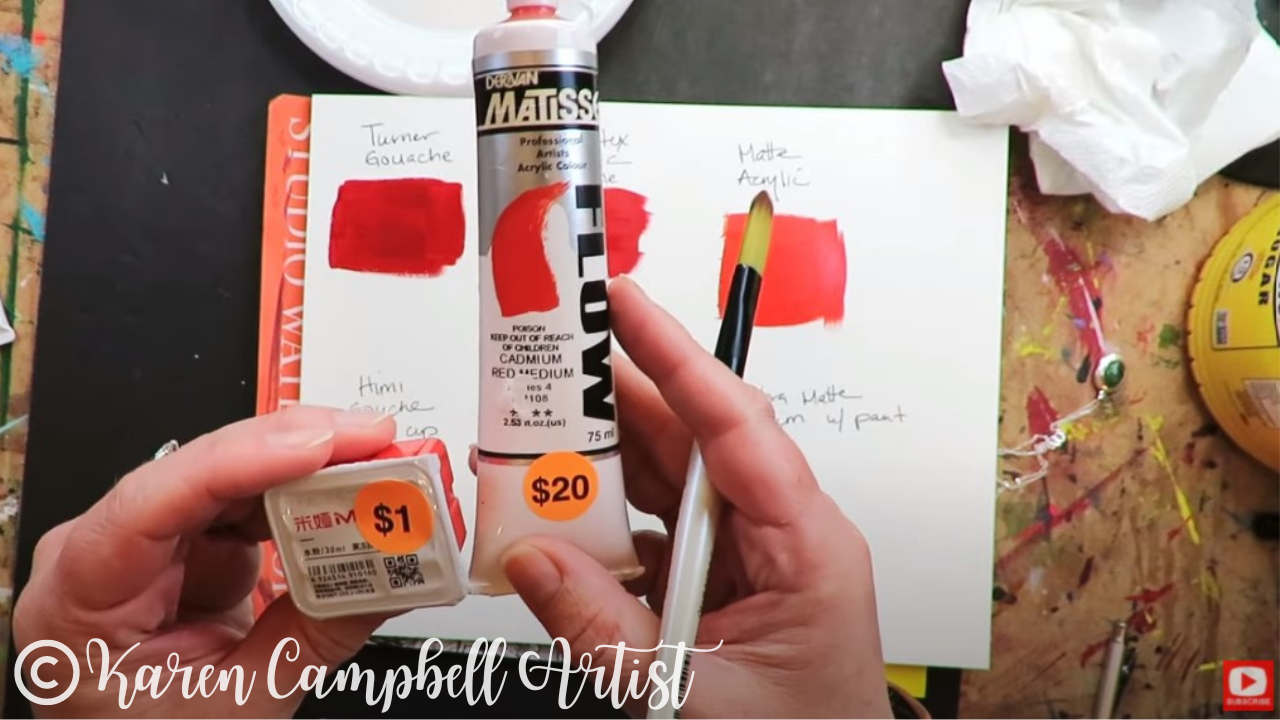
The least opaque variation I tested today were the Himi gouache cups. These are also the cheapest option, and we all know you kinda get what you pay for. However, if you just want to experiment with gouache and love lots of color options for $1-2 / color - gouache jelly paint is your best bet.
If you're looking for a higher quality gouache, pretty much all the higher fine art brands carry them.I love this one (not tested today, but I often use this Winsor Newton Permanent White Gouache to add highlights on top of my watercolor pieces). 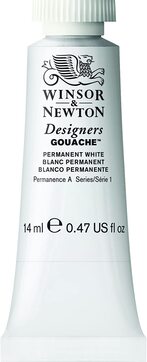
If opacity is what you're after, and you don't care about activating your matte layer with water, I highly suggest you consider one of the gouache alternatives I tested today - either the Liquitex acrylic gouache or Matisse Matte acylic. I think you'll be super happy with those!
Or, for even LESS of an investment, you can pick up a bottle of Liquitex Ultra Matte Medium for around $22. It will last you forever, and you can experiment with adding it any shade of acrylic paint or craft paint you already have on hand! Make sure you click over to the video to see each of these gouache and acrylic alternative options side by side to see which one YOU might love most! Do you LOVE fairies and fantasy art? I'm currently running a FREE drawing challenge called #50FunFabFairies over on my YouTube drawing channel. Literally thousands of other artists - from beginners to advanced, are playing along. I set up a FREE classroom for the participants over at Awesome Art School. Come join in the fun!!
Last Updated 5/31/24
Mixed media paper is something I get asked about ALL THE TIME by my students! As mixed media artists, we need super strong paper that isn't gonna buckle no matter how many wet, messy mixed media art supplies we throw at it. If you're a mixed media beginner or a seasoned artist looking for answers that won't break the bank, today's video is for you!
Mixed media art supplies can get overwhelming FAST because there are so many to choose from. I've created a FREE 9-page Supplies Guide to explain which mixed media art supplies I love most AND how they perform so you know what to expect right from the start.
Simply click the button below, and I'll send it right over. 
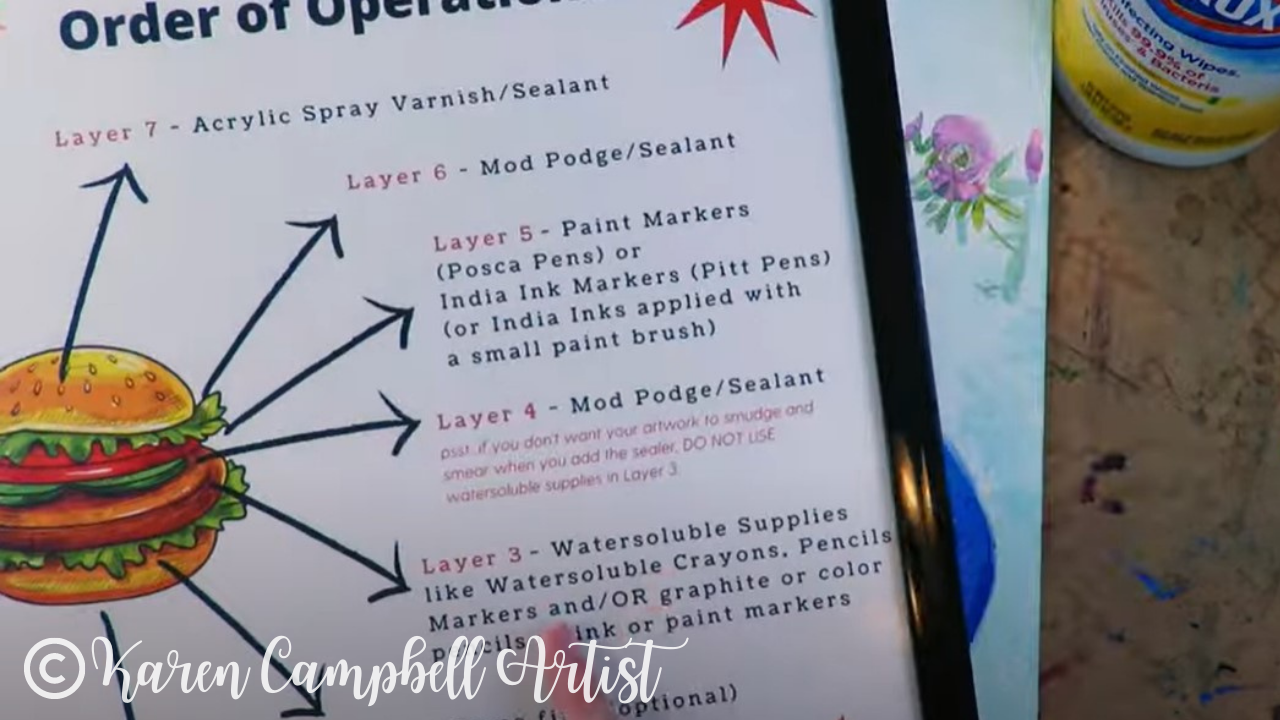
Once you understand your supplies a bit better, mixed media art will become SO much more FUN! If you need help with layering check out my signature Hamburger System. When you're in the mood to work with fewer supplies, check out the Hot Dog System!
*All product links are affiliate & for U.S. residents only.*
When it comes to mixed media projects you want to complete on paper, my advice is to simply use watercolor paper EVERY time.
Are you surprised by my answer?! People usually are. I know there are a zillion papers sold by amazing brands labeled "Mixed Media Paper," but trust me. I've tried them all, and nothing holds water soluble products, watercolors, fountain pen inks, acrylic paints, mod podge, and even collage- like watercolor paper! Take a look... 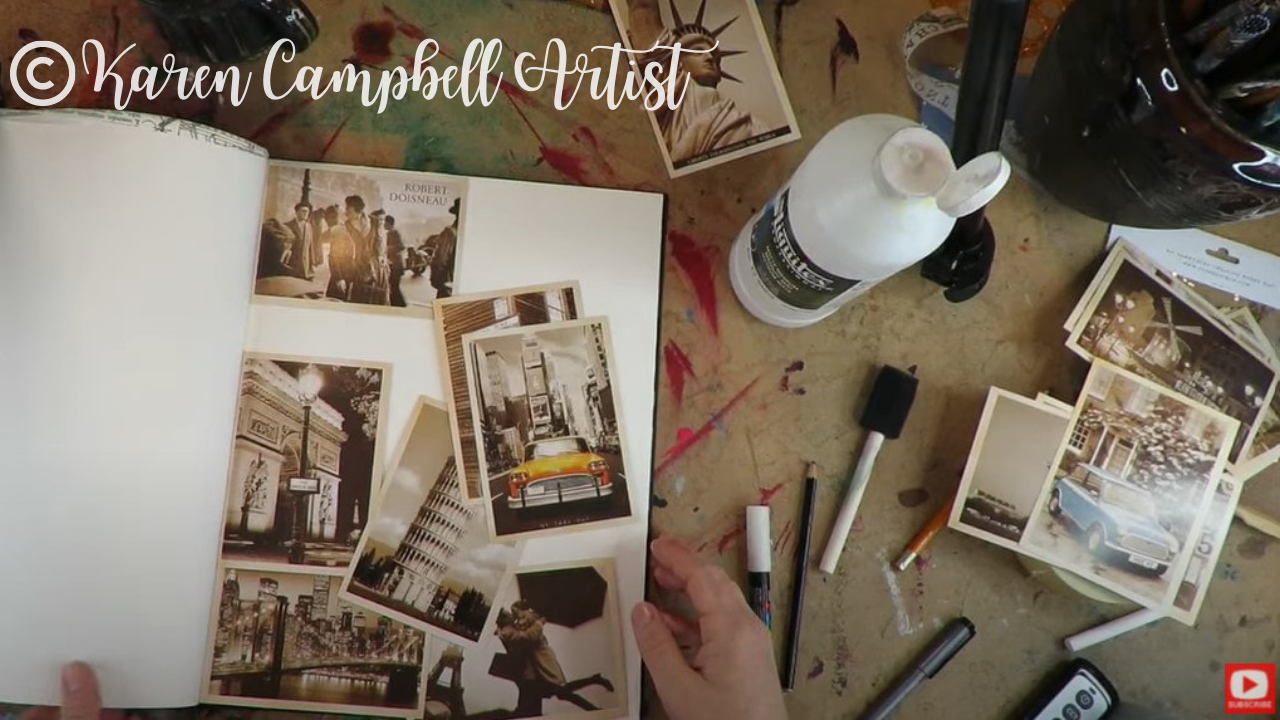
See the vintage postcard collage materials above? I glued these all down with matte medium in my Strathmore Watercolor Journal, and did a full on, 7 layer mixed media project on top of it - "Hamburger Style" (see below). This page was FULL of matte medium, gesso, mod podge and acrylic paint!

If you're new to me and my work, I do mixed media art projects on anything and everything. Typically if I'm not working on canvas, I'll do projects in my Strathmore Watercolor Art Journal (above), or on loose sheets of watercolor paper.
To keep things simple, I'm teaching you about 3 main kinds of watercolor paper today:
While rough cut watercolor paper can be super fun, keep in mind, your watercolors aren't going to work exactly the same as they would on cold or hot press paper. It's just different. Here's one of my rough cut watercolor art journals: 
What about cost? You'll notice when you visit your favorite craft store that there's super cheap watercolor paper and crazy expensive watercolor paper.
What's the difference?!
When it comes to the cost of watercolor paper, the biggest factor connected with expensive watercolor paper is the percentage of cotton used to create the paper. The higher the percentage, the higher the price.
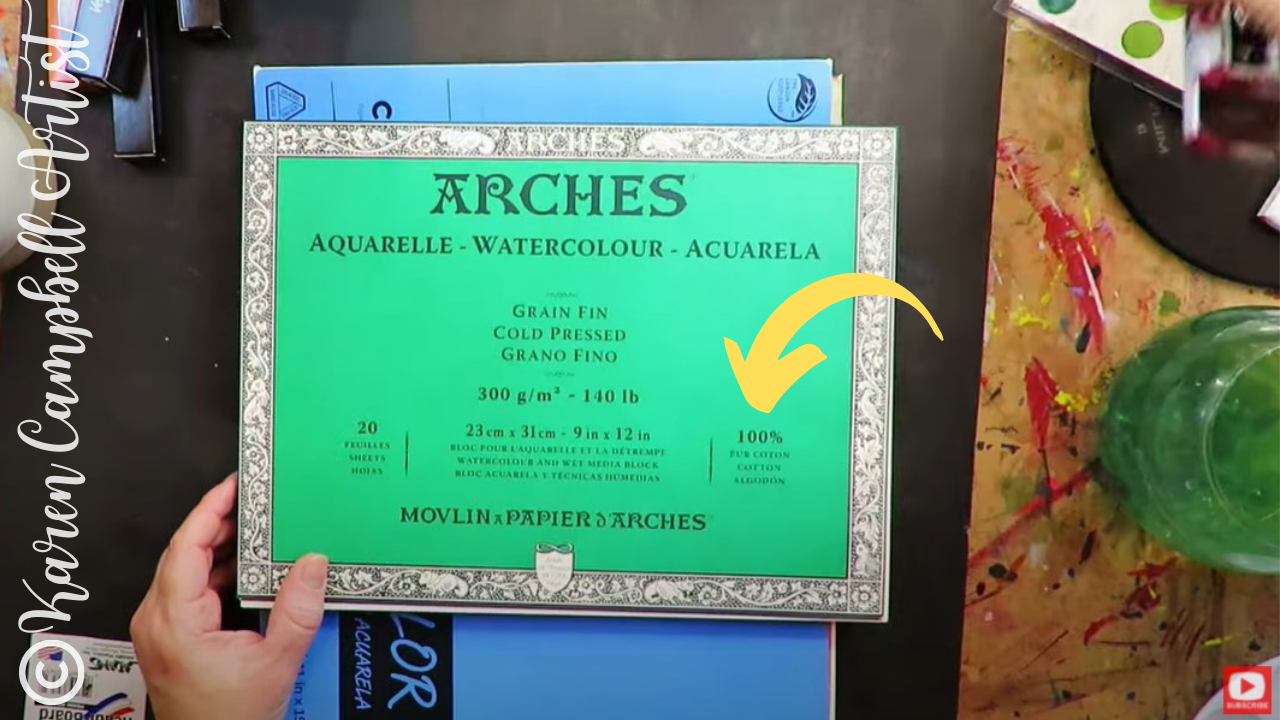
Arches is one of the most expensive watercolor papers because it's made up of 100% pure cotton. You can find the cotton percentage of paper on the cover (yellow arrow above). This type of paper typically comes in "blocks," so the paper stays nice and firm, and does not buckle.
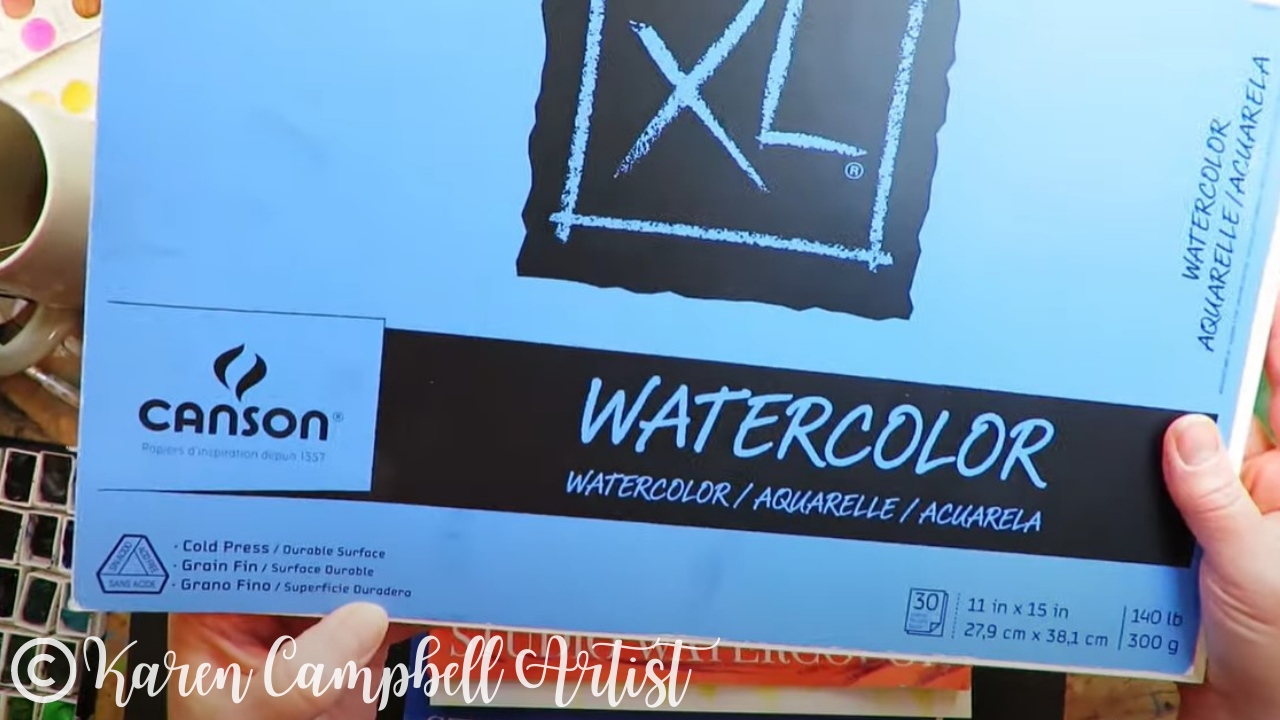
If you find a watercolor paper without the cotton percentage noted, you're likely in the right place, and your cost will be significantly cheaper. I love using Canson watercolor paper for doing practice work. It's much more reasonable than Arches.
The second cost factor to watch for when you're buying watercolor paper for mixed media projects is the paper's weight.
At a minimum, I recommend using 140lb. paper, especially if you're doing mixed media work on top and not just watercoloring. Don't use the 90lb. paper because it's just not gonna hold up. The watercolor paper I typically use now is by Fabriano. It's 25% cotton (and 75% cheaper than the Arches brand!), plus it comes in either hot press (smooth) or cold press (textured). This is a very high quality paper. You can work on this and it will be museum quality, is great if you want to sell or gift your work. 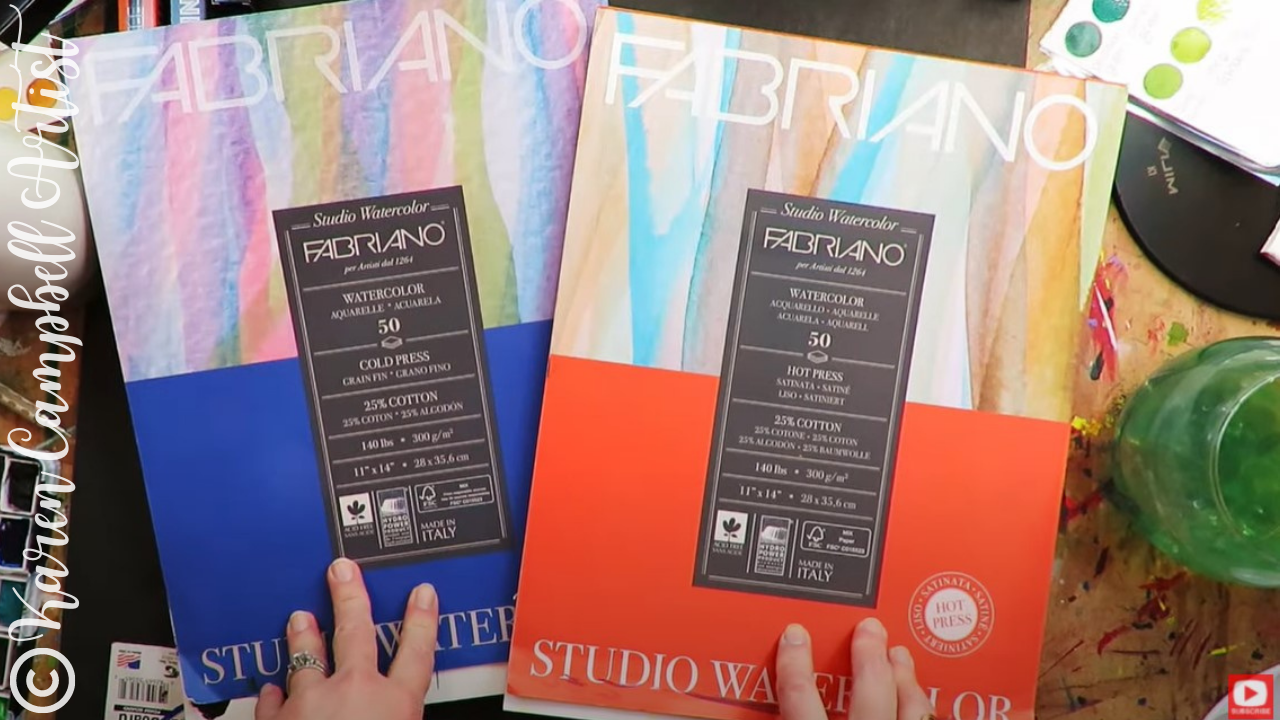
HOT TIP: You DON'T have to put gesso on top of watercolor paper to prime it for acrylic paints - just start painting!
Gesso is well-known in the world of mixed media art as a primer for acrylics, but when you're working on watercolor paper for mixed media projects, it's not needed, so save your money and skip the gesso!
I hope you found this info helpful! Be sure to click over to the video, so you know what to look for next time you head to the craft store on the hunt for mixed media paper for your own masterpieces!
|
Karen CampbellFounder of Awesome Art School. Mixed Media Artist. Author of 19 Instructional Art Books! 
Whose work has appeared in...
   
 Archives
July 2024
Categories
All
|

 RSS Feed

"Karen is flipping hilarious and she's very real...I like the way she teaches in a way that really gives you confidence, whether you're a beginner or advanced there's always something new to learn!"
- Elizabeth W. |
What Fans Are SayingKaren, you are absolutely fabulous! You make me feel like I can draw anything. I have recently retired and finally have the time to do some of the art that I have loved since I was in school. I am really at the beginning of my art journey and I hope to learn as much as I can. Thank you for all you do. |
Contact ME |