
EASY Fairy Drawing in Watercolor Pencil with Karen Campbell [Week 2 #50FunFabFaries Challenge]31/5/2022
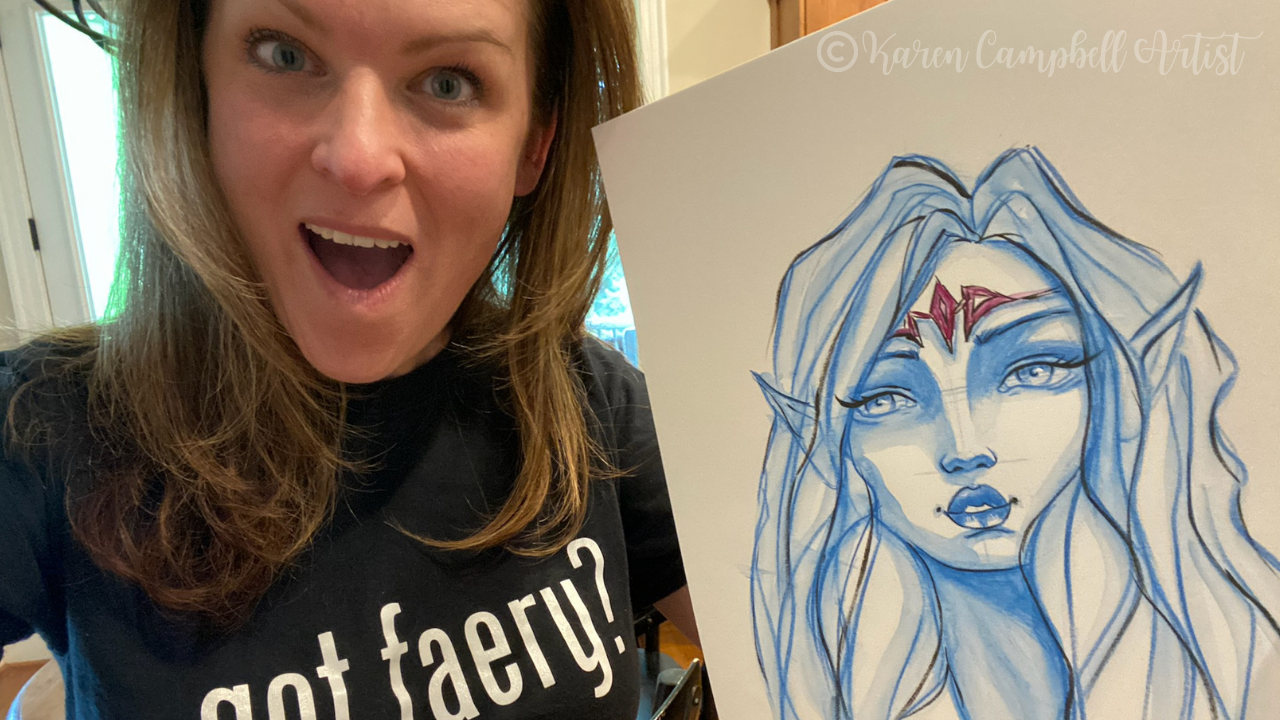
Wanna create this EASY fairy drawing with me? If you've never worked with watercolor pencils, you're in for a treat! Adding a touch of water to the lines you draw will create magical face shading and turn your beautiful fairy drawing into a painting!
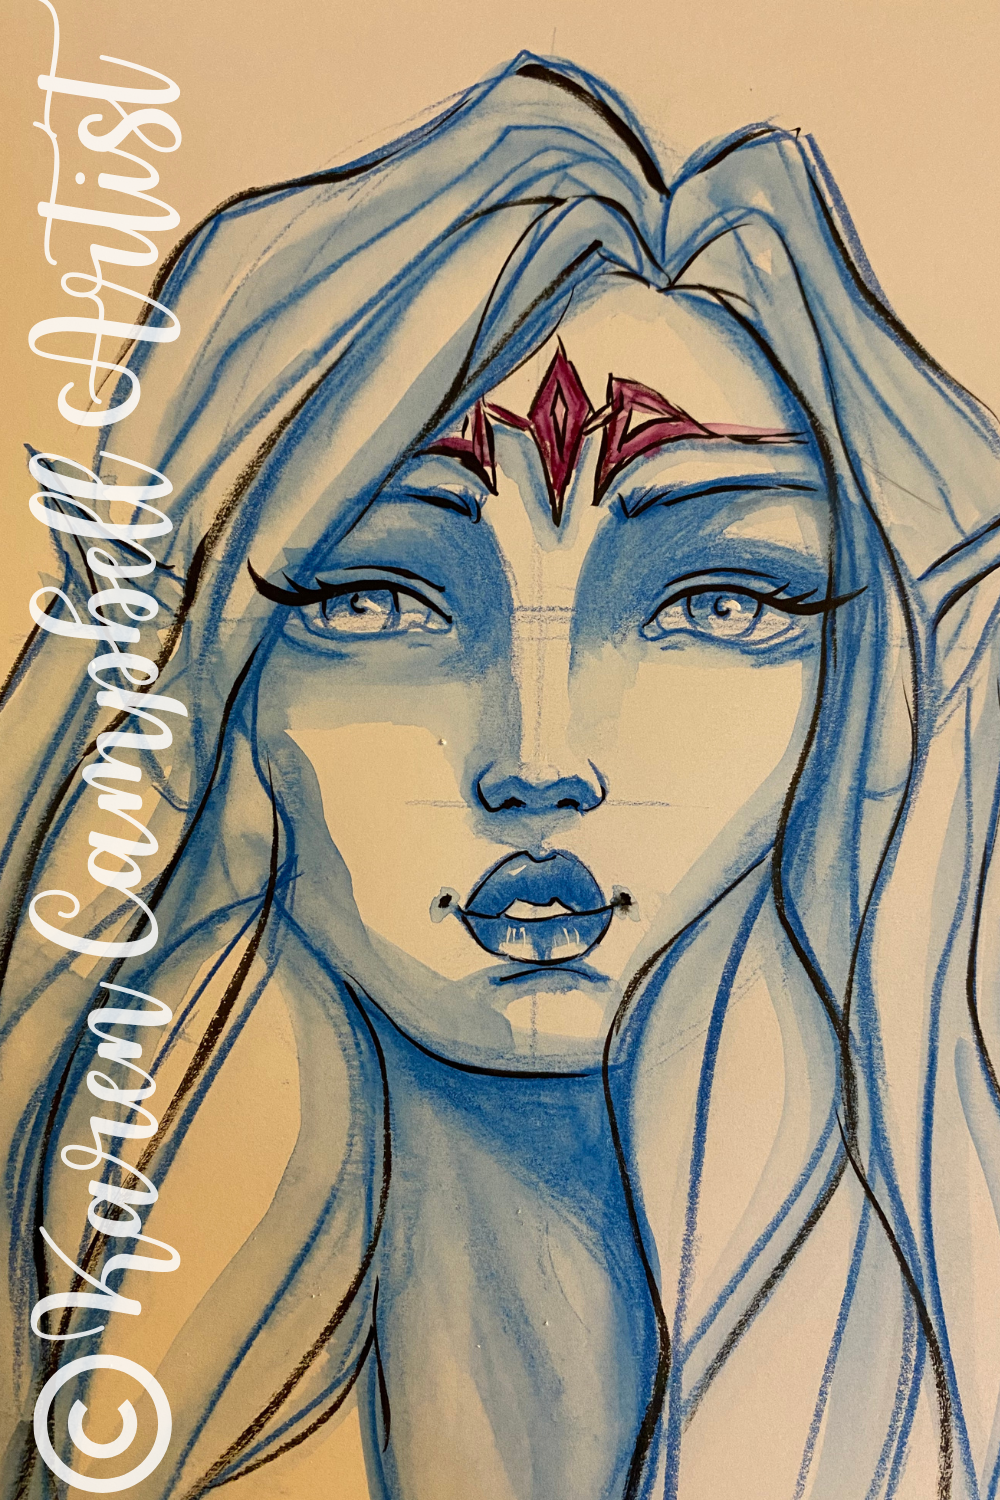
Never drawn a face before? This fairy drawing tutorial is EASY enough for beginners! Don't have a watercolor pencil? No problem! I'll show you a variety of common water soluble pens, pencils and markers you may already have lying around at home!
Click the button below to join me in my FREE 10-lesson, 20-week fairy drawing challenge for artists of ALL levels. The amazing classroom I have waiting for you at Awesome Art School includes expanded information and resources with full-length fairy drawing lessons not available on YouTube! 
Wanna become a better artist? Do today's lesson (and every lesson of the challenge) five times, making a few creative alterations of your choice, and watch your skills soar as you practice fairy eyes drawing, fairy ears drawing AND fairy hair drawing 50 different ways!
Before we continue, super quick announcement: All product links are Affiliate. I may earn a small commission if you choose to order through these links but by law there is never any additional cost to the consumer for doing so. I thank you for your support.
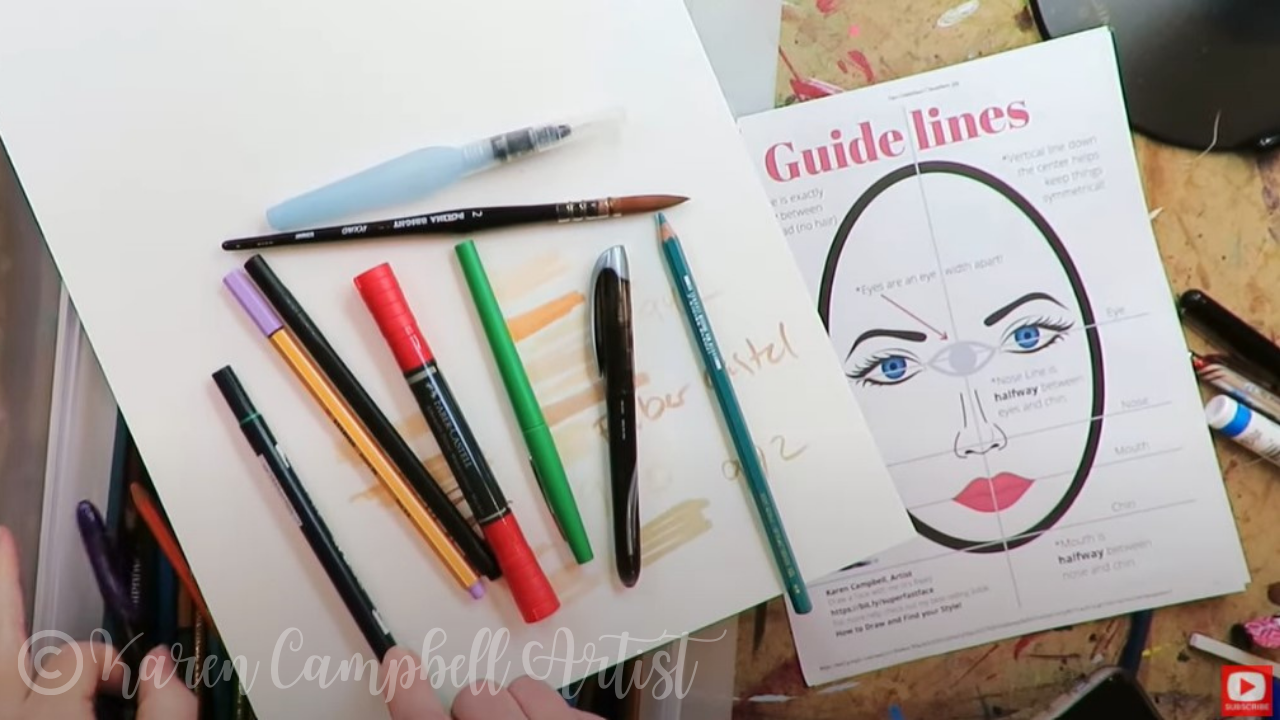
Before we get into today's project, I want to reiterate how FEW art supplies are needed to participate in the #50FunFabFairies drawing challenge (and in basically any tutorial I share)!
Starting with paper, I basically only ever work on three types of paper: white cardstock (or Bristol if you prefer - I just love the Hammermill cardstock because it's cheaper and feels the same as Bristol to me!), tan toned paper (or grey- whatever floats your boat!), and watercolor paper (or a watercolor journal). Why watercolor paper for my YouTube drawing channel? Because I LOVE drawing with water soluble pens, pencils and markers! In case you're new to my world, or the term water soluble... if something is water soluble, it simply means it "melts" when you add water to it. Stay with me for the demo I'm about to share so you can see this in action! 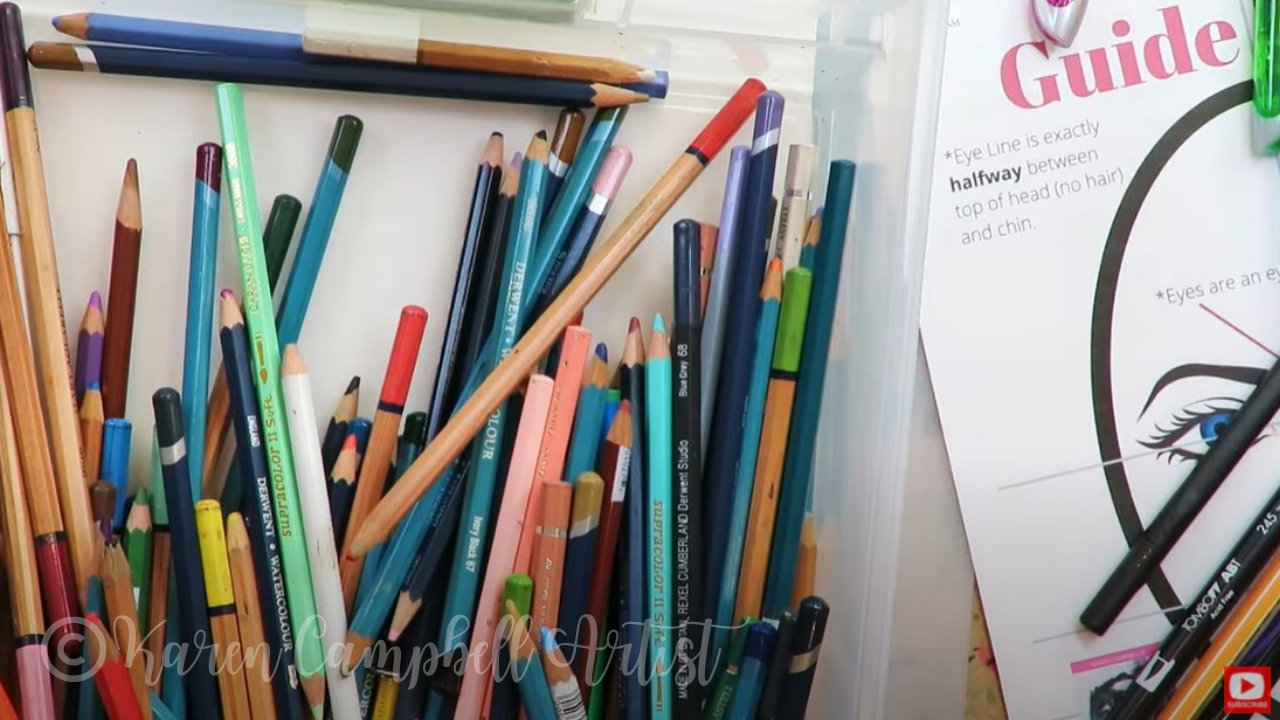
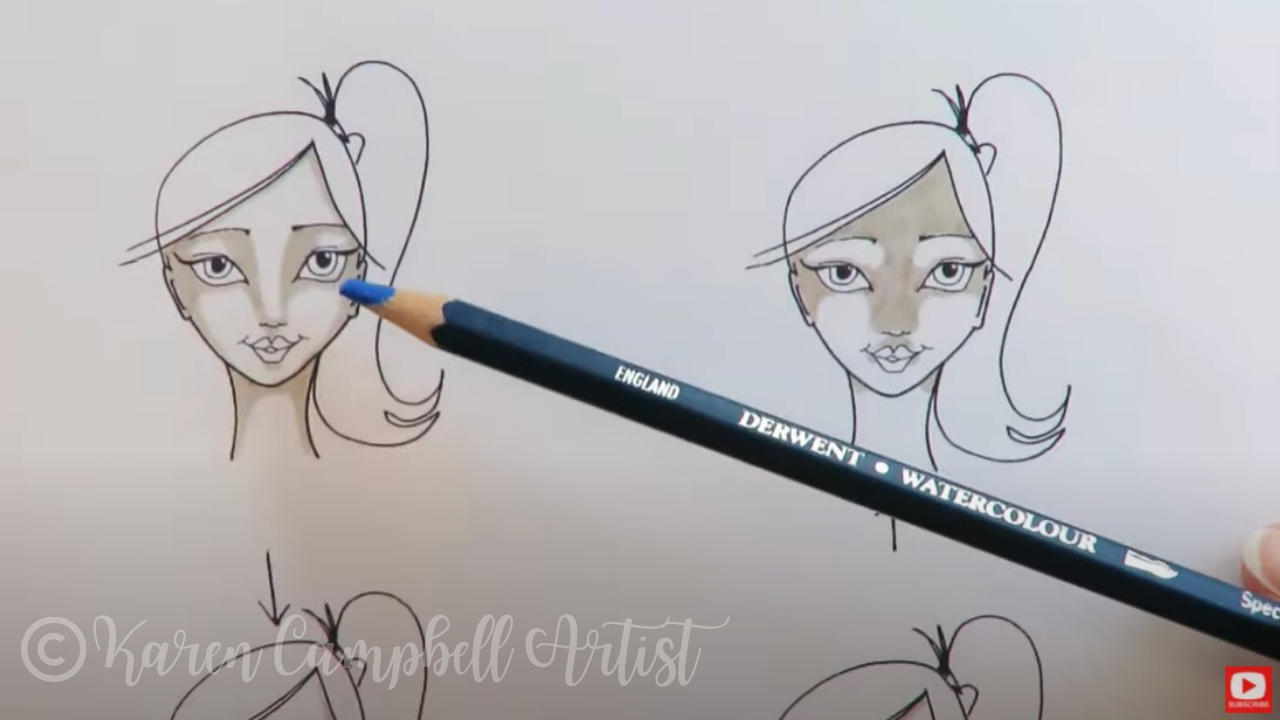
Today I'm working with a water soluble pencil (Derwent watercolor pencil) for week two of the #50FunFabFairies drawing challenge.
To get started, especially if you're just learning how to draw faces, I recommend using a plain old pencil so you can erase whenever you want. In the interest of time, I'm diving right in on my hot press watercolor paper (that means the paper has a smooth texture), with my watercolor pencil and hoping for the best, LOL!
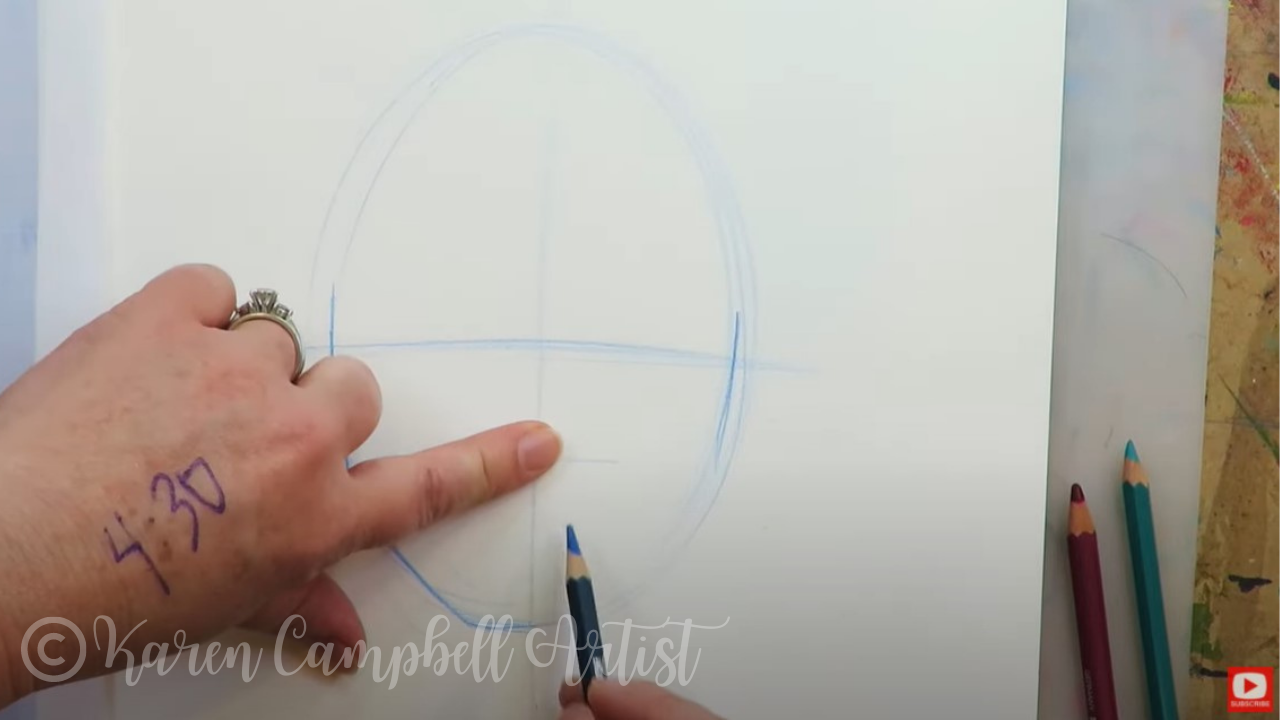
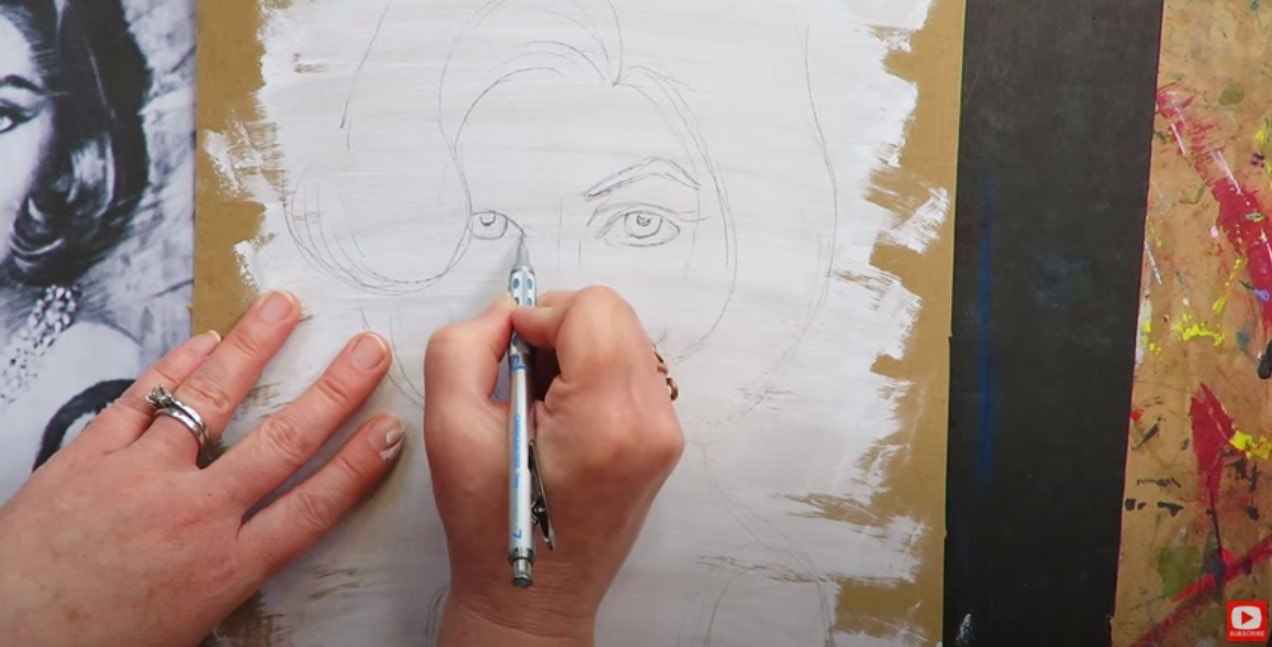
Even though I'm drawing with watercolor pencil and I can't erase, my face drawing guielines are my go to for step one, no matter what kind of face I'm drawing. Even if you've never drawn a face before, you can TOTALLY participate in this fairy drawing challenge because everything is step by step and the FREE #50FunFabFairies classroom over at Awesome Art School is stacked with cheatsheets and resources to help you along!
Once you've got your fairy face outlined, it's time to think about face shading. If you're new to my world, and don't know how to shade a face, I've got a cheatsheet for that too, so don't sweat it!
Looking at a face drawing reference for shading guidance can be intimidating for beginners just learning how to draw. This is why my face shading guide is so helpful! It cuts down on the "visual clutter" in a reference image so all your brain just needs to focus on is choosing a face shading pattern from my cheatsheet, and copying the pattern you've selected onto your own paper.
When I'm shading a face, I'm not using much pressure at all to start, (especially if I'm using a water soluble pencil), because as you'll see - the shading will REALLY pop and darken, as soon as I add water. 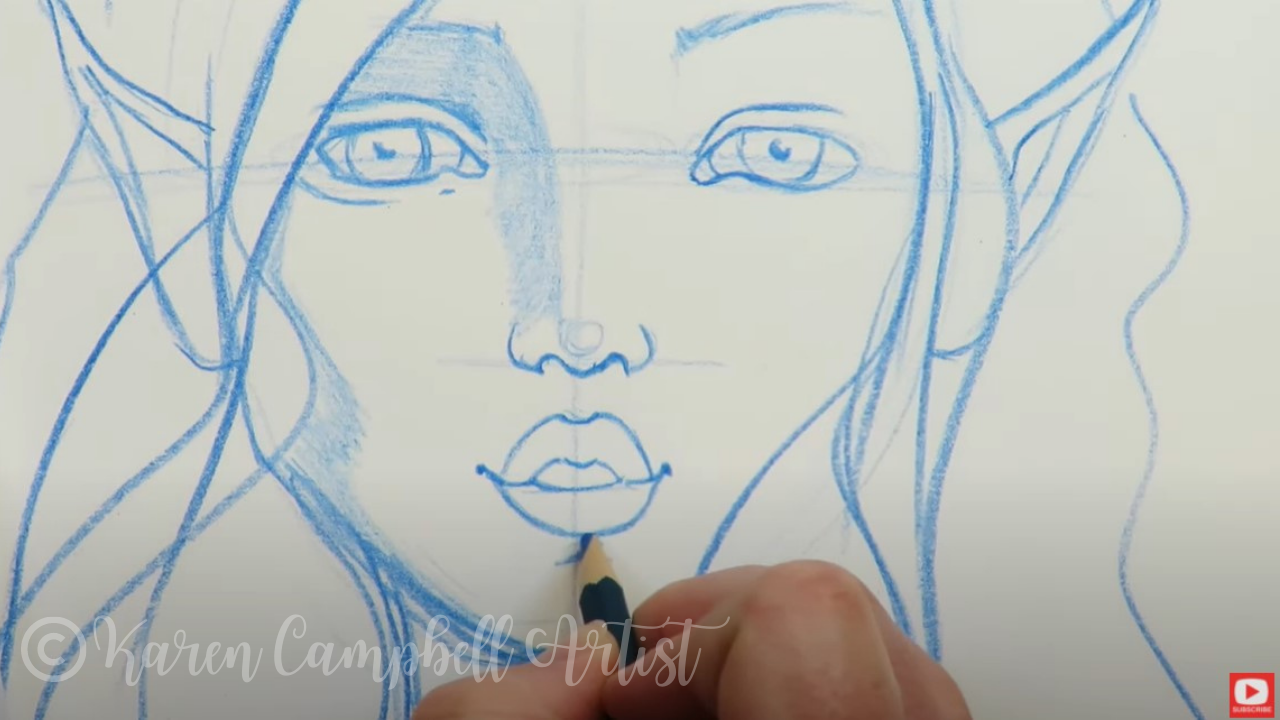
After you've finished shading your fairy face, it's time to add a little water. You can either use a water brush, or a watercolor brush. It's totally up to you!
When I'm traveling, I tend to bring a water brush because it's simple to pack and carry on the go. When I'm at home in my studio, I prefer to use my favorite watercolor brushes by Polina Bright. If you haven't tried these before- they're stunning, and now the only thing I use. (Side note: If you want to order one for yourself, Polina has extended a special discount code to my followers! Just enter my name in all caps KARENCAMPBELL at checkout on her website to receive 10% off your order). 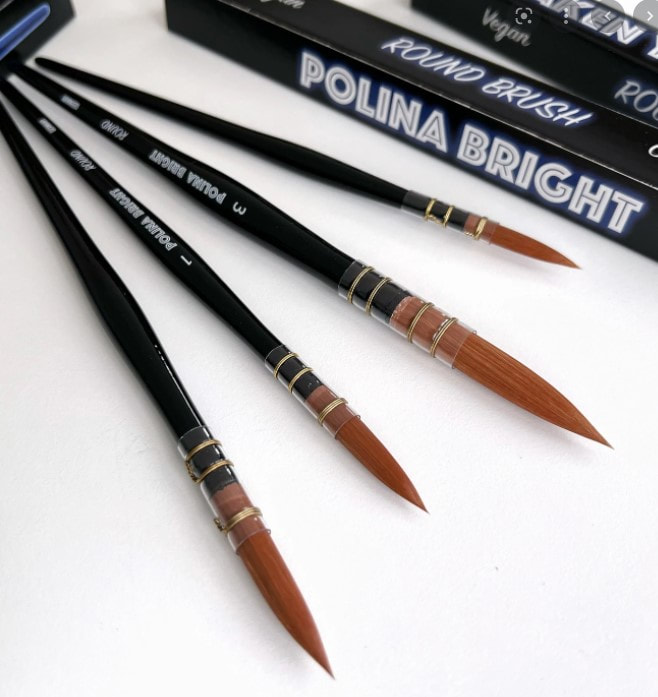
If you've never activated watercolor pencils or a water soluble marker before, be aware that the more water you use, the more your drawn lines will run.
I prefer using a "damp" brush, because then wherever I add water, the effects won't be so shocking. I typically get my brush super wet and tap it on a paper towel so it's just damp. Then I run my damp brush along the lines I want to smear and run in my drawing. HOT TIP! Did you add a shadow where there shouldn't be one? Simply blot that spot right away with a paper towel to lift the color. Be sure to watch the video to see this trick in action! 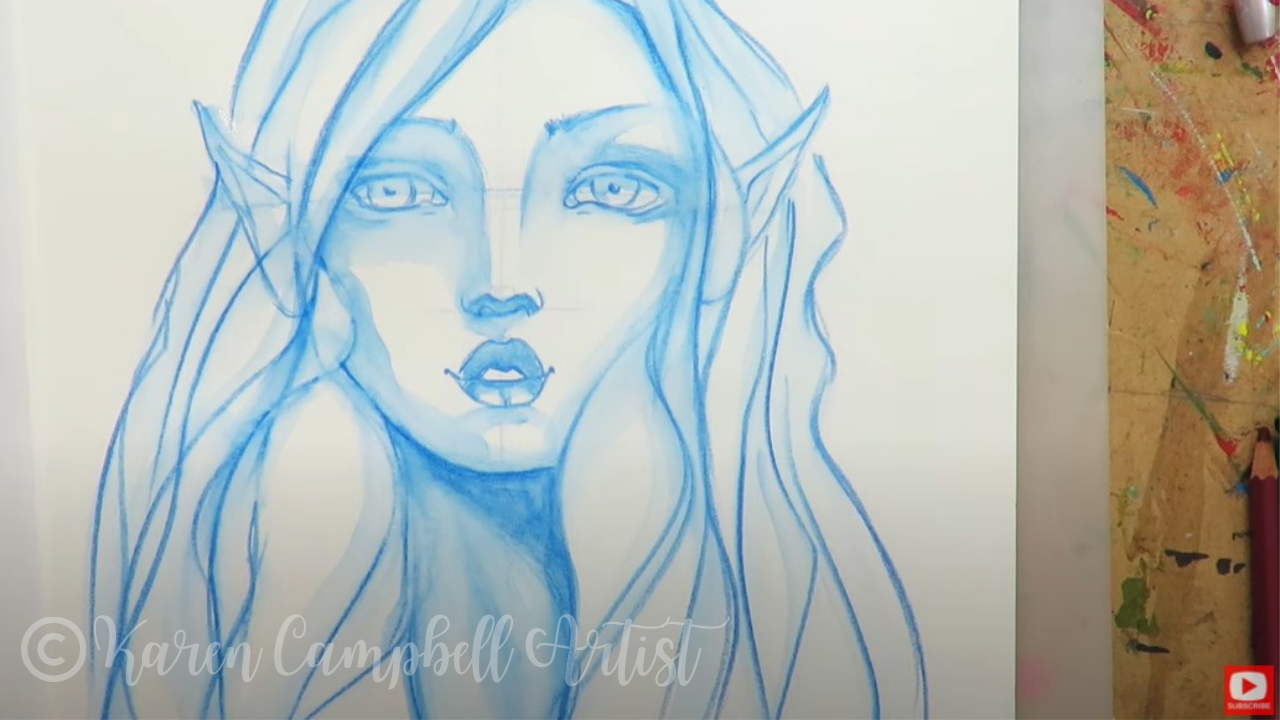
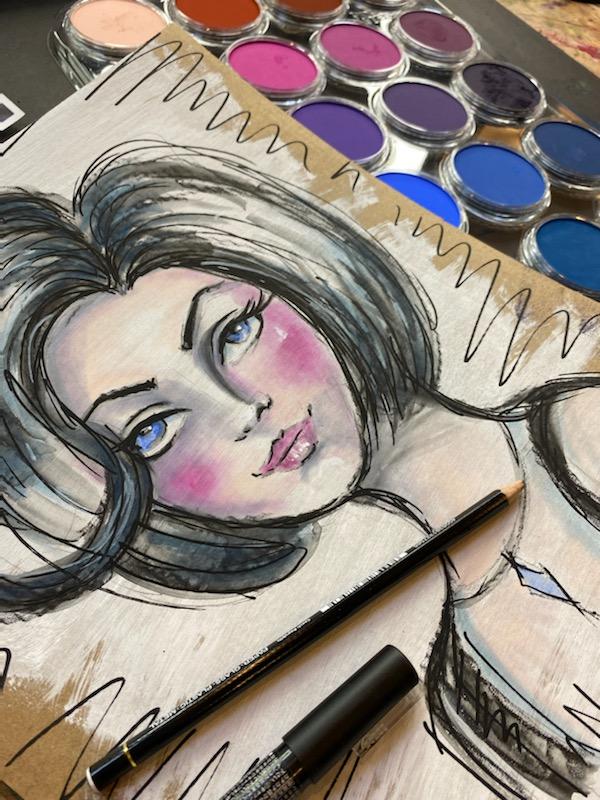
Once I've activated my watercolor pencil lines the way I want them, I use a hair dryer to make sure my paper is completely dry, so I can add a second layer of watercolor pencil to intensify the face shading.

See how the features pop even more once I add that second layer of pencil on top of the activated layer? I LOVE how that looks!
I'm purposefully not activating my second layer of watercolor pencil, because I love that contrast between the activated and non activated layers. In my second layer of shading, I darken the lines that feel most important in my drawing to add greater depth.
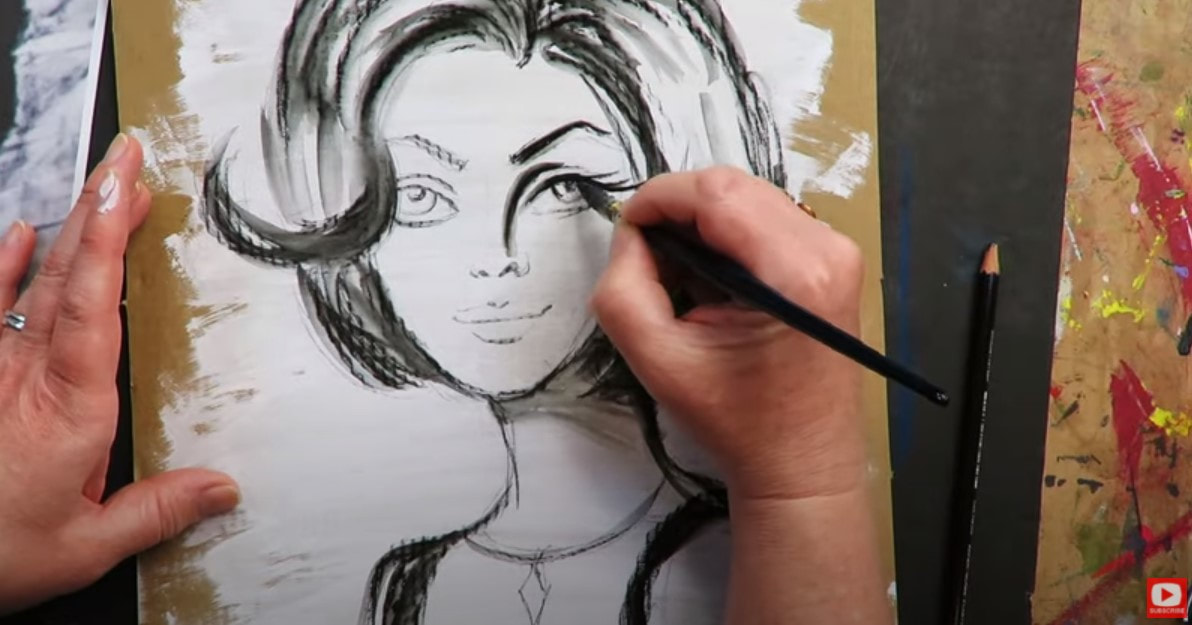
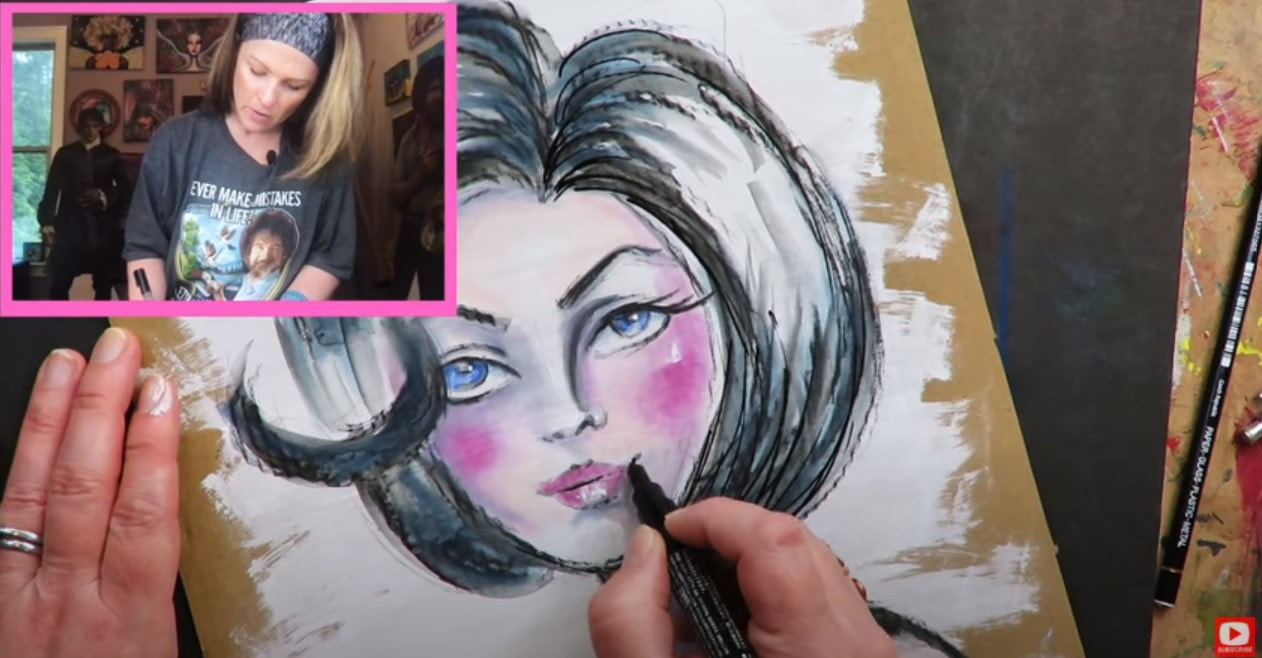
When I'm happy with my second layer of shading, it's time to glam this fairy up by drawing eyelashes with my secret weapon, the pentel pocket brush! 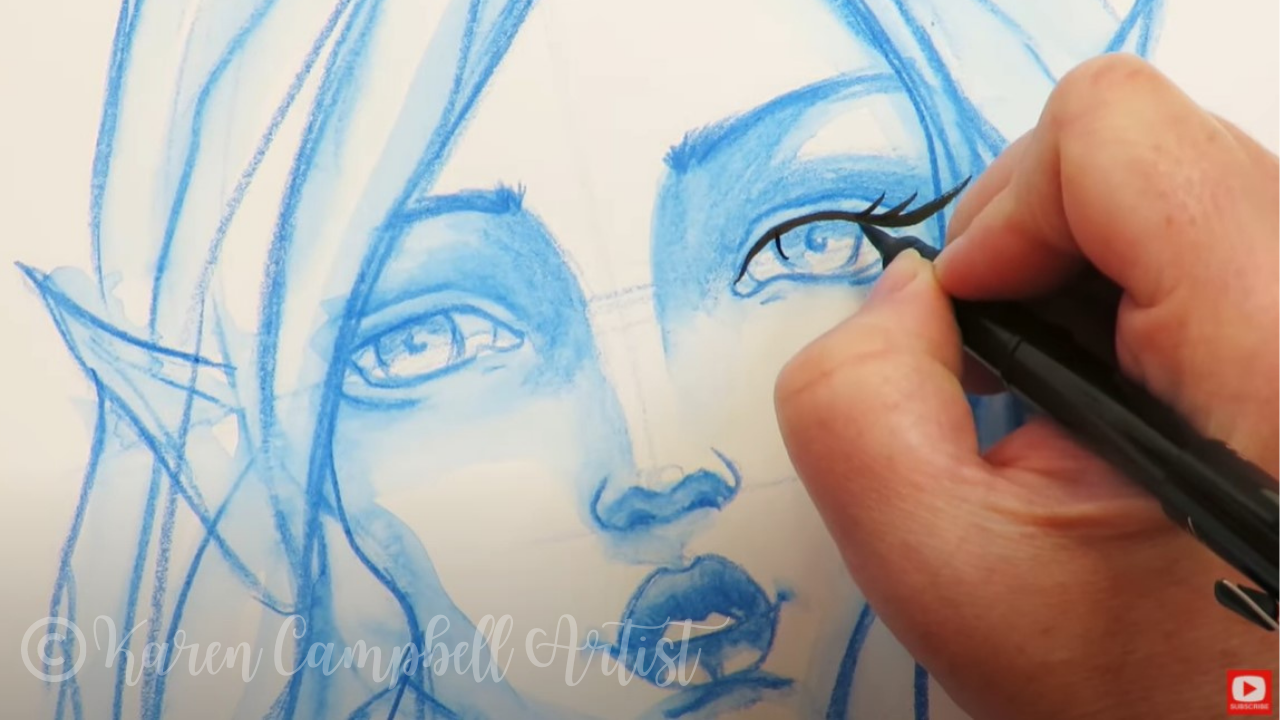
Once I've carried some soft black lines throughout my fairy with the pentel pocket brush to tie the drawing together, it's time to add her headpiece.
Click over to the video to see this in action. And by all means, PLEASE join me in this FREE fairy drawing challenge! We are having a blast sharing and commenting on each other's fairies over in the Facebook group. Make sure you join us over at Awesome Art School for the full blow FREE classroom with all the reference images, full length drawing lessons and more to help you enjoy the #50FunFabFairies drawing challenge to the fullest! If you're OBSESSED with fairies and fantasy art like me, you might just LOVE the Celtic Collective over at Awesome Art School. It's an art membership my Scottish bestie, Lucy Brydon, and I run together! You might ALSO enjoy our podcast, 1Scot,1 Not. We talk about everything under the sun to do with Scotland - whether it's historical, fantasy, whatever. Just a quick warning - we have a blast and are totally ourselves on the podcast, which means there is some drinking and swearing. ❤️ CHECK OUT ALL my art books on AMAZON ❤️ MY FAVORITE ART SUPPLIES on AMAZON ❤️ MY BELOVED FACEBOOK GROUP ❤️ FOLLOW ME ON INSTAGRAM
0 Comments
Wanna create a BEAUTIFUL, EASY fairy drawing you can be proud of - even if you've never drawn before? You're in the right place!
Today I'm kicking off my FREE #50FunFabFairies drawing challenge and teaching YOU how to draw a beautiful fairy face, step by step on toned paper. 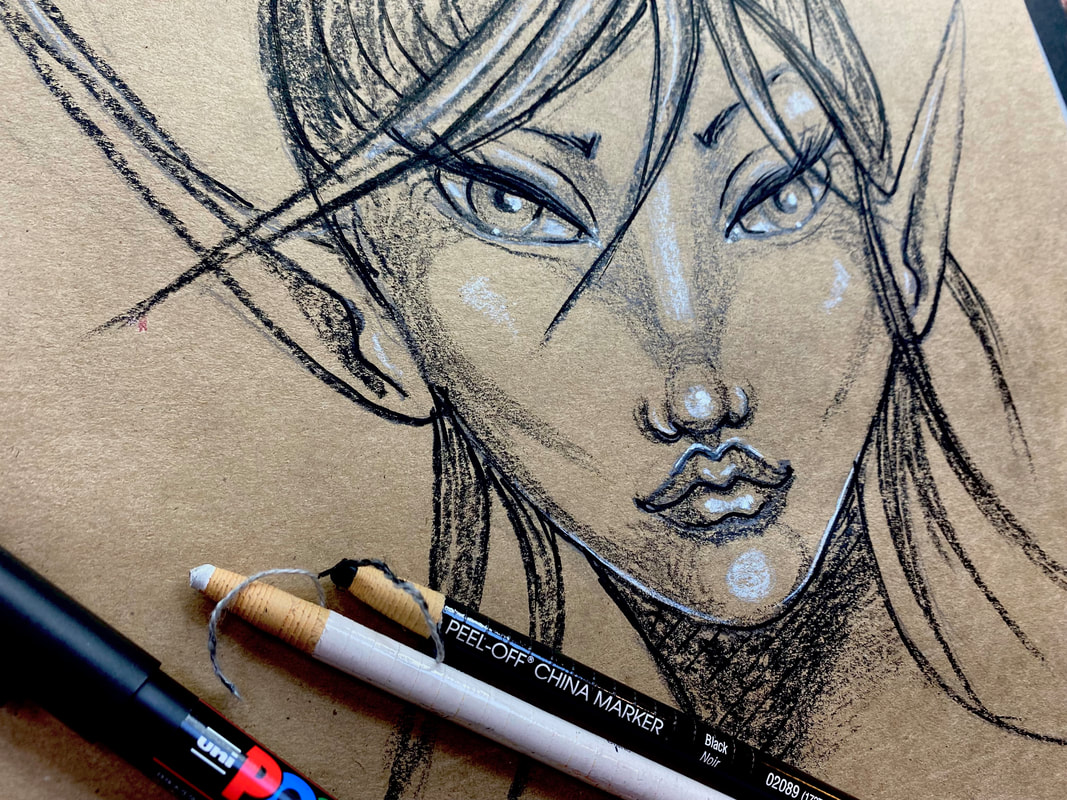
Never drawn a face before? No problem. Never drawn on toned paper before? It's EASIER than drawing on white paper! Don't have any fancy drawing supplies? Upcycle the back of a paper grocery bag into tan toned paper, and grab 2 colored pencils or crayons (black & white).
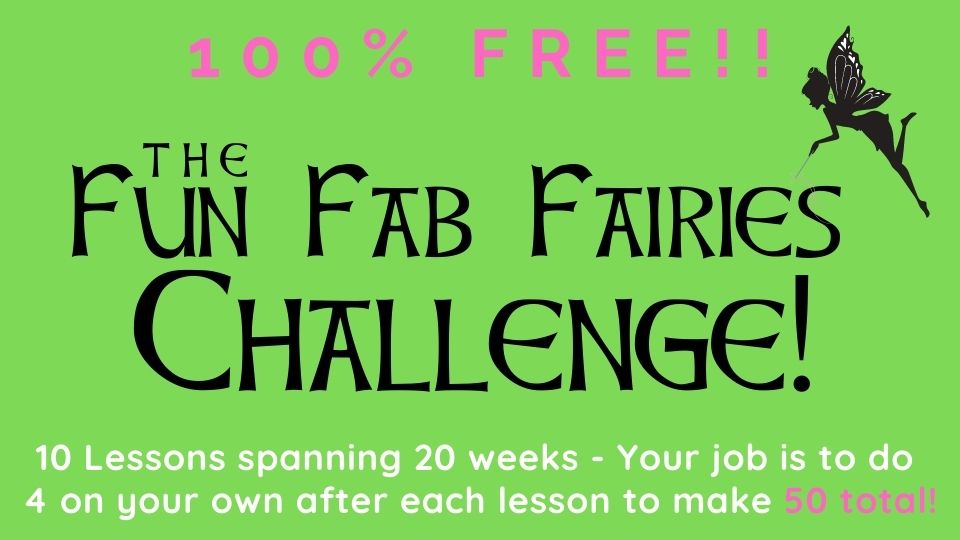
Simply click the button below to join me in my FREE 10-lesson, 20-week fairy drawing challenge for artists of ALL levels. The amazing classroom I have waiting for you includes expanded information and resources with full-length lessons not available on YouTube. 
Wanna become a better artist? Do today's lesson (and every future lesson of the challenge) 5 times, making a few creative alterations of your choice, and watch your skills soar as you practice fairy eyes drawing, fairy ears drawing AND fairy hair drawing 50 different ways!
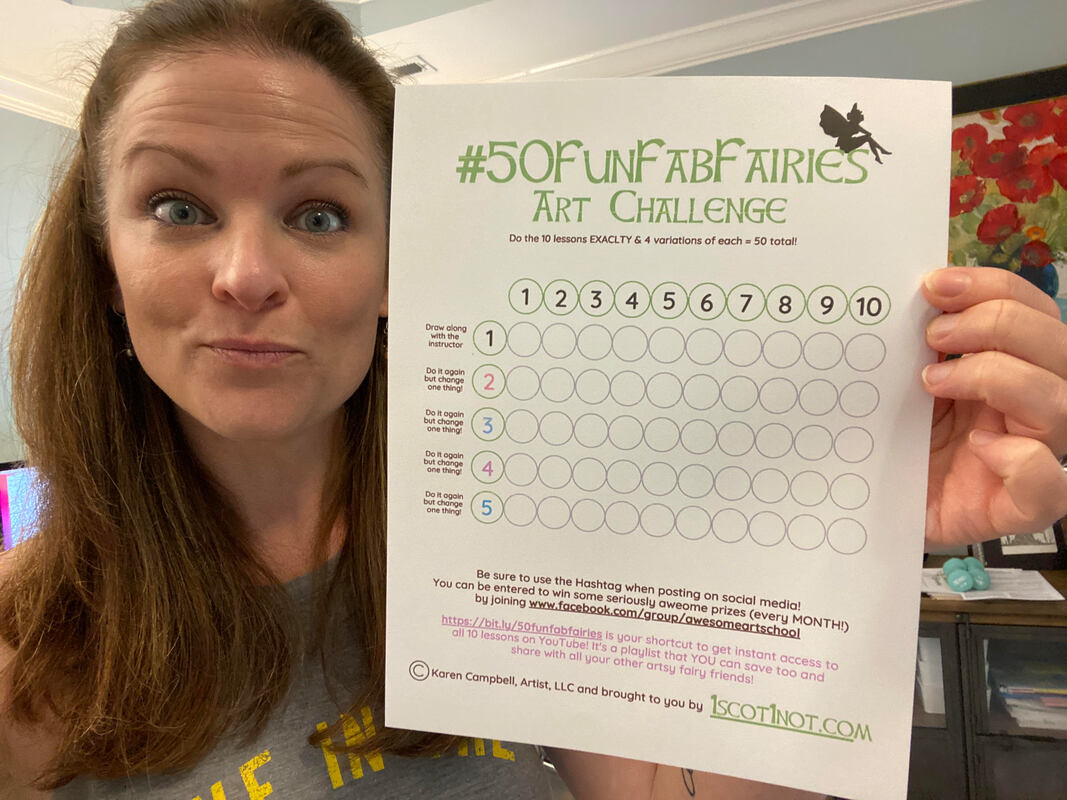
When you join the classroom link above, you'll get access to the above PDF of a score card to help you track your fairy drawing progress in the challenge!
Before we continue, super quick announcement: All product links are Affiliate. I may earn a small commission if you choose to order through these links but by law there is never any additional cost to the consumer for doing so. I thank you for your support.
I always have a blast bringing new and returning artists into our Awesome Art School community to jumpstart their creativity through a drawing challenge. AND, since one of my total obsessions is fairies and fantasy art - this is going to be super FUN for all of us.
To complete today's lesson in the #50FunFabFairies drawing challenge, you'll need a piece of tan toned paper (or the back of a grocery bag- even a piece of printer or notebook paper is fine!), plus a black China Marker and white China Marker. If you don't have China Markers - don't sweat it, just use black and white colored pencils or crayons. You could also totally do this entire drawing on scrap paper with a pen or pencil. The main thing is that YOU DRAW - not stress over the supplies! 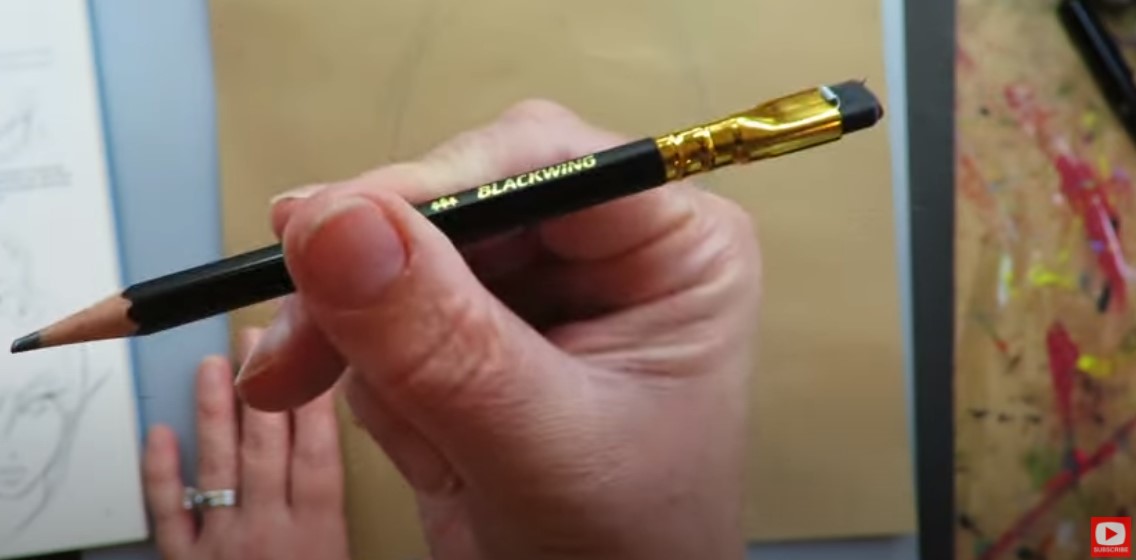
To initially sketch a fairy face, I grabbed my favorite Blackwing pencil. If you're interested in purchasing special drawing pencils, these are to die for. One pencil basically replaces an entire pencil set and can give you so many values when shading a face or any object you love to draw.
They are expensive though, so if you're on a budget - just use whatever pencil you have on hand! 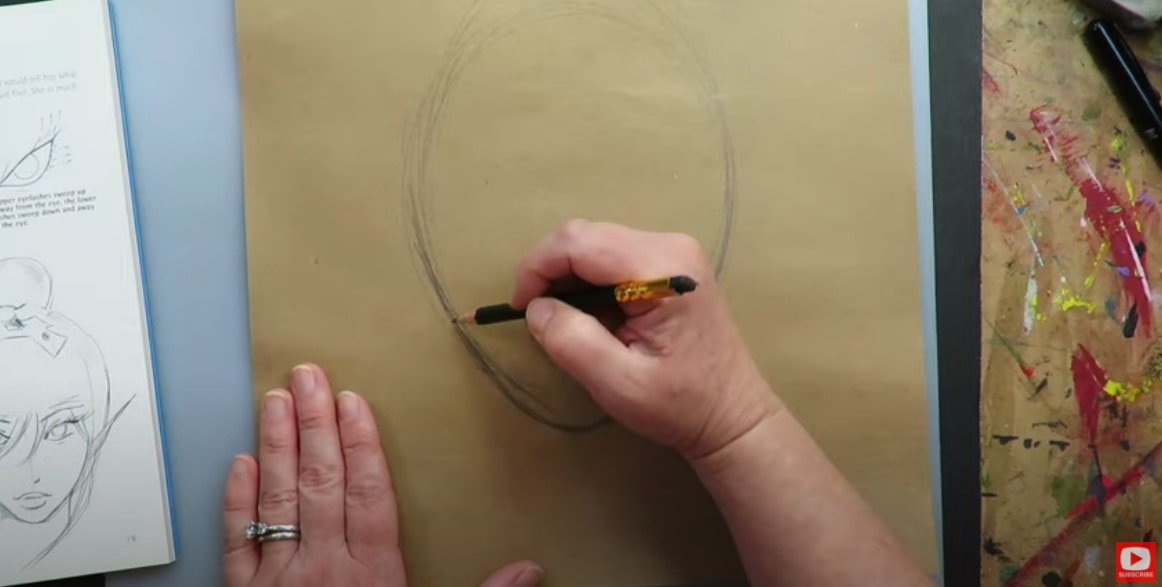
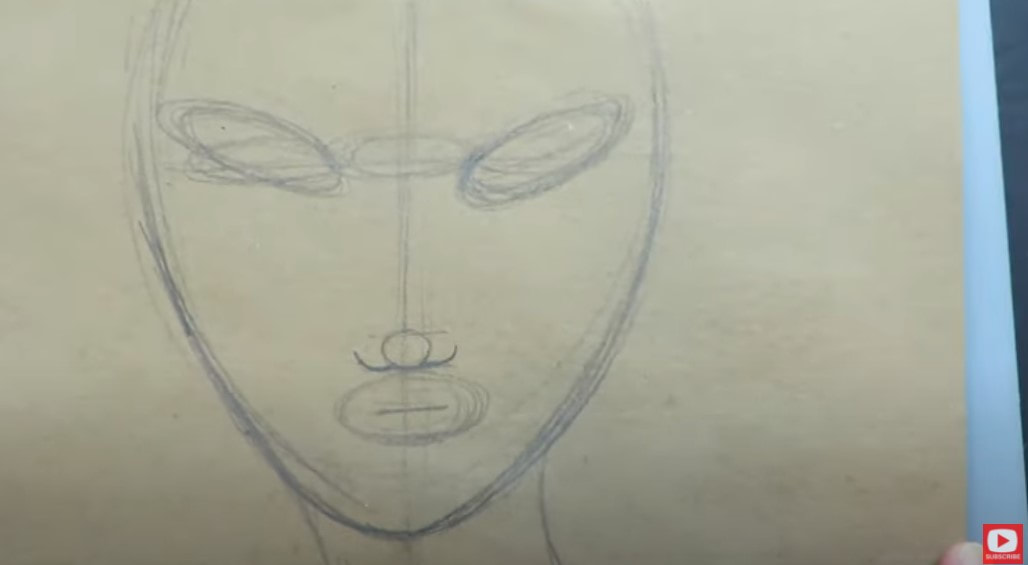
I begin this drawing like all my semi-realistc face drawings -with my whimsical face drawing guidelines. These are SO important to keep your faces looking proportional!
If you need a copy of my face drawing guidelines - the PDF is available to you for free in the #50FunFabFairies Challenge Classroom over at Awesome Art School. 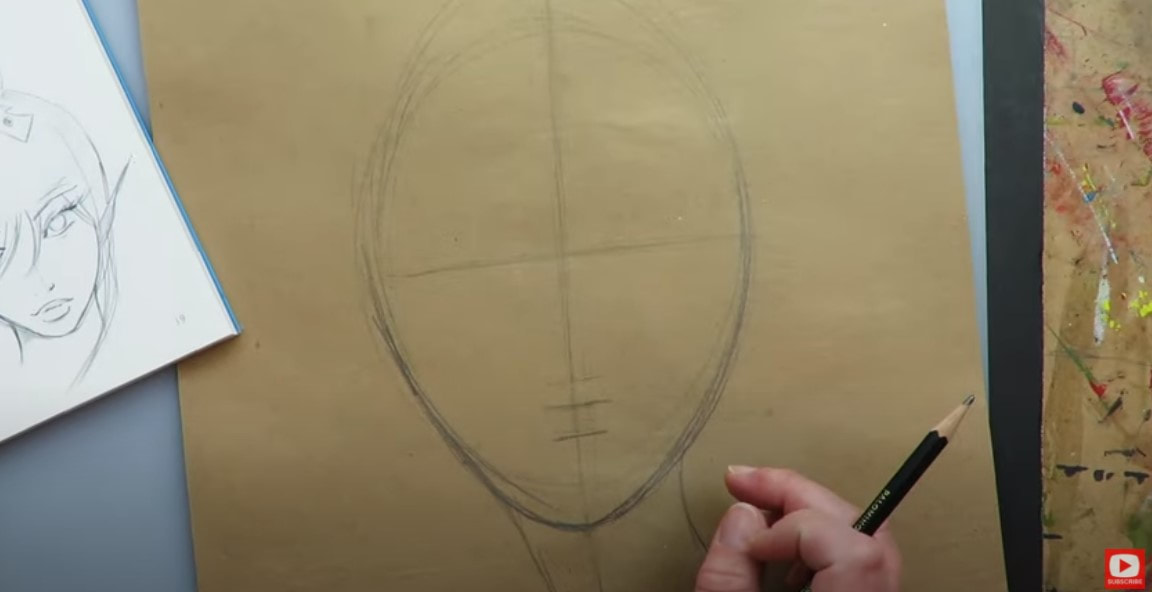
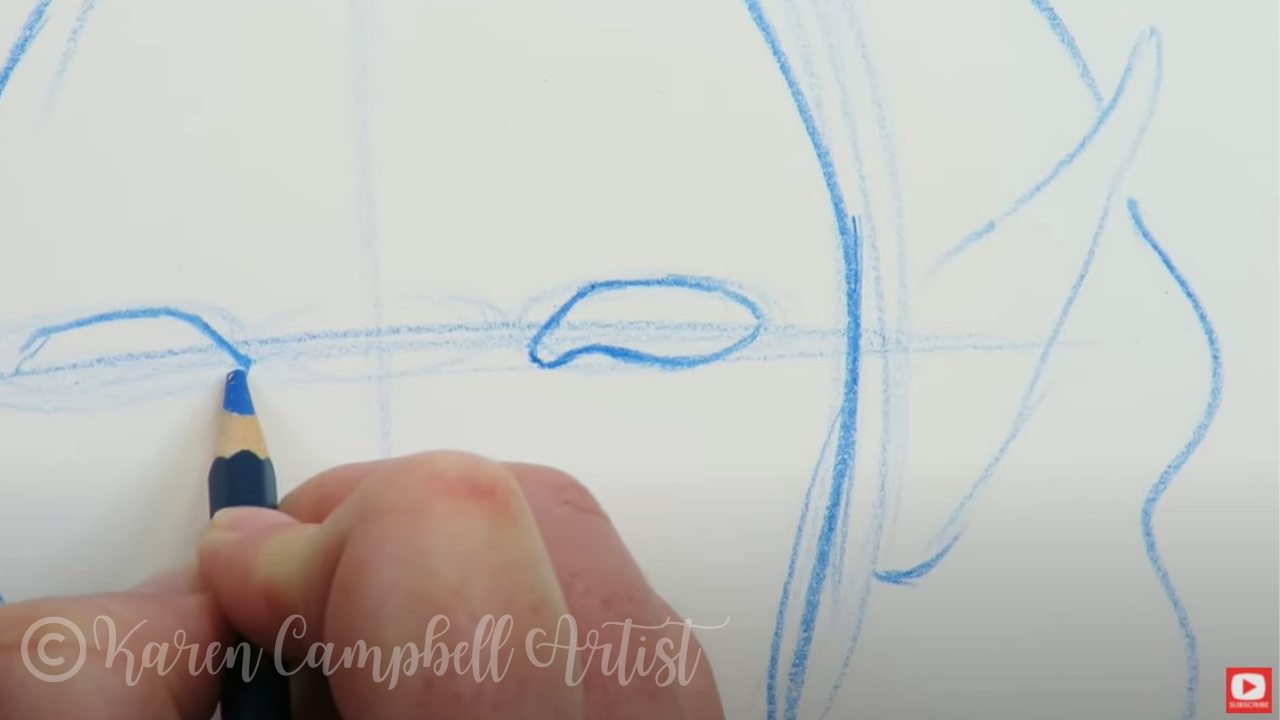
After your guidelines are marked, it's time to start placing your fairy's facial features.
I LOVE working with photos of faces for drawing reference. Sometimes I look at pictures of real people, sometimes I look at other artists' drawings, art books, you name it! When I look at these face drawing references, I zero in on things like unique facial features, face shading patterns, hairstyles, accessories, etc. I use those pieces of information as "thought starters" to get me thinking in a different way visually. I never want to steal another artist's work and am a huge stickler on crediting the artists who inspire me. 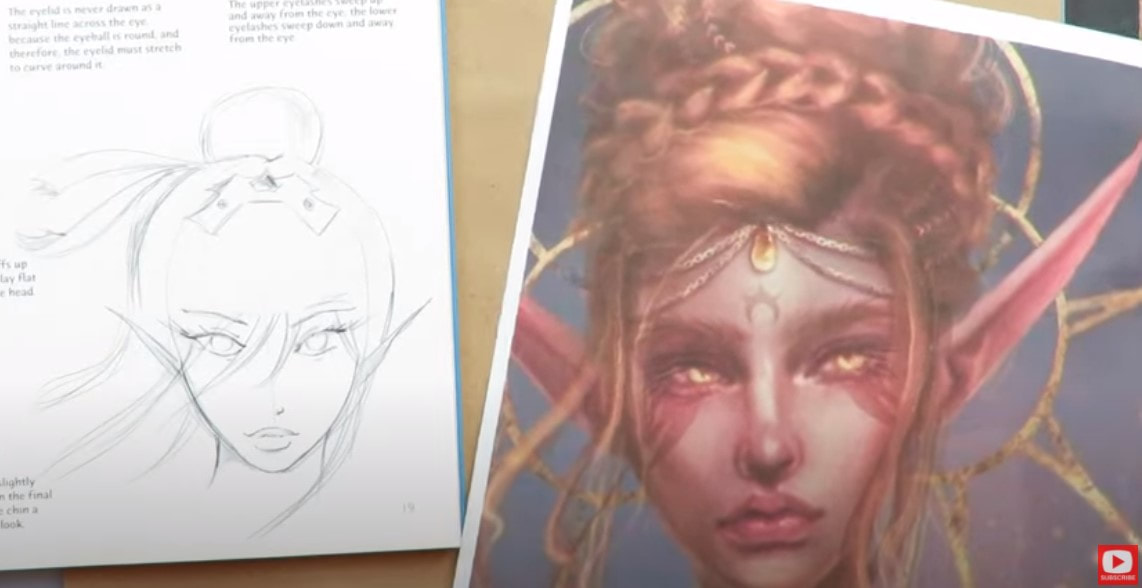
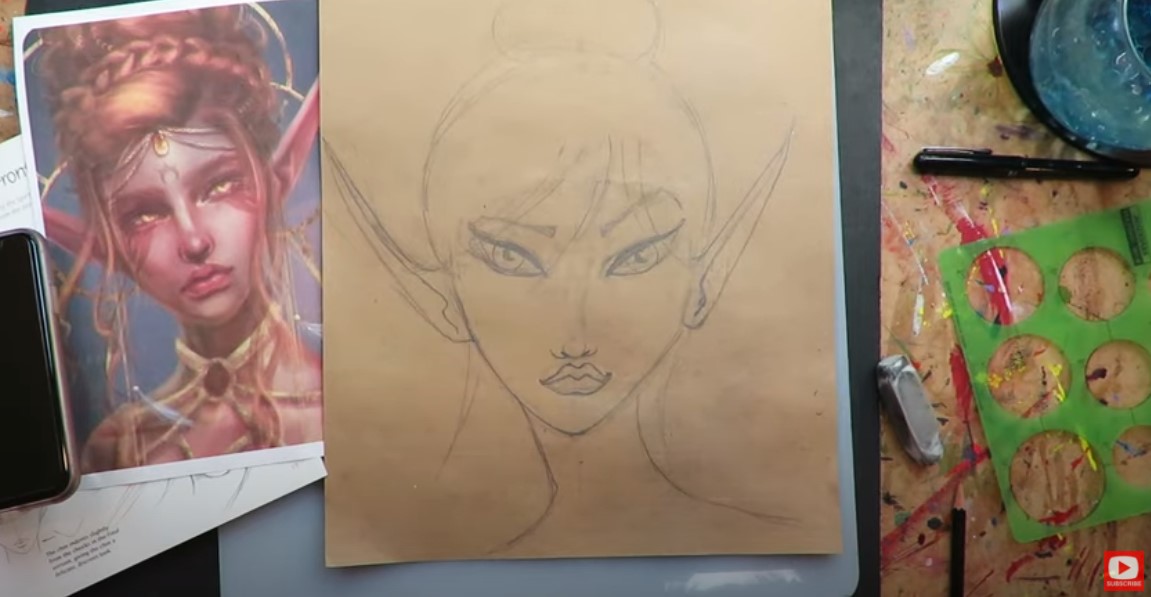
The fairy drawing images I've selected to use as inspiration for today come from the guidance in one of Christopher Hart's books. I LOVE his interpretations of fairies and fanciful creatures!
The other fairy drawing reference is a piece of digital art I found on Pinterest with no artist's name attached. I'm using elements from both images to inspire me for today's lesson. 
The eyes on Christopher Hart's fairy are especially interesting and what drew me to this face drawing reference photo in the first place. Once these are sketched in - you should have something in front of you that looks like an alien! If you do- you're doing amazing!!
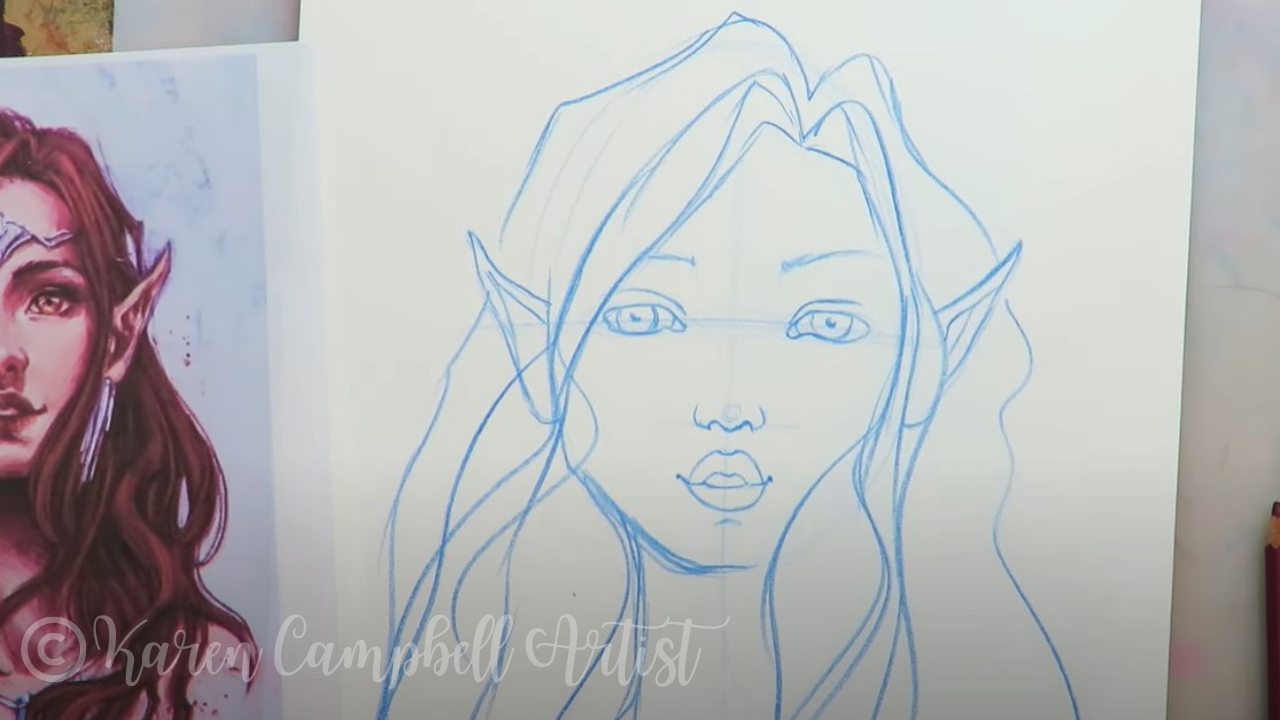
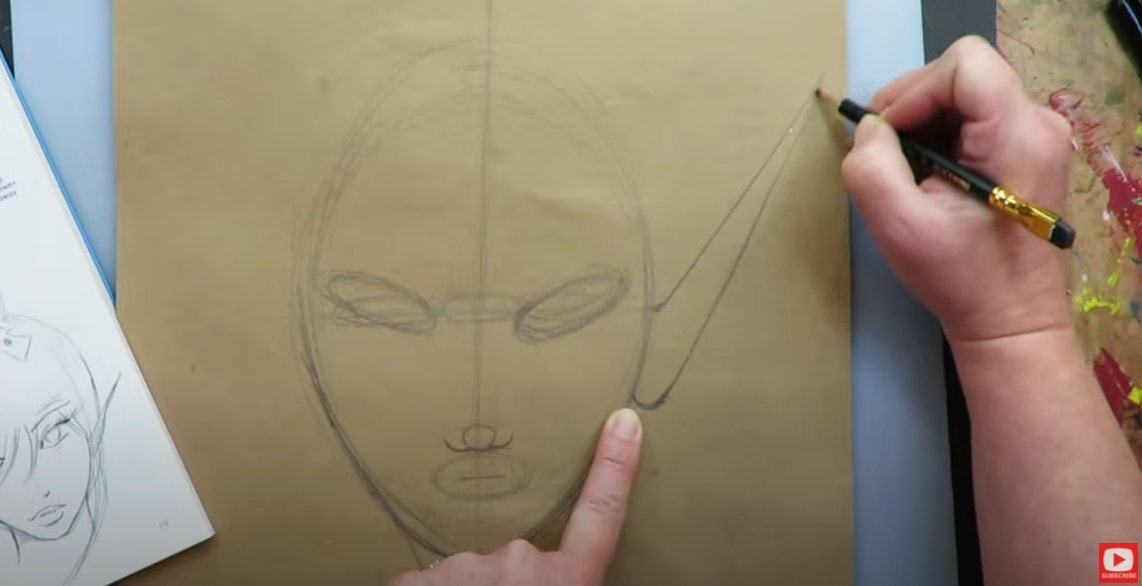
Lots of students have asked me how to draw fairy ears. They're really quite simple. If you click over to the video to see this example of fairy ears drawing in action, it will really help you along.
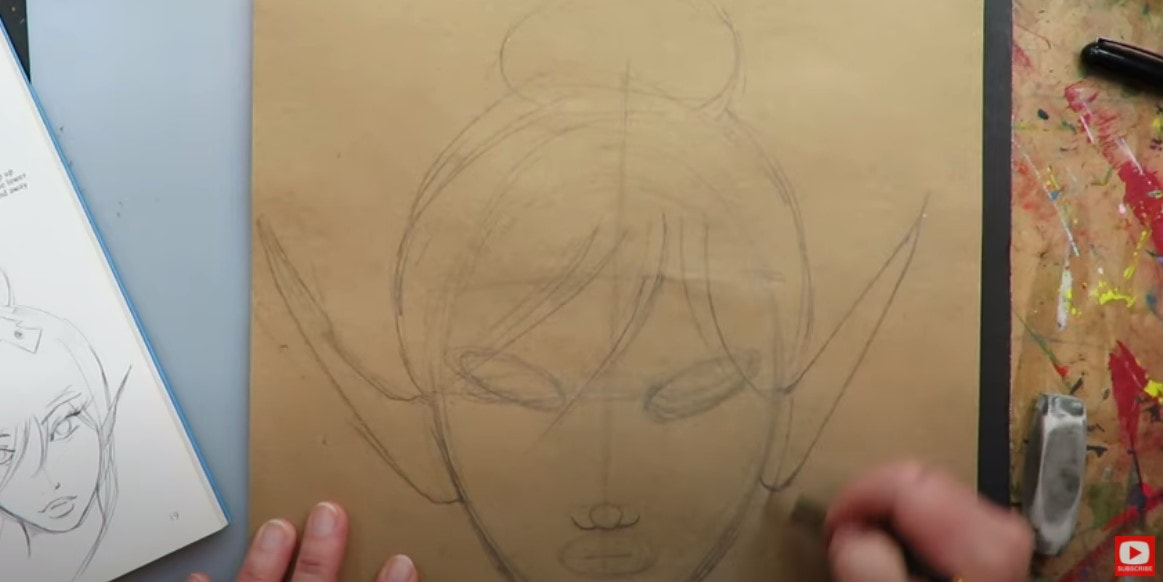
Next up... hair! If you're not sure how to draw hair, I've got you, and break this down step by step for you as well. I'm using Christopher Hart's drawing as a guide to create some wispy bangs and a simple, sketchy bun piled on top with flyaways. SO cute!!
Next it's time to get some detail added in the upturned eyes we started. Again, if you don't know how to draw eyes, this project is TOTALLY for beginners, and I'm holding your hand the entire way in this fairy drawing video.
I am all about using a circle template for the irises and pupils. Of course we could spend time working on drawing perfect circles, but I've got WAY better things to do, and I'm sure you do too!
Use a template, and let's move on to the next step. Look at what a difference the eyes make, huh? Now she's comin' to life! 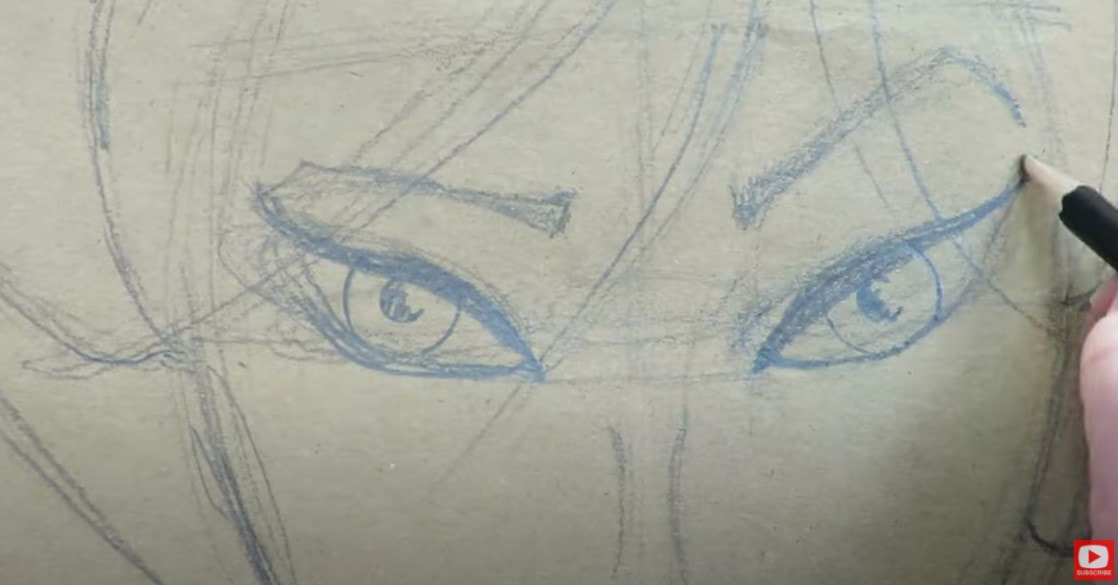
I'm keeping the nose super simple for this girlie today, and am only adding a squished oval on each side for notstrils. I also sketched in a bridge line for the nose as well, but only lightly because that will be part of our face shading when it's time.
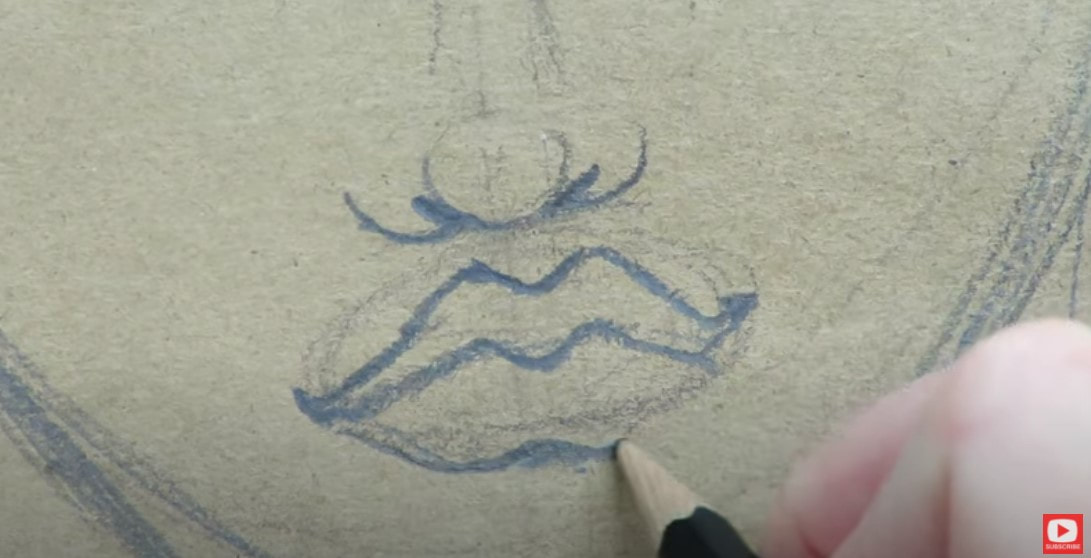
The lips in the Pinterest fairy drawing reference are just luscious! It's a super pouty, sexy look that I love - so took a little inspiration from that to create my own.
Next, it's time to fine tune everything and start erasing all the sketchy guidelines so we can add some shading and dimension to this fairy face. If you don't have a favorite eraser, mine is in the pic above, off to the right. It's called the vanish eraser, and I just LOVE it.
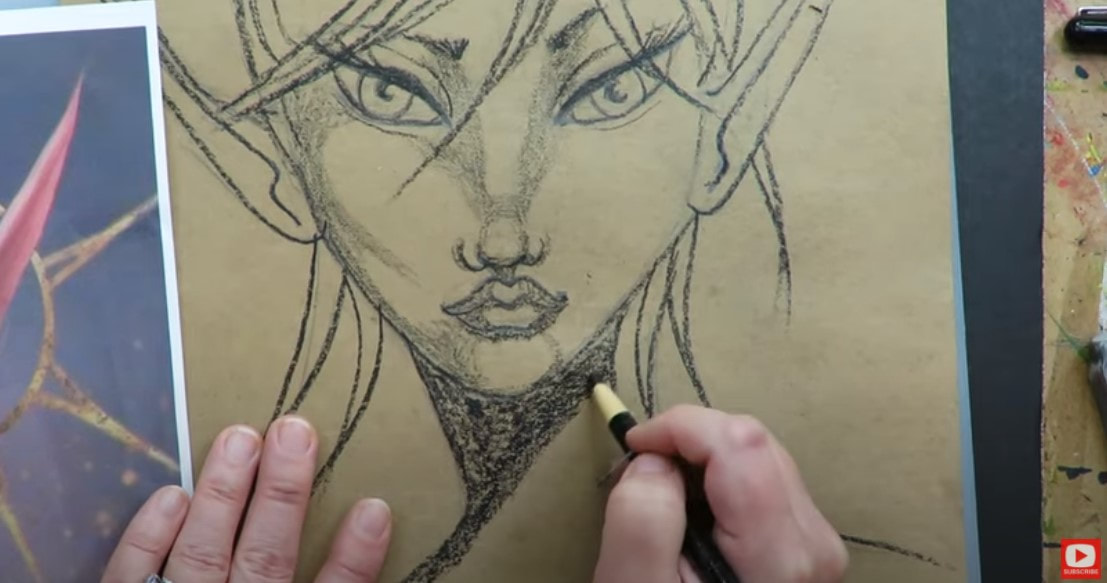
If you've never worked with toned paper before, the coolest thing about it is we only have to add the really dark parts and the really light parts of the value scale, because the paper itself already gives us the midtone we need! That means less face shading for us, and the sketch takes much less time to complete. Cool, right? In a lot of ways, shading on toned paper is actually easier than shading on white paper. If you're new to working with toned paper, and want to learn more about the value scale, check out this playlist on YouTube. 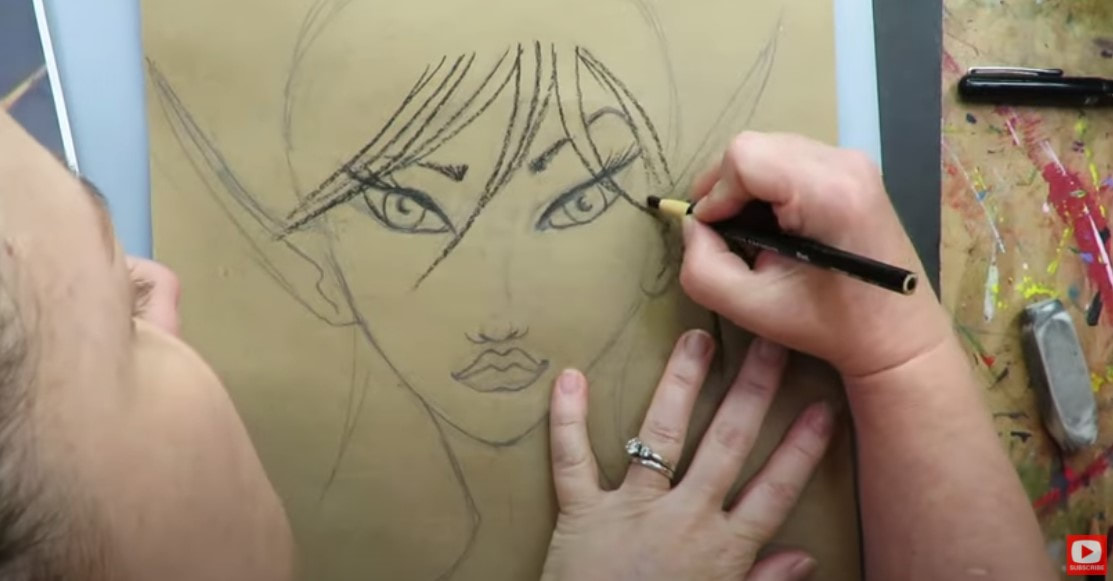
I started with my black china marker to basically outline the entire drawing. Then I add some scribble scrabble shading in areas where I want there to be shadows. If you need help with learning how to shade a face - don't worry, simply follow me in today's drawing tutorial. It's all SUPER step by step and easy to follow.
Simple right? I TOLD you this was gonna be an EASY fairy drawing that anyone could do!!
Adding white highlights at the end of a drawing project is probably my favorite part! Again, no need to know where these highlights are supposed to go. Just follow me, and we'll do it together. 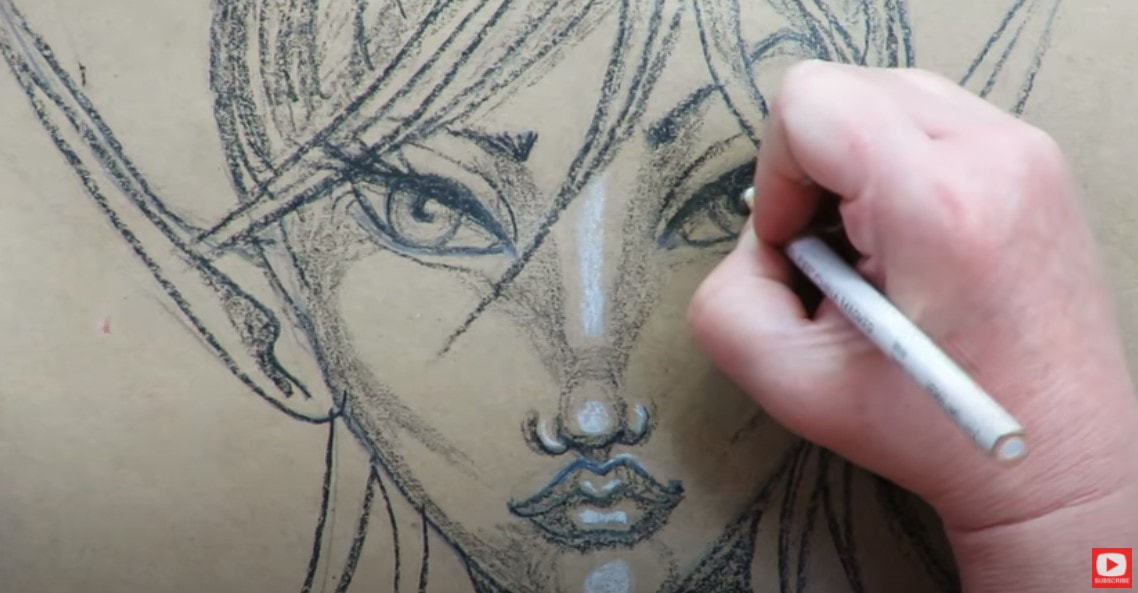
If you love a little extra drama like me, grab some black and white paint pens, and I'll show you which areas to hit to really make things pop.
Thanks for hanging out with me today!! I REALLY hope you are drawing along with me and plan to participate in this fairy drawing challenge. We're going to have SO much fun together!
If you're OBSESSED with fairies and fantasy art like me, you might just LOVE the Celtic Collective over at Awesome Art School. It's an art membership my Scottish bestie, Lucy Brydon, and I run together! You might ALSO enjoy our podcast, 1Scot,1 Not. We talk about everything under the sun to do with Scotland - whether it's historical, fantasy, whatever. Just a quick warning - we have a blast and are totally ourselves on the podcast, which means there is some drinking and swearing. ❤️ CHECK OUT ALL my art books on AMAZON ❤️ MY FAVORITE ART SUPPLIES on AMAZON ❤️ MY BELOVED FACEBOOK GROUP ❤️ FOLLOW ME ON INSTAGRAM Create DREAMY Skin Tones with Caran d'Ache Luminance Colored Pencils for Your Mixed Media Portraits!16/5/2022
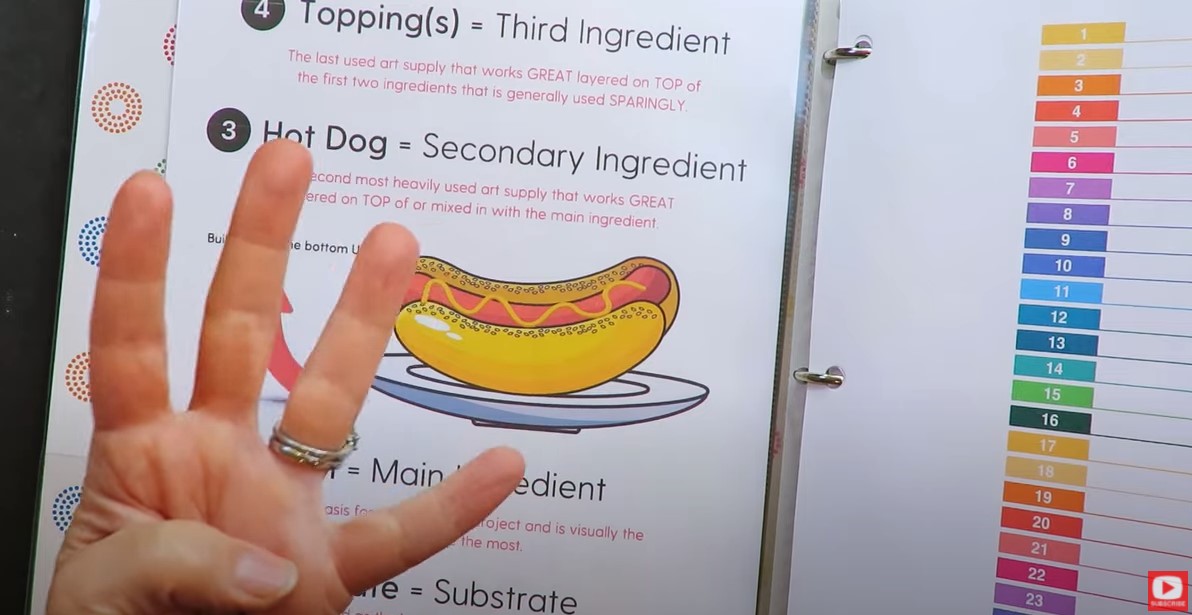
Today I'm trying Caran d'Ache Luminance colored pencils for the first time to create a mixed media portrait ("Hot Dog Style"). I'm not normally a colored pencil artist because I prefer art supplies I can work quickly with, but YOU HAVE to SEE the DREAMY skin tone effects these colored pencils create - especially when burnished with a Derwent Drawing Pencil in Chinese White. SO glad I tried this idea on page four of my FREE HOT DOG SYSTEM packet from my talented artist friend, Sharon Holmberg!
Click the button below to download this FREE 32-page stack of ideas just filled with "Hot Dog System" tried and true mixed media art supply combinations created by myself and 20 of my artsy friends!

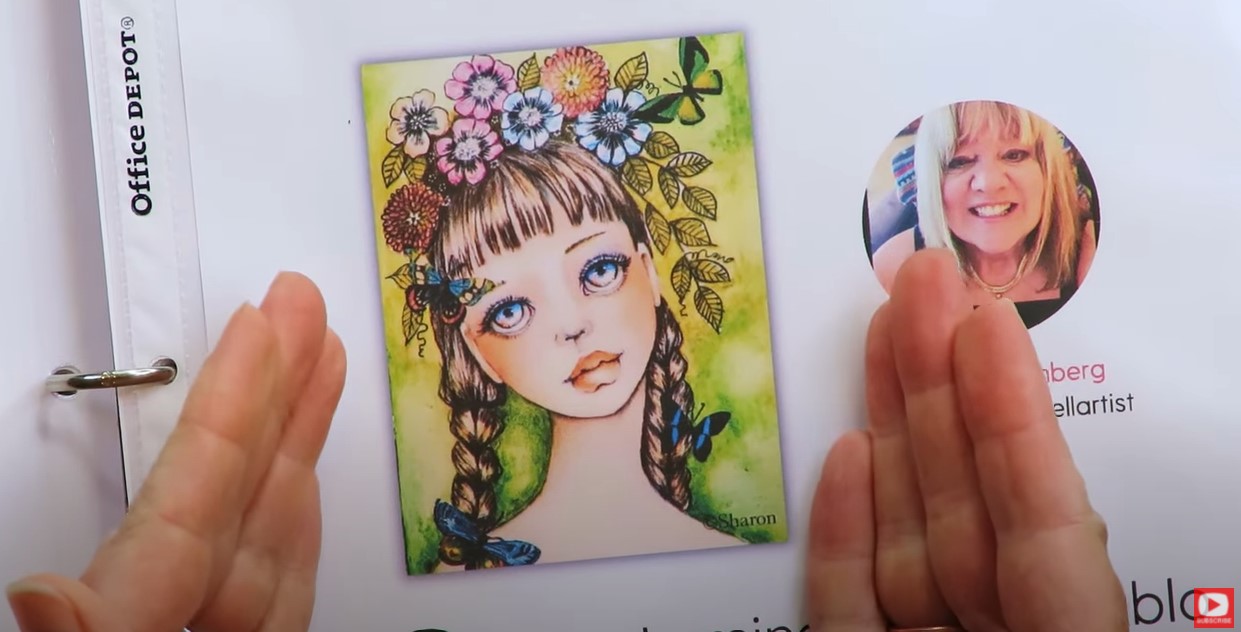
Today I'm trying some new colored pencils recommended to me from artist, Sharon Holmberg. Her favorite mixed media art supply combo is shared on page four of the FREE 32-Page Hot Dog Packet. Sharon loves to combine Caran d'Ache Luminance colored pencils with watercolor and a bit of collage for the mixed media faces she creates in her Strathmore Mixed Media Visual Journal.
Instead of drawing a girl's face from scratch today, I decided to save a little time, and cut out one of the female faces from the coloring pages packet in my Skin Tone Secrets book.
Before I start shading this face in, I need to swatch out my colored pencils so I know exactly what colors I'm working with. 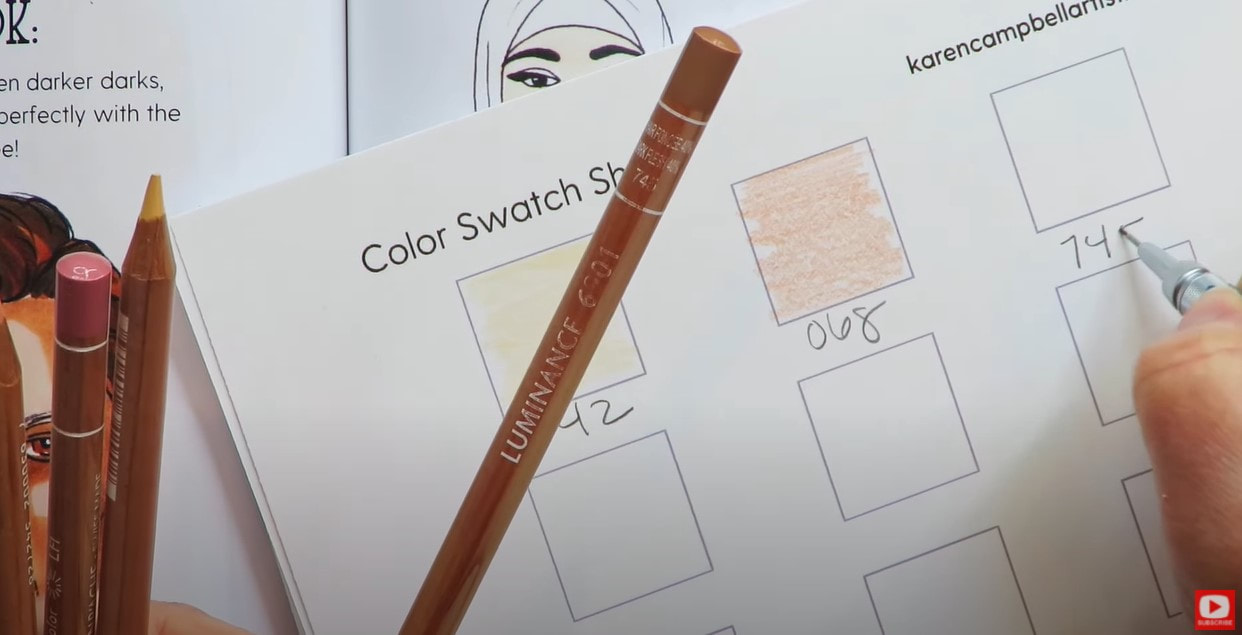
Even though the swatch sheets in my coloring pages packet (you can download this for free if you buy my Skin Tone Secrets book), are from a book all about using alcohol markers- the swatch pages can be used for ANY art supply, and honestly, the shading patterns presented in this book can also be used with any art supply - as you'll see in today's video.
This is my "I -hate -my -life -right -now -and -my -hands -hurt -face." LOL. If you've been following me for a while, you likely already know I kinda despise colored pencils because they honestly just take too long for me and it's very detailed work, which I'm just not that into. I think I stuck it out for like 5-6 layers of face shading, and had to move on with my life. HA! That's just me.
If you have the patience for working with colored pencils- you do you!! I know they can create some absolutely gorgeous portraits, even from the little shading I did with them today! 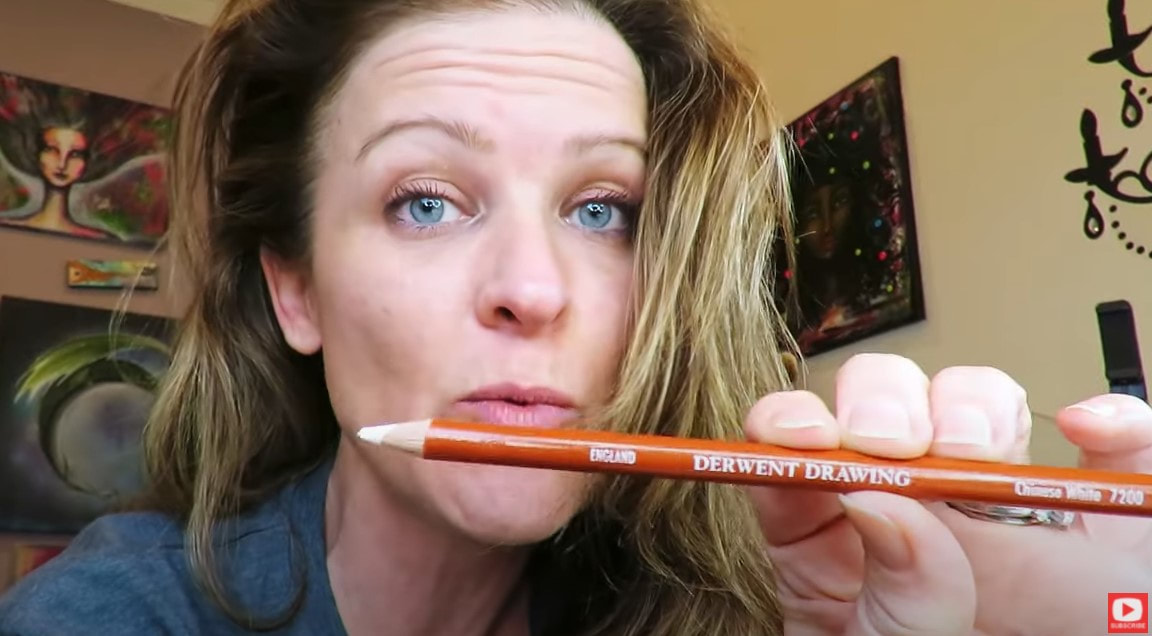
The part that really makes Sharon's faces flawless (and something I tried today!) is "burnishing" - which basically means blending the skin tones shades and layers together to create a smooth, finished look. Sharon's favorite tool for this is a Derwent Drawing Pencil in Chinese White. Watch the video to see how beautiful this colored pencil blending technique and tool are in action!
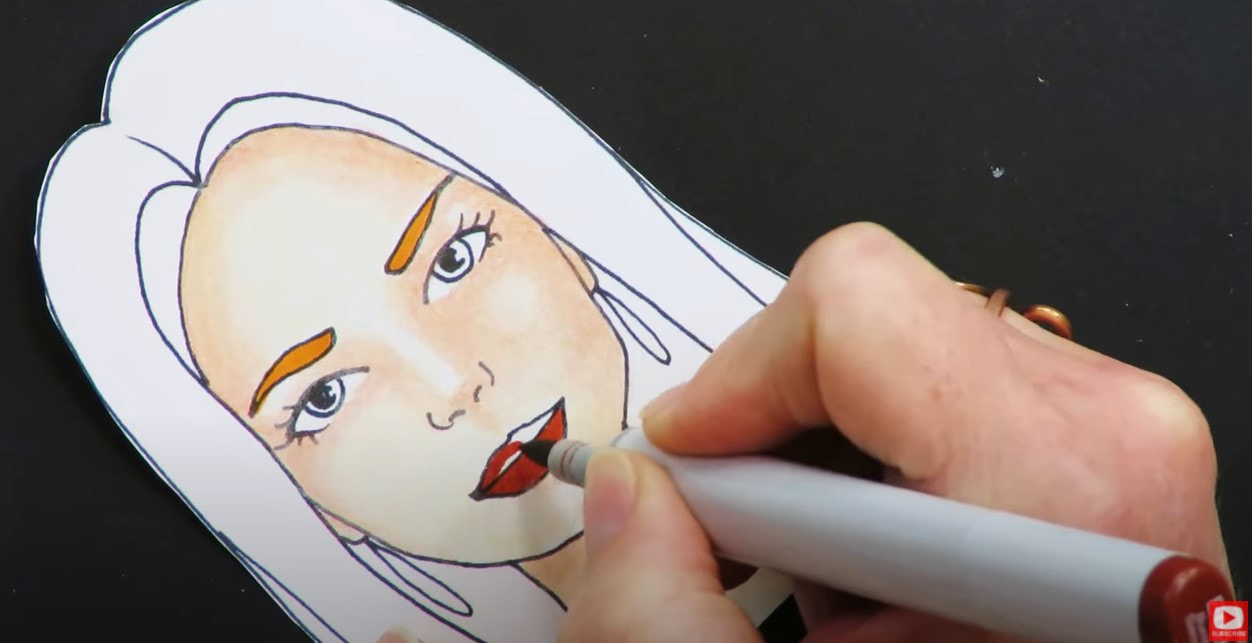
I finished off my girl's face with alcohol markers in the lips, hair and eyebrows because I had to give up on the colored pencils. Even though colored pencils in general are NOT my favorite art supply, they seriously do create a dreamy look for skin tones so I'm super glad I tried it!
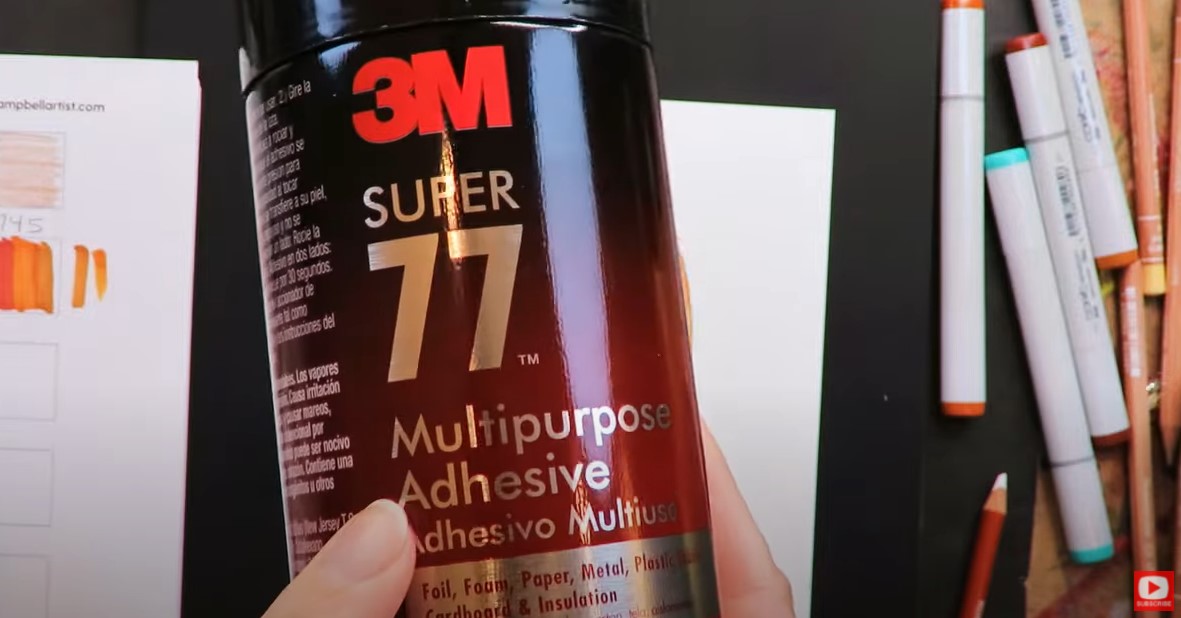
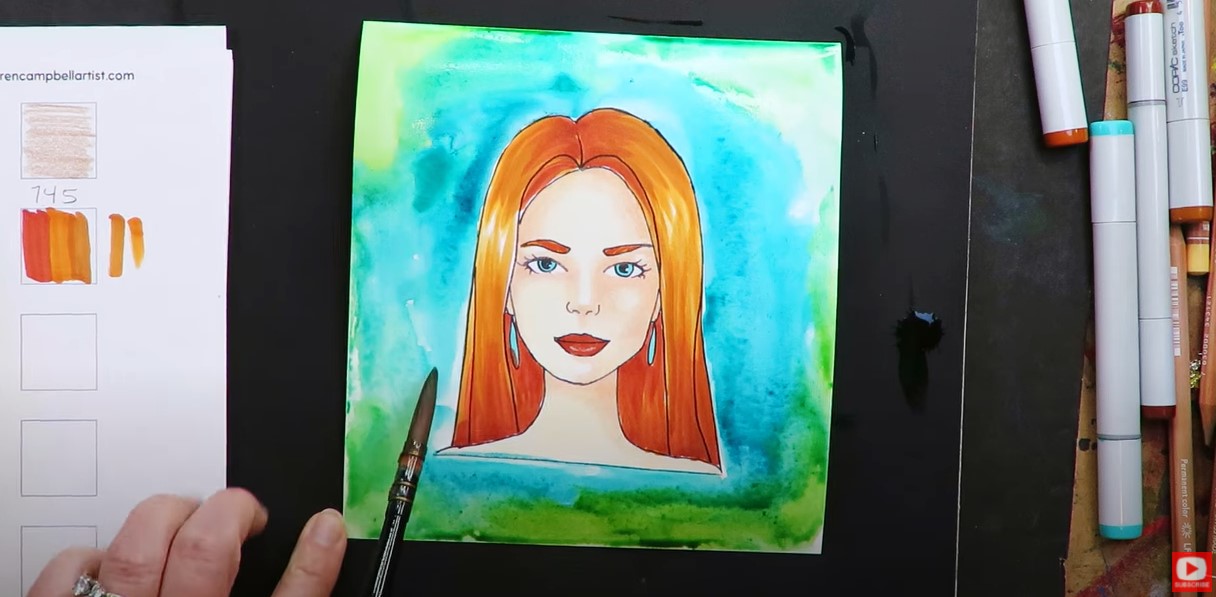
Next, I used a simple adhesive spray (shown above), to secure my mixed media face to a sheet of watercolor paper so I can watercolor a background around her. I used two watercolors by Daniel Smith to create my watercolor background: Ultramarine Turquoise and Sap Green.
After my watercolor background is fully dry, I cut some cute flowers out of scrapbook paper I had lying around and glued those down with matte medium ( another STAPLE in my mixed media art studio).
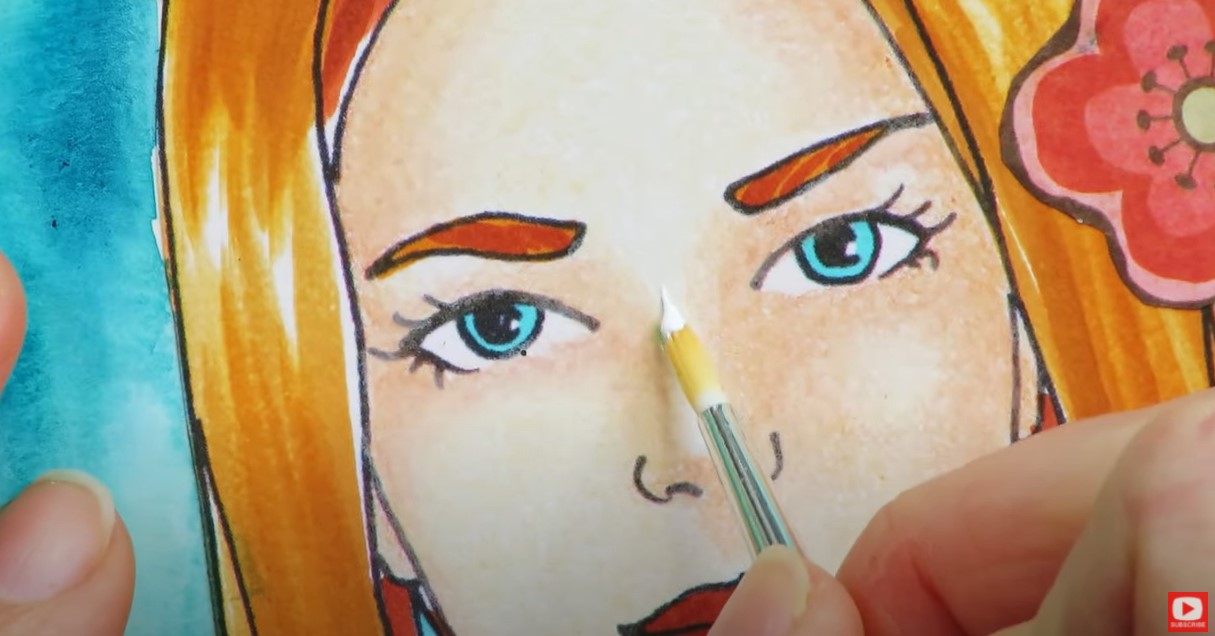
As you'll see in the video, I had a little mishap with my cut out flowers while my watercolor was still wet and it made a tiny drop of green watercolor land smack dab in the middle of my poor girl's nose! Not to worry- I'll show you exactly how to fix a watercolor painting mistake.
First I tried adding a little water on top of the spot to lift the color with a paper towel. That didn't work because this particular color is very staining. I decided to try white gouache because this is super opaque and I know will do exactly what I need it to do. Luckily the watercolor mistake I need to fix is located right on the nose of my portrait where a highlight would naturally go anyway- so it's all good! The gouache worked perfectly. 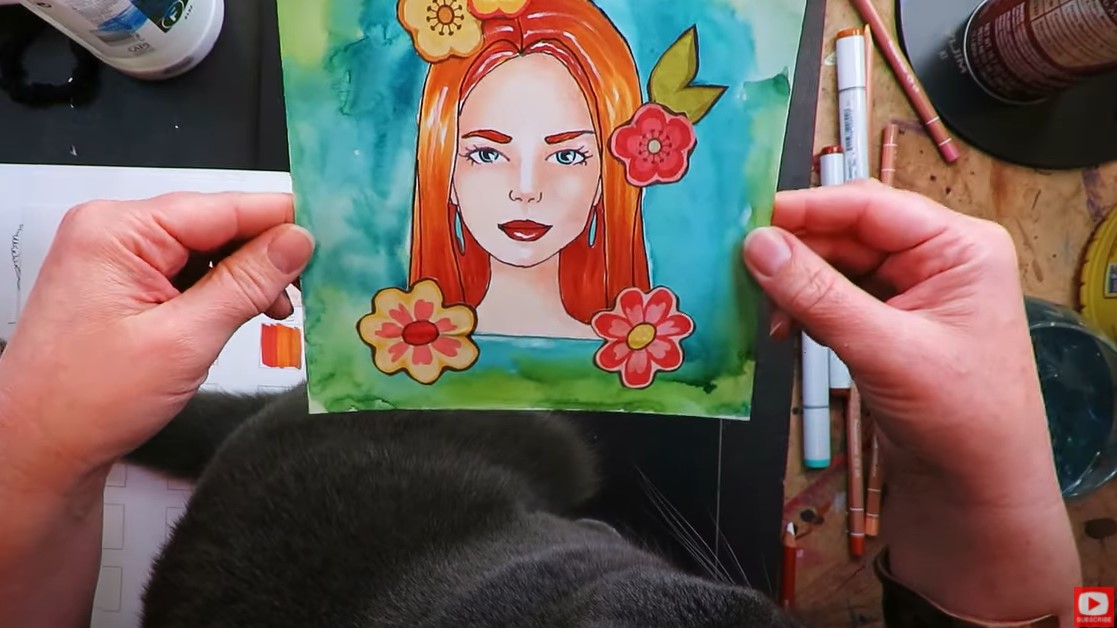
Since I was already using a bit of gouache on the nose of my colored pencil portrait, I decided to use more to tie the piece together by pulling a few streaks of white through her hair, to enhance her eye shine and make her lower lip pop. So fun!!
What I LOVE about this whole Hot Dog System, is that it encouraged me to reach out to other artists in my community to ask them about their favorite supplies and processes. If I hadn't done that, this exact project and video wouldn't even be happening!
So a huge thanks to Sharon Holmberg for sharing her secret, gorgeous process for shading adorable mixed media faces using only 4 art supplies! I totally love how this project has turned out. SO stinkin' cute!!
Thanks for hanging out with me today! ❤️ CHECK OUT ALL my art books on AMAZON ❤️ MY FAVORITE ART SUPPLIES on AMAZON ❤️ MY BELOVED FACEBOOK GROUP ❤️ FOLLOW ME ON INSTAGRAM QUICK & EASY! Mixed Media Portrait in Stabilo All Pencil, Pan Pastels & Paint Pens ["Hot Dog" Style]10/5/2022
Creating mixed media portraits is one of my FAVORITE things to do! When I don't have a ton of time to art, I'll use my quick Hot Dog System to layer just FOUR mixed media art supplies.
I asked 20 of my artsy friends about the simple mixed media art supply combos THEY love and have TONS of FUN ideas to share with you in a FREE 32-page PDF (you're welcome!). This packet contains our BEST, tried and true, 4 art supply combos- "HOT DOG" style. 
Click the button below to download this FREE 32-page stack of ideas just filled with Hot Dog System inspiration!

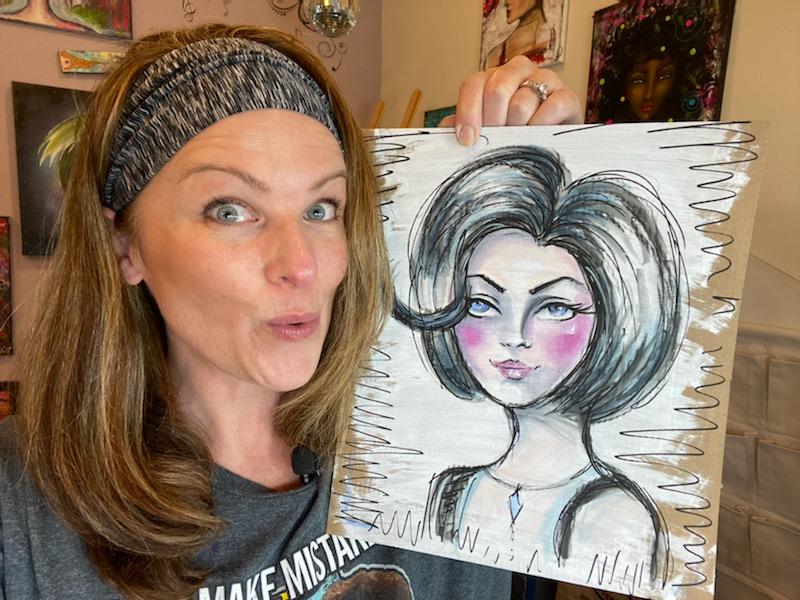
Today I'm testing a new-to-me mixed media art supply combo recommended by one of my artsy friends, Alexa. Straight outta the Hot Dog Packet on page 3 - we're combining my beloved stabilo all pencil with pan pastels and paint pens on cardboard. If you're a beginner in the world of mixed media art, or just curious about these tried and true art supply combos - today's video (and FREE 32-Page Packet ) are FOR YOU!!
Before we continue, super quick announcement: All product links are Affiliate. I may earn a small commission if you choose to order through these links but by law there is never any additional cost to the consumer for doing so. I thank you for your support.
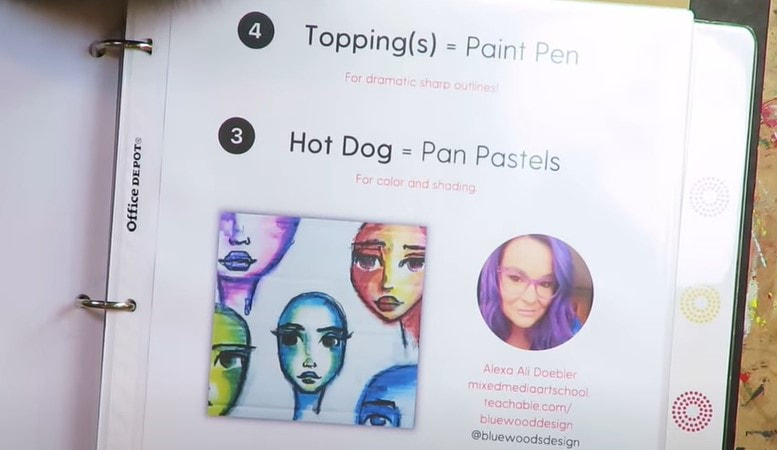
Today's combination of mixed media art supplies comes from page 3 of the Hot Dog Packet, and is a recommendation by artist, Alexa Ali Doebler.
She's suggested we create on cardboard. Feel free to use the back of a cereal box, an Amazon box, whatever. You can also just as easily do this project in an art journal (preferrably one filled with watercolor paper because we'll be activating a water soluble pencil with water). It's up to you! 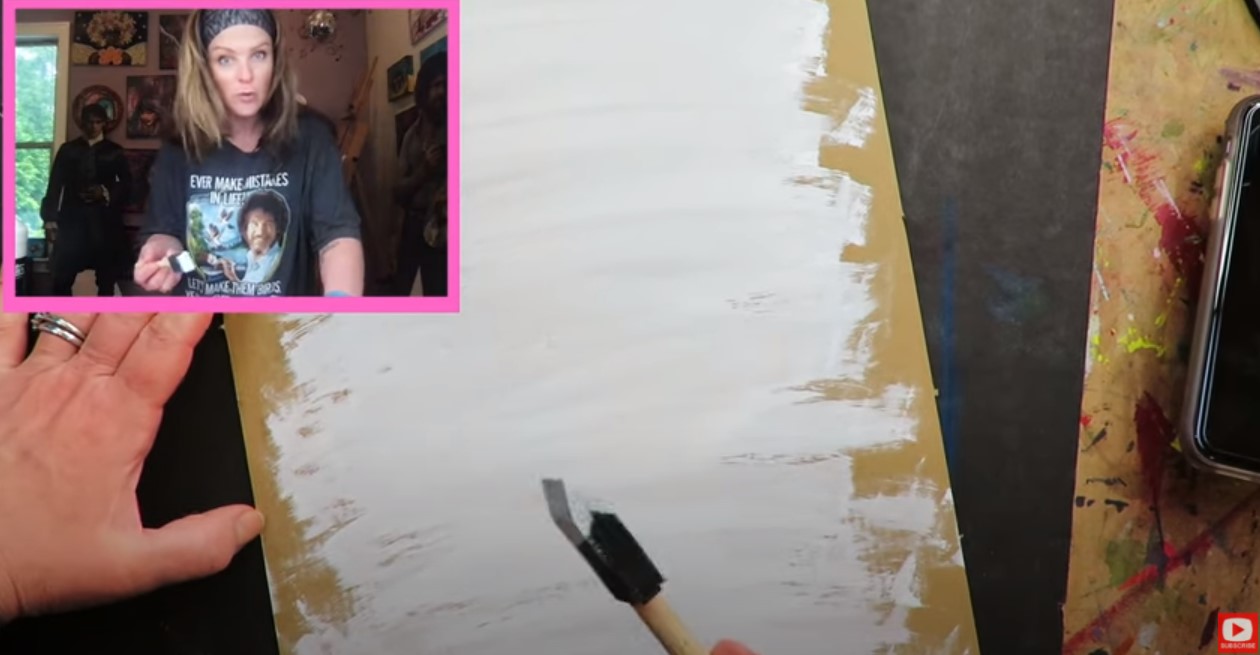
I'm using cardboard like Alexa suggested. To get this party started, I'm covering my cardboard "canvas" with some swaths of white gesso (skip this step if you're working in a watercolor sketchbook or journal).
As you'll see in the video, I'm using a cheap foam brush to apply it. These are amazing for SO many applications and can easily be washed out and reused for a long time. Typically gesso is used as a primer for acrylic paint, and absorbent ground is the primer for watercolor and water soluble products. However, because I know the Stabilo All Pencil in Black SO well as a product, I know it will perform beautifully when layered over white gesso. 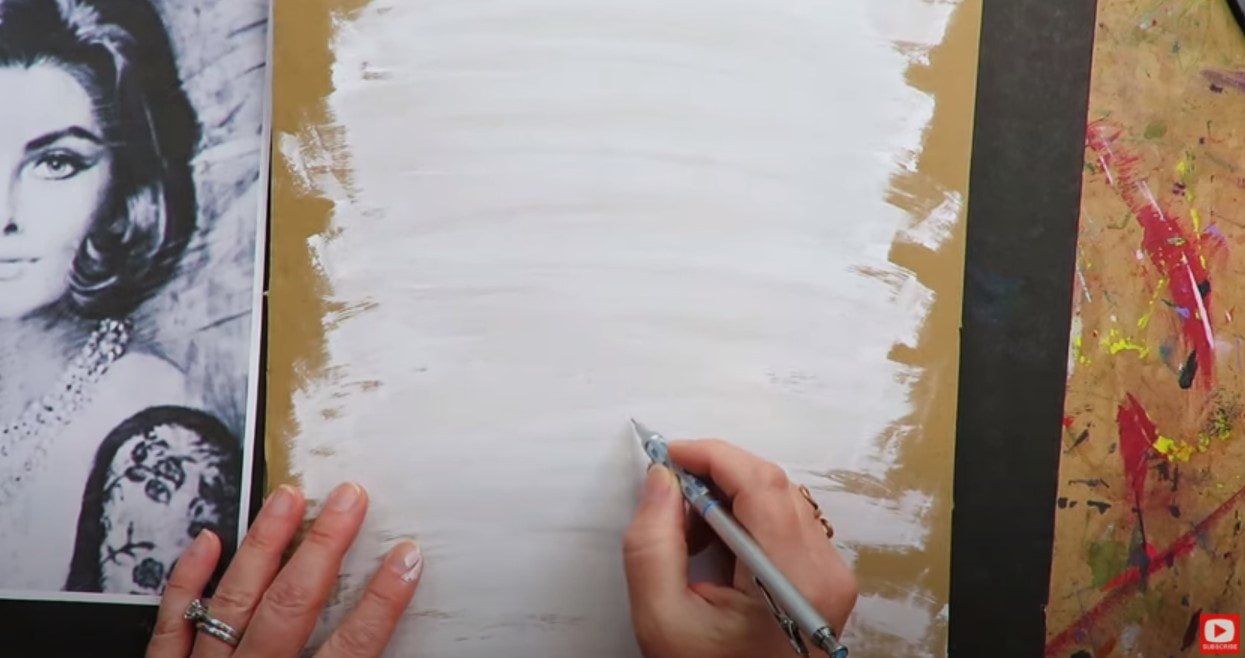
To draw in the face for today's mixed media portrait, I'm sketching her in with my mechanical pencil first. I find this super helpful because I can erase if I need to. If you don't have an eraser you love, this one is my favorite.
Today's sketch is quick and dirty because I'm more into trying out the art supply combo and seeing how the layers work together, than making the drawing my life's work!
I know her neck is totally wonky, but I'm just letting it be since I'm in a hurry. Try to ignore that for now, LOL. 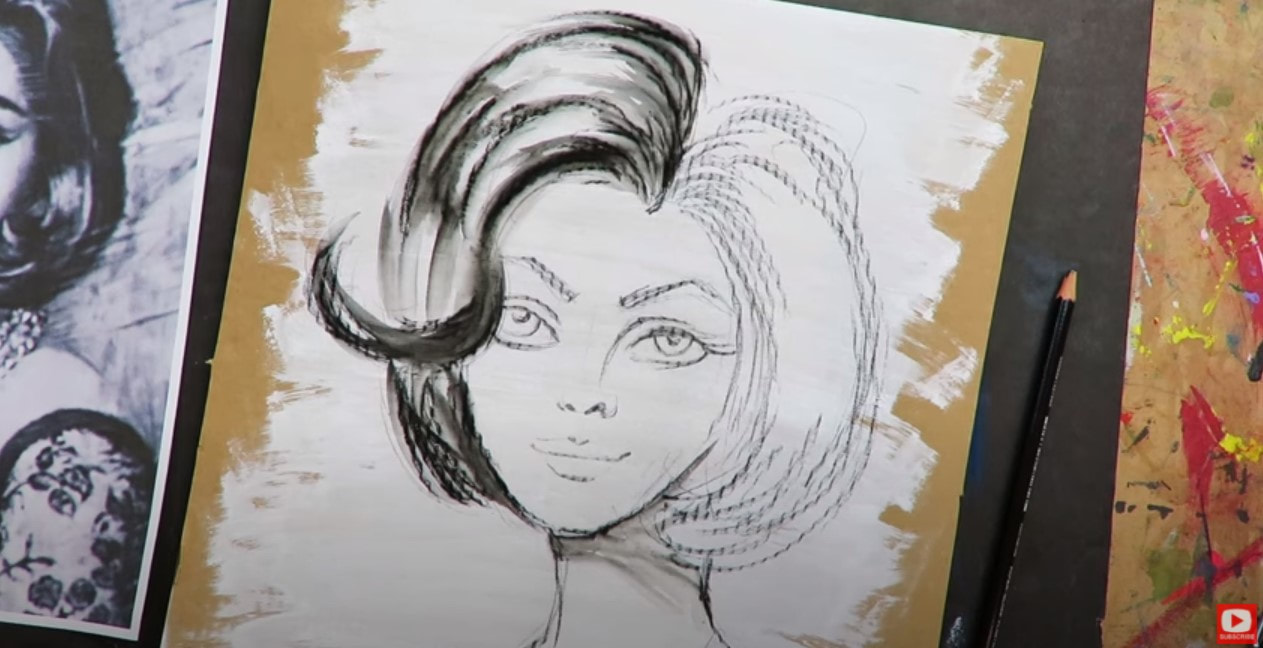
To activate the stabilo, I'm using my favorite watercolor brushes by Polina Bright (check out this video for a full product review of them!). If you'd like to get a set for yourself, Polina has extended a coupon code to my followers for 10% off if you enter my full name in caps (KARENCAMPBELL) at checkout on her website or in her Etsy shop.
Something to remember about the stabilo is that is WON'T stop activating. Some of my students LOVE this... and some HATE it. I love that feature, but I just want you to be prepared for how it will behave before you try working with it if it's a new art supply to you.

Now it's time for pan pastels. I'm still SUCH a newbie with these- but that's ok! I'm ready to learn!
There's a cute little pan pastels applicator that looks like it fell out of an eye shadow compact. This will help you dab color on wherever you want it, and do some blending. 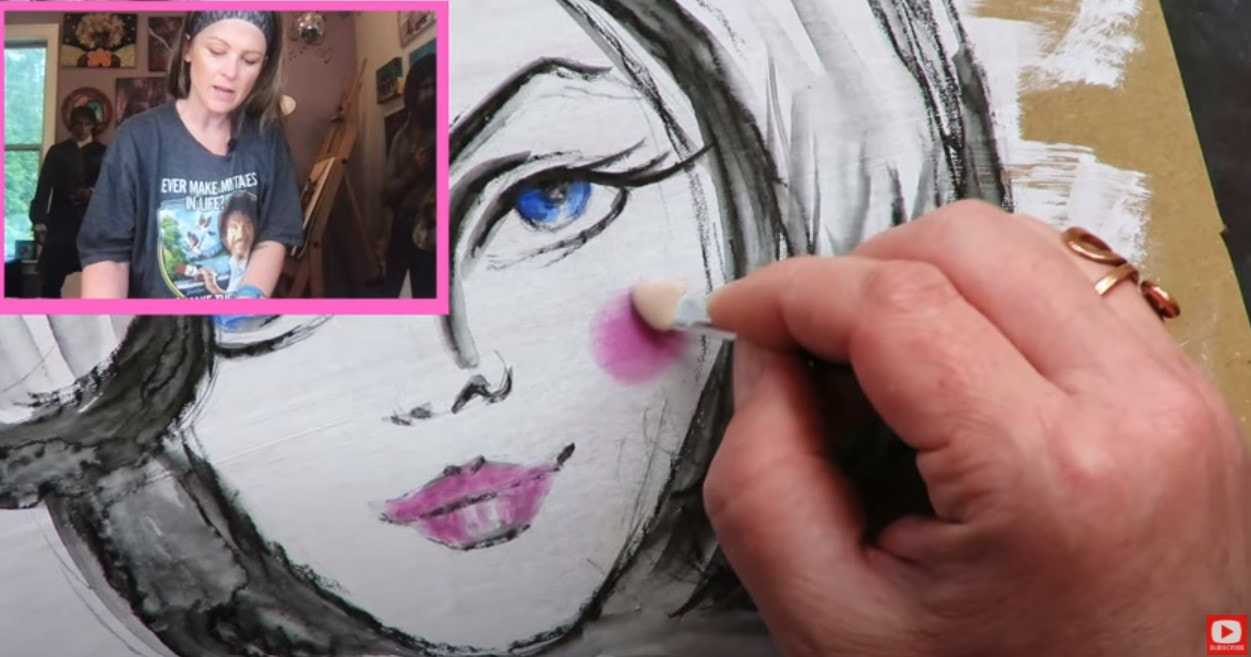
I spent a little time playing with the pastels - incorporating shading into the face and hair to add dimension. At this point in the project, I was also just experimenting with what the pan pastels were capable of and how they worked. They're actually really fun!
Then it was time to bust out the paint pens. I'm just using whatever is hanging out on my art table. I've got a white sharpie paint pen and dabbed on a few highlights with that, then added some outlining and scribbles with my black posca paint pen. Simple, fun and done!
I hope you enjoy this quick mixed media portrait tutorial! Have fun experimenting with your art supplies, and make sure you post your version in the Facebook Group if you do the project too!
Thanks for hanging out with me today! ❤️ CHECK OUT ALL my art books on AMAZON ❤️ MY FAVORITE ART SUPPLIES on AMAZON ❤️ MY BELOVED FACEBOOK GROUP ❤️ FOLLOW ME ON INSTAGRAM |
Karen CampbellFounder of Awesome Art School. Mixed Media Artist. Author of 19 Instructional Art Books! 
Whose work has appeared in...
   
 Archives
July 2024
Categories
All
|
 RSS Feed

"Karen is flipping hilarious and she's very real...I like the way she teaches in a way that really gives you confidence, whether you're a beginner or advanced there's always something new to learn!"
- Elizabeth W. |
What Fans Are SayingKaren, you are absolutely fabulous! You make me feel like I can draw anything. I have recently retired and finally have the time to do some of the art that I have loved since I was in school. I am really at the beginning of my art journey and I hope to learn as much as I can. Thank you for all you do. |
Contact ME |