
|
If you're new to the world of mixed media art, you're in THE BEST PLACE!! I have so many mixed media ideas, tutorials & tips for you.
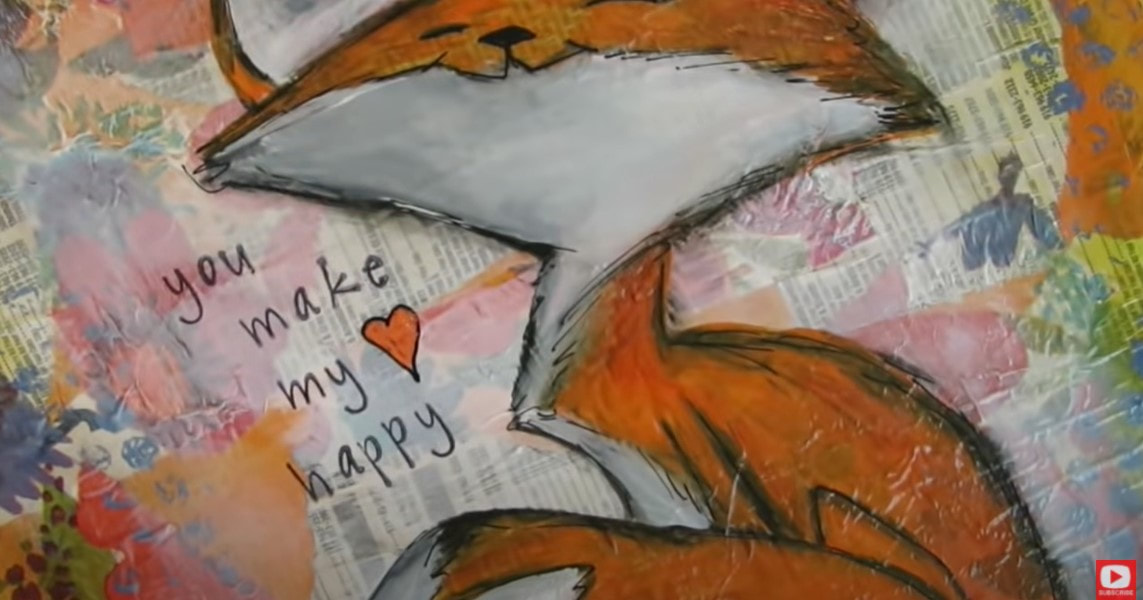
If you're intimidated by mixed media, or struggling with how to layer your supplies, I'd love to teach you my SIMPLE mixed media technique for layering my supplies (it's the exact process I used to create this adorbale fall fox!).
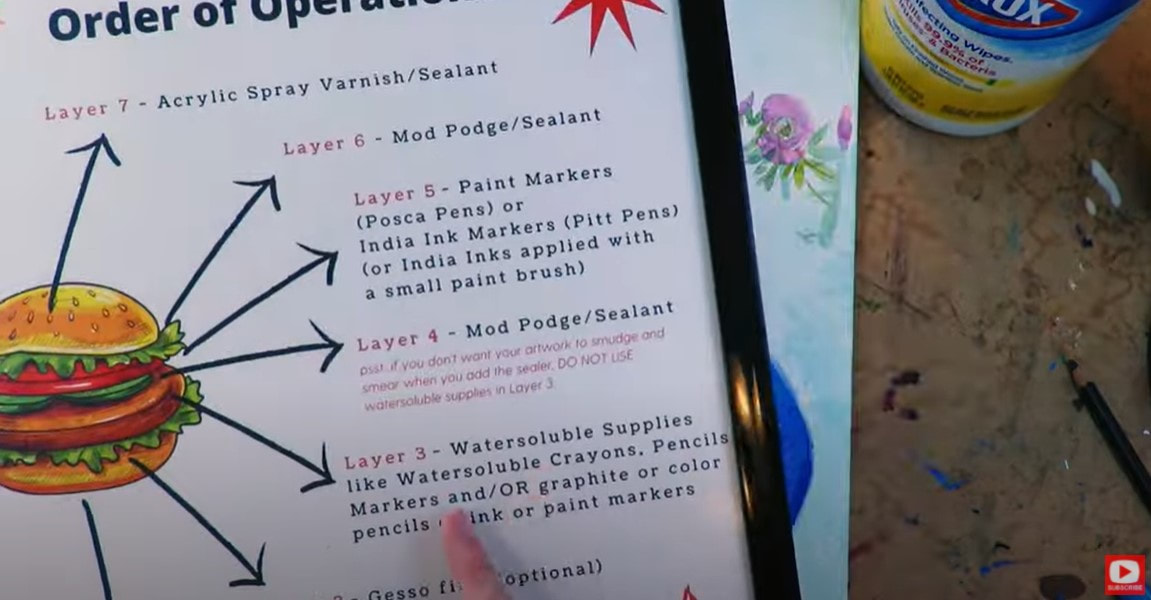
Simply download my FREE Mixed Media Hamburger Cheatsheet. I know, "hamburger" sounds funny - but I pile on my art supply layers one by one - like I'm making the perfect burger. Click the button below, and you'll see exactly what I mean!

After you click the button above, you'll get an email with your cheatsheet. Make sure you print it out because it's an awesome reference to keep at your art table.
Now you're ready for action and have TWO choices...
#1: Learn how to make this adorable fall fox (stay right here & keep reading). OR #2: WATCH my entire FREE Mixed Media Hamburger Playlist on YouTube. There's a video for every single layer of the cheatsheet (you printed that out, right?!) to help you learn my signature process from start to finish, step by step. 
Before we continue, super quick announcement: All product links are Affiliate. I may earn a small commission if you choose to order through these links but by law there is never any additional cost to the consumer for doing so. I thank you for your support.
Yay! I'm glad you stayed. Let's get moving on the fox project!
If you haven't met me yet, you'll soon learn I love hoarding art supplies as much as the next girl, but I ALSO love saving money and upcycling thrift store finds for my art. One of my tricks is to purchase old record album covers to turn them into canvas! Kinda brilliant right? They're dirt cheap and I love the square shape. 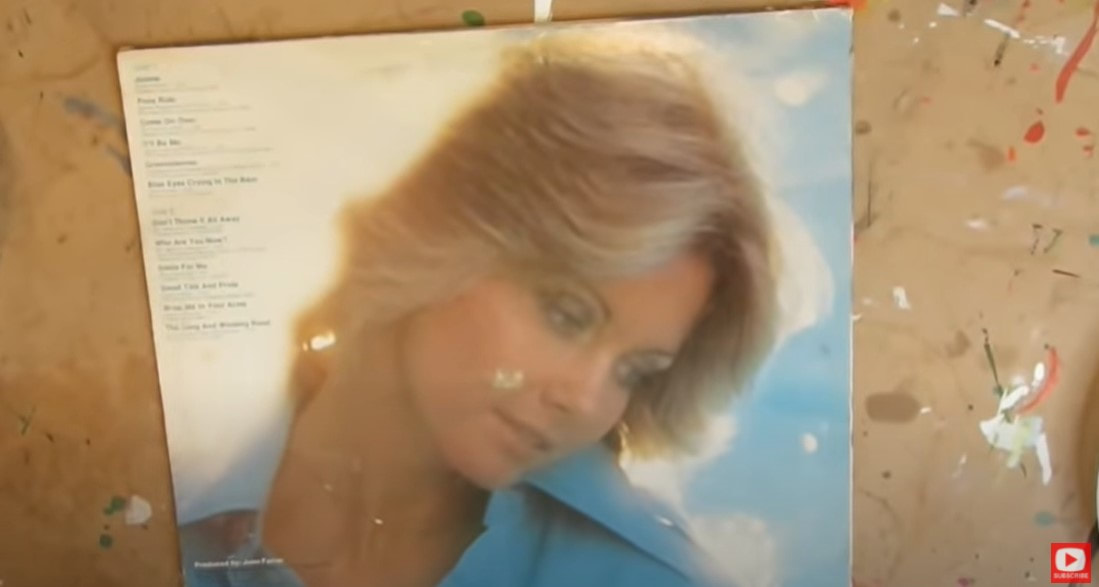
You can also create your own mixed media fox on canvas, canvas panel, or in an art journal (just make sure the paper is super thick -preferrably watercolor paper). Do what YOU love!
If you're upcycling any old surface like a once glossy record cover, we need to cover it with a light layer of gesso. 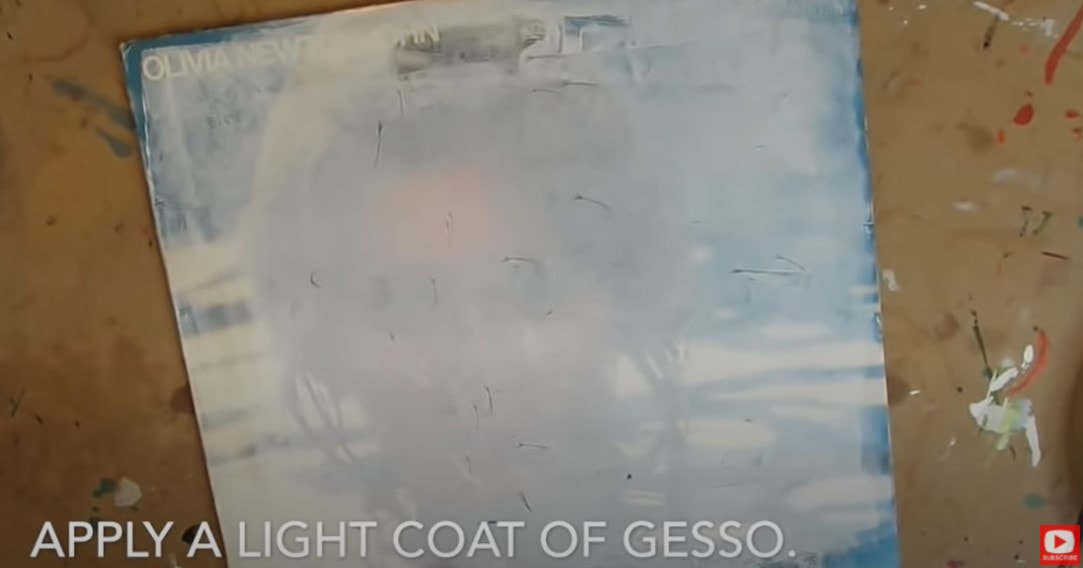
Now it's time to start painting!
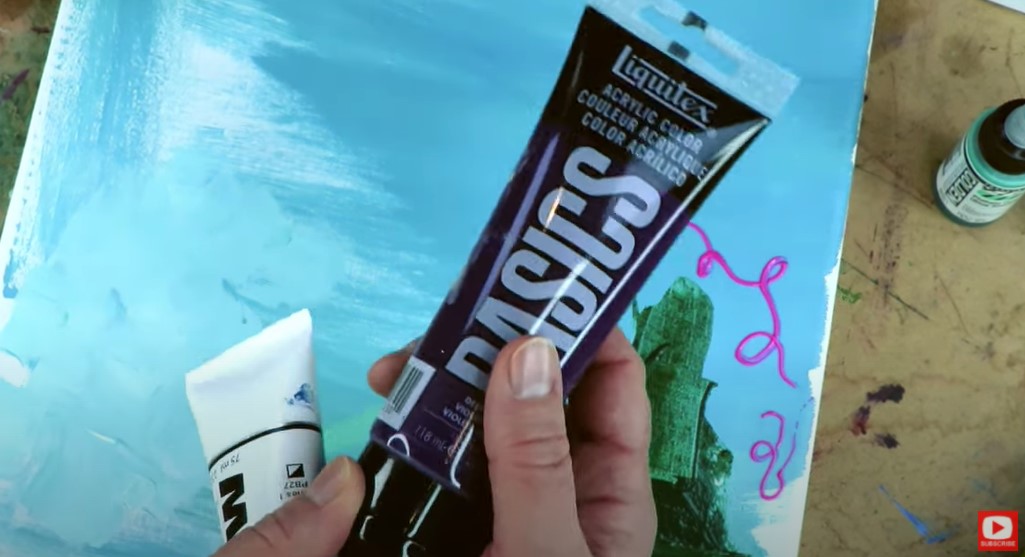
Apply a thin layer of orange acrylic paint. I love acrylic paint by Lukas Cryl. I discovered it years ago when my kids were tiny and I was REALLY on a budget. This stuff is gorgeous and lasts forever. I've been recommending it to my students ever since. I wanted an edgey look, so instead of using a paint brush- I used the edge of an old credit card to spread the paint around. Looks cool, right? If you prefer using a paint brush, that's cool. Use whatever you have on hand. If you're looking for a new acrylic set of brushes, this is a great one. 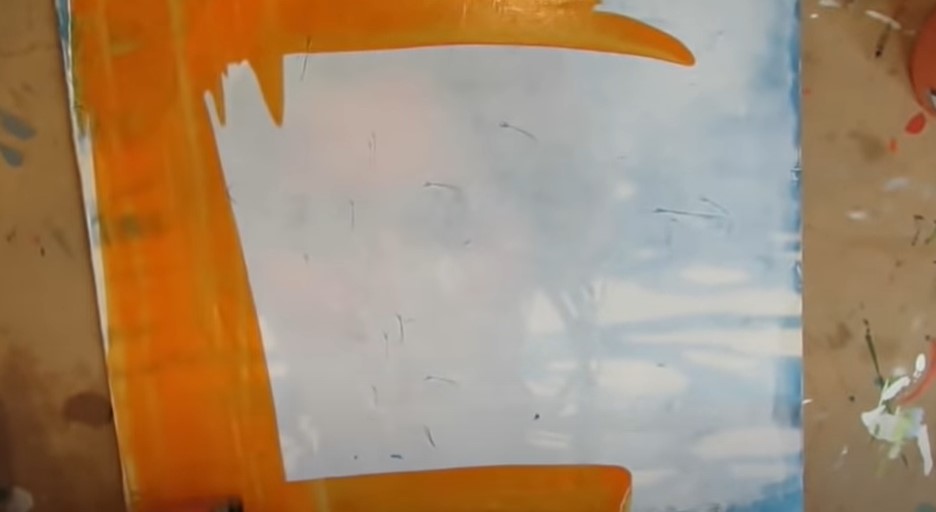
Another cool element to upcycle in your mixed media art for collage is phone book pages or thrift shop books! I always look for the books that are on their last legs. The paper is thin and perfect for mixed media collage.
For the fox, I ripped up a page from an old phone book. Does anyone even get these anymore?! ? 
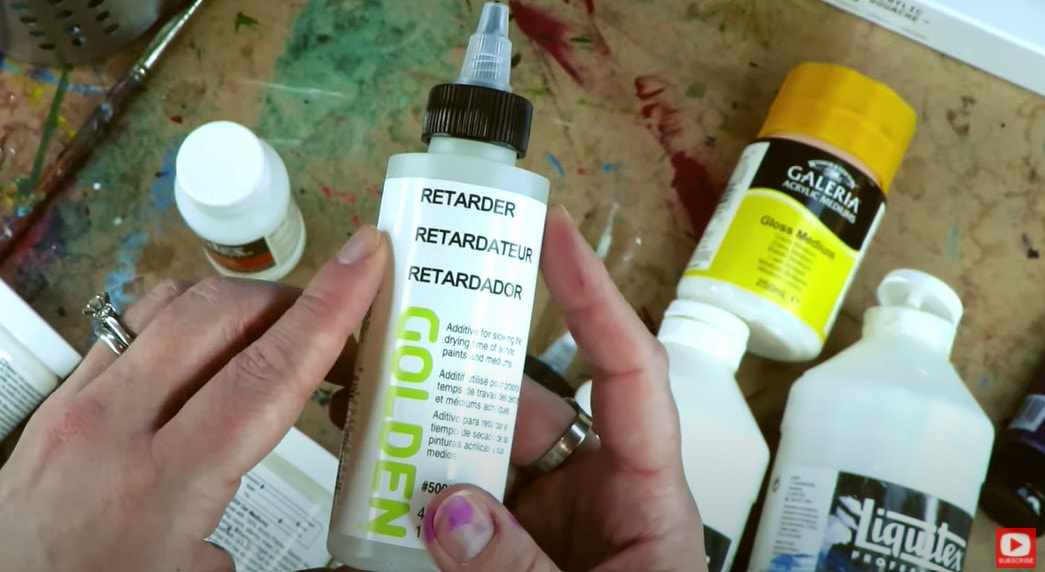
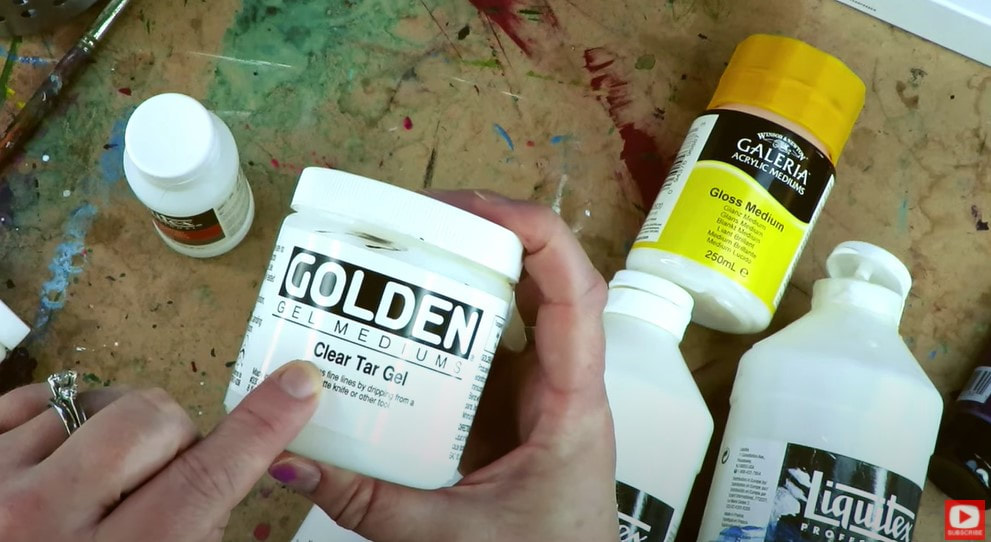
Lots of people use mod podge to adhere collage pieces to their art journal pages and canvases, but I actually use matte medium. Why? It's designed to work with acrylic paint, and it actually has secret adhesive properties! I paint a thin layer on the bottom of my collage pieces, and another right on top.

Napkins and tissue paper are also excellent for mixed media collage. For this project, I had an adorable, floral napkin I was dying to incorporate. I peeled the napkin backing from the pattern side (this is really important because it makes your collage pieces thinner and easier to control). Then I ripped it into pieces and carefully adhered it to my piece.
If you struggle with getting the wrinkles out of your napkin pieces when you're collaging, this video is for you. It really demos my technique of using TONS of matte medium! I pour it on so there's a lot under my napkin pieces, and then coat them on top as well. If you think you're using too much matte medium, add more :) 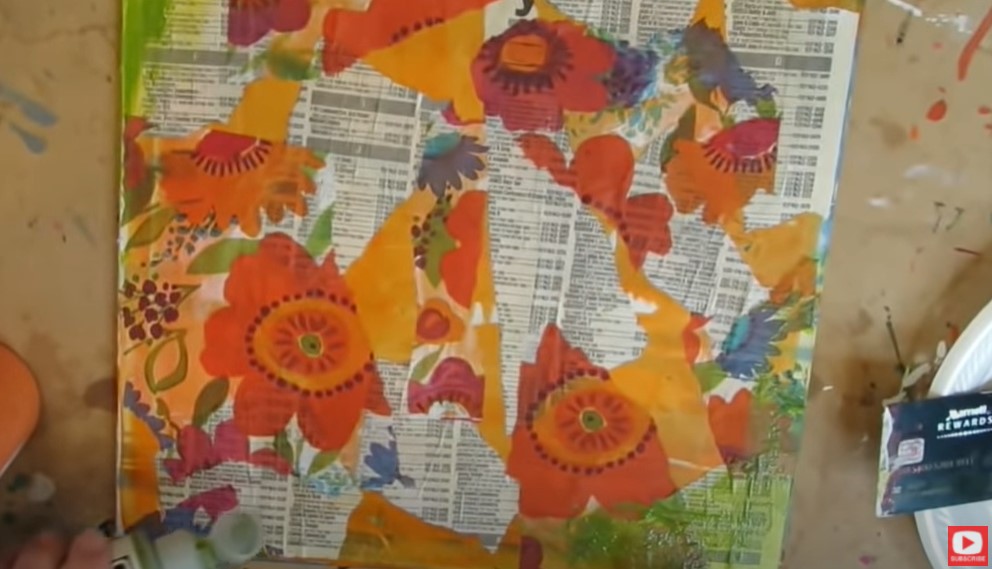
Next start adding in some acrylics that tie in with the color scheme from your napkin. I did a very thin layer and used my finger to spread it into the corners to kind of tie things together.
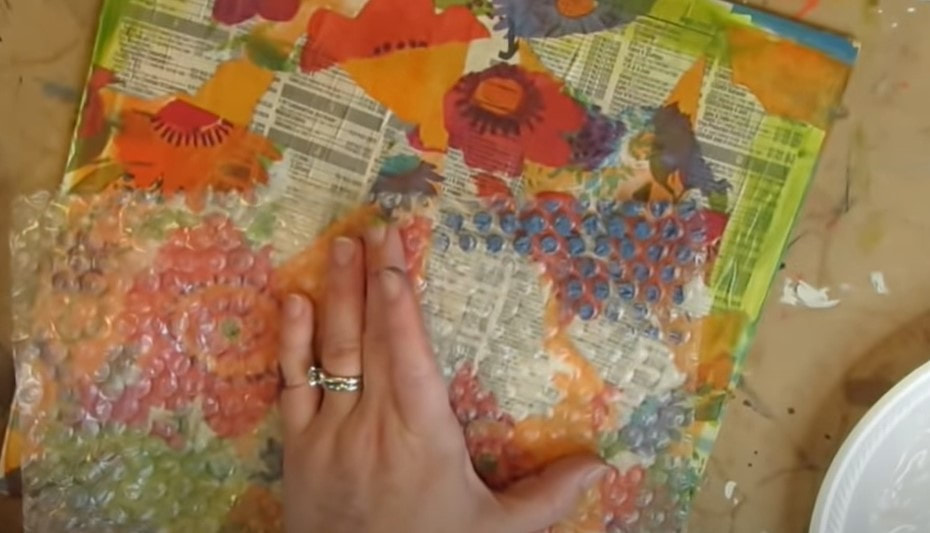
My next step was to add a bit of texture. I love the look of polka dots, and I've found that painting a bit of acrylics over a corner of bubble wrap looks AMAZING in the backgrounds of my mixed media portraits! I've been doing this trick for years, and it costs nothing! Win-win!!
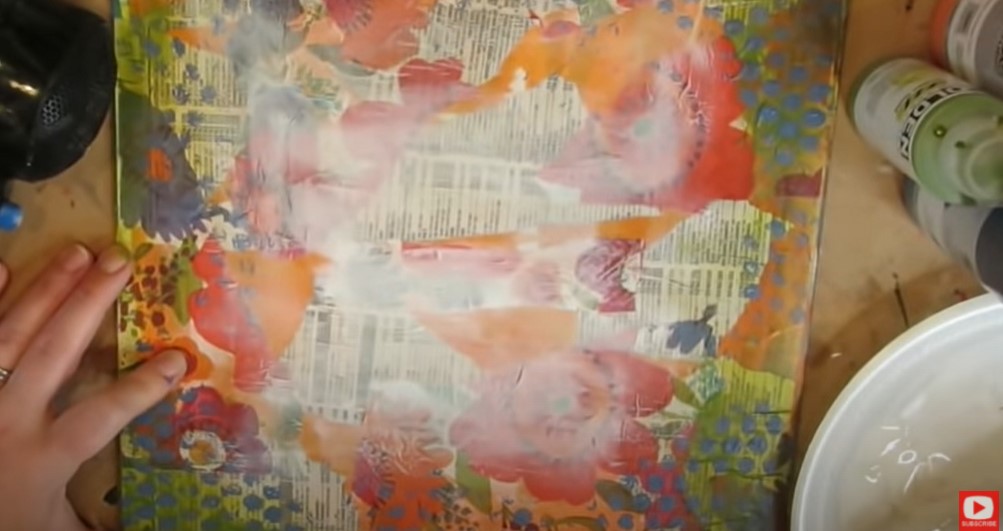
After I hit my layers up with my hair dryer, it's time to start making room for our adorable fox! To knock my background back a bit, I add a super thin layer of gesso all over in the middle of my piece. I used an old credit card here too, to keep that edgey look.
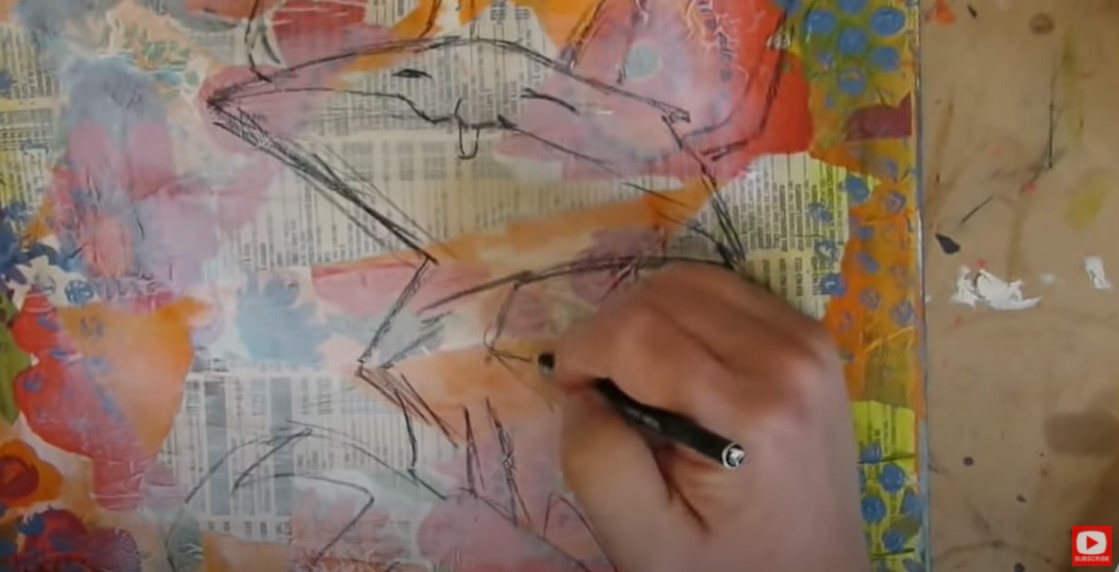
Next, I penciled in my fox outline. I used a black stabillo all pencil because I love how watersoluble it is. It smears when you add something wet to it from water to gesso. Some of my students don't like the unpredictability of the stabilo like I do. If you're one of these people, just use a pencil. When you like the way your drawing looks, start painting again with your acrylics.
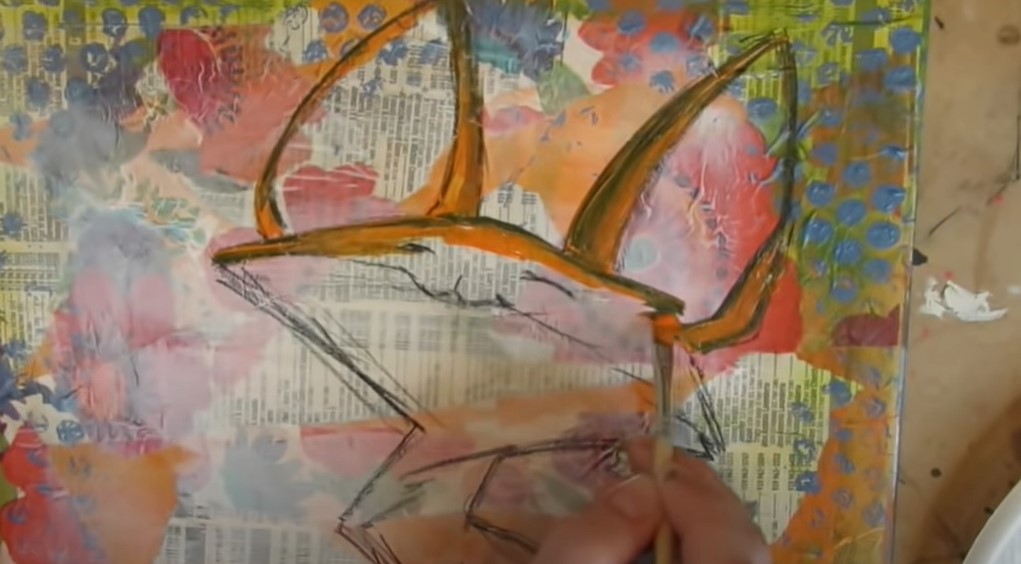
When it was time to start adding in that fluffy white fur, I used more white gesso instead of white acrylic paint. I tend to do this a lot in my mixed media work because I love how the collage layers will peek through gesso.
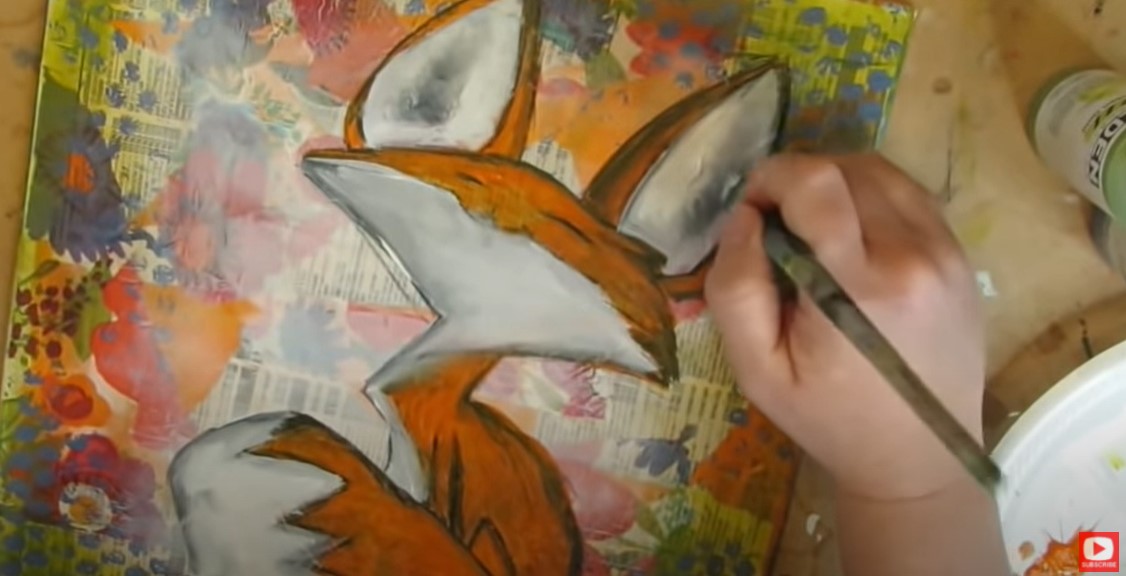
As you'll see in the video, my stabilo lines activated here and there when the gesso hit them. I love how that softened the fox's edges and helped add shading to my little guy without even trying!
Once I felt happy with my painting layer, I sealed it all in with a layer of matte mod podge. Be prepared because that stabilo can activate again when your mod podge hits it. 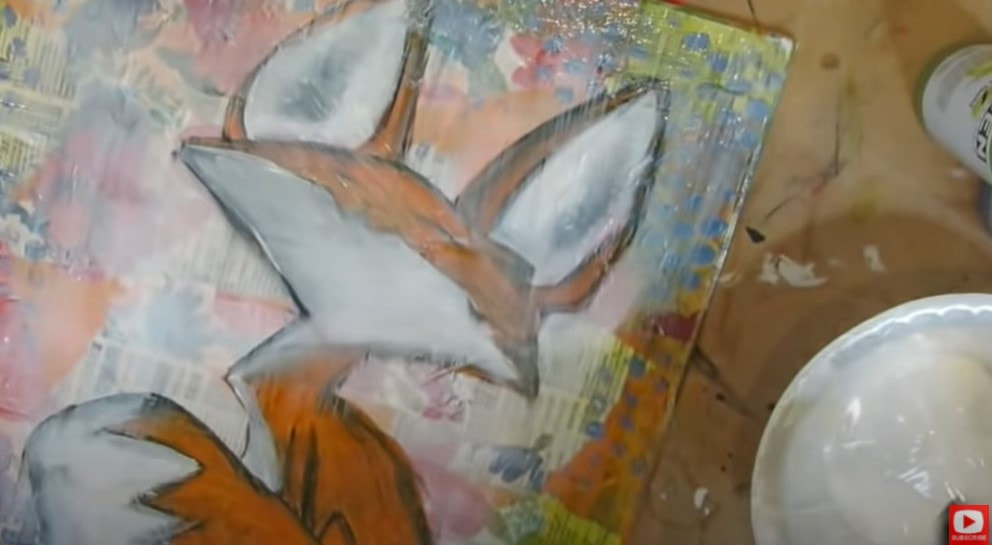
Let this dry completely. Just walk away and do something else for a while. Or if you're impatient like me... hit it with your hair dryer or heat gun again.
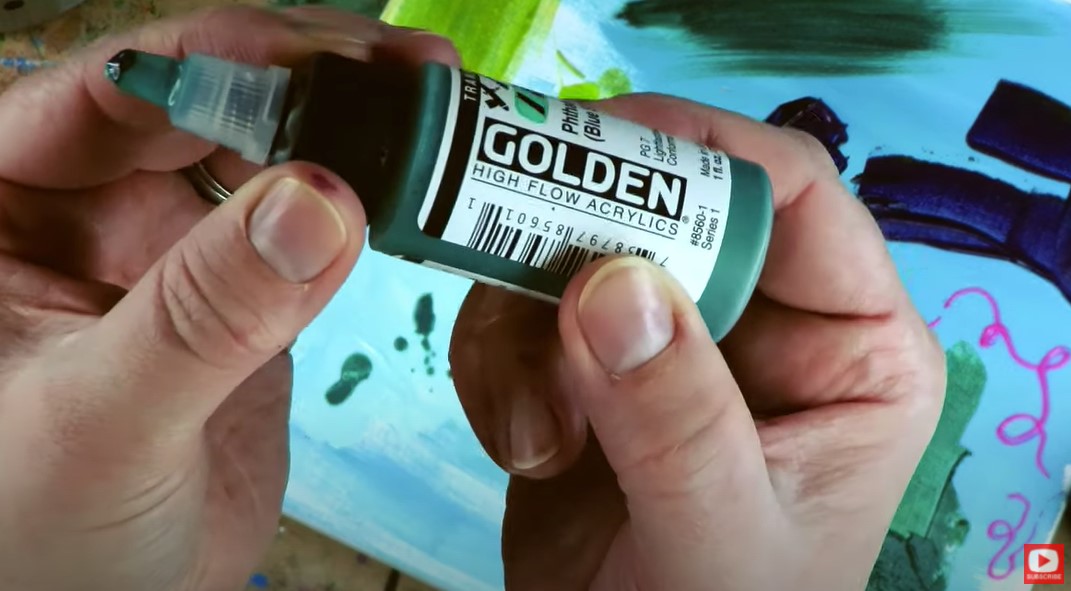
When the surface is slick and dry, it's time to "paint" with our pitt pens! I freaking LOVE this step. It's like ice skating when these babies hit your canvas! If you're following along with your Hamburger Cheatsheet, this is Layer #5. 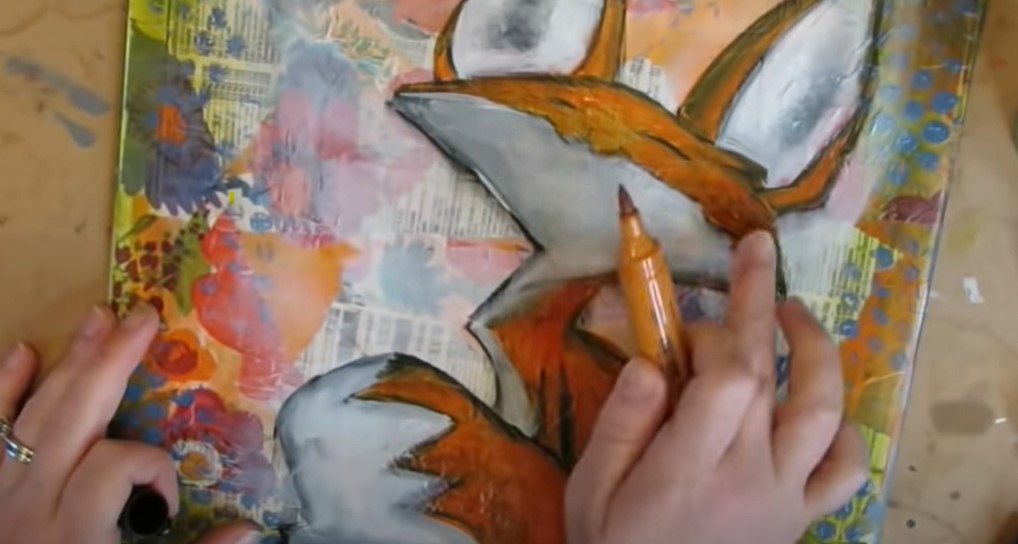
If you're loving the cheatsheet, this actually inspired not only the FREE 9-Part Series on YouTube, but a book by the same name as well. If you love the feel of a book in your hand, it's available on Amazon.
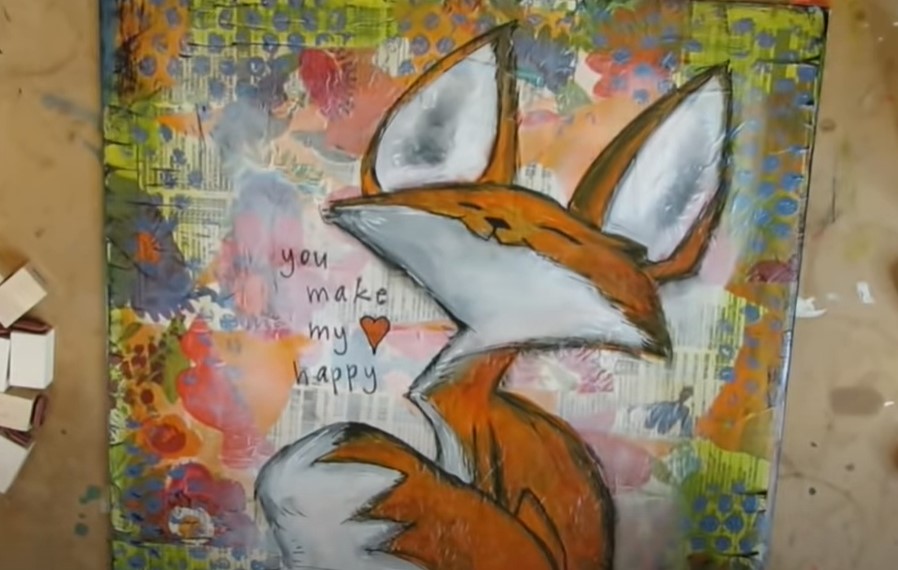
Once you're done "painting" and doodling with your pitt pens, it's time to add a cute quote. I love using stamps for quotes because I don't love my handwriting. Feel free to do either, or no quote! This is YOUR art.
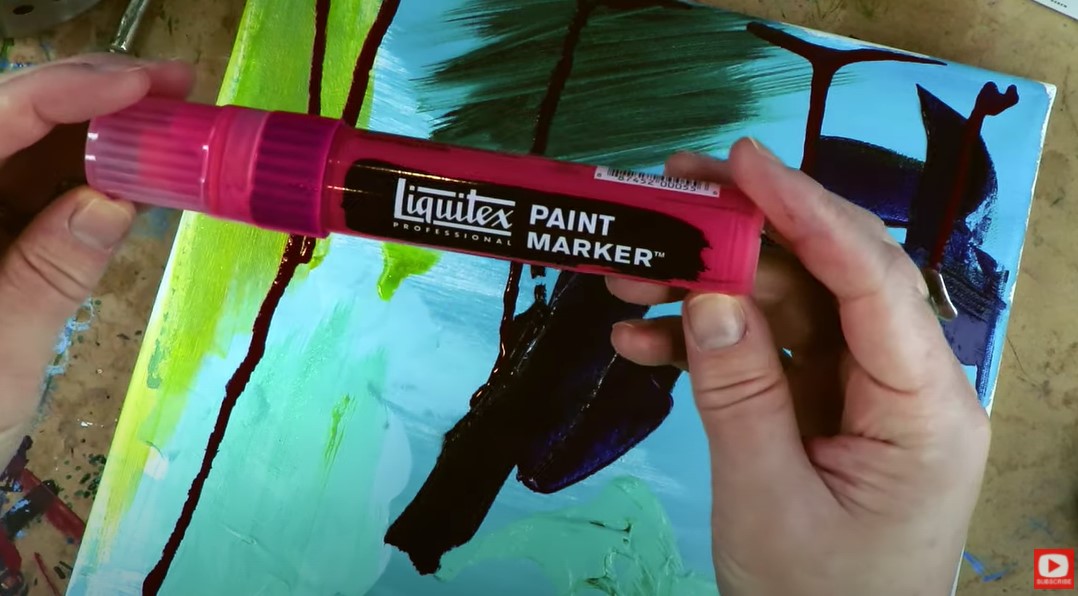
Next to the last step is to pop in some highlights with a white paint pen. I love this simple set of three in varied nibs from Posca. I also love my Sharpie White Poster Paint Pen.

I love the look of a bold black outline, so you'll often see this in my work. I also love using a stamp pad and adding the look of black, distressed edging all the way around my canvas. Make sure you click over to the video to see exactly how it's done!
Just a quick heads up, when you do click over to this fun mixed media fox video, this was shot BEFORE I had even named my magical mixed media layering process, so you won't hear me talk about the burger layers in this video. You'll just see them in action, set to music!
Wanna learn TEN ways to save money with your art supplies? Check out this video. It explains how the layers in this very project can help you from buying out your local craft store :) Thanks for hanging out with me today! ❤️ CHECK OUT ALL MY ONLINE ART CLASSES & Art Clubs ❤️ CHECK OUT ALL my art books ❤️ MY FAVORITE ART SUPPLIES on AMAZON ❤️ MY BELOVED FACEBOOK GROUP
1 Comment
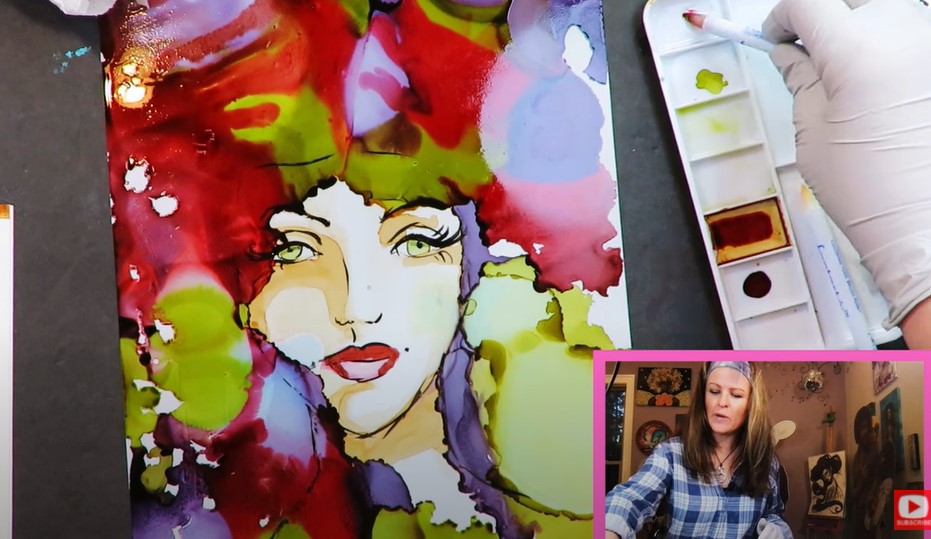
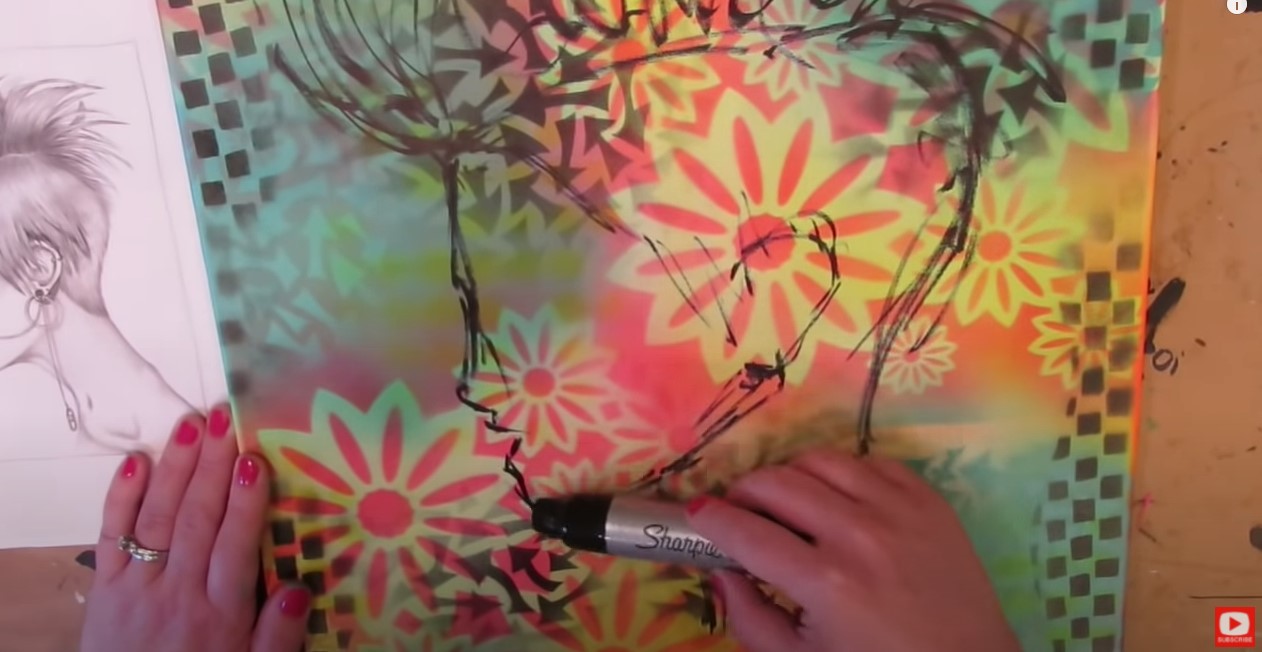
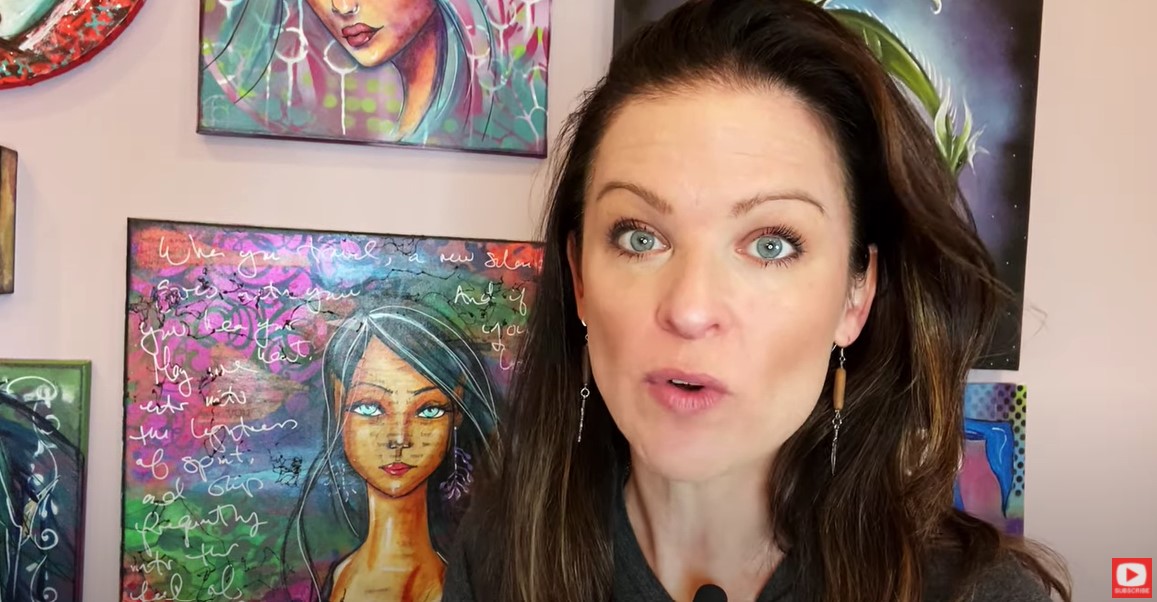
I've NEVER created a mixed media portrait by doing alcohol painting on yupo paper... until today!
In fact, everything about today's mixed media tutorial was kind of a science experiment- from trying this crazy alcohol ink paper to my trial and error mixed media painting techniques and my NEW 2 camera setup.
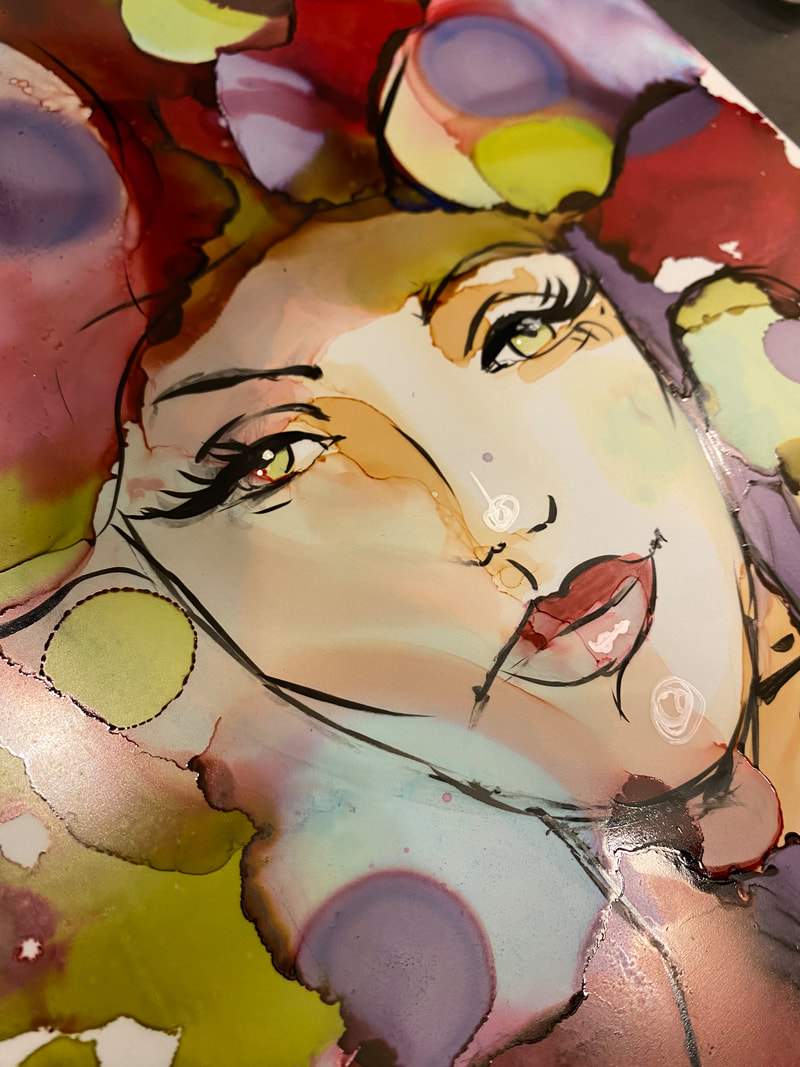
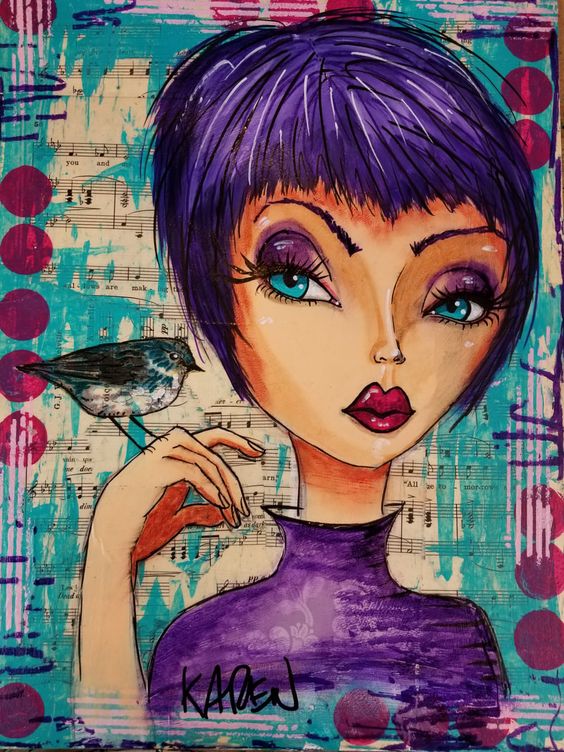
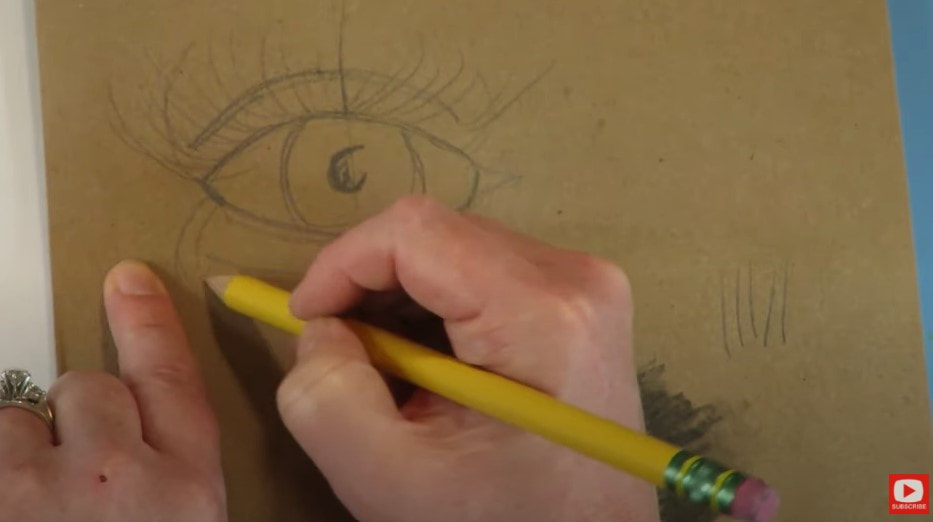
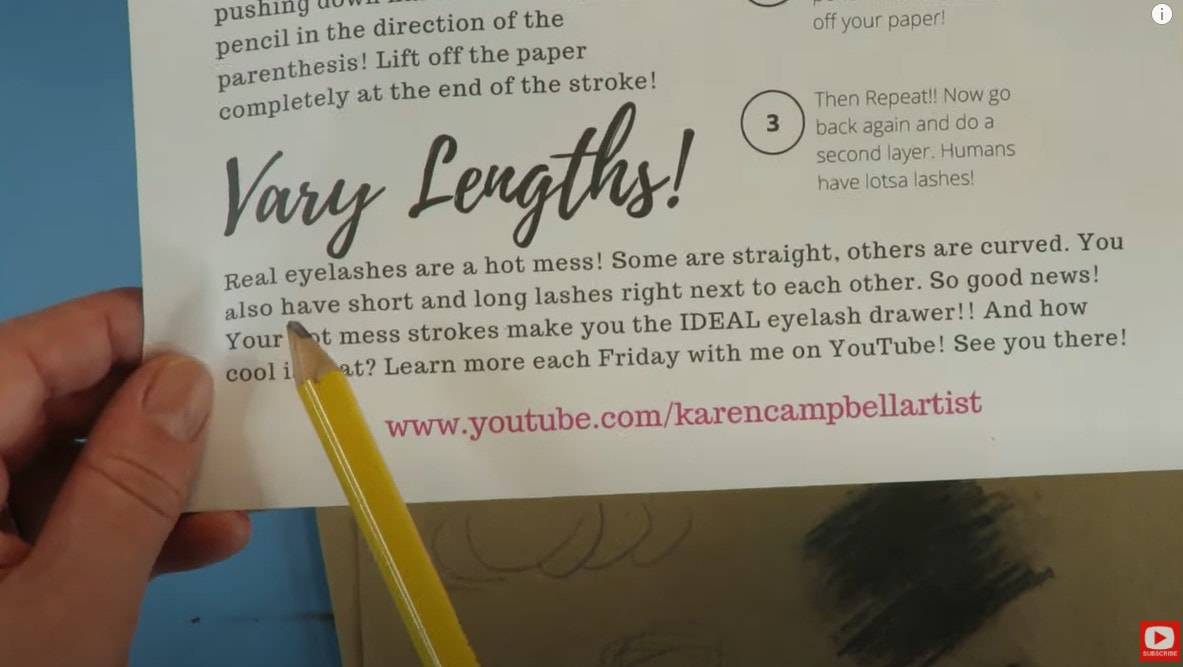
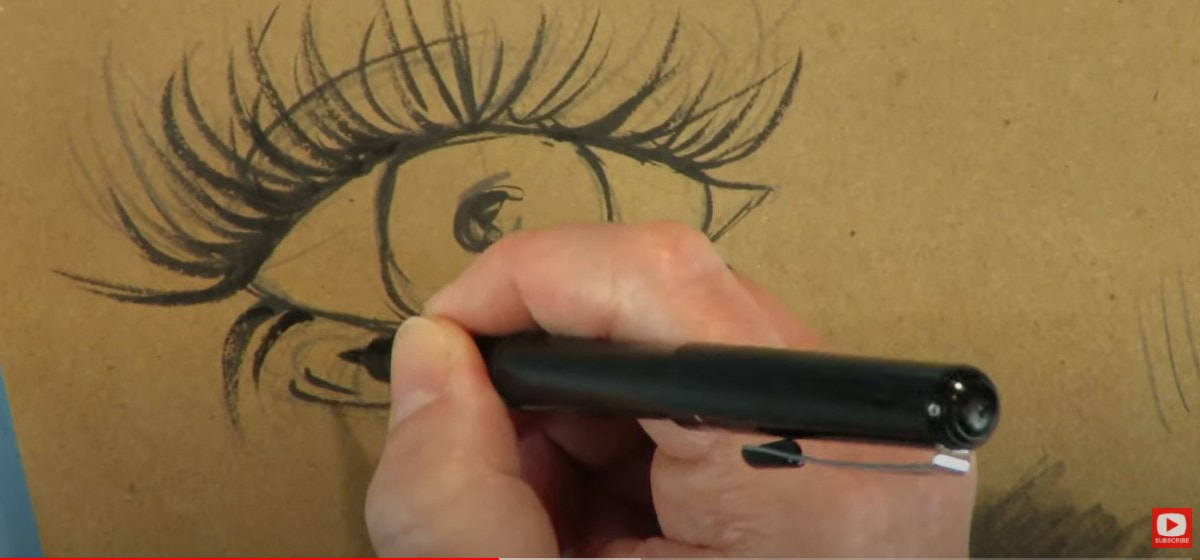
Love the eyelashes on this girlie? Me too! Lots of my students have shared that drawing eyelashes is hard for them, so if you're feeling the same, you're NOT alone. I created a FREE, super simple eyelashes cheatsheet for you with THREE things to remember each time you're drawing eyeashes.
Simply click the button below and I'll send it straight to your inbox!
Real quick, before we continue- All product links are Affiliate. I may earn a small commission if you choose to order through these links, but by law, there is never any additional cost to the consumer for doing so. I thank you for your support!
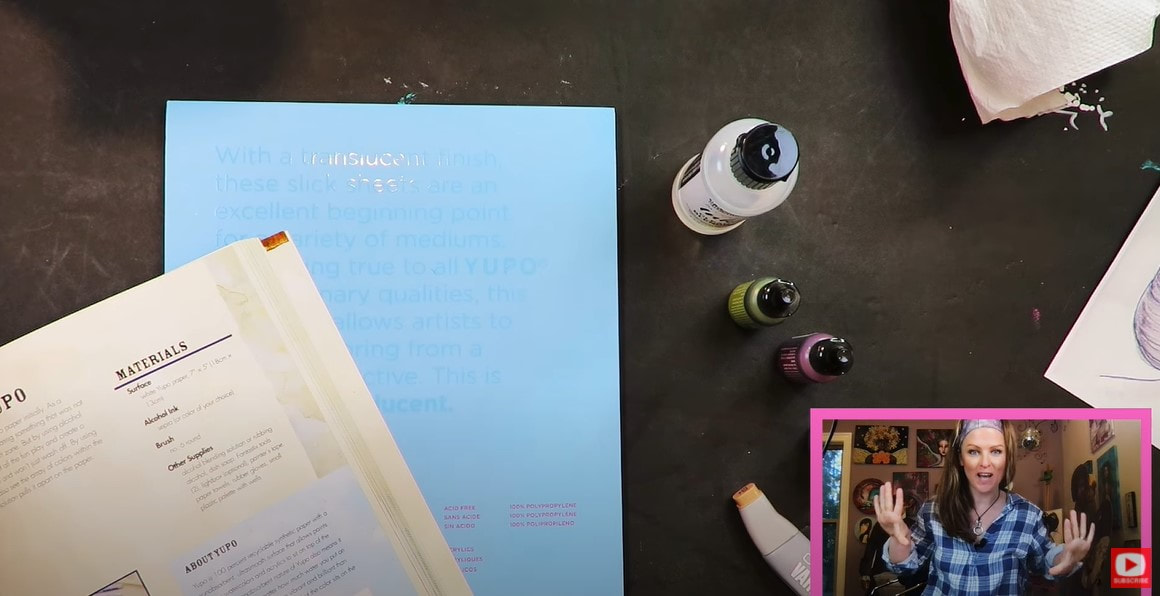
Today's mixed media art book review is of Mixed Media Portraits with Pam Carriker. If you've been following me for a while, you know I'm OBSESSED with creating mixed media portraits.
Flipping through mixed media art book like Pam's gets me thinking outside of my own style, and can totally inspire me to try something new, outside my comfort zone... like alcohol ink painting! If you get this book too, today's project in Pam's book is called "Yippie for Yupo." Stay with me till the end of this video for a sneak peek at Pam's entire book! 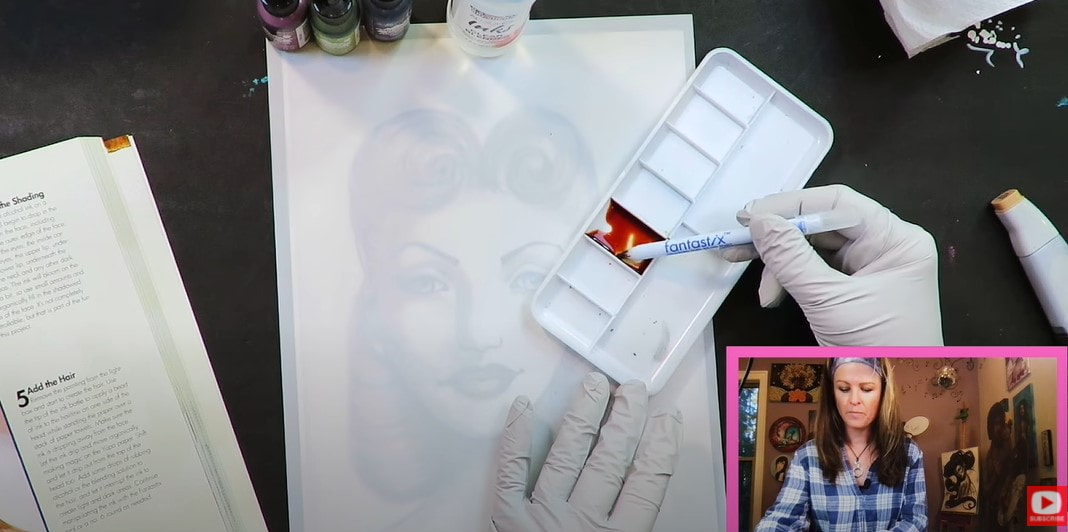
I don't know about you, but I've worked with yupo paper exactly ONCE before today's video. LOL! So I really have no idea what to expect, which is actually kinda FUN, right?! I get emails every day asking me how to do various techniques or if I've ever tried a particular combo of art supplies.
I almost always answer with the same response! I've learned SO much just from experimenting and trying new things. You never know how something will work until you try it. So my advice is ALWAYS live and learn. You might discover something amazing and fall in love with it! Some of the supplies needed for this project were totally new to me like these random sticks called Fantastix (below). 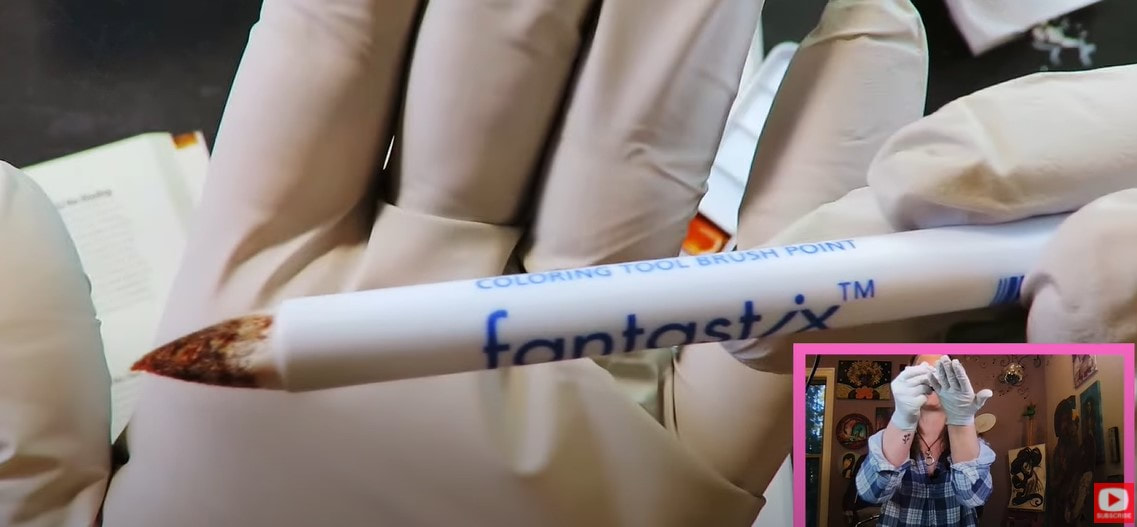
It didn't take me long to get what these little guys do. They feel a bit like styrofoam, and immediately soak up whatever you dip them into, just like a sponge. It was a little like I'd made my own alcohol marker here, but using it on paper felt similar to watercoloring.
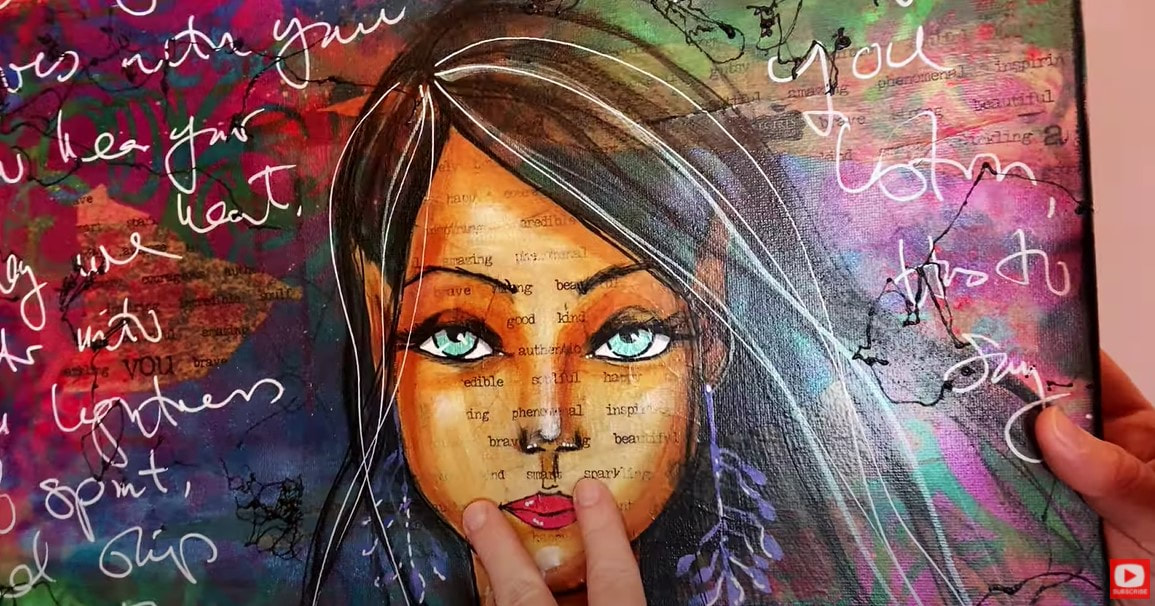
The first part of this project started with laying down the mid tones of the face shading (above). In the book, Pam suggests using a light table, but I was able to see just fine without, so just used my yupo paper like tracing paper on top of a recent graphite drawing I'd done.
If you like the look of this female face drawing in the video and want to learn how to draw her with me, I've got an online art class coming up called Art Retro Rendezvous. It starts on Valentine's Day (2022), and only costs $15 (only through this special link) if you sign up to party with me before that day. There will be 10 drawing lessons spread out over 5 days! 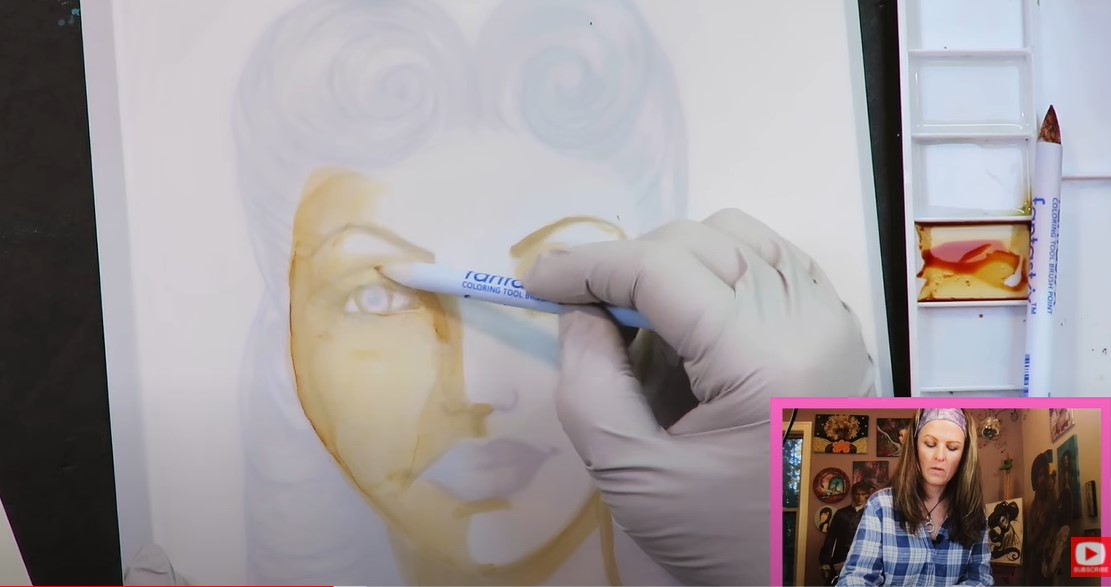
Back to today's project!
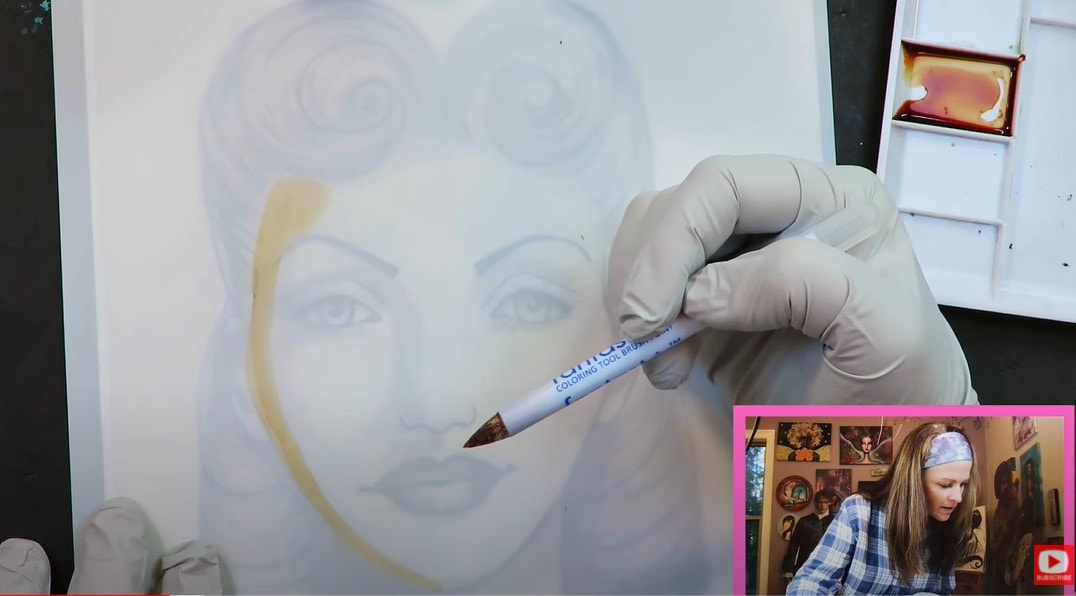
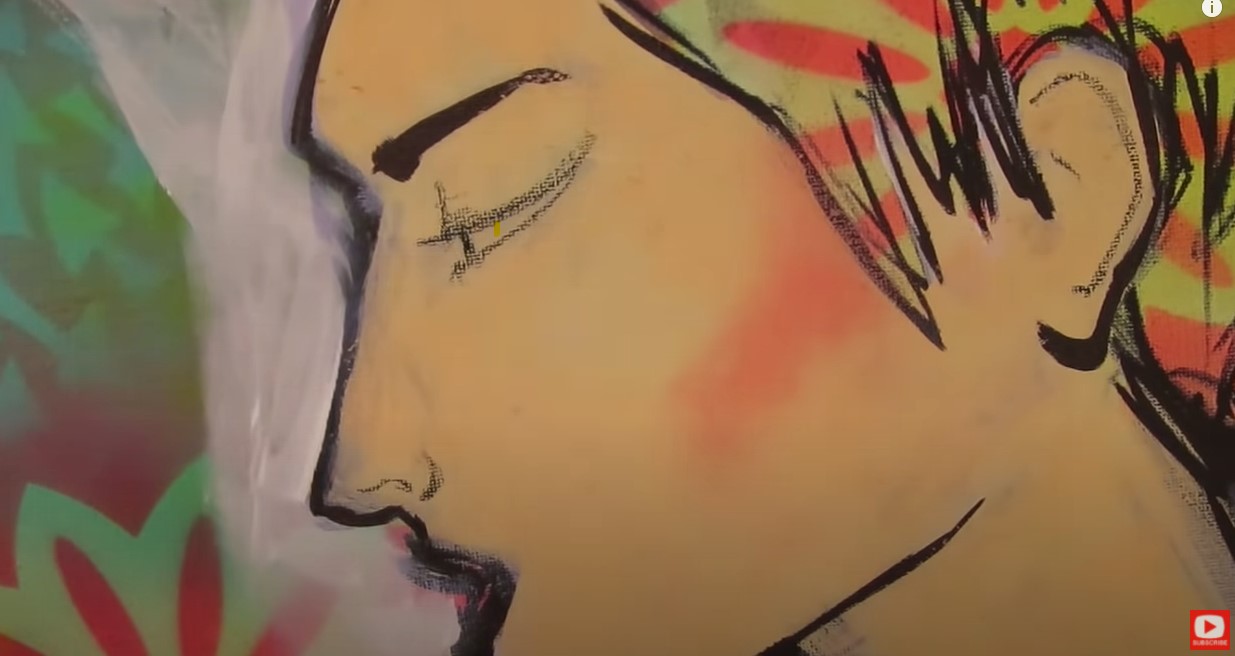
When I first started shading this face with the fantastix stick (I *think* that's what I should call it?!), I was almost wishing for the control of my copic markers, but I tried to let it go, and embrace this new way of creating. It's definitely a bit more abstract than I'm used to. When it was time to blend out the mid tones to create some lighter areas on the face, I dipped a fresh fantastix stick into alcohol blending solution and pulled some of the color from the left edge of the face over to the cheeks. This was a really neat experiment - again using art supplies that are totally new to me. 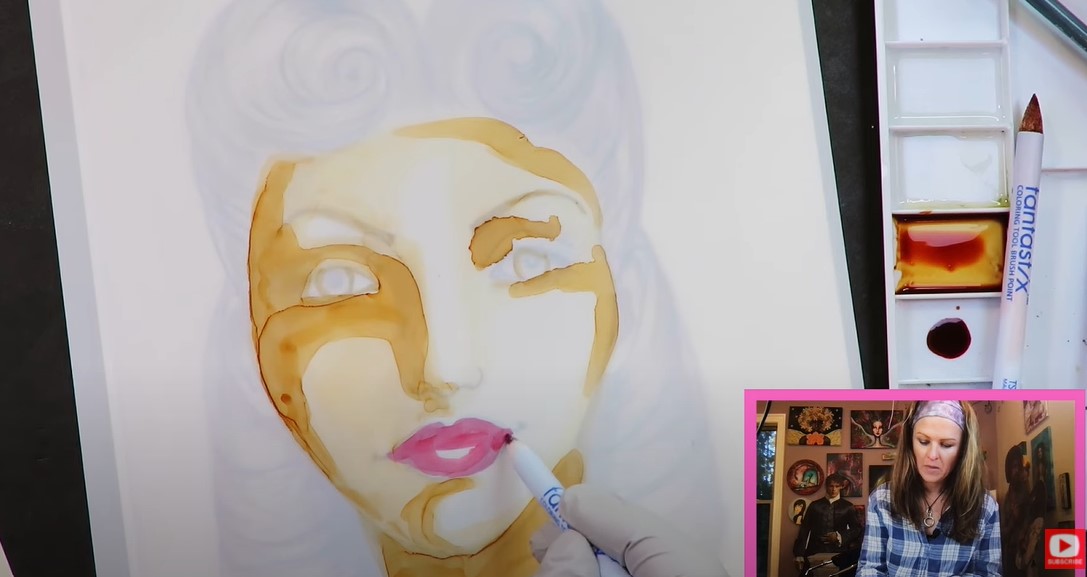
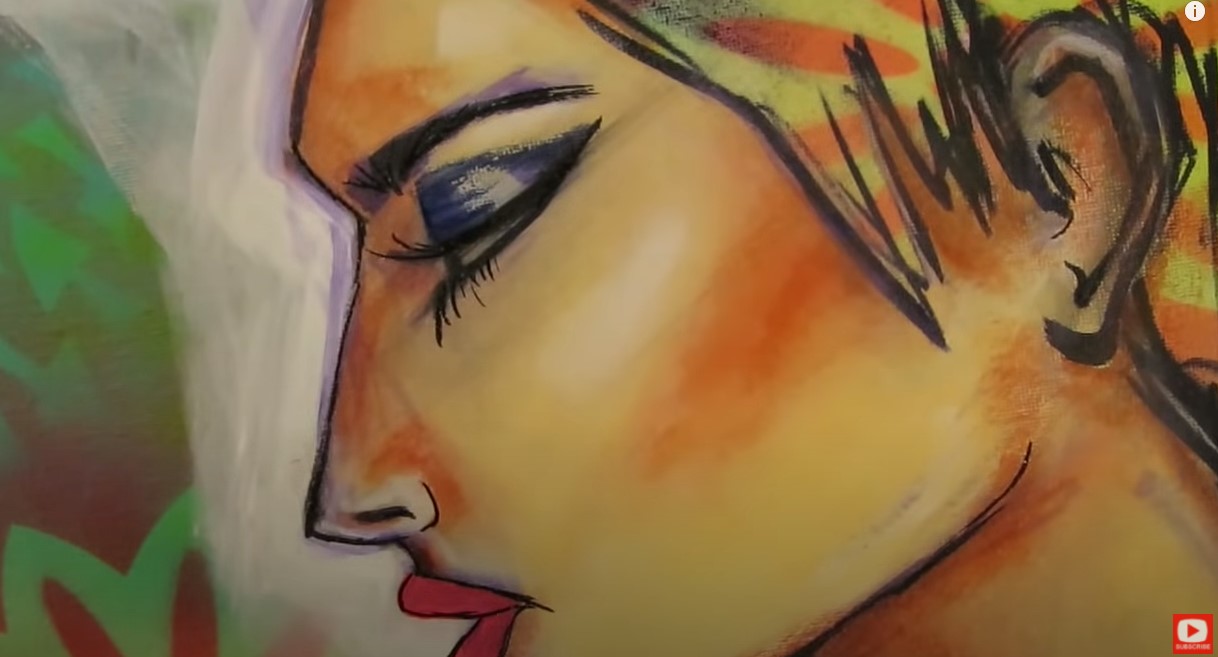
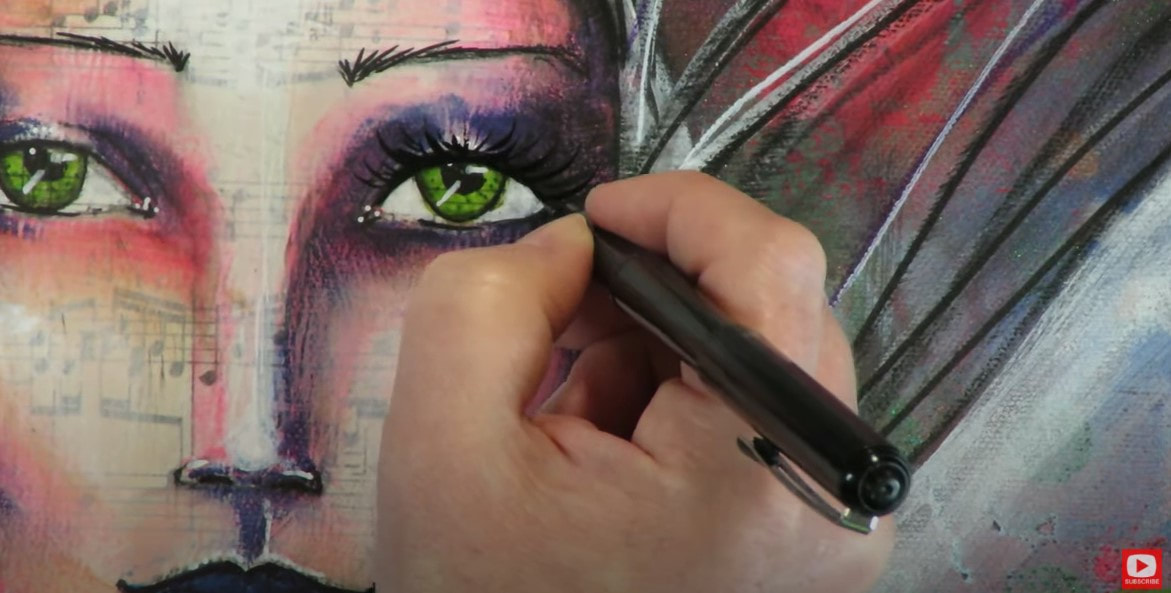
To put my own spin on the project, I decided to try using my pentel pocket brush to add some details on the face, since the rest of the project instruction appeared to be all about how to paint hair using alcohol inks. I didn't have the heart to leave my girl's face totally abstract, so I did a bit of doodling before moving on.
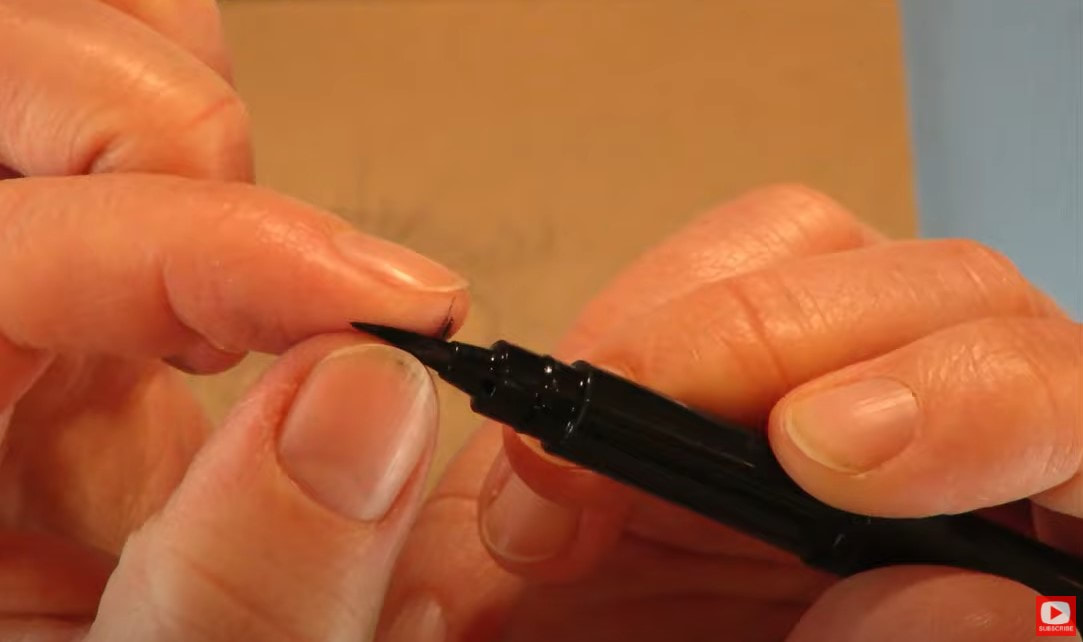
If you're not familiar with the pentel pocket brush, it's one of my favorite products to use for drawing eyelashes onto my drawings and mixed media portraits. If you'd like to learn more about it or how to draw eyelashes - I did a video about it on my mixed media channel, and another on my drawing channel. 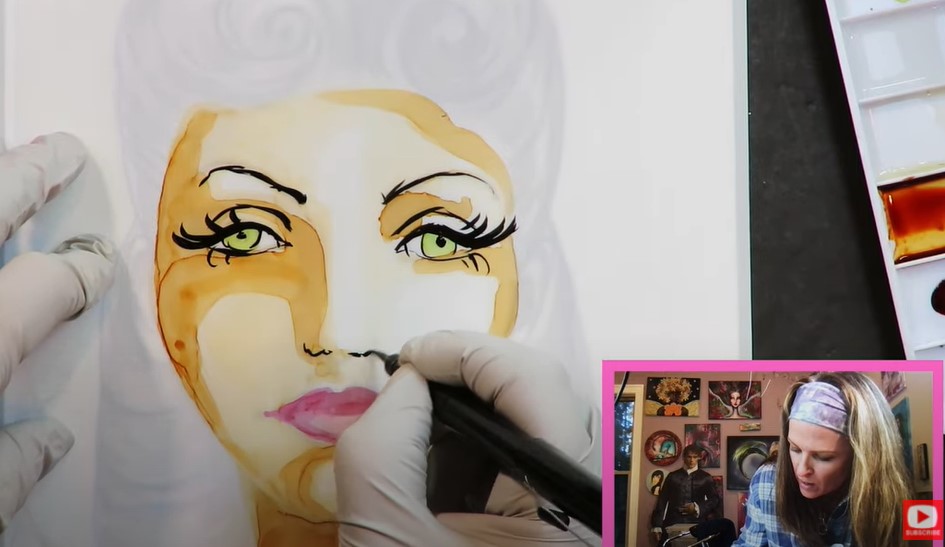
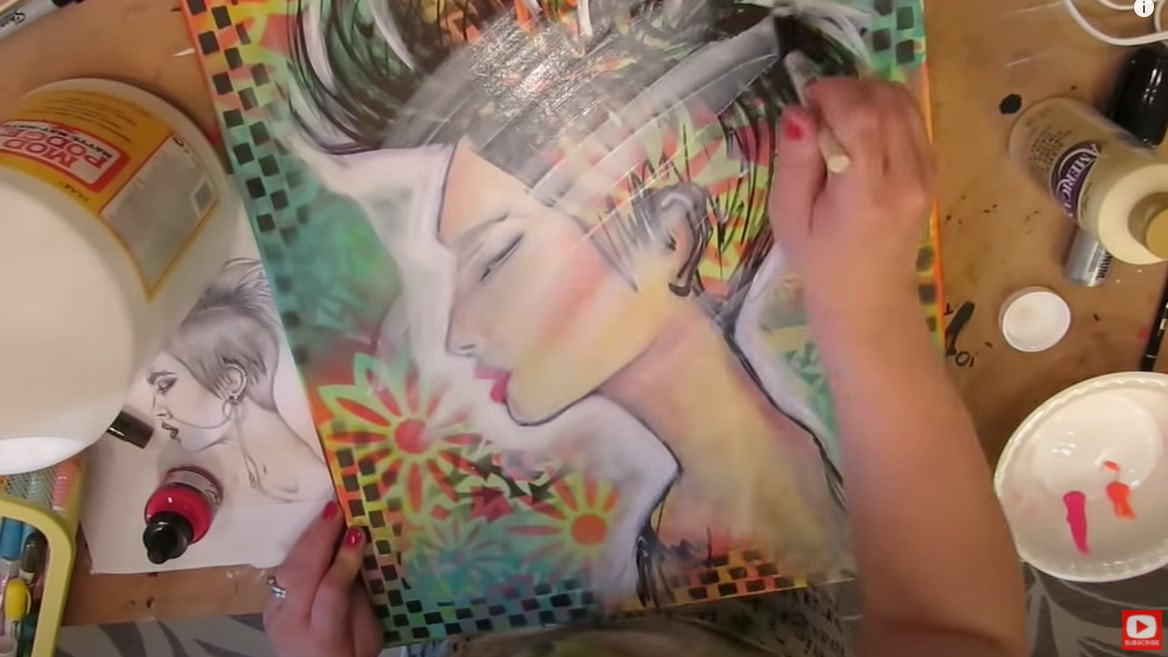
As soon as I started adding droplets of alcohol ink onto my paper, the project took an entirely FUN turn that I wasn't expecting. How gorgeous is that blooming purple ink for hair?!

I LOVE learning new mixed media techniques and this one is really turning out cool! The rest of the project is really all about experimenting with the inks - adding new drops of color, removing some color with the alcohol blending solution, and tipping my yupo paper around to see what effects I could get from letting the alcohol ink drip and run across the page.
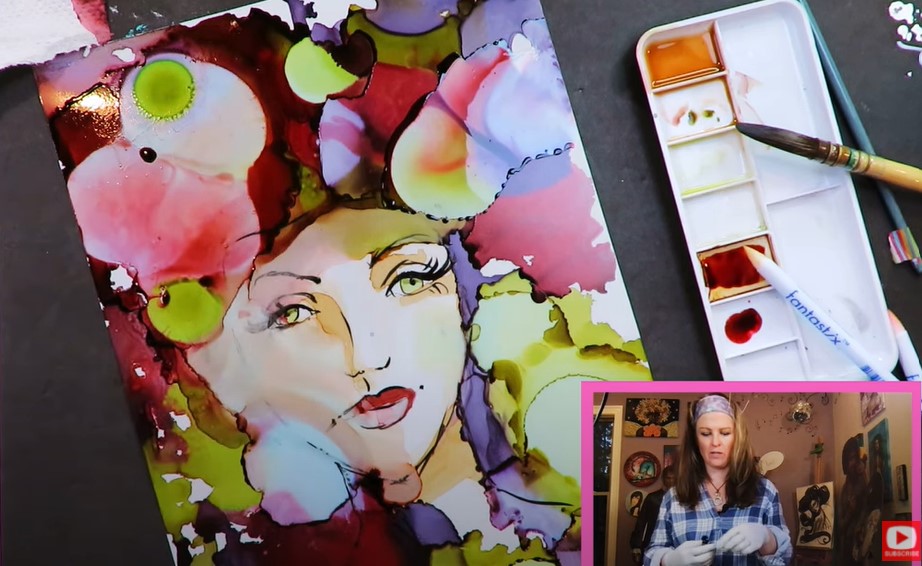
I kinda loved it! Although if I'm honest- it did bug me when the blooms of ink started to infringe a bit too much into the face.
Make sure you click over to the video to see how this works in acton. Plus if you hang out with me for a few more minutes after the art project- I'm doing a quick flip through of Pam's book to show you even MORE fun mixed media ideas you can try at home!
Don't forget to SIGN UP FOR MY ART RETRO RENDEZVOUS with this special link for just $15. Beginners welcome (even if you've NEVER drawn a thing before!) 
Thanks for hanging out with me today! ❤️ CHECK OUT ALL MY ONLINE ART CLASSES & Art Clubs ❤️ CHECK OUT ALL my art books ❤️ MY FAVORITE ART SUPPLIES on AMAZON ❤️ MY BELOVED FACEBOOK GROUP
Silver Black Velvet brushes have been a part of my mixed media painting world for YEARS! They are high end, professional watercolor brushes that work like a charm, but unfortunately come with a hefty price tag.
Even though I love them, I'm always on the lookout for alternatives to recommend for my students over at Awesome Art School in case they're on a budget. Join me for a battle of the watercolor brushes today as I compare my Silver Black Velvets against the competition from Polina Bright, Creative Mark and ZenART Supplies. 
Before we continue, super quick announcement: All product links are Affiliate. I may earn a small commission if you choose to order through these links but by law there is never any additional cost to the consumer for doing so. I thank you for your support!
Over the years I've developed a few qualities I look for in a watercolor brush.
The first feature I look for in a watercolor brush is shape. When you're talking watercolor brushes, this often means the "round" brush shape (you'll likely recognize it as the brush most watercolor artists using). This is what my round Silver Black Velvet brush looks like. See how the taper comes to a point? 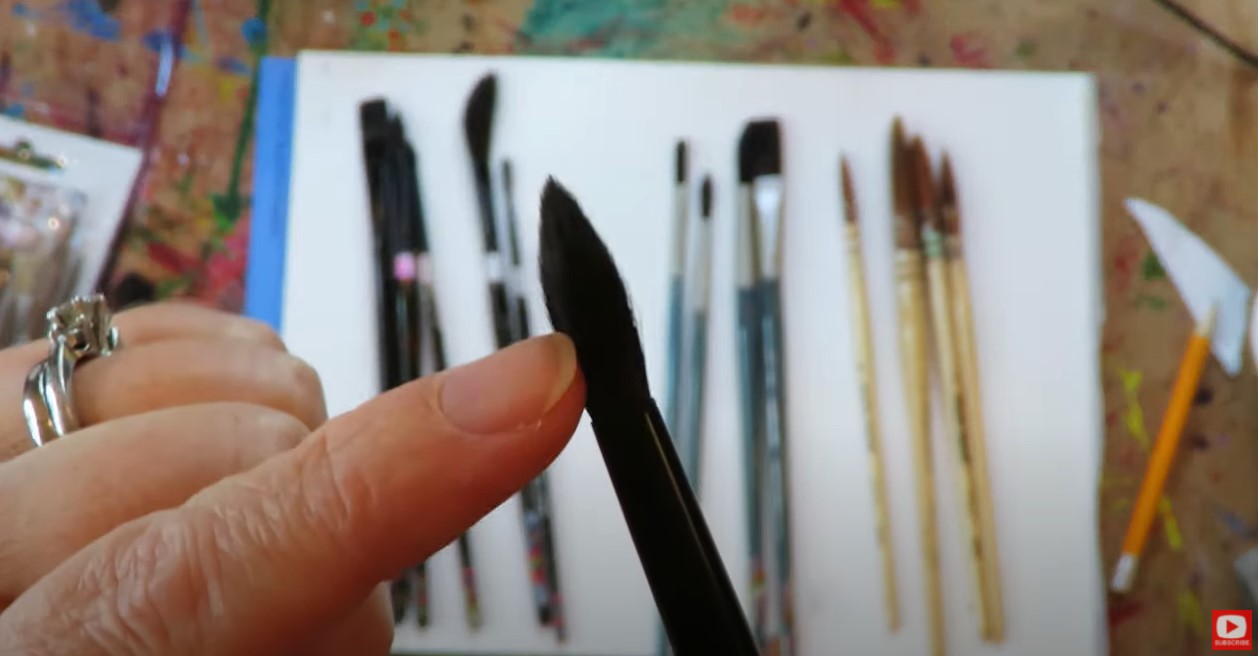
For years, this taper is one of the things I loved about this brand and didn't think I'd find from another brand. Since the price is not budget friendly for my students, I've occasionally tried other brands looking for alternatives. If you're not super concerned about cost, I recommend the Silver Black Velvet set of 3 brushes for $47 on Amazon.
While looking for an alternative, I kinda fell in love with another pricey brand made by Polina Bright. If you haven't see her work before, you HAVE to check her out. Polina's brushes are a little pricey because they ship from Australia, but SHE SPECIFICALLY CREATED A COUPON for my followers so you can save 10%. Simply enter my name in all caps (KARENCAMPMBELL) at checkout. if you can afford a splurge or drop them on your wish list for the holidays - you might fall in love with them too! For the students at Awesome Art School looking for value in their watercolorbrush set, I highly recommend the $17, 5-pack watercolor brush set by Creative Mark. They perform beuatifully for the money and are synthetic like Polina's. Brands shown below from left to right: Silver Black Velvet, Creative Mark, Polina Bright 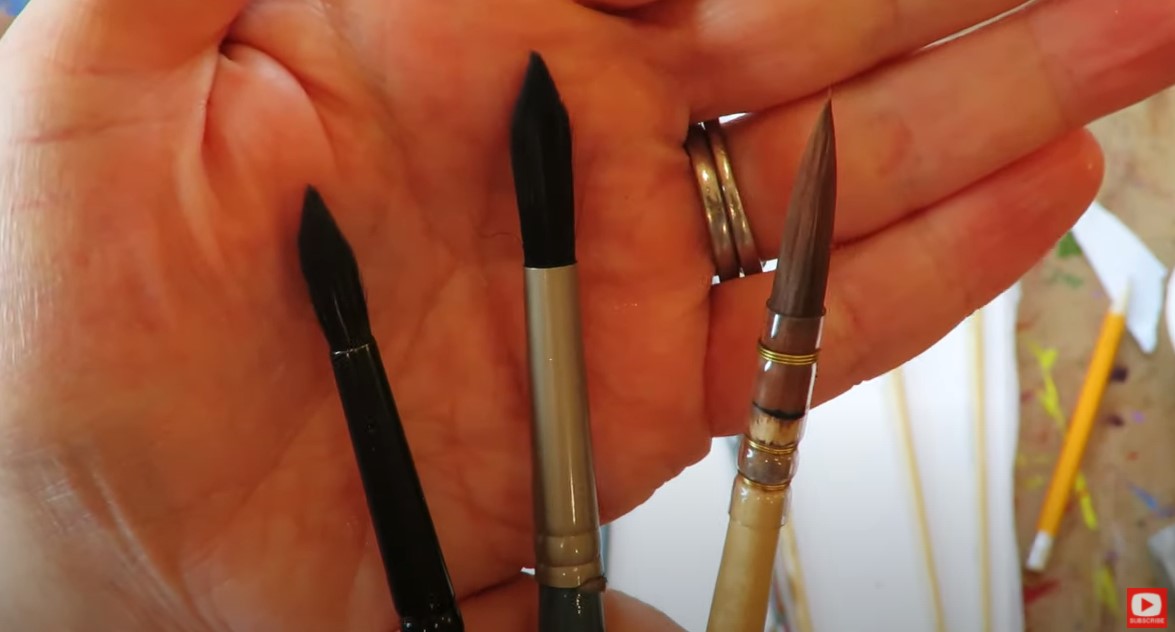
The second feature I look for in a watercolor brush is it's ability to hold water. Ideally you want it capable of holding tons of water over to the palatte, and tons of pigment from palette to your paper. All three brands performed well here, but I felt Polina's long/lean brush did best (simply my own personal perference).
The third thing to look for in a watercolor brush is the "spring," or the brush's ability to glide naturally in the water, and across your page. The spring in Silver Black Velvets is pretty amazing becuase the brush tip is made from squirrel hair, so naturally it will do well in water. Typically this is where a synthetic brush will struggle to keep up and feel a bit stiff in comparison. I don't find the synthetic hair to be a problem in Polina's brushes or Creative Mark's. I was recently sent a watercolor brush set by ZenArt Supplies to review (shown below, 6-pack of brushes for $28 on Amazon). I thought today's video would be the perfect opportunity to give these a try. 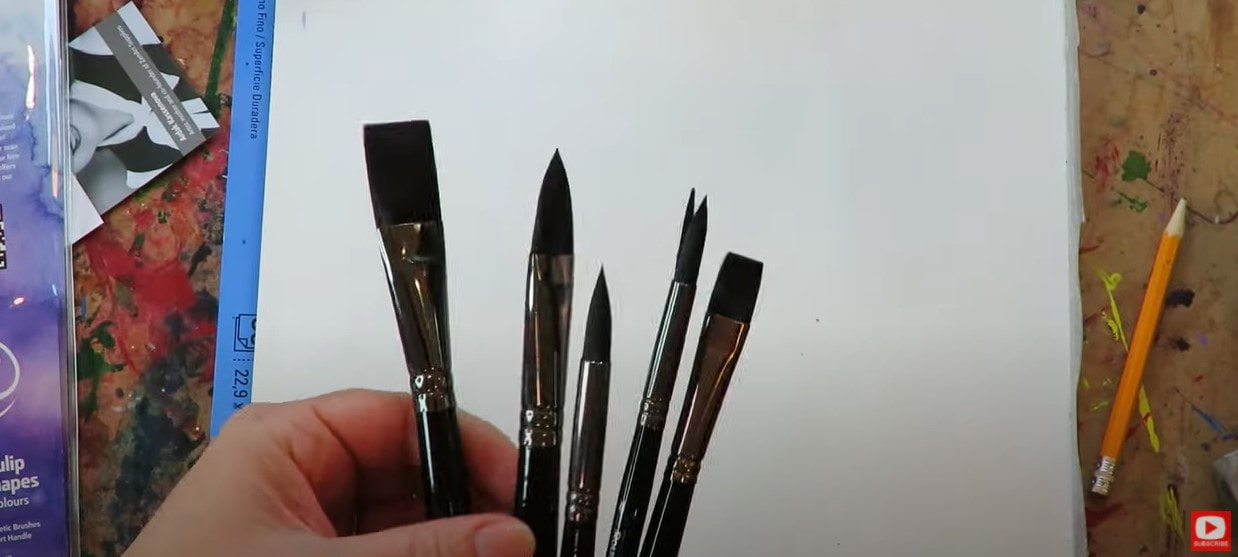
Right outta the package, I love the assortment of brushes ZenART sent -especially the fact that they've included "flats" in the set because I LOVE working with flat watercolor brushes (these are the ones that have a straight, flat edge across the bristles). When I unwrap the brushes, they feel a little synthetic, but it's hard to tell how a brush is going to perform until you get it wet. I feel like the best way to really test out a product that's new to me, is to create a full project with it. Click over to the video to watch as I do a little whimsical face shading in watercolor to give the ZenArts watercolor brush set a test run. 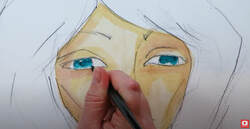
Stick around till the end of the demo for my final thoughts on the ZenARTs when compared to my other three favorite watercolor brush brands!
Thanks for hanging out with me today! ❤️ CHECK OUT ALL my art books on AMAZON ❤️ MY FAVORITE ART SUPPLIES on AMAZON ❤️ MY BELOVED FACEBOOK GROUP ❤️ FOLLOW ME ON INSTAGRAM
Today's mixed media on canvas is a hilarious mashup of a grumpy cat and a flower- done in my signature "Hamburger" style. There's a little bit of everything from mixed media collage using paper napkins, to mixed media drawing & acrylic painting. I had a blast! Having FUN with your art is the MOST important part! If you're having FUN, you'll create more often. The more you create - the BETTER you'll get!
If you've never done mashup art before, be sure to click over to the video to see exactly what I'm doing. It's actually REALLY easy. You just combine two or more reference images to come up with your own creation!
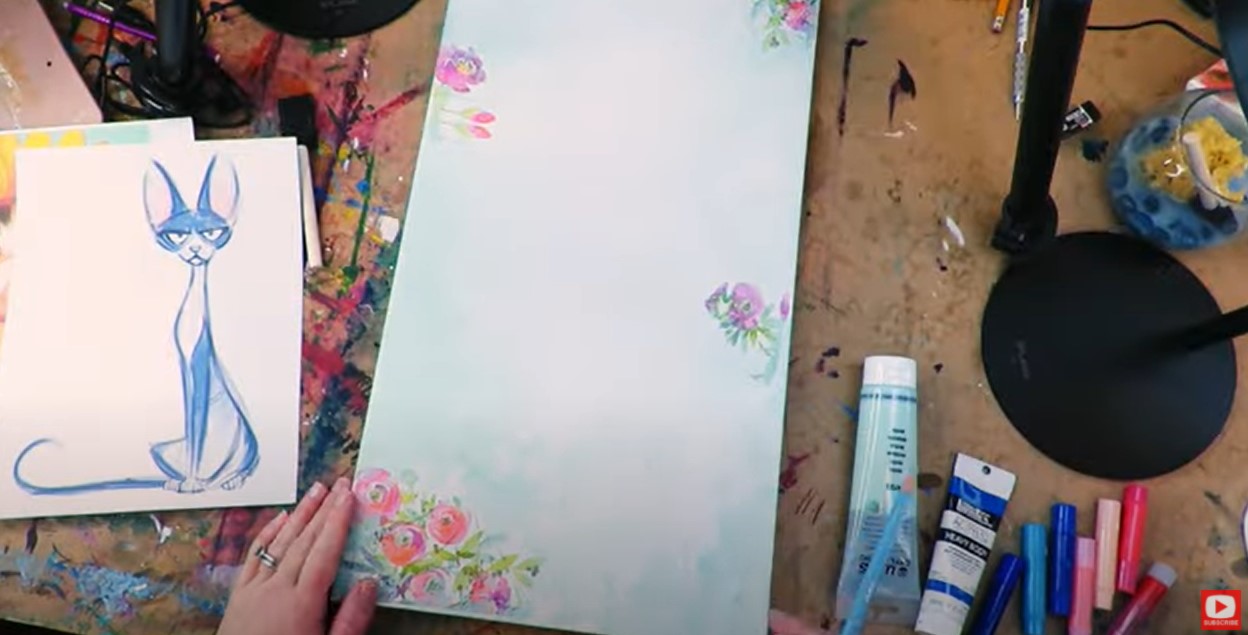
For my supplies, I used a tall canvas (around 12 x 36), some floral napkins for collaging with mod podge, and ALL my mixed media supply favorites from watersoluble pencils to acrylics, gelatos and pitt pens.
If you look closely at the collage portions of this piece- I was using floral napkins. The napkin pattern had a white background, so when I collaged it to my canvas, the flowers kinda melted into the background like they were always there. It was a really cool effect! Check out this link to learn more about how to do wrinkle-free mixed media collage with paper napkins. 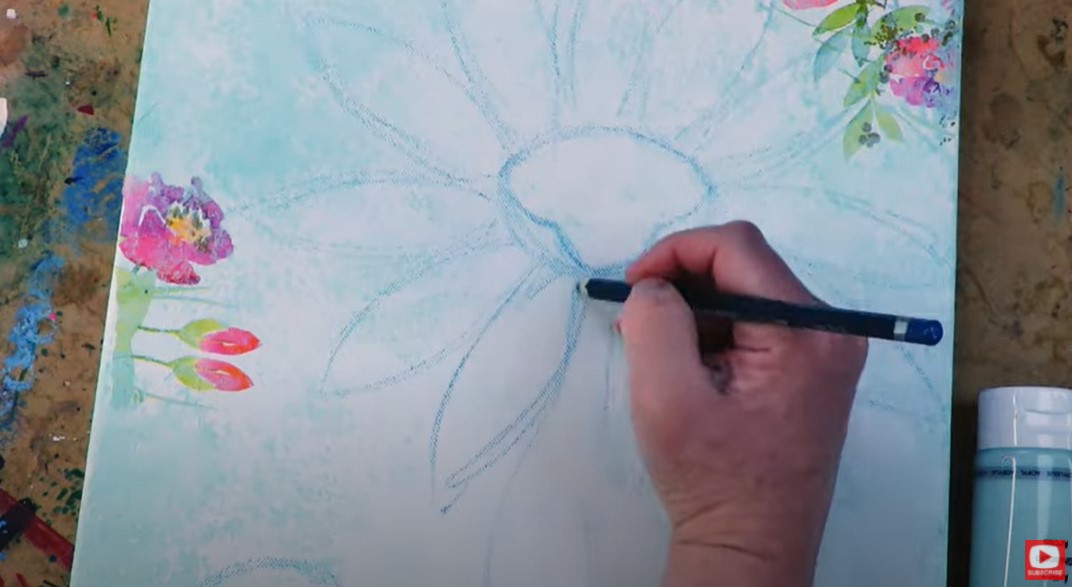
As you can see above, when I was ready to start drawing my grumpy flower cat, I used a watersoluble pencil. I think this is an awesome trick because once you start painting, your pencil lines totally melt away!
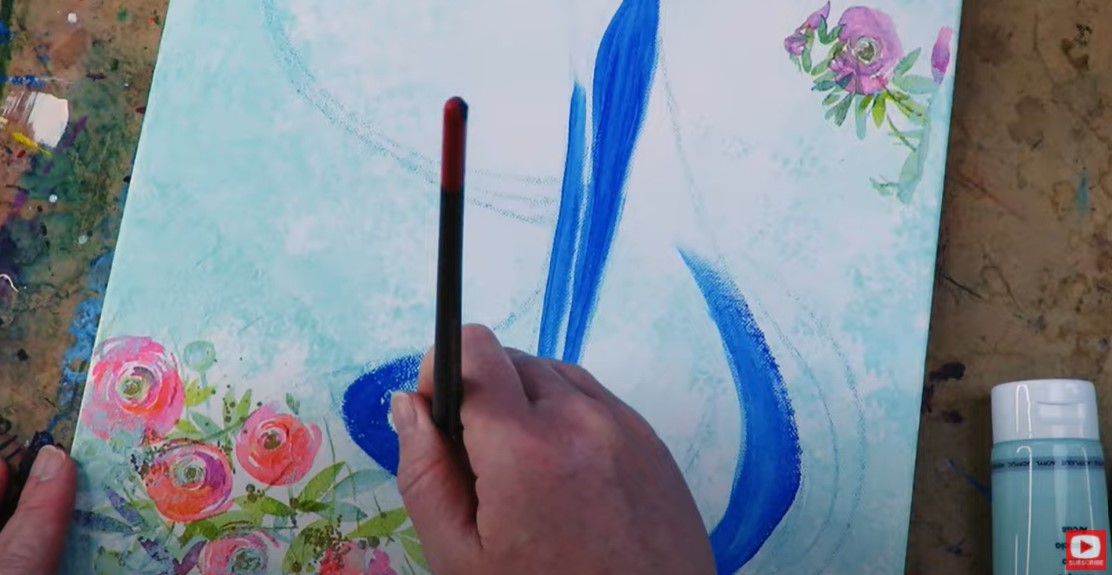
Once I got my acrylic layer down, I started adding in my gelatos (shown below) to blend in some shading with my finger and give my acrylics more dimension.
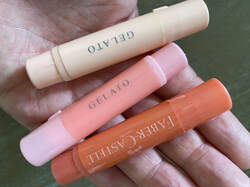
If you've never used gelatos before, they're AMAZING. I recently did a video on how to use gelatos in mixed mediat art, so be sure to check that out for my best tips.
Gelatos get added in layer 3 of my Mixed Media Hamburger System. If you're not familiar with my "hamburger system," - it's what I named my layering process when I'm doing mixed media and want to play with ALL of my art supplies!
The hamburger system is SUPER helpful for beginners and anyone else who wants to learn a little more about mixed media art supplies, when to use them & which supplies work well together. Click the button below if you'd like to download my Mixed Media Hamburger cheatsheet (yup - it's totally FREE). 
If you'd like to see me explain my hamburger system to you on my Mixed Media YouTube channel, be sure to click over to this playlist.
I hope you get a kick outta today's grumpy flower cat mashup! If this is something you'd like to do with me in real time (no timelapse), this is one of MANY fun projects over in the Mixed Media Society over at Awesome Art School. We'd LOVE to have you come hang out with us!! ❤️MY ARTIST BESTIE, LUCY BRYDON & I are creating a NEW ART MEMBERSHIP together called The Celtic Collective!! Learn More & add your name to the waitlist here. Opens in TWO DAYS on July 7th! 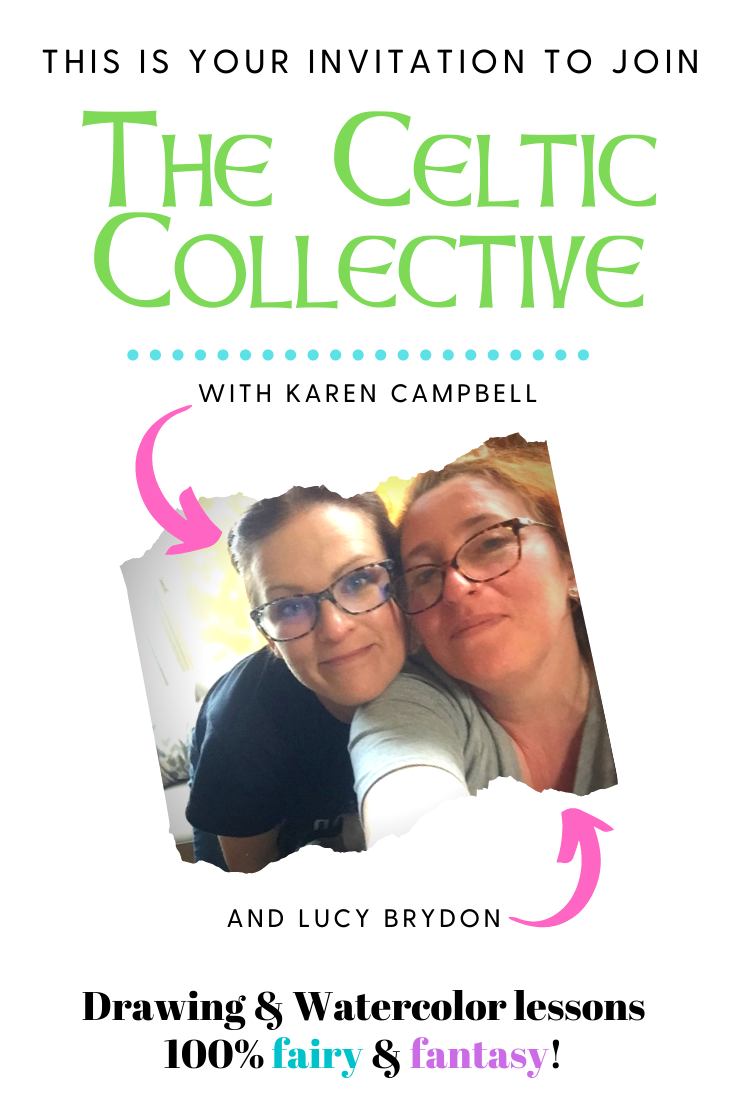
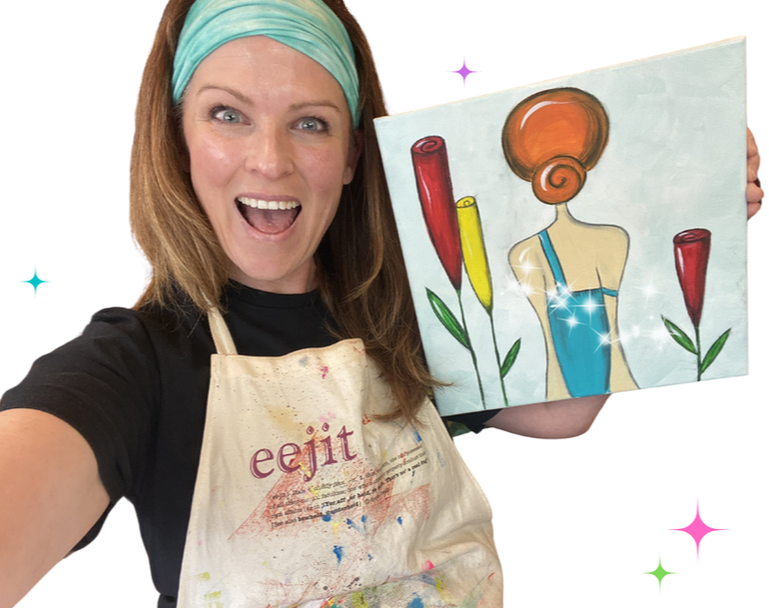
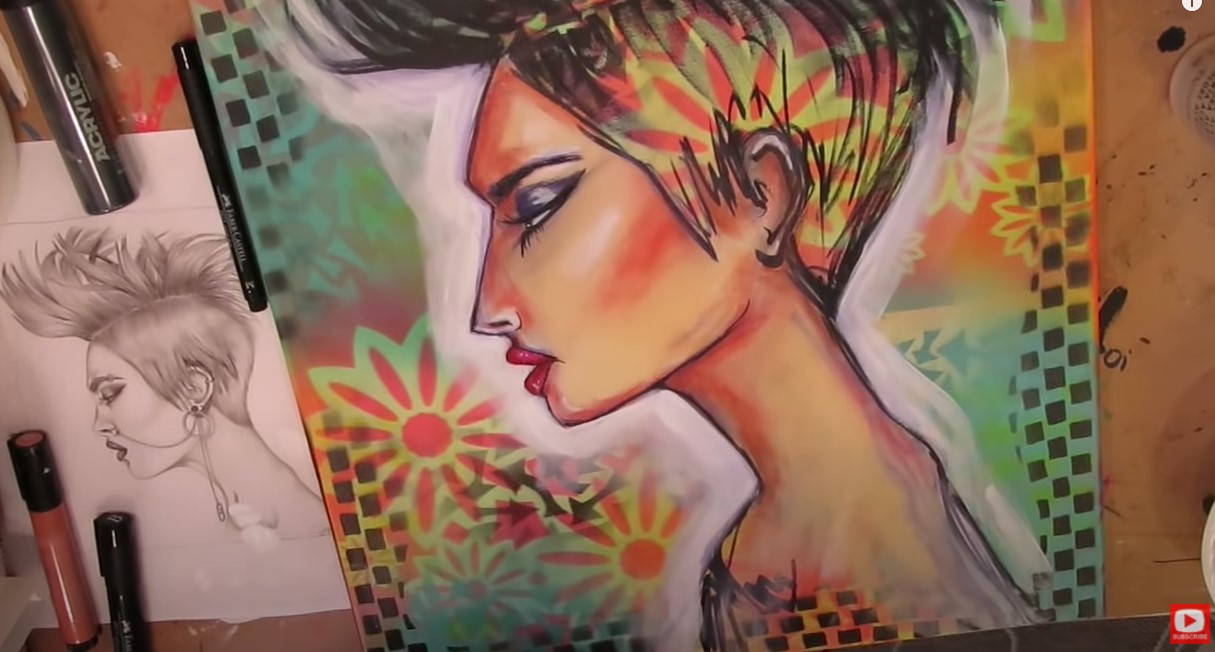
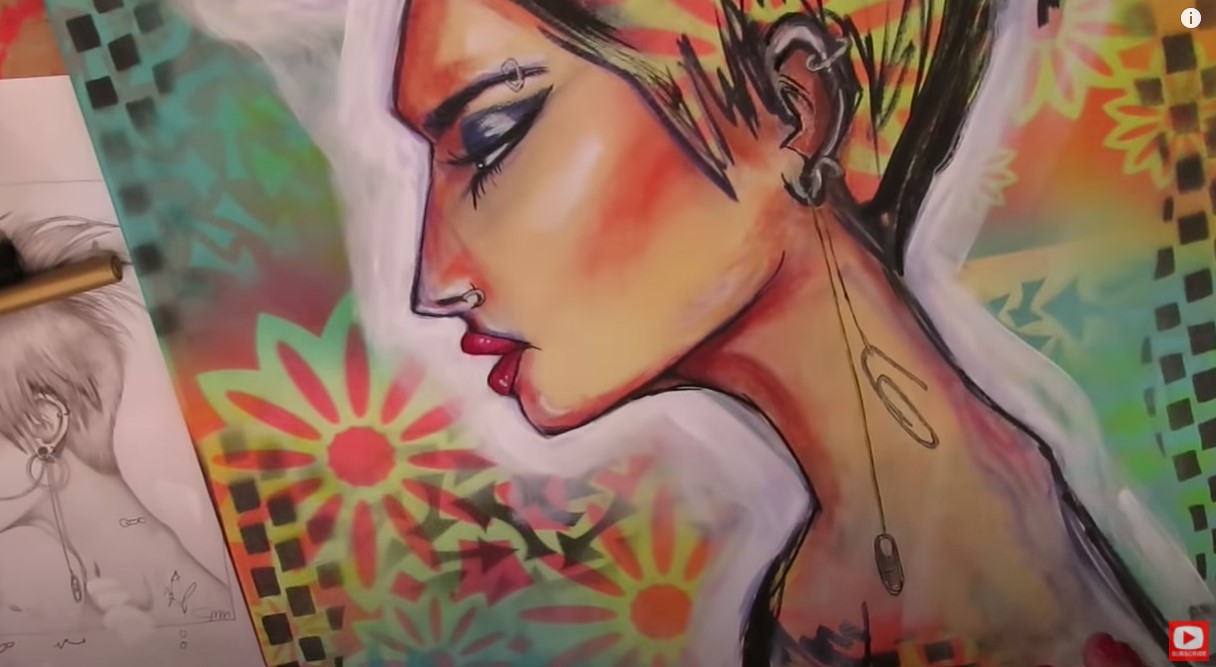
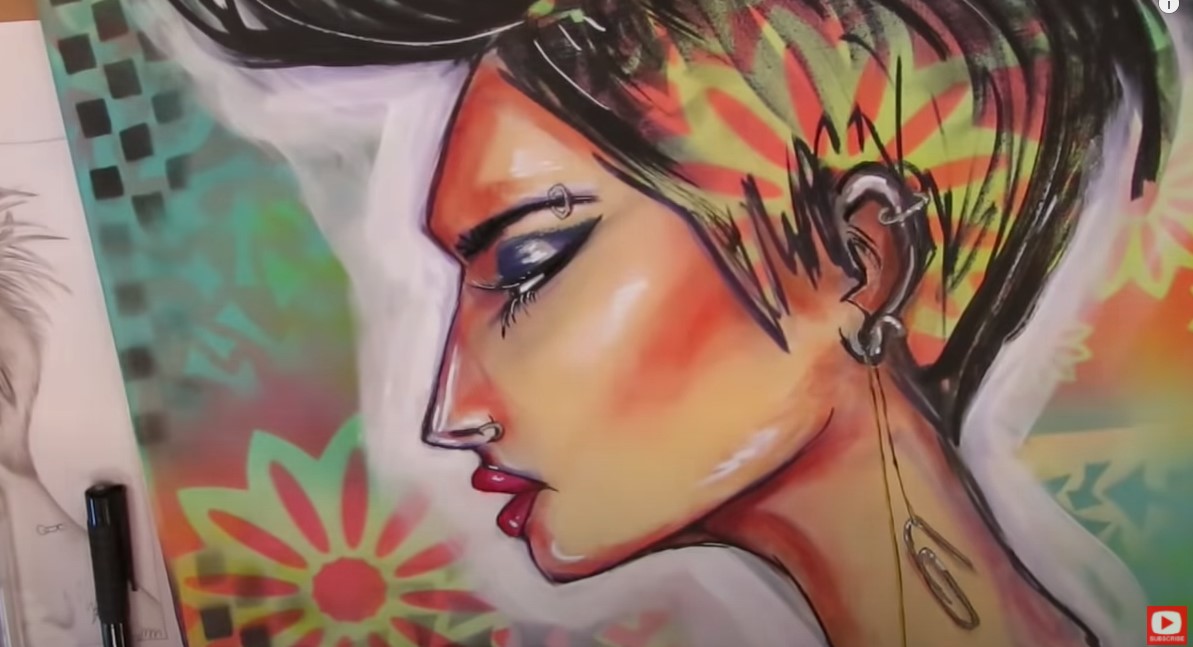
Yes, you CAN paint a giant canvas background in JUST 2 minutes!! I know it sounds too good to be true - especially if you're intimidated by large canvas painting. I can't wait to show you this spray paint on canvas idea! It's one of my all time favorite mixed media painting techniques!! Even better... it's FAST, EASY... and CHEAP! If you're a beginner in the world of mixed media art, or just curious about how to attack a giant canvas - today's video is FOR YOU!!
It's funny - while I was filming - I took a little look around my studio and was kinda surprised to realize how MANY of my canvases on the wall started with the SAME mixed media painting technique for the background. Check out the video to see the examples up close!!
As you'll see, I work on BIG canvases all the time, and LOVE IT!! I feel like large canvas painting is more free-ing as an artist and it's actually EASIER because I have room to spread out my ideas, and don't have to get hung up on tiny little details. 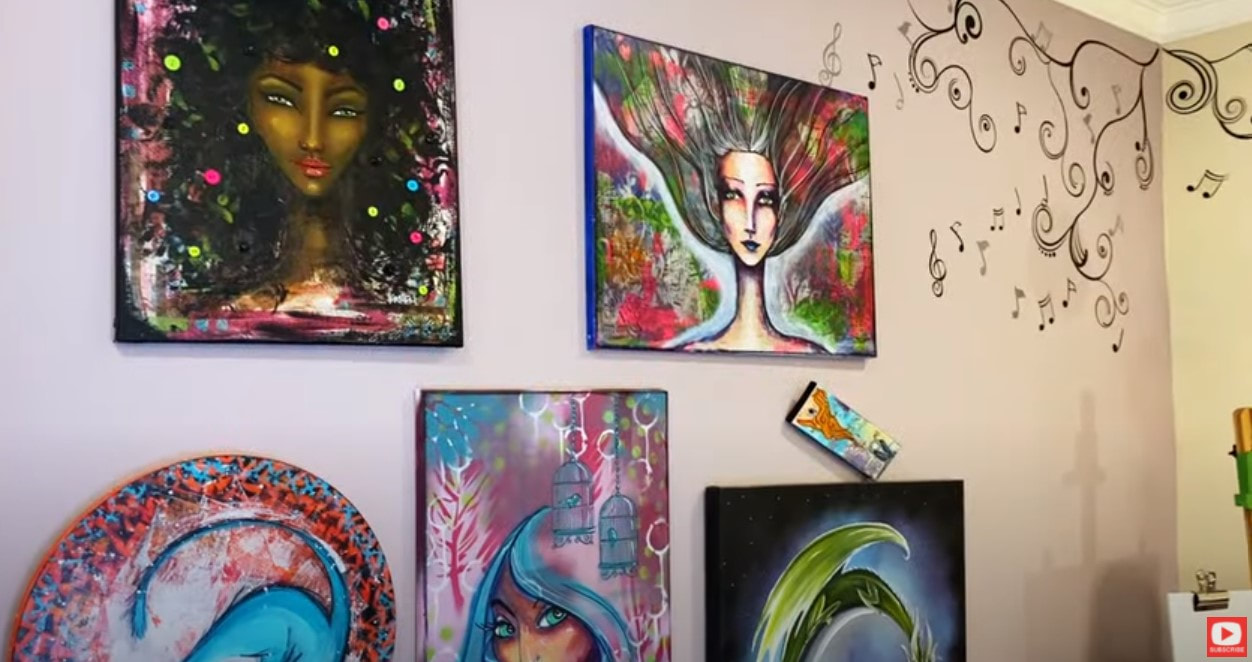
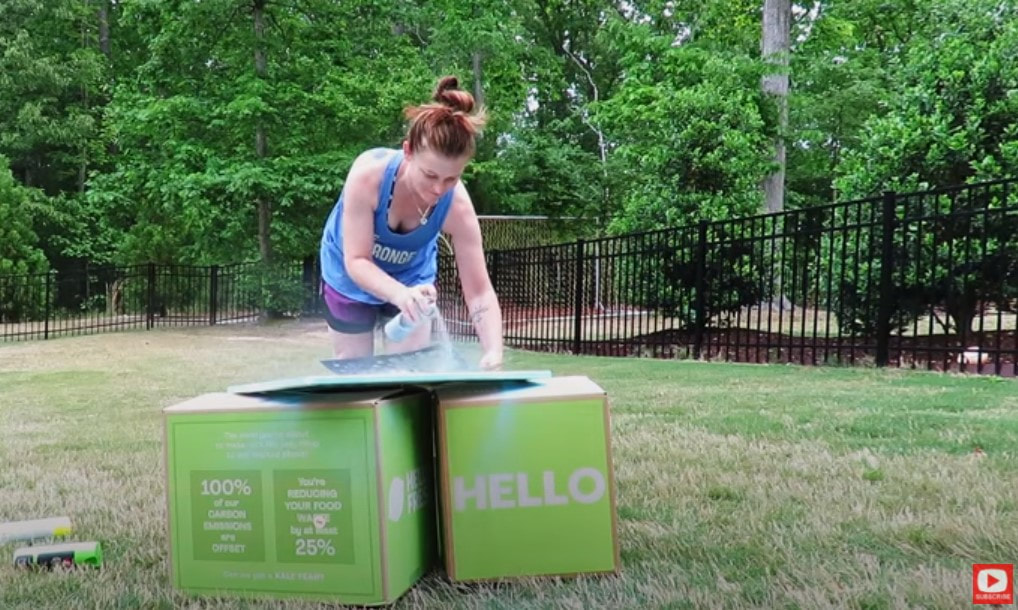
The first giant canvas painting I want to share with you up close is my pink mixed media mermaid. She's actually 4 feet tall, and was created out of two, 2 foot canvases. The background for this piece took me all of FIVE MINUTES. No joke!! That's 2.5 minutes per canvas... and DONE.
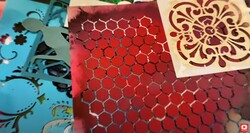
All I did was spray paint on my canvas, then I misted a second color of spray paint through a stencil sheet to create the look of underwater bubbles! SERIOUSLY!! That's it!! 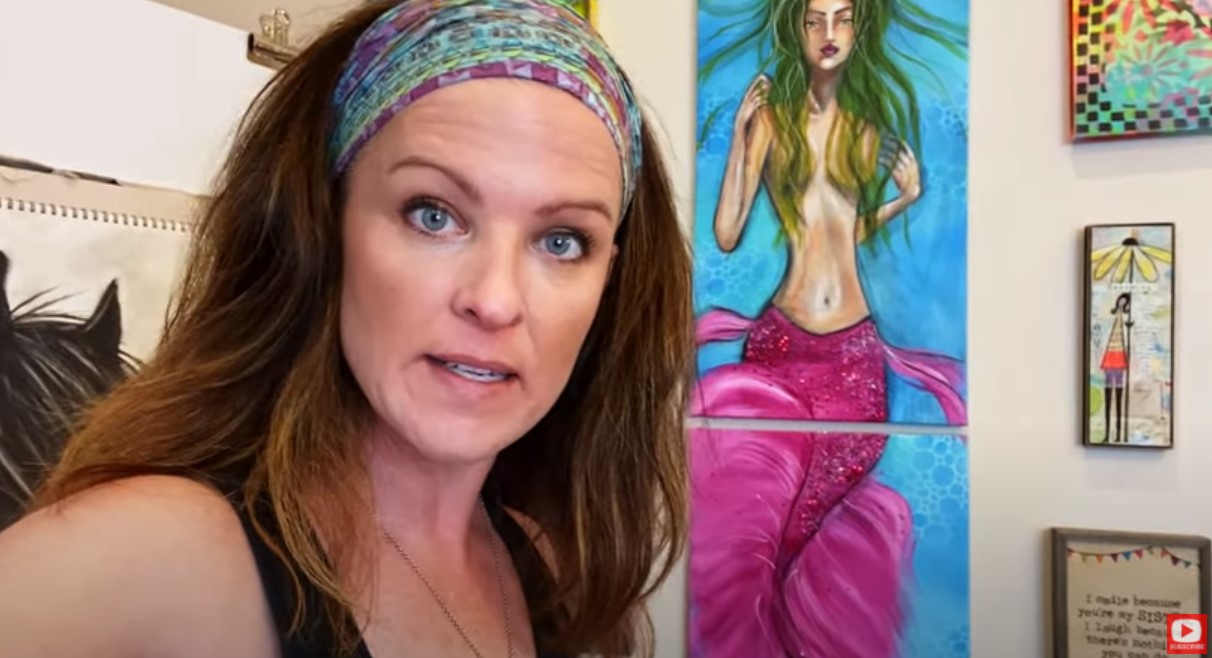
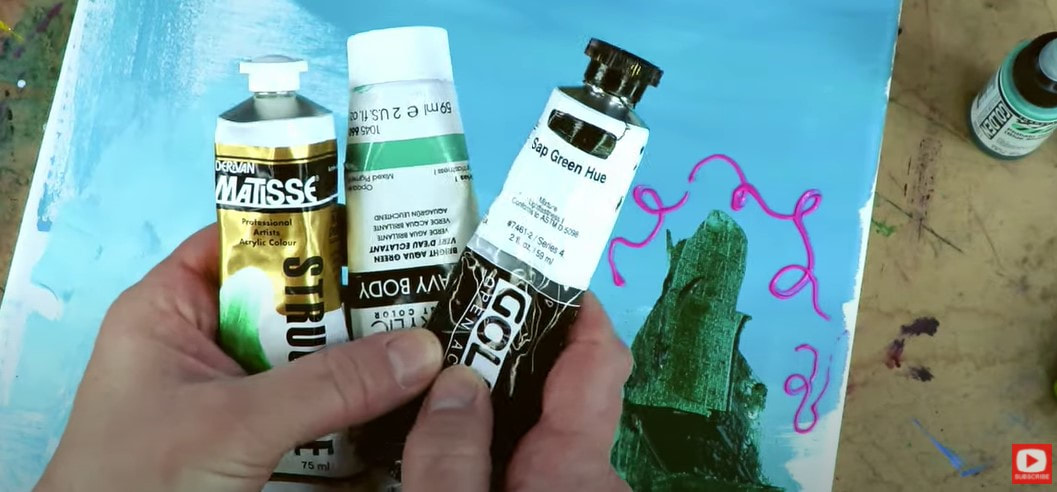
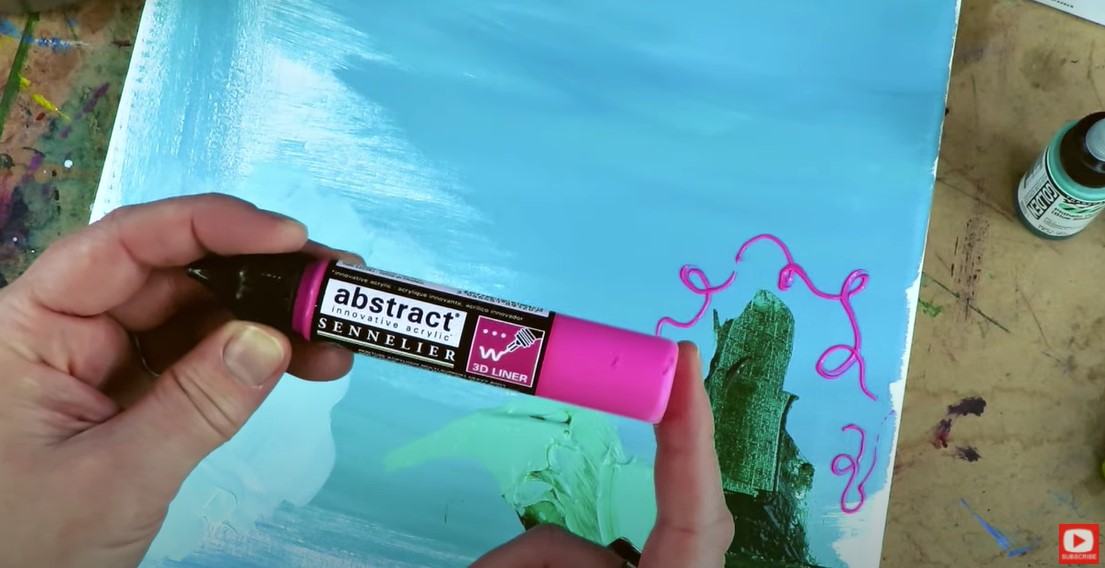
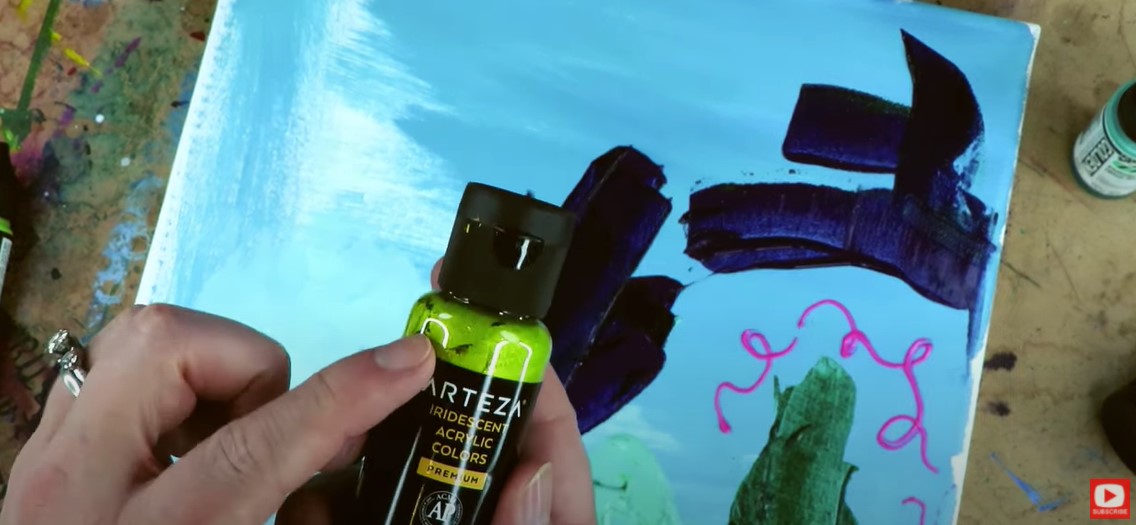
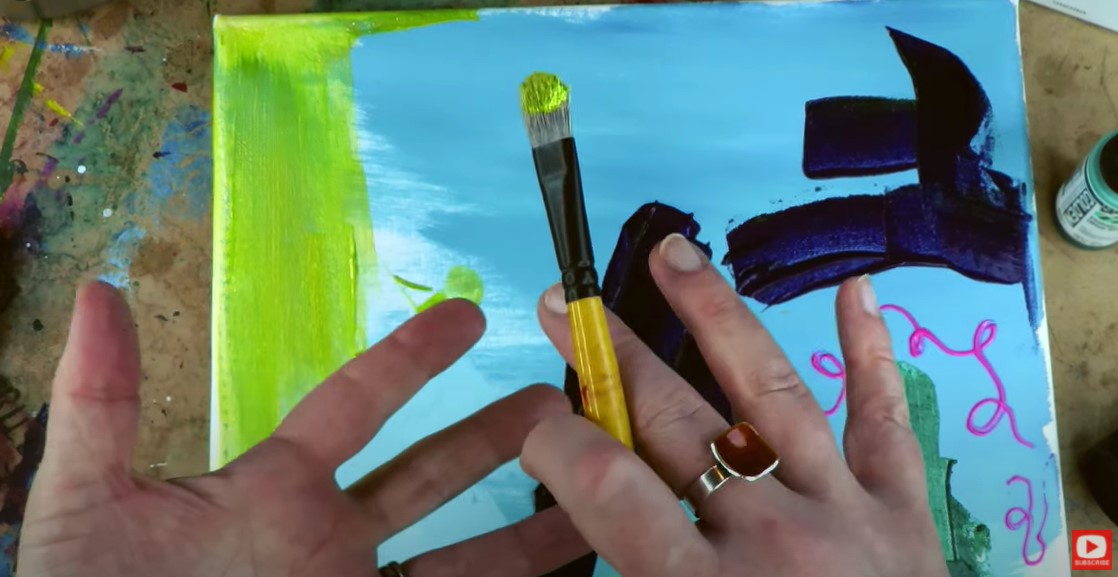
The next canvas background idea I want to show you is of my dragon in acrylics. This one took just a little longer because I used more colors.
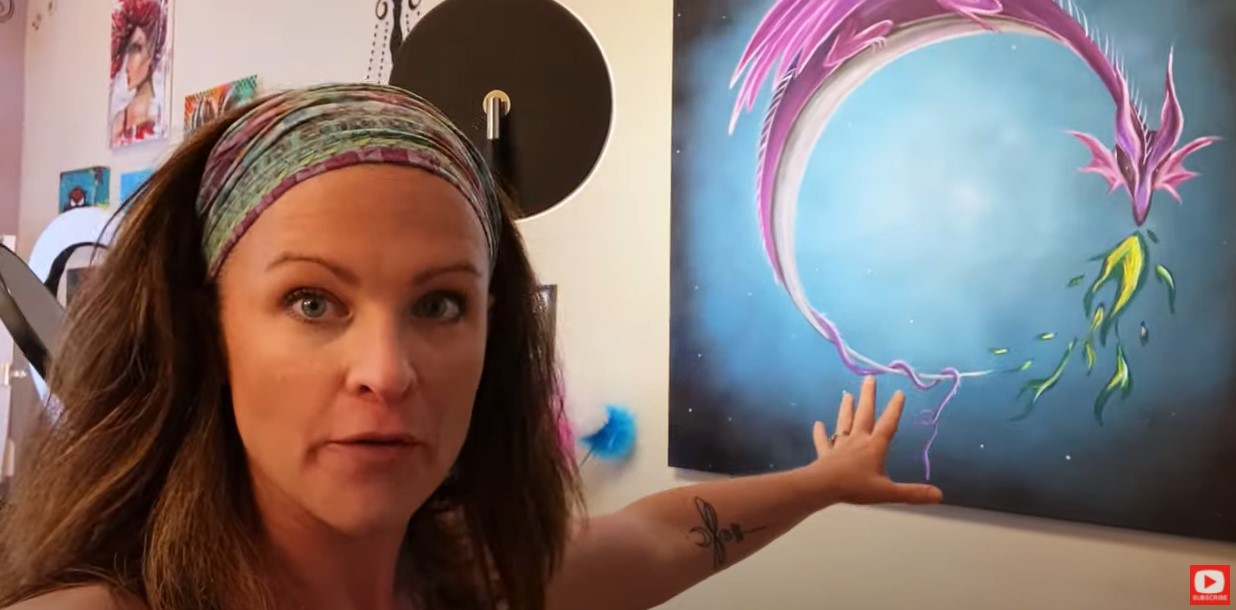
Even with adding more color- the dragon background didn't take me longer than 10 minutes to do. Can you imagine how much LONGER (and EXPENSIVE!!) this would be painting with acrylics and a paint brush?! For my art deco painting below, I taped off a section in the background because I wanted a frame behind the couple. That part took a little longer to tape off, but then I just used a can of black matte spray paint on canvas for the backgound, and I was done. EASY!! 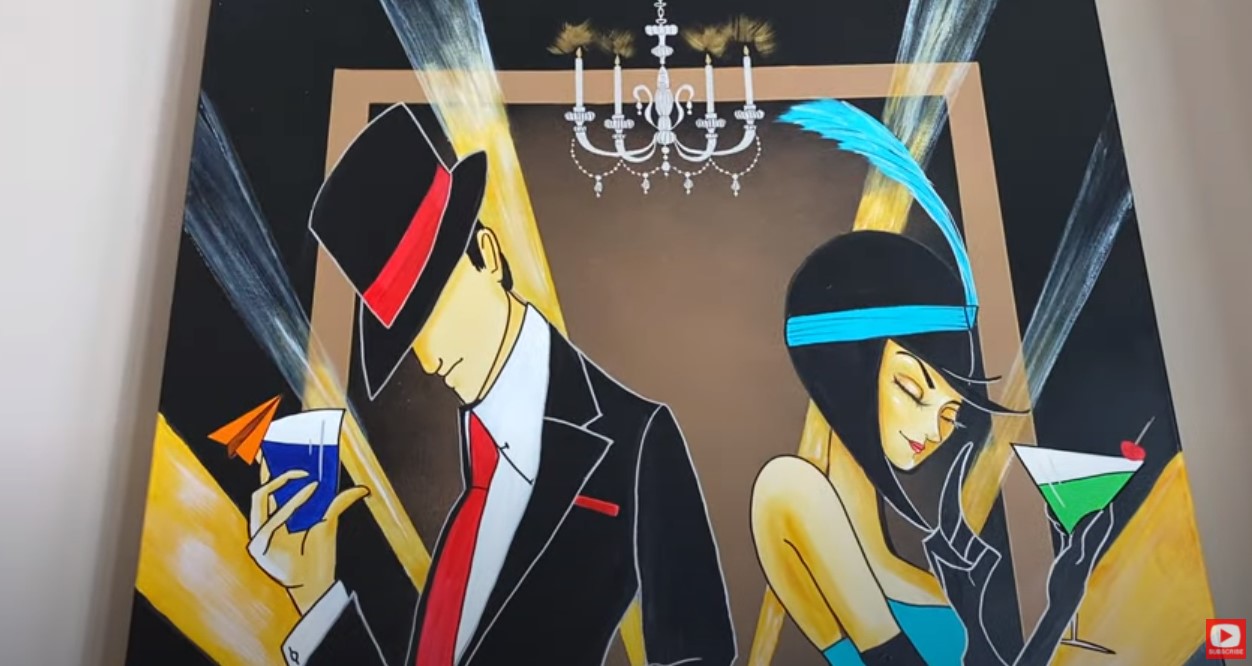
As I walk you through these pieces, you'll start to understand the THREE main reasons why I love to paint canvas backgrounds using spray paint:
1. Spray paint is really inexpensive - I've tried all the brands from the cheapest to the most expensive, and there's no difference. That means I spend about $3.99/can, and am FINE with grabbing the ones on sale for 99 cents. I promise you- they work JUST as well!! This is SO much cheaper than buying an inexpensive tube of acrylic paint!! When shopping for spray paint, I suggest you only pick up cans in satin or matte because glossy can be kinda tough to work with if you plan to do any adhesive collage layering or acrylic painting on top. For some reason, the glossy cans feel like they're stronger smelling to me too! 2. Spray paint comes in a HUGE array of colors - There are SO many fun colors you can pick up to add to your mixed media projects. And because they're so cheap in a can - you can probably afford to buy MORE of them :) They also last forever!! 3. Spray paint is amazing to COVER LARGE AREAS - If you haven't tried spray paint on canvas before - you're gonna be shocked at how much real estate you can cover in a short amount of time! It takes forever to cover a giant canvas with acrylic paint. Plus, you end up getting brush strokes that may be distracting to look at. Spray paint really glides over canvas well and gives it a smooth look! The only downside to using spray paint is if you want or need to do touch ups to your canvas background later. It can be tough to replicate what you did with multiple colors, but if you need a teeny touch up - here's my trick!! 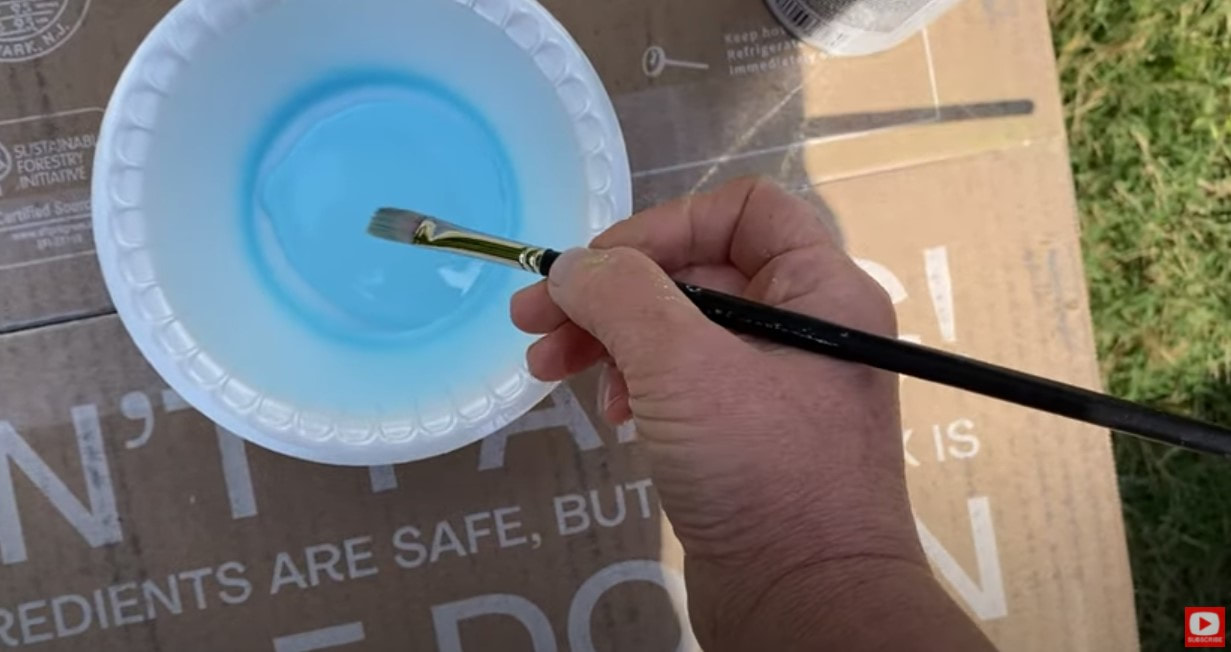
Spray a puddle of paint into a disposable plate, bowl or cup and dip your paint brush in. Simple, right?!
When you're choosing colors to work with for your canvas background painting, you can keep things really simple and use one or two like I did for my mixed media mermaid, or if you want to show more depth - grab 3-4 shades of the same color in a light, medium, and dark for contrast.
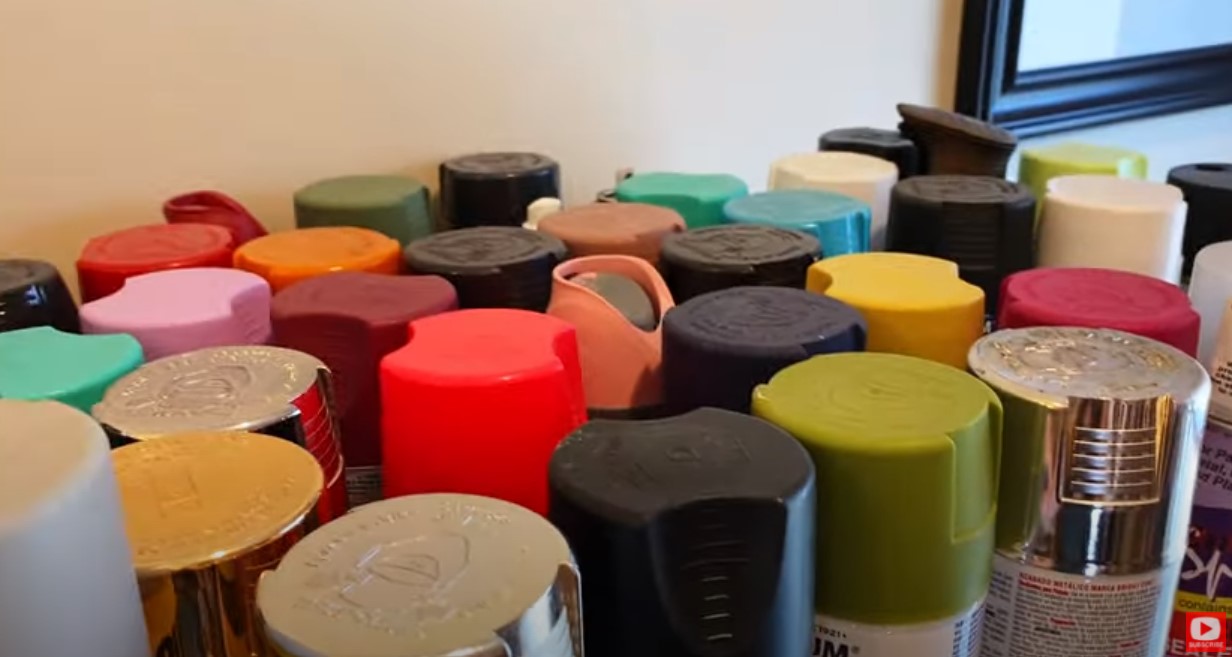
I have SO many fun colors. This is probably only half of my stash!!
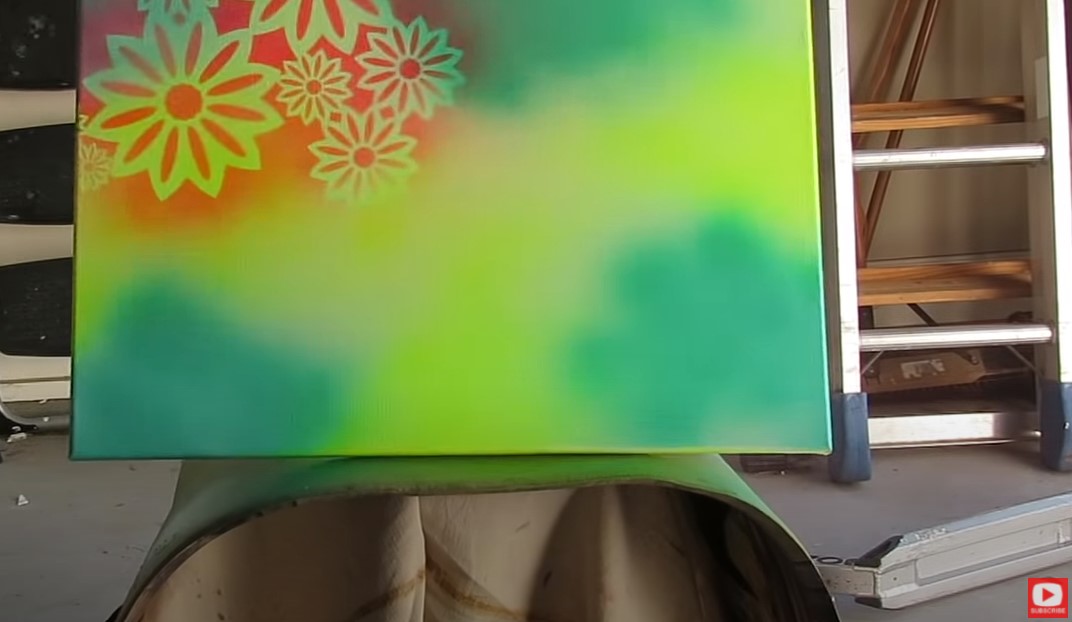
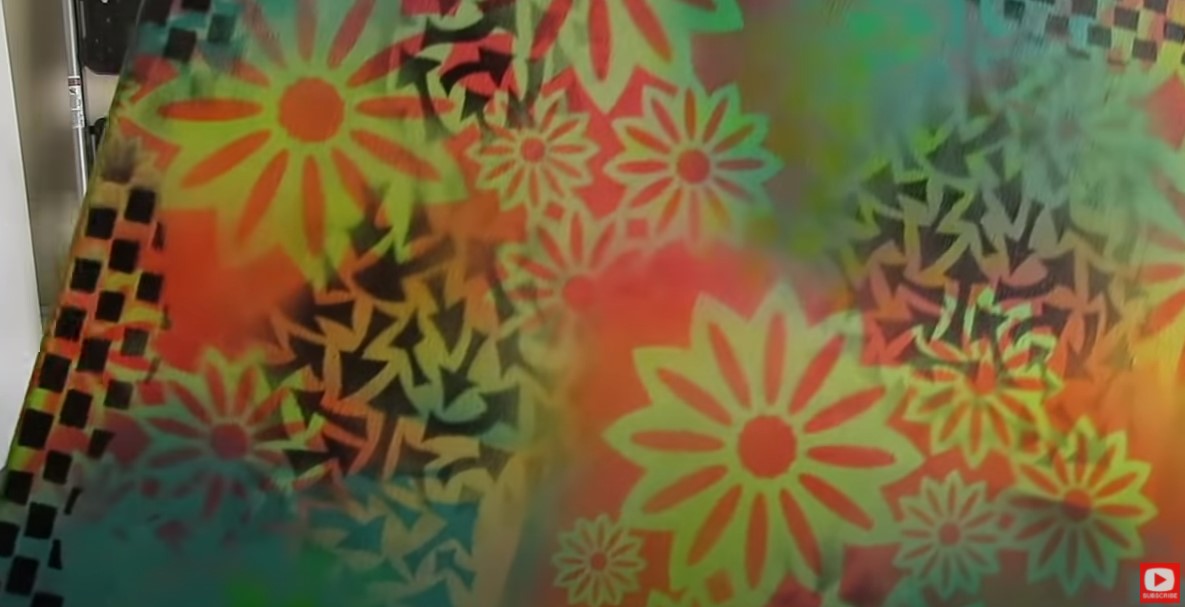
If you haven't used stencils with spray paint before, you're gonna love this!! Stencils work SO well with spray paint because spray paint dries really fast. When you mist a new color through a stencil over your previous color of spray paint - then two colors WON'T MIX! Each shade can lay beautifully right on TOP of the other!!
Do you clean your stencils after you use them? Students ALWAYS ask me this!!
I NEVER clean my stencils- I just keep reusing them over and over. Some may think this is lazy, but it actually makes the stencils work better over time this way! The paint eventually builds up a bit and in a way ends up making the stencils stronger so they work even better!
Check out the stencil below. This one is really cool! I used it to make the underwater bubbles in my pink mixed media mermaid painting.
Watch the video so you can understand exactly what I mean here. This particular stencil doesn't have a "hard line" or edge to it. It's been trimmed so the edges are a bit softer and easier to blend into a background. 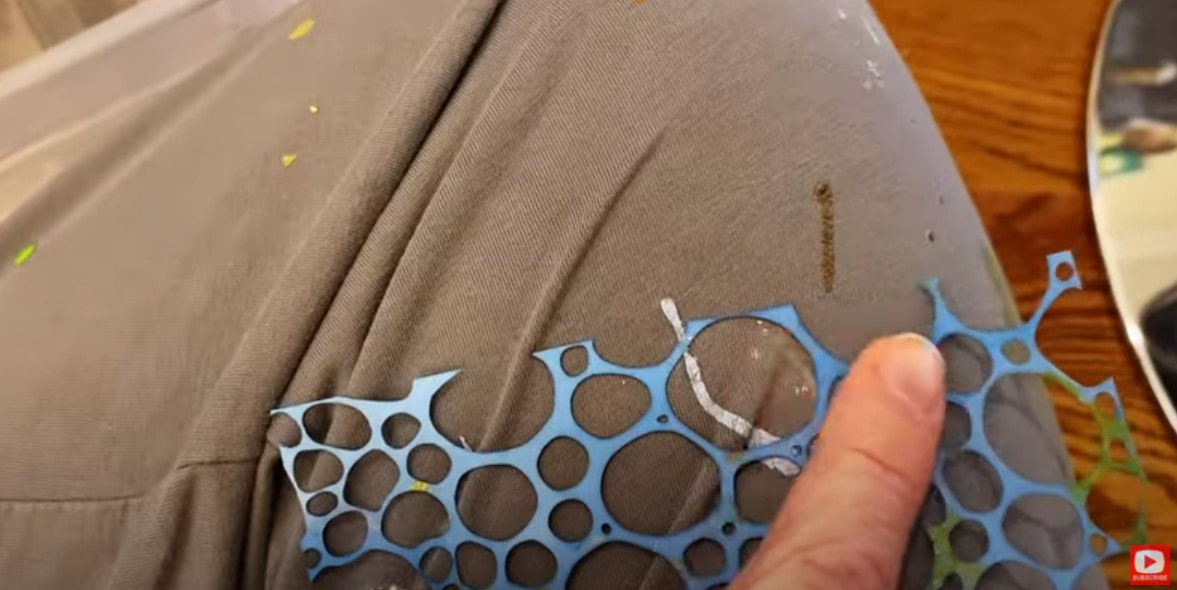
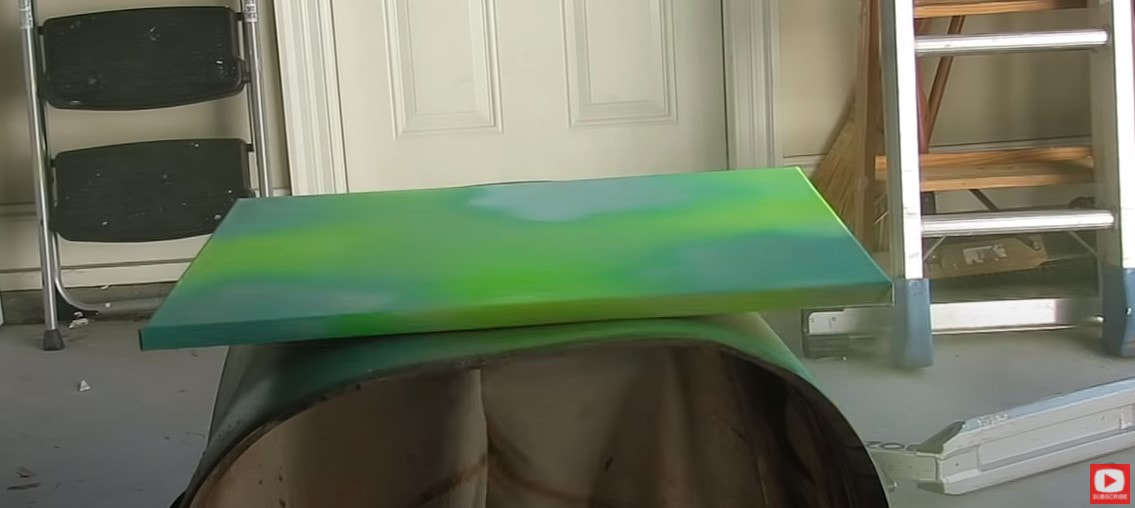
STENCIL & SPRAY PAINT TIP: To avoid a hard edge showing up on your canvas, trim the edges of your stencil off like I did in the stencil above. You can also work on perfecting your spray painting technique. Try to mist your paint right into the center of your stencil. Ok! Reay to see how FAST this process really is?! CLICK over to the video and you can see it in real time. It takes me less than a minute to cover this 18" x 24" canvas in one solid color. 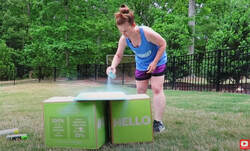
For the stenciled parts, I simply pull my white spray paint out and gently hold my stencil above the freshly painted canvas. You don't want to lie it on top of the canvas because it could stick!
One of my favorite things to do with a stencil is to mist it into the corners of my canvas. I think it adds a really nice frame to whatever I end up putting into the foreground.
HOT TIP! Make sure you hit your CANVAS edges with color too. Trust me!! You'll be so mad if you come back to your art table and notice they're all WHITE!! LOL :) I hope you enjoy this demo and find this spray paint on canvas idea just as helpful as I have!! Have fun art-ing!!
|
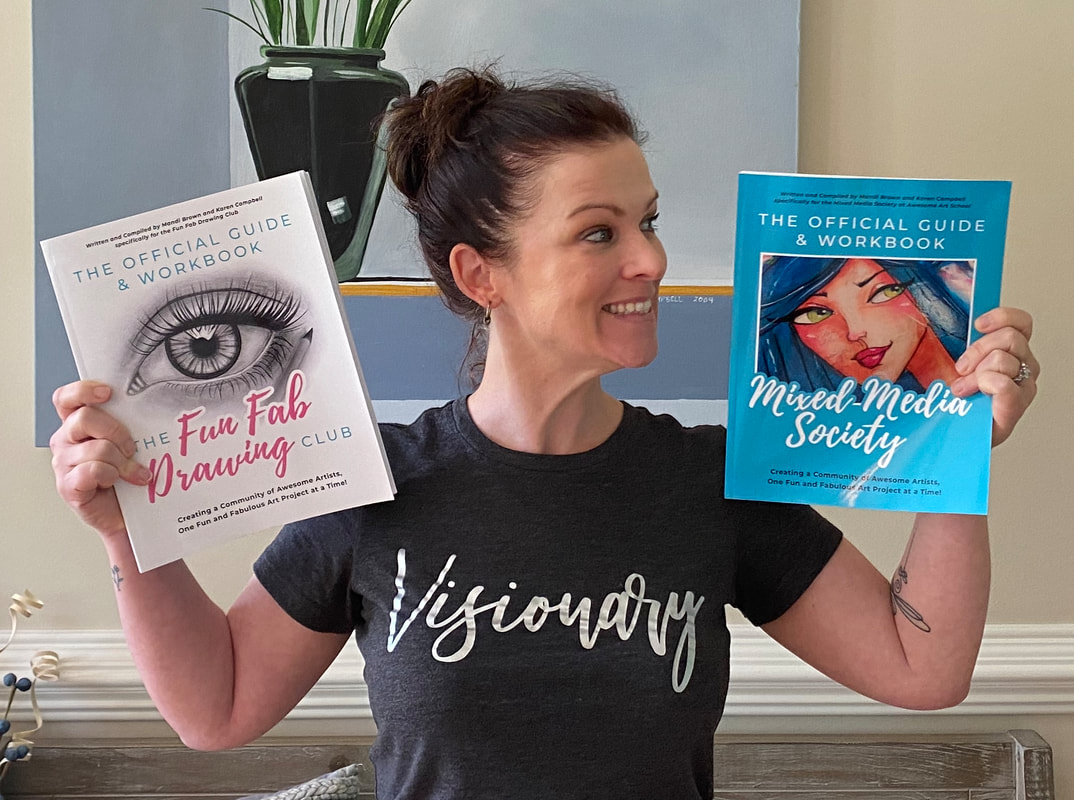
Karen CampbellFounder of Awesome Art School. Mixed Media Artist. Author of 19 Instructional Art Books! 
Whose work has appeared in...
   
 Archives
July 2024
Categories
All
|


 RSS Feed

"Karen is flipping hilarious and she's very real...I like the way she teaches in a way that really gives you confidence, whether you're a beginner or advanced there's always something new to learn!"
- Elizabeth W. |
What Fans Are SayingKaren, you are absolutely fabulous! You make me feel like I can draw anything. I have recently retired and finally have the time to do some of the art that I have loved since I was in school. I am really at the beginning of my art journey and I hope to learn as much as I can. Thank you for all you do. |
Contact ME |