
|
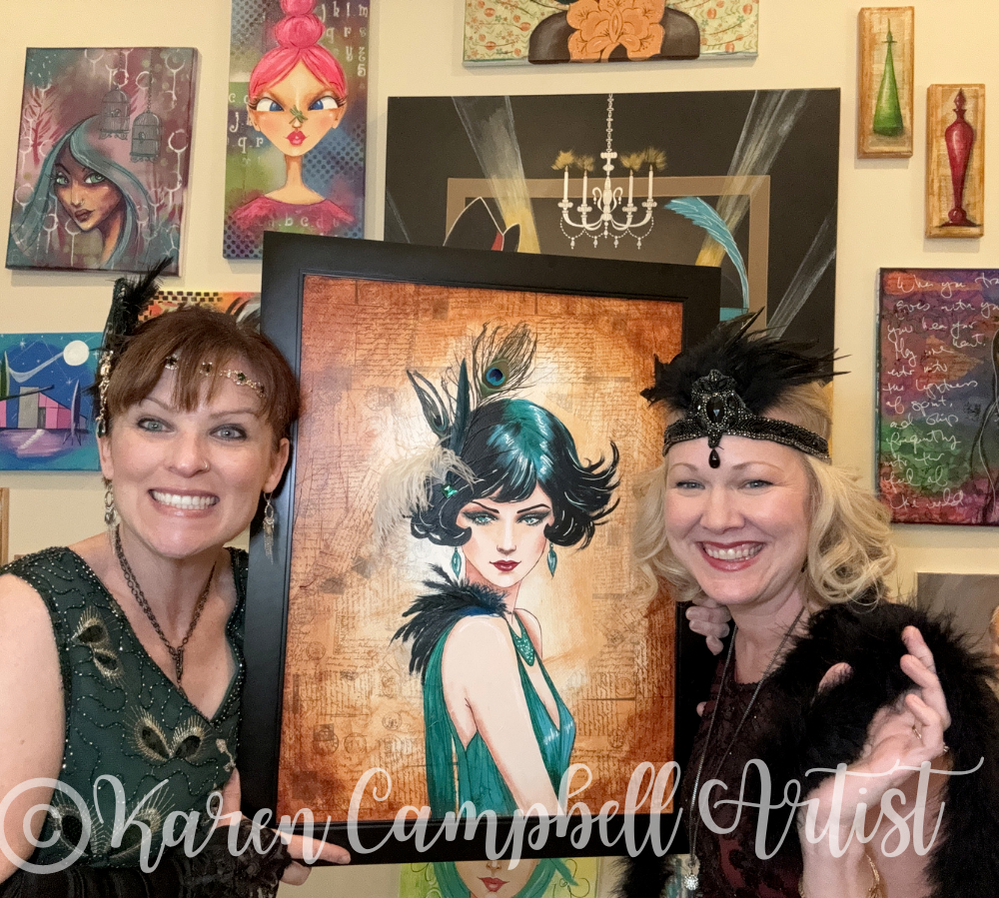
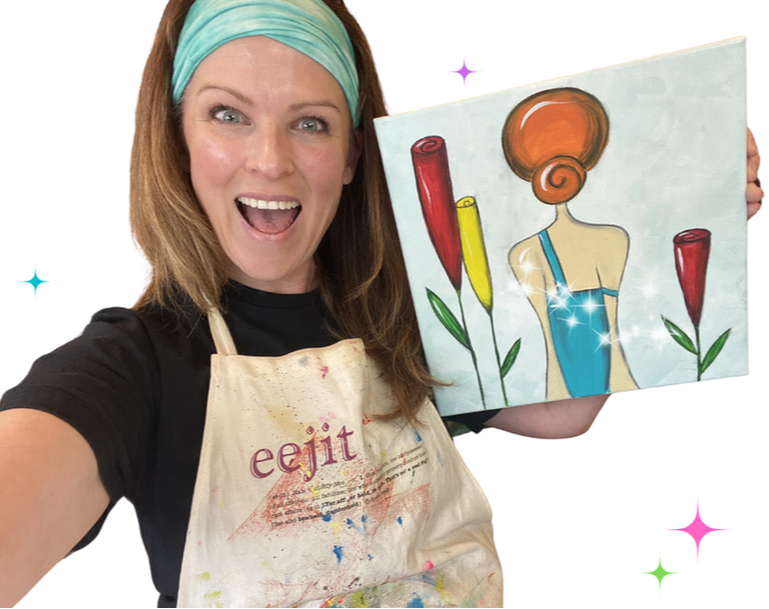
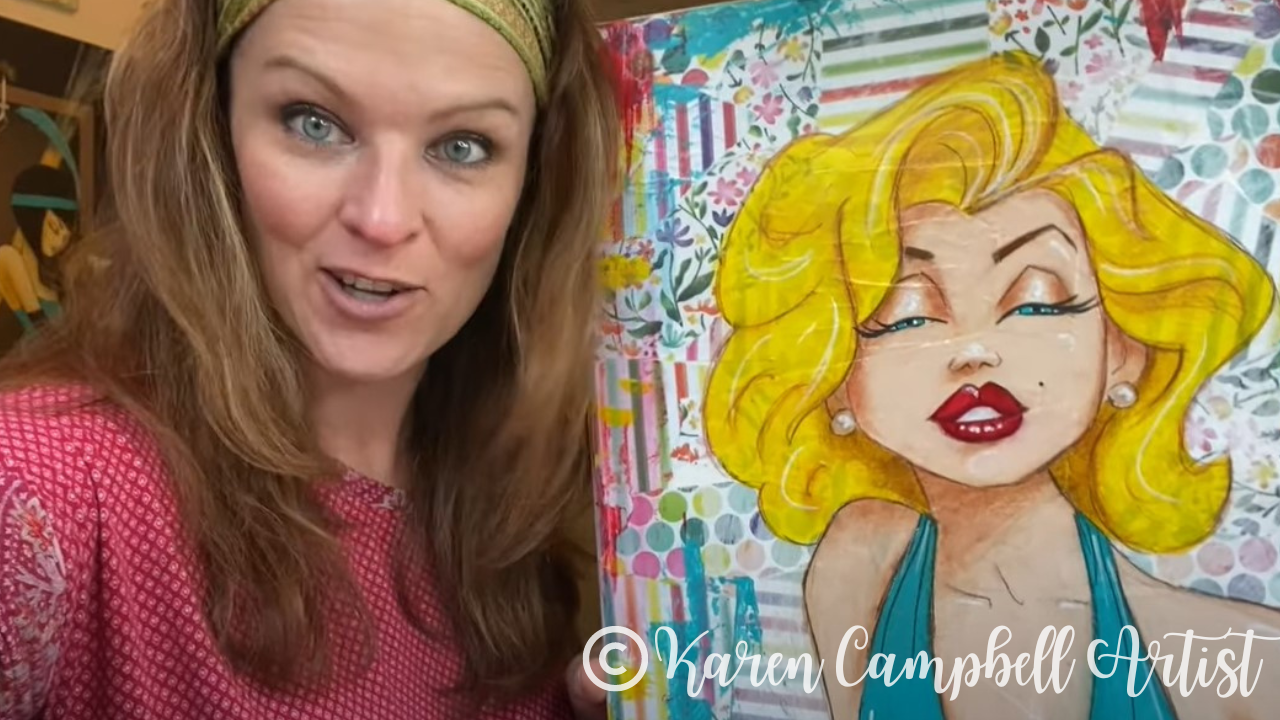
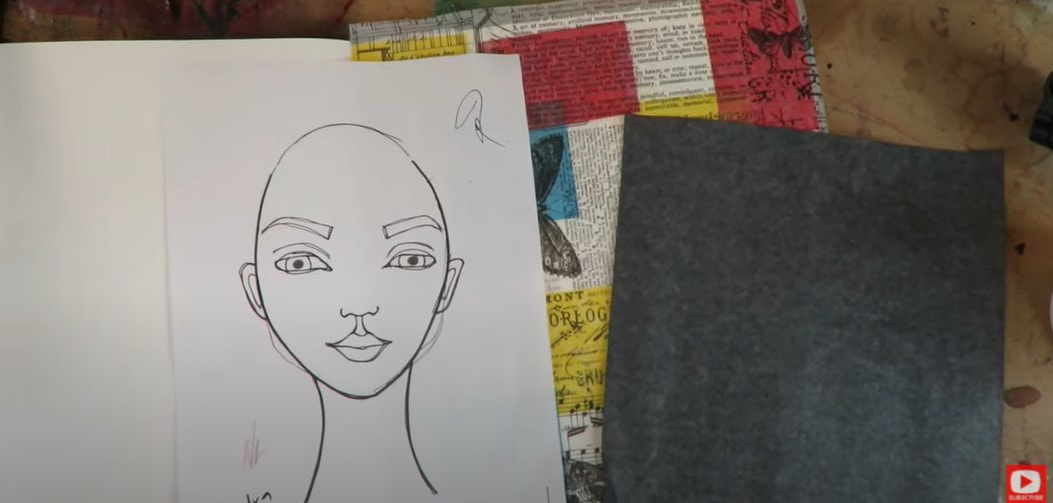
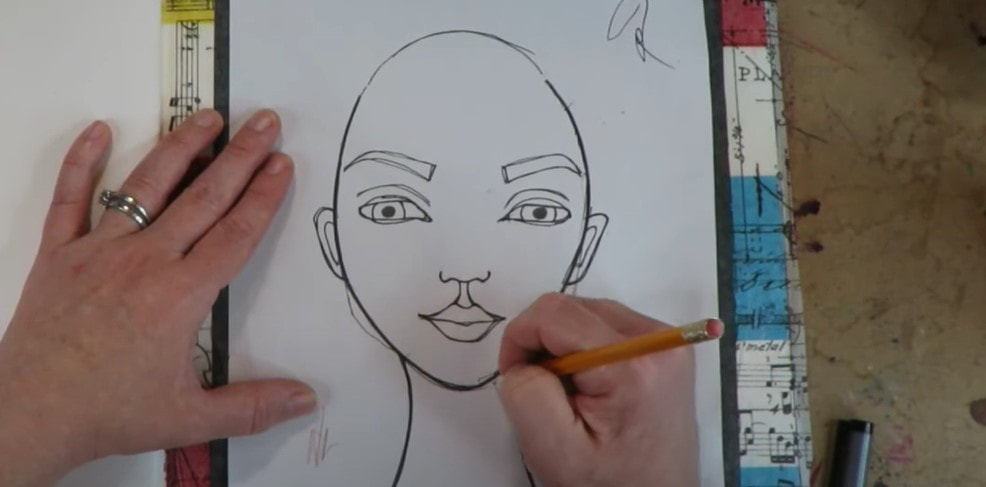
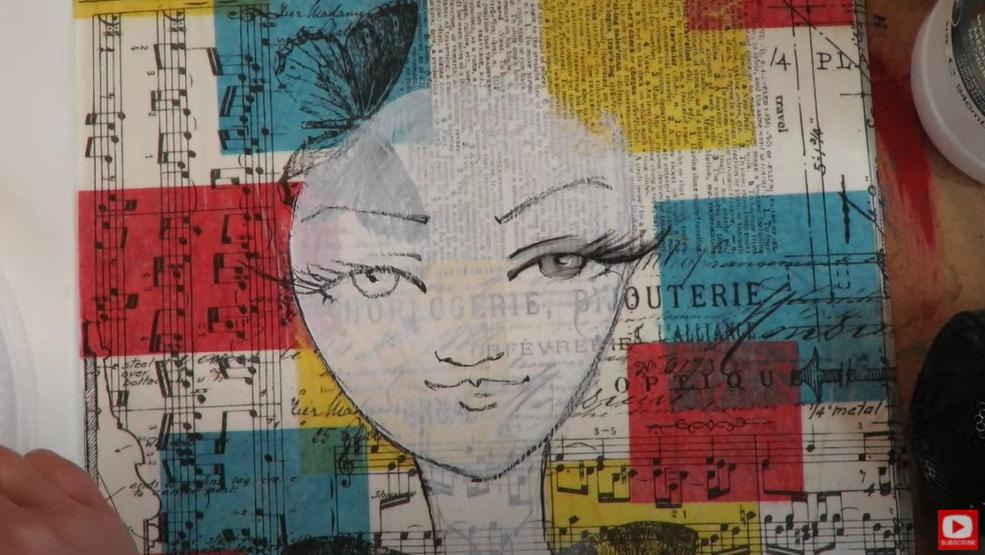
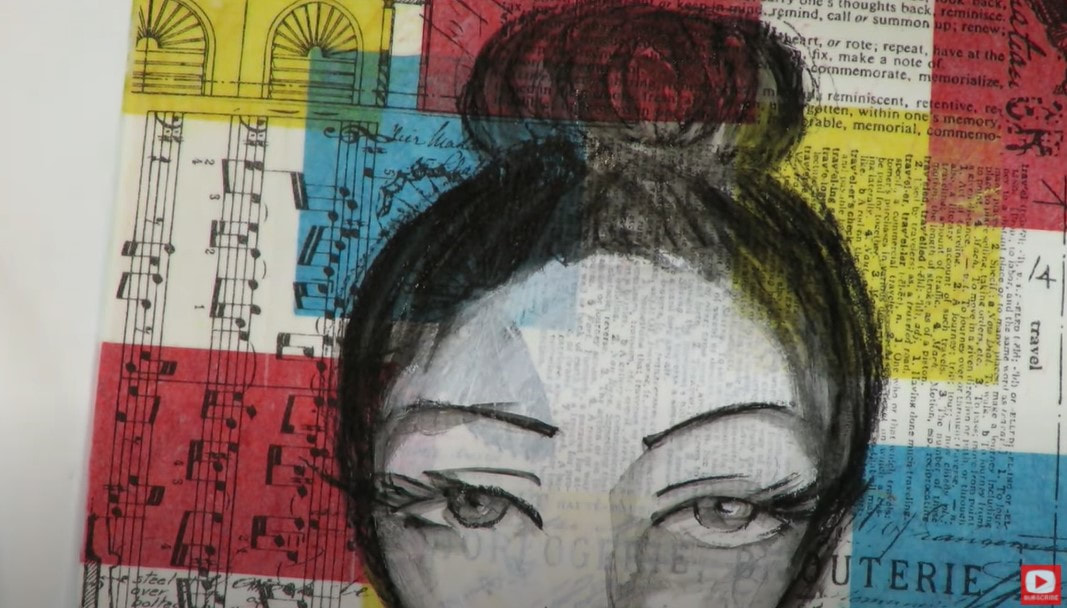
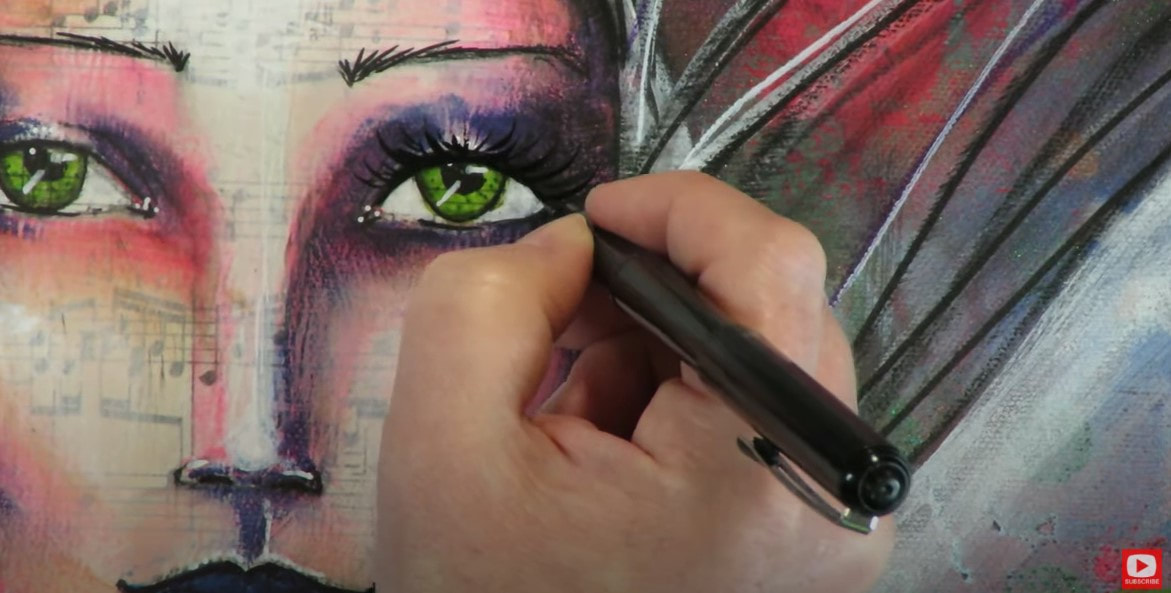
Are you ready to make art better than you ever could've imagined?! You can!! Join me LIVE on YouTube this Sunday, April 28th @ 2pm EST !! We will be creating this awesome art deco-inspired mixed media girl together, and I absolutely can't wait!

To get you totally prepared for this exciting, live art-along, I've dedicated today's YouTube video to explaining the supply list for Sunday (which just so happens to be FILLED with some of my all-time FAVORITE mixed media art supplies:)
Grab the Supply List HERE, or simply click the button below. 
*All product links are affiliate & for U.S. residents only.*
What Surfaces Can You Create Mixed Media Art On?
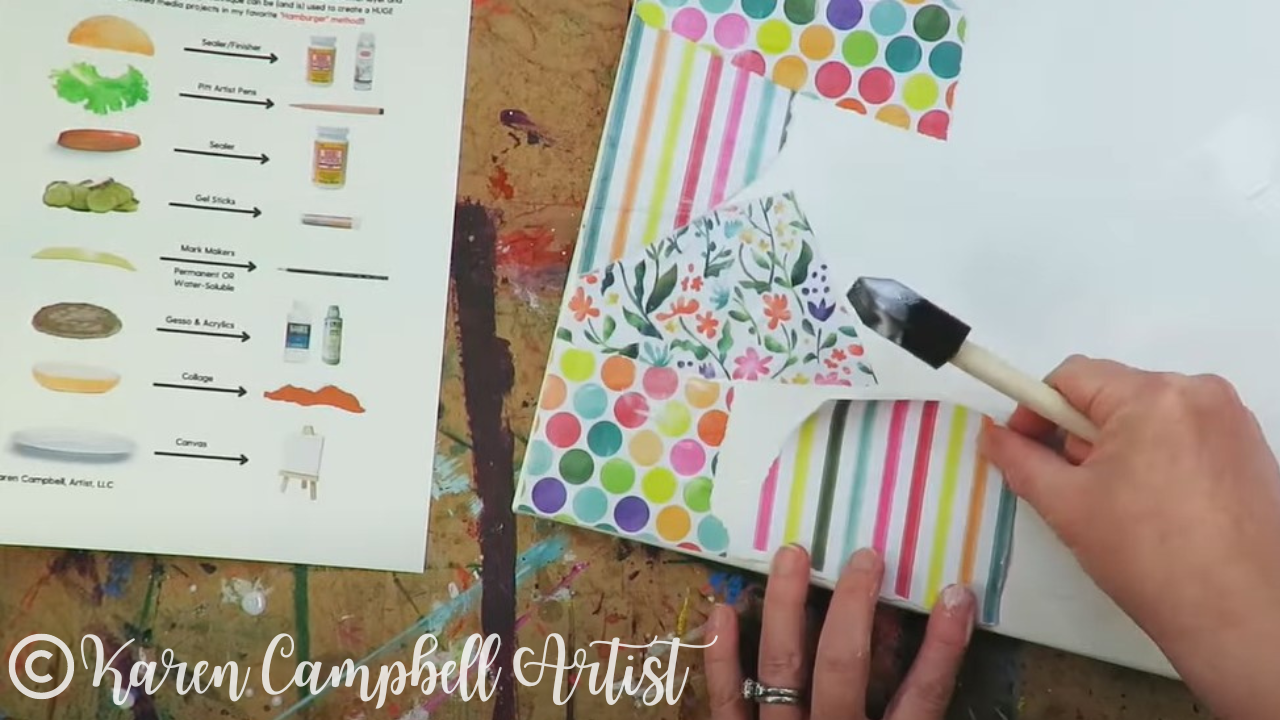
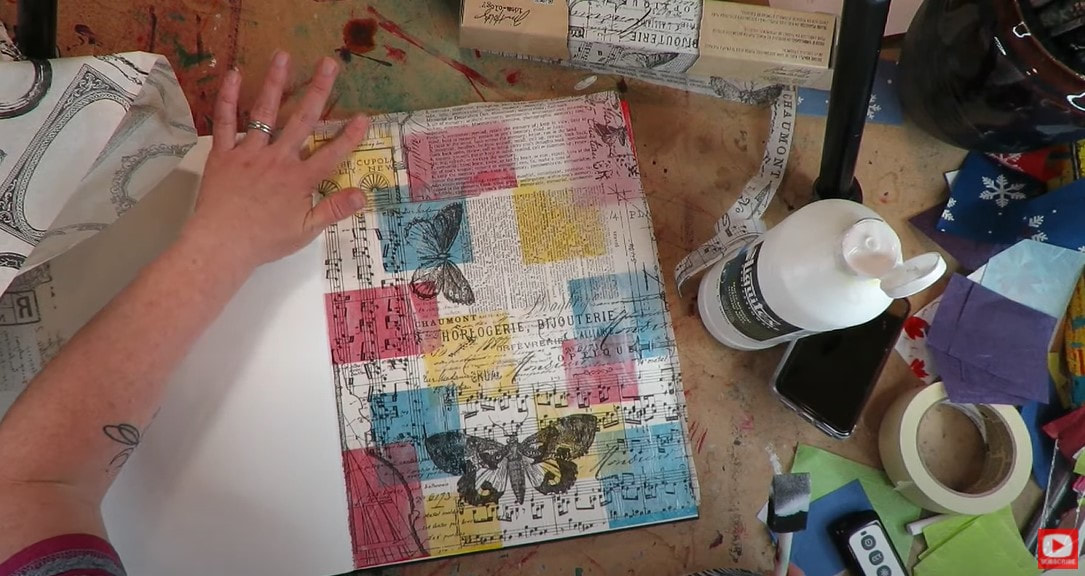
I get asked all the time WHAT SURFACES are best for creating mixed media art. It really depends on what supplies you're gonna be using. If you're doing a full-blown mixed media piece with collage, acrylics, sealers and all the wet mediums, most people assume you need to be working on canvas. You totally can, but you can ALSO work on mixed media paper, in an art journal, or on cardboard.
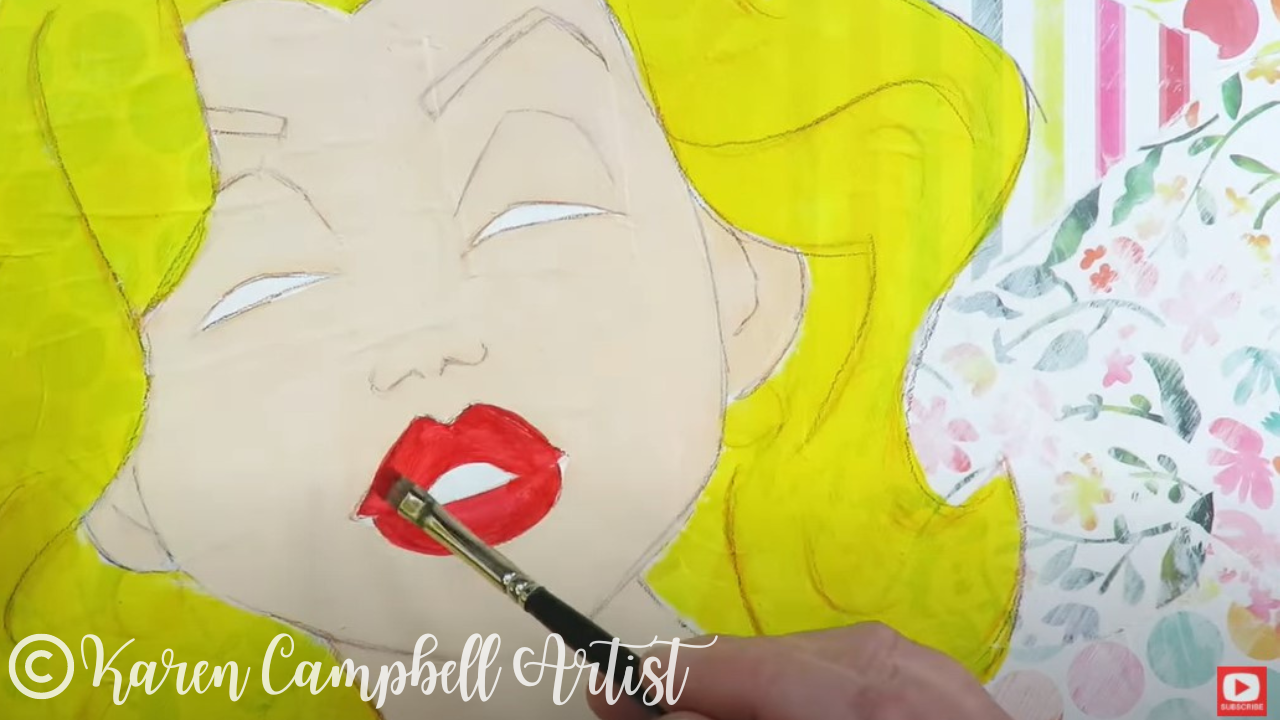
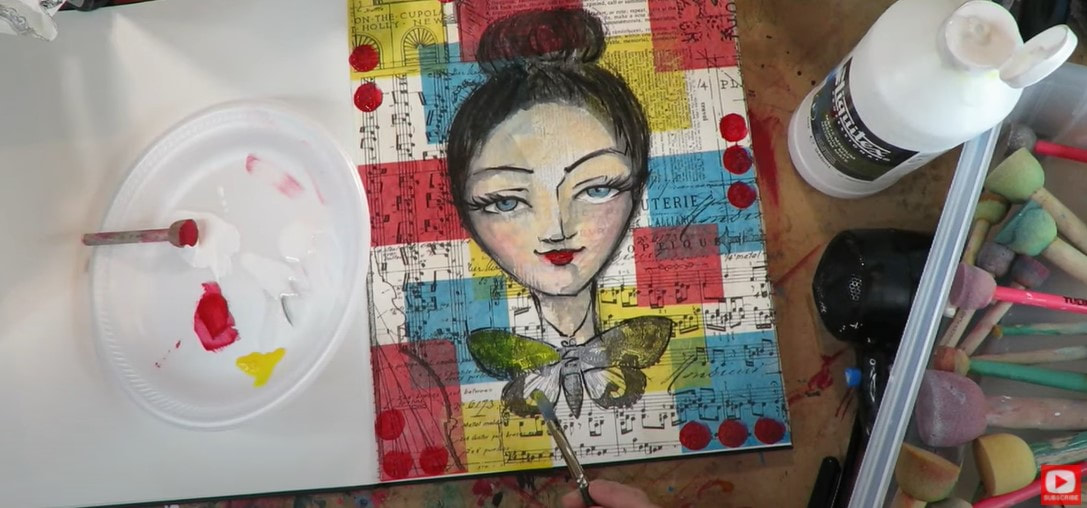
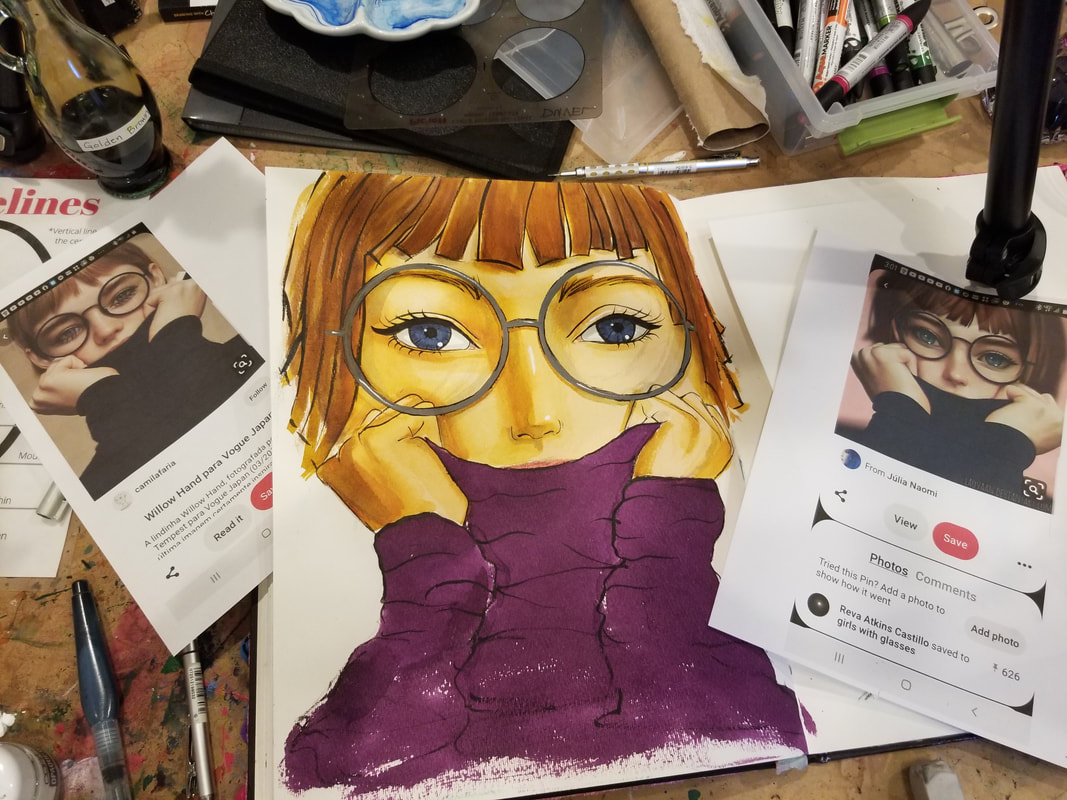
The demo piece I created to prepare for next Sunday's LIVE art-along event was done on a GIANT sheet of watercolor paper :) I actually do a lot of my mixed media pieces in a watercolor sketchbook because heavyweight watercolor paper (140# or higher) is actually stronger than traditional mixed media paper and can hold pretty much ANY mixed media layering you throw at it :) On Sunday, we'll be art-ing LIVE on canvas panel, which I LOVE using for mixed media collage because it's so STURDY! Did I tell you yet that one of my good friends is coming over to ART with me on Sunday?! I'm so excited!! 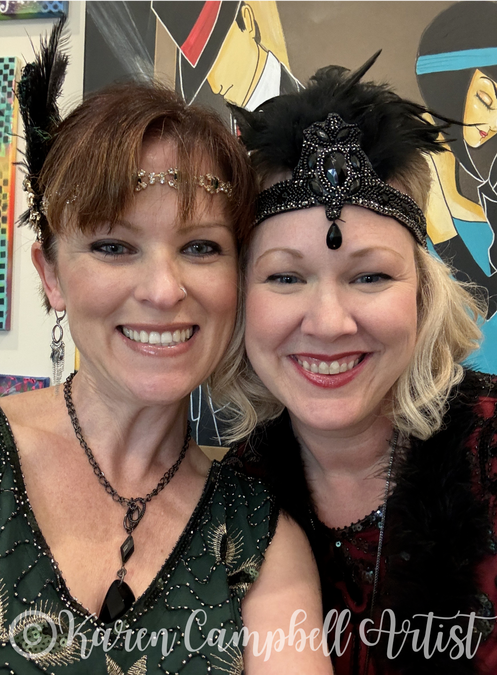
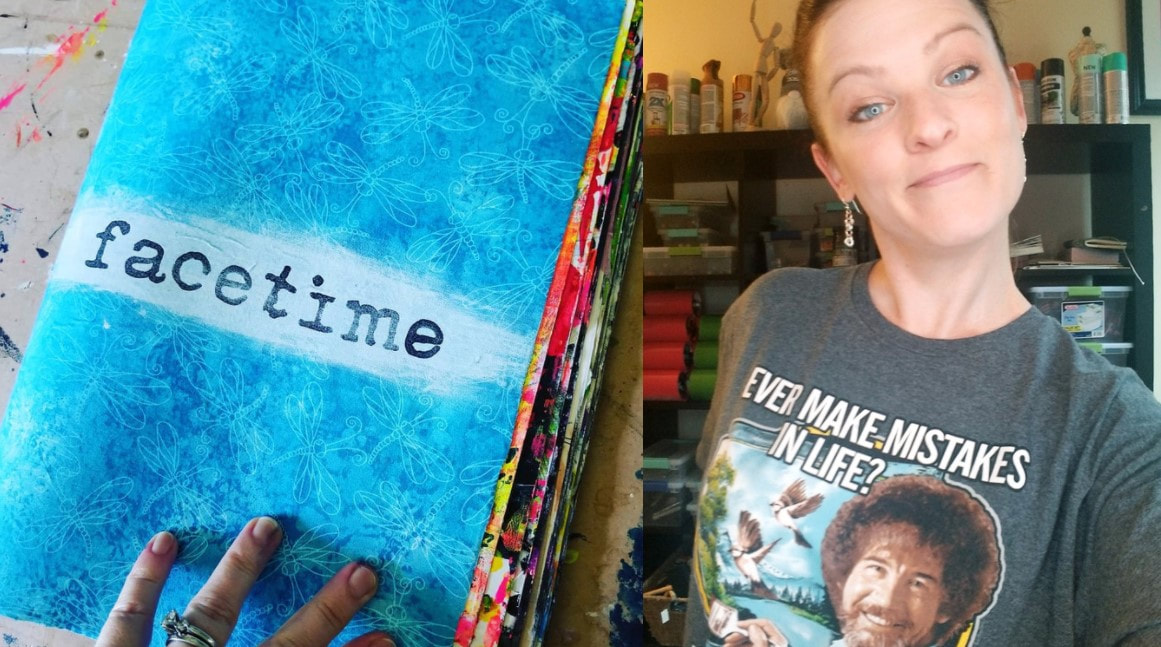
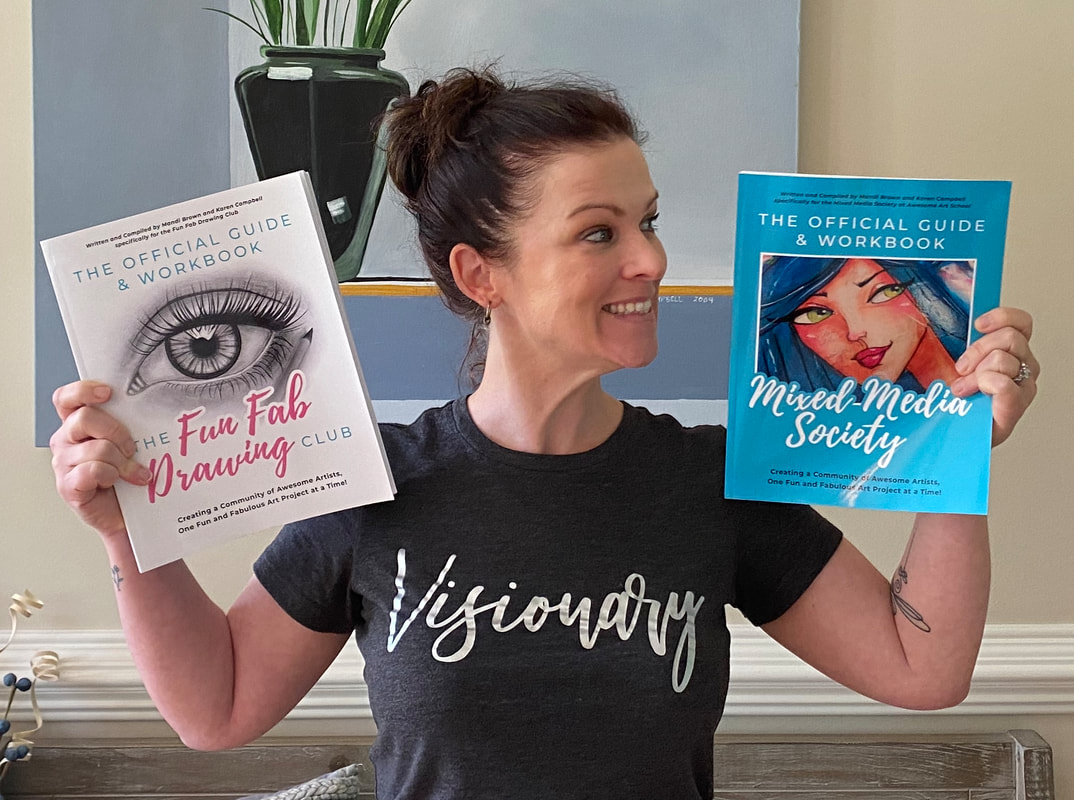
Mandi and I have been friends for years and she loves to create just like me!! But- she's also got 3 kids, a job, and doesn't have endless time to dedicate to her art. She's never done this project before and will be learning step-by-step right along with you, so you don't have to feel alone :) We tried on our costumes together earlier this week!!
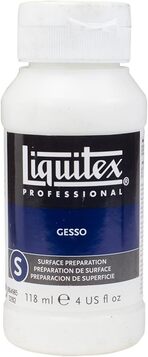
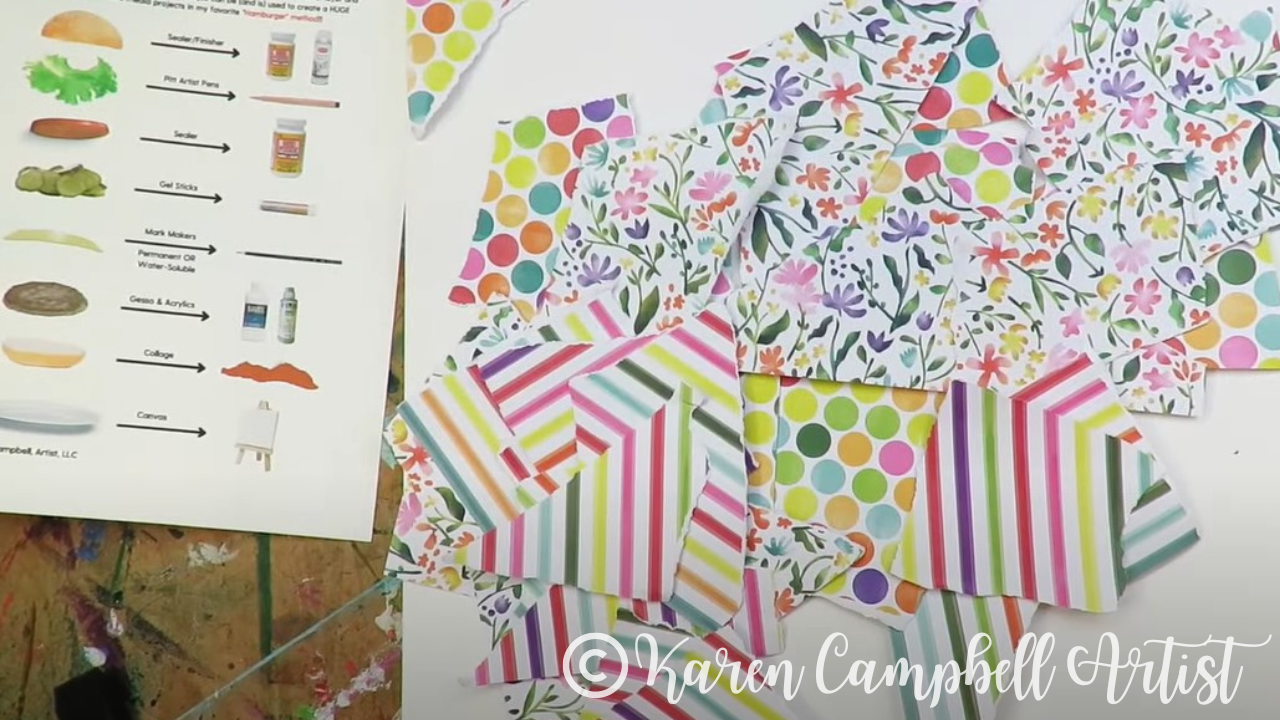
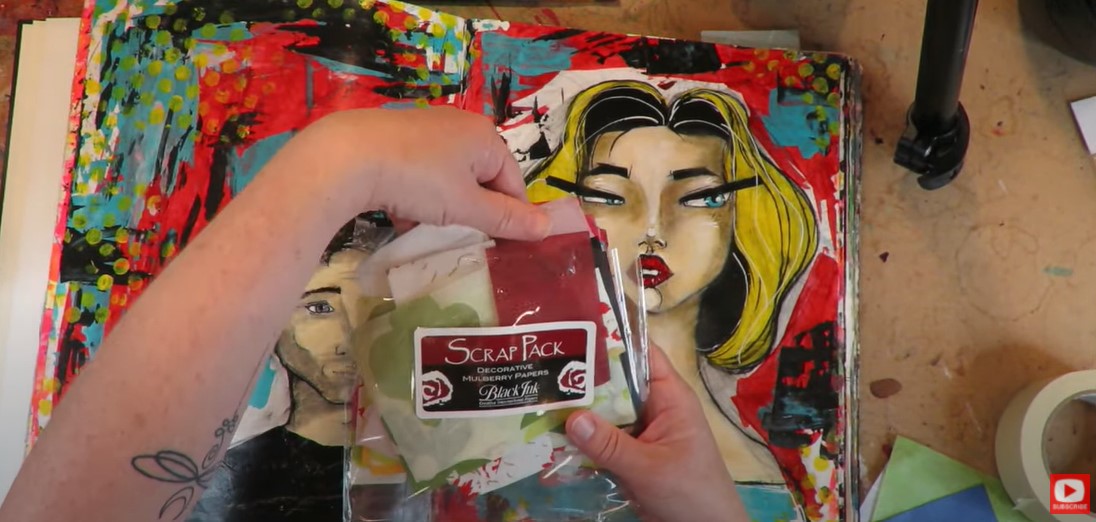
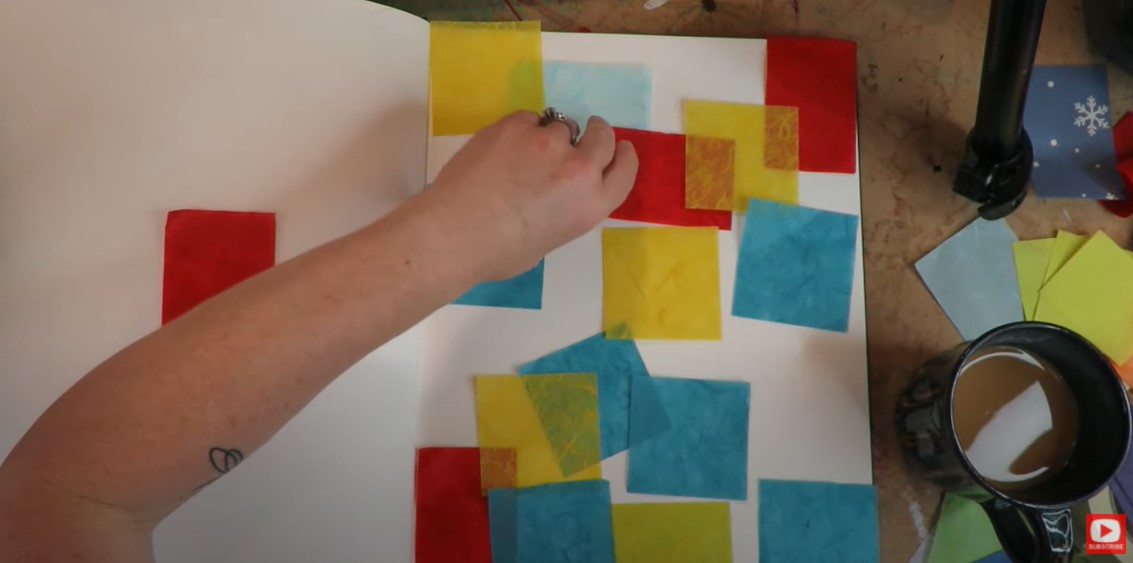
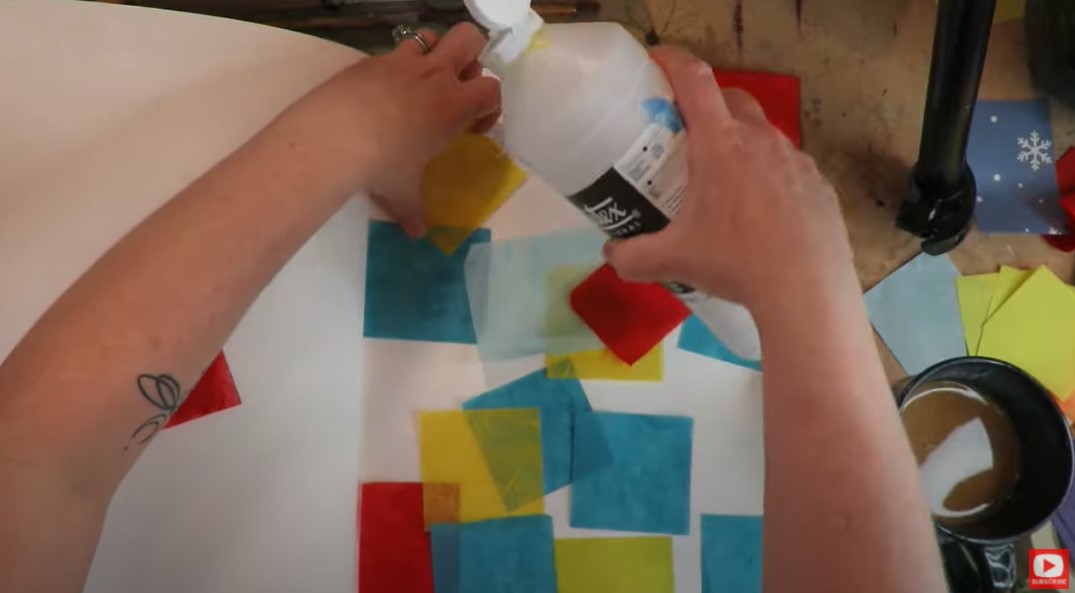
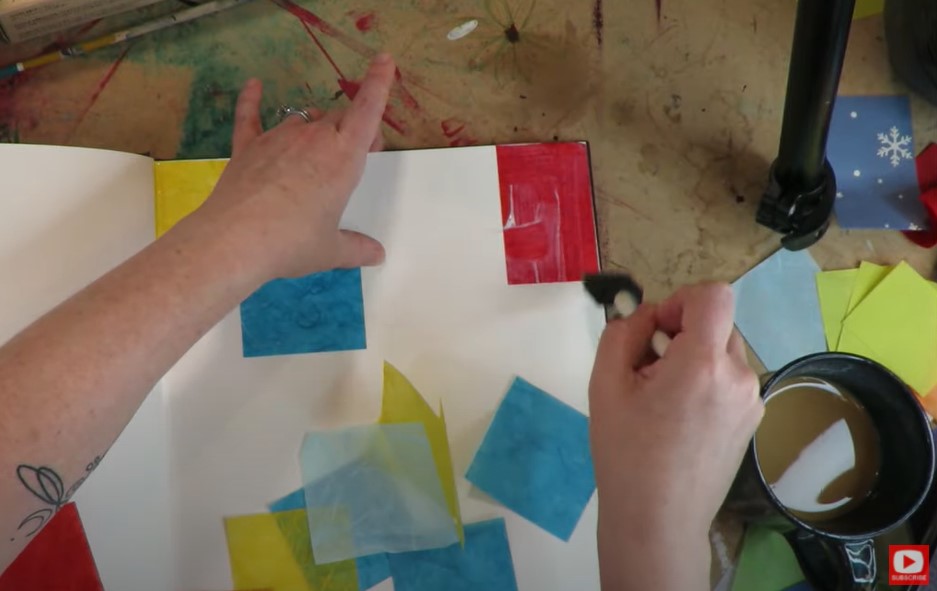
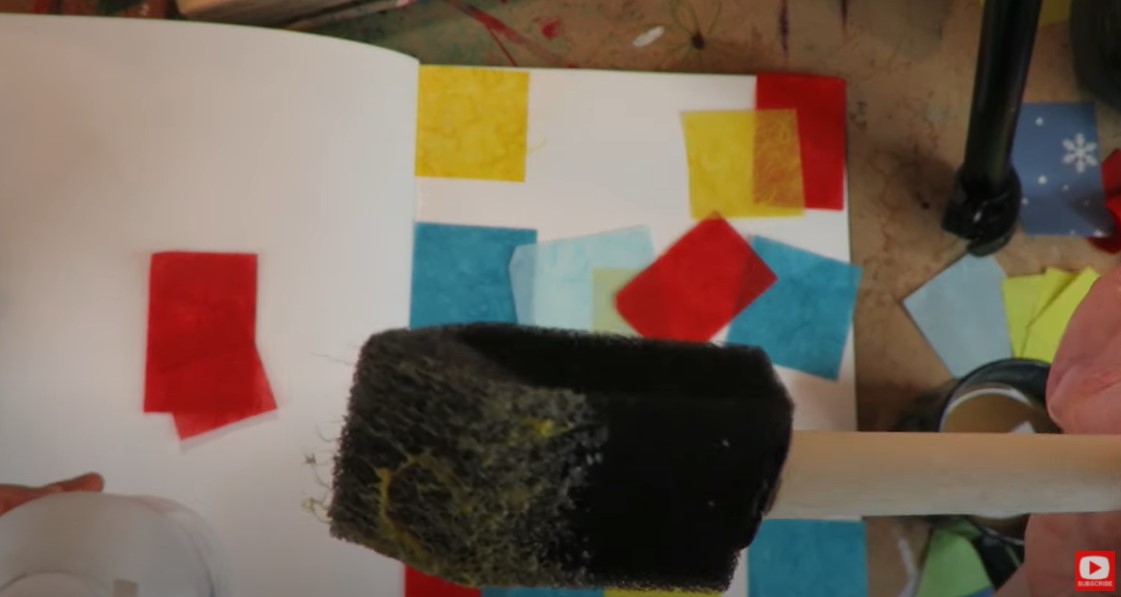
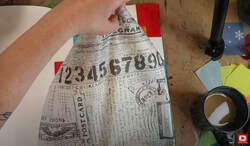
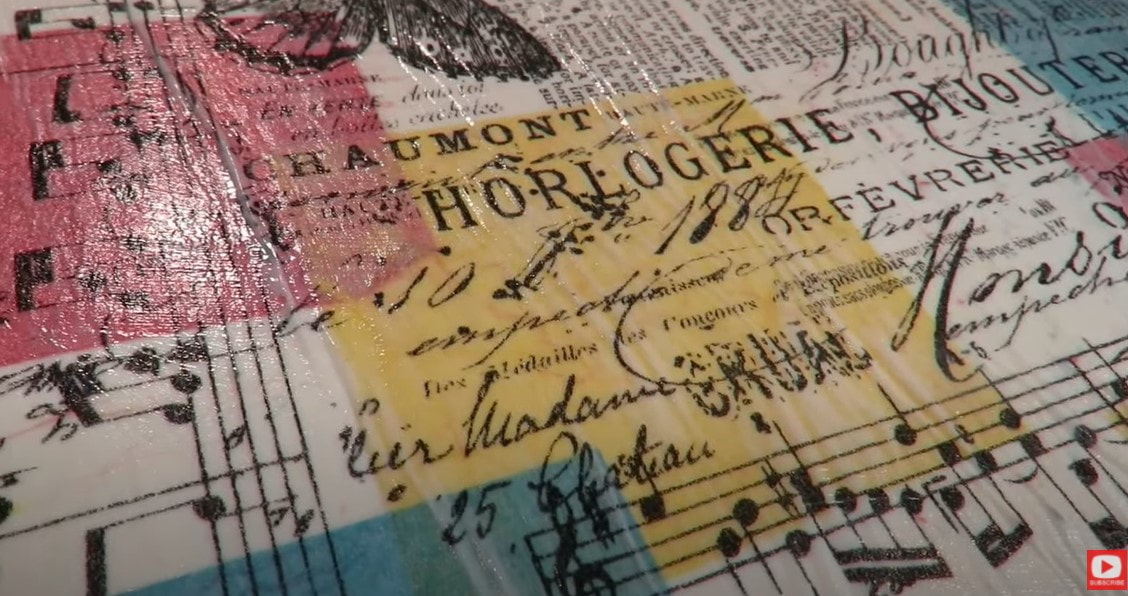
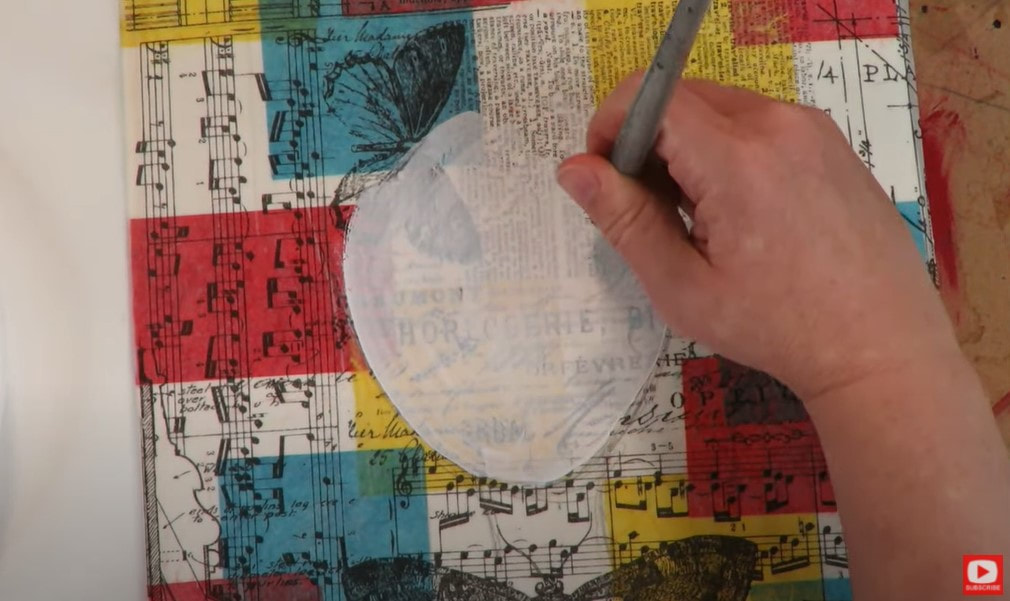
Aren't they FUN?! My FAVORITE Collage ElementsIn today's video, I also explain TWO of my all time favorite mixed media art supplies for collage: Liquitex matte medium and tissue paper! I'm obsessed with matte medium for two HUGE reasons. One- it's got great adhesive qualities, which makes it work AMAZINGLY WELL as collage glue. And second- it's designed to work with acrylic paint, so it's the perfect "surface prep" for the acrylic paints I like to add on top of my collage layers. Tissue paper works beautifully for mixed media collage because it's thin and adds tons of texture to your background without getting quite as wrinkley as napkins. For Sunday's project, I grabbed some beautiful tissue paper on Amazon that looks like vintage postcards! You could also use old book pages for collage (the thinner, the better!). Or, you can get vintage printables from Etsy to use for collage! The possibilities really are endless. 
My Favorite Acrylic Paints to Make Things Look Vintage!
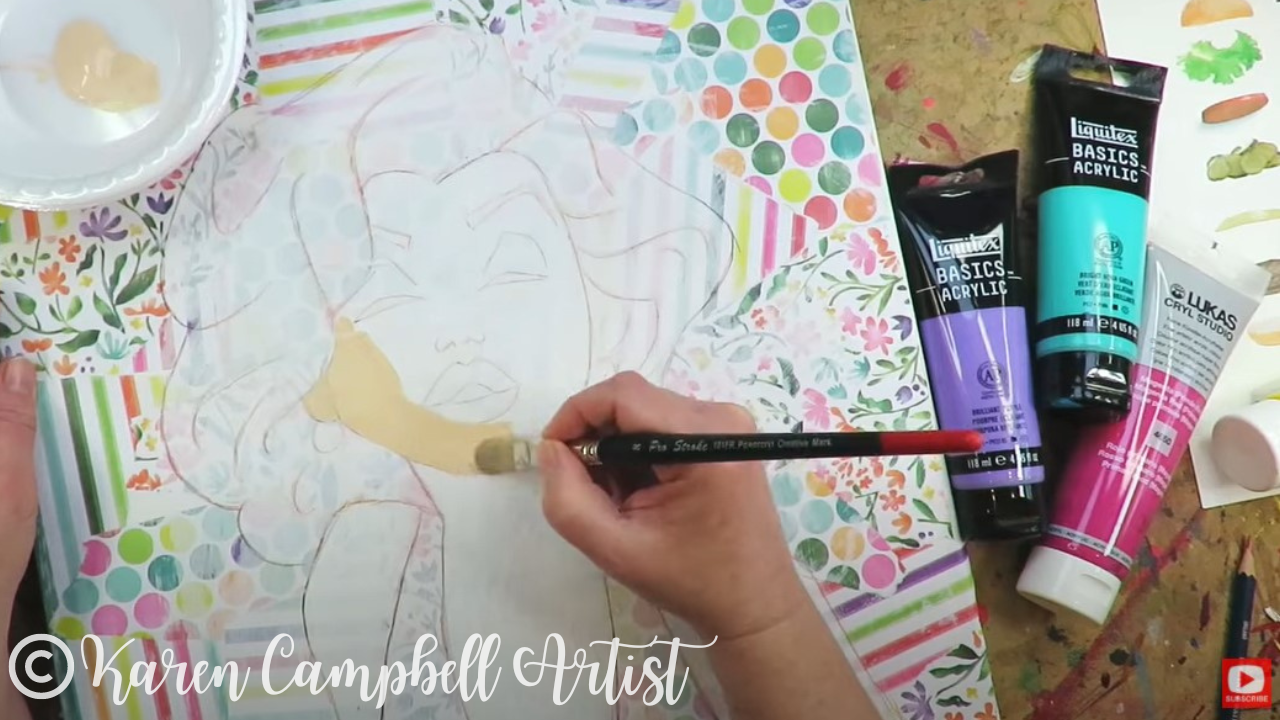
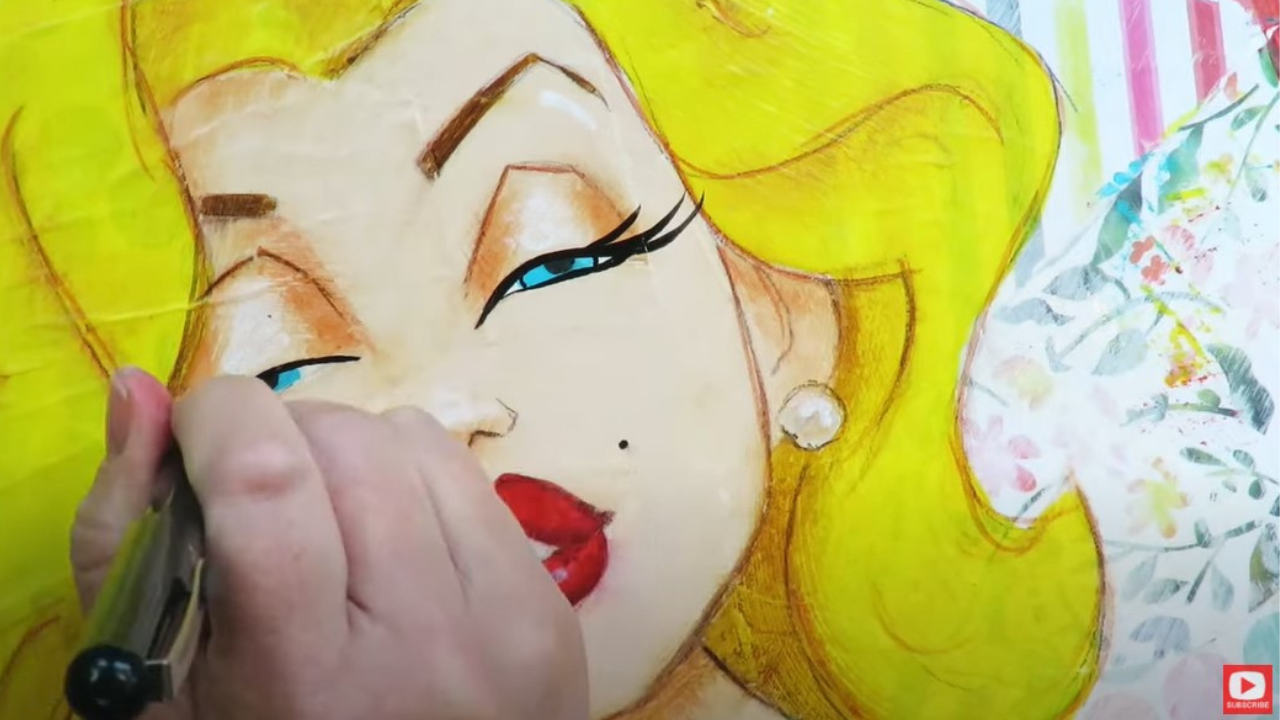
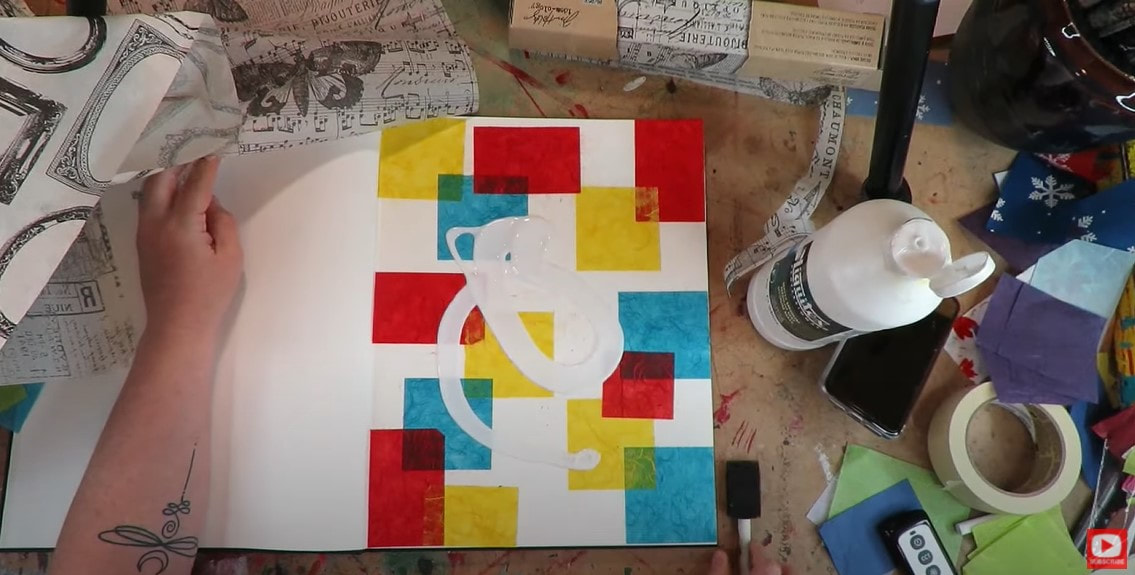
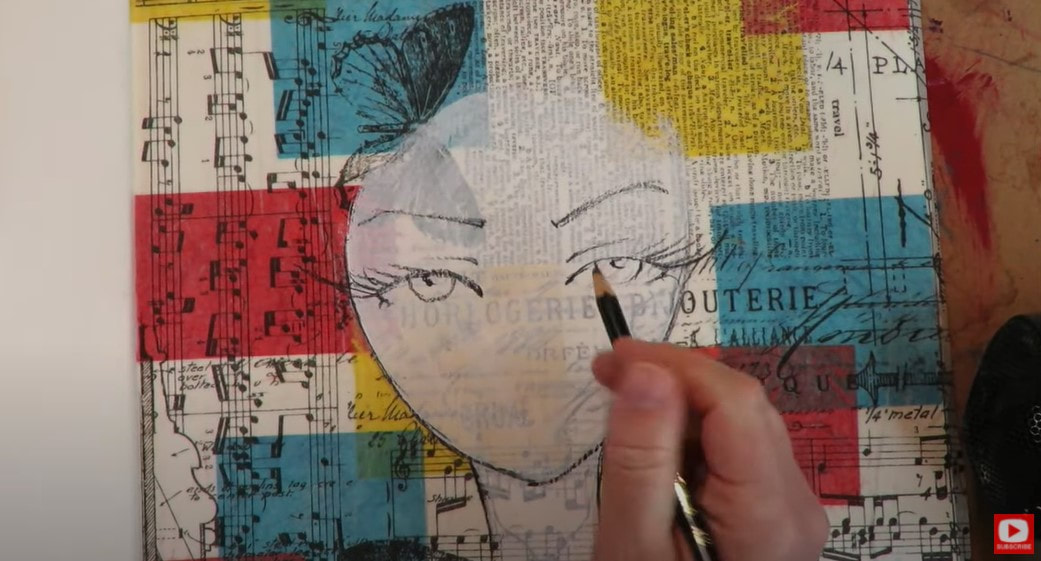
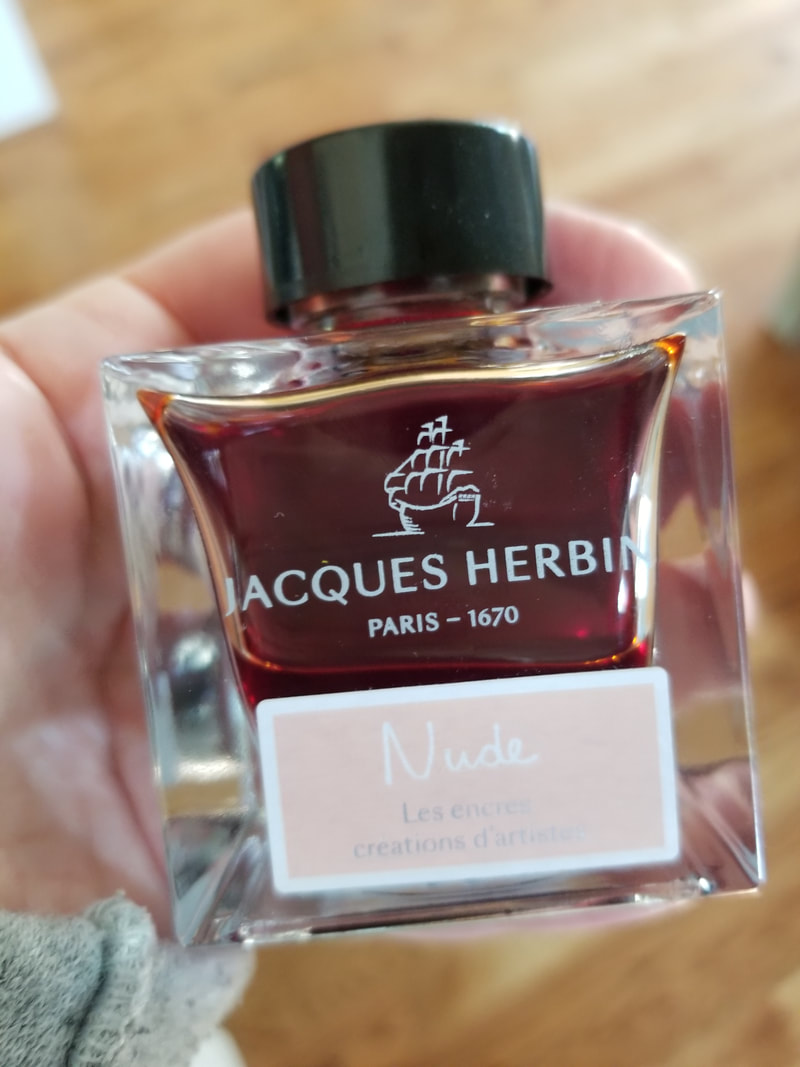
Since the tissue paper I got for the collage portion of Sunday's project wasn't "pre-yellowed," I decided to add acrylic paint on top to make it look older.
I recommend using transparent acrylic inks or high-flow acrylics because these aren't going to fully cover up the interesting collage pieces we added to the background of your painting. 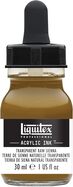
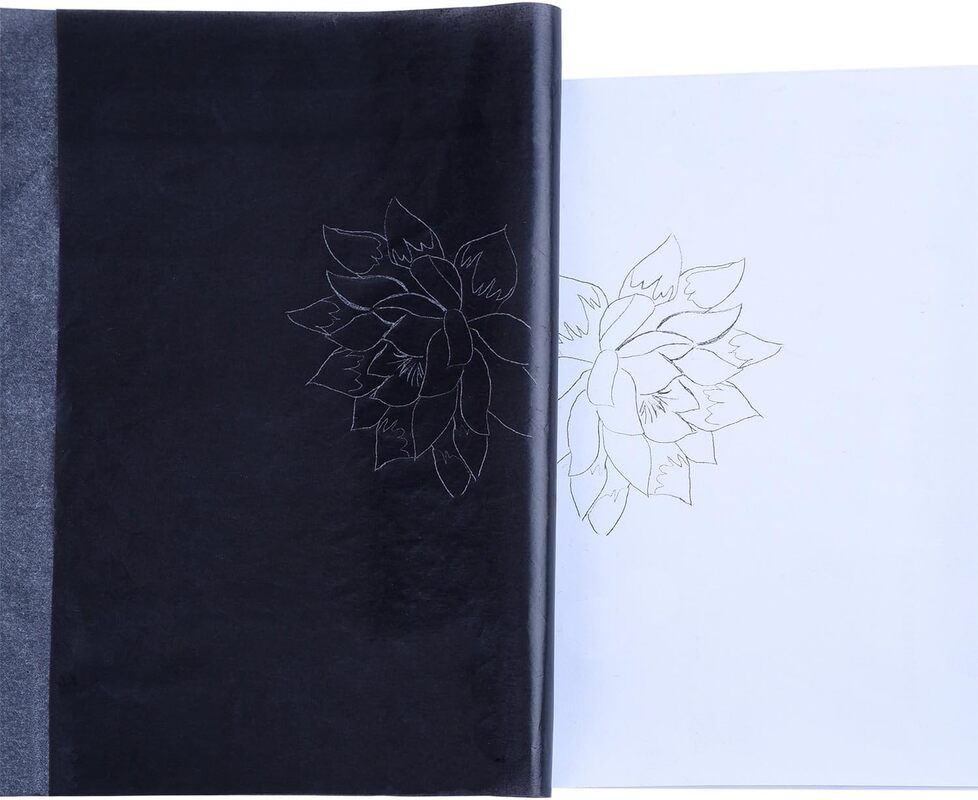
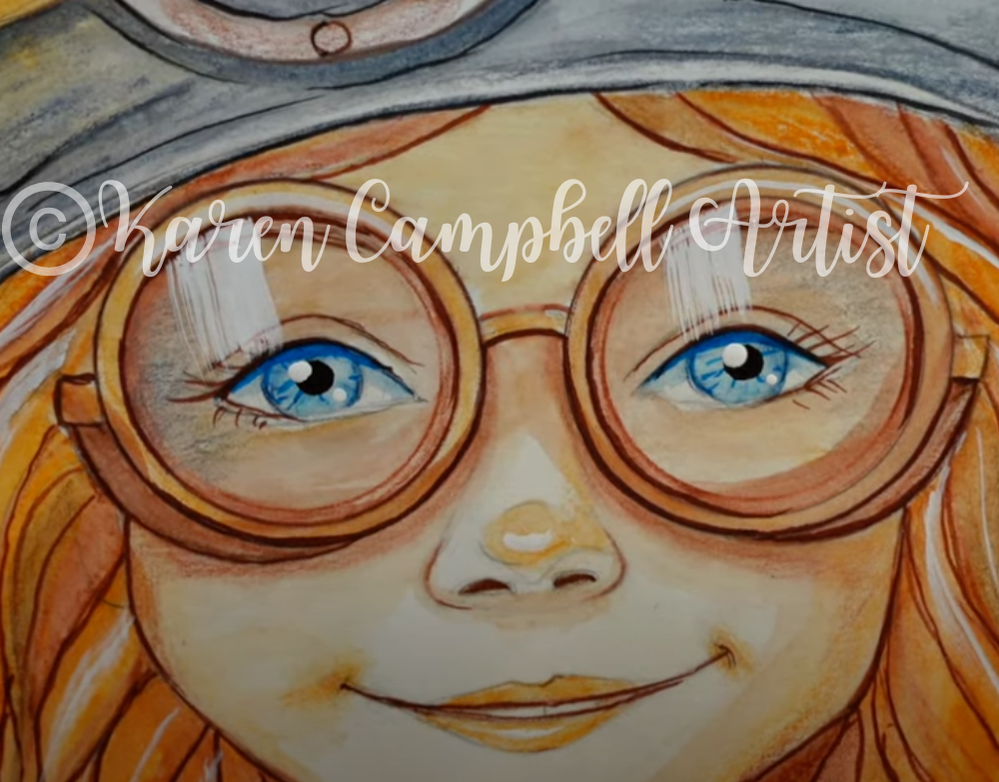
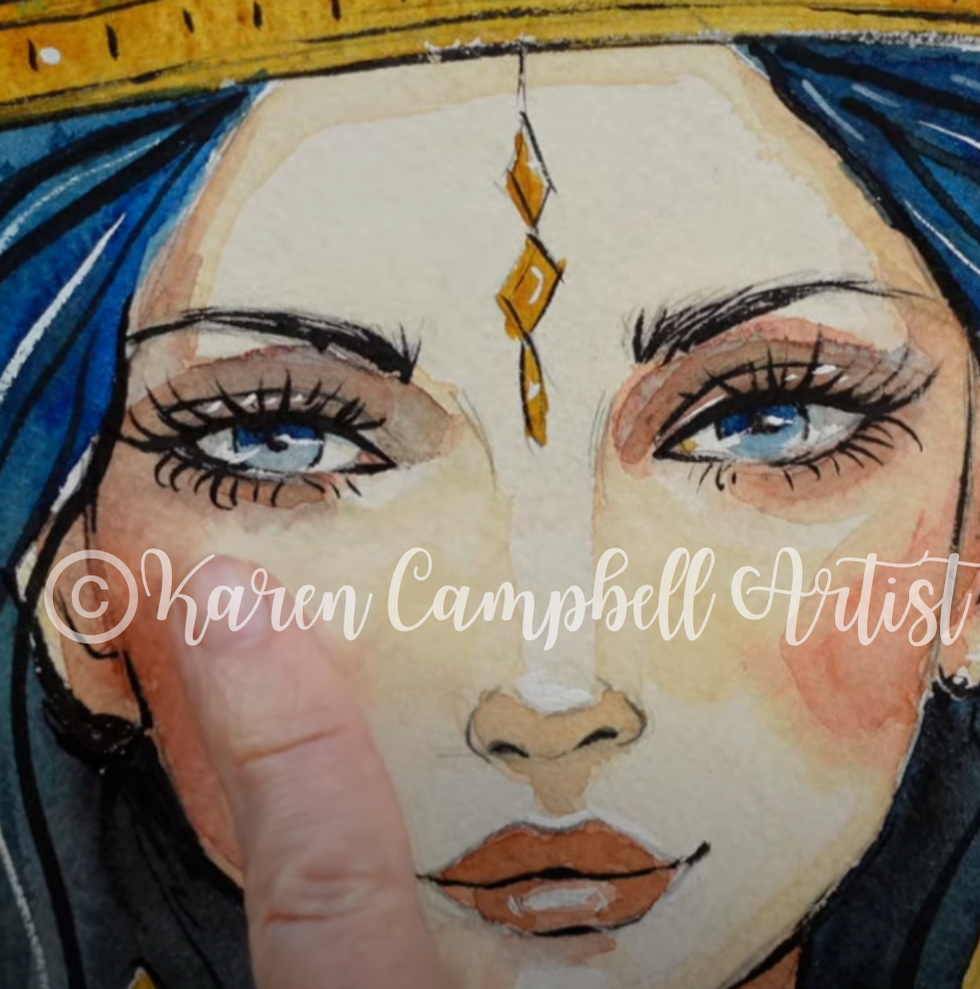
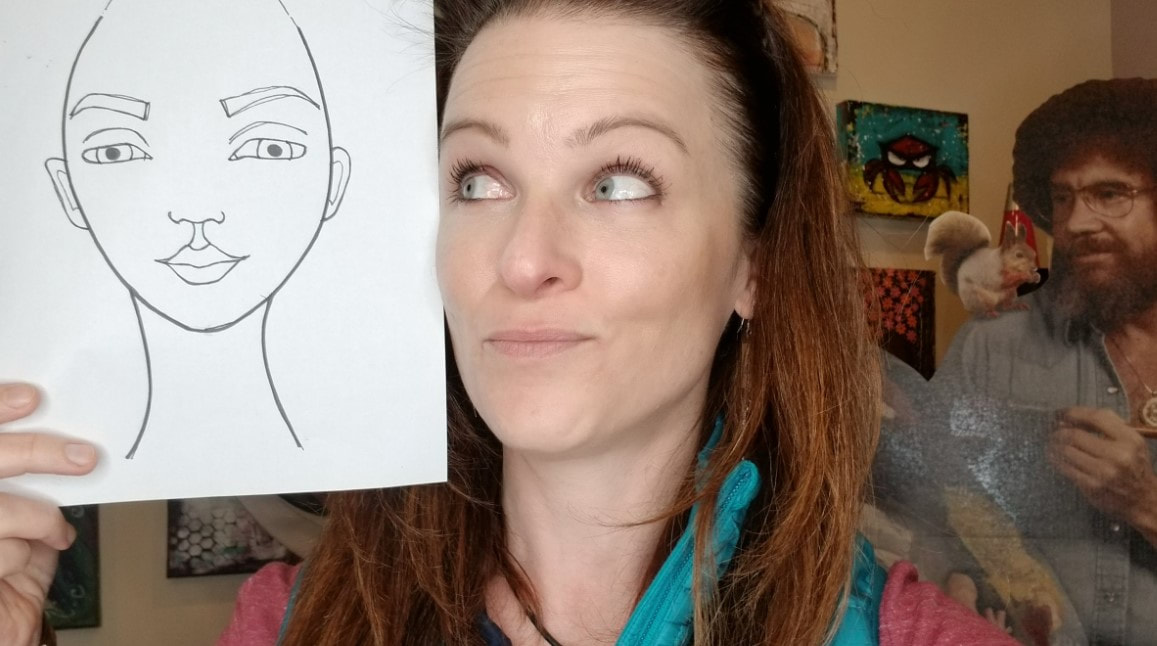
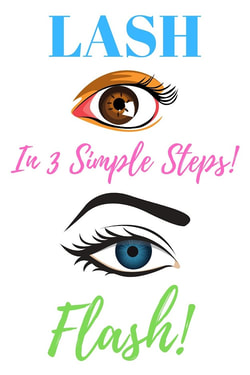
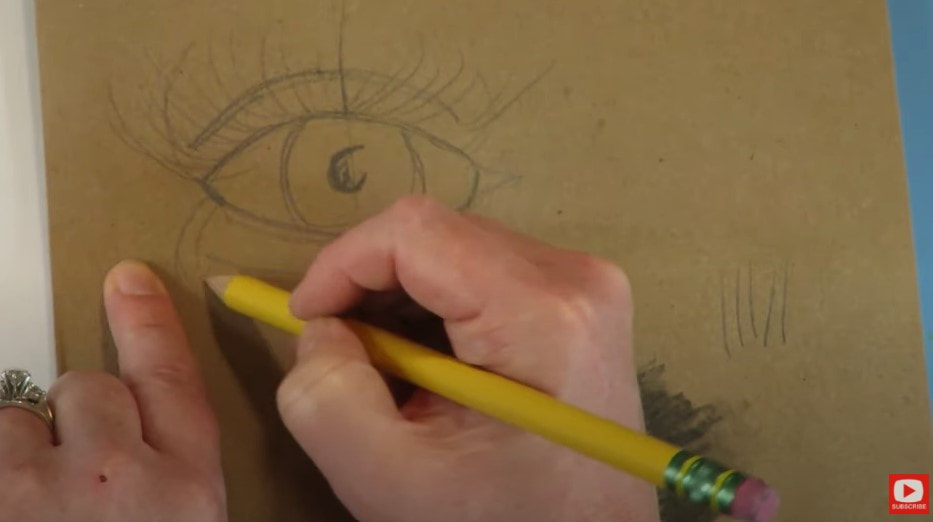
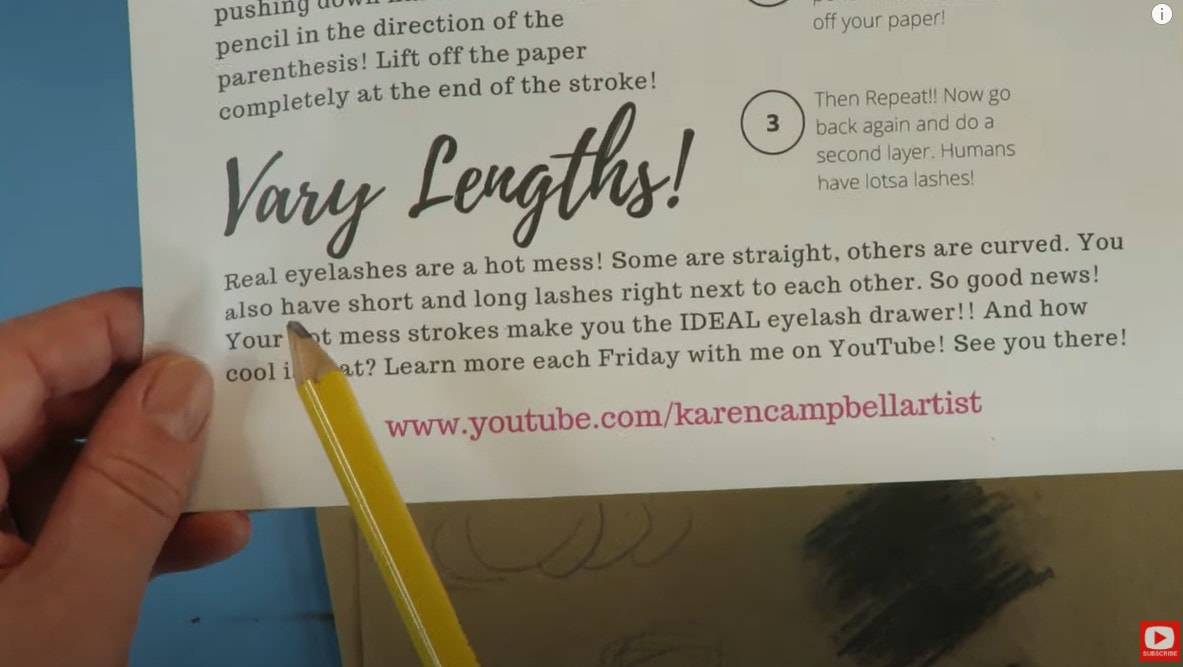
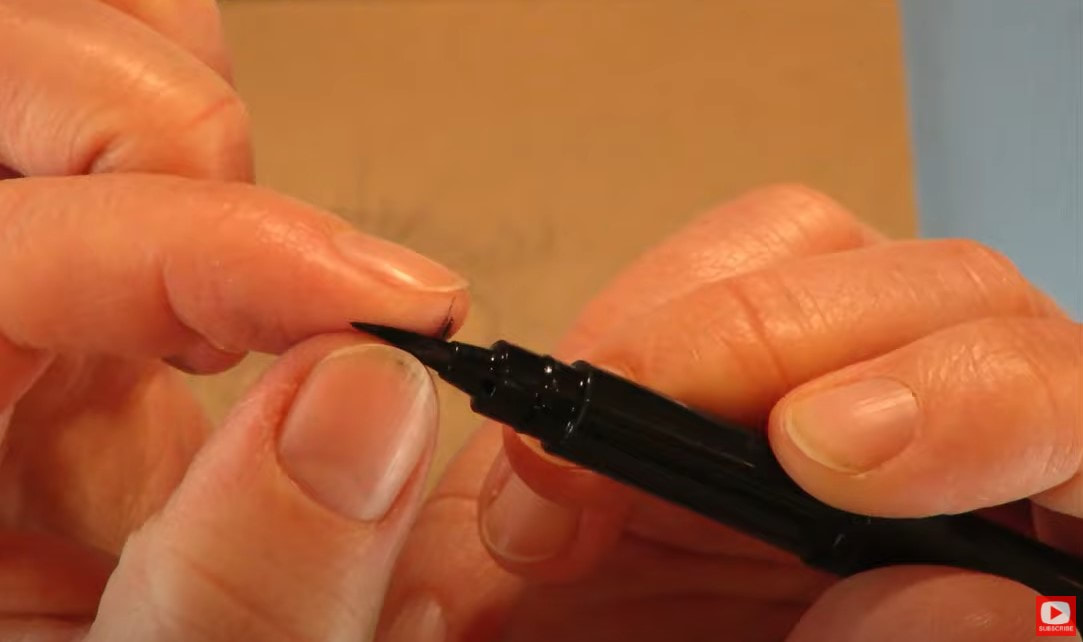
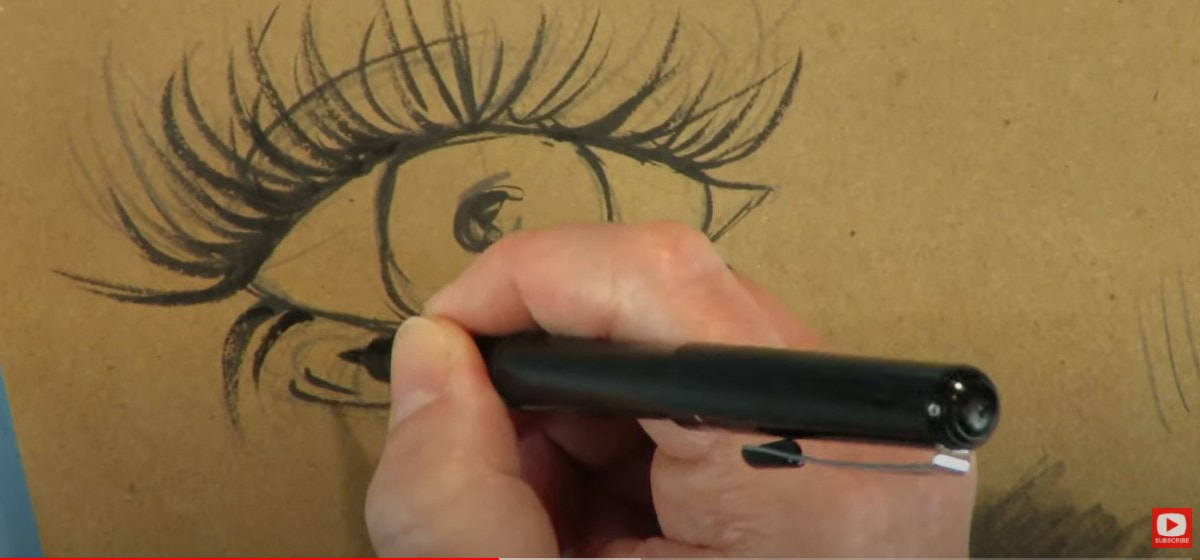
Don't Know How to Draw?
|
Karen CampbellFounder of Awesome Art School. Mixed Media Artist. Author of 19 Instructional Art Books! 
Whose work has appeared in...
   
 Archives
July 2024
Categories
All
|


 RSS Feed

"Karen is flipping hilarious and she's very real...I like the way she teaches in a way that really gives you confidence, whether you're a beginner or advanced there's always something new to learn!"
- Elizabeth W. |
What Fans Are SayingKaren, you are absolutely fabulous! You make me feel like I can draw anything. I have recently retired and finally have the time to do some of the art that I have loved since I was in school. I am really at the beginning of my art journey and I hope to learn as much as I can. Thank you for all you do. |
Contact ME |