
FUN & EASY Fairy Drawing Tutorial IN SCOTLAND with Karen Campbell & Lucy Brydon [#50FunFabFairies]8/7/2022
Lucy Brydon and I had the BEST time filming this EASY fairy drawing tutorial in Scotland together! While our art retreat guests at Wardhill Castle had some free time, we snuck off to draw this adorable fairy couple, inspired by Pascal Moguerou.
All you need to draw along with us is a sheet of paper, a pencil and eraser. We hope you enjoy lesson 5 of the #50FunFabFairies drawing challenge as much as we enjoyed making it for you! 
Want easy access to this and even MORE fairy drawing ideas? Join our FREE #50FunFabFairies drawing challenge over at Awesome Art School!
Simply click the button below to receive instant access to ALL the fairy reference images for each drawing prompt (including today's!), plus info on supplies, cheatsheets and more! 
Never drawn a fairy before? No problem. You'll learn how to draw a fairy step by step in each lesson of the challenge. All you have to do is watch and draw along!
Wanna become a better artist? Do today's lesson (and every lesson of the challenge) five times, making a few creative alterations of your choice, and watch your skills soar as you practice fairy eyes drawing, fairy ears drawing AND fairy hair drawing 50 different ways! 
Before we continue, super quick announcement: All product links are Affiliate. I may earn a small commission if you choose to order through these links but by law there is never any additional cost to the consumer for doing so. I thank you for your support.
Today, Lucy and I are drawing on cold press watercolor paper. If you haven't drawn on cold press paper before, it's got a lovely texture that actually makes blending for your shading SUPER easy!
We're keeping the rest of the supplies at bare minimum today with just a Blackwing pencil, mechanical pencil, blending stump and eraser. We did end up using my Tombow mono zero eraser, but you can totally do this project without it! 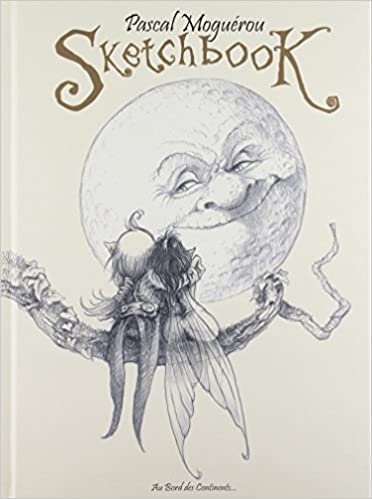
Our reference image today comes from the cover for Sketchbook by Pascal Moguerou (above). If you ever come across one of Pascal's books, we highly suggest you grab it because they are fantastic. At the moment this one's a bit pricey on Amazon, at $96. Check back later because you might find a better deal.
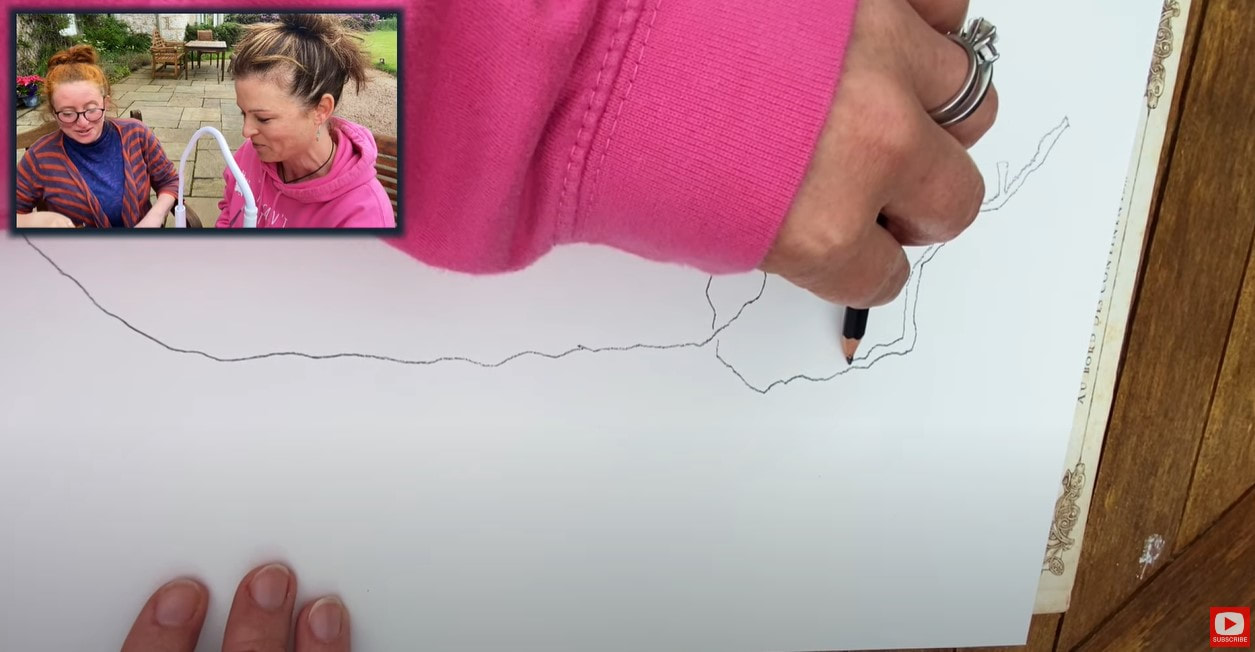
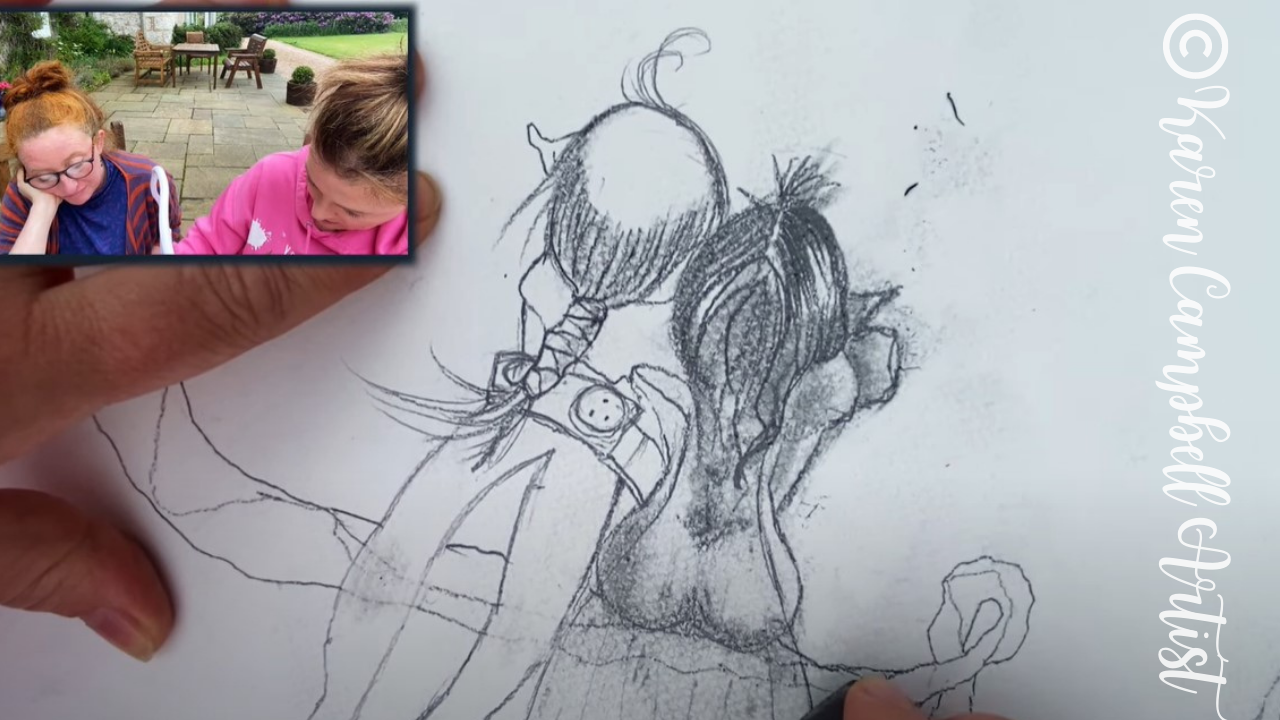
I love the look of Moguerou's style - especially in the branch these fairies are sitting on. It's got so much cute character! I decided to try using my non dominant hand (left) to replicate style of his scraggly tree branch and vines.
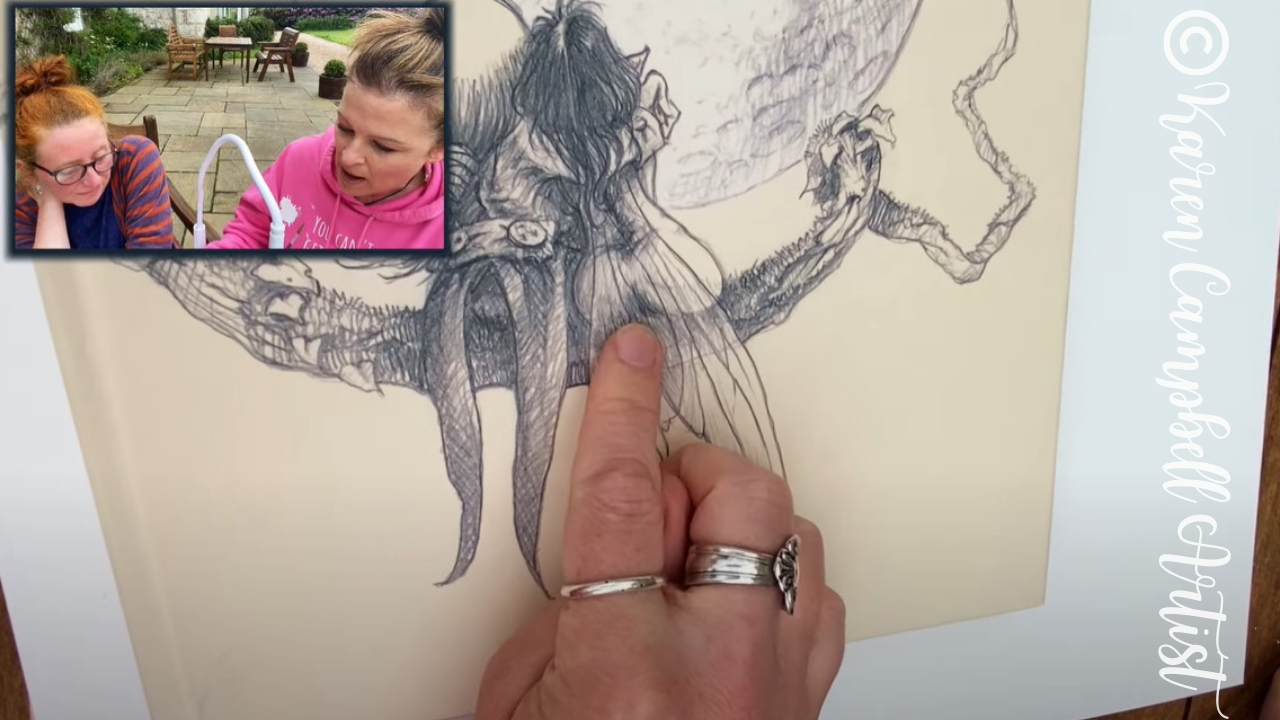
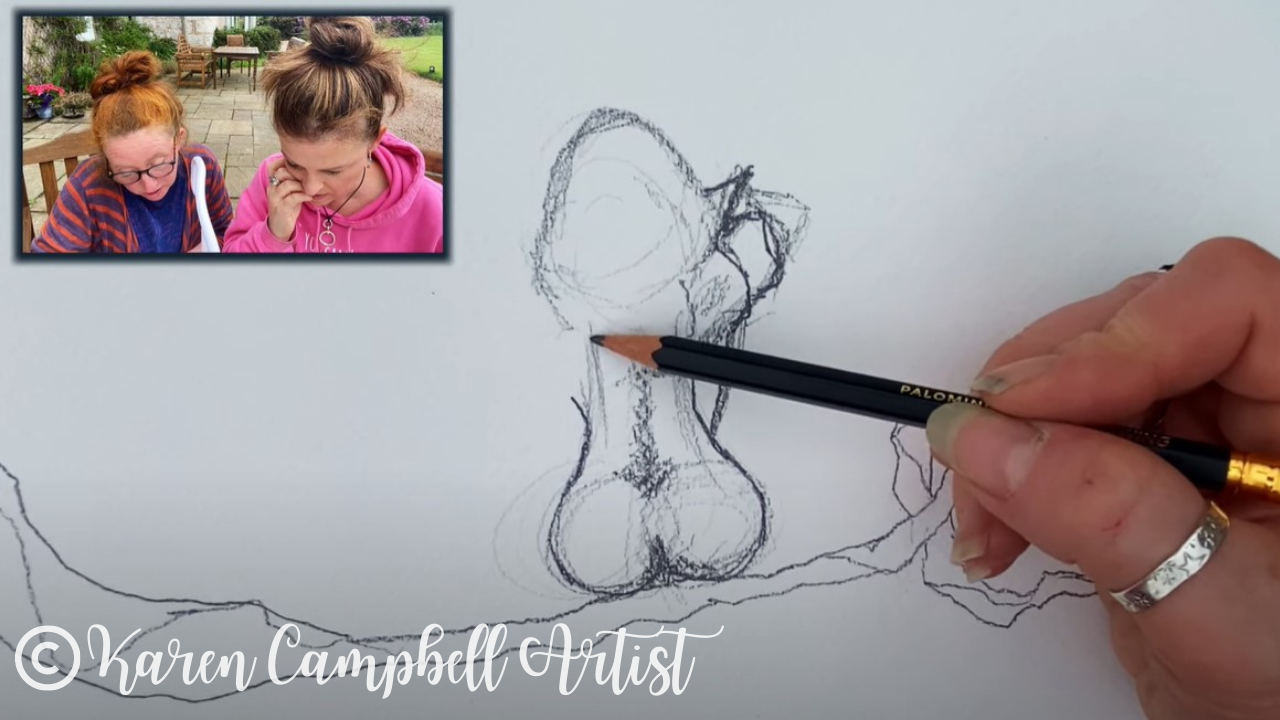
Lucy sketched in the girl fairy for us on the right side of our drawing using the Blackwing pencil. In case you haven't used a Blackwing before, it's so soft that the lines you draw with it can come out quite dark and thick. I love bold strokes like this, but if you have some finer detail to add to your drawing, you might prefer using a mechanical pencil.
The shading in our reference photo appears to come through the most in the fairy wings just at the tips and tops of the wings. It reminds me of how I often shade hair - leaving a swath in the middle as the white of the paper.
If you're not sure how to draw fairy wings, make sure to watch this video because Lucy did a beautiful job. She switched to a mechanical pencil for the fairy wings in this drawing because these lines are more delicate. It's just adorable. 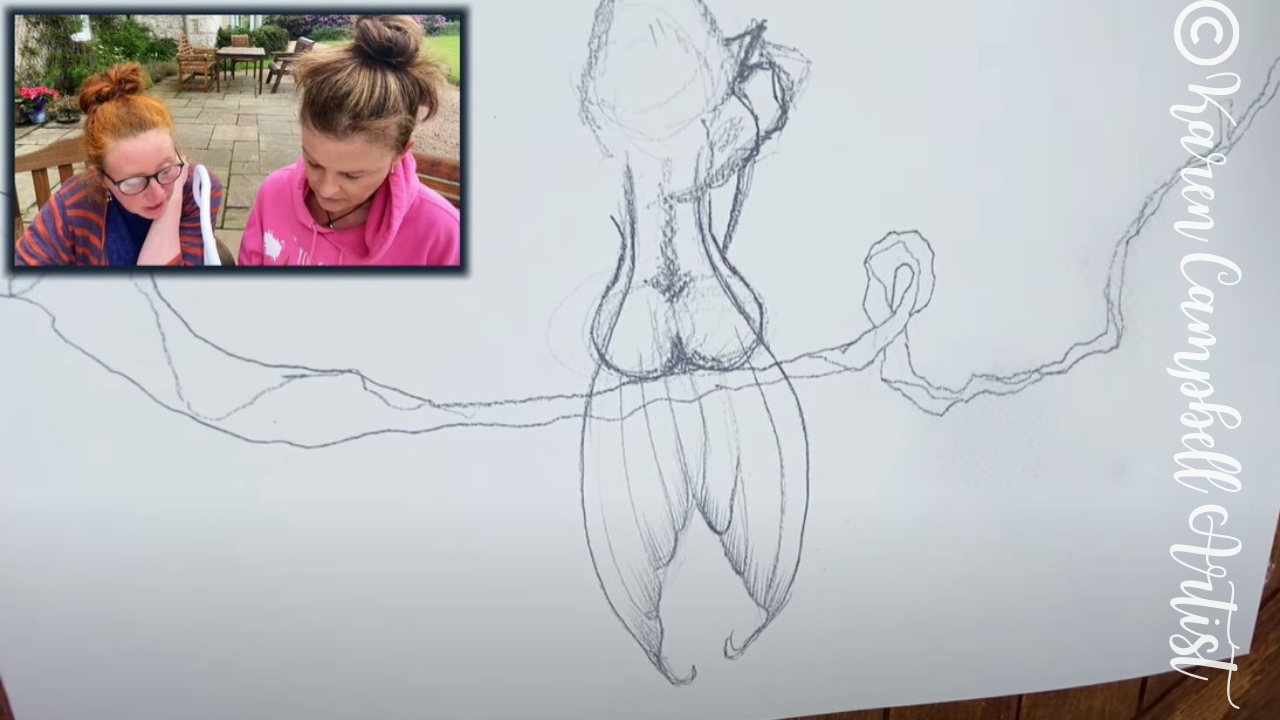
The shading in this piece came together quickly with only a blending stump! Remember, the dirtier, the better with a blending stump! If you don't have one at home- simply use a q-tip, a kleenex over your pointy finger, or just your finger.
We did pull out my Tombow mono zero eraser to carve some highlights back into the shading where it got a little too dark. If you've never tried this eraser before it's amazing at making highlights in your pencil drawings, and really not that expensive at ~$6 on Amazon. To cover larger areas with an eraser, I prefer my Vanish eraser. 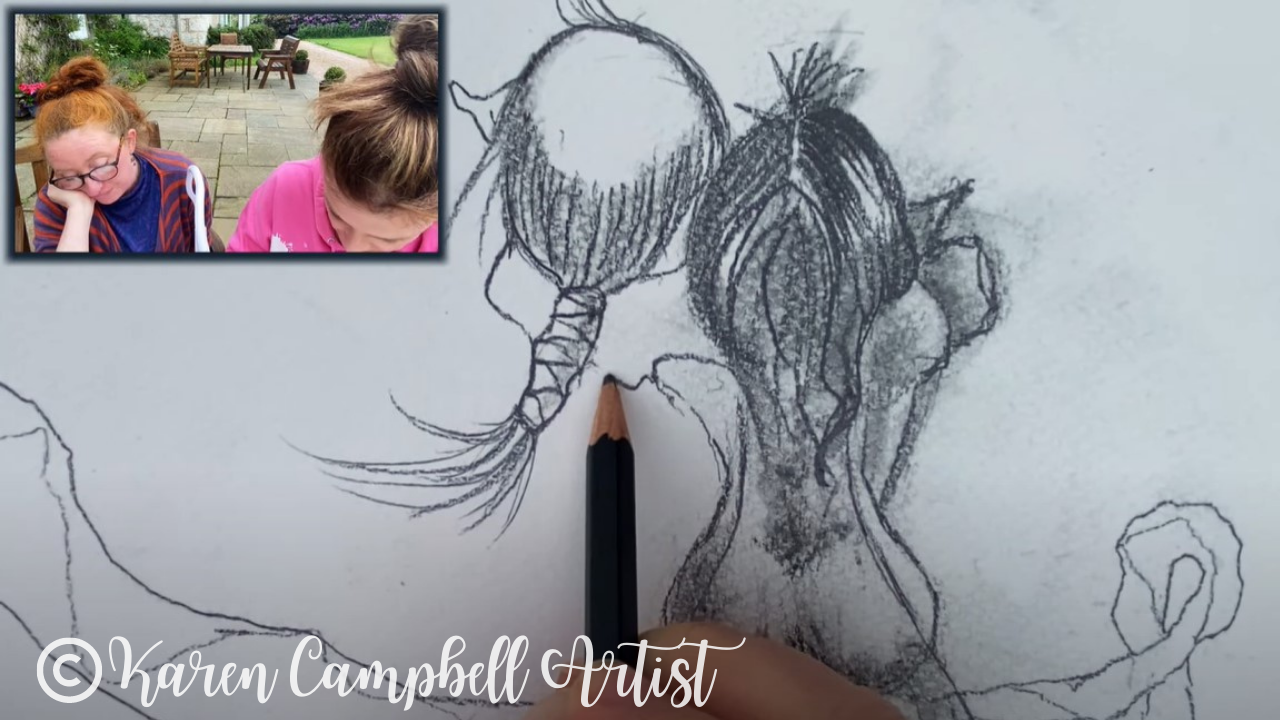
For the man fairy that I drew, I mostly used my blackwing pencil and blending stump. His little belt is SO cute!!
During the filming of this fairy drawing tutorial we were outside and it started to drizzle (as it does in Scotland!), plus Lucy and I were seated closely with one another for filming, so we were working in a tight space.
If your hand drags through the graphite you've already drawn in - as mine did, don't sweat it. When you get to the end of your drawing, go back and erase out the areas you had intended to be white or whiter than they currently are. Then sharpen your lines using a mechanical pencil. 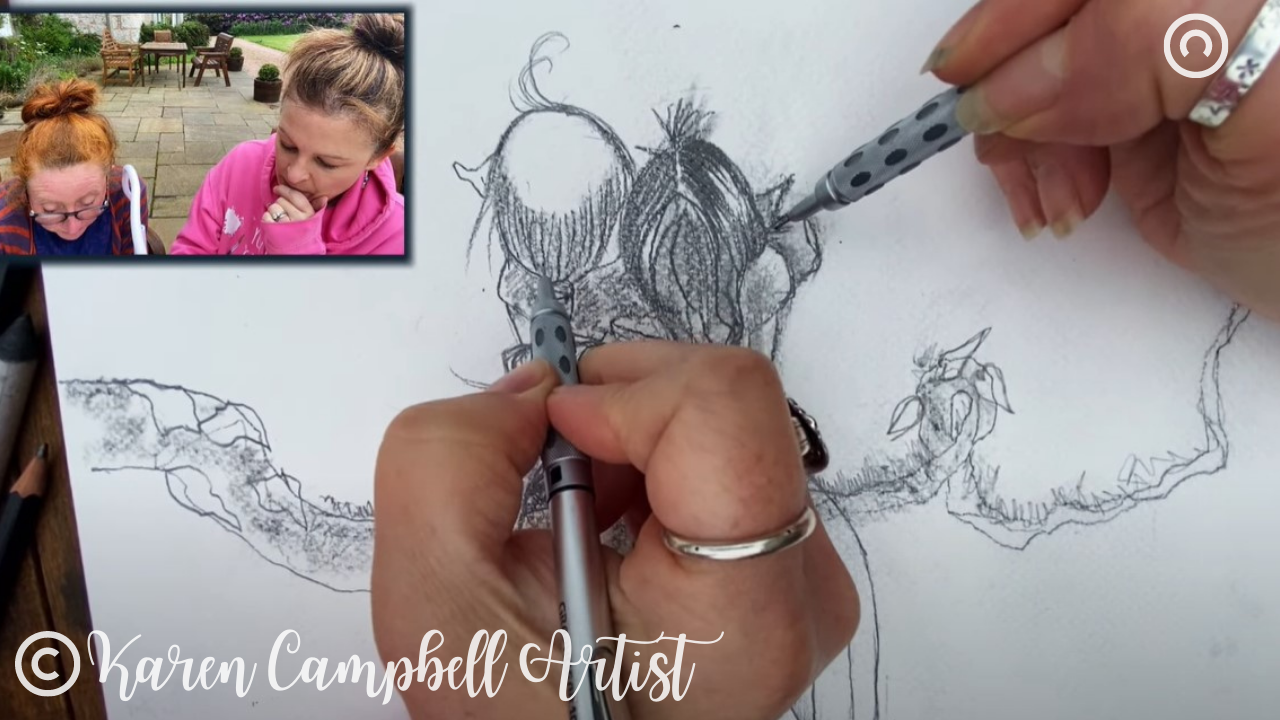
I just love this pic above of our hands working together on the same cute drawing!! What a fun memory.
Press play on the lesson below to draw along with us in real time and see all the little tips and tricks we mentioned to you here, in action! Plus... you'll get a sneak peek at the front door of Wardhill Castle in Scotland :)
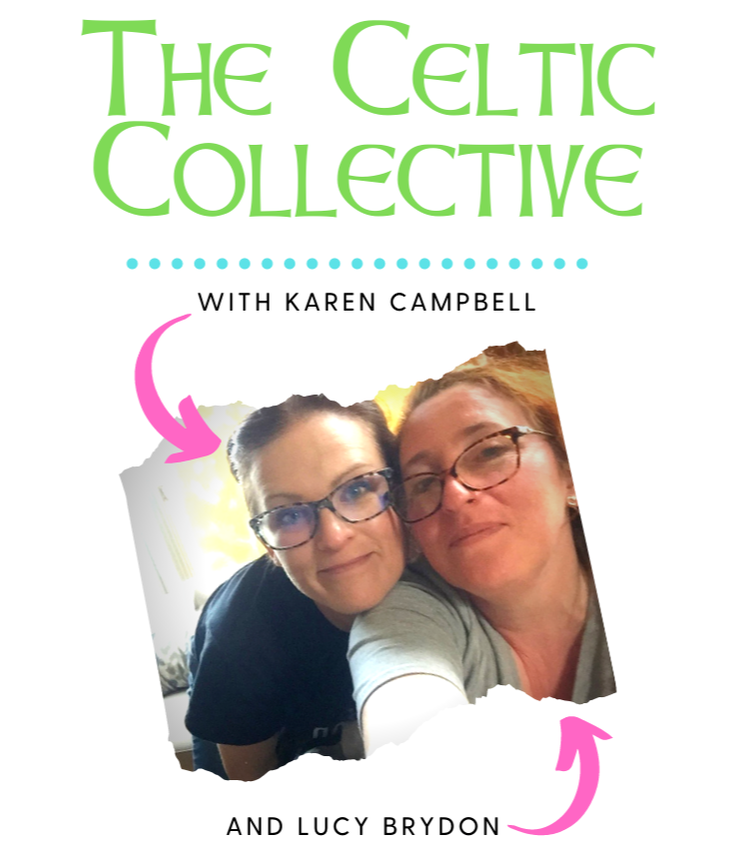
If you're OBSESSED with fairies and fantasy art like Lucy and I are, you might just LOVE the Celtic Collective over at Awesome Art School. It's an art membership that we run together!
You might ALSO enjoy our podcast, 1Scot,1 Not. We talk about everything under the sun to do with Scotland - whether it's historical, fantasy, whatever. Just a quick warning - we have a blast and are totally ourselves on the podcast, which means there is some drinking and swearing.
❤️ CHECK OUT ALL my art books on AMAZON ❤️ MY FAVORITE ART SUPPLIES on AMAZON ❤️ MY BELOVED FACEBOOK GROUP ❤️ FOLLOW ME ON INSTAGRAM
0 Comments
Wanna create a BEAUTIFUL, EASY fairy drawing you can be proud of - even if you've never drawn before? You're in the right place!
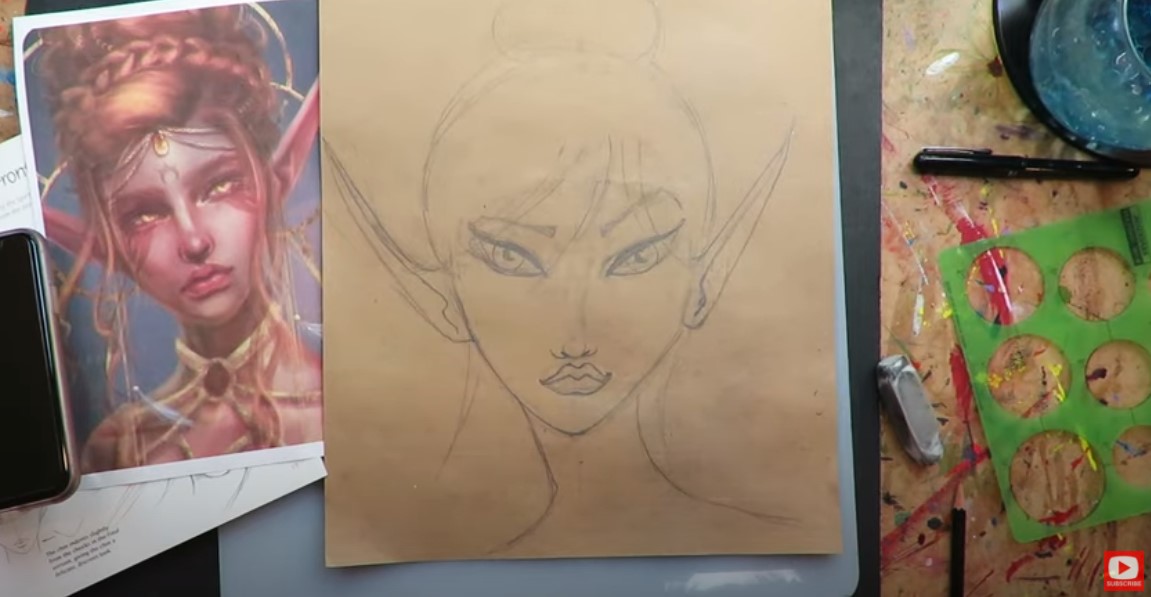
Today I'm kicking off my FREE #50FunFabFairies drawing challenge and teaching YOU how to draw a beautiful fairy face, step by step on toned paper. 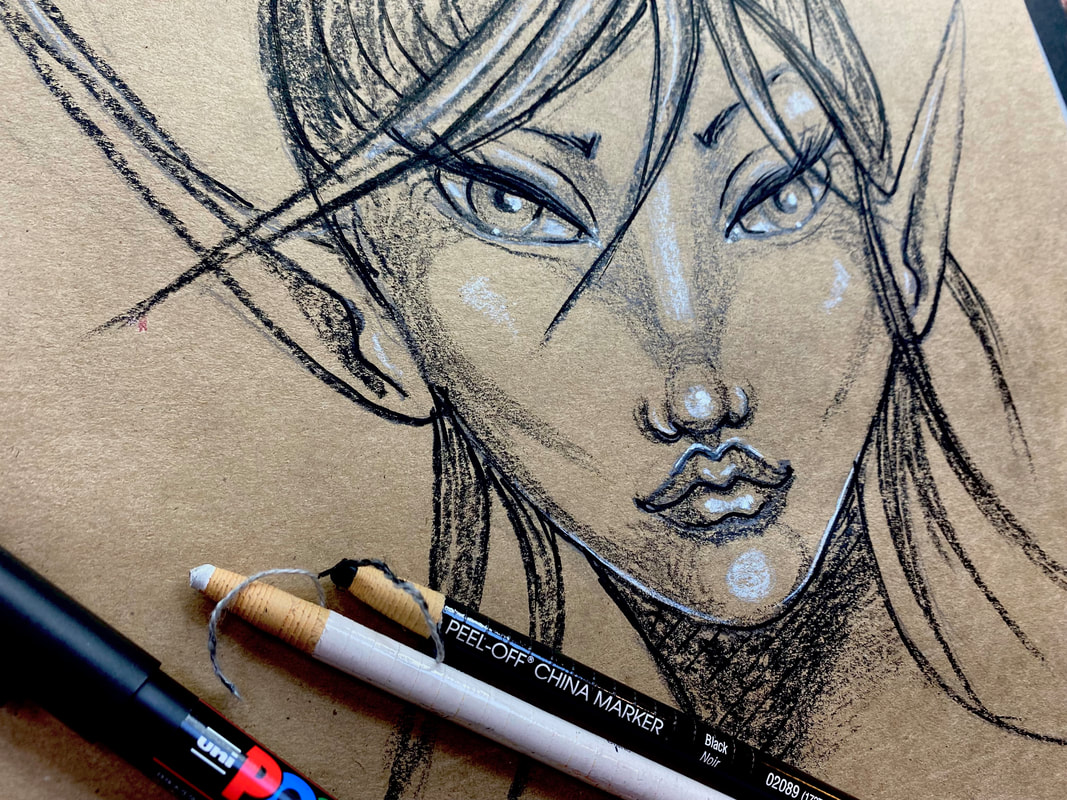
Never drawn a face before? No problem. Never drawn on toned paper before? It's EASIER than drawing on white paper! Don't have any fancy drawing supplies? Upcycle the back of a paper grocery bag into tan toned paper, and grab 2 colored pencils or crayons (black & white).
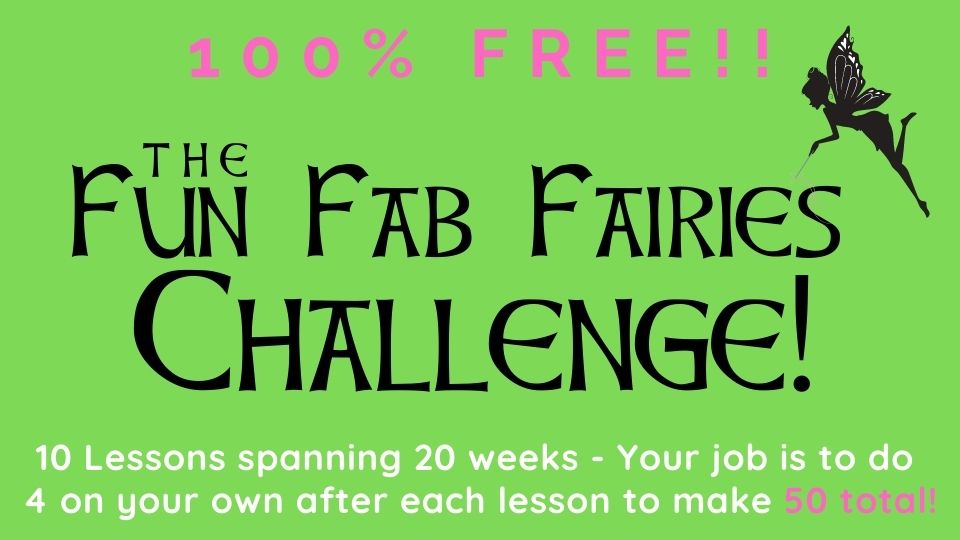
Simply click the button below to join me in my FREE 10-lesson, 20-week fairy drawing challenge for artists of ALL levels. The amazing classroom I have waiting for you includes expanded information and resources with full-length lessons not available on YouTube. 
Wanna become a better artist? Do today's lesson (and every future lesson of the challenge) 5 times, making a few creative alterations of your choice, and watch your skills soar as you practice fairy eyes drawing, fairy ears drawing AND fairy hair drawing 50 different ways!
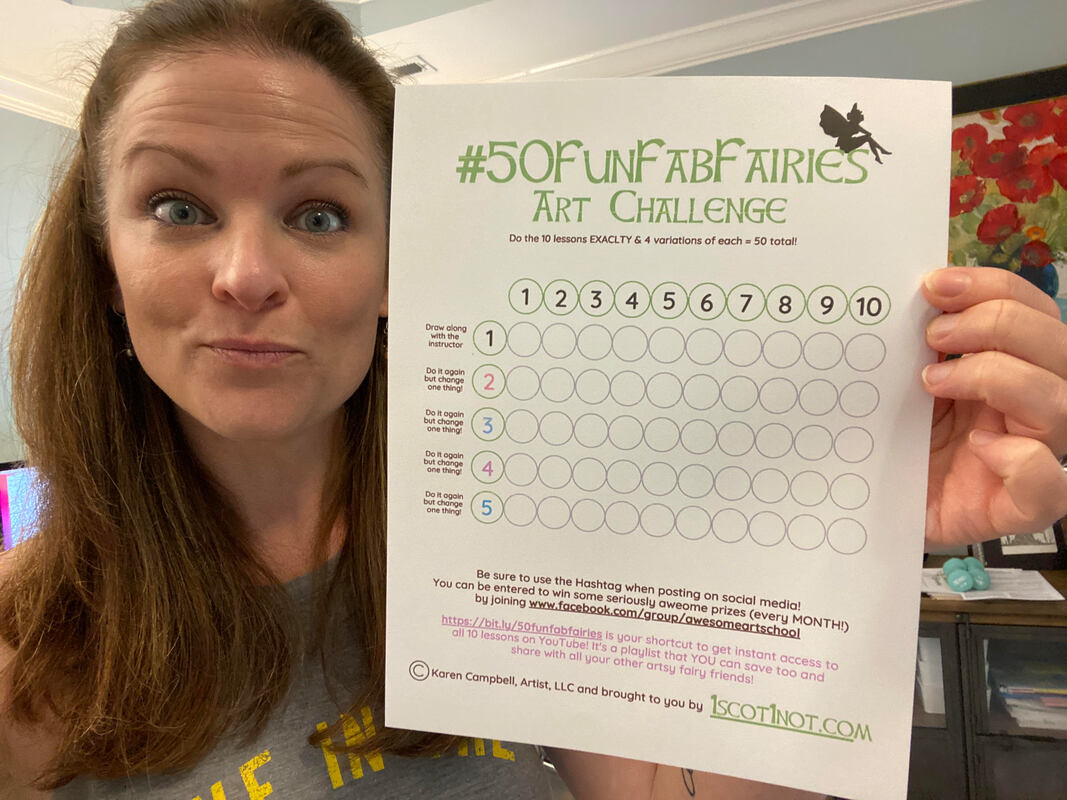
When you join the classroom link above, you'll get access to the above PDF of a score card to help you track your fairy drawing progress in the challenge!
Before we continue, super quick announcement: All product links are Affiliate. I may earn a small commission if you choose to order through these links but by law there is never any additional cost to the consumer for doing so. I thank you for your support.
I always have a blast bringing new and returning artists into our Awesome Art School community to jumpstart their creativity through a drawing challenge. AND, since one of my total obsessions is fairies and fantasy art - this is going to be super FUN for all of us.
To complete today's lesson in the #50FunFabFairies drawing challenge, you'll need a piece of tan toned paper (or the back of a grocery bag- even a piece of printer or notebook paper is fine!), plus a black China Marker and white China Marker. If you don't have China Markers - don't sweat it, just use black and white colored pencils or crayons. You could also totally do this entire drawing on scrap paper with a pen or pencil. The main thing is that YOU DRAW - not stress over the supplies! 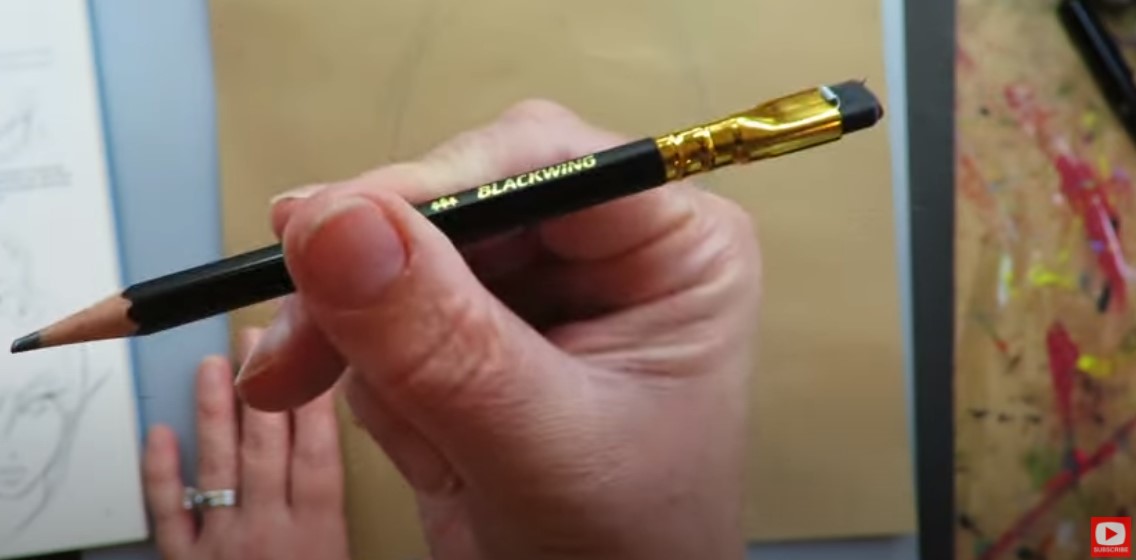
To initially sketch a fairy face, I grabbed my favorite Blackwing pencil. If you're interested in purchasing special drawing pencils, these are to die for. One pencil basically replaces an entire pencil set and can give you so many values when shading a face or any object you love to draw.
They are expensive though, so if you're on a budget - just use whatever pencil you have on hand! 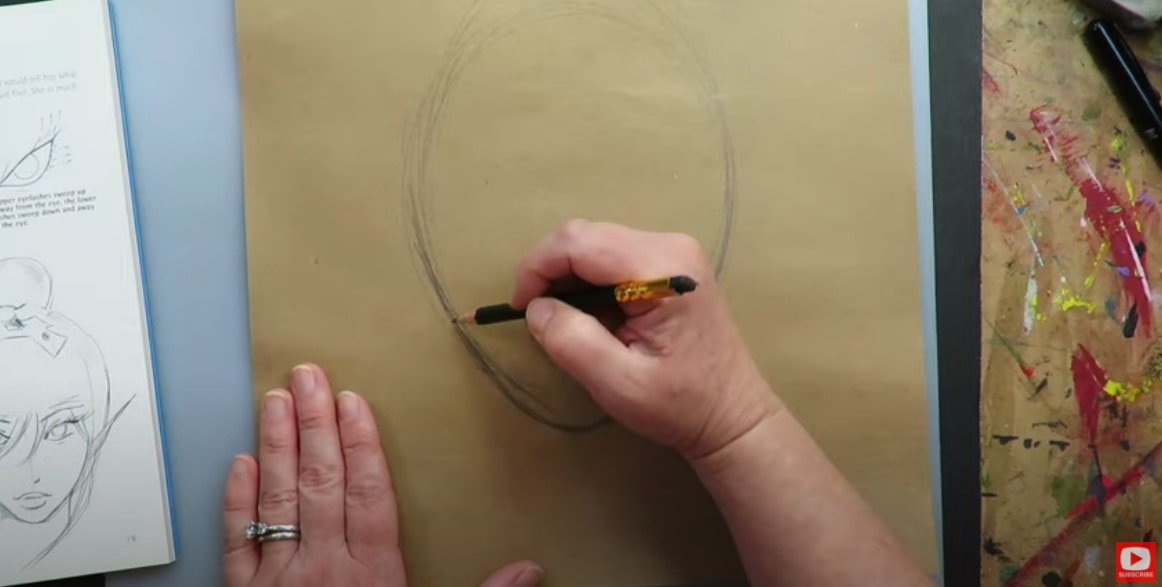
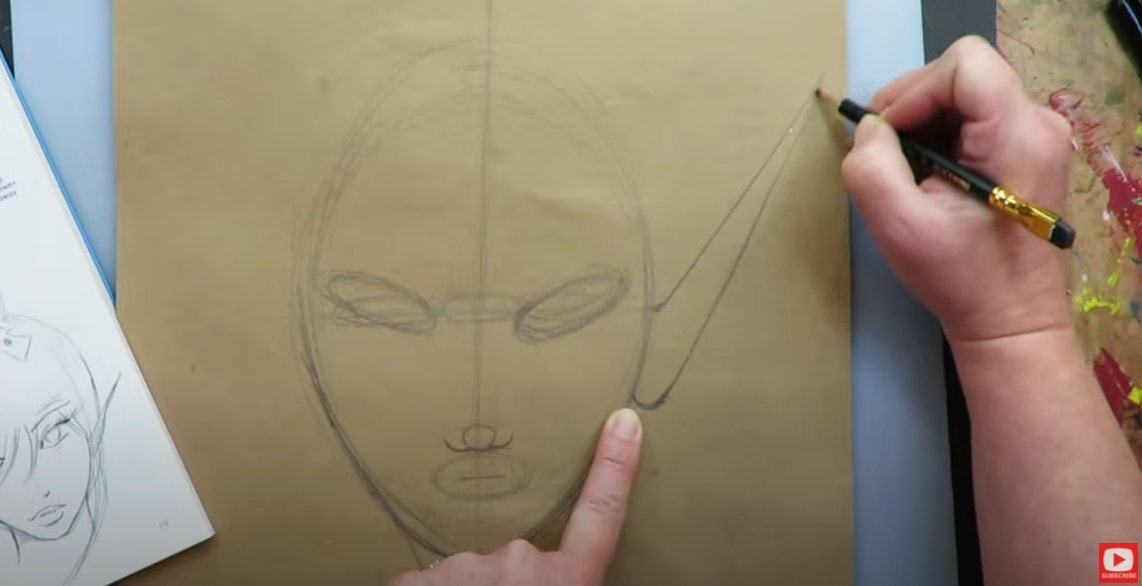
I begin this drawing like all my semi-realistc face drawings -with my whimsical face drawing guidelines. These are SO important to keep your faces looking proportional!
If you need a copy of my face drawing guidelines - the PDF is available to you for free in the #50FunFabFairies Challenge Classroom over at Awesome Art School. 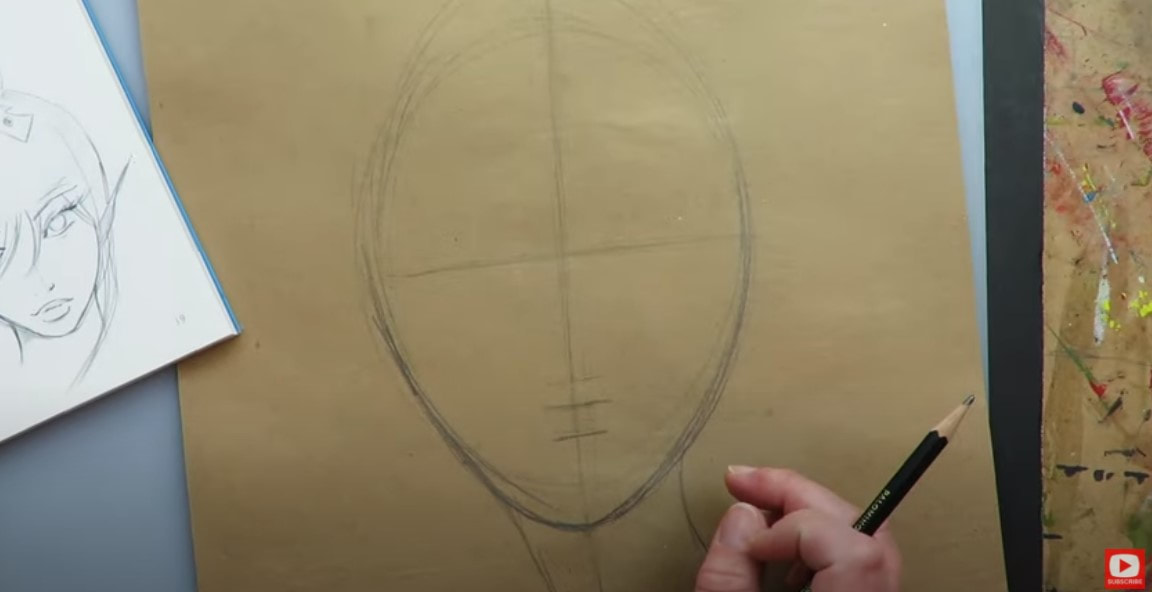
After your guidelines are marked, it's time to start placing your fairy's facial features.
I LOVE working with photos of faces for drawing reference. Sometimes I look at pictures of real people, sometimes I look at other artists' drawings, art books, you name it! When I look at these face drawing references, I zero in on things like unique facial features, face shading patterns, hairstyles, accessories, etc. I use those pieces of information as "thought starters" to get me thinking in a different way visually. I never want to steal another artist's work and am a huge stickler on crediting the artists who inspire me. 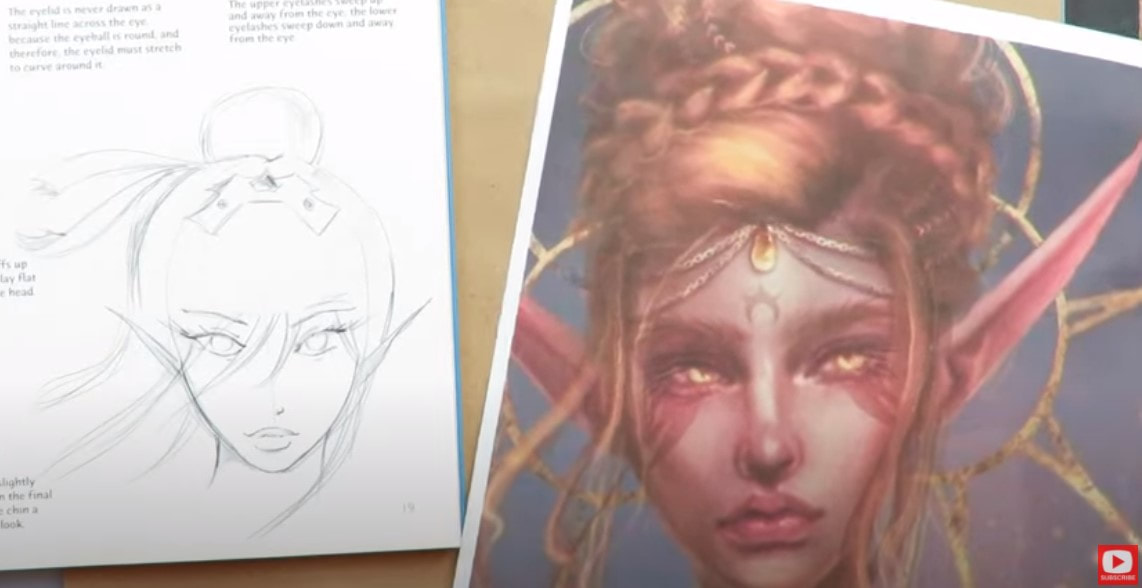
The fairy drawing images I've selected to use as inspiration for today come from the guidance in one of Christopher Hart's books. I LOVE his interpretations of fairies and fanciful creatures!
The other fairy drawing reference is a piece of digital art I found on Pinterest with no artist's name attached. I'm using elements from both images to inspire me for today's lesson. 
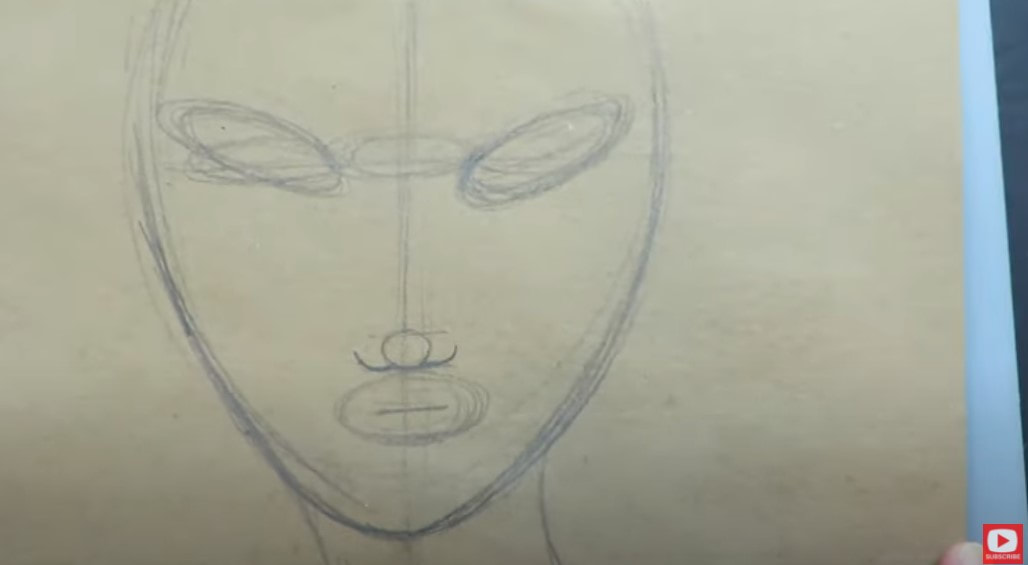
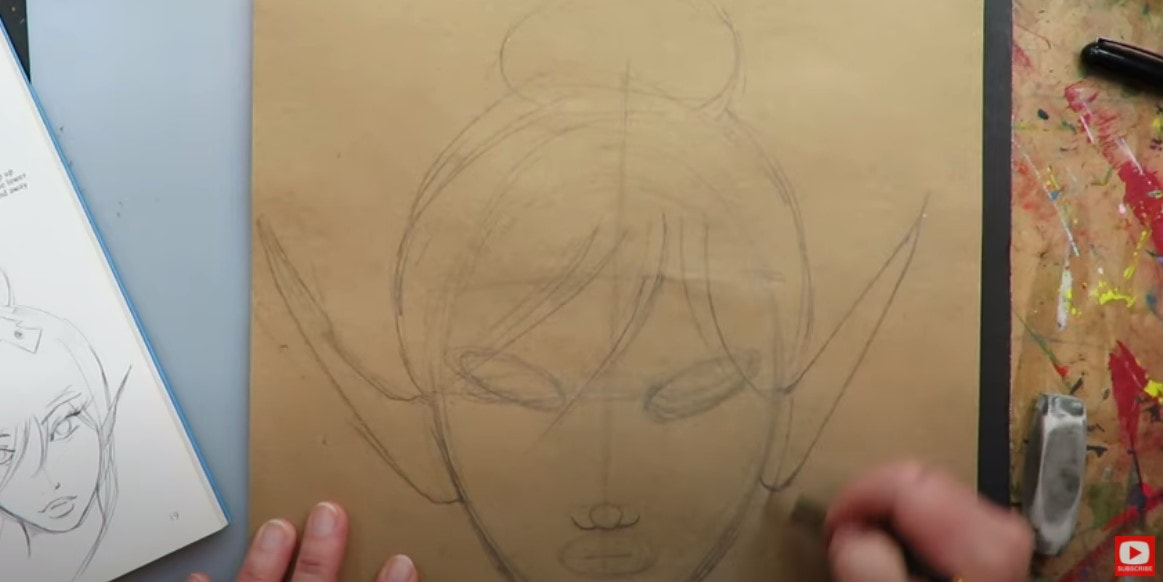
The eyes on Christopher Hart's fairy are especially interesting and what drew me to this face drawing reference photo in the first place. Once these are sketched in - you should have something in front of you that looks like an alien! If you do- you're doing amazing!!
Lots of students have asked me how to draw fairy ears. They're really quite simple. If you click over to the video to see this example of fairy ears drawing in action, it will really help you along.
Next up... hair! If you're not sure how to draw hair, I've got you, and break this down step by step for you as well. I'm using Christopher Hart's drawing as a guide to create some wispy bangs and a simple, sketchy bun piled on top with flyaways. SO cute!!
Next it's time to get some detail added in the upturned eyes we started. Again, if you don't know how to draw eyes, this project is TOTALLY for beginners, and I'm holding your hand the entire way in this fairy drawing video.
I am all about using a circle template for the irises and pupils. Of course we could spend time working on drawing perfect circles, but I've got WAY better things to do, and I'm sure you do too!
Use a template, and let's move on to the next step. Look at what a difference the eyes make, huh? Now she's comin' to life! 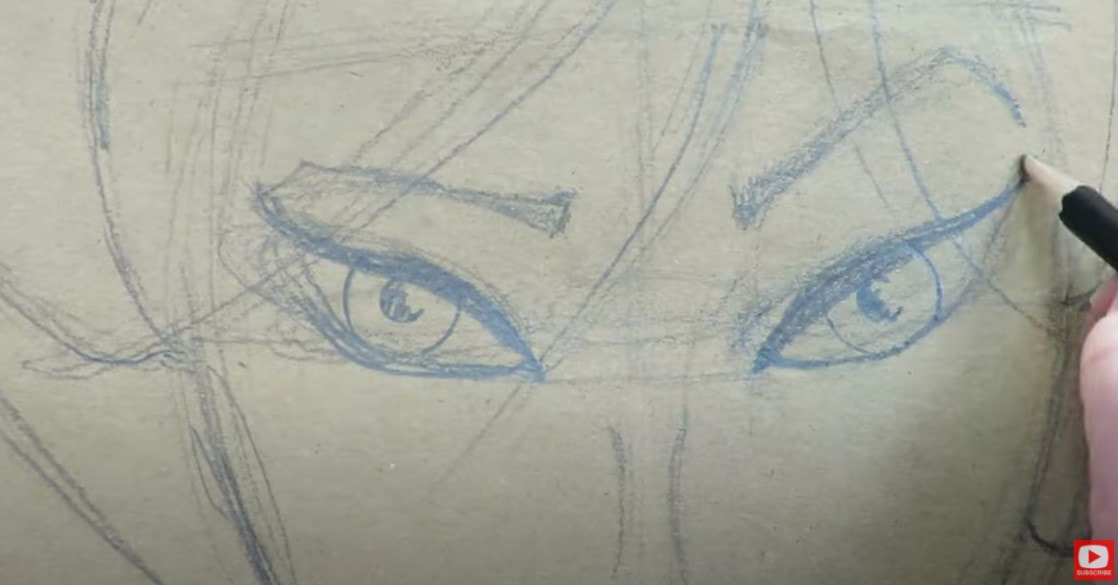
I'm keeping the nose super simple for this girlie today, and am only adding a squished oval on each side for notstrils. I also sketched in a bridge line for the nose as well, but only lightly because that will be part of our face shading when it's time.
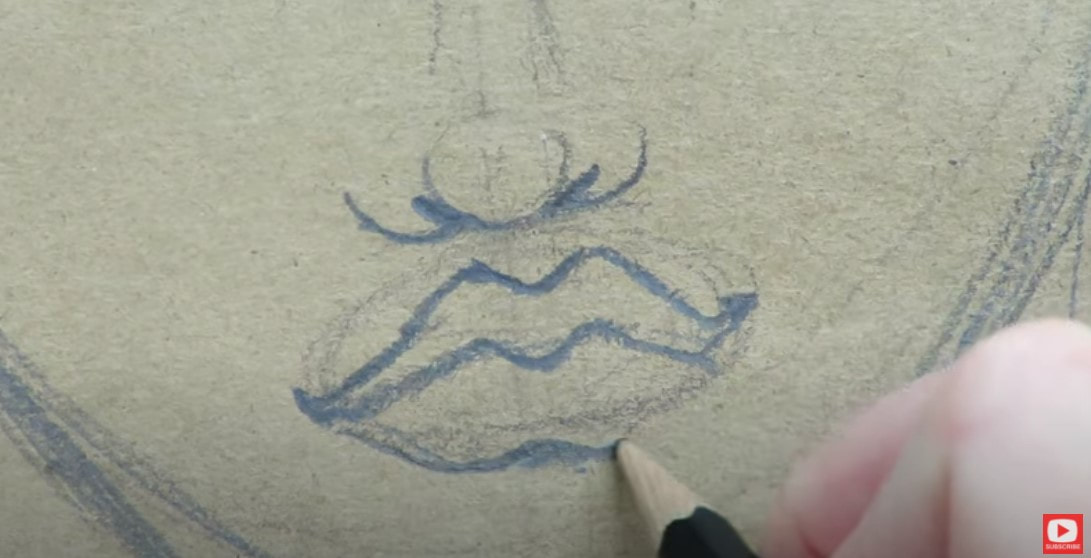
The lips in the Pinterest fairy drawing reference are just luscious! It's a super pouty, sexy look that I love - so took a little inspiration from that to create my own.
Next, it's time to fine tune everything and start erasing all the sketchy guidelines so we can add some shading and dimension to this fairy face. If you don't have a favorite eraser, mine is in the pic above, off to the right. It's called the vanish eraser, and I just LOVE it.
If you've never worked with toned paper before, the coolest thing about it is we only have to add the really dark parts and the really light parts of the value scale, because the paper itself already gives us the midtone we need! That means less face shading for us, and the sketch takes much less time to complete. Cool, right? In a lot of ways, shading on toned paper is actually easier than shading on white paper. If you're new to working with toned paper, and want to learn more about the value scale, check out this playlist on YouTube. 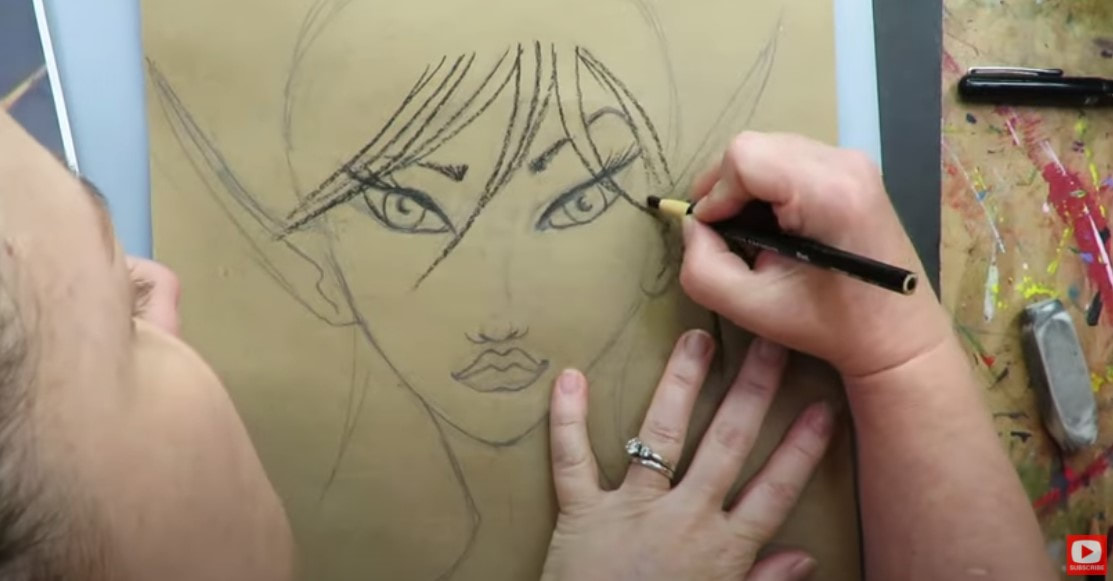
I started with my black china marker to basically outline the entire drawing. Then I add some scribble scrabble shading in areas where I want there to be shadows. If you need help with learning how to shade a face - don't worry, simply follow me in today's drawing tutorial. It's all SUPER step by step and easy to follow.
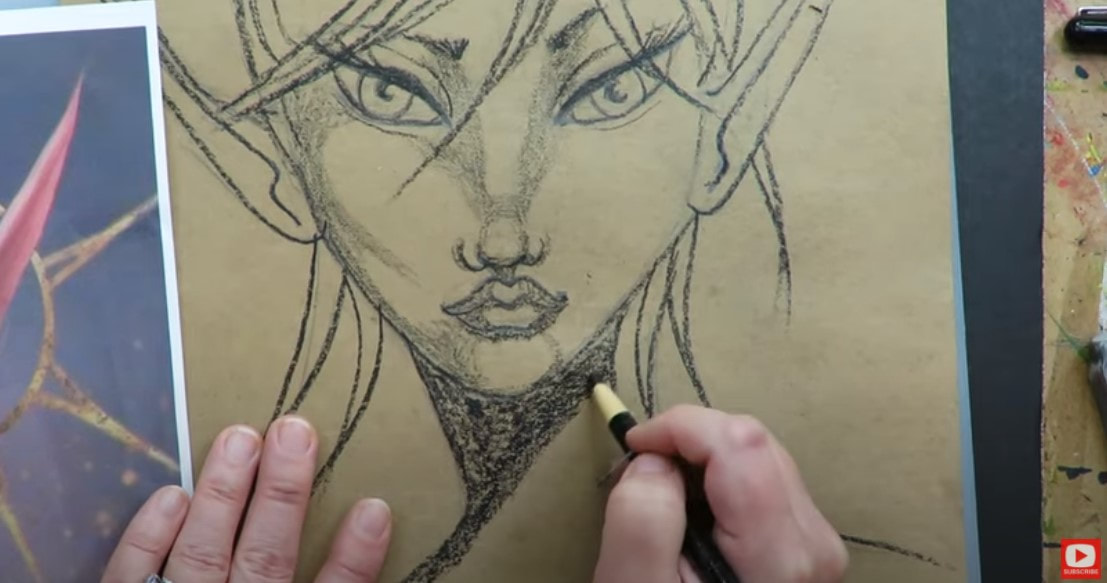
Simple right? I TOLD you this was gonna be an EASY fairy drawing that anyone could do!!
Adding white highlights at the end of a drawing project is probably my favorite part! Again, no need to know where these highlights are supposed to go. Just follow me, and we'll do it together. 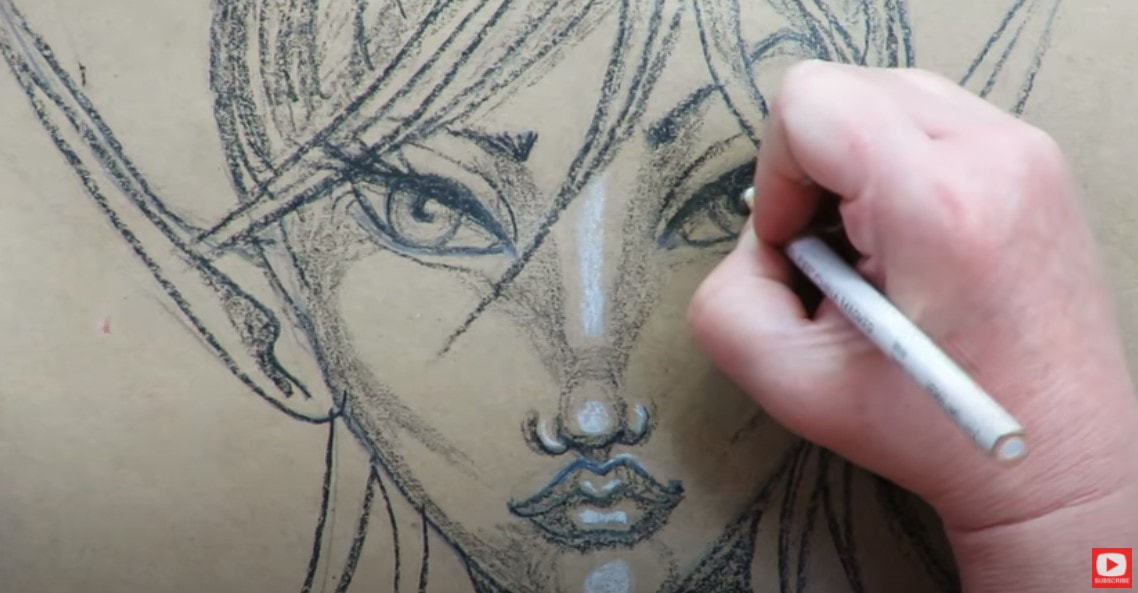
If you love a little extra drama like me, grab some black and white paint pens, and I'll show you which areas to hit to really make things pop.
Thanks for hanging out with me today!! I REALLY hope you are drawing along with me and plan to participate in this fairy drawing challenge. We're going to have SO much fun together!
If you're OBSESSED with fairies and fantasy art like me, you might just LOVE the Celtic Collective over at Awesome Art School. It's an art membership my Scottish bestie, Lucy Brydon, and I run together! You might ALSO enjoy our podcast, 1Scot,1 Not. We talk about everything under the sun to do with Scotland - whether it's historical, fantasy, whatever. Just a quick warning - we have a blast and are totally ourselves on the podcast, which means there is some drinking and swearing. ❤️ CHECK OUT ALL my art books on AMAZON ❤️ MY FAVORITE ART SUPPLIES on AMAZON ❤️ MY BELOVED FACEBOOK GROUP ❤️ FOLLOW ME ON INSTAGRAM
I LOVE drawing fairies as much as I LOVE listening to stories about REAL fairies and teaching my students about drawing & shading faces! I've put together a 5-day fairy drawing workshop called Fun Fab Fairies and will be teaching you how to complete THREE easy drawings of fairies. You'll learn how to draw a fairy sitting on a mushroom, how to draw fairy wings, how to draw a fairy face + how to shade a fairy face, and exactly what you need to do to turn these pencil drawings into your very own masterpieces!!
I LIVE for teaching people how to draw faces and can't wait to do this with you!
The LIVE festivities for How to Draw FUN, FAB FAIRIES kick off on Monday, April 26th. On days 1-3 will be a learning how to draw a mushroom, fairy with wings, grasshopper, grass - all from scratch! Then I'll teach you how to shade and color it in. 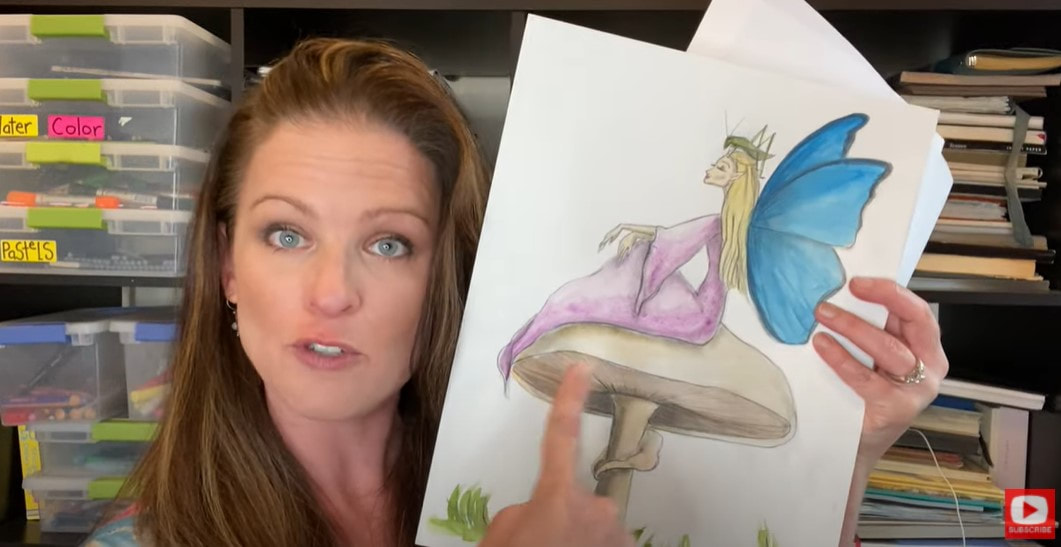
On day 4 - I'm gonna teach you how to draw and shade a fairy face in pencil in my "Fub Fab" style - also from scratch! We'll be working in pencil, I'll teach you about the value scale and how to use this when you're shading faces so your drawings will POP and look more realistic.
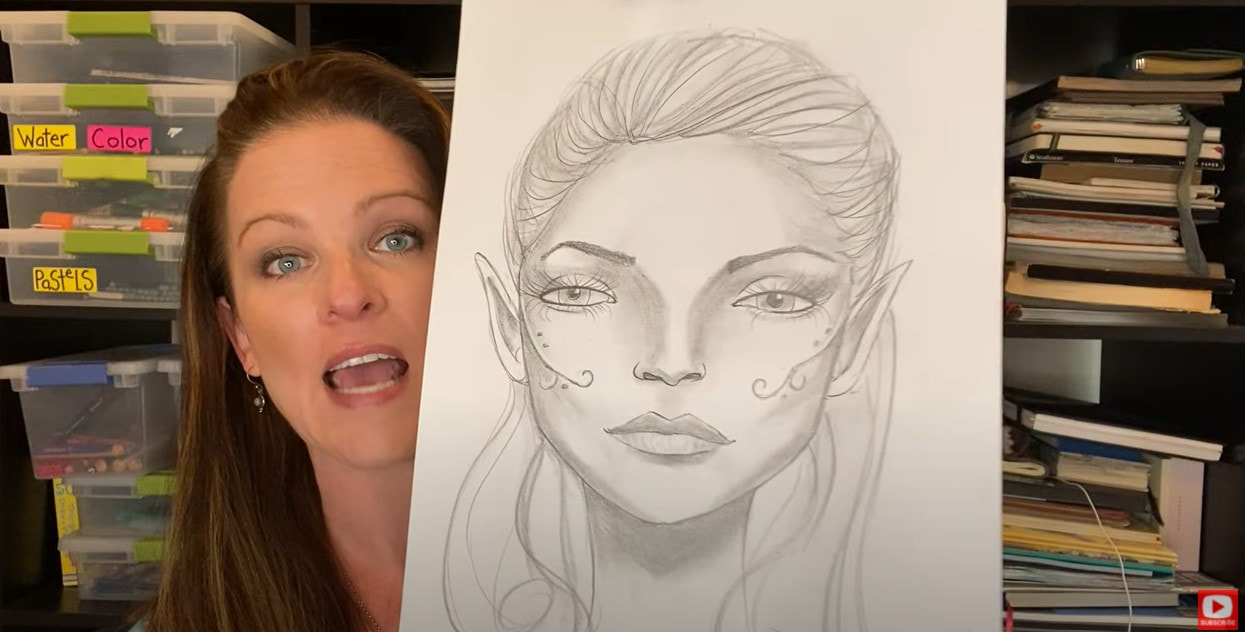
On day 5 I'm going to teach you how to draw and color in the fairy face from day 4 using alcohol markers!
Never used alcohol markers for shading a face (or anything) before? Don't worry- I've got TONS of resources for you. This FREE 12-page eBook I created about how to shade with skin tone markers (and how to CHOOSE which marker shades go best together!!) will be your NEW BEST FRIEND!! 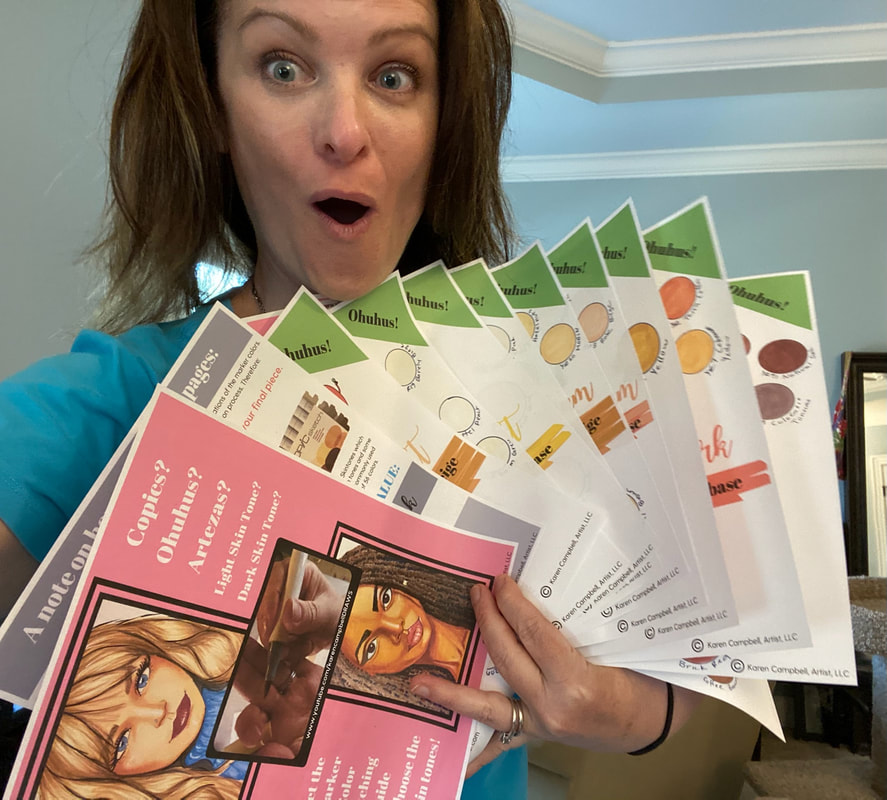
Simply click the button below, and I'll send this FREE 12-page PDF straight to your inbox.

I tell you EXACTLY which marker shades go best together to shade light, medium and dark skin tones using alcohol markers by Copic, Ohuhu and Arteza so you can choose which brand is best for you and your budget! If you're interested in learning how to draw FUN FAB FAIRIES with me, make sure you sign up before April 26th, because the price to participate is jumping from $10 to $47!! CLICK HERE to SIGN UP for the FAIRY DRAWING WORKSHOP 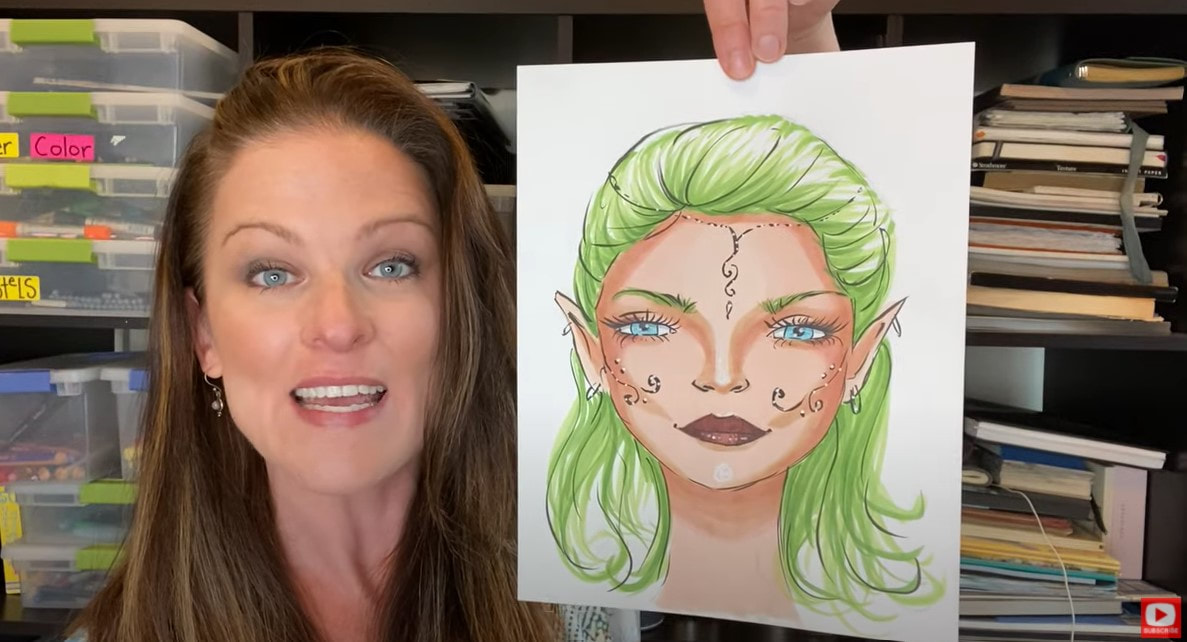
Cost for all 5 days of this workshop (including the Facebook LIVES with daily giveaways) is $10. But make sure you sign up NOW because the cost is going up to $47 to join on Monday, April 26th.
Everything for the workshop is included from added PDF resources and links to supplies, to all the prerecorded content. AND it's ALL YOURS TO KEEP, download and rewatch forever! CLICK HERE to SIGN UP for the FAIRY DRAWING WORKSHOP Even though the workshop has LIVE festivities beginning on April 26th, there is no pressure to complete the workshop lessons on a time schedule. You are welcome to play at your own pace.
I hope you join me for FUN, FAB FAIRIES!!
Need info about other stuff?? Here ya go!! ❤️Did you know I've started a FUN new podcast with my Scottish, artsy bestie, Lucy, ALL ABOUT SCOTLAND & the mythical goodness I can't get enough of about this magical place?! YES - we talk about everything including ARE Fairies Real?! (You know I think they are!!) The podcast is called 1 Scot, 1 Not! Check us out on YouTube and here's our podcast website! ❤️Want FREE, immediate access to my Fun Fab Drawing Club and/or Mixed Media Society plus discounts on all my art books, sneak peek at YouTube videos and new book content, behind-the-scenes fun and MORE? Join me over on Patreon today and get HUGE PERKS in return for a small monthly donation. ❤️ CHECK OUT ALL my art books on AMAZON (available in both Kindle and Paperback) ❤️ SIGNED COPIES of my art books on ETSY ❤️ MY FAVORITE ART SUPPLIES on AMAZON ❤️ MY BELOVED FACEBOOK GROUP ❤️ FOLLOW ME ON INSTAGRAM ❤️ FOLLOW ME ON FACEBOOK |
Karen CampbellFounder of Awesome Art School. Mixed Media Artist. Author of 19 Instructional Art Books! 
Whose work has appeared in...
   
 Archives
July 2024
Categories
All
|
 RSS Feed

"Karen is flipping hilarious and she's very real...I like the way she teaches in a way that really gives you confidence, whether you're a beginner or advanced there's always something new to learn!"
- Elizabeth W. |
What Fans Are SayingKaren, you are absolutely fabulous! You make me feel like I can draw anything. I have recently retired and finally have the time to do some of the art that I have loved since I was in school. I am really at the beginning of my art journey and I hope to learn as much as I can. Thank you for all you do. |
Contact ME |