blog
Let's Get Your Creative Juices Flowing!!!
Why Cheap Alcohol Markers are AWESOME **PLUS** 11 HOT Marker TIPS! (FaceChart Inspired Art No. 4)30/11/2022
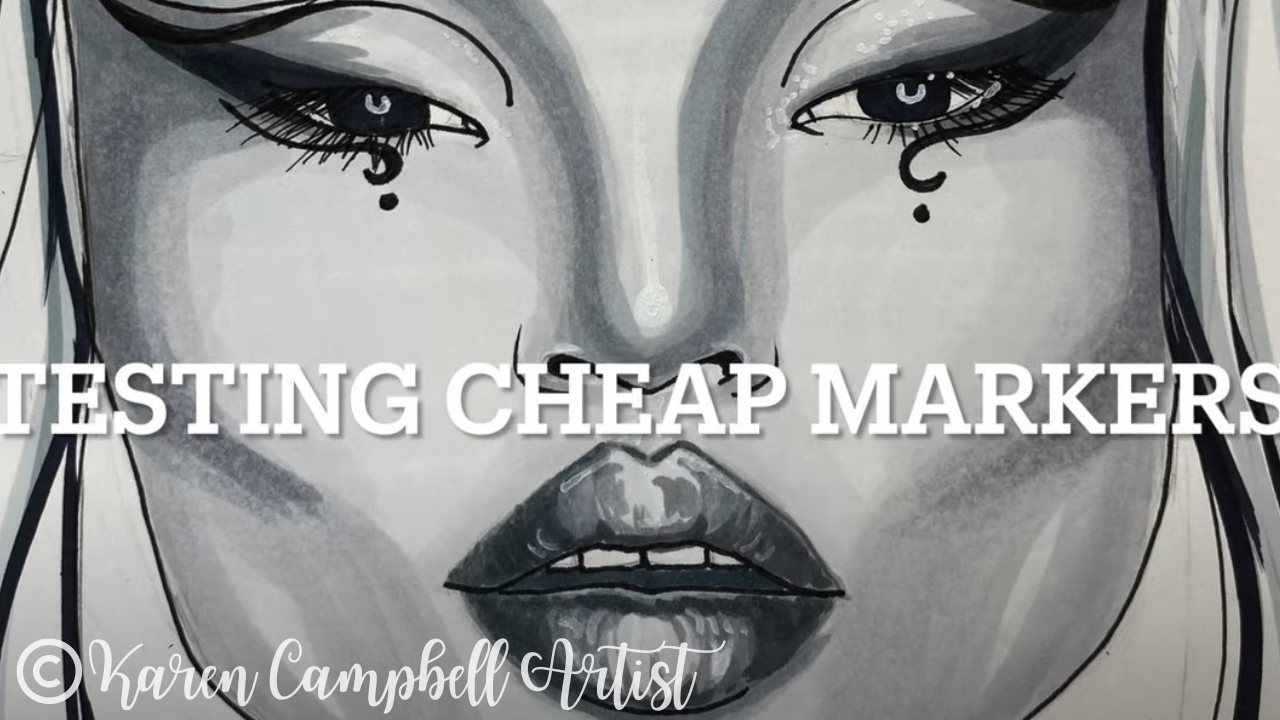
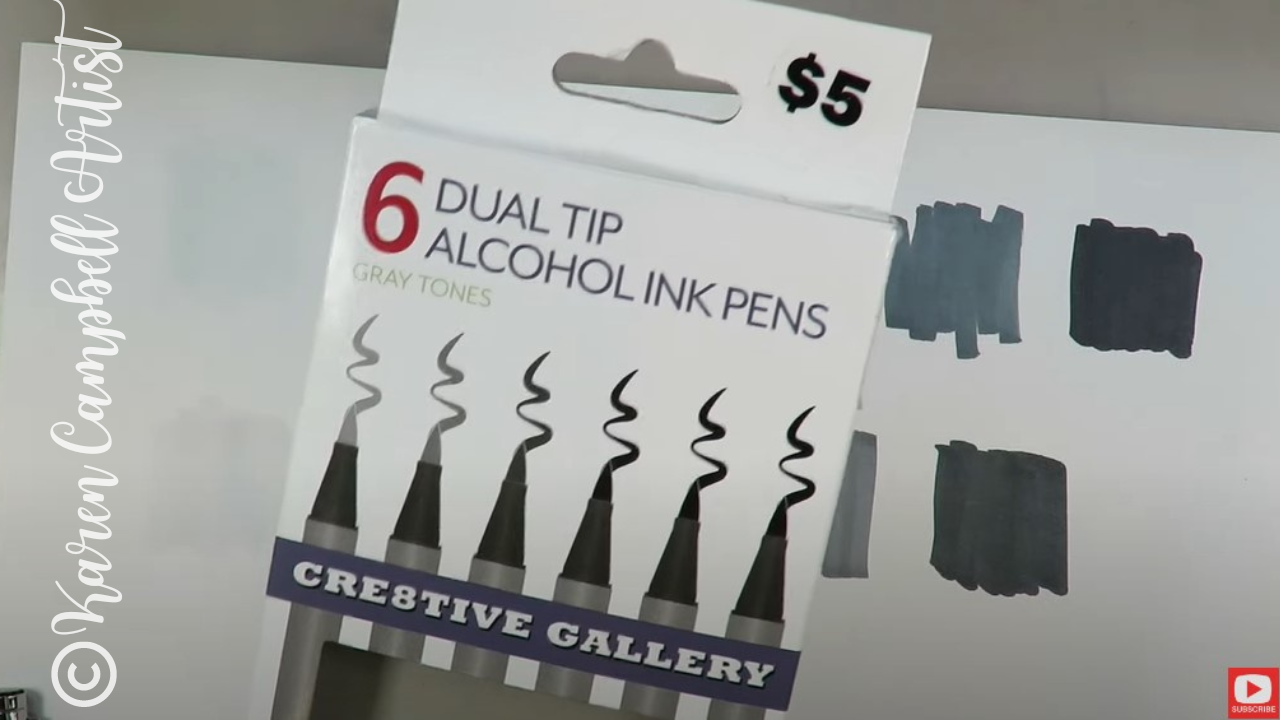
When it comes to alcohol markers, I keep noticing there is such a HUGE range in price points. WHY is THAT?! For example, I bought a 5-pack Copic Sketch Marker set in grayscale that comes with a fine liner, for $38 (~$6.33/marker) on Amazon. Recently I also grabbed a 6-pack grayscale set of alcohol markers FOR $5 at my local Five & Below shop. You can't really beat the price at less than $1/marker.
But...will they perform? Let's find out!!
I seriously HOPE you are drawing along with me today! Face charts make amazing face drawing references!!
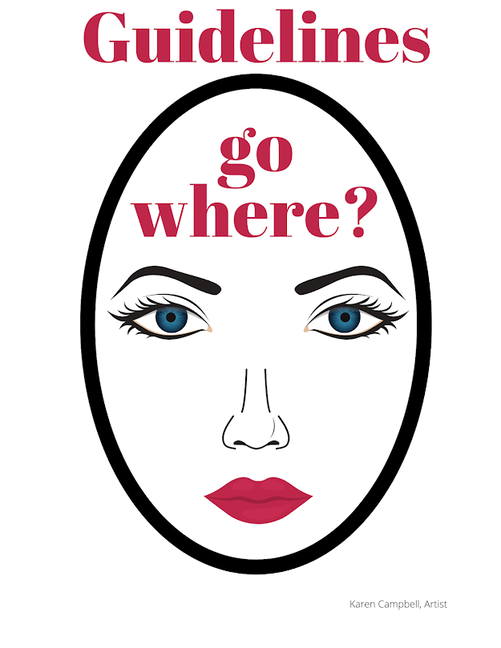
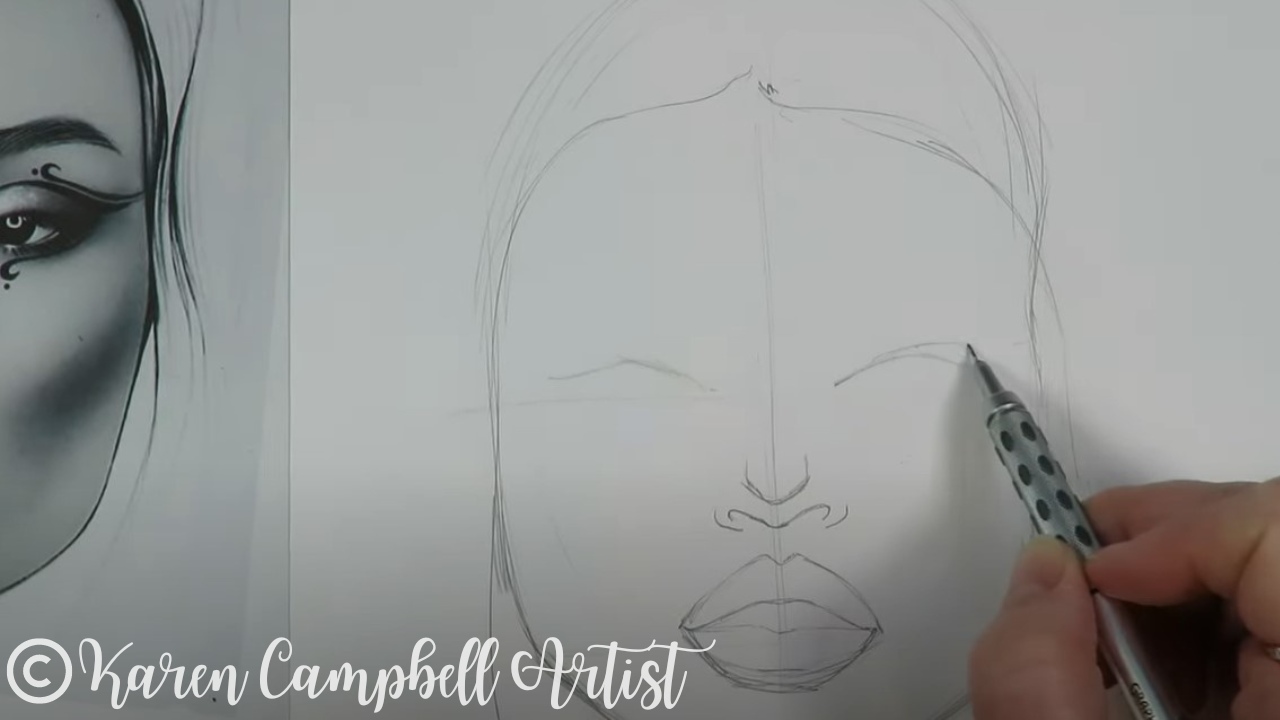
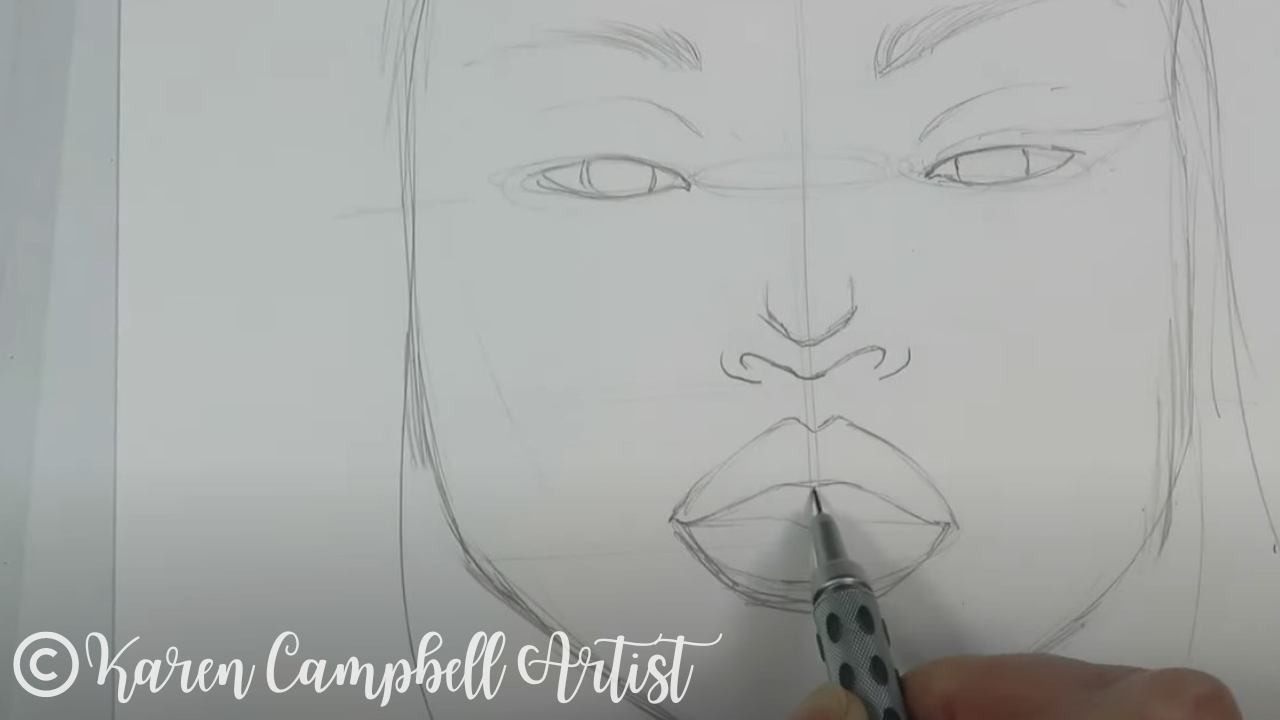
But before you even attempt drawing the fun makeup in today's reference, you NEED to make sure your facial features are proportional! How do you do that?! With my FREE whimsical face drawing guidelines! Click the button below and I'll send them straight to your inbox!
Before we continue, super quick announcement: All product links are Affiliate. I may earn a small commission if you choose to order through these links but by law there is never any additional cost to the consumer for doing so. I thank you for your support.
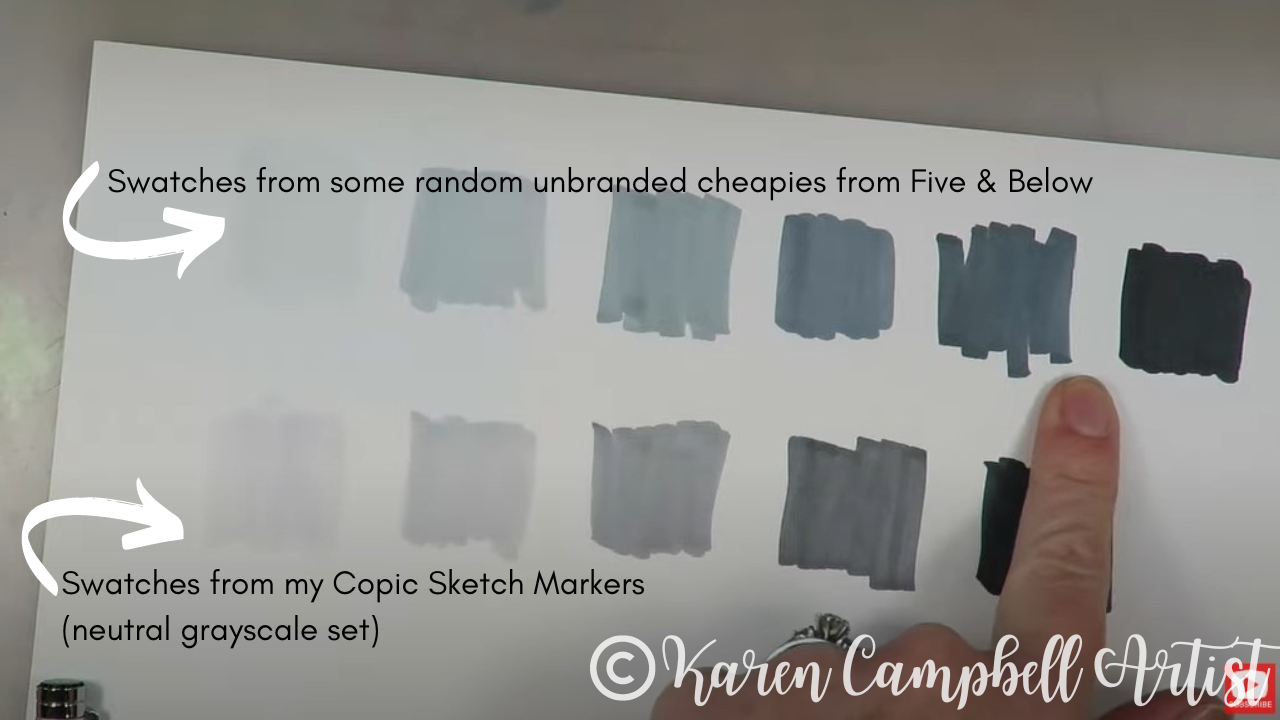
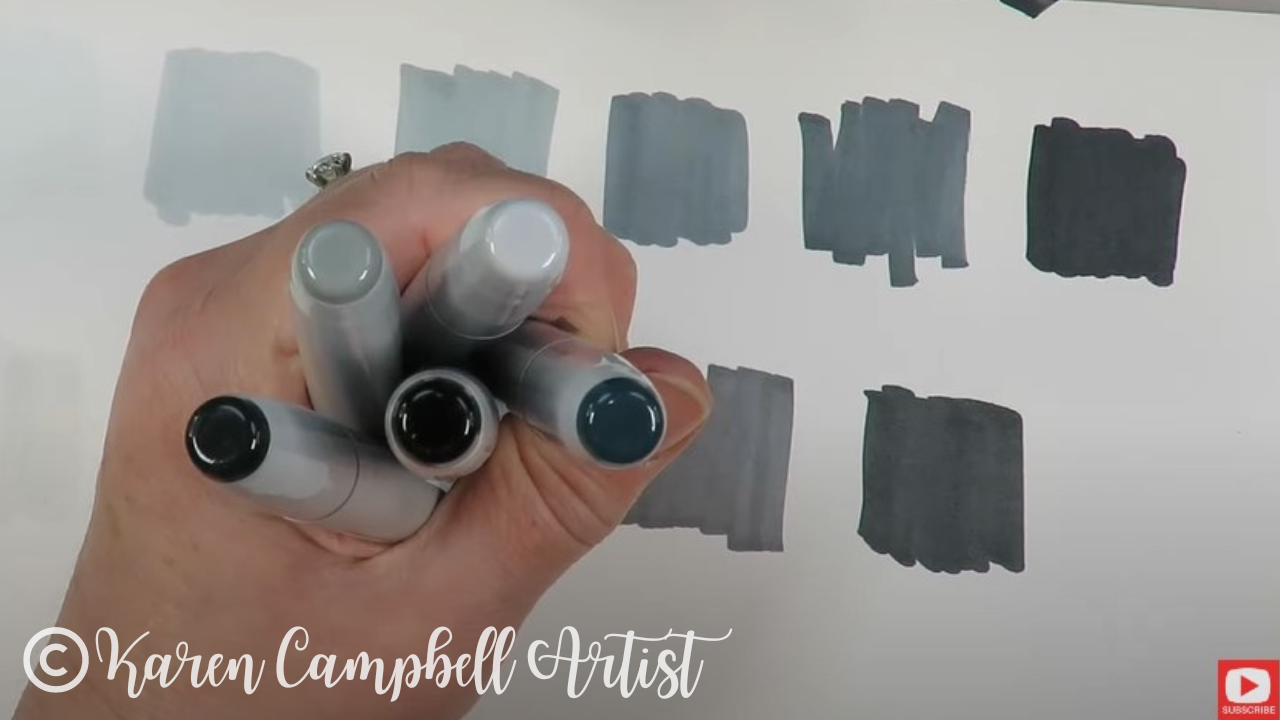
Whenever I get new markers, I've gotta swatch 'em to see what I've got! I compared the Five & Below cheapies with my neutral grayscale set of copic sketch markers (see how they compare below). The top line is the cheapies (that set came with one additional marker, so score!), and the bottom line is my copics.
I love the gradation and the value scale range included in both sets, but I gotta say - whenever you can get MORE colors - I tend to gravitate toward that option, so way to go Five & Below!
However, I also REALLY love how Copic included one of their black fineliners in this set. The fineliner they included retails for about $12 on its own - so adding this to their grayscale pack is really pretty generous.
Whoever manufactured the cheapies from Five & Below DID cut some corners by producing their alcohol markers without labels. Kinda hilarious. At least the opposite sides of these caps have labels so I don't have to swatch again every time I grab a marker!!
In terms of quality- the nibs in this set are great, and the ink is nice and juicy, so these were definitely worth picking up. I have no idea how readily available this specific pack of alcohol markers are, but I guess my general advice is not to shy away from grabbing a set of cheapie alcohol markers when you find them at your local dollar or craft store.
Pretty much every set I've picked up, I've been happily surprised by in terms of quality. Now let's see how they PERFORM in an actual project!
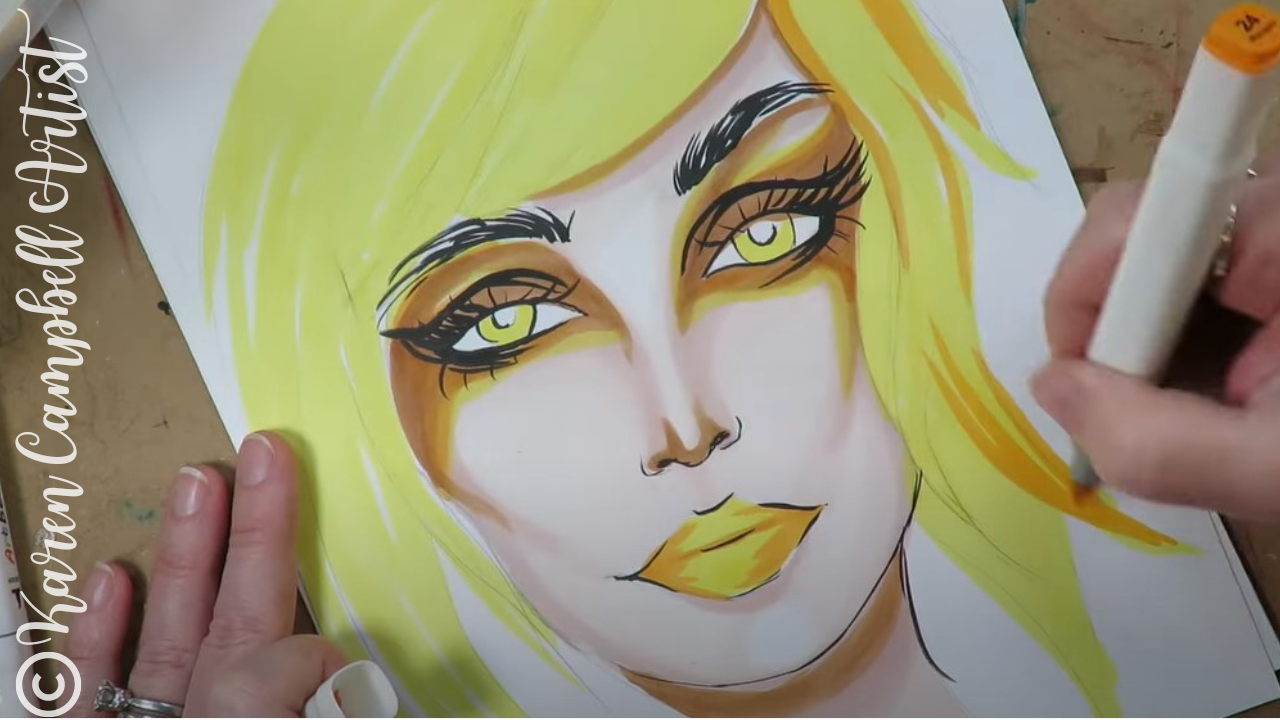
Make sure you click over to see today's face chart inspired drawing tutorial so you can DRAW ALONG with me!! Don't just sit back and watch - go grab your markers and come draw with me!
Need today's face drawing reference? Grab today's along with the last 3 in this series right here in my YouTube & Cheatsheet Library.
Definitely check out today's YouTube drawing tutorial because I give you TONS of hot tips for shading faces with alcohol markers that will help you tremendously - whether you're new to alcohol markers as a medium or not!
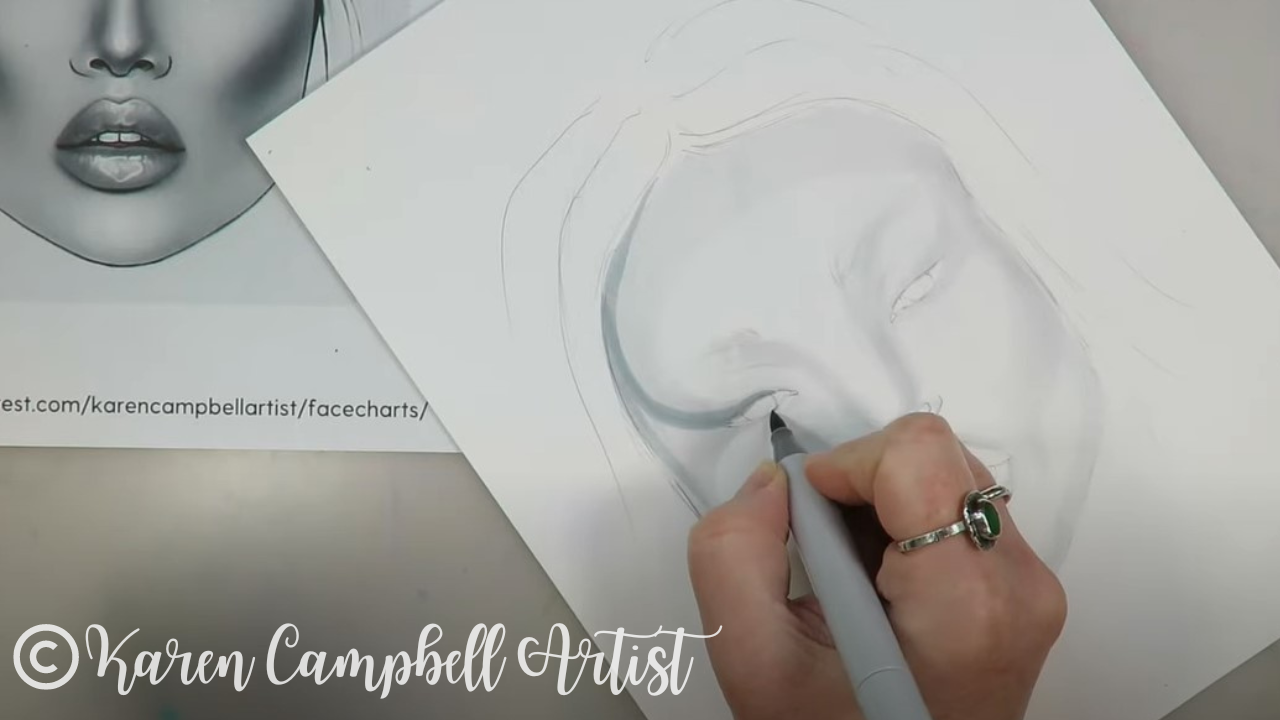
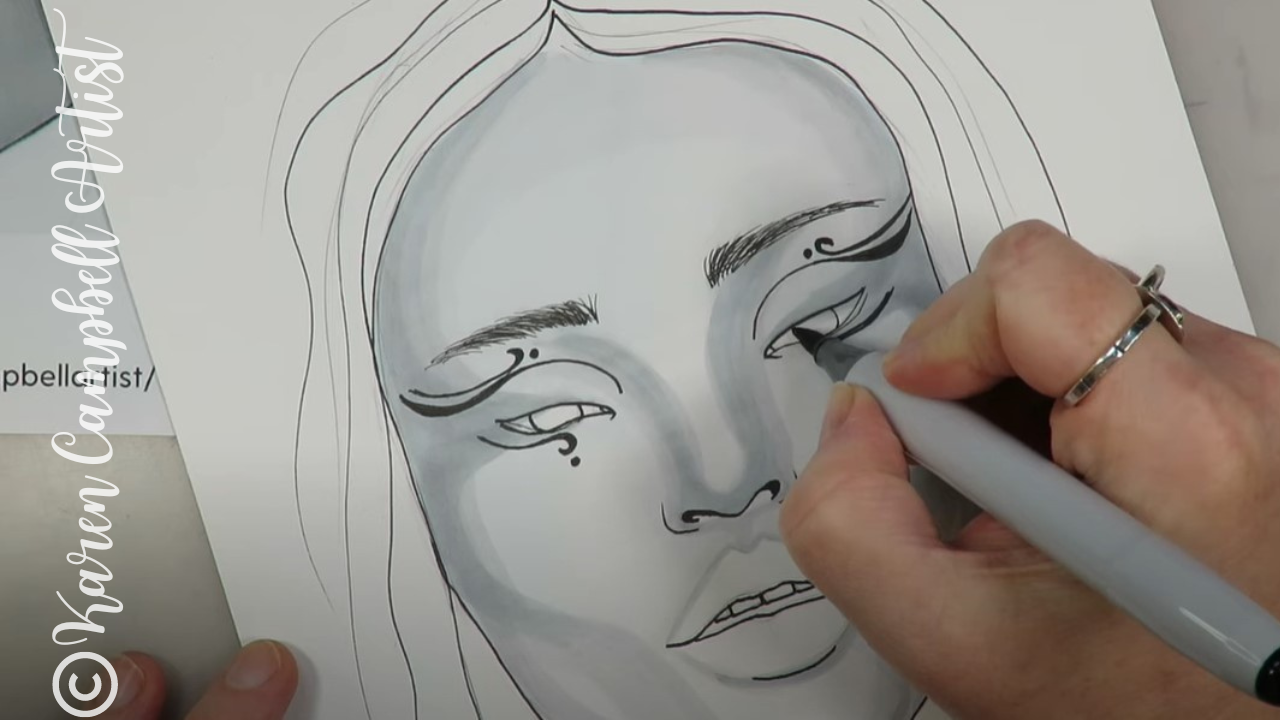
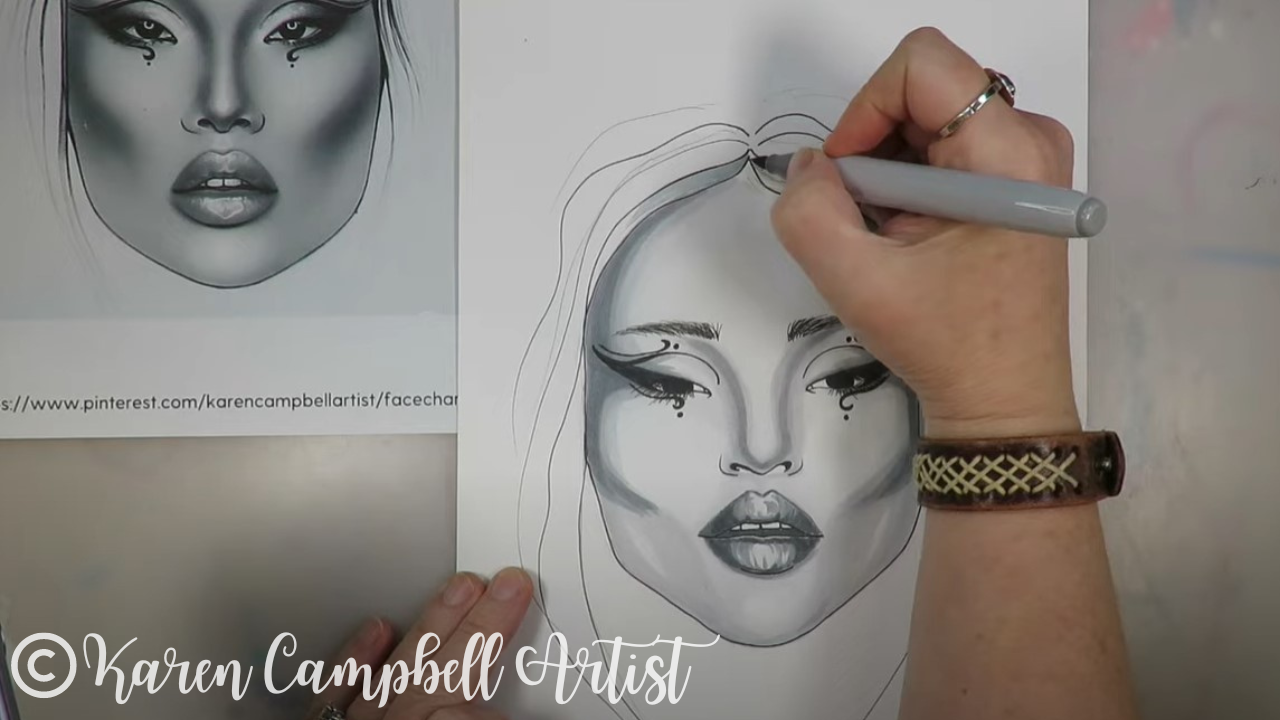
Shockingly, as soon as I started today's face shading with my cheapie alcohol markers, I was surprised to discover they felt identical to my copics. I KNOW!! This is a big deal, because if you've been following me for a while you KNOW how much I love my copics and ohuhus!!
Today's project has once again solidified my opinion that copic marker alternatives are WORTH trying! And really, price point doesn't seem to matter as much as you might think as far as this medium is concerned.
I've shared TONS of copic marker alternative product reviews for you here on YouTube, but hope YOU have confidence to try out whatever you find, especially if you're on a budget. You DON'T have to stop drawing, even when money is tight.
If you've never tried shading a face in alcohol markers, maybe you're addicted to shading faces in pencil - TRY today's free face drawing lesson. It's filled with tips to help you along.
If you're nervous to try shading faces with alcohol markers, especially when it comes to layering in darker shades, you REALLY CAN go at it slowly by adding multiple layers of the SAME shade over and over again. Your piece WILL get darker wherever you've added additional layers, and there's very little risk if you're afraid of screwing up :) Plus- if you're hanging out with me on YouTube (or in one of my online art classes or clubs at Awesome Art School) you're NEVER alone, I'm right there by your side doing the project with you from start to finish!
Thanks for hanging out with me today! If you drew along with me, make sure to share your work so we can give you some love over in my Facebook Group!!
LOVING the whole face chart inspired drawing tutorial thing? Here's a playlist with MORE of them for ya!! NEED MORE resources to get your creative juices flowing? ❤️ CHECK OUT ALL my art books on AMAZON ❤️ CHECK OUT ALL my online art classes @ Awesome Art School ❤️ MY FAVORITE ART SUPPLIES on AMAZON (affiliate links) ❤️ MY BELOVED FACEBOOK GROUP
2 Comments
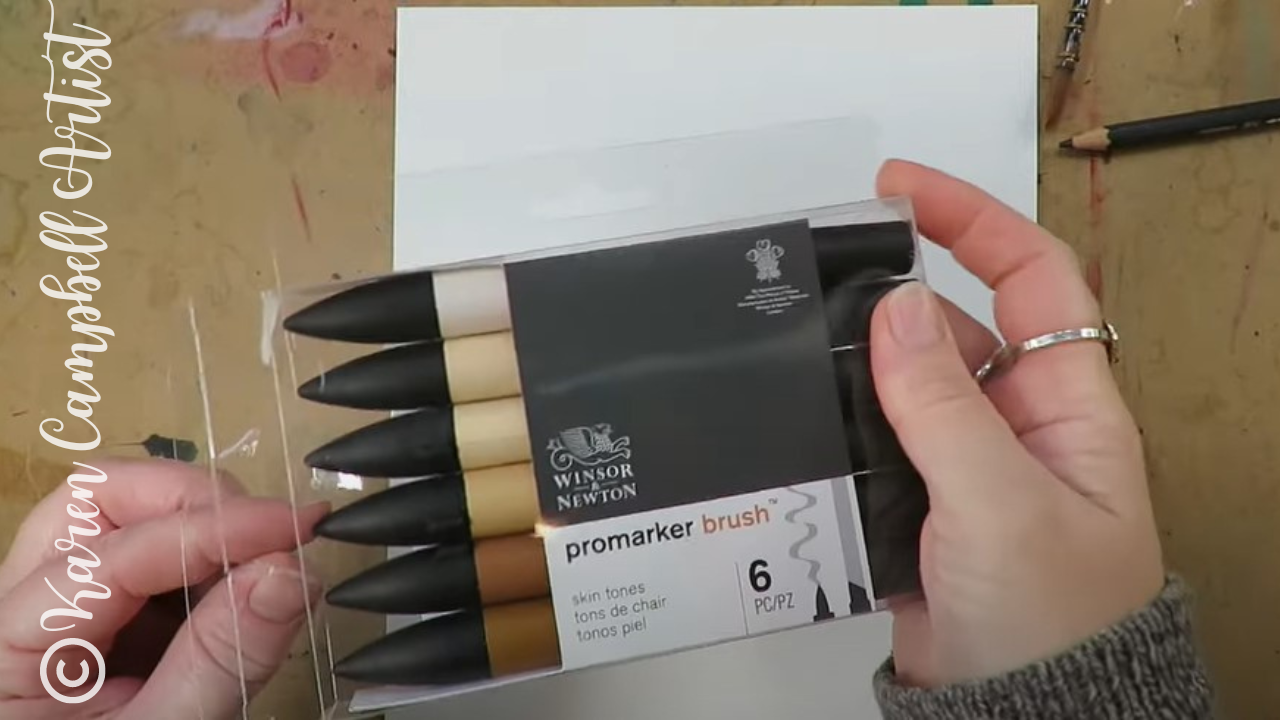
In today's drawing tutorial, I'm trying an expensive new set of skin tone markers by Winsor Newton called ProMarkers. I have high expectations for these alcohol markers because Winsor Newton is a top-of-the-line, fine art brand for artists.
I'm curious to see how ProMarkers compare to the go-to alcohol marker brands I reach for every day. My biggest question today is ARE PROMARKERS WORTH IT?!
Wanna draw along today, but not quite sure how to draw a face, or how to make the facial features look proportional? It's WAY easier than you think!
Simply click the button below to download my FREE whimsical face drawing guidelines. I never start a face drawing without them!
Before we continue, super quick announcement: All product links are Affiliate. I may earn a small commission if you choose to order through these links but by law there is never any additional cost to the consumer for doing so. I thank you for your support.
I've been shading the faces I draw with alcohol markers for years, and
am constantly testing new brands to ensure I'm recommending art supplies with the BEST VALUE for my students over at Awesome Art School. After testing a million brands of alcohol markers, I've discovered expensive isn't always better, and multiple brands of alcohol markers can be used successfully on the same project - regardless of price point.
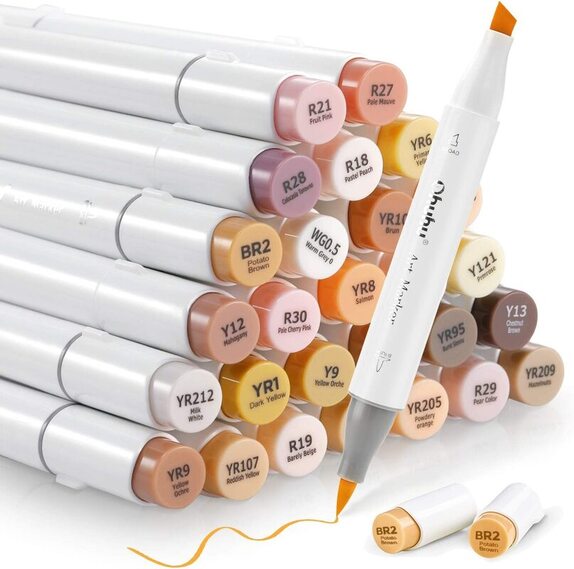
The ProMarker set I'm demo-ing today runs around $30 on Amazon and contains six skin tone alcohol markers. Depending on your budget, this might not sound too bad, until you start comparing ProMarkers to less expensive brands like Ohuhu, which will give you a full 30 more markers for just $9 more!
I don't know about you, but I want MORE COLORS to play with, so will choose that every time!
If you're sensitive to smells, you may want to steer clear of ProMarkers. They definitely have more of an odor to them than I notice from my Ohuhus or Copics.
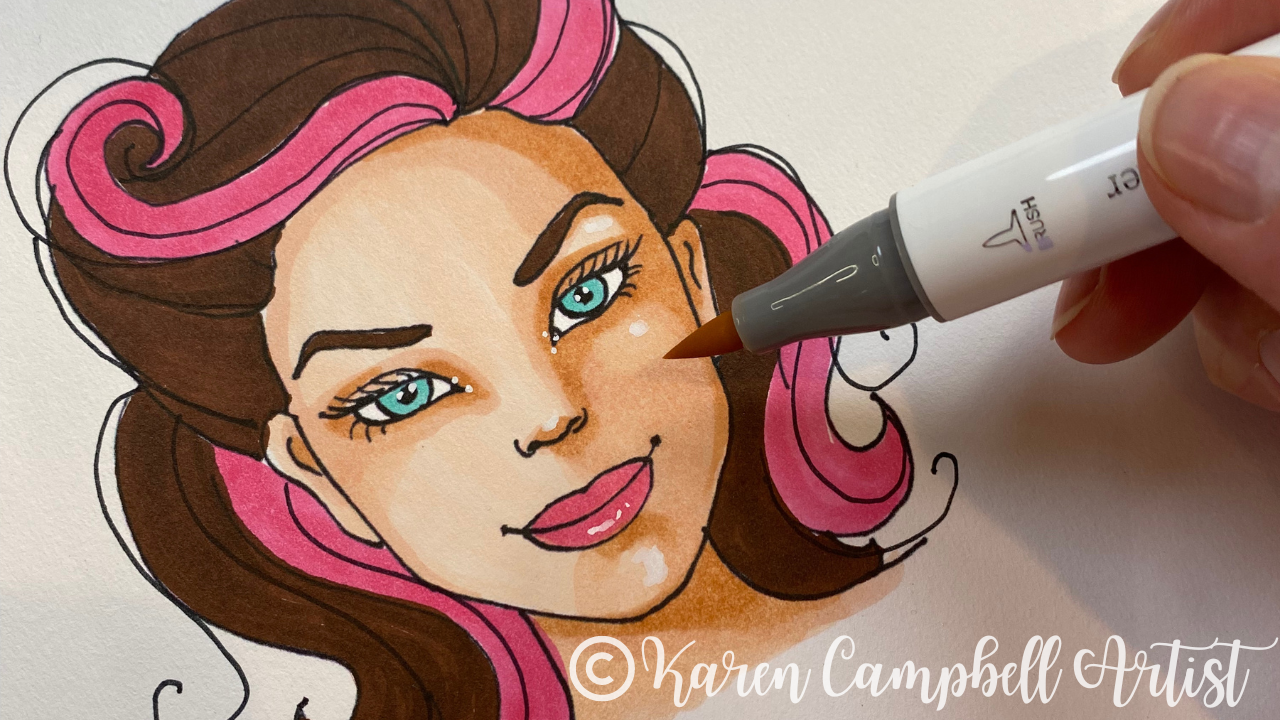
This Promarker set has dual nibs like most alcohol markers. There's a brush tip on one side and a chisel tip on the opposite. Right away I noticed how flexible the brush nib felt. Not sure if I'm gonna love this or get annoyed with it while shading larger areas!
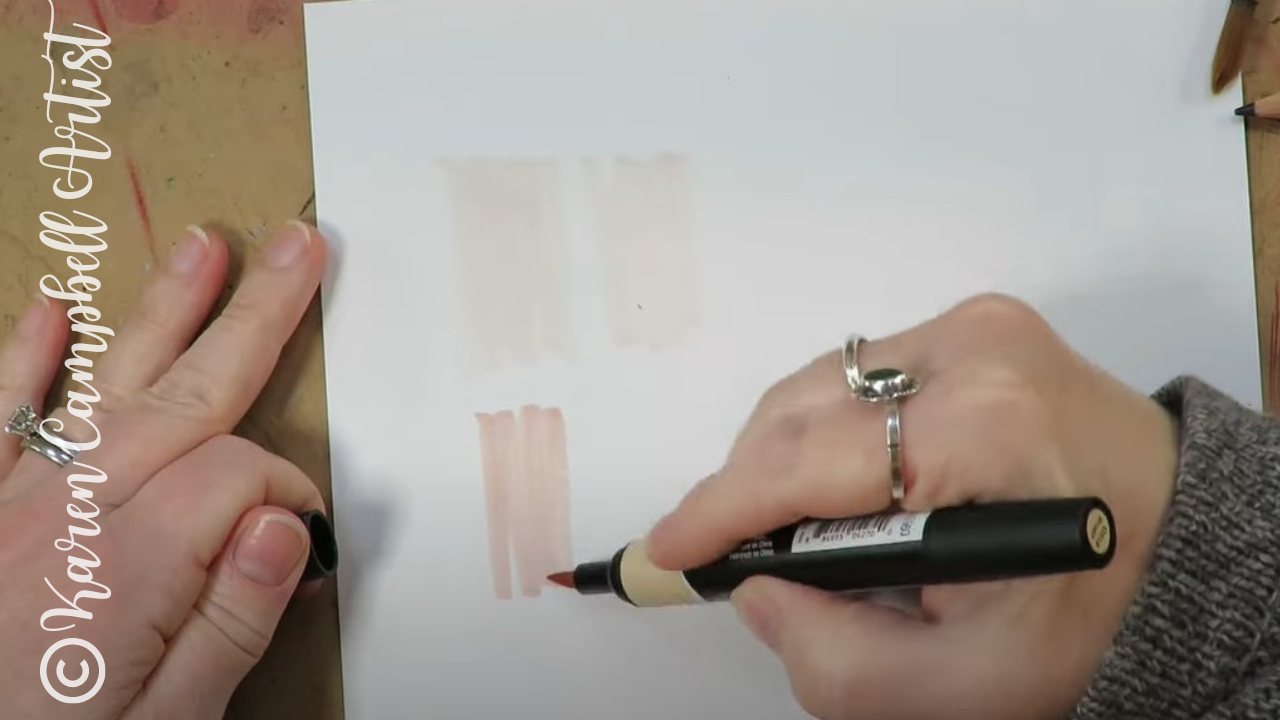
While swatching, I was seriously surprised by the shades Winsor Newton selected for this palette. If you've been following me for a while, or have a copy of my book, Skin Tone Secrets, you know I always recommend selecting three shades of the same color in light, medium and dark to shade ANYTHING.
These subtle variations in color will help give your drawings dimension and make them look more sophisticated. As far as skin tone colors in the Promarkers set of 6 are concerned, I'm not impressed because I can only find two shades in this palette that will truly go together as my light and medium skin tones. The darker markers included are too big of a jump from the medium shades for most artists to use successfully - as you can see below.
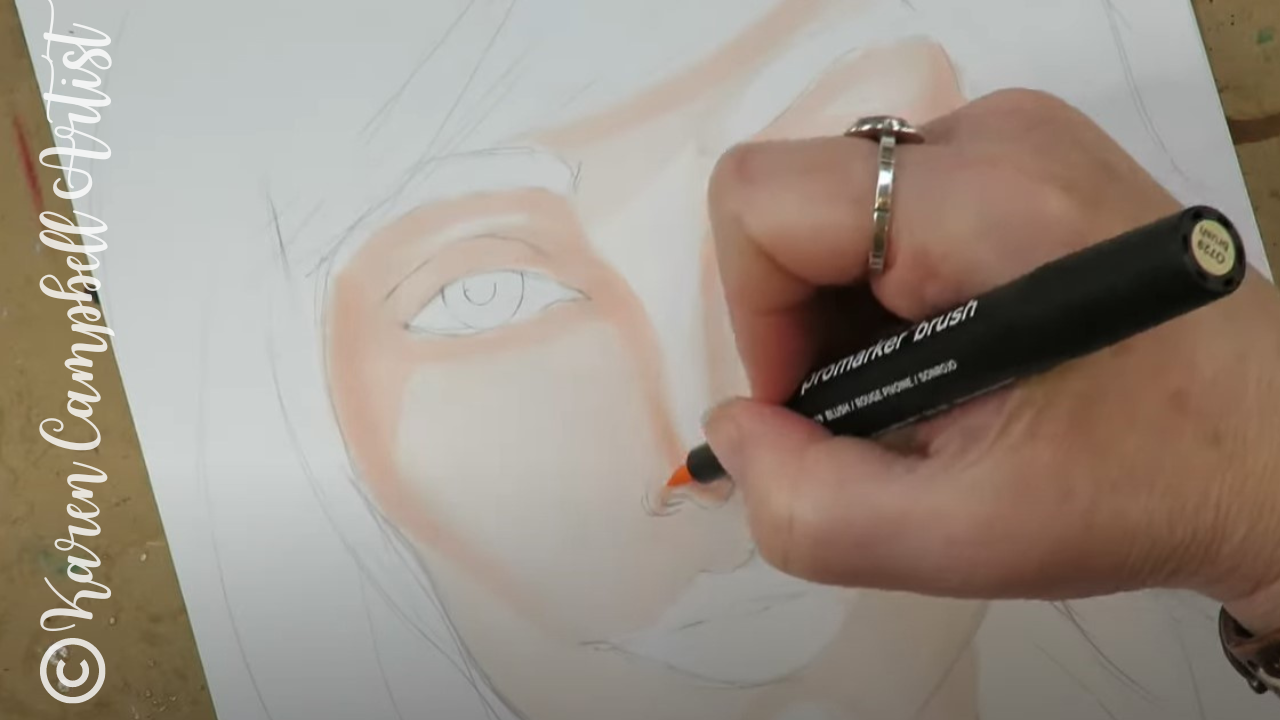
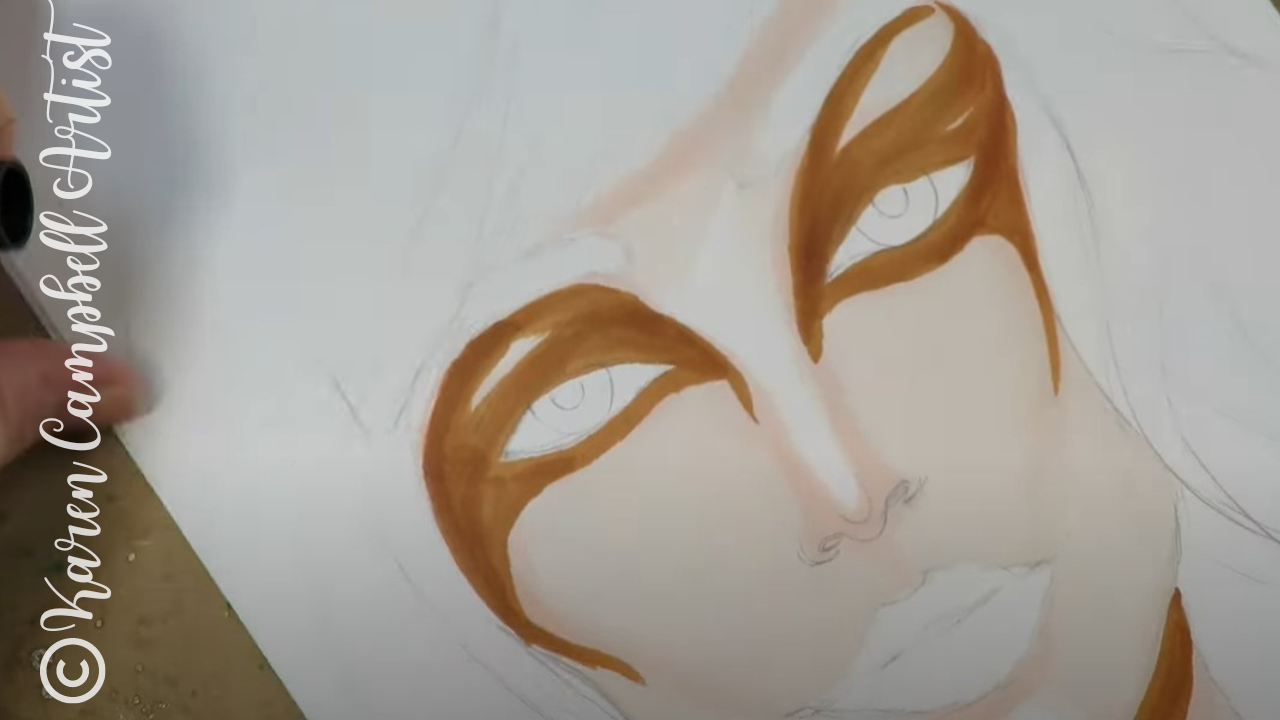
If you watch the video, I'll show you the face chart I selected as today's drawing reference. It has super dramatic makeup in rich fall colors, but my first layer of brown makeup and shadows looks intimidating, even to me!
I keep going though, because I know the only way out of this is more layers of shading, blending, and doodling. If you'd like a copy of today's drawing reference, you can grab that as a PDF in my YouTube & Cheatsheet Library over at Awesome Art School.
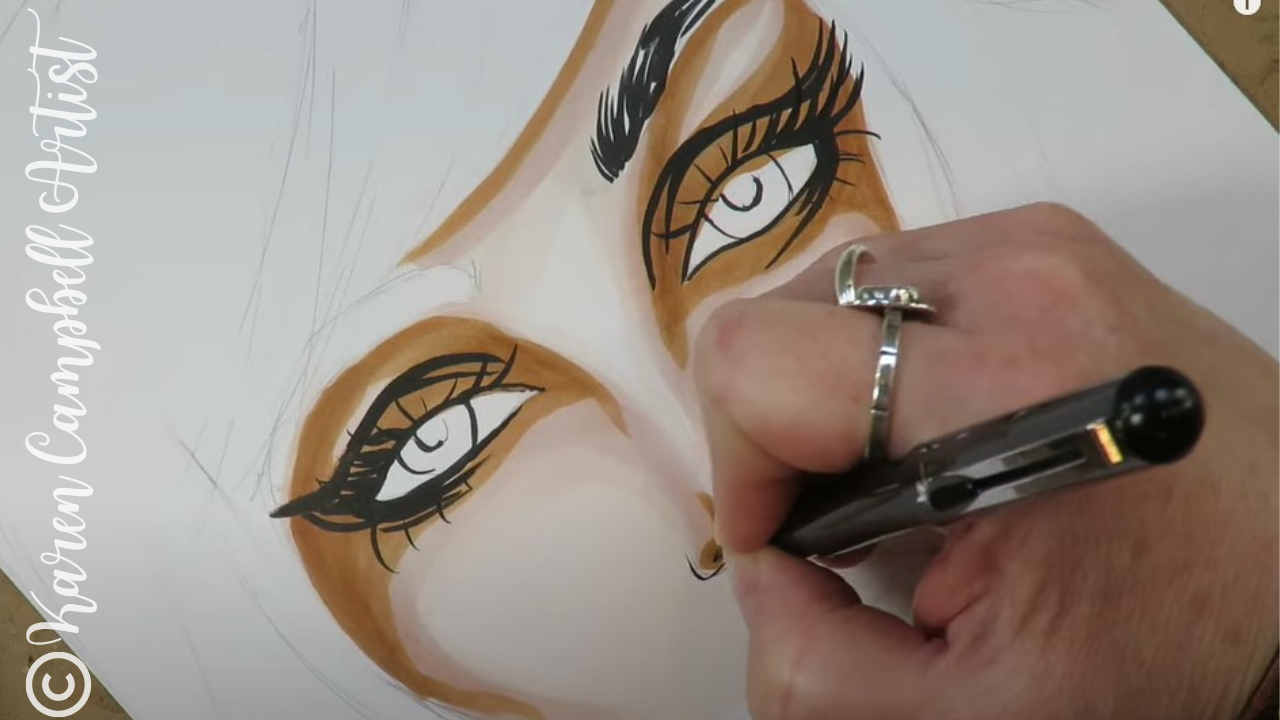
Once I've added detail to the eyes and eyelashes with my Pentel Pocket Brush, the darkest skin tone shading begins to push into the background and becomes less intimidating.
I use my Pentel pocket brush pen for drawing eyelashes on all the faces I draw and paint. It's amazing but has a bit of a learning curve to it. If you need help with it or want to learn how to draw gorgeous eyelashes, check out this video.
Make sure you click over to the video to get my final thoughts on this skin tone ProMarkers set by Winsor Newton.
As you'll see, I did end up getting annoyed with the brush nib on these markers. They just felt too flimsy and flexible to me so I switched sides and continued the project with the chisel tip for greater control.
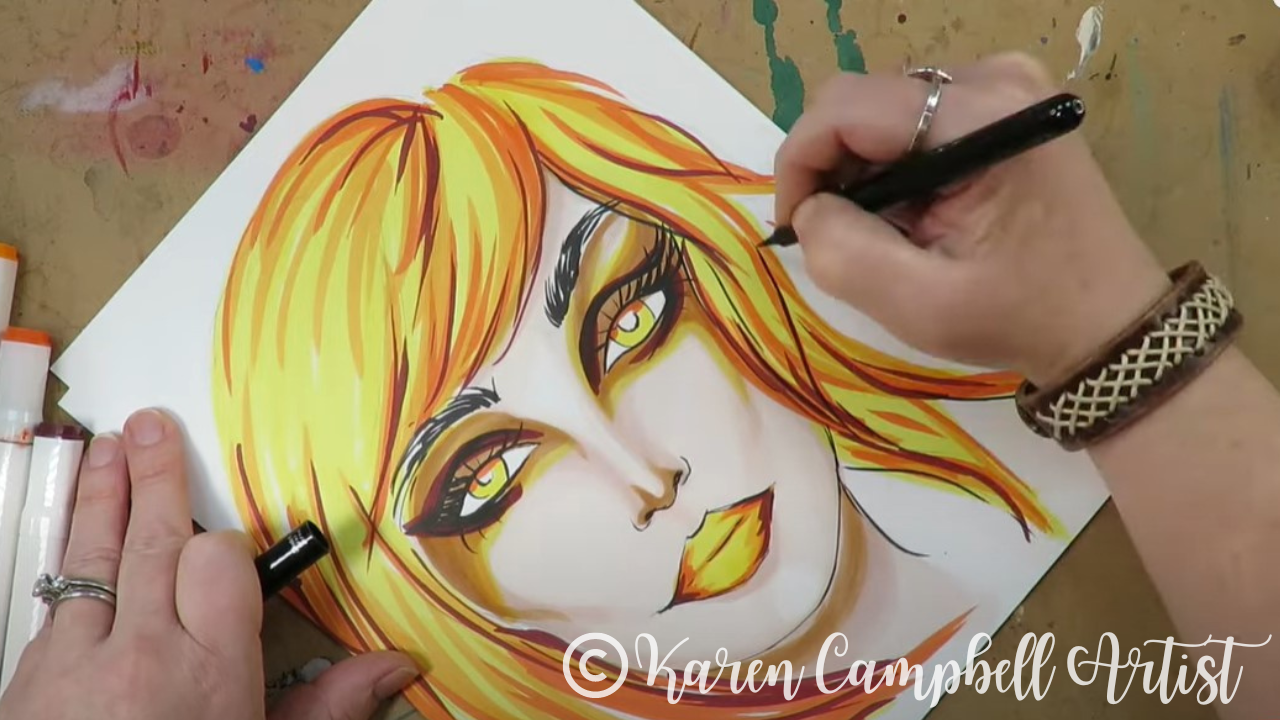
I hope you found today's product review and demo helpful, and I sincerely hope you take a minute to stop and draw along with me in today's video!
See ya next week!!
Need more resources to get your creative juices flowing?
❤️ CHECK OUT ALL my art books on AMAZON ❤️ CHECK OUT ALL my online art classes @ Awesome Art School ❤️ MY FAVORITE ART SUPPLIES on AMAZON (affiliate links) ❤️ MY BELOVED FACEBOOK GROUP |
Karen CampbellFounder of Awesome Art School. Mixed Media Artist. Author of 18 Instructional Art Books! Archives
September 2023
Categories
All
|
"Karen is flipping hilarious and she's very real...I like the way she teaches in a way that really gives you confidence, whether you're a beginner or advanced there's always something new to learn!"
- Elizabeth W. |
What Fans Are SayingKaren, you are absolutely fabulous! You make me feel like I can draw anything. I have recently retired and finally have the time to do some of the art that I have loved since I was in school. I am really at the beginning of my art journey and I hope to learn as much as I can. Thank you for all you do. |
Contact ME |