|
Whether you already love toned paper drawing, drawing faces, or have never tried either, and are curious - TODAY's VIDEO is FOR YOU! Join me for a face drawing demo in my cute little toned paper sketchbook (that I recently designed) - complete with adorable little flowers in the background! I'll show you how I picked my face drawing reference, and will teach you why drawing on toned paper is actually QUICKER than drawing on white paper.
If you're new to toned paper drawing, I've got an awesome set of FREE cheatsheets for you to download and a Toned Paper Drawing three-part video series for you to help you get started over on my YouTube Drawing Channel.
Click the button below to grab those cheatsheets, and I'll send that straight to your inbox!
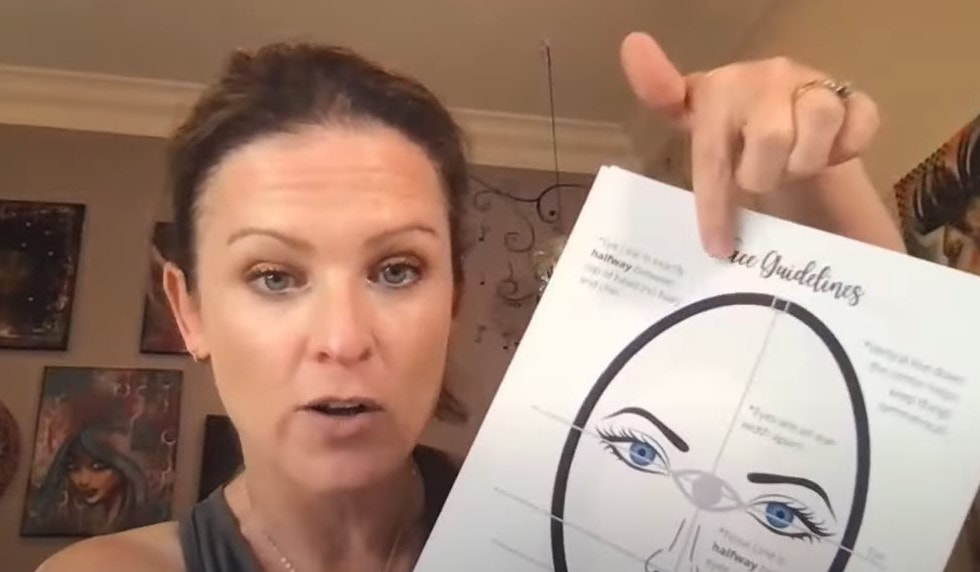
This cheatsheet packet includes my face drawing guidelines, plus a drawing reference face photo to help us in video #3, so make sure ya click that button!!
Before we continue - super quick announcement! All product links below are Affiliate. I may earn a small commission if you choose to order through these links but by law there is never any additional cost to the consumer for doing so. I thank you for your support!
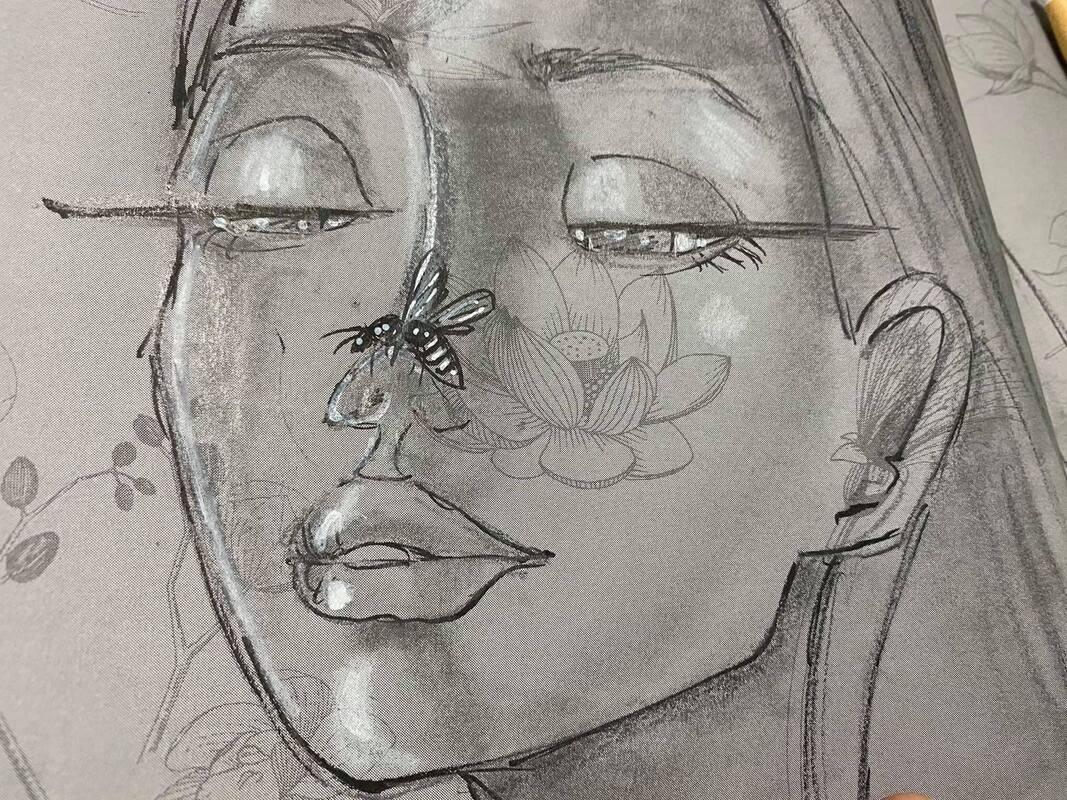
For today's drawing tutorial, I'm working in my new toned paper sketchbook that I actually designed! It's got adorable little flowers in the background, which I love, because those flowers end up peeking through the cheeks of the faces I've been drawing.
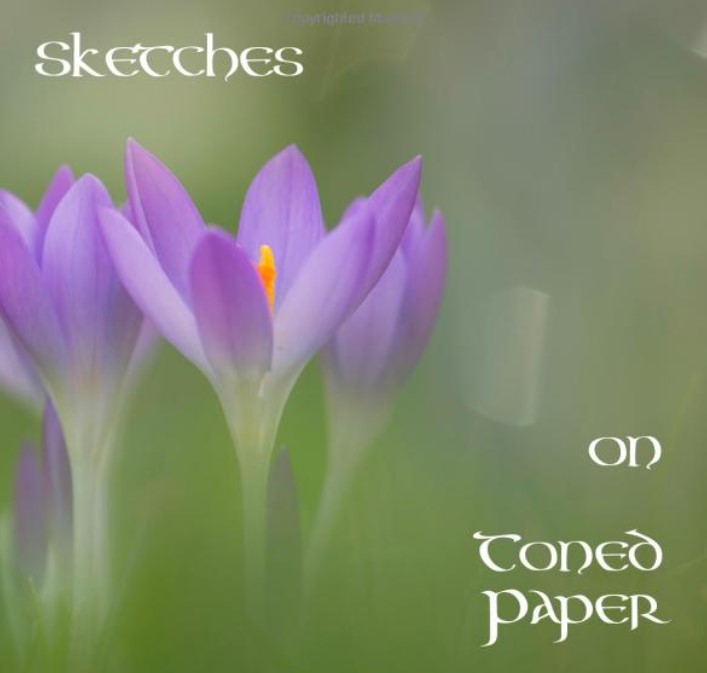
The picture below shows a great closeup of how the background flowers look behind a drawing. SOOOOO cute!!!
It's perfect for doing some quick little face drawings in pencil with china markers and white posca pens!
Here is the link for the sketchbook over on Amazon in case you're interested! I hope you enjoy it as much as I have!!
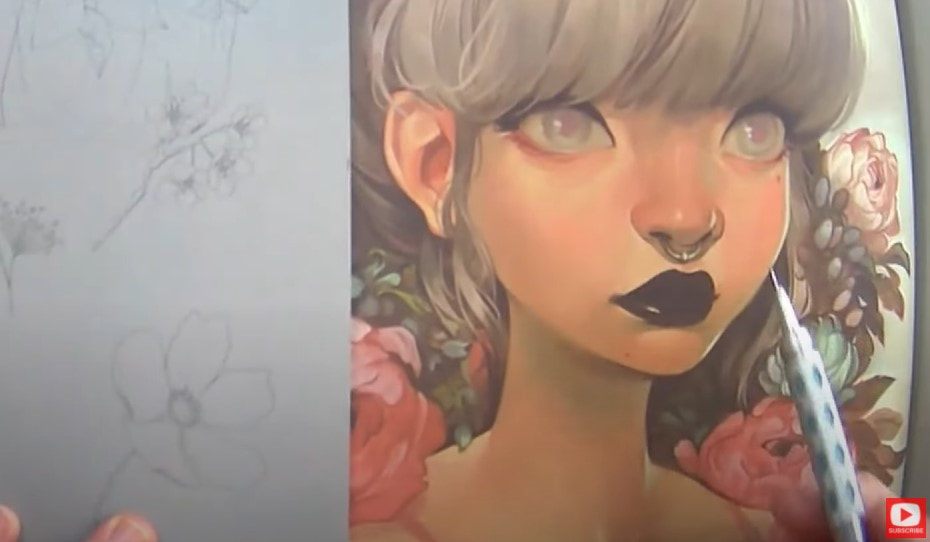
Click over to the video and I'll talk you through a few things I think about when I'm looking for faces for drawing reference. Mostly, I just keep it easy. Basically, I just think to my self - do I love this girl and think she's cute? Then I usually give it a try!
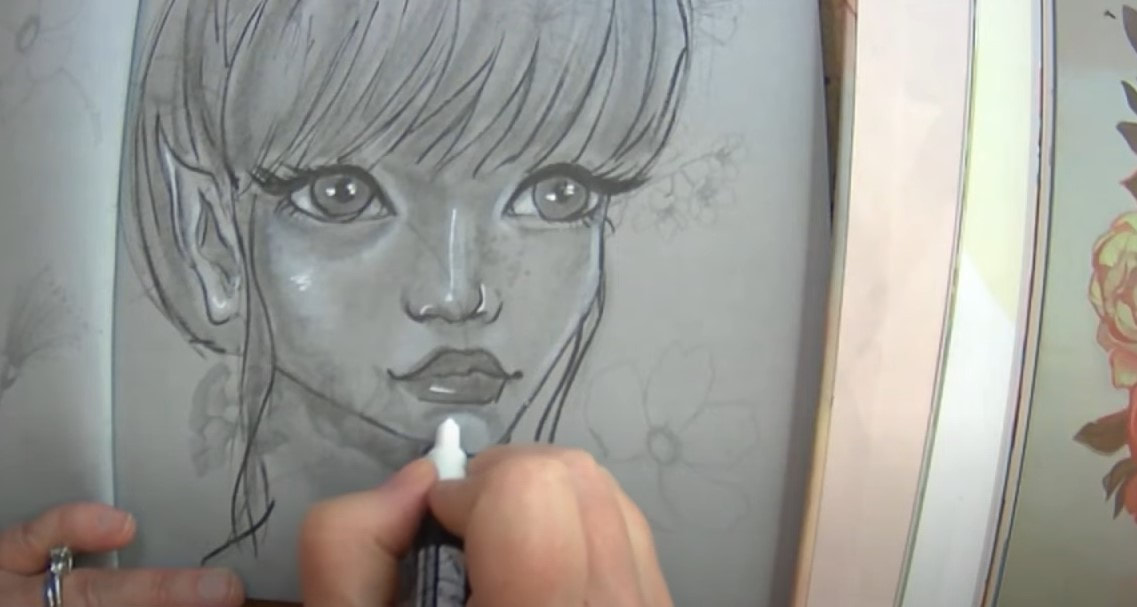
As you'll see in the video - I also will look at the face shading. In this particular image, it's really unusual! I felt she had some beautiful highlights on her eyes, nose and lips that I instantly could imagine doing in my white posca pens. Just one more feature that made this face drawing reference an instant YES for me, besides I'm obsessed with absolutely anything done by Loish.
One of the most important things to remember when drawing on toned tan paper or gray toned paper vs drawing on white paper, is that "your job" is just to pop in the darkest darks and lightest lights when it's time to start shading faces.
That's why I think doing toned paper portraits and sketches are SO fast! Half your job has already been done for you because your "skin tone" is the tone of the paper.
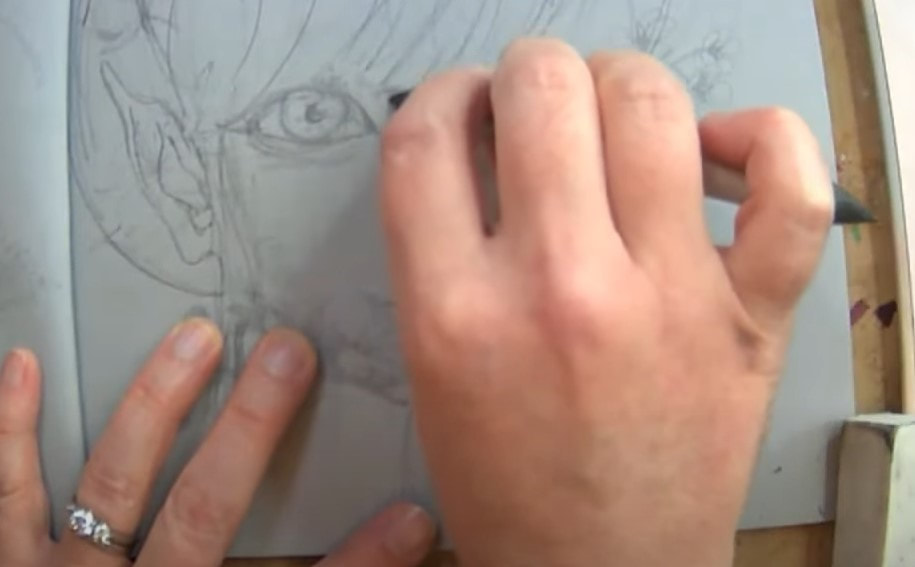
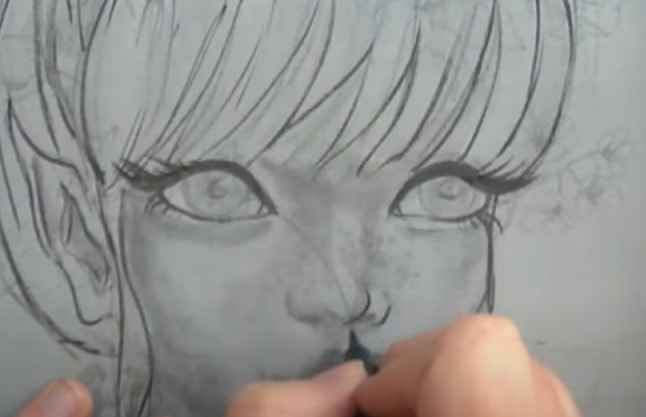
As you'll see, I did a lot of the face shading with my blending stump. Since the paper is already gray, I really didn't have to push down very hard to get some beautiful effects. Once I was happy with my shading, I just grabbed my pentel pocket brush to outline everything loosely with a light touch.
I LOVE the lashes in this reference so really enjoyed popping those in with my pentel pocket brush! If you've never used this before - you have to give it a try. Here's a video to help you on my drawing channel, and here's one to help ya on my mixed media channel (because it works amazingly well for mixed media faces too!).
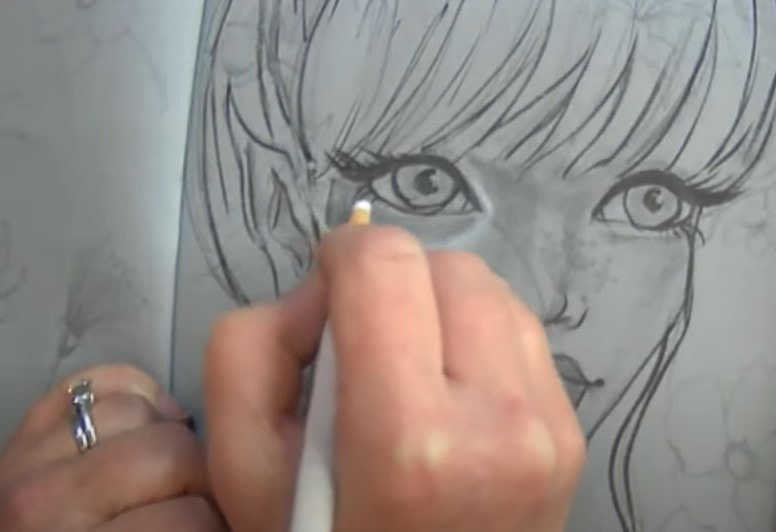
I love using the china markers for highlights here because they sit beautifully on top of my graphite. These marks really add dimension to the drawing and pop those areas forward.
And of course, no whimsical face drawing of mine is complete without some dramatic highlights using my white posca pens!!
I hope you enjoy today's video! Thanks for hanging out with me!!
❤️MY ARTIST BESTIE, LUCY BRYDON & I created a NEW ART MEMBERSHIP together called The Celtic Collective! It's now open for enrollment! Join us before the price increases on August 7.
0 Comments
Today I'm showing you how EASY it is to set up a travel watercolor palette from scratch! All you need is a small metal tin (an empty altoids or mints tin works great!), some watercolor tubes, watercolor half pans, an adhesive magnet roll or glue gun, a sheet of watercolor paper ... and you're good to go!
Before we continue - super quick announcement! All product links below are Affiliate. I may earn a small commission if you choose to order through these links but by law there is never any additional cost to the consumer for doing so. I thank you for your support!
Watercolors are one of the easiest art supplies to travel with because they don't take up much room. If you make your own diy watercolor paint palette - YOU get to choose how many colors to include and how big the palette is.
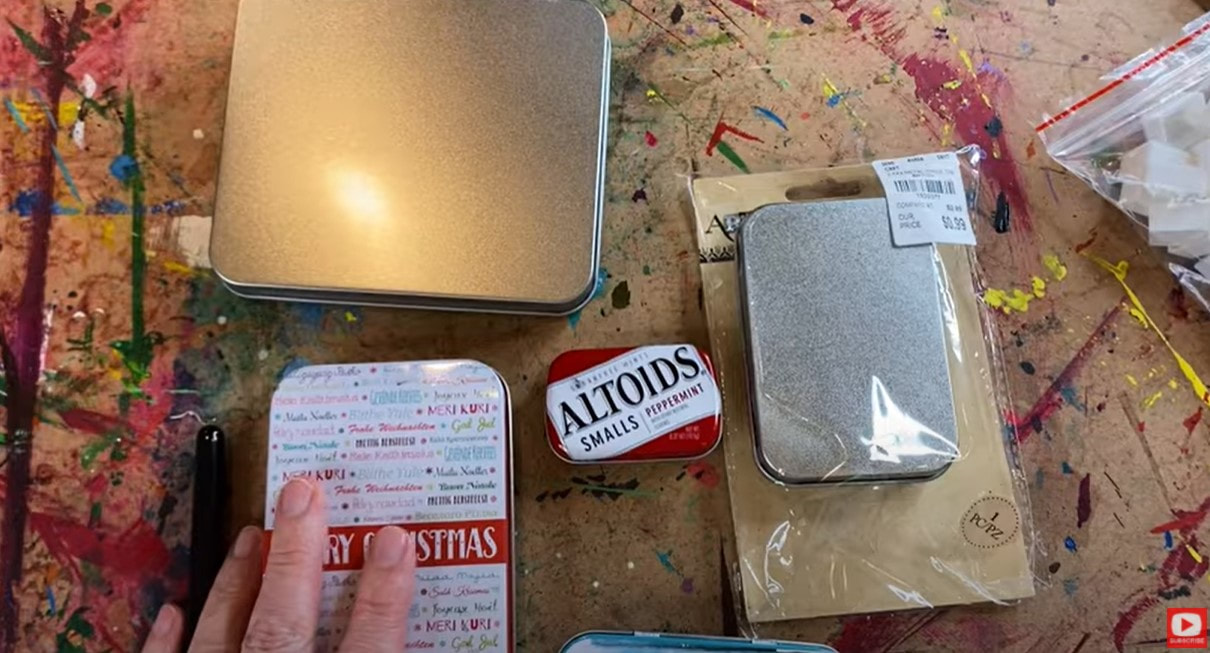
Today I'm choosing my tin first. I've got a number of random ones in my stash on hand that I've purchased at my local craft stores or other shops when I've been out and about. You can often find cute, empty tins for $1, sometimes less! I also found this little set of tins on Amazon in case you're interested.
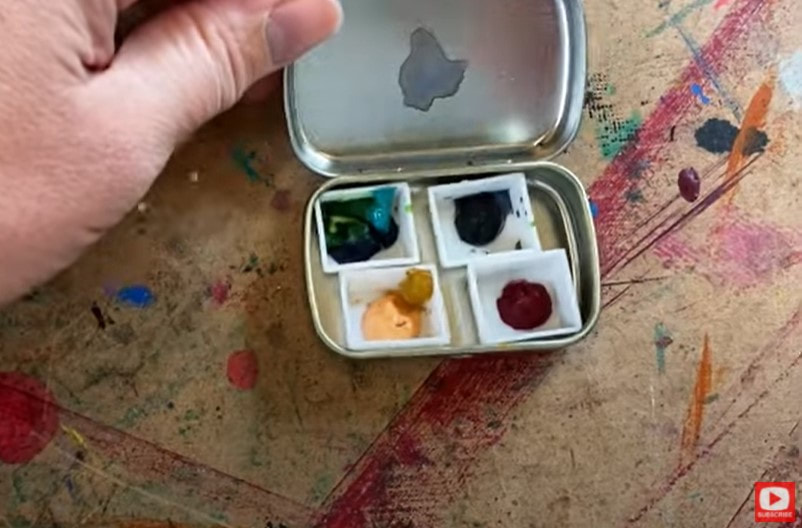
One of my favorite ways to travel with only a few watercolors is to create an altoids watercolor palette! It's so compact - you can pop it into any bag and bring along 3-4 of your favorite colors. These make the cutest little gifts!!
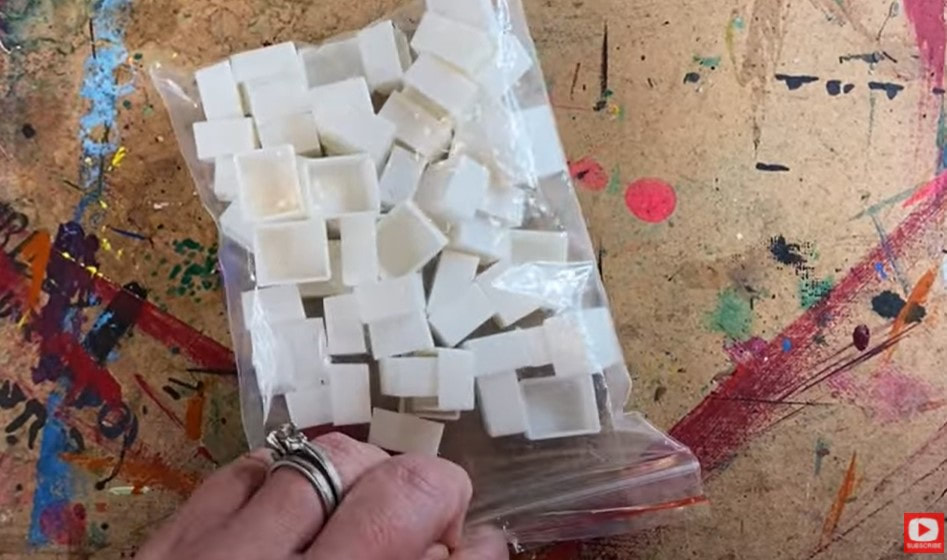
All you need to do this is an empty Altoids tin and a few empty watercolor half pans (shown below).
Next you need to decide how you want to affix your half pans into your tin! My two favorite ways to do this are to either cut off a snippet of adhesive magnet tape, or to hot glue each half pan into the tin.
Be sure to click over to the video to SEE how I'm doing this! I've found using magnets is a great way to give yourself some flexibility in case you want to change your colors out from one trip to another. For example- if I'm headed to Scotland I know I'll want a variety of greens, grays, purples, light blues and golden shades to paint fairies, florals, landscapes and castles! If I were headed to the beach- I might trade out a lot of my greens for a wider variety of blues, and I may add in more colors to paint sunrises or sunsets - depending on what I'm in the mood to capture! If trading out the colors of your travel paint palette sounds like something you want to do - definitely use the adhesive magnetic tape. I actually found 50 half pans on Amazon with magnetic strips already attached for only $6! Next, we need to select which watercolors to include in your palette. Honestly- this is probably the hardest part! The struggle is REAL as I start pulling out my watercolor tubes and comparing them.
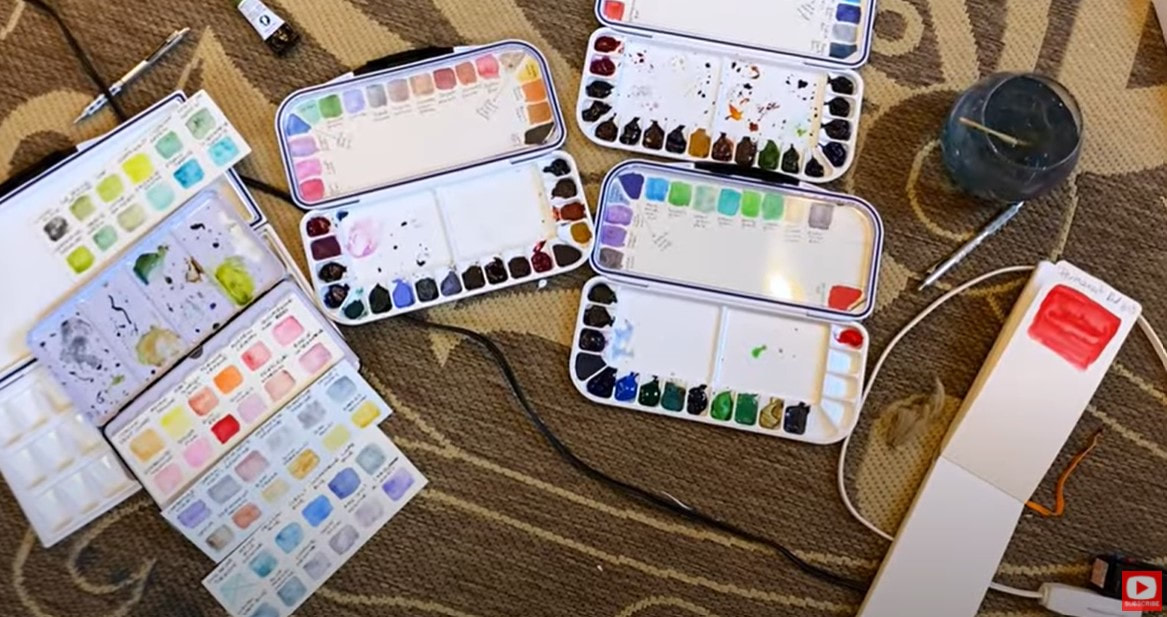
If you're having a tough time choosing from the tubes and only have room to include a few - do a little swatching to compare the shades and help you narrow things down.
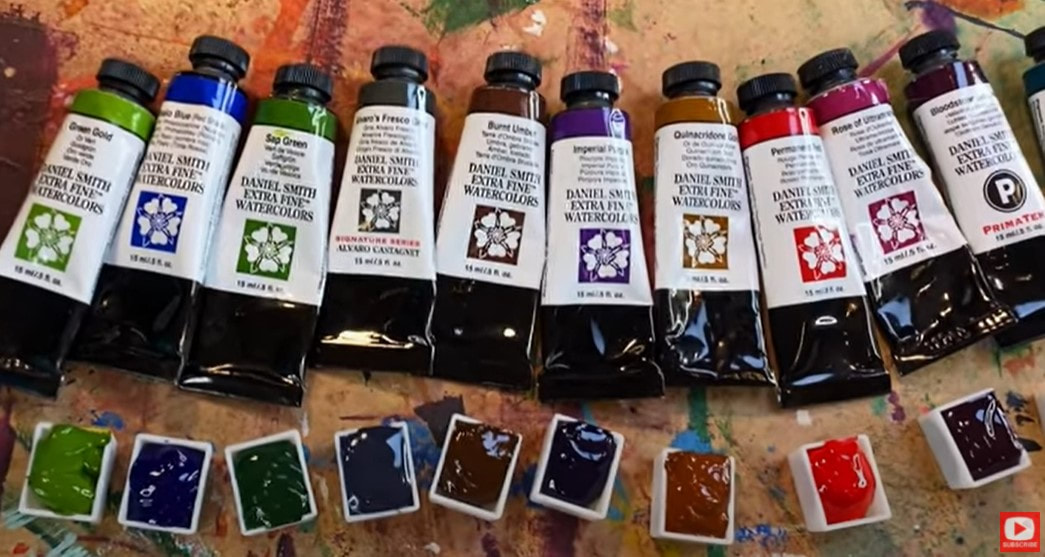
Once you decide which colors you want to include (I only have space for 12 today), simply squirt a little paint from each watercolor tube into your half pans and let them dry overnight.
If you want to know exactly which colors I selected, scroll down to the bottom of this post or click over to the video and check out the description box.
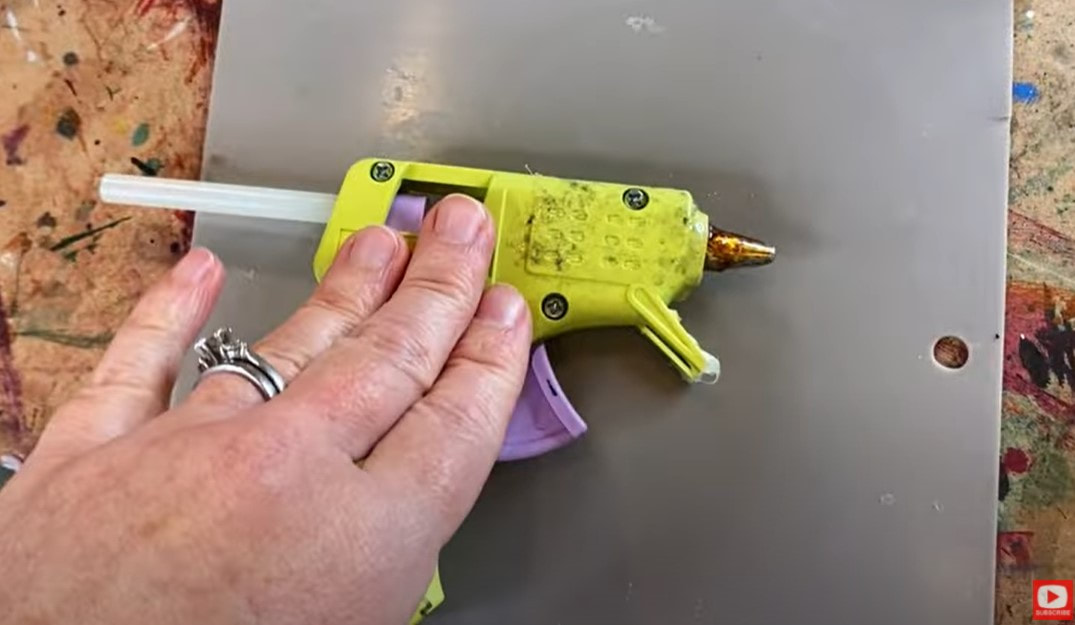
Since the watercolor half pans I'm using actually had some raised writing on the bottom, my adhesive magnet wouldn't stick so I needed to use hot glue to get them to stay in my tin.
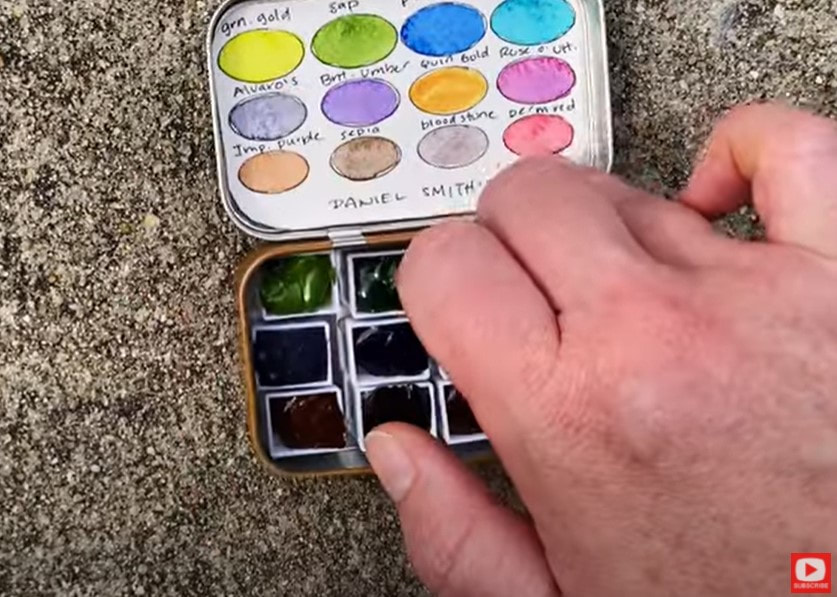
After all of my half pans were in position in my tin, I cut out a piece of watercolor paper to fit inside my tin, and traced some ovals on the sheet with this template. Then I added a touch of watercolor to each half pan and labeled what color each oval was (so future me knows which watercolor tube to pull out later when it's time to refill my half pans). Easy!!
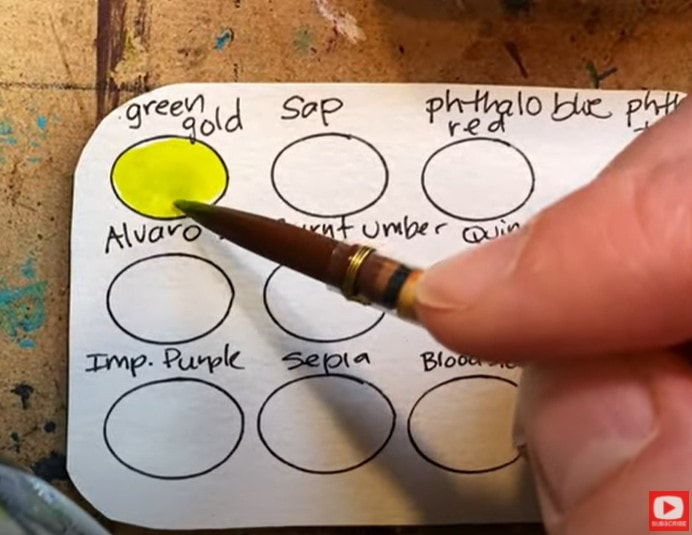
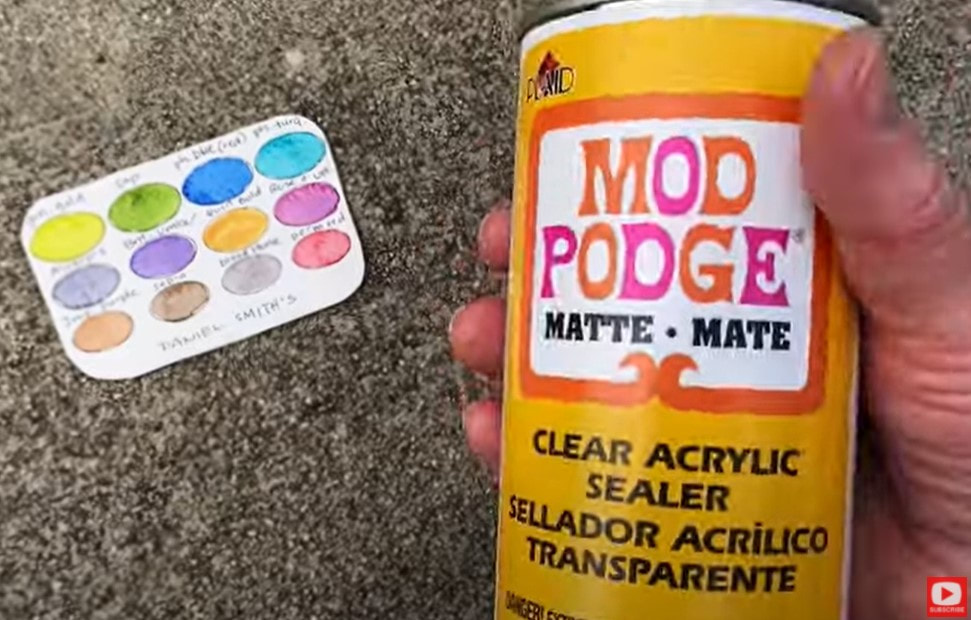
When my swatches were finished, I brought my swatch card outside and sprayed it with a touch of Mod Podge Clear Acrylic Sealer (in matte).
I've found this stuff to be amazing because it doesn't re-activate the watercolor I've already put down, and it's fantastic for when I'm actually watercoloring later because that little card is protected. If I spill water or a drop of paint on top - it TOTALLY wipes off!
Click over to the video to see how EASY this is!! If you have a laminator- that would be a great choice too, and you can totally skip the mod podge spray.
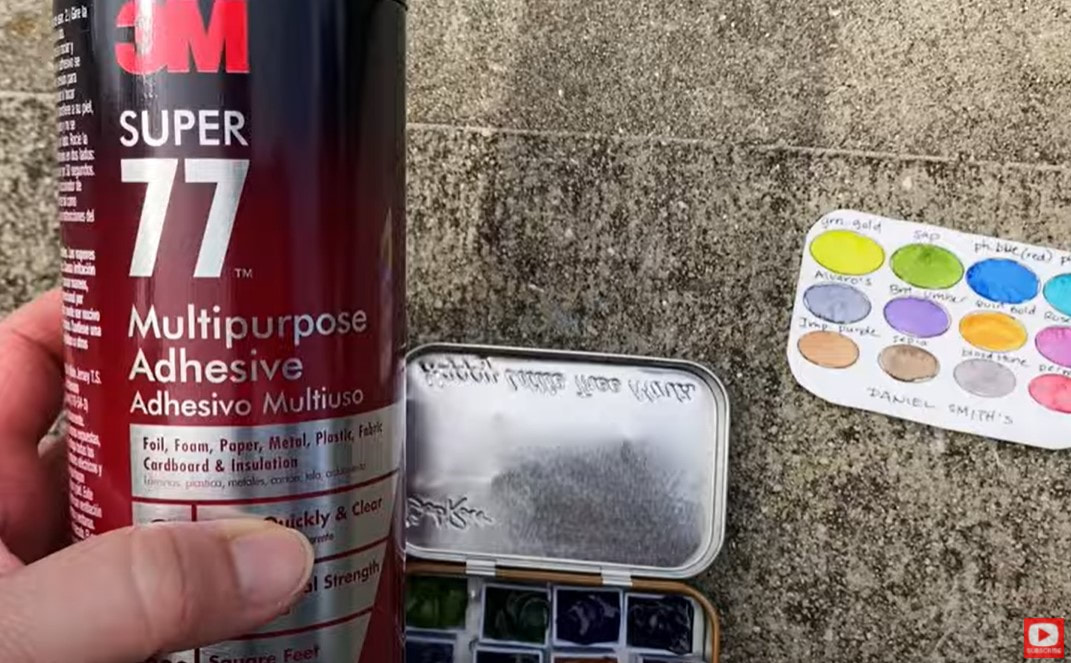
Once my mod podge sealer was dry, (or your swatch card has been laminated), I flipped my card over to spray some multipurpose adhesive on the back. This way I can pop that card into the lid of my tin, glue it in place, and not worry about it falling out! (Trust me - this step is SO helpful becuase those little cards ALWAYS fall out!!)
SO EASY, right?! These cute travel watercolor palettes make excellent gifts and are also a good way to split the cost on more expensive watercolor tubes (like Daniel Smith!), if you have a creative friend who wants to share a few tubes together!
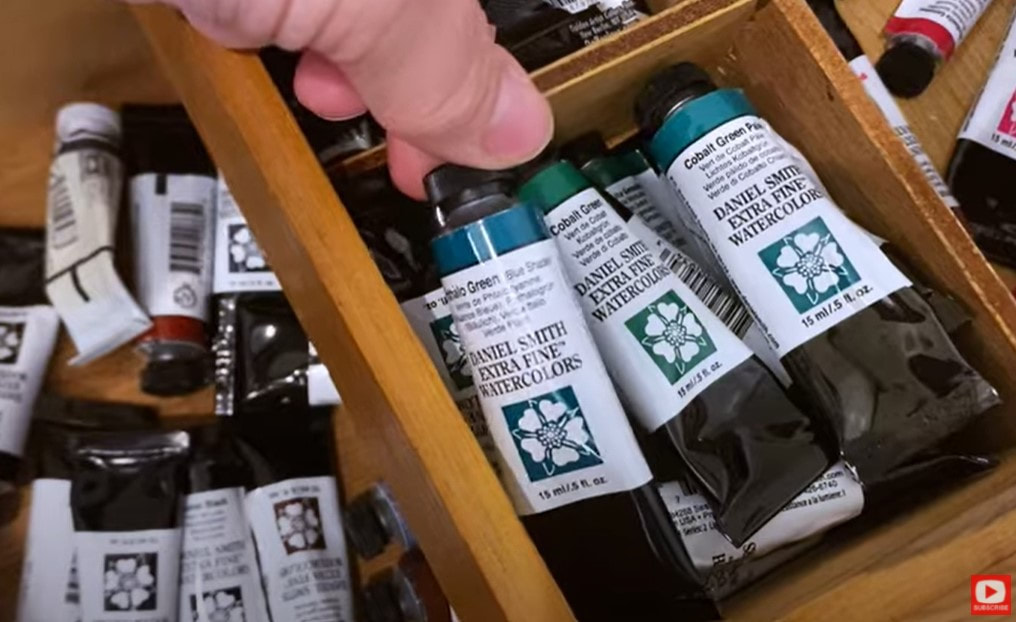
If you're interested in building your own Daniel Smith watercolor collection - I've got a video on that to help you. I know these are super expensive and it can be so hard to decide which colors to get. They're all gorgeous and there's no wrong answer, but check this video out for a few pro tips before ya buy!! Need a list of the colors I added to my travel watercolor palette today? Here ya go!!
Thanks for hanging out with me today! See ya back here next week!
❤️MY ARTIST BESTIE, LUCY BRYDON & I created a NEW ART MEMBERSHIP together called The Celtic Collective! It's now open for enrollment! Join us before the price increases on August 7.
Wanna find out which drawing pencils, pens & erasers I won't leave home without?! Today, I'm dumping out my travel art supplies bag to show you EXACTLY what I brought on our last trip so I could play in my new toned paper travel sketchbook! If you've got a trip coming up and can't decide how to narrow down your drawing supplies - today's video is FOR YOU!!
Before we continue, super quick announcement: Some of the product links below are Affiliate. I may earn a small commission if you choose to order through these links but by law there is never any additional cost to the consumer for doing so. I thank you for your support!
So many times in the past when I've brought a travel art bag on vacation, I didn't even use half of the art supplies I brought with me! I kinda got sick of dragging around a ton of stuff, so started challenging myself to bring less.
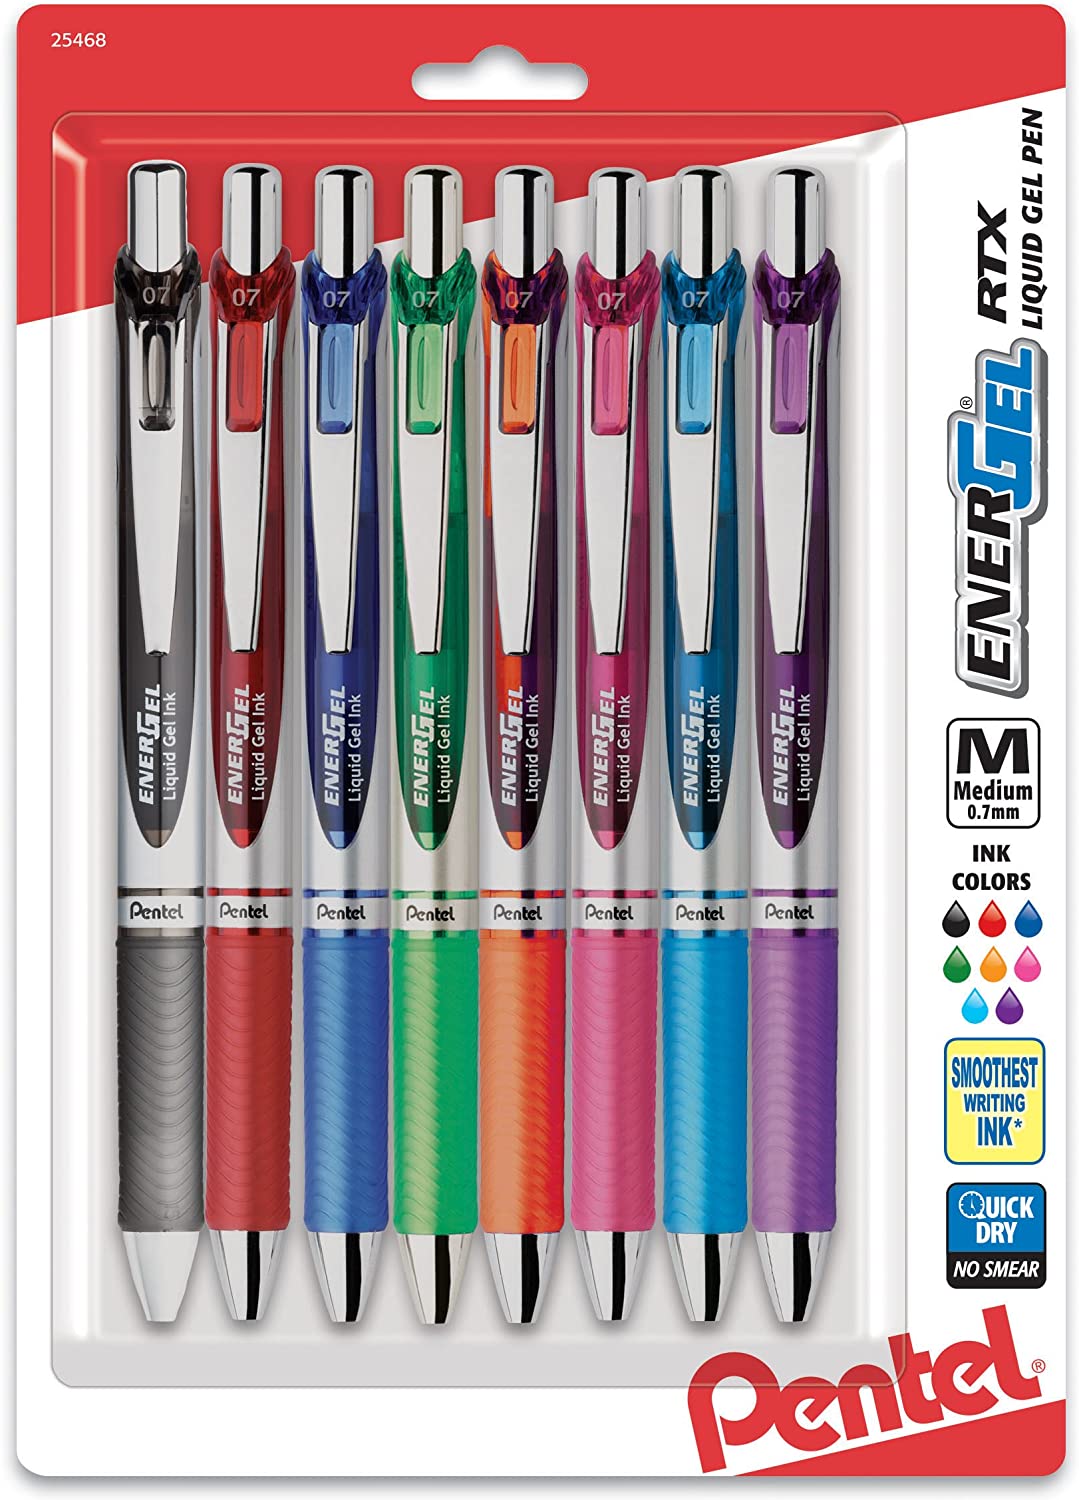
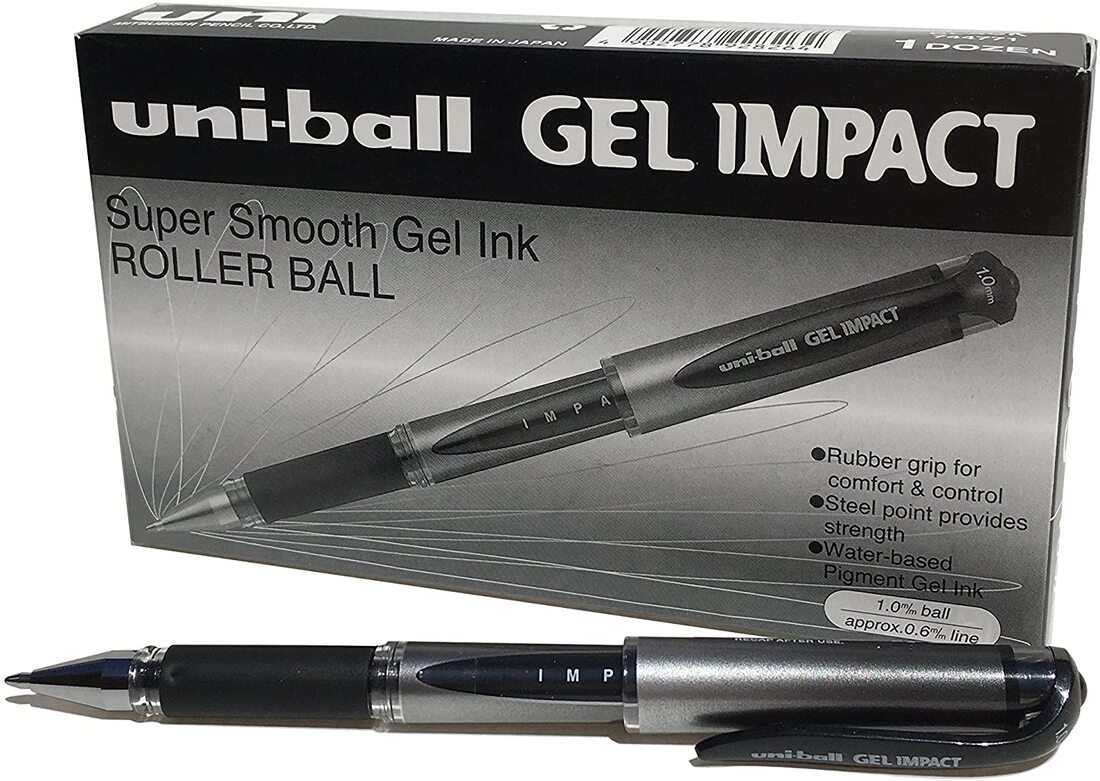
Sometimes I'll limit myself to paper and a pencil if I wanna go super minimalist - but most of the time, I'll bring a pouch with me and fill it with an assortment of drawing pencils, erasers and gel pens like I'm going to show you today. On my most recent trip I decided to only bring dry media drawing supplies, which means my black stabilo all pencil and my waterbrush had to stay at home! Simply deciding something like "only dry media supplies" is a super easy way to narrow things down when you're trying to bring less. Click over to the video to see each supply and why I've chosen to include it! Here are my top ten favorite travel art supplies for drawing - in no particular order!! I've really been in love with my clicky pens from Pentel lately. I use the .07 nibs for writing and the 1.0 nib for drawing. I LOVE a juicy gel pen for drawing - it's like ice skating on my paper!
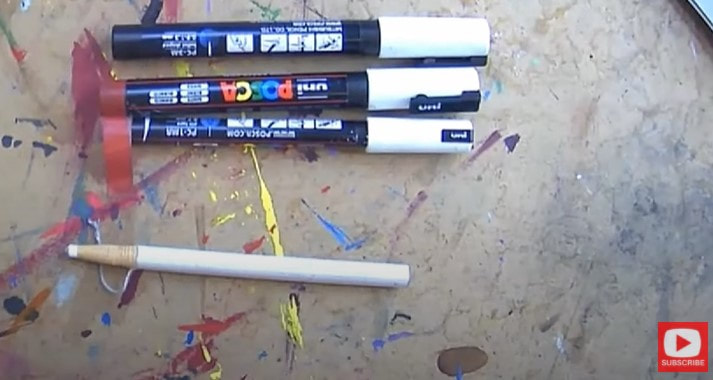
Next, I've gotta have white drawing supplies for adding highlights to anything and everything I create, so there is always a little collection of white posca pens (I'm always afraid one might not work, so I bring at least two!). I also throw a few black posca pens in my bag for outlining!
If I'm bringing toned paper (which I did on this trip!), I'll bring my china markers as well (the white, wax pencil at the bottom in the above picture). They're super opaque and fun to use. If you've never used china markers or worked with toned paper before - I've got a whole series JUST for you!
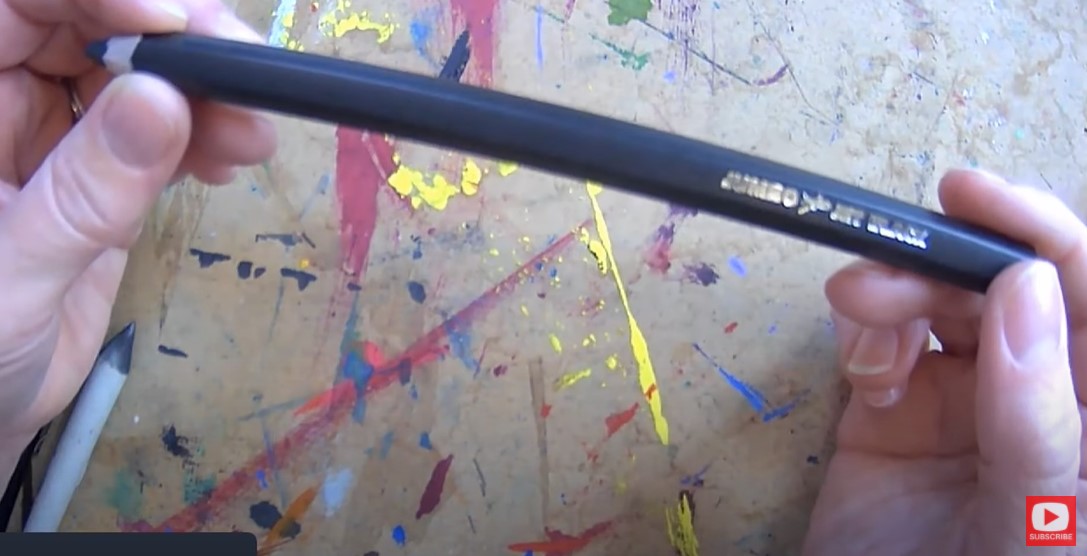
Normally I'd also bring my black china marker, but was in a hurry and couldn't find it before I left, so grabbed my jumbo jet black pencil (shown above). I buy these at Jerry's Artarama. They also go on really opaque and have a similar feel to a china marker. It's oil impregnated charcoal!
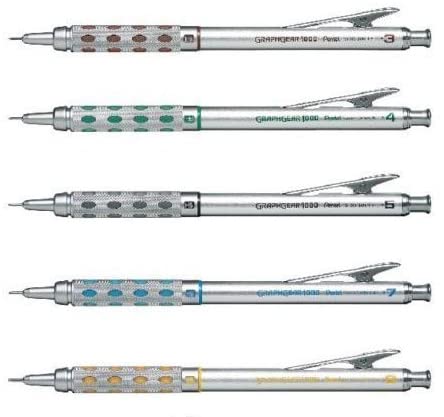
Next, I need my drafting pencils - also from Pentel. These have some weight to them and feel heavy in my hand- which I love. I use the .09 for really bold lines. This one is great for when I'm teaching online because people can see the lines from it really well. I use the .07 and .05 for more detail. They also make a .03- but I find that I don't use that one as much.
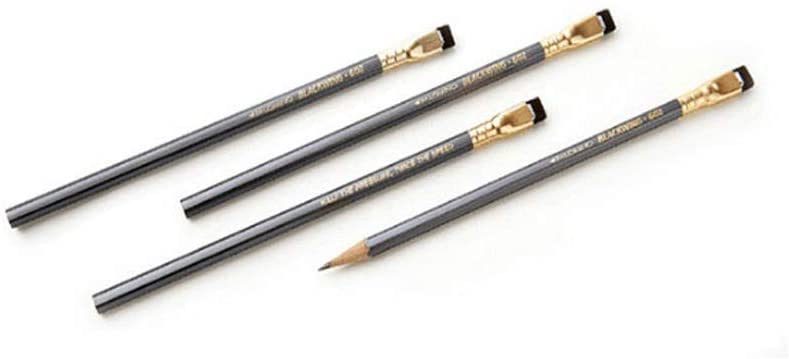
When I want to do some shading- I really love my Palamino Blackwing Pencils. I feel like you can do everything with one of these suckers! They're so soft. It's like having an entire pencil set wrapped up in one pencil!!
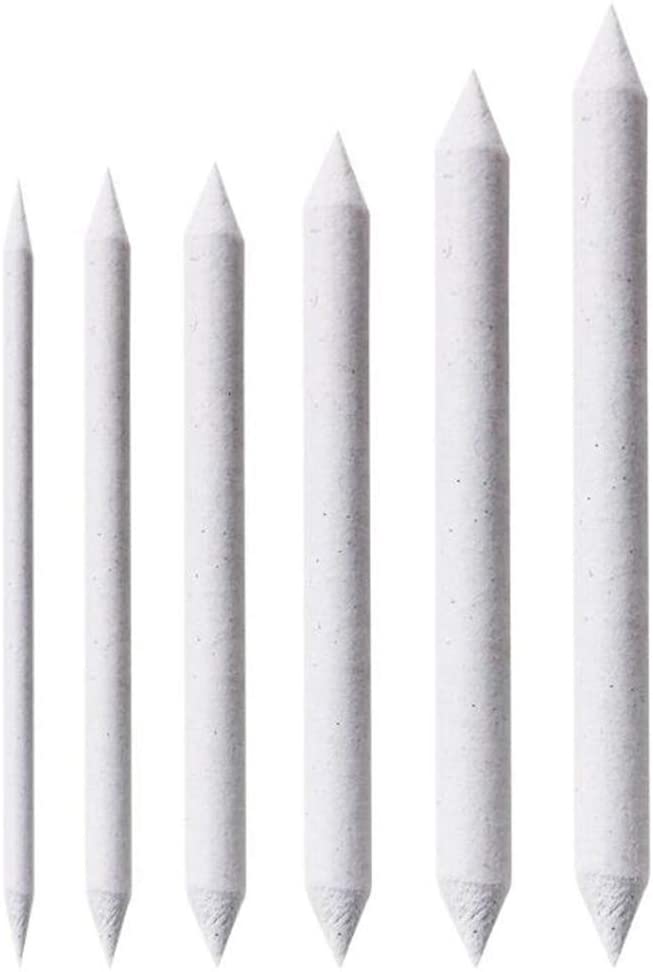
Honestly, if I only had a blackwing pencil, a blending stump (below) and one of my white posca pens, I'd be a happy camper (if we're talking bare minimum supplies). Remember with blending stumps - the dirtier, the better!
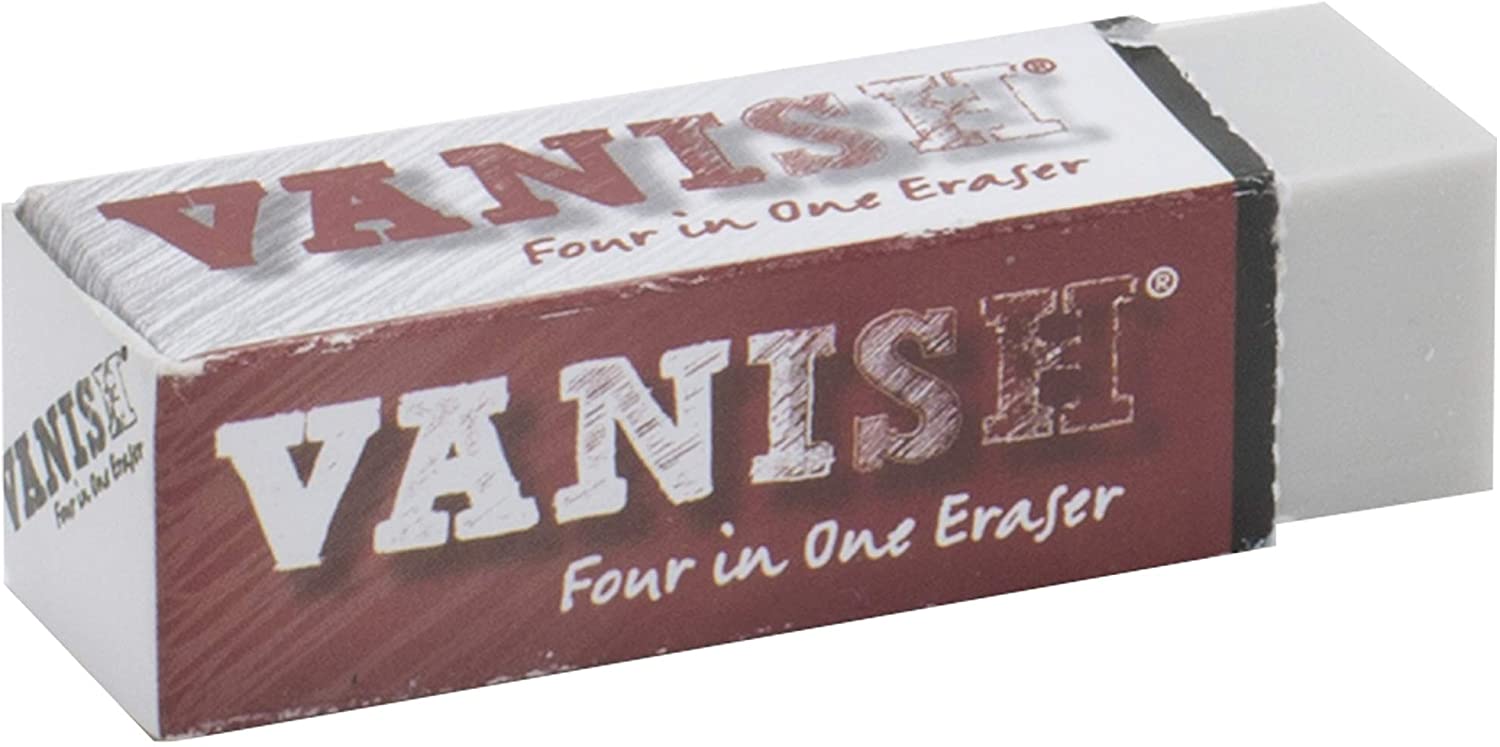
Next - let's talk drawing erasers. I have two favorites. I use my vanish eraser absolutely ALL the time. It's super gentle on your paper and very effective at lifting graphite off the page.
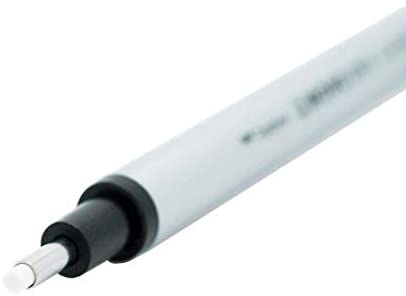
My next favorite eraser for drawing is by Tombow. It's called the mono zero eraser. It's basically like a mechanical pencil, but an ERASER! It's amazing to chisel out teeny tiny highlights!
I've been loving my Uni-Ball Signo gel pens for quite a while! Sometimes I'll draw with these alone, but typically I'll use them for adding fun outlines and doodles at the end of a drawing. They also work amazing well on top of watercolor!!
Depending on the kind of line weight I want to use in my drawing for outlining at the end - I may also choose to use a thicker, black posca pen as well.
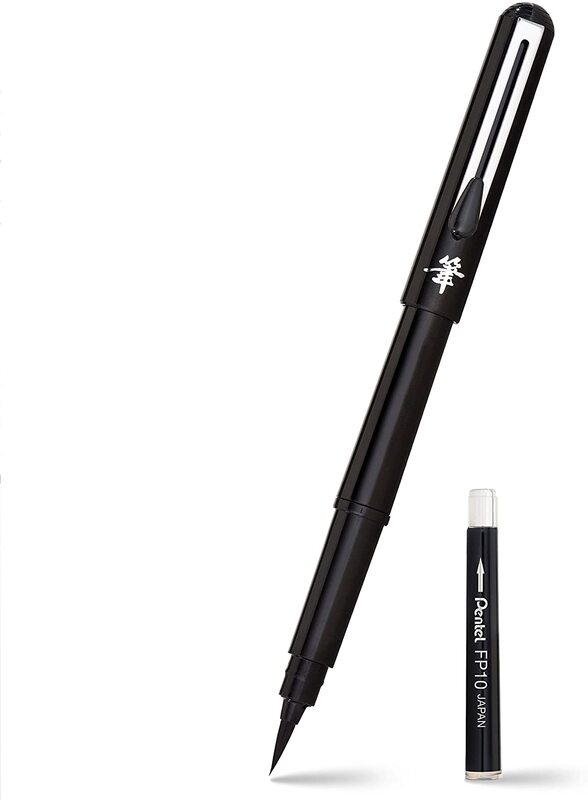
Finally - I WON'T leave home without my beloved pentel pocket brush!
This thing makes the most AMAZING eyelashes and I use it for both drawing and mixed media portraits! If you've never worked with this before- it really has the feel of a paintbrush and can take a little getting used to. Here's a video to help you use the pentel pocket brush for drawing eyelashes in drawings (featured at the end of that video), and one for using the pentel pocket brush in mixed media drawings!
I recently discovered a similar product with an even teenier brush nib at Michael's, so that was in my travel art supplies bag this trip as well!
That's it! I hope you find today's video helpful!! I know it can be such a challenge narrowing down you art supplies when you're traveling - but this list should really help you out!
❤️MY ARTIST BESTIE, LUCY BRYDON & I created a NEW ART MEMBERSHIP together called The Celtic Collective! It's now open for enrollment! Join us before the price increases on August 7.
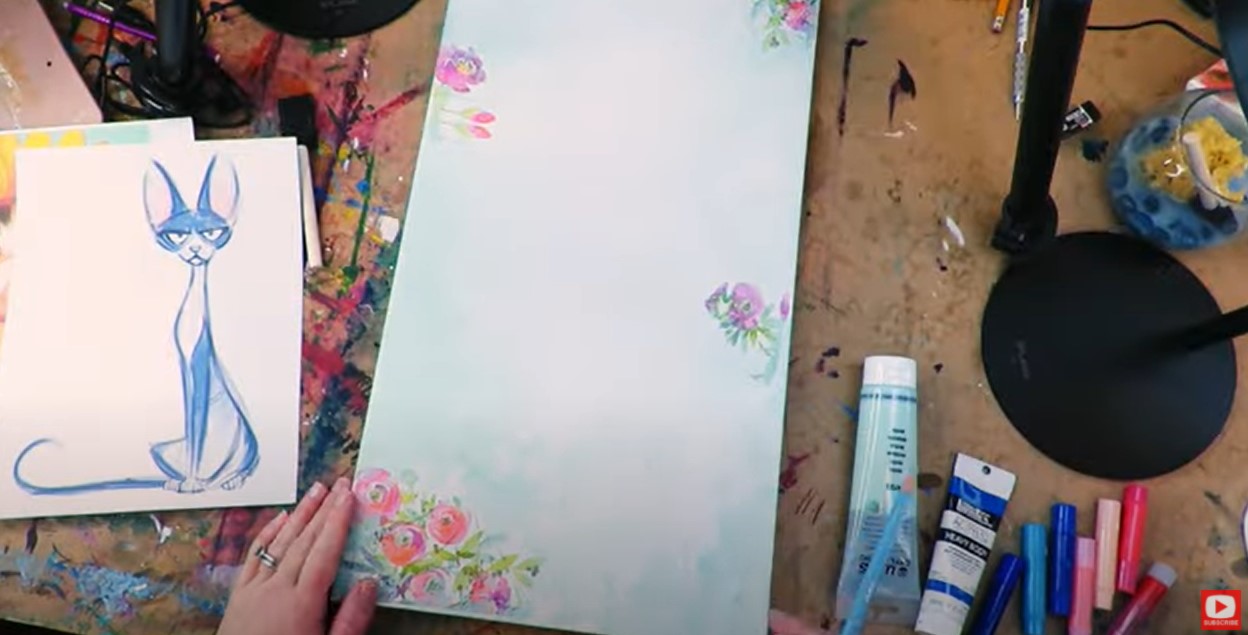
Today's mixed media on canvas is a hilarious mashup of a grumpy cat and a flower- done in my signature "Hamburger" style. There's a little bit of everything from mixed media collage using paper napkins, to mixed media drawing & acrylic painting. I had a blast! Having FUN with your art is the MOST important part! If you're having FUN, you'll create more often. The more you create - the BETTER you'll get!
If you've never done mashup art before, be sure to click over to the video to see exactly what I'm doing. It's actually REALLY easy. You just combine two or more reference images to come up with your own creation!
For my supplies, I used a tall canvas (around 12 x 36), some floral napkins for collaging with mod podge, and ALL my mixed media supply favorites from watersoluble pencils to acrylics, gelatos and pitt pens.
If you look closely at the collage portions of this piece- I was using floral napkins. The napkin pattern had a white background, so when I collaged it to my canvas, the flowers kinda melted into the background like they were always there. It was a really cool effect! Check out this link to learn more about how to do wrinkle-free mixed media collage with paper napkins.
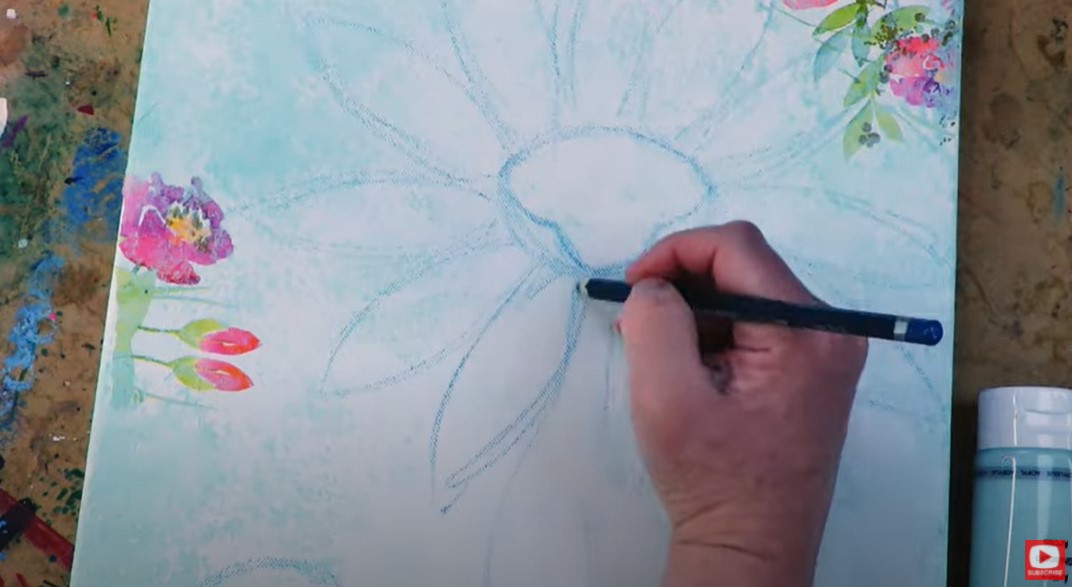
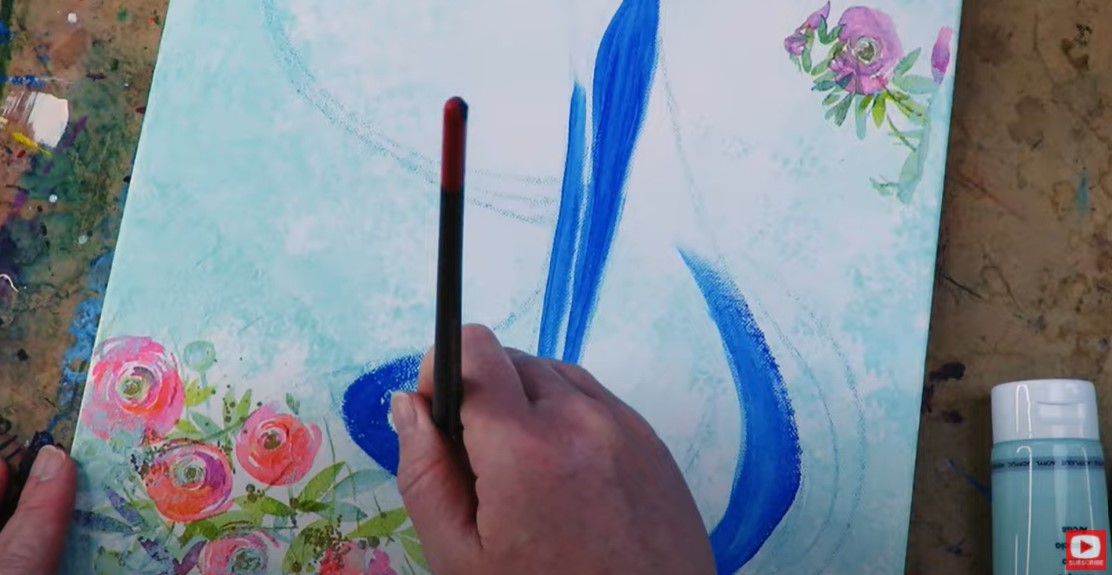
As you can see above, when I was ready to start drawing my grumpy flower cat, I used a watersoluble pencil. I think this is an awesome trick because once you start painting, your pencil lines totally melt away!
Once I got my acrylic layer down, I started adding in my gelatos (shown below) to blend in some shading with my finger and give my acrylics more dimension.
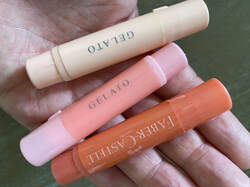
If you've never used gelatos before, they're AMAZING. I recently did a video on how to use gelatos in mixed mediat art, so be sure to check that out for my best tips.
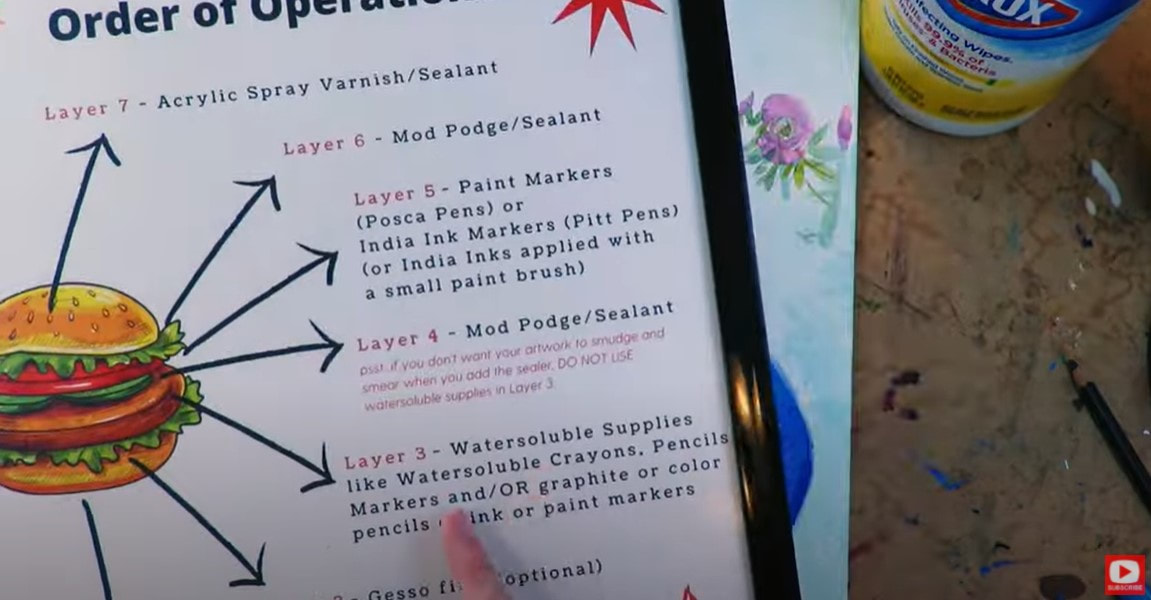
Gelatos get added in layer 3 of my Mixed Media Hamburger System. If you're not familiar with my "hamburger system," - it's what I named my layering process when I'm doing mixed media and want to play with ALL of my art supplies!
The hamburger system is SUPER helpful for beginners and anyone else who wants to learn a little more about mixed media art supplies, when to use them & which supplies work well together. Click the button below if you'd like to download my Mixed Media Hamburger cheatsheet (yup - it's totally FREE).
If you'd like to see me explain my hamburger system to you on my Mixed Media YouTube channel, be sure to click over to this playlist.
I hope you get a kick outta today's grumpy flower cat mashup! If this is something you'd like to do with me in real time (no timelapse), this is one of MANY fun projects over in the Mixed Media Society over at Awesome Art School. We'd LOVE to have you come hang out with us!! ❤️MY ARTIST BESTIE, LUCY BRYDON & I are creating a NEW ART MEMBERSHIP together called The Celtic Collective!! Learn More & add your name to the waitlist here. Opens in TWO DAYS on July 7th! |
Karen CampbellFounder of Awesome Art School. Mixed Media Artist. Author of 19 Instructional Art Books! Whose work has appeared in...Archives
July 2024
Categories
All
|
|
"Karen is flipping hilarious and she's very real...I like the way she teaches in a way that really gives you confidence, whether you're a beginner or advanced there's always something new to learn!"
- Elizabeth W. |
What Fans Are SayingKaren, you are absolutely fabulous! You make me feel like I can draw anything. I have recently retired and finally have the time to do some of the art that I have loved since I was in school. I am really at the beginning of my art journey and I hope to learn as much as I can. Thank you for all you do. |
Contact ME |



 RSS Feed
