blog
Let's Get Your Creative Juices Flowing!!!
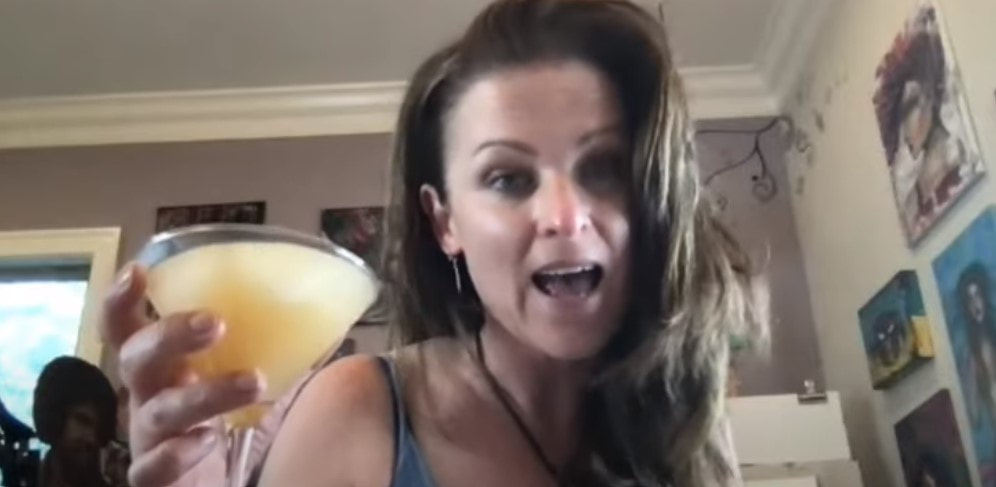
This martini glass drawing tutorial is SO fun & easy! Pour yourself a drink & come hang out with me for our own little draw & paint party. If you love art deco style already - you'll LOVE seeing a glimpse of the projects in my recently released trilogy of Learn to Draw Art Deco Style books. Then, I'll show you how to draw a martini glass and shade it 2 different ways- once using Noodler's Ink (it's basically like watercoloring!), and the other using my favorite alcohol markers (copics)!!
Before we continue, super quick announcement: All product links are Affiliate. I may earn a small commission if you choose to order through these links but by law there is never any additional cost to the consumer for doing so. I thank you for your support!
In 2020, I went down a serious 1920s -1930s / art deco rabbit hole just for me. I fell in love with the styles and just had a blast getting into the fashion, figures, hats, shoes, jewelry, furniture, pets, men, cars and cocktails of that era!
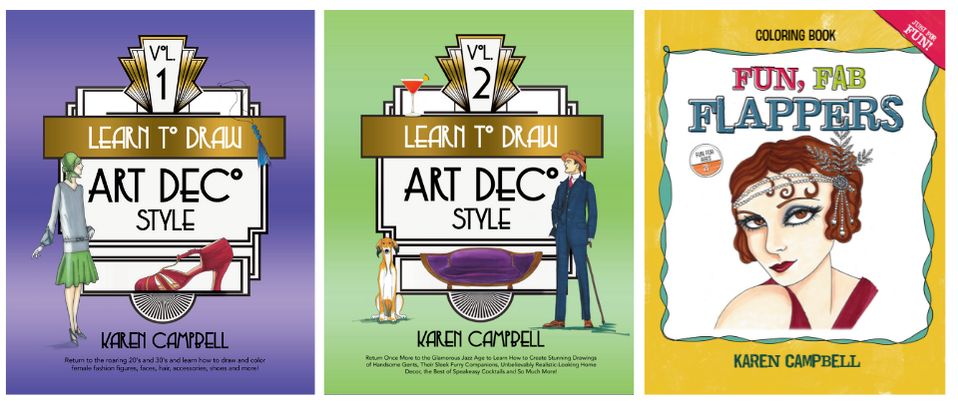
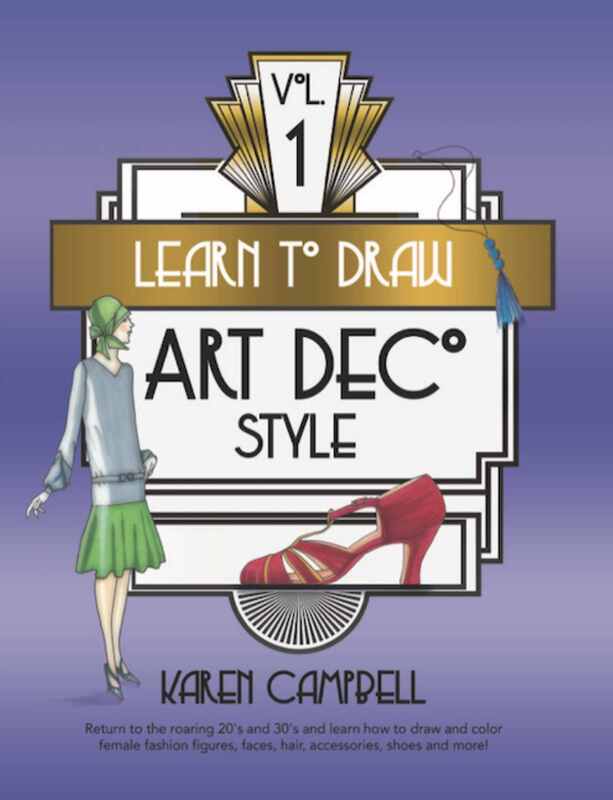
During that time period I published not one, but THREE Art Deco Drawing books (1, 2, 3).
What's fun about these books is I do have a lot of FREE videos on YouTube to accompany the book, so if you've ordered a book and see a little film icon in the corner- make sure you check that link out because there is a video lesson you can play while you work your way through lessons in the book.
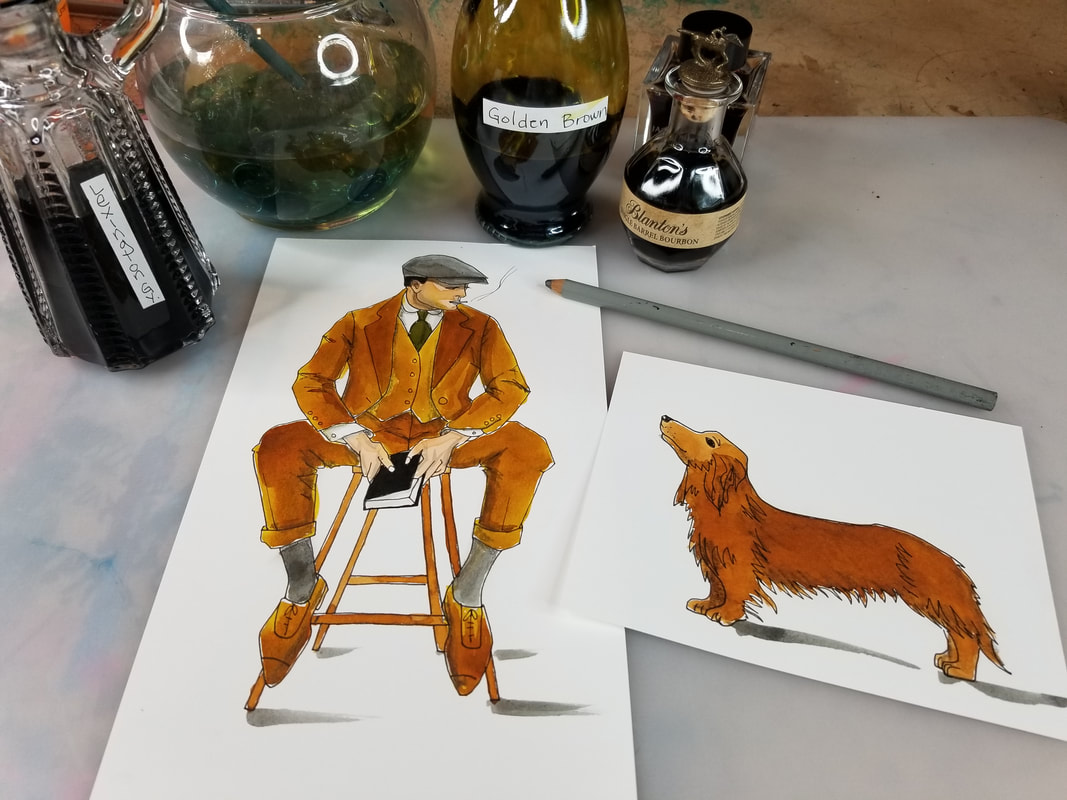
I used a lot of watercolor, alcohol markers, and fountain pen inks. In each of these books you'll even find a few fun facts about this time in history because I'm a bit of a vintage history nerd! And when I look stuff up, I've gotta share!! I love everything OLD!
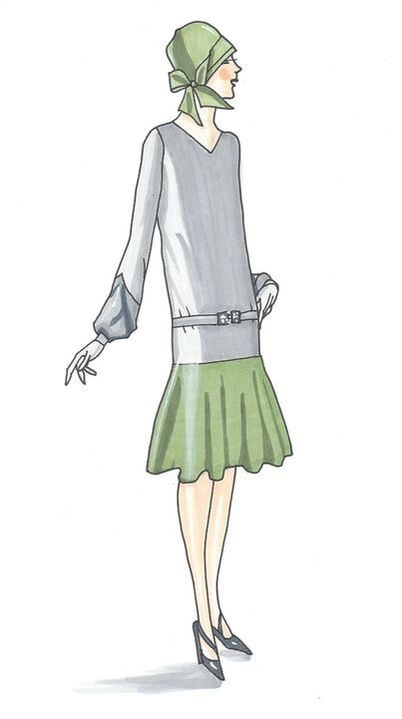
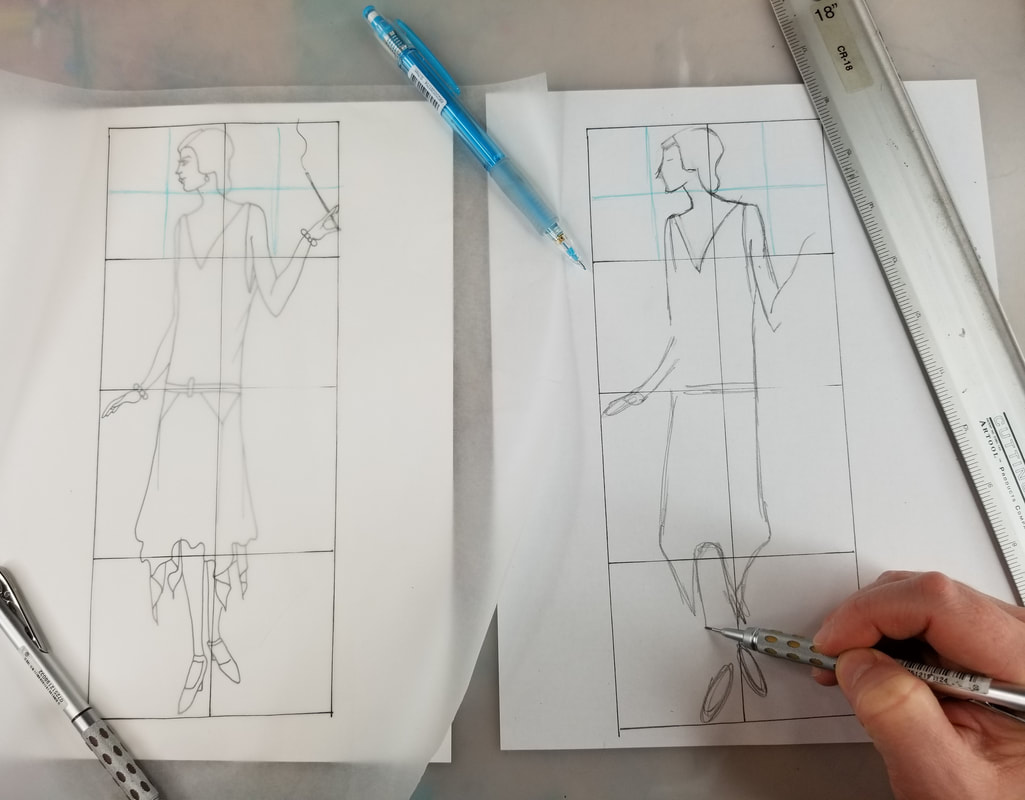
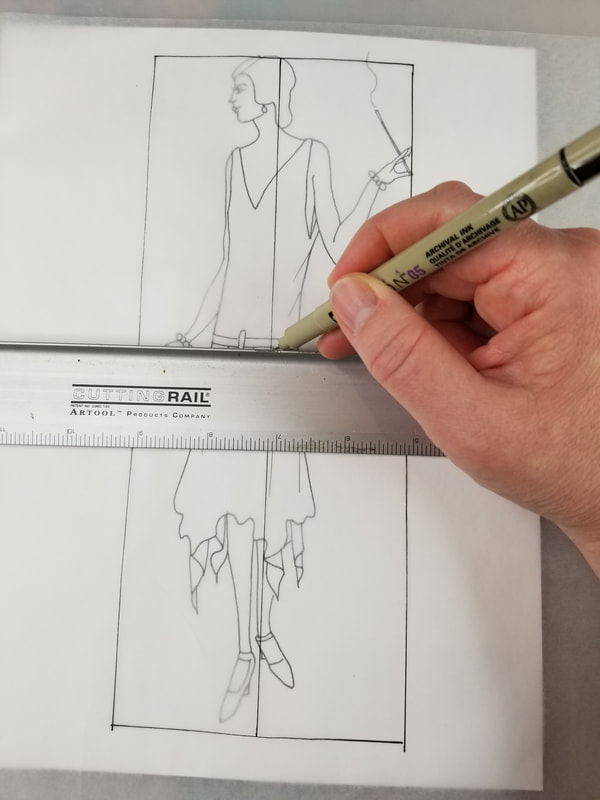
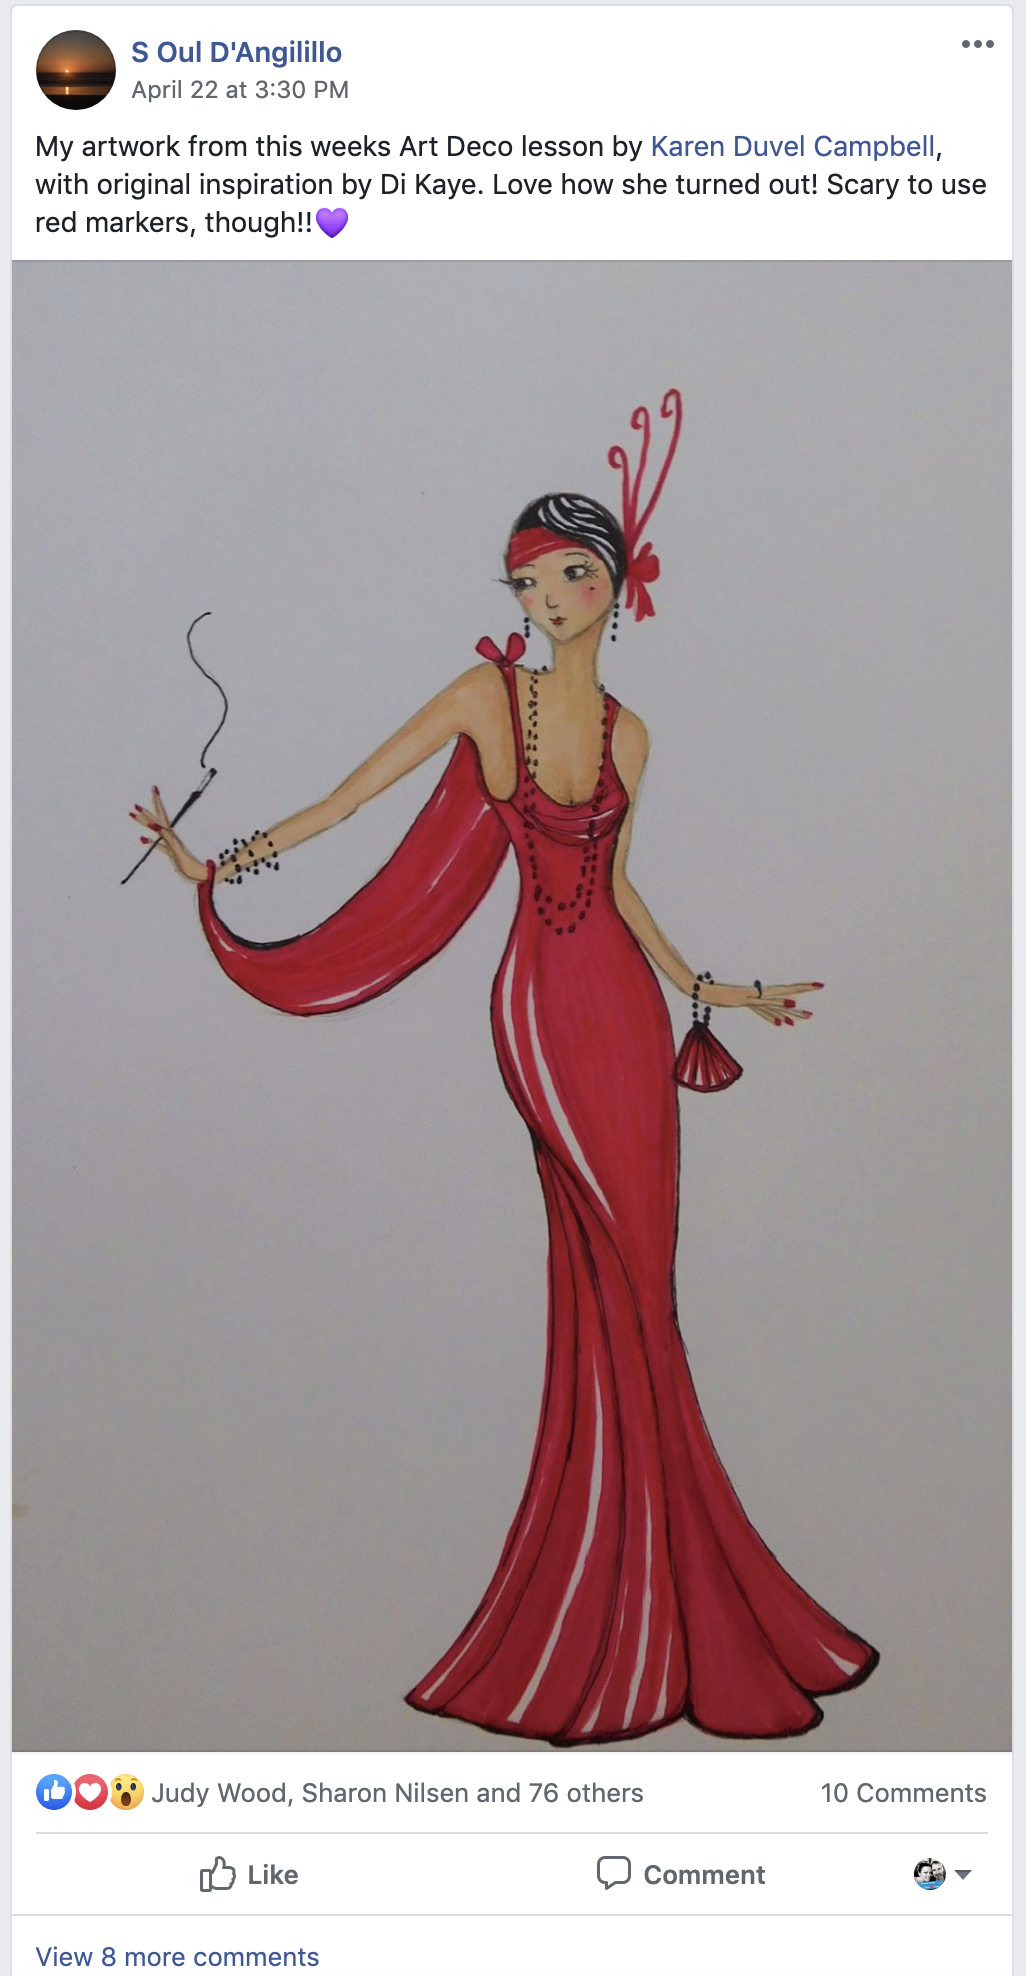
Volume #1 is super "girly" with lots of fashion, shoes and jewelry. In this book I go in depth about how to use my Quadrant Method for drawing figures too, so if you've been wondering how to draw figures easily - this is a great way for beginners to get started!
In my second volume, I'll teach you how to draw male figures as well as popular dogs and cats from the Art Deco era. If you're not sure how to draw a dog or how to draw a cat, I teach you how to use my Quadrant Method for this as well. It's SUPER easy!!
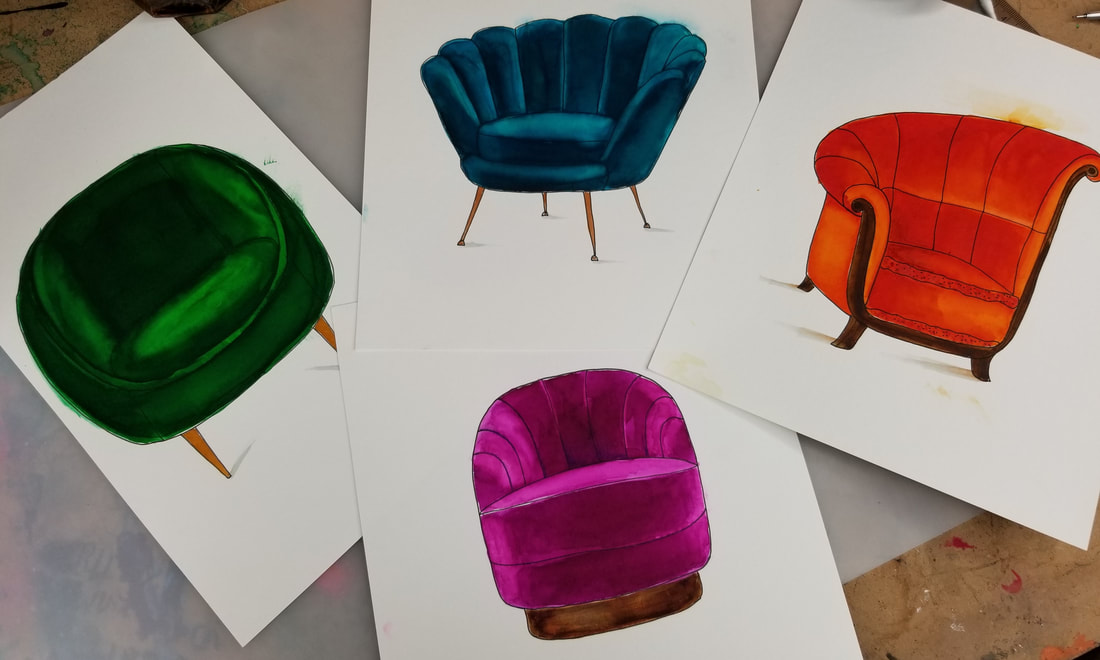
Art deco furniture was GORGEOUS, so you'll find quite a few fun pieces in this volume as well. If you've been following me for a while, you may already know I've got an obsession of painting with fountain pen inks!
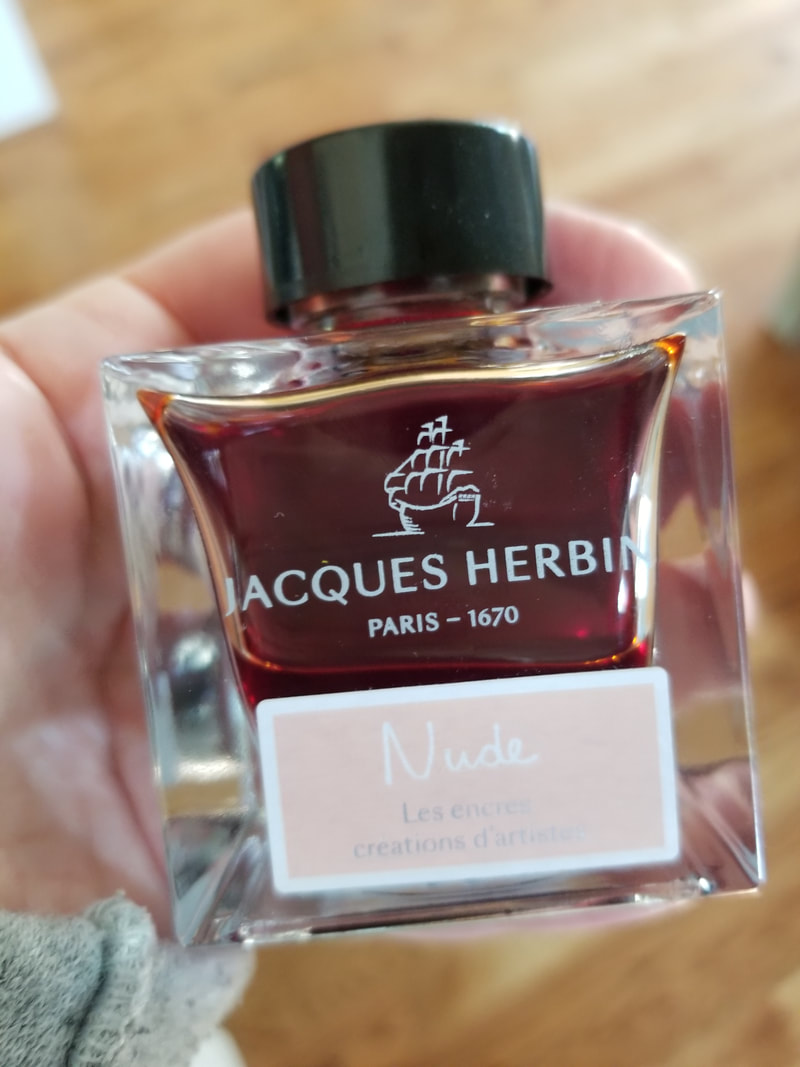
I find fountain pen ink to be even MORE vibrant than my favorite Daniel Smith watercolors, and I love to just dip my watercolor brush straight into the bottle to get some serious pigment onto my paper.
When I was painting the Art Deco furniture projects for this book, I felt my fountain pen inks really made the velvet I was rendering look realistic! You kinda have to see it to believe it.
I wrapped up Volume #2 of Learn to Draw Art Deco style with a chapter on cars and cocktails from this era. It's really remarkable how realistic some of these drawings look!
You can totally achieve this too when you learn how to layer your art supplies properly. Even if you're a beginner- you can do this! I'll show you how and keep each project step by step, so even beginners just learning how to draw feel comfortable!
To dotoday's full length drawing tutorial with me - all you need is a sheet of watercolor paper (if you want to color your martini using a wet medium like watercolor), or a sheet of bristol, card stock, or marker paper if you'd like to shade your martini in alcohol markers.
Be sure to click over to the video to draw with me in real time (22:22). The drawing itself is fairly simple, so if you're a beginner interested in learning how to draw - this project is perfect for you!
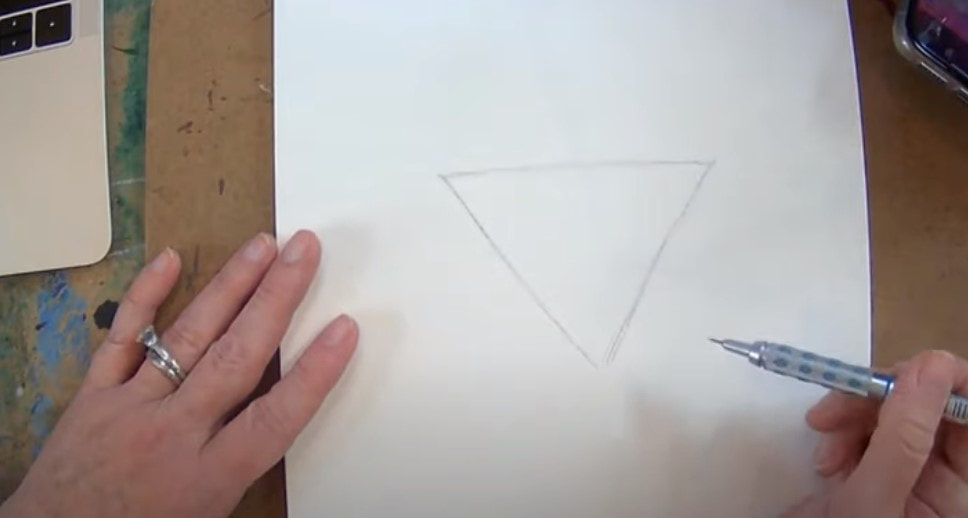
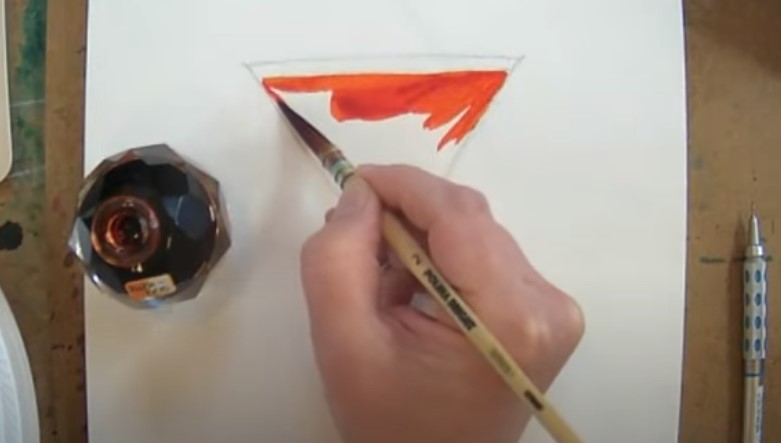
We're starting with an upsidedown triangle and adding a stem. Once everything is sketched in, I pulled out my Habannero Fountain Pen Ink and simply started coloring in the liquid for my martini. If you're not sure how to paint with fountain pen inks, just follow me. It's basically the same as using watercolors - just richer.
If you don't have any fountain pen ink, you can definitely use Dr. Martin's acrylic ink in a similar way or watercolors.
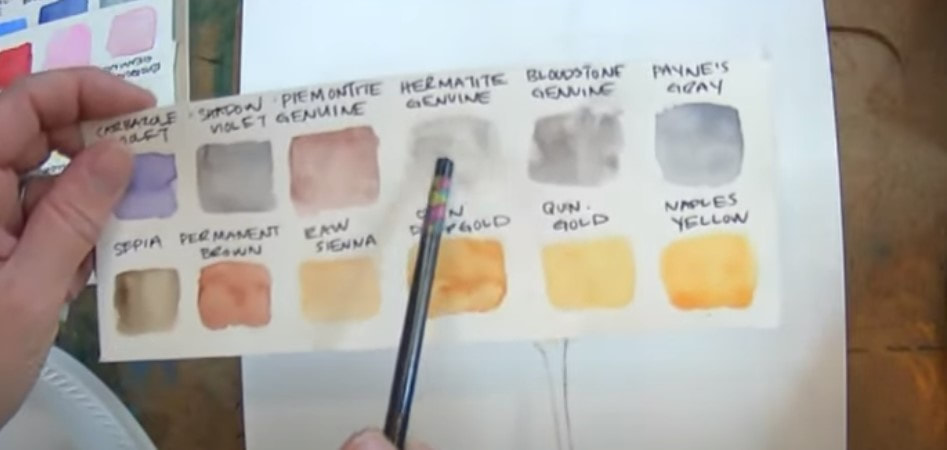
Click over to the video to see how I shade the stem of the glass. I often reach for my Daniel Smith Hermatite Genuine. This is a really soft gray. You can also just really water down some Bloodstone Genuine or Payne's Gray as well to paint a fine line down the stem of the glass.
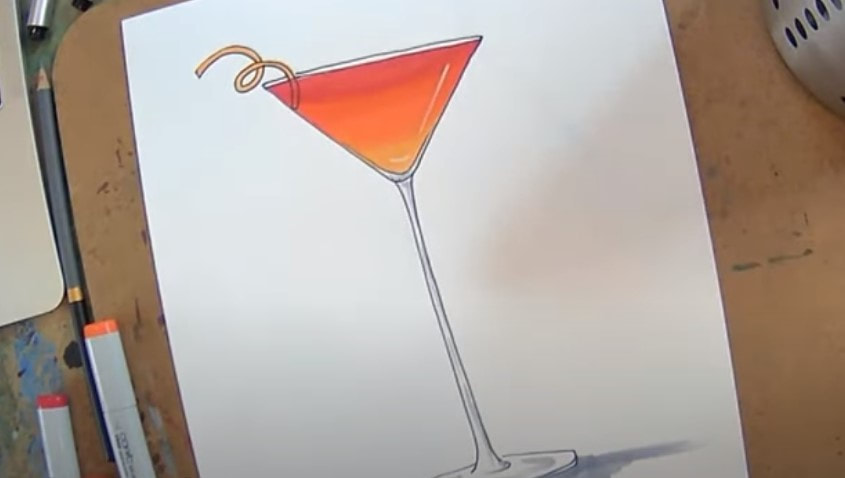
If you'd like to see the same project done in alcohol markers while your ink painting is drying, click over to the video (42:00). If you enjoy the look of outlining in your work and are going to shade with alcohol markers, you can outline your glass before or after you shade.
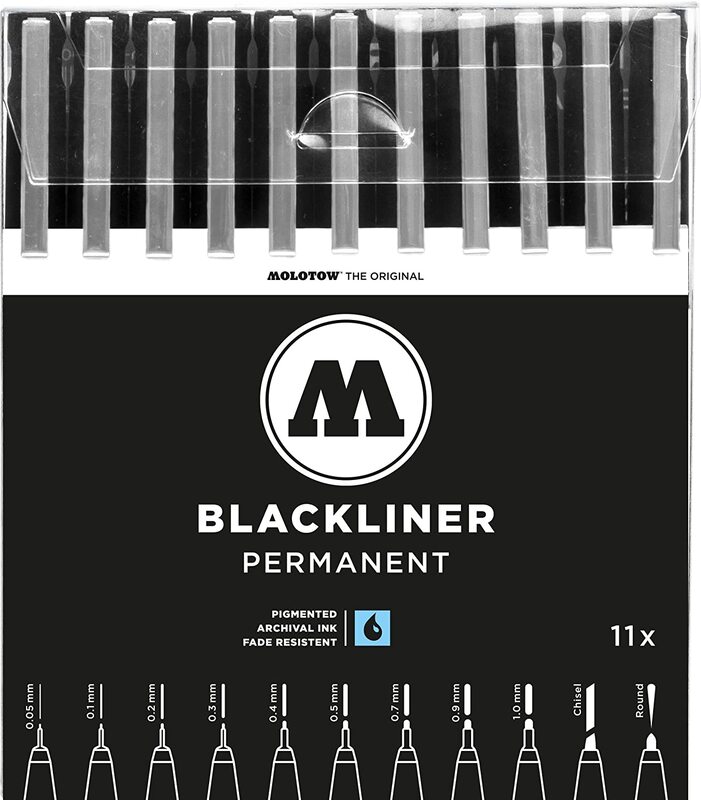
If you choose to outline first, make sure you're NOT working with an alcohol based fineliner because it will bleed. The fineliner should be pigment based or water based (warning: SHARPIES will bleed, so don't use these). Check out my Amazon Shop of favorite art supplies for drawing and mixed media. I recommend Moltows for outlining with copics or other alcohol markers.
Make sure you swatch your alcohol marker shades off to the side so you know ahead of time that they will blend well together. Before your start shading in marker, be sure to erase your graphite because your markers will drag that around and smear.
HOT TIP: To ease your shading transitions between marker shades, just keep on layering because each top layer rewets the bottom layers and helps them blend. You can also use your lightest of the three colors to blend, or work in a layer of colored pencil, followed by some highlights with a posca paint pen. Click over to this video for more tips on how to copic marker blending!
Make sure you click over to the video because I walk you through both versions of this project step by step!
Thanks for hanging out with me today!!
❤️ CHECK OUT ALL my art books on AMAZON ❤️ MY FAVORITE ART SUPPLIES on AMAZON ❤️ MY BELOVED FACEBOOK GROUP ❤️ FOLLOW ME ON INSTAGRAM
0 Comments
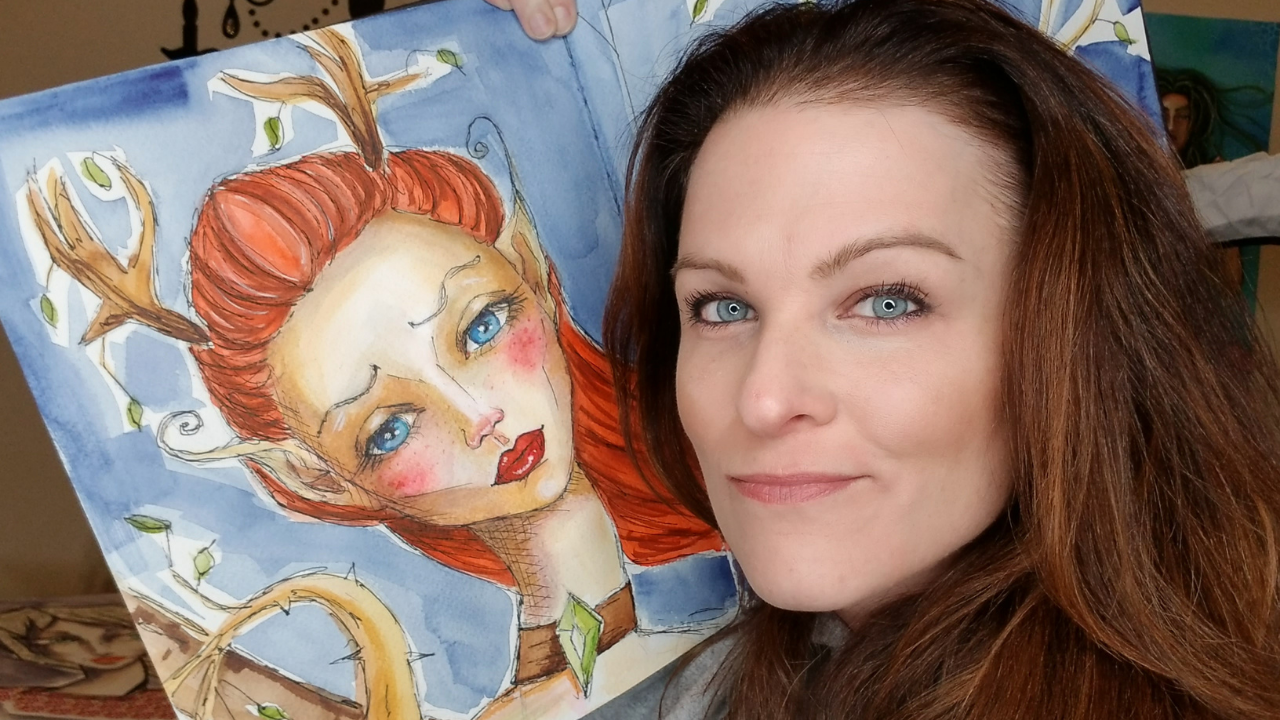
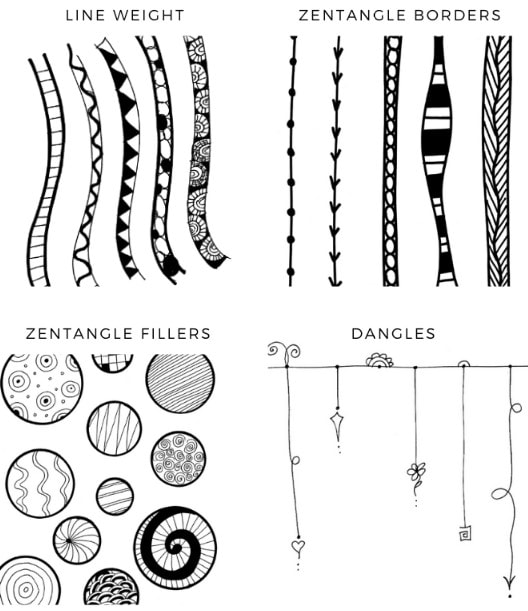
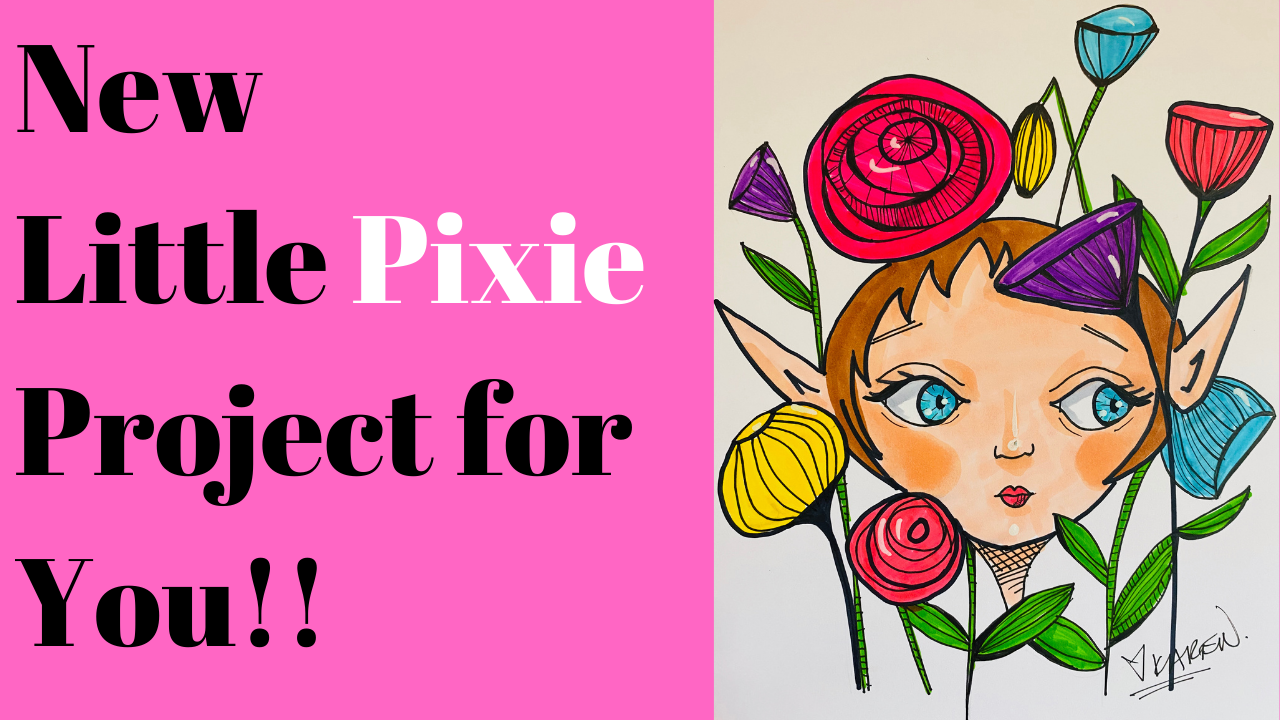
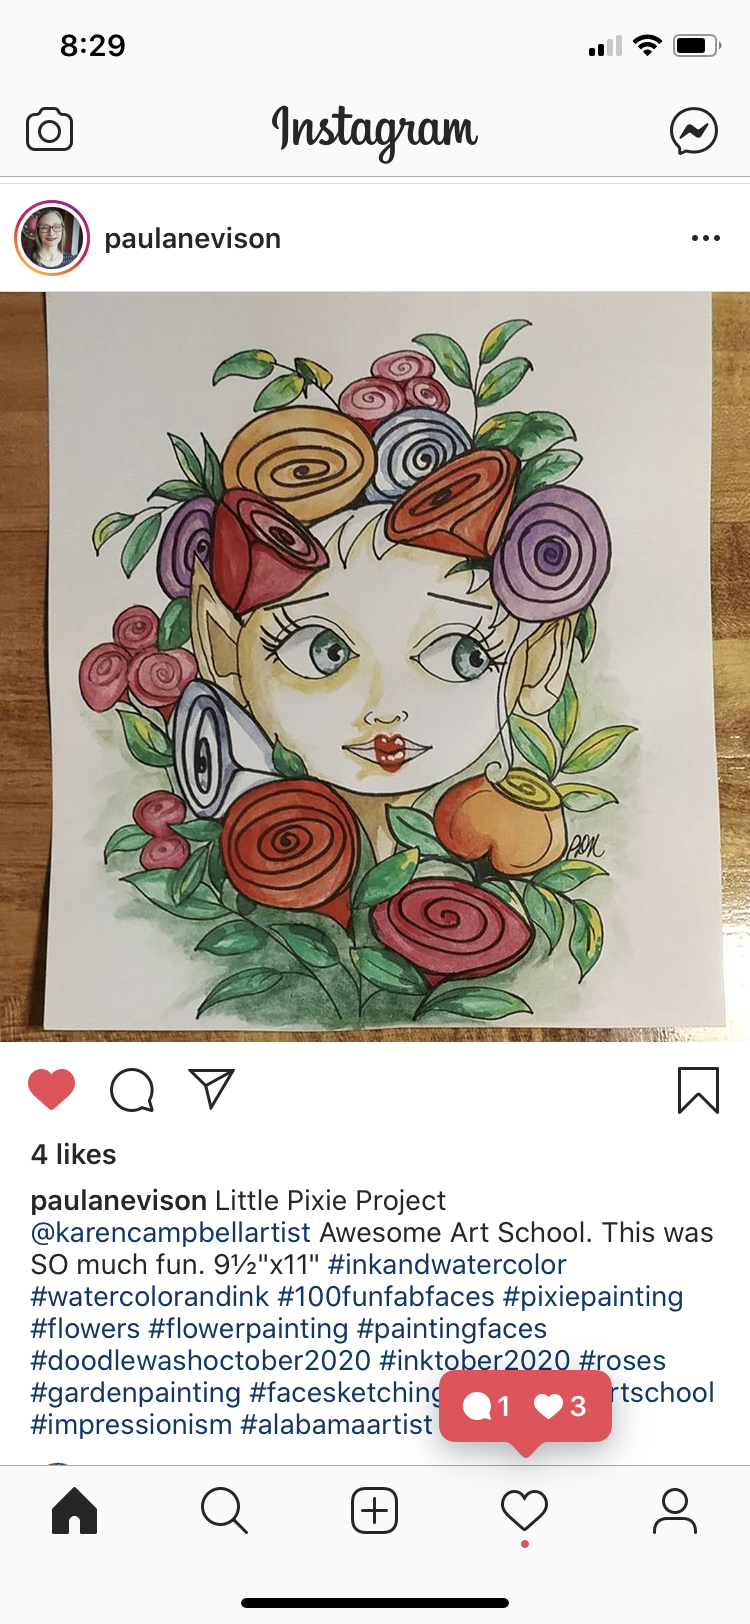
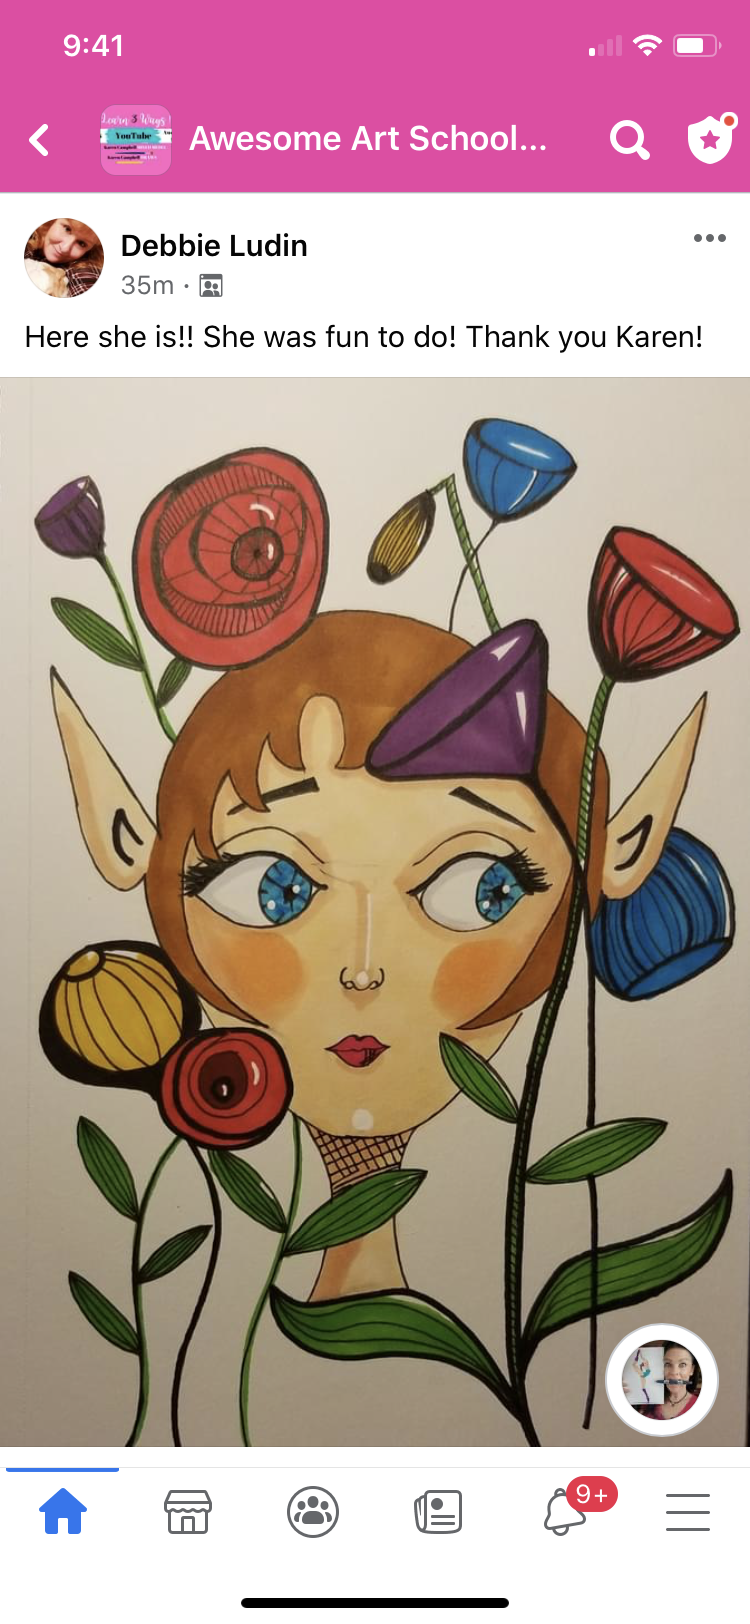
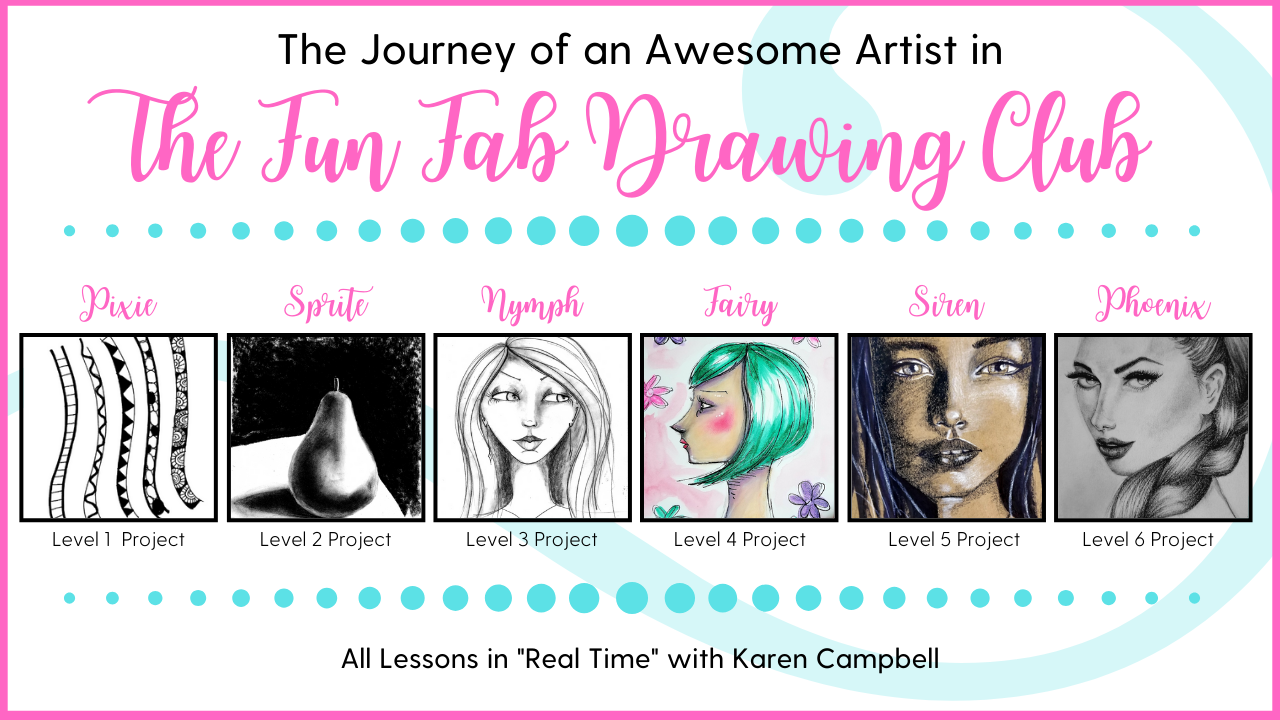
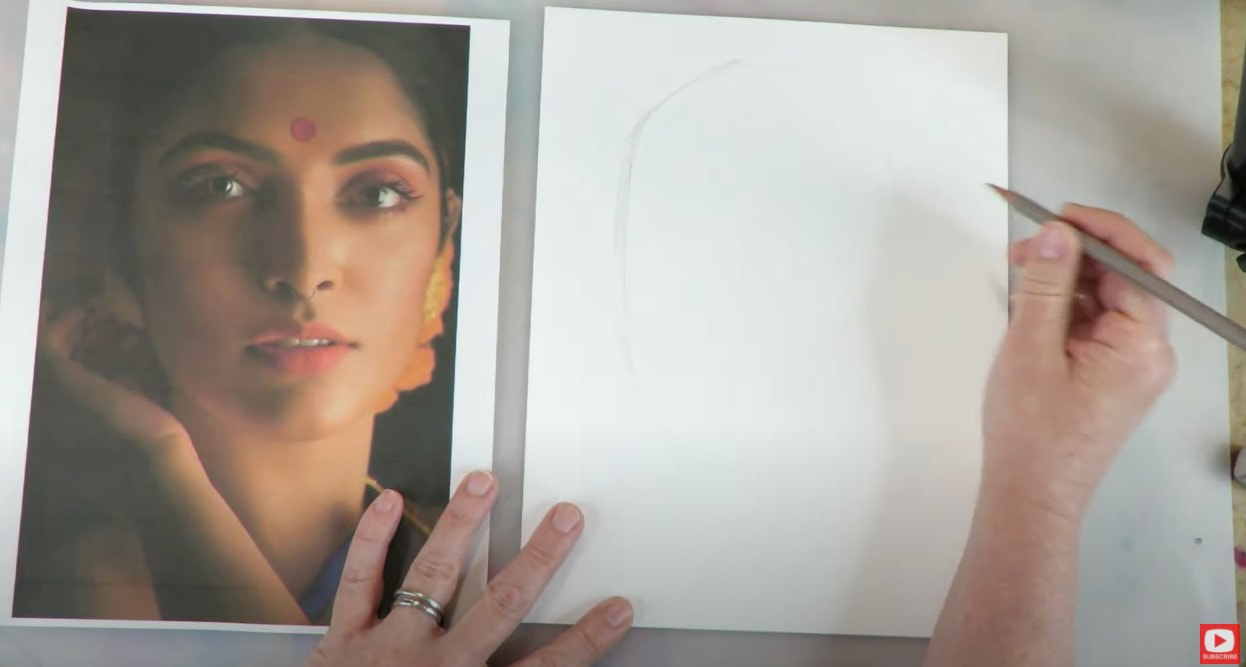
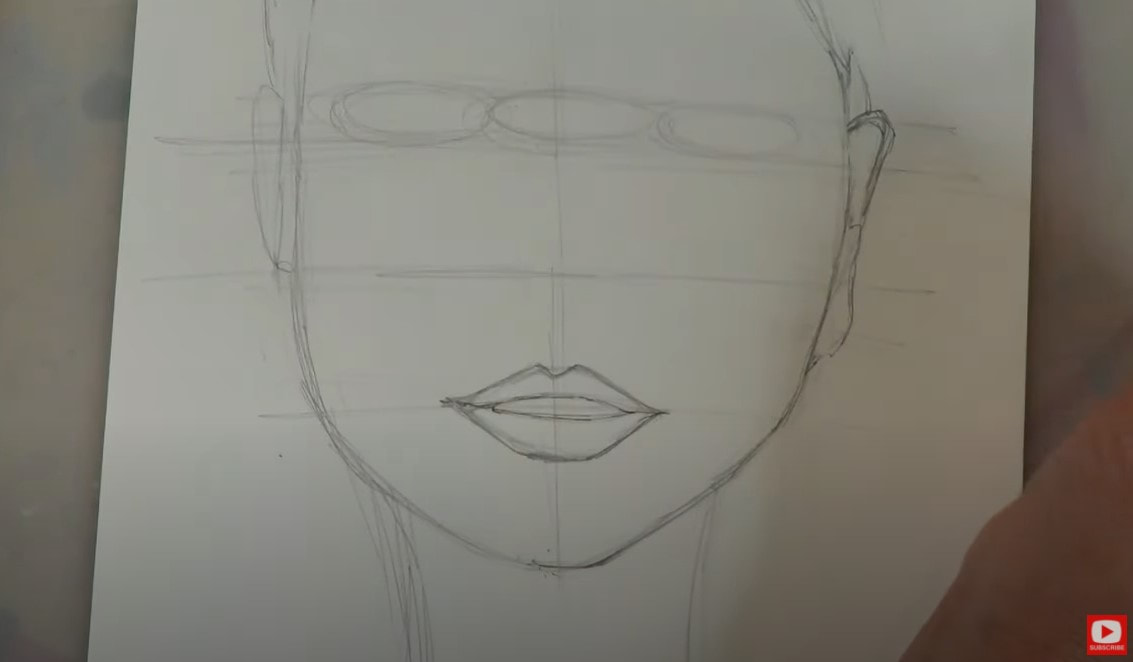
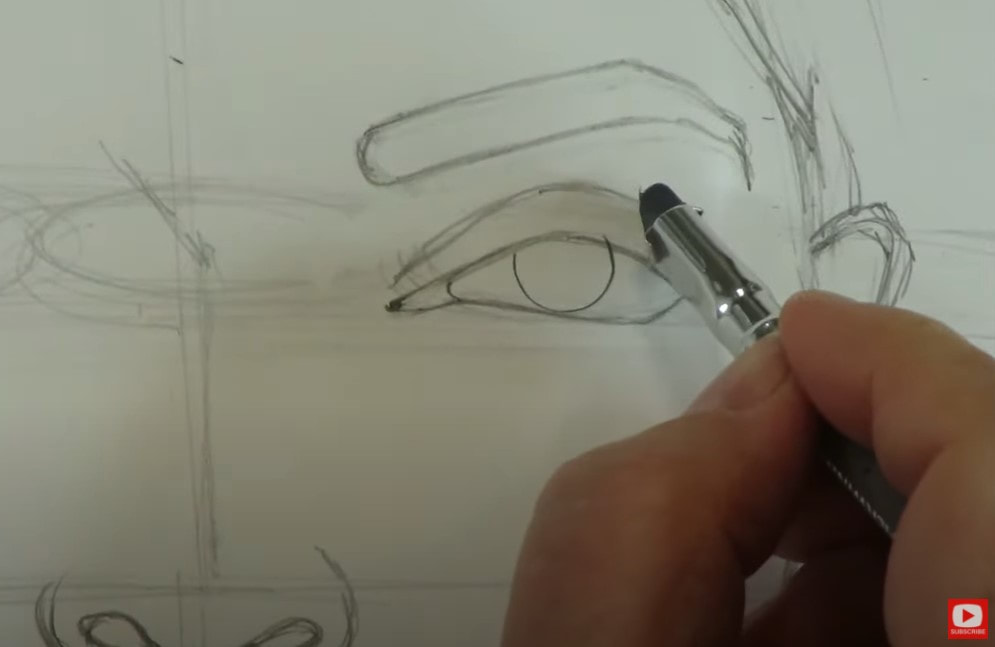
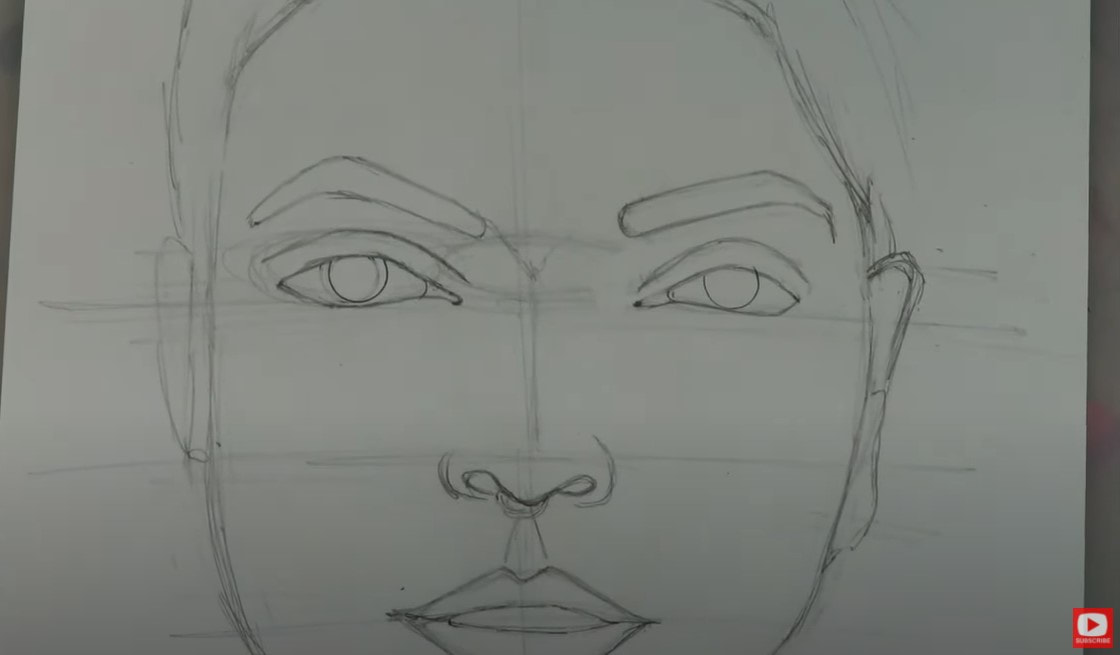
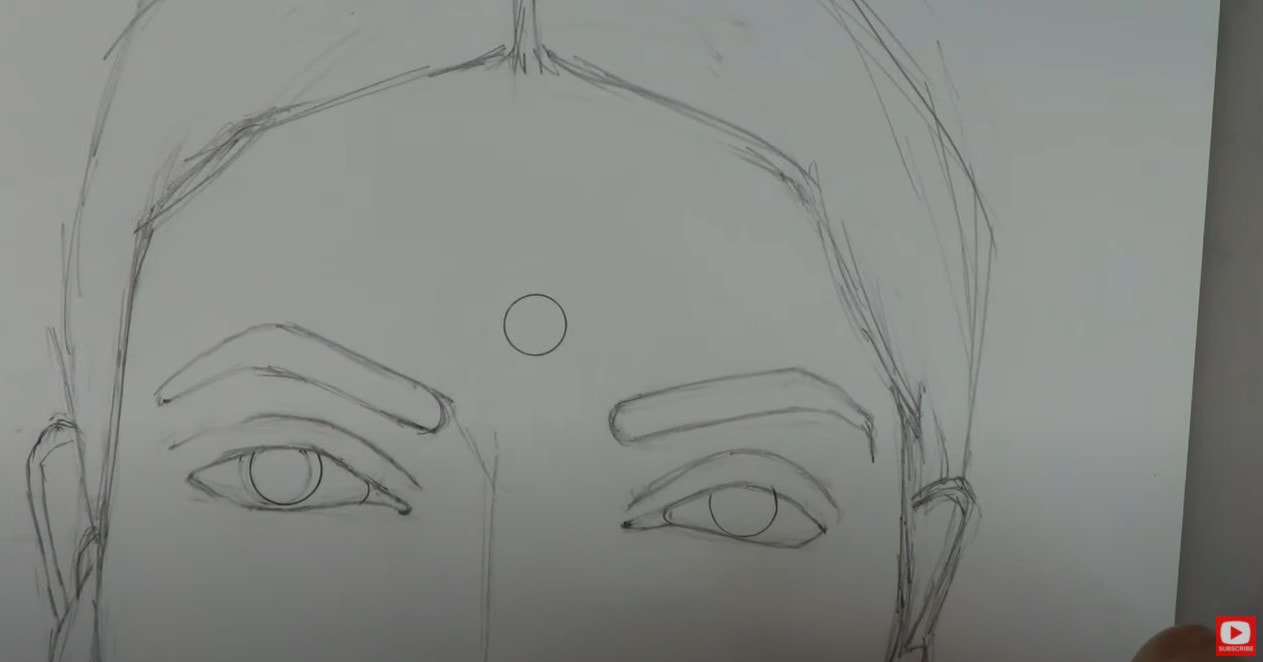
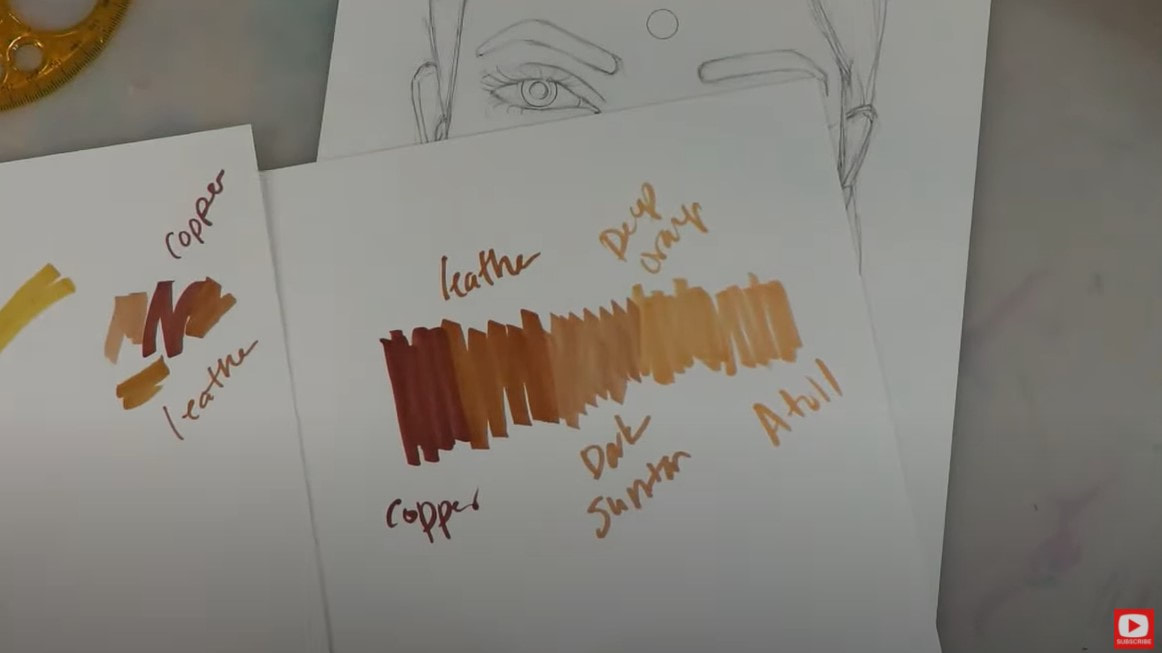
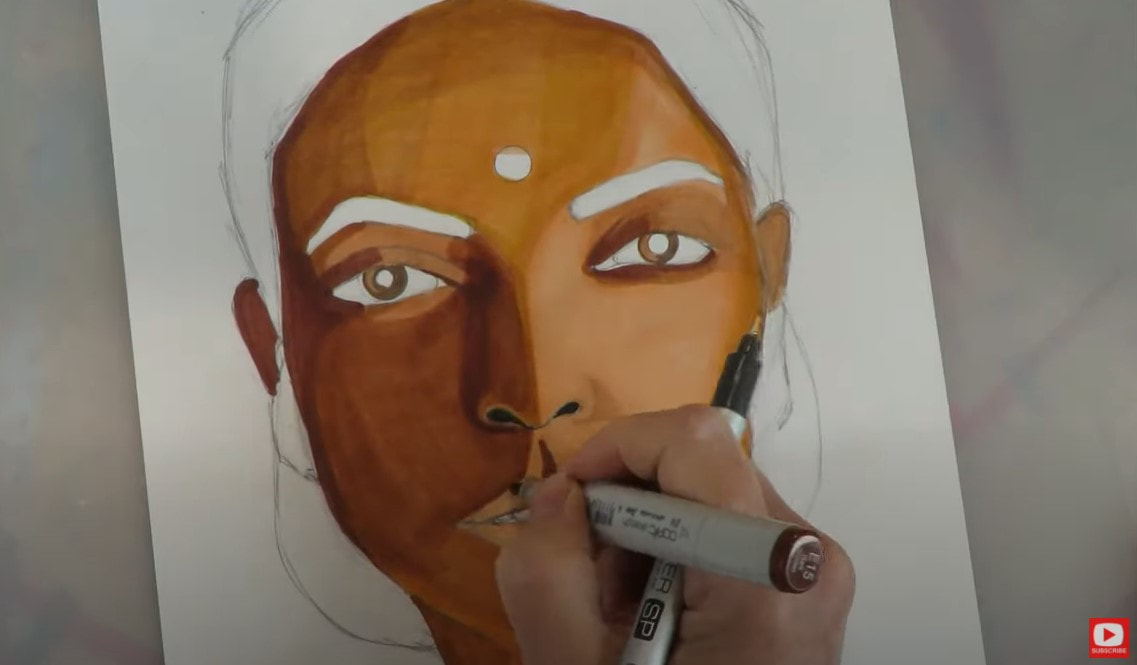
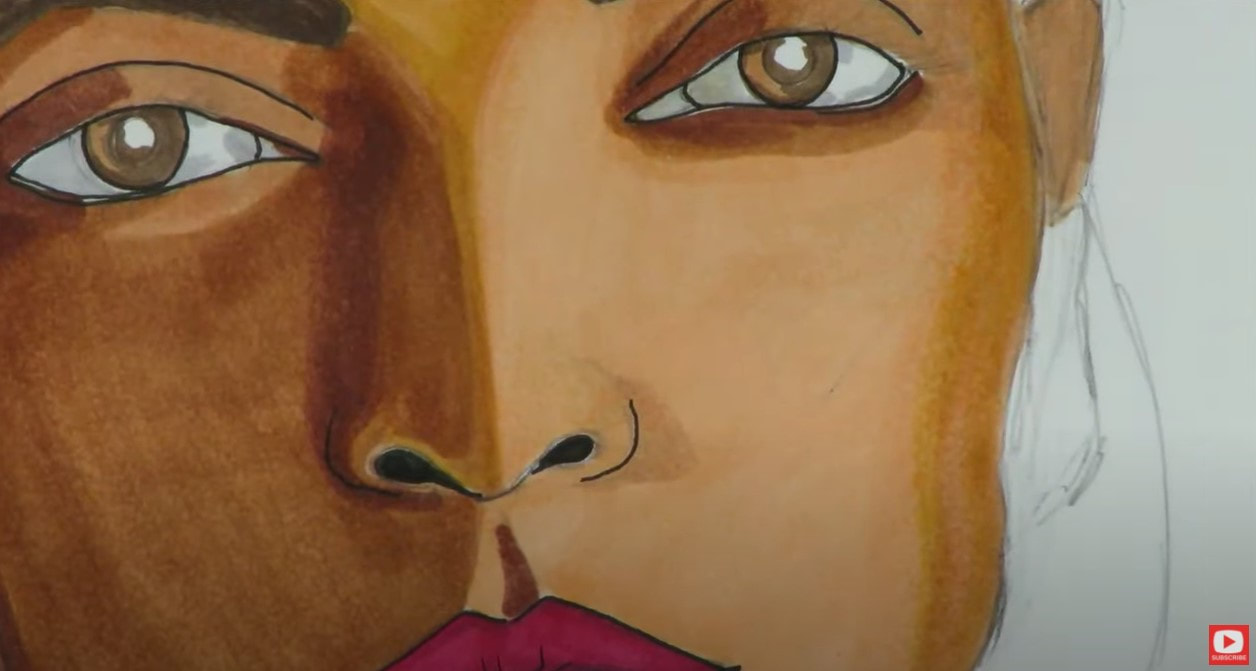
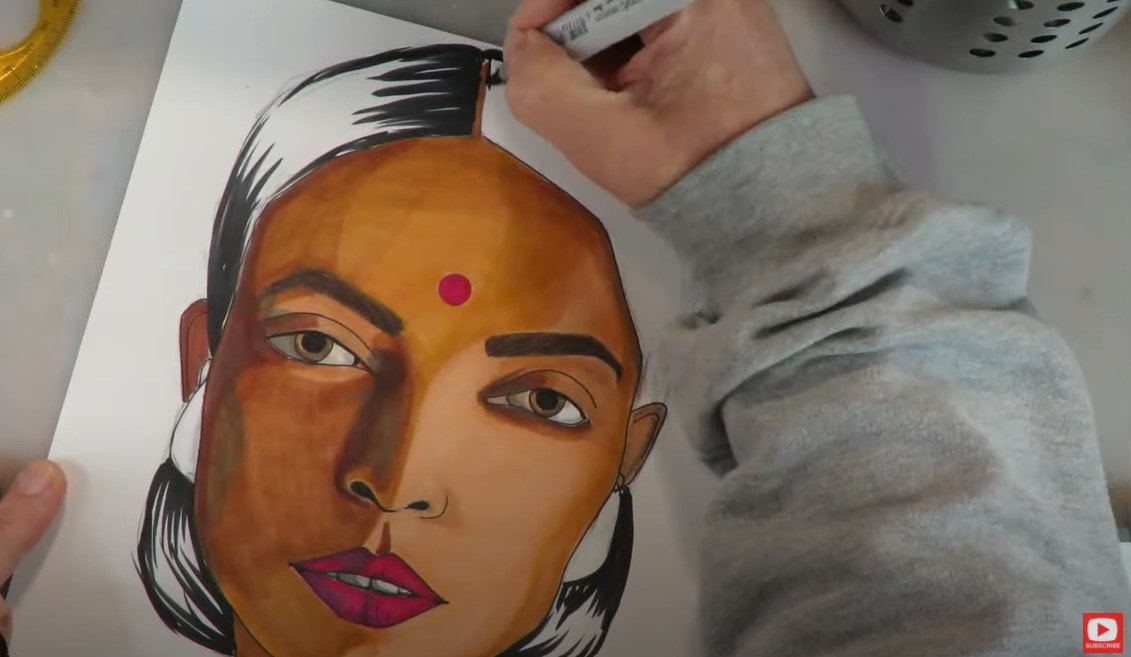
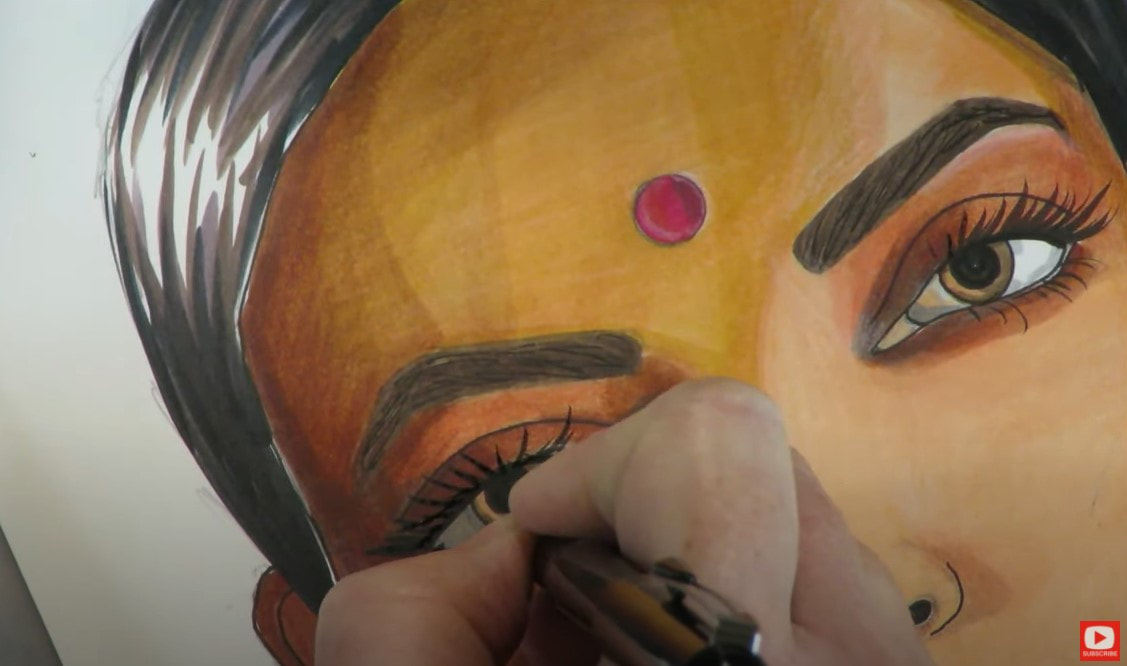
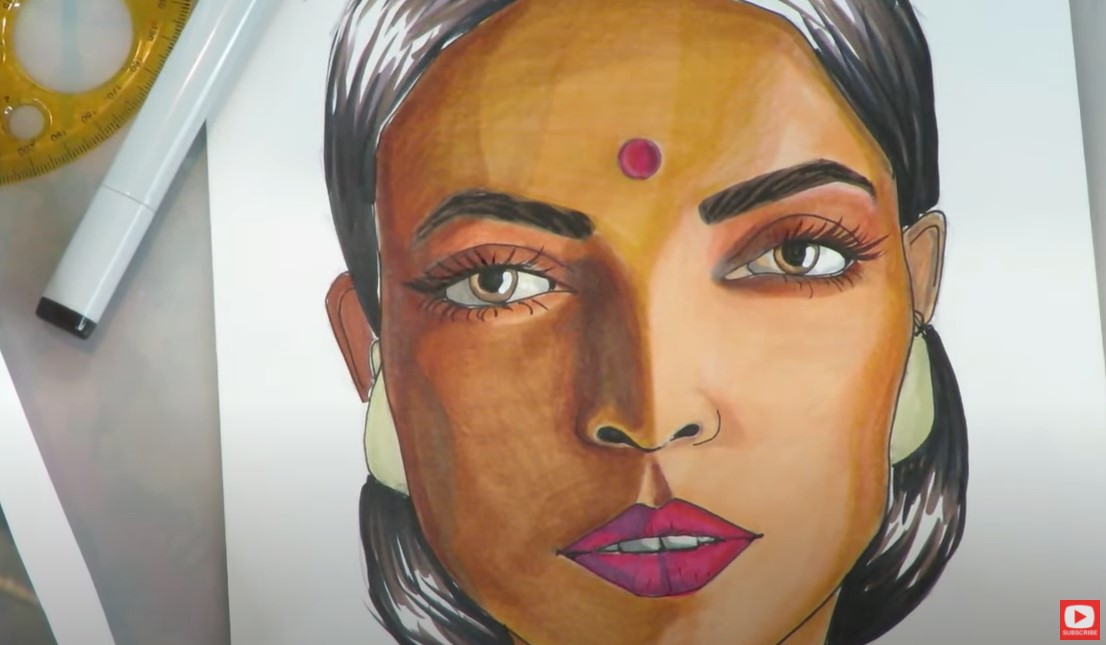
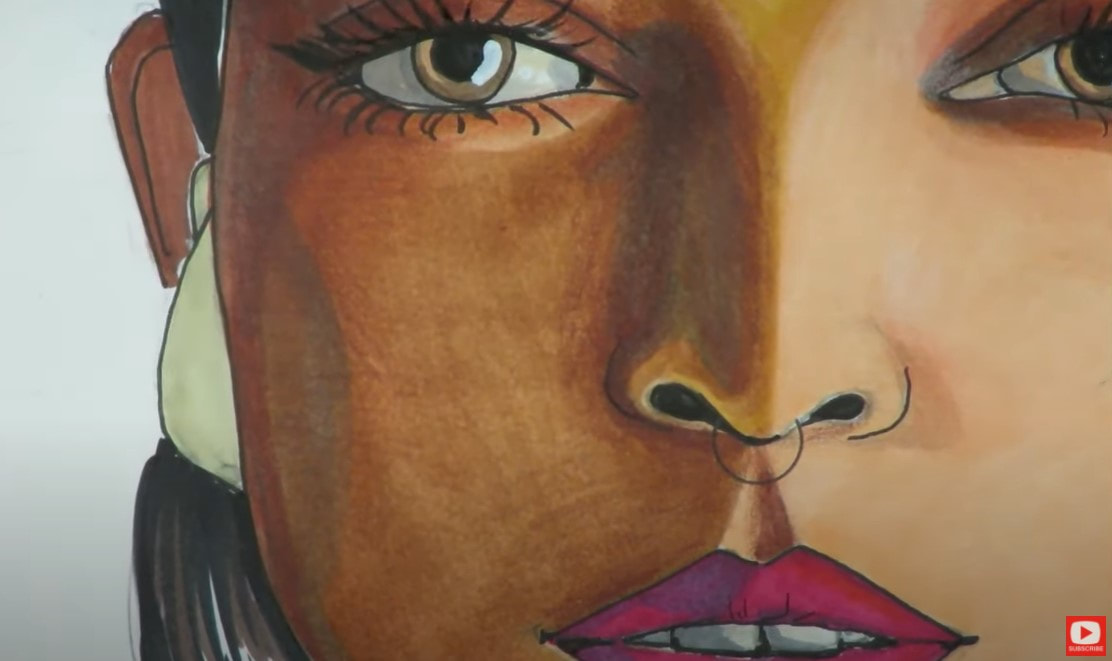
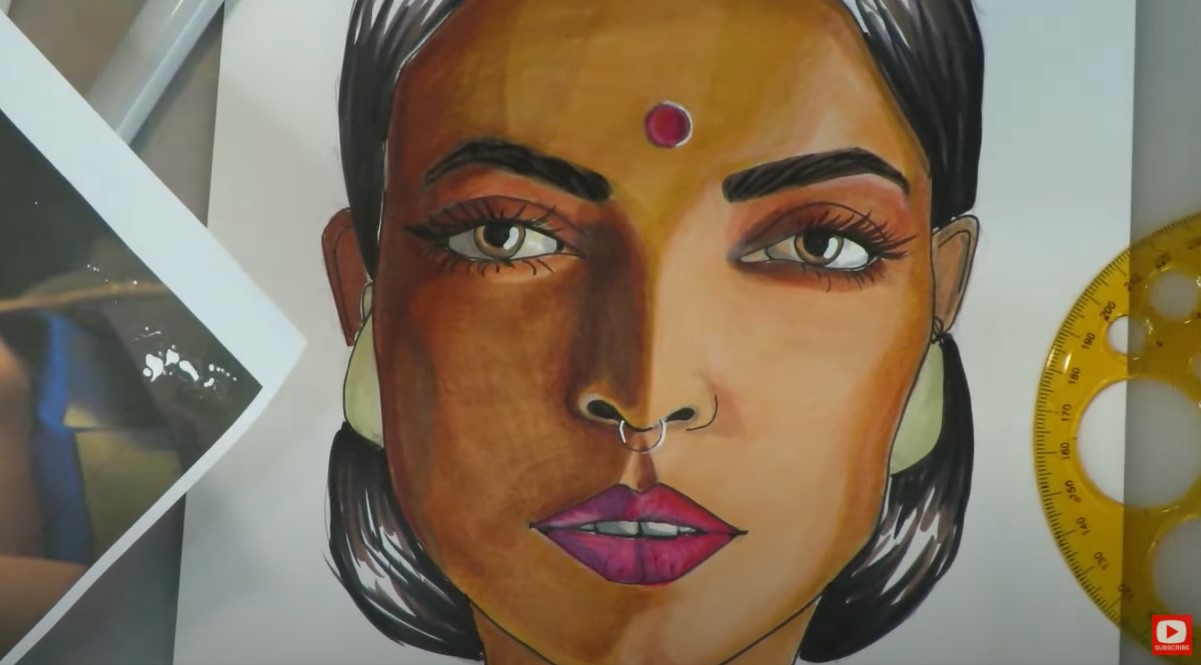
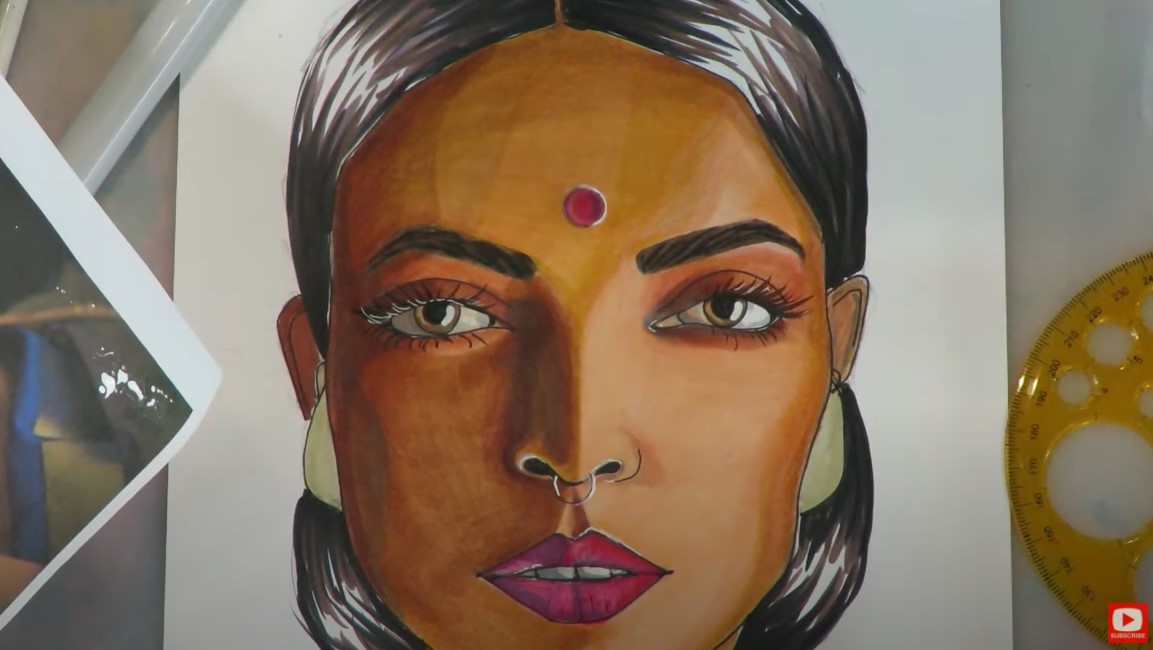
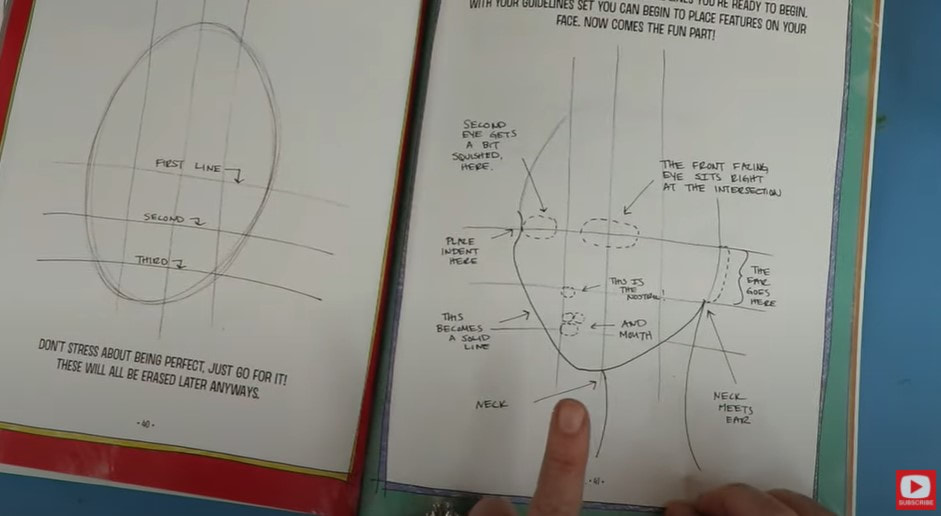
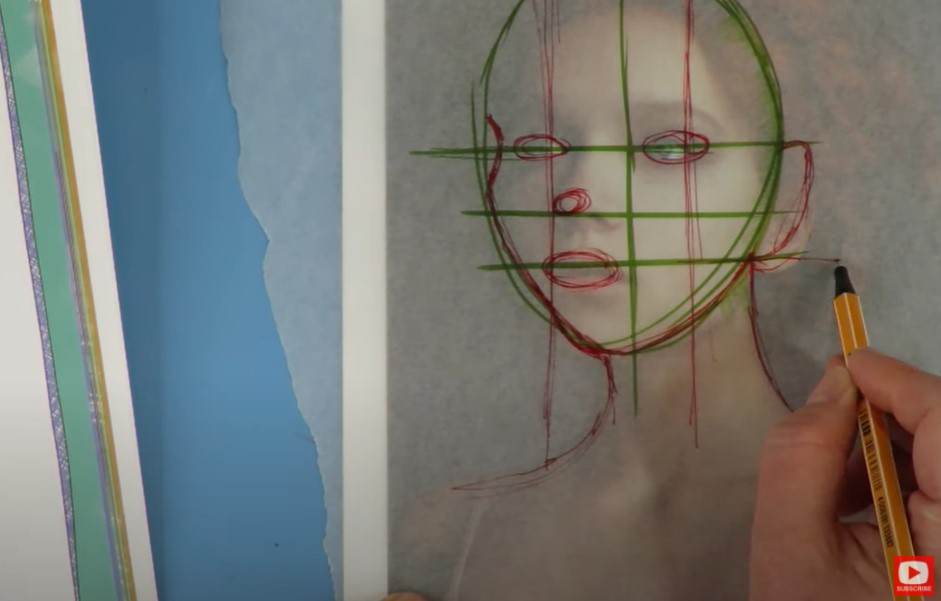
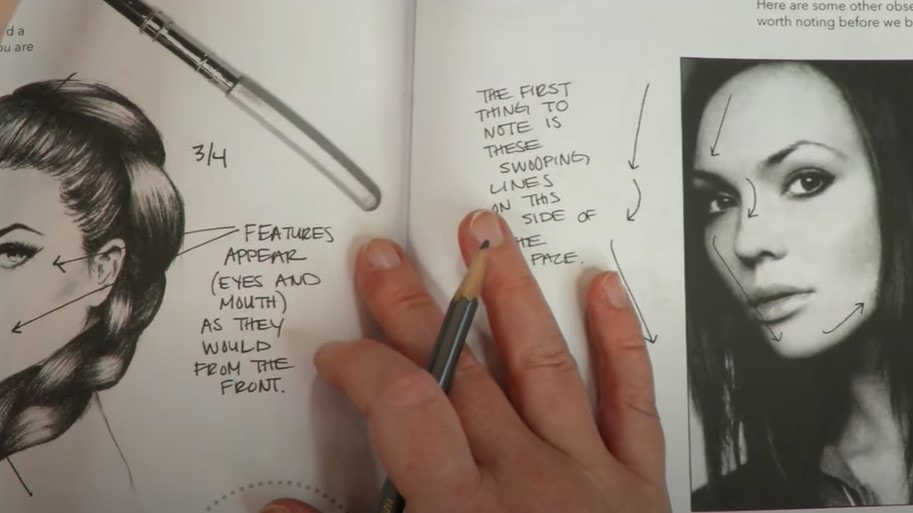
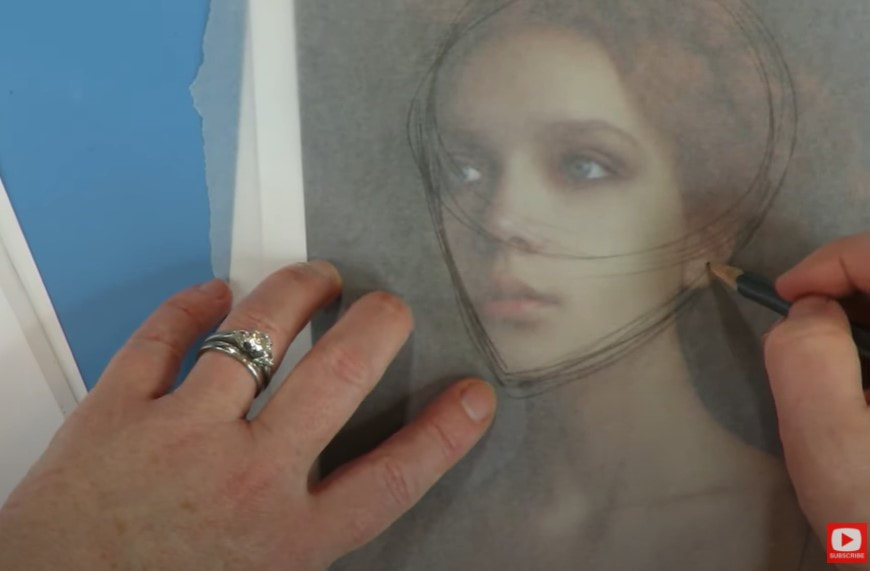
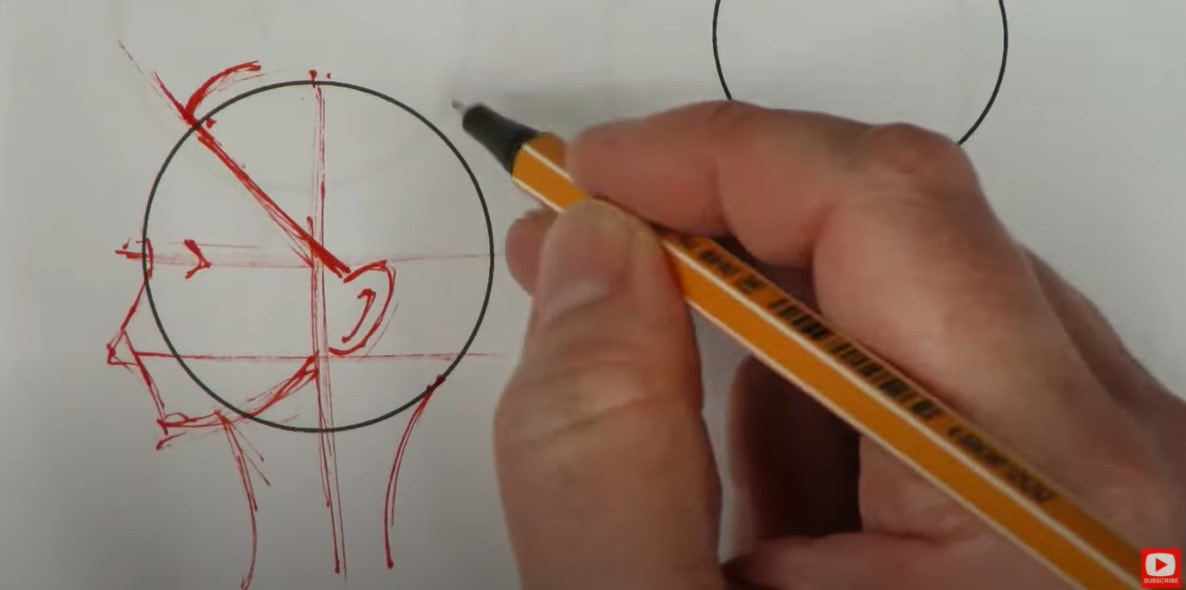
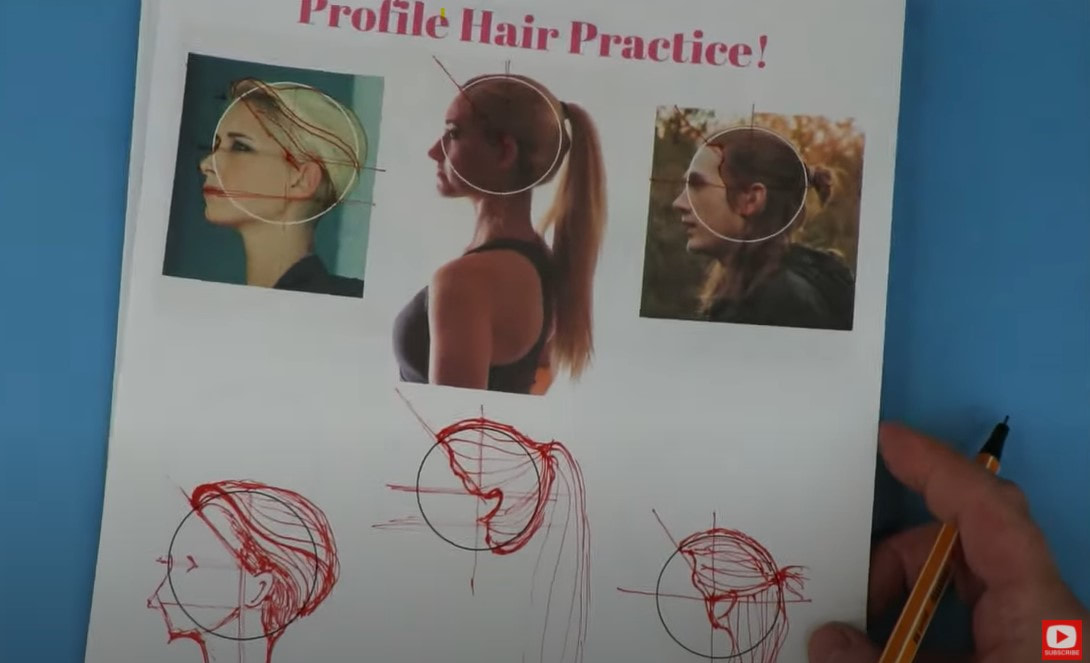
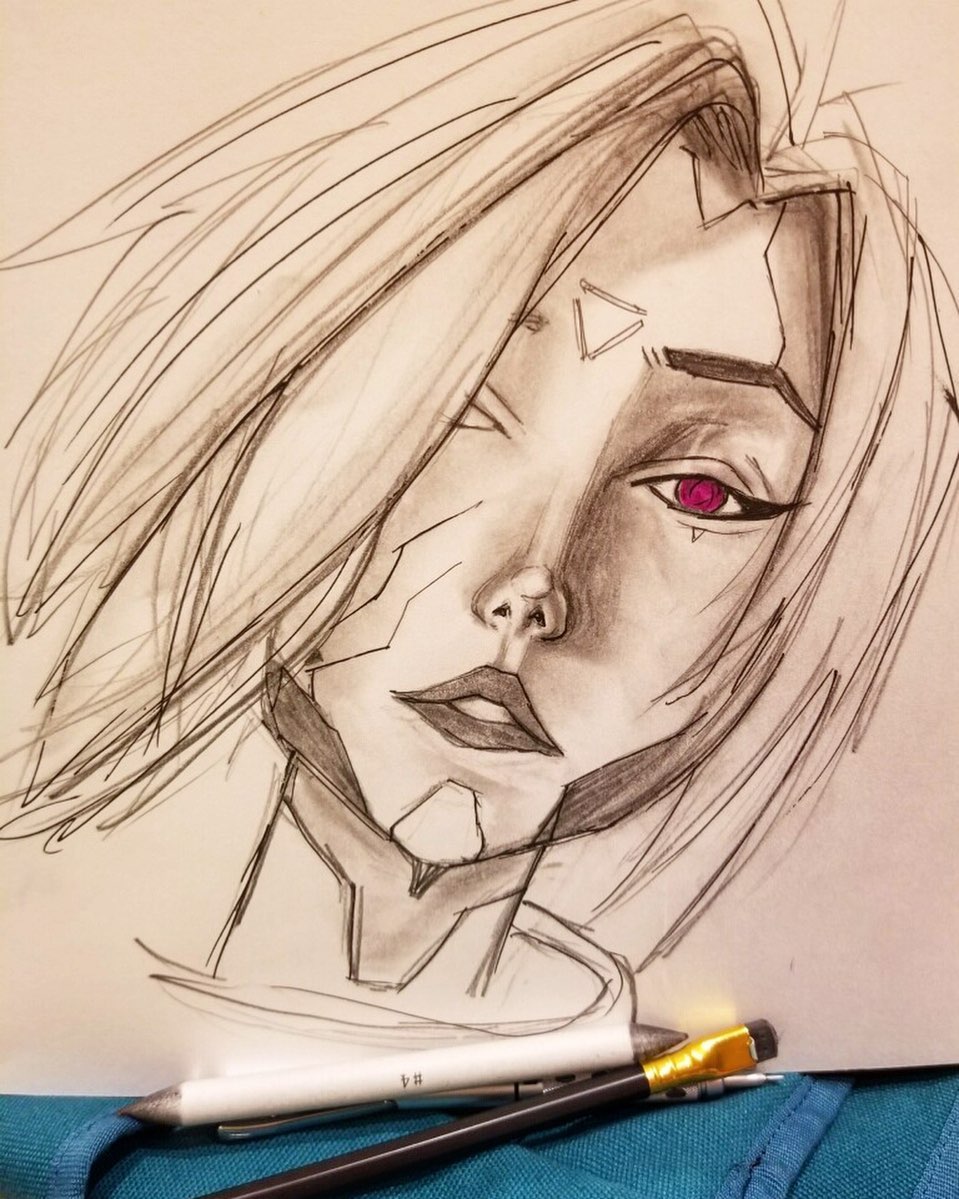
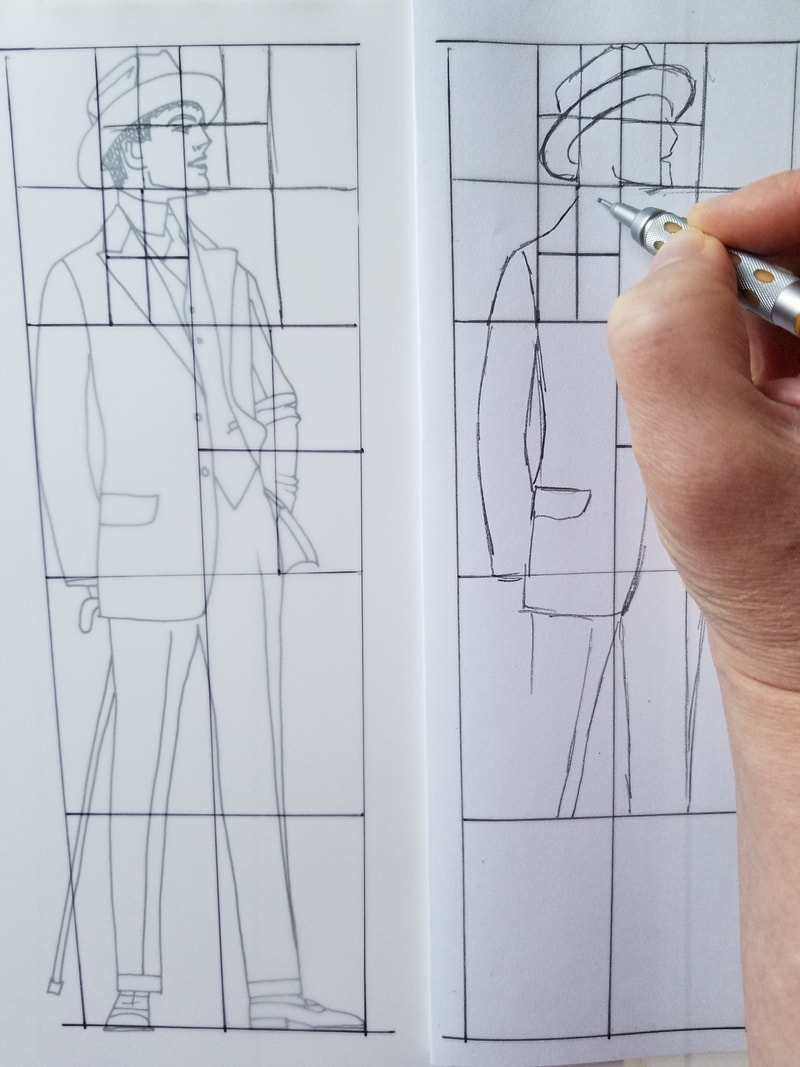
If you are just getting to know me... it won't take you long to discover I'm obsessed with all things Scotland, and fairies!! I love drawing their adorable, pointy ears and teaching students how to draw fairy ears. This is one of my art journal spreads from my Scotland art retreat last year. She's watercolor and ink! Since I can't go back to Scotland for a while, I'm amusing myself at home in my studio whenever I can with cute fairy projects. The other day I posted one as a new lesson for The Fun Fab Drawing Club! Club members are welcome to join at ANY stage of drawing experience to work on building new skills to really take their work to the next level. And of course, because this is my club - it's never stuffy or boring! I LOVE teaching students how to draw faces in a whimsical style to keep things light and enjoyable, without any pressure!! Fun Fab Drawing Club members who consider themselves beginners learn the basics of line weight and do a bit of zentangling to get them used to having fun making marks on paper. This month, I've added a cute new fairy drawing lesson for my Pixies - or anyone else who'd like to keep things easy, simple, colorful and FUN!! IF you're ALREADY a Fun Fab Drawing Club member, I've dropped this lesson into the Fantasy Classroom. If you're not a member of The Fun Fab Drawing Club, and want to learn more about it and get your name on the waitlist to be notified when enrollment opens in the spring, just hop over to Awesome Art School! One of my favorite things to see on Facebook after a new lesson has posted, are all the amazing artists who share their interpretations!! Each one is special. I'm SO PROUD OF ALL MY STUDENTS!!! I need to brag on two of the first who shared their beautiful work... How CUTE is that?! She's precious, Paula!! I LOVE how she used watercolor instead of copics to mix things up! Debbie shared this one... SO cute, Debbie!!! She is adorable!! Awesome highlights, girl!! Don't you wonder what she's looking at??? Thank you both for sharing and for letting me RE-SHARE your gorgeous artwork :) If YOU are interested in learning more about The Fun Fab Drawing Club - please pop your name on the waitlist over at Awesome Art School so I can send ya a quick note when enrollment opens. We'd love to have you there!! If you need a little drawing inspiration right now - please feel free to jump on over to my Drawing Channel on YouTube. I've got tons of fun projects for you to try - including my new Whimsical Women of the World Drawing Series!! We are having a blast with that, and would LOVE to have you join us! All of these lessons are free on YouTube and are being posted once/week on Mondays. We'll have 12 Whimsical Women's faces when we're done. See ya there!! I'm super excited to share week 2 of my 12-part portrait drawing series, "Whimsical Women of the World!" I got so into this series, I've decided it's BOOK WORTHY!!! Even better - I'm inviting YOU to join me in this process!! Simply draw along with me in any video from the Whimsical Women of the World series, and submit a digital version of your artwork here. This week we are drawing a woman from India, and I've found another gorgeous art reference photo for us to use! I've found drawing in a series is fun because it gets me out of my comfort zone! I think it's so easy to fall into a habit of drawing the same whimsical types of faces- but if we take a moment to look at all the different human facial features across our ethnicities around the world, it is just gorgeous! Not to mention all the variations of color in our skin tones... it's beautiful to work with as an artist! I think you'll love our reference photo today as much as I do! There are a few things I found really unique about this image. I love the lighting on her face. It's rare to find a photo where a highlight goes exactly down the the center bridge of the nose! That calls for some dramatic shading - which I'm a huge fan of, so this photo really called to me. I also love how huge her eyelids are. They happen to be basically the same shape I love to draw for my Fun, Fab Faces, so I was thrilled to find this in a photo from real life ;) As I started to draw, I did find this particular face to be a bit tricky because the top of her head actually extends off the page. This makes sketching in her eyeline a bit more difficult. Watch how I do it in the video, and you'll be fine to do it on your own!! Don't beat yourself up if it doesn't look like mine, if it doesn't look like the reference photo - it's fine! We're working on learning to draw faces that are well proportioned. That is our main goal!! And, if you already know me, you know I find drawing realistic faces to be super stressful! I prefer to do whimsical drawings so I can just have fun!! I think whenever you add the word "WHIMSICAL" in front of what you're drawing - it gives you some grace if things don't come out exactly right! As you'll see, I'm drawing with my blackwing pencils again today because I just LOVE how soft and smooth they are. They also have this great, rectangular eraser that makes it SO easy to erase in tiny areas. If you need an excellent eraser for bigger areas of your paper, the vanish eraser if phenomenal!! Links for both of these are in the description box of today's video if you need any new drawing supplies. I traced a circle for my irises today. Sometimes this is just easier, so if drawing circles stress you out- use a stencil!! Our model has some simple earrings, but feel free to look around on Pinterest for more intricate jewelry or hairstyles for your drawing. There are so many gorgeous variations you can do for Indian women. I kept it simple because I didn't want to overwhelm anybody with too much detail. I tried to replicate the model's beautiful bone structure- which is super subtle, but I felt was a really important aspect of capturing her look. Because both the hair and background on my reference photo are so dark, I had to imagine a bit what her hair looks like, so drew in some little bumps to indicate a low bun. You'll see I pulled my circle template out again to draw the bindi (this is the small dot on her forehead that indicates she's married in Hindu culture). I wanted that circle to be exact, because this is an actual sticker applied to the face and there is depth to it. I love how this model has other beautiful facial features that are different from what I typically draw. She has very large, dilated pupils (which I used my circle template for again!). Her nose shape is subtly different as well. It dips down dramatically and even has a nose ring! Her lips are parted slightly as well -showing some teeth - which I normally avoid!! She definitely pushed me out of my comfort zone a bit, but I loved it!! It forced me to really study the image. I believe 50% of being a good artist is having amazing observational skills! Working with the reference photos in this series will help you develop those skills even more! Skin tone swatching is KEY if you're shading your drawing in color. If you're doing this in colored pencils, copic markers, etc. - swatch them ahead of time so you're not surprised by anything, and know the colors blend into each other seamlessly. Whenever I'm shading a dark skinned face- I start with my darkest shade first, and work my way through shades until I reach the lightest color. I know it can be scary to START with the darkest shade - especially if you're working dark to light!! Just take your time and continually check in with your reference photo. I'm always asking myself, where are the darkest shadows? Where are the lightest highlights? Then I do my best to replicate this on my own drawing. Now onto the "ugly phase!!!" LOL... I believe there is ALWAYS an ugly phase. That's what stage my drawing is in right here... If I stop working on my drawing right here and come back to it later- it could make me want to cry because she is unfinished- looks like a weird puzzle of colors, nothing is defined, etc. THIS is the ugly phase!! It's guaranteed. We all have it in our work. PUSH THROUGH IT!!!! It happens in every medium, and if you STOP working at this stage because you think your piece is ugly- you're letting the ugly phase win. KEEP GOING. TRUST ME on this!!!! You'll notice as I'm working color into the shading of the eyes, there is barely any white left by the time I'm done, because this is what I see in the reference photo. When you're doing a portrait - If you're shading in color, make sure you've got your GRAYS out because nothing is usually stark white, even the teeth! Look for the shadows here to make your coloring realistic by knocking back that white. When I'm done with my markers, I layer in colored pencil to help ease the transitions between shades. Sometimes I like seeing the marker lines, and sometimes I don't. If I don't want that look showing up - I take my colored pencil and shade in the opposite direction to try and wipe out those lines. So if my marker lines were horizontal, I do vertical lines for my colored pencil. I know a lot of people get discouraged if they outline a face FIRST, and then shade with copics. It can be easy to run into your outlines and end up having the outline bleed. You'll notice today I outlined LAST with my microliner to prevent the bleed from happening. You might want to try the same if you're working with alcohol markers! When it was time to add in eyelashes, I used my pentel pocket brush, or my "secret weapon!" If you struggle with drawing eyelashes, make sure to check out the recent video from my Mixed Media channel, I give you ALL my secrets for how to draw eyelashes !! I added twinkle in the eyes with my white paint pen. I typically do a different look with those, but love how this one turned out and will totally do it again! See what happens when you step outside your comfort zone?! For the nose ring, I just used my pencil because the reference photo showed it as being shiny metal. I added white colored pencil on top of the markers wherever I noticed highlights occurring in my reference photo. To punch those highlights up a bit more - I used my white gel pen or bright white posca pen. This adds more drama and dimension for me! If you're nervous to add in highlights -start with your white colored pencil to make sure you like where the highlight is going. The colored pencil is soft, and creates a gentle first layer. Remember, acrylic paint pen markers are awesome to add on top of anything. So if you're using watercolor or another medium- feel free to STILL use the posca on top of your work for additional highlights drama! I was excited to discover the eyelashes in this photo have "undersided" highlights, and they look SO cool!! Those marks aren't me just being "creative," that's me reading the reference and adding the detail I see in the photo to my drawing. If you feel like you want or need the reference photo for this drawing project, or the entire series - just go to AwesomeArtSchool.com. You can get all 12 of the reference photos (+ all my cheatsheets!!!!) in the YouTube Library Collection. Remember to enter a photo of your beautiful drawing when you're done by clicking on this link to GET PUBLISHED! Come join me in the studio for the 40 minute tutorial! See ya there!!! When I discover an EASIER way to draw something, I immediately create drawing guidelines for my students so they can HAVE MORE FUN in their sketchbooks!! In today's sketching tutorial, I'll lead you through 2 EASY WAYS for sketching heads in the tricky, but sophisticated 3/4 view. Like usual, I'm gonna show you how to draw this tricky view from the WHIMSICAL drawing perspective FIRST, because it TOTALLY takes the pressure off! We are using a page from my drawing book, How to Draw MORE Fun Fab Faces as our cheatsheet to help us today, because these are PERFECT for beginners ;) If you'd like a copy of my cheatsheet, please make sure you request one in the comments of today's video and I'll get that RIGHT OVER!! Before we start drawing, I'm going to show you with a reference photo and sheet of trace paper just how my drawing guidelines look on top of a real face so you have a strong point of reference before we begin. I'm a visual learner and assume you probably are too if you've found your way over here to learn about how to draw faces!! Using references is INSANELY helpful while you're drawing, even if you aren't doing a realistic style drawing. These photos can help us add greater detail to every aspect of our drawings from the features of the face to hair, and eventually shading. The second way I teach how to draw a 3/4 face is from my book, How to Draw and Find Your Style. In this approach, we don't really use the grid guidelines, we kind of approximate with a circle to indicate the top portion of the head, and swoop in with a soft V off to the bottom left of that for the chin. I hope you enjoy today's lesson and find these approaches to the 3/4 face helpful for your drawing practice!! After you draw a 3/4 face with me, make sure you head over to Awesome Art School to sign up for my TWO SUPER FUN challenges that begin NEXT MONDAY, September 21st!! Here are the links .... ✅ CLICK HERE to SIGN UP for my DRAWING CHALLENGE ✅ CLICK HERE to SIGN UP for my MIXED MEDIA CHALLENGE Each challenge is going to run for 5 days and kicks off open enrollment for The Fun Fab Drawing Club & Mixed Media Society! SOOOOOO .... if you've been waiting for these clubs to open up - your wait is almost over!! We're having a blast and hope you come join us!!!! ❓ NEW to Face Drawing? I got you!! Start here https://youtu.be/pthkYGBpssU See ya next week! I hear ALL the time from my students at Awesome Art School about how challenging it can be for many of them, not only to draw hairstyles, but how to come up with fun hairstyle ideas to draw in the first place! Since we've been working on drawing and shading a profile face over the last couple of weeks on YouTube, I thought we'd spend some time drawing profile hairstyles to make this part a little easier! As you'll see in this hair drawing tutorial, one of my best tips for drawing hair (& to stay inspired!!) is to LOOK AT PHOTOS!!! When I was learning how to draw, I didn't like using photographs for my references because they made me feel pressured. I just wanted to learn how to do whimsical drawing, and not be bothered by all the details in a photo since I wasn't drawing realistically! Now I know there is SO MUCH you can learn from a photo that can inspire you while you're drawing!! To help you get you started, I made you a 4-page reference you can print out with 12 unique profile hairstyles. There is also space below each style to practice drawing the hairstyle above it. The first thing you need to remember about how to draw hair on a face from any angle, is that hair has volume. Hair will always extend out and above the head shape you've drawn - whether that head shape is an oval for a forward facing face, or a circle for a profile face. Even if the hairstyle you are drawing is a ponytail or braid that has been pulled back super tight, there will still be volume that extends above and outside of the head shape you've drawn. The next things that will help you with drawing hairstyles are to add in a neck and the profile face drawing guidelines. Then you will begin to see where the hair should naturally sit. Once your guidelines are in place, really look at the photo you're using as a reference for this drawing. Begin sketching your hairstyle at the root (see above), and extend your line back, away from the face - just as if you were brushing your own hair with a hairbrush. If you imagine your pencil as a hairbrush - it will help you draw your hairstyles realistically from root to tip. It can also be helpful to draw the outline shape of a hairstyle first - almost like you're drawing a helmet, then start adding in your detail, strand by strand. Feel free to draw right on top of the profile hairstyles PDF I'm giving out as a resource to accompany today's video - then see if you can recreate those same lines on the circle below. Using a photo as a reference point for drawing hair really eliminates the pressure of dreaming hairstyles up on your own from scratch (unless you want to). Find a photo of a style you like, then see if you can replicate it on your whimsical or realistic face drawings! Let me know in the comments section of today's video if you'd like a copy of my 4-page cheatsheet so you can draw along with me! HAVE FUN drawing your profile hairstyles!!! Travel back in time with me and learn to draw and color 69 fabulous and authentic Art Deco style projects! Sharing my Quadrant Method secrets for the first time in print, Karen leads you through each project with crystal clear step-by-step instructions so you know exactly what to draw and how to blend, shade and color to perfection. Watch your drawing skills soar and see fashion figures, jewelry, clothing, faces and features come to LIFE!! And now you can see the entire book!! ENJOY the sneak peek! If you've been following my journey, you know I've been obsessed with teaching people how to draw!!! There's just something so magical about having an idea in your head and then making it come to life on your paper! It's also such a great distraction during these very difficult times. It's been hard having three kids home for so many months and I find myself wracked with a lot of emotions. I am worried about my children, growing up in an age of a Pandemic, wearing faces masks and not shaking hands or seeing their friends. I get anxious when I think about this as being the new "normal" when there's nothing but fear and worry when we leave the house. We left the house for the first time in four months this week, for just three nights. We went to a small cabin, close to our house, that was on a lake. My kids and I didn't leave the water all day I don't think!!! Just getting OUTDOORS for an extended period of time was heaven. Being out of the same four walls, also heaven. I find that drawing, for me, offers me a similar feeling of peace. When I'm in the lake, I'm fully absorbed by the water, staying afloat, watching my kids to be sure they're safe, totally immersed in the beauty of nature. When I'm drawing I am so totally absorbed in my lines, in the gorgeous reference picture I may be using, in my drawing tools and if they're behaving and moving in the ways that my brain is envisioning. And in both instances I'm leaving all outside thoughts and anxieties behind to focus on the task at hand. I also did a drawing while we were at the lake! It's supposed to be of a video game characters my kids play although they informed me afterwards that it looks nothing like her. Nice. Thanks boys. I also love drawing so much because it takes very little in the way of supplies! You can create so much using so few tools! Unlike mixed media (my other true love) which usually takes everything and the kitchen sink to make the same effect! lol! Oh well, I still love them both equally. I also love to come up with systems for things, to make art easier for people. I know a lot of my students just want to get to their happy place, and start creating, but that's really hard if you don't know how to do it!! In the past I've come up with a fun system for creating successful mixed media projects. I call it my "Hamburger" system. People LOVE IT!!! Well I also know how hard it is for people to draw PEOPLE and so I've come up with a cool, fun and easy method for drawing people as well!! Although in reality, you can use this exact system to draw really ANYTHING. It's a little bit tricky to explain but it's similar to the Grid Method. Although instead of drawing an exact grid on your reference and then using the same grid lines to draw the object on your own paper, you draw Quadrants instead. The beauty of this Quadrant Method is that there is no limit to how many Quadrants you can draw to help you out if you need more reference lines!! You can see in this photo how the Quadrants look on both the reference image (left) and my own drawing (right). It's a little bit easier to explain in person that on paper (although in my new Art Deco book I take quite a lot of time and project and pages to explain it as best as I can!!) so I made a video that shows exactly what this entails. If you're skeptical if this system can work for you, don't take my word for it!! I've been teaching this to my students who are in the Fun Fab Drawing Club (at AwesomeArtSchool.com) and the results have been OUTSTANDING!!! Even beginner drawings have had HUGE success with this!! Here's just one example of many... So if you're looking for a way to break down difficult subjects into easy ones, I highly suggest to give this a shot!! You can also check out my brand new book, Learn to Draw Art Deco Style Vol. 1 (available on Amazon's worldwide and soon-to-be in my Etsy Shop) where I teach you, step by step, this exact Quadrant method to draw amazing fashion figures of the 1920's and 30's. SOOOOOO fun!!! I also included videos for many of the projects in the book as well!!! All of these are completely free and are on BOTH of my YouTube channels. Just follow the links inside and you can get another whole spin on each project!! One of my favorite projects in the book (and favorite videos to boot!) is making SMOLDERING eyes from the 1920's!! This era was a BIG DEAL to women because it marked the first time in history that women got to where make-up, OTHER than stage performers and streetwalkers that is!!! Also, these make-up techniques are SUPER fun to draw!! Want to see? Of course you do!!! You can watch (and hopefully draw) along with me right here!! Just press play and away we go! Subscribe to my YouTube channel while you're there so you never miss the new videos when they are posted weekly! Have a great week and I'll be popping back over to the blog soon for more fun news and videos for you!!
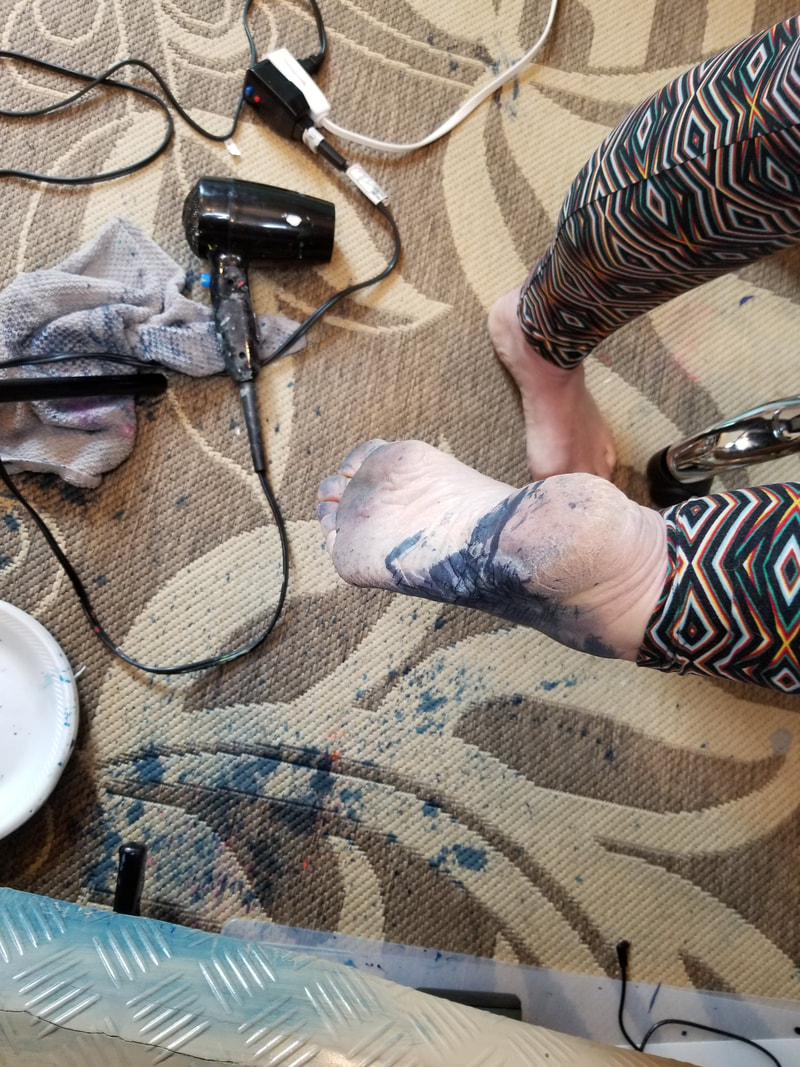
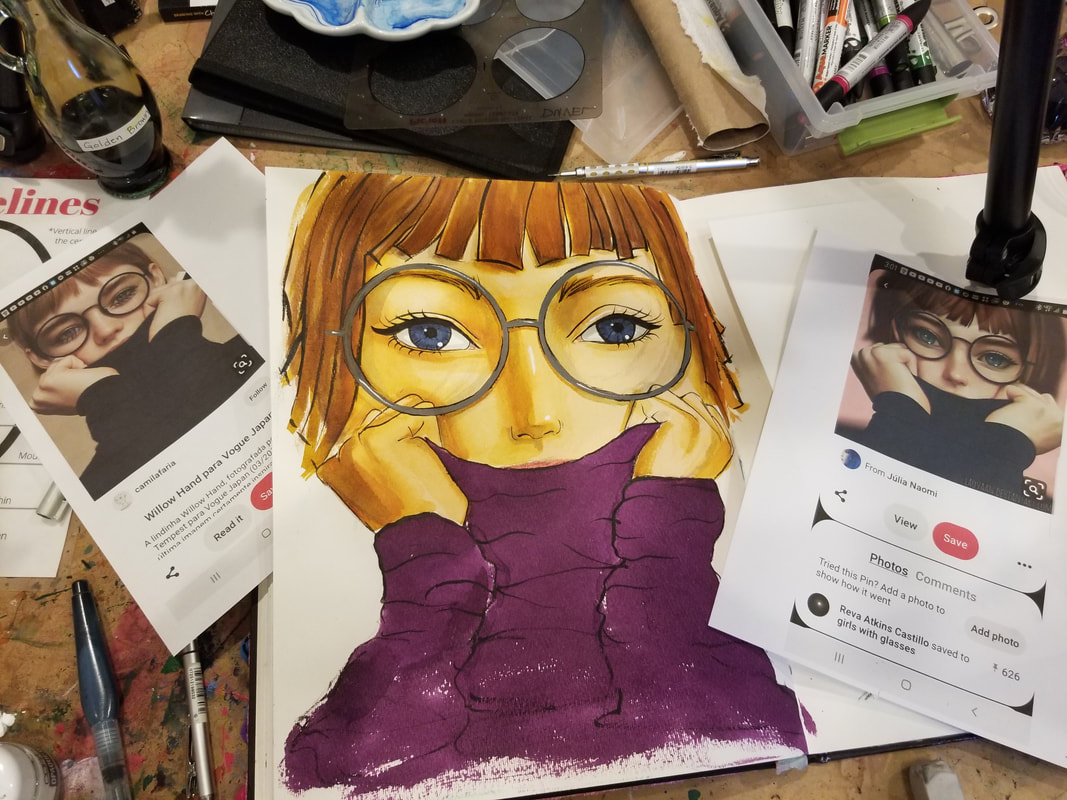
Today is Friday which means NEW FREE YouTube lesson!! This project was particularly satisfying for sooooo many reasons! Well, I'll just list them off so you know what they are! First all, I got to paint with my fountain pen inks. They are soooooo vibrant and juicy and satisfying (due to their vibrancy and juiciness) that I cannot even compare them to any other medium I love them so much! This is the one I use for skin color. It's DIVINE! I can now draw hands after publishing a book on them! I can finally dive into any project that involves them and has truly opened up a whole new world of faces and characters now that I'm no longer afraid to tackle any drawing! I spill 3 oz. of permanent ink all over my studio floor. There's nothing quite like an explosion of ink to liven things up in the old art room! Glasses. Having the guts and courage to draw OVER and ON TOP OF a completely painted girl, is, well, TERRIFYING! But then the level of proud you feel when you actually pull it off is the BEST FEELING EVER!! So while it's scary, it's worth it!!! So my advice to you is to simply GO FOR IT. The references I used today are so super cute!! The original reference photo was taken from Vogue Japan and I just fell in love with it when I saw it!!! Another reason today's project was so fun was because of my little feline side-kick!! Oh Tippie!!! So after the spill and the cat play and the juicy brushes filled with ink I was just delighted at the final outcome. Click on the video here to watch how YOU can learn how to paint glasses on YOUR mixed media girls!! My YouTube community has been LOVIN' all the fun and free series lately and I hope you are taking advantage of all this free, content rich, well, content!! In the winter it was the Mixed Media "Hamburger" Series which, in 9 episodes covered my ENTIRE Mixed Media process I use to create 99% of my mixed media projects! Have no idea WHAT I'm talking about in regards to Hamburgers and art?! You can get started by watching the first video in the series here! Then earlier this year I did a 4 part Art Journaling Series and that was soooo fun too!! While the Mixed Media series armed everyone with the technical art skills that enabled them successfully layers up on layers of supplies, the Art Journaling Series got people over their fear of starting, their fear of the blank page and on to the super-having-fun part!! I've seen soooooo many fun projects come to fruition as a result of that series, I cannot get over it! If you need a kick in the pants because you're too nervous to get started, that series is a must for you too! Drawing a realistic braid isn't nearly as hard as you might think. It just so happens I recorded the whole process to share with you!! I know drawing hairstyles intimidates so many people, so I've taken it upon myself to break it down for you, step by step! Now before we get to drawing hair, we need to get this face drawn properly. See how her head is turned in a profile, but not ALL the way? We can still see her right eye a little bit in this pose. It's called a three quarter view portrait, and is actually one of the hardest facial positions to draw. If you've never drawn this view before, or struggle with 3/4 portraits, simply click the button below and I'll send my 3/4 Portrait Face Drawing Guidlines straight to your inbox. Once you've got your three quarter profile face drawing guidelines printed out, click over to watch this video and see how I put everything into practice, and add on this gorgeous braid. Wishing there was a slower version of this? I know. YouTube is so awesome because it's so free and fast and FUN! But I know for a lot of my students it's just too darn fast.
If you'd like to take this entire drawing (including step-by-step, real time, how to draw this face...everything from eyelashes, nose, mouth, hair...from SCRATCH) I've included it as a full length lesson in one of the advanced classrooms of The Fun Fab Drawing Club over at Awesome Art School. Feel like the braid drawing lesson is a little tough, and you'd like to practice drawing a 3/4 face with your new cheatsheet? Check this playlist out on my YouTube Drawing channel. It's just for beginners! Thanks for hanging out with me today. ❤️ CHECK OUT ALL my art books on AMAZON ❤️ MY FAVORITE ART SUPPLIES on AMAZON ❤️ MY BELOVED FACEBOOK GROUP ❤️ FOLLOW ME ON INSTAGRAM |
Karen CampbellFounder of Awesome Art School. Mixed Media Artist. Author of 18 Instructional Art Books! Archives
May 2023
Categories
All
|
"Karen is flipping hilarious and she's very real...I like the way she teaches in a way that really gives you confidence, whether you're a beginner or advanced there's always something new to learn!"
- Elizabeth W. |
What Fans Are SayingKaren, you are absolutely fabulous! You make me feel like I can draw anything. I have recently retired and finally have the time to do some of the art that I have loved since I was in school. I am really at the beginning of my art journey and I hope to learn as much as I can. Thank you for all you do. |
Contact ME |