
|
Today's REALISTIC fairy drawing tutorial with watercolor flowers is lesson six of the #50FunFabFairies drawing challenge- featuring Awesome Art School guest teacher, Bryn Nguyen.
A master of the grid drawing method, Bryn will show you step by step how to use this technique to achieve a fairy portrait that looks EXACTLY like any fairy drawing reference image you select! You'll learn how to draw fairy ears in Bryn's whimsical style and how to add colorful, loose watercolor flowers to bring your fairy to life. Enjoy!! 
Want easy access to this and even MORE fairy drawing ideas? Join our FREE #50FunFabFairies drawing challenge over at Awesome Art School!
Simply click the button below to receive instant access to ALL the fairy reference images for each drawing prompt (including today's!), plus info on supplies, cheatsheets and more! 
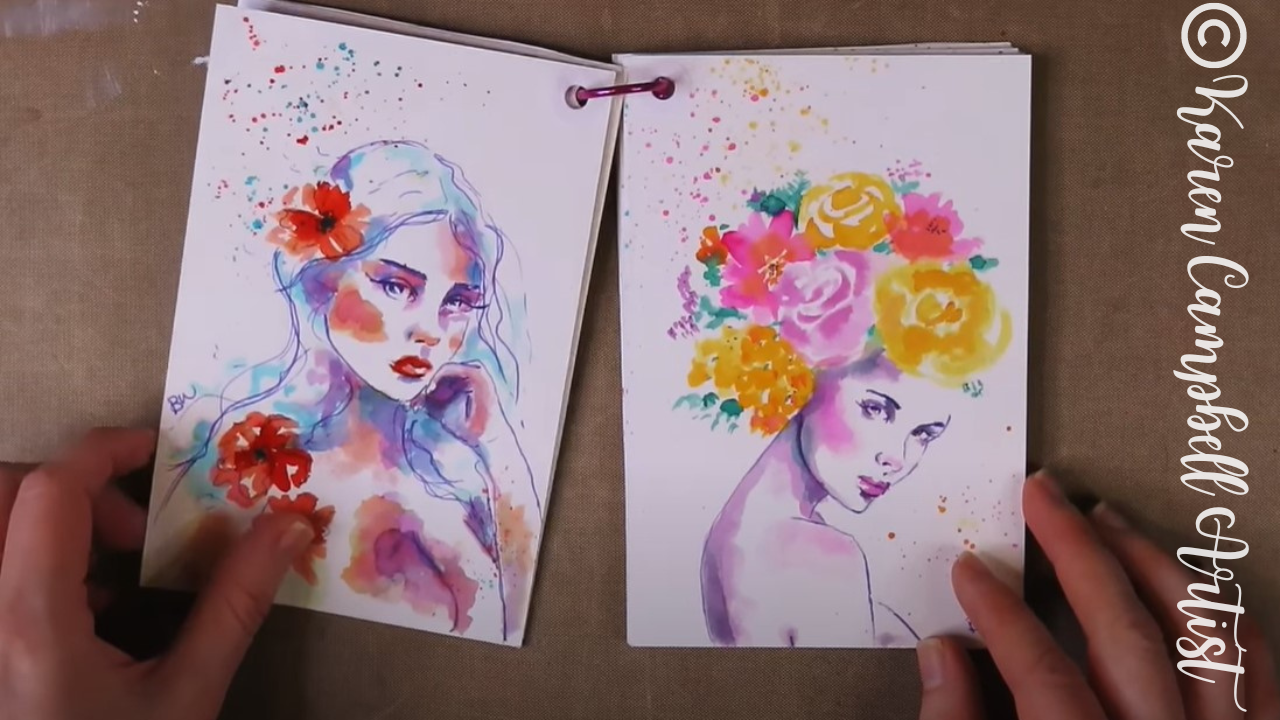
I'm excited to introduce you to today's Awesome Art School guest teacher, Bryn Nguyen. Bryn is a very accomplished artist with a distinct style (below) that my students and I have been admiring in my Facebook Group for years!
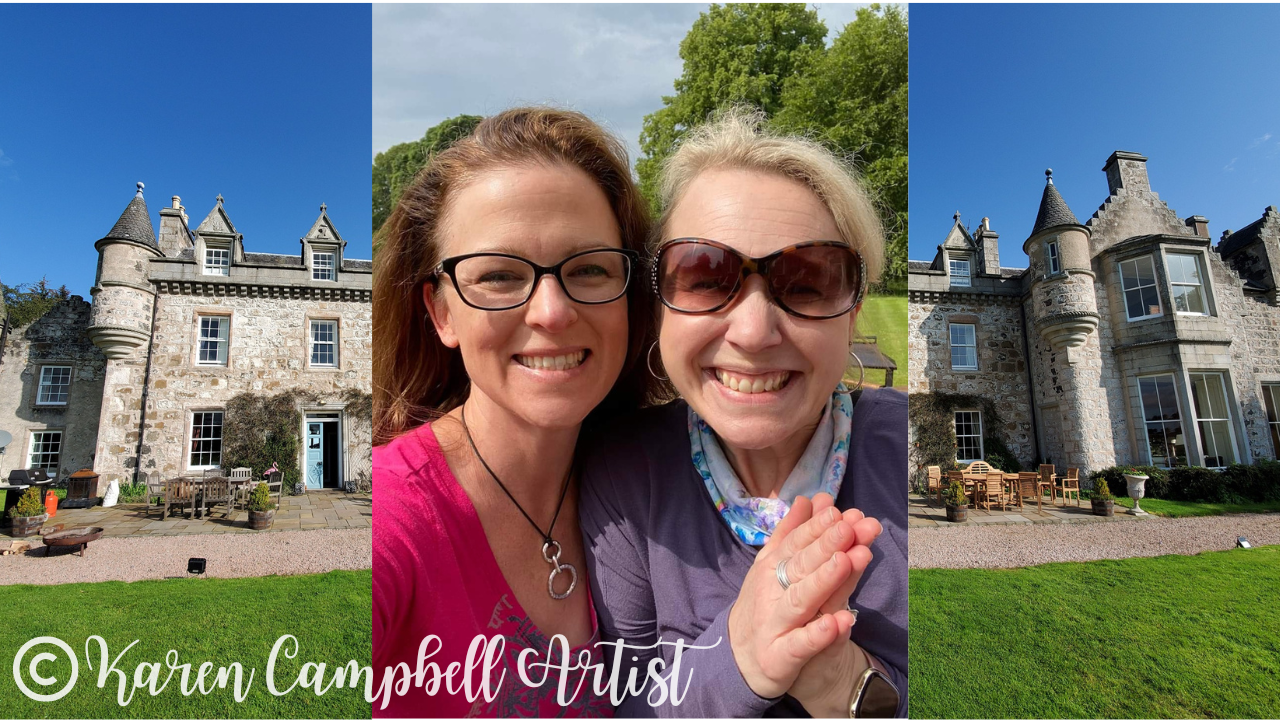
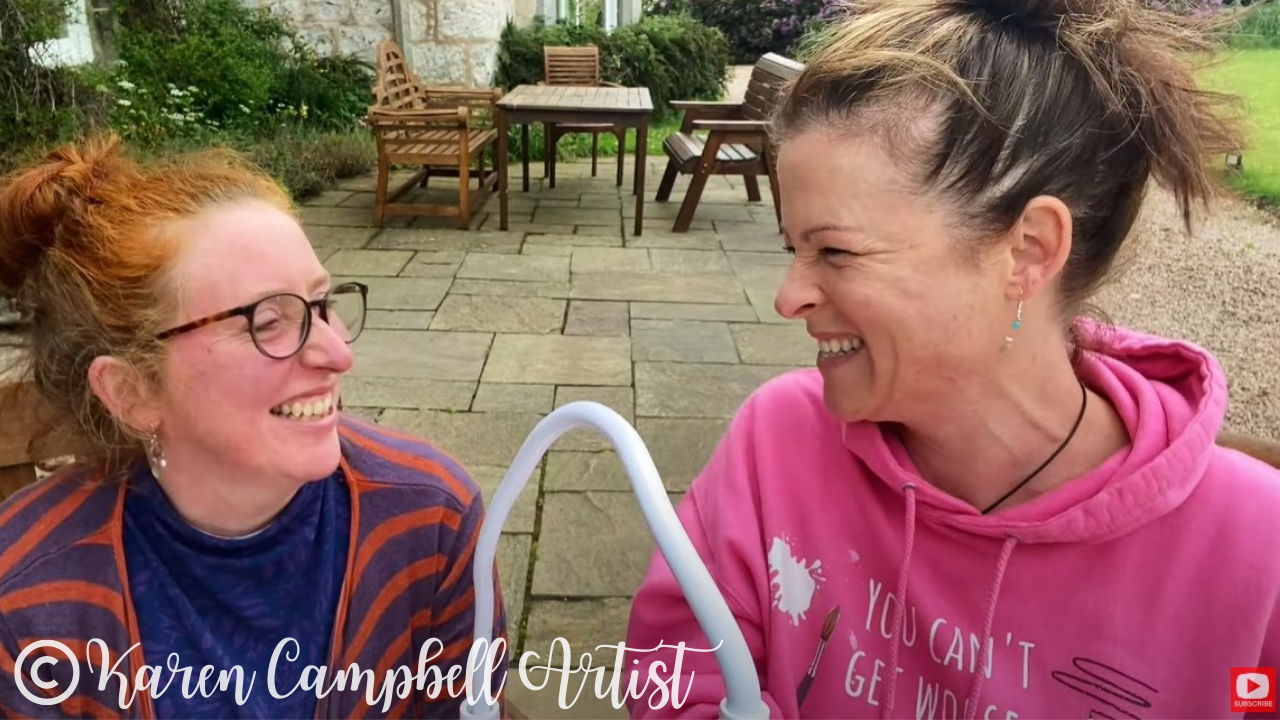
Bryn and I have known each other online for years, but finally got to meet in person for the first time this summer, on my 2022 Scotland Castle Art Retreat at Wardhill Castle with Lucy Brydon!
Before we continue, super quick announcement: All product links are Affiliate. I may earn a small commission if you choose to order through these links but by law there is never any additional cost to the consumer for doing so. I thank you for your support.
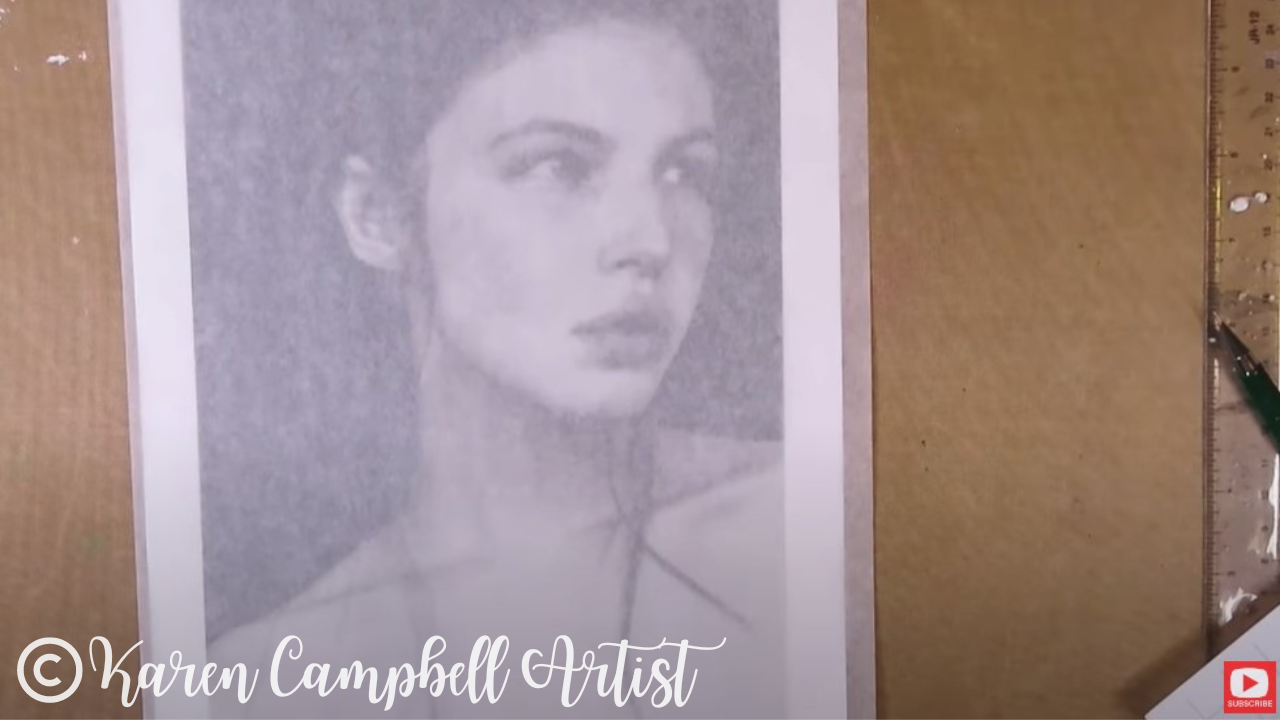
To get us started, Bryn demos how to trace the key lines of a drawing reference image using a sheet of trace paper and a lightboard. This helps her achieve greater accuracy, and she finds the process therapeutic.
You may be wondering why we're tracing today instead of freehand drawing. The freehand drawing part is coming up! As you'll see in the video, this is a great way to zero in on the key features of a drawing reference photo, and removes the distraction of all the shadows and highlights. I've been asked many times over the years if "tracing is cheating" when it comes to art. I believe tracing can be a very effective tool when it's used like it is today to create an original piece of art that's all your own. Check out this video for more of my thoughts on that subject. 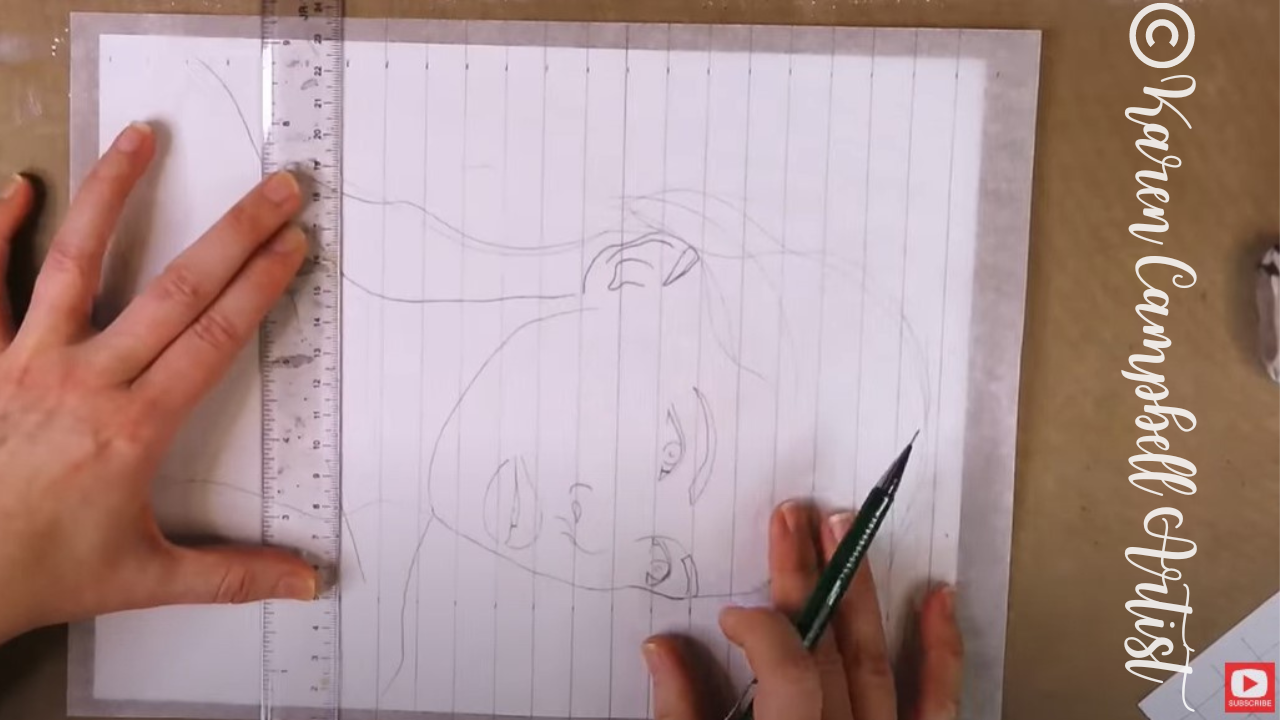
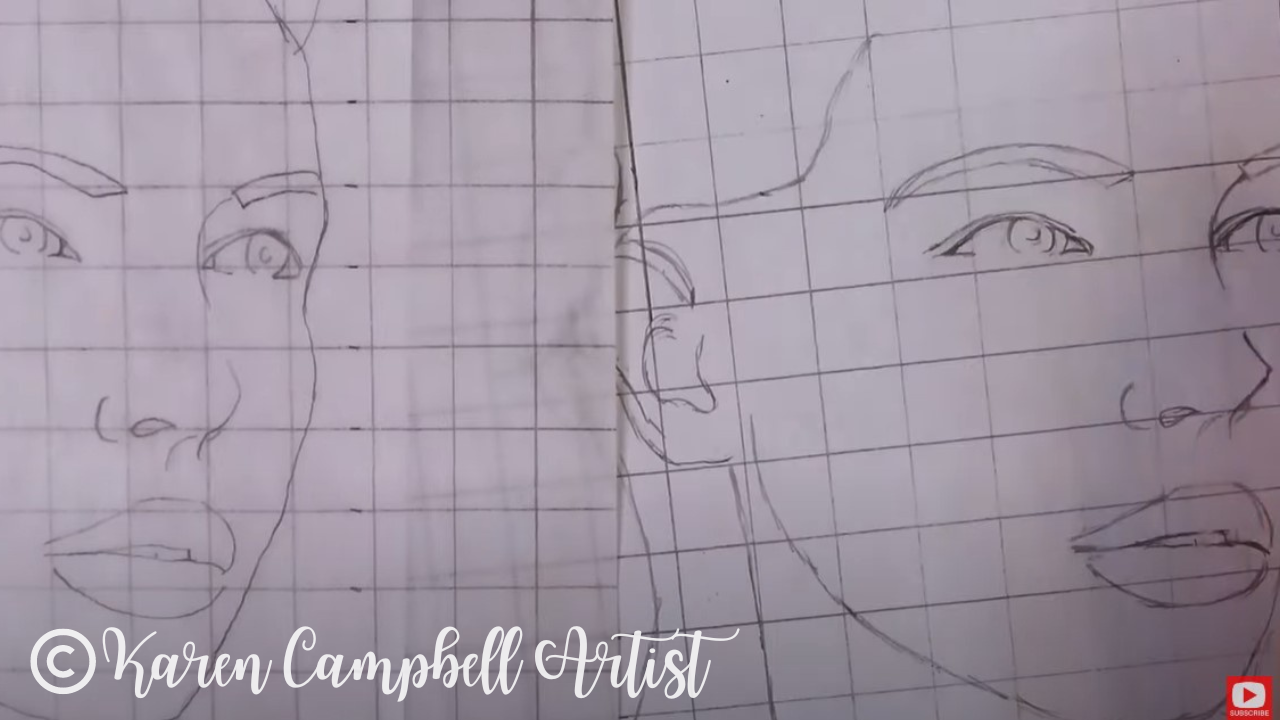
Once her face outline is complete, Bryn explains how to pencil in grid lines over a tracing. She loves to get super detailed at this point and creates 1/2" x 1/2" boxes for this process. Then she transfers what she sees (this is the freehand drawing part!), box by box onto another sheet filled with 1/2" squares.
If you'd like to learn Bryn's process in even greater detail without time-lapsed (sped up) video, Bryn is a guest teacher in The Fun Fab Drawing Club with me over at Awesome Art School in my Realistic Face Drawing classroom. Add your name to the waitlist here to get notified when the Fun Fab Drawing Club is open for enrollment.
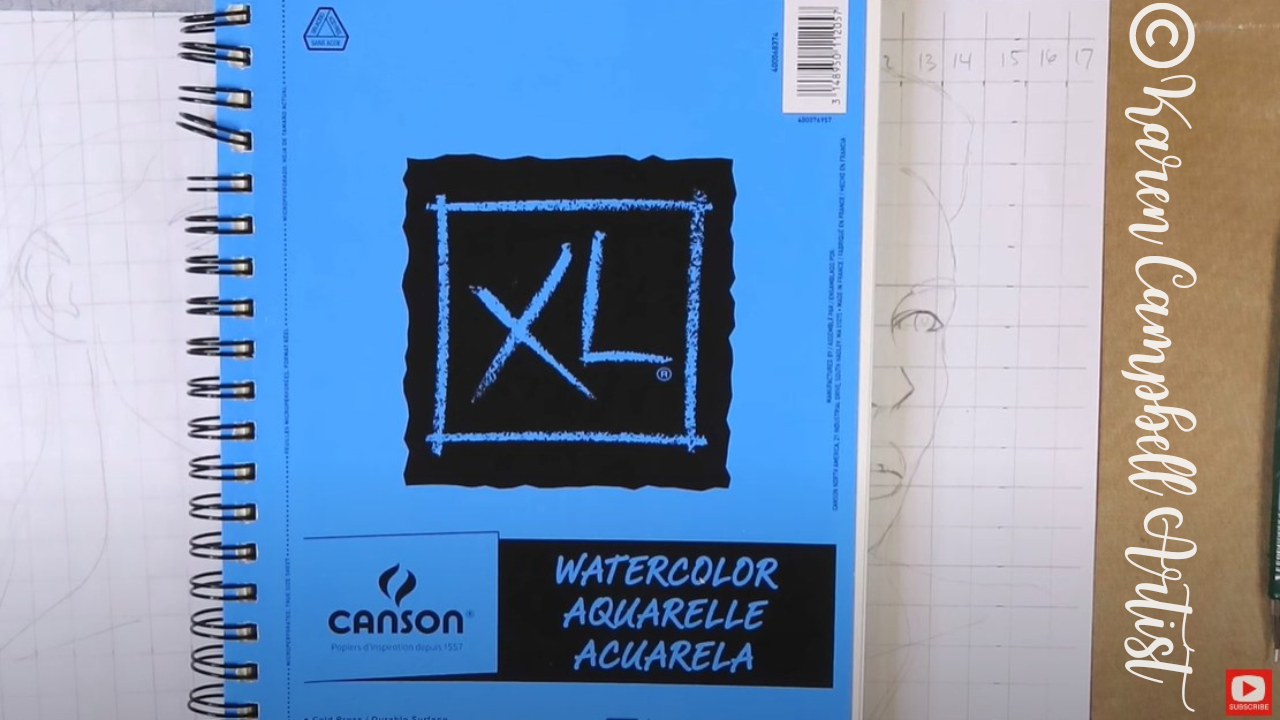
Since Bryn plans to add loose watercolor flowers to her fairy drawing, she needs watercolor paper. Today she's using a sheet of 140 lb. cold press (textured) watercolor paper by Canson. Bryn enjoys working small, so cut a sheet of this paper in half for today's project.
Make sure you watch the video to see exactly how Bryn transfers a scaled down printout of her original drawing to watercolor paper using graphite transfer paper. 
I LOVE using transfer paper as well when I'm doing watercolor portraits because this process really saves my paper.
If you do a freehand drawing from scratch directly onto your watercolor paper, you risk wrecking your paper from tons of erasing. Drawing from scratch on another sheet of paper first (even plain old printer paper!) and transfering your finished drawing to watercolor paper is totally the way to go. 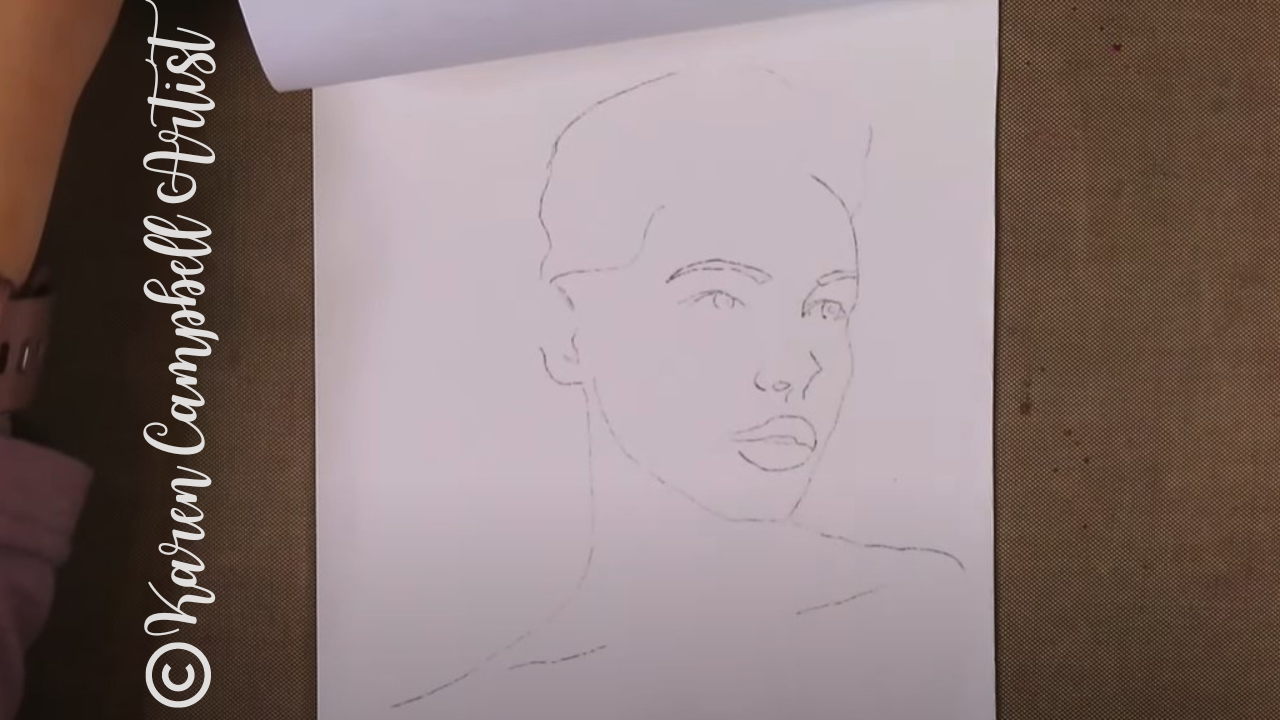
As you'll see in the video, Bryn uses a kneaded eraser to lift some of the bold graphite lines from her watercolor paper once her transfer is complete. This is a great tip, because if you skip this step, your watercolors can smear the graphite and turn brown.
When Bryn's finished with erasing, she uses a purple Copic multiliner (in .5) to outline portions of her drawing. This fineliner is non watersoluble so it will stay put once watercolor is added. Notice how Bryn doesn't add fineliner to each and every line of her drawing, and sometimes only outlines a piece of each line. This technique really adds a sophisticated look to her artwork. 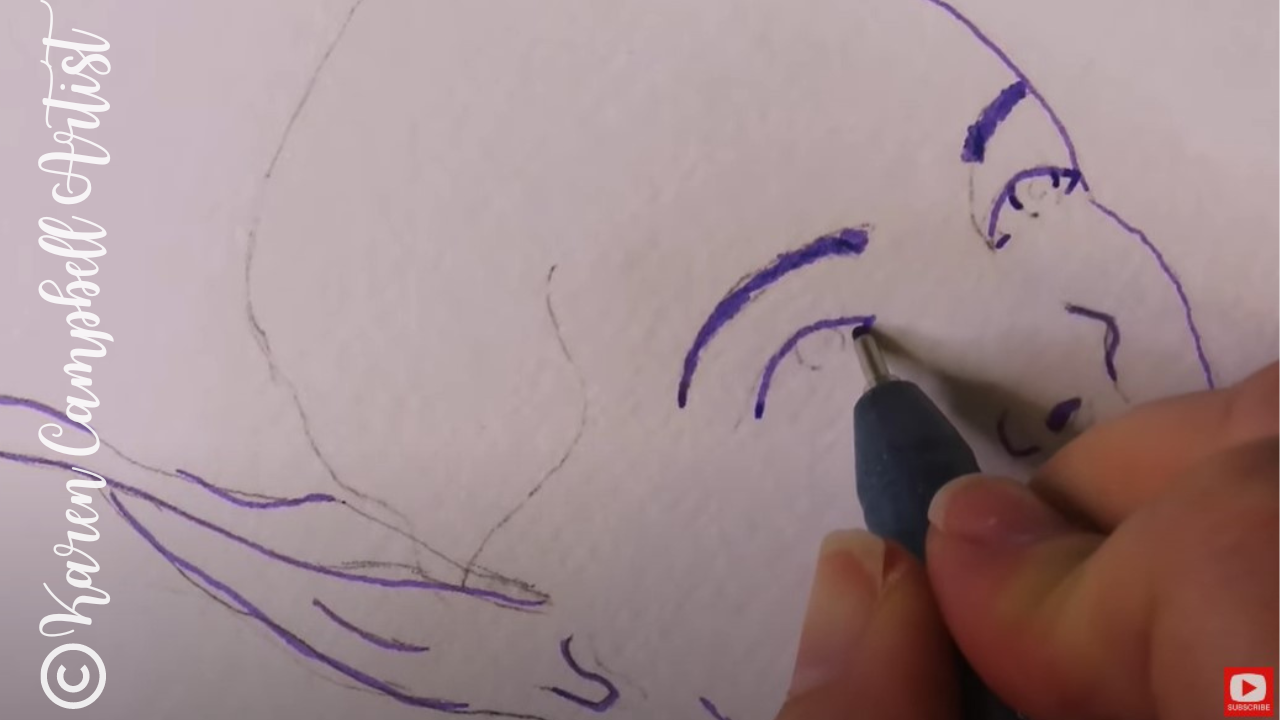
Once the ink is totally dry, you can erase any remaining pencil lines, and get ready to add watercolor! Bryn is using "The Classics" watercolor palette by Prima today for this project, but you can use any kind of watercolor you like. I typically use Daniel Smith watercolors, and have a wide variety of my favorite shades recommended for you in my Amazon shop if you need ideas.
If you need help starting a Daniel Smith watercolor collection of your own, check this video out to learn about Daniel Smith dot cards to inexpensively discover YOUR favorite shades, and this one to start your first Daniel Smith watercolor collection. 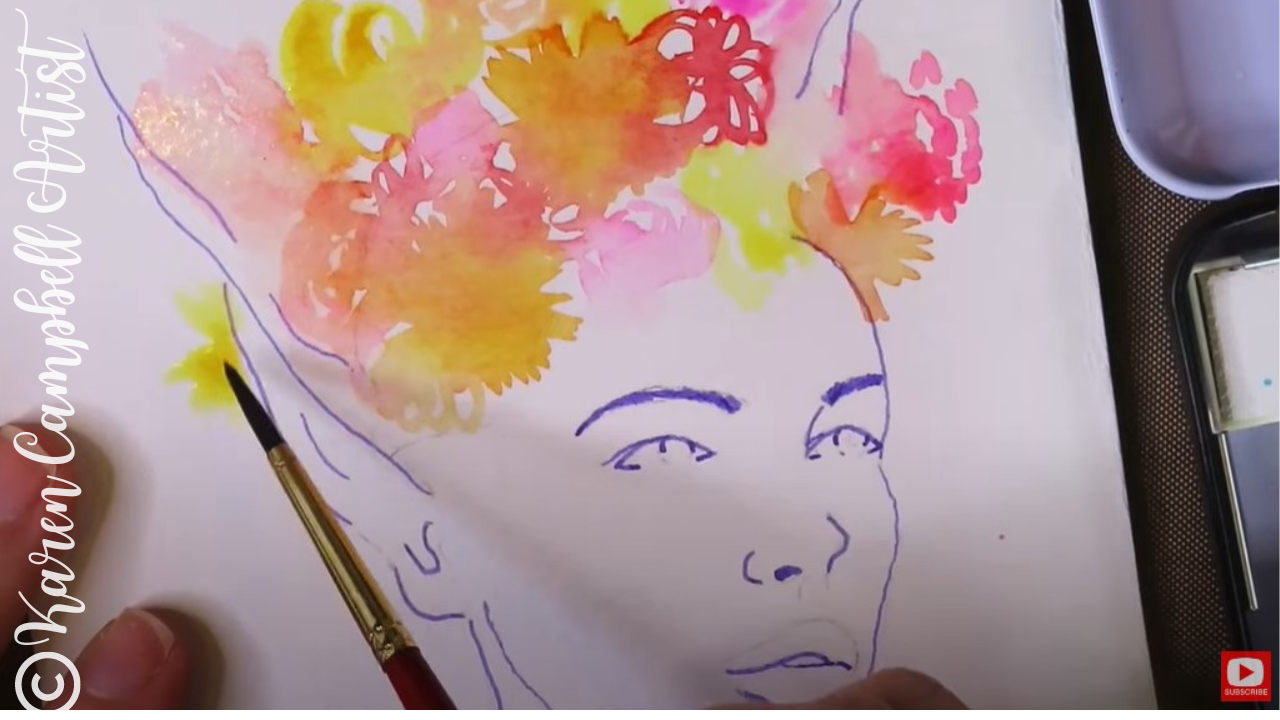
To create loose watercolor flowers on a tiny scale, Bryn uses a #3 round watercolor brush and adds abstract doodles of color in spikes and swirls to indicate flowers. Watch this process in the video because each moment has been recorderd step by step so you can paint along from home.
After the first layer of watercolor is dry, Bryn darkens portions of the flowers to add contrast, and adds bits of yellow green throughout to suggest foilage and leaves.
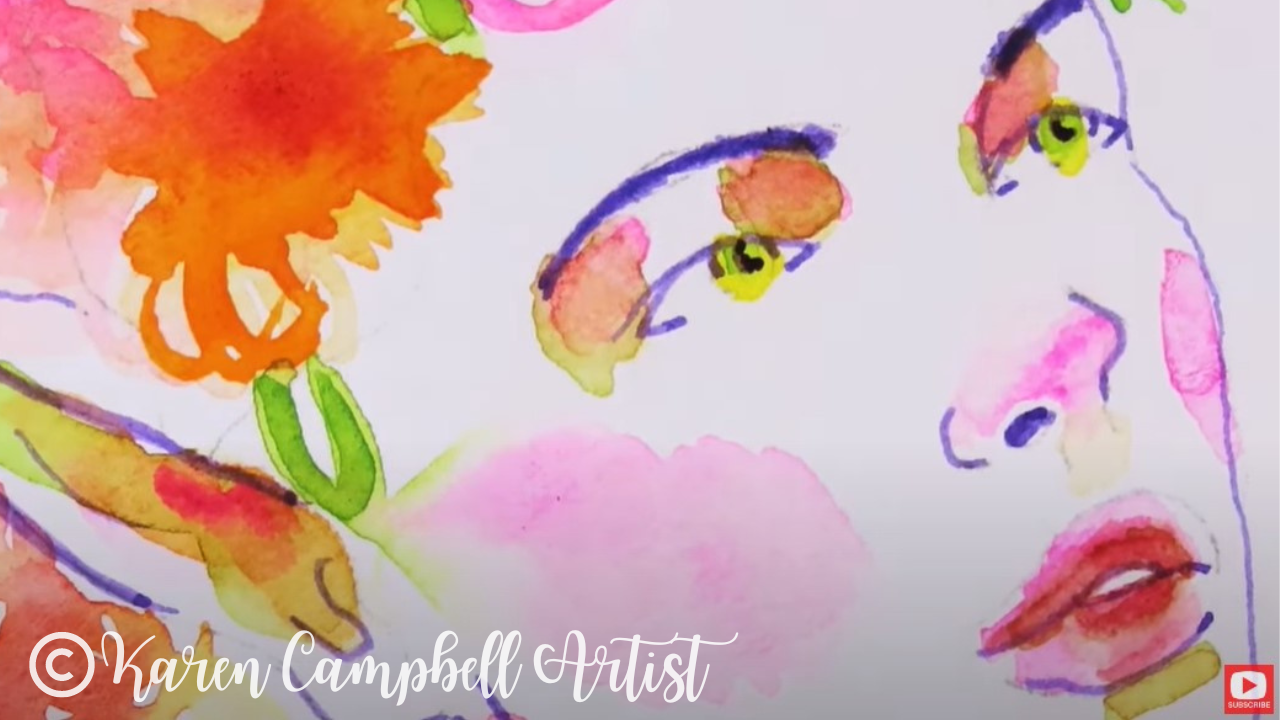
For the skin tones on her fairy's face, Bryn adds in layers of pink from her existing palette. Once these layers are dry, she adds a light layer of yellow green to indicate the darkest shadows.
I LOVE this look! Just make sure your original layers are FULLY dry before doing this at home, so your colors don't turn into brown. 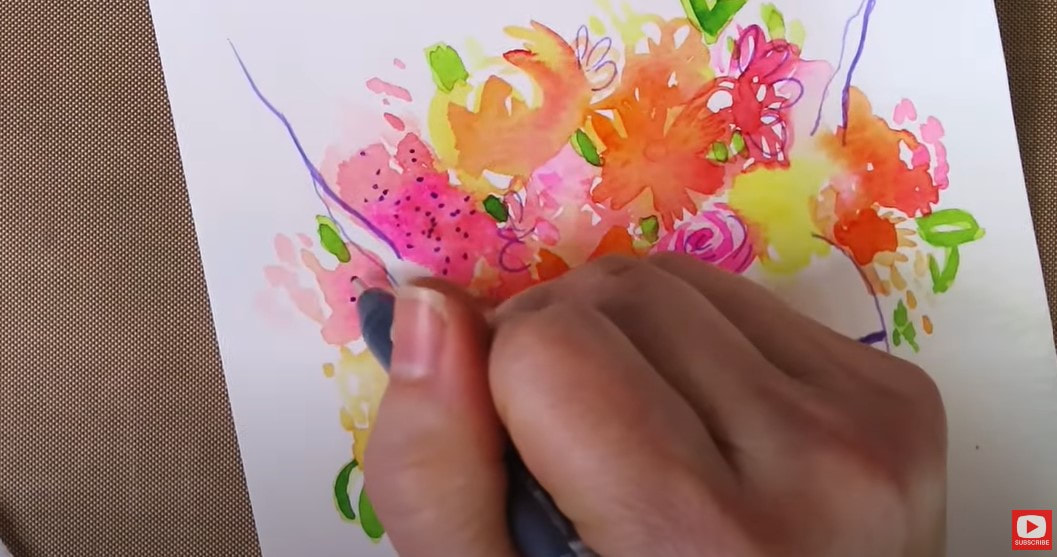
Next, Bryn thickens a few of the lines from her original drawing using her copic multiliner (above), and draws in a few light embellishments throughout her watercolor flowers to tie things together.
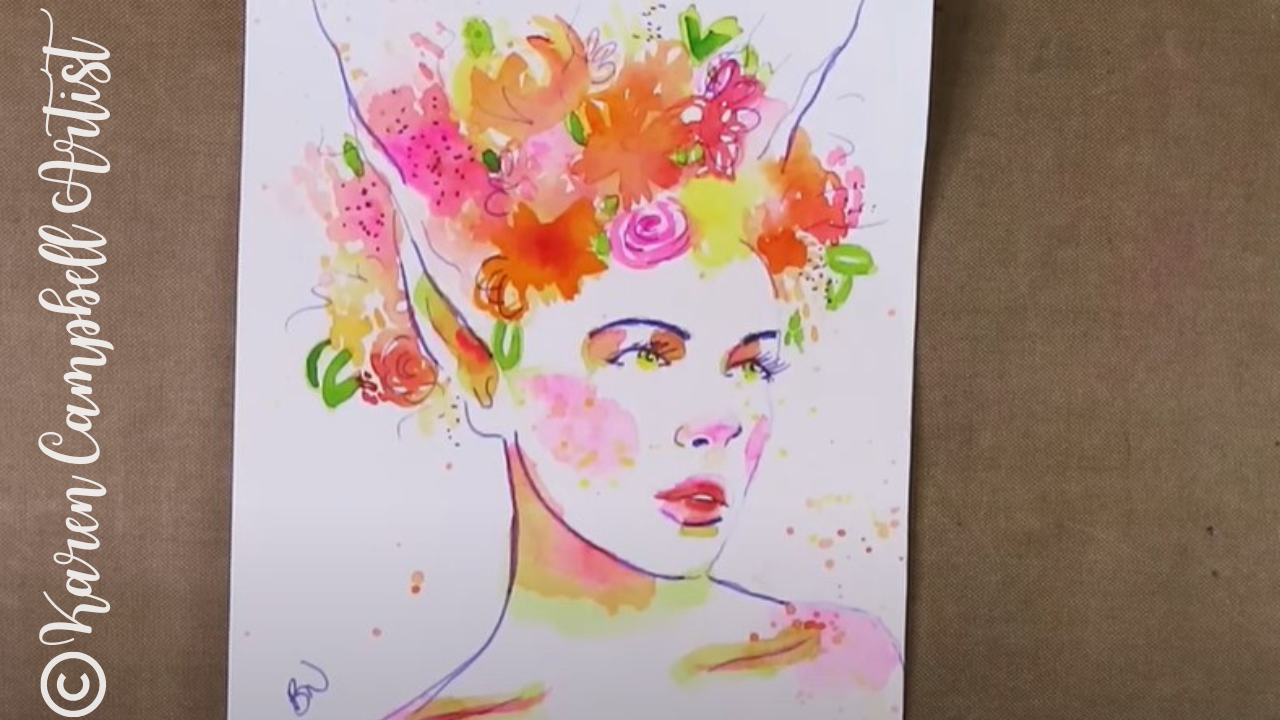
To finish her fairy, Bryn adds a little watercolor splatter paint. I LOVE this effect too!! The key to getting this just right is having a really wet brush. Watch the video to see this technique in action, and paint along with Bryn in real time!
Thanks for hanging out with us today! We hope you have fun with lesson six of the FREE #50FunFabFairies drawing challenge!
If you're OBSESSED with fairies and fantasy art like Bryn and I are, you might just LOVE the Celtic Collective art club over at Awesome Art School.
Add your name to the waitlist to be notified next time we're open for enrollment, or when there's a club member cancellation so you can join in the fun with us! ❤️ CHECK OUT ALL my art books on AMAZON ❤️ MY FAVORITE ART SUPPLIES on AMAZON ❤️ MY BELOVED FACEBOOK GROUP ❤️ FOLLOW ME ON INSTAGRAM
0 Comments
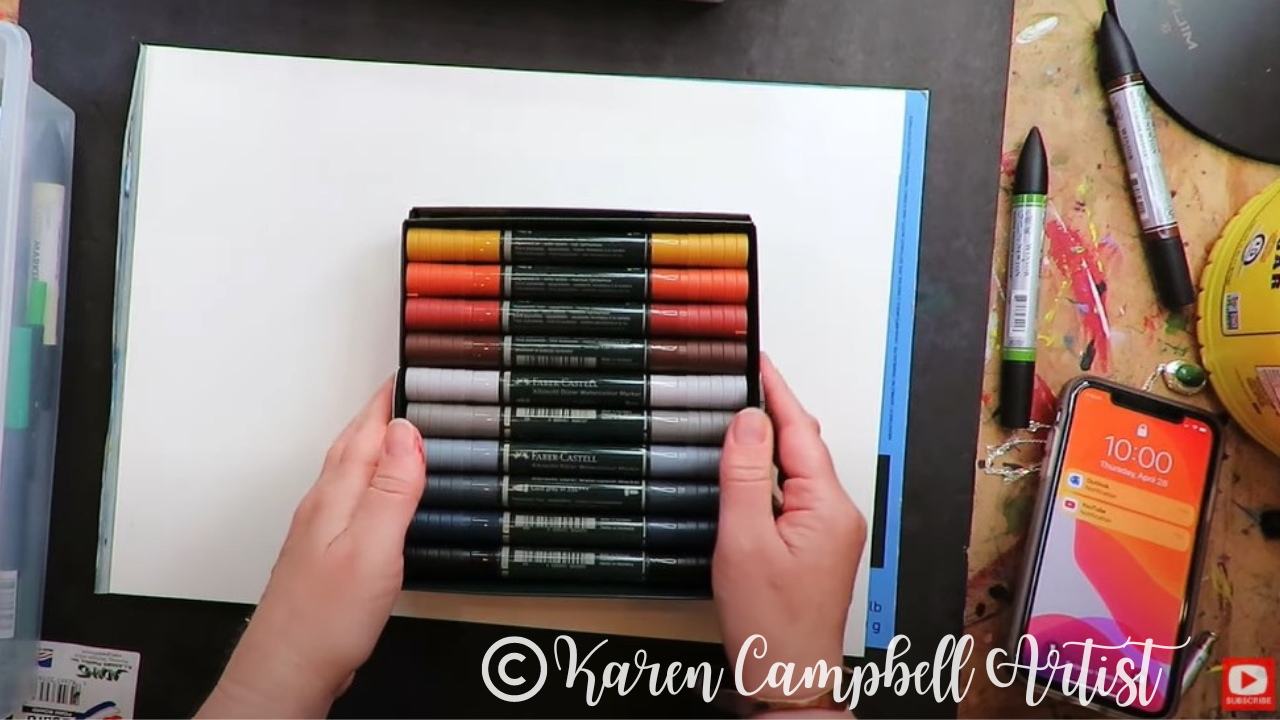
Today I'm unboxing a brand new set of Faber Castell watercolor markers! I've been in love with watercolor markers for my mixed media art projects for years, but only recently discovered Faber Castell makes a GIANT watercolor markers set filled with 30 colors!
Join me in my studio for a full Faber Castell watercolor markers review. We'll test these beauties against my favorite Winsor Newton watercolor markers, and compare their performance against mixed media artist brand favorites made by Ecoline and Tombow. 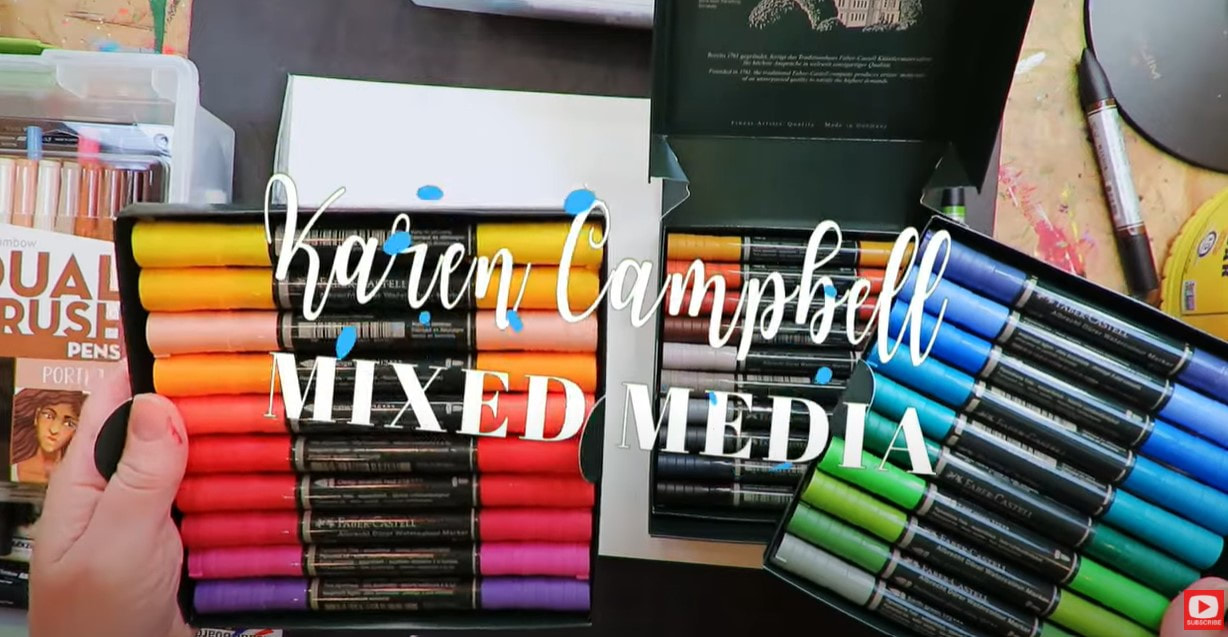
Got a new set of watercolor markers, colored pencils, pens or watercolors? It's SO important to SWATCH your new colors so you know what to expect when each color hits your page!
I've tried to make this process MORE FUN for you by creating a FREE Swatchsheet! Simply click the button below, and I'll send it straight to your inbox. 
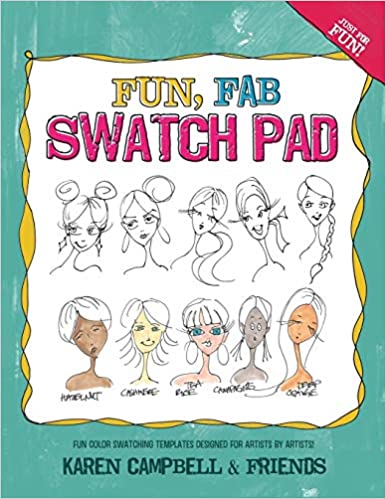
LOVE swatching, and can't get enough?! Check out the book I created with my Facebook Group called The Fun Fab Swatch Pad. This playful book will keep you swatching for days!
Before we continue, super quick announcement: All product links are Affiliate. I may earn a small commission if you choose to order through these links but by law there is never any additional cost to the consumer for doing so. I thank you for your support.
So WHY use watercolor markers in the first place? Control. It's a simple as that! Applying watercolors with a brush and water is a lot looser and can feel a bit dicier and unpredictable for tons of artists. Having the precision of a marker combined with the beautiful effects of watercolor is seriously magical!
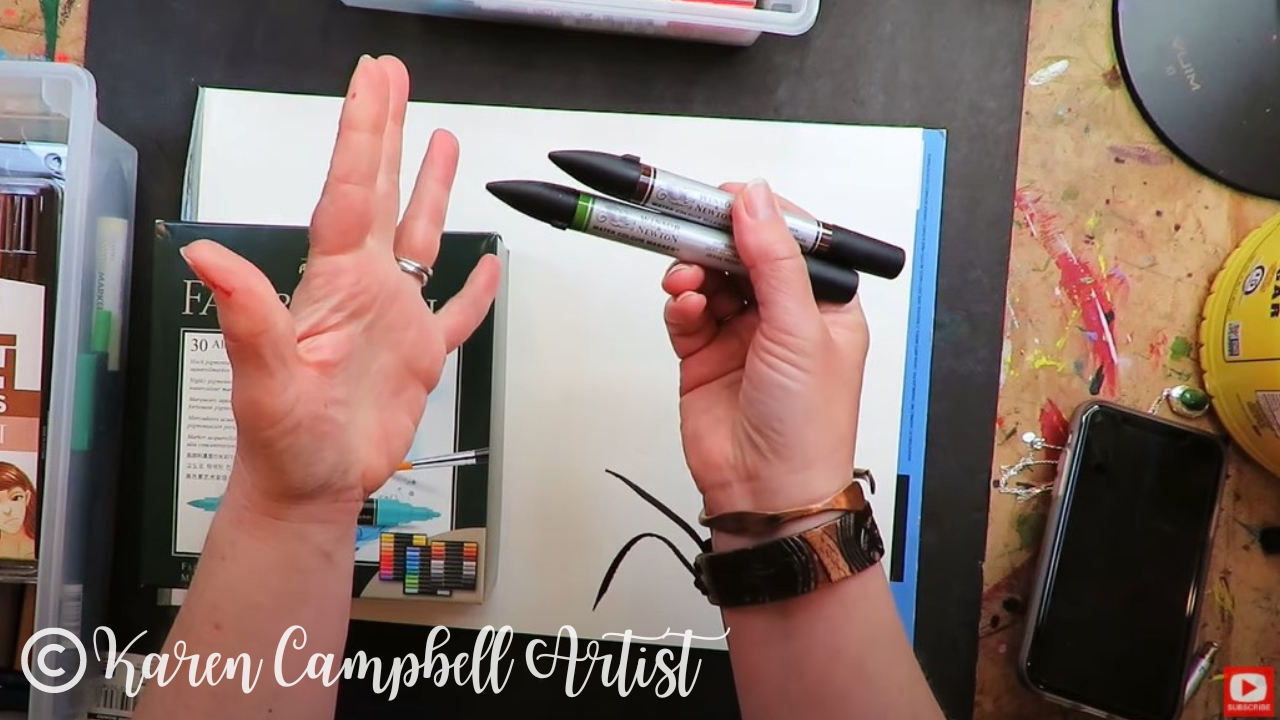
I've been in LOVE with my Winsor Newton watercolor markers for years. They're a fine art product, so MUCH juicier, and more pigmented compared to other watersoluble markers on the market. They're also lightfast, which means the pigment is museum quality and the color in your mixed media art projects will stay beautiful FOREVER.
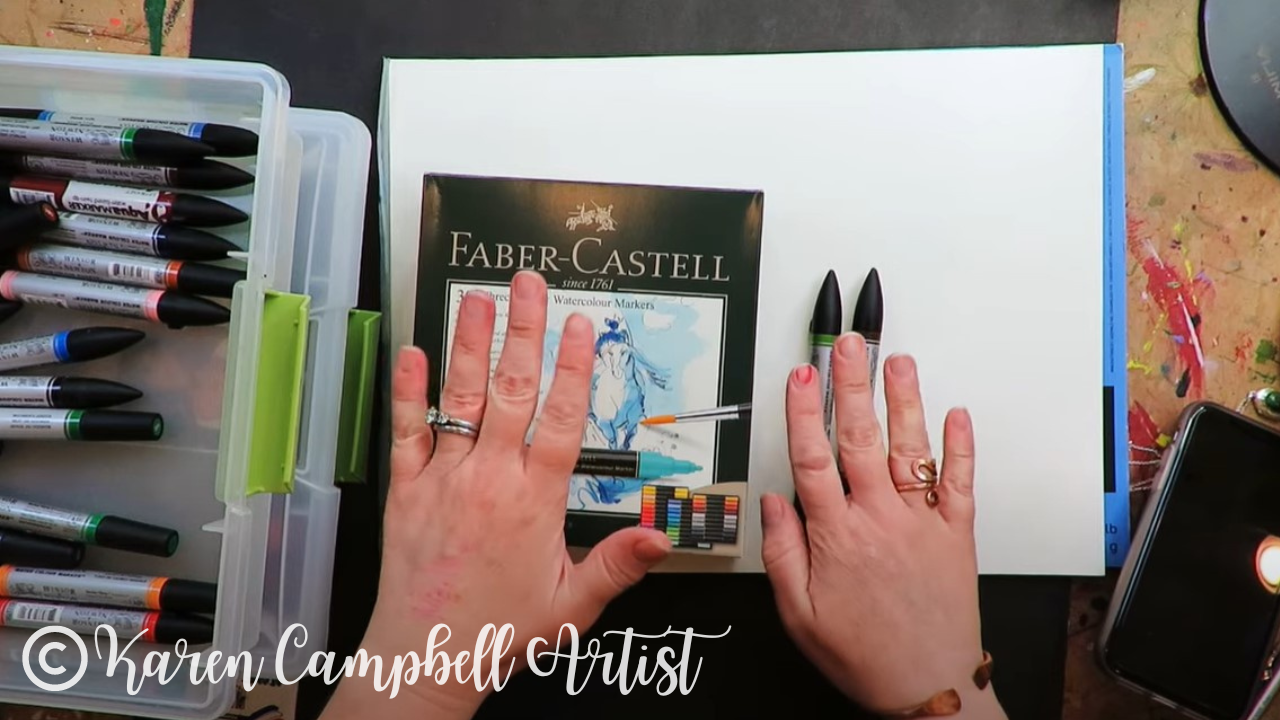
When I discovered this giant box of watercolor markers by Faber Castell, I immediately wondered how they would compare with my Winsor Newtons.
Because I've got mixed media beginners all the way to advanced students working with me over at Awesome Art School, I'm also going to test the Faber Castells against Ecoline Brush Pens and Tombow Dual Brush Pens as well because they're a little more budget friendly. Plus, LOTS of my students have at least a few watersoluble markers by one or both of these brands. 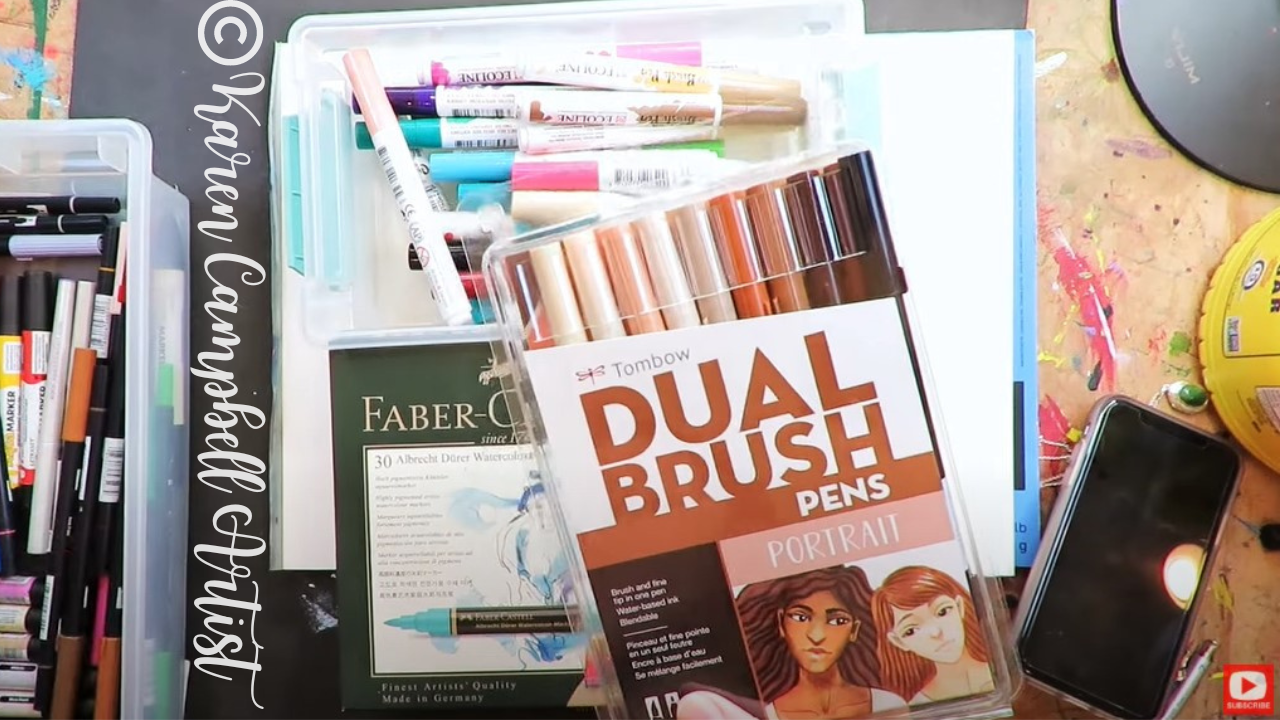
As far as a cost comparison for Faber Castell Watercolor Markers vs Winsor Newton Watercolor Markers, the Winsor Newtons are definitely more expensive, at around $6/marker - if you buy them individually. They do offer a few sets of 12 (check out my Amazon shop), but costs can vary up to $90/set!
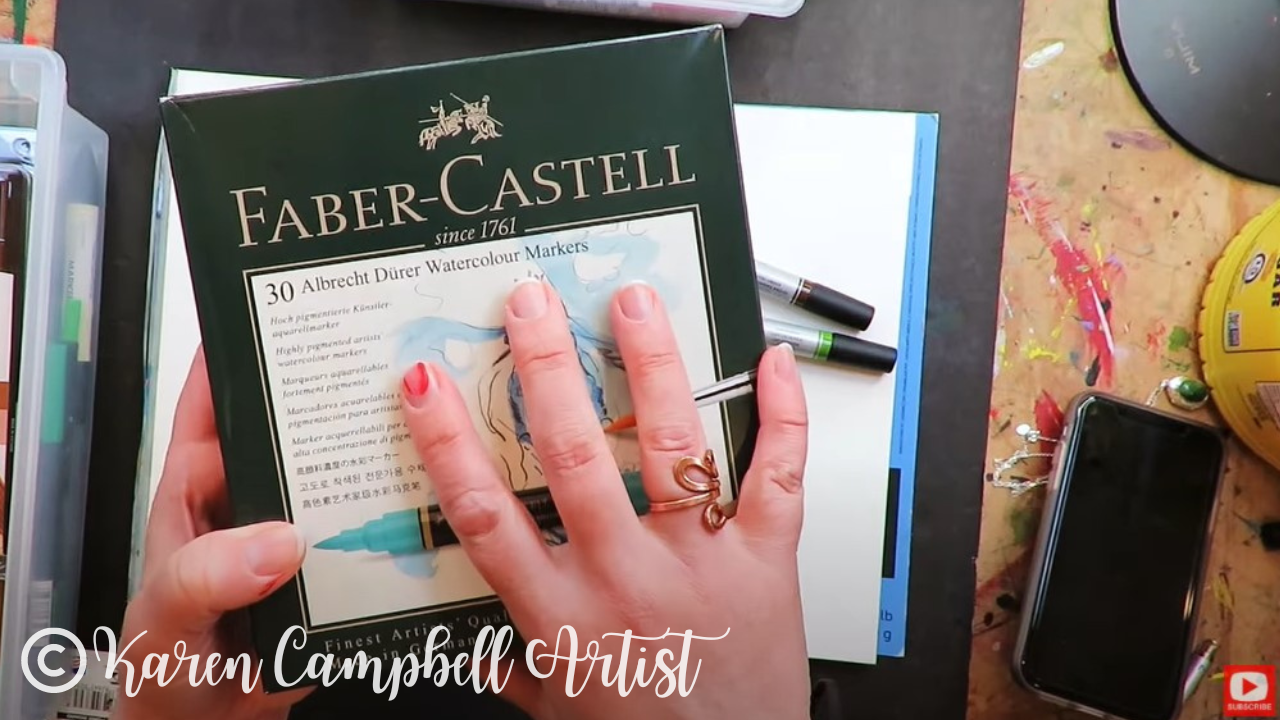
The Faber Castell Watercolor Marker Set of 30 isn't cheap by any means, but you get 30 colors for less than $100 (current Amazon price is $94) - so you're getting a bigger bang for your buck!
As soon as I opened the Faber Castells, right away I noticed a skin tone watercolor marker! This got me SUPER excited, because I don't have one of these in my Winsor Newton Watercolor collection. I can't wait to play with that one for one of my mixed media faces!!
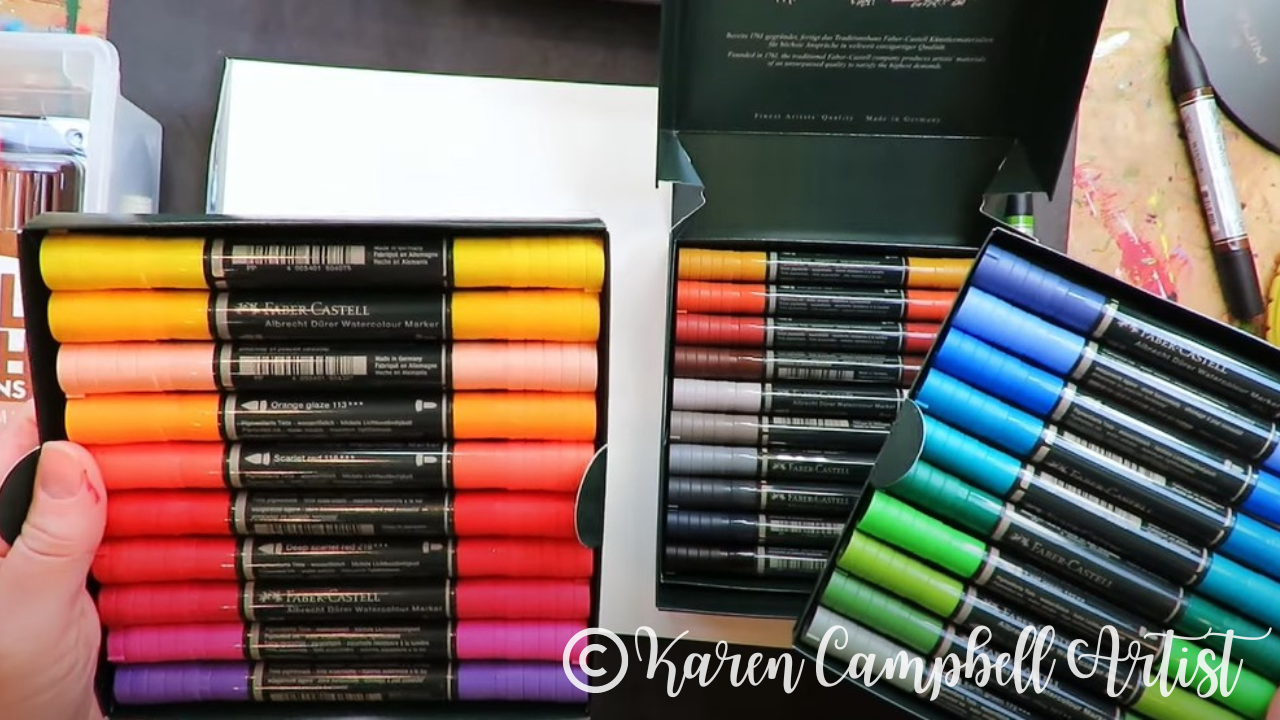
I also noticed I've got five gorgeous blues, five beautiful greens , and an awesome set of six grayscale shades to play with. I LOVE my Grayscale Tombow Dual Brush Pens set, so the Faber Castell version will be really fun to try out too.
The first thing I like to do when I'm comparing mixed media art supplies in any category is to see how juicy and vibrant the pigment is. How the colors look on my paper, and how much coverage I can get QUICKLY are both really important features to me.
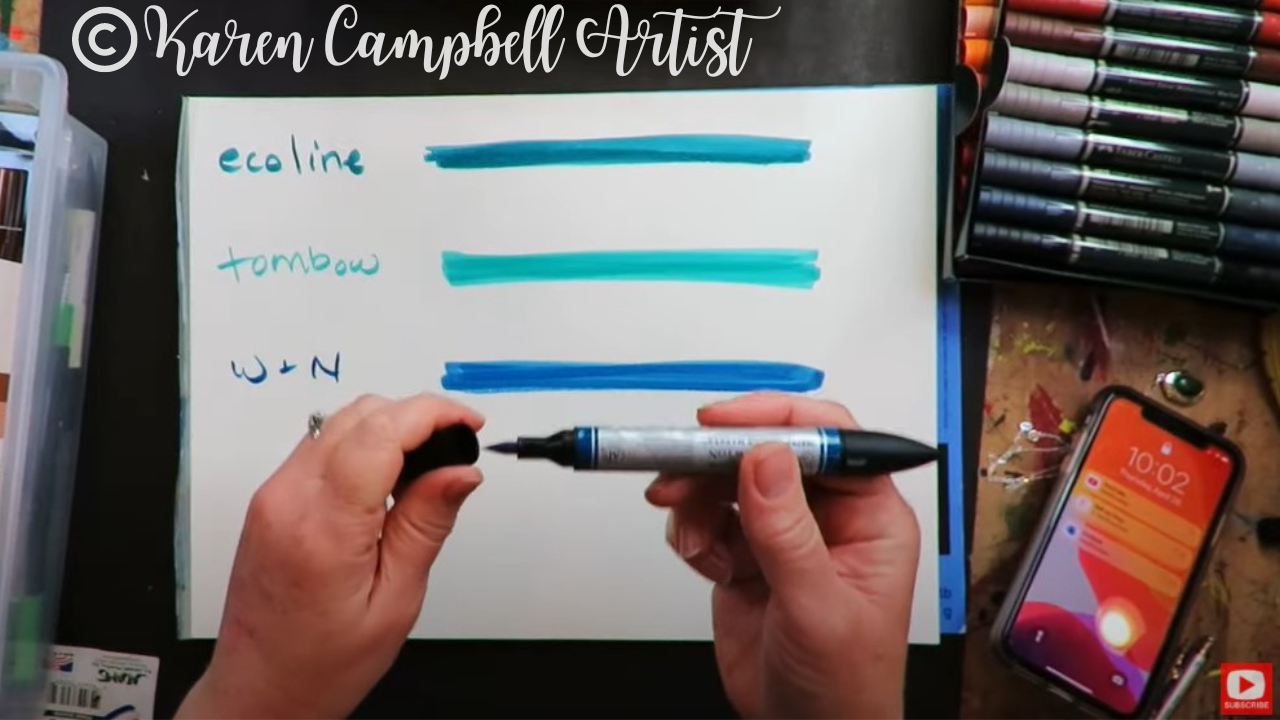
All of them have decent coverage and the shades of blue I'm testing are all beautiful. But as soon as my Winsor Newton watercolor marker hits the page, I can immediately tell a difference. I felt a similar juiciness from the Faber Castell watercolor marker as well. Both beat out the Ecoline and Tombow brands here, hands down.
Before I tested the watersolubility factor on each of these brands, I decided to dry the page completely with my hair dryer to see how each brand activated with water when dry.
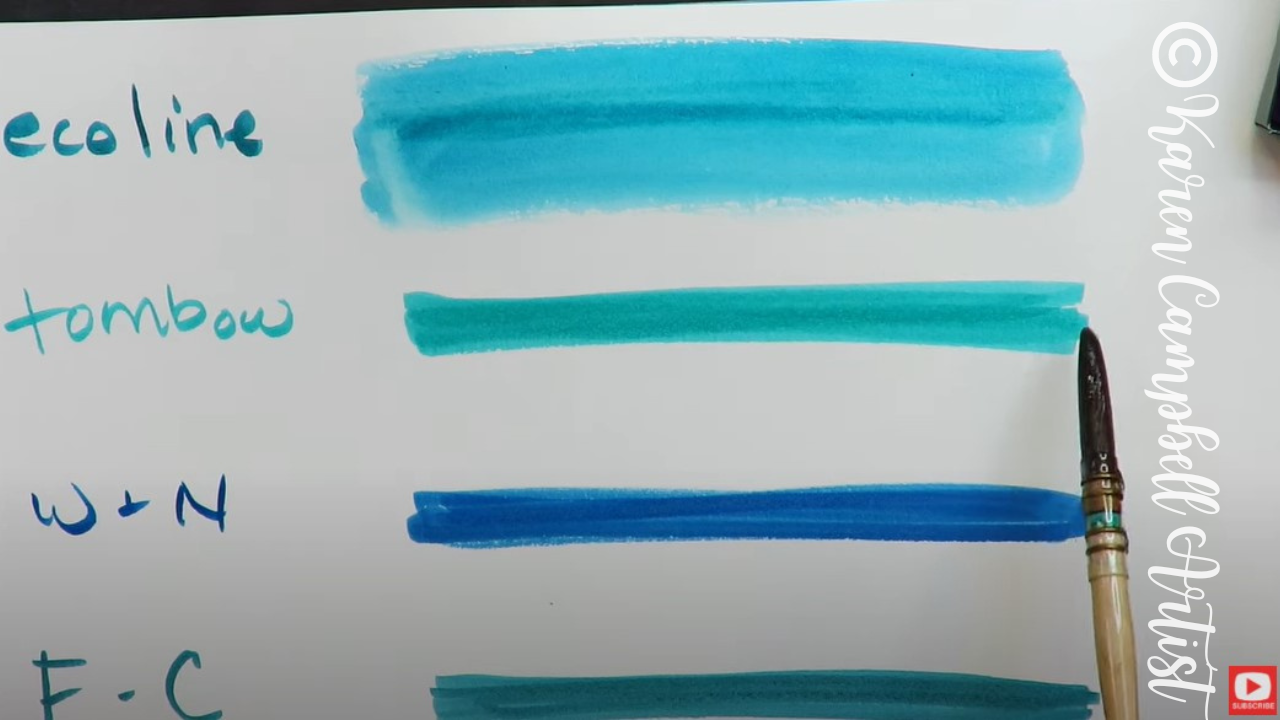
I used one of my favorite Polina Bright watercolor brushes to activate each line with water.
If you're new to Polina's watercolor brushes, you're in for a treat. They hold SO much water and are amazing. They are now the only watercolor brush I use. If you're interested in learning more about these, here is a recent product demo video and full Polina Bright watercolor brushes review. 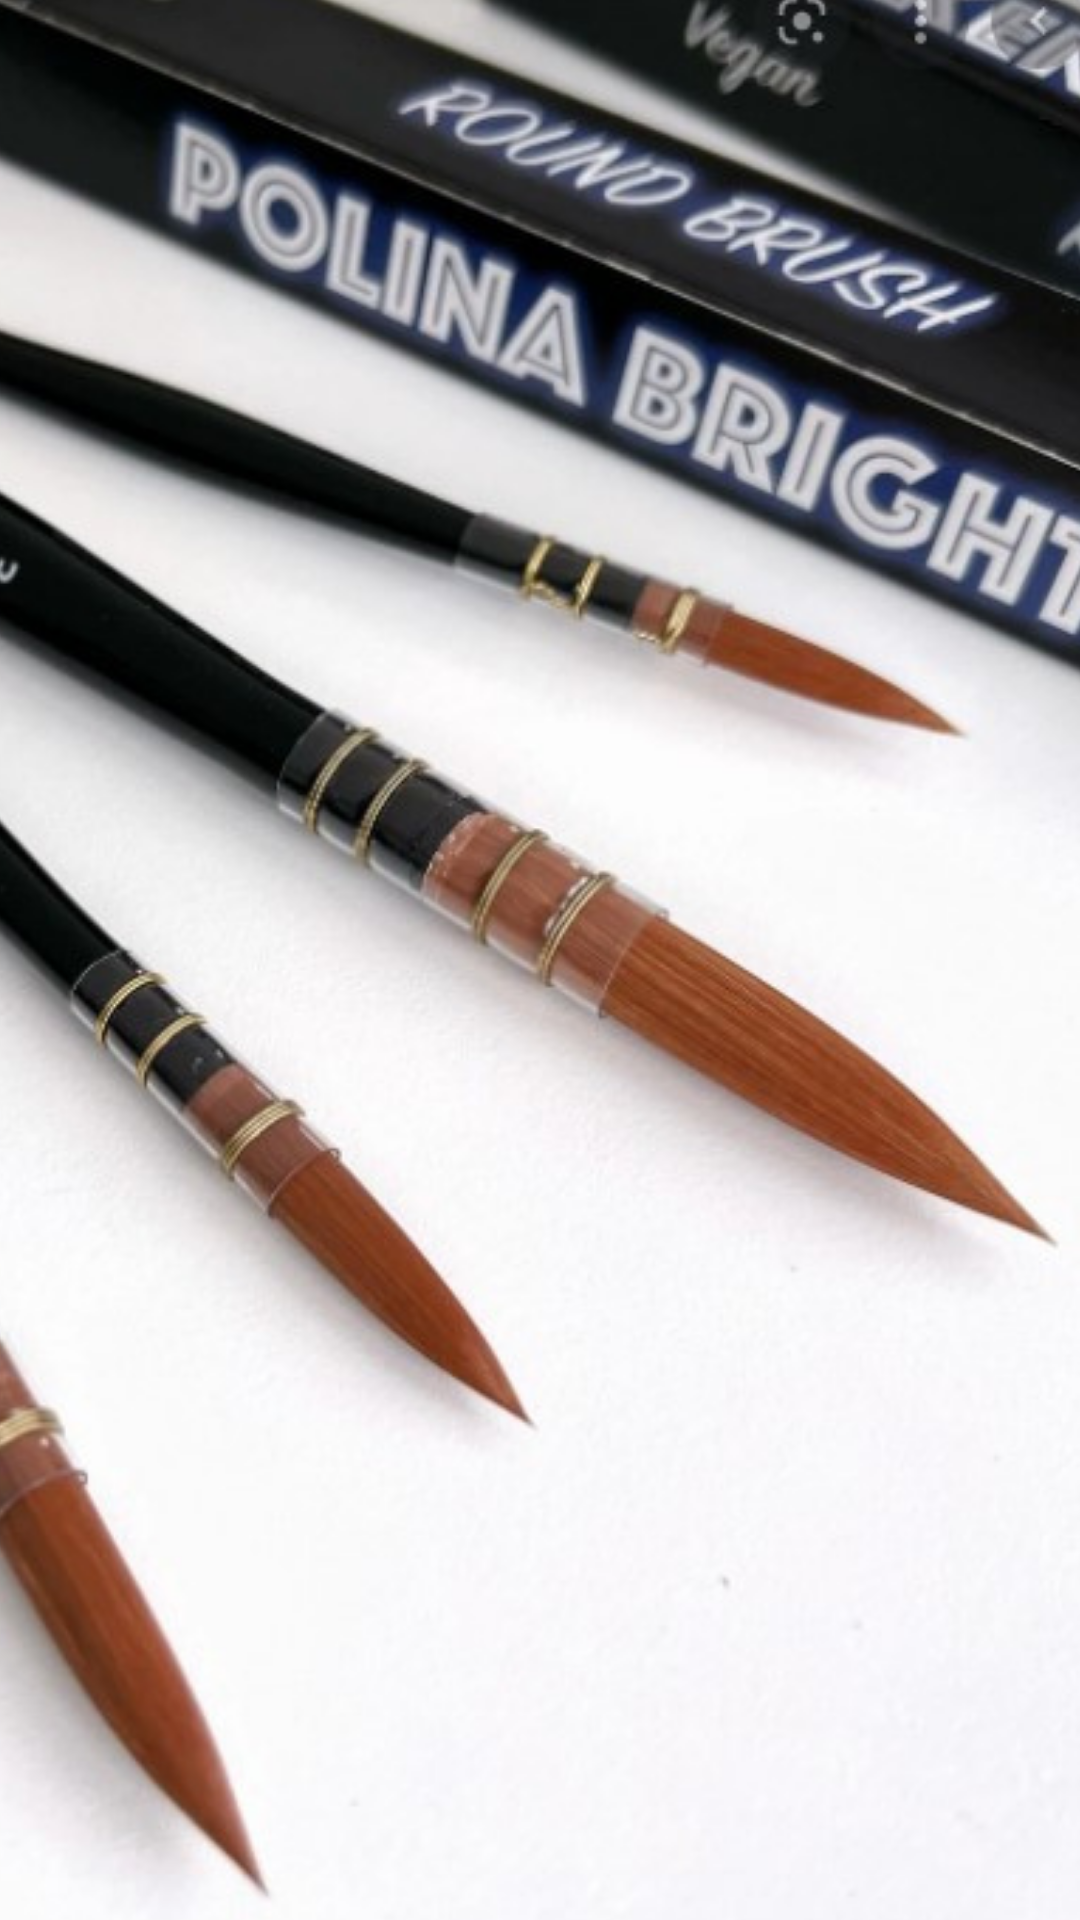
If you'd like to pick up your own Polina Bright watercolor brush or set, Polina has offered a 10% discount to my followers, so be sure to use this link when you shop! If you do order anything here- just a quick fyi, Polina is located in Australia so shipping may take a bit more time, but I promise, it's well worth the wait!
If you're new to Polina Bright - her art is simply fantastic, so be sure to look her up to see the gorgeous faces she creates as well. 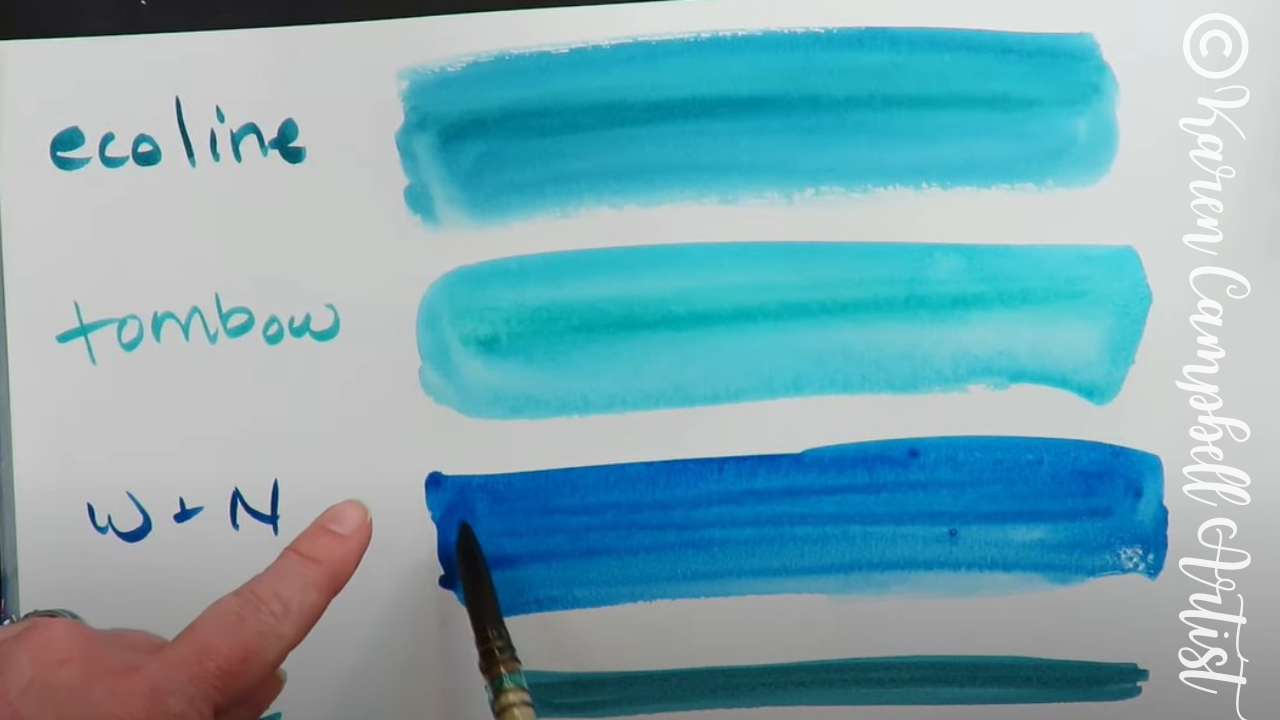
As you'll see in today's video, when I activated the Winsor Newton lines on my paper, I got such a rich effect. Plus, you'll notice I was able to fully disolve my original lines once I added water.
Both the Ecoline and Tombow activated beautifully too, but their original lines did NOT disolve as much as the Winsor & Newton and Faber-Castell lines. If this is a feature that's important to you, you might want to skip Ecolines and Tombows. 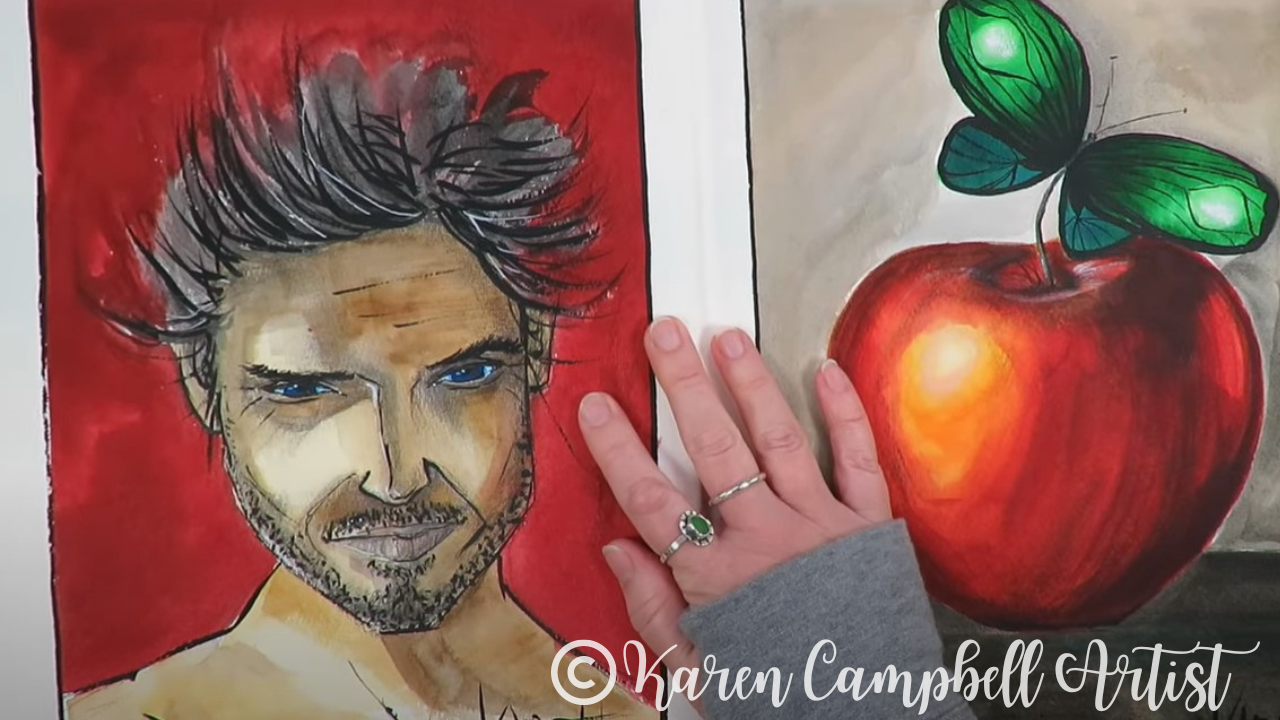
I also noticed a bit of granulation in the Faber Castells as well. Granulation is super common with watercolors becuase the pigment is typically made from minerals. This effect is something you won't see in a synthetic, dye based watercolor marker like Tombows or Ecoliners, and is something I LOVE about watercolors in general.
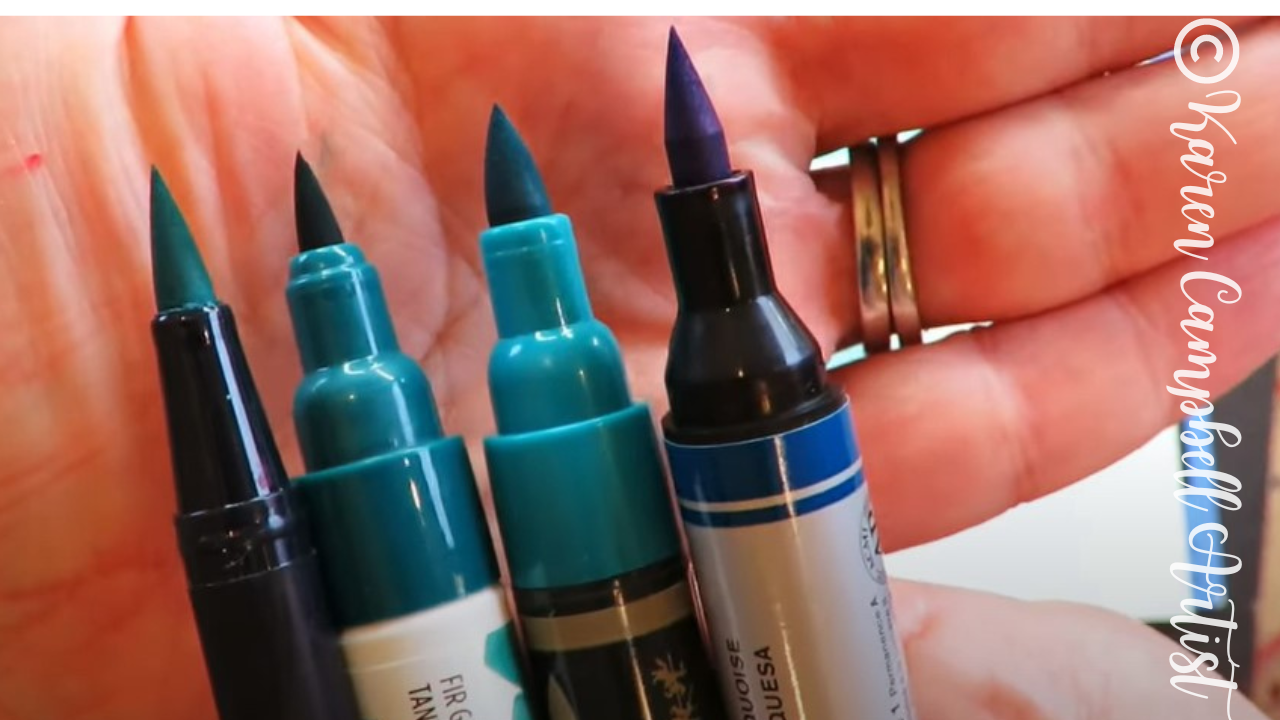
Here's what the brush nibs of each marker tested today look like side by side (above). I have to say they're all pretty comparable. Faber Castell has the widest nib (third from the left), while Winsor Newton's (far right) is both wide and long.
I felt the Winsor Newton nib was most flexible, and therefore felt most like a paint brush. The Faber Castell nib felt more like a felt tip or typical marker, and had zero flexibility.
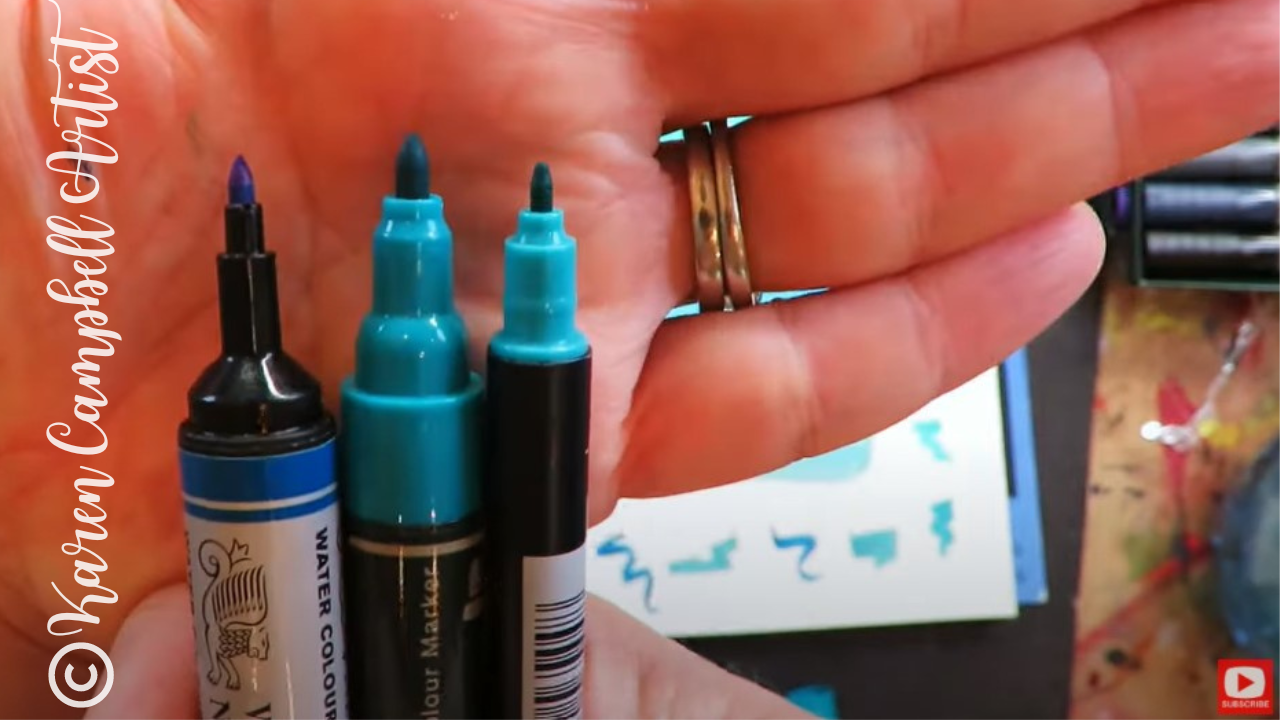
When comparing the bullet nibs from each of the markers tested today, they're also quite comparable (below). I rarely use this side of my dual brush pens or markers, but if this is something you're curious about, here's what they look like (excluding the Ecoliner, because it doesn't come with a bullet nib).
I hope you found this info helpful. Make sure you click over to the video to see everything in action!
See ya back here next week with lesson six of my FREE #50FunFabFairies drawing challenge!
Thanks for hanging out with me today!
❤️ CHECK OUT ALL my art books on AMAZON ❤️ MY FAVORITE ART SUPPLIES on AMAZON ❤️ MY BELOVED FACEBOOK GROUP ❤️ FOLLOW ME ON INSTAGRAM FUN & EASY Fairy Drawing Tutorial IN SCOTLAND with Karen Campbell & Lucy Brydon [#50FunFabFairies]8/7/2022
Lucy Brydon and I had the BEST time filming this EASY fairy drawing tutorial in Scotland together! While our art retreat guests at Wardhill Castle had some free time, we snuck off to draw this adorable fairy couple, inspired by Pascal Moguerou.
All you need to draw along with us is a sheet of paper, a pencil and eraser. We hope you enjoy lesson 5 of the #50FunFabFairies drawing challenge as much as we enjoyed making it for you! 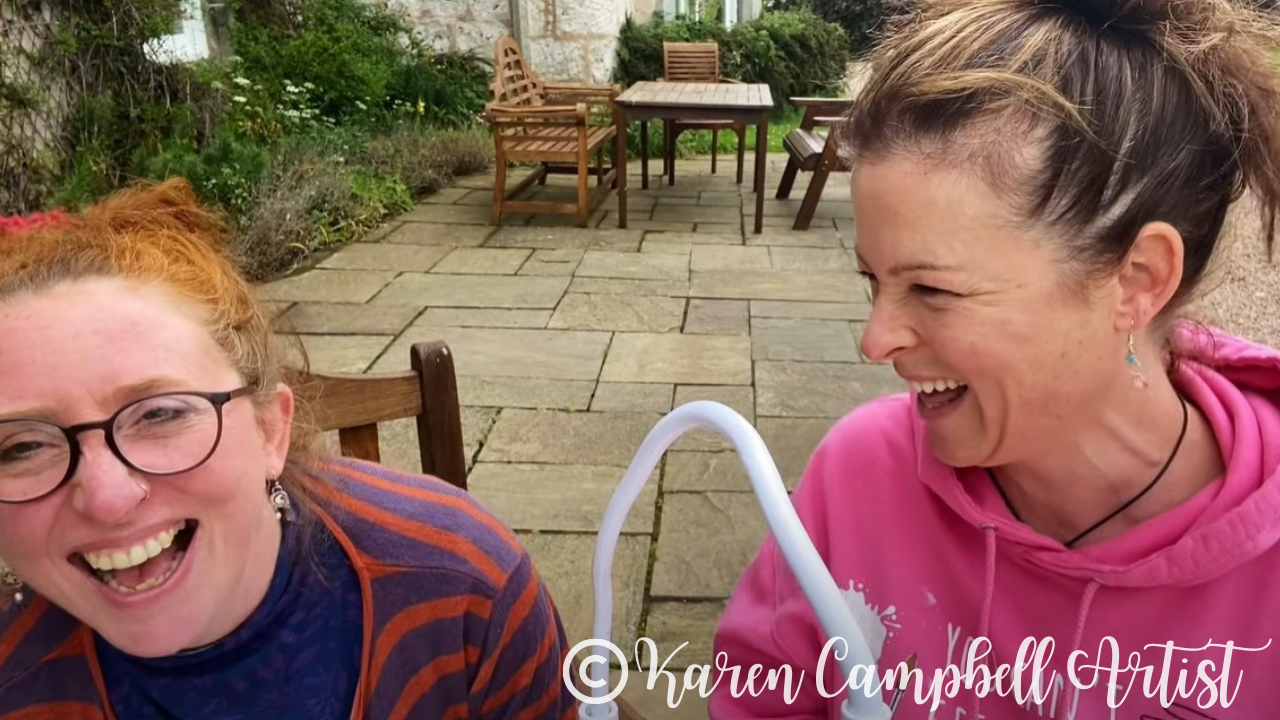
Want easy access to this and even MORE fairy drawing ideas? Join our FREE #50FunFabFairies drawing challenge over at Awesome Art School!
Simply click the button below to receive instant access to ALL the fairy reference images for each drawing prompt (including today's!), plus info on supplies, cheatsheets and more! 
Never drawn a fairy before? No problem. You'll learn how to draw a fairy step by step in each lesson of the challenge. All you have to do is watch and draw along!
Wanna become a better artist? Do today's lesson (and every lesson of the challenge) five times, making a few creative alterations of your choice, and watch your skills soar as you practice fairy eyes drawing, fairy ears drawing AND fairy hair drawing 50 different ways! 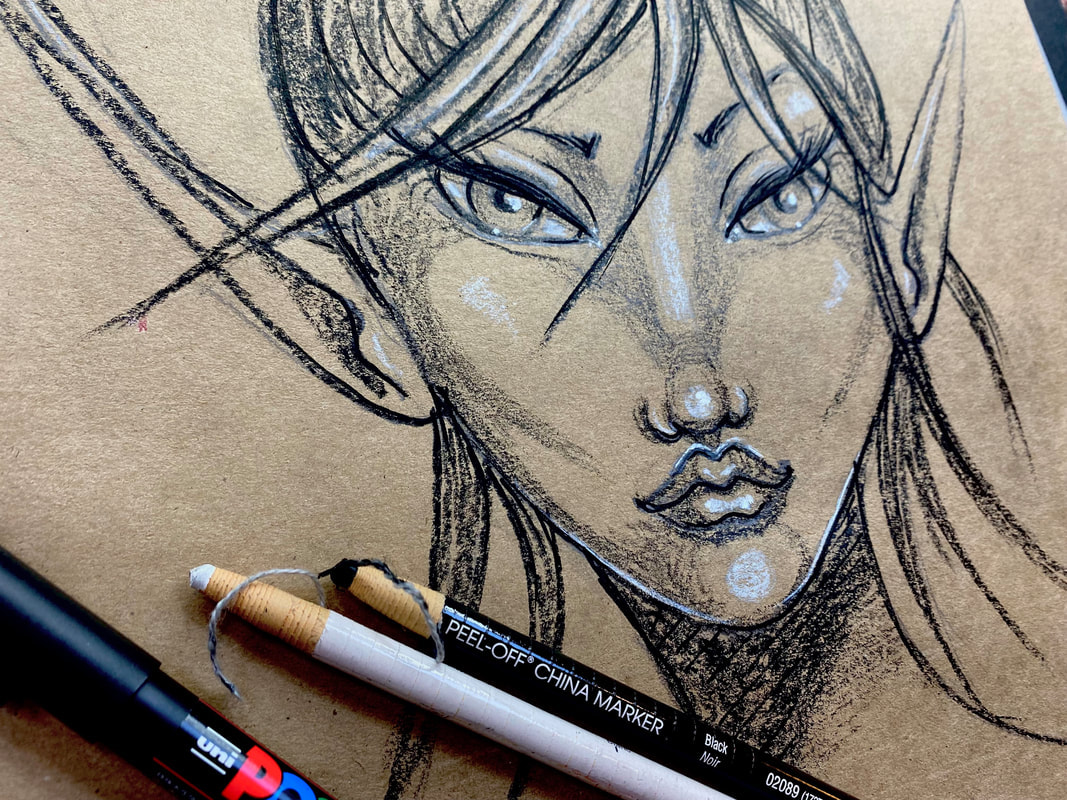
Before we continue, super quick announcement: All product links are Affiliate. I may earn a small commission if you choose to order through these links but by law there is never any additional cost to the consumer for doing so. I thank you for your support.
Today, Lucy and I are drawing on cold press watercolor paper. If you haven't drawn on cold press paper before, it's got a lovely texture that actually makes blending for your shading SUPER easy!
We're keeping the rest of the supplies at bare minimum today with just a Blackwing pencil, mechanical pencil, blending stump and eraser. We did end up using my Tombow mono zero eraser, but you can totally do this project without it! 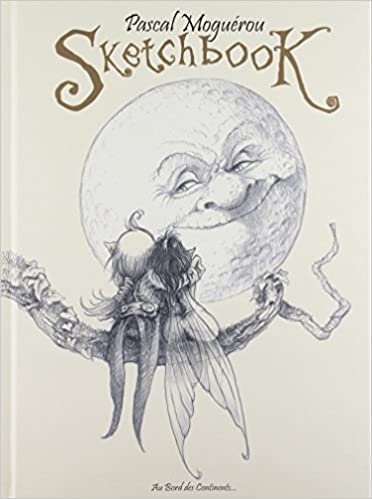
Our reference image today comes from the cover for Sketchbook by Pascal Moguerou (above). If you ever come across one of Pascal's books, we highly suggest you grab it because they are fantastic. At the moment this one's a bit pricey on Amazon, at $96. Check back later because you might find a better deal.
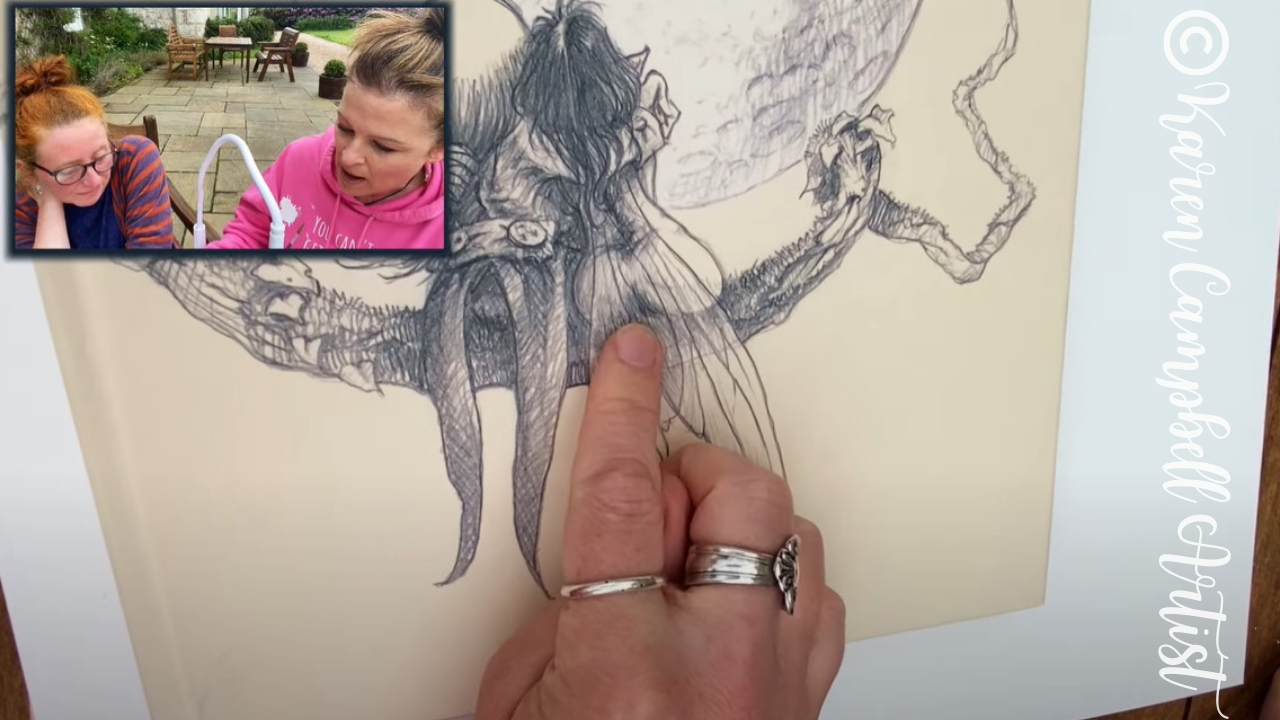
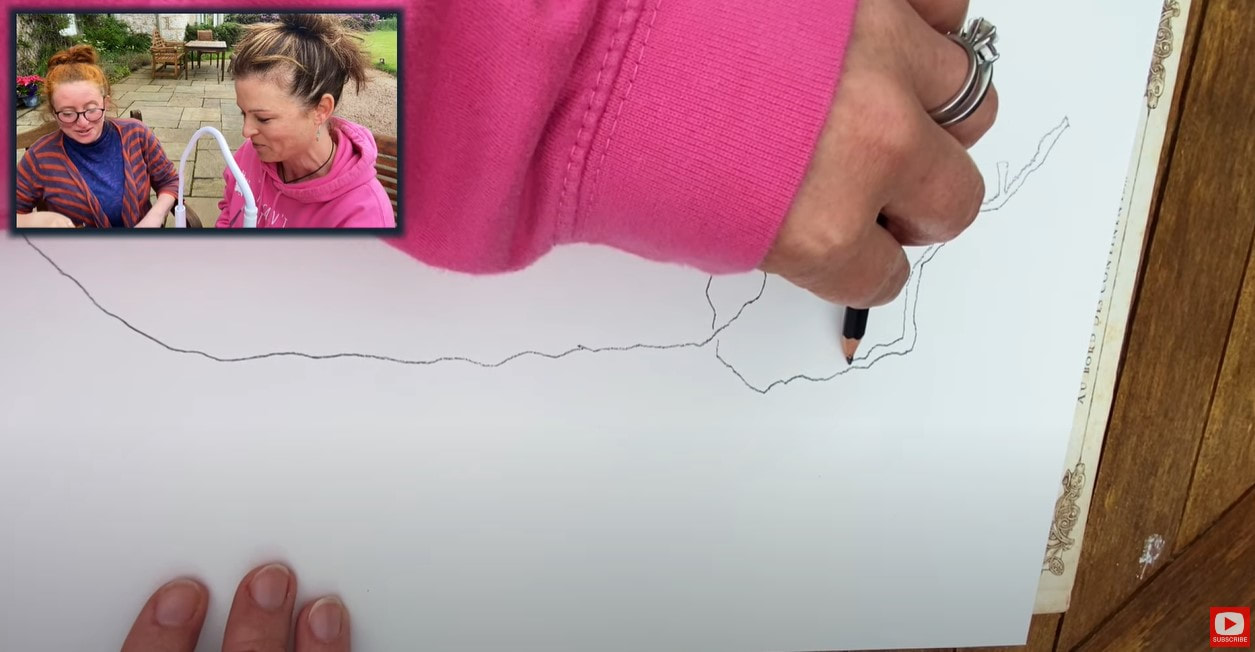
I love the look of Moguerou's style - especially in the branch these fairies are sitting on. It's got so much cute character! I decided to try using my non dominant hand (left) to replicate style of his scraggly tree branch and vines.
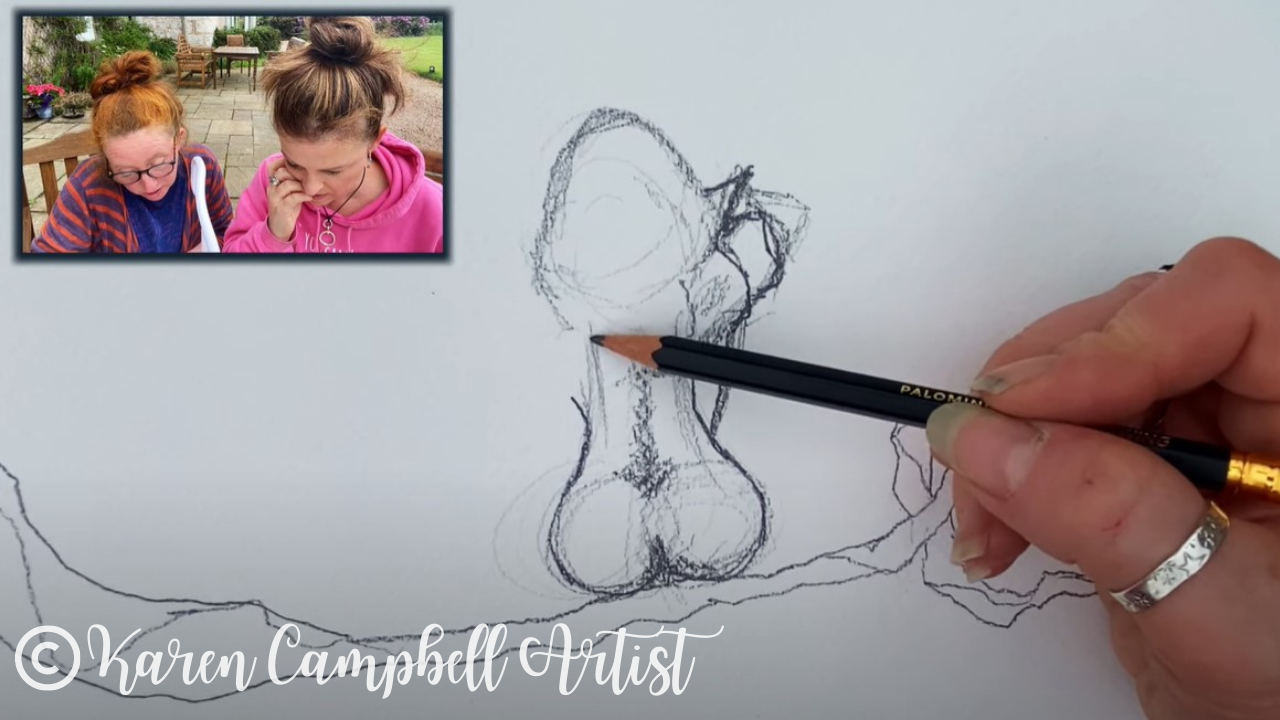
Lucy sketched in the girl fairy for us on the right side of our drawing using the Blackwing pencil. In case you haven't used a Blackwing before, it's so soft that the lines you draw with it can come out quite dark and thick. I love bold strokes like this, but if you have some finer detail to add to your drawing, you might prefer using a mechanical pencil.
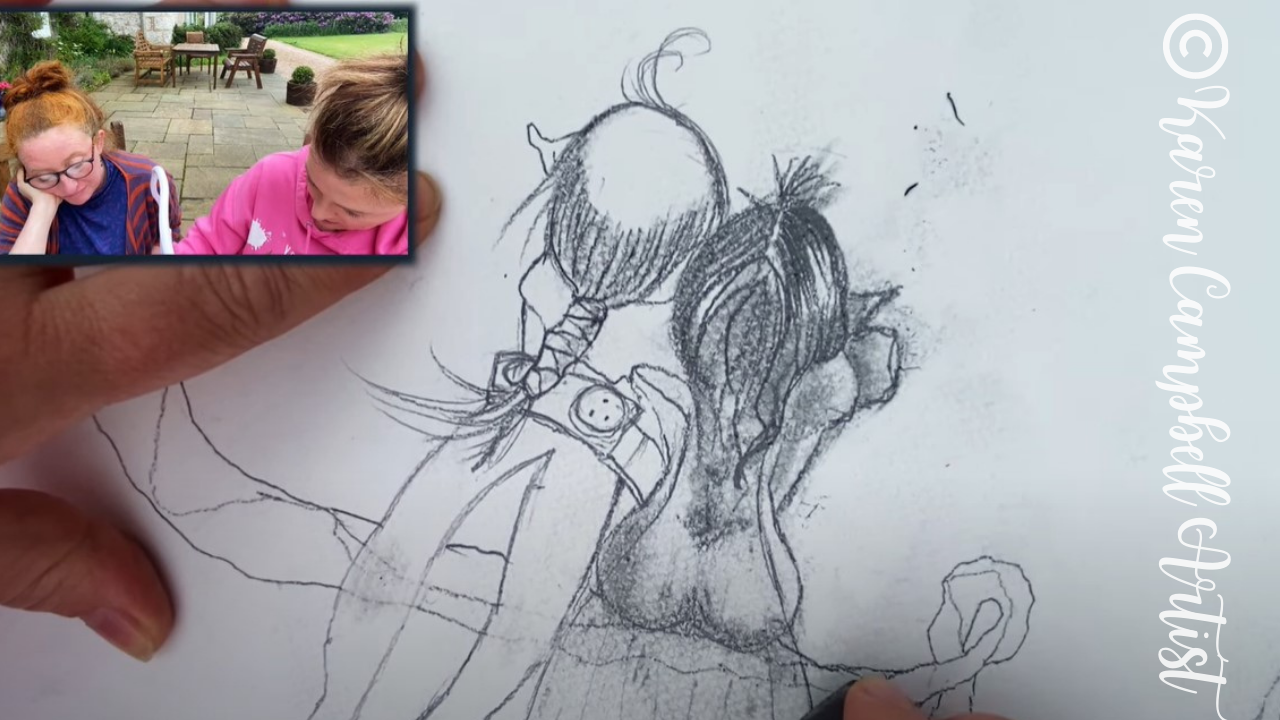
The shading in our reference photo appears to come through the most in the fairy wings just at the tips and tops of the wings. It reminds me of how I often shade hair - leaving a swath in the middle as the white of the paper.
If you're not sure how to draw fairy wings, make sure to watch this video because Lucy did a beautiful job. She switched to a mechanical pencil for the fairy wings in this drawing because these lines are more delicate. It's just adorable. 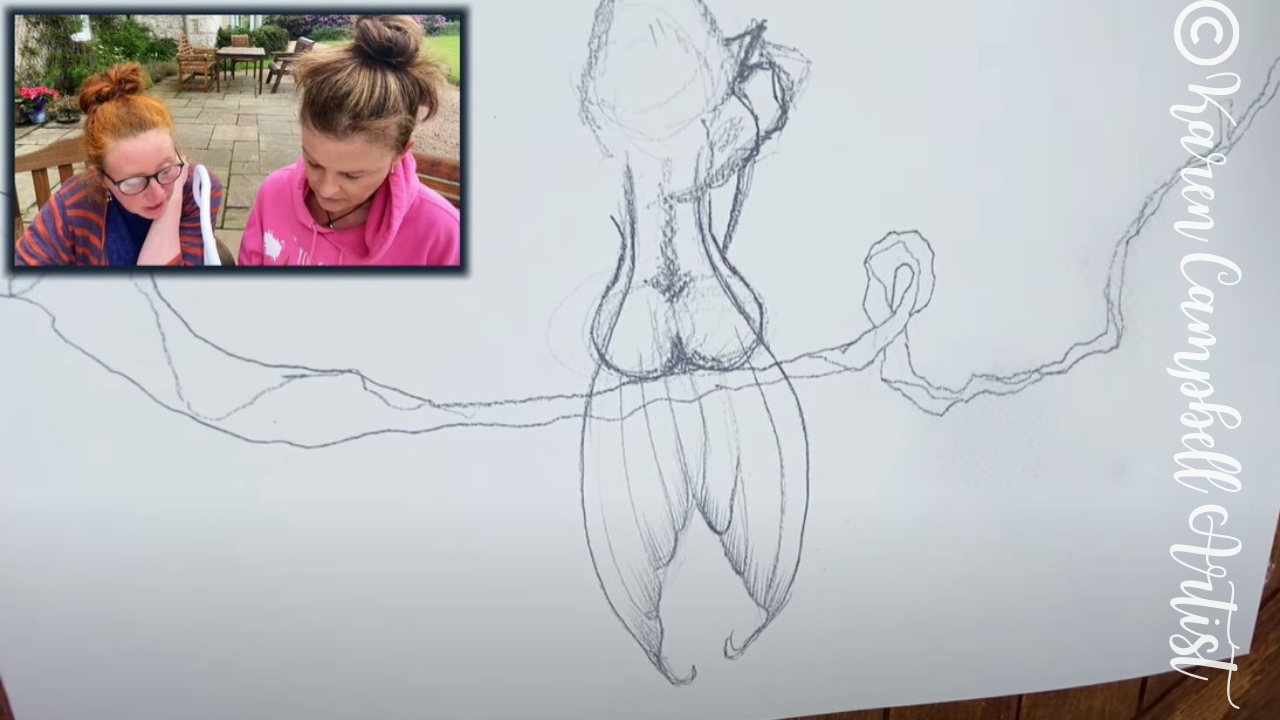
The shading in this piece came together quickly with only a blending stump! Remember, the dirtier, the better with a blending stump! If you don't have one at home- simply use a q-tip, a kleenex over your pointy finger, or just your finger.
We did pull out my Tombow mono zero eraser to carve some highlights back into the shading where it got a little too dark. If you've never tried this eraser before it's amazing at making highlights in your pencil drawings, and really not that expensive at ~$6 on Amazon. To cover larger areas with an eraser, I prefer my Vanish eraser. 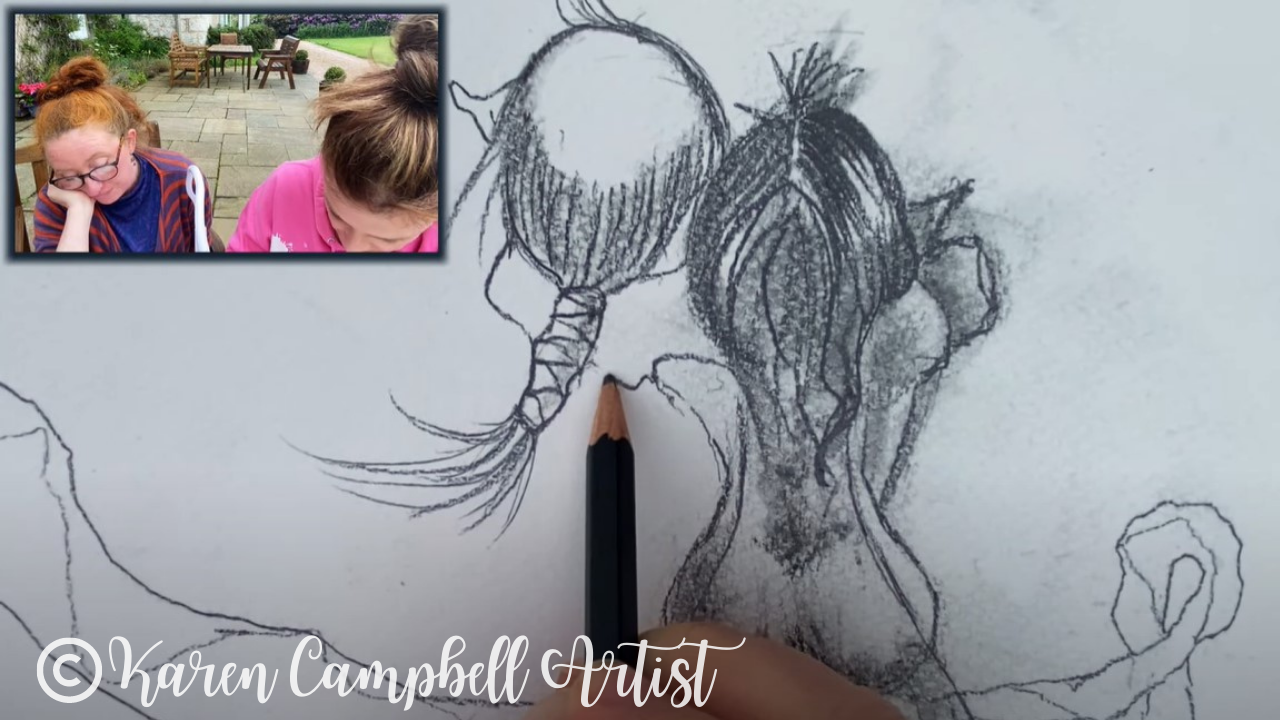
For the man fairy that I drew, I mostly used my blackwing pencil and blending stump. His little belt is SO cute!!
During the filming of this fairy drawing tutorial we were outside and it started to drizzle (as it does in Scotland!), plus Lucy and I were seated closely with one another for filming, so we were working in a tight space.
If your hand drags through the graphite you've already drawn in - as mine did, don't sweat it. When you get to the end of your drawing, go back and erase out the areas you had intended to be white or whiter than they currently are. Then sharpen your lines using a mechanical pencil. 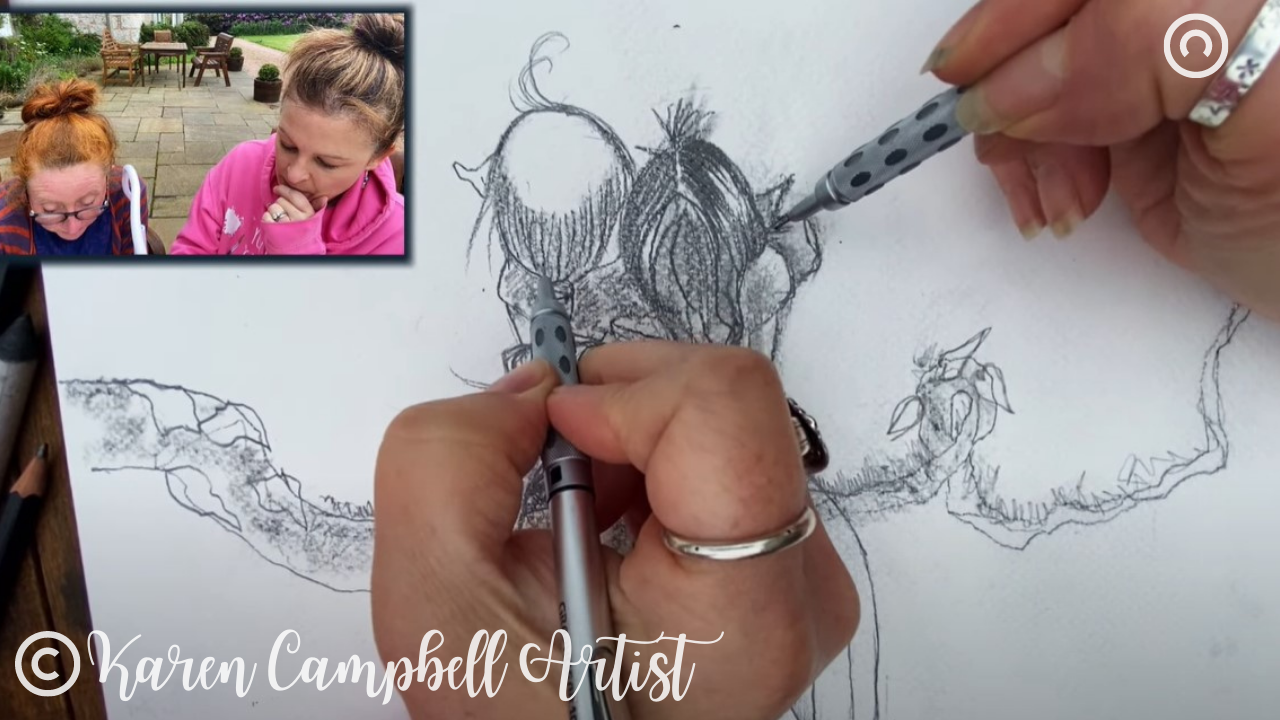
I just love this pic above of our hands working together on the same cute drawing!! What a fun memory.
Press play on the lesson below to draw along with us in real time and see all the little tips and tricks we mentioned to you here, in action! Plus... you'll get a sneak peek at the front door of Wardhill Castle in Scotland :)
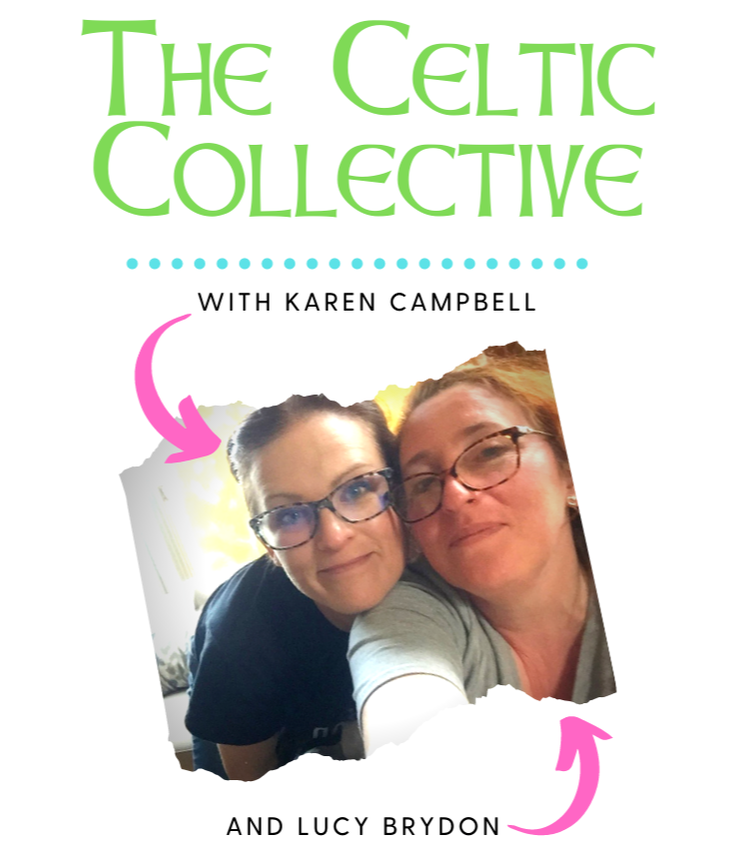
If you're OBSESSED with fairies and fantasy art like Lucy and I are, you might just LOVE the Celtic Collective over at Awesome Art School. It's an art membership that we run together!
You might ALSO enjoy our podcast, 1Scot,1 Not. We talk about everything under the sun to do with Scotland - whether it's historical, fantasy, whatever. Just a quick warning - we have a blast and are totally ourselves on the podcast, which means there is some drinking and swearing.
❤️ CHECK OUT ALL my art books on AMAZON ❤️ MY FAVORITE ART SUPPLIES on AMAZON ❤️ MY BELOVED FACEBOOK GROUP ❤️ FOLLOW ME ON INSTAGRAM |
Karen CampbellFounder of Awesome Art School. Mixed Media Artist. Author of 19 Instructional Art Books! 
Whose work has appeared in...
   
 Archives
July 2024
Categories
All
|
 RSS Feed

"Karen is flipping hilarious and she's very real...I like the way she teaches in a way that really gives you confidence, whether you're a beginner or advanced there's always something new to learn!"
- Elizabeth W. |
What Fans Are SayingKaren, you are absolutely fabulous! You make me feel like I can draw anything. I have recently retired and finally have the time to do some of the art that I have loved since I was in school. I am really at the beginning of my art journey and I hope to learn as much as I can. Thank you for all you do. |
Contact ME |