EASY Fairy Drawing in Watercolor Pencil with Karen Campbell [Week 2 #50FunFabFaries Challenge]31/5/2022
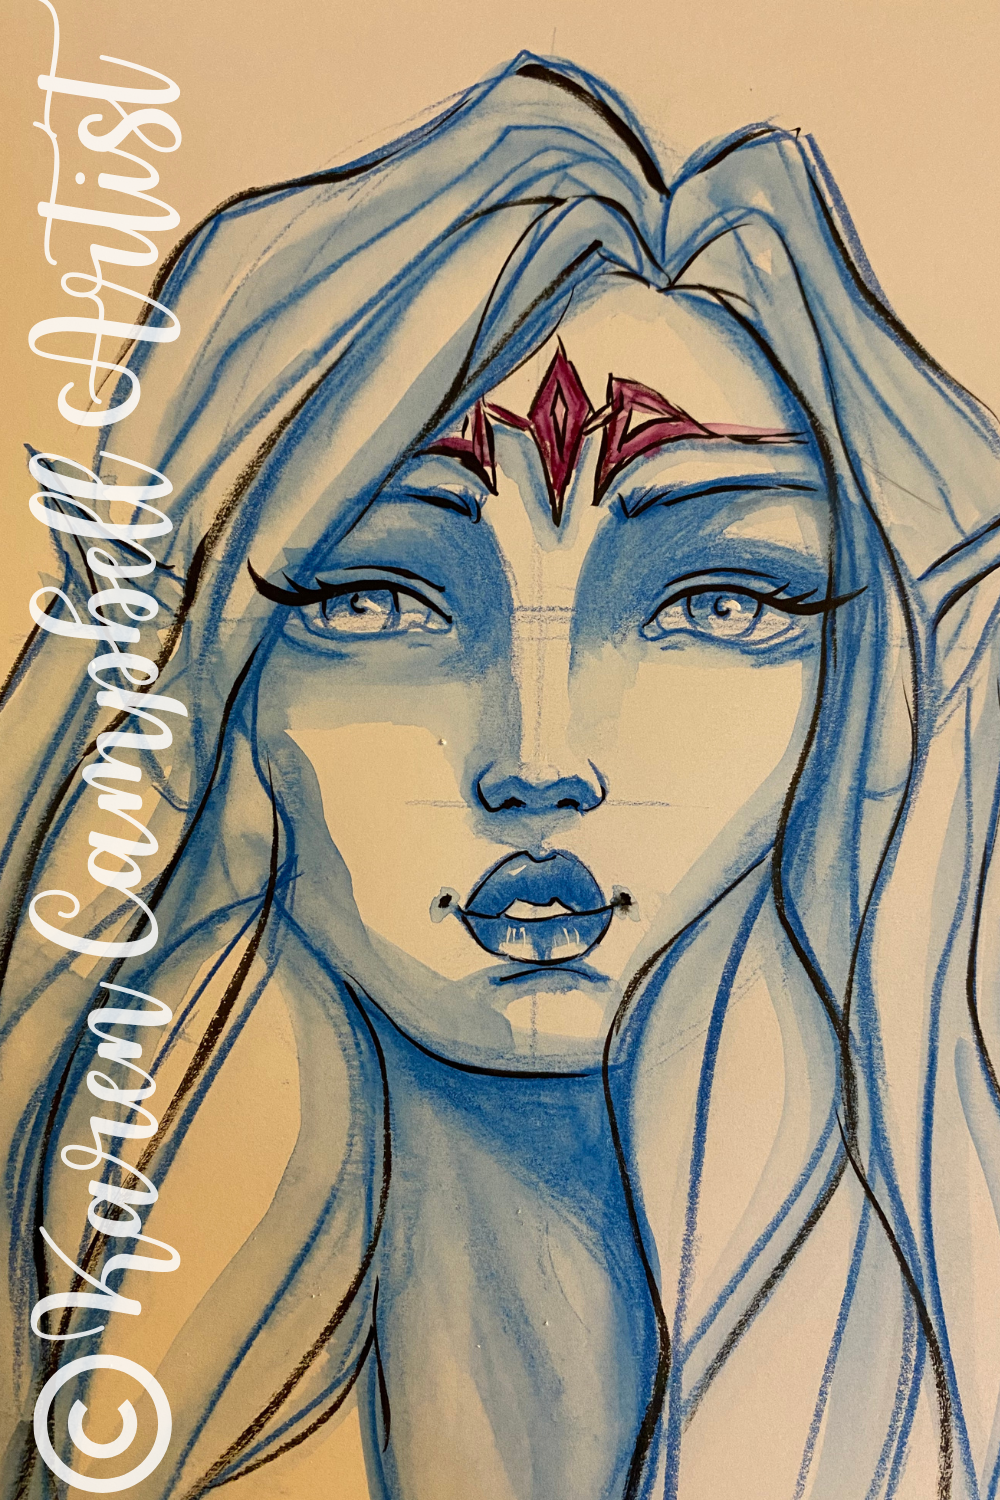
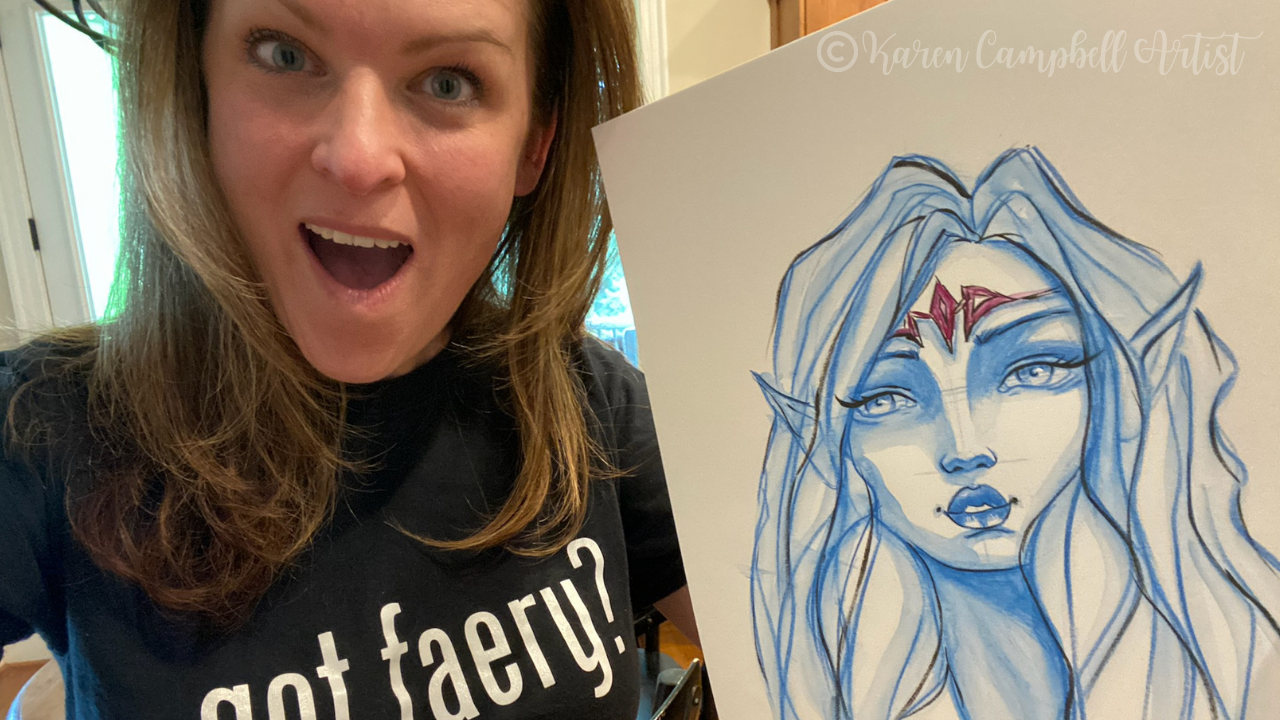
Wanna create this EASY fairy drawing with me? If you've never worked with watercolor pencils, you're in for a treat! Adding a touch of water to the lines you draw will create magical face shading and turn your beautiful fairy drawing into a painting!
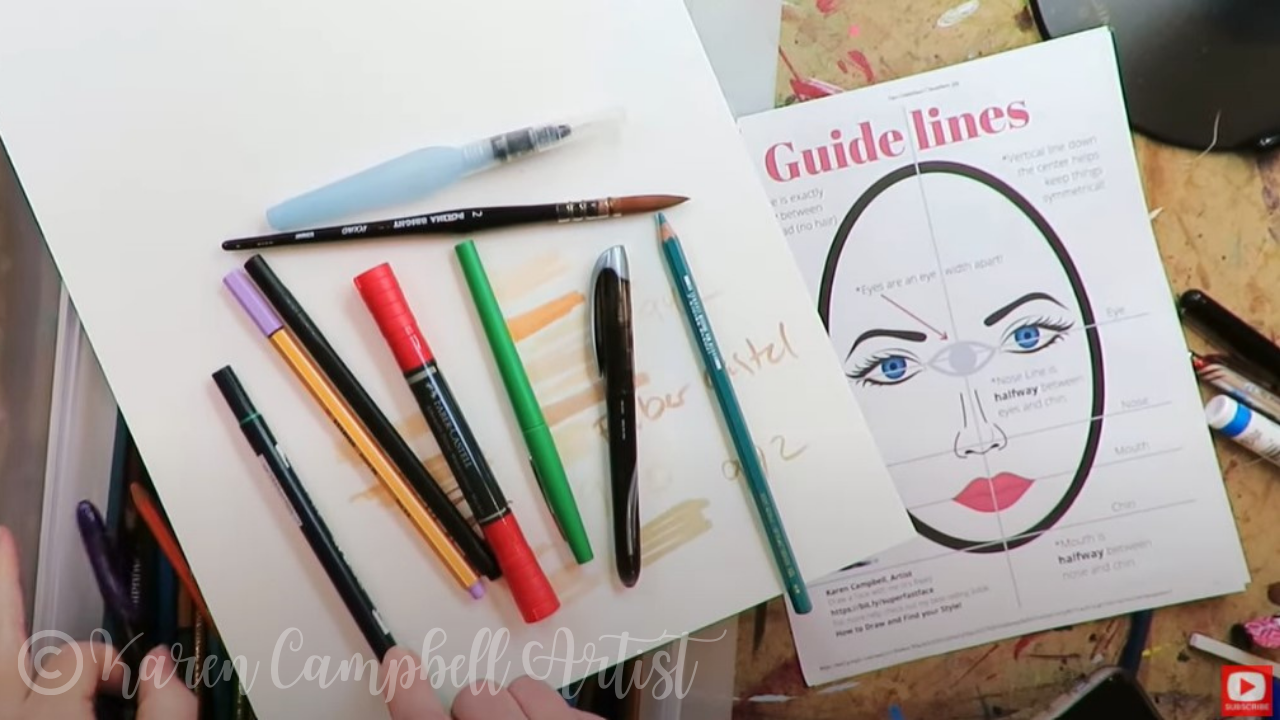
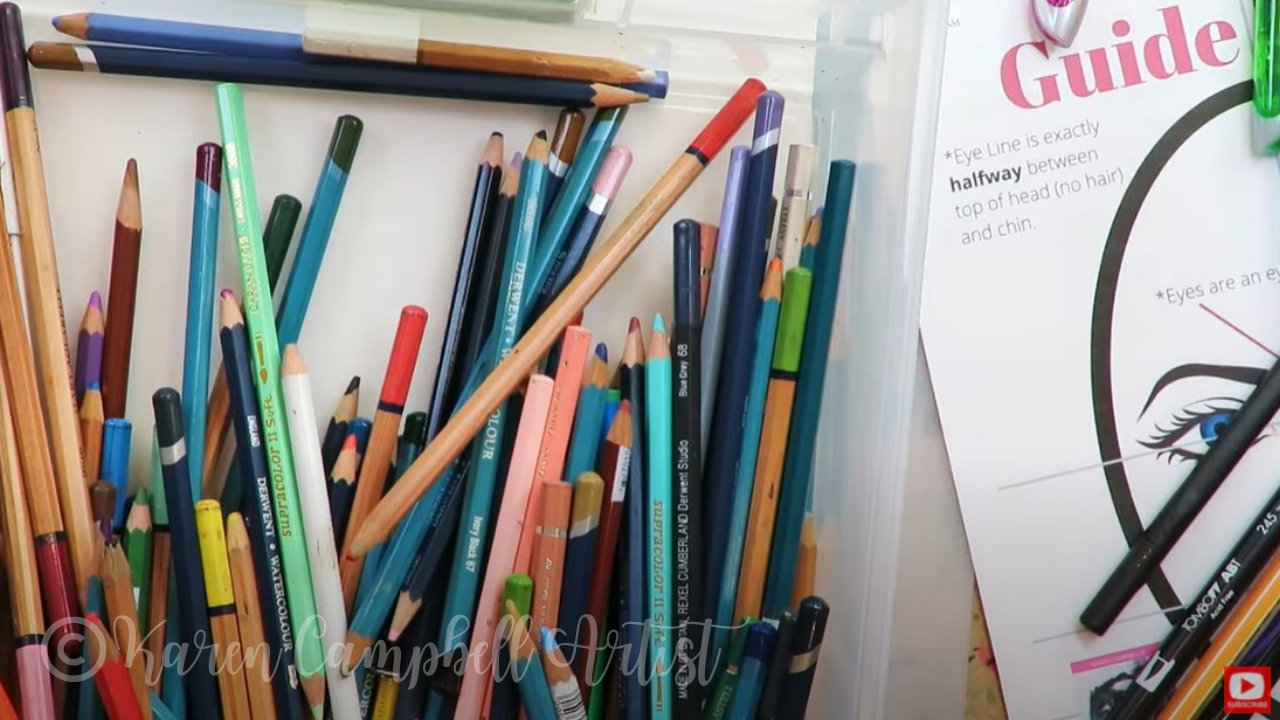
Never drawn a face before? This fairy drawing tutorial is EASY enough for beginners! Don't have a watercolor pencil? No problem! I'll show you a variety of common water soluble pens, pencils and markers you may already have lying around at home!
Click the button below to join me in my FREE 10-lesson, 20-week fairy drawing challenge for artists of ALL levels. The amazing classroom I have waiting for you at Awesome Art School includes expanded information and resources with full-length fairy drawing lessons not available on YouTube!
Wanna become a better artist? Do today's lesson (and every lesson of the challenge) five times, making a few creative alterations of your choice, and watch your skills soar as you practice fairy eyes drawing, fairy ears drawing AND fairy hair drawing 50 different ways!
Before we continue, super quick announcement: All product links are Affiliate. I may earn a small commission if you choose to order through these links but by law there is never any additional cost to the consumer for doing so. I thank you for your support.
Before we get into today's project, I want to reiterate how FEW art supplies are needed to participate in the #50FunFabFairies drawing challenge (and in basically any tutorial I share)!
Starting with paper, I basically only ever work on three types of paper: white cardstock (or Bristol if you prefer - I just love the Hammermill cardstock because it's cheaper and feels the same as Bristol to me!), tan toned paper (or grey- whatever floats your boat!), and watercolor paper (or a watercolor journal). Why watercolor paper for my YouTube drawing channel? Because I LOVE drawing with water soluble pens, pencils and markers! In case you're new to my world, or the term water soluble... if something is water soluble, it simply means it "melts" when you add water to it. Stay with me for the demo I'm about to share so you can see this in action!
Today I'm working with a water soluble pencil (Derwent watercolor pencil) for week two of the #50FunFabFairies drawing challenge.
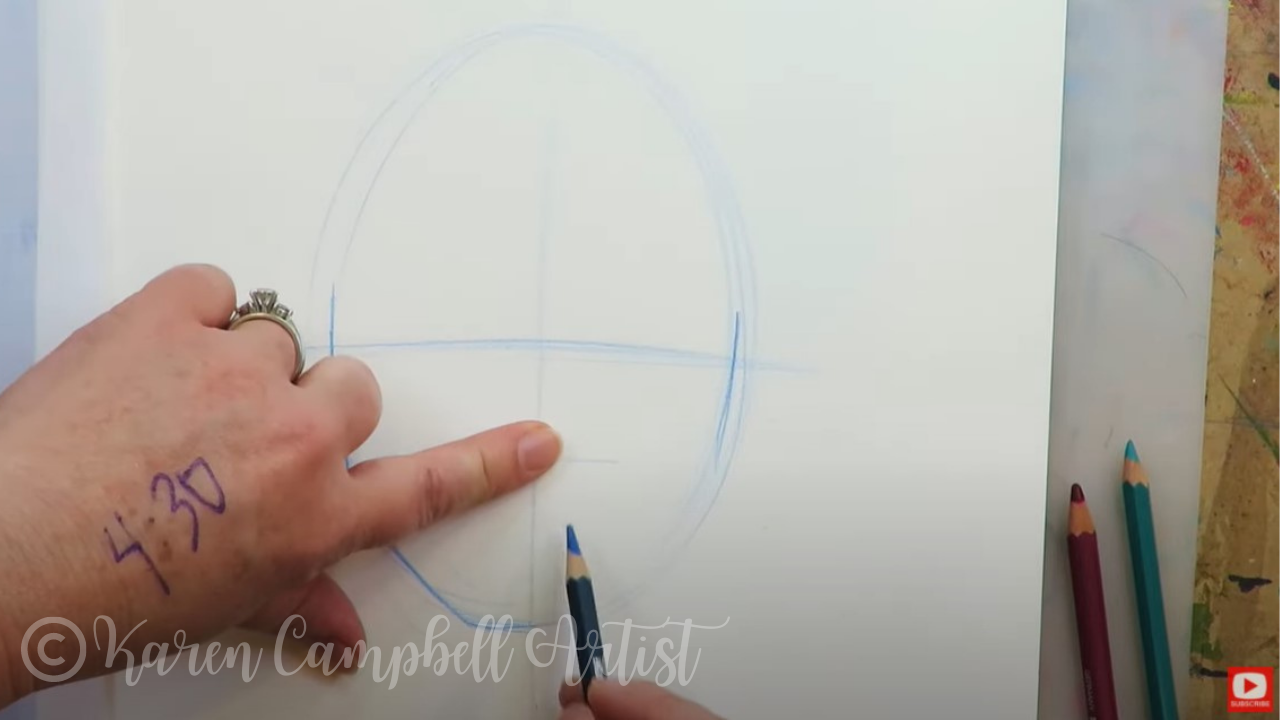
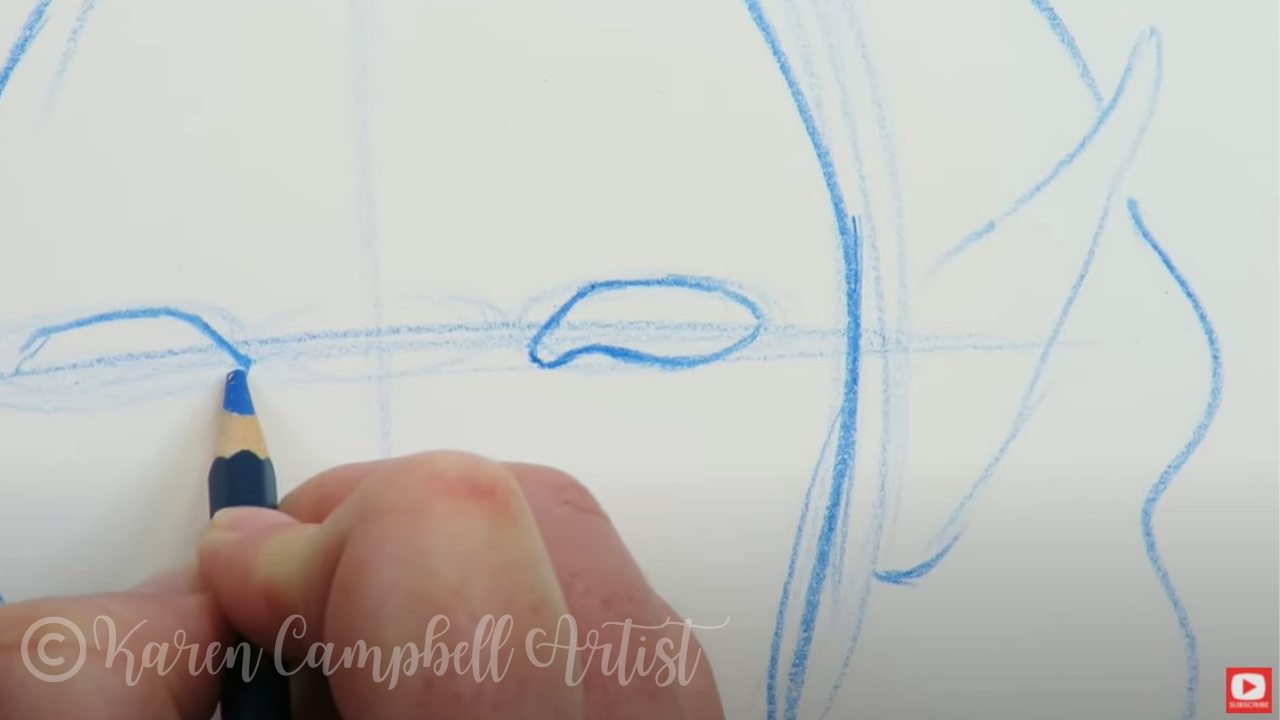
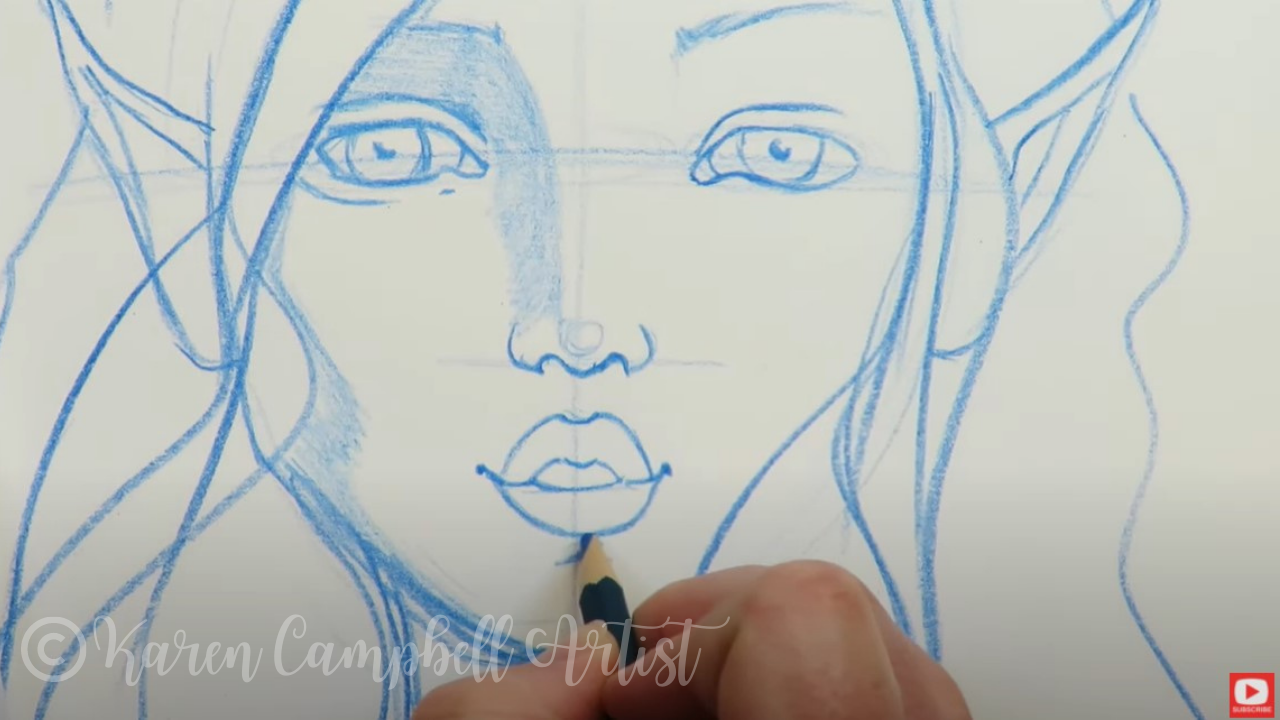
To get started, especially if you're just learning how to draw faces, I recommend using a plain old pencil so you can erase whenever you want. In the interest of time, I'm diving right in on my hot press watercolor paper (that means the paper has a smooth texture), with my watercolor pencil and hoping for the best, LOL!
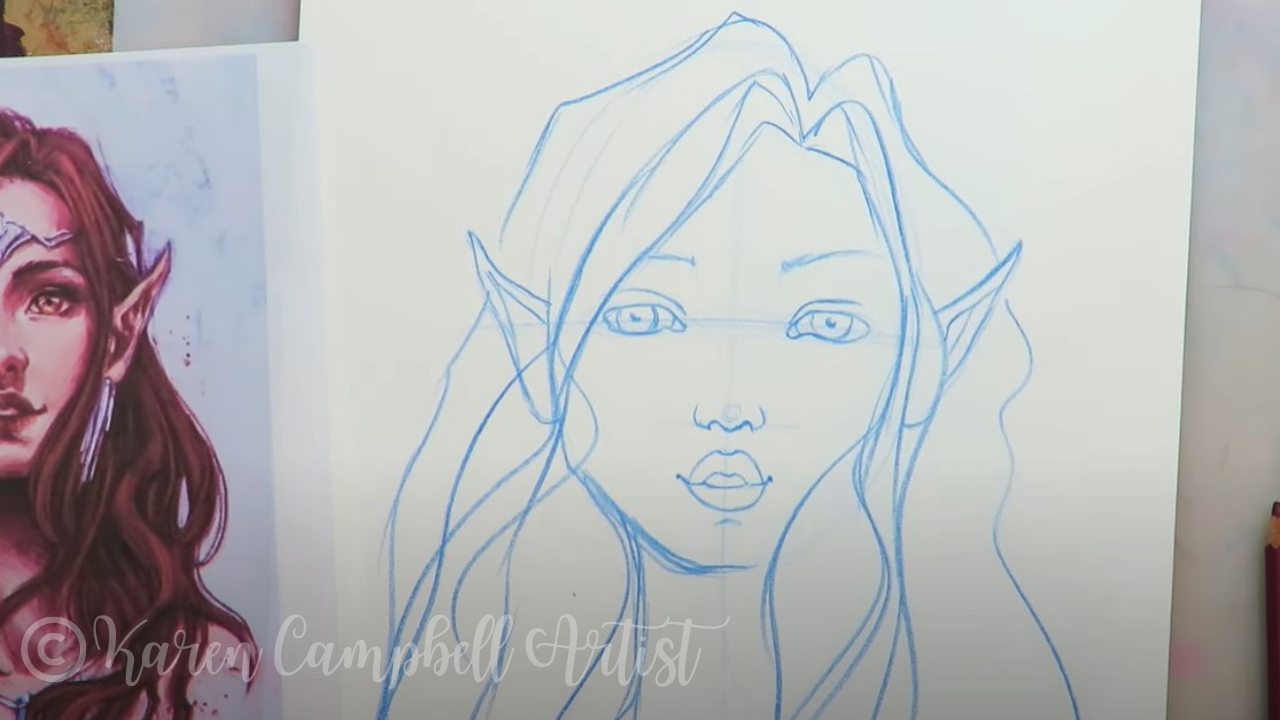
Even though I'm drawing with watercolor pencil and I can't erase, my face drawing guielines are my go to for step one, no matter what kind of face I'm drawing. Even if you've never drawn a face before, you can TOTALLY participate in this fairy drawing challenge because everything is step by step and the FREE #50FunFabFairies classroom over at Awesome Art School is stacked with cheatsheets and resources to help you along!
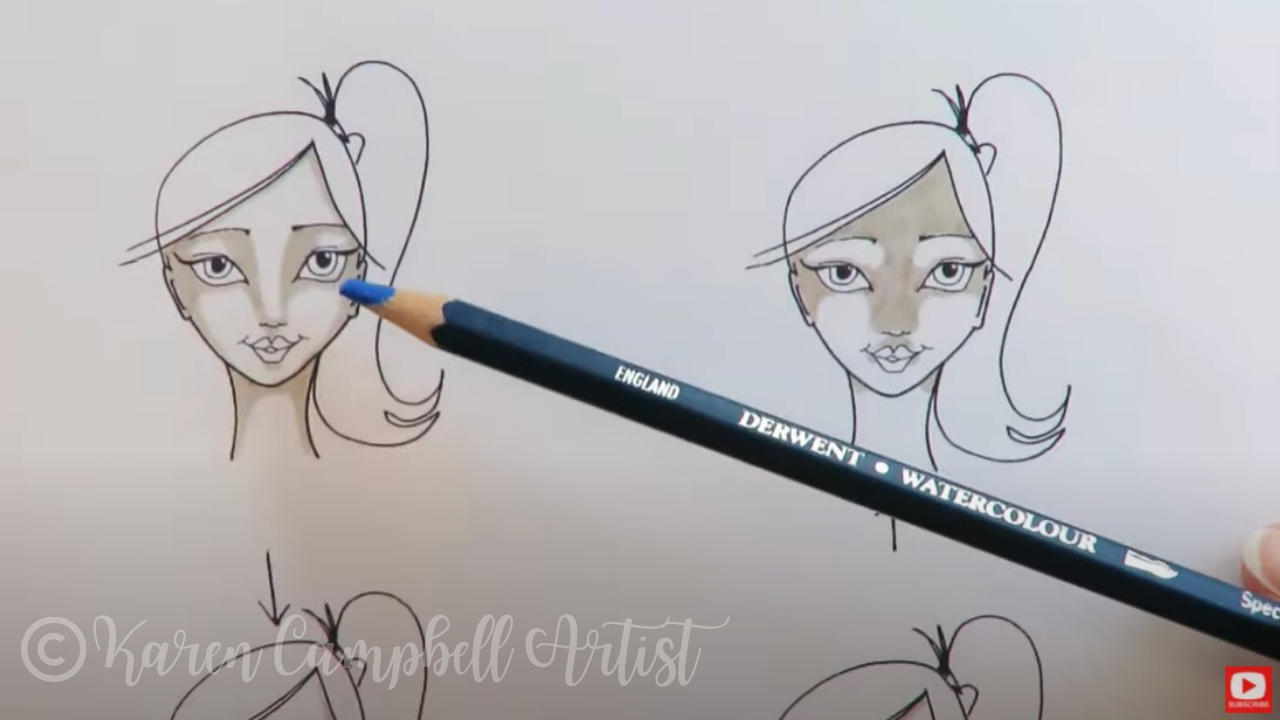
Once you've got your fairy face outlined, it's time to think about face shading. If you're new to my world, and don't know how to shade a face, I've got a cheatsheet for that too, so don't sweat it!
Looking at a face drawing reference for shading guidance can be intimidating for beginners just learning how to draw. This is why my face shading guide is so helpful! It cuts down on the "visual clutter" in a reference image so all your brain just needs to focus on is choosing a face shading pattern from my cheatsheet, and copying the pattern you've selected onto your own paper.
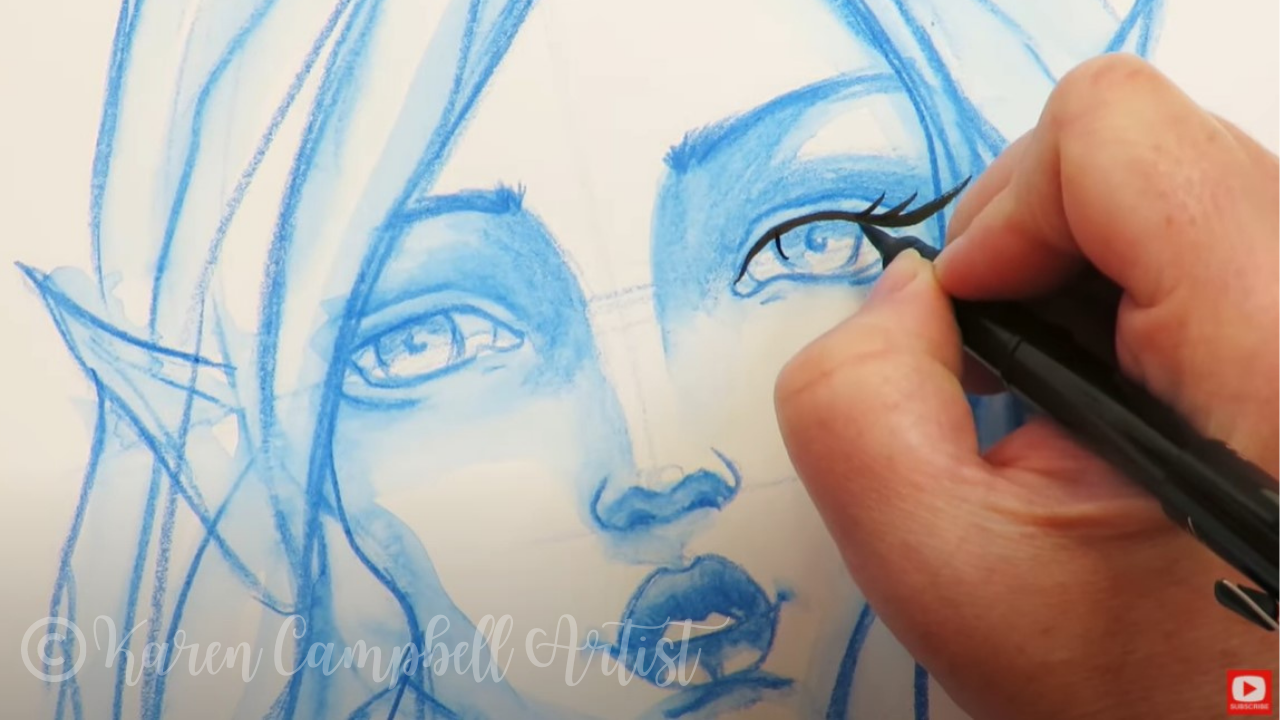
When I'm shading a face, I'm not using much pressure at all to start, (especially if I'm using a water soluble pencil), because as you'll see - the shading will REALLY pop and darken, as soon as I add water.
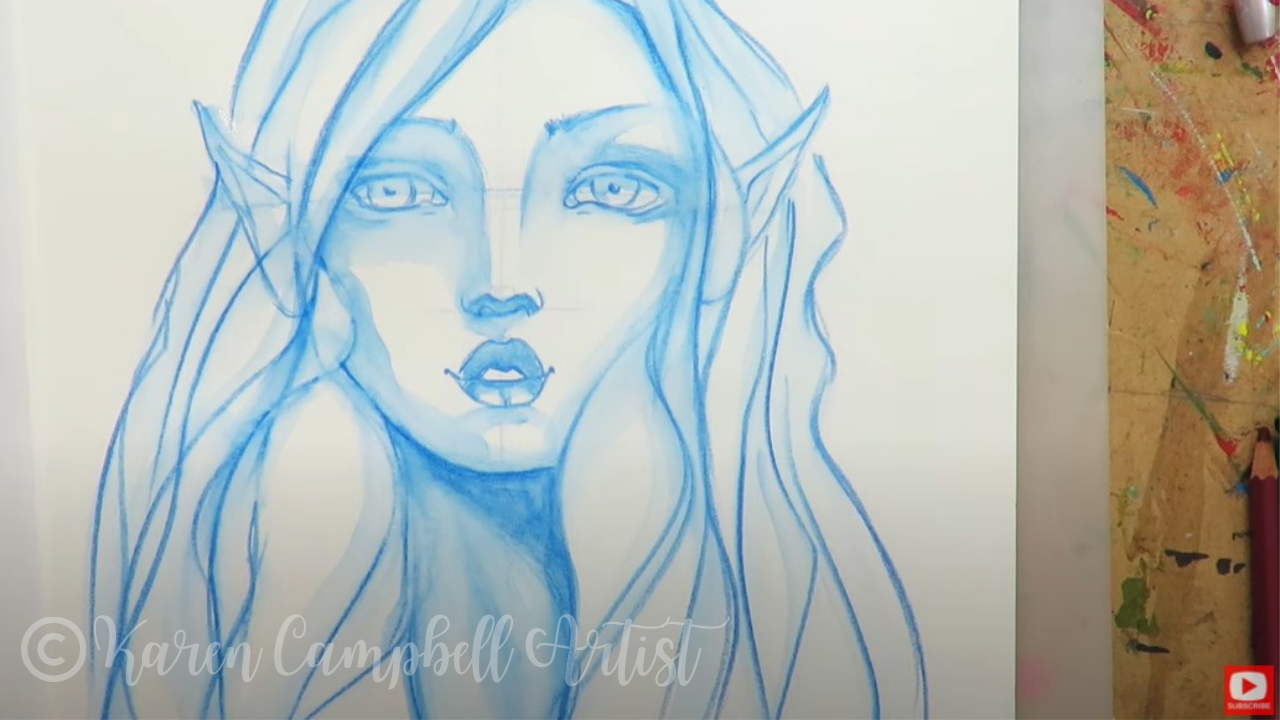
After you've finished shading your fairy face, it's time to add a little water. You can either use a water brush, or a watercolor brush. It's totally up to you!
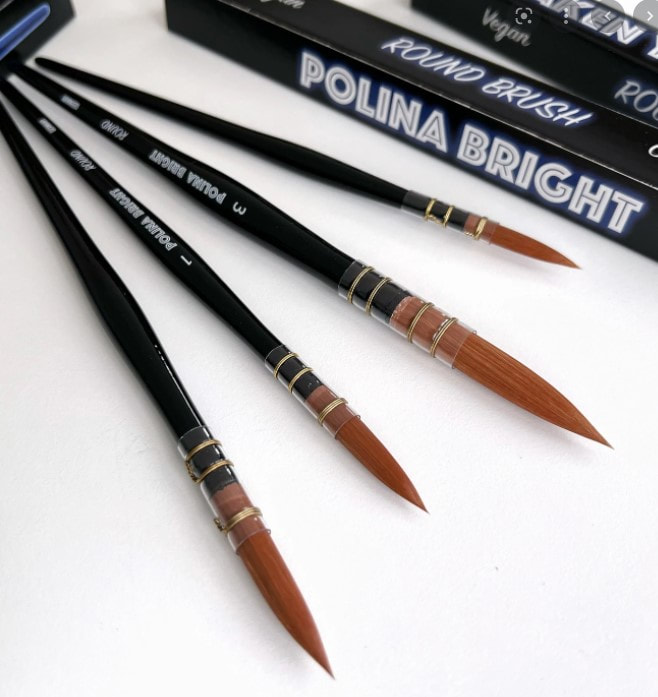
When I'm traveling, I tend to bring a water brush because it's simple to pack and carry on the go. When I'm at home in my studio, I prefer to use my favorite watercolor brushes by Polina Bright. If you haven't tried these before- they're stunning, and now the only thing I use. (Side note: If you want to order one for yourself, Polina has extended a special discount code to my followers! Just enter my name in all caps KARENCAMPBELL at checkout on her website to receive 10% off your order).
If you've never activated watercolor pencils or a water soluble marker before, be aware that the more water you use, the more your drawn lines will run.
I prefer using a "damp" brush, because then wherever I add water, the effects won't be so shocking. I typically get my brush super wet and tap it on a paper towel so it's just damp. Then I run my damp brush along the lines I want to smear and run in my drawing. HOT TIP! Did you add a shadow where there shouldn't be one? Simply blot that spot right away with a paper towel to lift the color. Be sure to watch the video to see this trick in action!
Once I've activated my watercolor pencil lines the way I want them, I use a hair dryer to make sure my paper is completely dry, so I can add a second layer of watercolor pencil to intensify the face shading.
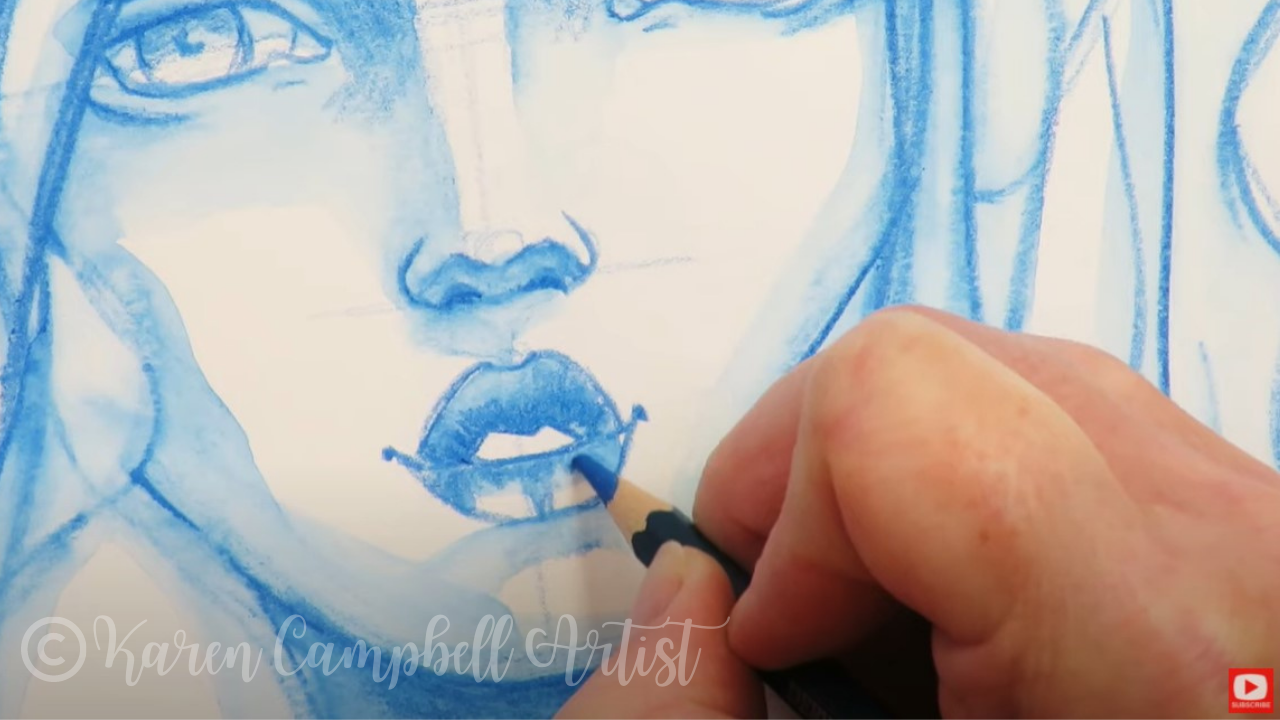
See how the features pop even more once I add that second layer of pencil on top of the activated layer? I LOVE how that looks!
I'm purposefully not activating my second layer of watercolor pencil, because I love that contrast between the activated and non activated layers. In my second layer of shading, I darken the lines that feel most important in my drawing to add greater depth.
When I'm happy with my second layer of shading, it's time to glam this fairy up by drawing eyelashes with my secret weapon, the pentel pocket brush!
Once I've carried some soft black lines throughout my fairy with the pentel pocket brush to tie the drawing together, it's time to add her headpiece.
Click over to the video to see this in action. And by all means, PLEASE join me in this FREE fairy drawing challenge! We are having a blast sharing and commenting on each other's fairies over in the Facebook group. Make sure you join us over at Awesome Art School for the full blow FREE classroom with all the reference images, full length drawing lessons and more to help you enjoy the #50FunFabFairies drawing challenge to the fullest! If you're OBSESSED with fairies and fantasy art like me, you might just LOVE the Celtic Collective over at Awesome Art School. It's an art membership my Scottish bestie, Lucy Brydon, and I run together! You might ALSO enjoy our podcast, 1Scot,1 Not. We talk about everything under the sun to do with Scotland - whether it's historical, fantasy, whatever. Just a quick warning - we have a blast and are totally ourselves on the podcast, which means there is some drinking and swearing. ❤️ CHECK OUT ALL my art books on AMAZON ❤️ MY FAVORITE ART SUPPLIES on AMAZON ❤️ MY BELOVED FACEBOOK GROUP ❤️ FOLLOW ME ON INSTAGRAM
0 Comments
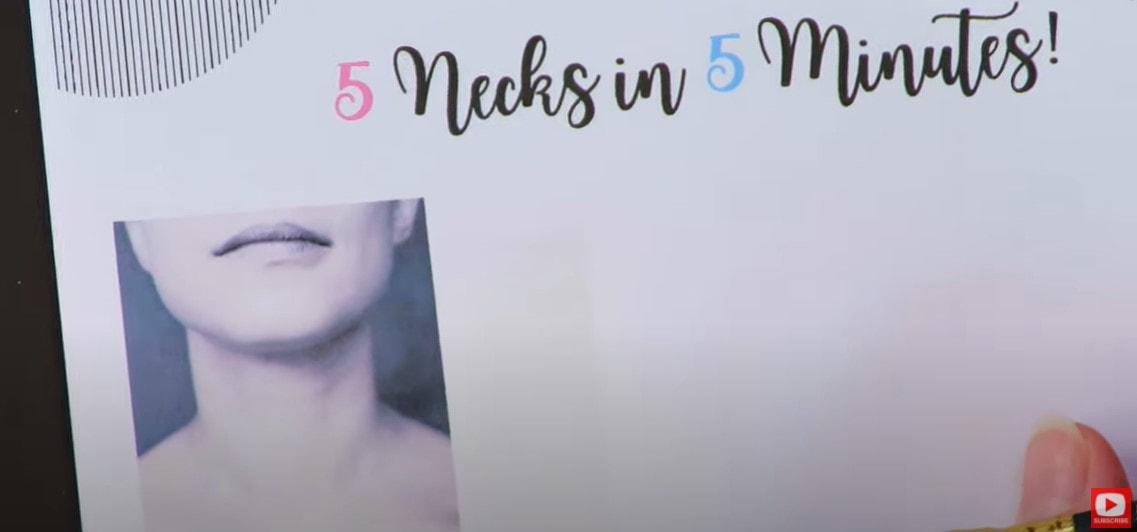
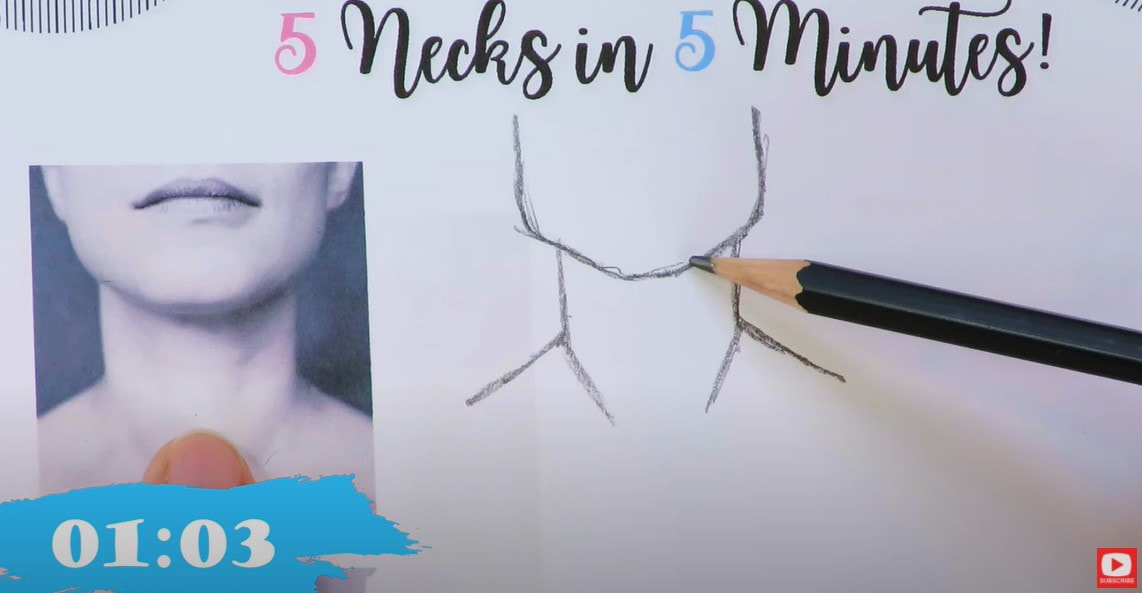
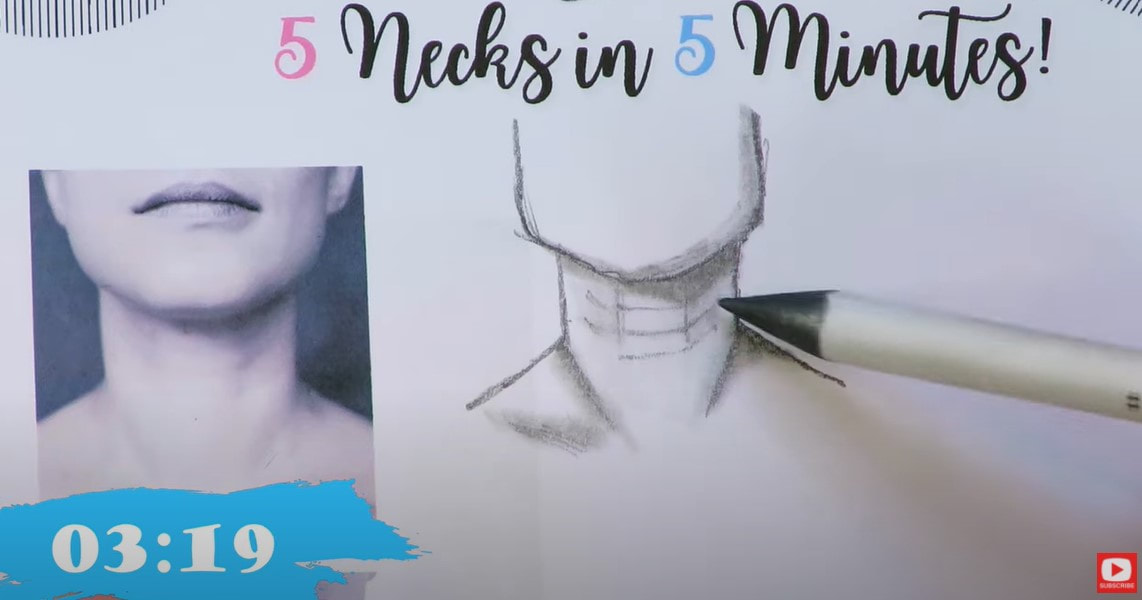
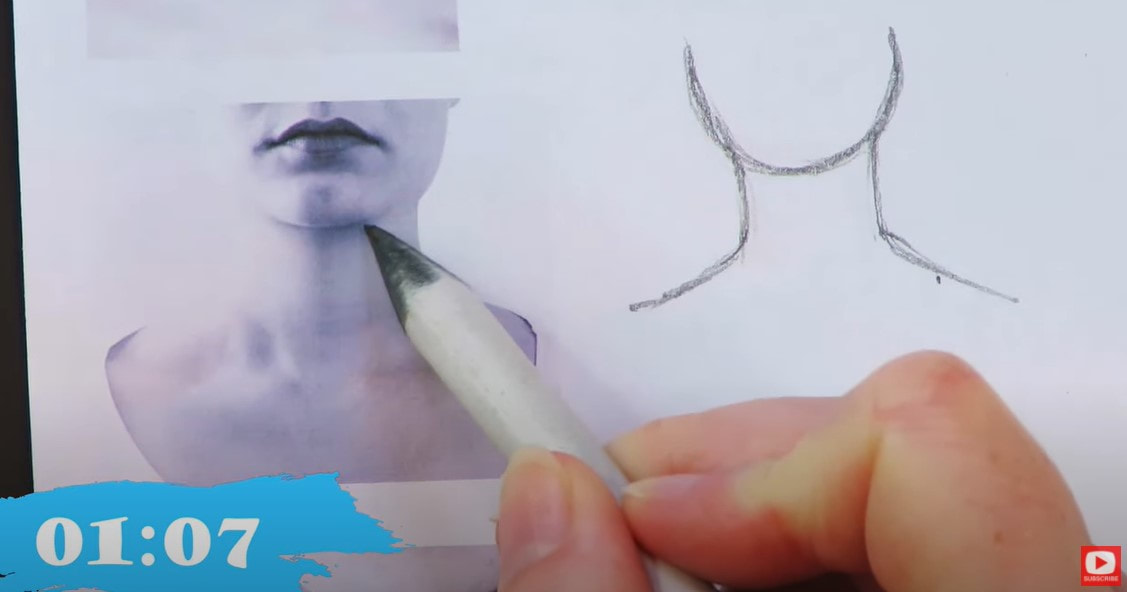
Wanna practice drawing necks realistically in JUST 5 minutes?! LET'S DO IT!! In today's step by step drawing lesson, we're going to be drawing 5 female necks in real time, directly onto my FREE drawing worksheets. If you need help with how to draw necks, have always wanted to learn how to draw a face, are struggling with how to work drawing practice into your daily life, or need to add MORE FUN into your art practice, THIS SERIES IS FOR YOU!!
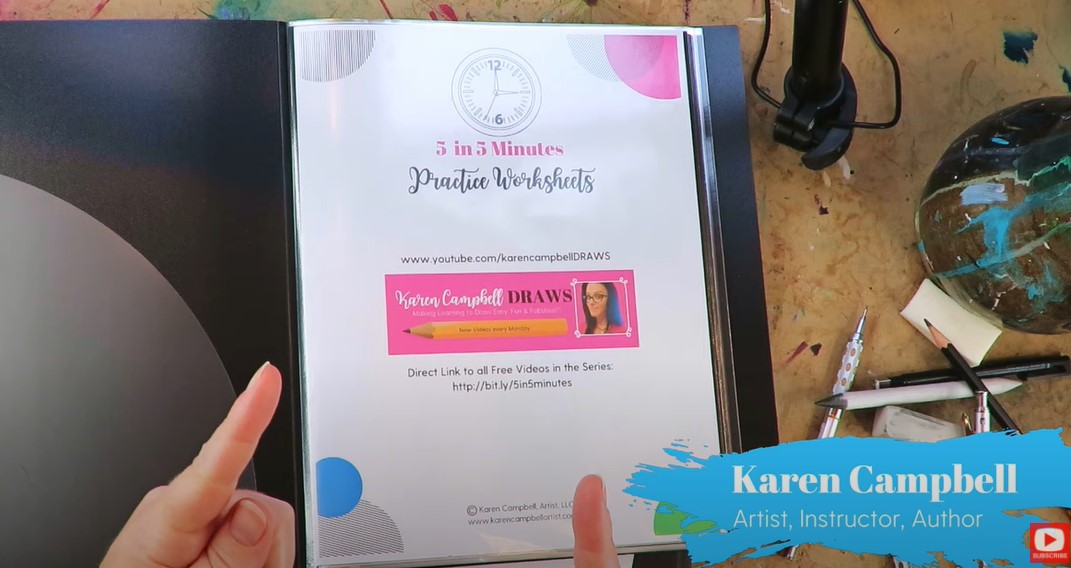
I'd love for you to draw right along with me! Simply click the button below to grab my FREE 5 in 5 Facial Features Drawing Packet, and I'll send it straight to your email inbox.
Today's video is a follow up to a facial features drawing series I did a couple of months ago because I'm getting a lot of requests for how to draw necks and eyebrows!
If you're just discovering this series on how to draw facial features, the whole point of this thing, is just to get us practicing our drawing skills. We're not making it our "life's work," it's just a little drawing exercise, and we're only going to spend about 5 minutes working with each neck drawing reference photo, then we're moving on.
You'll see a stop watch going in the bottom of my screen. It's not here to stress you out. It's just to remind ME not to spend more than 5 minutes with any one reference image. Before we continue, super quick announcement: All product links are Affiliate. I may earn a small commission if you choose to order through these links but by law there is never any additional cost to the consumer for doing so. I thank you for your support!
When we're working on these drawing worksheets, there are three things I encourage you to focus on one at a time, when looking at each neck drawing reference image:
1. Shape 2. Value 3. Details For my supplies today- I'm just using my favorite Blackwing pencil - it's like a soft 4B, and super smooth to work with. You're also gonna need a blending stump, an eraser (I love my vanish eraser and the tombow mono eraser).
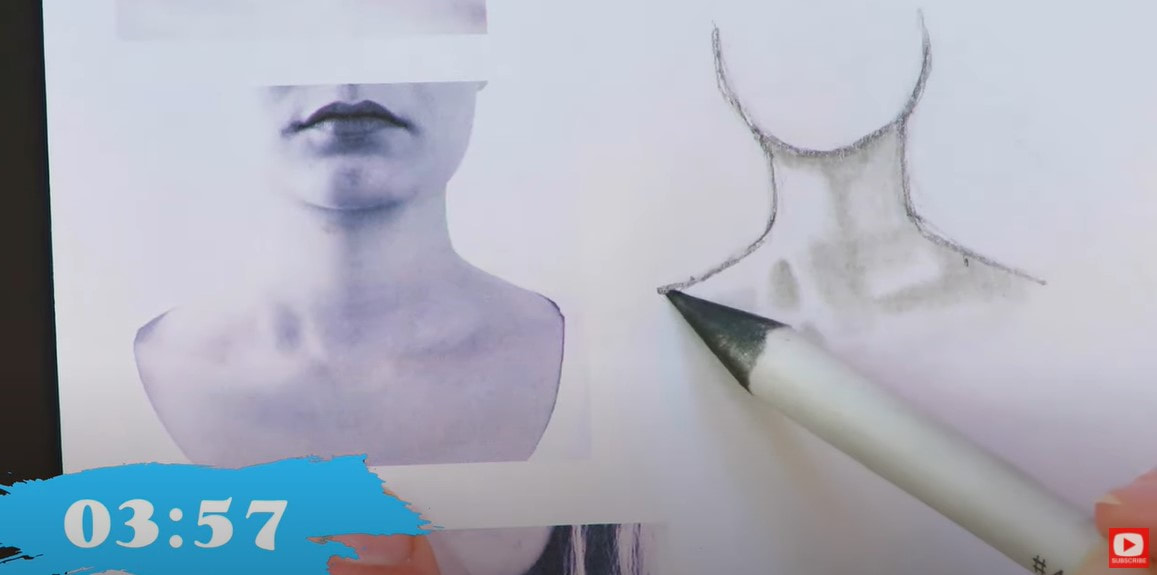
In each neck drawing reference photo, I left in the jawline visible so we can look at how thick the neck is, and where it begins in relation to the head.
I started drawing the jawline on my first reference image with the chin, then added in the angles I saw in the model's face shape.
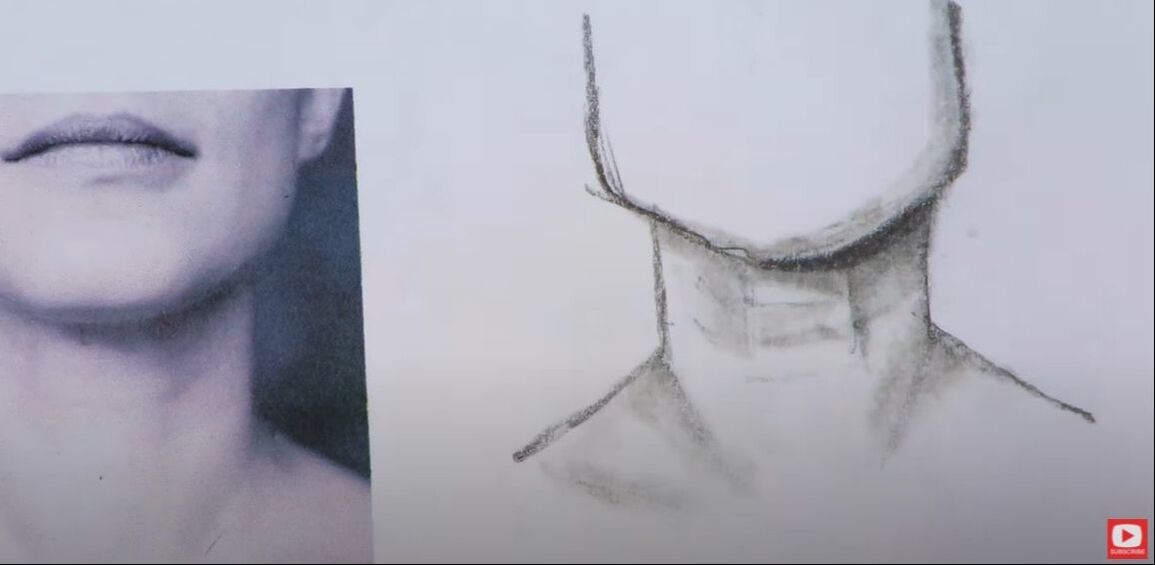
Once the angles were penciled in, I took a minute to study the reference for any other lines that felt like they need to be drawn in (see below). Then I grabbed my blending stump to begin dragging some graphite around to help indicate the shadows I saw in the model's neck.
Make sure you download your 5 in 5 Drawing Packet so you can practice right on the drawing worksheets with me. Then click over to the video so we can do this quick drawing practice together in real time (no timelapse).
While doing this drawing practice, I realized necks are really WAY more about shading than drawing!
If you're someone who's been afraid to try drawing a face realistically, or if you've been afraid to try adding a little bit of shading to your drawings - this is the PERFECT drawing exercise for you! Plus it's quick - something I always love!!
If you need to knock back any areas of your shading because they've gotten too dark, use your eraser to "pounce" and lift a little graphite off the page. Click over to the video to see this drawing technique. Keep checking your reference image to compare the lightest and darkest areas on the model's neck with your own drawing.
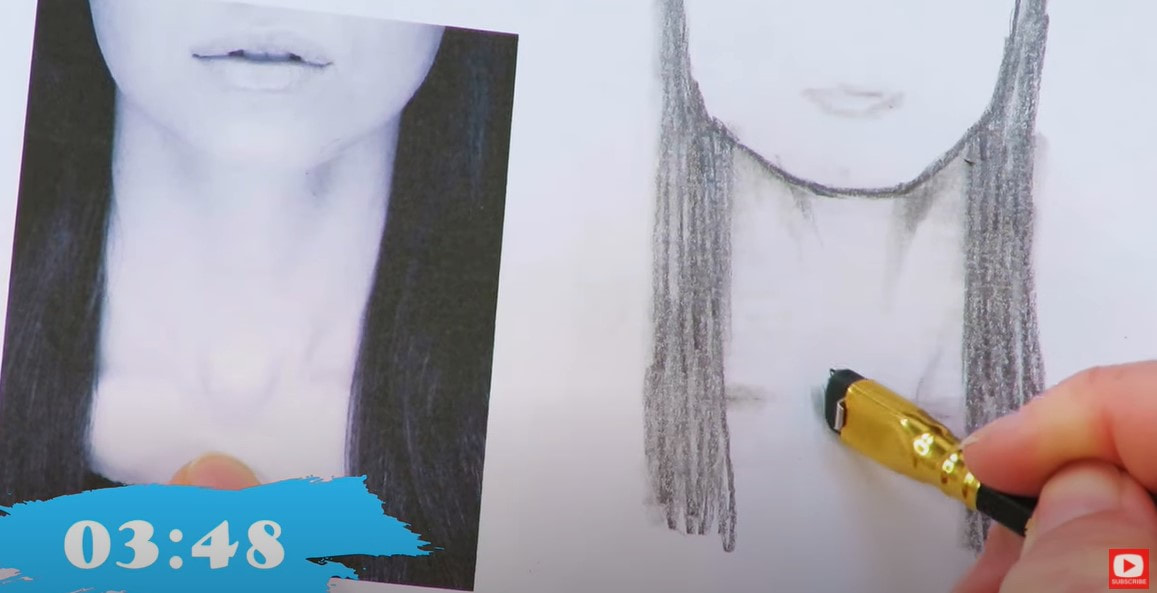
Our next reference image has a more rounded face shape than our first model, and a wider neck.
My hope in today's free drawing lesson is that you can sharpen your observational skills, and let go of any fears you have about not having an anatomy background for drawing.
You don't need it for the kind of drawing we're doing! This is just some light practice, and the anatomy can be indicated with your shading.
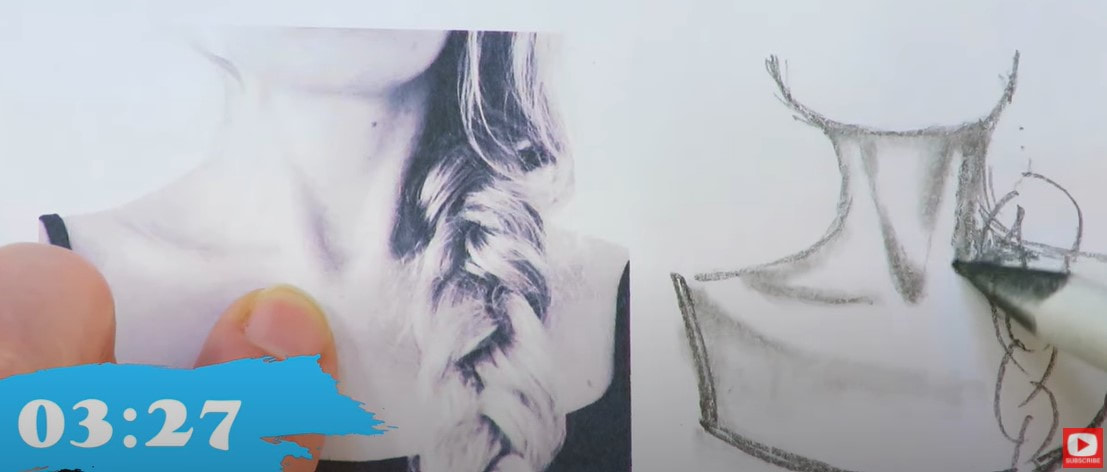
Our third reference image has some super dramatic shading for us to work on in the neck and collarbone. If you want to add in her braid- feel free, but don't stress about it. Today's practice is just about focusing on the neck.
Did you grab yourFREE 5 in 5 Drawing Practice packet and print it out yet? I hope so!!
As I always say, "You'll NEVER get worse with more practice." So print that sucker out, and let's get to work! If you're enjoying today's episode, make sure you check out the entire series on my YouTube drawing channel, because I teach you how to draw and shade eyes, eyebrows, noses, lips, hair, face shapes & more! Plus, each facial feature has 2 pages of black and white face drawing reference images to study and capture in your own drawing practice - right on the same pages. Our fourth neck drawing reference is SUPER subtle, and will help you sharpen your observational skills as we zero in on the highlights and shadows in this image together.
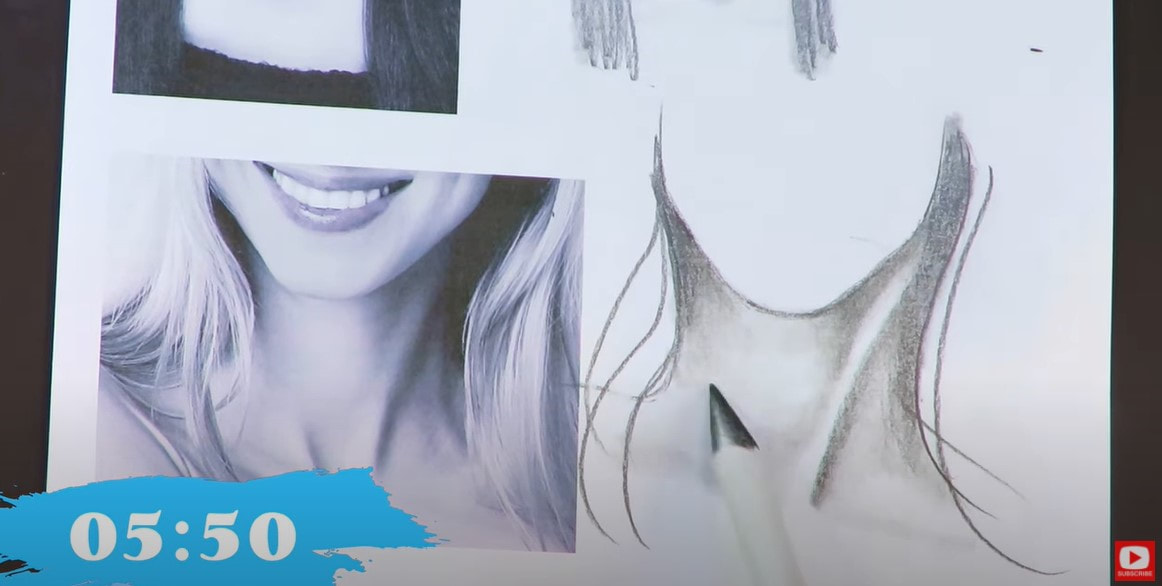
Our last drawing reference (below) for today has a super unique shape and lots of beautiful values for us to concentrate on replicating in our own drawing.
Make sure you grab my 5 in 5 Practice Packet so YOU can sharpen your drawing skills right along with me.
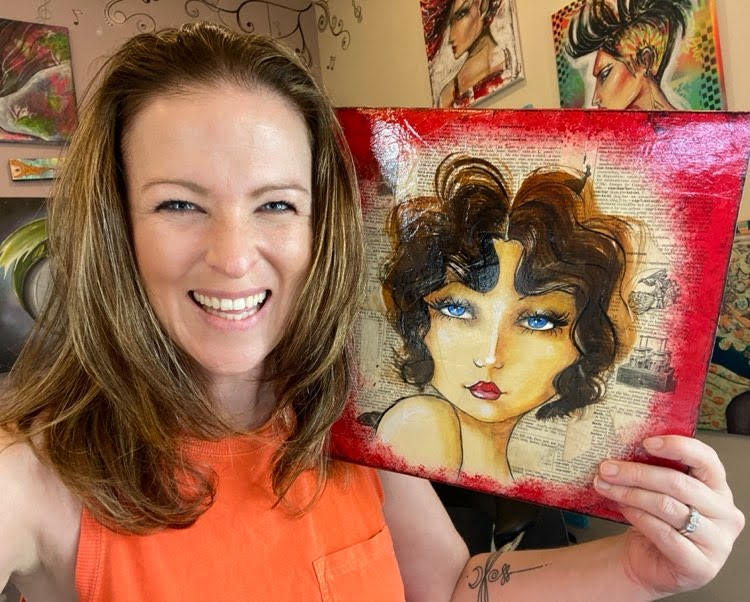
Thanks for hanging out with me today! Interested in learning about how to create a mixed media portrait, but missed my Mixed Media Art Deco Workshop last week? Don't worry! You can STILL sign up and do this at your own pace - any time you want!! No art experience is needed for this super FUN online art class - I'll teach you everything you need to know, and we'll go step by step, together. |
Karen CampbellFounder of Awesome Art School. Mixed Media Artist. Author of 19 Instructional Art Books! Whose work has appeared in...Archives
July 2024
Categories
All
|
|
"Karen is flipping hilarious and she's very real...I like the way she teaches in a way that really gives you confidence, whether you're a beginner or advanced there's always something new to learn!"
- Elizabeth W. |
What Fans Are SayingKaren, you are absolutely fabulous! You make me feel like I can draw anything. I have recently retired and finally have the time to do some of the art that I have loved since I was in school. I am really at the beginning of my art journey and I hope to learn as much as I can. Thank you for all you do. |
Contact ME |





 RSS Feed
