|
There's NO wrong way to store your watercolors. It's totally personal preference. But if you're an art supply hoarder like me, your studio can become a MESS in no time!
And, if you're a watercolor beginner, you likely have no idea what your organization options are. Today I'm going to show you MY FAVORITE way to store watercolors at home, and will demo the entire process so you can create YOUR OWN at-home palette if you want! Stay with me till the end for a timelapse of one of my first watercolor projects for the Celtic Collective!
*All product links are affiliate & for U.S. residents only.*
If you've been following me for a while, you likely already know that my absolute FAVORITE watercolors of all time are by Daniel Smith. These colors come in tubes instead of little trays or pans (like the Prima watercolor sets I've been reviewing lately).
I get asked all the time by watercolor beginners what the deal is with me making my own watercolor palettes. Why don't I treat my watercolor tubes like my acrylic ones and simply squeeze a little watercolor out each time I want to paint?
Lots of reasons actually!
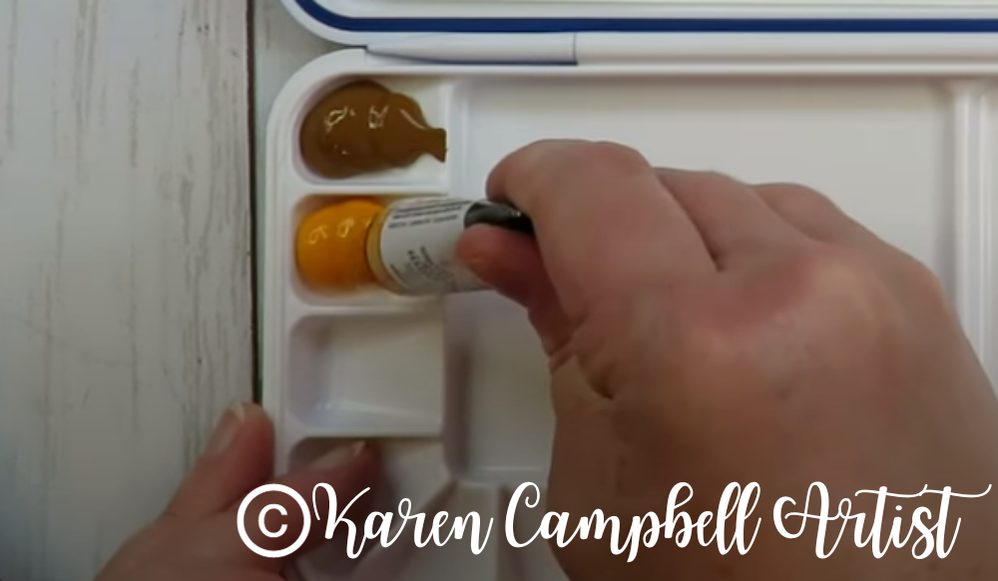
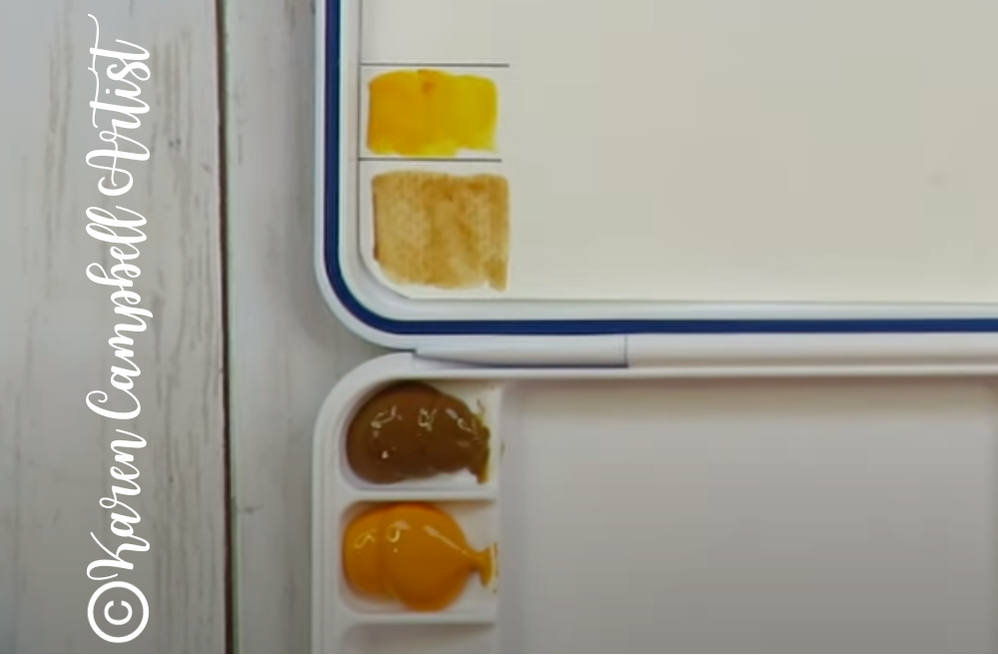
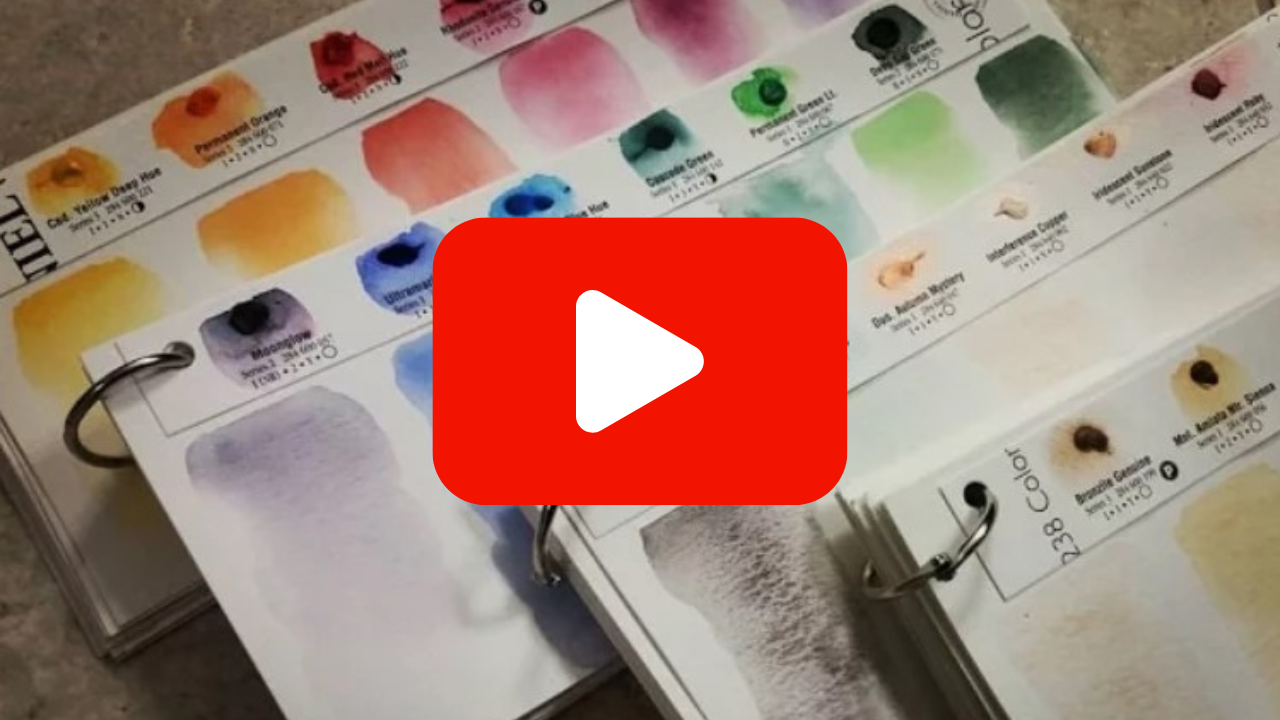
The first one is, you can't really tell from that blob of watercolor, the color of it's packaging OR the color's individual name HOW it will actually look on paper. Watercolors can be really sneaky like that. Take a look at the pic above again. Now look at the one below. THIS is what those two colors actually look like on paper.
Not quite what you may have expected from the darker brown, right? This happens all the time.
As an artist, I need to be able to quickly glance down at my watercolors and KNOW how they will look on paper. The only way I can do that is with a swatch card. If I've decided to squeeze a tiny amount of watercolor out to use each time I want to paint, and decided I want to use multiple watercolors, it can be SO easy to forget which blob of color is which. Another reason why it's essential to swatch!
The second reason I don't work straight outta the tube and prefer to squeeze my watercolors into palettes is because I don't want to waste a single drop of my precious (and expensive!) watercolors.
When it comes to watercolor, we NEVER need as much as we think we do. So if you were to squeeze out a big blob of some beautiful expensive watercolor that you only needed a tiny bit of, what happens to the leftover? Does it get saved for a while, until you forget what color it was, and eventually dump it? I can't bear the thought!!
Enter, the watercolor palette solution!
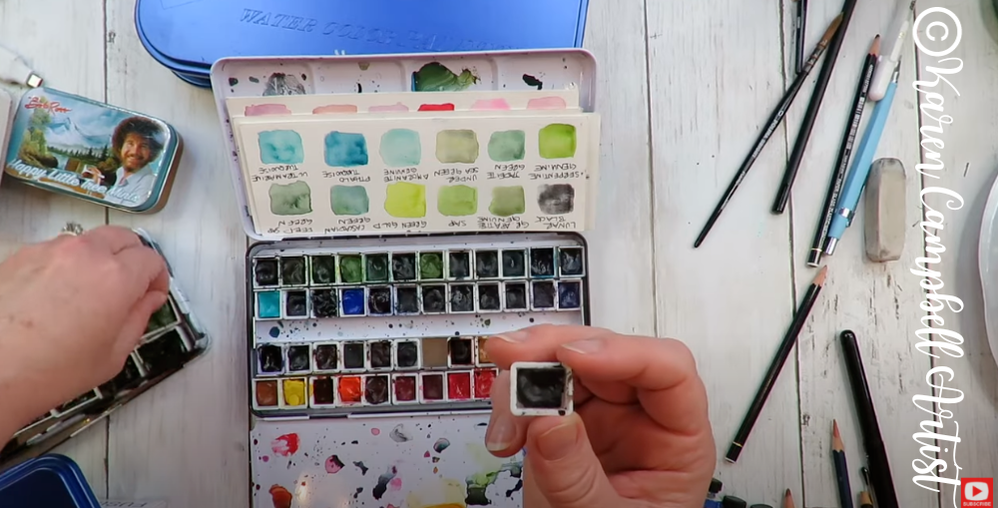
As you'll see in today's video, I've tried a number of palettes over the years. The one pictured above started out as an empty watercolor tin with no little squares of color (these are called half pans). I purchased the little half pans separately, then squeezed my colors into each pan and snapped them into place. Cool, right!? This is an awesome way to store your colors and is very portable. You can use them at home or take them on the go like this. An empty watercolor tin like the one above doesn't come with a swatch card for colors, so you have to get a little creative to make one of your own. Click over to watch the video to see these ideas in action.
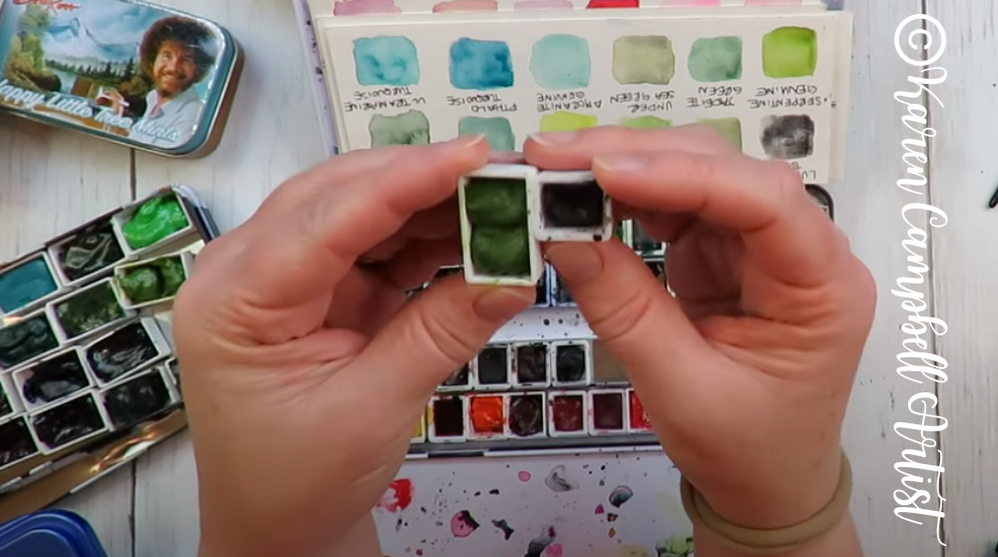
I've also made a few palettes using full pans of watercolor, like the one shown above, left. A full pan is exactly what it sounds like, double the size of the half pan.
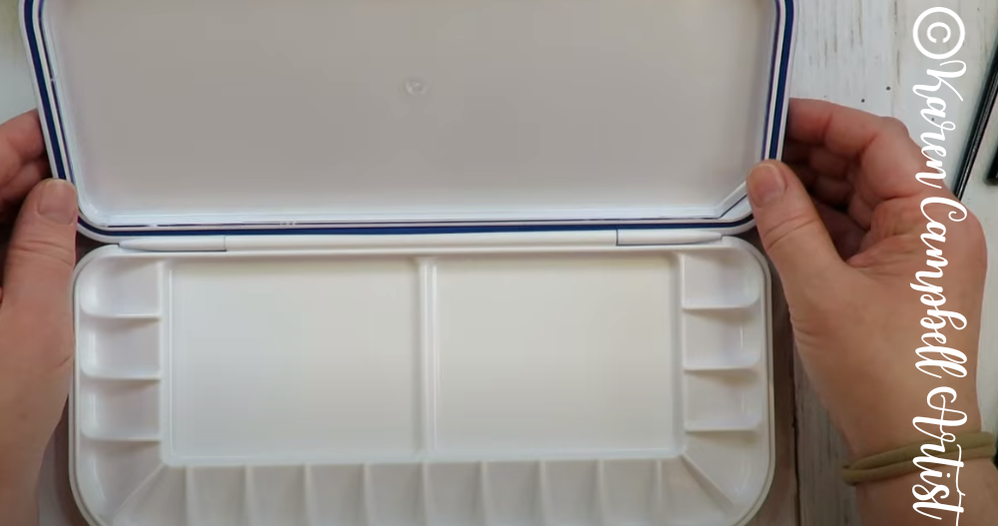
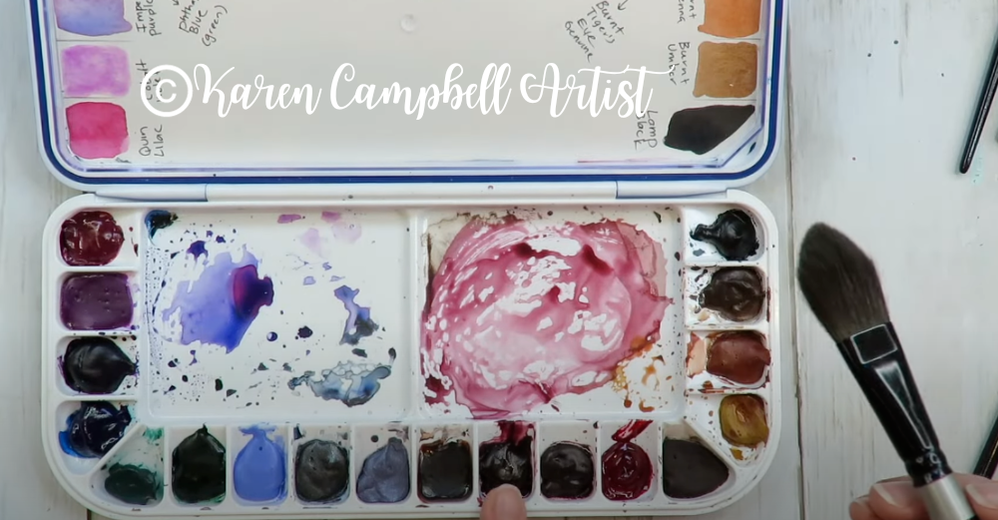
As you'll see in the video, I've tried everything from hot glue to magnets over the years to get my little pans to stick to the watercolor tin. They've all worked ok, but not amazingly well. That brings me to my FAVORITE way to store watercolors!! An empty palette with built-in wells. I've actually purchased at least four of these Mijello Airtight watercolor Fusion 18-well watercolor palettes because I love them SO much!!
Cool, right?! Now I don't have to worry about my full or half pans sliding around or coming loose from the tin anymore! Perfect solution, right?!
I also love watercolor wells in a palette because they honestly hold more color than a half pan, but aren't quite the size of a full pan. The way the mixing trays have been arranged in this particular palette above, also makes it very accessible for my larger watercolor brushes! Another essential for me :) One more little bonus with this palette, I can create my own swatch card and store it neatly behind the removable, plastic mixing tray that snaps into the top cover of this set. Awesome, right?!
I hope you find today's video helpful for considering your own watercolor storage options at home! Thanks for hanging out with me today!! Make sure you stick around to the end to see this Spiderwick Fairy come to life for my fantasy art club membership called the Celtic Collective! 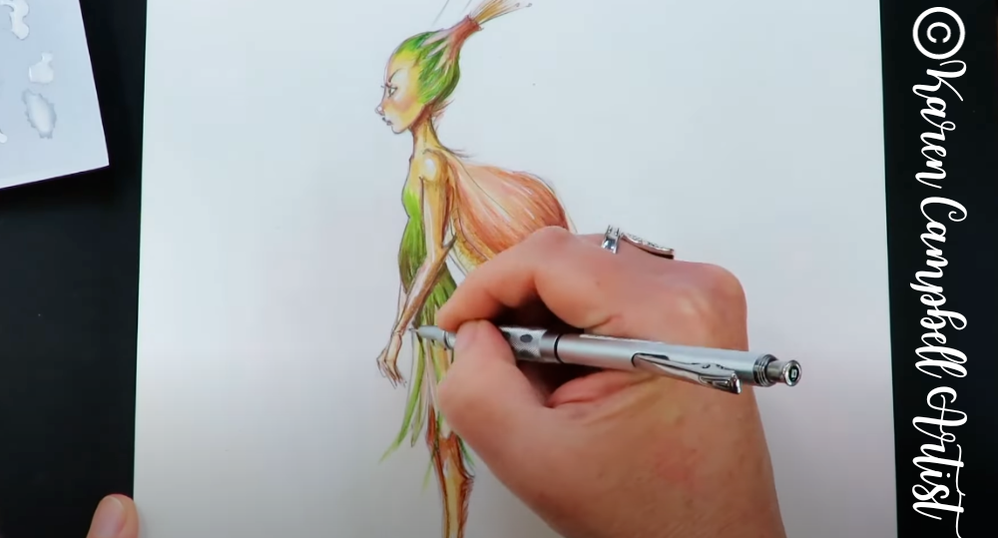
Love How I Added Colored Pencil OVER My Watercolors?
Me toooooo!! Did you know the addition of that ONE super simple art supply makes this a piece of mixed media art?! So cool, right?!
Mixed media art doesn't always have to mean doing collage and using tons of art supplies. Sometimes it's just a combination of a few art supplies. ?♀️Wondering what other art supplies go well together like watercolors and colored pencils? You need my FREE HOT DOG PACKET! Say wha????! It's a free 32-page PDF filled with tried-and-true mixed media art supply combos (4 supplies or less!) that my artsy friends and I have come up with together. Even better, I've got a WHOLE YouTube series all about it. Also for FREE! Simply click the button below, and I'll send it straight to your inbox! What to Watch Next
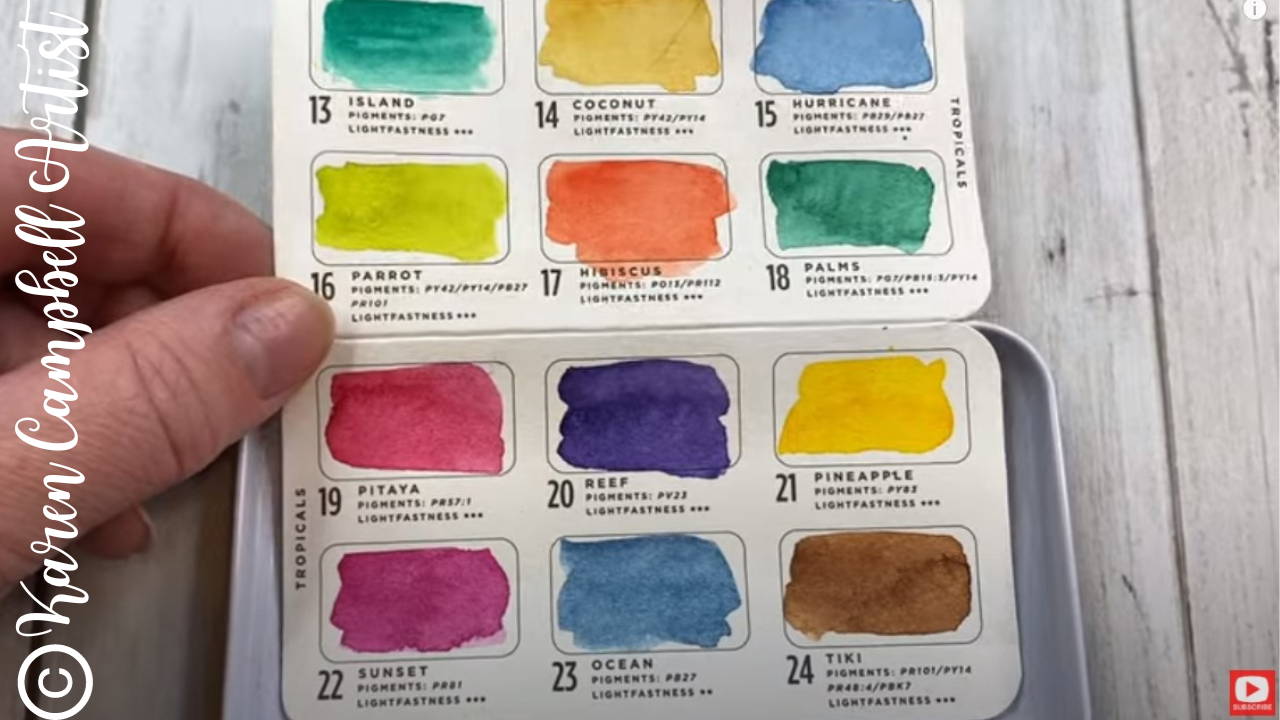
Watercolors also come in ready-to-use pans or half pans like the adorable sets by Prima that I've been reviewing on YouTube lately. Check out this playlist to learn more about them and which ones I love most!
What's the Celtic Collective?
The Celtic Collective is an online fantasy art themed membership that I co-host with my Scottish bestie, Lucy Brydon, over at Awesome Art School! We have an absolute blast together creating beautiful lessons of mermaids, fairies, castles, unicorns, and SO much more for our students.
Want a sneak peek at ALL the projects inside the club?! Check out our Visual Index to see what we've been up to :)
Need More Resources?
❤️ CHECK OUT ALL my art books on AMAZON
❤️ MY FAVORITE ART SUPPLIES on AMAZON (affiliate links) ❤️ MY BELOVED FACEBOOK GROUP
0 Comments
If you're a watercolor beginner or new mixed media, watercolors and water-soluble art supplies can feel a little intimidating and unpredictable.
In today's YouTube video, I'd LOVE to blow those feelings away for you by demo-ing 3 BASIC watercolor techniques to give you a dose of confidence: ✨Wet-on-Wet (creates beautiful blooms) ✨Wet-on-Dry (offers more control) ✨Dry-on-Dry (adds texture) Let's get comfy with watercolors!!
All links are affiliate and are for U.S. residents - always use what you have on hand!
I've REALLY been enjoying working with a variety of my watercolor sets by Prima lately. If you've been hanging out with me on YouTube, you may have seen my videos reviewing both the Terrain watercolor set, and the Currents watercolor set. Missed those?Watch this playlist!
I first got into Prima watercolor sets with the Complexions set because I absolutely LOVED having a little palette of skin tone watercolors all in one place that I could dip right into, without mixing!!
If you're new to me, I'm OBSESSED with Daniel Smith watercolors, and have done LOTS of videos from How to Start Your first Daniel Smith Watercolor Collection, to How to use the Daniel Smith Dot Cards, and How to Build Your Own Custom TRAVEL Daniel Smith Watercolor Palette.
Daniel Smith makes GORGEOUS, fine art watercolors. BUT... I know they're SO expensive!! Because of that, I'm always on the lookout for Daniel Smith alternatives for my students.
Prima palettes, while not a fine art product, are affordable, and offer great quality and value for their price point of $25 or less, if all ya wanna do is have a little FUN!! I love how the colors in each Prima palette already all go together (making them perfect for projects!), plus they have cute, inspirational names for the sets and individual colors. WHY Watercolor Paper is So Important
Before we get into today's project, I can't emphasize enough how IMPORTANT paper is when it comes to watercolor (or using water soluble mixed media art supplies).
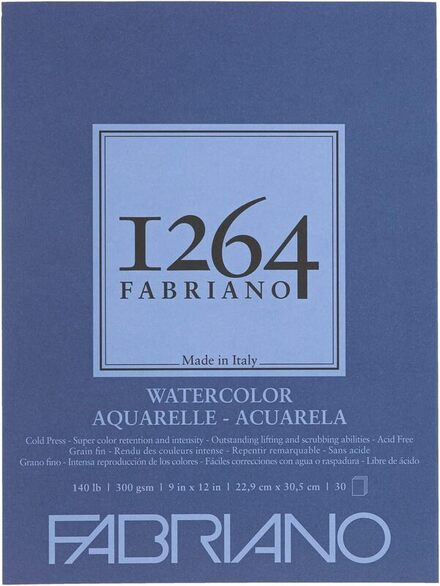
You always need to be working on paper that's been created exactly for watercolor. If you don't, your paper will tear because it can't handle all the water. There are two main types of watercolor paper I use: cold press watercolor paper (which is bumpy and textured, I love this one), and hot press watercolor paper (which is smooth, I love this one).
Typically I reach for cold press paper (shown above), because it's a little more like a sponge than hot press, and I love the texture.
If you'd like to learn more about watercolor paper - this vid's for you and will give ya all the deets!! Wet-on-Wet Watercolor for Beginners
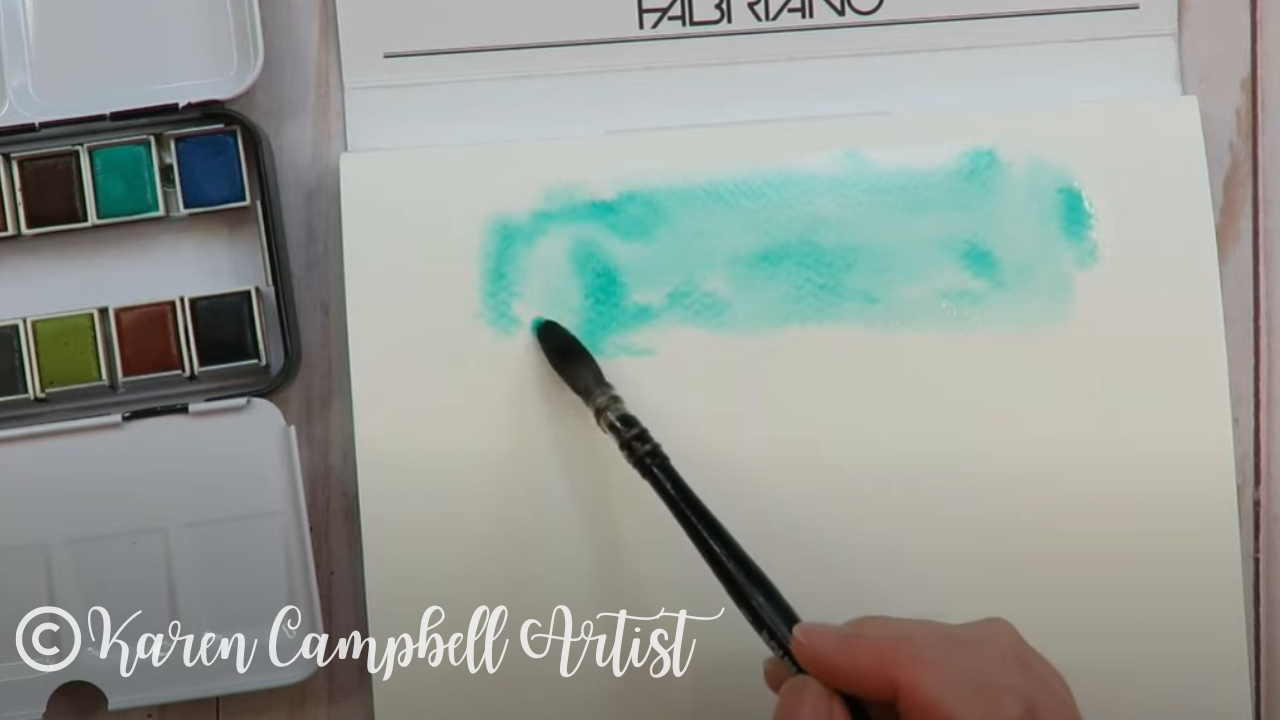
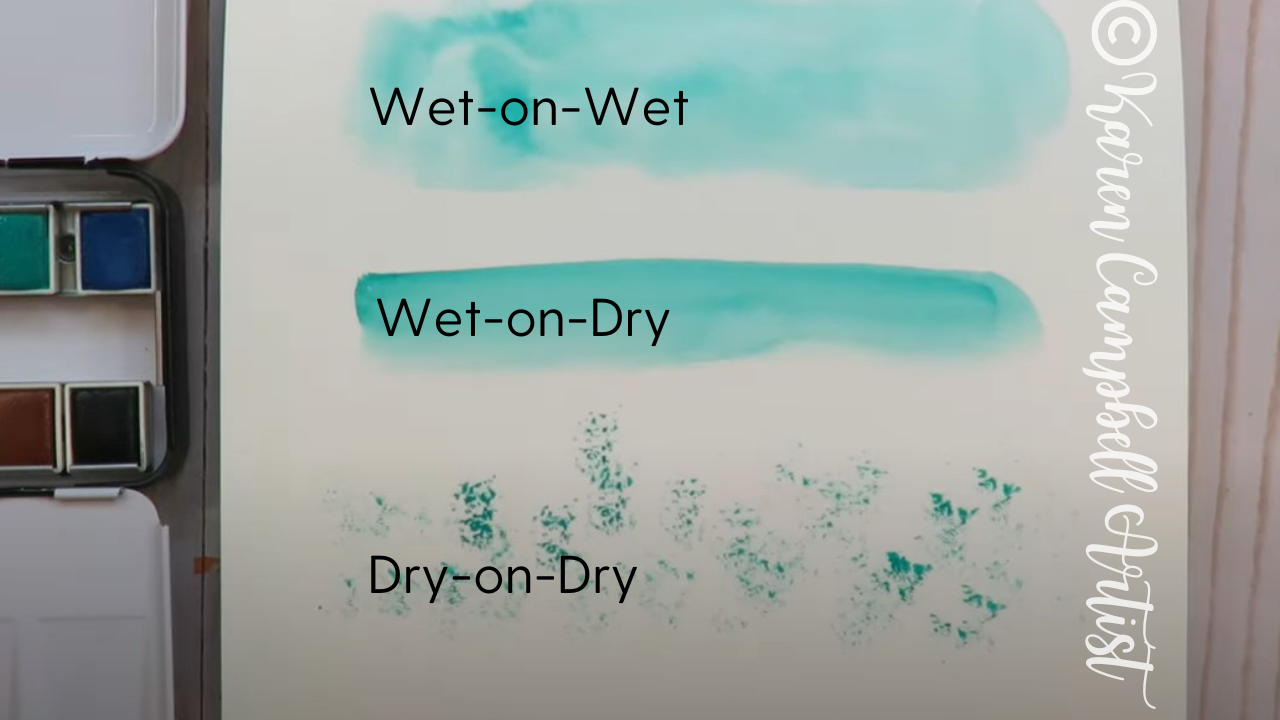
Let's dig into technique #1 for today. Wet-on-wet watercolor is exactly like it sounds. All you need to do to play with this technique is to first, wet your watercolor brush and drag it all over your watercolor paper (or on the parts where you intend to use the wet-on-wet technique). Then, wet your brush again, dip it into the watercolor, and place that directly onto your already wet paper. EASY, right?!
This super simple watercolor technique will make your paint spread or bloom quickly into all the areas where your paper is wet! It's soooo fun!!
Love that shade of turquoise? Me too!! It's from the Woodland Watercolor Set by Prima :) Wet-on-Dry Watercolor Technique for Beginners
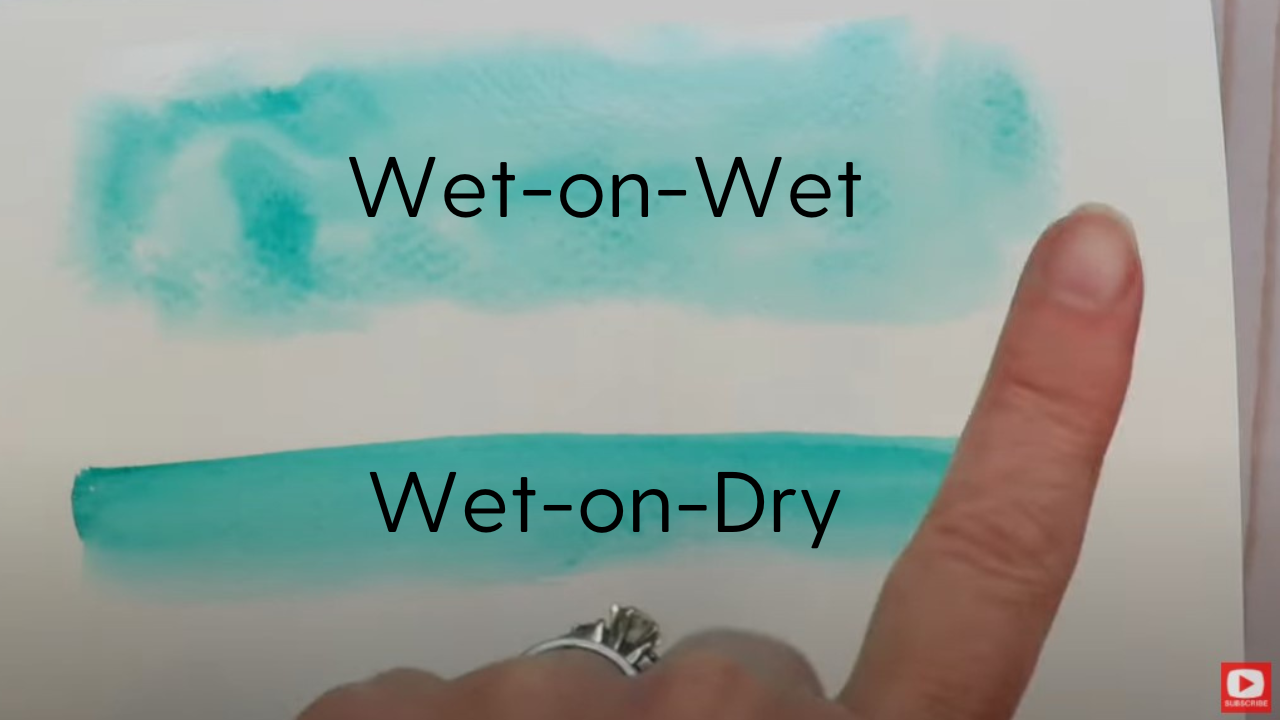
Wet-on-Dry watercolor technique is basically the opposite. It's simply dipping your watercolor brush into water, wetting your paint, and putting it on dry watercolor paper.
As you can see below, the second line of color demos the wet-on-dry watercolor technique, and looks much different from the wet-on-wet section above it. Wet-on-dry will give you a much harder line, and more control than wet-on-wet. Dry Brushing Watercolor Technique for Beginners
To achieve a dry-on-dry look in watercolor, dip your dry brush (or whatever applicator YOU want - I'm using a sponge in today's video), into damp watercolor. The watercolor can't be too wet, you want it to kinda feel "tacky."
Then, tap or drag your brush or applicator around on your paper wherever you'd like this effect. This will create vibrant and VERY different marks on your paper compared to wet-on-wet or wet-on-dry watercoloring techniques.
Dry-brushing can really give you some awesome textures to create depth, and can kinda have the look of acrylics.
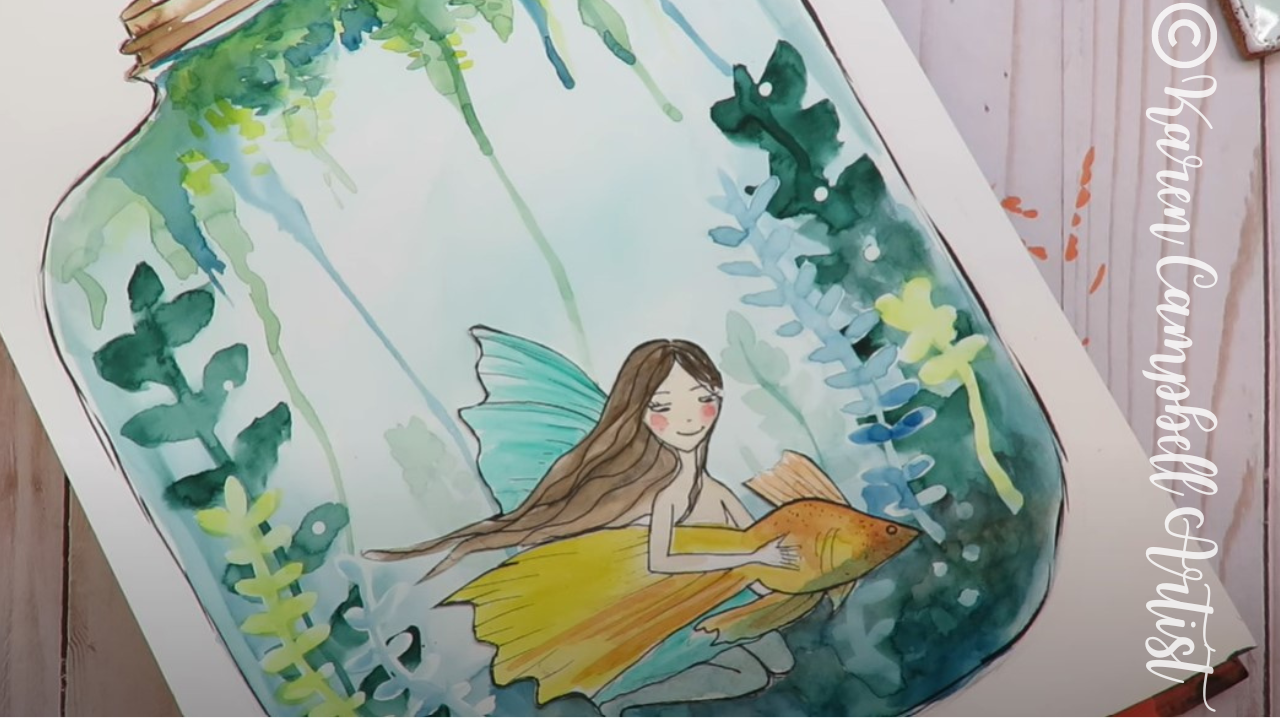
Ready for a little timelapse? Kick back and relax as I watercolor this adorable fairy in a jar project using all three of the techniques demo-ed today, for one of my online art clubs at Awesome Art School, the Celtic Collective! Wanna Learn MORE About the Celtic Collective?
Or do the project featured in today's video step-by-step with me? Awesome!! I run the Celtic Collective art club with my Scottish bestie, Lucy Brydon. This online art club is all about fantasy art and features drawing, watercolor, and mixed media art lessons on fairies, unicorns, mermaids, mythical creatures, castles and so much more!! We'd love to have you join us! Learn more here.
What to Watch Next
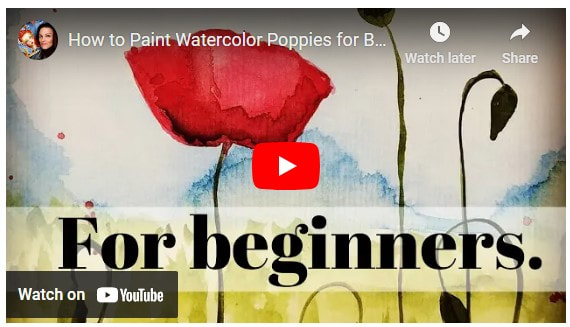
Check out this FREE watercolor tutorial for beginners, as I teach you step-by-step how to paint watercolor poppies! Can you tell which watercolor technique I'm using from the image below??
Need More Resources? |
Karen CampbellFounder of Awesome Art School. Mixed Media Artist. Author of 19 Instructional Art Books! Whose work has appeared in...Archives
July 2024
Categories
All
|
|
"Karen is flipping hilarious and she's very real...I like the way she teaches in a way that really gives you confidence, whether you're a beginner or advanced there's always something new to learn!"
- Elizabeth W. |
What Fans Are SayingKaren, you are absolutely fabulous! You make me feel like I can draw anything. I have recently retired and finally have the time to do some of the art that I have loved since I was in school. I am really at the beginning of my art journey and I hope to learn as much as I can. Thank you for all you do. |
Contact ME |





 RSS Feed
