
|
A lot of my students at Awesome Art School have asked if I teach how to draw in the style of Anime and Manga. I actually don't - I typically teach my own Fun Fab style, and how to develop YOUR OWN style. Since I didn't know much about Manga and Anime, I thought I'd find a book to recommend for those who are interested.
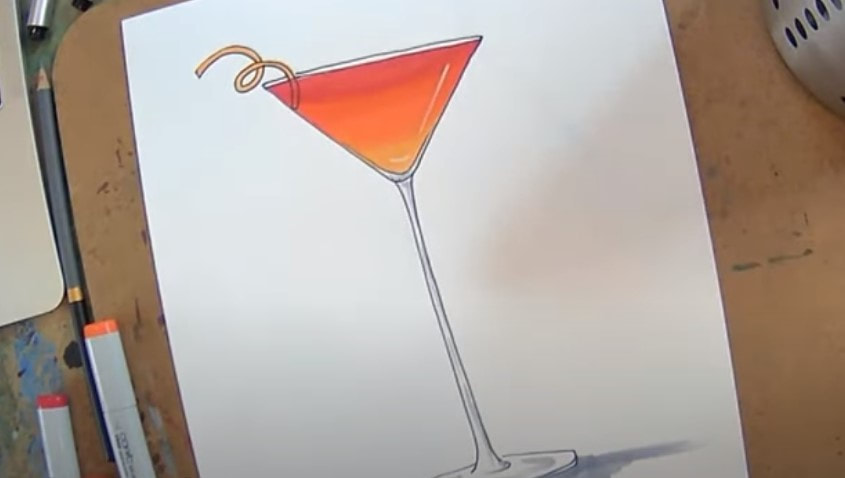
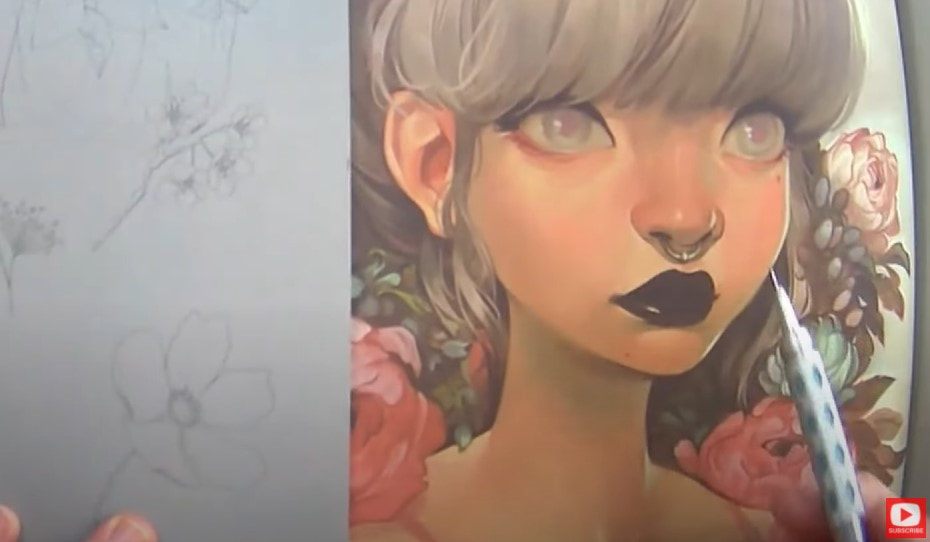
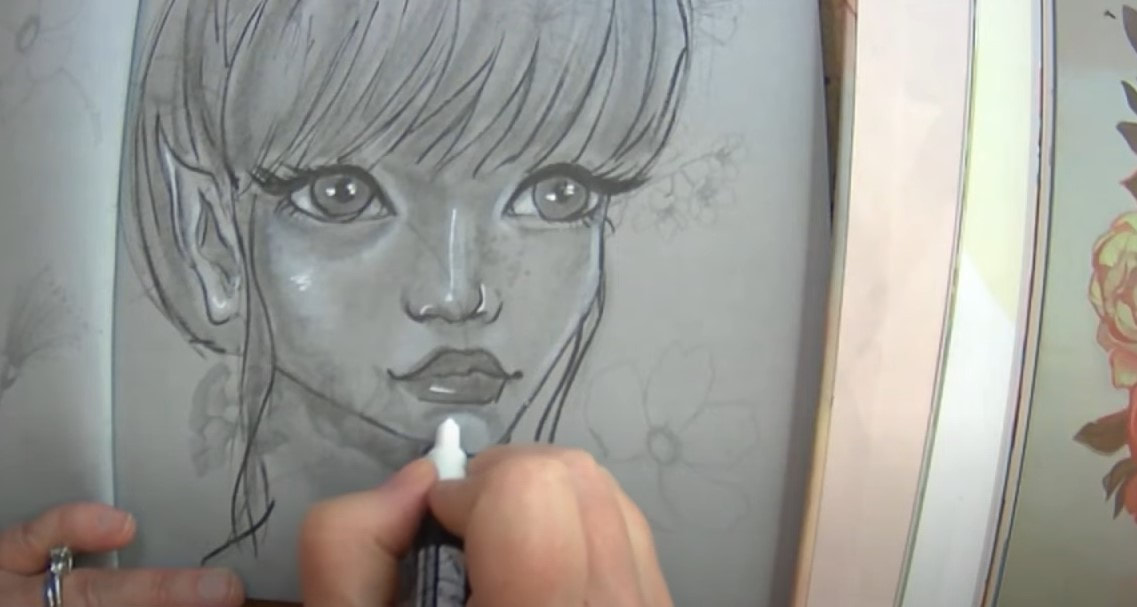
Stick with me till the end, because after a quick flip-through of How to Draw Anime & Manga for Beginners, I'm drawing an anime goddess figure of my own!!
*All Product links are affiliate and for U.S. Residents only.*

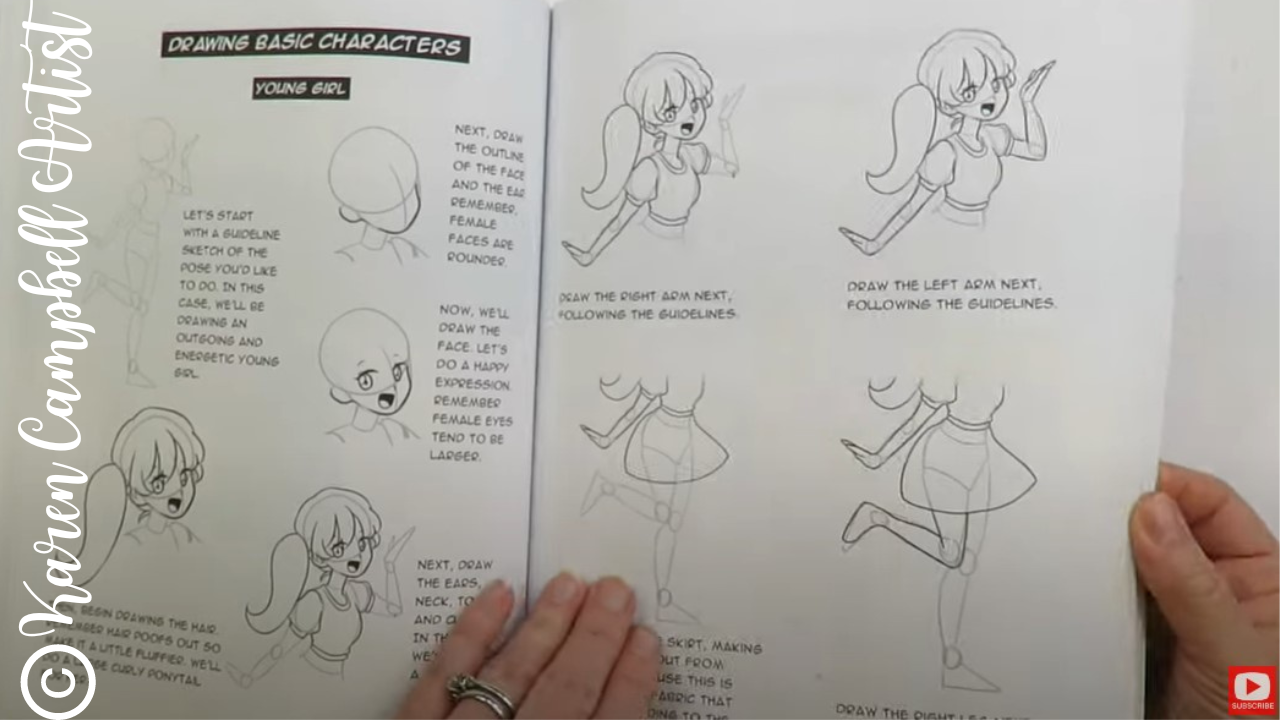
After flipping through the first few pages of this book, I knew I could recommend it. First of all, it's not overwhelming. There's lots of white space throughout, and only a few steps of each drawing project are shown per page- which I love.
It makes you feel like you can do what they're showing you, right?!
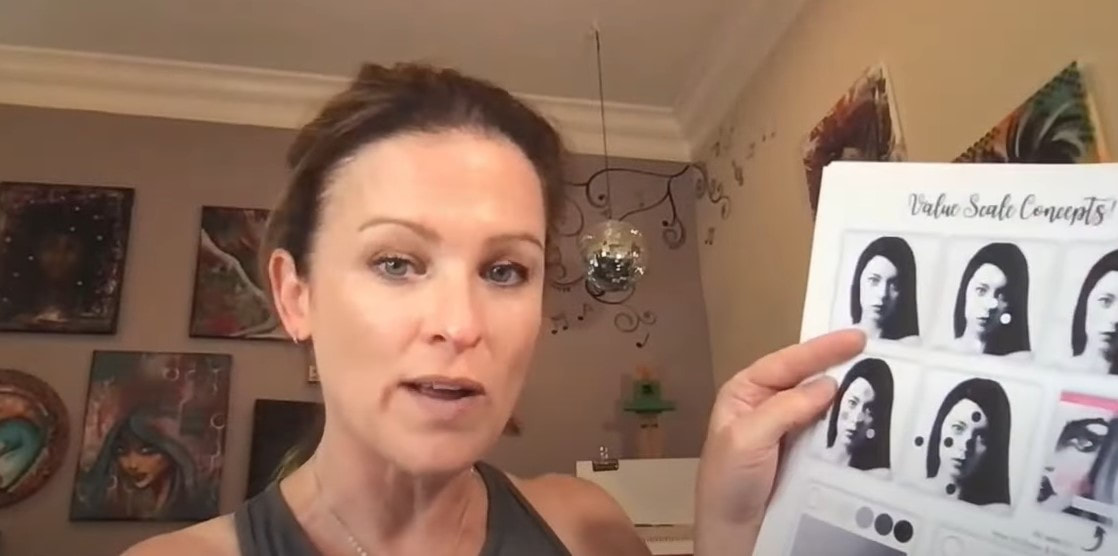
This kind of simplicity creates an awesome learning experience. It's something I strive to achieve in my own art books, and one of the biggest things I look for in art books I recommend. Here's a quick example of how to draw simple Anima/Manga eyes. Easy, right? 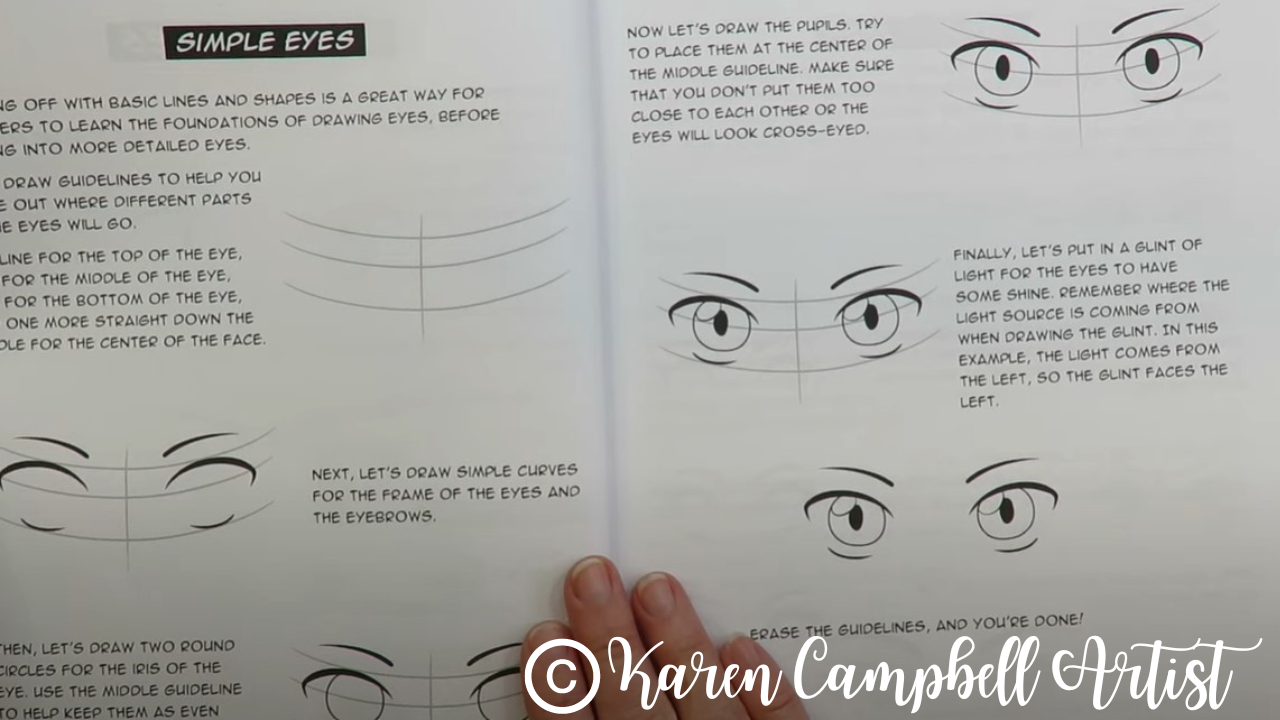
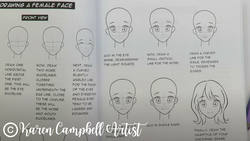
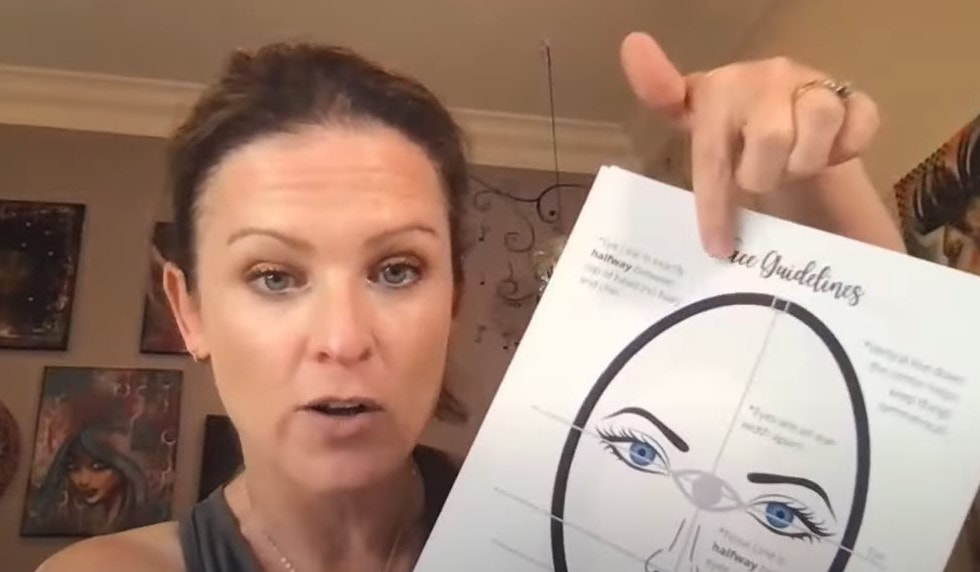
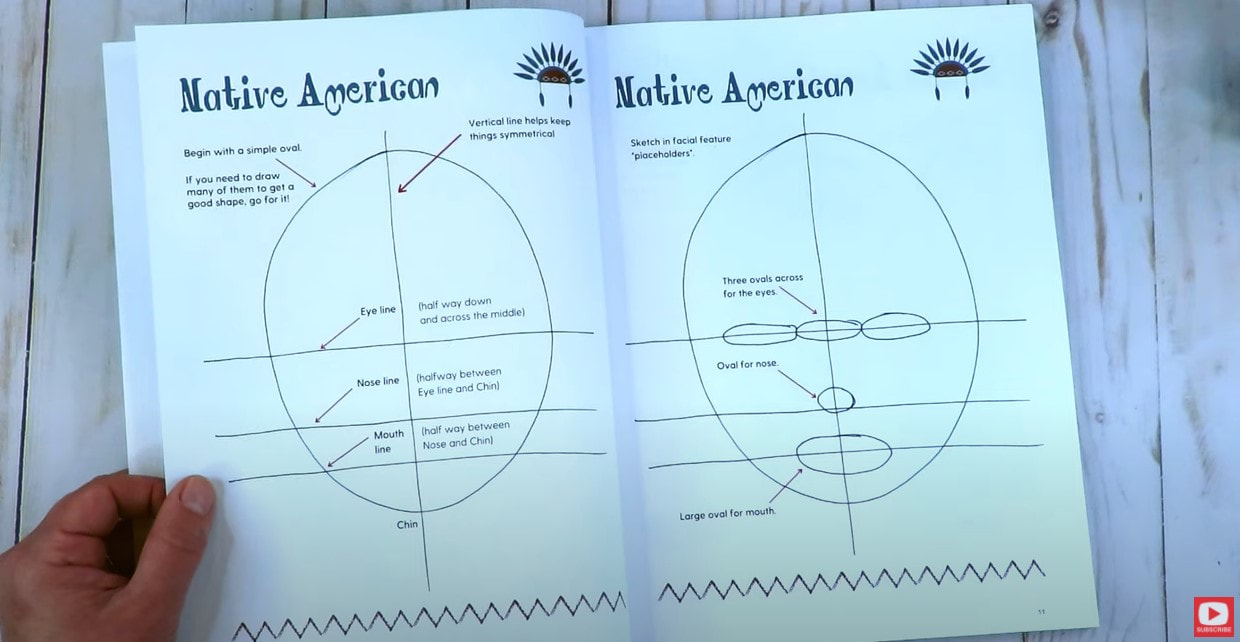
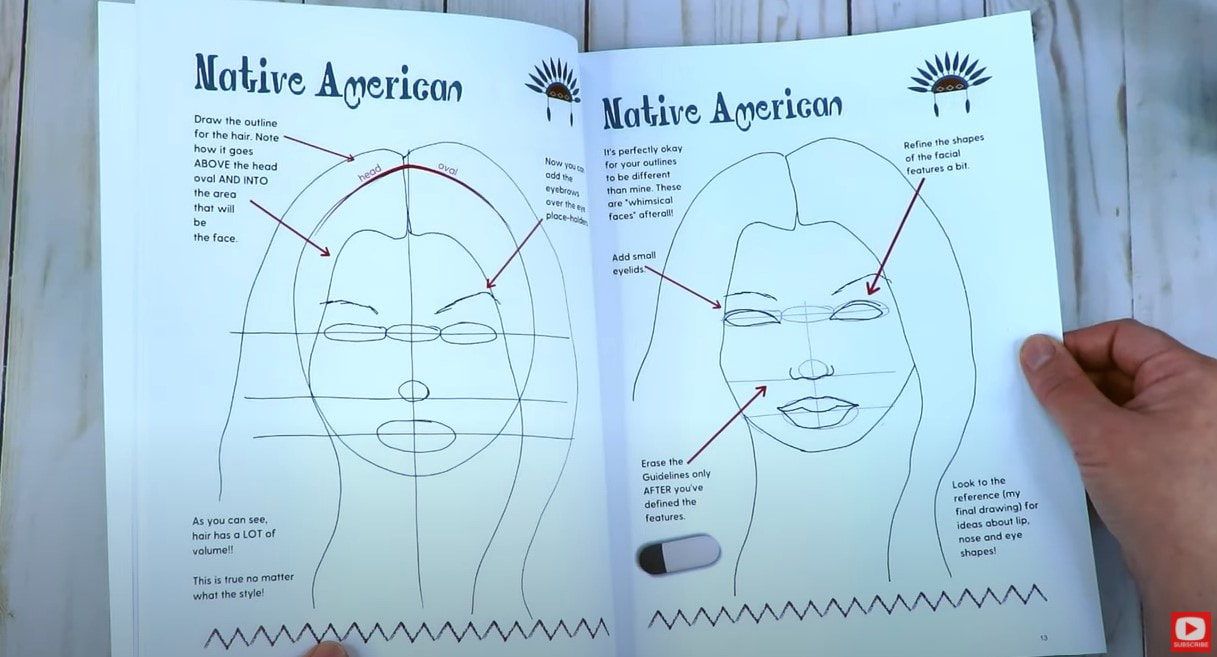
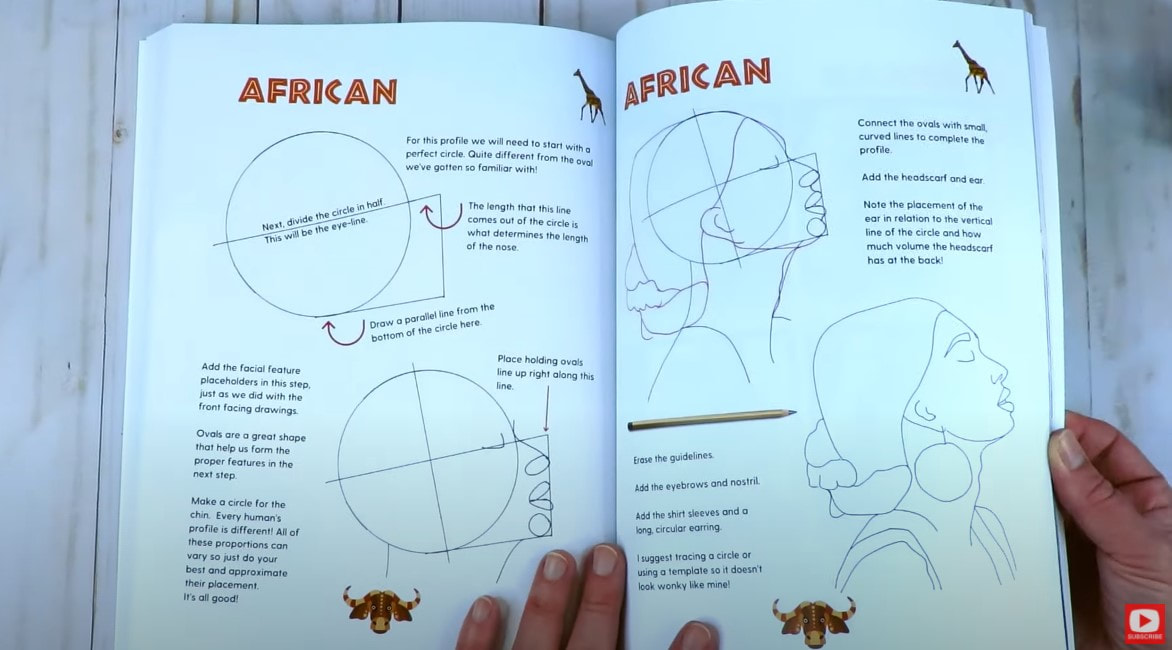
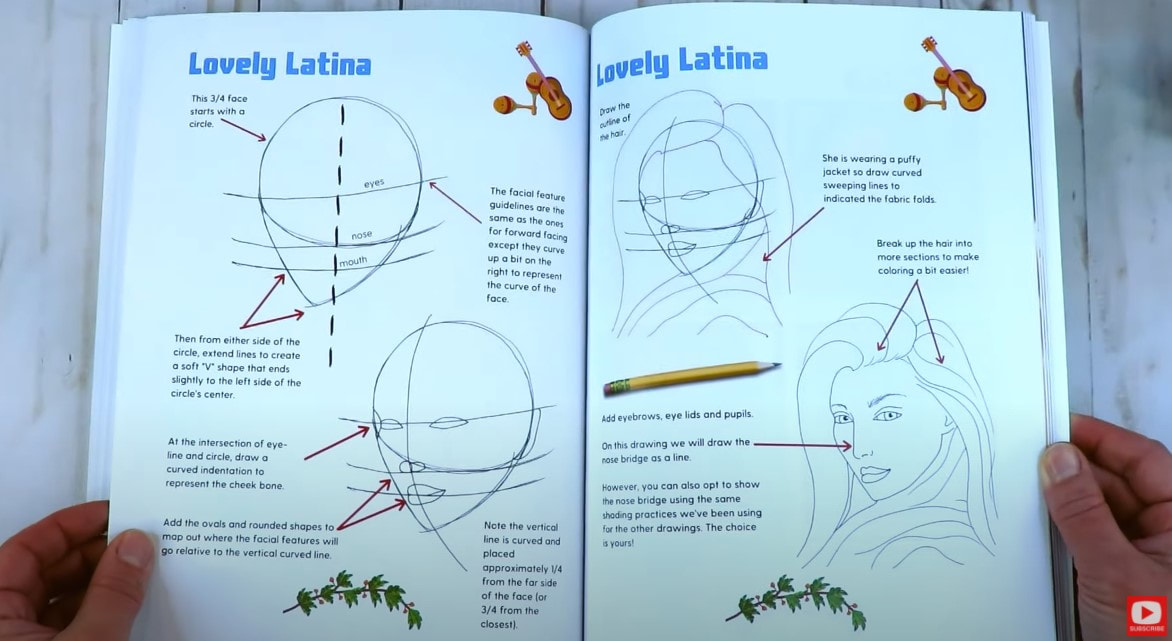
The steps are also laid out very clearly for drawing heads in different angles and views (front facing, side profile, and 3/4). I found it interesting to look at the face drawing guidelines and proportions for Anime and Manga style faces compared to how I usually draw in a Fun Fab, or whimsical style.
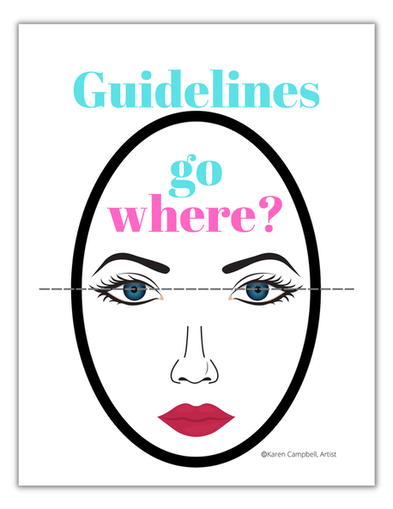
In a semi-realistic or realistic style of drawing, the eye guideline on the face cuts right through the middle (shown below).
For Anime and Manga, it's a lot further down the face shape. Interesting, huh?

Need a copy of my FREE Face Drawing Guidelines for semi-realistic and whimsical faces? Click the button below and I'll send it straight to your inbox!

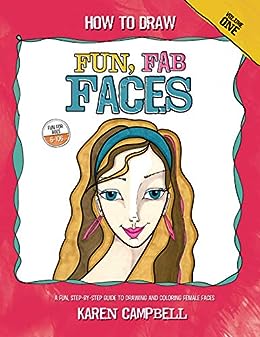
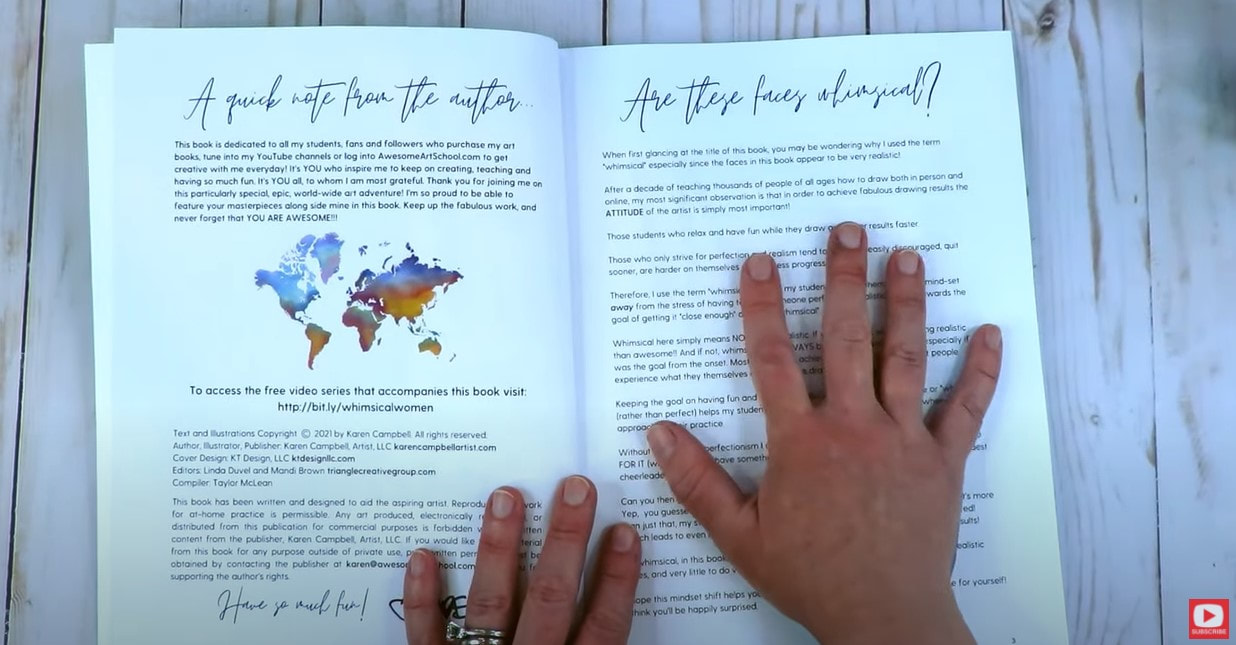
My face drawing guidelines come right from my very first book, How to Draw Fun Fab Faces. It's perfect for artists of any level, and especially fun for beginners interested in learning how to draw semi-realistic faces.
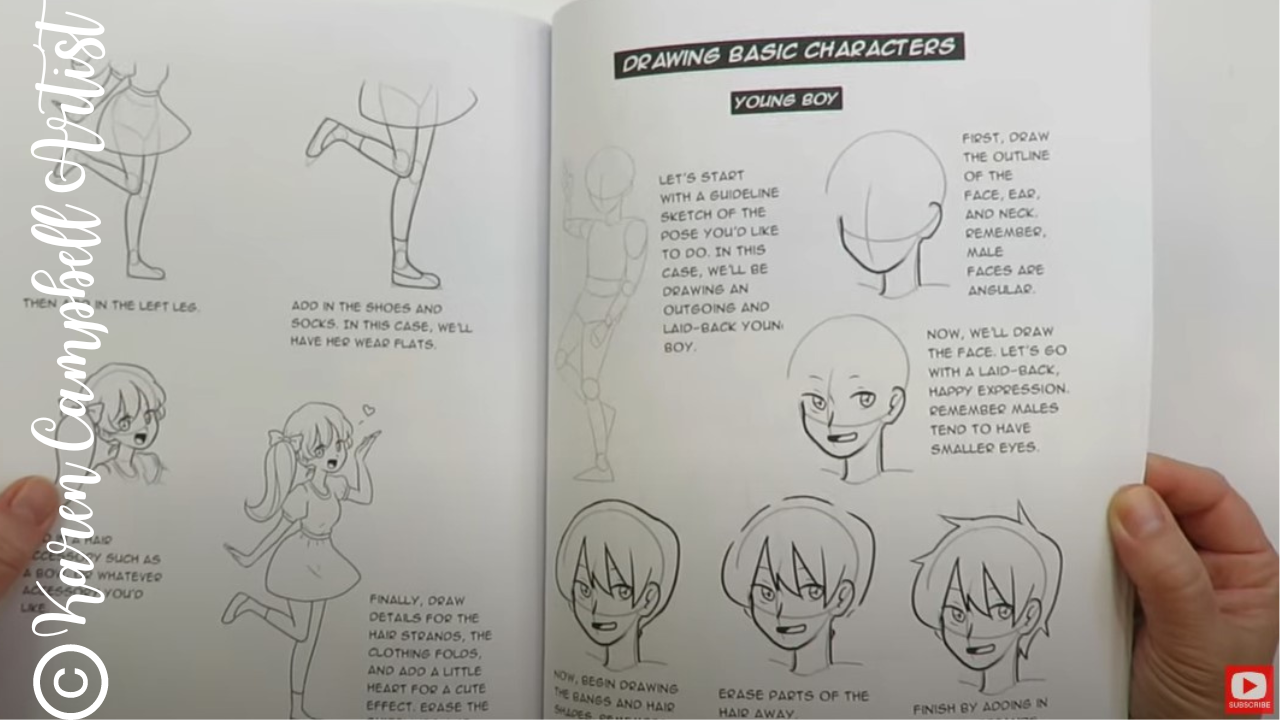
While my first book shows you how to draw whimsical female faces who are teens or adults, in the book featured in today's video, How to Draw Anime and Manga for Beginners, the author shows how slight variations in how you draw a head shape will make a character look like a child vs. an adult/teen female or male. Super helpful!
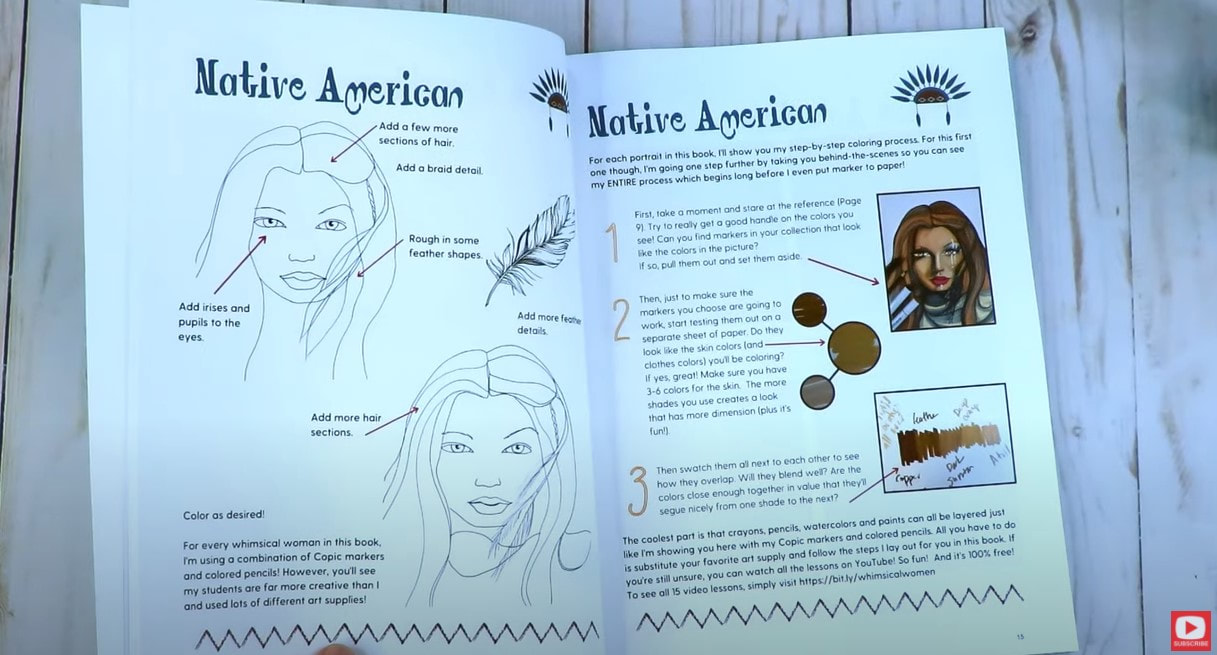
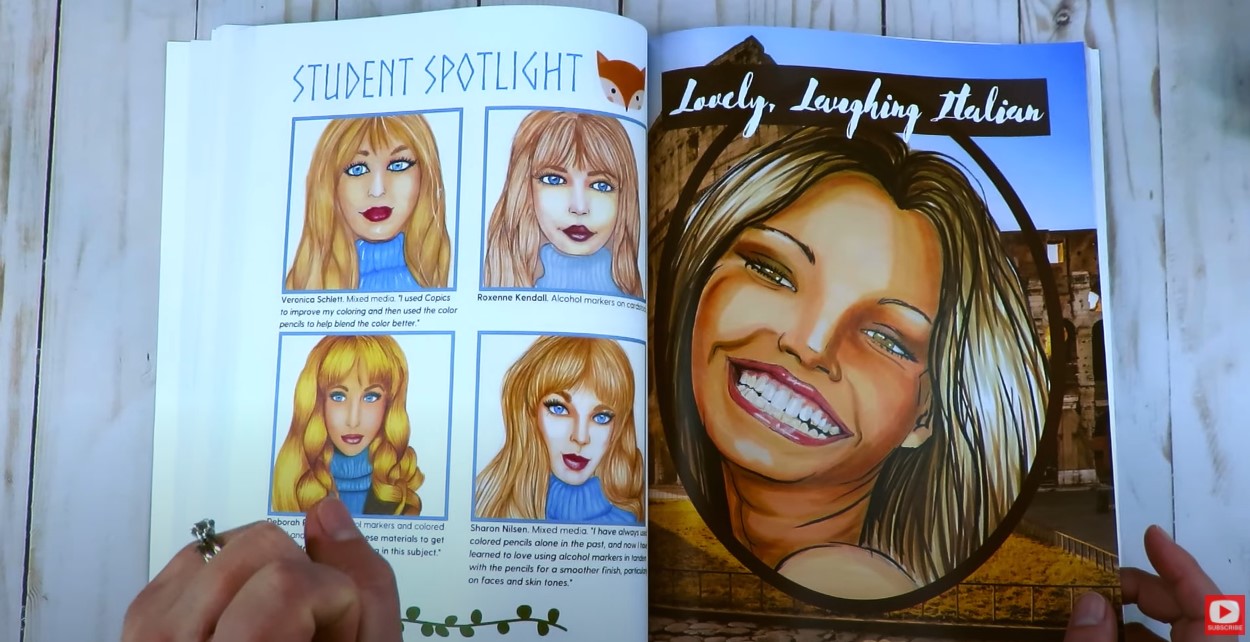
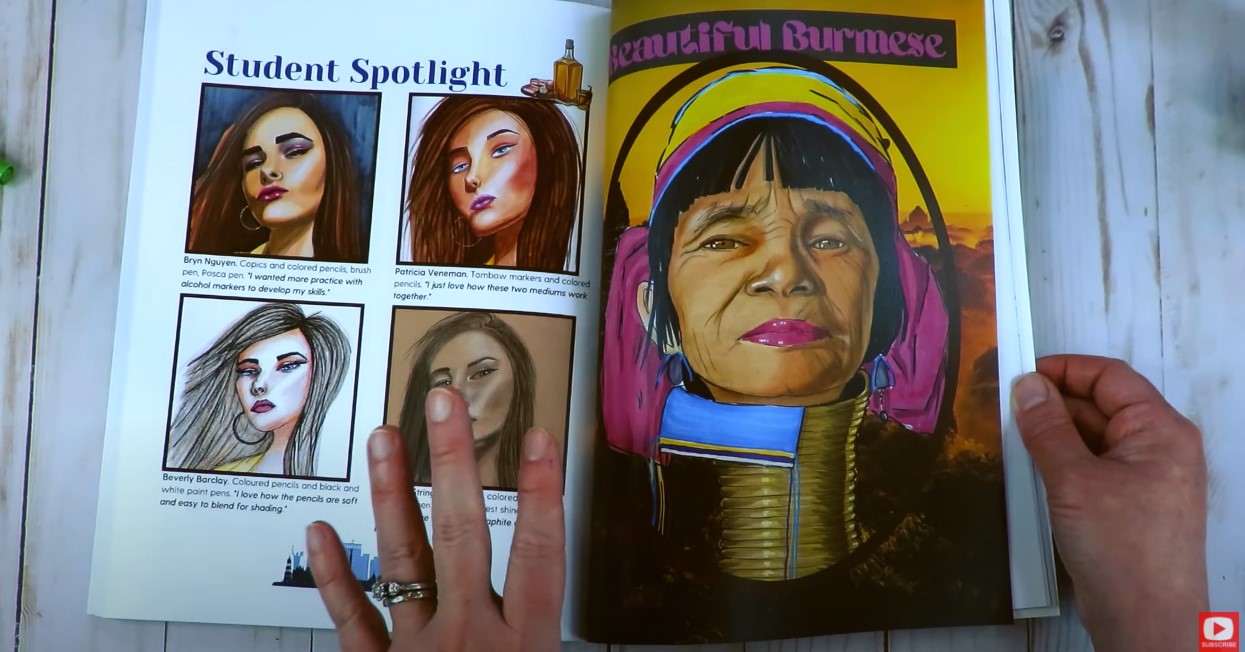
I felt like there was really a ton of inspiration for beginner artists interested in learning how to draw their own Anime or Manga characters from scratch, too. The hairstyle pages and examples of how to draw clothes with action lines are particularly awesome.
The author even included some random stuff I wasn't expecting like the anatomy of an open mouth (below), and showed at least 9 ways to draw the ear. So informative! 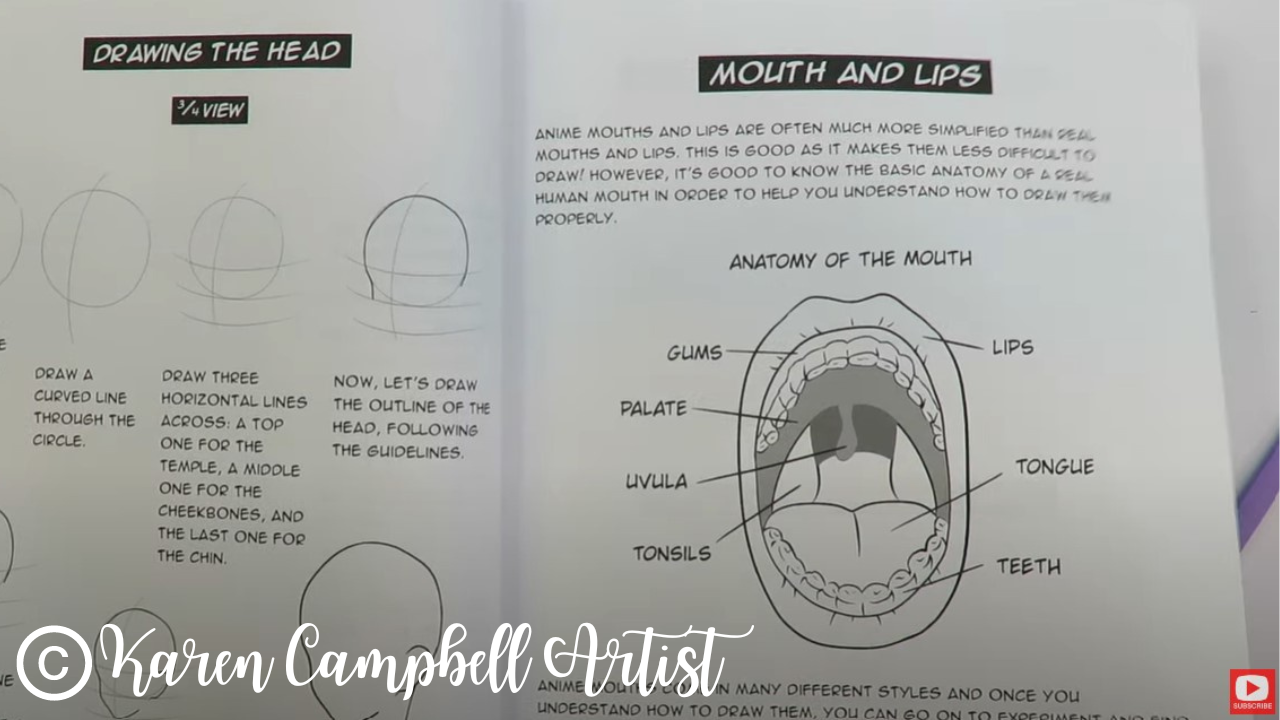
I also totally didn't expect there to be so many full drawing projects included in this book. Check this one out in the bottom right - it literally looks like my nearly 15-year-old son, Max! Sooo cute!!
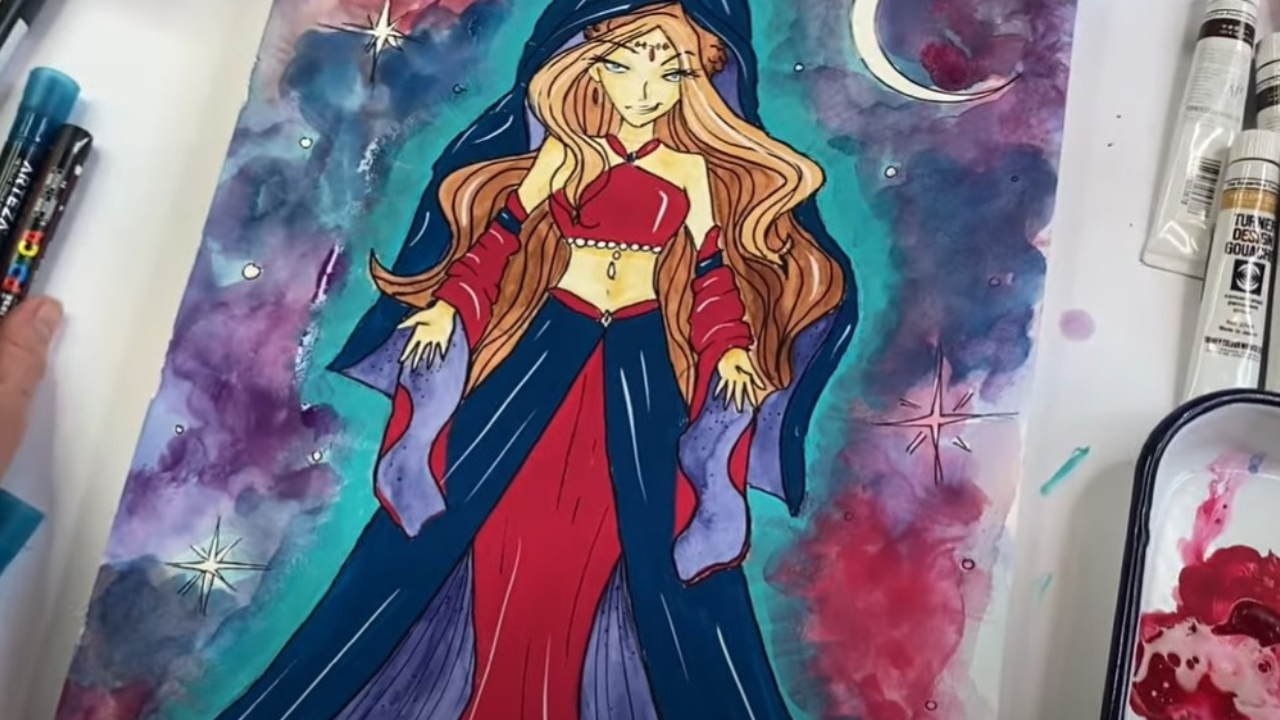
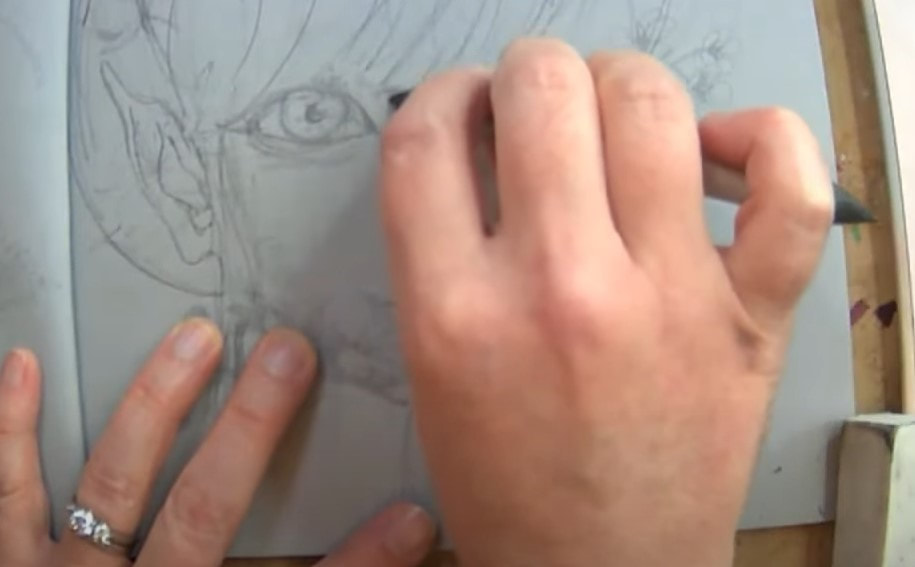
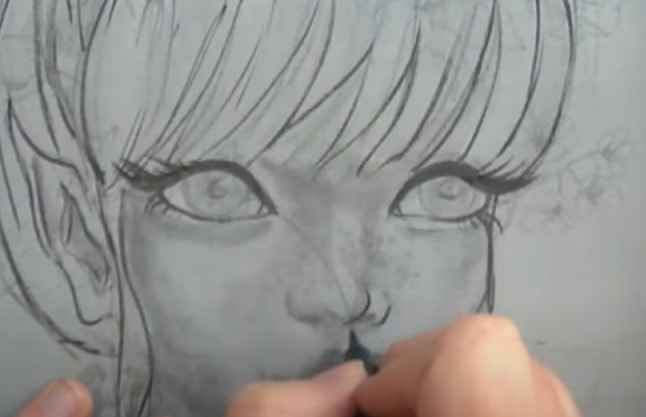
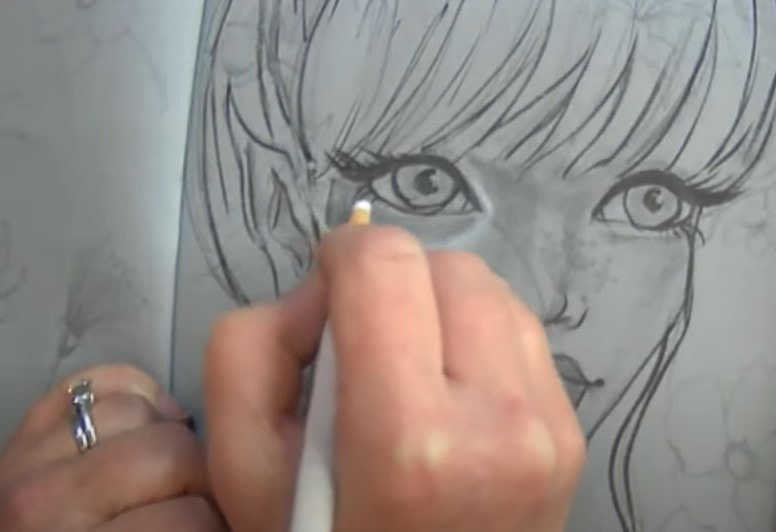
I hope you enjoy the timelapsed version of my Anime Goddess figure at the end of today's drawing book flip-through on YouTube!
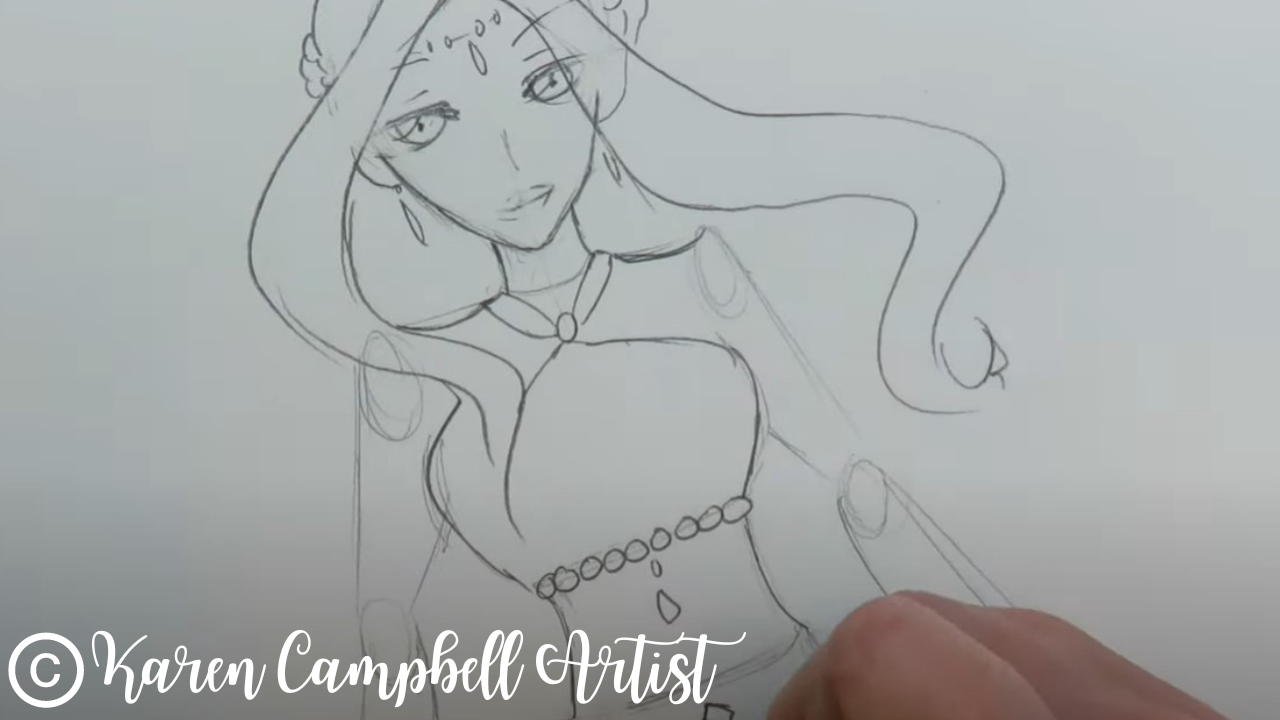
She was soooo fun! Stay tuned for next week and you'll get a peak of me watercoloring her on my Mixed Media YouTube channel:)
|
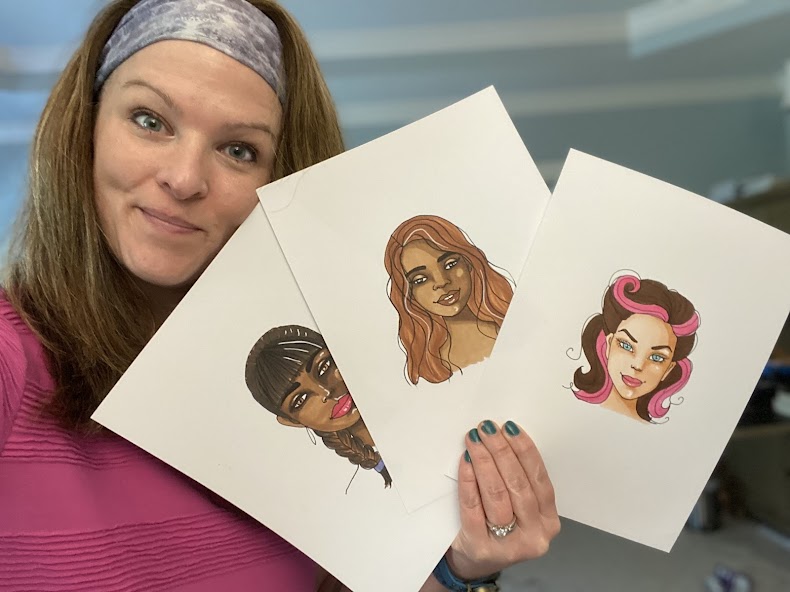
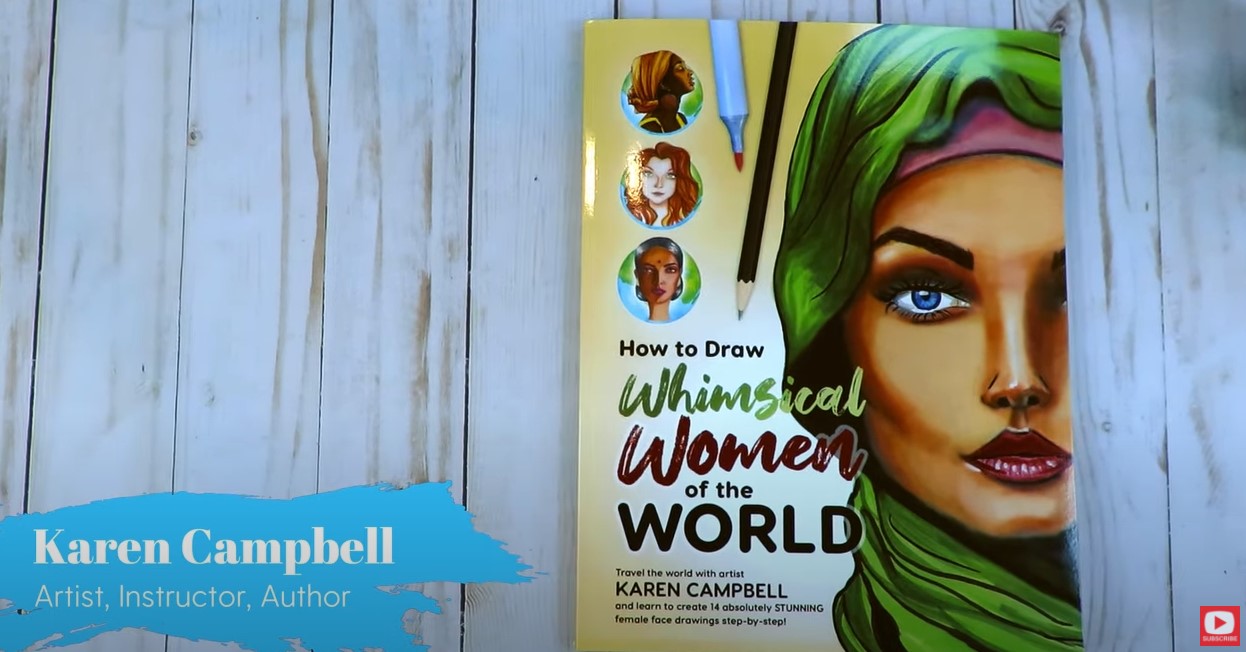
Karen CampbellFounder of Awesome Art School. Mixed Media Artist. Author of 19 Instructional Art Books! 
Whose work has appeared in...
   
 Archives
July 2024
Categories
All
|


 RSS Feed

"Karen is flipping hilarious and she's very real...I like the way she teaches in a way that really gives you confidence, whether you're a beginner or advanced there's always something new to learn!"
- Elizabeth W. |
What Fans Are SayingKaren, you are absolutely fabulous! You make me feel like I can draw anything. I have recently retired and finally have the time to do some of the art that I have loved since I was in school. I am really at the beginning of my art journey and I hope to learn as much as I can. Thank you for all you do. |
Contact ME |