blog
Let's Get Your Creative Juices Flowing!!!
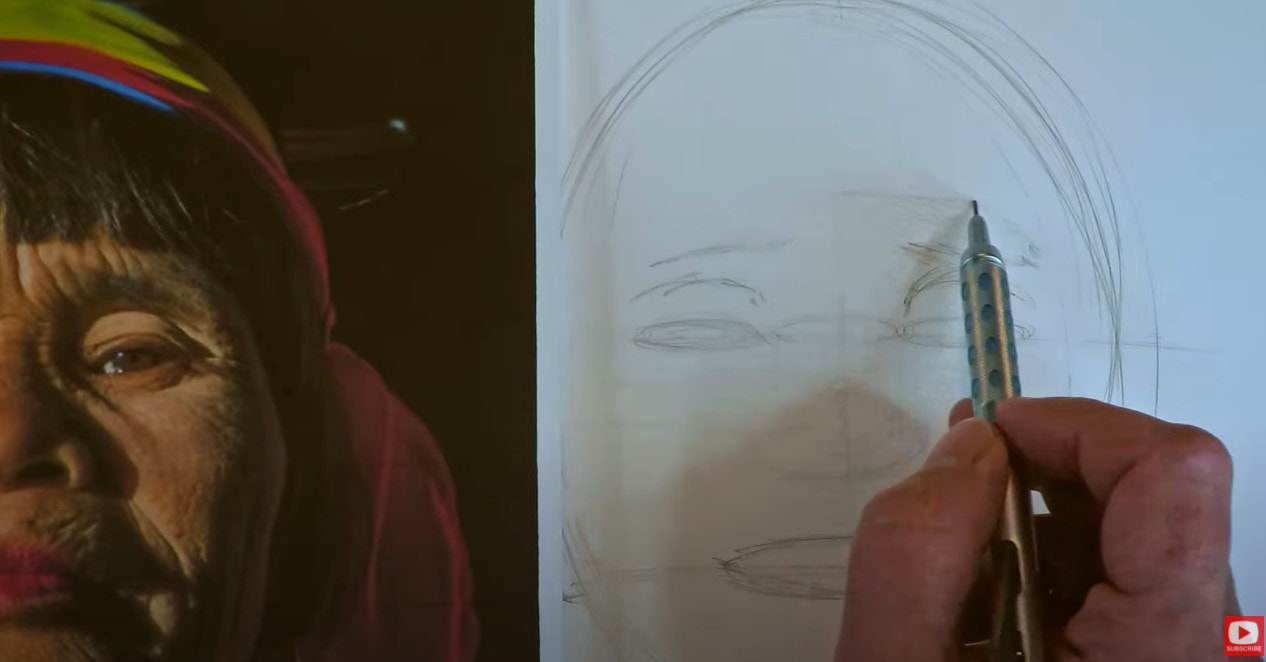
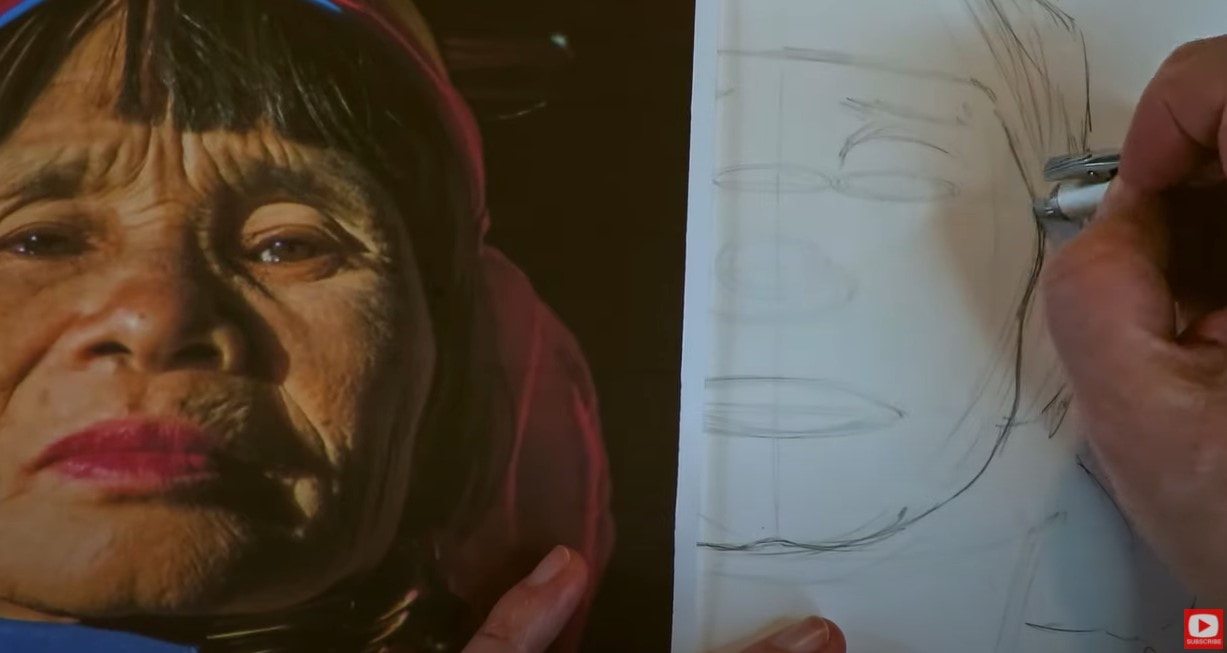
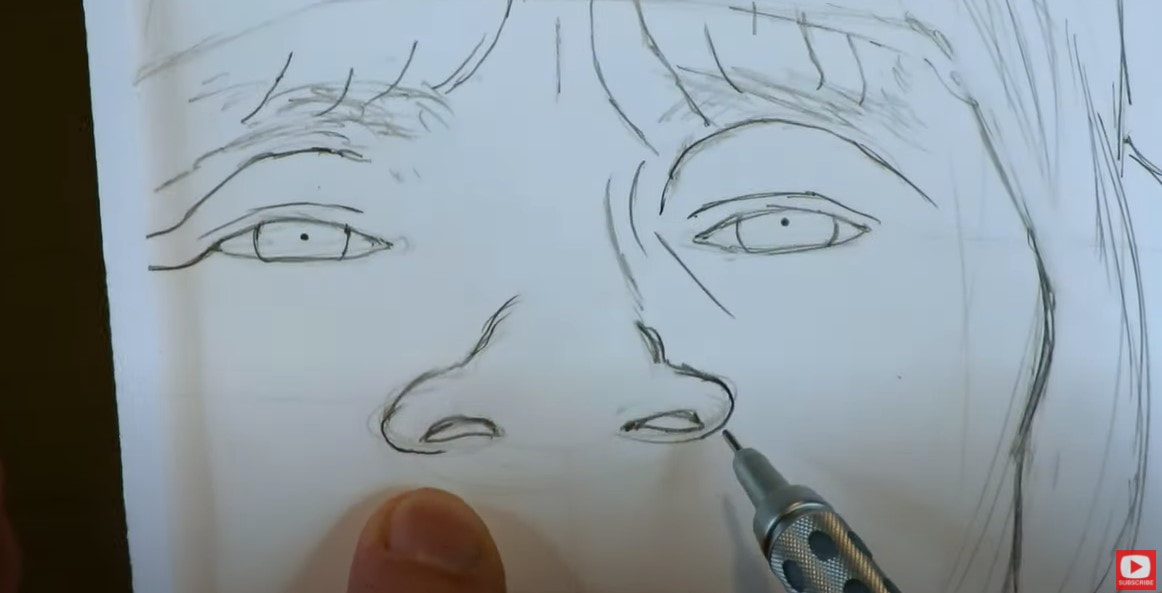
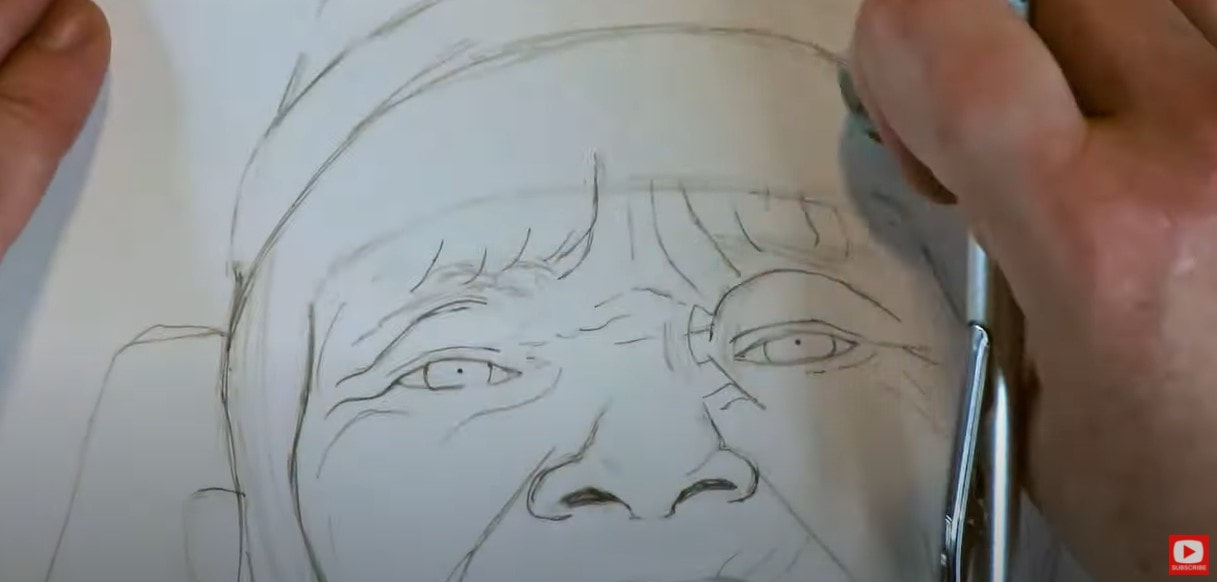
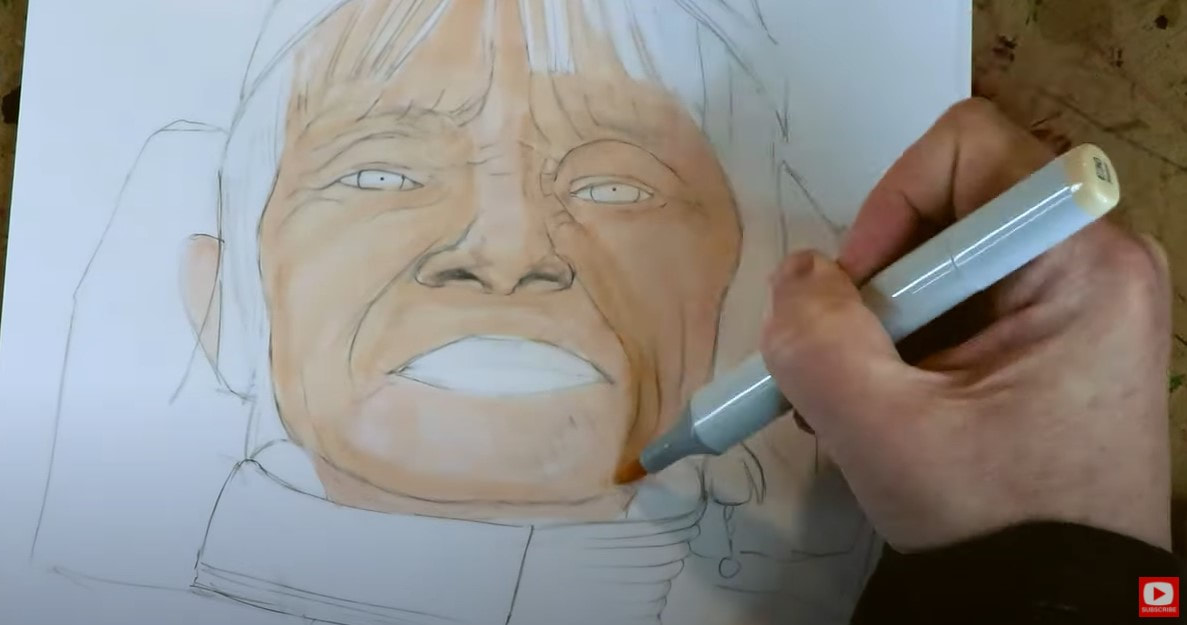
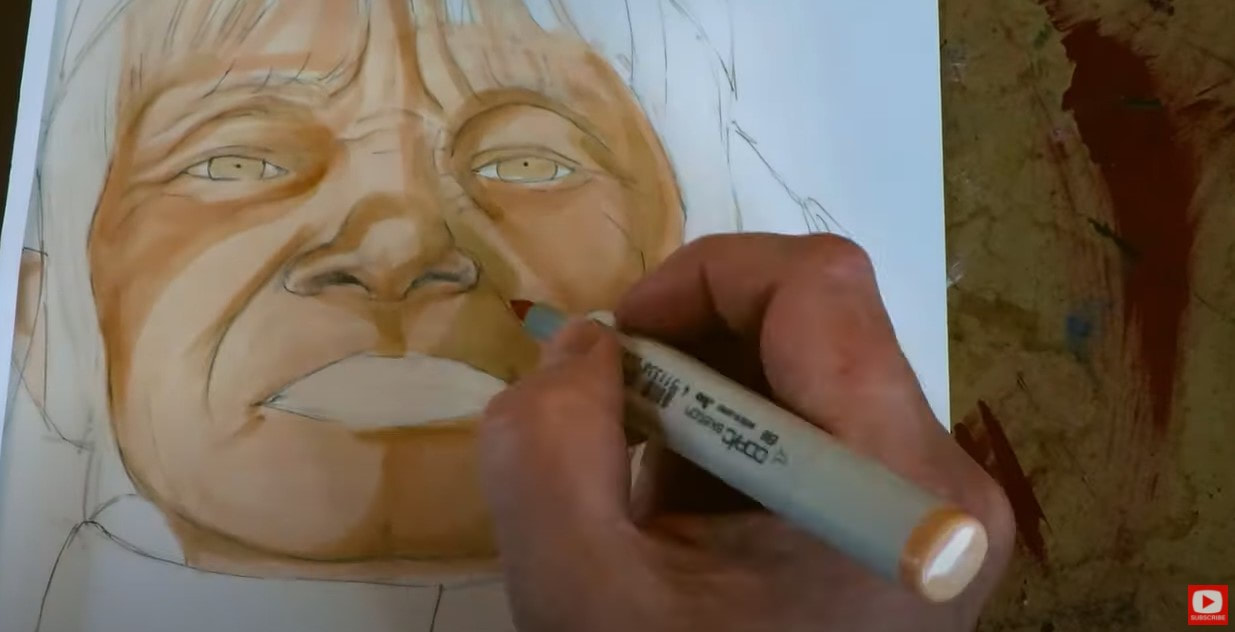
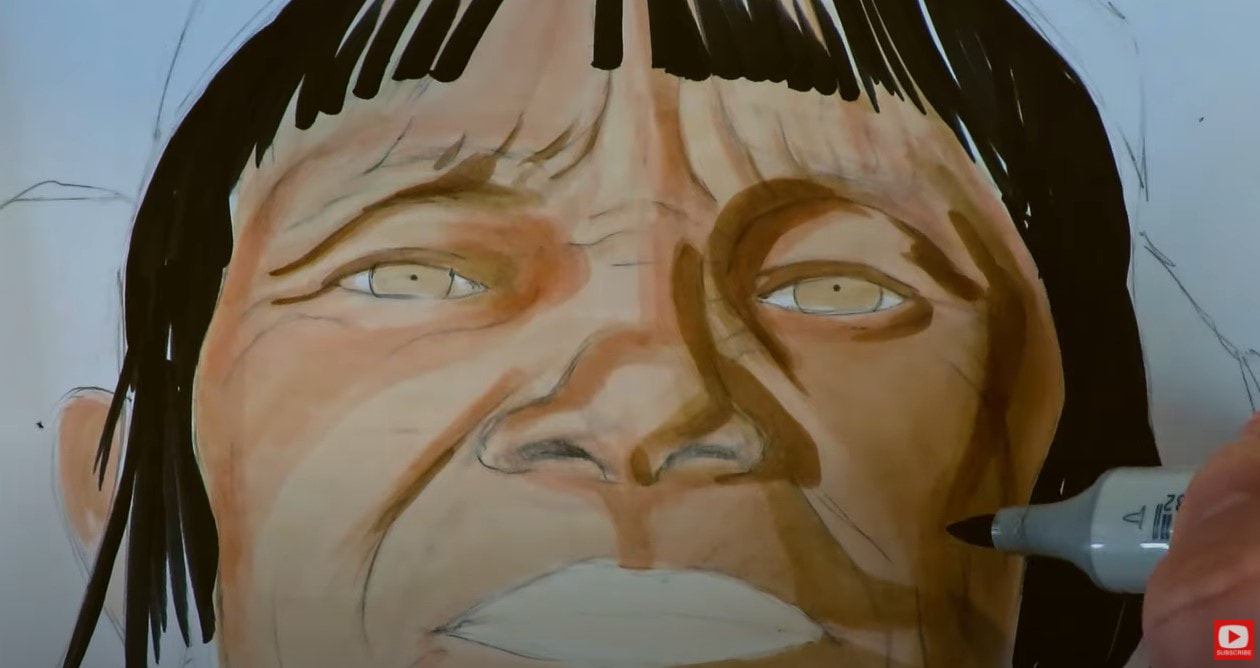
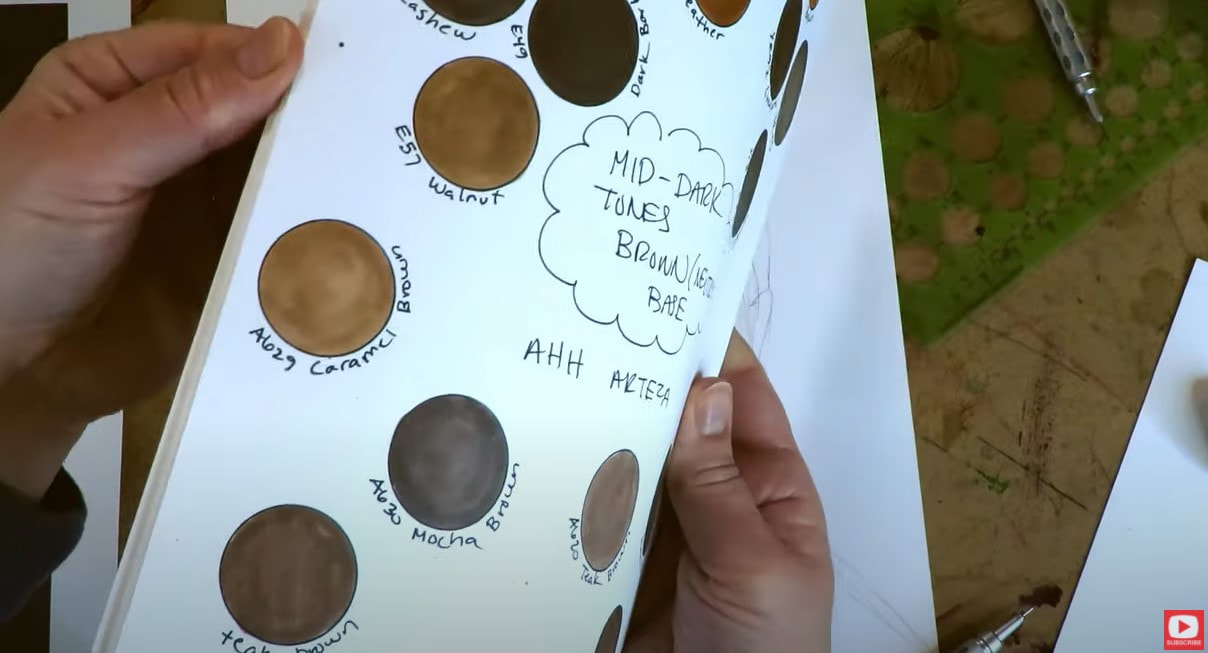
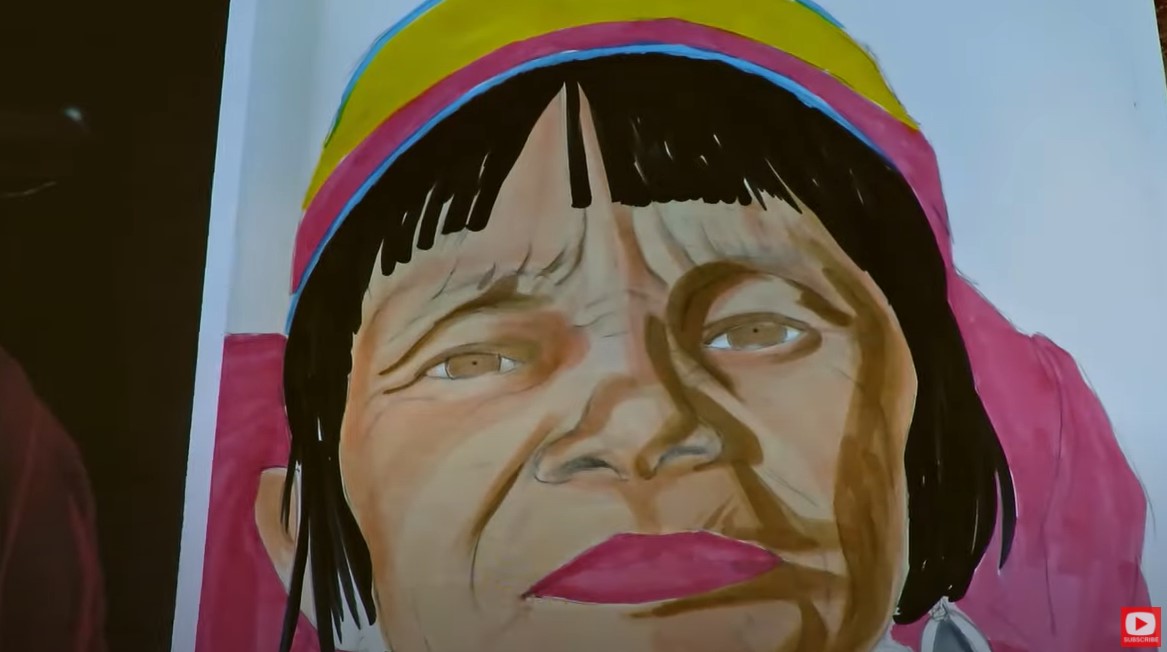
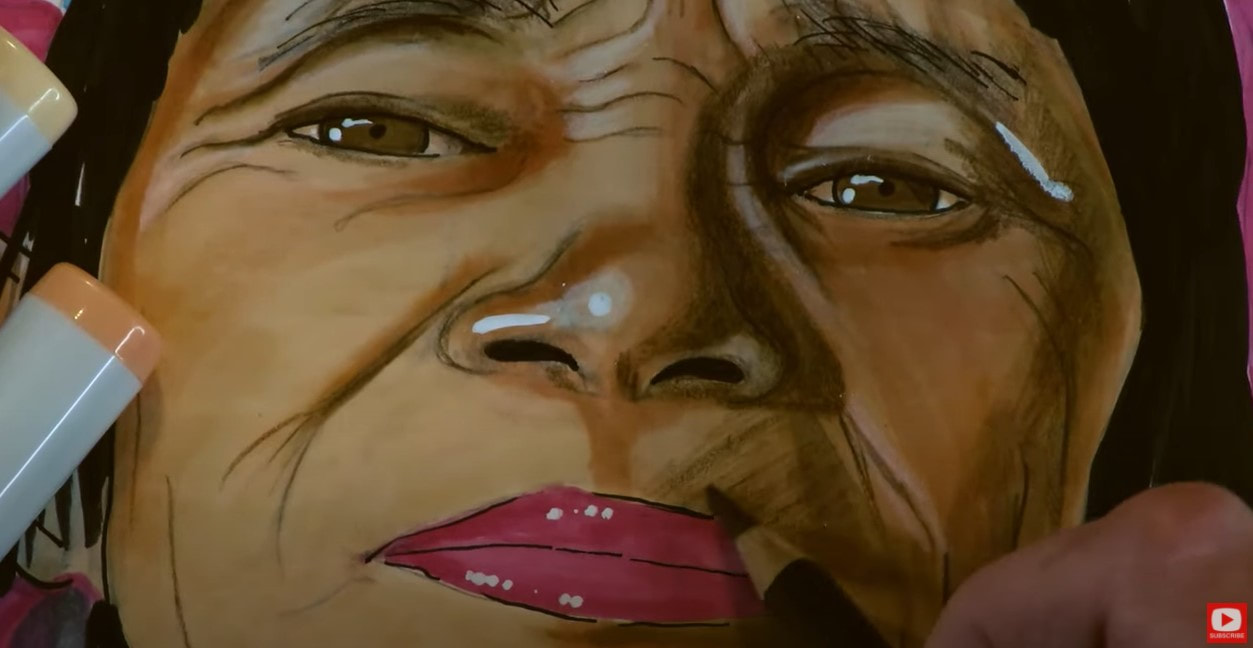
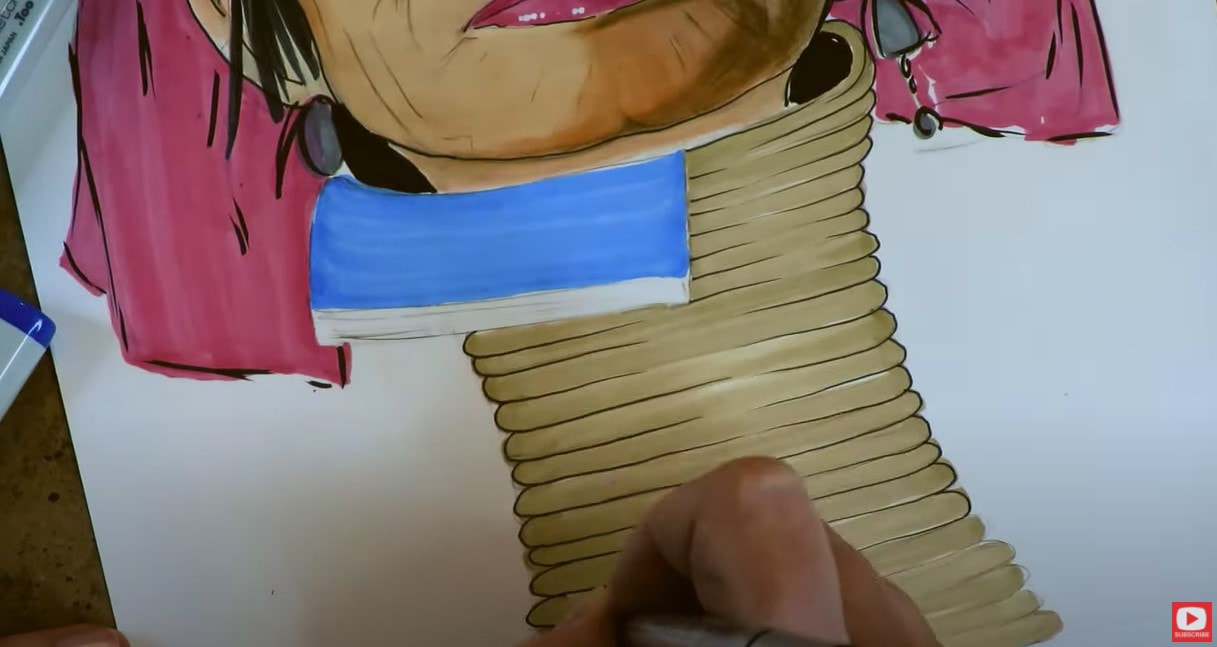
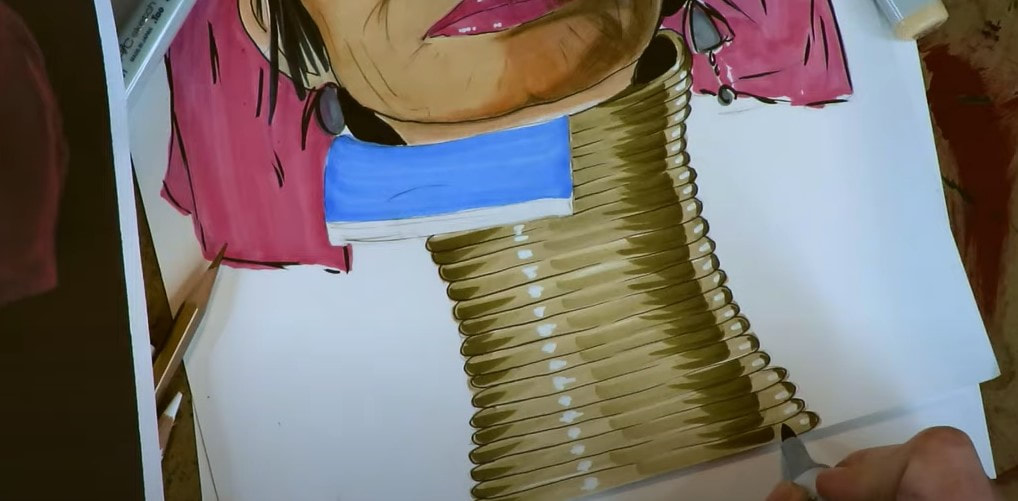
HOW to DRAW & SHADE a WHIMSICAL Padaung Woman's Face with Wrinkles in Copics (Whimsical Women #15)18/1/2021 I LOVE teaching how to draw a whimsical face, and have been enjoying creating the whimsical face drawing tutorials in this series SO much! Today's art reference photo features a request I get all the time- how to draw wrinkles. When I saw this beautiful Padaung woman and began to study her features, I felt a deep connection with her and knew she needed to be a part of this series. I hope you enjoy today's whimsical face drawing tutorial! If you've been hanging out with me for the Whimsical Women of the World portrait drawing series on YouTube, you know how we start out each and every face we draw! No matter the ethnicity or gender - our human faces all follow the same basic face drawing guidelines. If you're not sure what I'm talking about, you NEED to download my Whimsical Face Drawing Guidelines for your art table! These guidelines are EVERYTHING, and will help your face drawings look more proportional! Click the button below and I'll send the cheatsheet directly to your inbox! The woman in today's reference photo presents us with quite a few unique drawing challenges! If you're drawing along with me (AND I HOPE YOU ARE!!!!), you'll notice this woman's head is tilted slightly and her nose is actually quite short, so it will feel like her facial features are a bit off from our face drawing guidelines. It's ok! Sketch in your guidelines like we always do, then study the reference photo and adjust accordingly. As you'll see in the video, I had to do a lot of checking, rechecking and erasing to get things the way I wanted them. AND full transparency - I had ZERO idea how to draw the brass rings around her neck! So while I sketched in her facial features, I tried to do a little problem solving in my mind about how I would attack that area of the drawing, and later - how I might want to approach the coloring portion of the project. In case you're wondering where this particular model is from - she's from the Padaung tribe in Burma- where the cultural tradition for Padaung women of wearing brass rings around the neck is still practiced by some today. Some say this is rooted in religion, some say it was and still is a defense against tiger attacks (which apparantly happen at the throat). Others have said the rings ward off men from other tribes because it makes these women "unattractive" and less appealing to kidnap and turn into slaves. Girls typically begin wearing the rings around age five. These women have been called "giraffe women," because of their stretched necks, but their necks actually haven't been stretched at all. It's an illusion. The pressure and weight of the rings press down on their collarbones and actually shift the rib cage's position so this area of the body becomes deformed, giving the appearnace of an elongated neck. OUCH, that sounds painful!! I can't even imagine... If this is drawing project is feeling too advanced for you - hang in there. She's tough. If you need something simpler, start at the beginning of the series and work up to this one. If you're completely new to face drawing- this short playlist will be more your speed and will teach you how to draw and shade a very simple whimsical face in pencil. One of the main facial features that attracted me to this reference photo is based on a drawing lesson request I get all the time - how to draw wrinkles, or an older mature face... The trick to drawing wrinkles is to just DRAW THEM! That's it. They're kind of like their own independent facial feature that you have to observe and try replicating on your paper. Study your reference photo to look for the extra lines, and draw what you see. What can make drawing wrinkles extra challenging, is that every wrinkle has a highlight AND a shadow that goes with it! So the tricky part is not only getting them drawn in - but shading them realistically as well! This is an excellent example of where drawing becomes an art of observation. If you feel like you want a copy or the real time lesson for this or any of the projects in the Whimsical Women of the World series, the stand alone classroom is available at Awesome Art School. If you'd just like the reference photo and do not need the real time drawing lesson, you can find them in my YouTube & Cheatsheet Library. Feel free to use MY drawing here and in the video as your reference as well. I know this project, and many of the drawing projects in this series feel much more realistic and not how I typically define my "whimsical style." But I kept the word in this series on purpose because it serves as a reminder that each and every drawing project doesn't have to be perfect! It removes some of the pressure that drawing realistically can impose on us. You don't have to be a perfectionist, you can approximate things and take artistic liberties if you call your piece "whimsical" versus "realistic." EMBRACE the freedom of NOT being perfect. Try your best to replicate what you see, but don't get into a tizzy if it doesn't work out. Do your best, HAVE FUN with it, and move on. As I mentioned, every wrinkle has it's own highlight and shadow going on. If you're trying to add more realism to your shading, you really need to pay attention to where the shadows lie. Are they on the right or left side of the wrinkles you're observing? That's where your darker shading needs to go- in every intricate crease. These details will give your work more depth. If you're new to shading with alcohol markers, I know there are SO many skin tones and SO many brands out there, it can really be overwhelming when you're first getting started, and/or have a limited budget to spend on art supplies. Personally, I love shading with copic markers because of their juicy, brush nib. It feels like a paintbrush to me! But at around $9/marker, they're totally out of reach for most of us. I've been collecting them little by little for a LONG TIME! A really great copic marker alternative brand is Ohuhu. Their markers are surprisingly juicy for the cost and have a brush nib very similar to the one I'm in love with from my Copics. If you'd like some tips about what skin tone markers go well together, I've recently created a HUGE cheatsheet to help you out!! I say "cheatsheet," but it's really a little book, because this PDF is 12 pages of detailed color swatching!!! Click the button below and I'll sent that straight to your inbox! You'll find recommendations as to which skin tone markers work well for light, medium, and dark complexions across three different alcohol marker brands (Copic, Ohuhu, and Arteza). It's really quite comprehensive, so even if you're not a total newbie to working with alcohol markers - there are still some gems in here for you that you may not have thought of before! As you'll see in the video, there are so many layers of shading happening in the face with my alcohol markers. For these projects, my shading is about 95% alcohol markers, with a bit of colored pencil and white paint pen on top to help bring each drawing to life. HOT TIP: I found a really sharp tip to be helpful for wrinkle definition when I got to the colored pencil portion of this project. Make sure you watch the video to really get a feel for where both the shadows and highlights go to help the wrinkles pop. I don't know about you, but sometimes I can get inside my own head with a project too much. For this one, there were some shadow shapes that weren't making sense to me and I had to just tell myself to quiet these thoughts and JUST DRAW. It doesn't have to make sense. Just draw what you see and turn that critical side of your brain off for a bit. This can be a really powerful mindset shift, and it will show in your work. Even when I started shading the brass rings, I still had no idea how I was going to capture them because I've never drawn anything like this in my whole life. I had no idea how the piece was all going to come together, but I just started shading, and kept pushing forward- trying to quiet the doubts in my mind while I tried a variety of techniques to help me replicate what I was seeing in the reference. Don't think just because I'm a teacher, I always have a plan and know what I'm doing. I don't! I'm always learning, always trying new things, and doing a series like this pushes me to try even more! I hope it pushes you too!! If you need any new drawing supplies, here are links to all of my favorite supplies that were used in this project! All product links are Affiliate. I may earn a small commission if you choose to order through these links but by law there is never any additional cost to the consumer for doing so. I thank you for your support!
👉Hammermill Cover Cardstock 100lb 8.5" x 11" (fave to use with markers and best value at 4-8 cents per sheet and 250 sheets!!) 👉This Arteza pencil set is a new find and a GOOD one!! 👉Pentel GraphGear Mechanical Pencil Set (only ones I use) 👉Ohuhu Markers 24 piece skin tone set (Around $1/marker and with the brush nib, the best alternative to Copics in my opinion!) 👉Copic Skin Tone Pack of 6 ($33) 👉Copic B Set (my fave which has the most skin tones) (72 Set for $330) 👉Arteza Everblend Skin Pack of 36 ($36 - insane value!!!) 👉Arteza EverBlend Alcohol Markers (60 Set for $112 - also insane value!!) ❤️ Want FREE, immediate access to my Fun Fab Drawing Club and/or Mixed Media Society plus discounts on all my art books, sneak peek at YouTube videos and new book content, behind-the-scenes fun and MORE? Join me over on Patreon today and get HUGE PERKS in return for a small monthly donation. ❤️ CHECK OUT ALL my art books on AMAZON (available in both Kindle and Paperback) ❤️ SIGNED COPIES of my art books on ETSY ❤️ MY FAVORITE ART SUPPLIES on AMAZON ❤️ MY BELOVED FACEBOOK GROUP ❤️ FOLLOW ME ON INSTAGRAM ❤️ FOLLOW ME ON FACEBOOK
0 Comments
|
Karen CampbellFounder of Awesome Art School. Mixed Media Artist. Author of 18 Instructional Art Books! Archives
September 2023
Categories
All
|
"Karen is flipping hilarious and she's very real...I like the way she teaches in a way that really gives you confidence, whether you're a beginner or advanced there's always something new to learn!"
- Elizabeth W. |
What Fans Are SayingKaren, you are absolutely fabulous! You make me feel like I can draw anything. I have recently retired and finally have the time to do some of the art that I have loved since I was in school. I am really at the beginning of my art journey and I hope to learn as much as I can. Thank you for all you do. |
Contact ME |