|
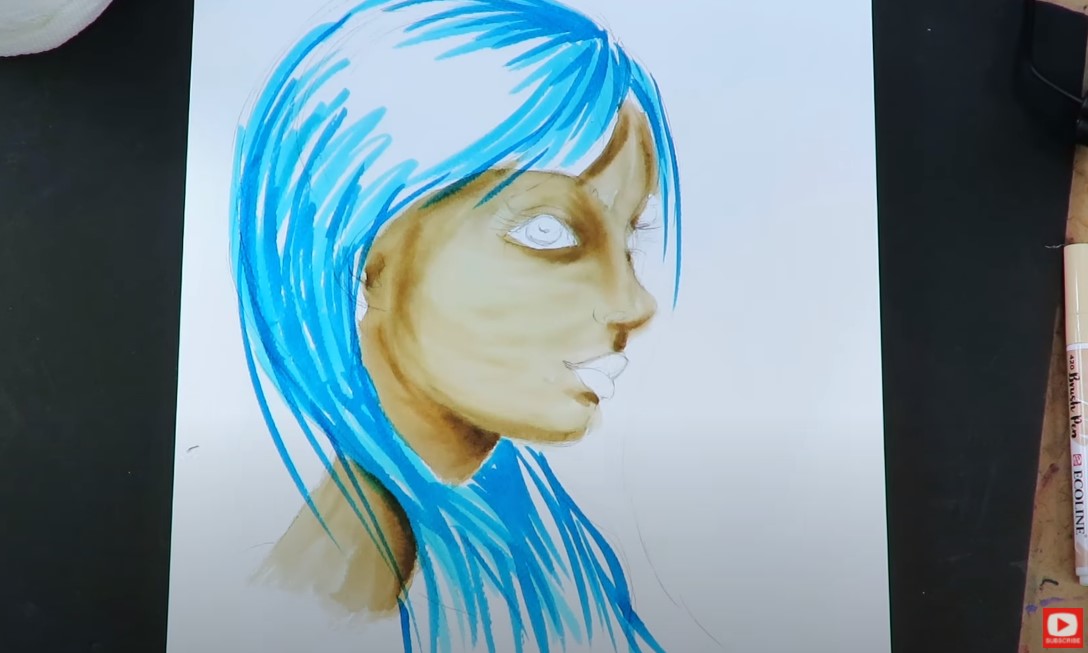
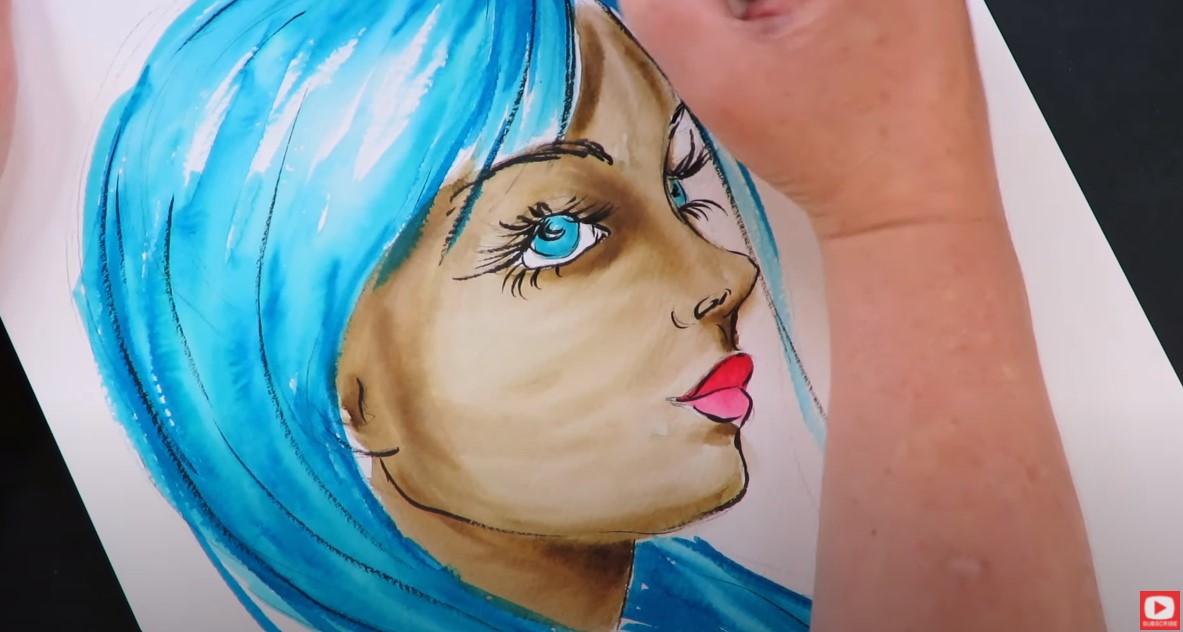
I've never used ecoline brush pens for a full project before, so today's the day! I was really interested to see how they compare to my beloved Tombow brush pens and Winsor Newton watercolor markers because I LOVE doing brush pen drawings and paintings in my signature mixed media style. Click over to the video to see the demo, brush pen comparison, and my thoughts as I work with Ecolines in real time to create this fun mixed media portrait in 3/4 view. Before we continue, super quick announcement: All product links are Affiliate. I may earn a small commission if you choose to order through these links but by law there is never any additional cost to the consumer for doing so. I thank you for your support! 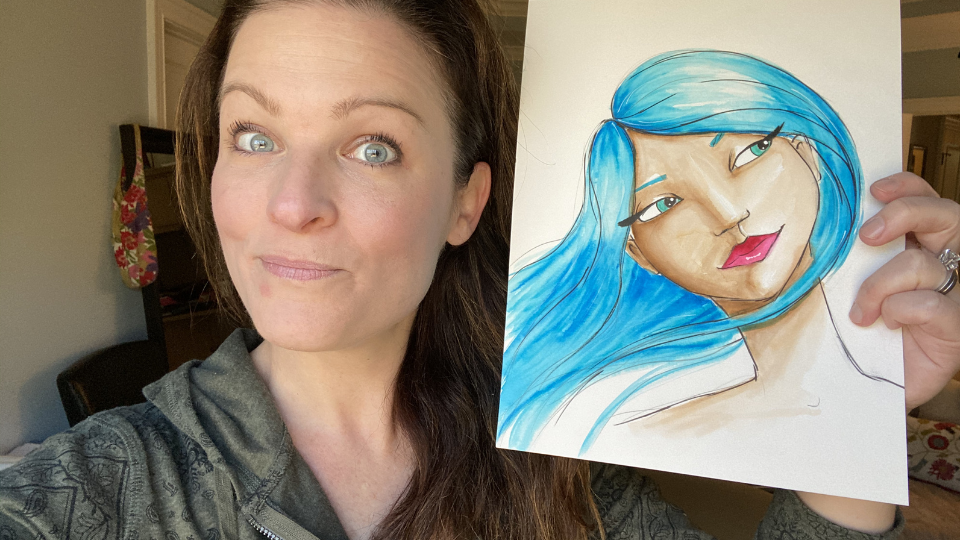
I typically create brush pen drawings and end up adding water to them with a paint brush or water brush because I love the effects you can get. They look so much like watercolor, and are WAY cheaper to work with!
If you're someone who feels a little intimidated by working with a paint brush, you might enjoy the control of working with brush pens and working your way up to adding water. You can also use them completely dry, like a regular marker, and not add water if you want!
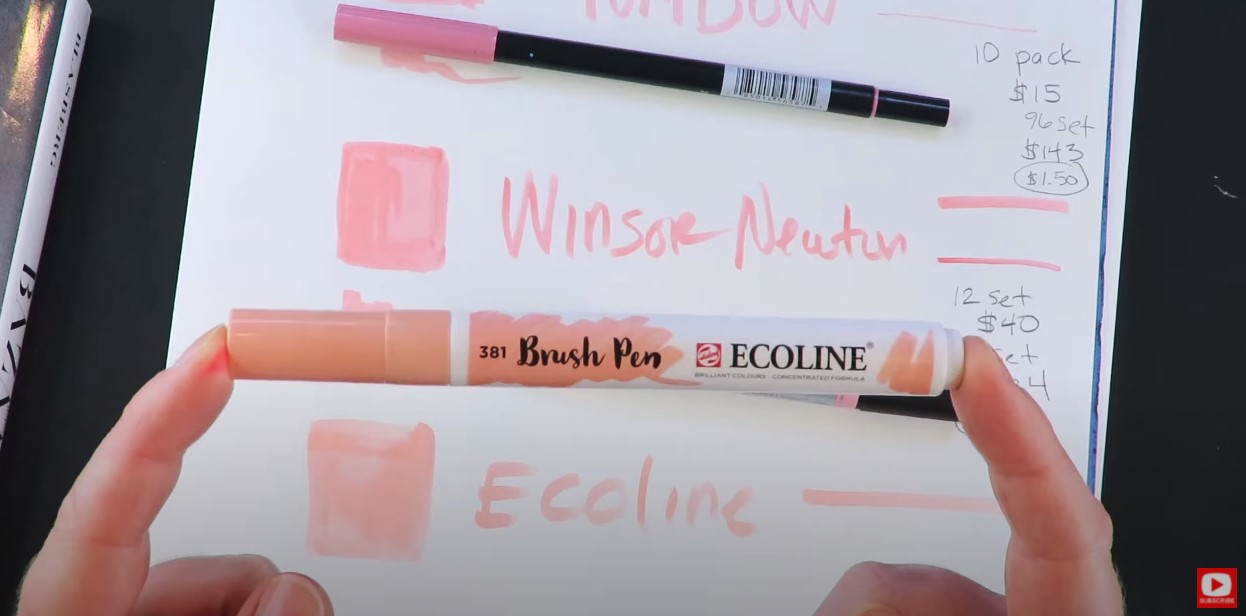
As you'll see in the video- I'm comparing the Ecolines to 3 others brands: Arteza, Tombow, and Winsor Newton.
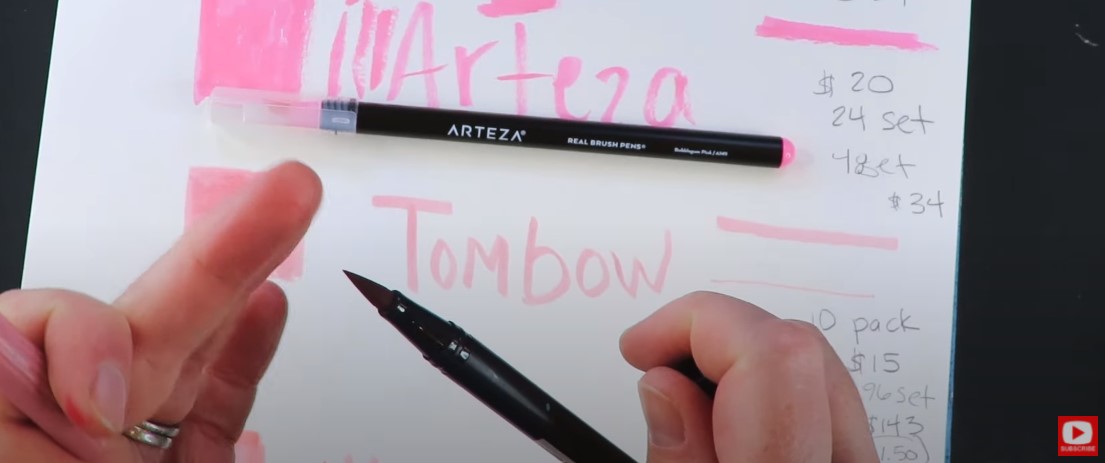
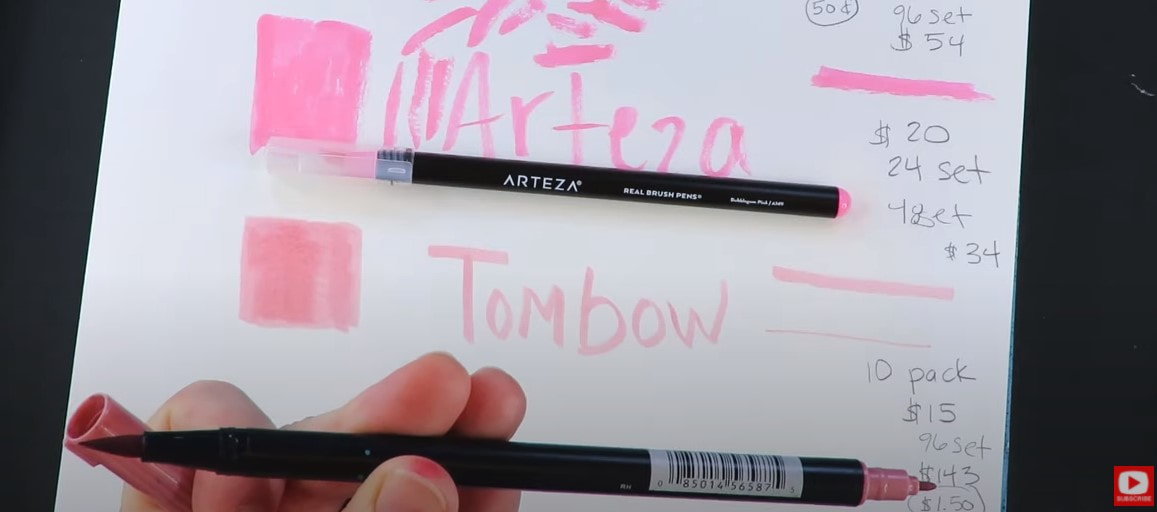
The Arteza brush pens are a bit different because they're the only one in this product mix with a brush nib that is actually like a paint brush with individual hairs at the tip.
While this is really cool - it actually makes coloring much more difficult because they're not super juicy. The Arteza brush pens also have a hard barrel which means you can't squeeze them to get more color flowing.
As you can see in the pic above, the individual hairs will separate while you're coloring, so the coverage isn't amazing. The one bonus is - this set is way cheaper than the others, so if you don't mind working a bit harder to get the coverage you want, you can get 96 colors for around $54 (or just 50 cents/marker).
When I pick up the Tombow brush pen in one hand and the Arteza in the other hand, I can definitely feel a difference in weight. Tombows are super juicy, so I'm guessing that weight difference is more ink in the barrel.
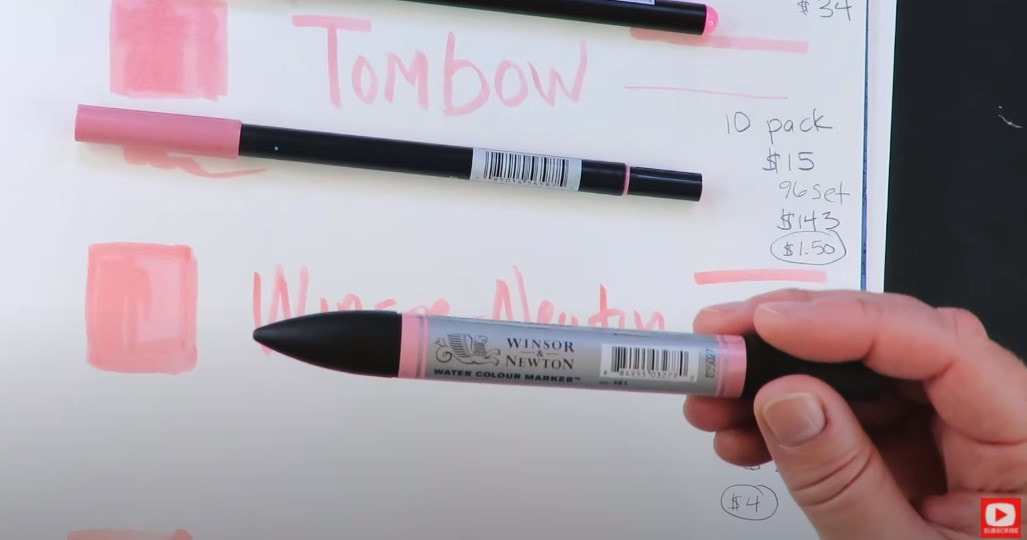
Tombows also have TWO nibs in each marker: the brush nib, and the bullet for helping you get into teeny, tiny spaces. Tombow has a set of 96 for around $146. You're definitely paying more per marker here, but I've actually never had one run out on me yet, so you can be confident these will last you quite a while!!
Tombows are definitely my fave when I'm doing art journal pages because they're so easy to take on the road if I want to art while I'm on vacation, or whatever. I even used to take them to carpool and do art in my car while waiting for the boys to get out of school!!
The only downside about Tombows is they're not lightfast, so if you want to make something that's never gonna fade, and will last forever, this may not be the brush pen for you! The same is true for the other lower priced brush pens we're looking at today (Arteza and Ecoline).
HOT TIP: If you are on a budget and need to buy the lower priced brush pens, take a photo (or photocopy, scan, etc.) to preserve your art before the color begins to fade. Remember, it will fade much quicker if you hang it up in direct sunlight.
Winsor Newton watercolor markers are my top fave in terms of quality. The pigment is gorgeous and lightfast, so it will not fade because they're considered a fine art product.
Like the Tombows, these have both the bullet and brush nibs in each marker, and they're gonna last you forever. They also "move" the most when you add water to them, so they're not just watersoluble, they really FEEL like watercolor. The downside of Winsor Newtons is they don't come in nearly as many colors, and being a fine art product, they're more expensive. The cheapest you can get them is around $4/each, but their quality is outstanding.
What I'm playing with for today's mixed media portrait tutorial are the Ecoline Brush Pens. They're NOT lightfast, but are super fun to play with, and easy on your budget at about $2/marker when you buy a set of 30 for $60.
They have a bunch of skin tone shades, which is what attracted me to them, so of course I had to check these out for you to let ya know if I think they're worth it! The Ecolines have a smaller nib than the others I tested them against today, but I definitely don't hold that against them because they're nice and juicy. Click over to the video to see how each marker compares when activated with water and come do this tutorial with me in REAL TIME!
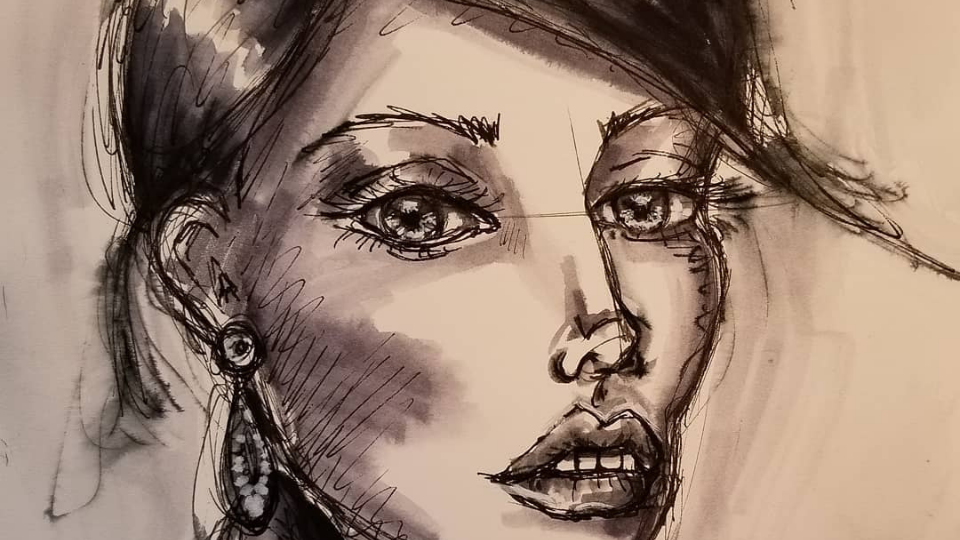
Today's watercolor marker tutorial is of a face in 3/4 view. A portrait in three quarter view is one of the hardest face angles to draw, so if you're new to drawing faces, or feel you need some tips to get you started - I've got a cheatsheet for that!
Simply click the button below, and I'll send you my face drawing guidelines for how to draw a 3/4 view portrait.
If you are totally new to drawing faces, and interested in learning, I recommend the following playlists for you (in order):
1. How to Draw & Shade a Forward Facing Face 2. Side Profile Drawing 3. 3/4 View Face All of the above playlists have cheatsheets to help beginners and step by step face drawing tutorials to help you. Back to today's tutorial...
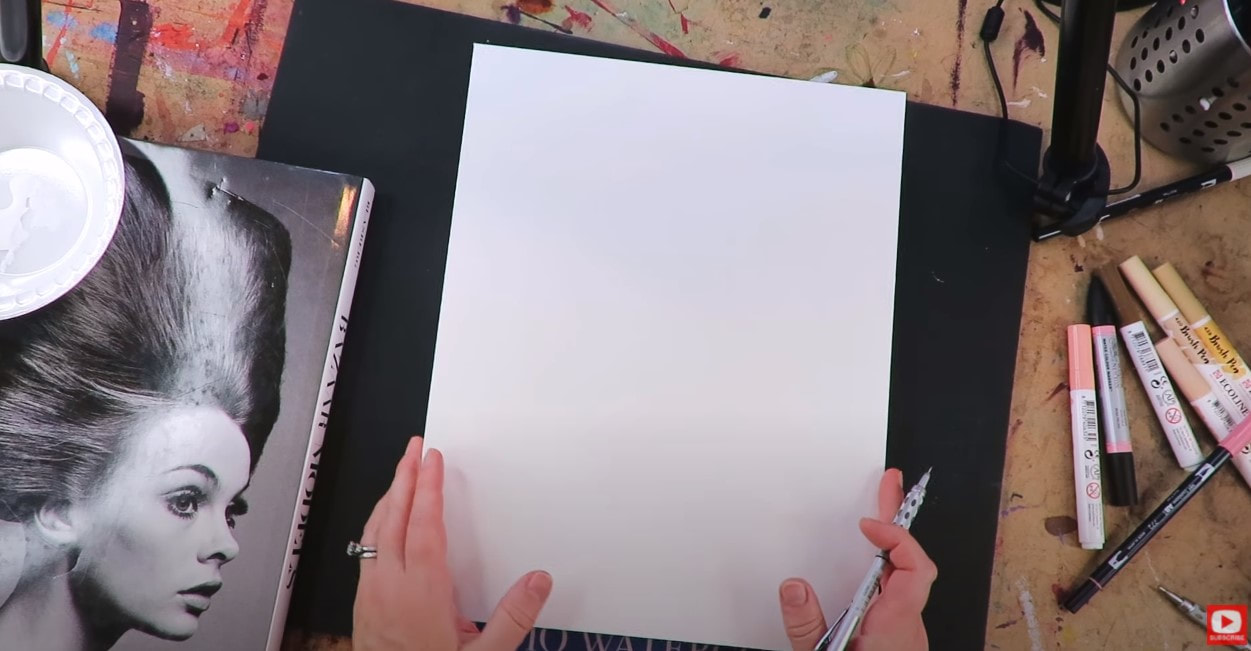
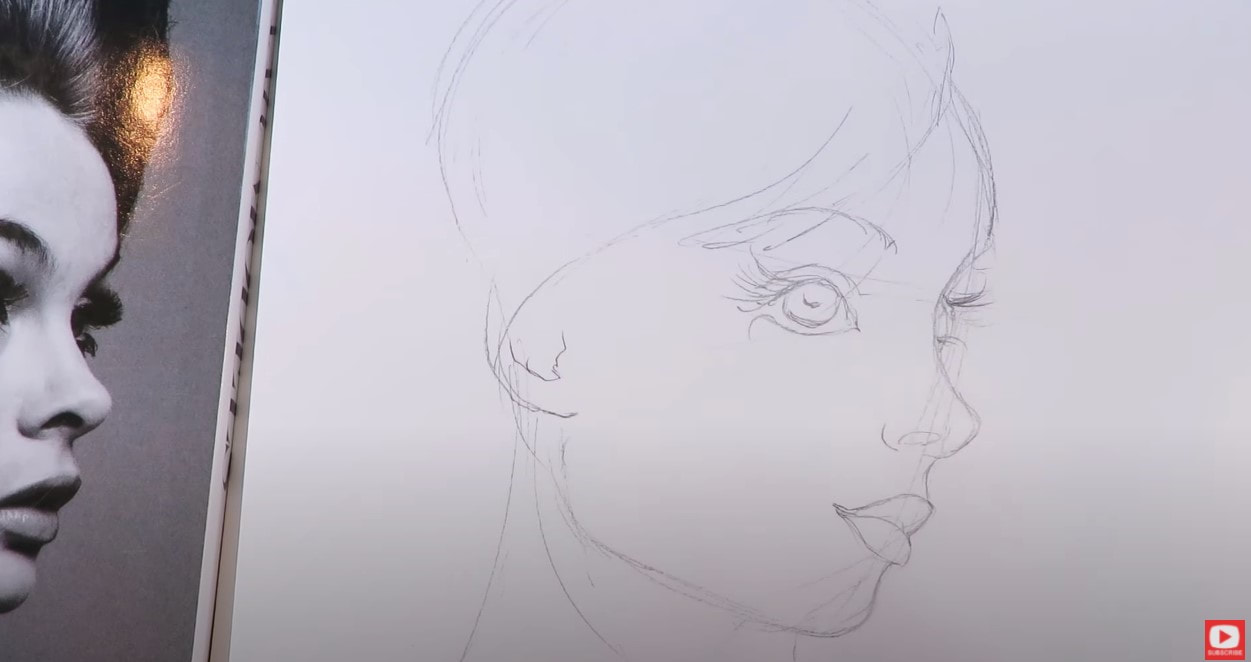
I'm not being too fussy with my face sketch today because I really want to get to the coloring portion of the project!
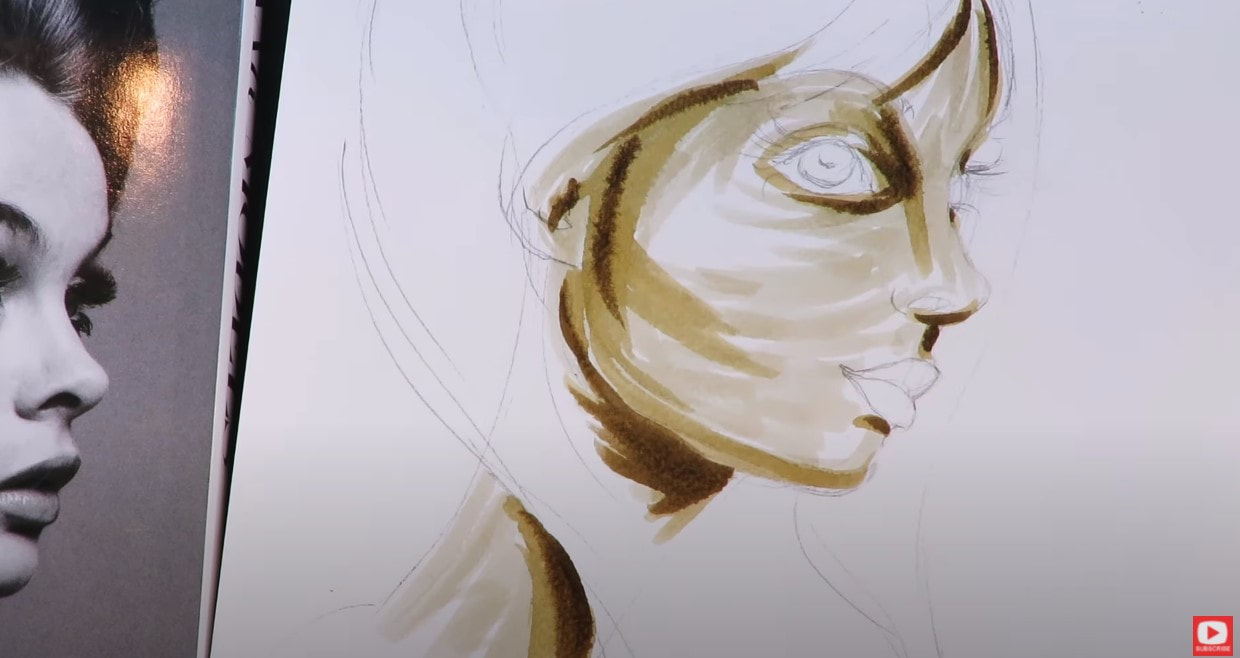
After my face was sketched in, I selected 3 Ecoline marker shades that went well together to create light, medium, and dark skin tones. I tried using the same technique I do when shading with Tombows. I add streaks of light, medium, dark - then activate with water to blend.
I leave things streaky on purpose because that typically blends right out with water - at least that's my experience with Tombows. When I added water with my paint brush to the Ecoline pigment, I felt like the skin tones blended pretty well, but the blues I used for her hair were much juicier and a bit easier to activate with water. Not sure why!!
I don't have any black brush pens in my Ecoline set, so I incorporated my pentel pocket brush to start adding in detail (especially when drawing eyelashes!)
If you have questions about the pentel pocket brush, I've got two different videos on it - one about how to draw eyelashes on mixed media portraits on my mixed media YouTube channel, and one on my drawing channel.
Make sure you click over to the video to find out my FULL opinion on whether or not I think Ecolines a great addition to your art supply stash!
Thanks for hanging out with me today!! ❤️ CHECK OUT ALL my art books on AMAZON ❤️ MY FAVORITE ART SUPPLIES on AMAZON ❤️ MY BELOVED FACEBOOK GROUP ❤️ FOLLOW ME ON INSTAGRAM
0 Comments
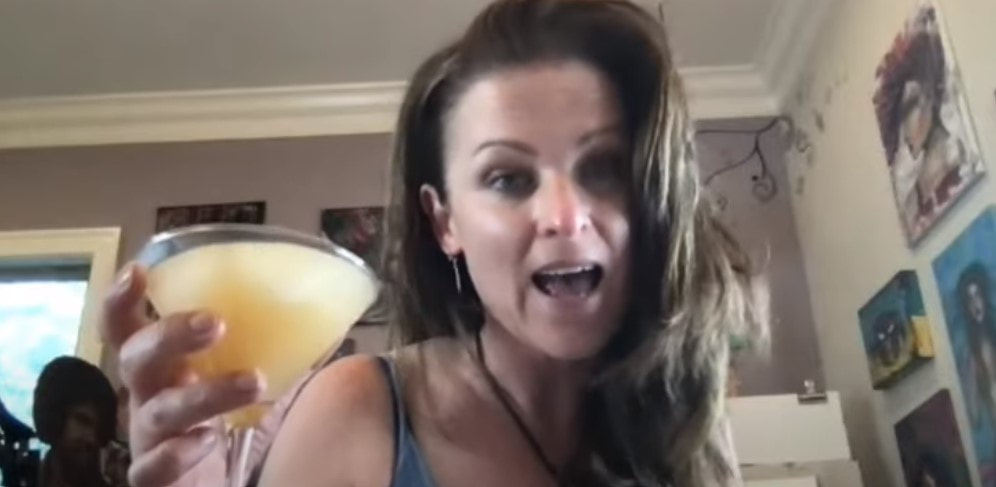
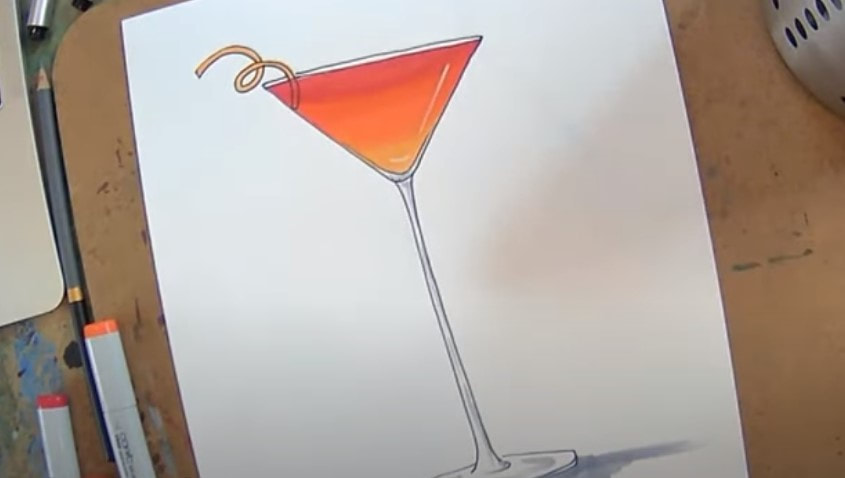
This martini glass drawing tutorial is SO fun & easy! Pour yourself a drink & come hang out with me for our own little draw & paint party. If you love art deco style already - you'll LOVE seeing a glimpse of the projects in my recently released trilogy of Learn to Draw Art Deco Style books. Then, I'll show you how to draw a martini glass and shade it 2 different ways- once using Noodler's Ink (it's basically like watercoloring!), and the other using my favorite alcohol markers (copics)!!
Before we continue, super quick announcement: All product links are Affiliate. I may earn a small commission if you choose to order through these links but by law there is never any additional cost to the consumer for doing so. I thank you for your support!
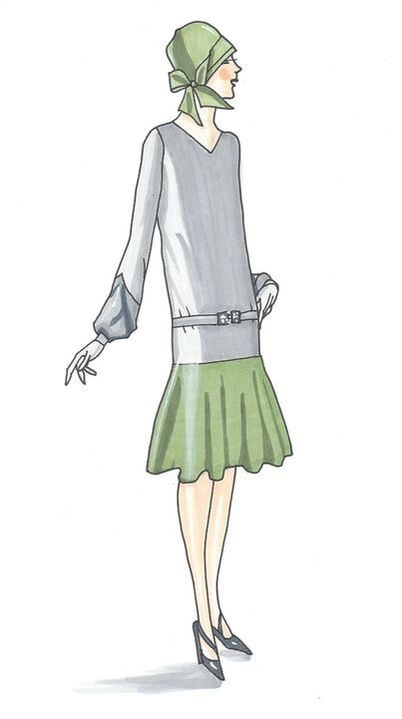
In 2020, I went down a serious 1920s -1930s / art deco rabbit hole just for me. I fell in love with the styles and just had a blast getting into the fashion, figures, hats, shoes, jewelry, furniture, pets, men, cars and cocktails of that era!
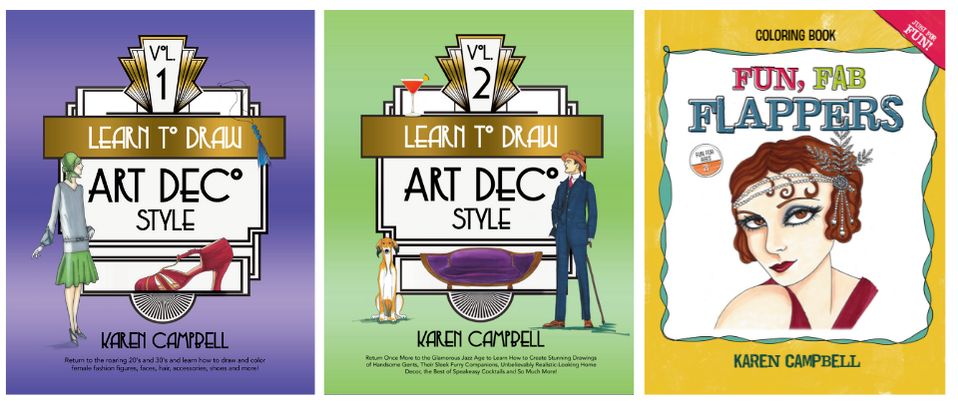
During that time period I published not one, but THREE Art Deco Drawing books (1, 2, 3).
What's fun about these books is I do have a lot of FREE videos on YouTube to accompany the book, so if you've ordered a book and see a little film icon in the corner- make sure you check that link out because there is a video lesson you can play while you work your way through lessons in the book.
I used a lot of watercolor, alcohol markers, and fountain pen inks. In each of these books you'll even find a few fun facts about this time in history because I'm a bit of a vintage history nerd! And when I look stuff up, I've gotta share!! I love everything OLD!
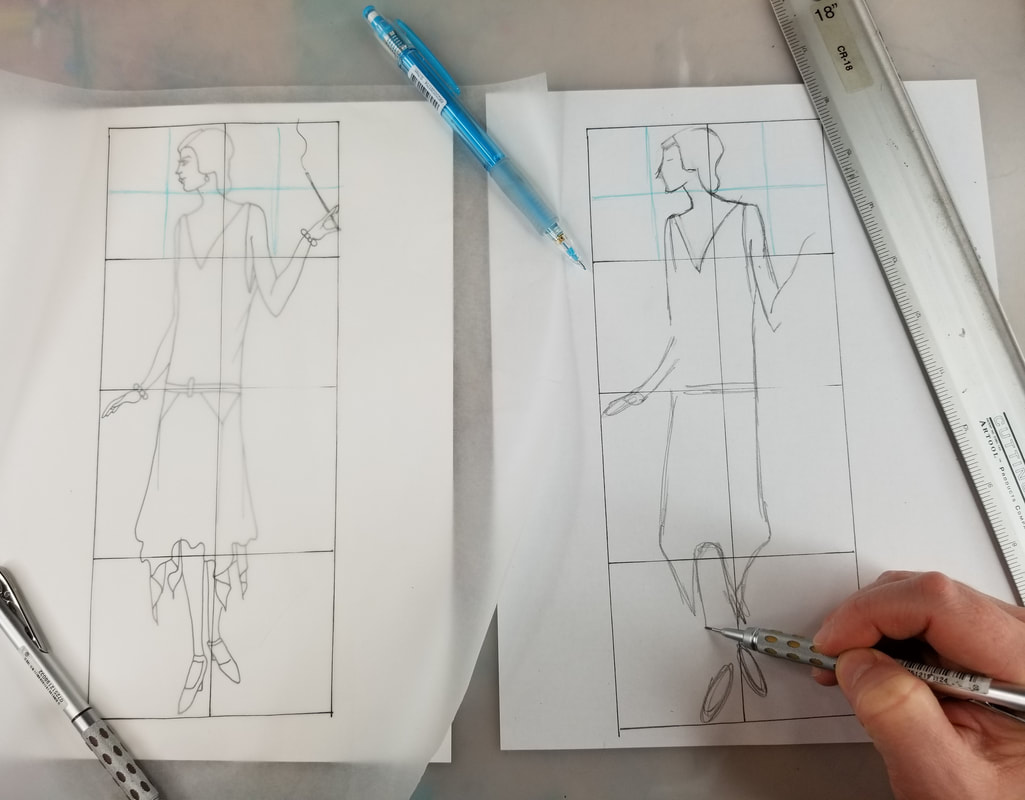
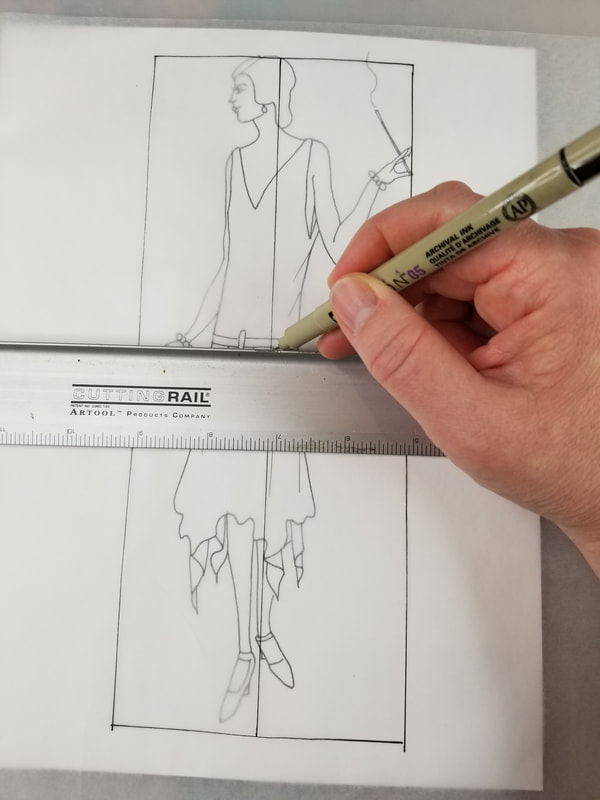
Volume #1 is super "girly" with lots of fashion, shoes and jewelry. In this book I go in depth about how to use my Quadrant Method for drawing figures too, so if you've been wondering how to draw figures easily - this is a great way for beginners to get started!
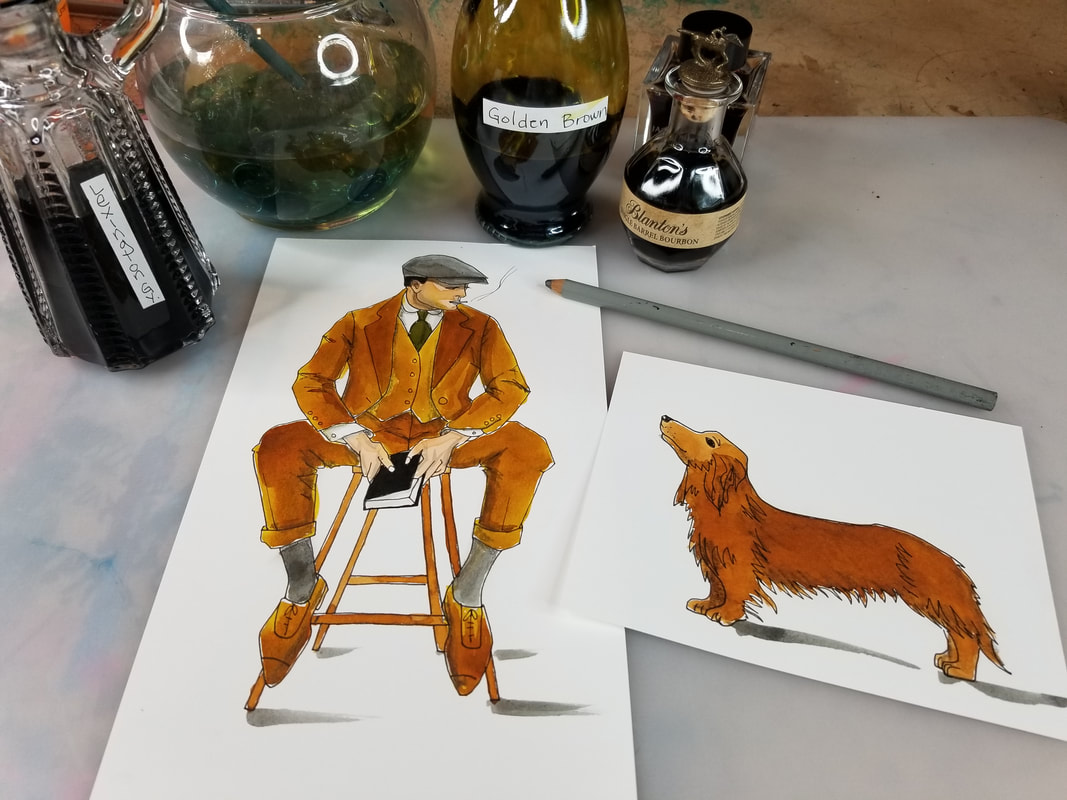
In my second volume, I'll teach you how to draw male figures as well as popular dogs and cats from the Art Deco era. If you're not sure how to draw a dog or how to draw a cat, I teach you how to use my Quadrant Method for this as well. It's SUPER easy!!
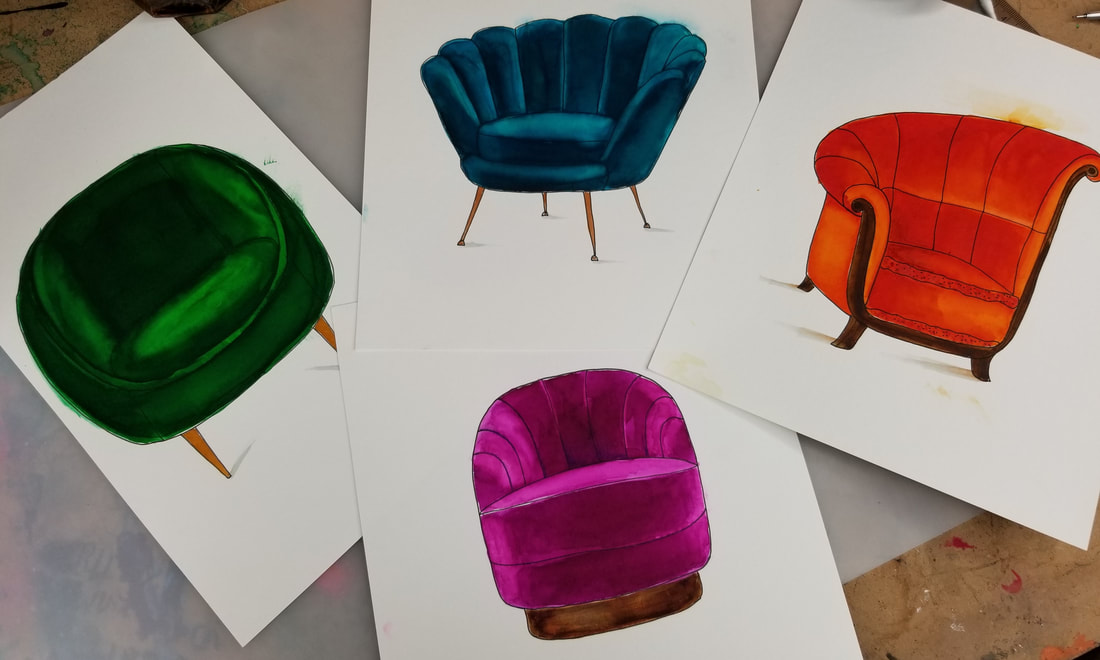
Art deco furniture was GORGEOUS, so you'll find quite a few fun pieces in this volume as well. If you've been following me for a while, you may already know I've got an obsession of painting with fountain pen inks!
I find fountain pen ink to be even MORE vibrant than my favorite Daniel Smith watercolors, and I love to just dip my watercolor brush straight into the bottle to get some serious pigment onto my paper.
When I was painting the Art Deco furniture projects for this book, I felt my fountain pen inks really made the velvet I was rendering look realistic! You kinda have to see it to believe it.
I wrapped up Volume #2 of Learn to Draw Art Deco style with a chapter on cars and cocktails from this era. It's really remarkable how realistic some of these drawings look!
You can totally achieve this too when you learn how to layer your art supplies properly. Even if you're a beginner- you can do this! I'll show you how and keep each project step by step, so even beginners just learning how to draw feel comfortable!
To dotoday's full length drawing tutorial with me - all you need is a sheet of watercolor paper (if you want to color your martini using a wet medium like watercolor), or a sheet of bristol, card stock, or marker paper if you'd like to shade your martini in alcohol markers.
Be sure to click over to the video to draw with me in real time (22:22). The drawing itself is fairly simple, so if you're a beginner interested in learning how to draw - this project is perfect for you!
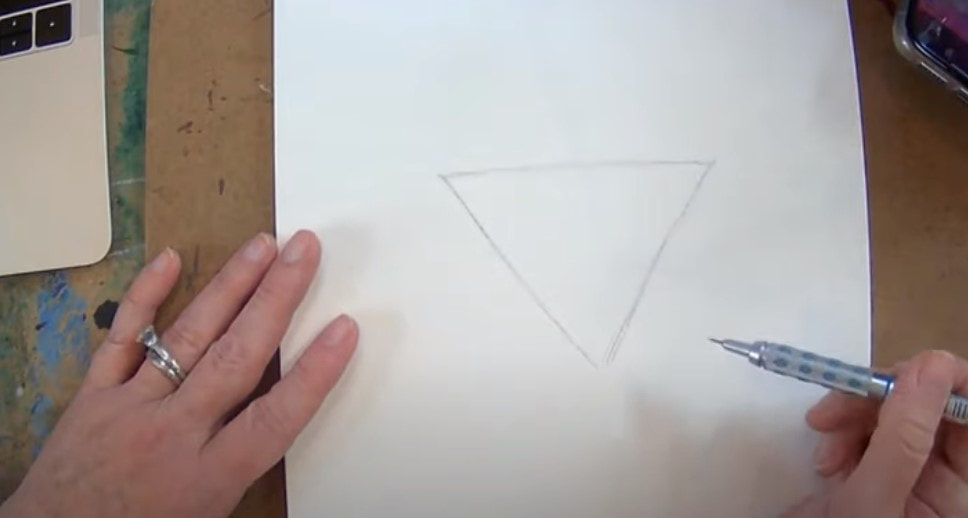
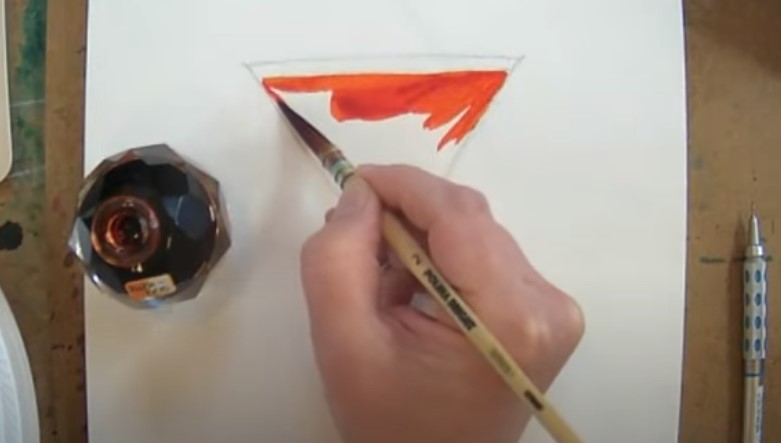
We're starting with an upsidedown triangle and adding a stem. Once everything is sketched in, I pulled out my Habannero Fountain Pen Ink and simply started coloring in the liquid for my martini. If you're not sure how to paint with fountain pen inks, just follow me. It's basically the same as using watercolors - just richer.
If you don't have any fountain pen ink, you can definitely use Dr. Martin's acrylic ink in a similar way or watercolors.
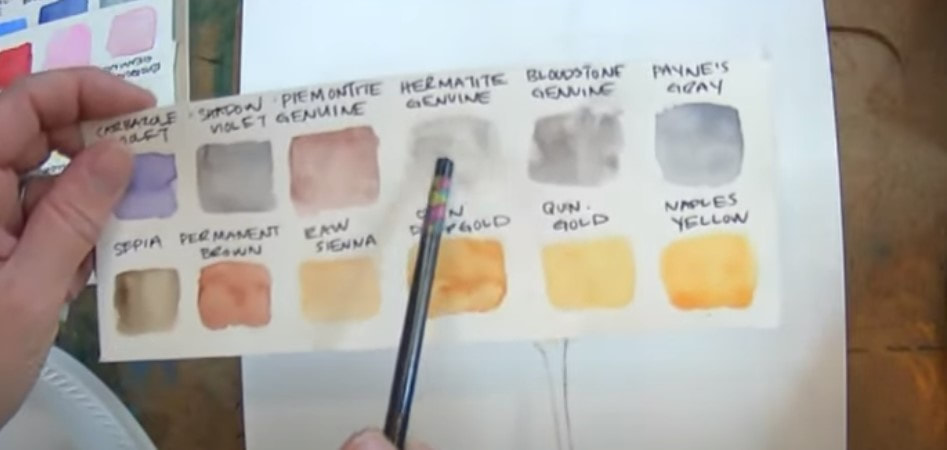
Click over to the video to see how I shade the stem of the glass. I often reach for my Daniel Smith Hermatite Genuine. This is a really soft gray. You can also just really water down some Bloodstone Genuine or Payne's Gray as well to paint a fine line down the stem of the glass.
If you'd like to see the same project done in alcohol markers while your ink painting is drying, click over to the video (42:00). If you enjoy the look of outlining in your work and are going to shade with alcohol markers, you can outline your glass before or after you shade.
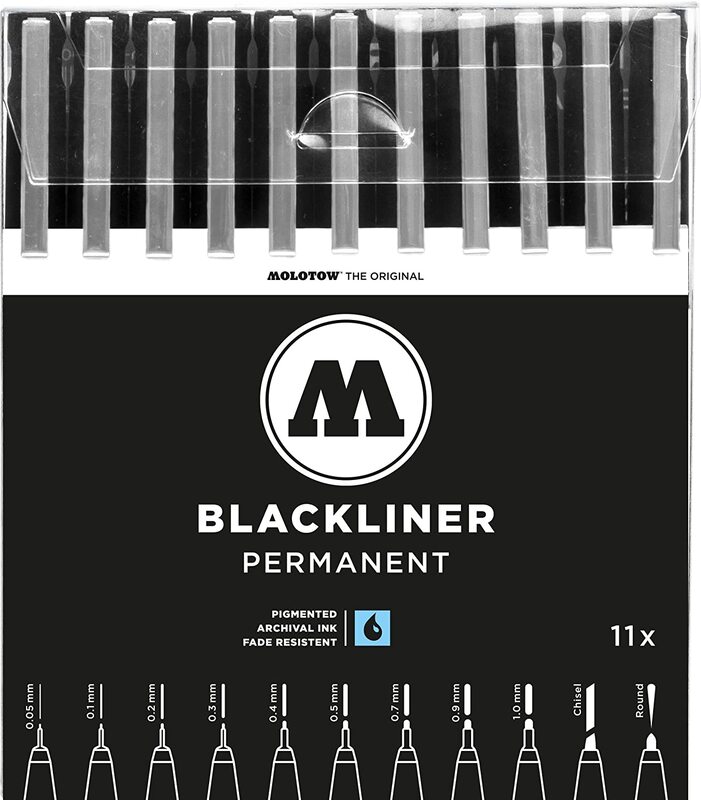
If you choose to outline first, make sure you're NOT working with an alcohol based fineliner because it will bleed. The fineliner should be pigment based or water based (warning: SHARPIES will bleed, so don't use these). Check out my Amazon Shop of favorite art supplies for drawing and mixed media. I recommend Moltows for outlining with copics or other alcohol markers.
Make sure you swatch your alcohol marker shades off to the side so you know ahead of time that they will blend well together. Before your start shading in marker, be sure to erase your graphite because your markers will drag that around and smear.
HOT TIP: To ease your shading transitions between marker shades, just keep on layering because each top layer rewets the bottom layers and helps them blend. You can also use your lightest of the three colors to blend, or work in a layer of colored pencil, followed by some highlights with a posca paint pen. Click over to this video for more tips on how to copic marker blending!
Make sure you click over to the video because I walk you through both versions of this project step by step!
Thanks for hanging out with me today!!
❤️ CHECK OUT ALL my art books on AMAZON ❤️ MY FAVORITE ART SUPPLIES on AMAZON ❤️ MY BELOVED FACEBOOK GROUP ❤️ FOLLOW ME ON INSTAGRAM
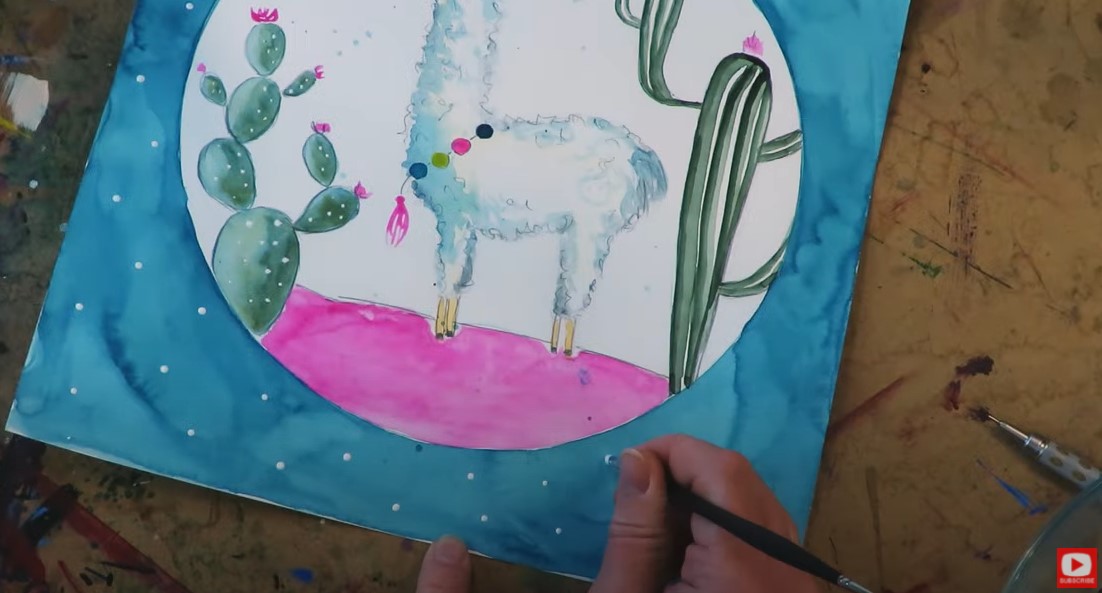
Today's llama watercolor tutorial was inspired by a pop socket! Inspiration can come from the wildest places, right?! I thought he was adorable & decided to challenge myself. I'm using my Daniel Smith watercolors, some Noodler's fountain pen ink, and a little gouache at the end. This one is simple, so even if you're a beginner ...come paint with me!!
Before we continue - super quick announcement! All product links below are Affiliate. I may earn a small commission if you choose to order through these links but by law there is never any additional cost to the consumer for doing so. I thank you for your support!
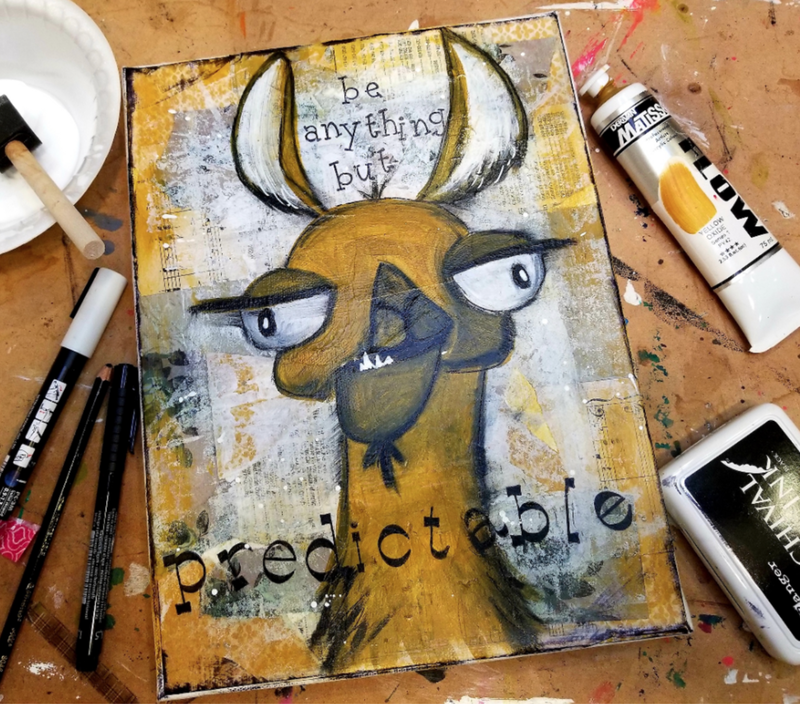
I get A LOT of requests for llamas from my students, and I've actually only ever done one - believe it or not!! He was done "hamburger style," with collage and acrylics.
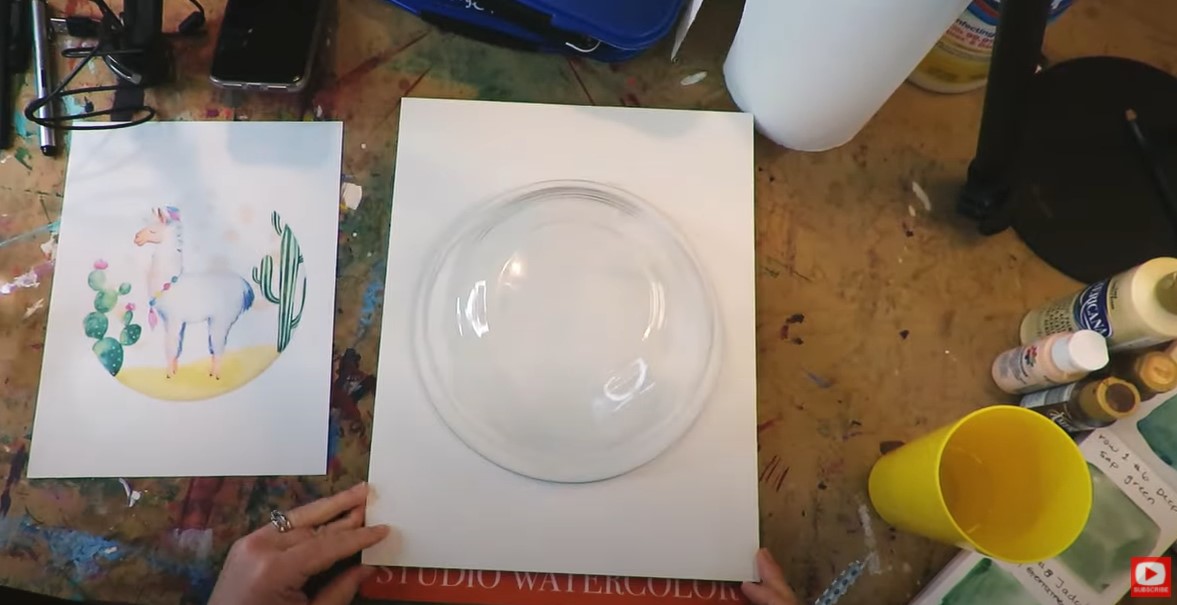
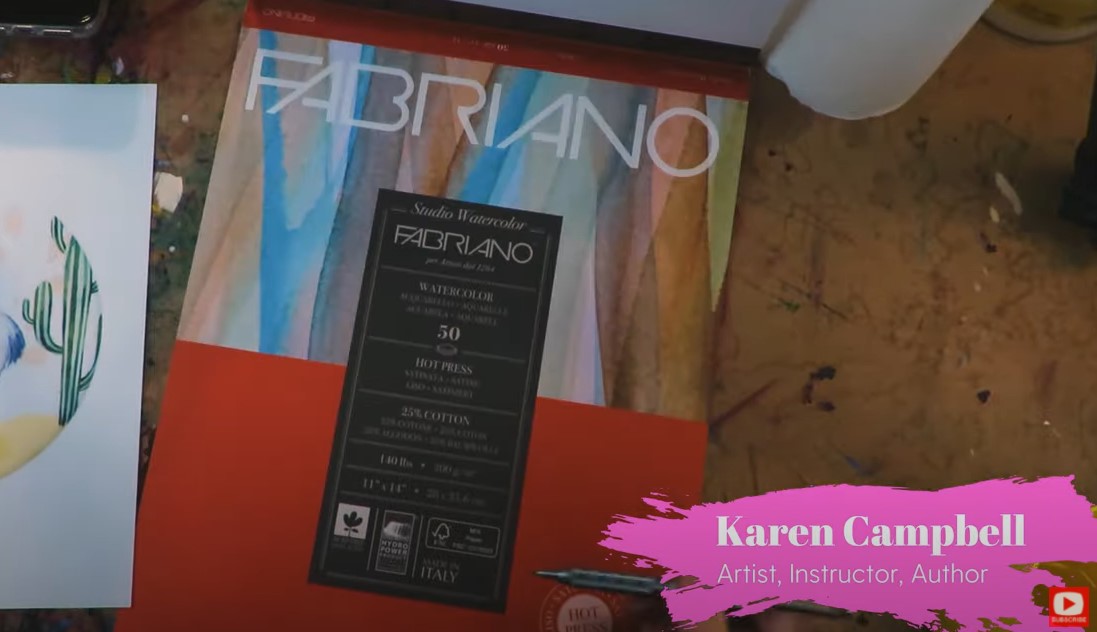
For today's watercolor llama tutorial, I'm using a single sheet of Fabriano cold pressed watercolor paper. When I want a single sheet of watercolor paper, I typically reach for cold pressed paper because I LOVE the texture. Cold pressed watercolor paper is "bumpy" and has a gorgeous texture under anything you do from watercolor to drawing.
Today I felt like doing something a bit different and selected a sheet of Fabriano hot pressed paper, which is SUPER smooth!
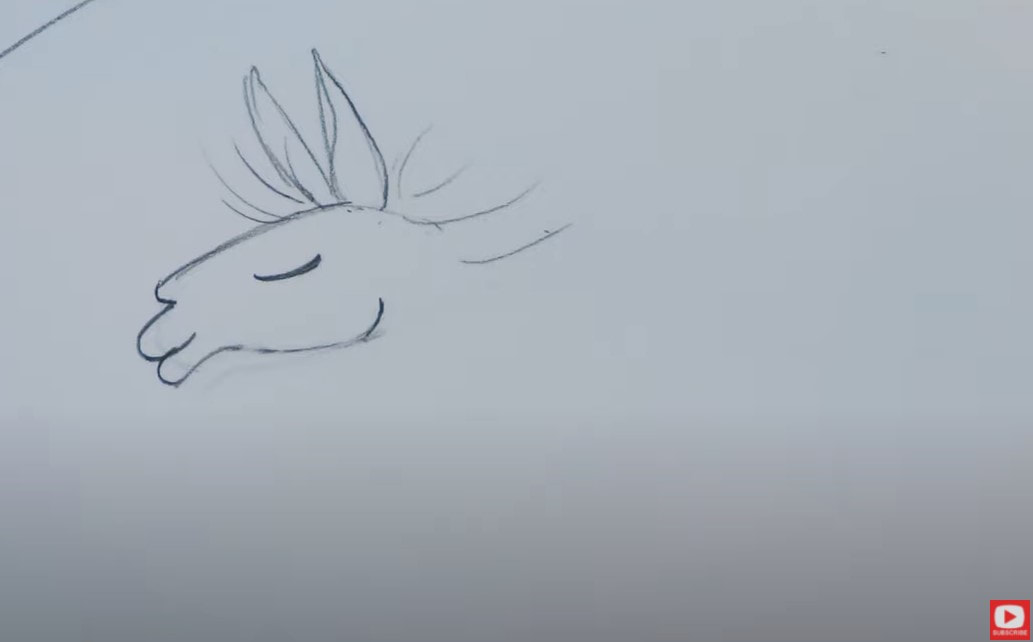
If you're interested in learning how to draw a llama, watercolor illustration or watercolor drawing ideas- this project is very simple.
I used my graph gear mechanical pencil to lay out the initial drawing, and later decided to stylize my lines with a wiggly/ whimsical look instead of keeping them firm and controlled.
Since this is a watercolor illustration project, I'm OF COURSE using my Daniel Smith watercolors. If you're new to Daniel Smith, here's more about why I'm obsessed with them, plus advice on how to start your first collection.
I also recently did a video on how to build a travel watercolor palette using Daniel Smith watercolors. If you've got a trip coming up, this is perfect for you!
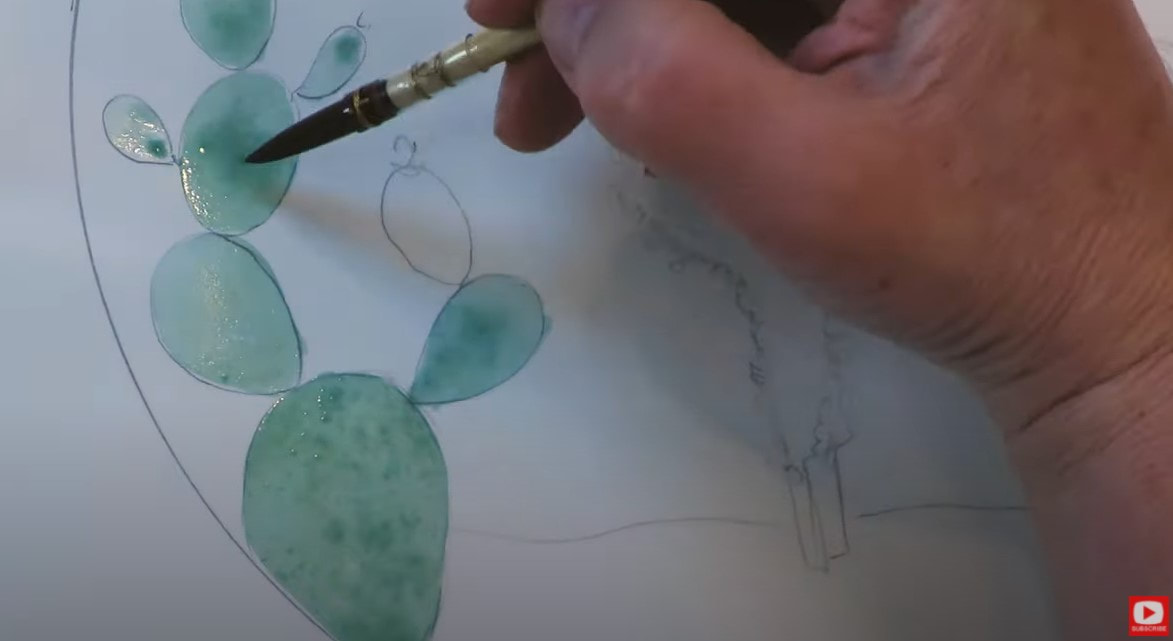
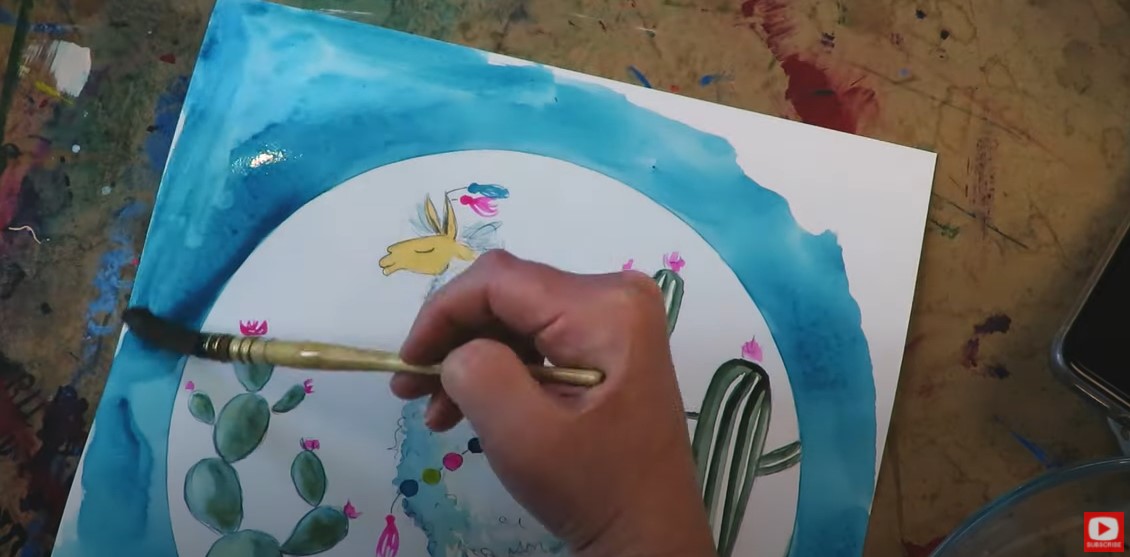
I used the shade cascade green by Daniel Smith to shade the cacti. I'm using some brand new Polina Bright watercolor brushes all the way from Australia in this video!
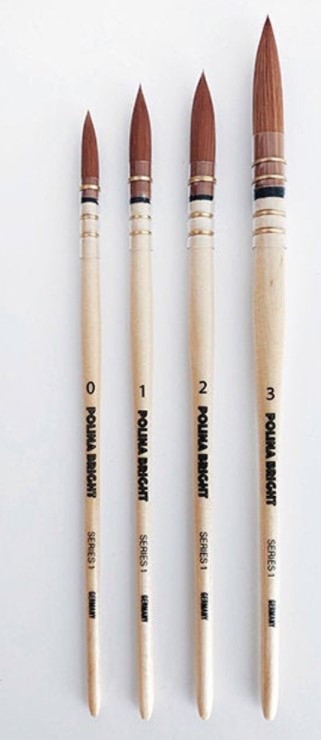
If you follow me, you know I typically use my silver velvet brushes, but have really fallen in love with a recent splurge- watercolor brushes created by Polina Bright in Australia.
They're a bit expensive if you buy the full set of four, but I love her work and decided to give them a try. If you're looking for a watercolor brush that's more middle of the road price-wise, I absolutely LOVE my Mimik Brushes by Creative Mark. I find that they actually come to a point much better than my Silver Black Velvet brushes, so I find myself reaching for these quite a bit! 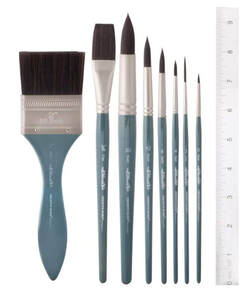
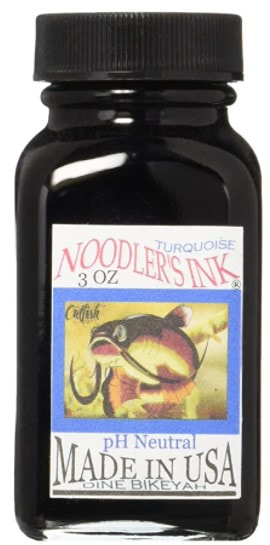
Look at how juicy that gorgeous blue is below!! It's actually NOT watercolor, but fountain pen ink - straight outta the bottle!! If you're new to my work, fountain pen ink is another mixed media art supply I'm obsessed with an often work into my watercolor paintings, or do complete projects with.
This particular shade of blue is turquoise fountain pen ink by Noodler's. It's SO rich and dreamy. If you've never tried painting with fountain pen inks, this is a MUST - especially if you love watercolor.
I've collected a TON of these inks over the last couple of years and actually store my inks in these gorgeous, vintage purfume bottles that I find when I'm thrifting. If you're interested in learning more about how to paint with fountain pen inks - be sure to check that video out!
I finished up today's adorable llama with some teensy white polka dots using opaque white gouache. So fun!!
I hope you had fun watching or CREATING this project right along with me today!! If you're interested in doing this watercolor llama step by step in real time with me - it's part of the Mixed Media Society project collection. If you're interested in joining The Mixed Media Society, please add your name to the waitlist here. We open up for enrollment twice a year. Thanks for hanging out with me today!! ❤️MY ARTIST BESTIE, LUCY BRYDON & I created a NEW ART MEMBERSHIP together called The Celtic Collective! It's now open for enrollment! Join us before the price increases on August 7. |
Karen CampbellFounder of Awesome Art School. Mixed Media Artist. Author of 19 Instructional Art Books! Whose work has appeared in...Archives
July 2024
Categories
All
|
|
"Karen is flipping hilarious and she's very real...I like the way she teaches in a way that really gives you confidence, whether you're a beginner or advanced there's always something new to learn!"
- Elizabeth W. |
What Fans Are SayingKaren, you are absolutely fabulous! You make me feel like I can draw anything. I have recently retired and finally have the time to do some of the art that I have loved since I was in school. I am really at the beginning of my art journey and I hope to learn as much as I can. Thank you for all you do. |
Contact ME |




 RSS Feed
