
FUN & EASY Mixed Media Project for Beginners with Derwent Graphitint Watercolor OVER Pencil20/9/2022
Today's mixed media project is PERFECT for mixed media beginners, watercolor beginners, and anyone curious about the Derwent Graphitint Paint Pan Pocket Set.
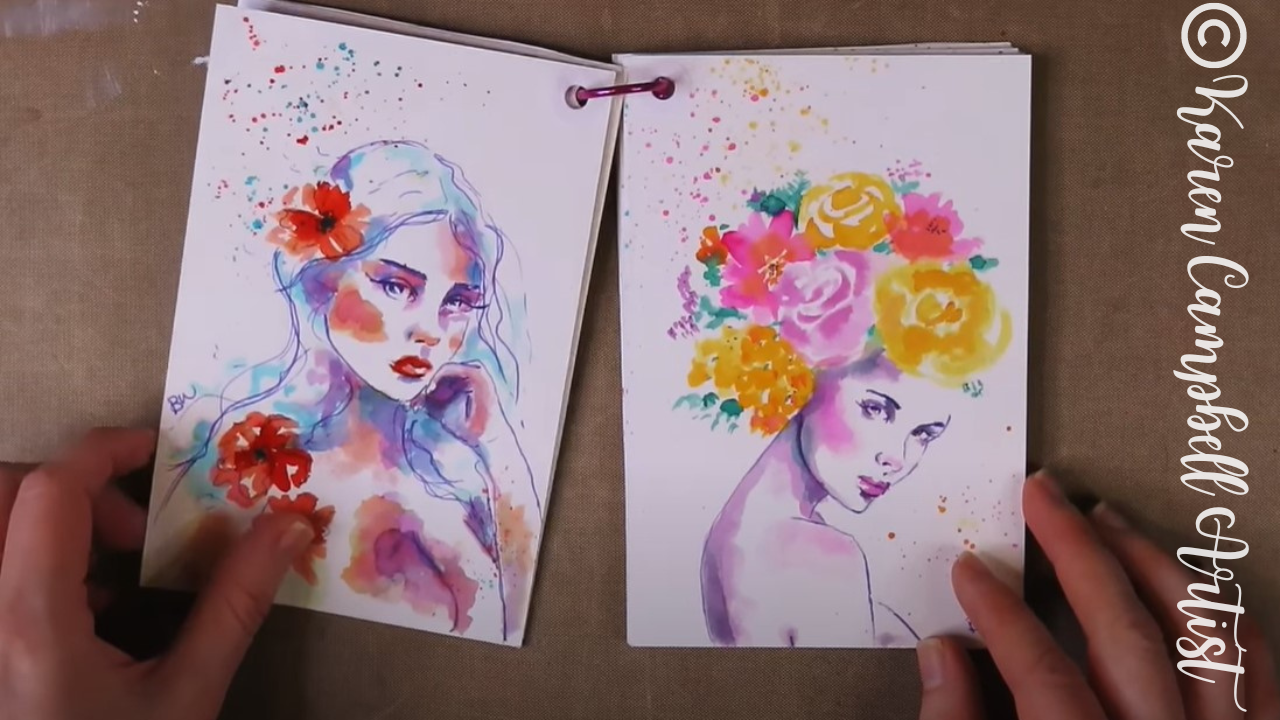
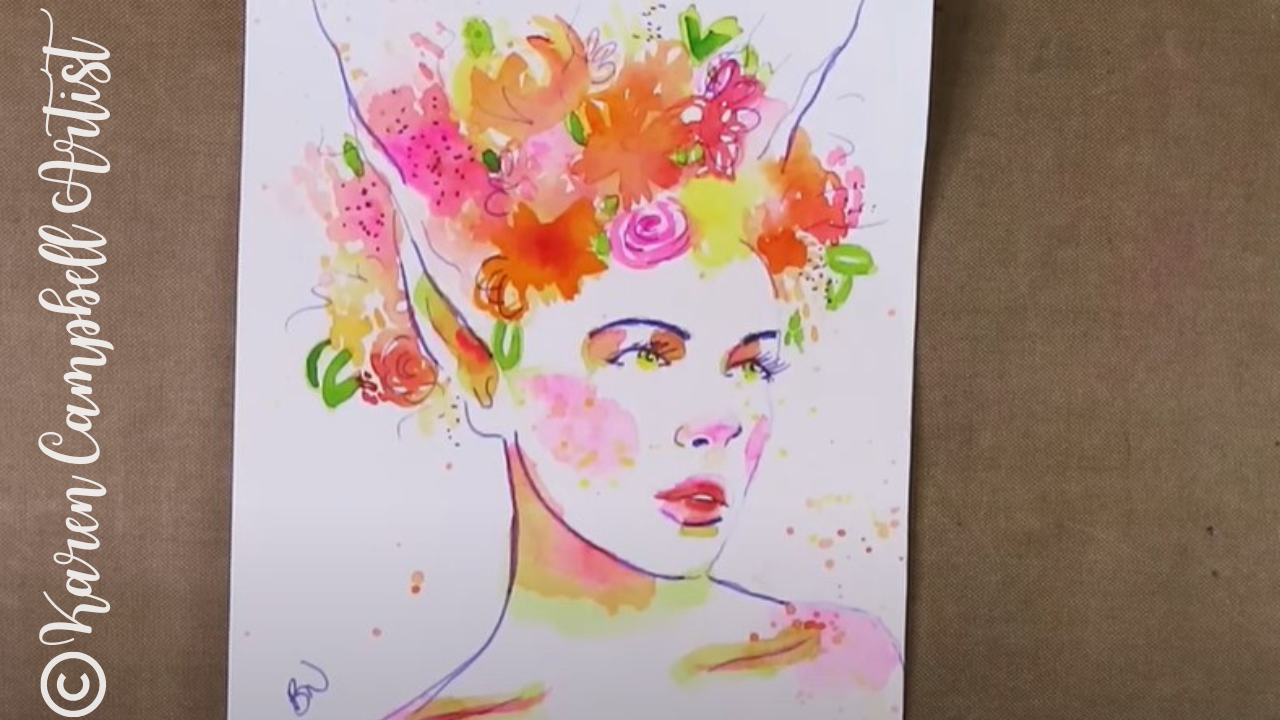
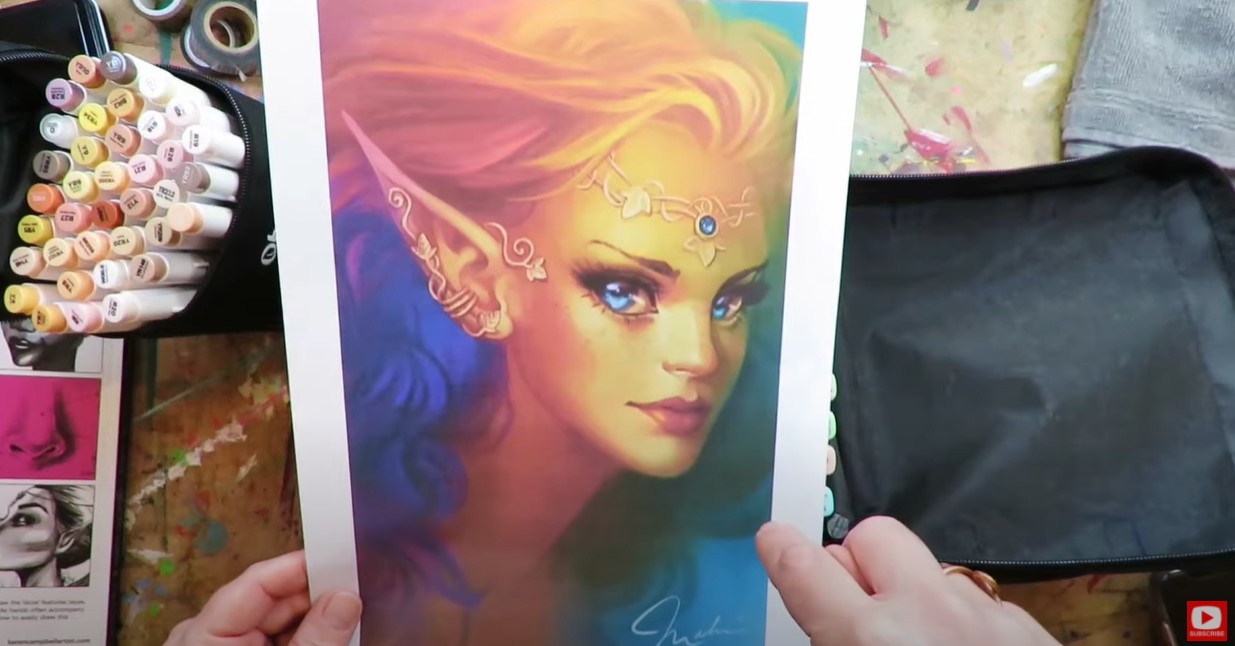
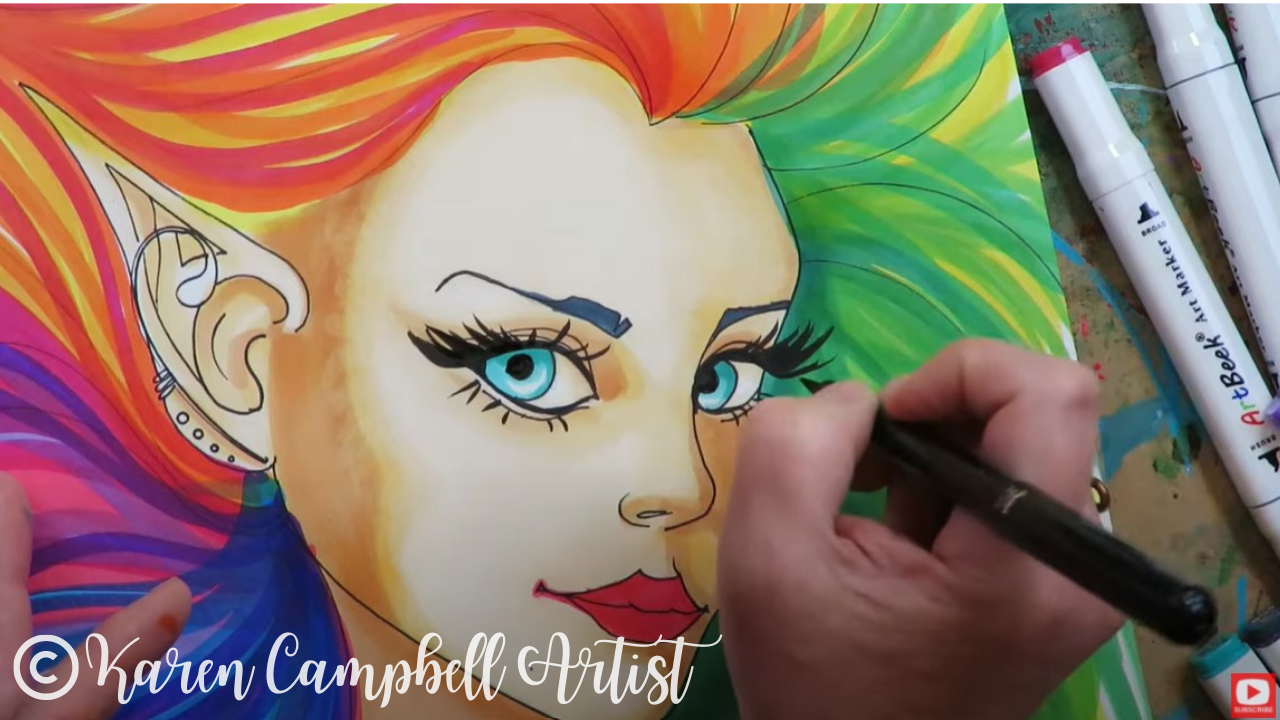
Adding watercolor over pencil drawings is a super FUN and EASY technique that can really make your drawings look more sophisticated. Grab your watercolors and your fairy drawing to create along with me as I lead you step-by-step through simple face shading, creating magical hair, and an easy background in watercolor! 
WANT 30 FUN Mixed Media Project Ideas with SIMPLE, tried, and true art supply combos like Watercolor over Pencil? Click the button below to download my FREE Hot Dog Packet!

Each mixed media idea in The Hot Dog Packet reads like a recipe with ONLY 4 art supplies, so it's perfect for mixed media beginners! Click the button above, and I'll send it straight to your email.

Before we continue, super quick announcement: All product links are Affiliate. I may earn a small commission if you choose to order through these links but by law there is never any additional cost to the consumer for doing so. I thank you for your support.
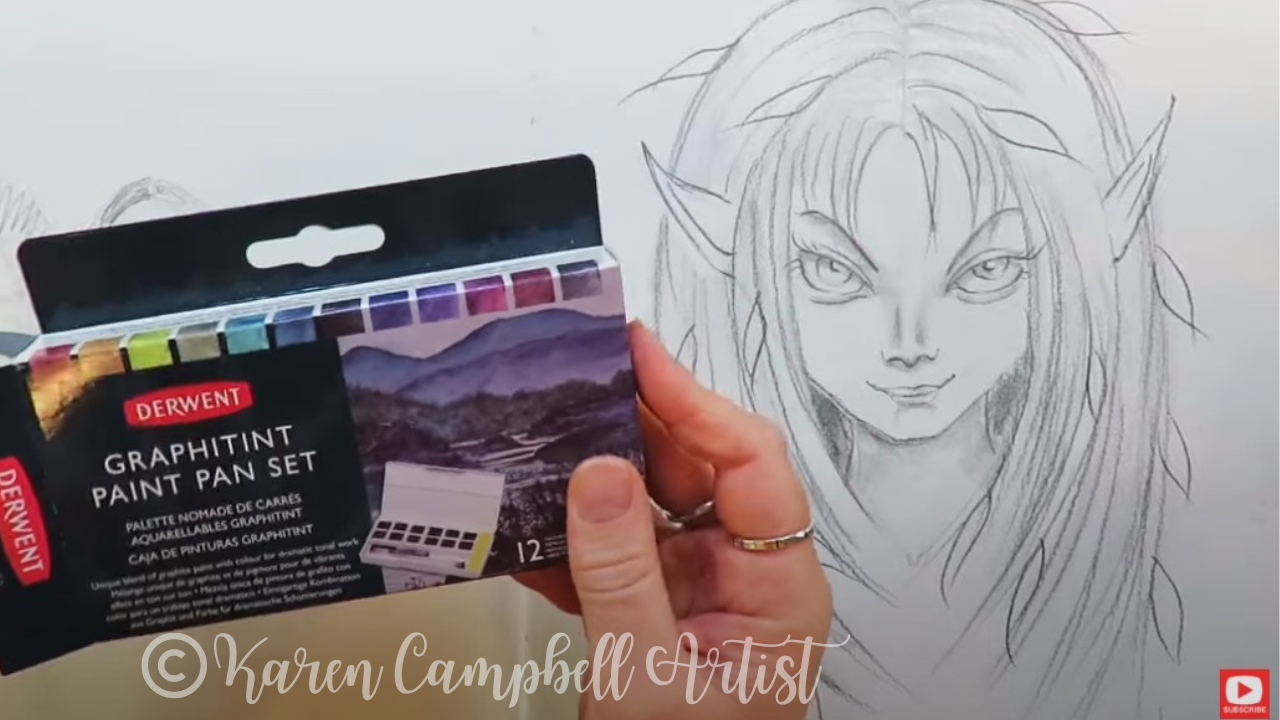
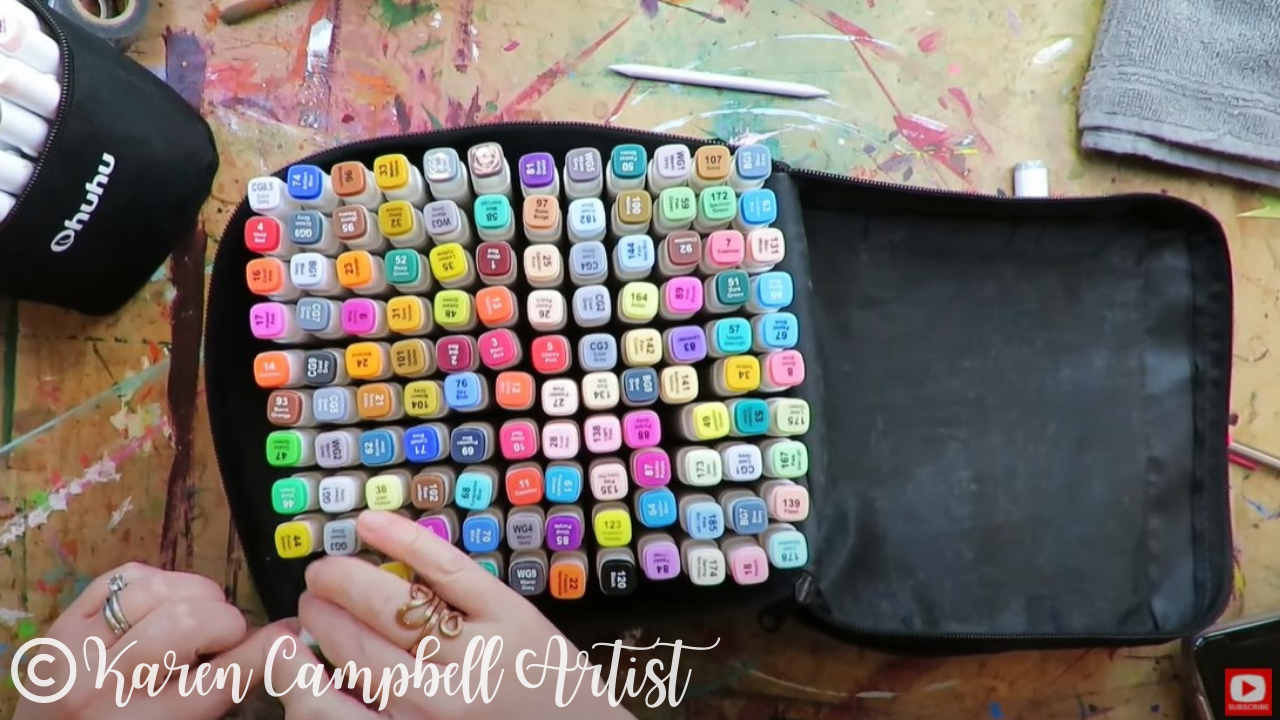
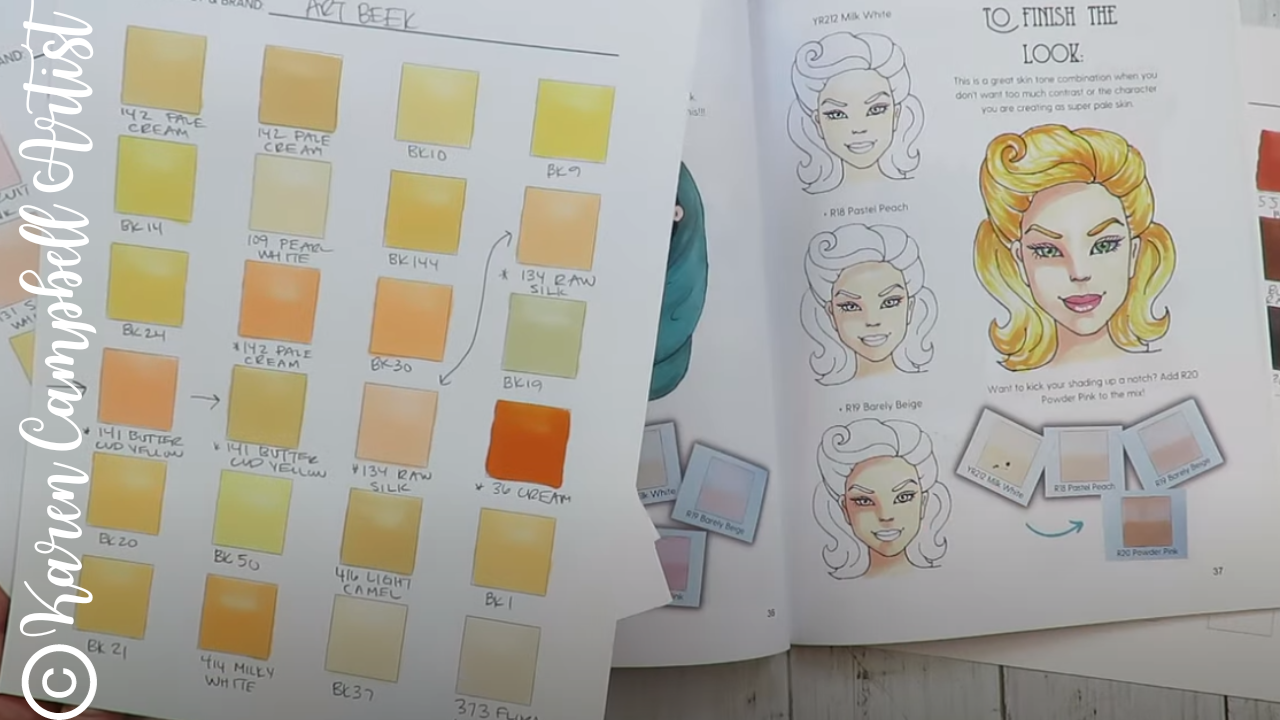
Use whatever watercolor set you have on hand to paint along with me. Today I'm trying a new set - Derwent's Graphitint Paint Pan Pocket Set.
If you've never heard of Graphitint before, it's a "unique blend of graphite paint with color for dramatic tonal work," according to the package. To me- this set feels like muted nature tones, which is perfect for today's mixed media project. 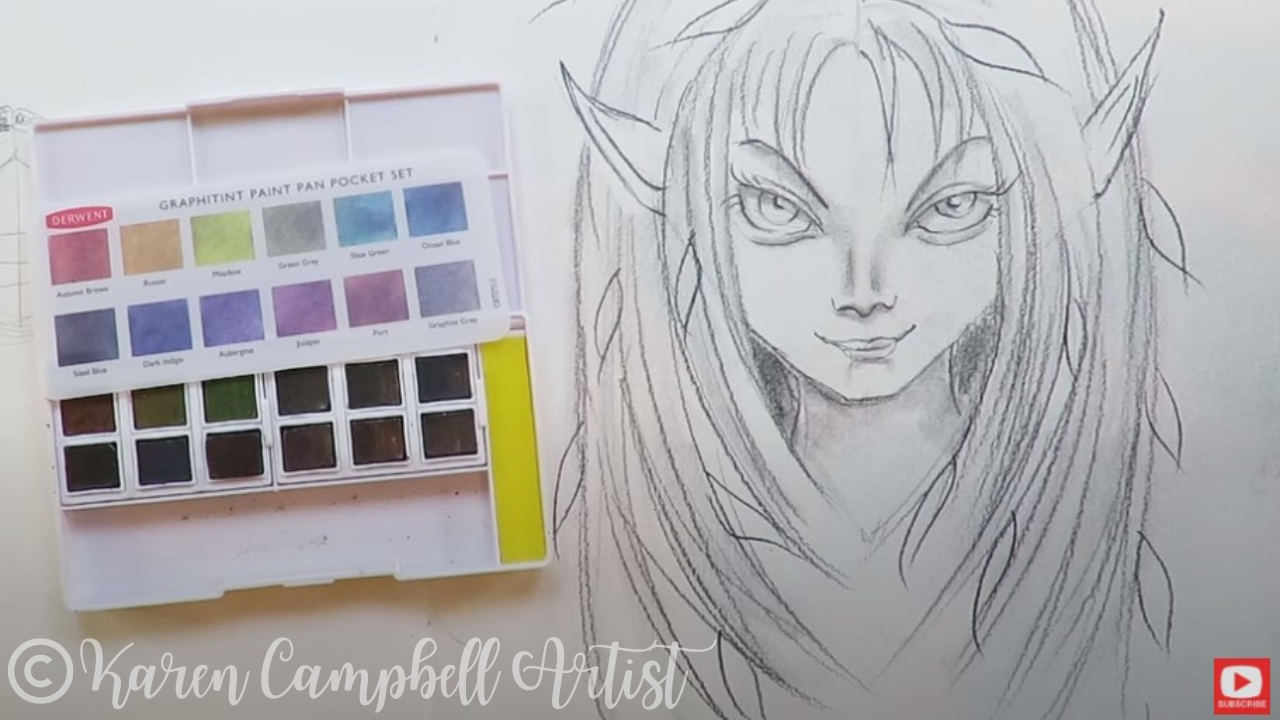
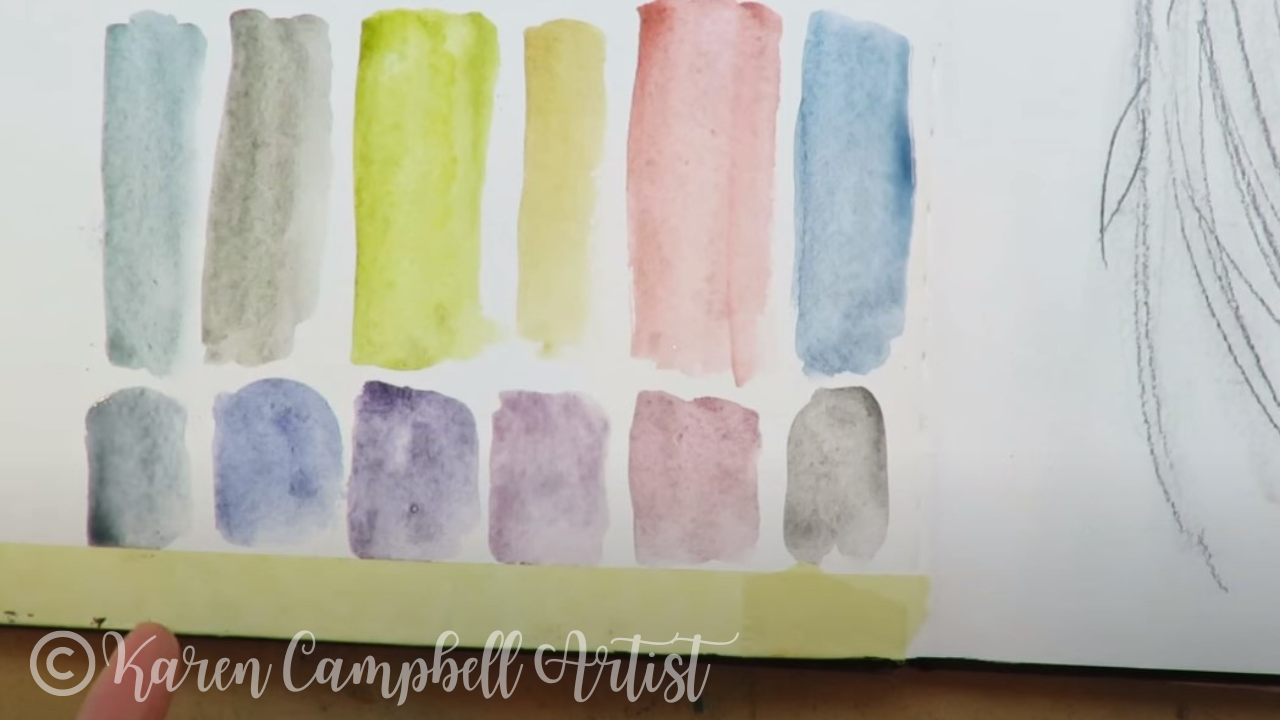
As soon as I start to swatch these watercolors, they remind me of my granulating watercolors by Daniel Smith. They also look kinda dirty, which isn't a bad thing - you can just tell they have gray graphite in there for sure.
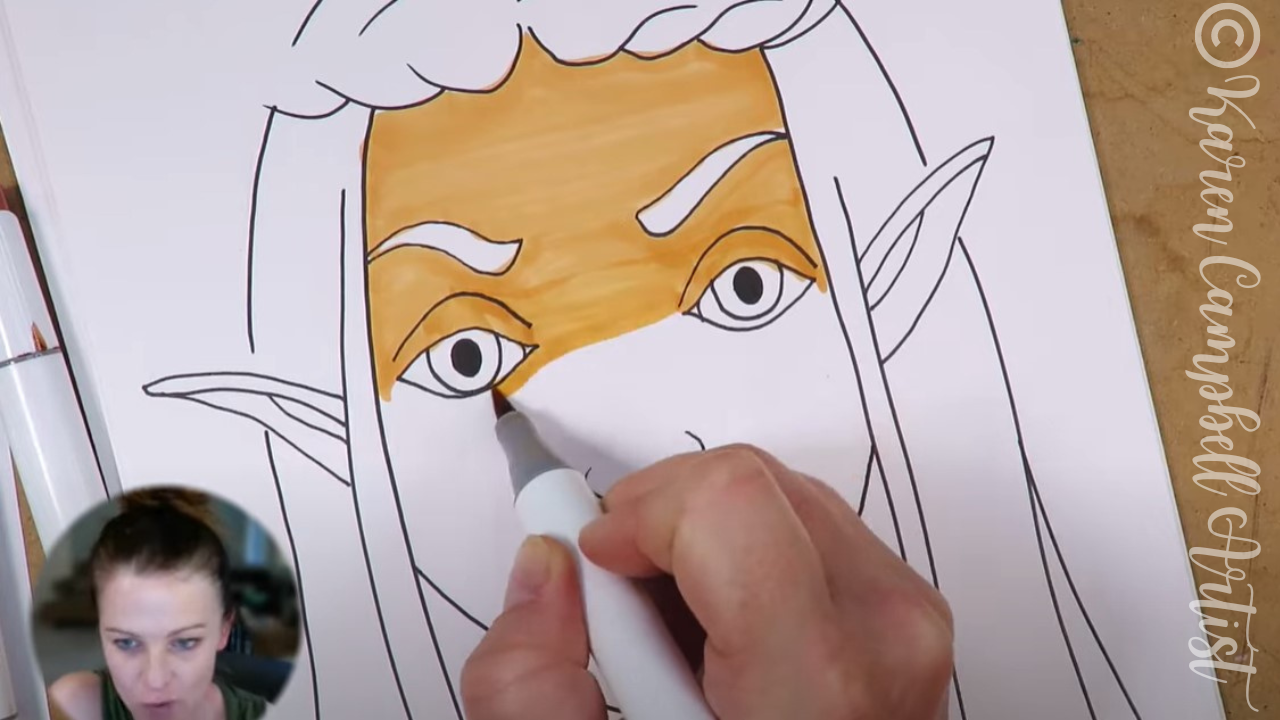
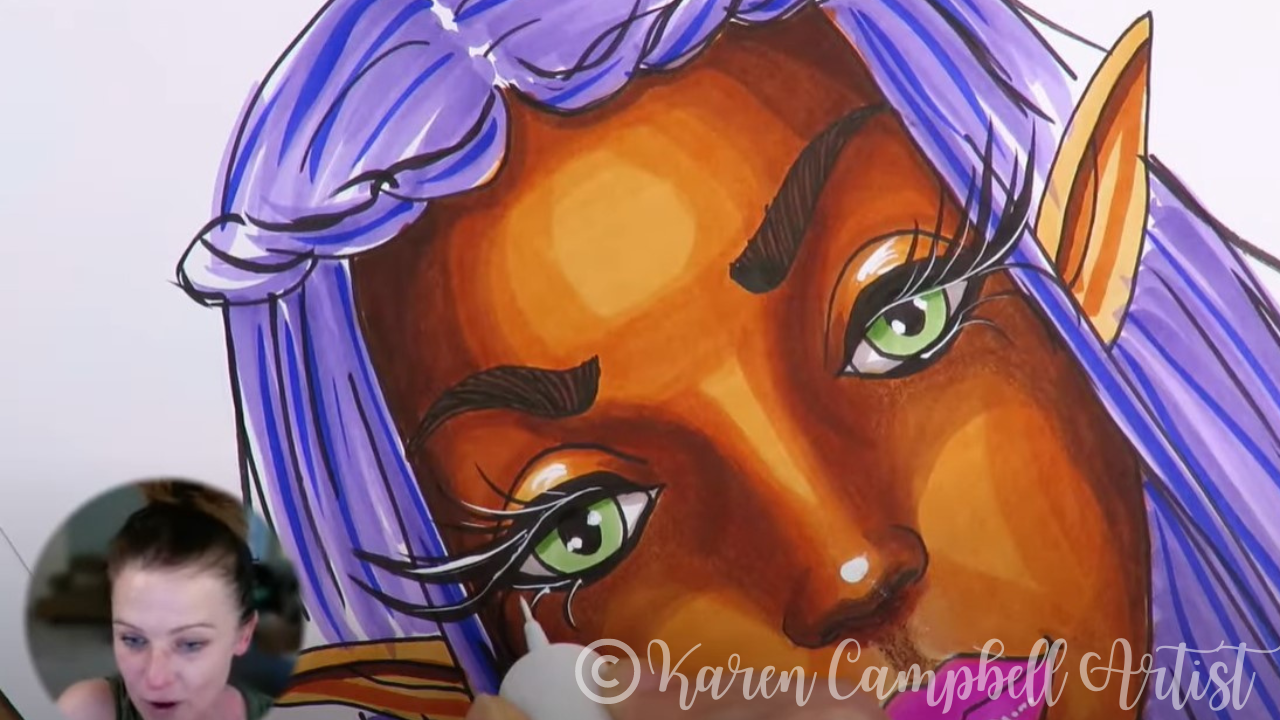
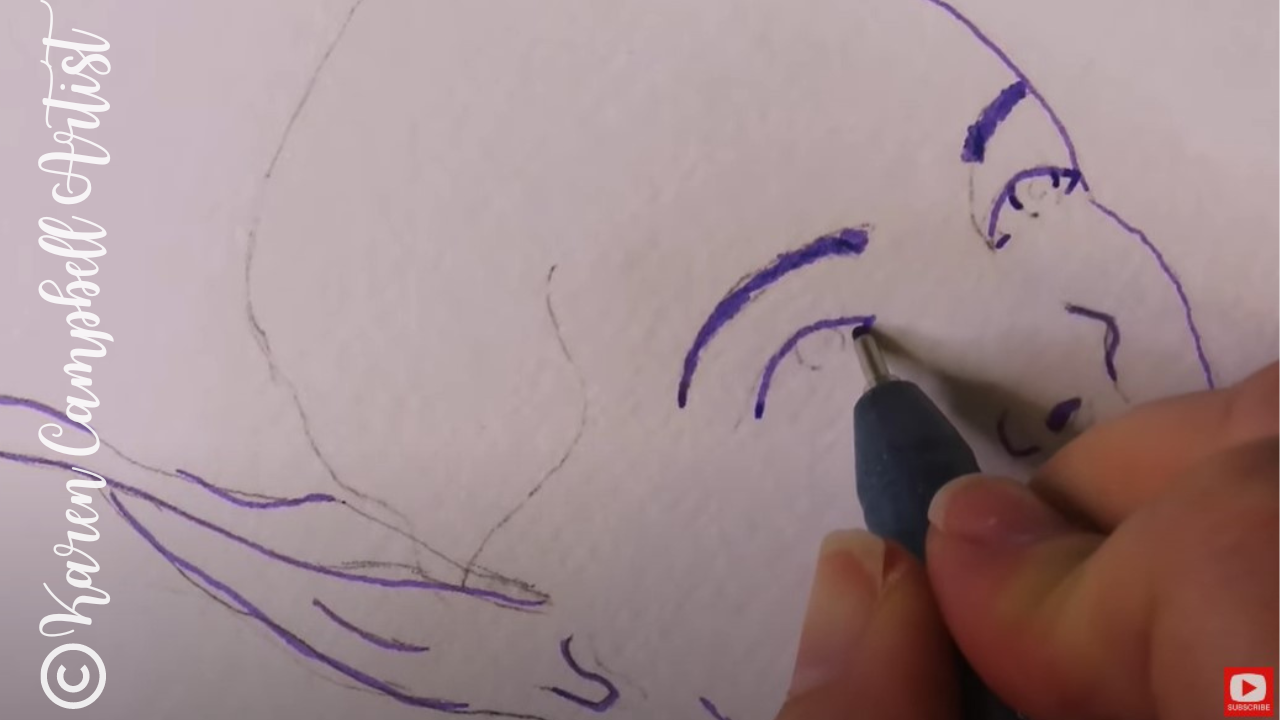
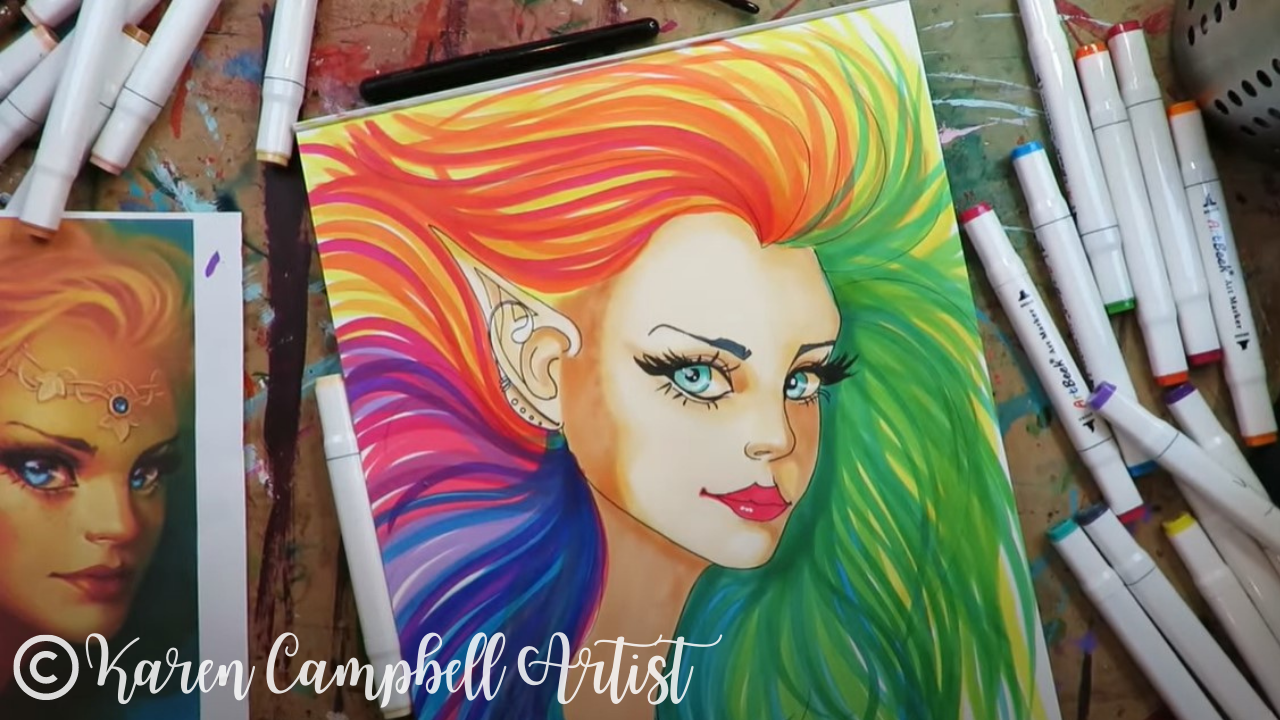
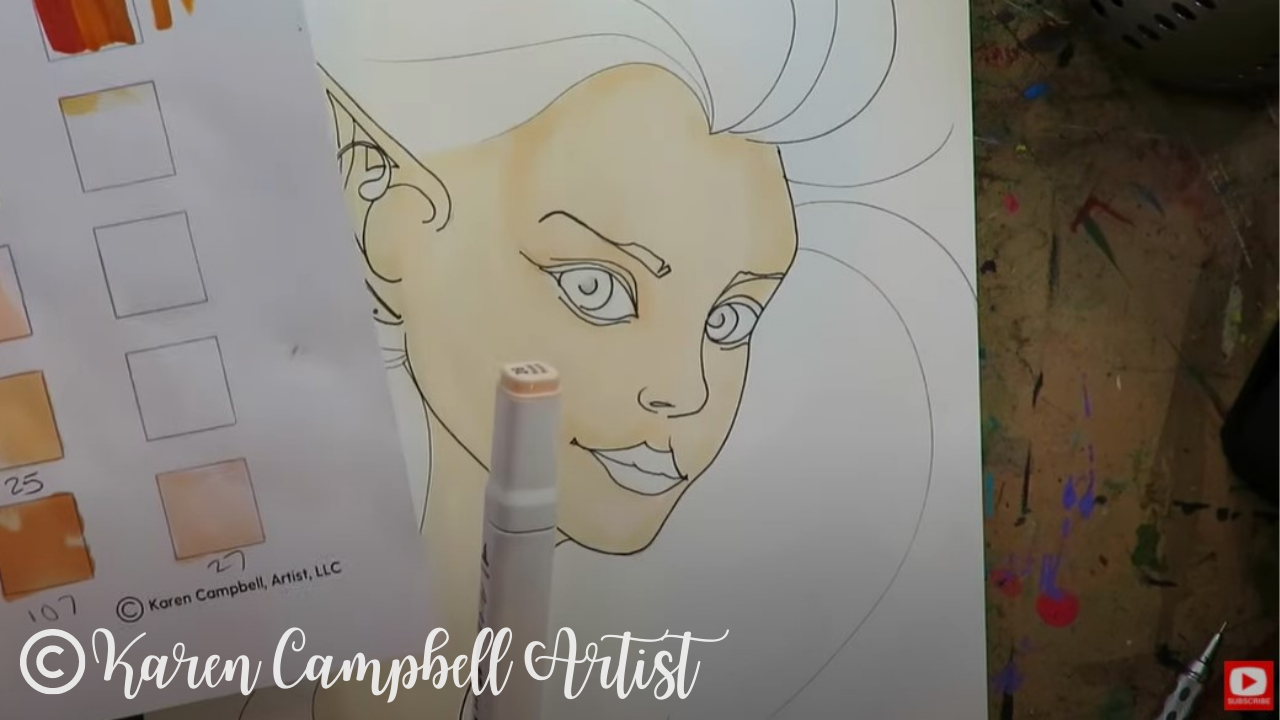
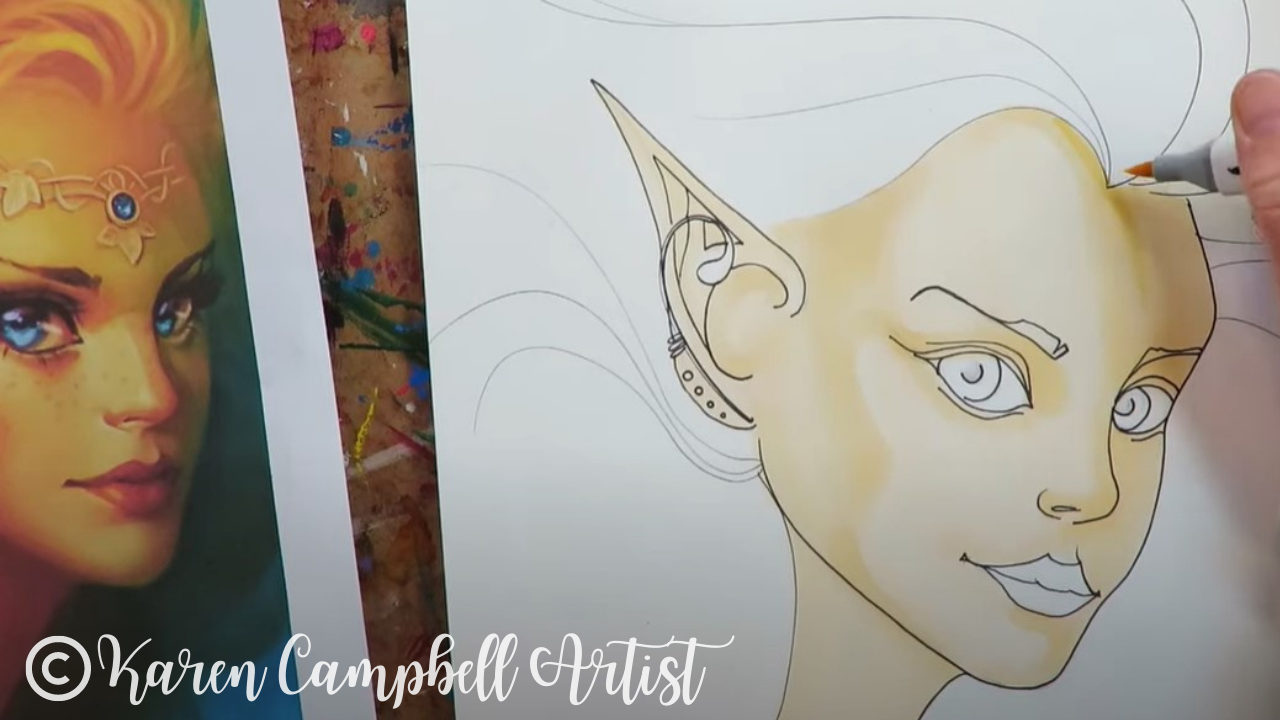
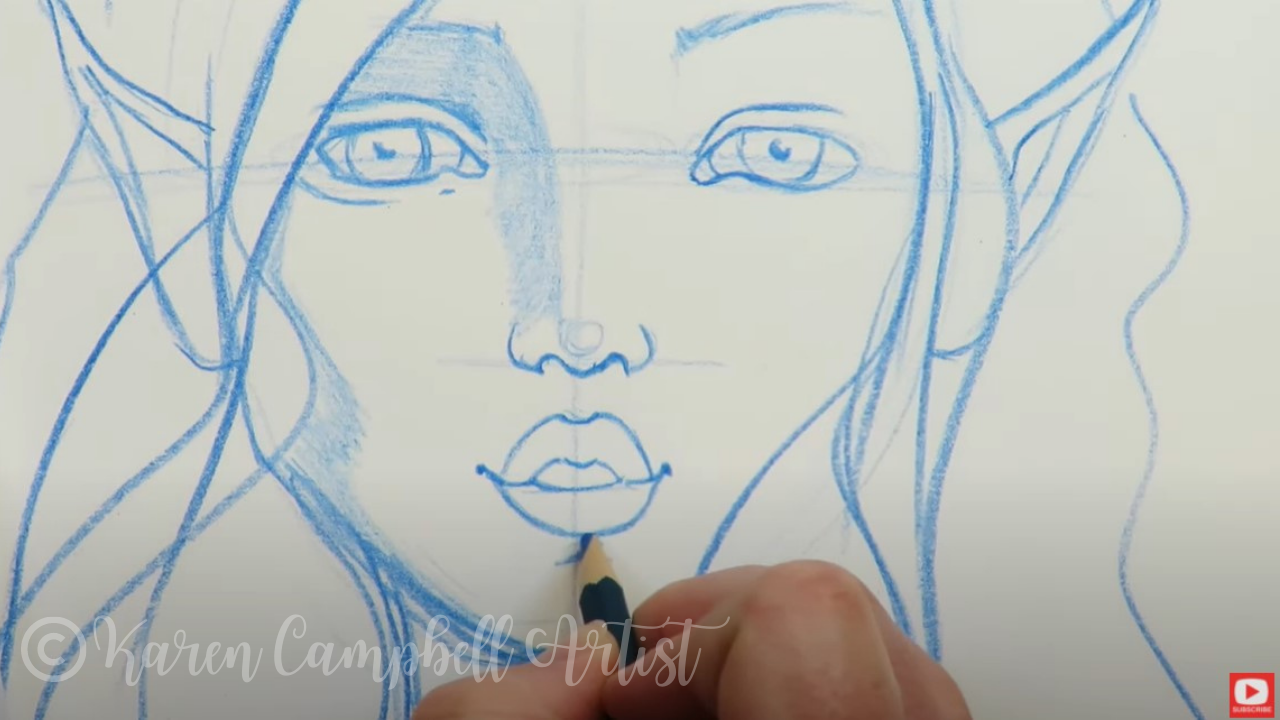
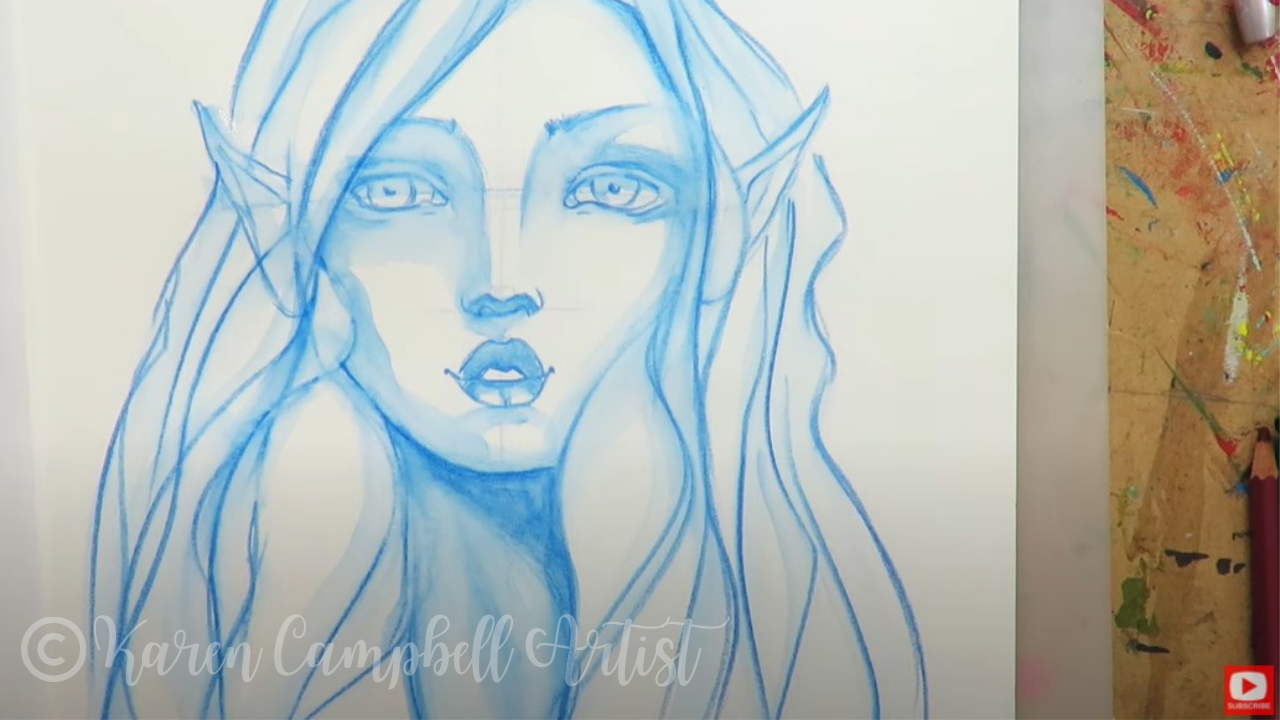
There isn't a skin tone in this set, but I feel like the shade called Russet will work. Watch as I add a light wash of this onto my fairy face drawing. (Wanna draw this fairy? Watch this first.)
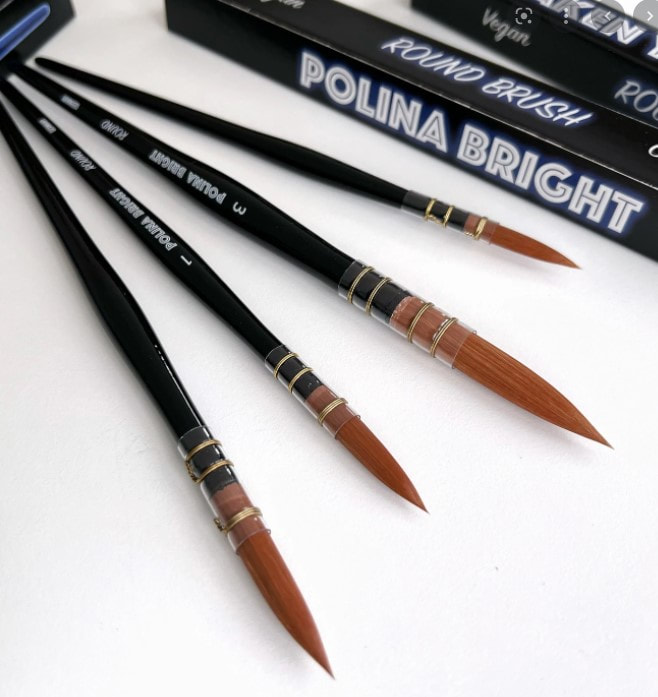
I'm using my Polina Bright watercolor brushes (get 10% off Polina's watercolor brushes here) for this project. They're the only thing I use now! Find out why here. 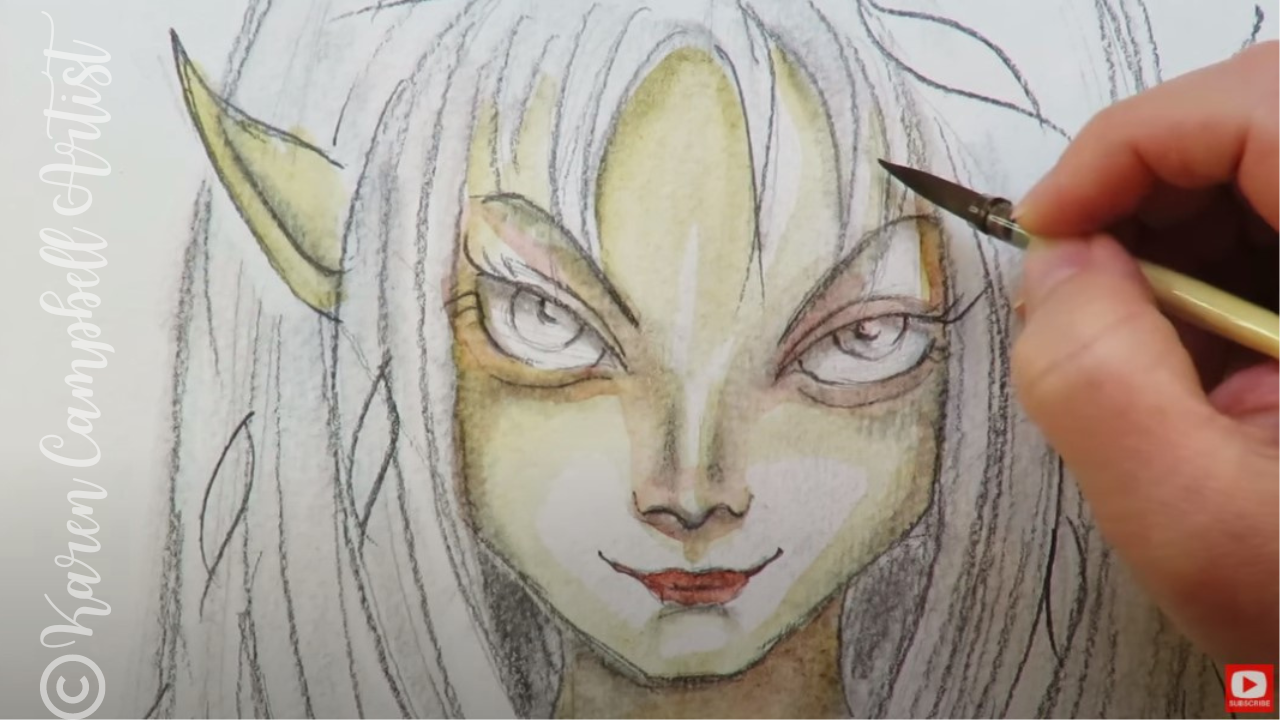
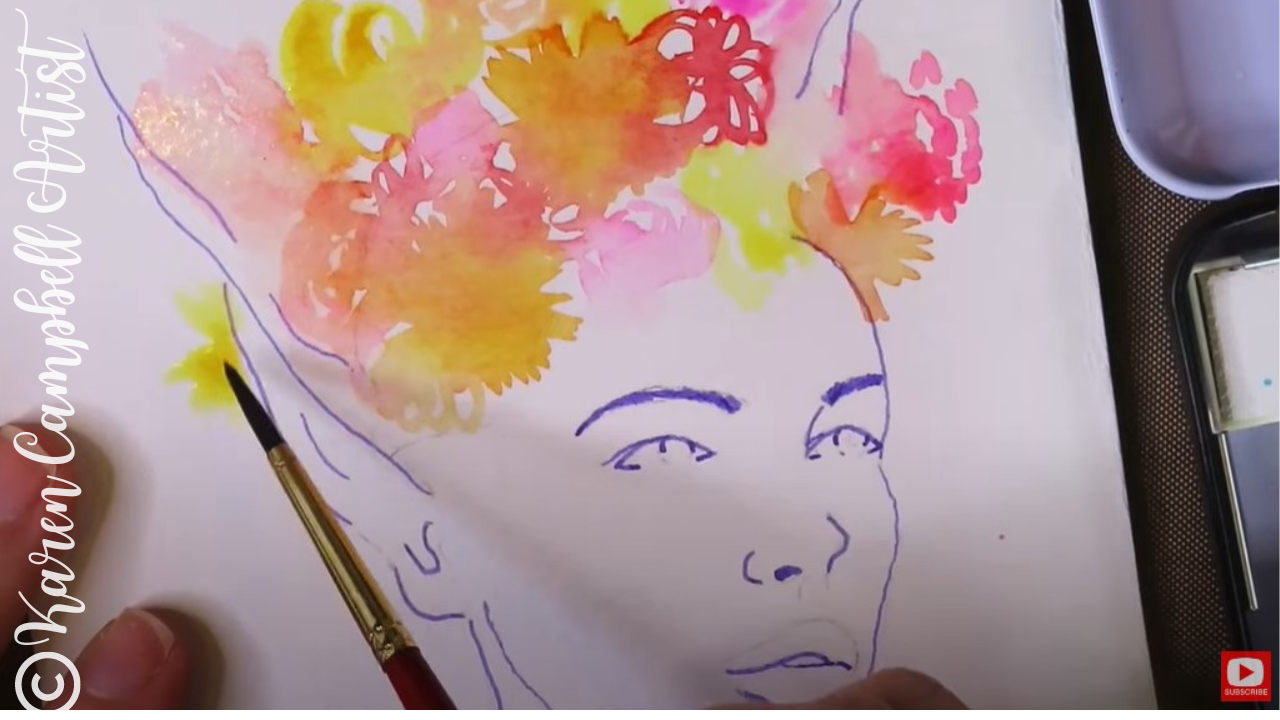
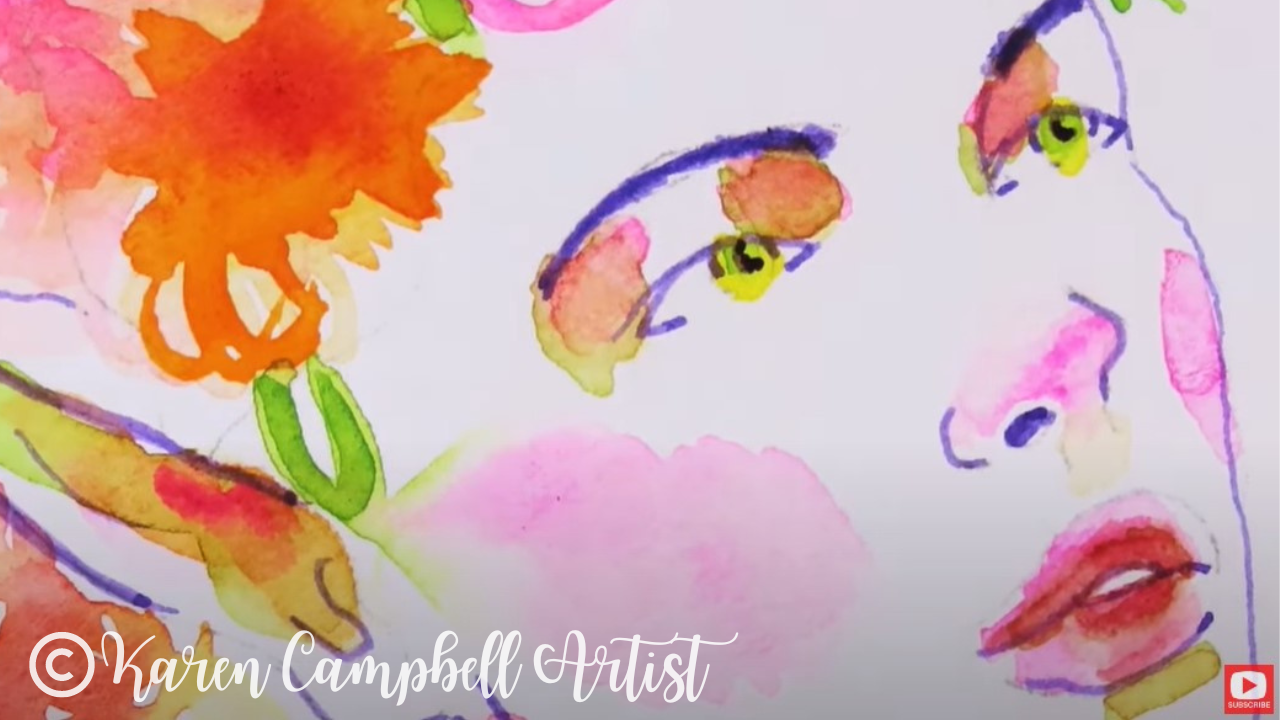
Next I added a little Autumn Brown to accentuate the nose and creases of the eyes to add dimension. I love this technique of adding watercolor to an already shaded drawing. It's got this messy, grungey feel.
It's so freeing because you don't have to be "precious" about your work - just get in there, drop a light wash where you want some color, and call it a day. 
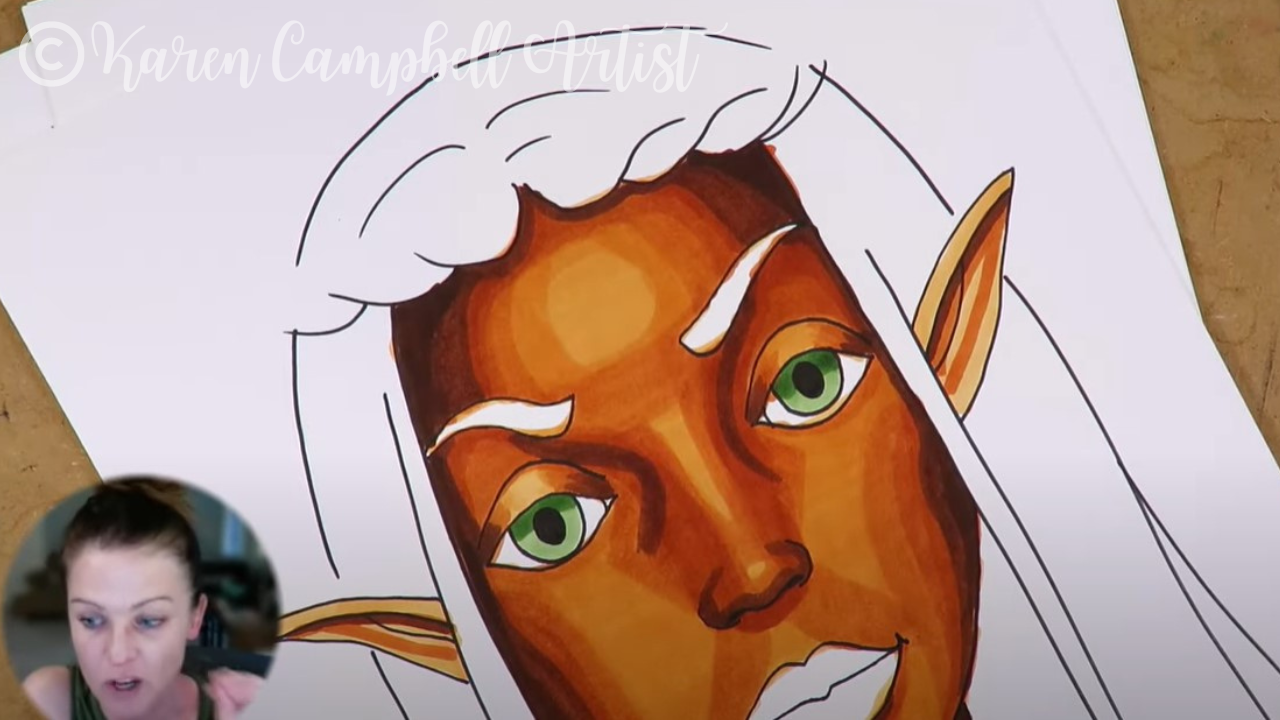
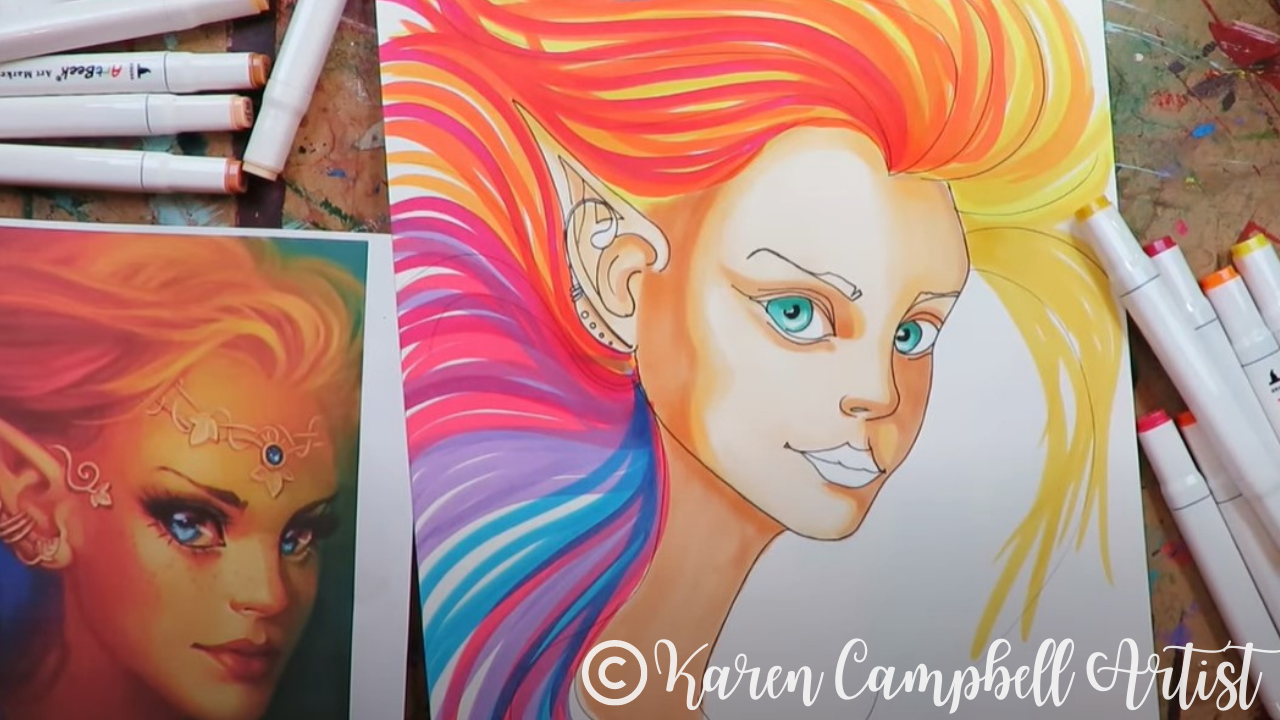
I switched to a larger Polina Bright watercolor brush to do the hair in meadow green. If you struggle with how to paint hair (or draw it), I add color from root to tip, leave some white space, and add more color from tip to root.
Make sure you click over to the video to see this in action. It's such a cool effect, and SO easy to do - even if you're a beginner. 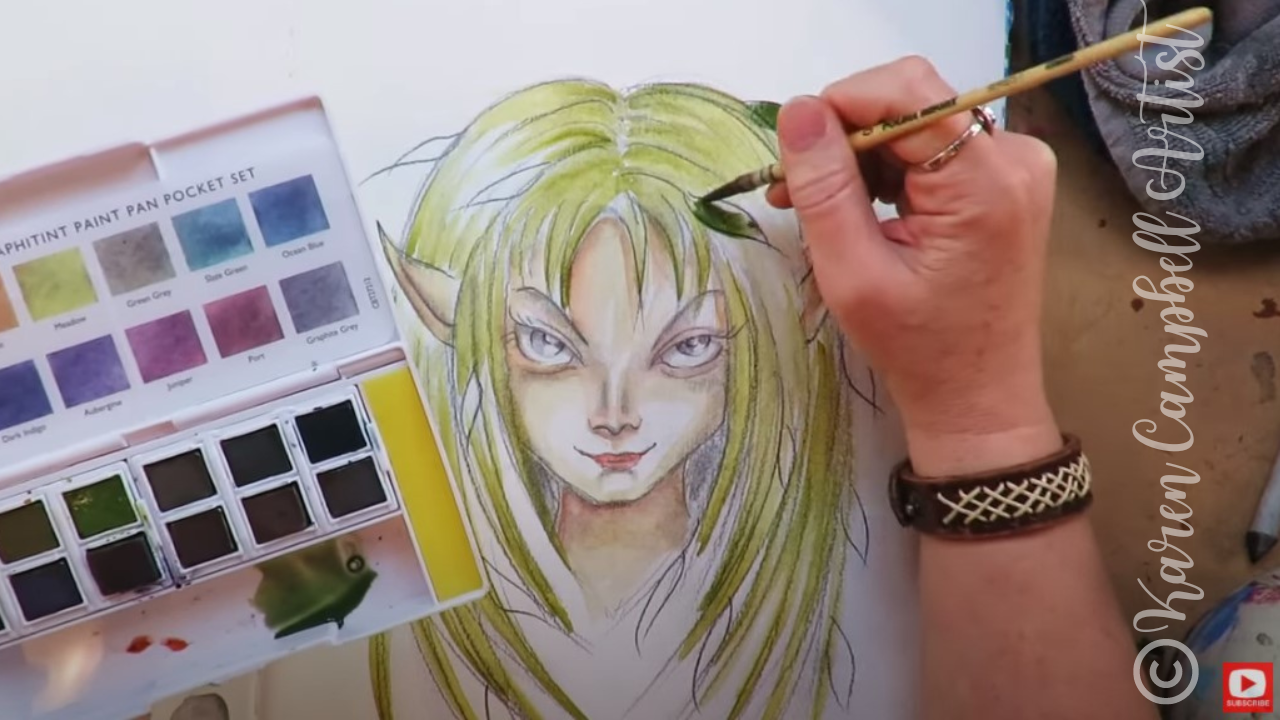
If you've been following me for a while, you know I HATE to mix watercolors. I know - it's ridiculous. I'm the only professional artist who won't do this. LOL.
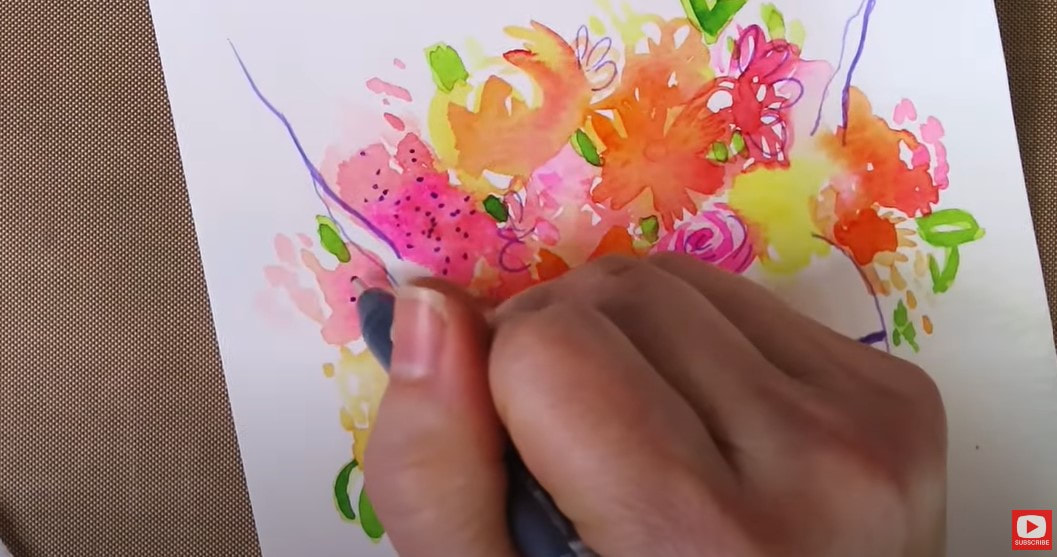
I'm just lazy like that - I love to work straight from the pan, tube or whatever. It's faster and there's no guesswork about what color I'm gonna get! I feel like this Derwent set could've used a nice dark forest green. Since it doesn't have one, I went out of my way (LOL) to mix one for the leaves in my fairy's hair. 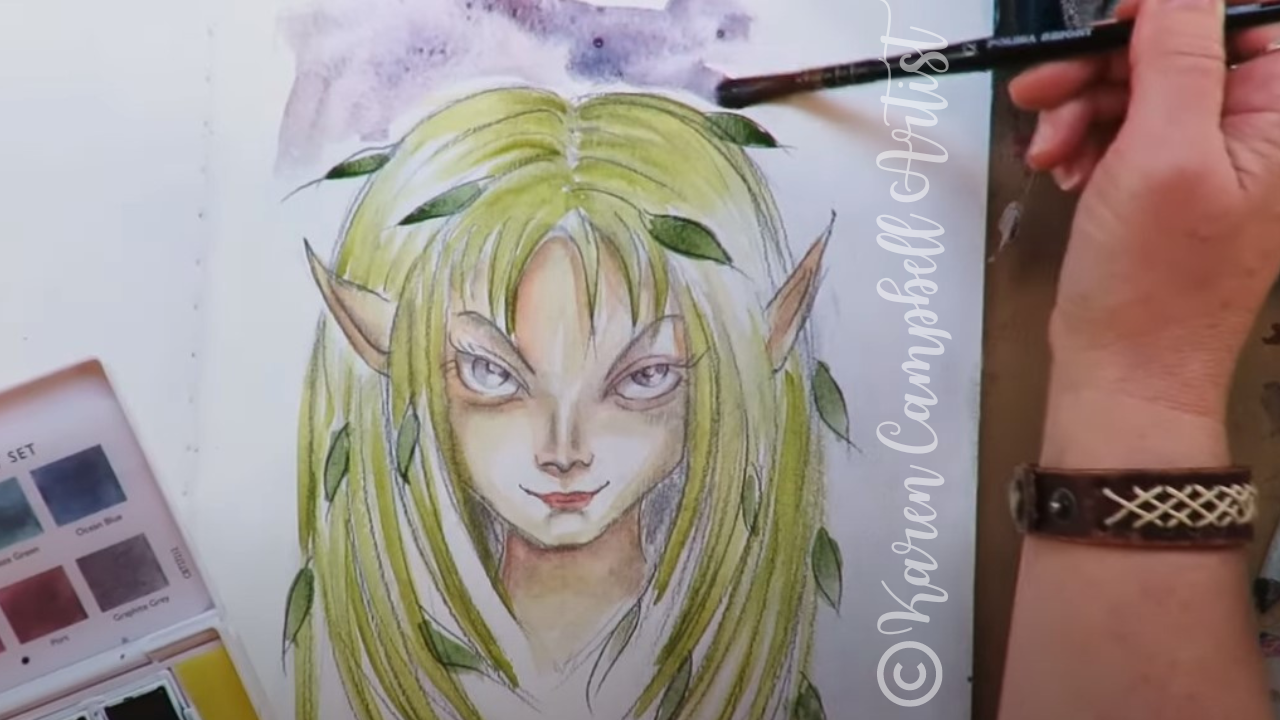
I'm kinda loving my new Derwent Graphitint Paint Pan Set! It's perfect for doing projects like this - just adding some color to a graphite drawing.
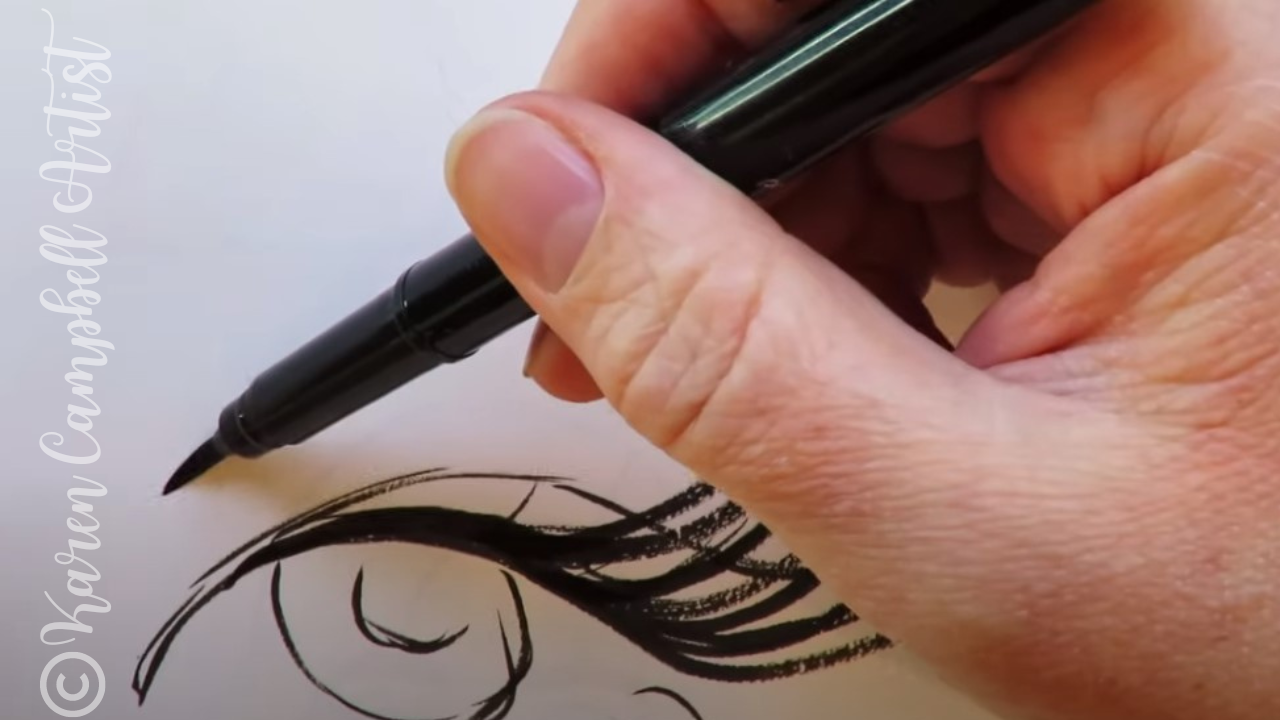
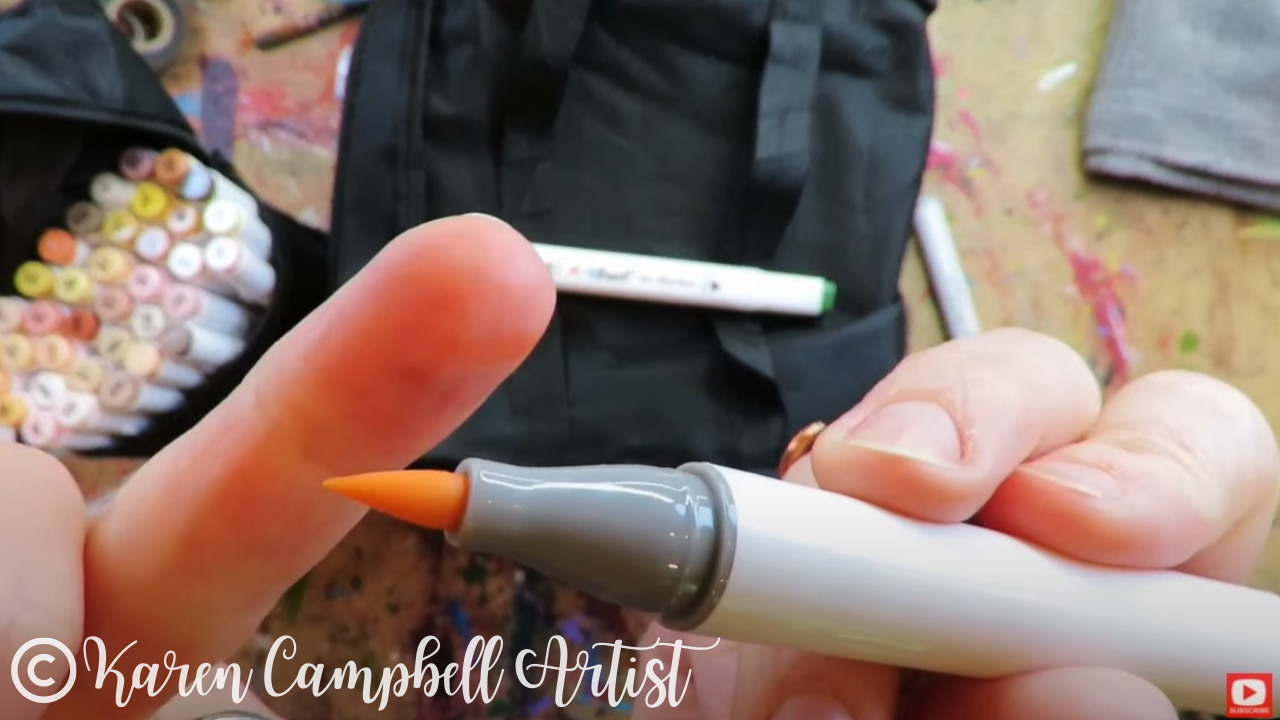
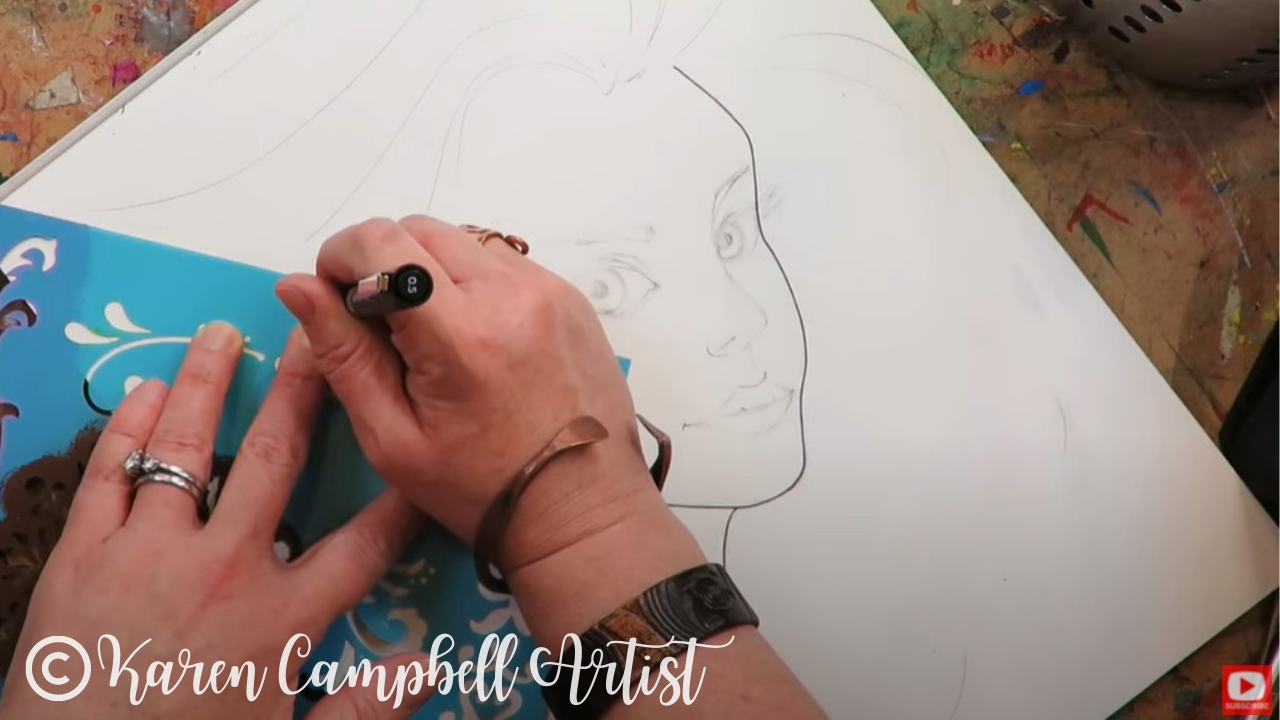
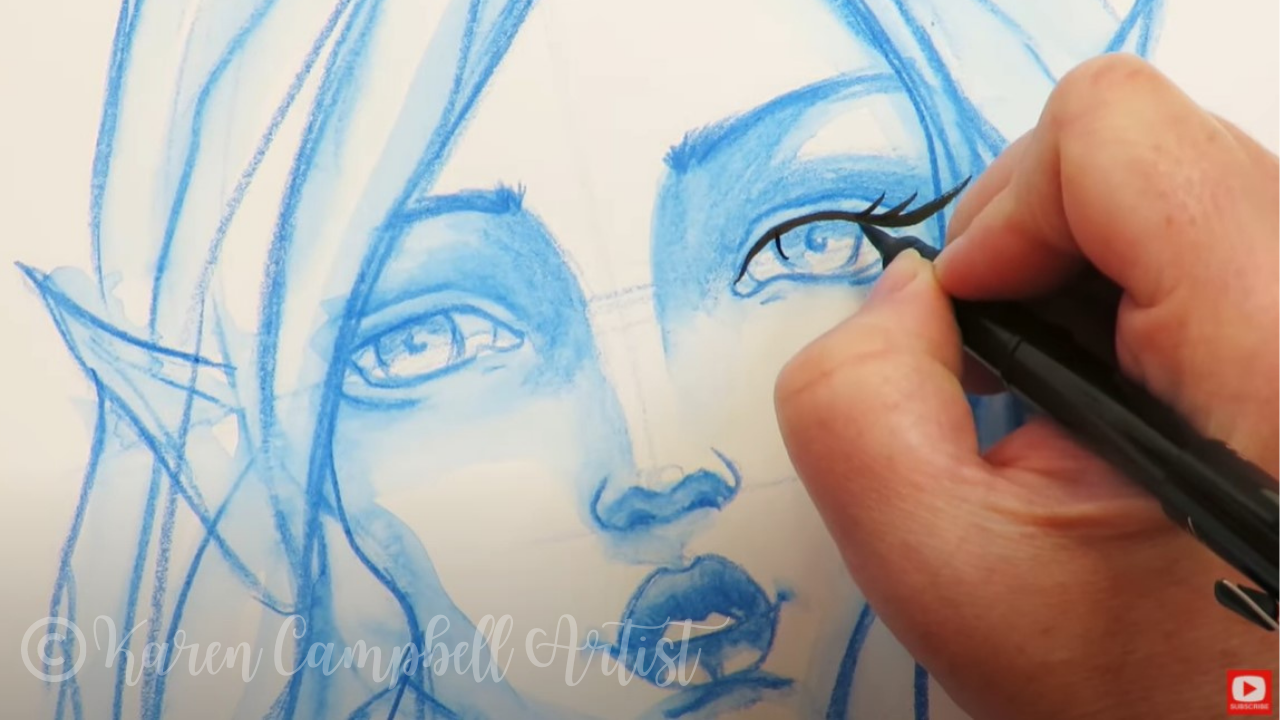
If you've been following me for a while or are a student in one of my art clubs, you know I'm obsessed with my pentel pocket brush for drawing eyelashes and outlining. I know many of my students are intimidated by it because it can be unpredictable and take some getting used to. 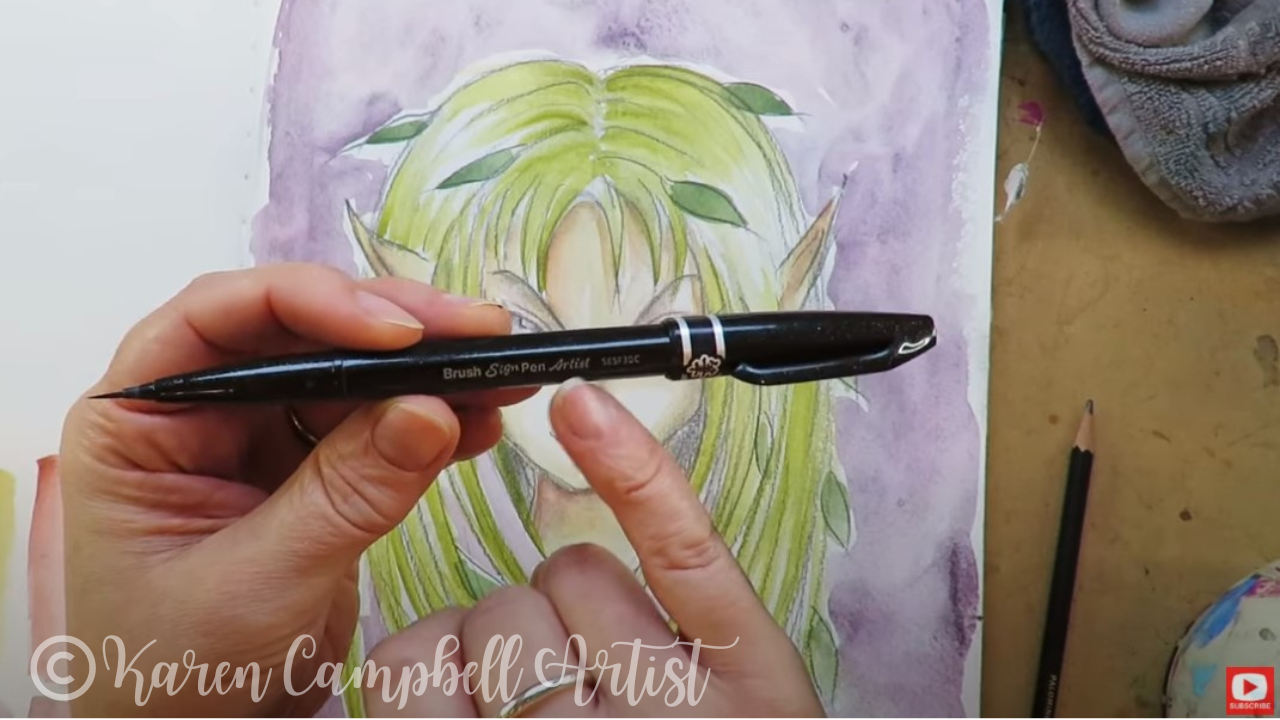
Recently I discovered a little sister product, the Pentel Arts Sign Pen with Micro Brush Tip. This is perfect for adding some finishing touches to today's piece.
I think it will also help those students intimidated by the Pentel Pocket Brush. This one has a much thinner bristle tip and is way easier to control to create daintier lines. I hope you enjoyed today's full-length mixed media tutorial! Remember, if you want to draw this fairy- watch this video first: When you've finished your drawing, watch this one to watercolor her: Thanks for hanging out with me today! If you enjoyed this lesson, you might just LOVE my entire #50FunFabFairies drawing challenge. Here's the playlist in case you wanna check that out. ❤️ CHECK OUT ALL my art books on AMAZON ❤️ MY FAVORITE ART SUPPLIES on AMAZON ❤️ MY BELOVED FACEBOOK GROUP ❤️ FOLLOW ME ON INSTAGRAM
1 Comment
Already starting to think about Halloween? You're gonna LOVE today's TWO-PART evil fairy drawing tutorial! This full-length drawing lesson is step-by-step, simple enough for beginners, and challenging enough for seasoned artists interested in drawing faces at different angles.
When you're finished, hop over to my mixed media channel to add sophistication to your drawing with a layer of watercolor in PART TWO of this lesson. Grab a pencil, eraser, blending stump, and a sheet of watercolor paper to draw along with me for our final lesson of the #50FunFabFairies drawing challenge! 
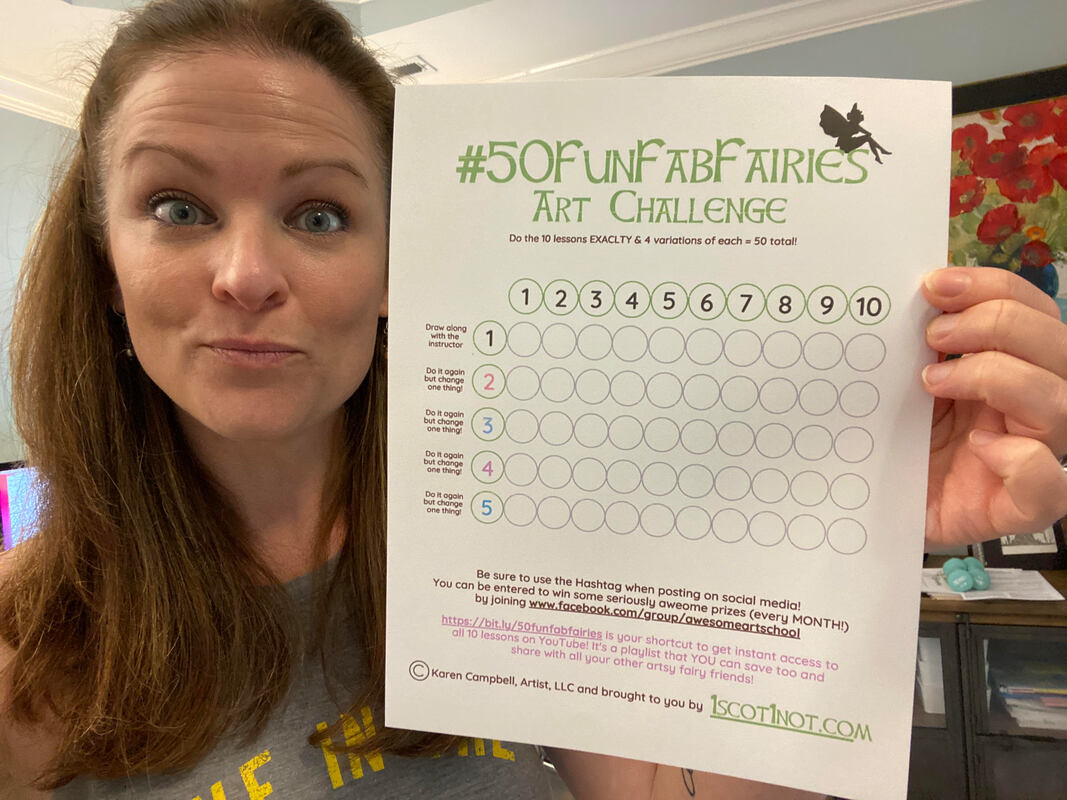
Want easy access to today's fairy drawing reference and even MORE fairy drawing ideas? Join my FREE #50FunFabFairies drawing challenge over at Awesome Art School!
Simply click the button below to receive instant access to ALL the fairy drawing images for each drawing prompt, plus info on supplies, cheatsheets, and more! 
Wanna become a better artist? Do today's lesson (and every lesson of the challenge) five times, making a few creative alterations of your choice, and watch your skills soar as you practice fairy eyes drawing, fairy and ears drawing AND fairy hair drawing 50 different ways.
Before we continue, super quick announcement: All product links are Affiliate. I may earn a small commission if you choose to order through these links but by law there is never any additional cost to the consumer for doing so. I thank you for your support.
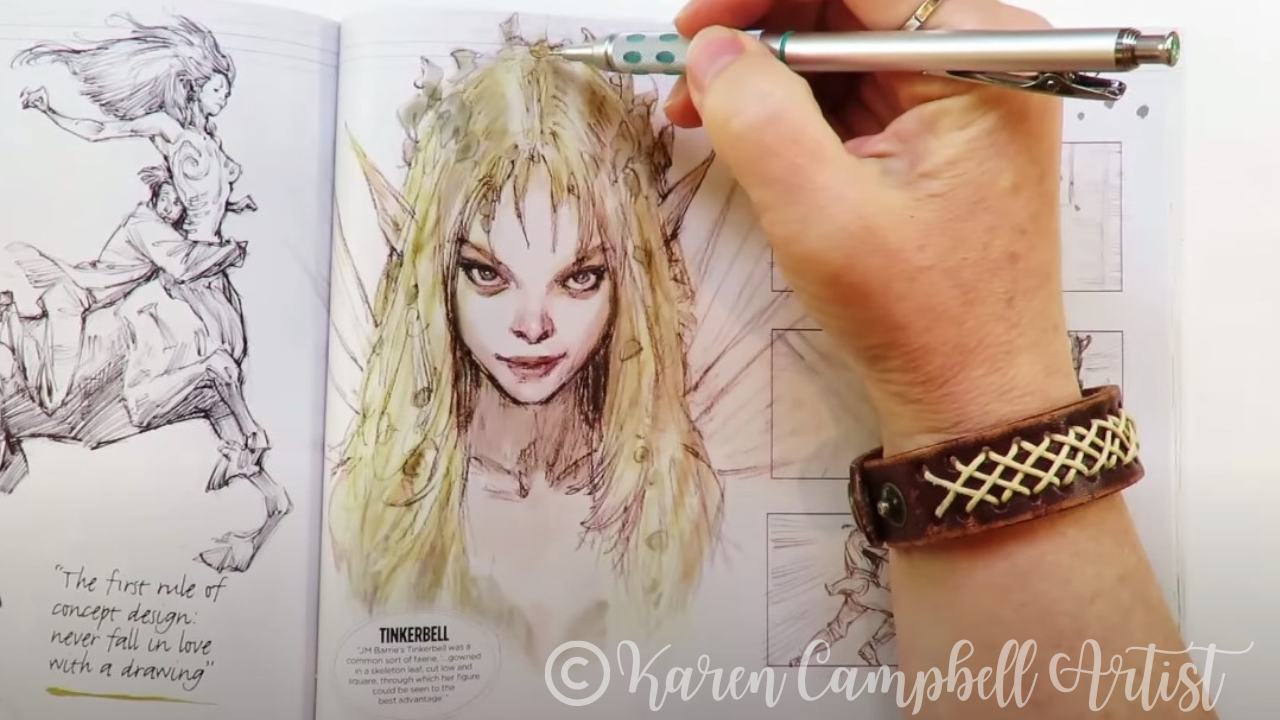
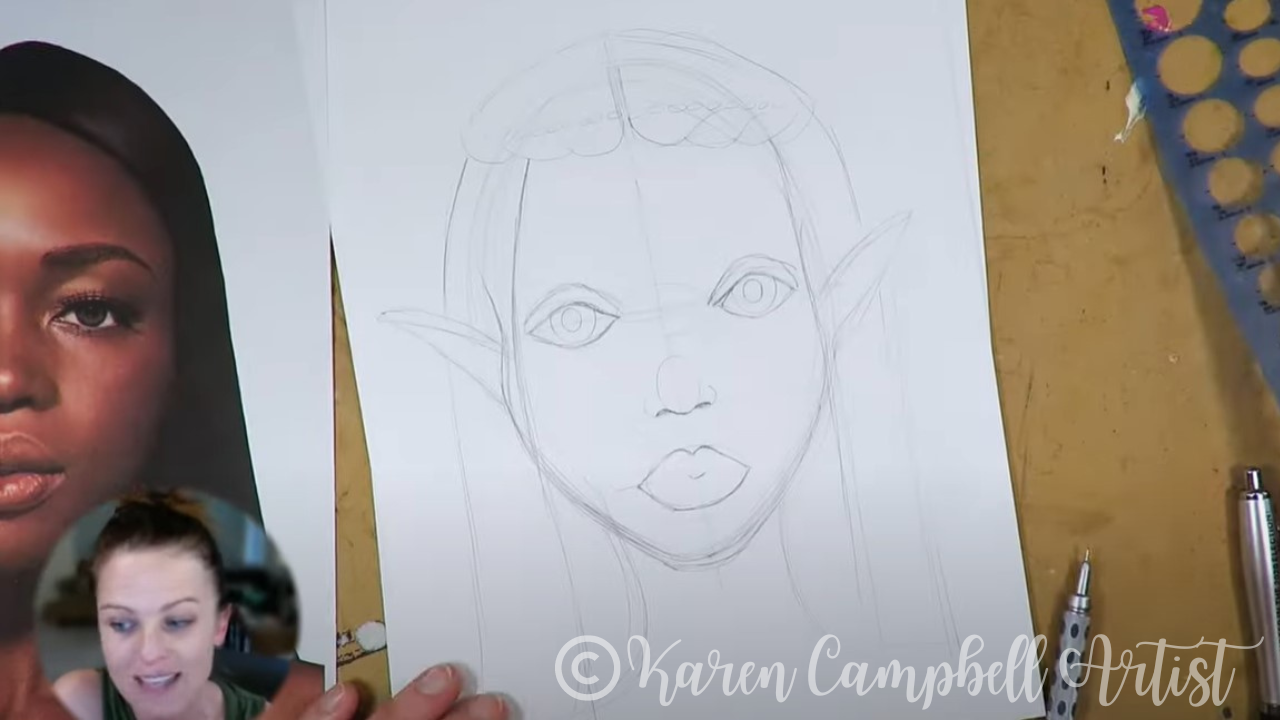
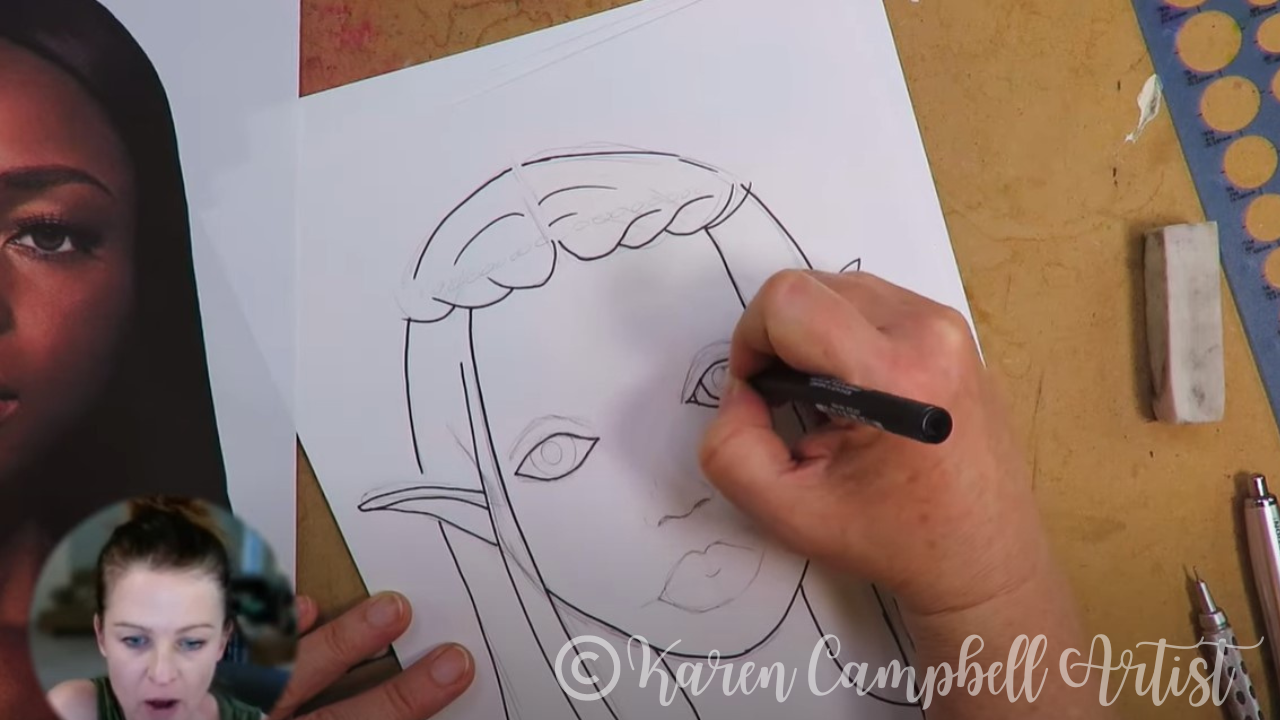
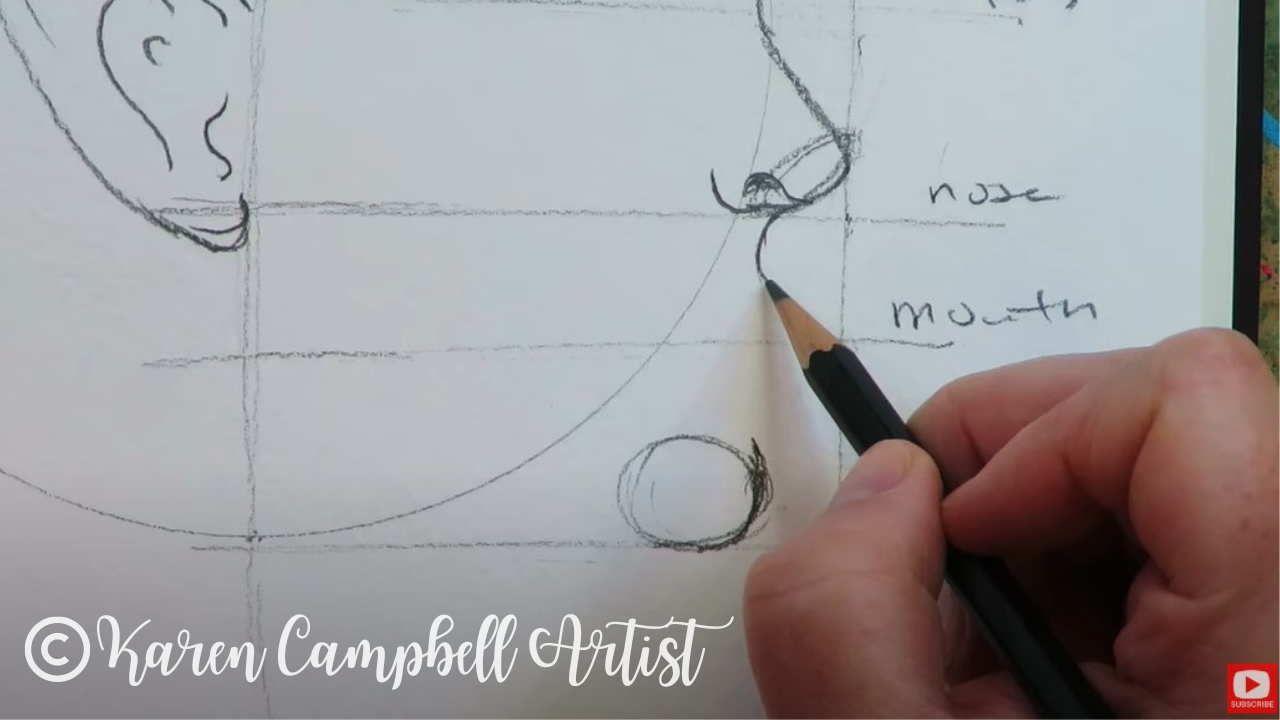
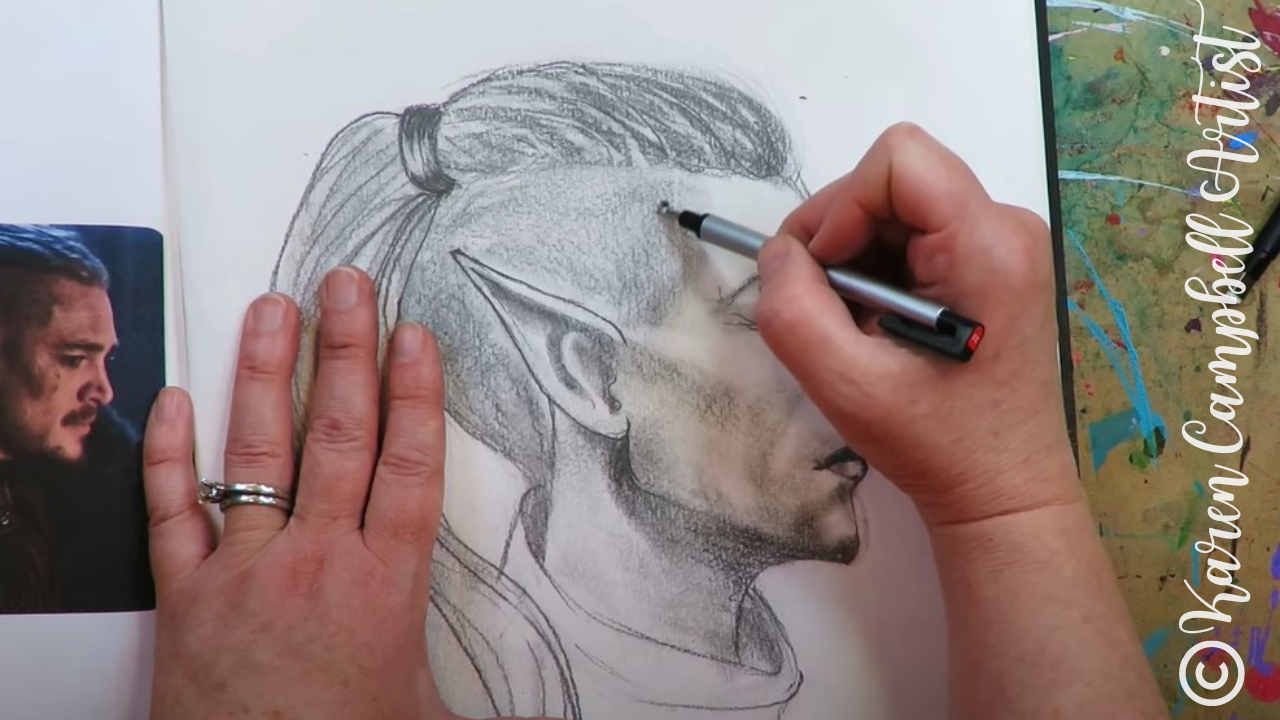
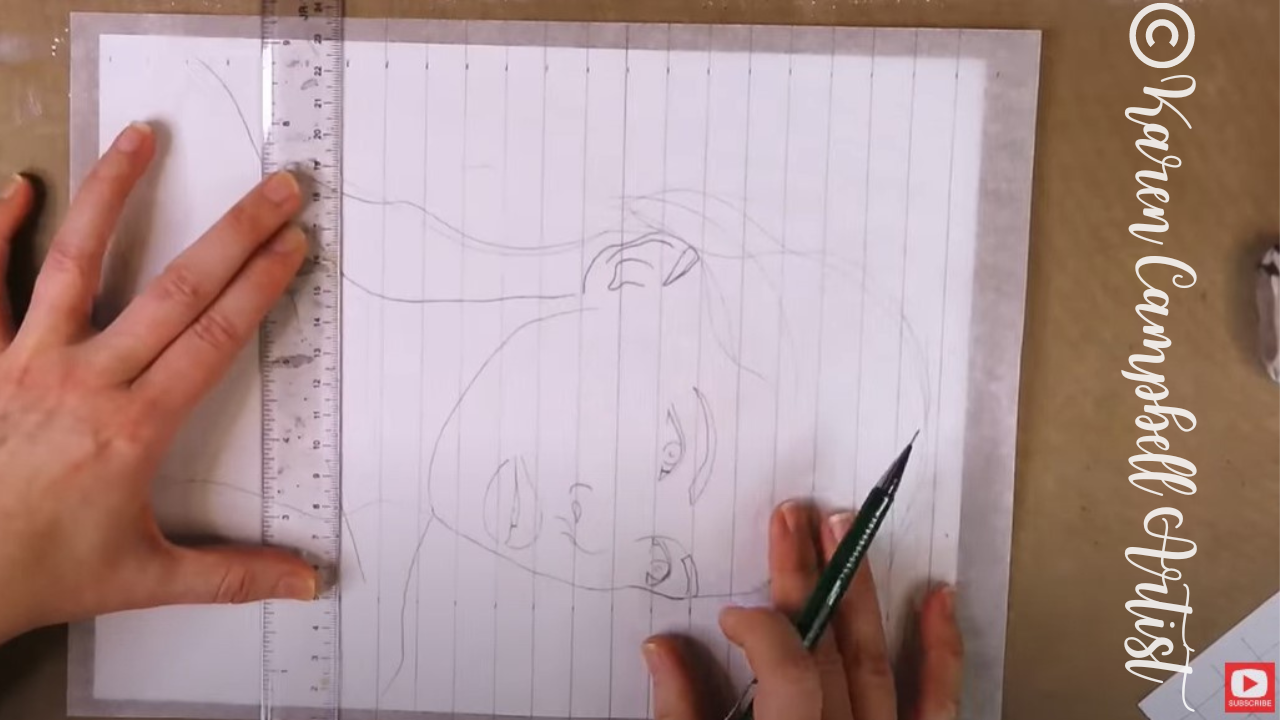
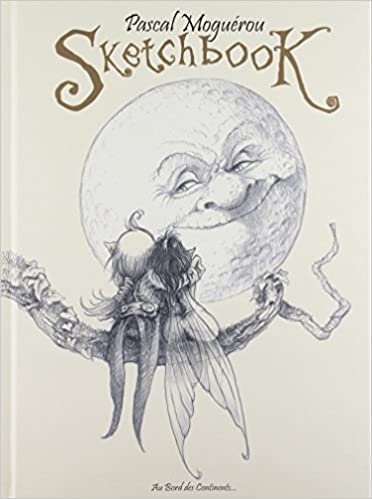
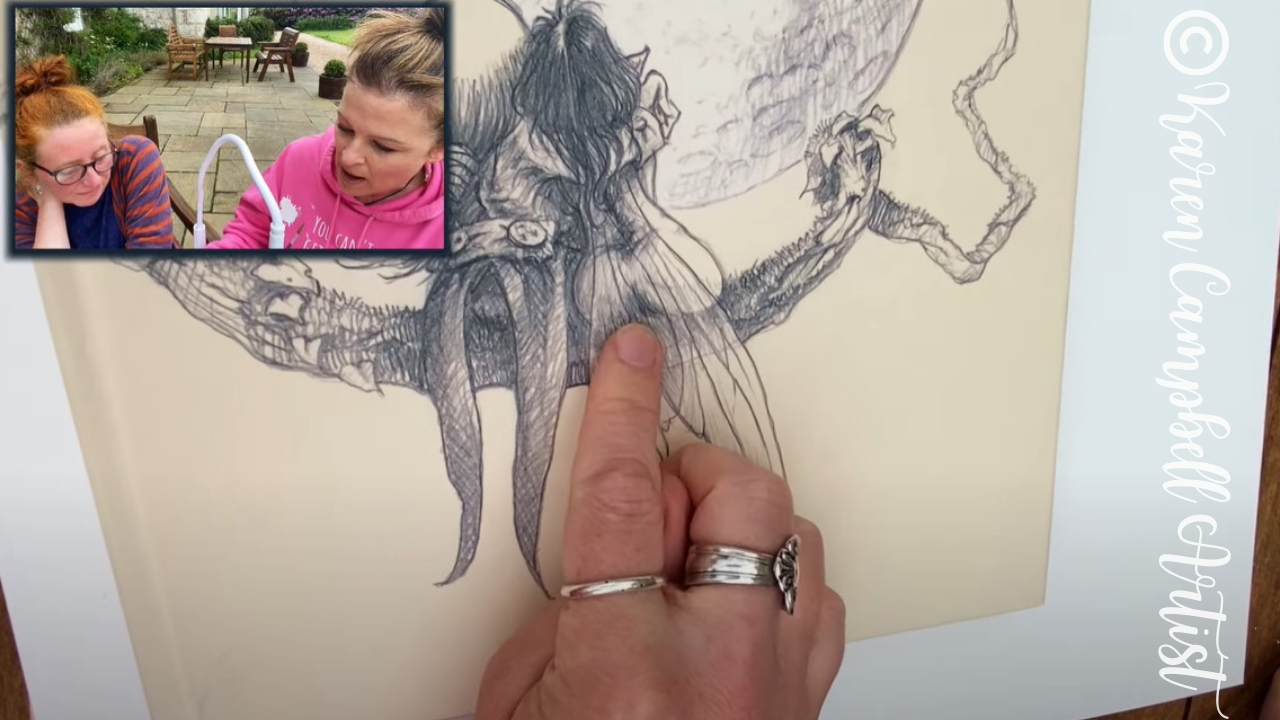
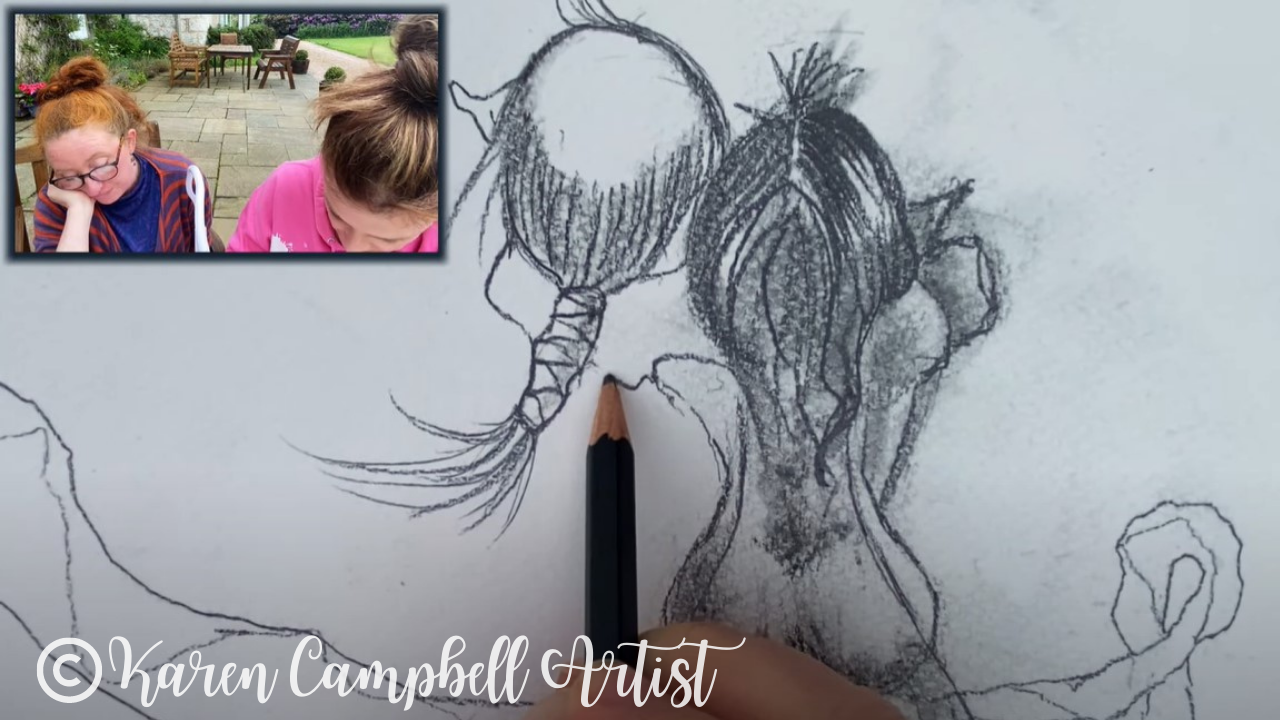
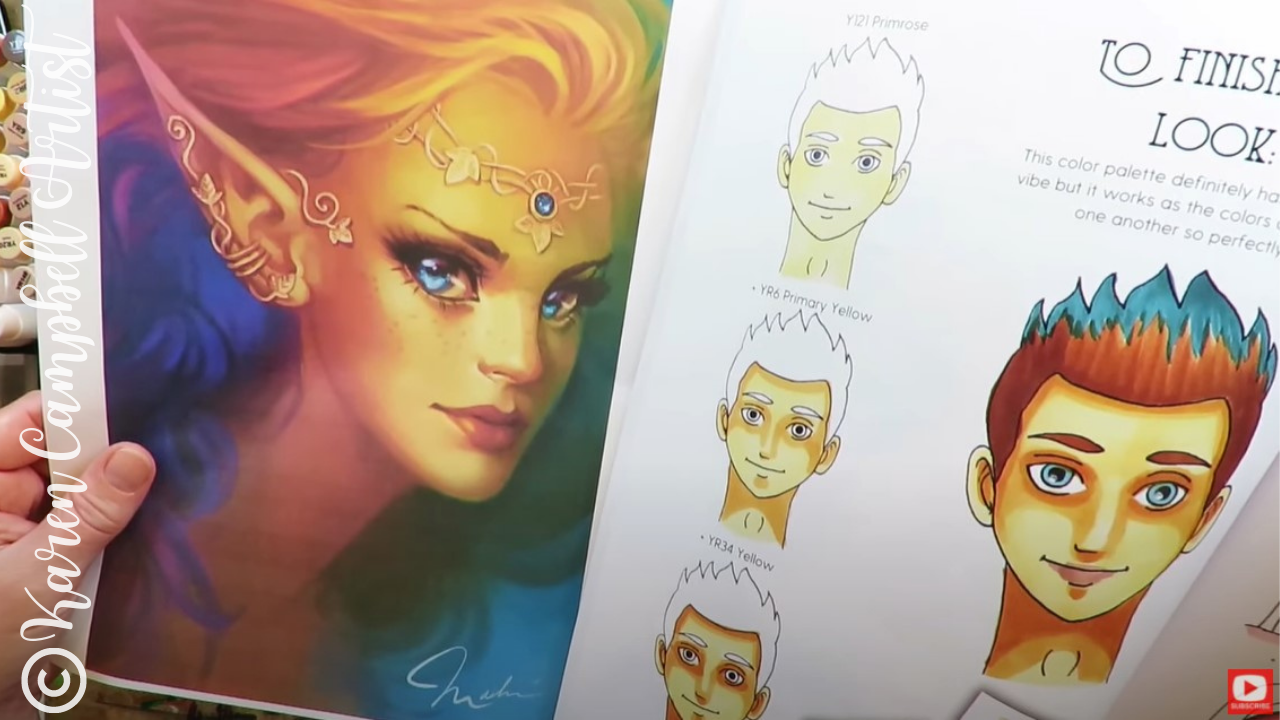
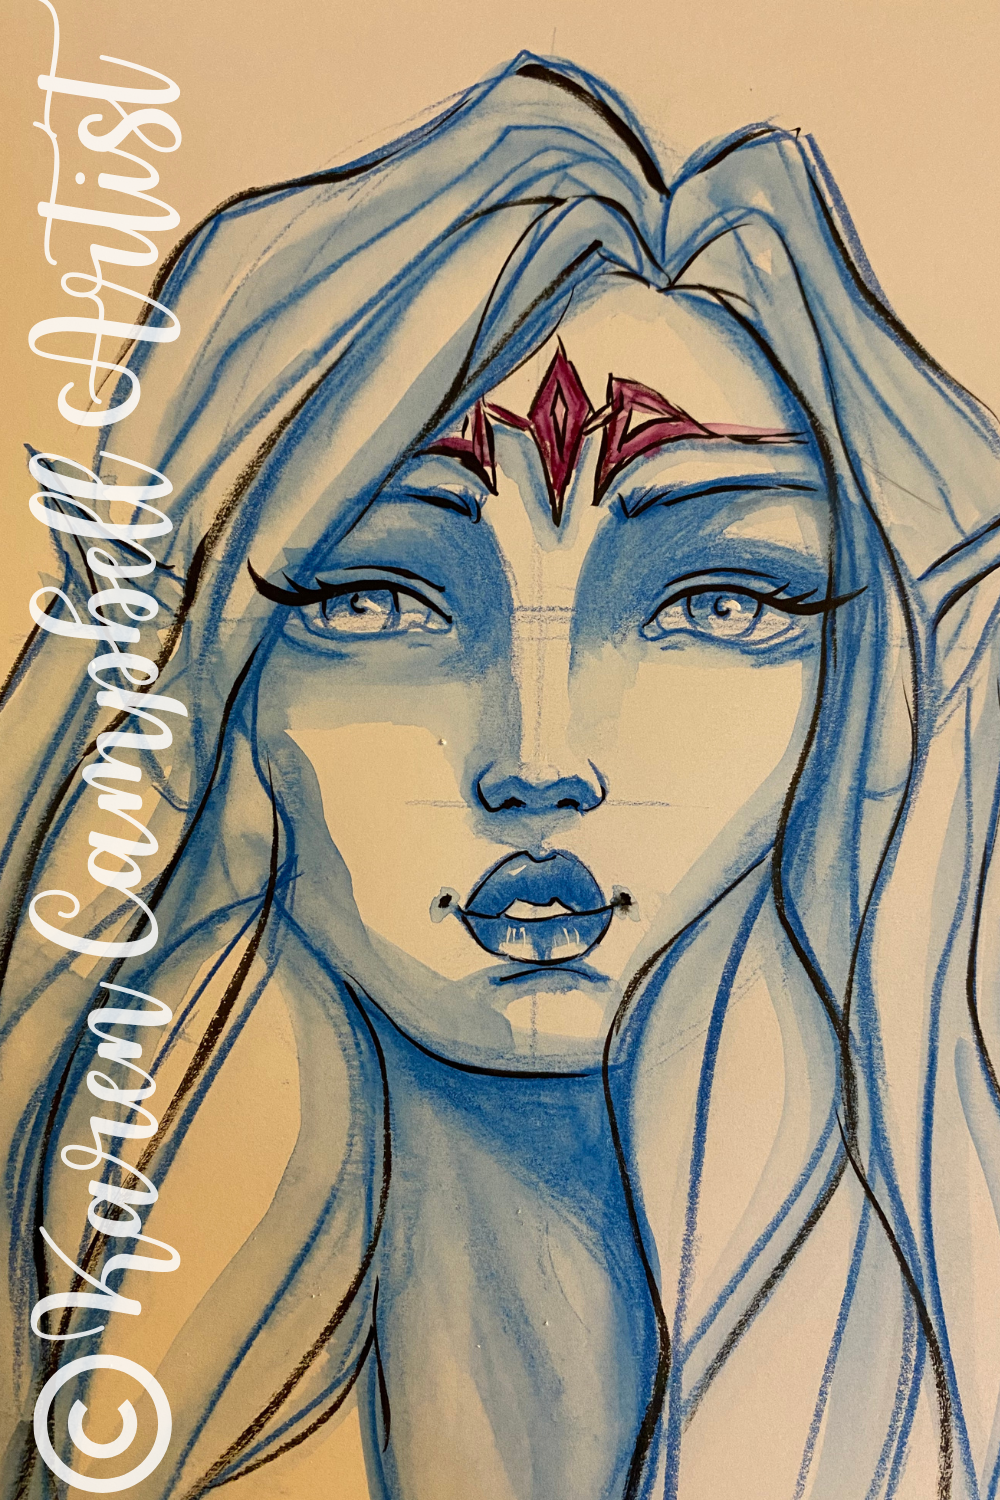
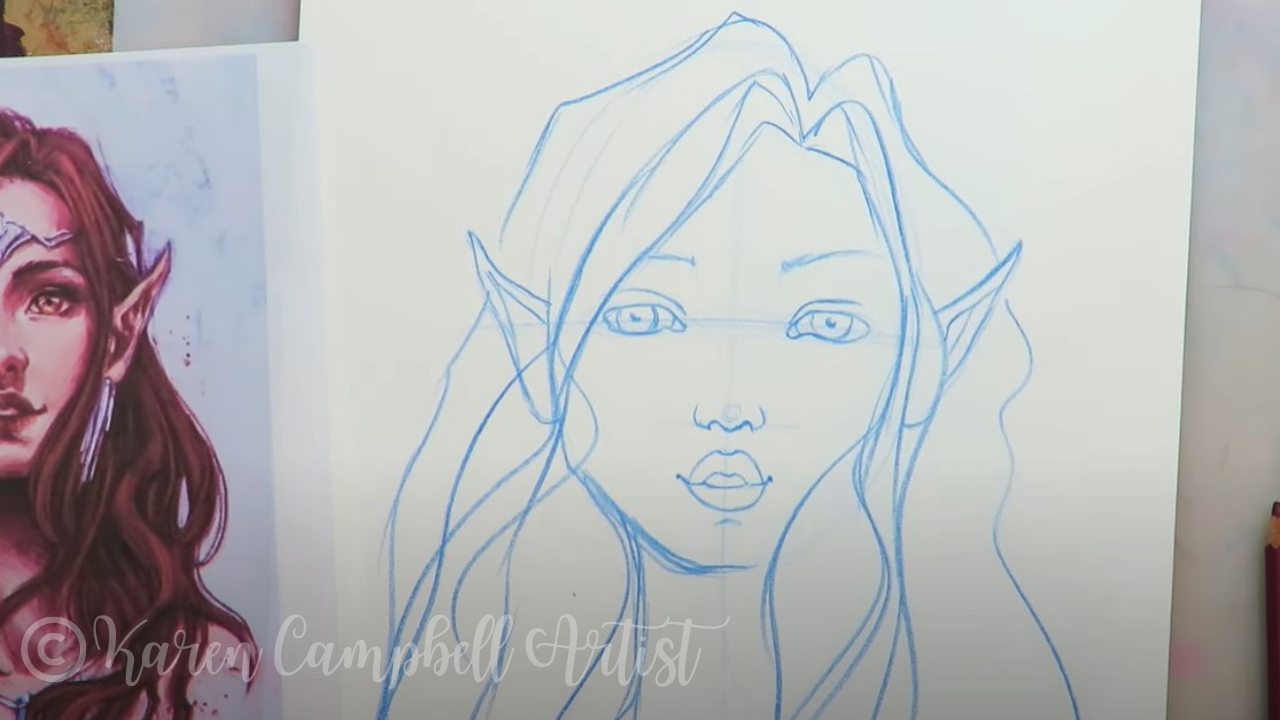
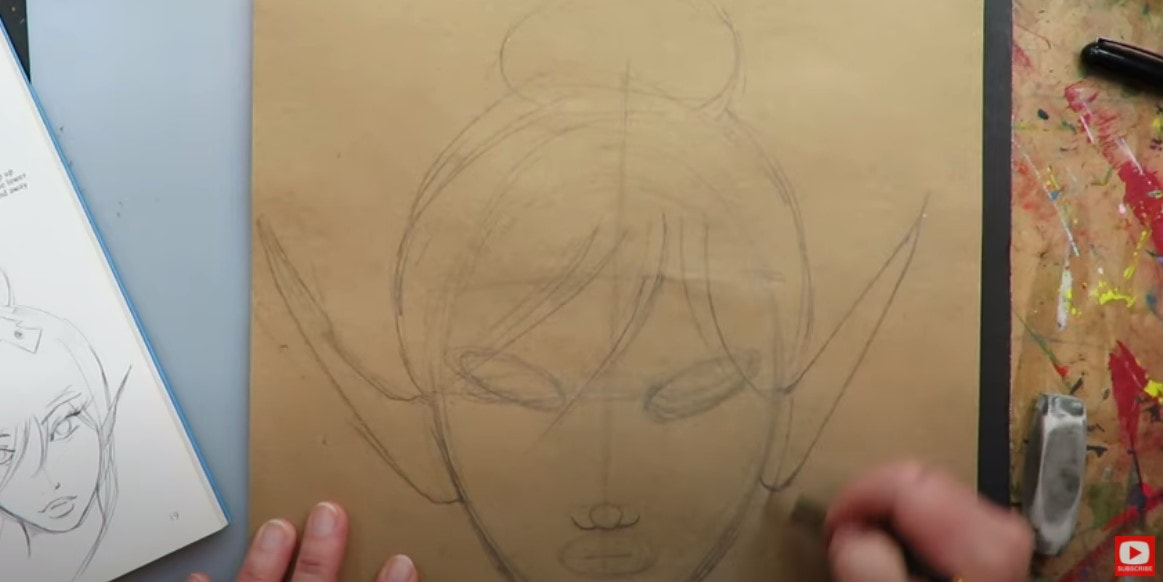
Today's fairy drawing reference comes from a cool art magazine I picked up a couple of months ago called Sketchbooks. I love the downturned head of this creepy fairy! If you've never drawn a head tilted down like this - don't worry, I've got you! Click over to the video and I'll show you how to do it step-by-step.
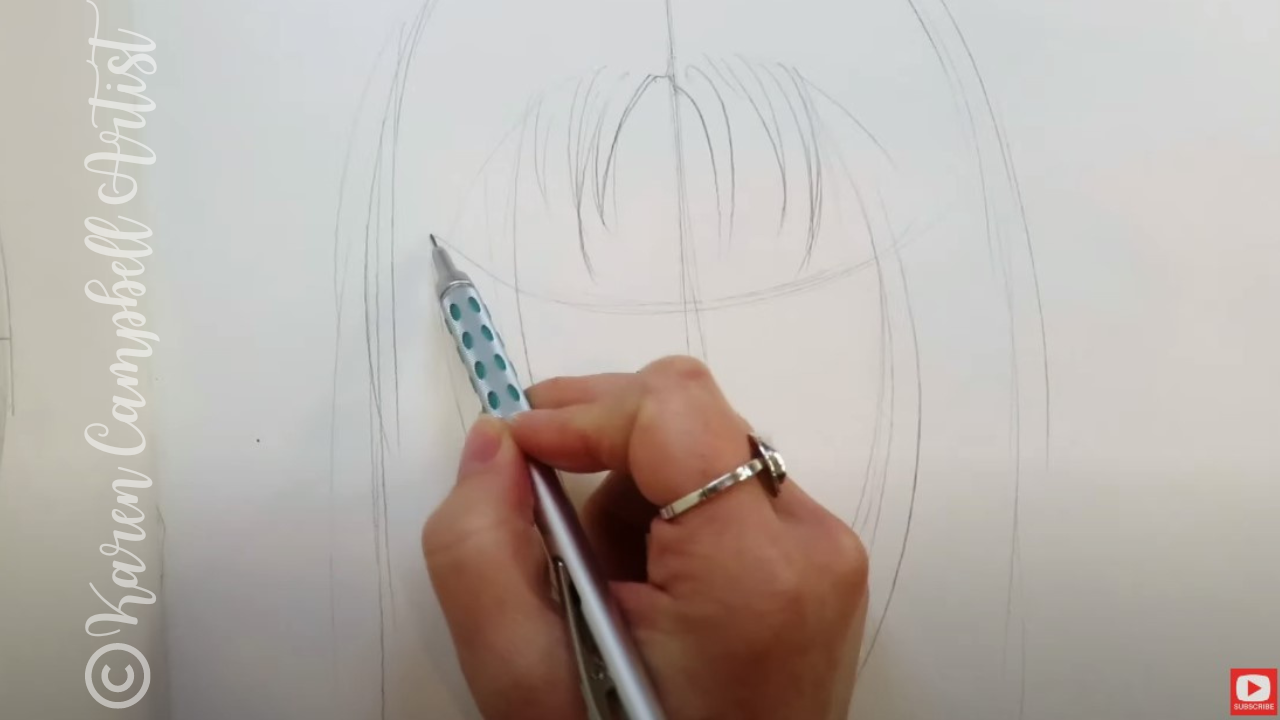
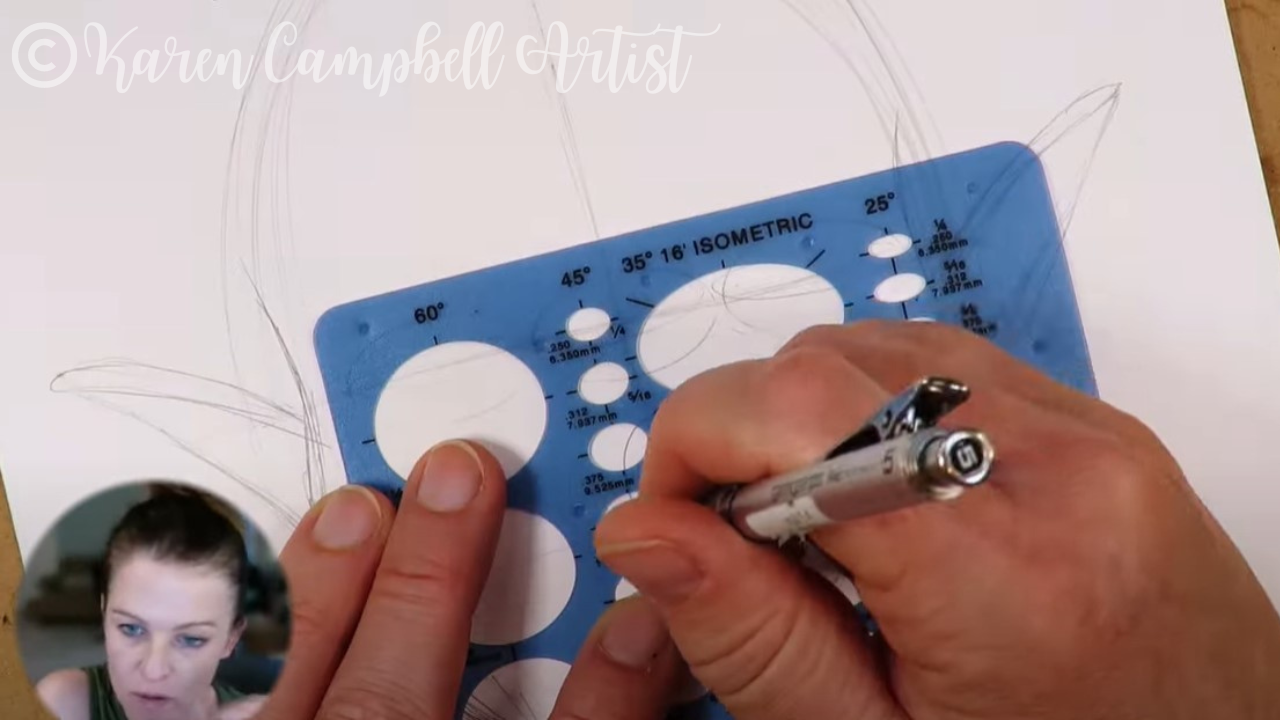
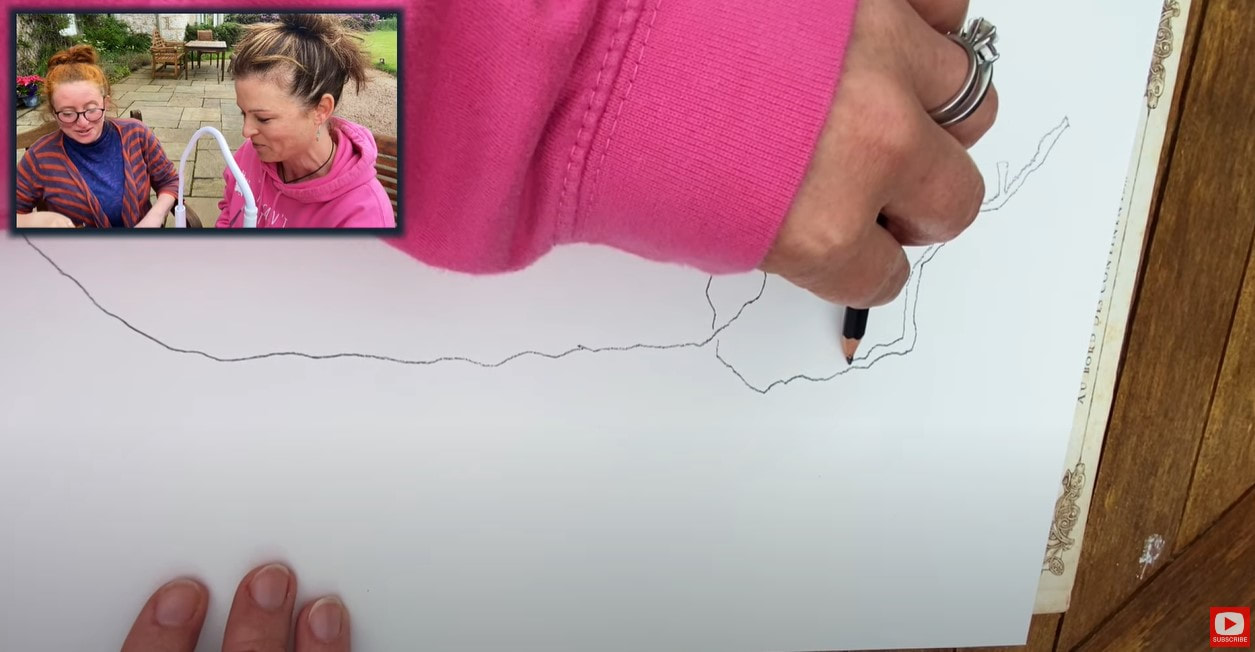
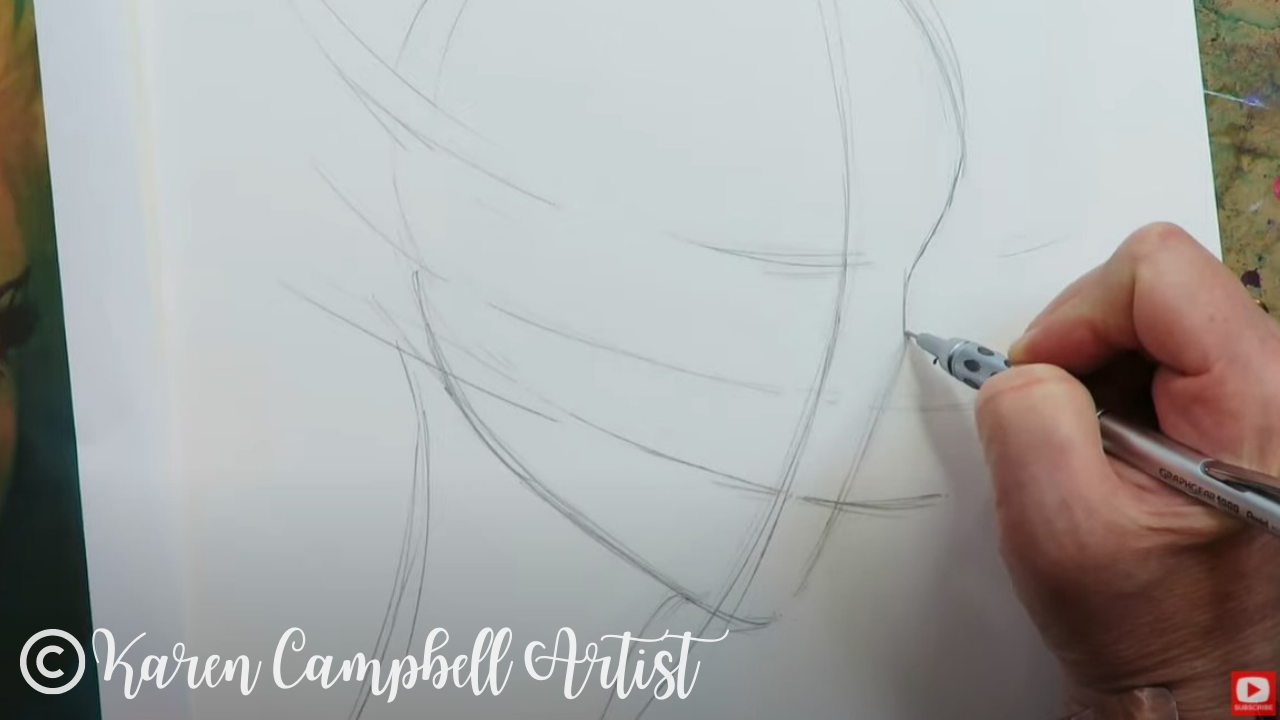
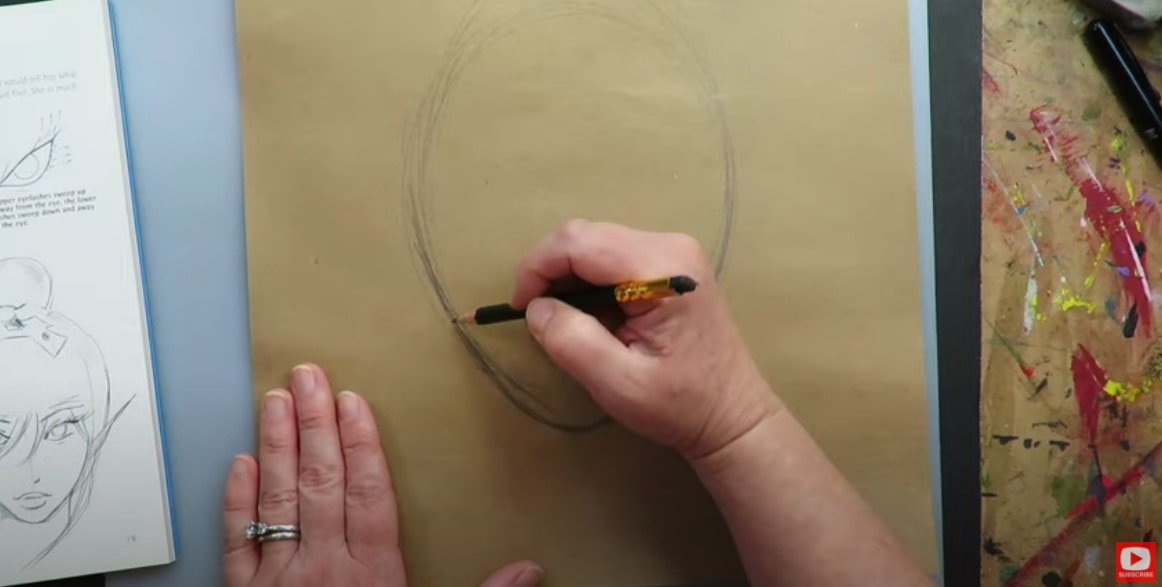
Typically I start my faces off by sketching a zillion ovals, but today we're starting with the hair because it's key to replicating the head tilt in our reference photo.
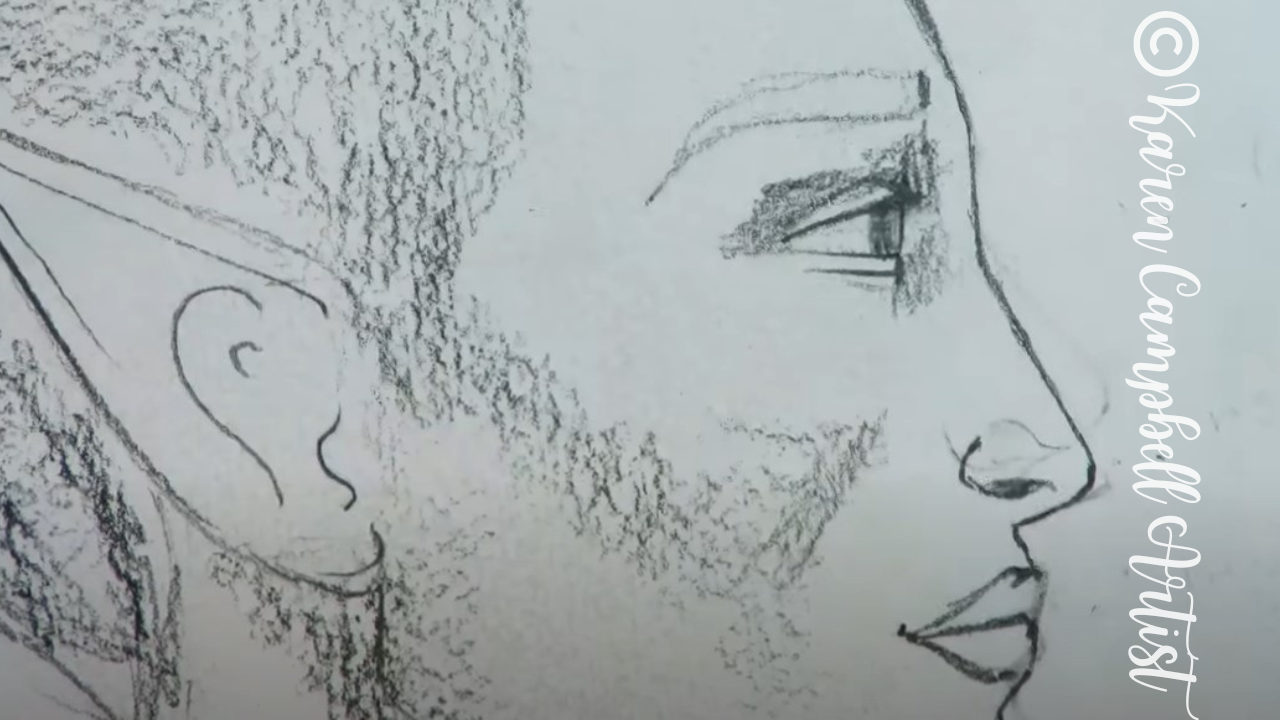
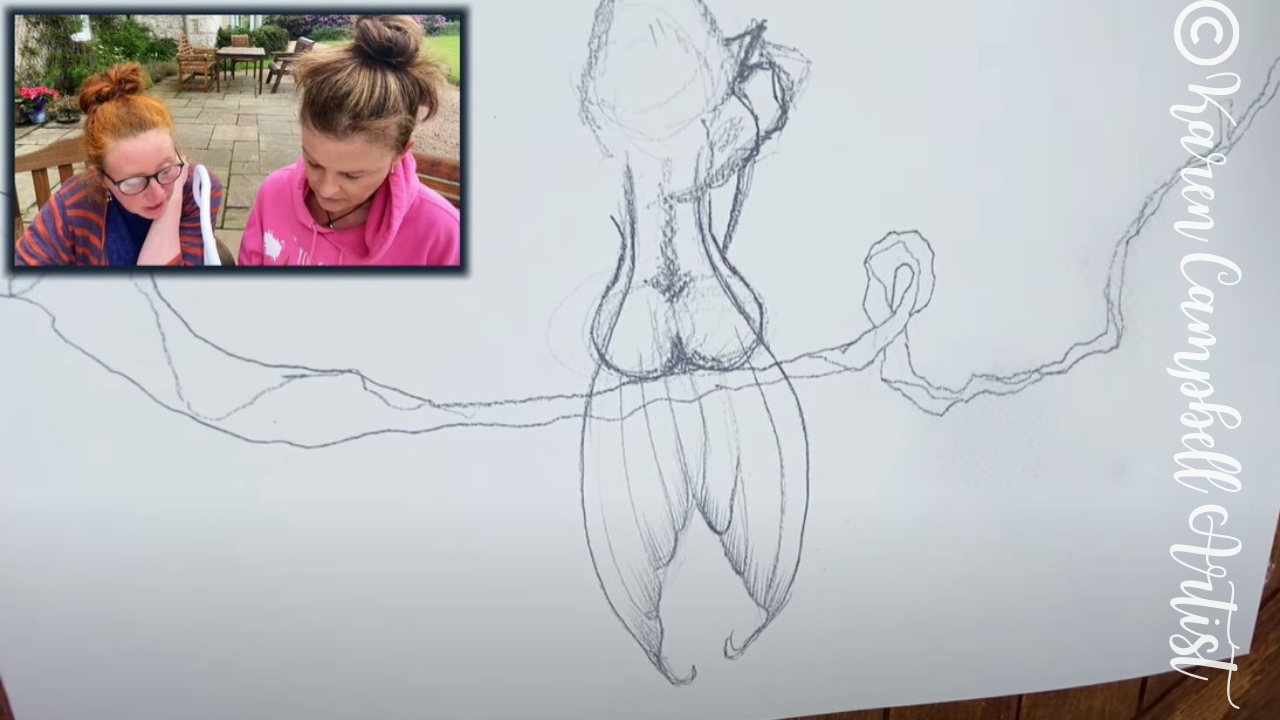
Lots of people are intimidated by drawing hair, so if this is you - you're not alone. When students tell me they're not sure how to draw hair, I teach them to break it down into "clumps," as I do in this lesson. As you'll see in the video, we're keeping things simple and not getting into the nitty gritty of drawing every hair strand. In fact, most of the clumps I draw are kinda like long skinny triangles. Easy, right? 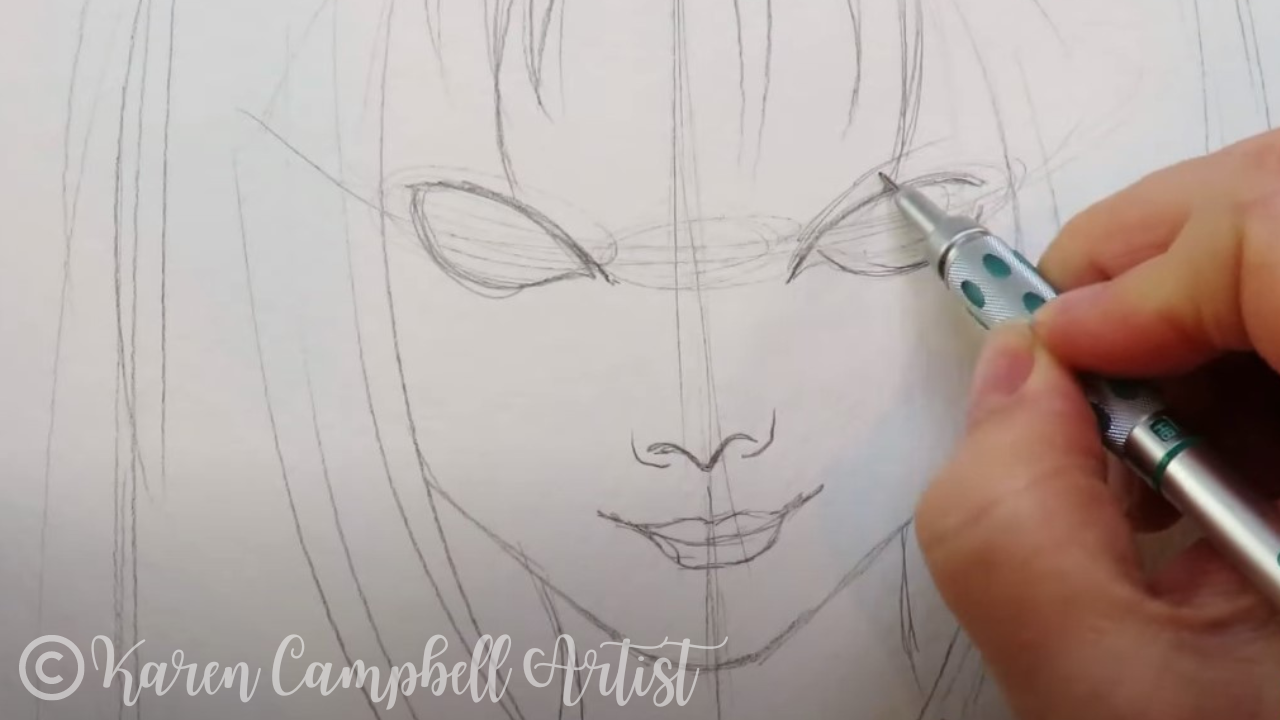
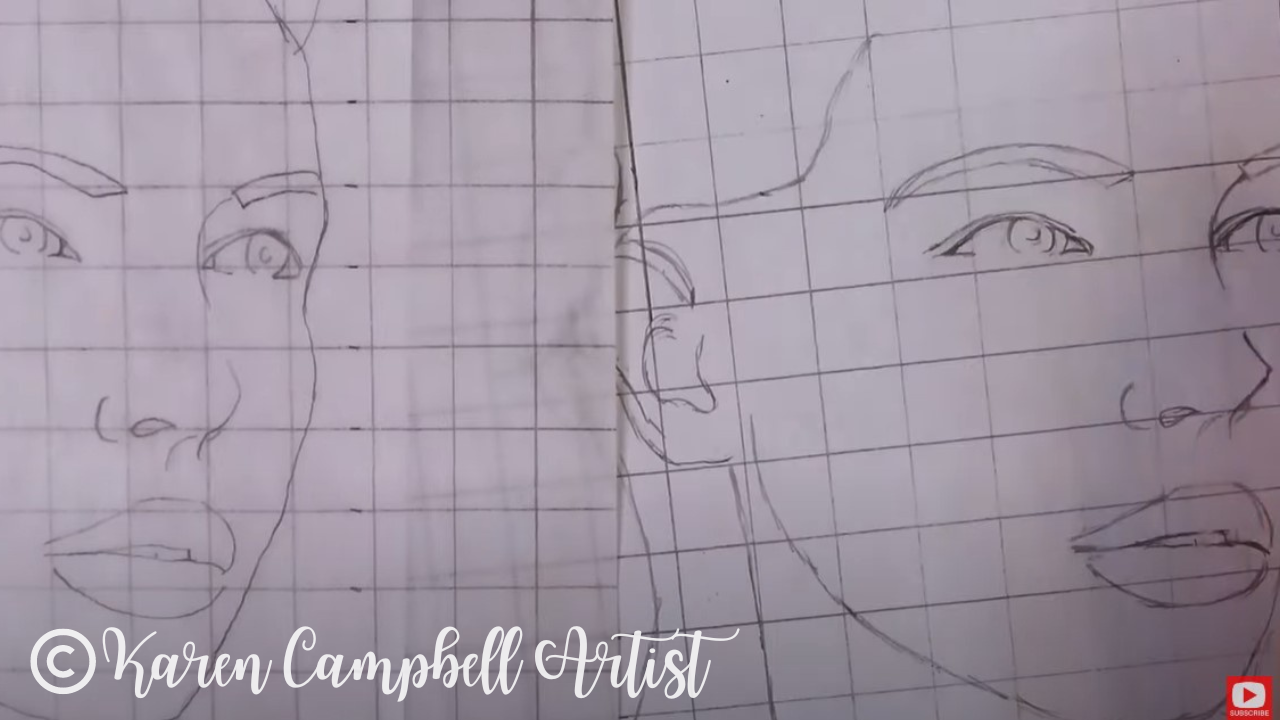
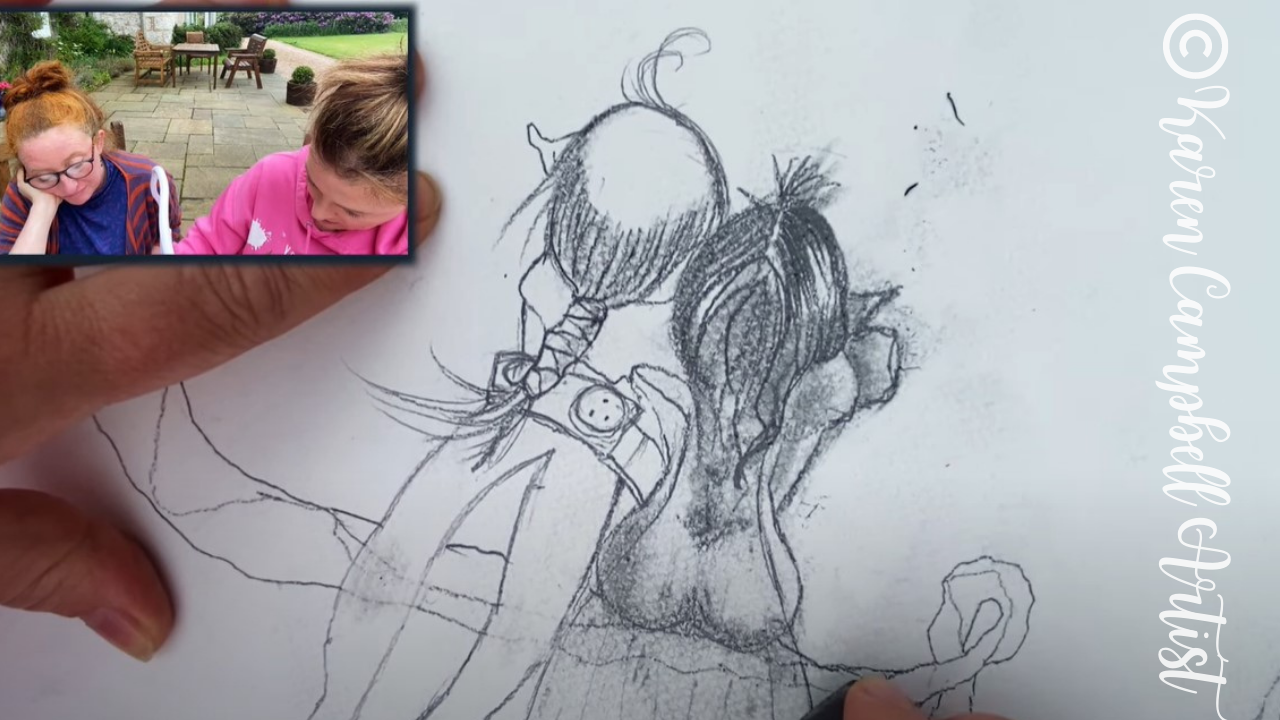
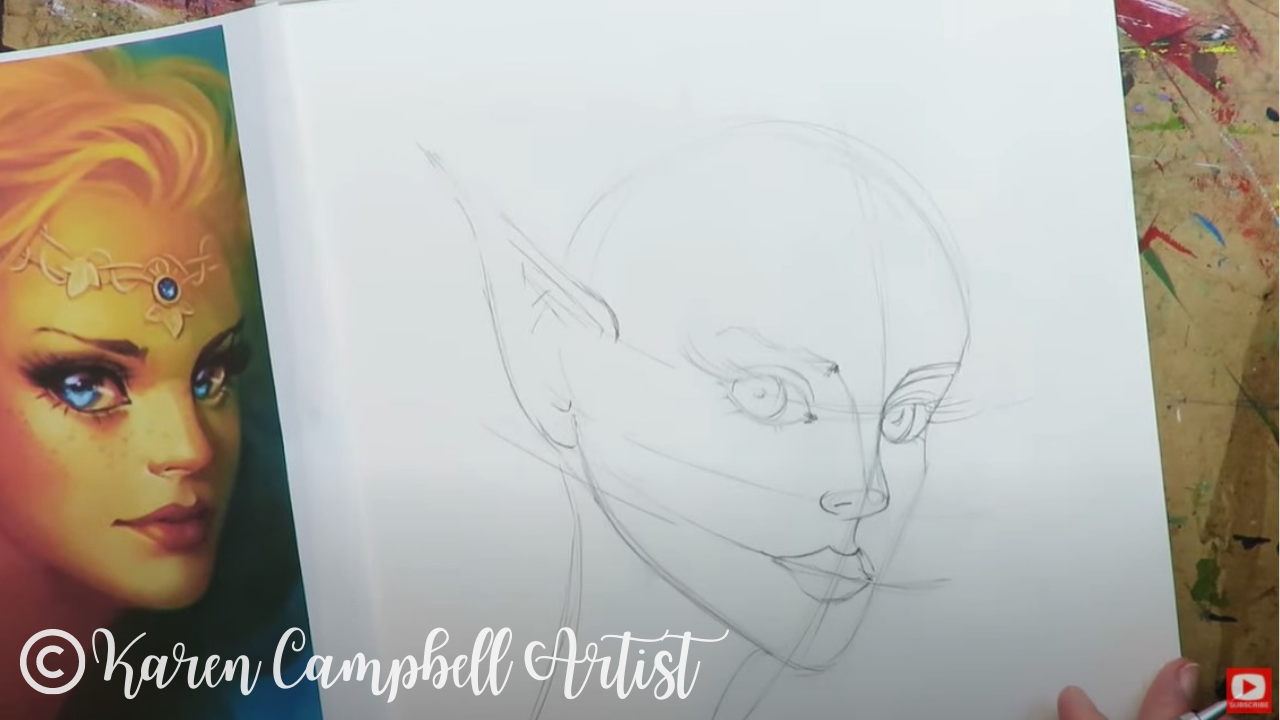
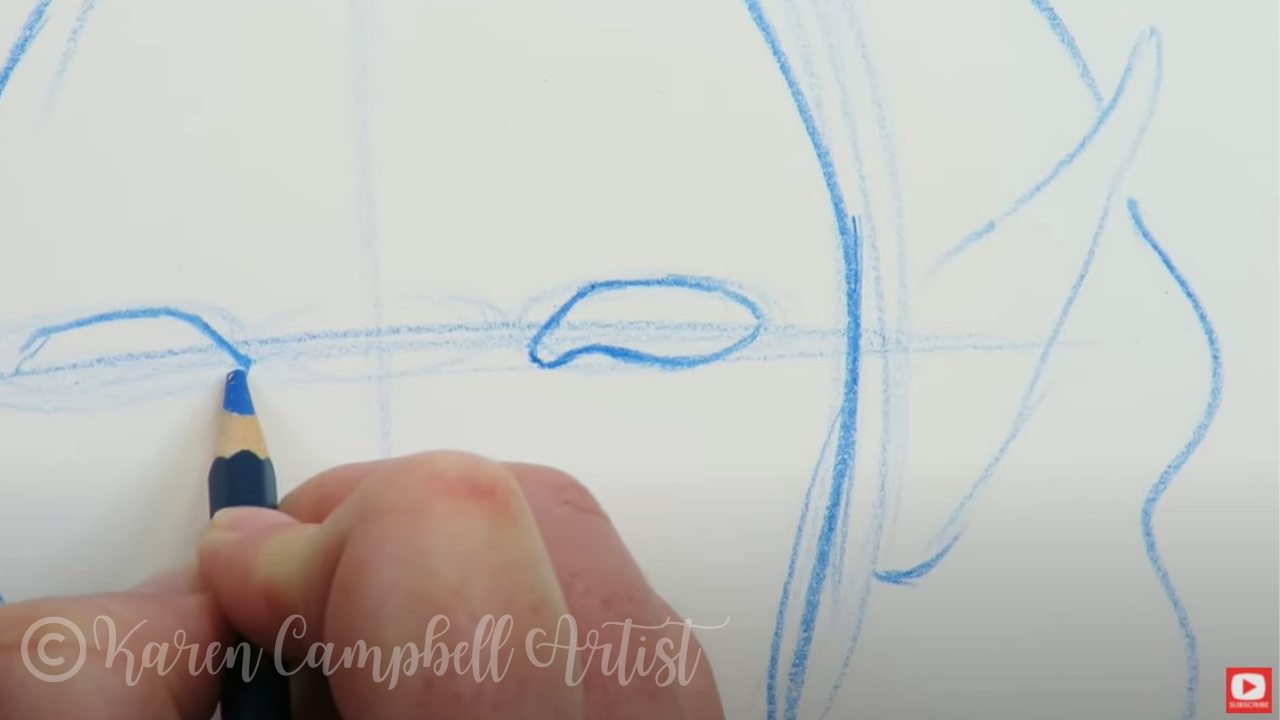
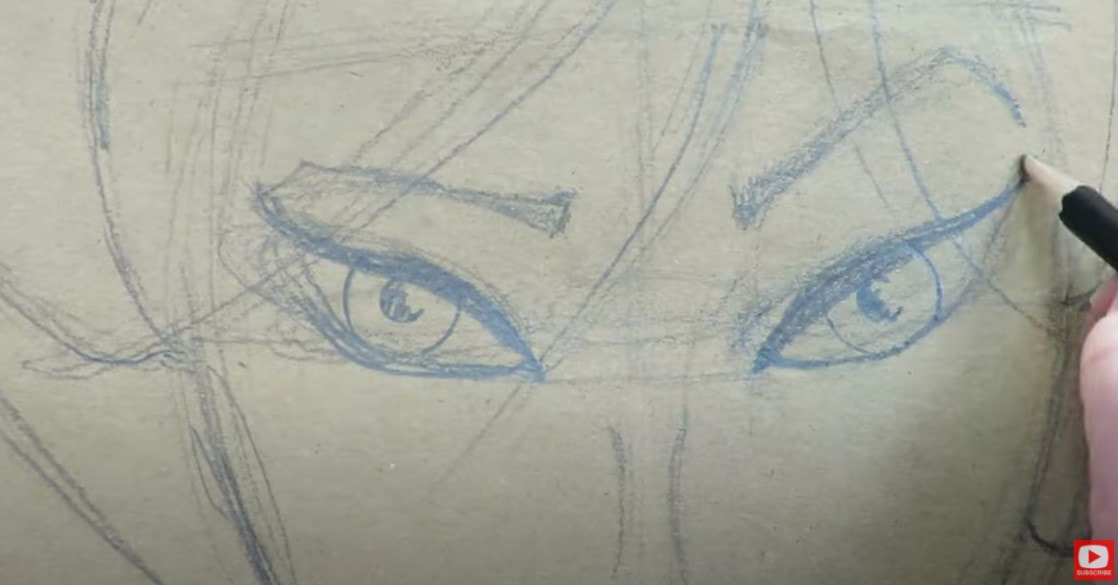
If drawing eyes evenly is something you're trying to work on, watch how I sketch the eyes in for this fairy. I often tend to go back and forth between each eye - drawing one line at a time, then mirroring what I just did on the first eye to the second.
I've found this process of building both eyes up at the same time is much easier than drawing one whole eye and trying to draw the second eye to match. If you feel like your eyes are still coming out uneven, don't stress. None of us are exactly proportional as humans anyway. Just keep practicing - sometimes that's all you need! 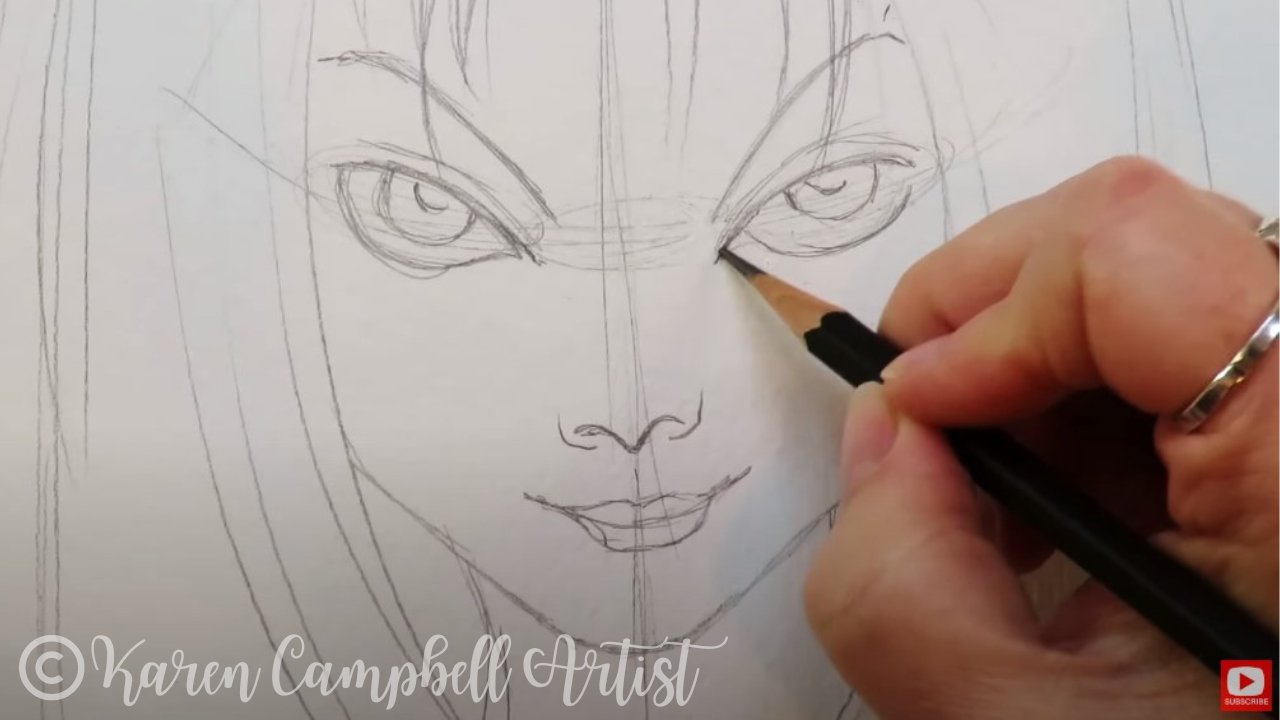
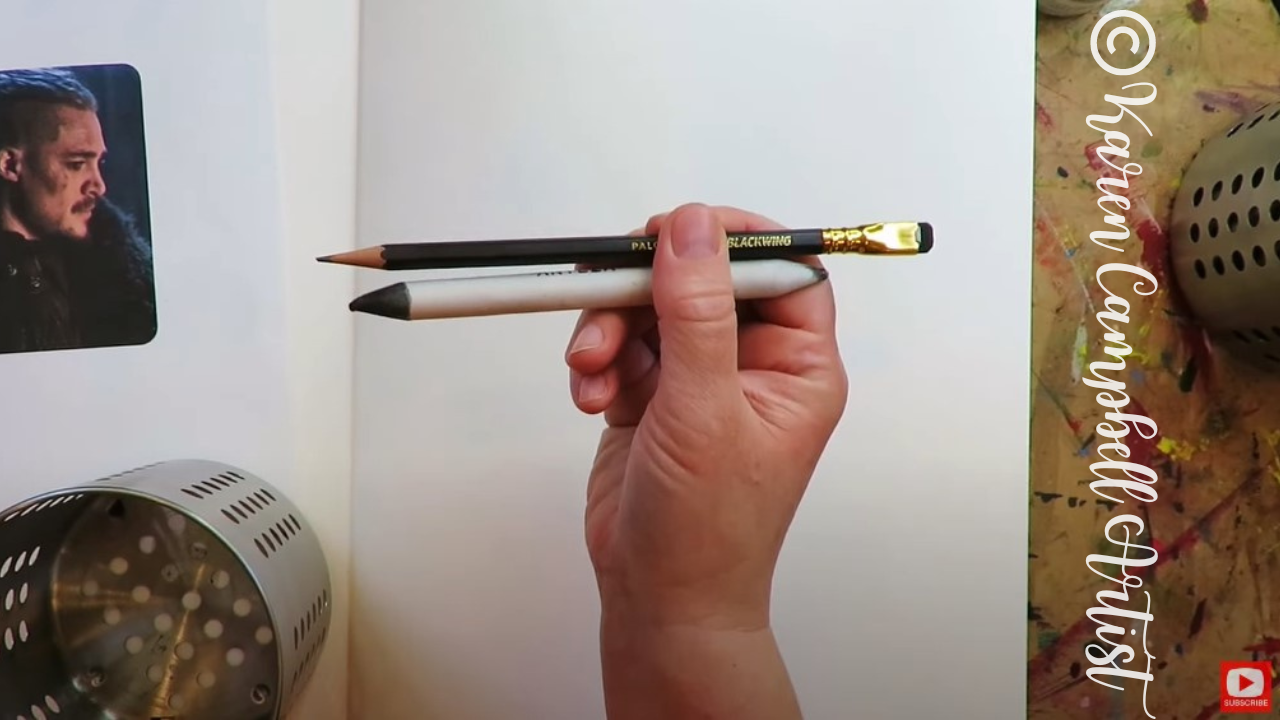
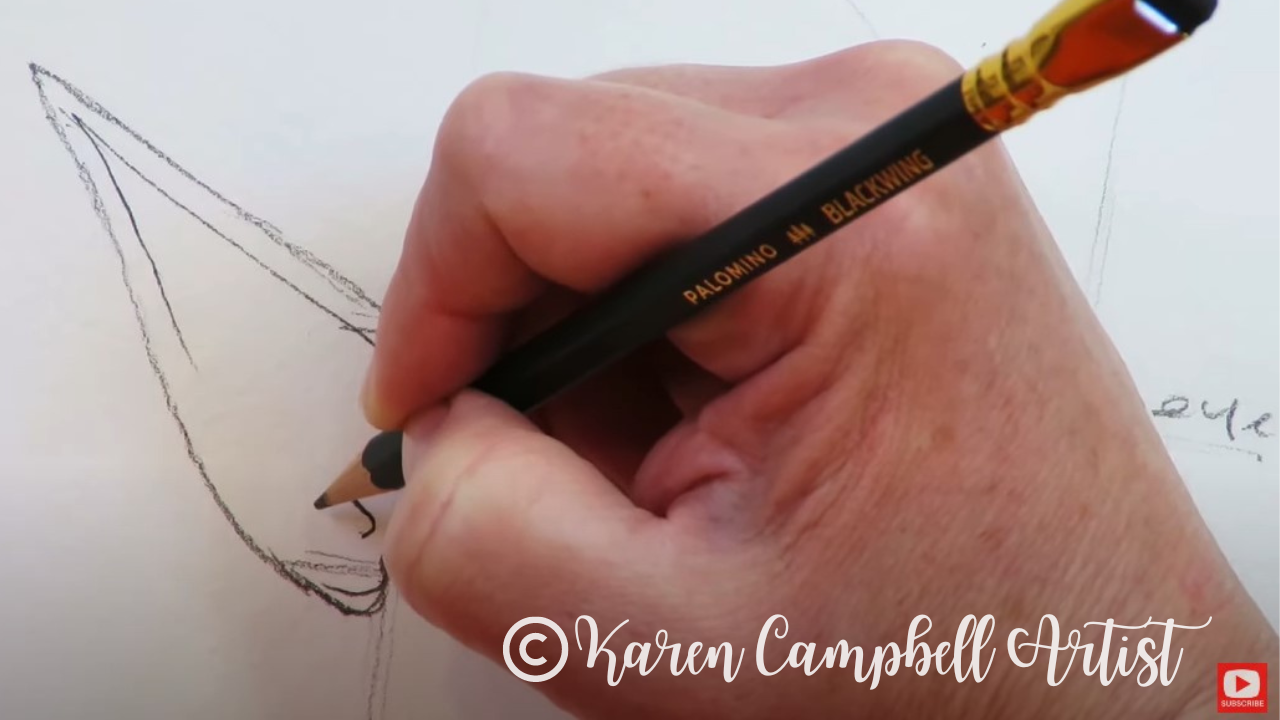
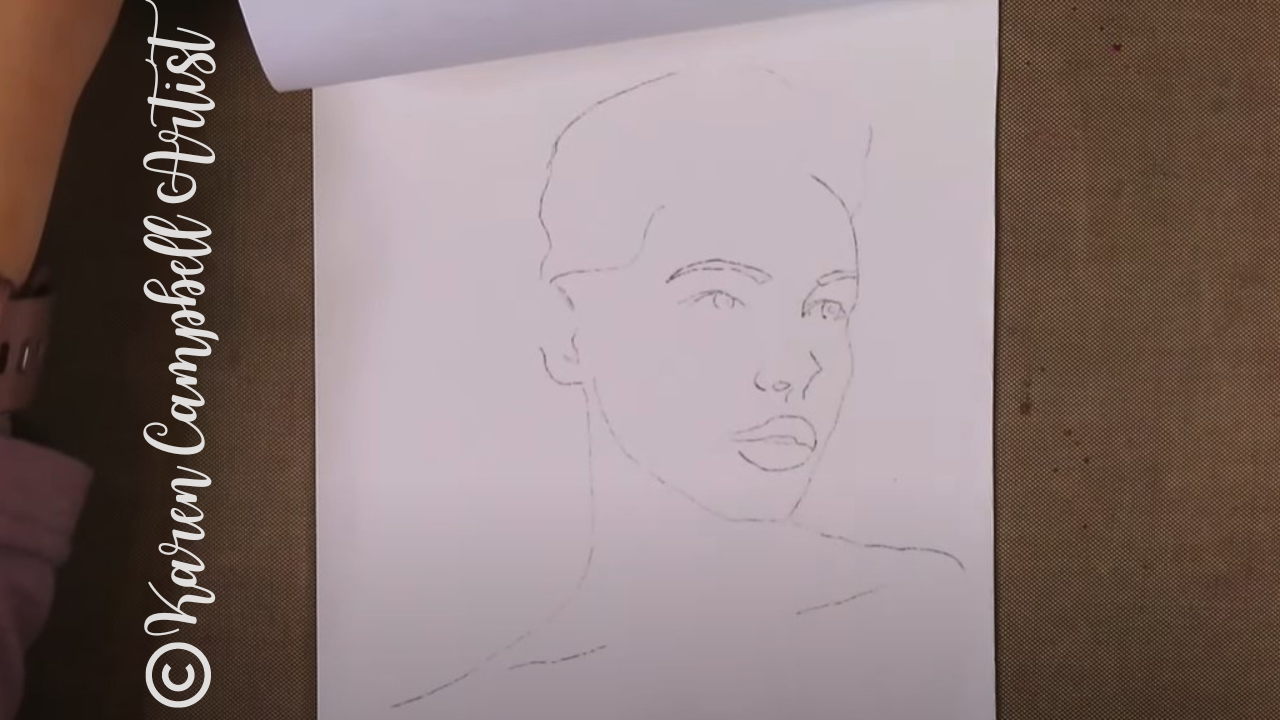
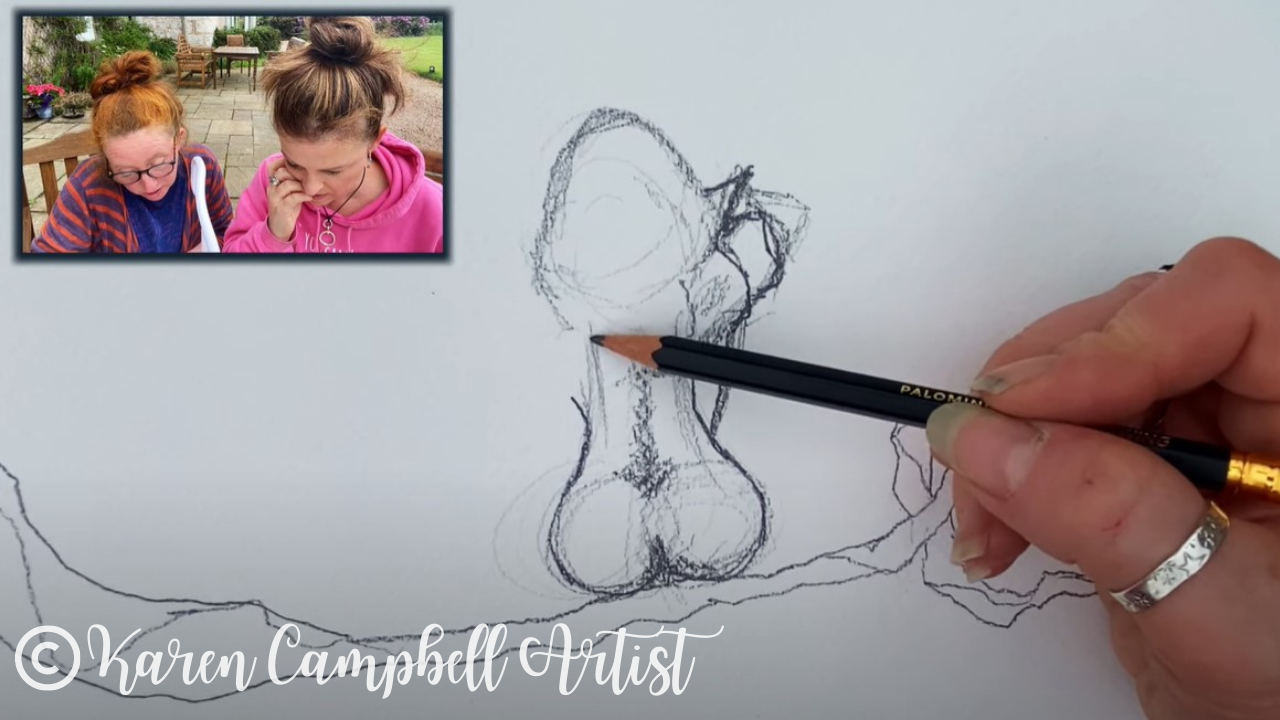
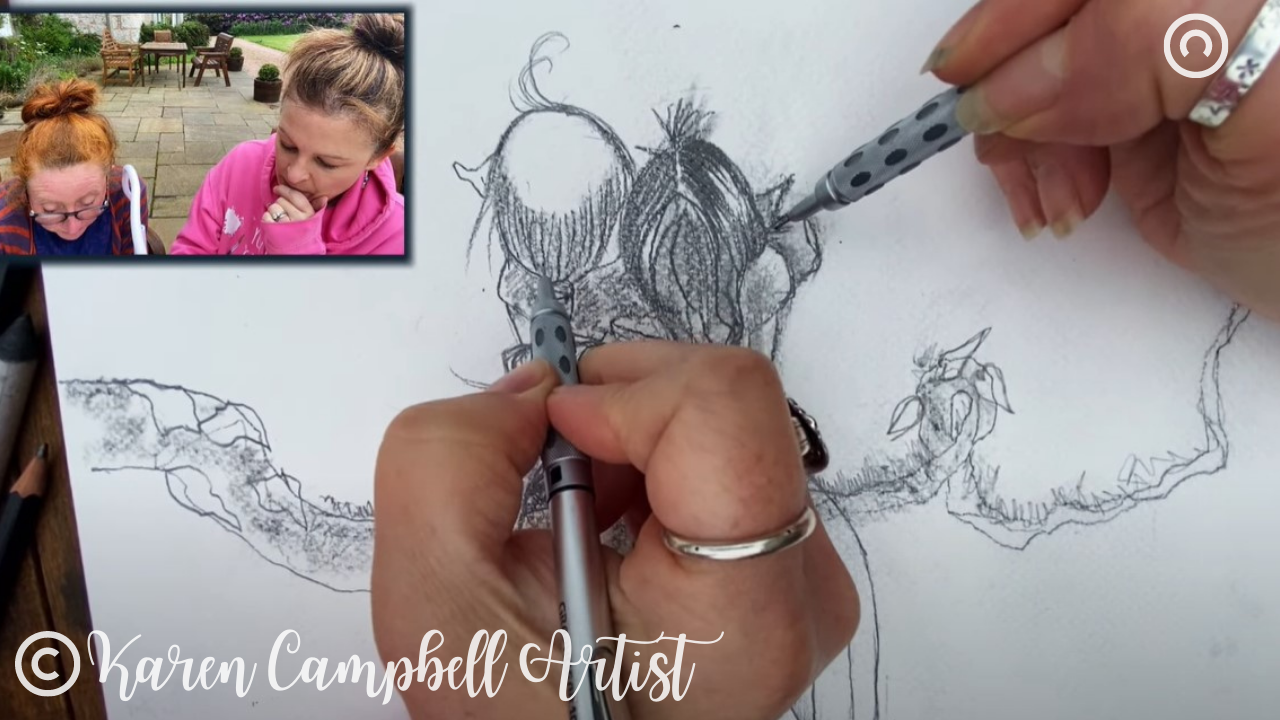
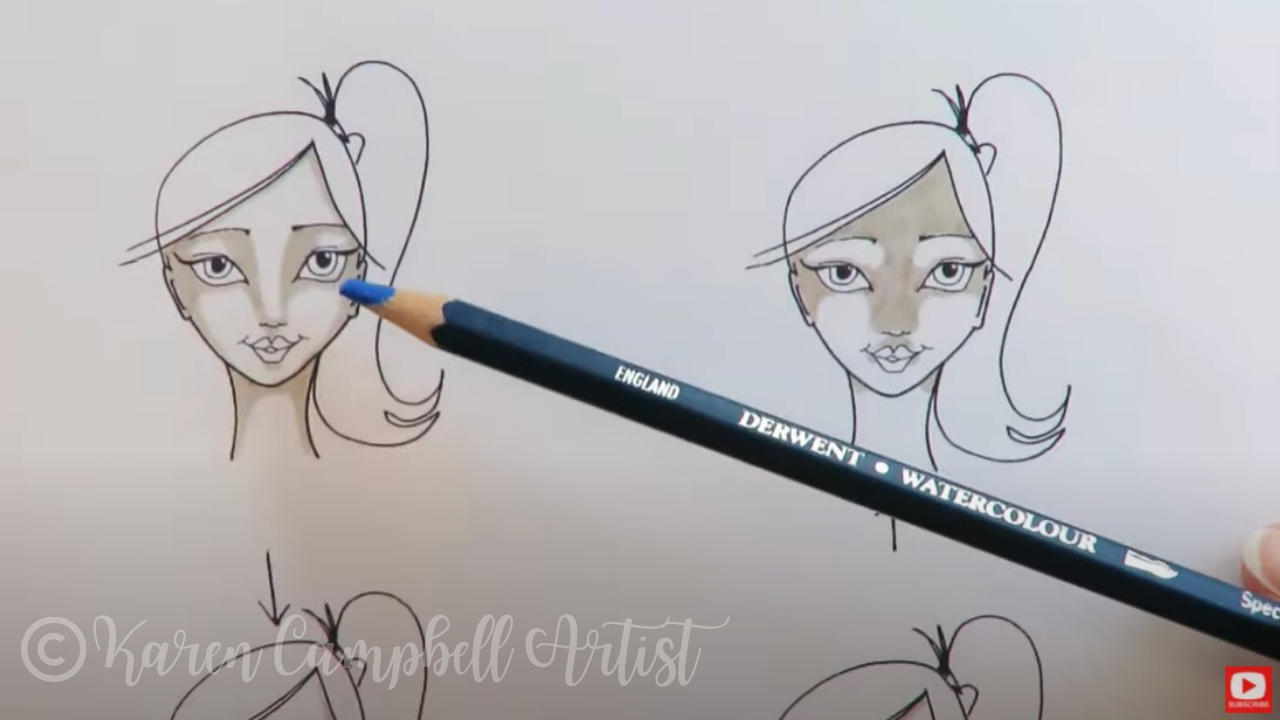
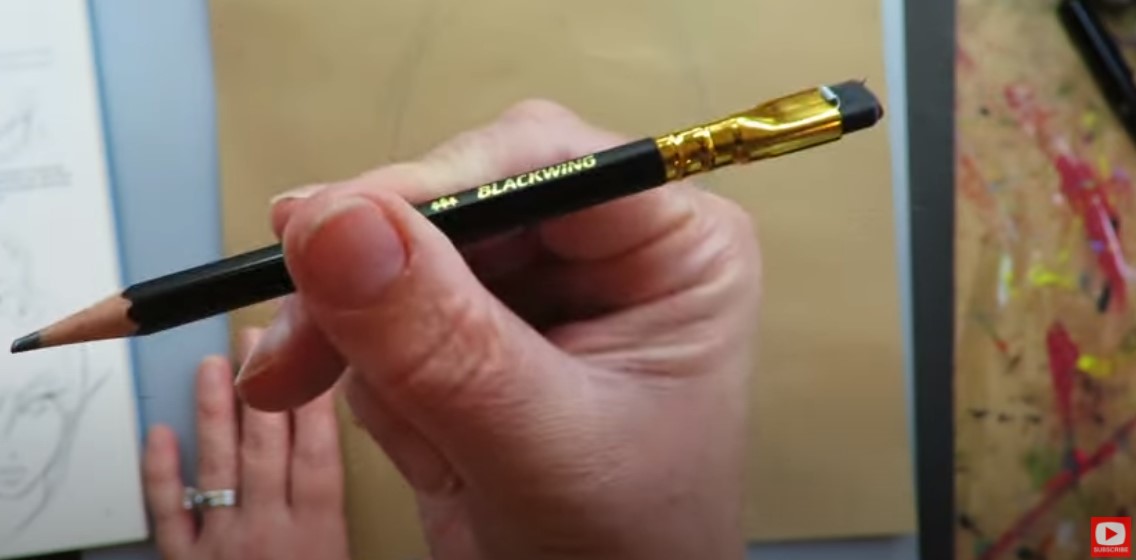
After I get the main lines of our fairy sketched in with my mechanical pencil, I switch over to my Blackwing pencil to add a little face shading. I'm obsessed with these because they're SO soft and make shading a breeze.
These are fairly expensive, so don't feel like you have to buy them in order to be successful. Blackwings feel like a 6B or 8B drawing pencil to me, so reach for one of those if you have a drawing pencil set already. If you don't, that's fine too! Use what you have on hand. A #2 school pencil is totally fine! 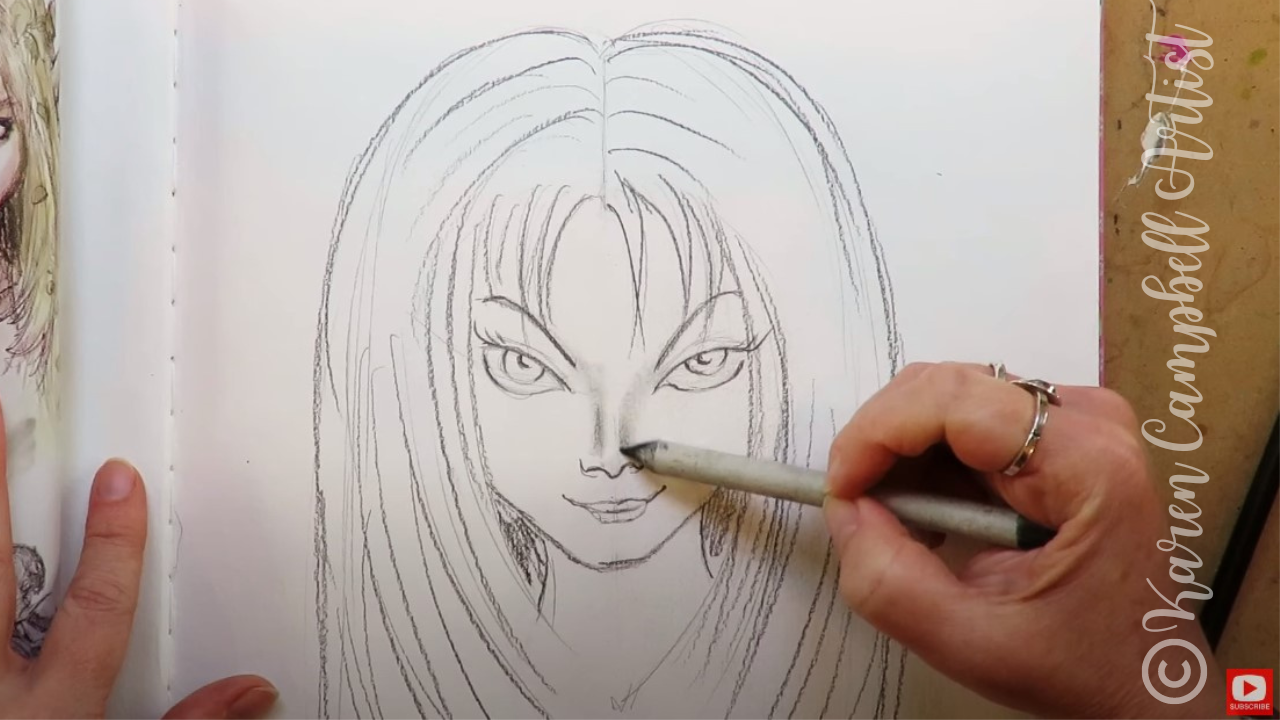
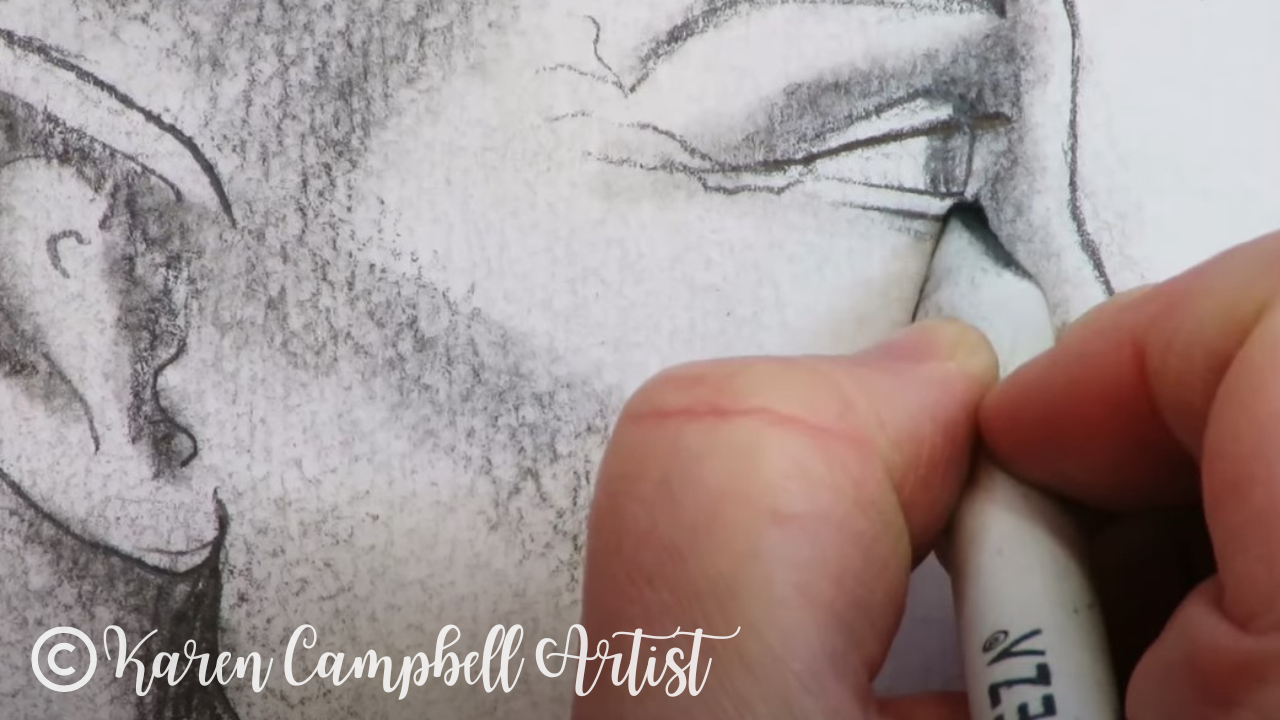
My face shading technique for today is super simple. Just grab a dirty blending stump and "moosh" the graphite around wherever you want to add shadows. If you don't have a blending stump, a cue tip or your finger will do the trick.
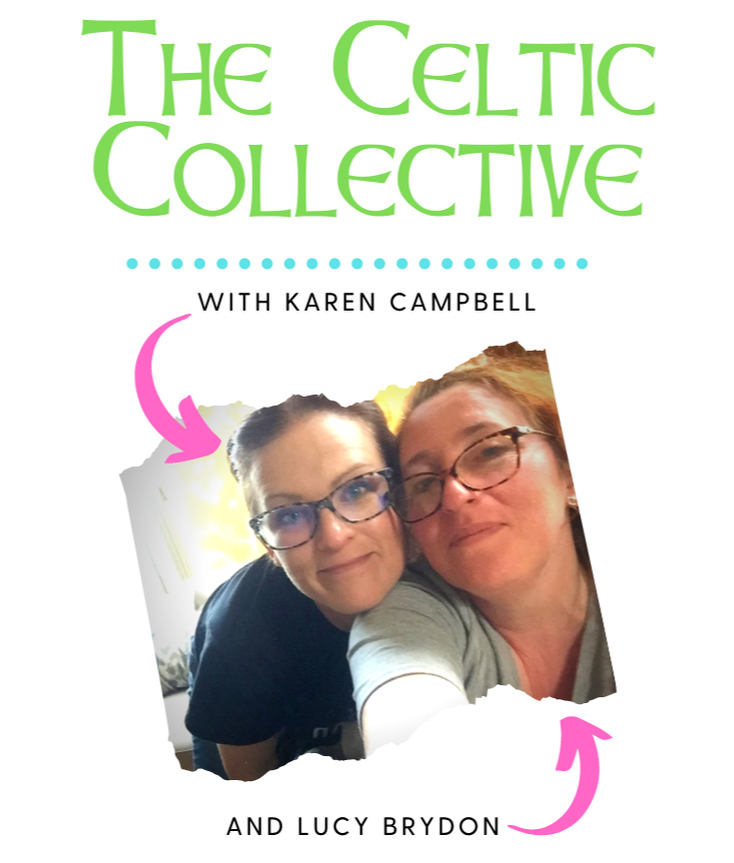
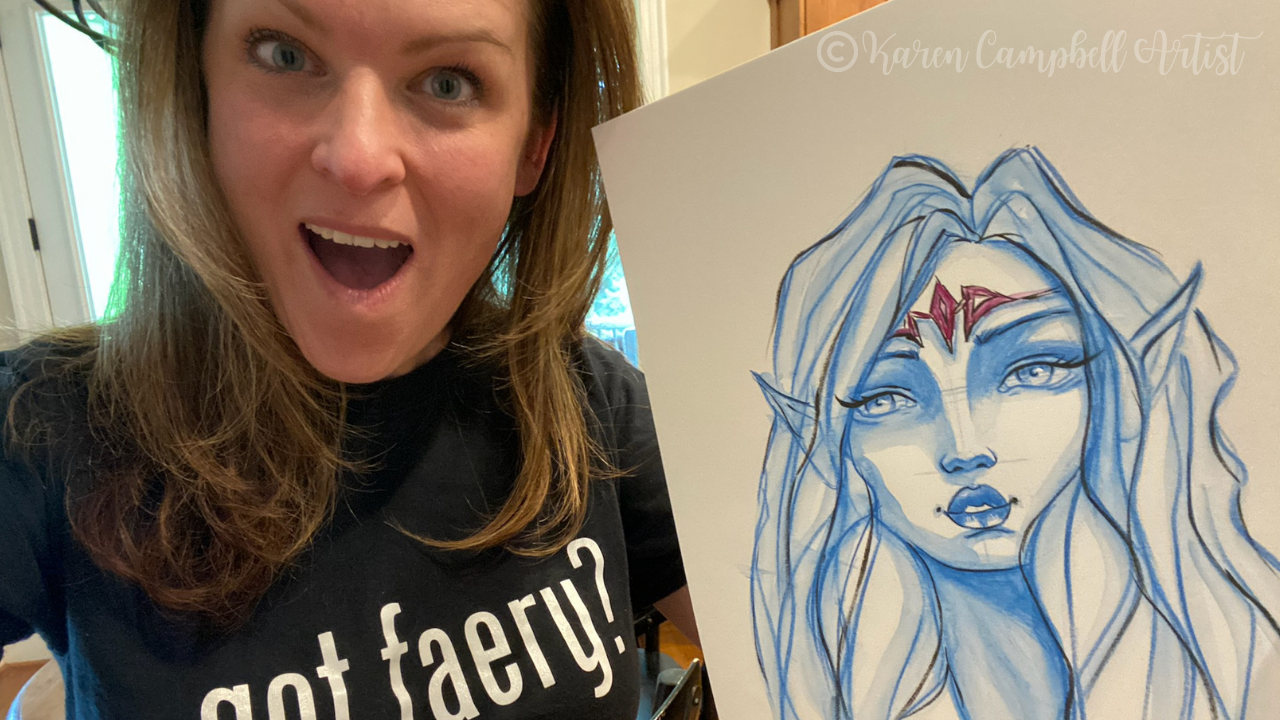
Did you notice I forgot to draw in some fairy ears? ? Head over to PART TWO of this project to sketch those in, and learn how to add a layer of watercolor to really make your drawing pop! When you're finished drawing her, watch this video next to add watercolor! If you're OBSESSED with fairies and fantasy art like this, you might just LOVE the Celtic Collective over at Awesome Art School that I run with my Scottish bestie, Lucy Brydon. Add your name to the waitlist to be notified when it's open for enrollment. You might ALSO enjoy our podcast 1Scot,1 Not. We talk about everything under the sun to do with Scotland - whether it's historical, fantasy, whatever. Just a quick warning - we have a blast and are totally ourselves on the podcast, which means there is some drinking and swearing. ❤️ CHECK OUT ALL my art books on AMAZON ❤️ MY FAVORITE ART SUPPLIES on AMAZON ❤️ MY BELOVED FACEBOOK GROUP ❤️ FOLLOW ME ON INSTAGRAM
Ever combine inspiration from 2 fairy drawing images to create your own magical drawing? I do it ALL the time when I'm drawing faces and fairies! If you've never done this before, I can't wait to show you how simple it is in lesson 9 of my #50FunFabFairies drawing challenge.
Today's fairy drawing tutorial is step-by-step and easy enough for beginners. Don't have tan toned paper or a fancy drawing pencil? Use the back of a paper grocery bag, a school pencil, and draw along with me anyway! 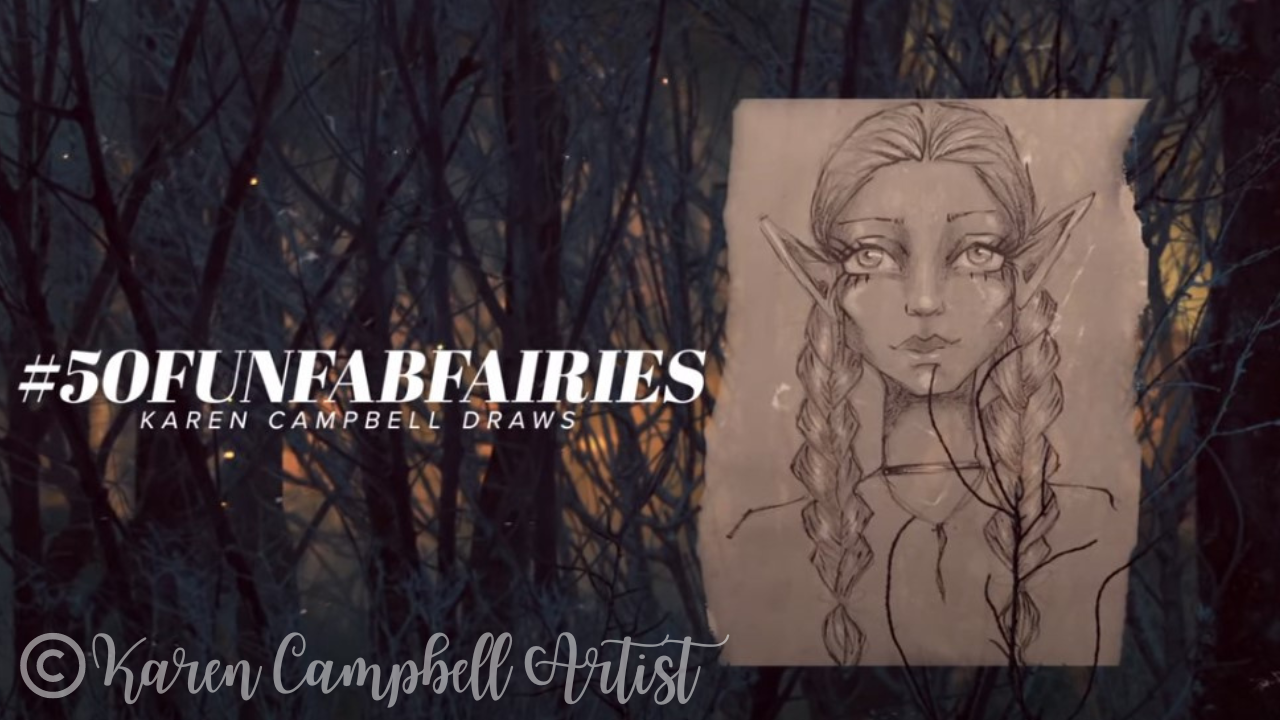
Want easy access to today's fairy drawing images and even MORE fairy drawing ideas? Join my FREE #50FunFabFairies drawing challenge over at Awesome Art School!
Simply click the button below to receiveinstant access to ALL the fairy drawing images for each drawing prompt, plus info on supplies, cheatsheets, and more! 
Wanna become a better artist? Do today's lesson (and every lesson of the challenge) five times, making a few creative alterations of your choice, and watch your skills soar as you practice fairy eyes drawing, fairy and ears drawing AND fairy hair drawing 50 different ways.
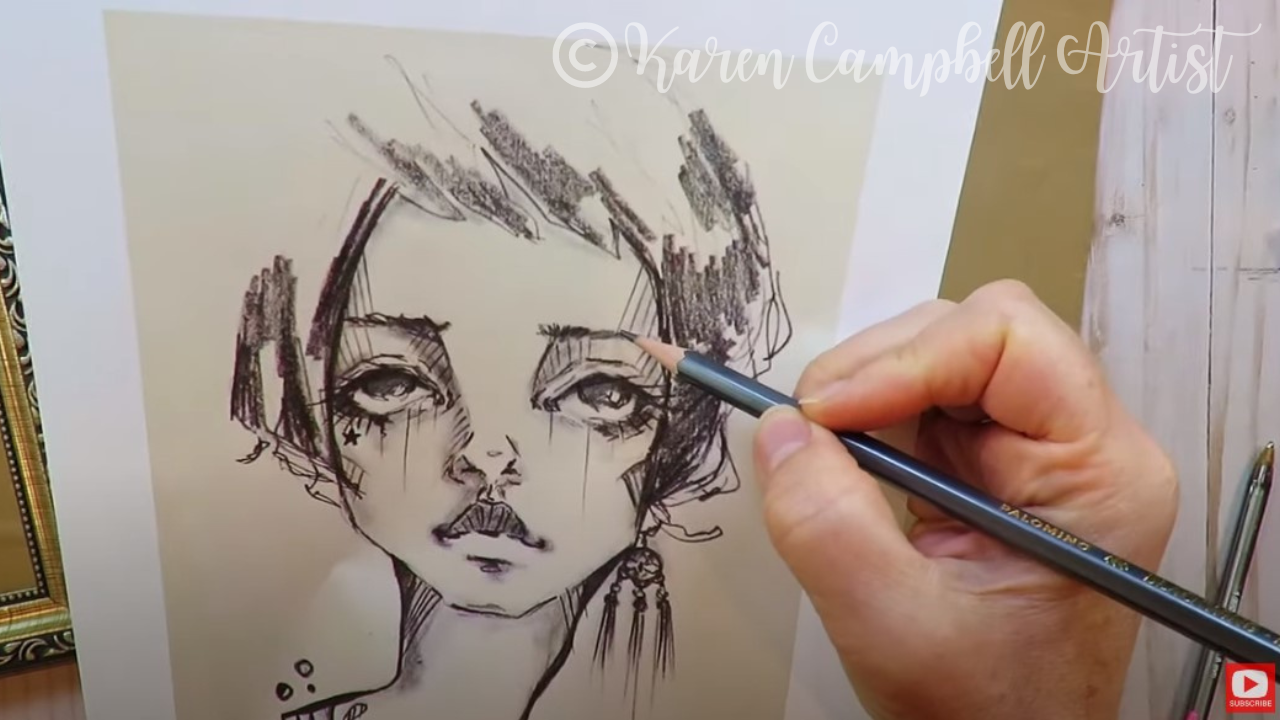
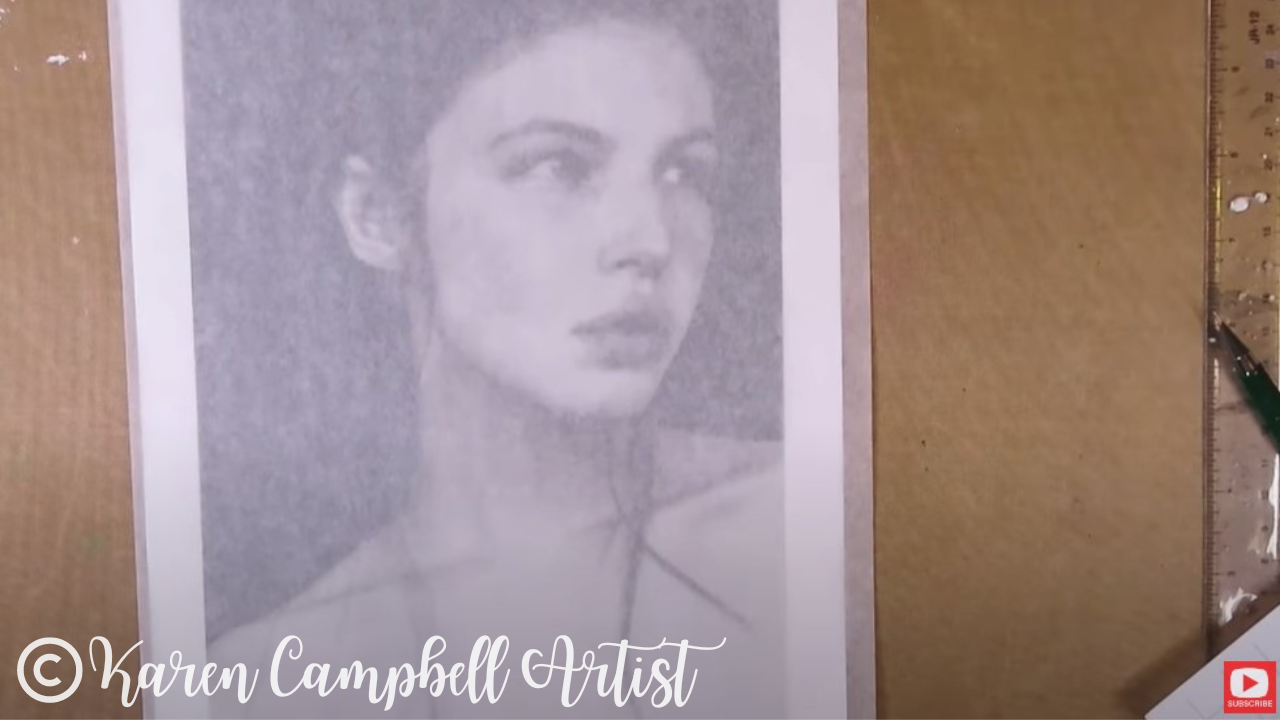
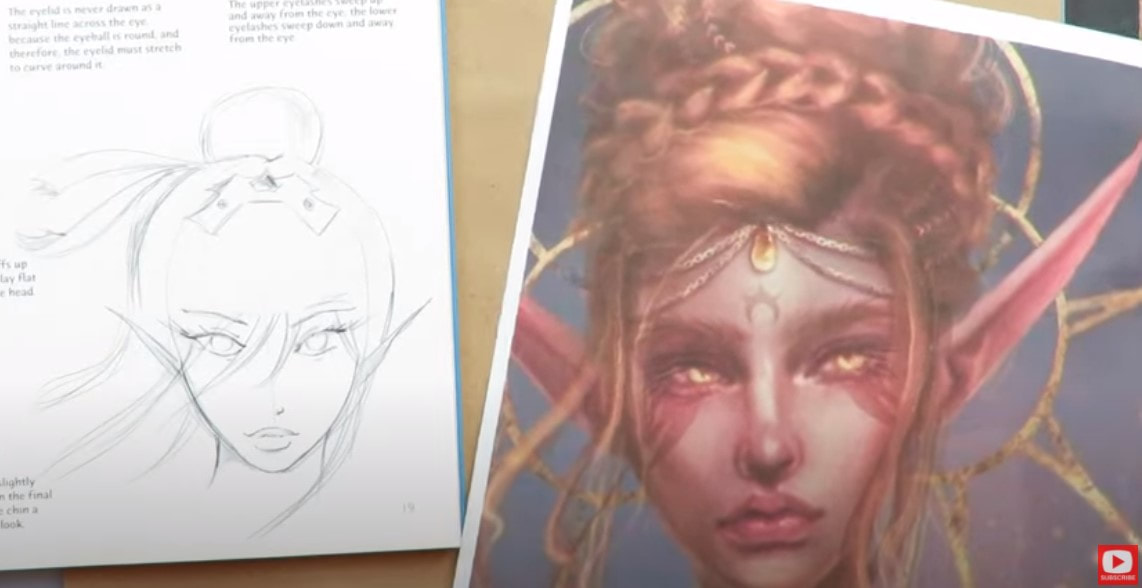
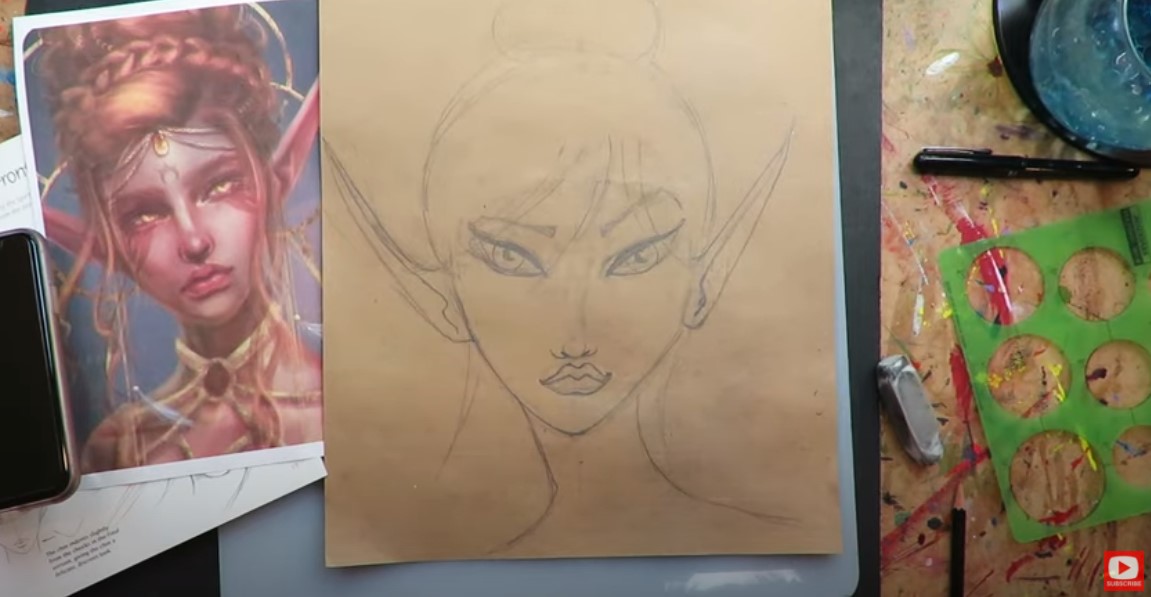
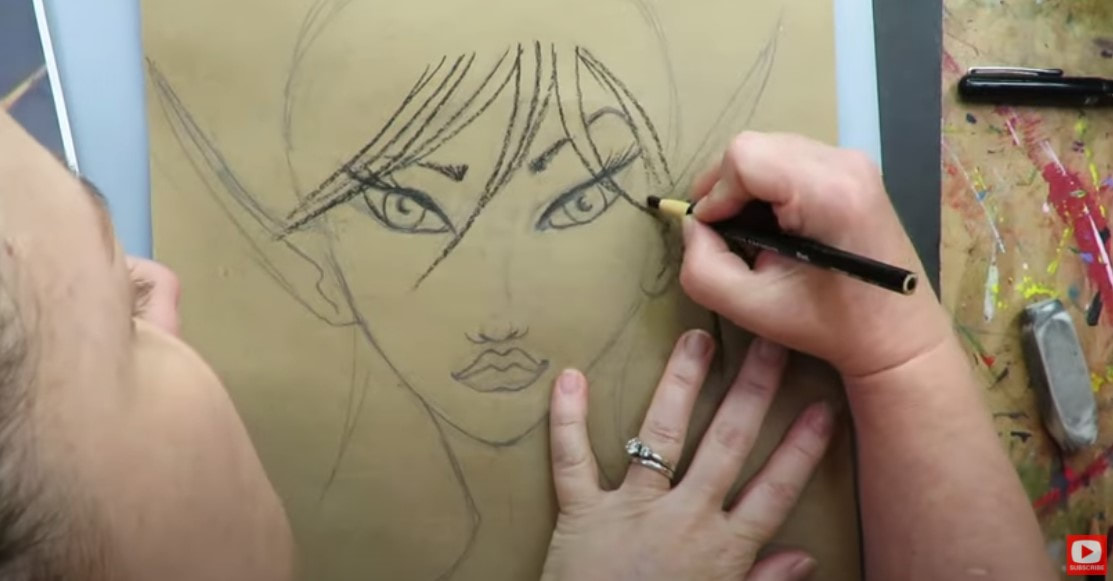
I'm using this face drawing reference (by artist Anna Tsvell), to inspire the face shading that I'd like to do today in my own drawing. I love this messy, edgy approach - like how Anna used the side of her pencil for a little shading in the hair, and how she's created funky lines to indicate shadows on the face.
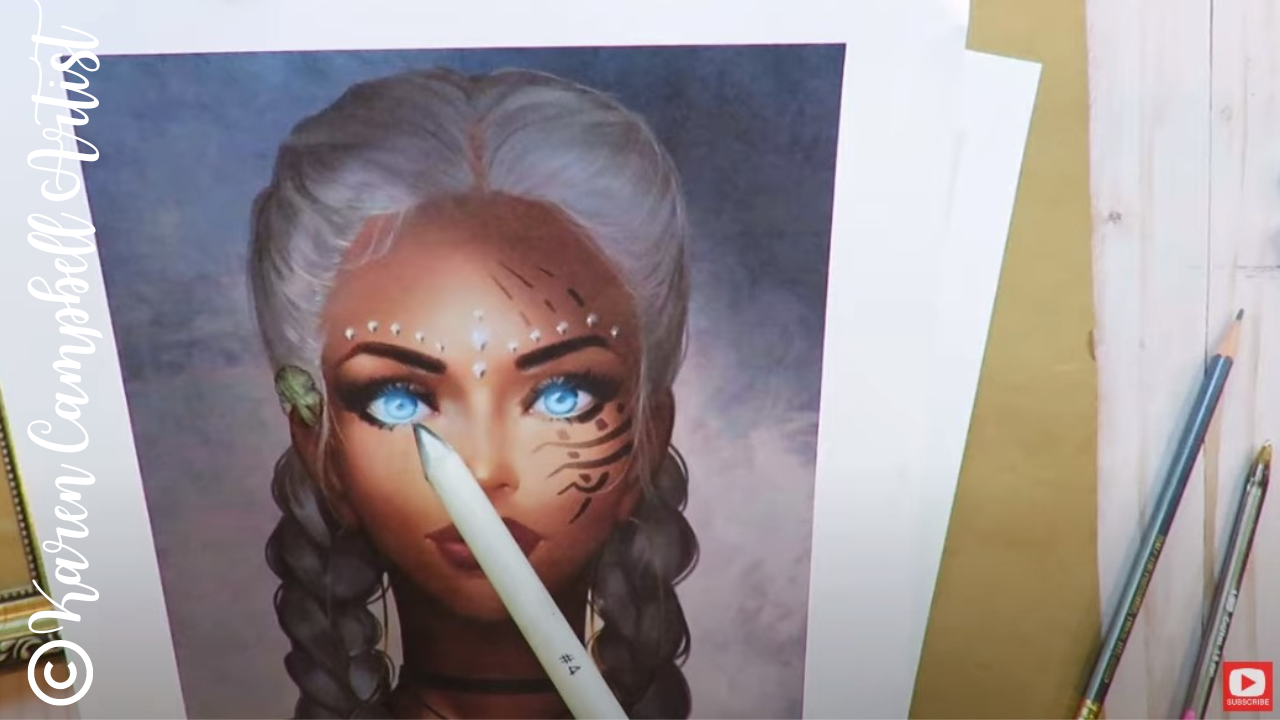
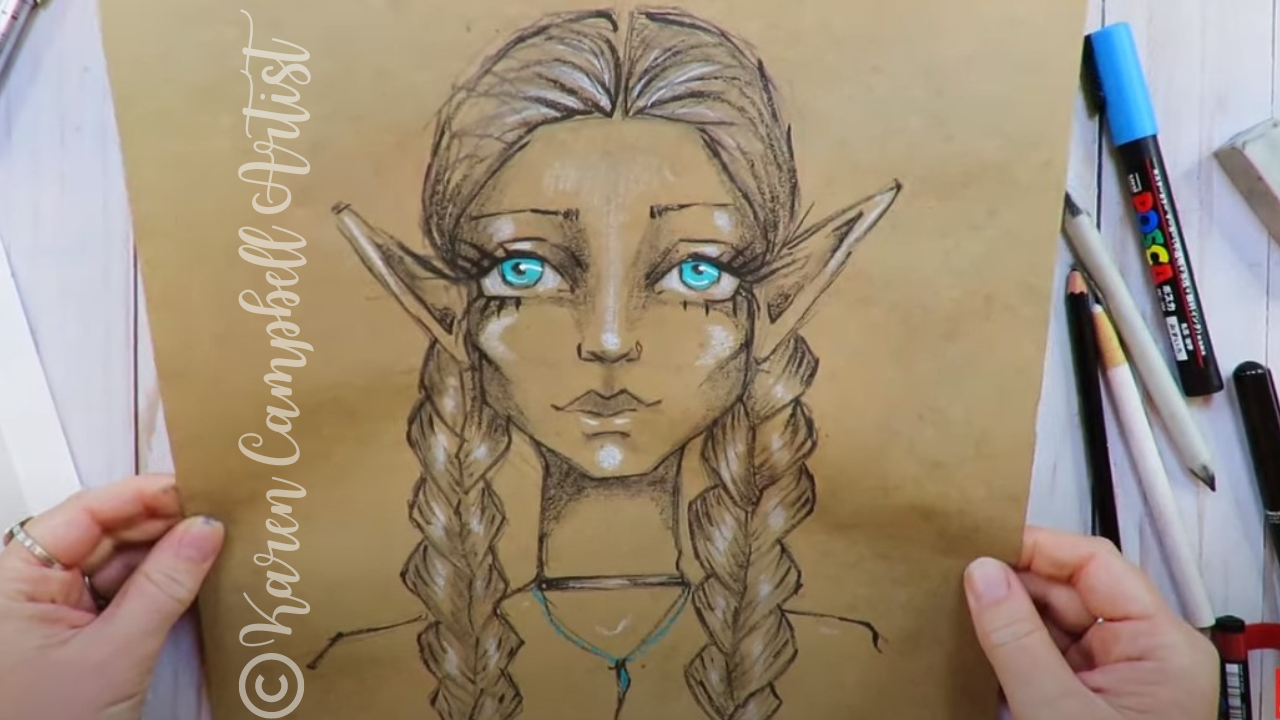
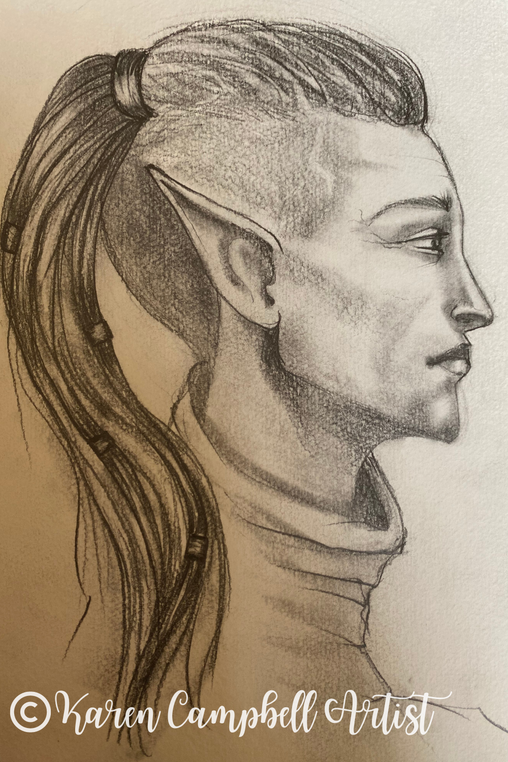
My second drawing reference today is by artist Monika Andruszkiewicz. I'm in love with the braided hairstyle and glowing eyes she's drawn!
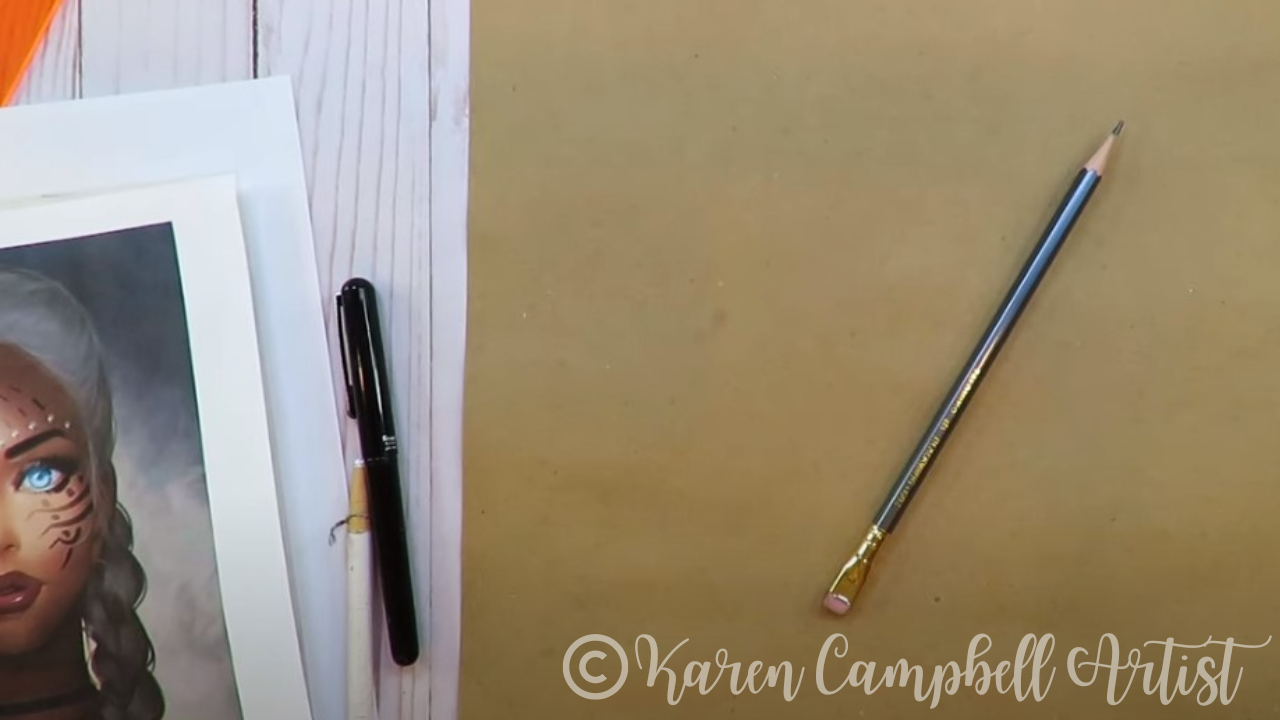
For today's lesson, I'm using some random craft paper I had lying around my studio. There's nothing special about it - it's just what I had nearby. Use the back of a paper grocery bag if you want, or if you have a pad of tan toned paper at home - use a sheet of that. I don't care what supplies you're using, I just care IF YOU'RE DRAWING ALONG WITH ME, because that is how you'll grow as an artist.
I'm using my favorite blackwing pencil to draw for this lesson. Blackwings are super fancy drawing pencils, and feel like butter on your paper. You totally don't need them. It's fine to use whatever pencil you have on hand.
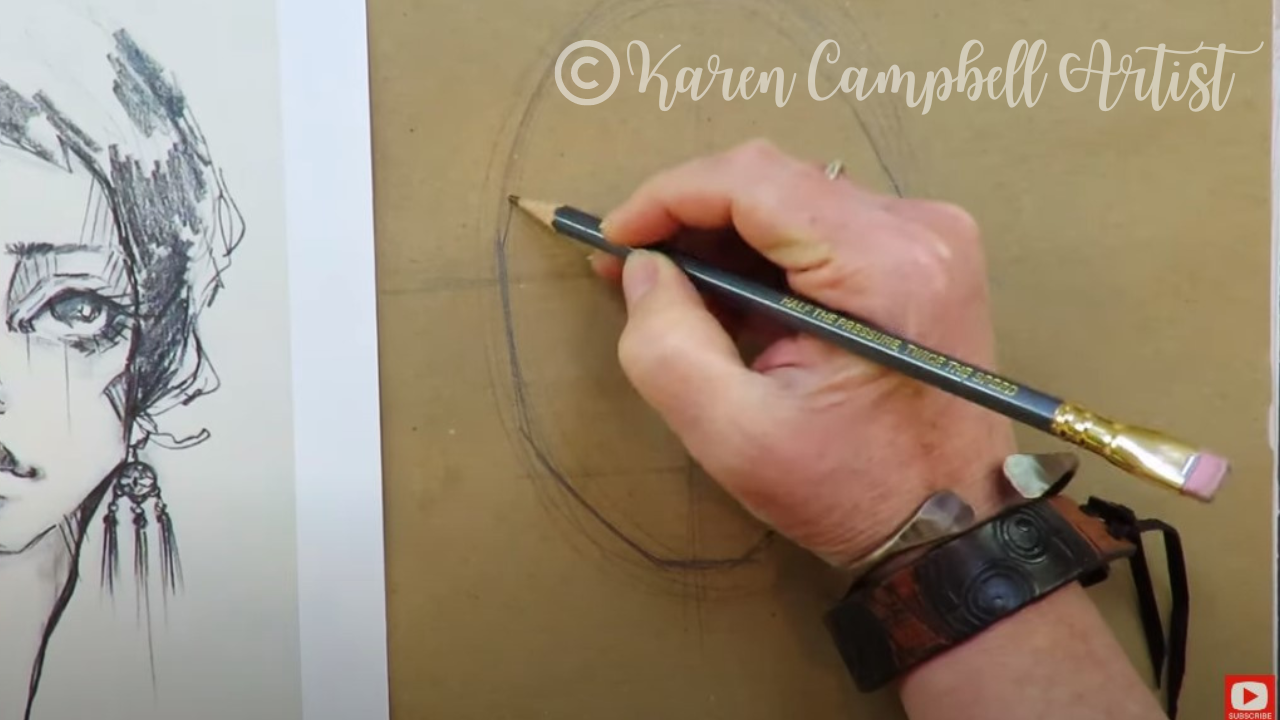
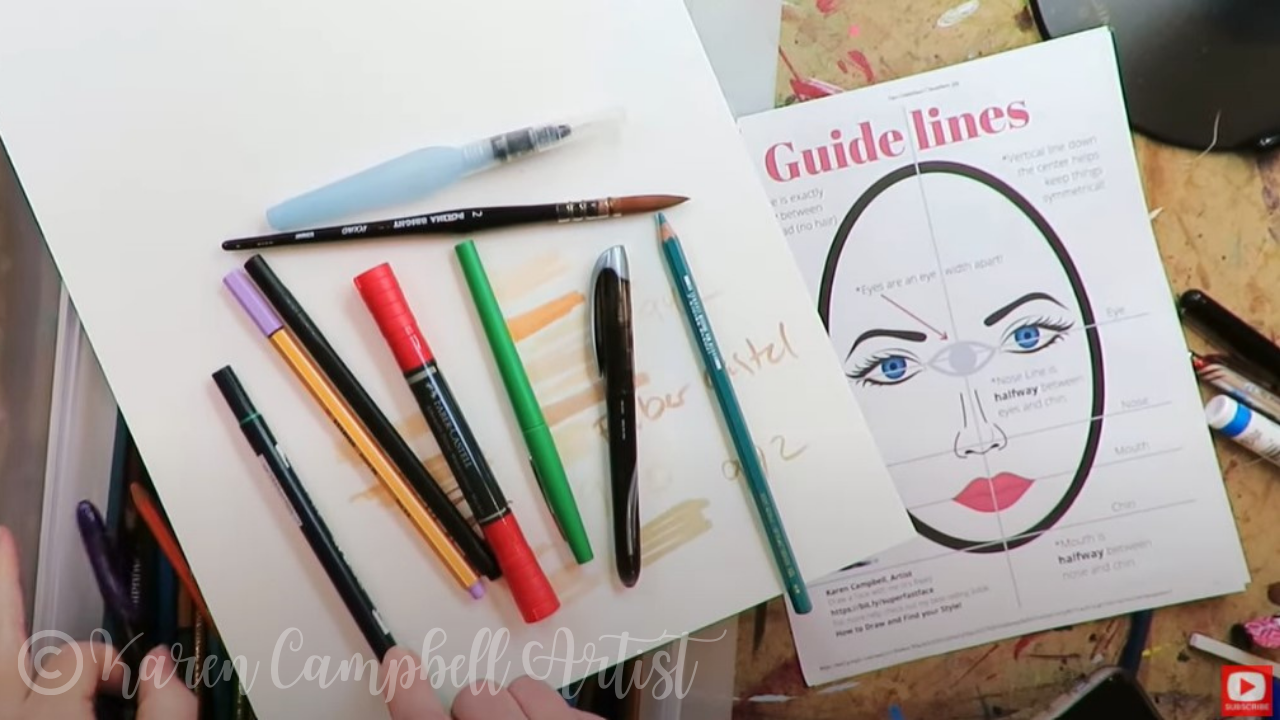
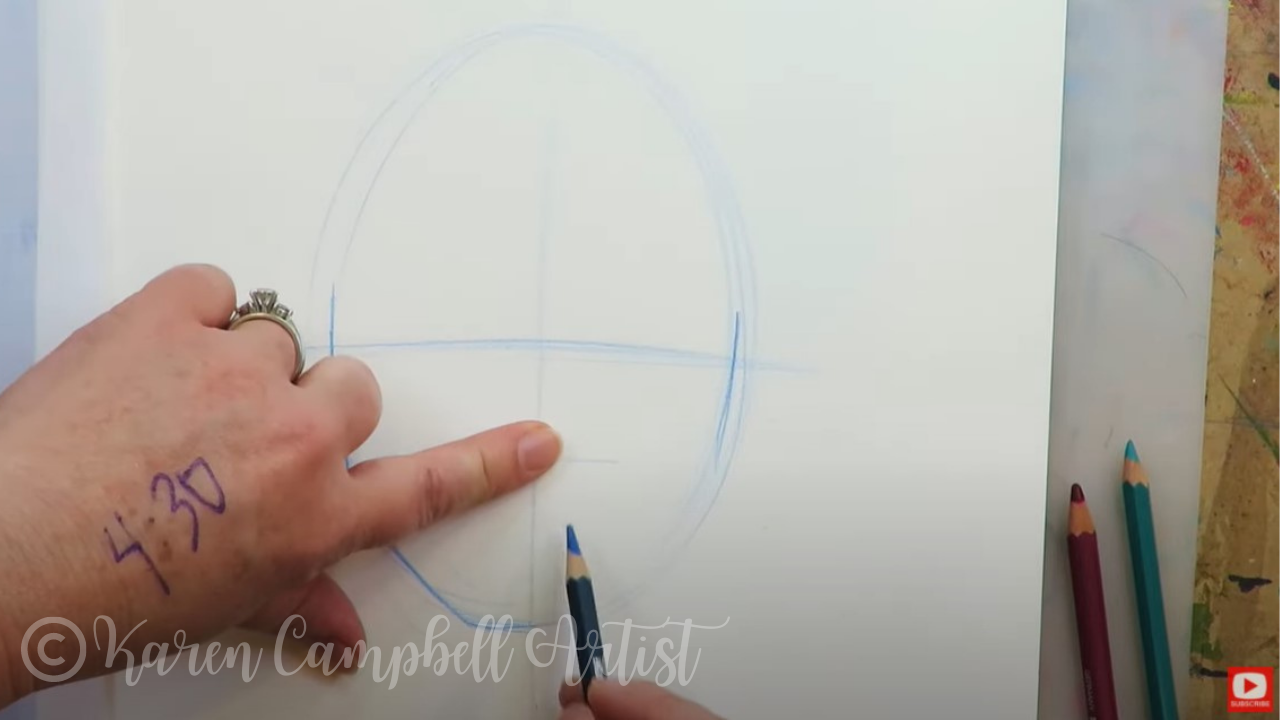
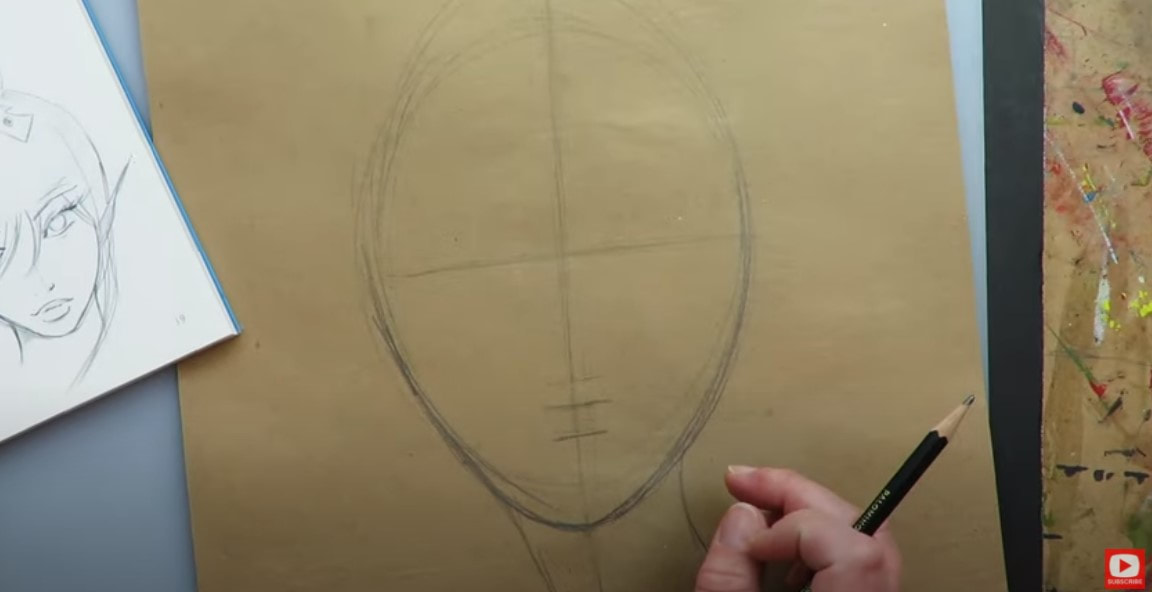
After I sketch in my oval for the face, I drop in my face drawing guidelines. If you're not familiar with face drawing guidelines (I NEVER draw a face without them!), these are available for FREE in my #50FunFabFairies classroom (also FREE) over at Awesome Art School. Never drawn a face before? Here's a quick face drawing tutorial for total beginners that shows you exactly how to use my face drawing guidelines. Feel free to check that out and then pop back to this lesson to try drawing a fairy. 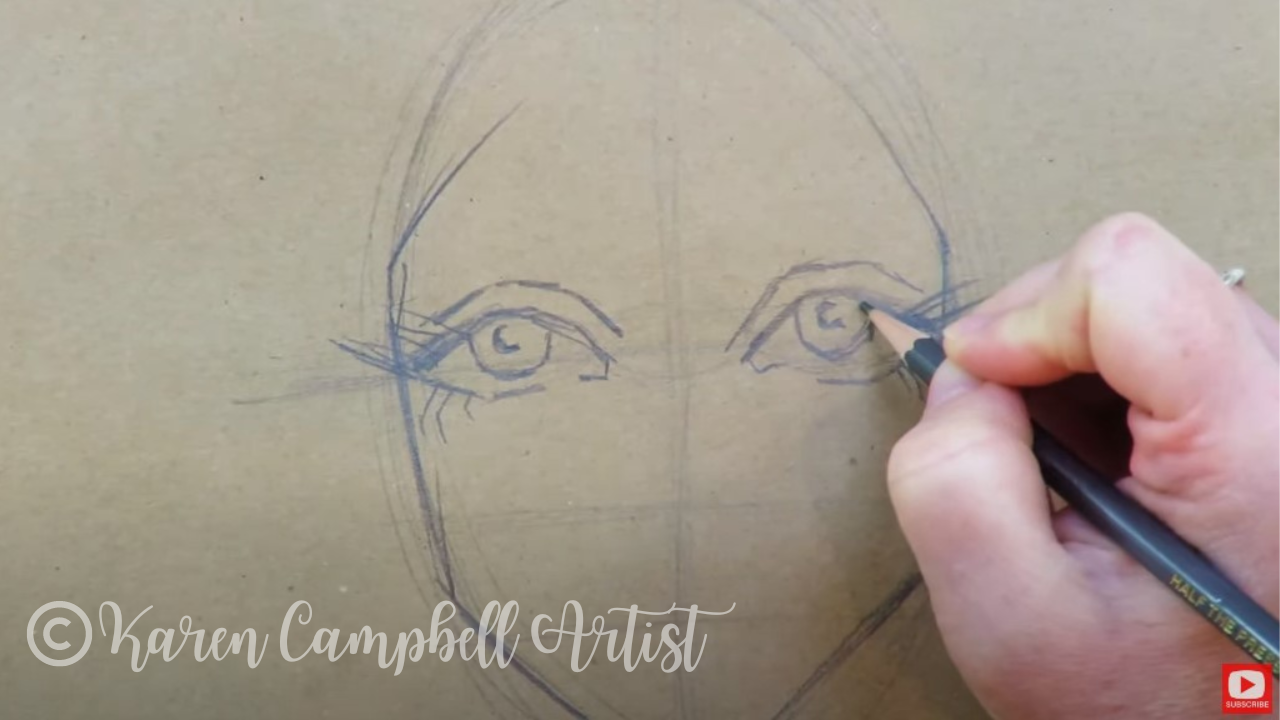
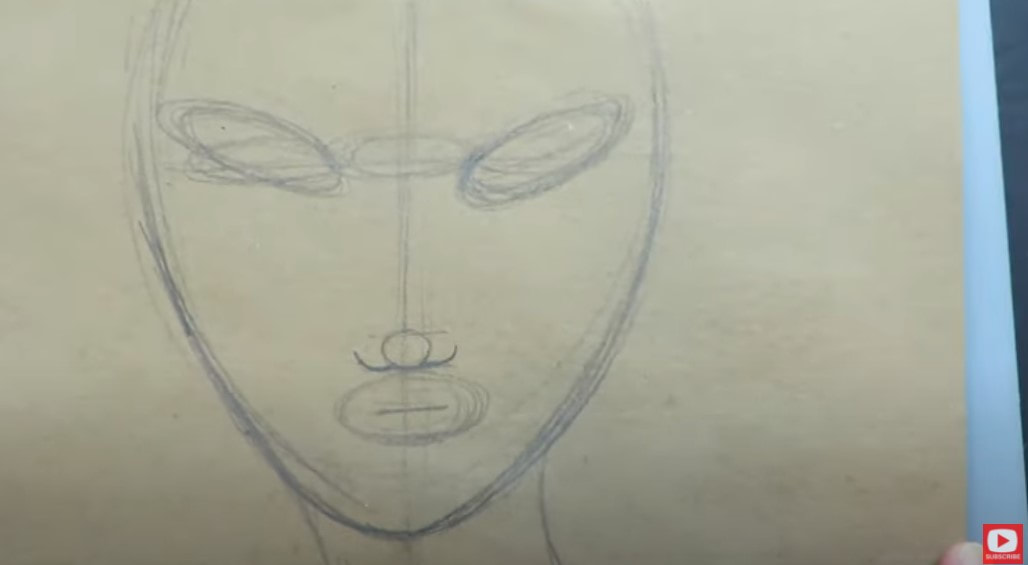
Make sure you watch this video to see the drawing process in action - especially when I sketch in her eyes. They're very angular and widely spaced compared to what I typically do.
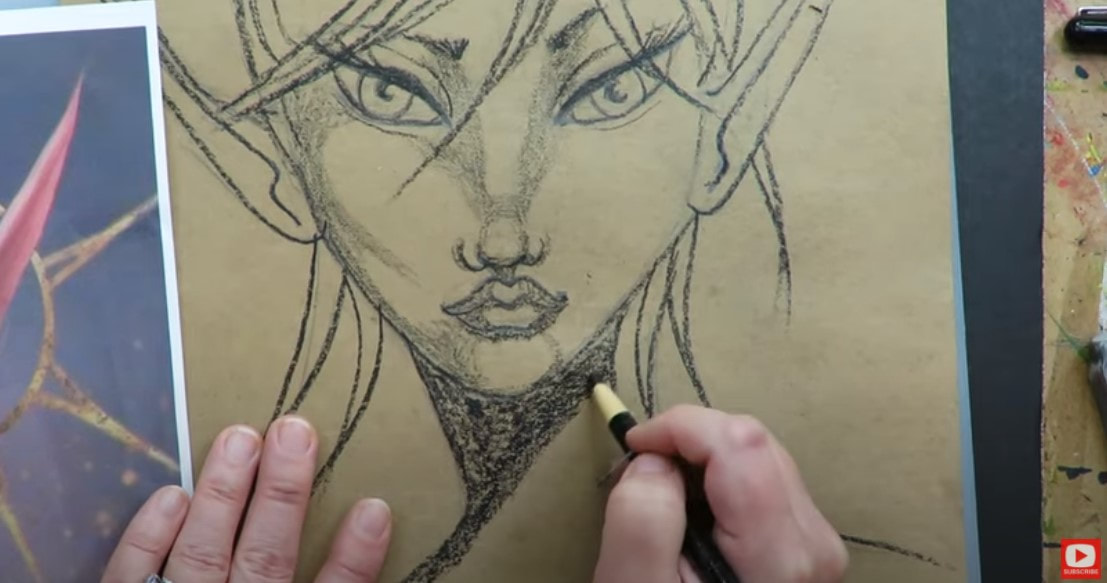
Neither of these awesome reference images have fairy ears, even though I'm using them as fairy drawing references. That's totally fine, because I love to go rogue and make stuff up as I draw.
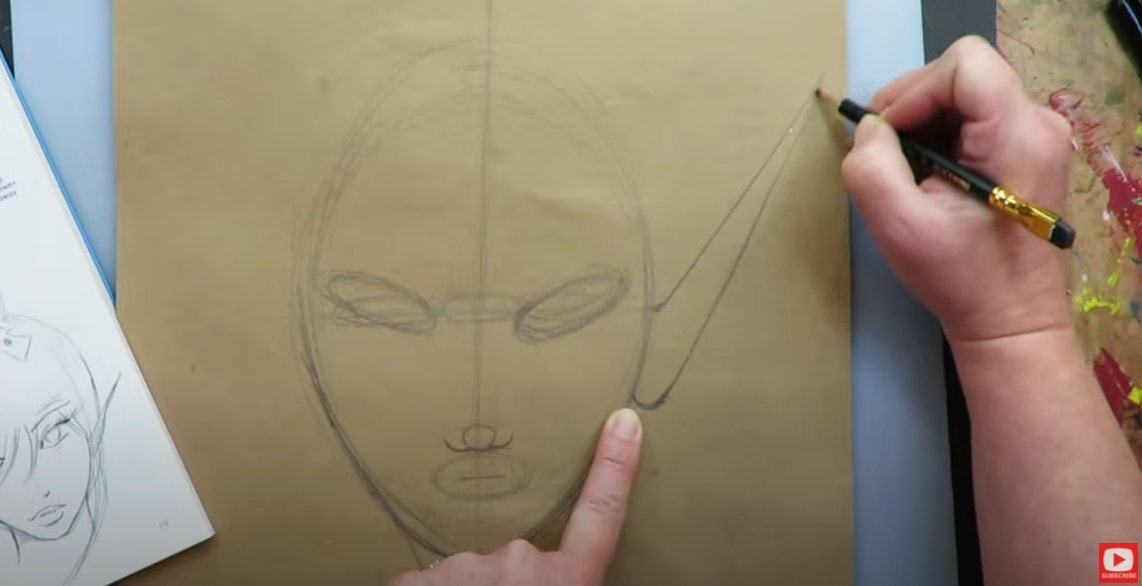
If you're unsure how to draw fairy ears, click over to the video because it's all step-by-step. 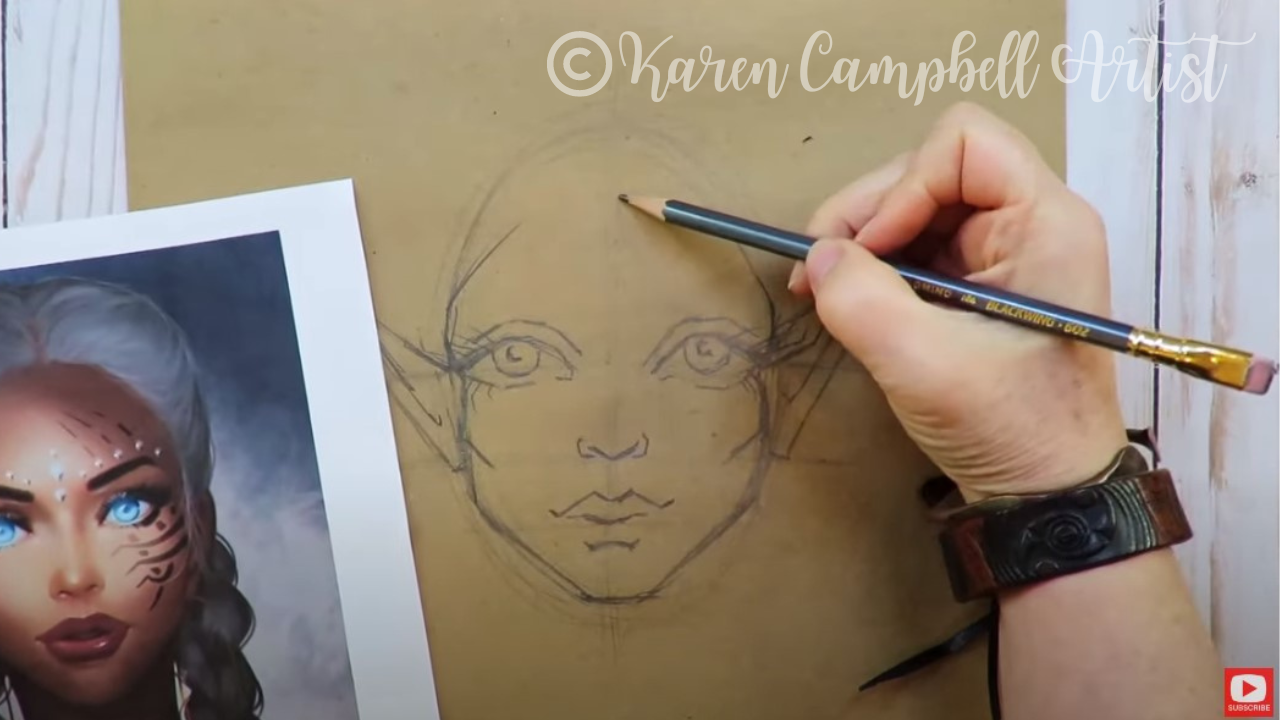
I haven't drawn braids in forever, so I'll really be studying my drawing reference with this hairstyle. I'm a firm believer in using reference photos and drawings for anything and everything you don't know how to draw.
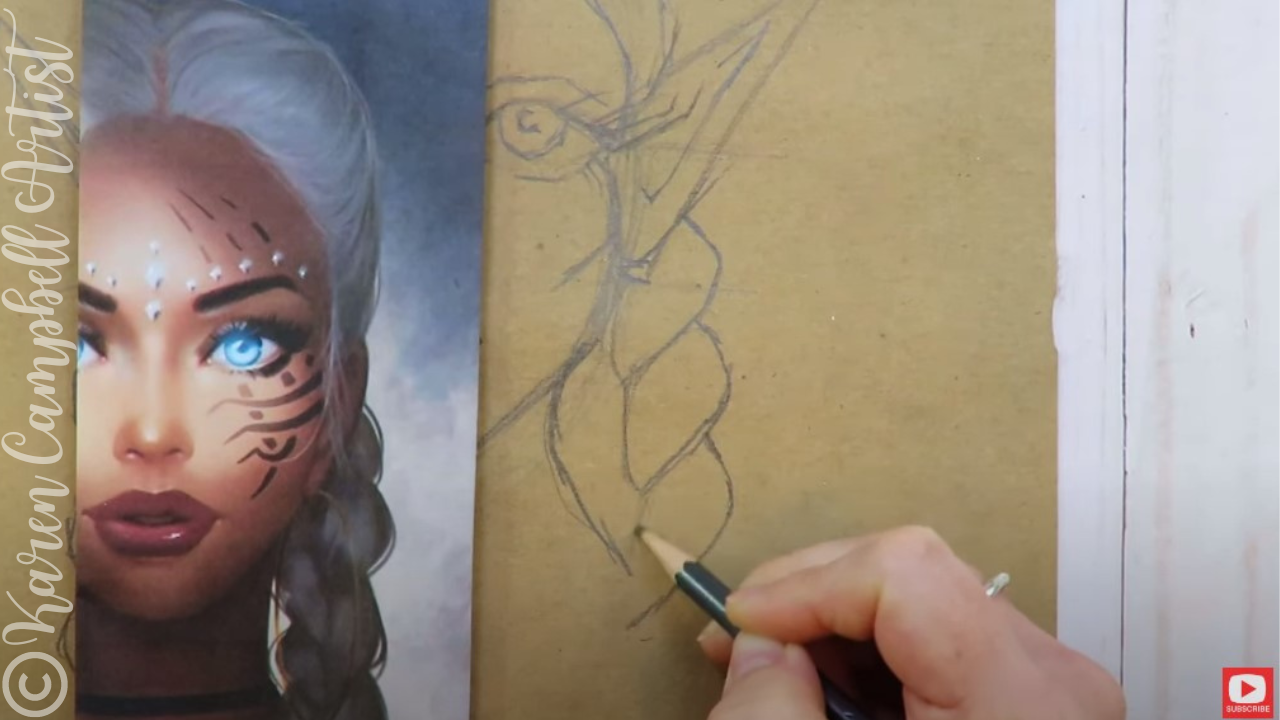
There is NOTHING wrong with studying a photo or someone else's drawing to learn. Never feel bad about it! You are developing your own observational skills as an artist.
The only thing that could be wrong with using someone else's work as a reference, is if you copy every single detail of the reference and try to pass your work off as an original idea, or worse yet- if you try to sell it. Copyrights are there for a reason and SO important to artists. I'm a huge stickler about always crediting original artists. If you're just learning to draw at home and using a piece for inspiration and your own enjoyment - don't worry about it. Just make sure to always give that original artist credit if you ever share your work online as many do in my Facebook group. 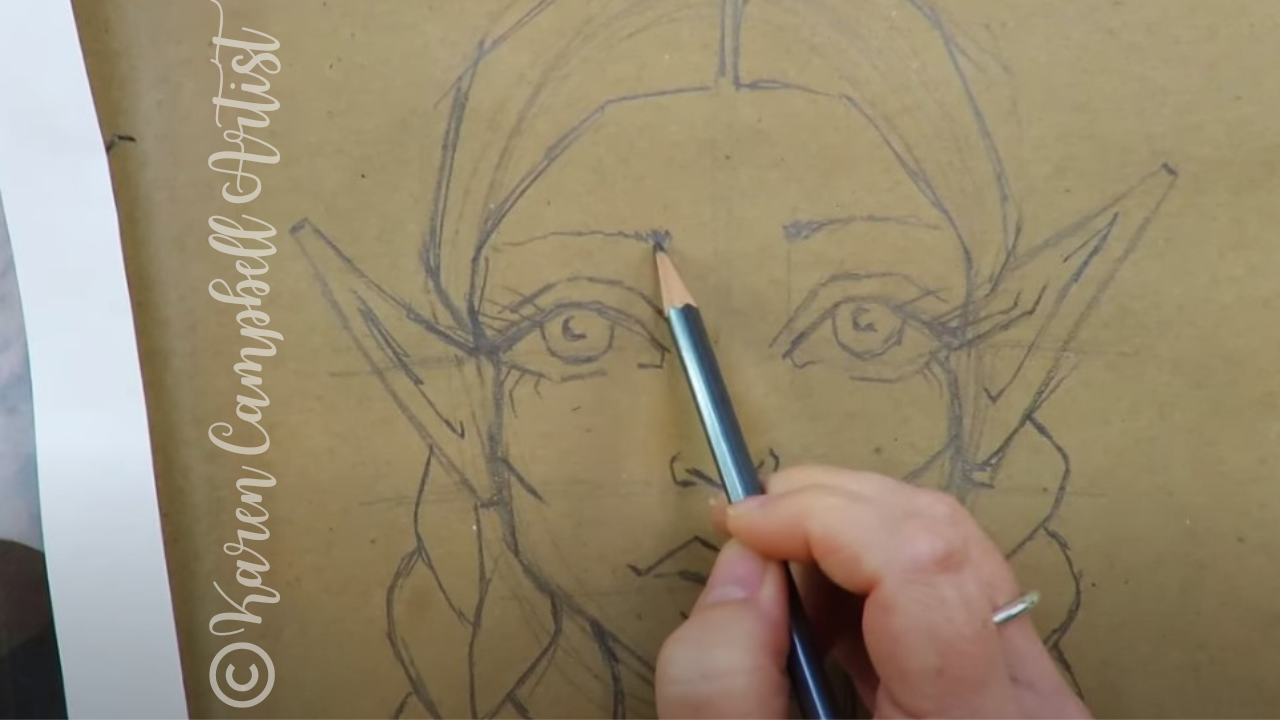
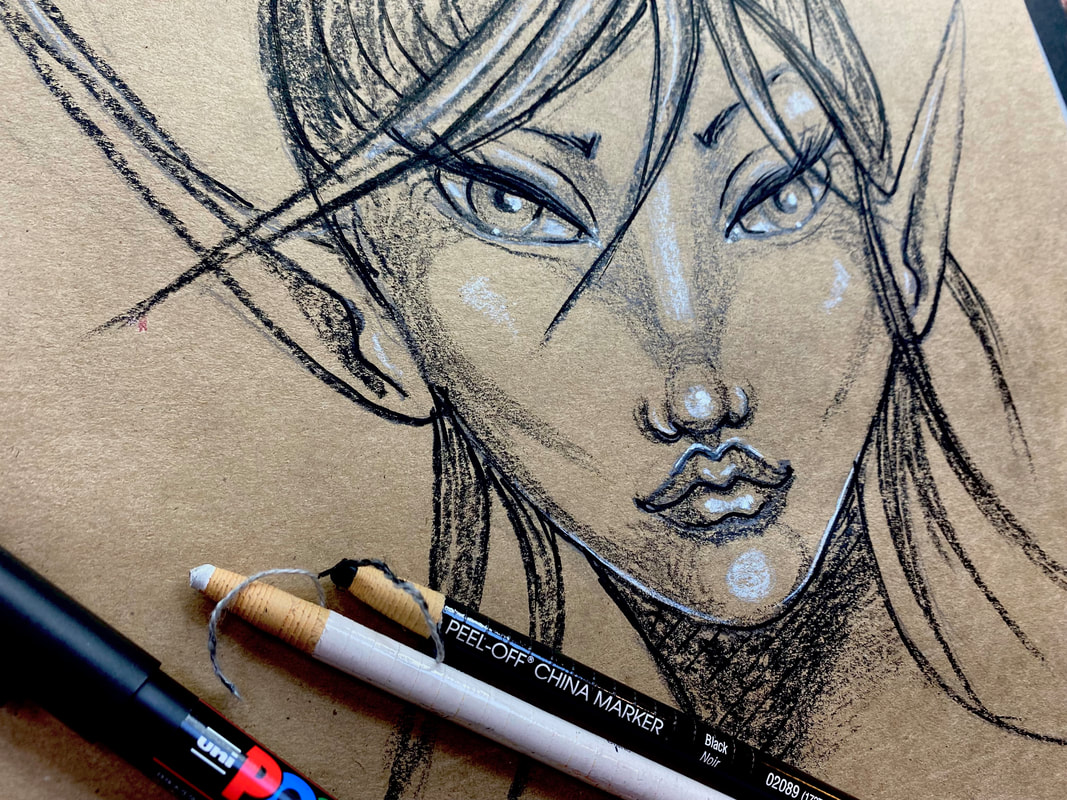
When I got to the eyebrows for today's fairy, I decided to try the look from one of my references of a really thin, scraggly eyebrow. Look at how these completely change her expression (above)! My fairy looks super timid now, which I wasn't even going for, but now love.
After the drawing was complete, I started adding funky lines to the braided sections to get the shading started. I kinda love this whole "not being precious" theme for about my project today! I hope you're giving this a try with me at home - especially if you're someone who is ALWAYS "precious" with your art ;)
If you've been following me for a while you know I'm obsessed with my pentel pocket brush pen for eyelash drawing and outlining. I really love it because it has actual bristles like a paintbrush instead of a marker nib that's shaped like a paintbrush tip. Depending on how you change your pressure as you're drawing - you'll get different line weights, all from one drawing tool. Super fun!
Not sure how to draw eyelashes? Watch this video and grab my free eyelash drawing cheatsheet. 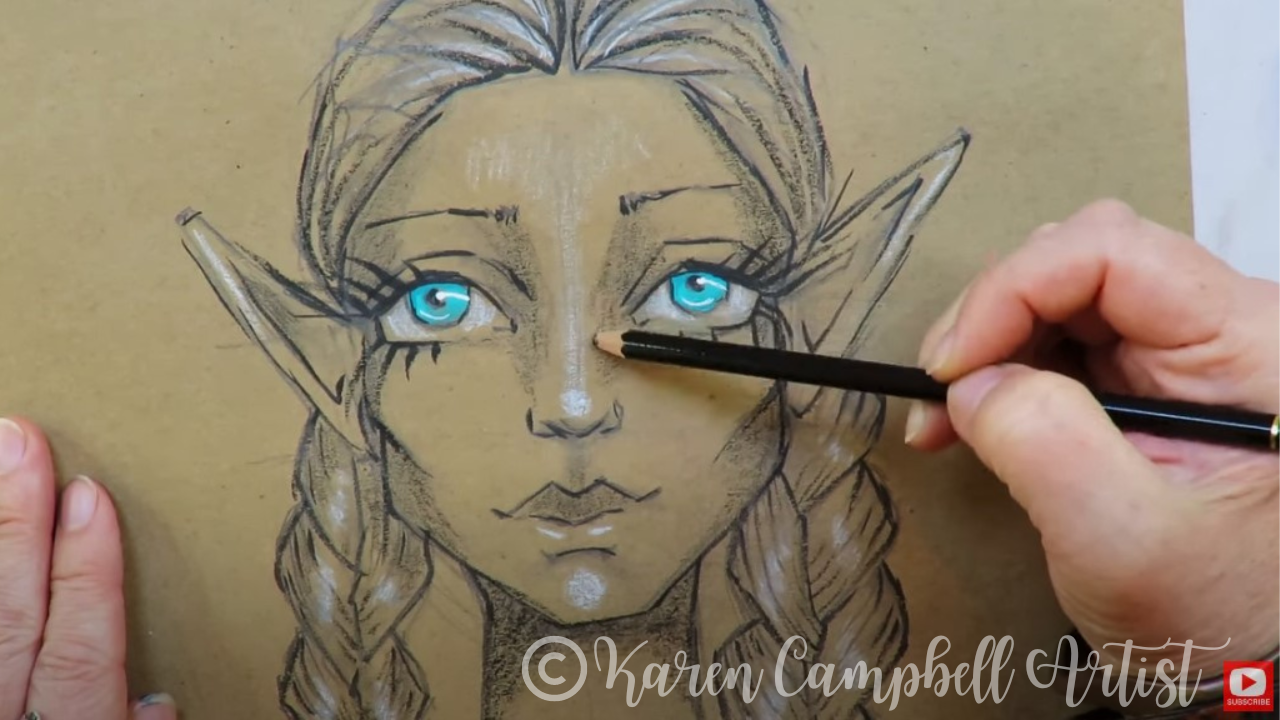
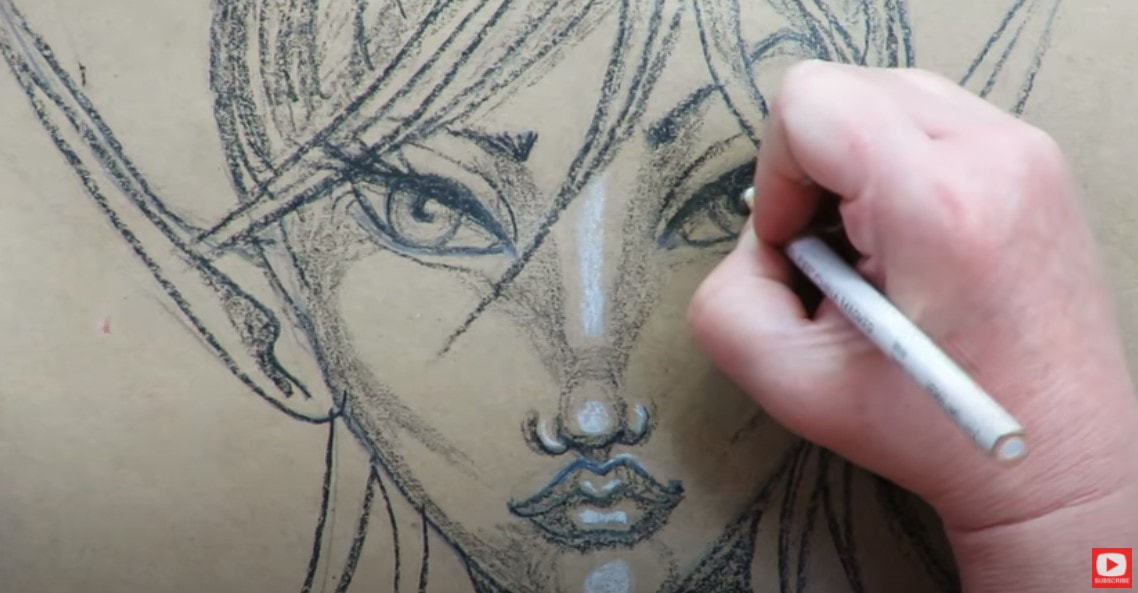
I felt like my drawing needed more contrast so added shading with my black stabilo all pencil, China markers, and my white posca pen. I also got super crazy and added color to my fairy's eyeballs with straight-up acrylic paint!
Thanks for hanging out with me today! I can't wait to see your version of today's lesson in theFacebook group:)
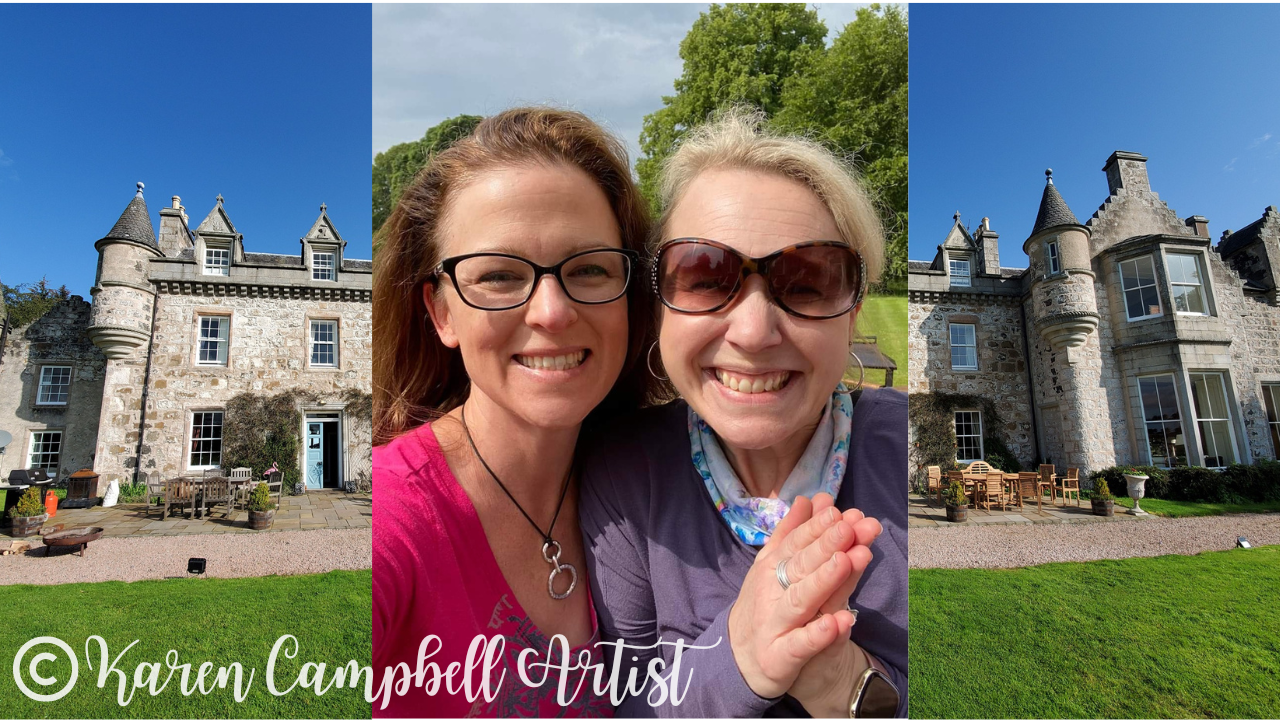
If you're OBSESSED with fairies and fantasy art like me, you might just LOVE the Celtic Collective over at Awesome Art School that I run with my Scottish bestie, Lucy Brydon. Add your name to the waitlist to be notified when it's open for enrollment.
You might ALSO enjoy our podcast 1Scot,1 Not. We talk about everything under the sun to do with Scotland - whether it's historical, fantasy, whatever. Just a quick warning - we have a blast and are totally ourselves on the podcast, which means there is some drinking and swearing. ❤️ CHECK OUT ALL my art books on AMAZON ❤️ MY FAVORITE ART SUPPLIES on AMAZON ❤️ MY BELOVED FACEBOOK GROUP ❤️ FOLLOW ME ON INSTAGRAM
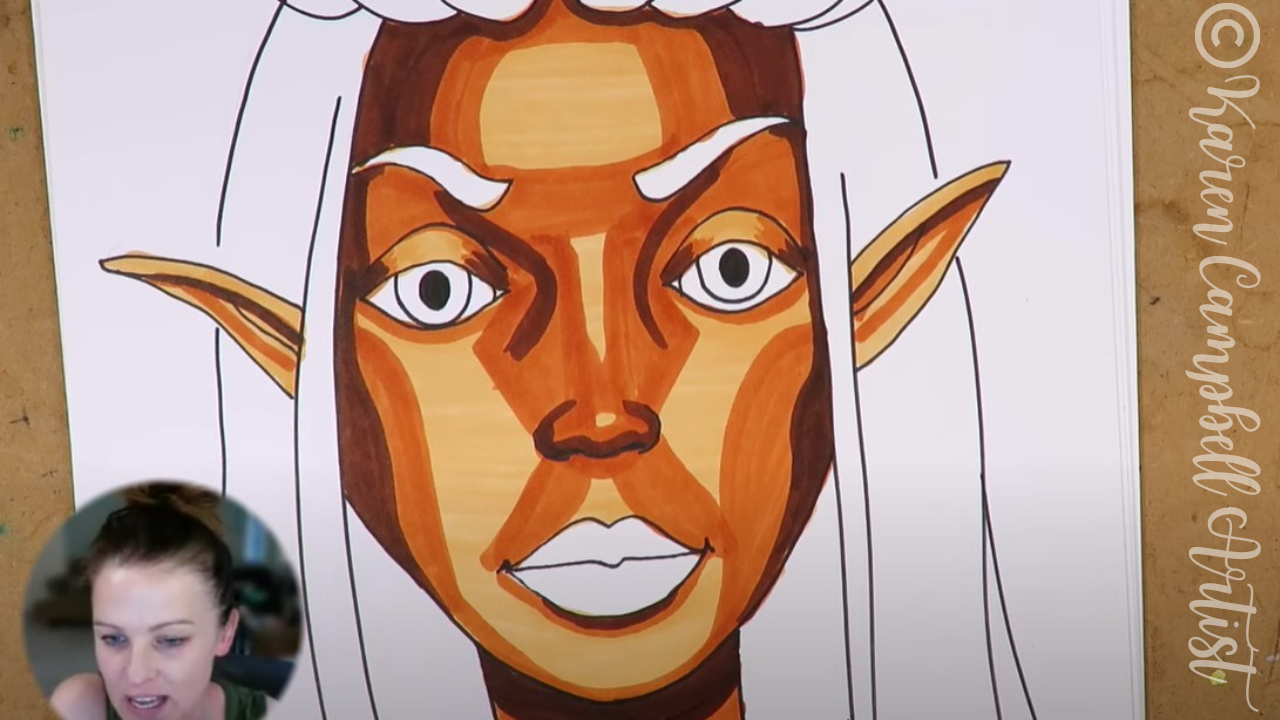
SCARED of your DARK skin tone markers? You are NOT alone! The process for shading faces with dark skin is EXACTLY the same as shading faces with light skin tone markers. Press play to CONQUER these fears once and for all and to see my BEST alcohol marker blending tips in action. Playing along with my #50FunFabFairies drawing challenge? Today's FAIRY face drawing and shading tutorial is lesson 8!
Want easy access to today's lesson and even MORE fairy drawing ideas? Join my FREE #50FunFabFairies drawing challenge over at Awesome Art School!
Simply click the button below to receive instant access to ALL the fairy reference images for each drawing prompt (including today's elf ears drawing reference!), plus info on supplies, cheatsheets, and more! 
Wanna become a better artist? Do today's lesson (and every lesson of the challenge) five times, making a few creative alterations of your choice, and watch your skills soar as you practice fairy eyes drawing, fairy and elf ears drawing AND fairy hair drawing 50 different ways!
Before we continue, super quick announcement: All product links are Affiliate. I may earn a small commission if you choose to order through these links but by law there is never any additional cost to the consumer for doing so. I thank you for your support.
|
Karen CampbellFounder of Awesome Art School. Mixed Media Artist. Author of 19 Instructional Art Books! 
Whose work has appeared in...
   
 Archives
July 2024
Categories
All
|


 RSS Feed

"Karen is flipping hilarious and she's very real...I like the way she teaches in a way that really gives you confidence, whether you're a beginner or advanced there's always something new to learn!"
- Elizabeth W. |
What Fans Are SayingKaren, you are absolutely fabulous! You make me feel like I can draw anything. I have recently retired and finally have the time to do some of the art that I have loved since I was in school. I am really at the beginning of my art journey and I hope to learn as much as I can. Thank you for all you do. |
Contact ME |