
|
I have a confession to make. I have kind of a love-hate relationship with zentangling! Ok, there! I've said it!! Now, before you call the "Zentangle police" on me, let me explain.
There are aspects of Zentangling that I absolutely adore!! The intricate designs, the meditative process, the flow state it induces—pure bliss. But there are also parts of it that I struggle with. The strict rules, the insistence on a certification (in order to TEACH it), the pressure to make every piece a masterpiece with cramped, tiny patterns... it all feels a little suffocating to me!! One of the things that irks me the most is the distinction between doodling and Zentangling. According to the Zentangle Association, "doodling is mindless and haphazard," while "Zentangling is mindful and deliberate." But isn’t art subjective? Who’s to say what constitutes "mindless" or "mindful"? Nevertheless, despite my reservations, I’ve found ways to make zentangling work for me. So, for all you fellow love-hate zentanglers or wanna-be zentanglers out there who've shied away for some of the same reasons, I’ve come up with SIX TIPS to help you navigate the world of zentangling with ease, and maybe even a hint of enjoyment! 
*All product links affiliate & for U.S. residents only.*
1Draw Something Pretty FIRST
Before diving into the tangled web of Zentangle, start by drawing something that brings you joy. It could be a flower, a leaf, or even just some squiggly lines. The key is to create a foundation that you genuinely like, setting the stage for your Zentangle adventure.
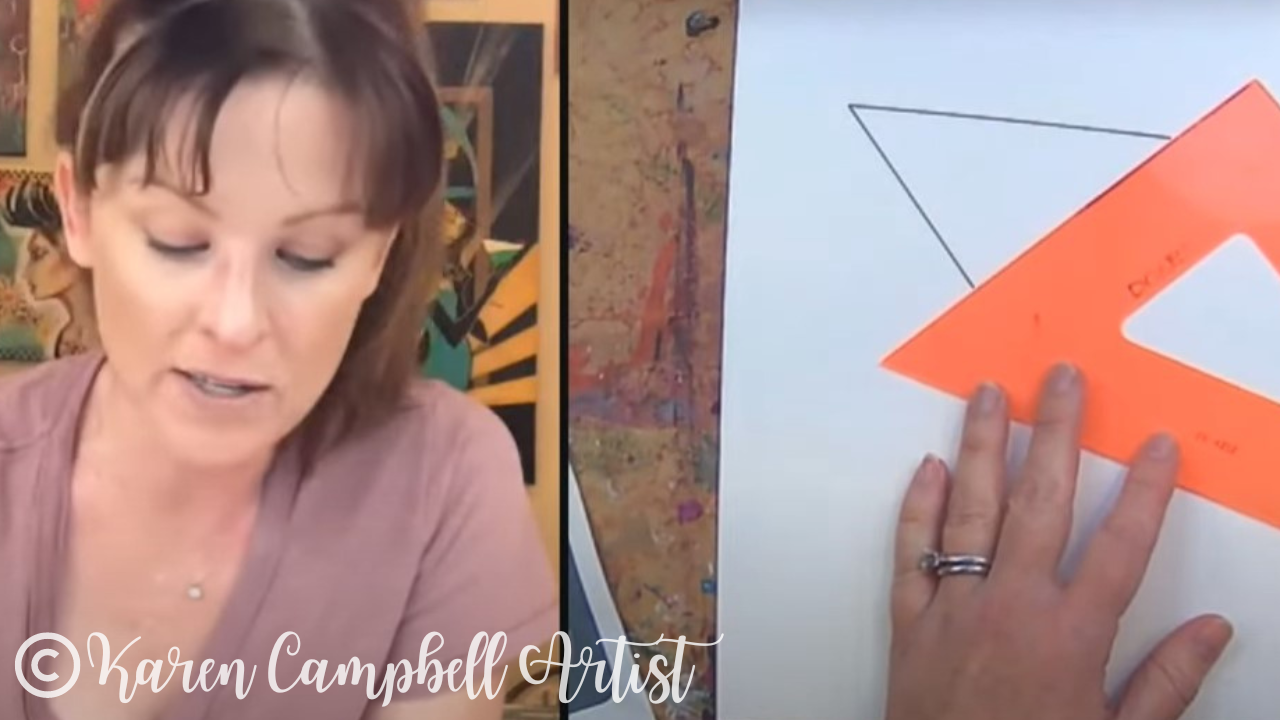
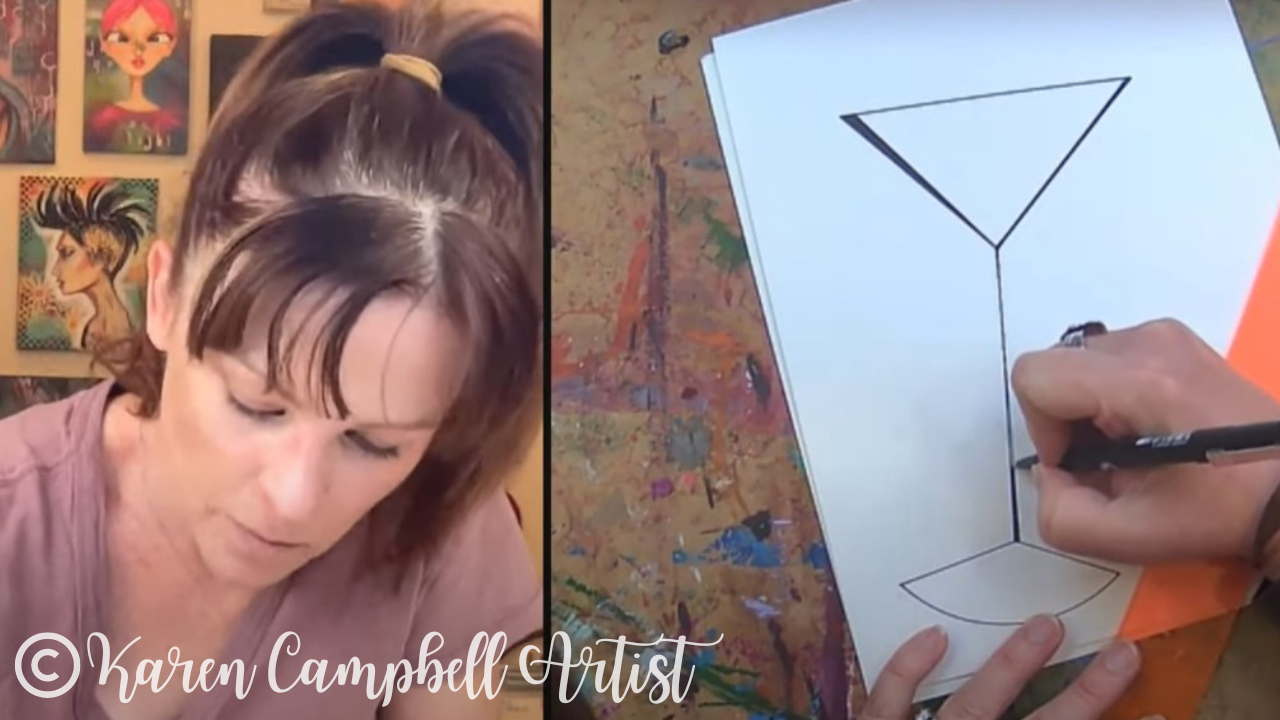
In today's video, I kept things SUPER simple and linear -using only stencils and a ruler to create my drawing. 
2Section it Off
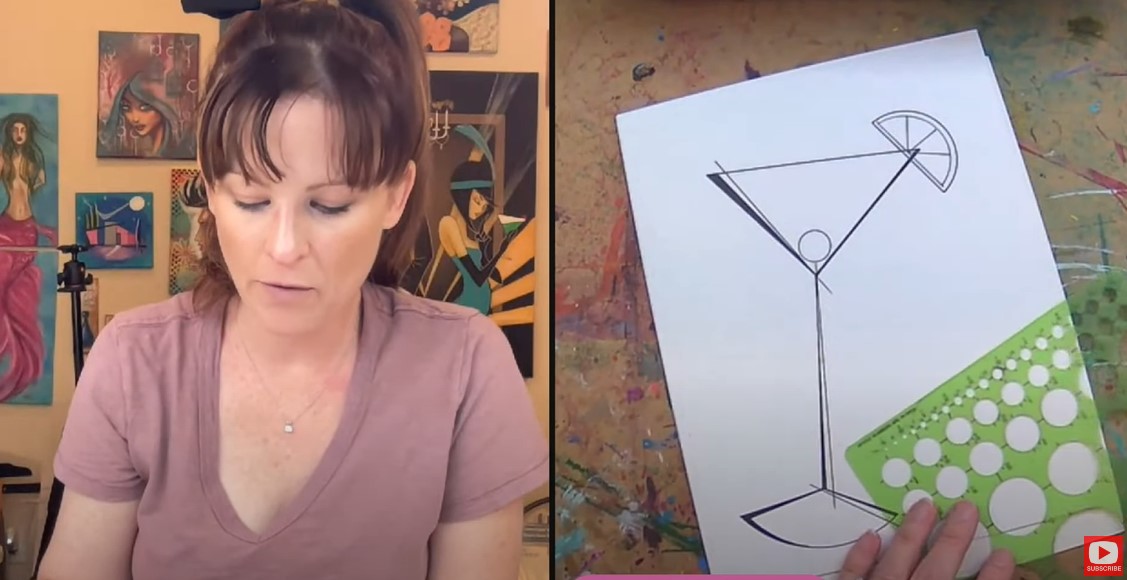
Break your canvas into manageable sections that make visual sense. This not only helps in organizing your design but also adds clarity to the final piece. Don’t be afraid to introduce new elements to create additional sections and enhance the overall composition.

3Work on a Larger Scale
Bigger is easier, trust me on this one. Working on a larger scale gives you more room to breathe and allows for greater flexibility in your designs. Experiment with varying line weights to add depth and visual interest to your creations!
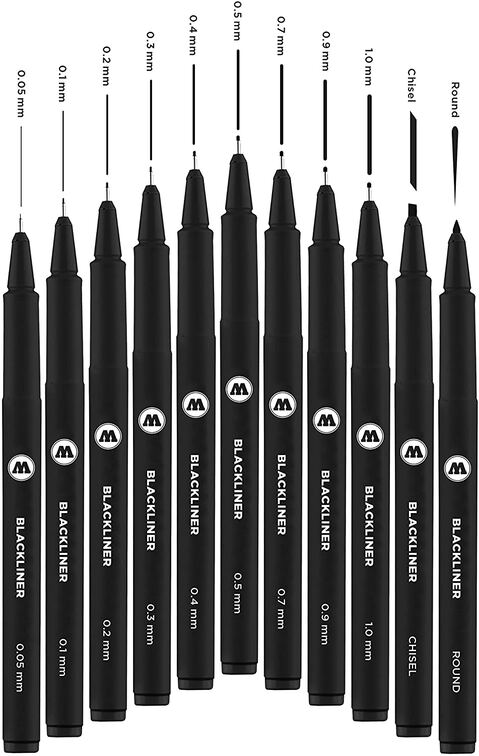
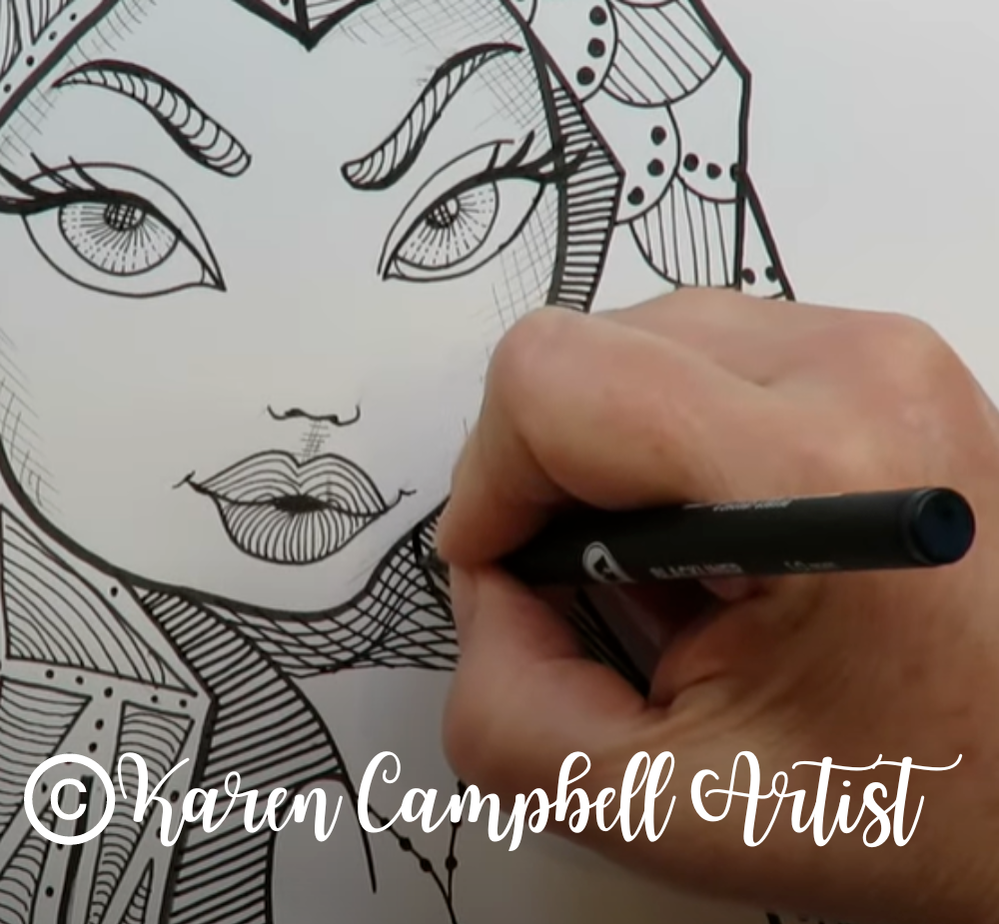
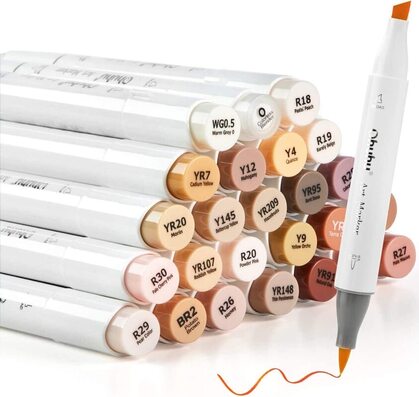
One of the easiest ways to change up your line weights is by using pens or markers with a variety of nib sizes! You'll get your work done faster and it looks SO cool! Plus... it's FUN!! I've always been a sharpie lover and have ALL the sizes. If you prefer a fineliner, these are my FAVES by Molotow! They're AWESOME for zen doodling and tangling!! 
4Keep It Simple
Forget complex patterns and intricate designs. Stick to super easy shapes YOU ALREADY KNOW, like circles, lines, and squiggles. The goal is to enjoy the process without getting bogged down by unnecessary complexity.
Do it how YOU want to do it, not how a book or someone else is telling you how to do it (unless you want to!!). 
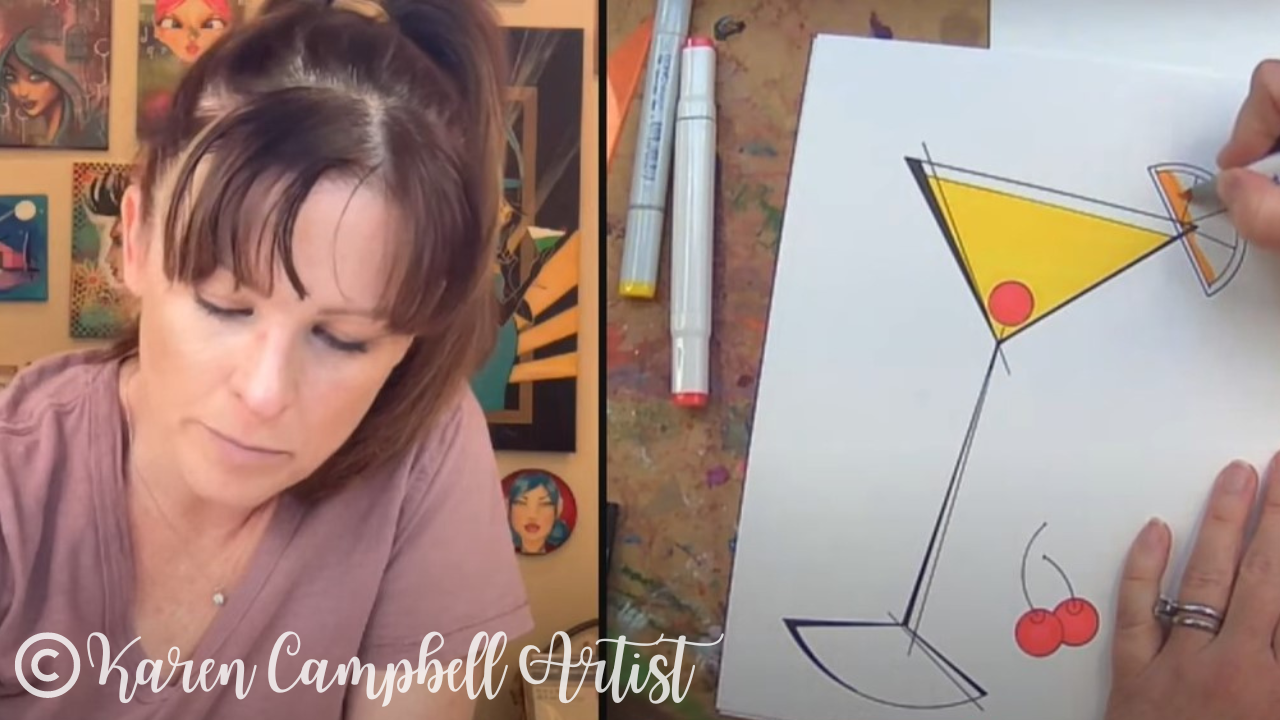
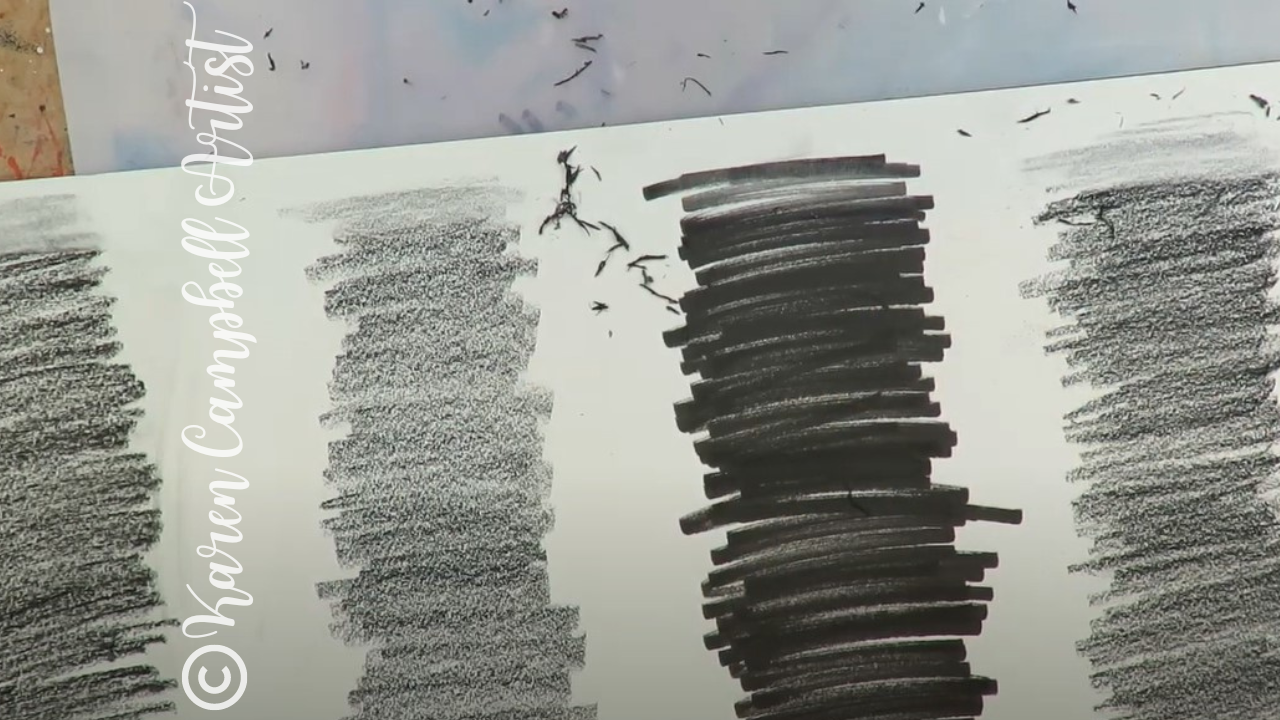
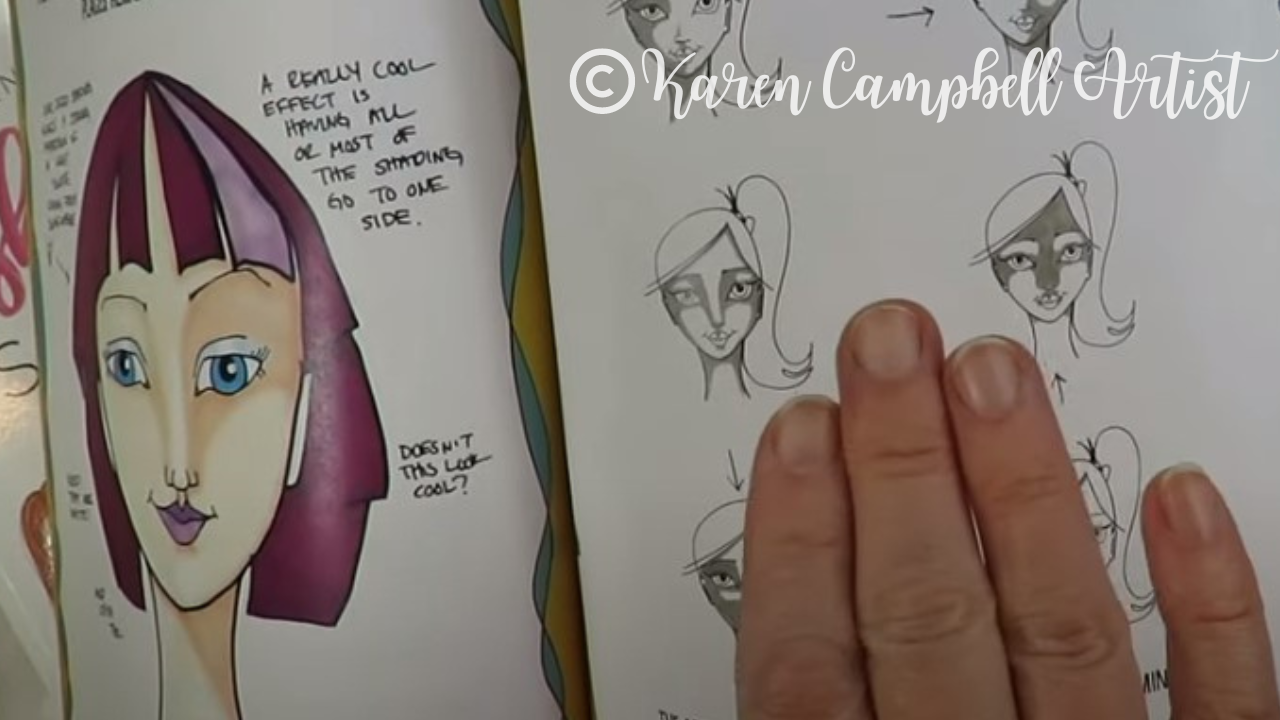
5Embrace the Power of Black
Don’t shy away from filling in spaces with solid black. It’s a LEGIT way to add depth and contrast to your zentangle. And hey, if you’re feeling adventurous, throw in some white accents for an extra pop of contrast! You can ALSO embrace the idea of using COLORED pens and markers. Who said zentangle drawings had to be in all black and white anyway?!

6If You Hate It, Don’t Do It
This one’s a game-changer. If Zentangle isn’t bringing you joy, if it feels like a chore rather than a creative outlet, then it’s okay to walk away. Remember, art should be fun, not frustrating. Give yourself permission to explore other mediums and techniques until you find what truly lights you up.

So there you have it, my six tips for surviving—and maybe even thriving—in the world of zentangle drawing! Whether you’re a seasoned tangler or a hesitant beginner, I hope these tips inspire you to approach your art with a newfound sense of freedom and joy.
And to the Zentangle police out there... don’t come after me. I swear I’m a good person. I’m goo:) Alright, time to dive back into my tangled masterpiece. Until next time, happy tangling! 
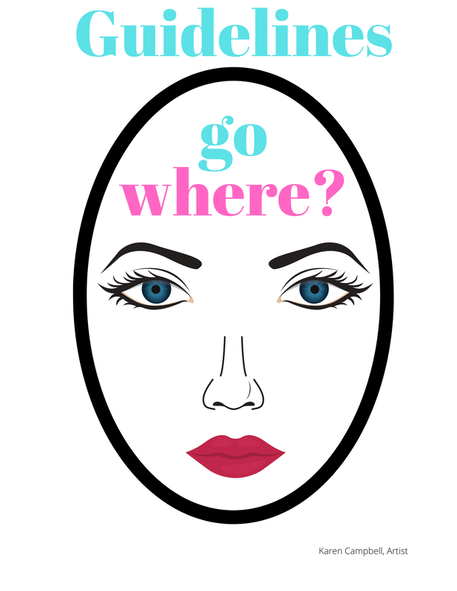
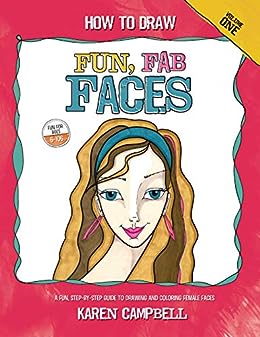
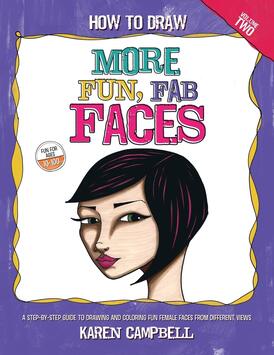
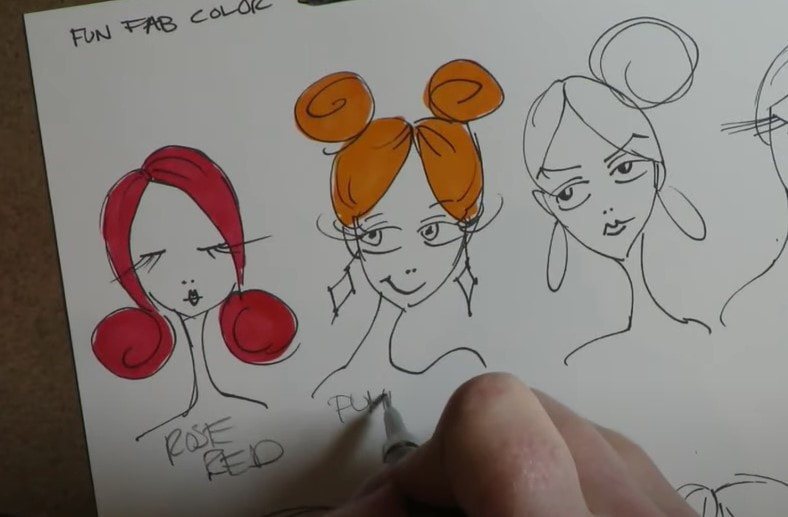
Love Drawing Faces or Never Tried & Wanna Learn?You're in the RIGHT place!! If you feel like you'd really like to dive into learning how to draw faces, whimsical girls, and basically ANYTHING from scratch - check out the Fun Fab Drawing Club with me over at Awesome Art School! I've got an amazing library of online course content with online art lessons in drawing for ALL skill levels with an added curriculum just for beginners. We'd love to have you join us! Looking for Something Else?
0 Comments
In today's busy world, finding moments of peace and quiet can be a challenge. Zentangle drawing offers a sanctuary of serenity—a space where you can let go of your worries and immerse yourself in the joy of creating.
Today I'm teaching you how to draw a zentangle feather. This little project is SO easy! If you've never tried zentangling before, don't worry—I'm here to make it accessible and enjoyable for you, no matter what your skill level is. What's truly remarkable about this zentangle project is how beginner-friendly it is. If you've harbored a desire to dive into drawing but haven't taken the plunge yet, this project is FOR YOU because we're starting with a stencil! The rest is a series of EASY zentangle feather patterns you can follow along with as I show you what to do start to finish, step-by-step, in real-time. If you're an advanced drawing artist in the mood for a quick and easy project that's zero pressure- you've found it! Let's get started... 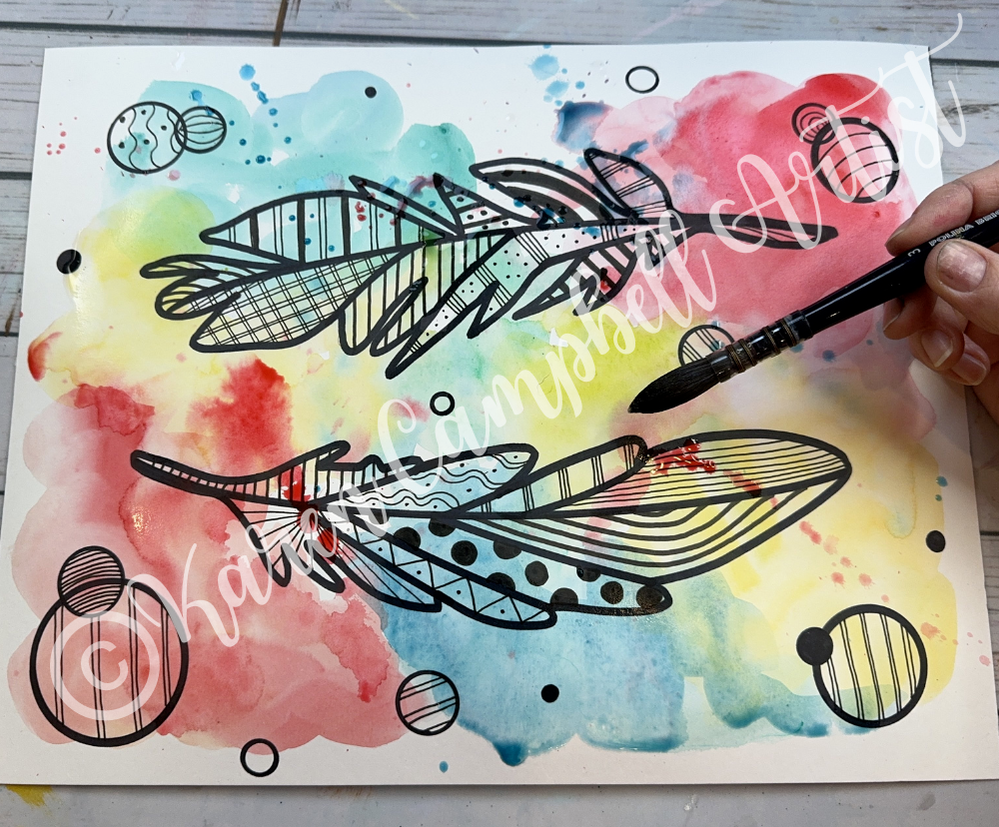
*All product links are affiliate & for U.S. residents only.*
If you're new to my drawing channel on YouTube or my philosophy on art supplies in general, I'm a HUGE FAN of using whatever you have on hand. I don't care what you use to create your drawings with.
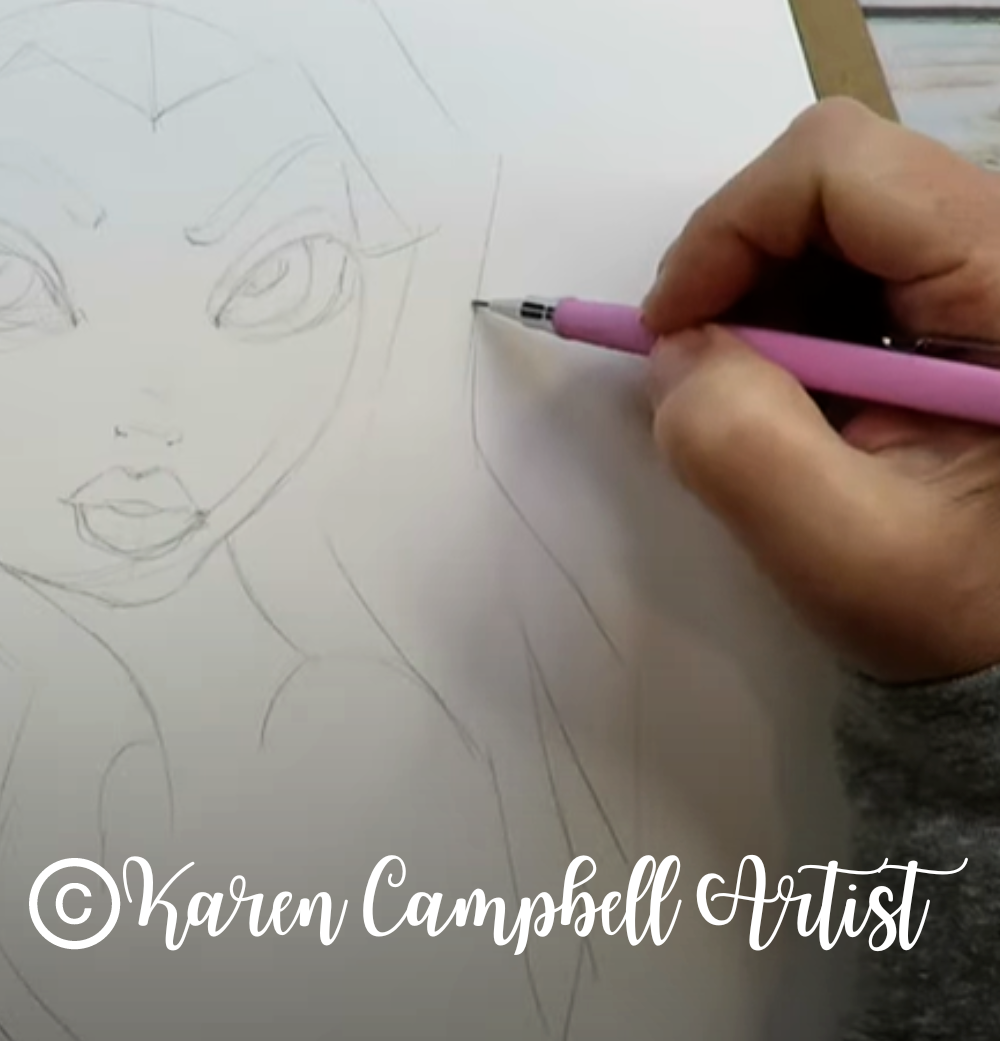
What I care about is that you just draw. Please don't feel obligated to buy anything new. If you ARE looking to add some drawing supplies to your stash, and want recommendations, here's what I used... Zentangle SuppliesHot Press Watercolor Paper (You only need to use watercolor paper if you want to add watercolor like I do at the end of today's project. If you prefer to keep your zentangle feather drawing project in black and white, use cardstock, Bristol, or a scrap piece of notebook or computer paper). Large Feather Stencil (I had one lying around in a drawer - just look this up on Amazon, or give freehanding it a try while you watch the video! It's a fairly simple shape). Any old pencil (I think I used a mechanical one because that's what I had nearby). Fineliners and/or Sharpies in a variety of thicknesses or nibs (these are my favorite pigment-based and NON WATERSOLUBLE fineliners) Derwent Inktense Watercolors (this set is great to use with alcohol or pigment based markers like I'm using in today's video because it won't smear your zentangling). 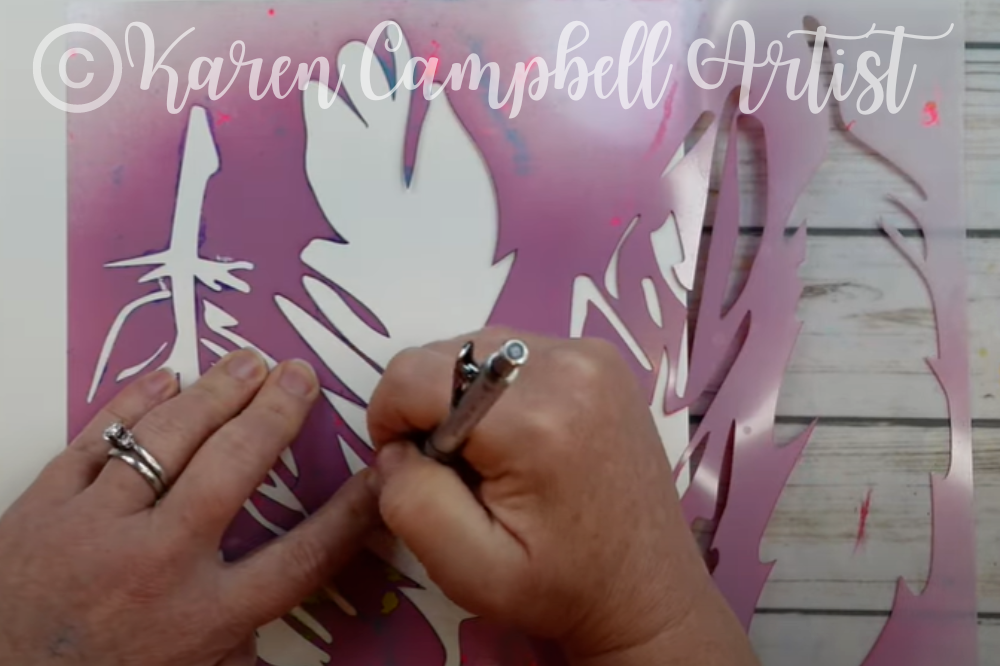
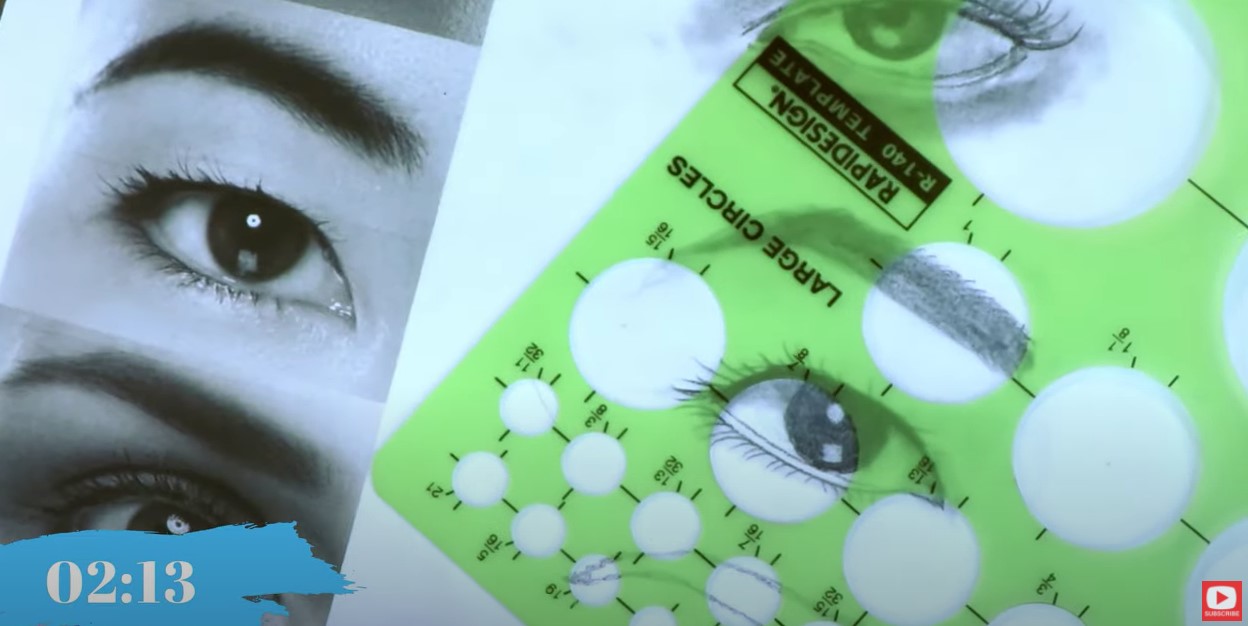
If you're a drawing beginner, or have seriously never drawn a single thing before- I suggest you lean into stencils and feel NO GUILT over it. Stencils can be an amazing way to start a drawing project. They're also an awesome tool for providing a little dose of inspiration!
I suggest you hop over to Amazon and just start looking up "Large Feather Stencil." There are TONS to choose from! Pick the one that speaks to you most, grab a sheet of drawing paper (I like this one if you need a recommendation), some fineliners (I love these, but you can totally grab a sharpie or black pen!), and let's get started. 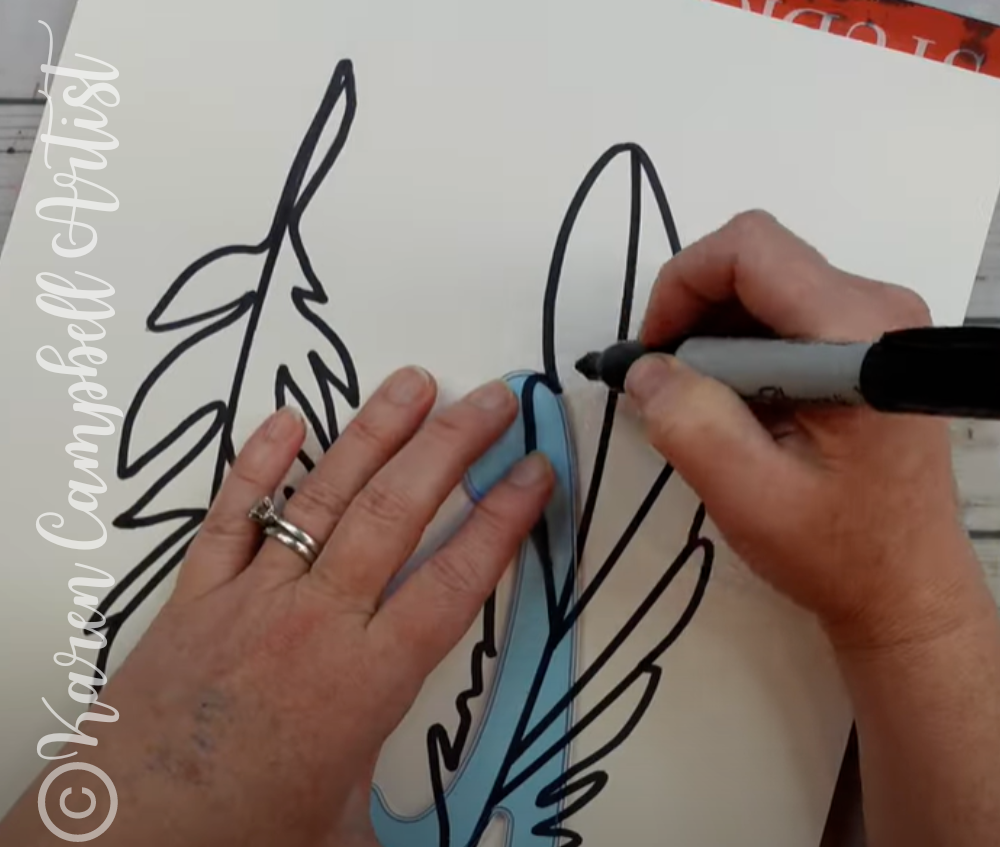
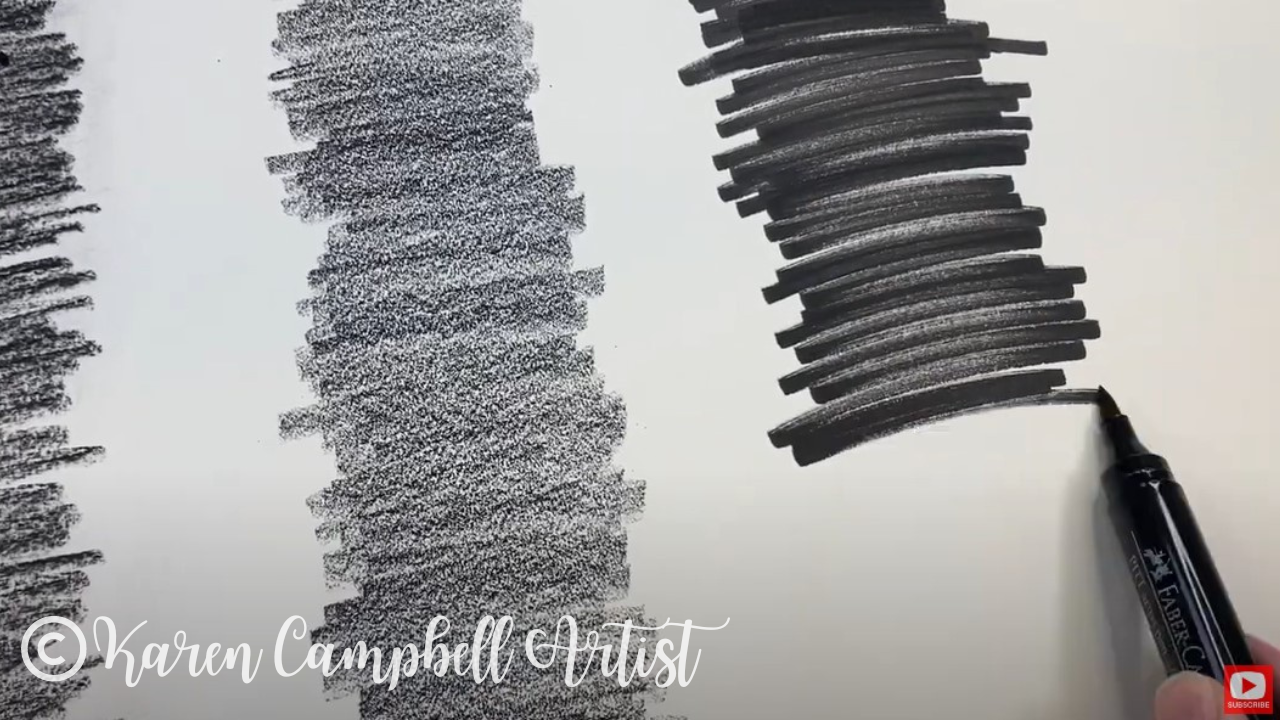
One of my tricks to add greater interest and sophistication to a zentangle drawing (or ANY drawing for that matter!), is to add line variation throughout my piece. The easiest way to do that is by using fineliners (or sharpies!) in a variety of sizes.
Personally, I love to outline the main shape of my drawing with a thicker nib (fatter marker), as shown above. I also use my thicker marker to section the larger drawing off into little segments where each zentangle pattern will go. As you'll see in the video, I used a straight edge for this - not because I care about being perfect, but because it took the pressure off! Today I'm all about embracing the short-cuts and drawing aids :)
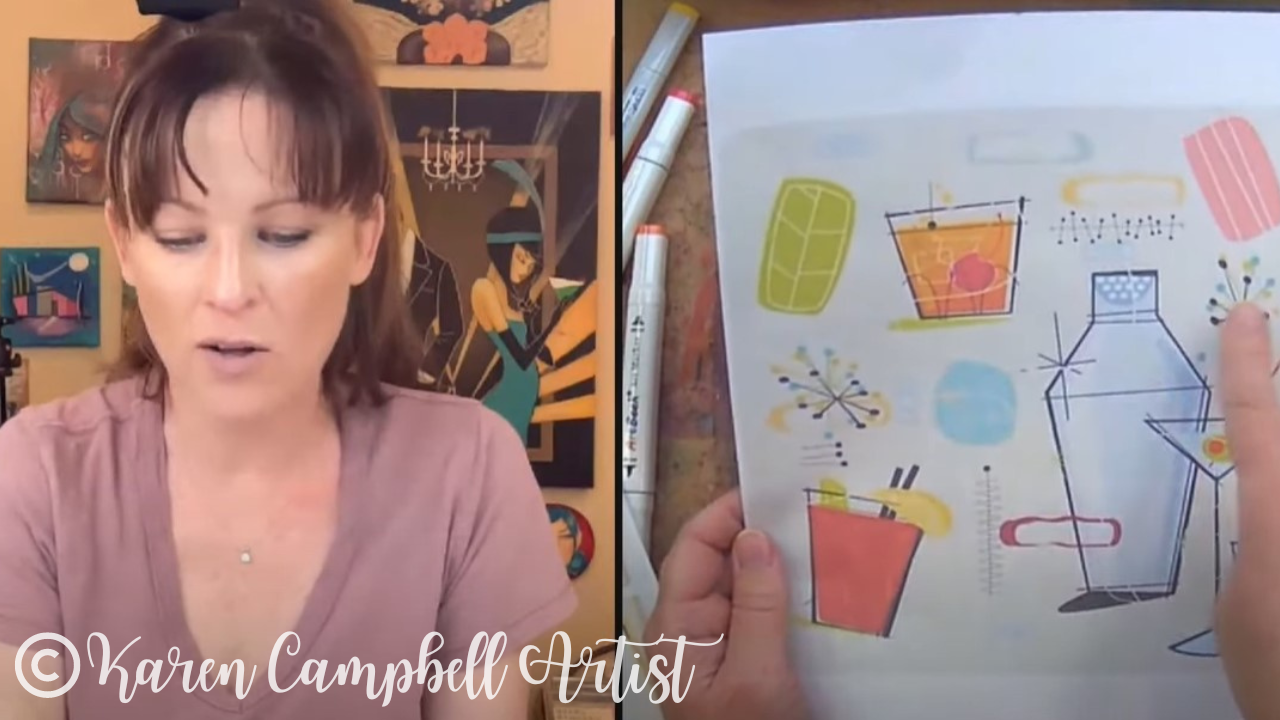
When I'm ready to start adding some zentangle feather patterns inside each little section I've created, I switch to a thinner marker with a smaller nib (from my Molotow set of pigment-based, NOT WATER REACTIVE ink fineliners). I feel like this helps the viewers' eye to discern the difference between outline and inner patterns. A smaller nib also makes it easier to create more intricate zentangle patterns if that's what you're in the mood for. As you'll see in the video, I LOVE to keep my zentangle patterns super simple on purpose. I feel like easy zentangle patterns look really striking and sometimes even BETTER from the really busy, intricate ones. To me, sometimes less is more with zentangle art. This approach might help you feel less overwhelmed for this and any other zen doodle project you create. 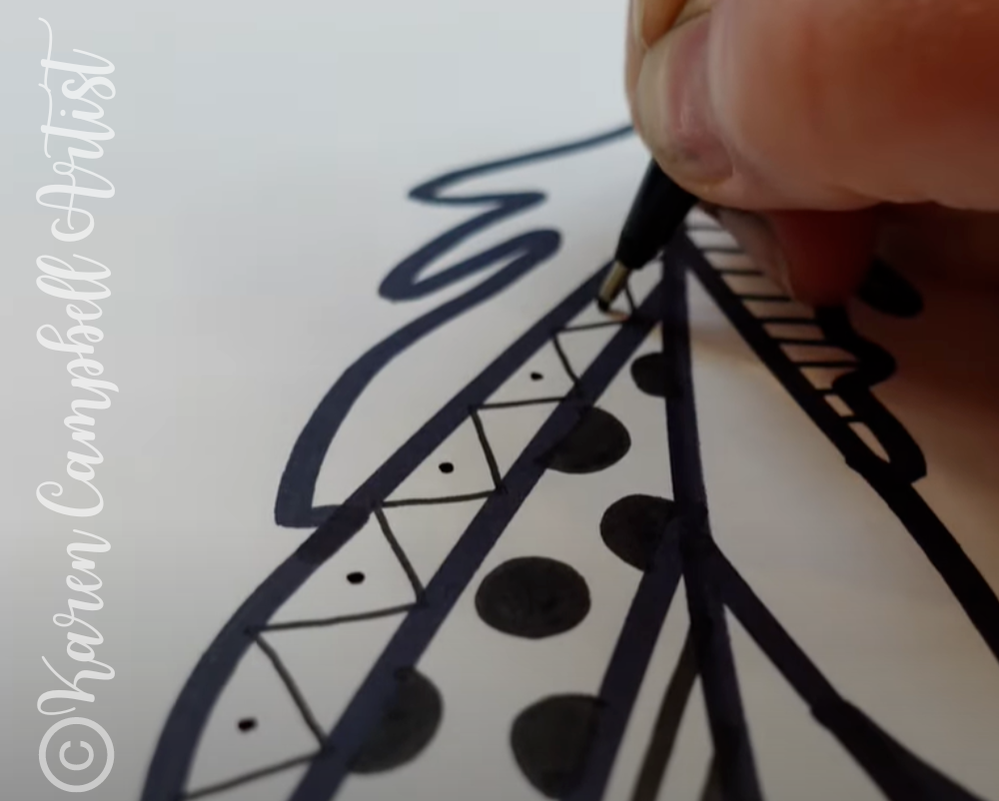
If you find yourself struggling for new ways to fill in the sections with fun zentangle patterns, consider simply adding more thickness, or color, to the patterns you've already created.
You can ALSO add interest to your drawing as a whole by adding something in the background of your focal point. I decided to add some circles to mine along with a bit of loose watercolor to mix things up! HOT TIP: If you want to follow me and add watercolor to your zentangle feather drawing, it's extremely important to work on watercolor paper. I recommend HOT PRESS watercolor paper for this project because it's smoother for your markers. 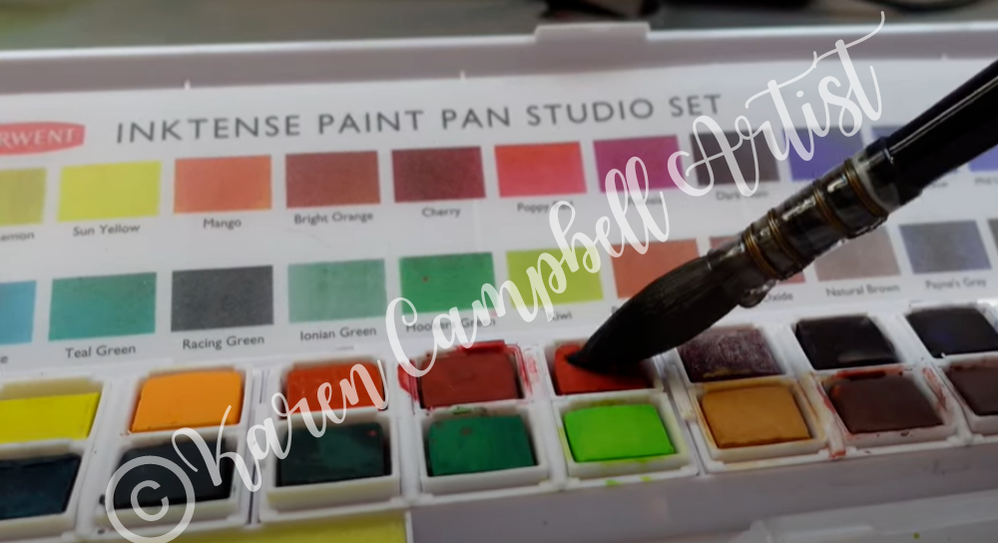
|
Karen CampbellFounder of Awesome Art School. Mixed Media Artist. Author of 19 Instructional Art Books! 
Whose work has appeared in...
   
 Archives
July 2024
Categories
All
|


 RSS Feed

"Karen is flipping hilarious and she's very real...I like the way she teaches in a way that really gives you confidence, whether you're a beginner or advanced there's always something new to learn!"
- Elizabeth W. |
What Fans Are SayingKaren, you are absolutely fabulous! You make me feel like I can draw anything. I have recently retired and finally have the time to do some of the art that I have loved since I was in school. I am really at the beginning of my art journey and I hope to learn as much as I can. Thank you for all you do. |
Contact ME |