
|
Today I'm RIDICULOUSLY excited to share a super fun project that I created in my mixed media art journal using a square of tailor shape by Art Graf.
I picked this up randomly at Jerry's Artarama a while ago and finally decided to play with it today. I had NO IDEA what to expect from this product, and am SO EXCITED about the results! 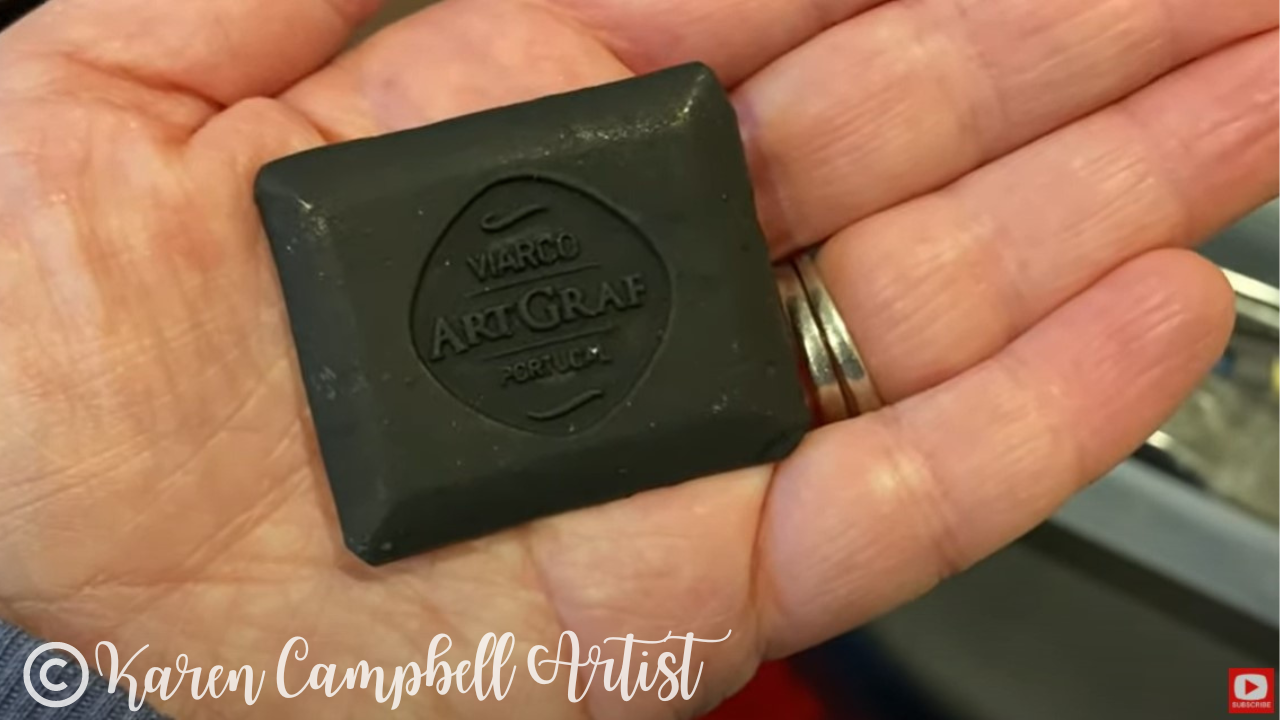
Before we continue, super quick announcement: All product links are Affiliate. I may earn a small commission if you choose to order through these links but by law there is never any additional cost to the consumer for doing so. I thank you for your support.
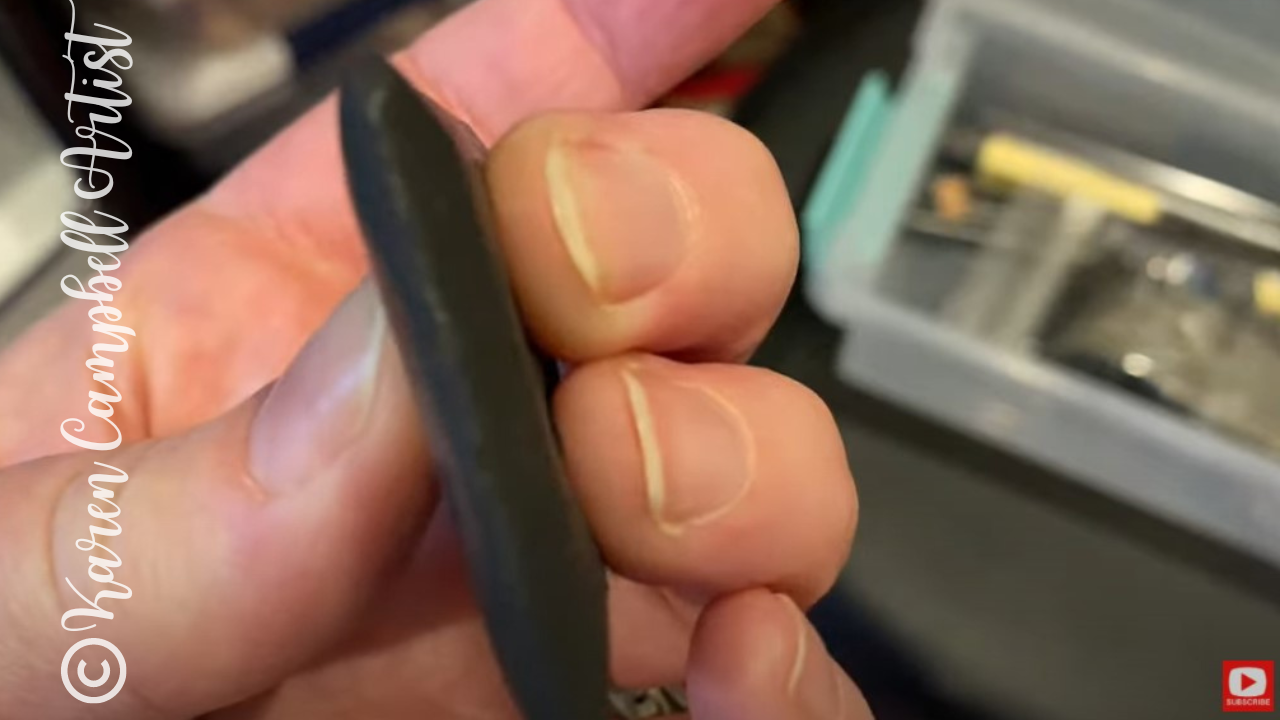
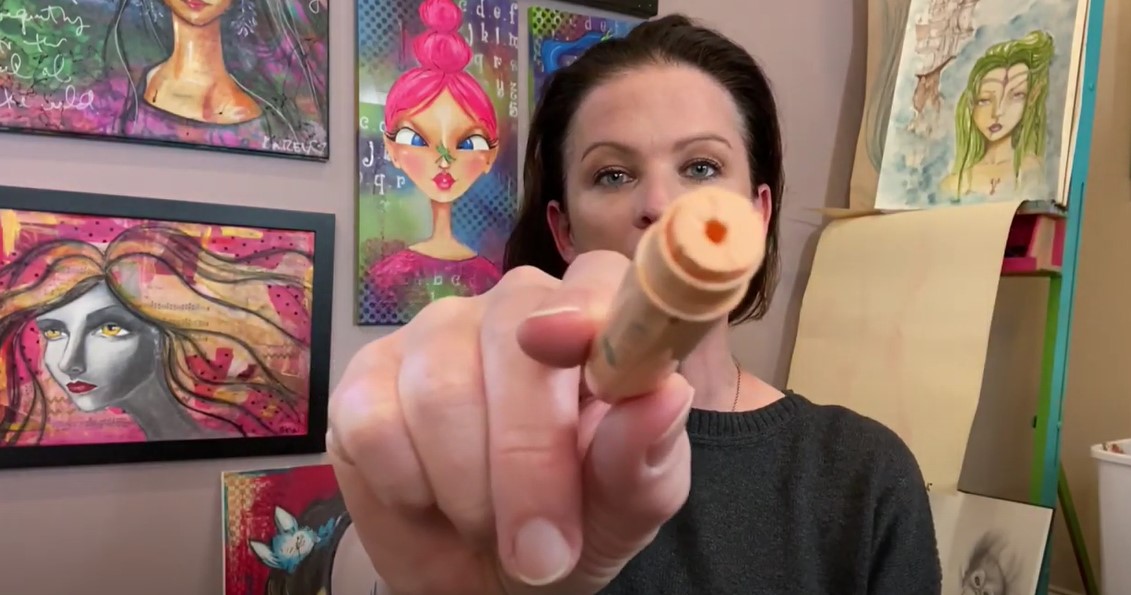
So this thing is actually a chunk of solid carbon and it's completely watersoluble. You can grab one on Amazon for about $12 if you wanna play along with me at home.
It's got a few names - some call it tailor's shape, others call it tailor's "chalk." It's actually NOT CHALK, but carbon that has been formed into a rectangular disc in the shape of tailor's chalk! 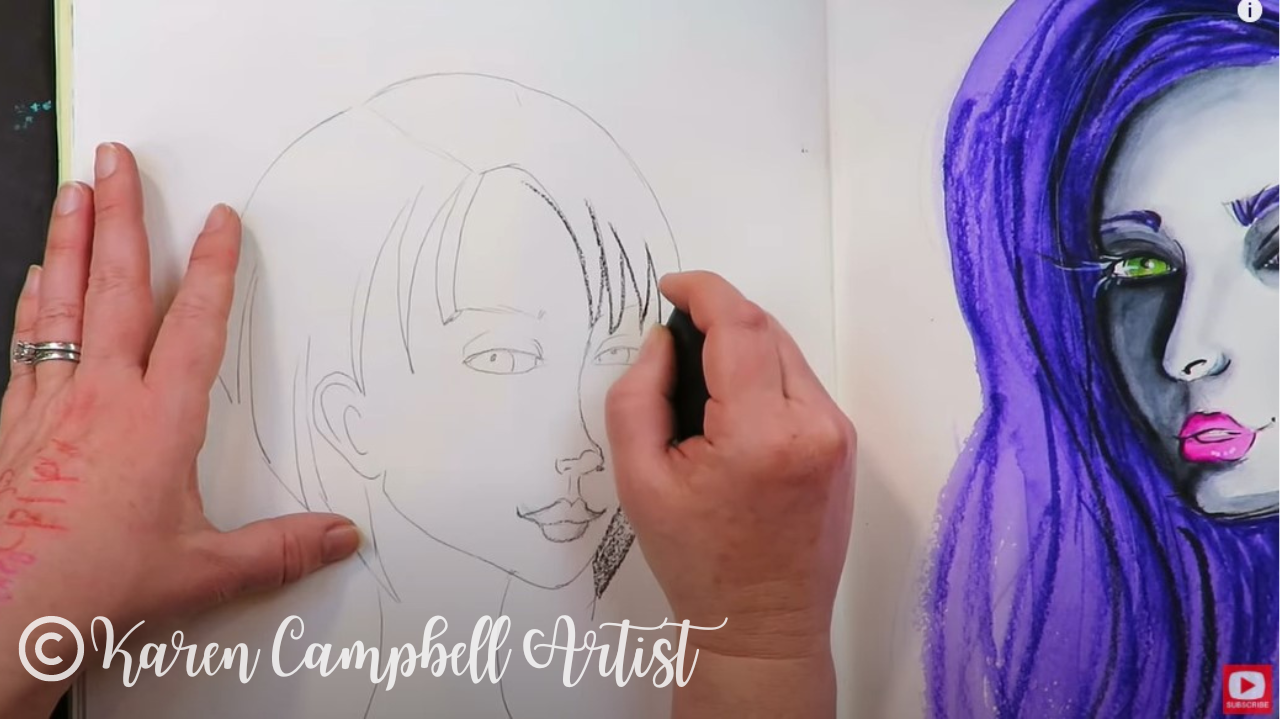
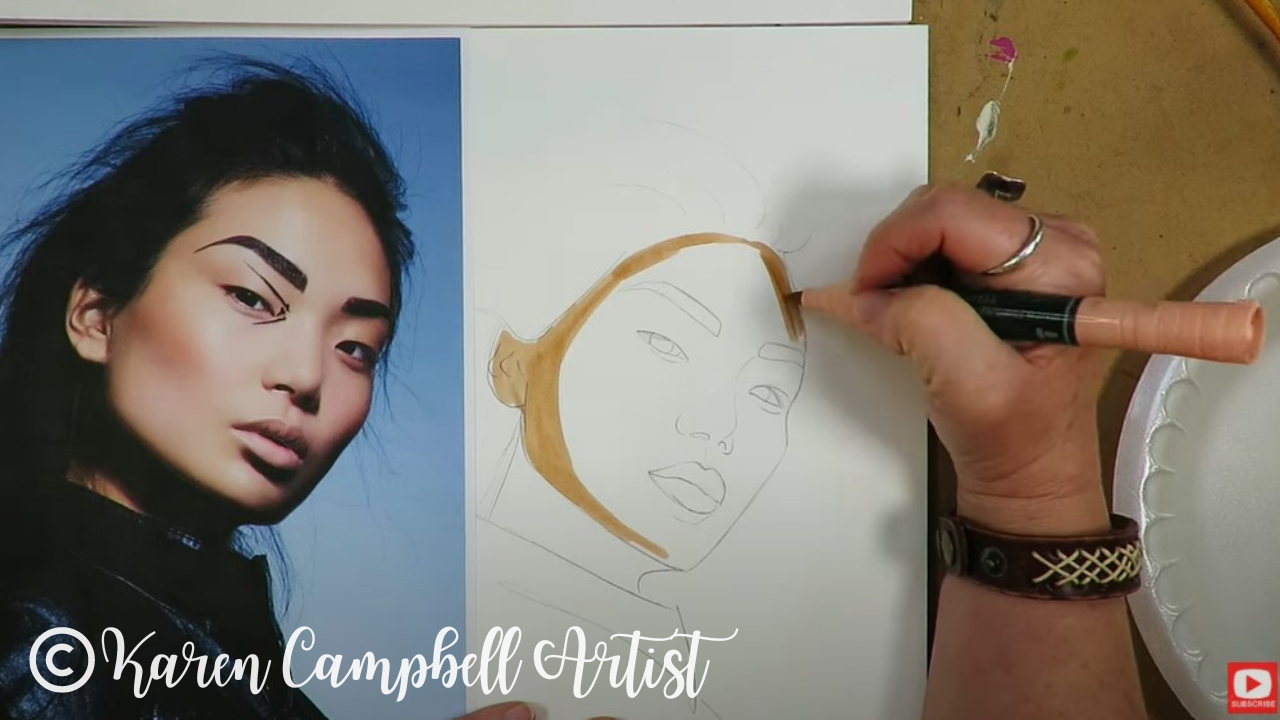
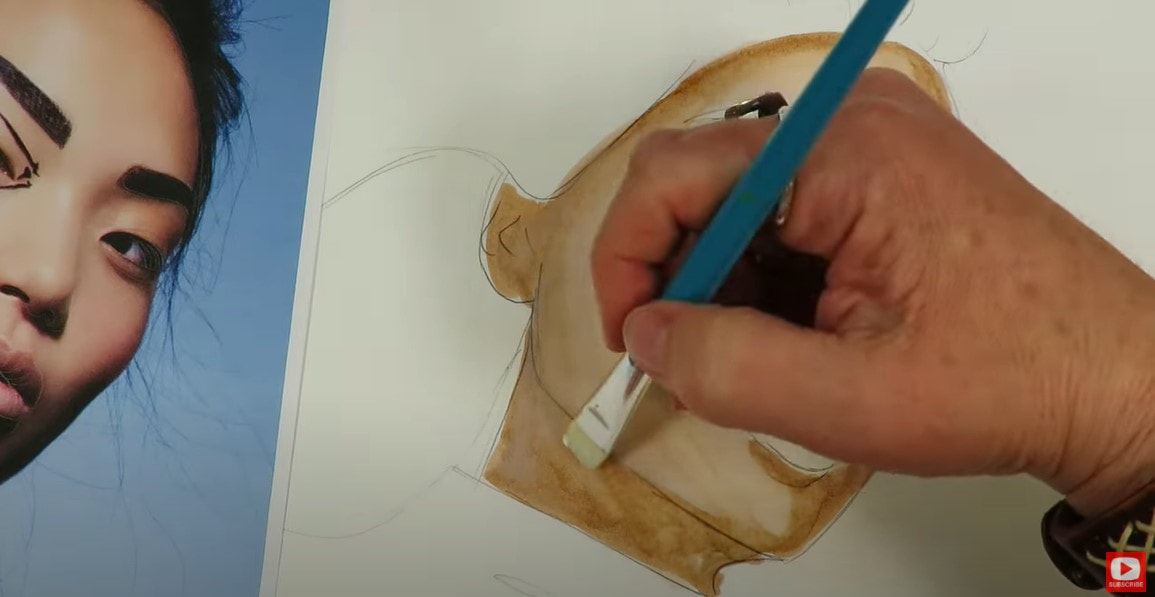
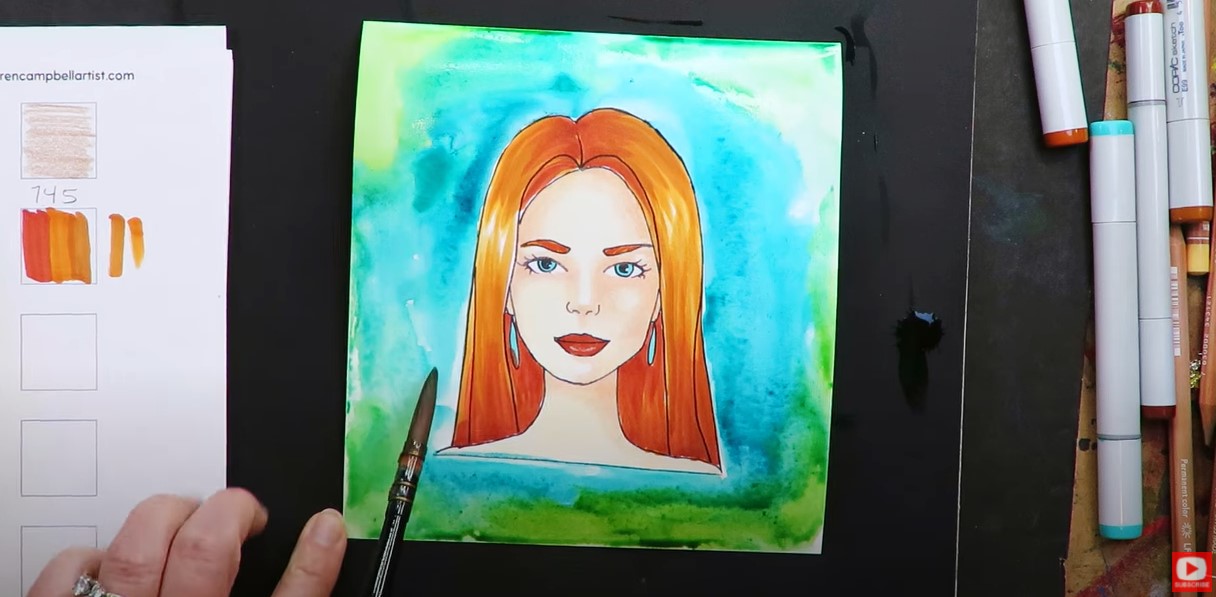
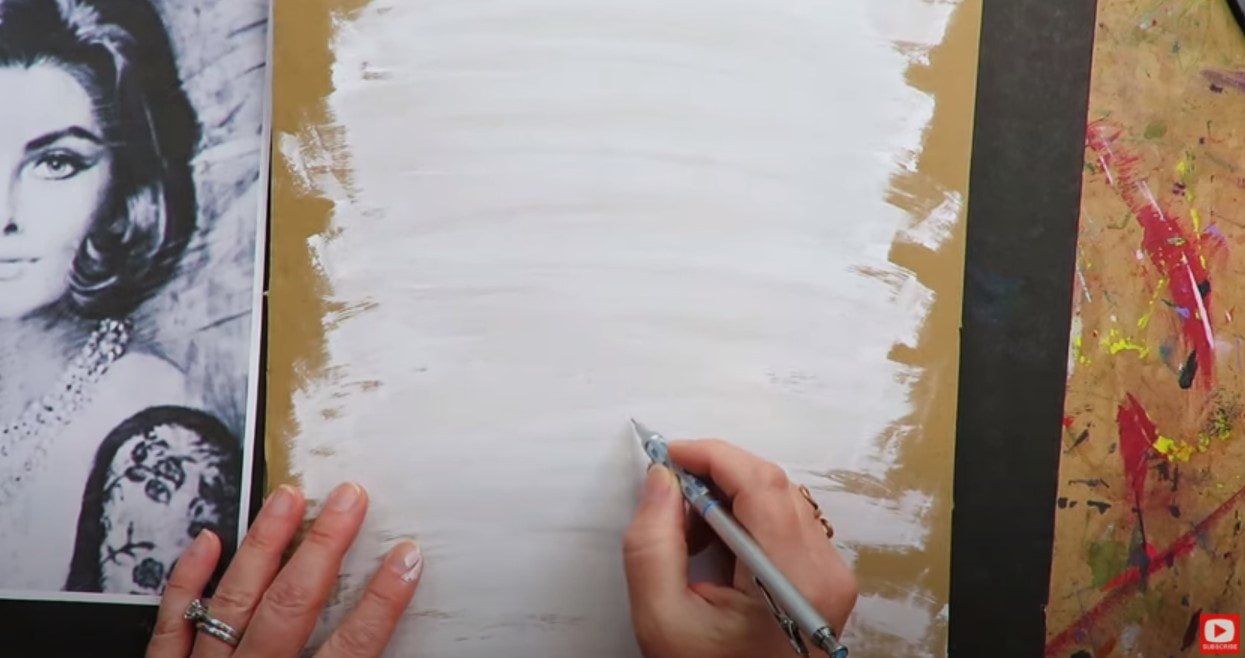
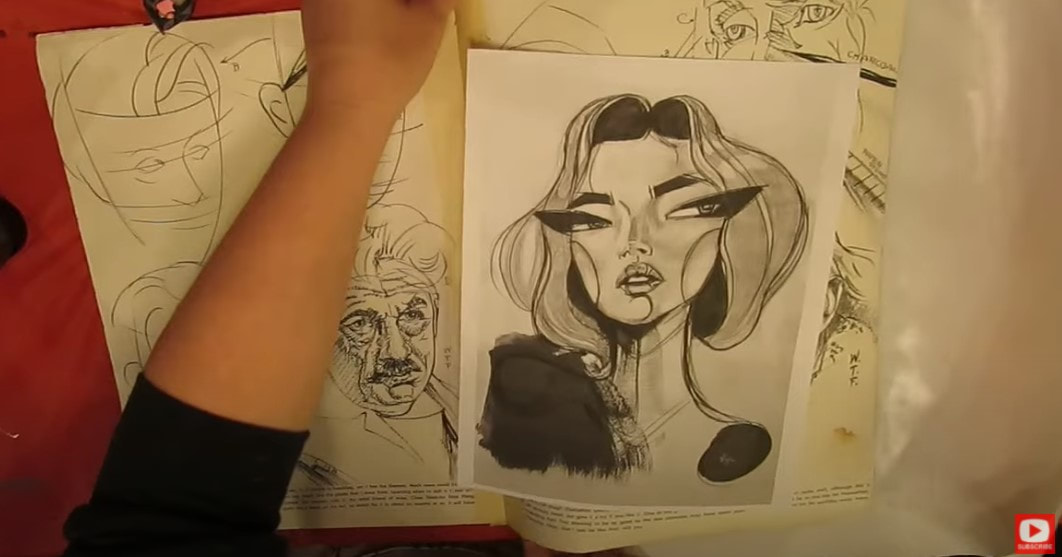
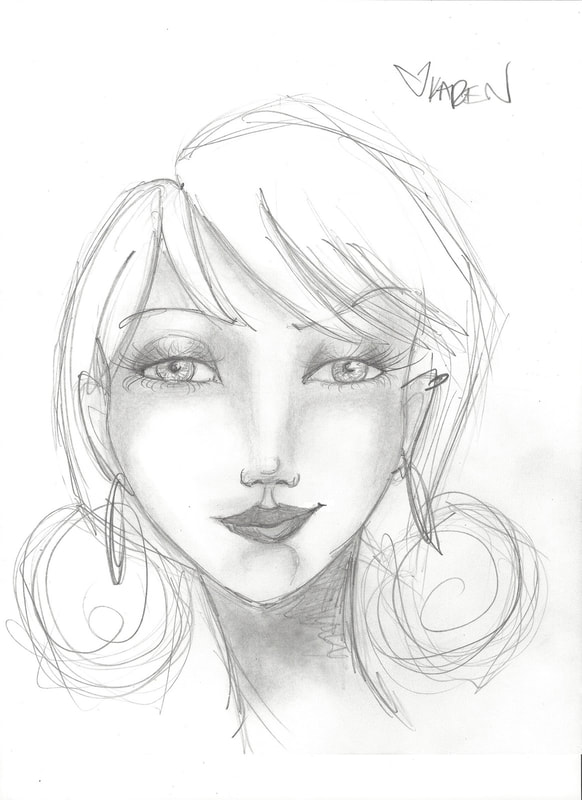
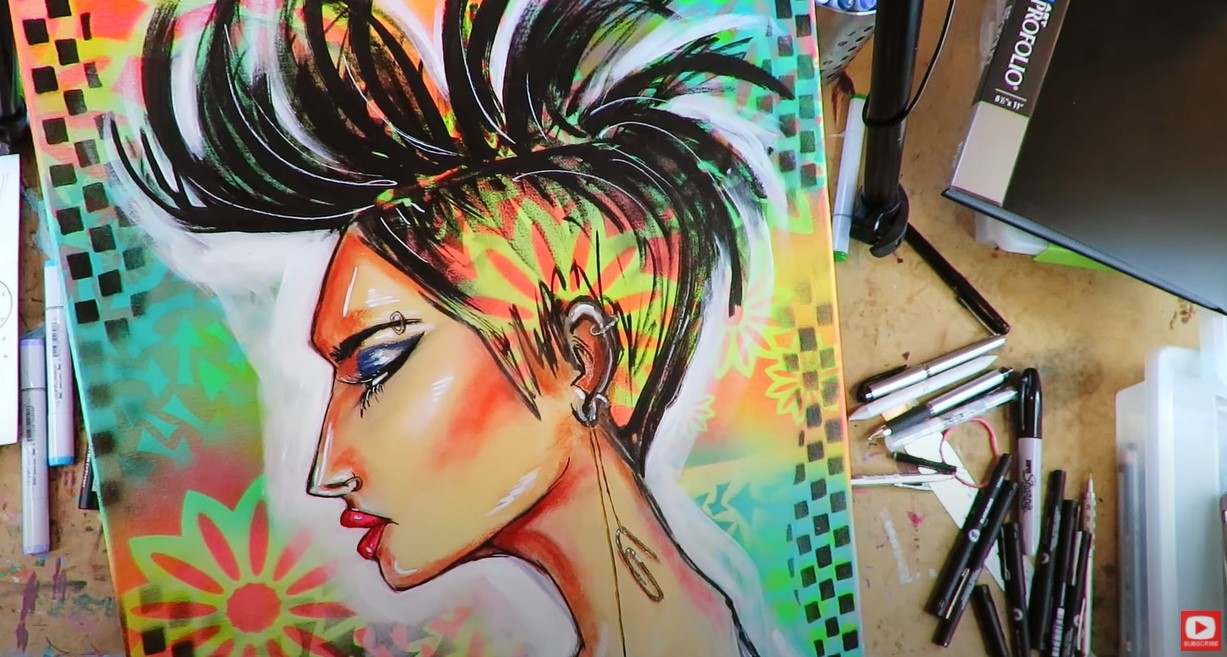
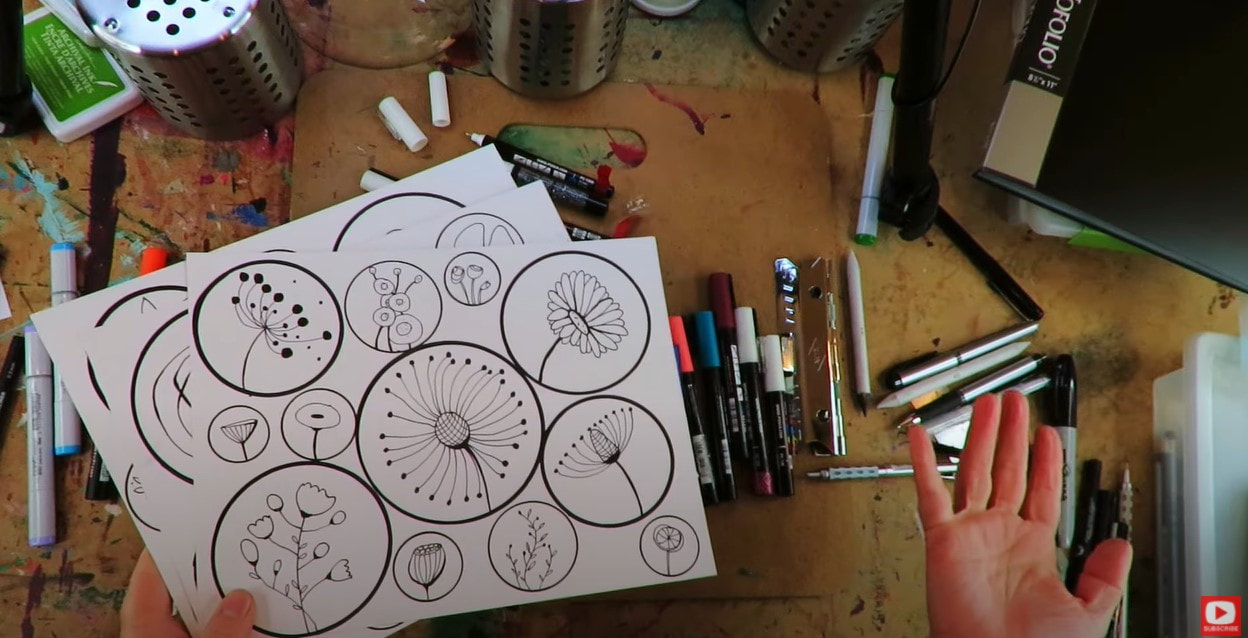
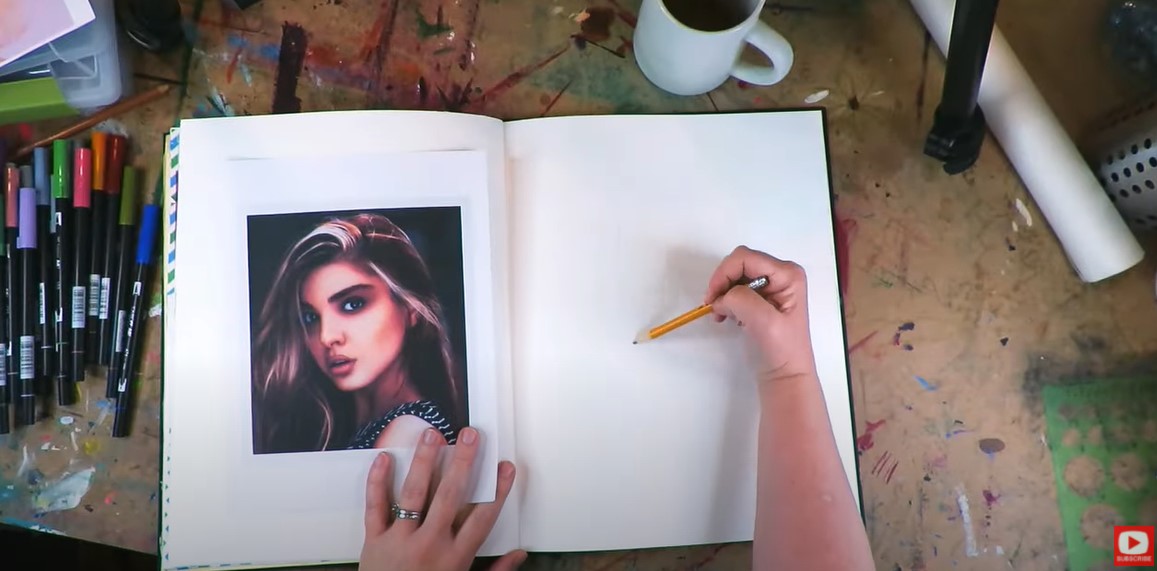
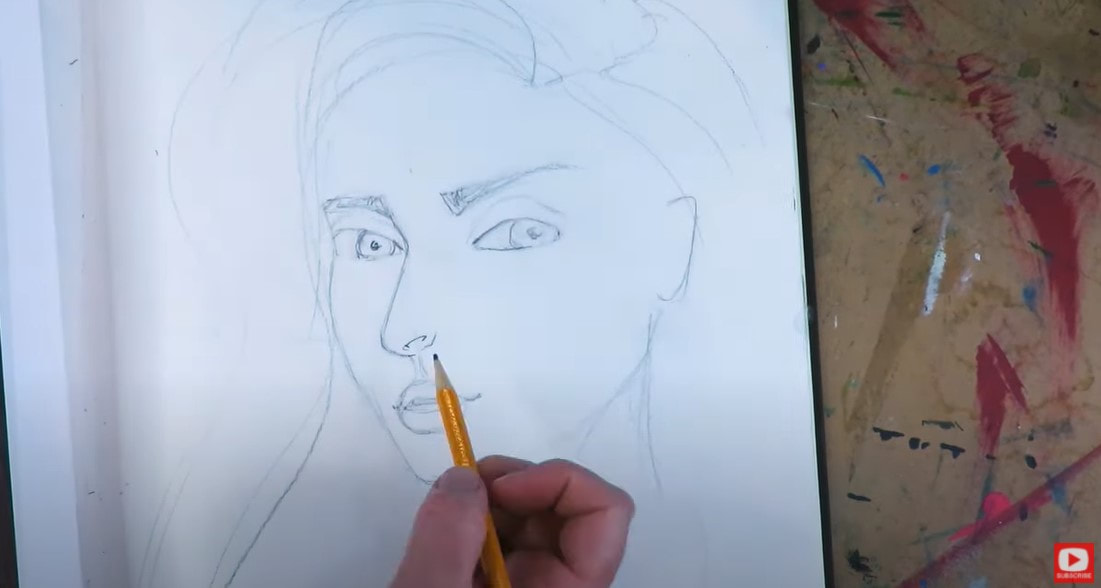
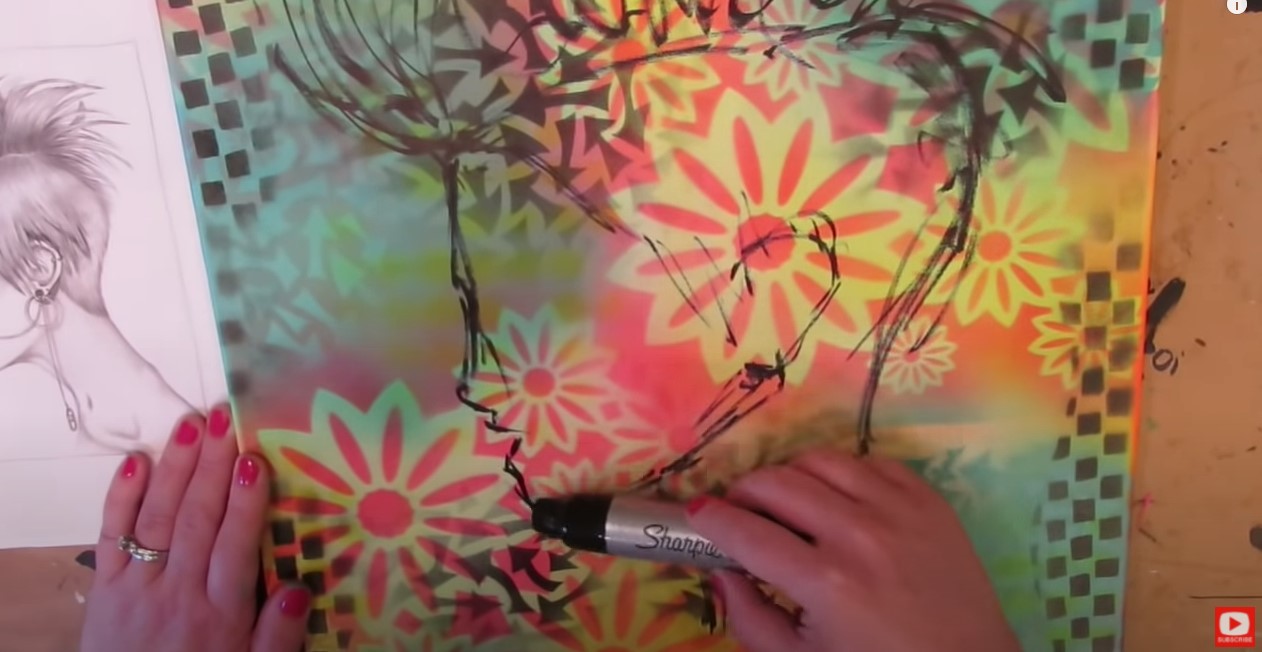
For today's demo, I decided to transfer a previous drawing (if you're not sure how to transfer a drawing, watch this video) into my Strathmore watercolor sketchbook to get this project started.
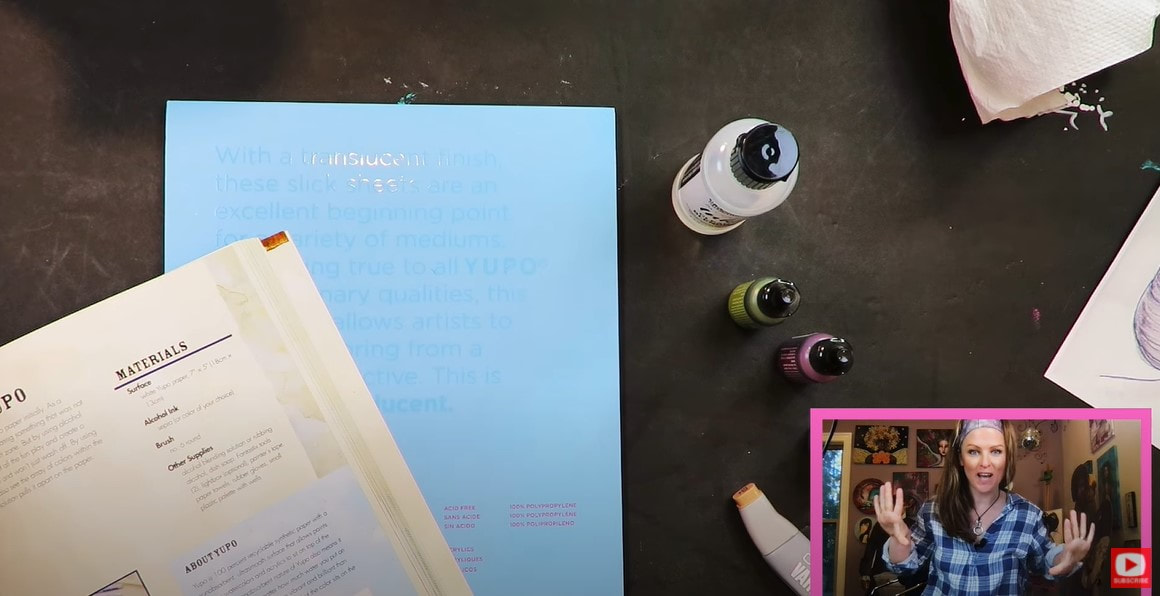
HOT TIP: Remember if you're working with ANY type of water-soluble art supplies, you need to be working on watercolor paper. 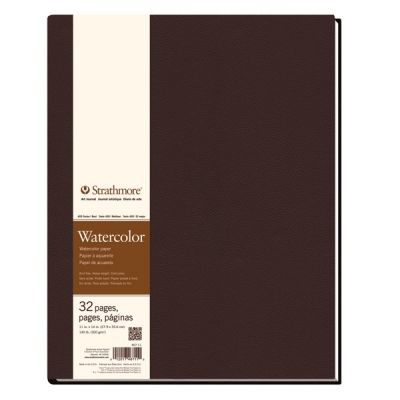
This is the watercolor sketchbook I'm working in today. It's an 11x14 because I LOVE to work big, and hard cover, which makes it perfect for traveling.
This is typically what I work in for pretty much anything art journal related. It's filled with 140# cold press (textured) watercolor paper. It's of course amazing at accepting watercolor and all watersoluble art supplies from watercolor pencils to the ArtGraf tailor shape I'm using today. I think the paper in this sketchbook is also amazing for drawing because of the gorgeous texture. It's also hearty enough to accept full on "hamburger style" mixed media projects like the one below! 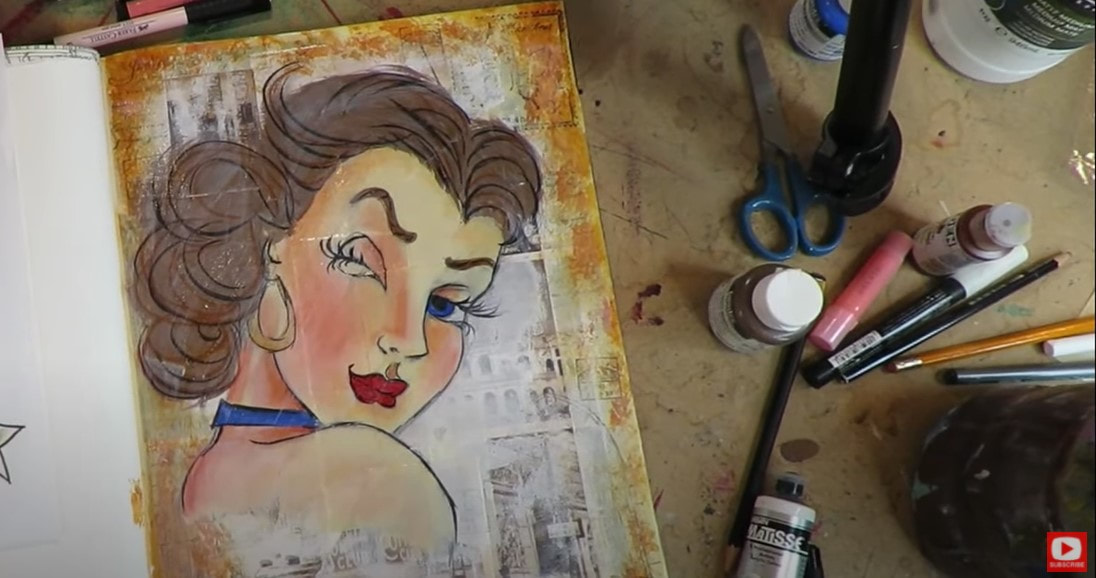
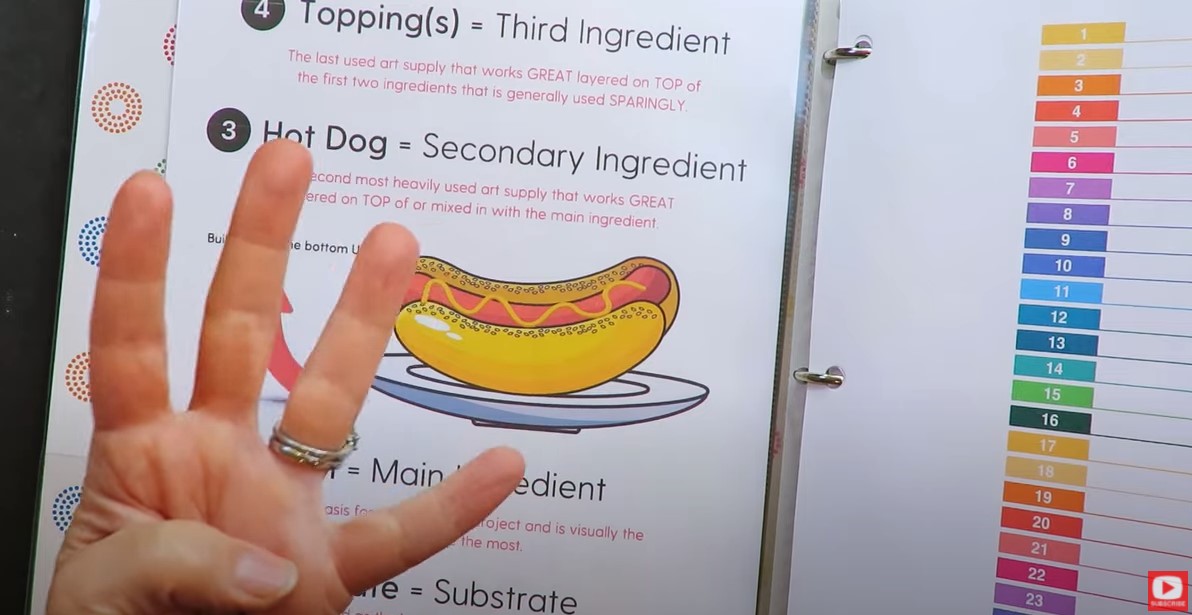
Not familiar with my Hamburger System? It's my signature mixed media process! Grab my FREE Hamburger System cheatsheet to help you understand your mixed media art supplies and start layering them like a pro.

After you grab your cheatsheet, watch this playlist to see how I create each layer of the Hamburger System from collage to acrylic painting, finishing and sealing to create my mixed media masterpieces!
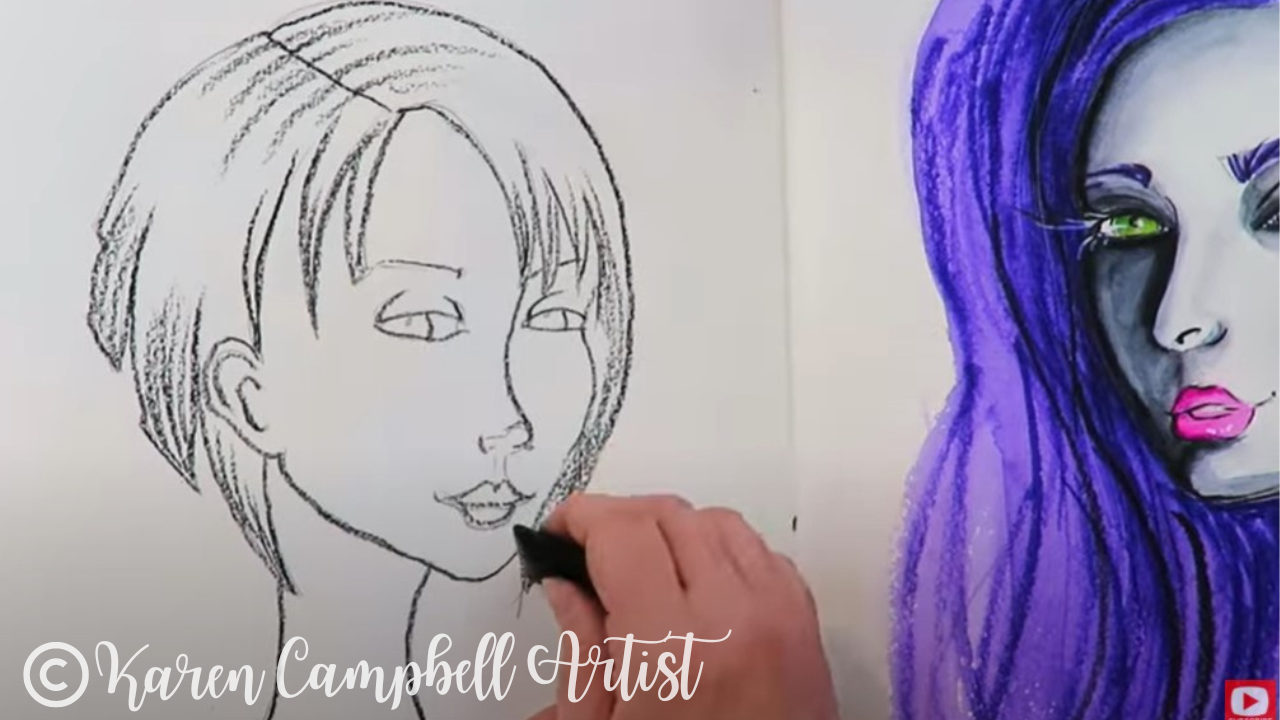
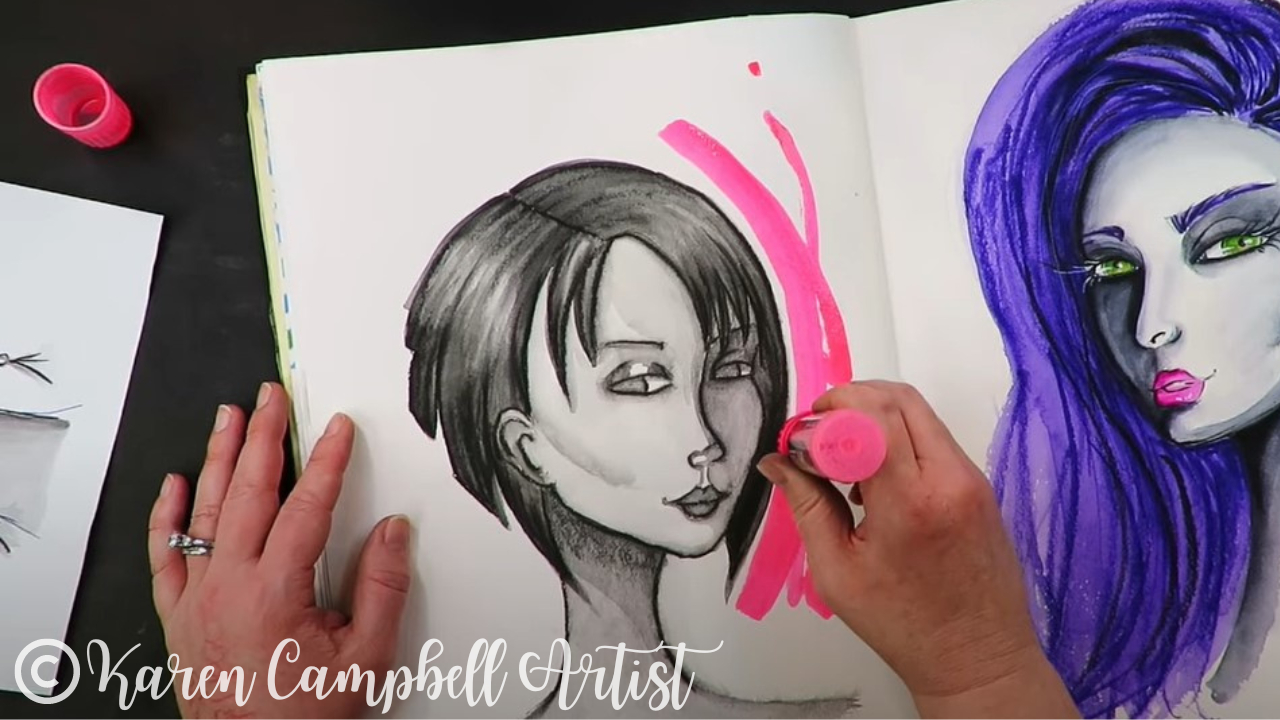
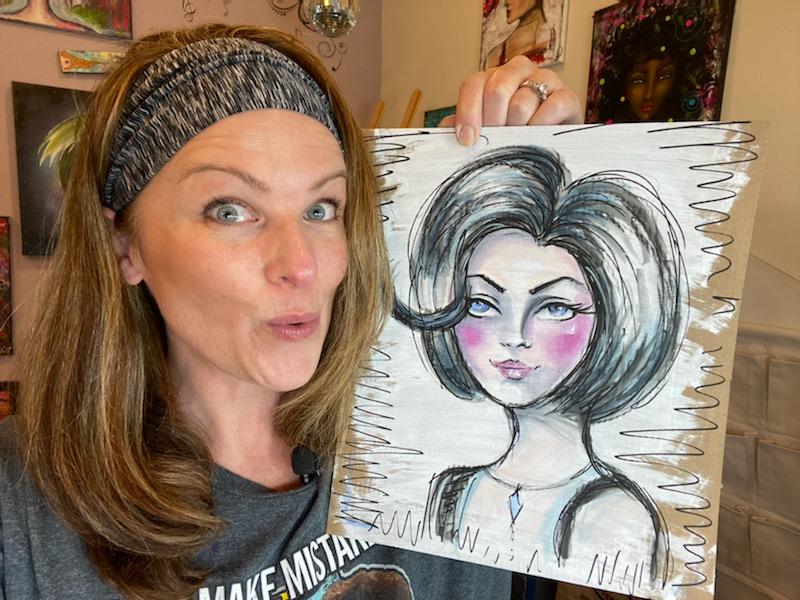
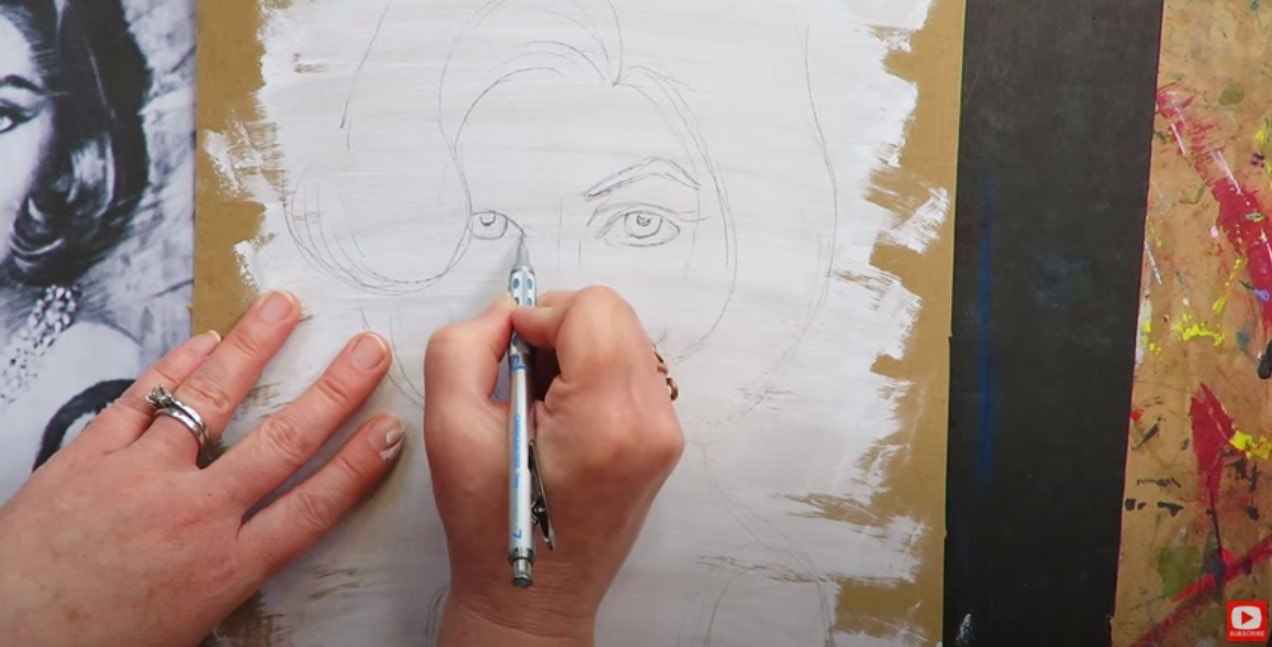
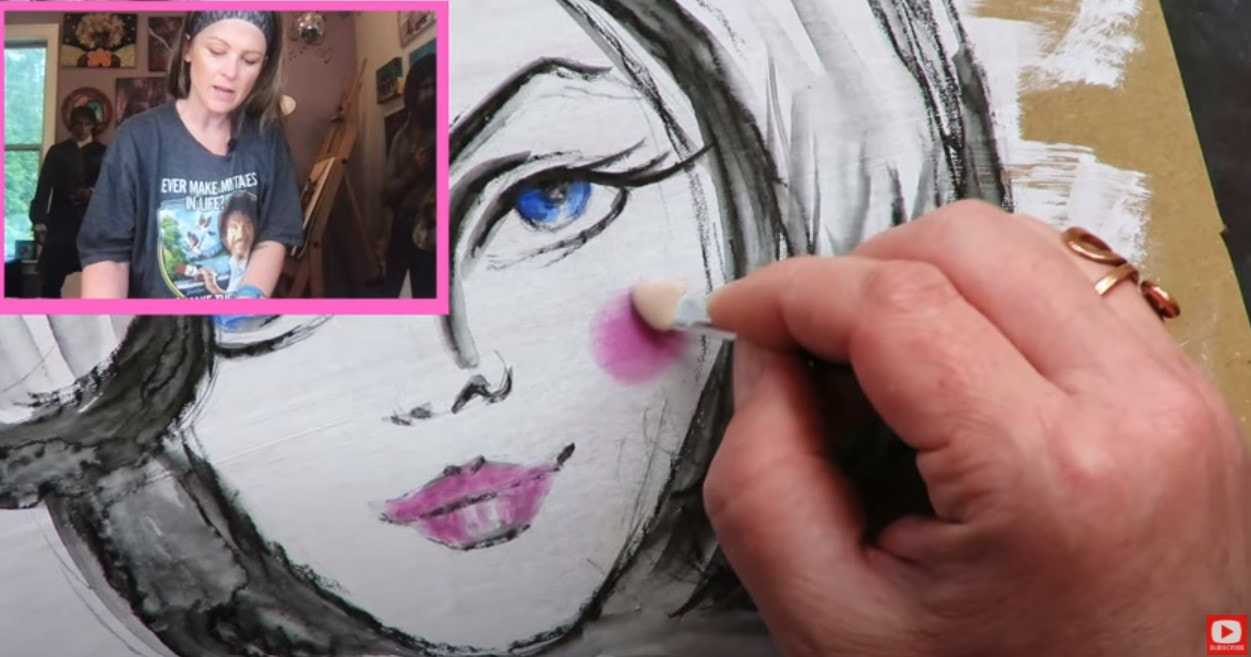
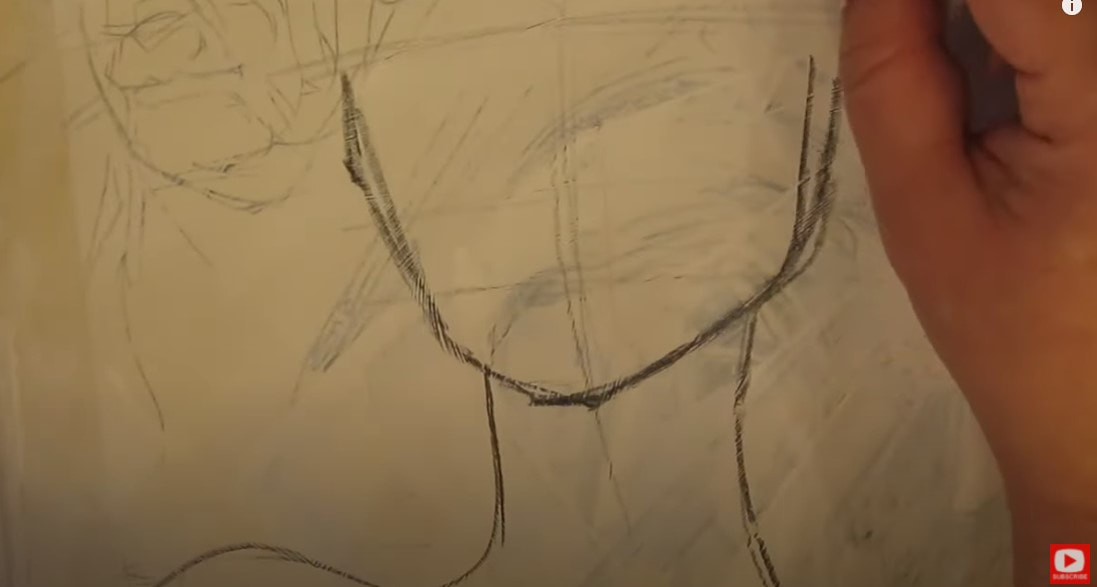
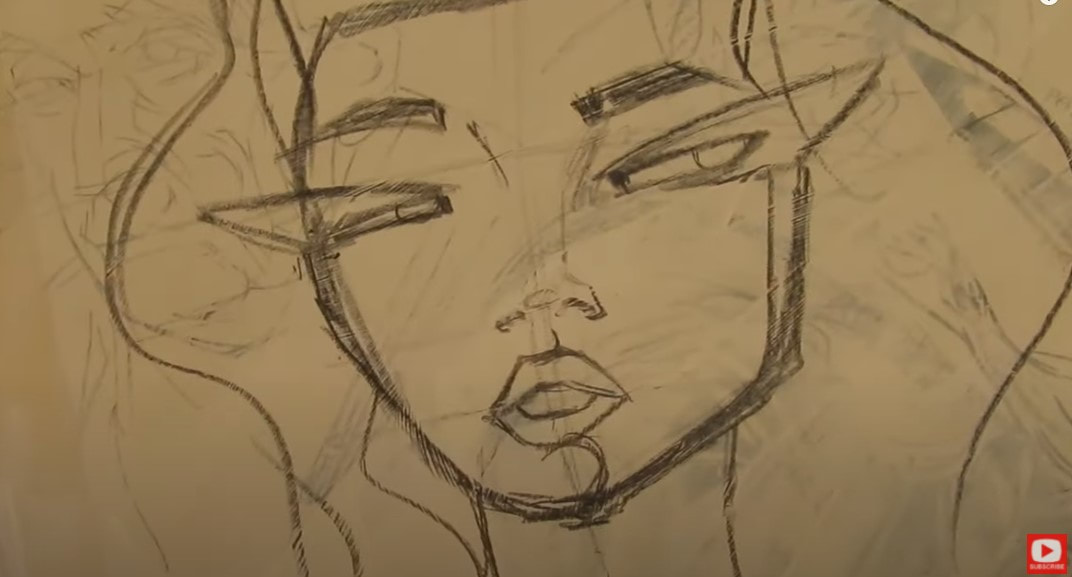
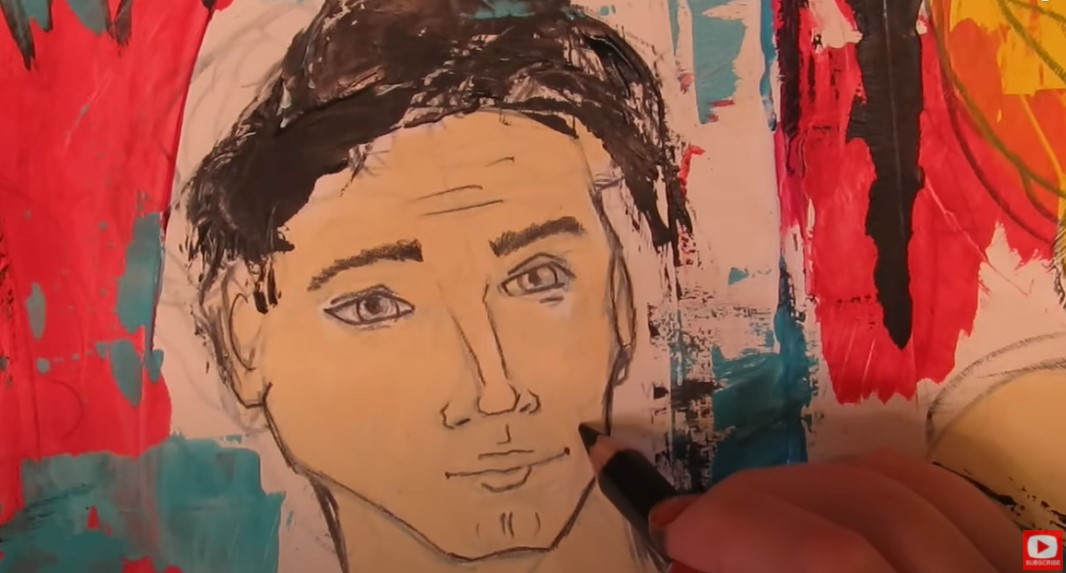
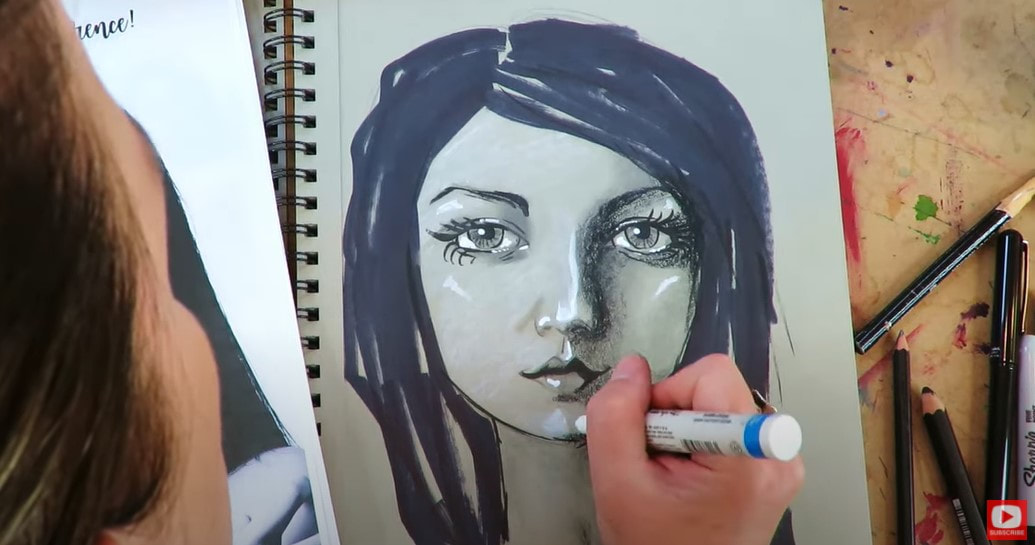
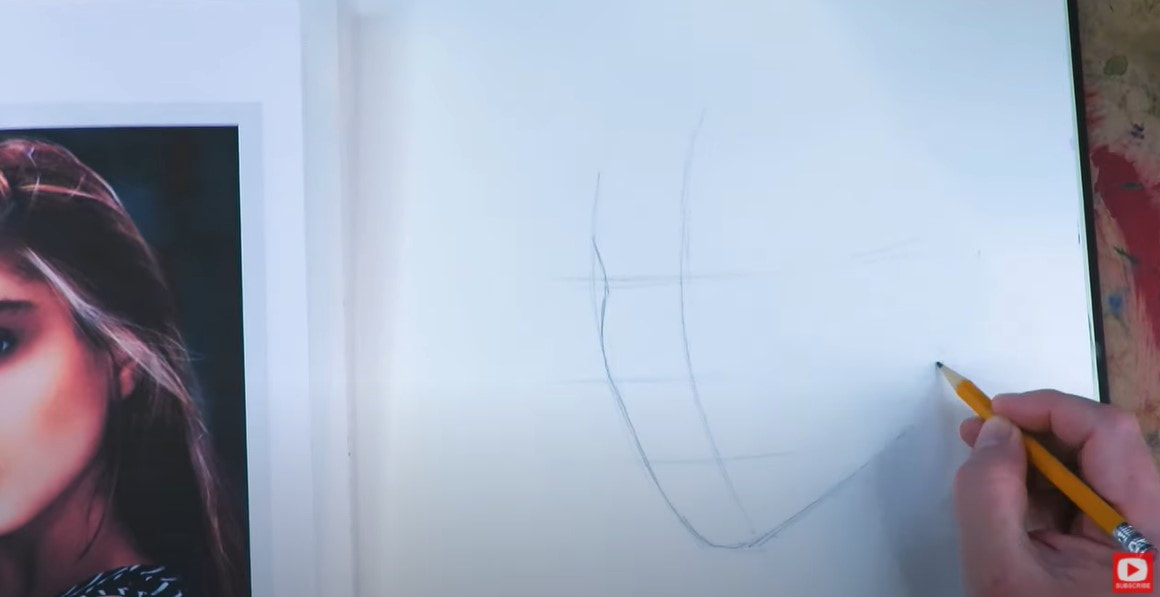
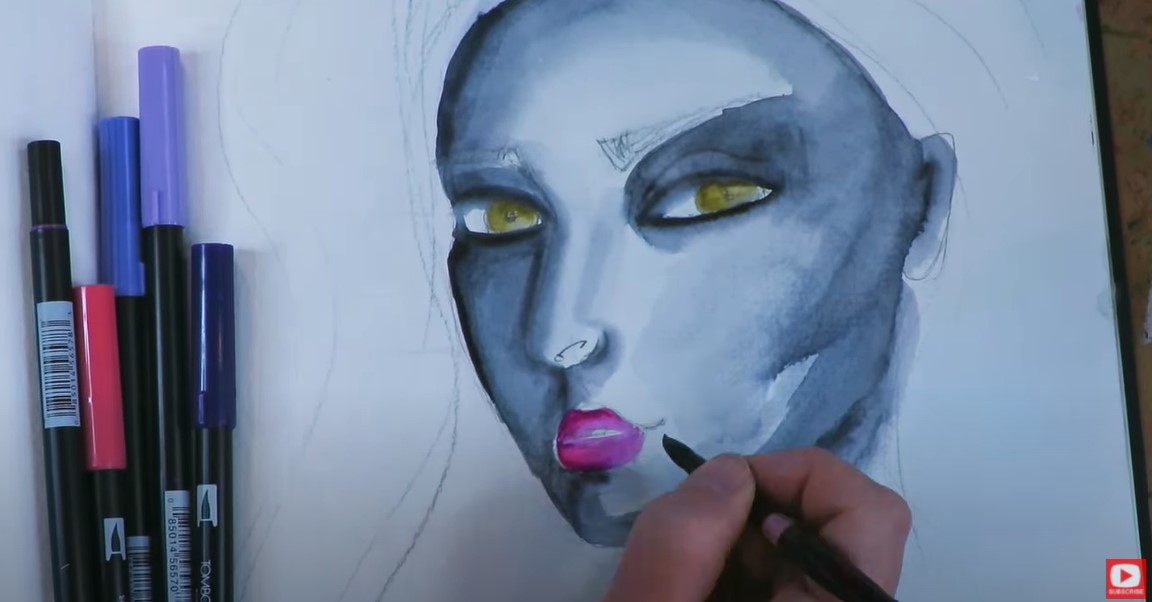
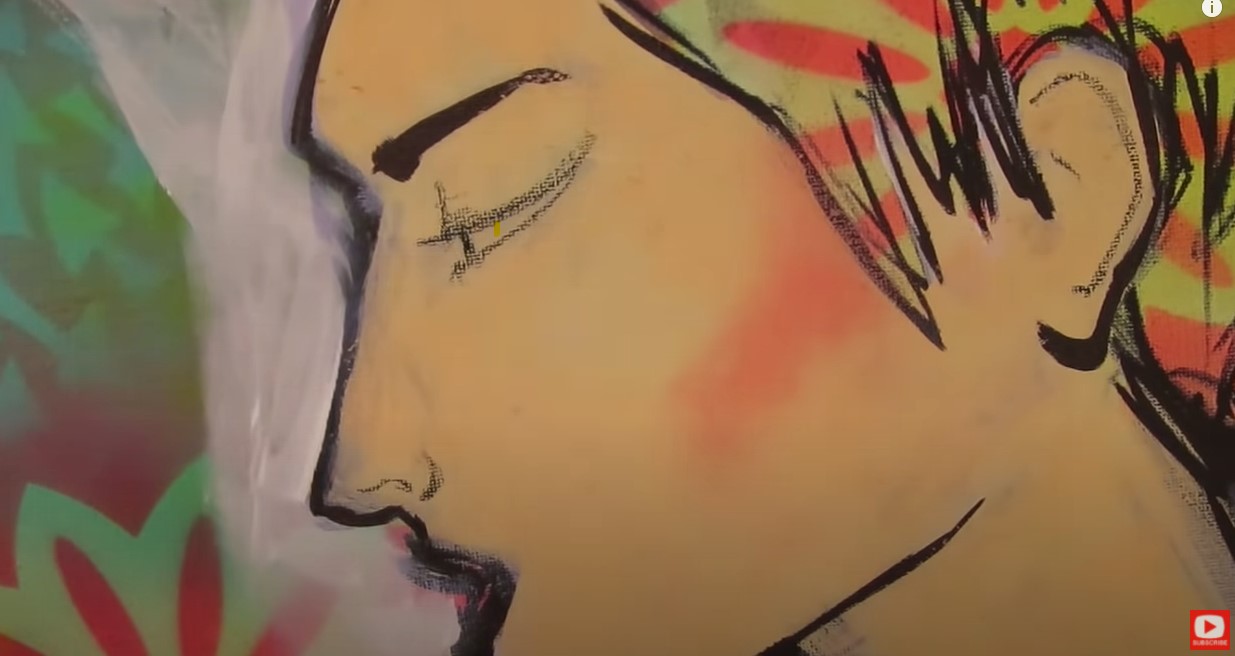
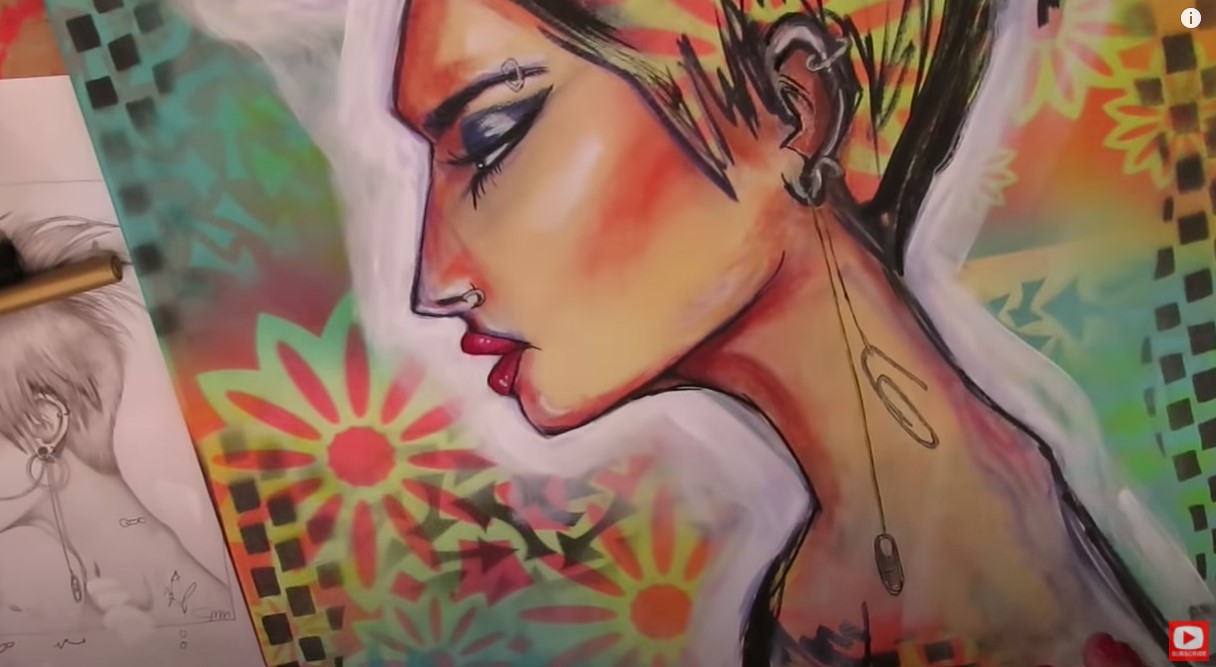
Back to TODAY's project :) So as I mentioned, I've never drawn with anything like the watersoluble tailors shape by ArtGraf before! It honestly worked pretty well tracing over the lines of my transferred drawing.
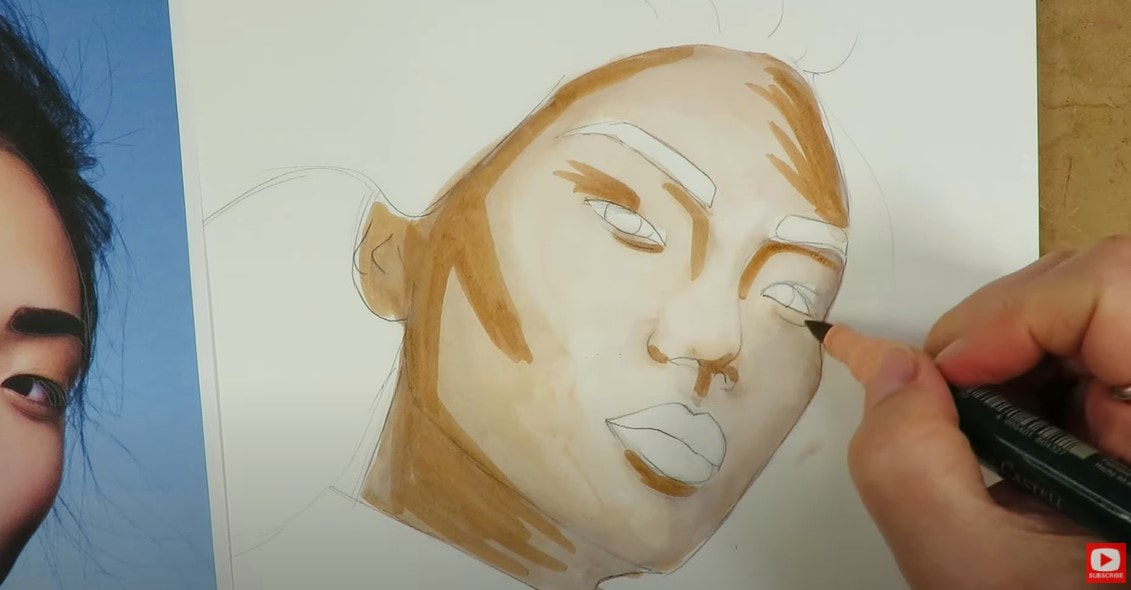
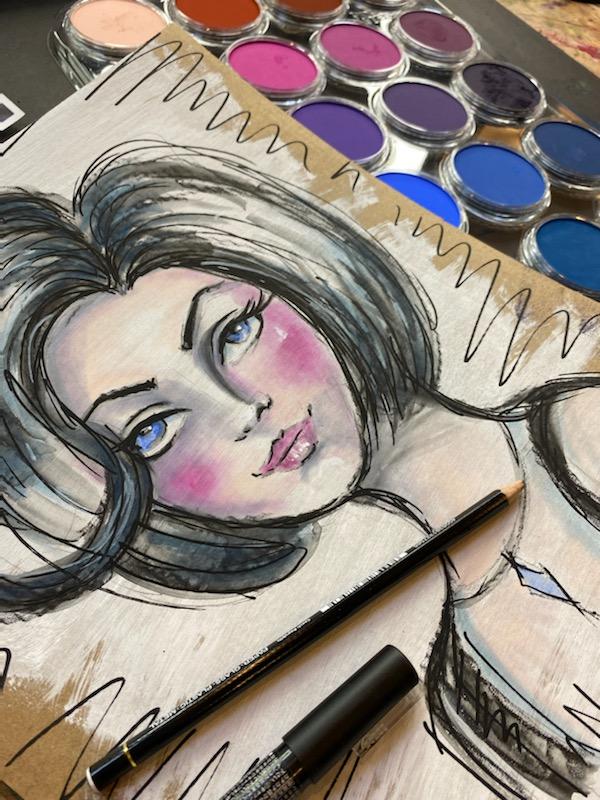
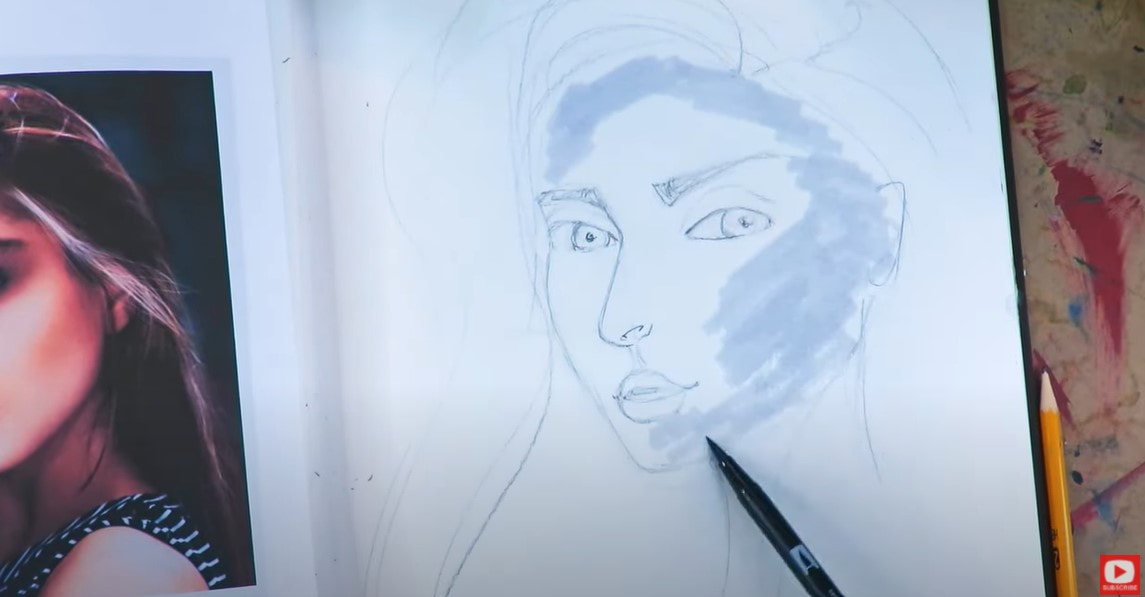
When it was time to activate my drawn lines, I was a little shocked at how water soluble this stuff was!! At the same time, I immediately felt like I was in familiar territory. 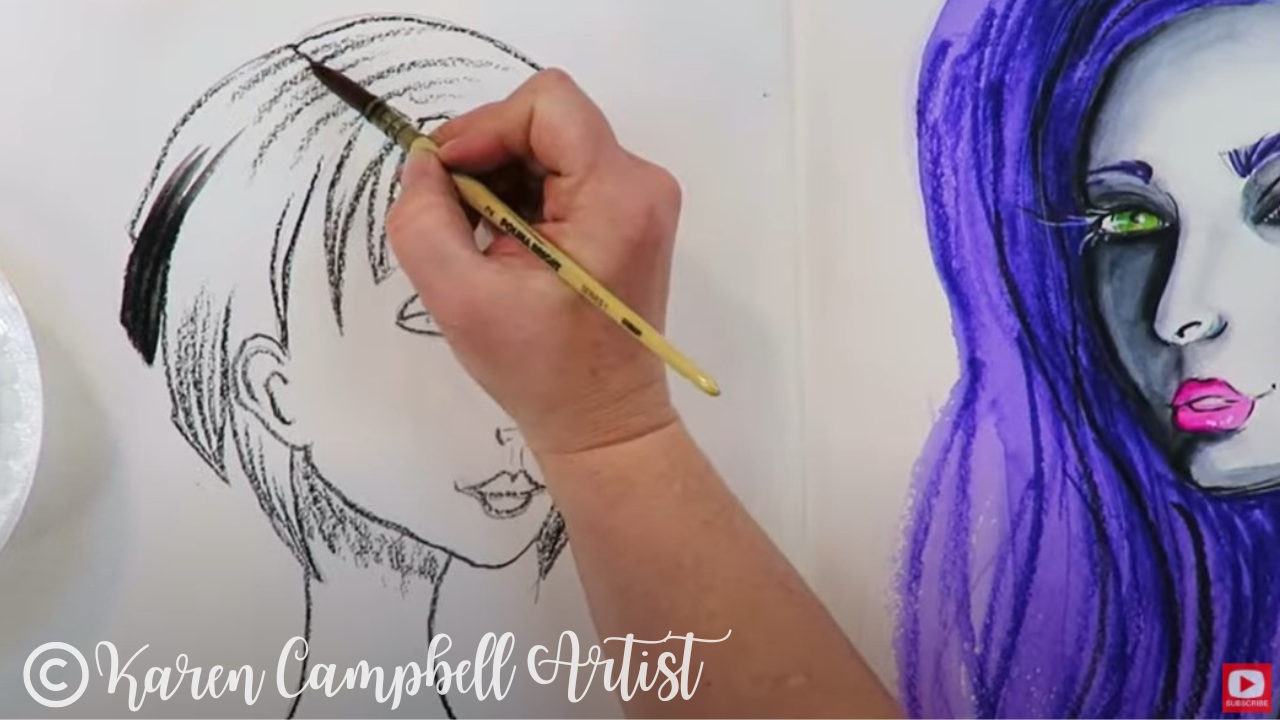
The effects were IDENTICAL to my beloved black stabilo all pencil! So much so, that I'm seriously wondering if this stuff is what's actually inside the black stabilo!
If you're not familiar with the black stabilo all pencil, it's one of my FAVE art supplies - watch this video to learn all about it! 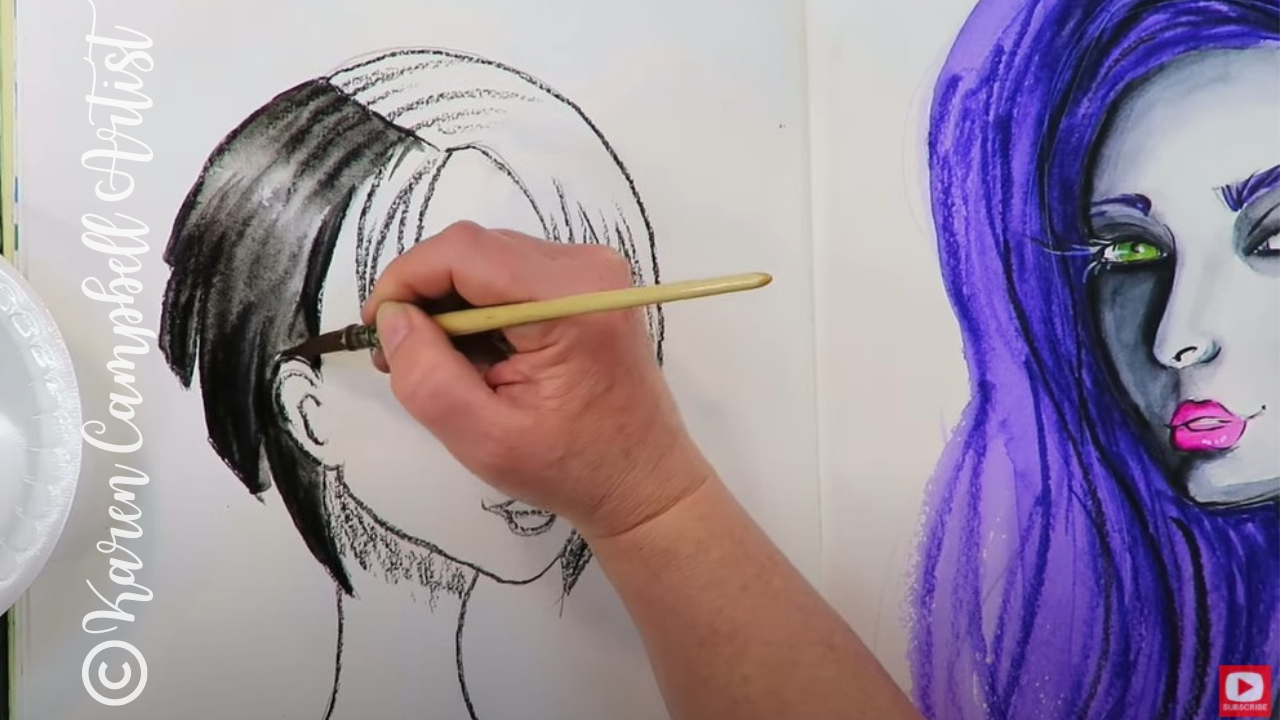
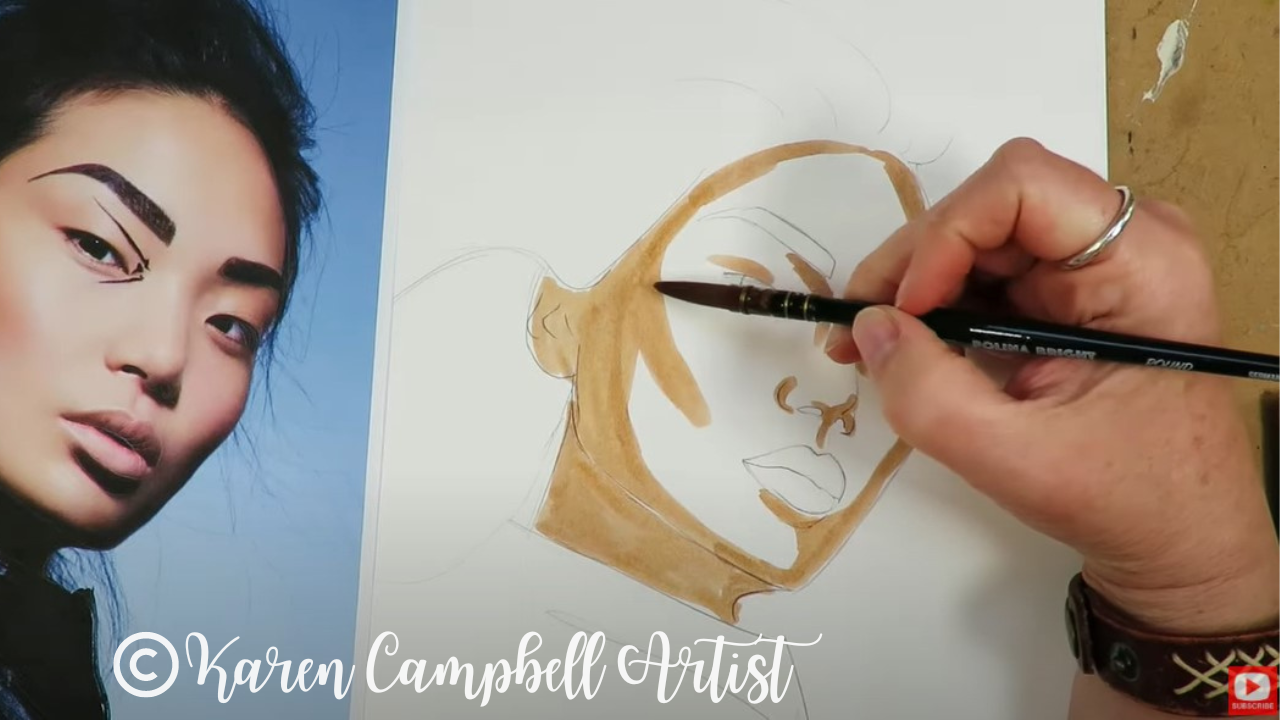
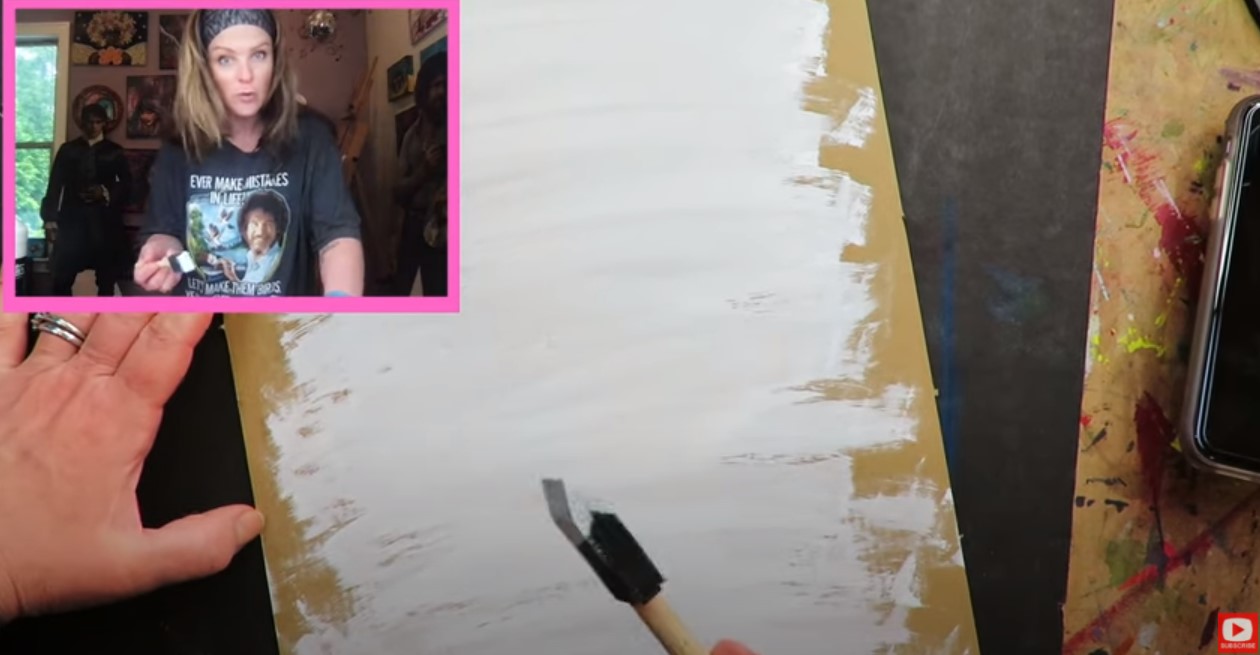
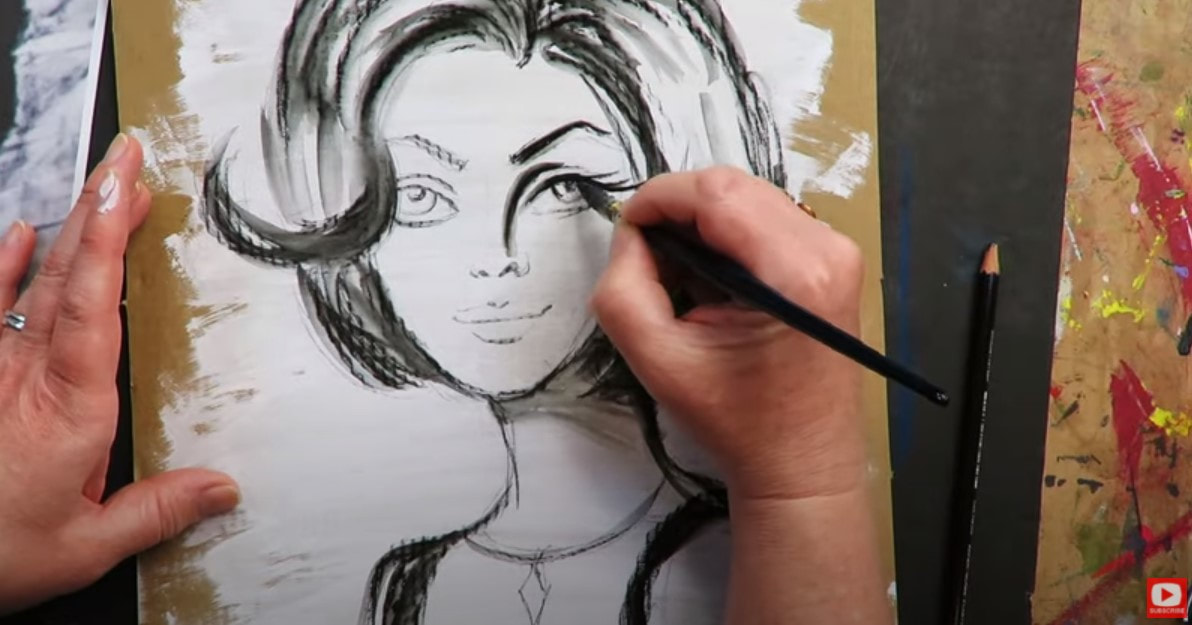
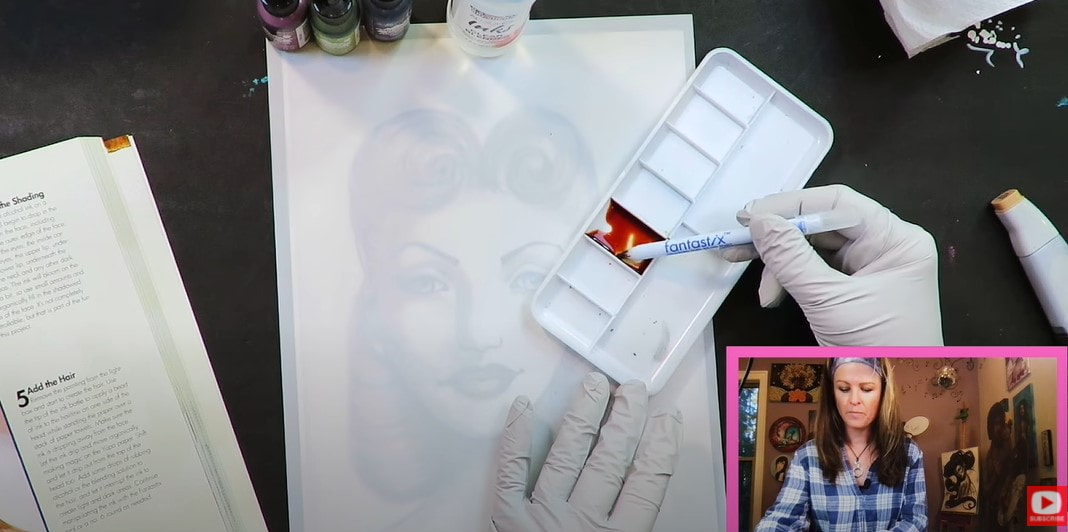
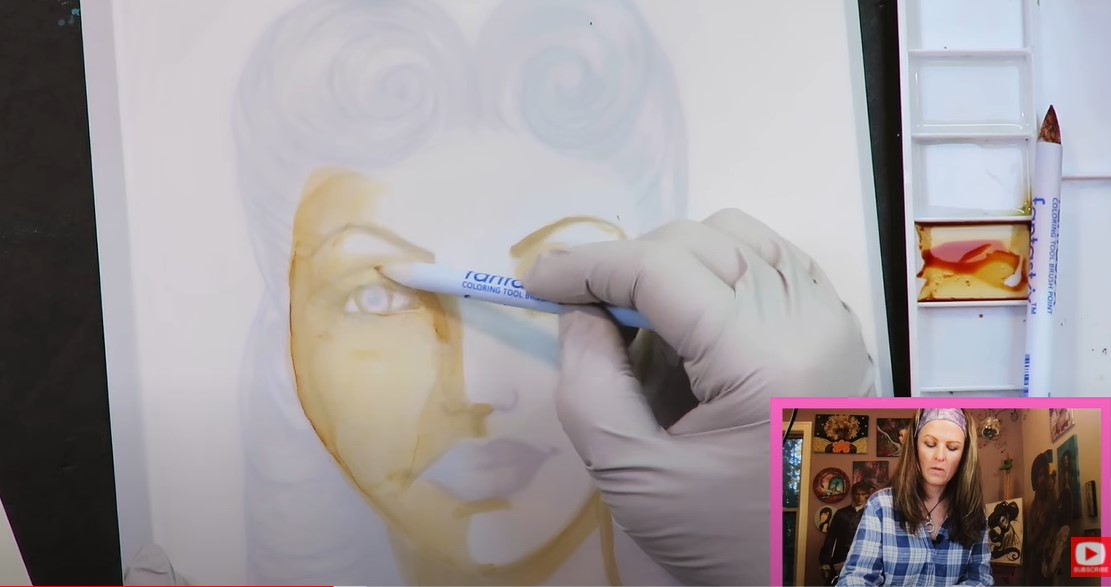
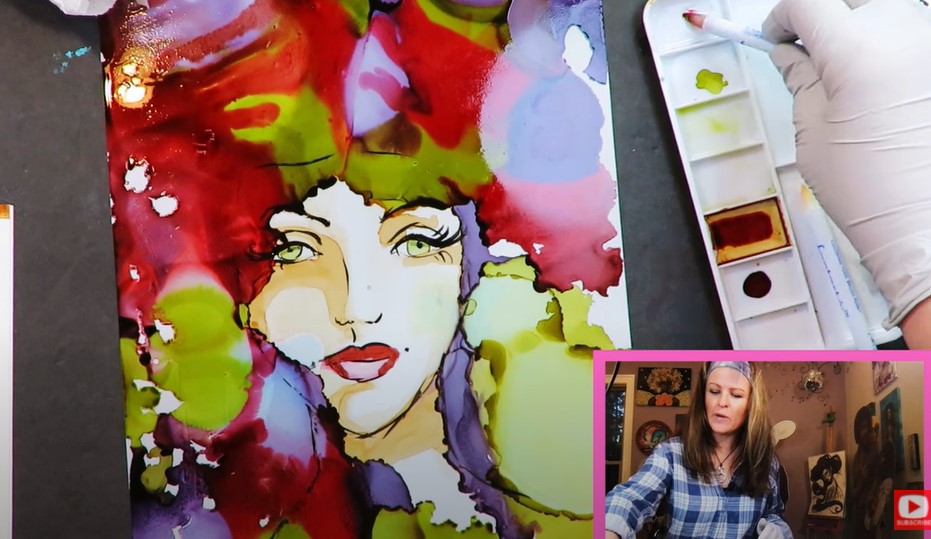
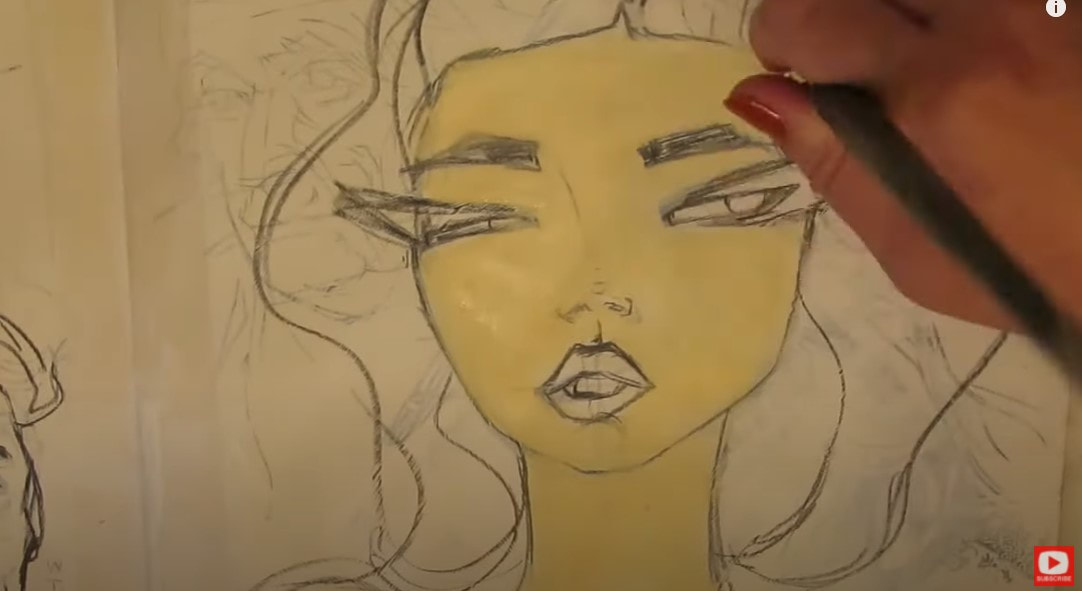
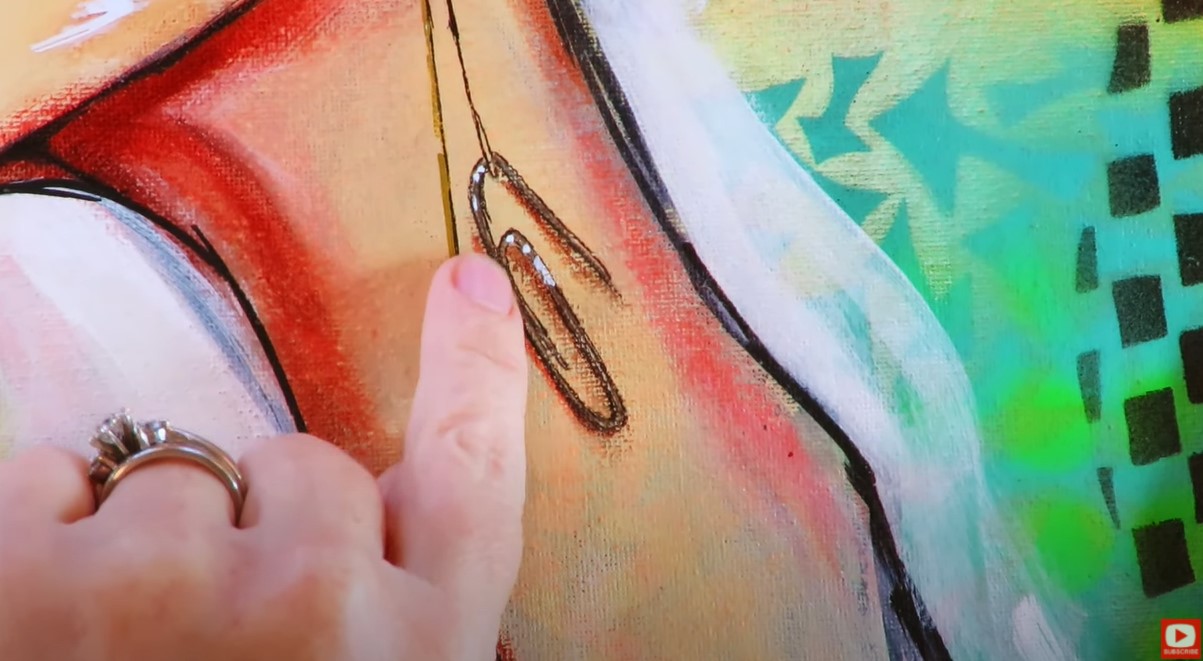
While I played for today's project, I discovered there were two ways to activate the lines drawn by the ArtGraf tailor shape disc. The first way was simply to add a wet watercolor brush to the dry, drawn lines and drag the melty pigment around like watercolor.
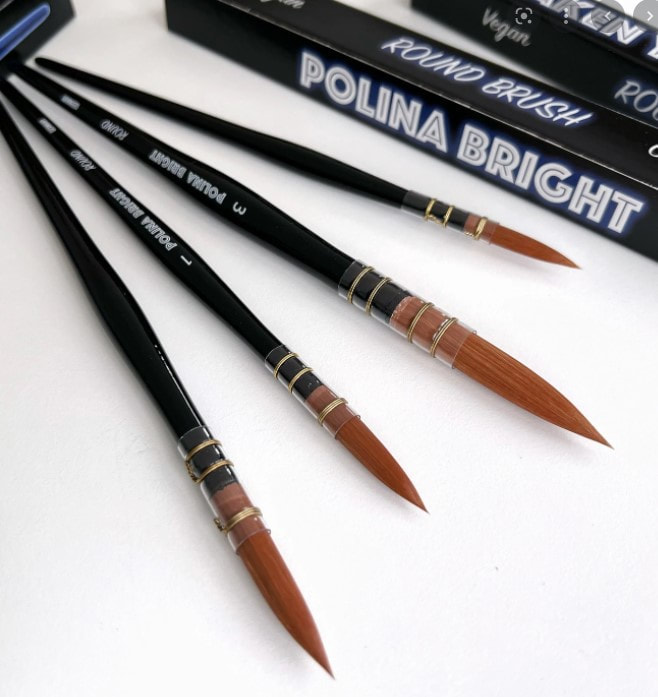
As you can see in the video, I'm using my favorite watercolor brushes by Polina Bright. If you want to learn more about WHY I love them so much, watch this video. If you'd like to get one of Polina's brushes too, use this link to get a 10% discount on your purchase. 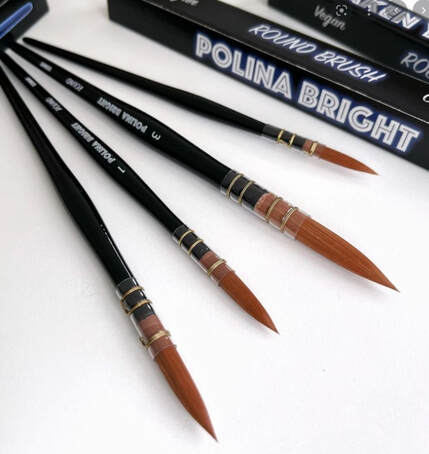
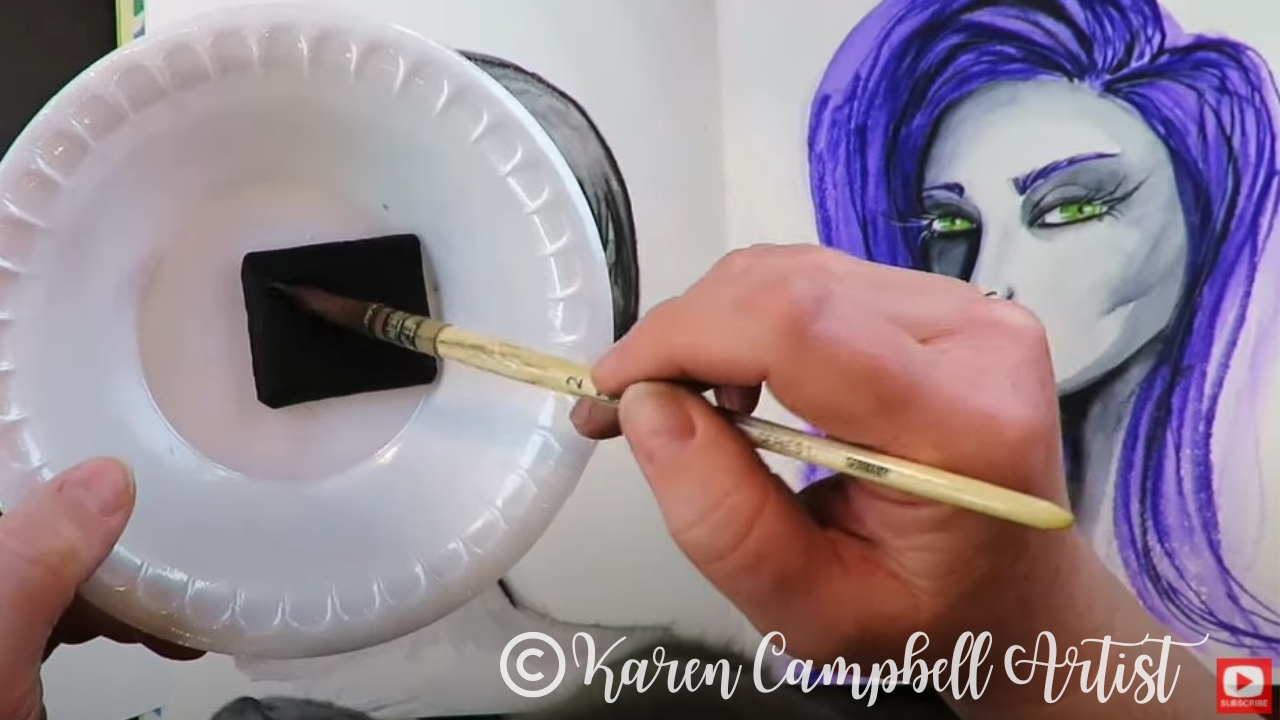
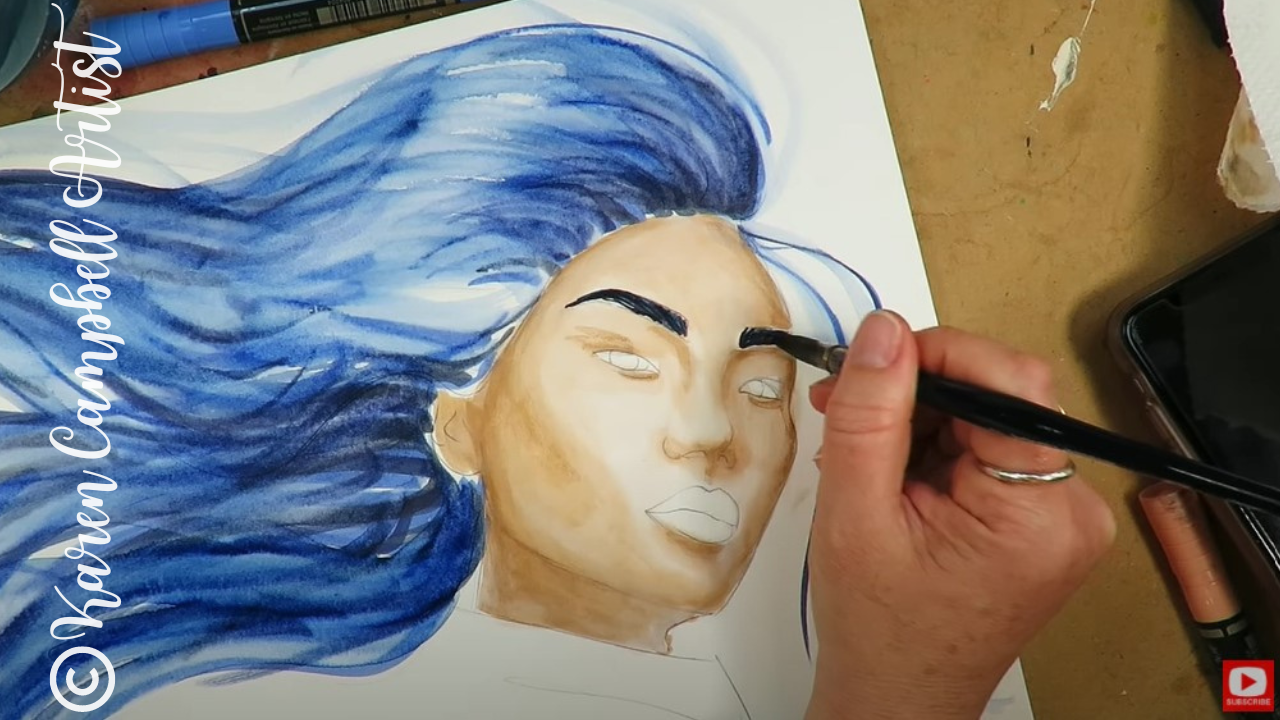
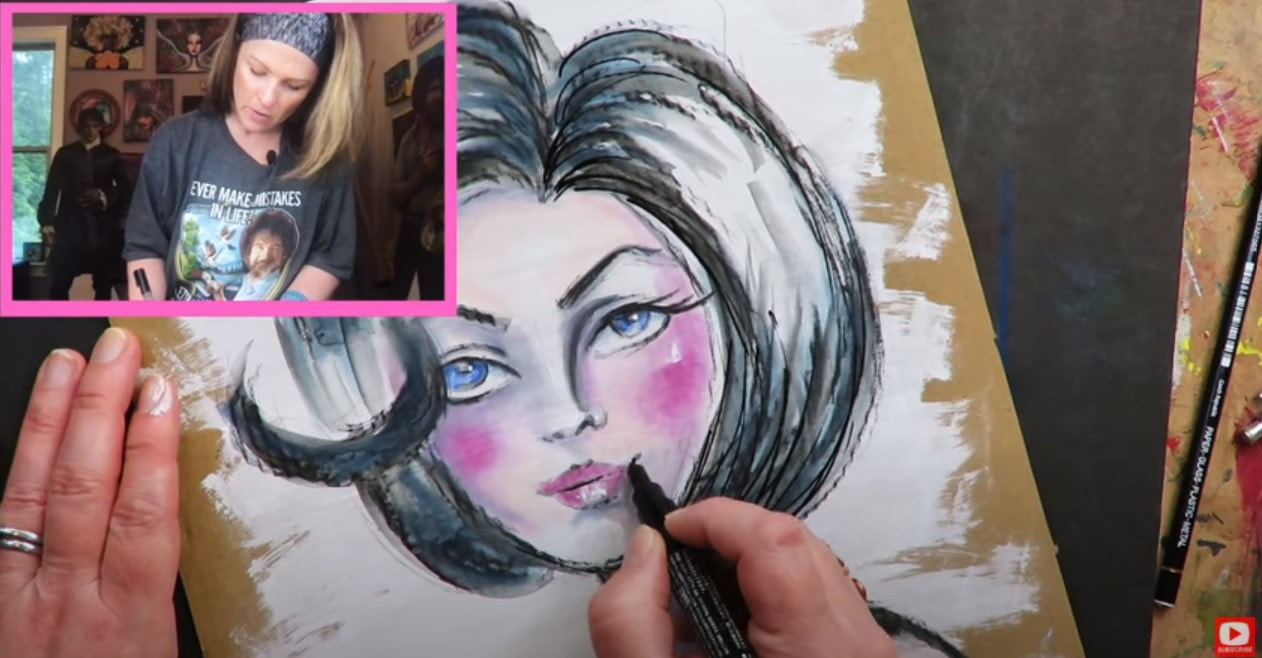
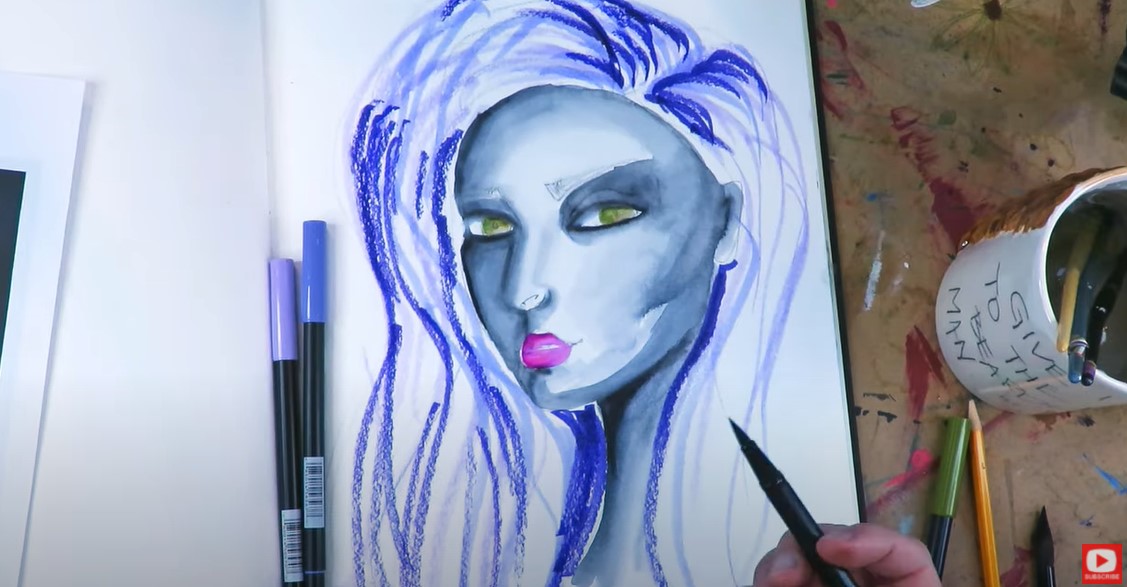
The second way to activate Art Graf tailors shape is by sweeping a wet watercolor brush directly across the disc to lift some of the carbon, and then painting with it just like you would with watercolor! Cool, right?!
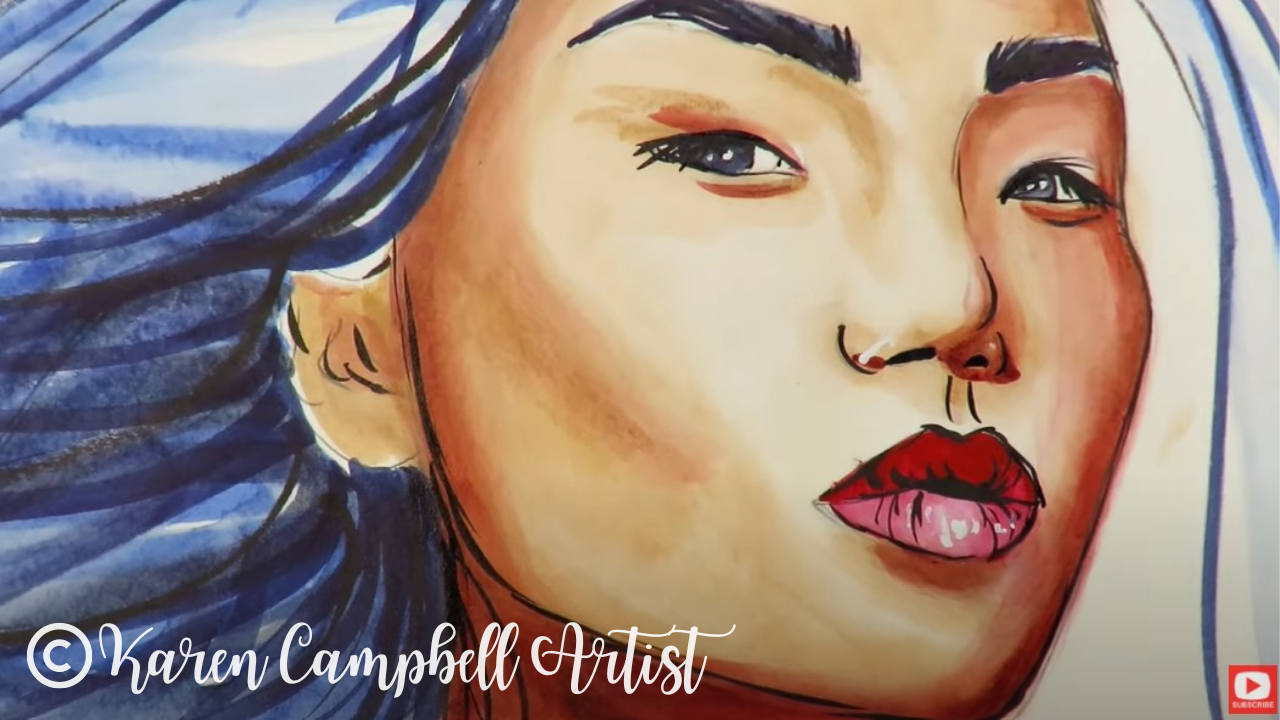
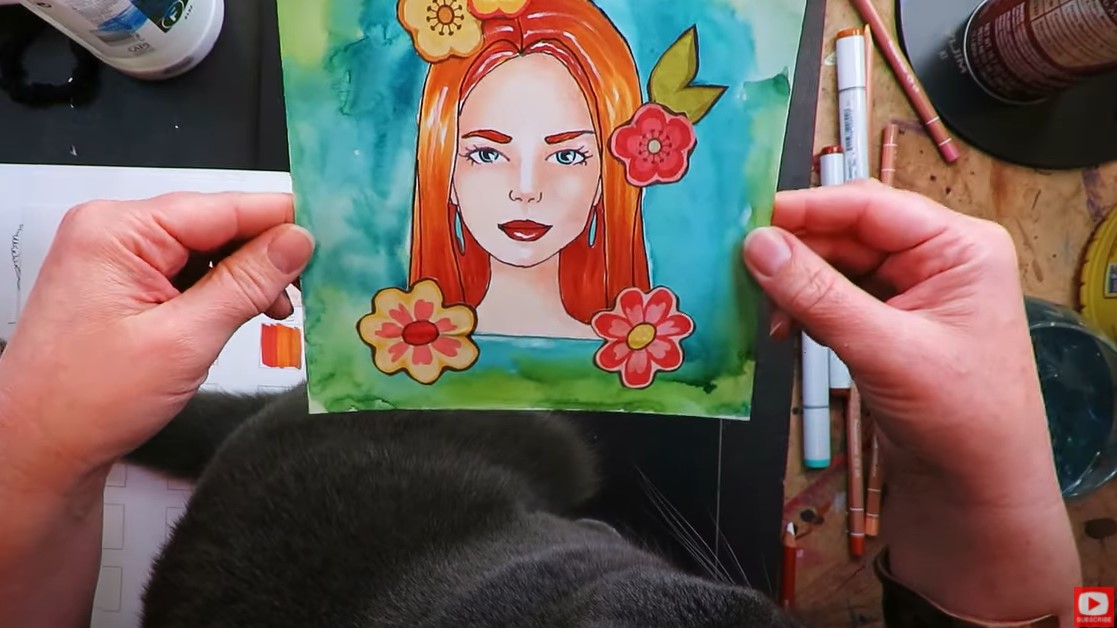
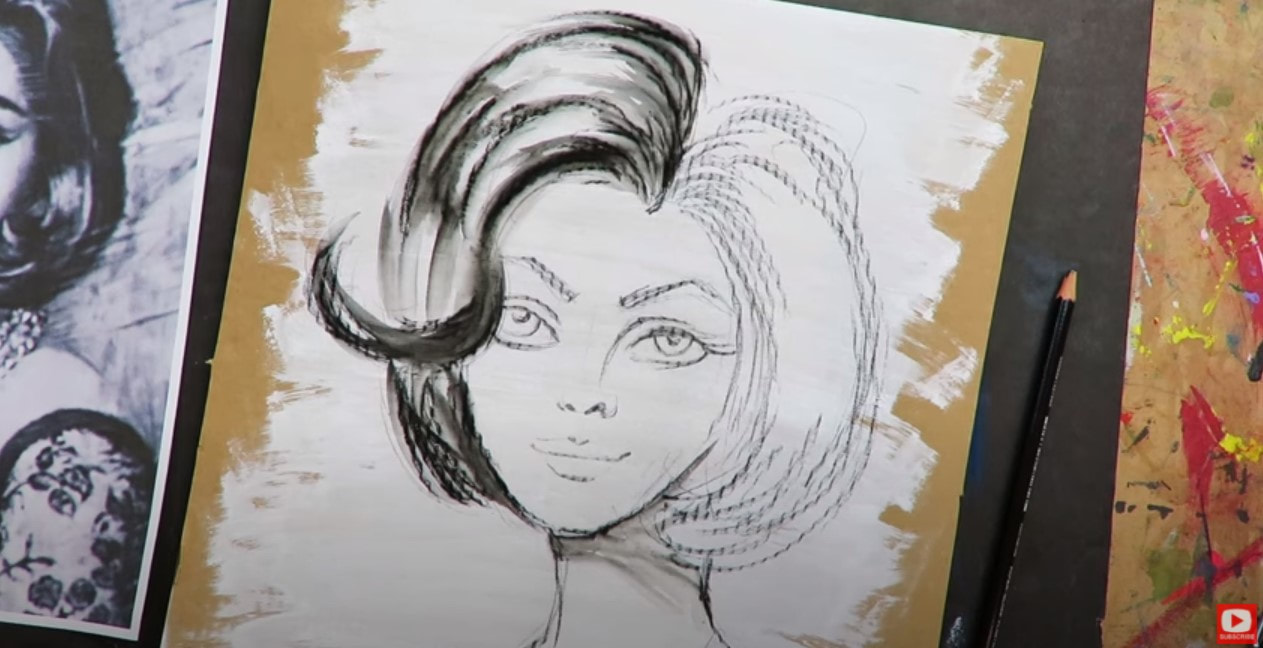
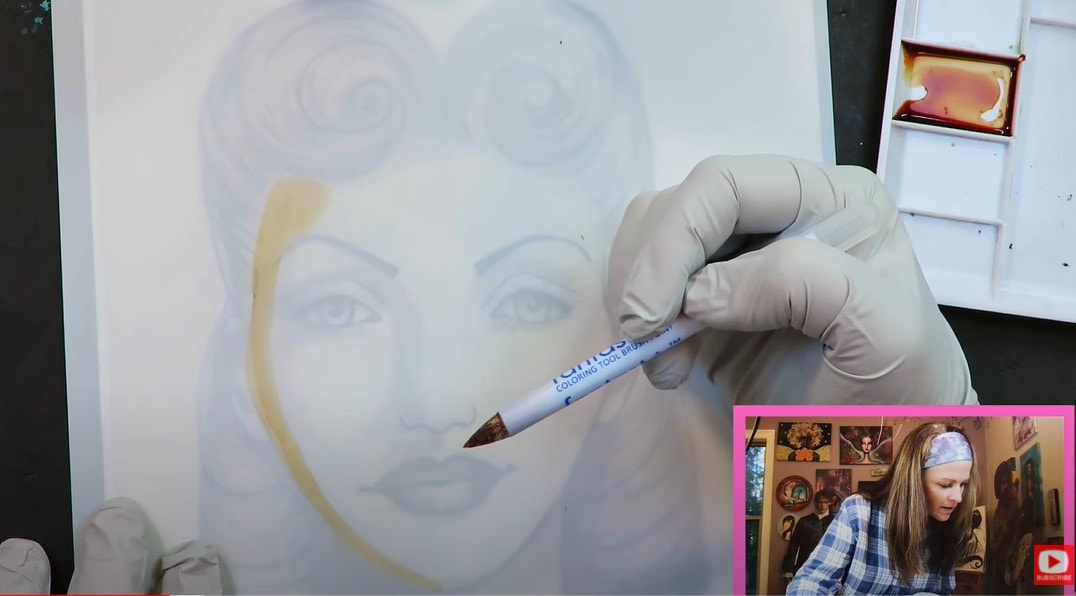
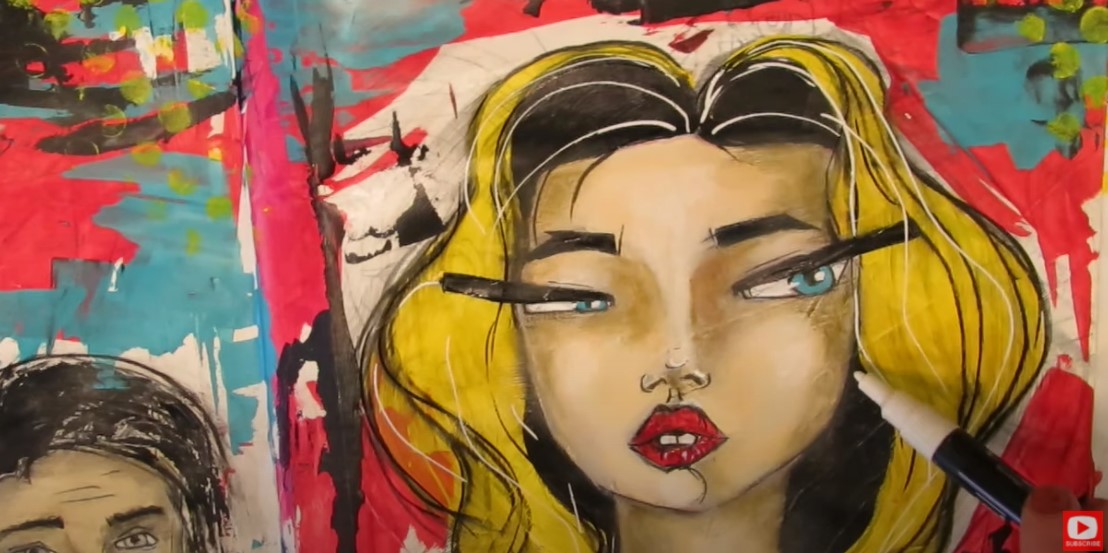
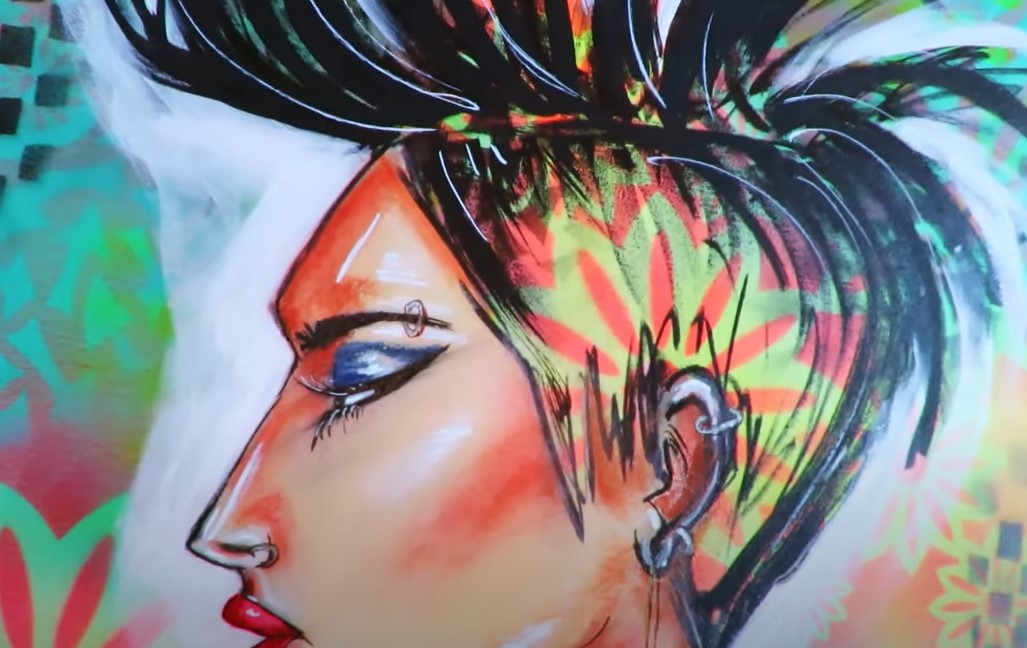
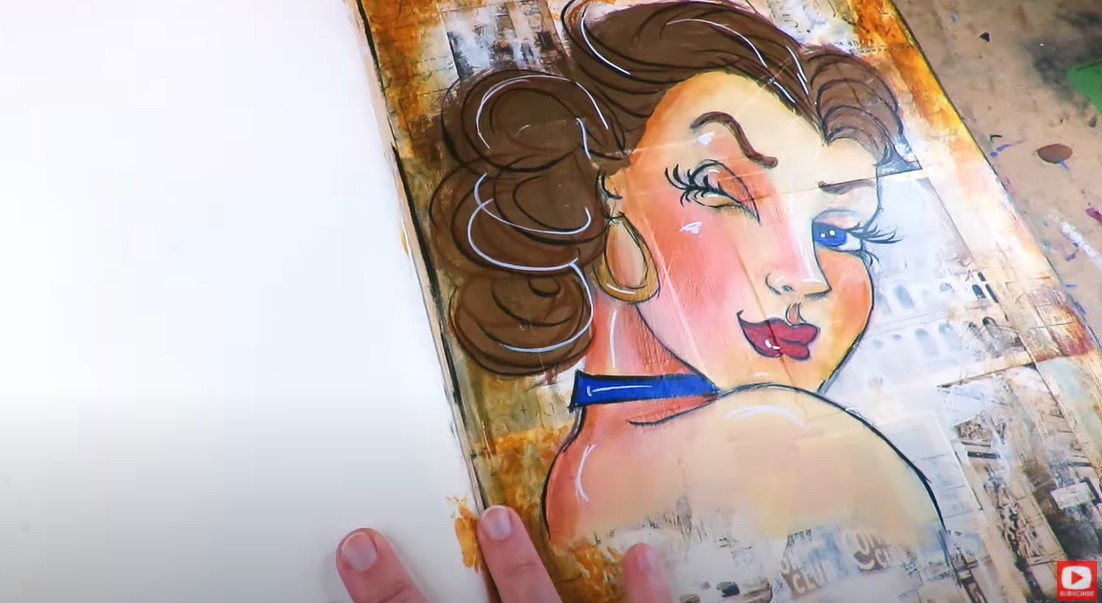
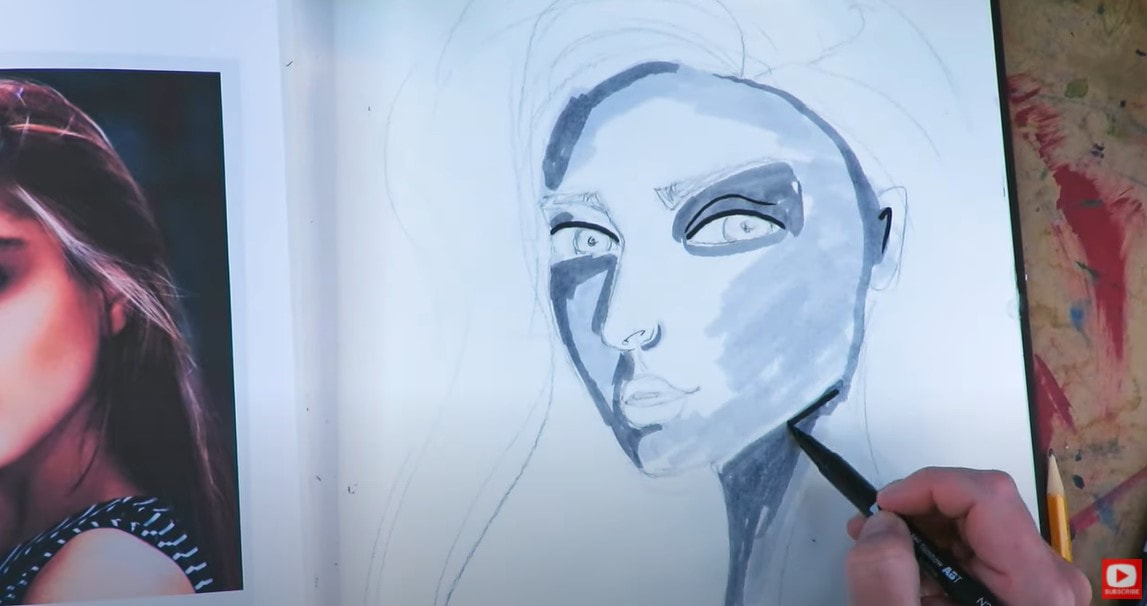
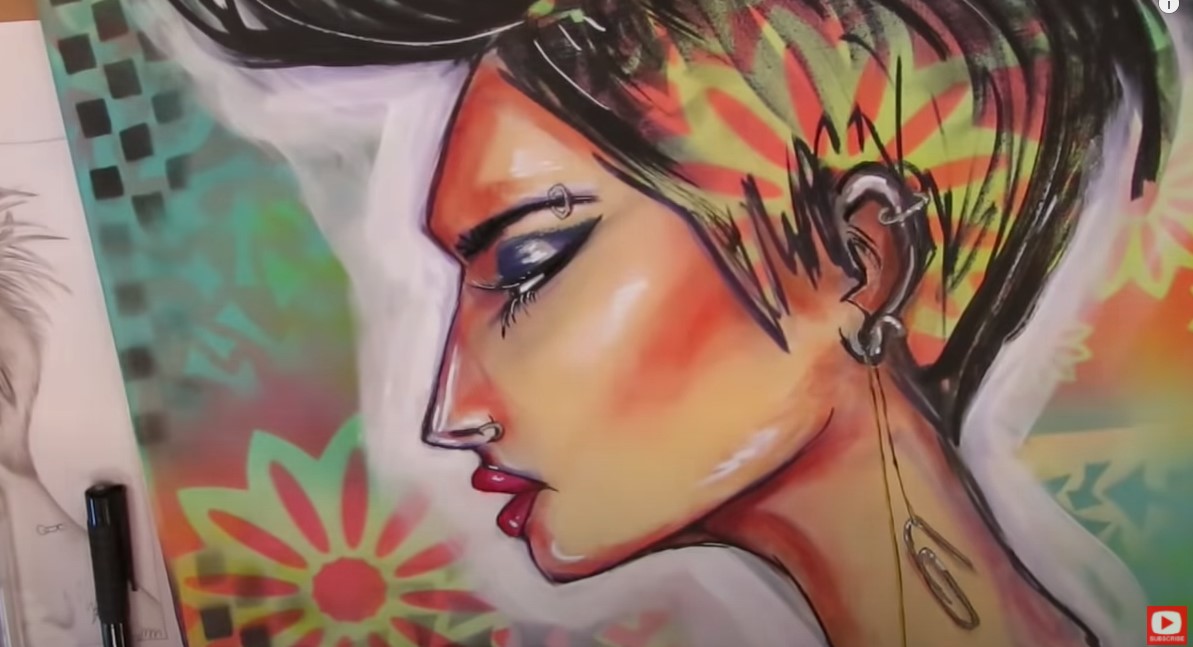
As you'll see in the video, I added lots of new lines and layers into the hair using this "watercolor wash technique." If you're not sure how to paint hair in a mixed media or watercolor portrait, today's video is a GREAT demo of my favorite hair painting techniques.
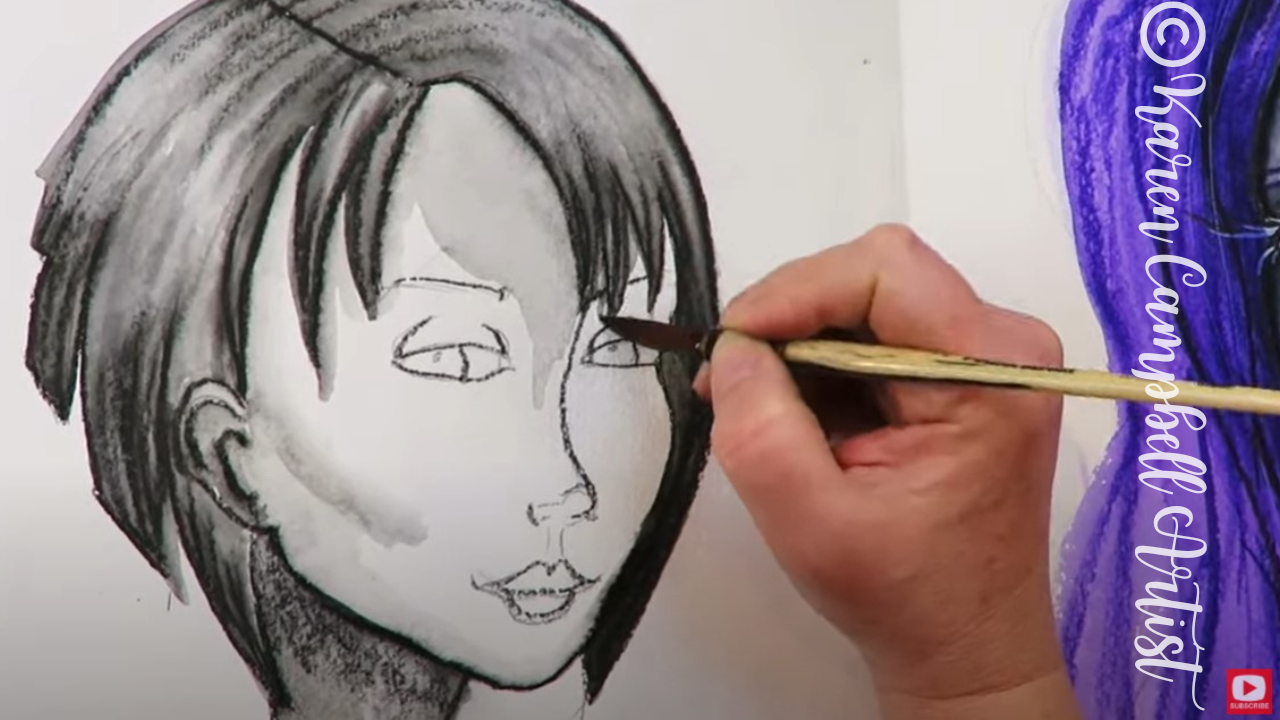
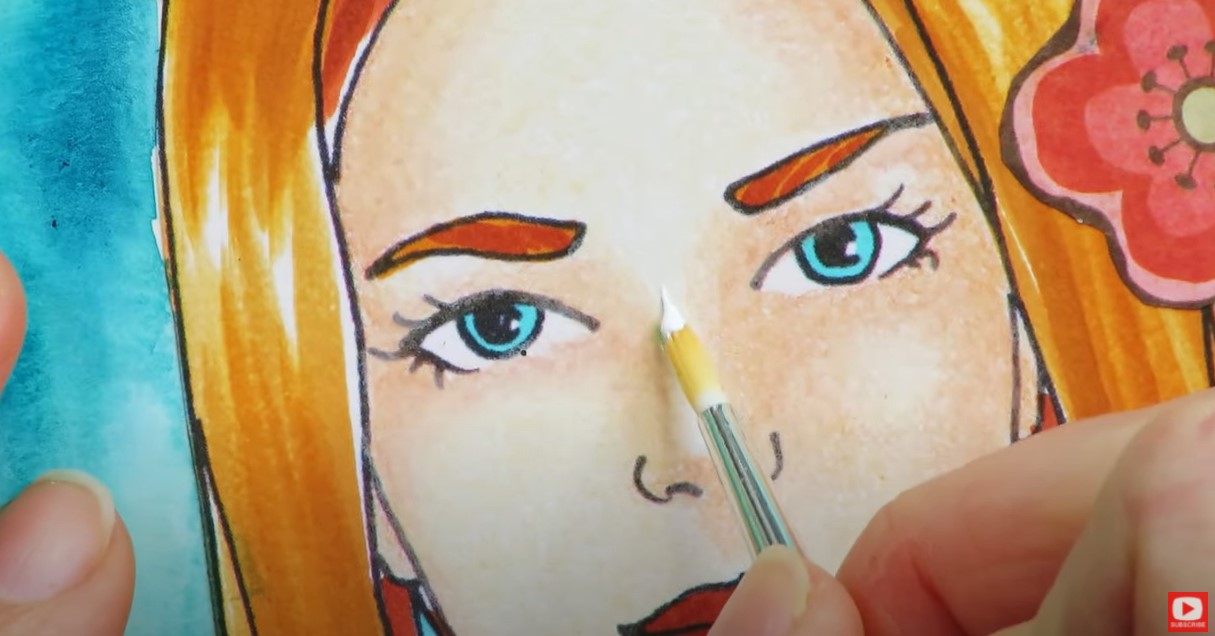
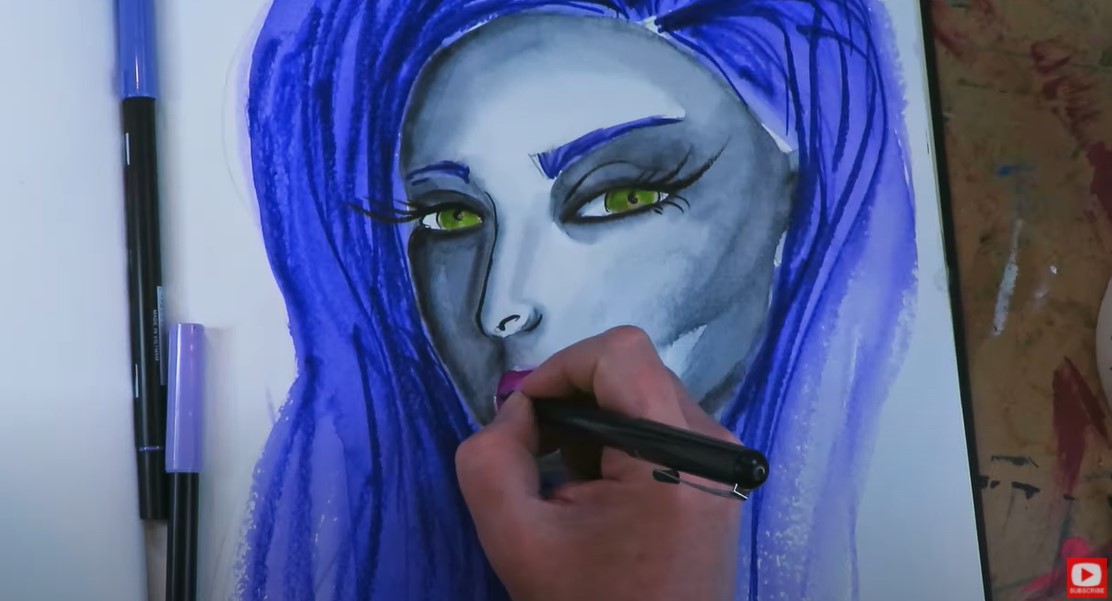
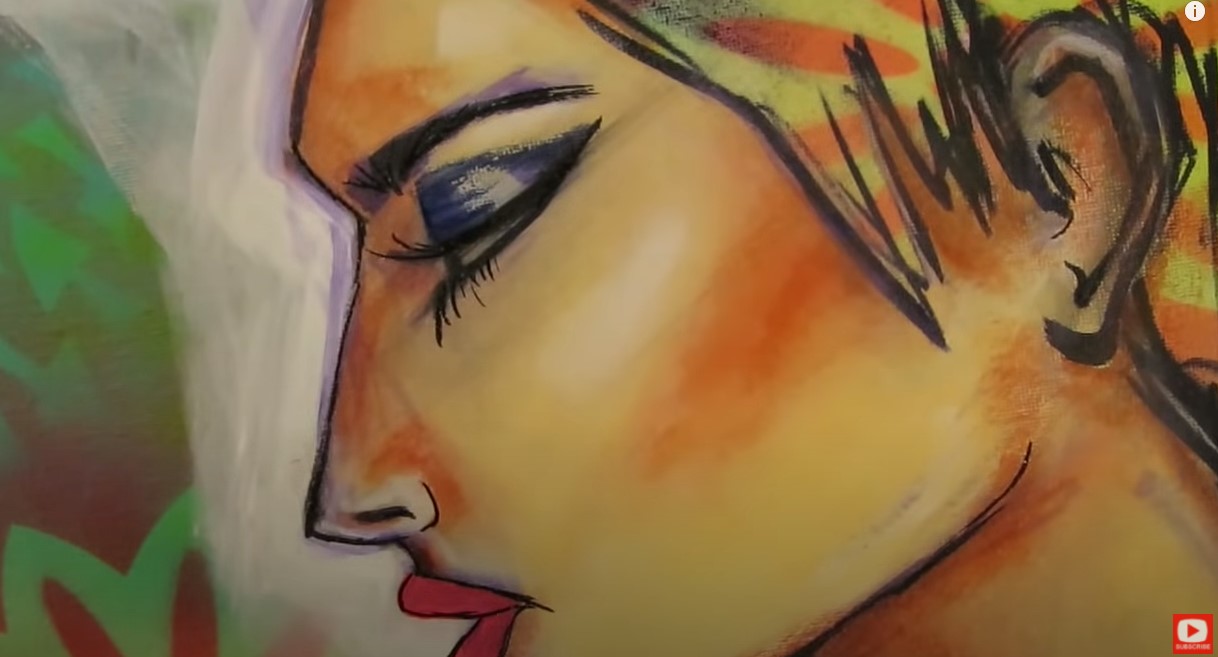
If you play along at home with this disc for the first time and want to activate it to shade a face, I suggest you start by activating the lines in the hair first so you can get the feel of how the product works before you move onto the face. Remember it will KEEP ACTIVATING on you too - every time you add a wet brush to previously activated lines. I LOVE that, but I know it freaks some of my students out :)
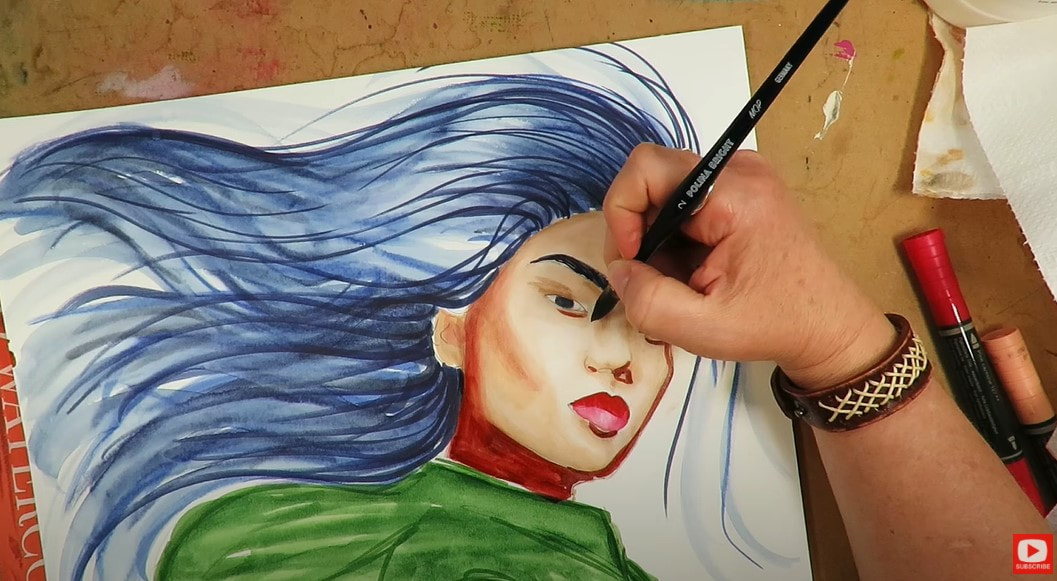
HOT TIP: If anything ever gets TOO BLACK for you when you activate your dry lines, dab it with a dry paper towel to lighten things up and lift away some of that darkness. 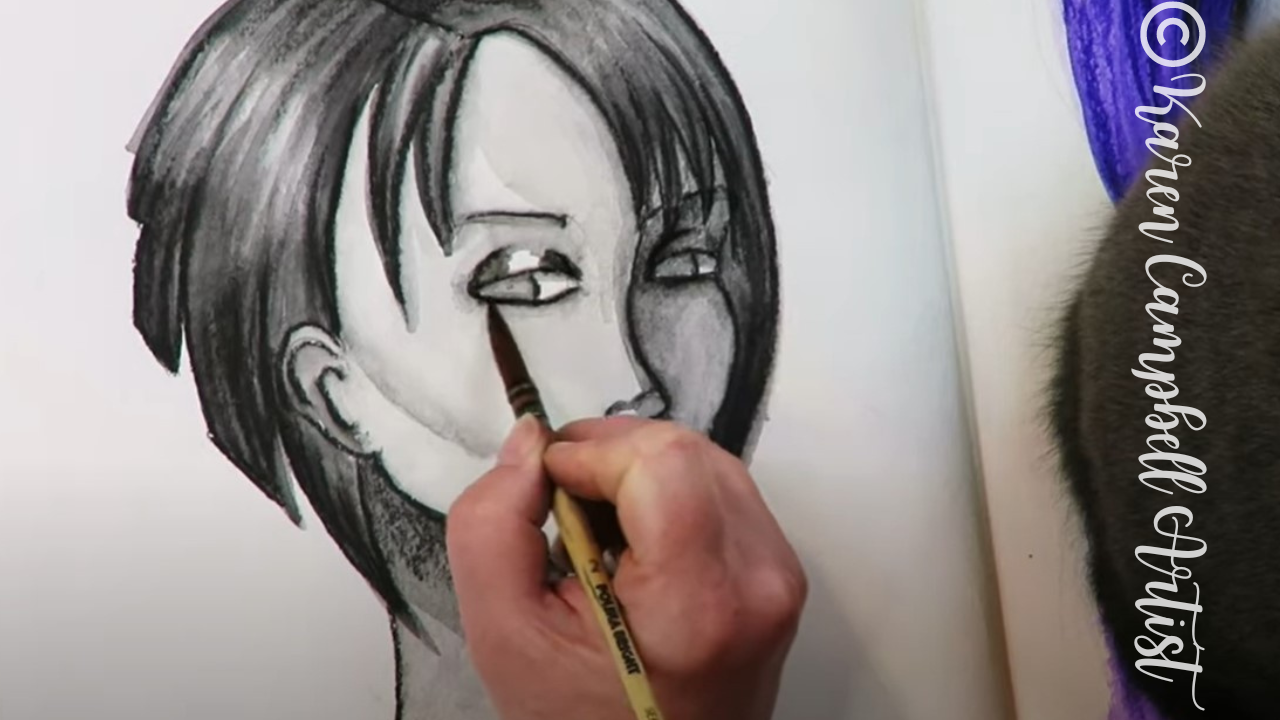
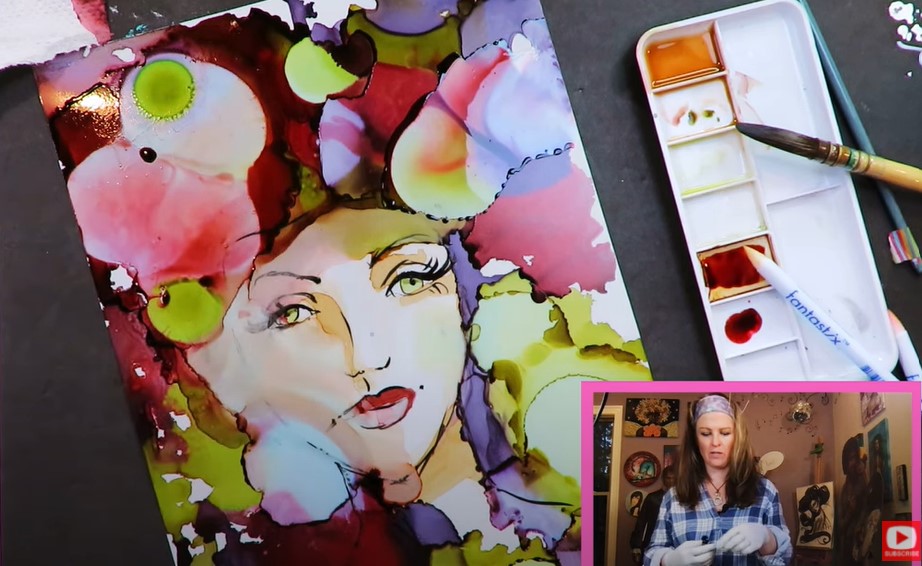
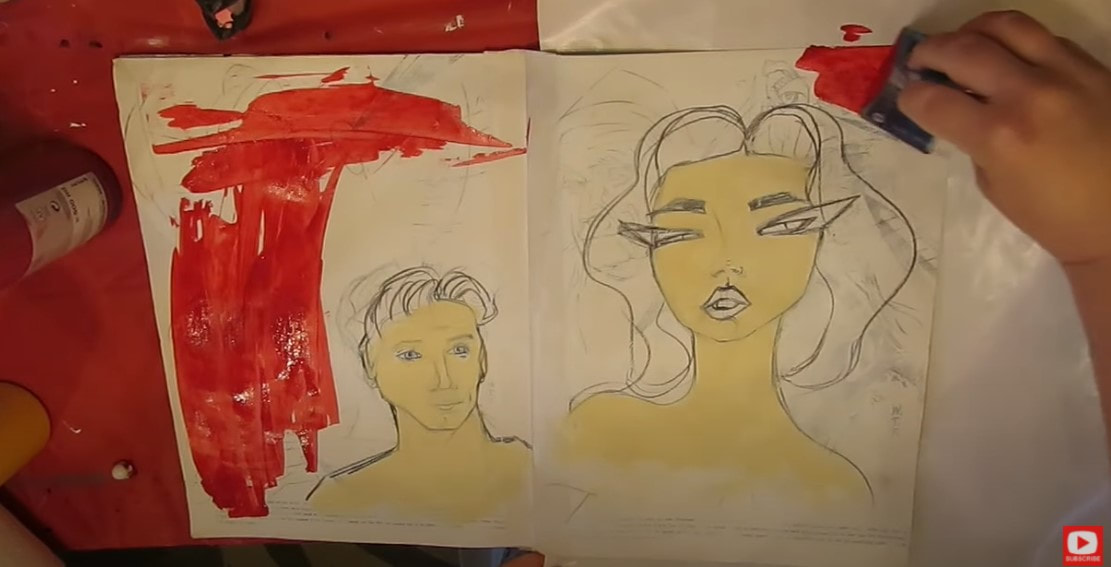
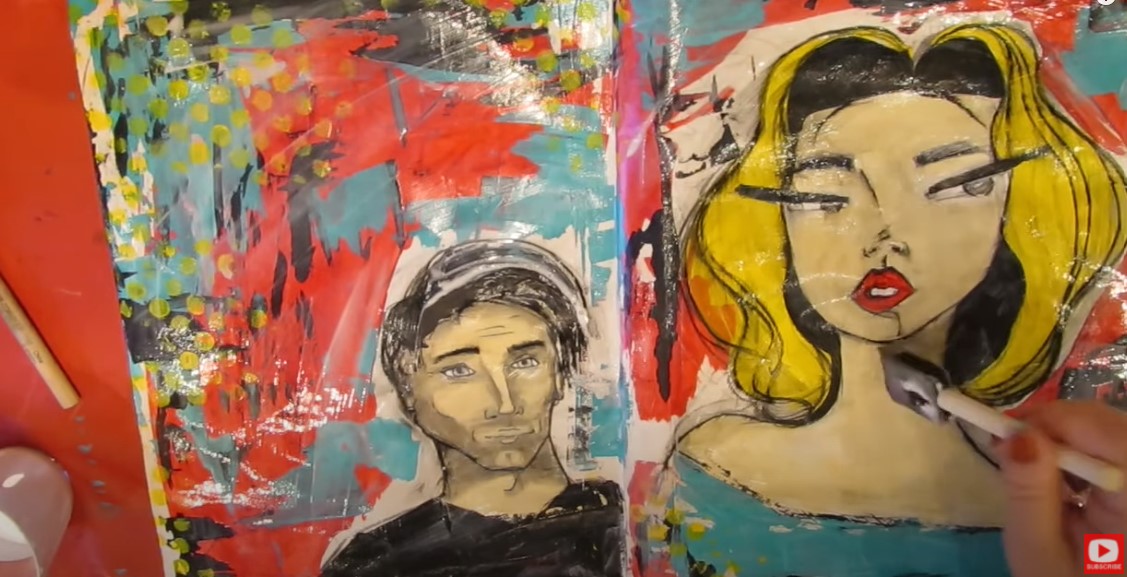
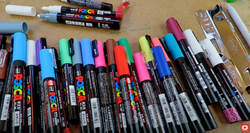
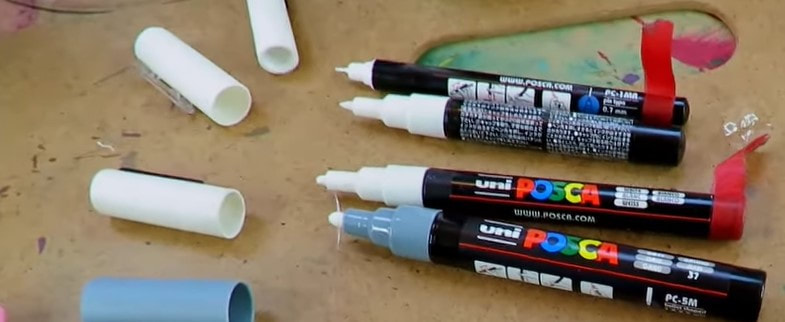
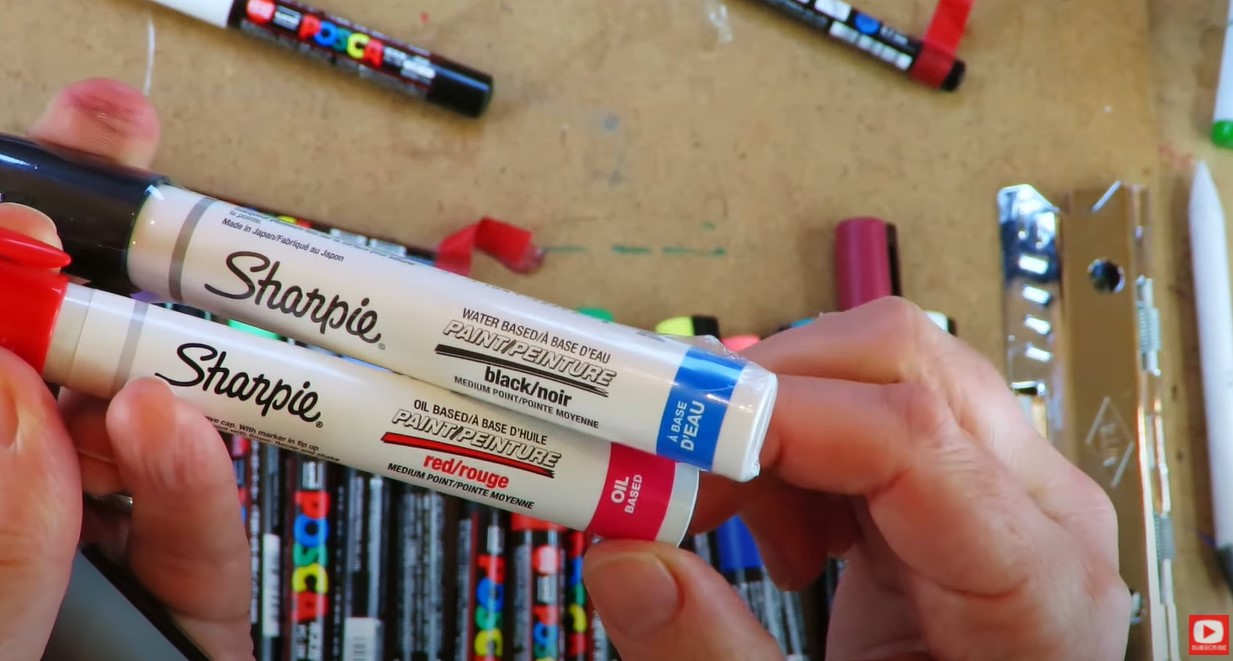
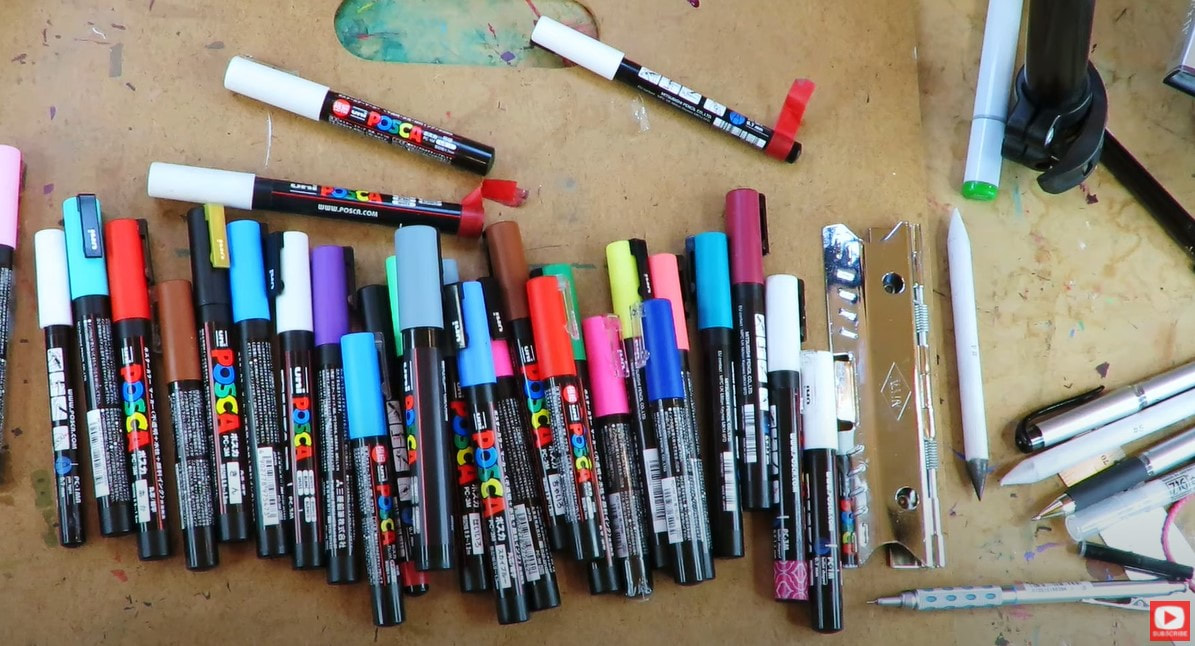
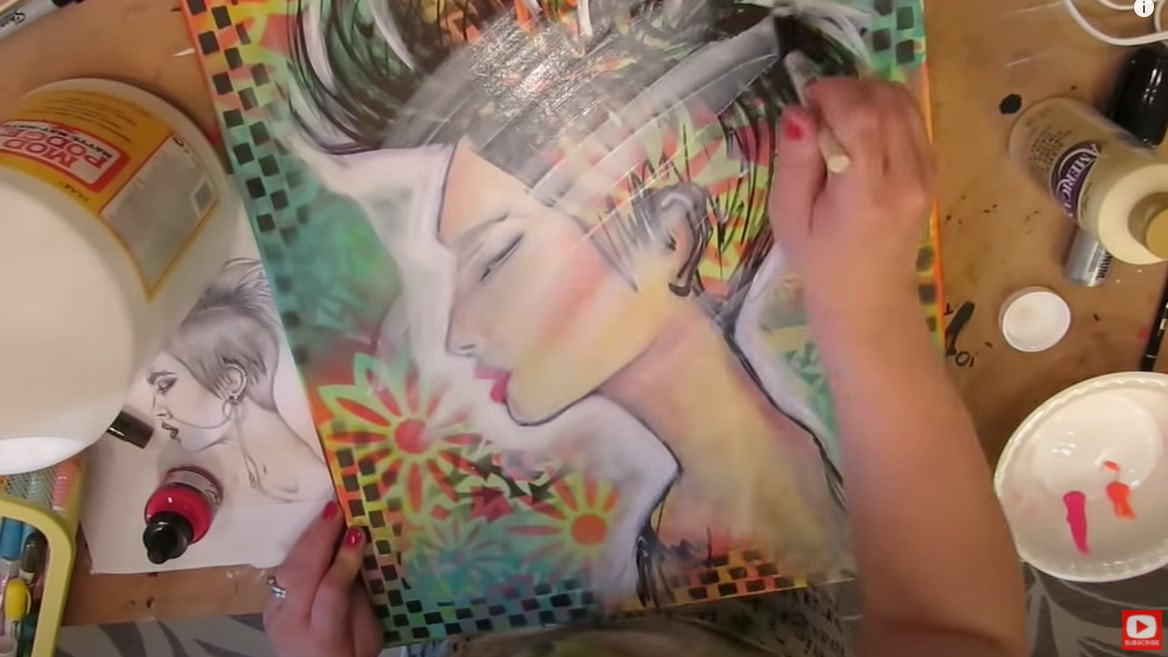
Stay with me till the end of today's video to see how I tied this new journal page to the facing page to make a fun art journal spread using these AWESOME, chunky acrylic paint pens by Liquitex. They are seriously SO fun to play with!!
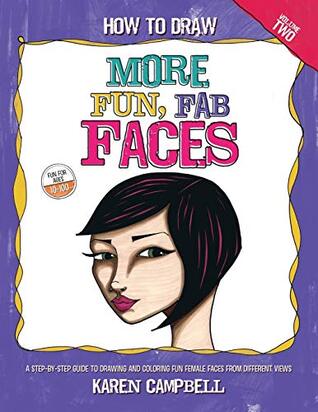
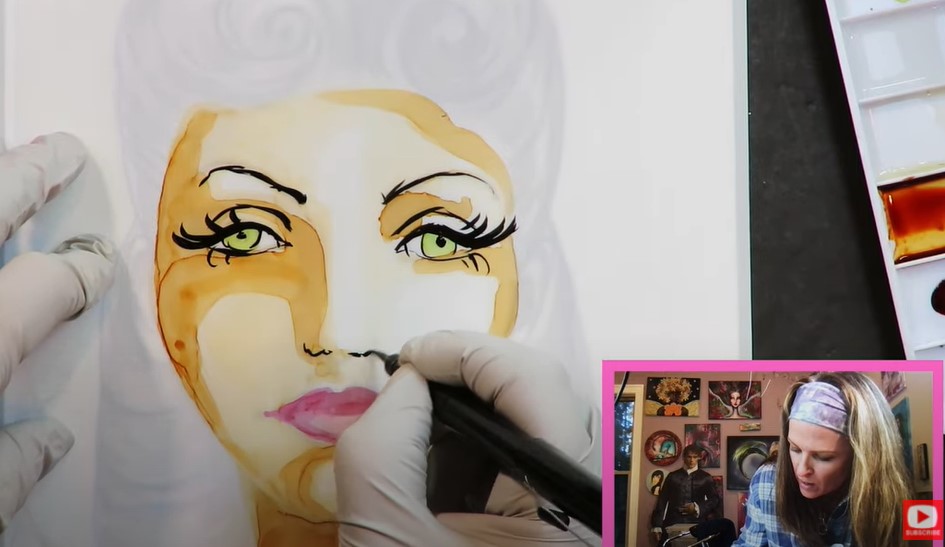
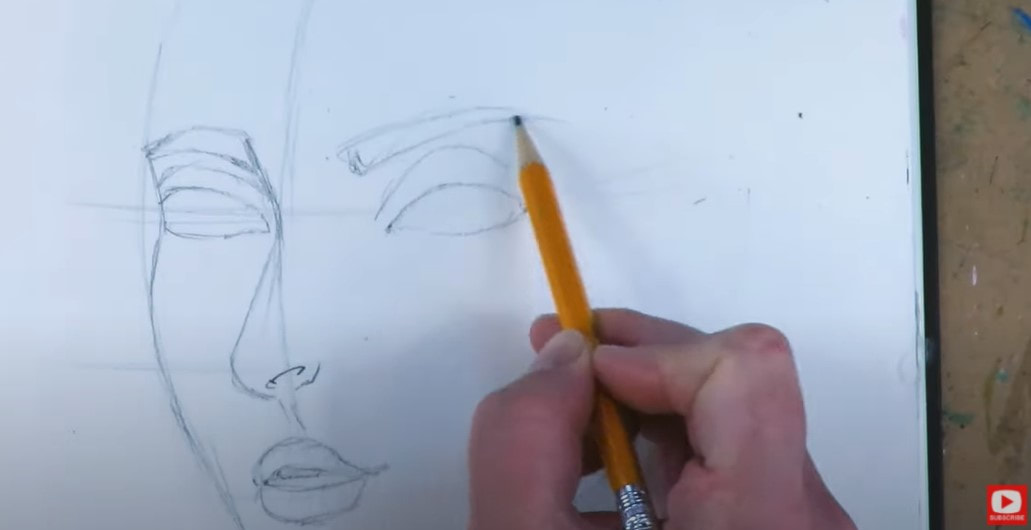
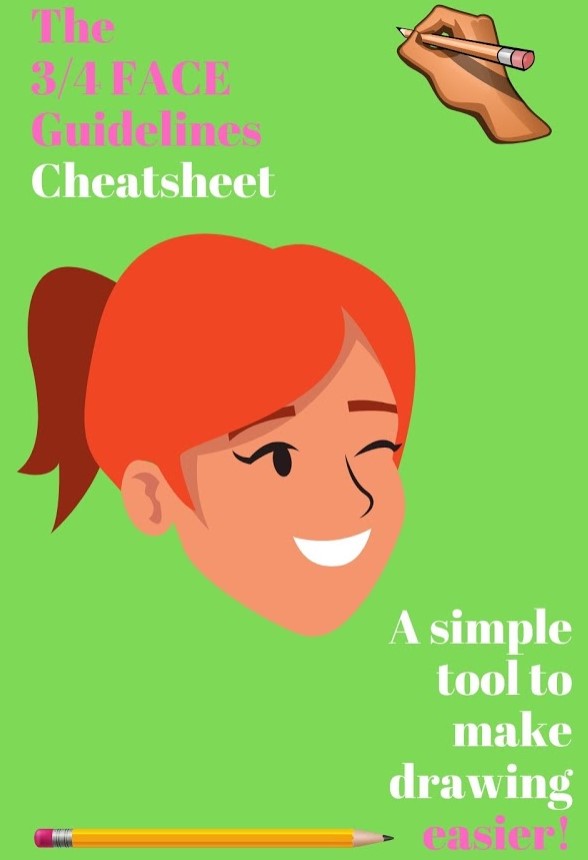
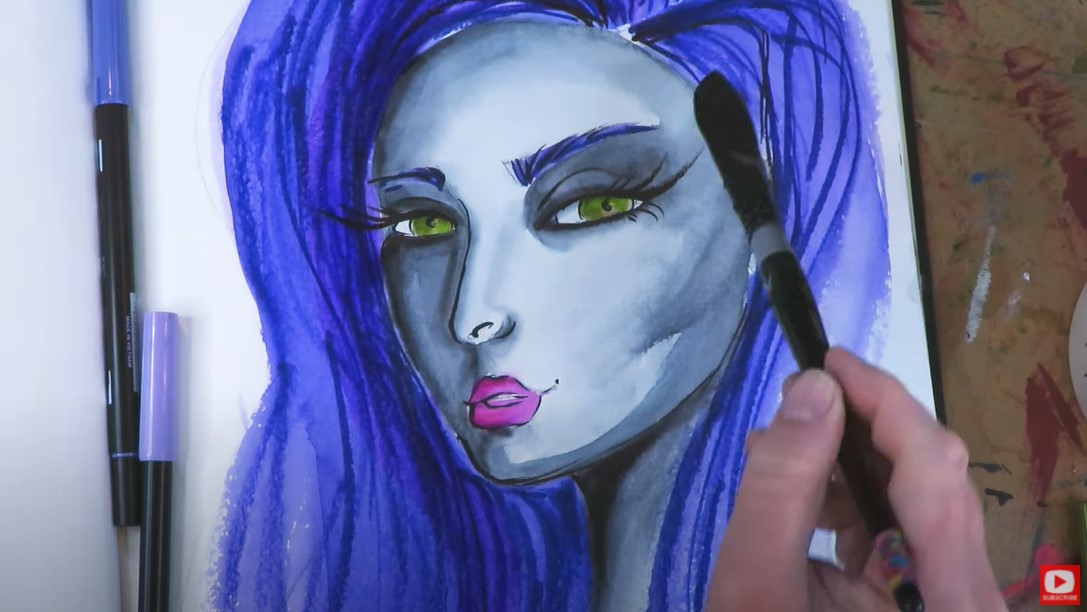
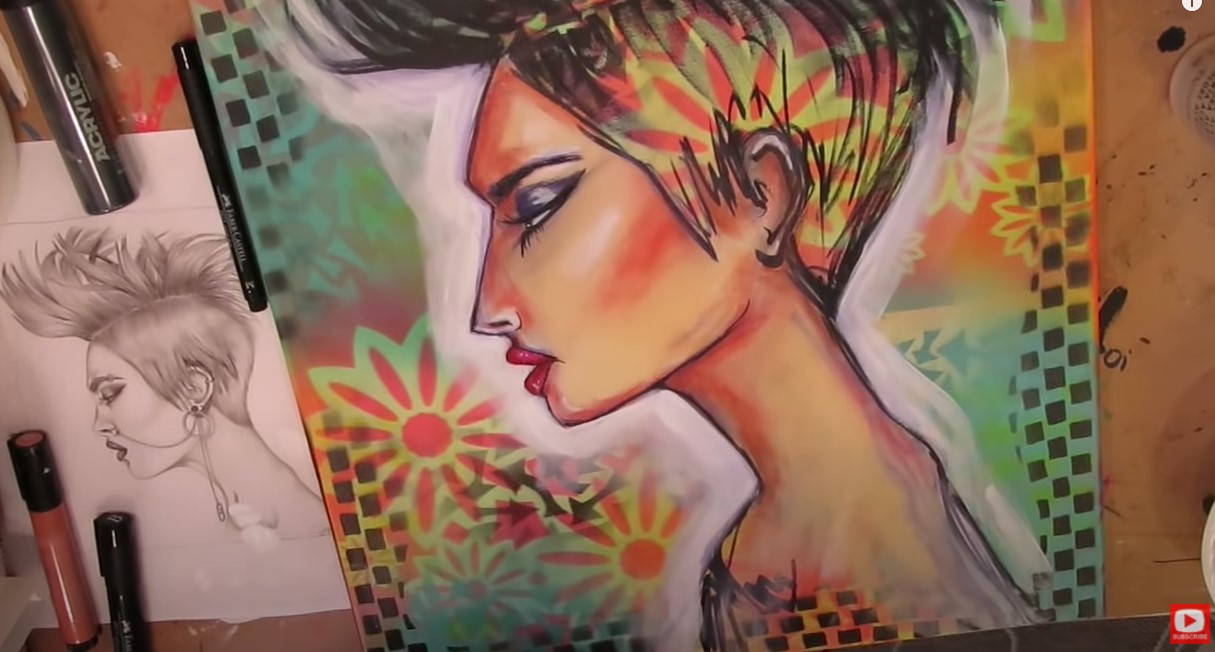
If you're interested in learning how to draw a 3/4 view portrait from scratch like the one in today's video, watch this playlist, or check out my book How to Draw MORE Fun Fab Faces on Amazon.
This "cartoony" or whimsical drawing style is super fun, way less intimidating than realism, but also an excellent runway INTO realism if that's something you're interested in achieving later!
Need the real-time version of today's lesson? I've dropped it for you in the Mixed Media Society. Not a member yet, but curious? Learn more and add your name to the waitlist to get notified next time I'm open for enrollment!
Thanks for watching!! Need More Resources?
4 Comments
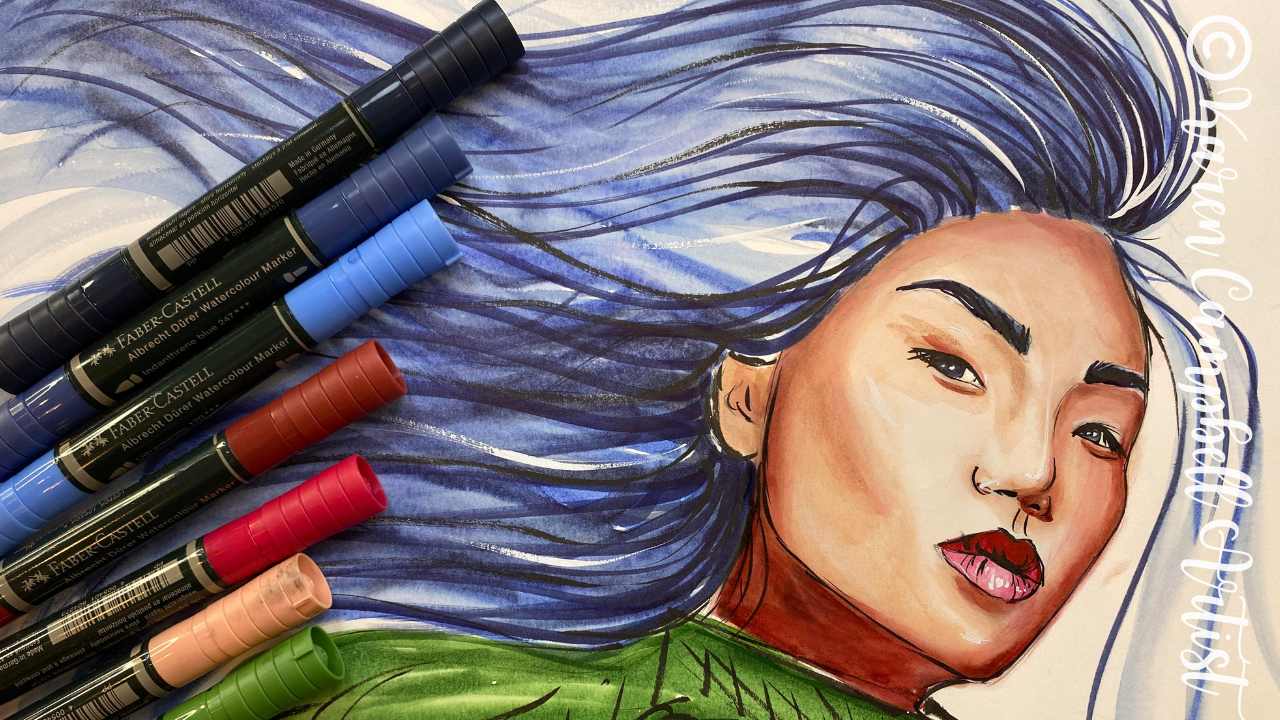
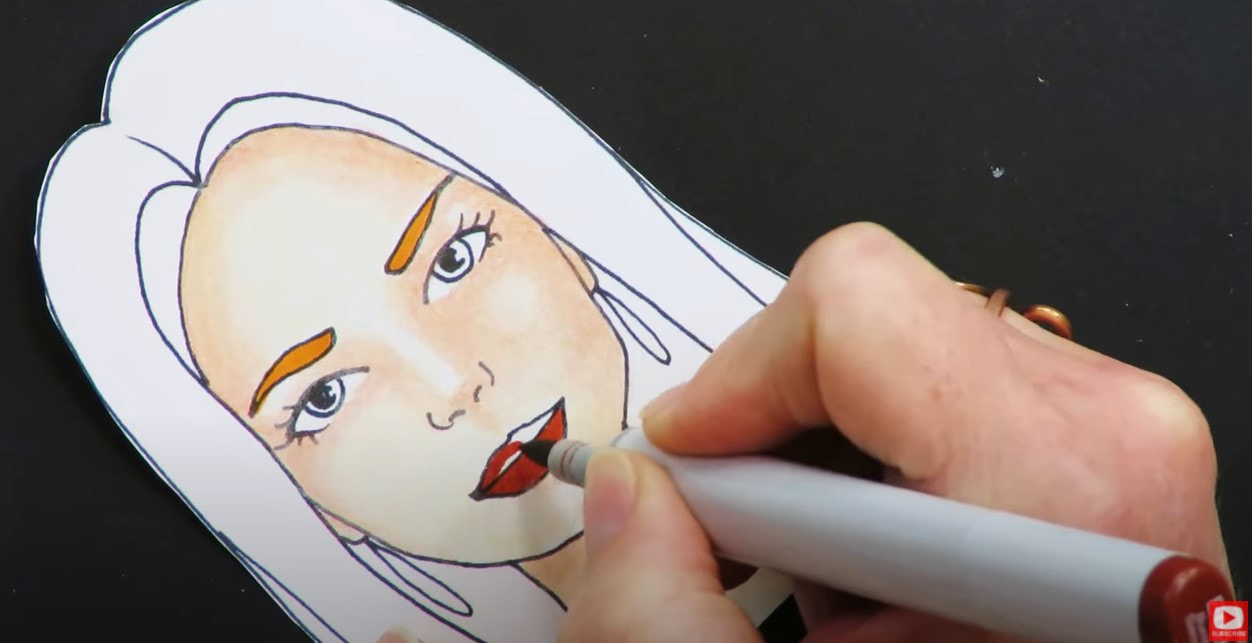
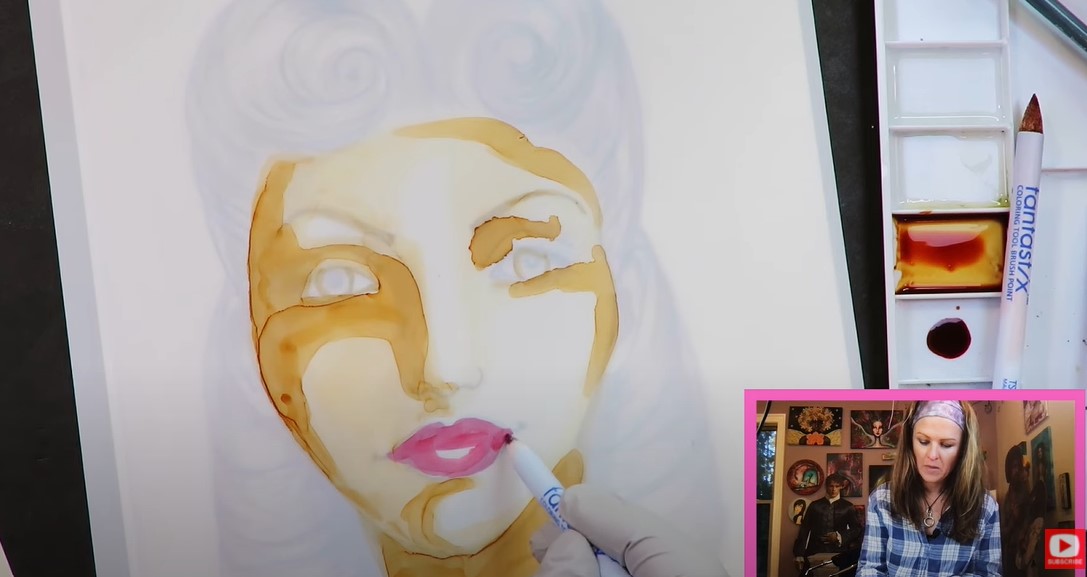
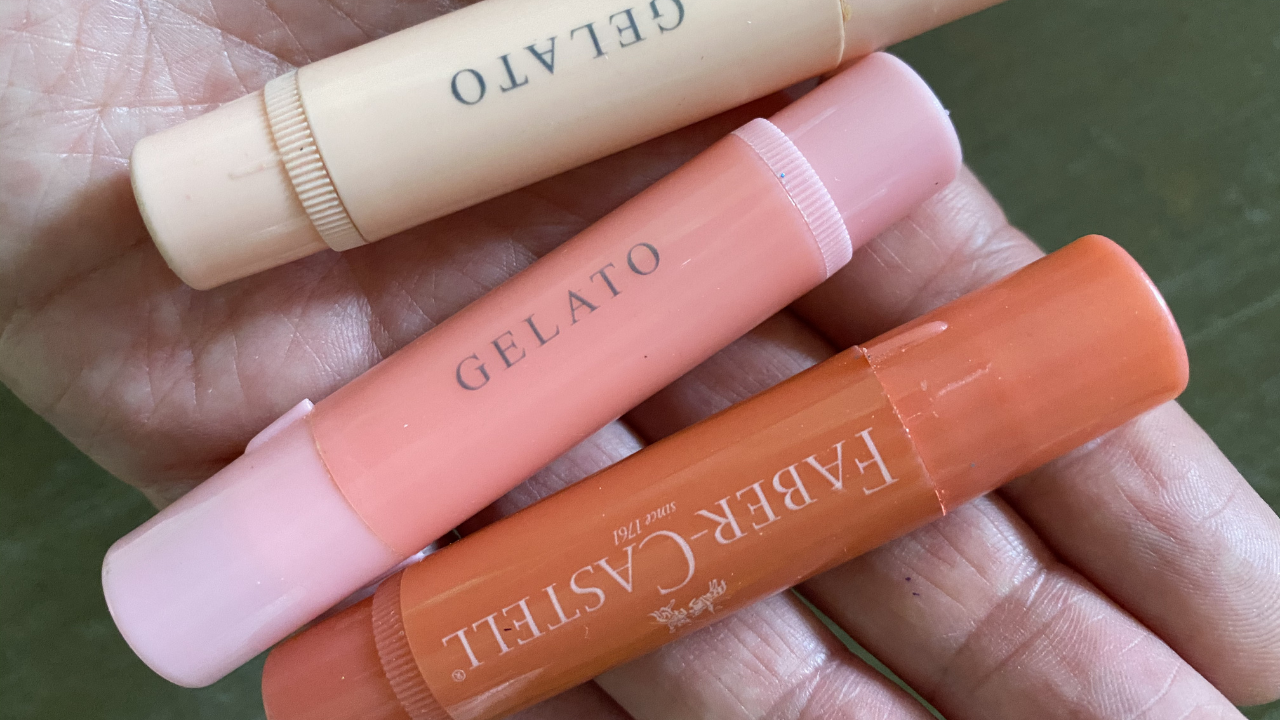
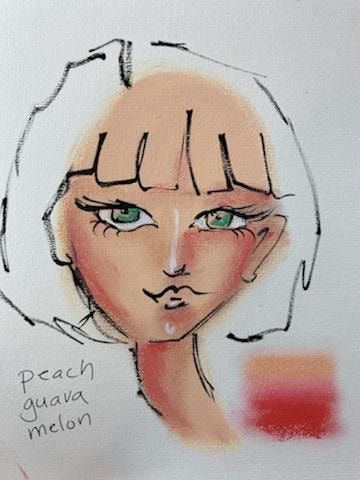
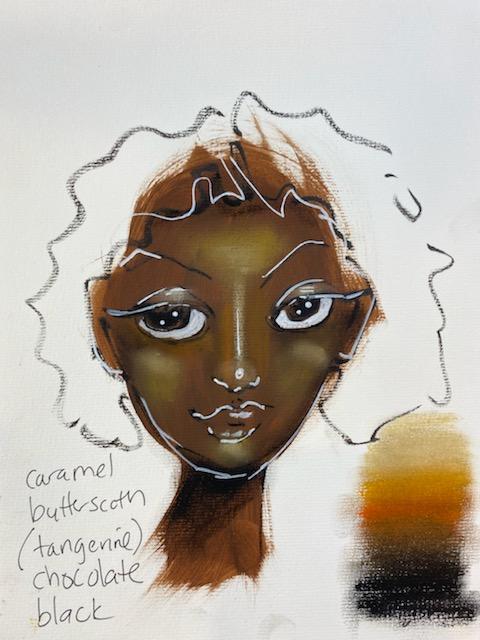
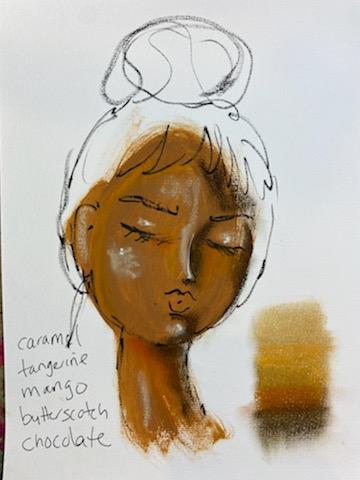
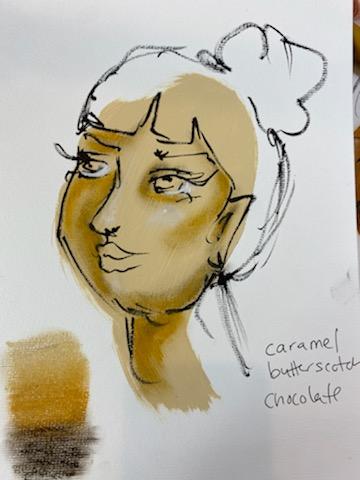
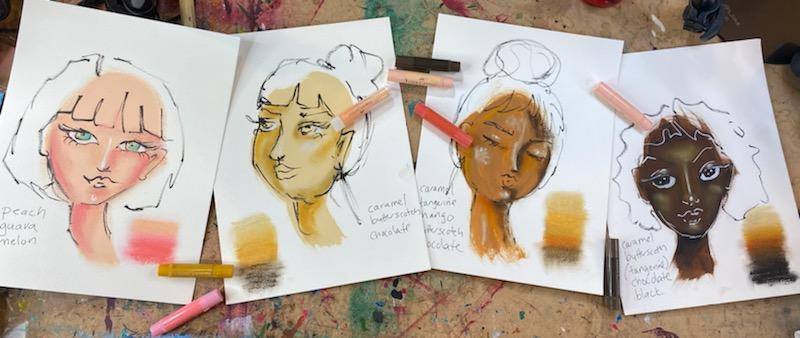
Today's mixed media art tutorial might just blow your mind if you're a beginner. Not only will I show you how to use Faber Castell skin tone watercolor markers to shade a mixed media face, but you'll learn 3 UNIQUE WAYS to melt, blend and freeze the pigment from your watercolor markers so they BEHAVE in YOUR OWN gorgeous mixed media projects at home!
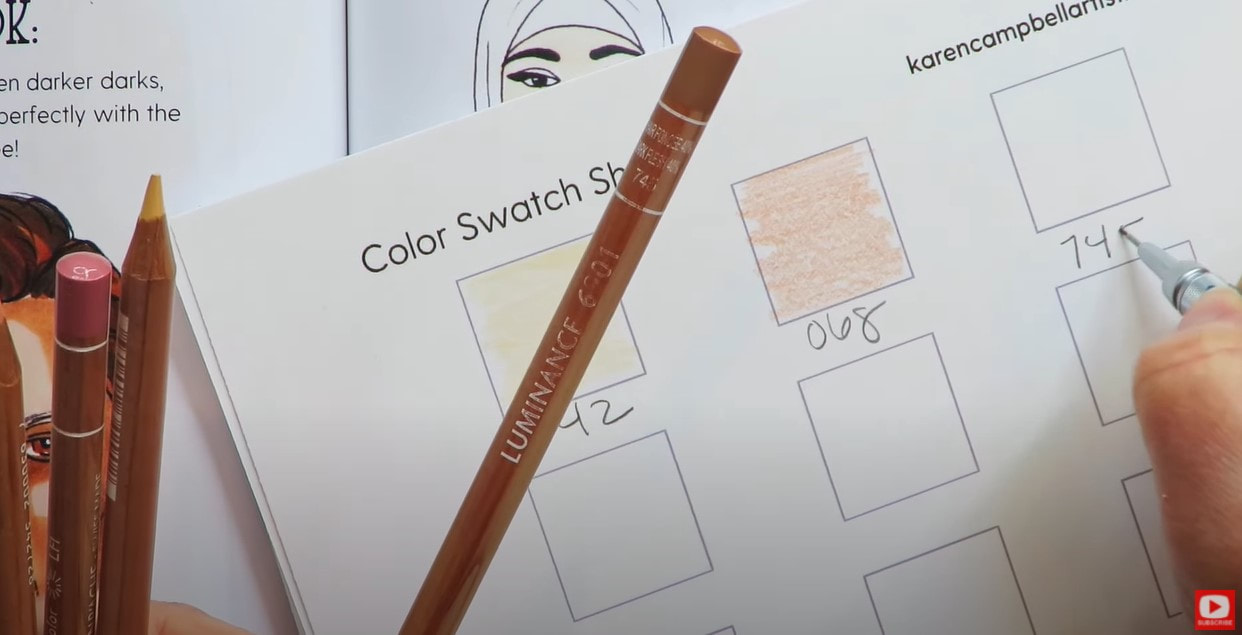
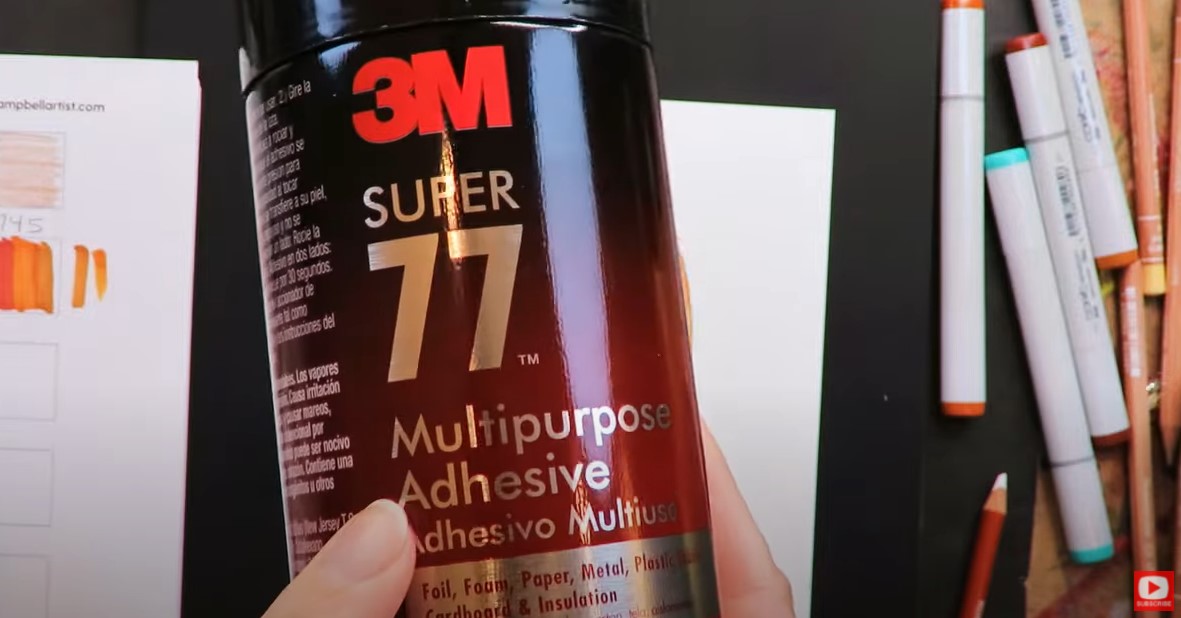
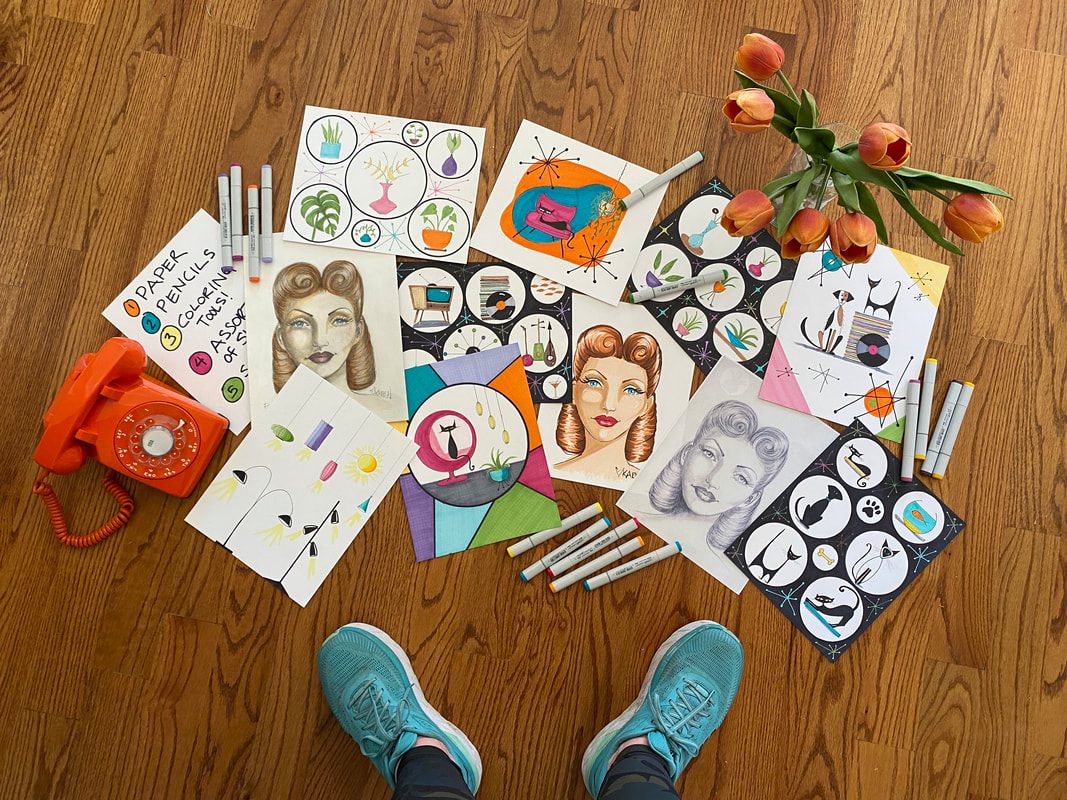
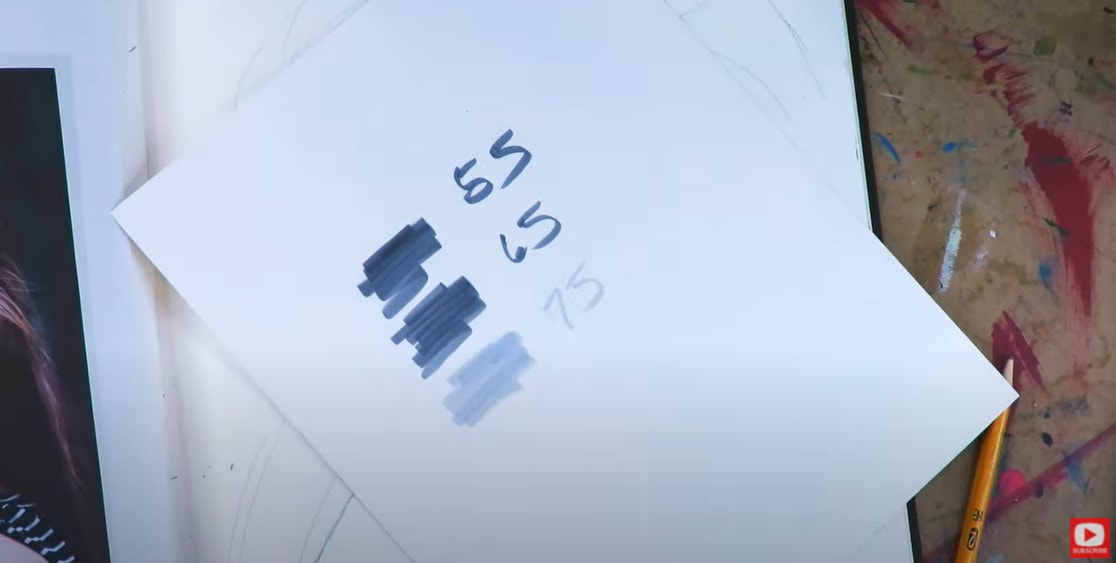
Got a new set of watercolor markers, colored pencils, pens or watercolors? It's SO important to SWATCH your new colors so you know what to expect when each color hits your page!
I've made this process MORE FUN for you by creating a FREE Swatchsheet! Simply click the button below, and I'll send it straight to your inbox. 
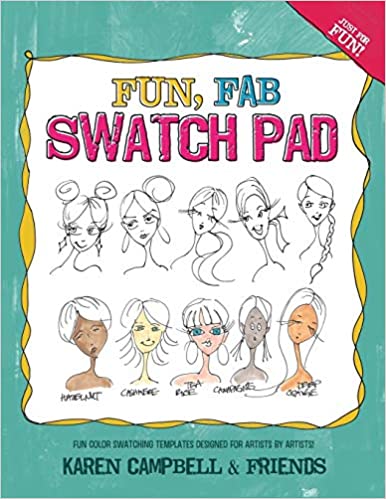
LOVE swatching, and can't get enough?! Check out the book I created with my Facebook Group called The Fun Fab Swatch Pad. These playful pages will keep you swatching for days!
Before we continue, super quick announcement: All product links are Affiliate. I may earn a small commission if you choose to order through these links but by law there is never any additional cost to the consumer for doing so. I thank you for your support.
|
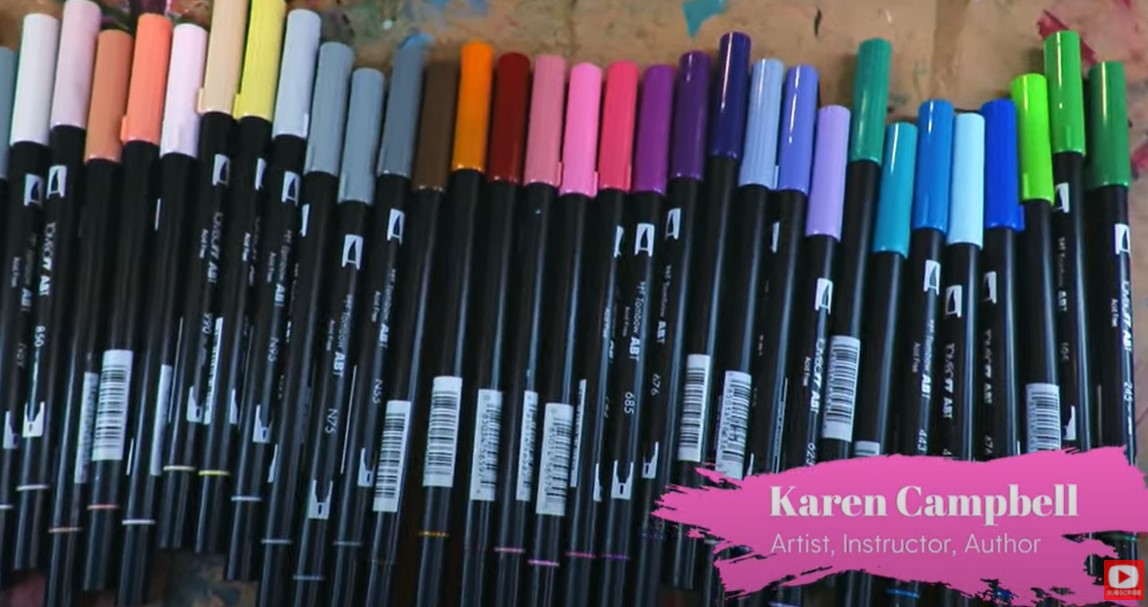
Karen CampbellFounder of Awesome Art School. Mixed Media Artist. Author of 19 Instructional Art Books! 
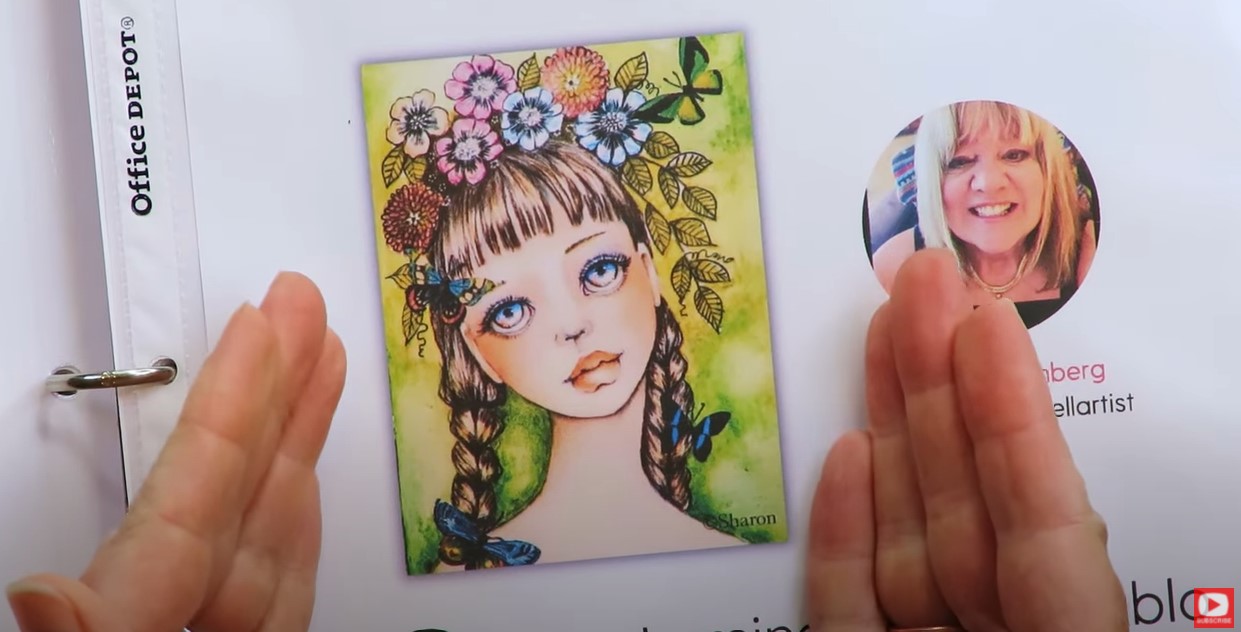
Whose work has appeared in...
   
 Archives
July 2024
Categories
All
|


 RSS Feed

"Karen is flipping hilarious and she's very real...I like the way she teaches in a way that really gives you confidence, whether you're a beginner or advanced there's always something new to learn!"
- Elizabeth W. |
What Fans Are SayingKaren, you are absolutely fabulous! You make me feel like I can draw anything. I have recently retired and finally have the time to do some of the art that I have loved since I was in school. I am really at the beginning of my art journey and I hope to learn as much as I can. Thank you for all you do. |
Contact ME |