|
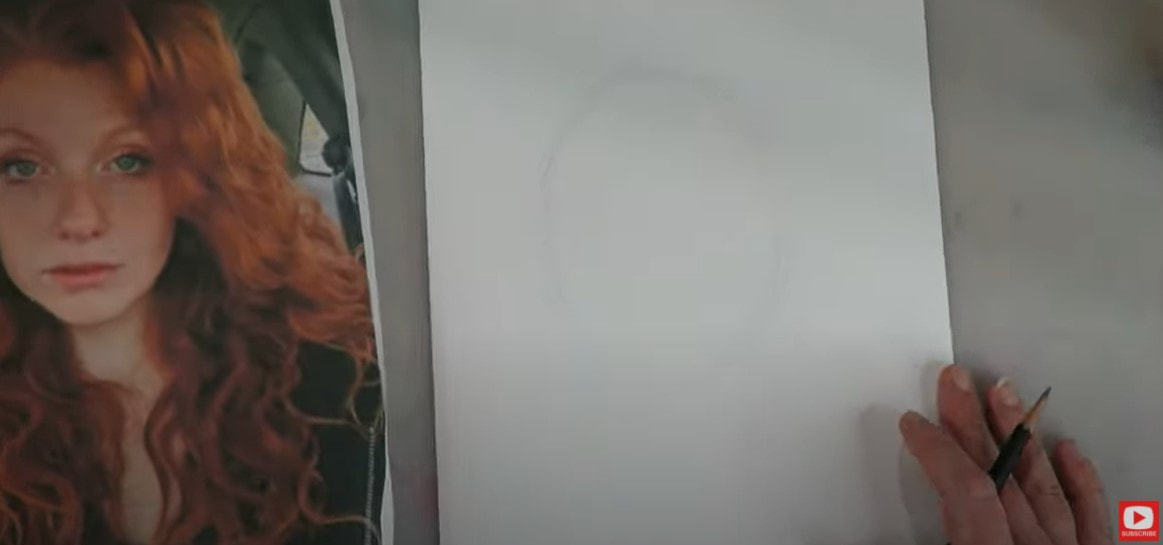
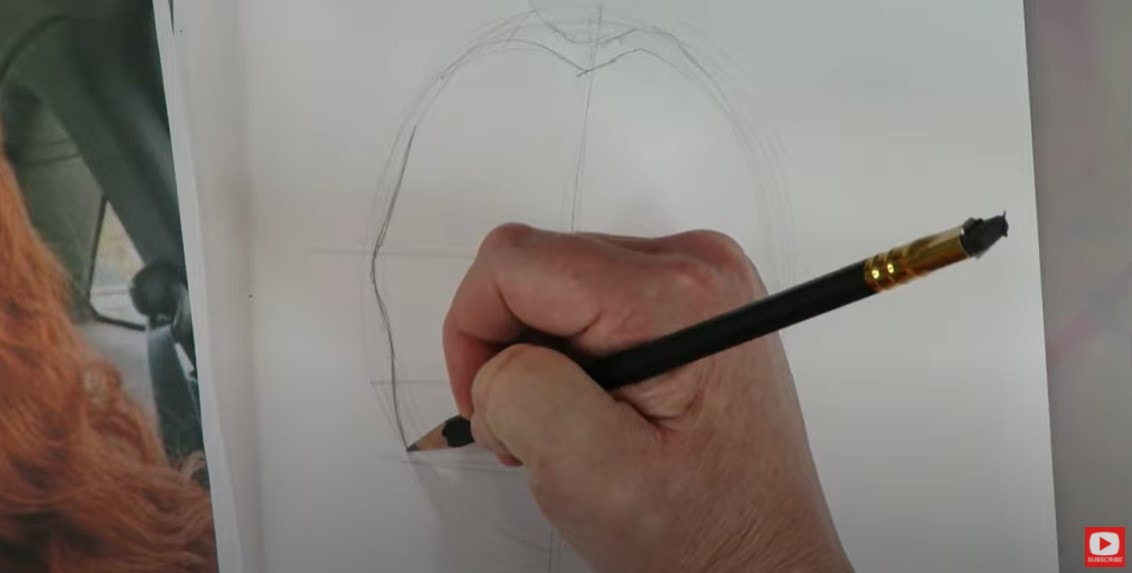
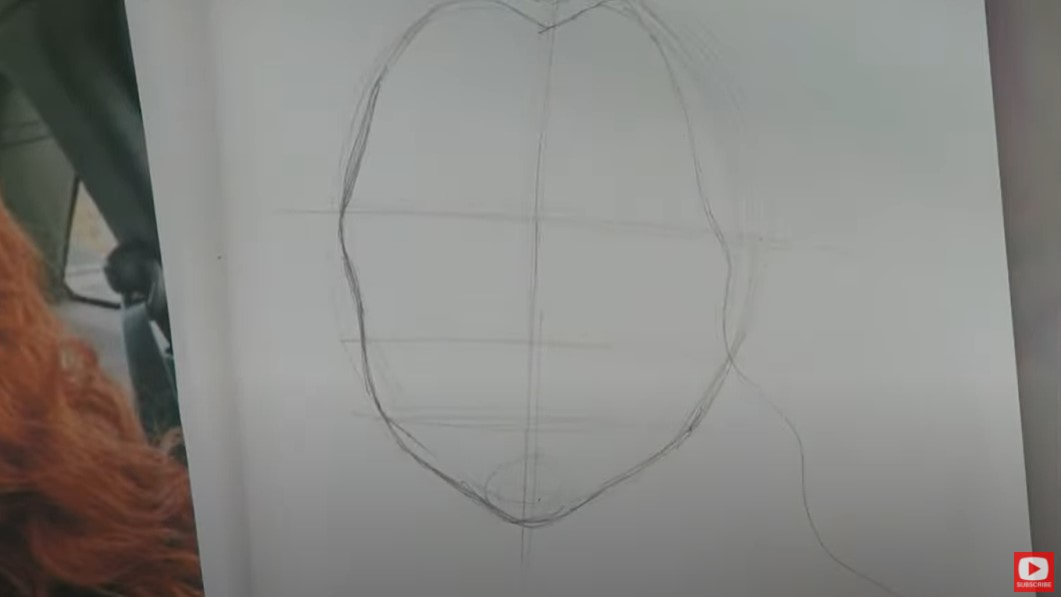
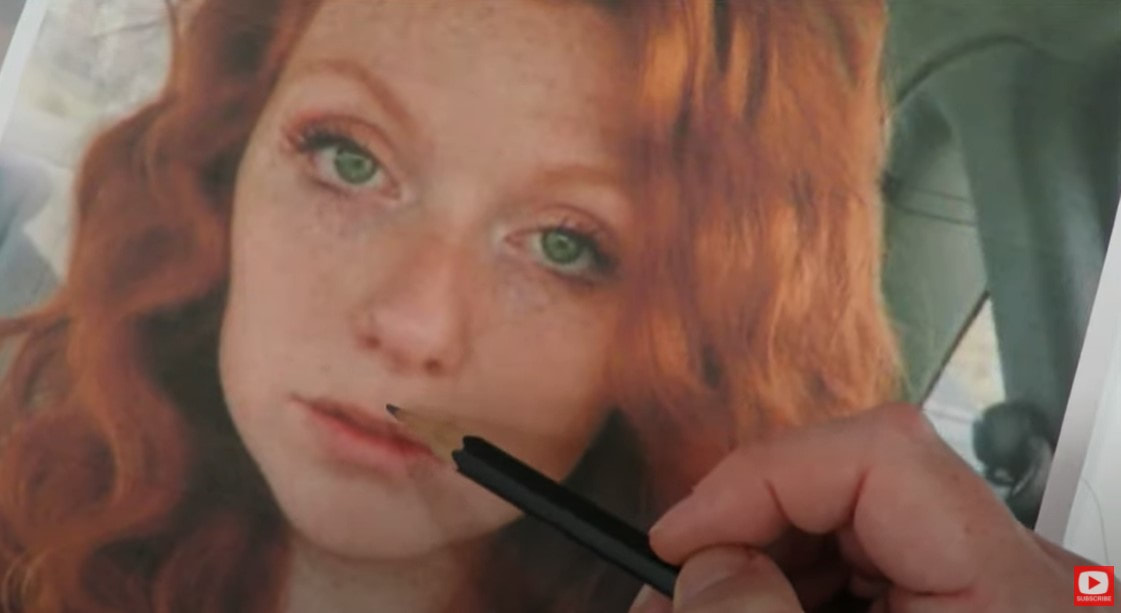
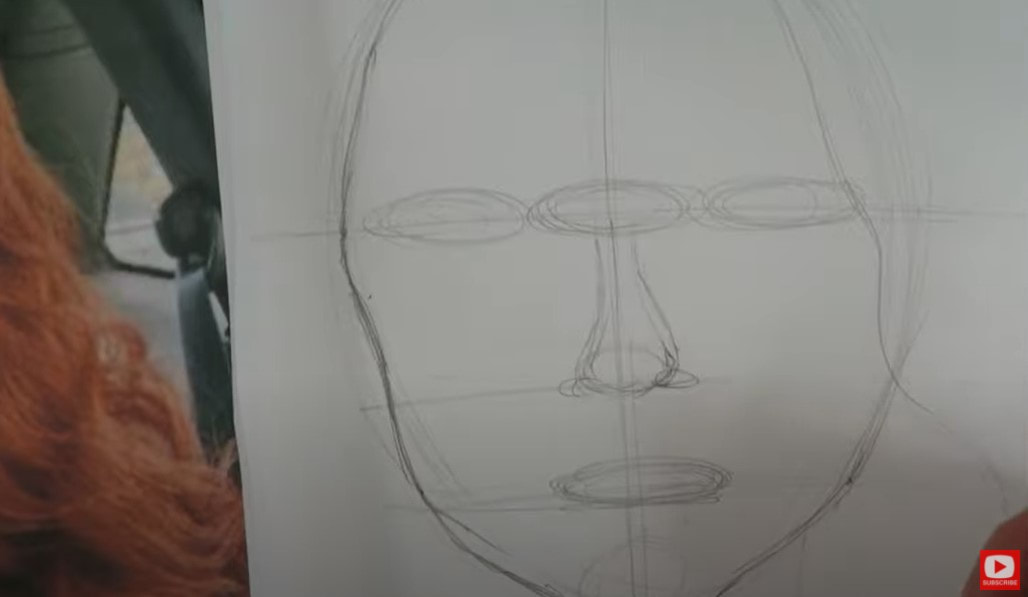
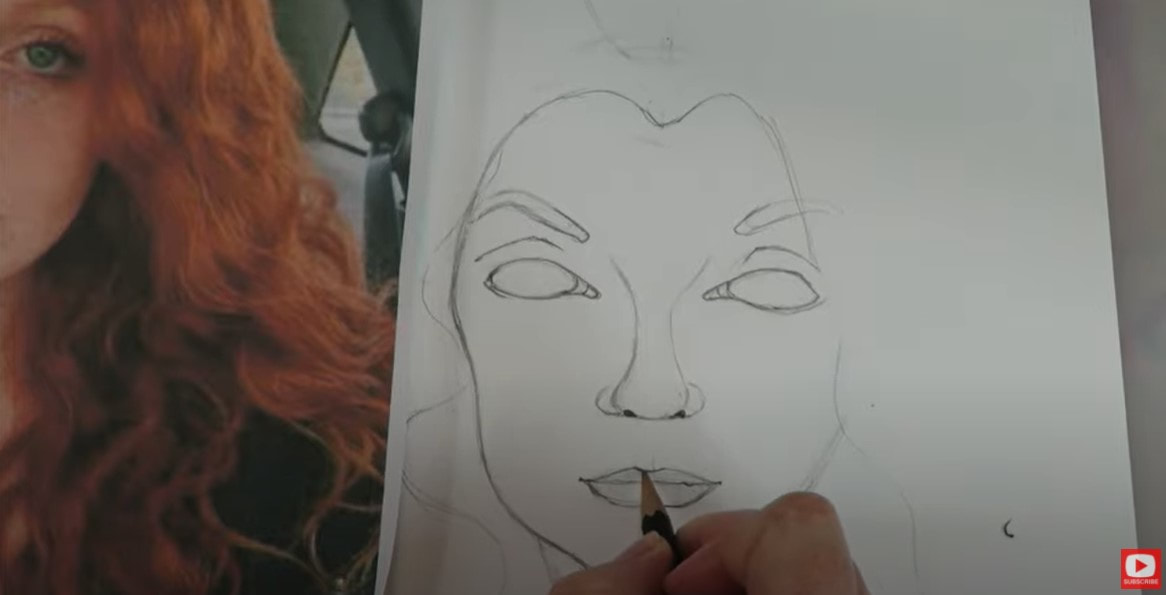
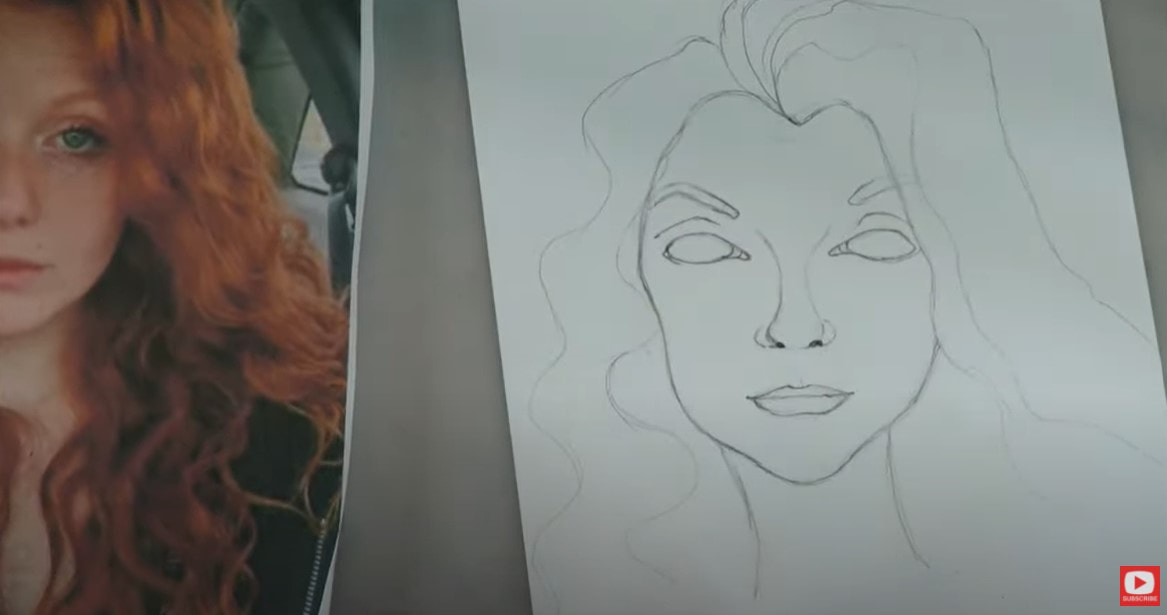
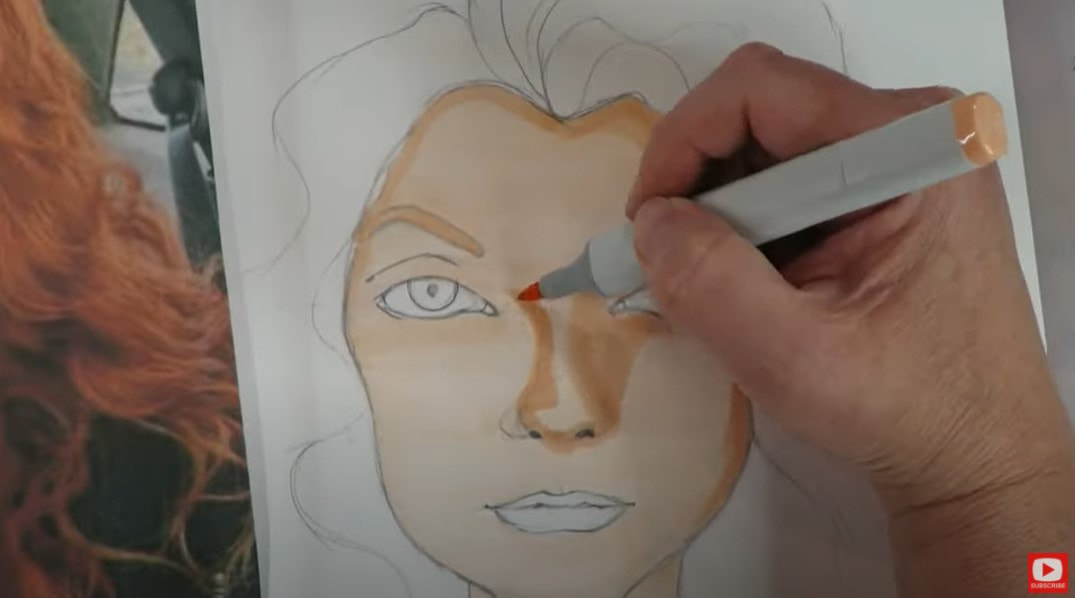
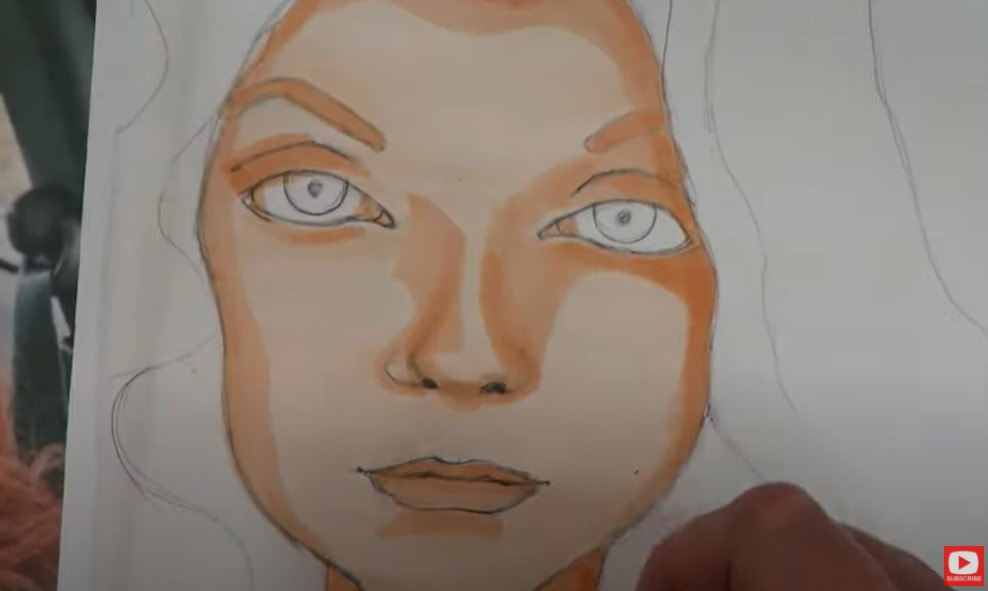
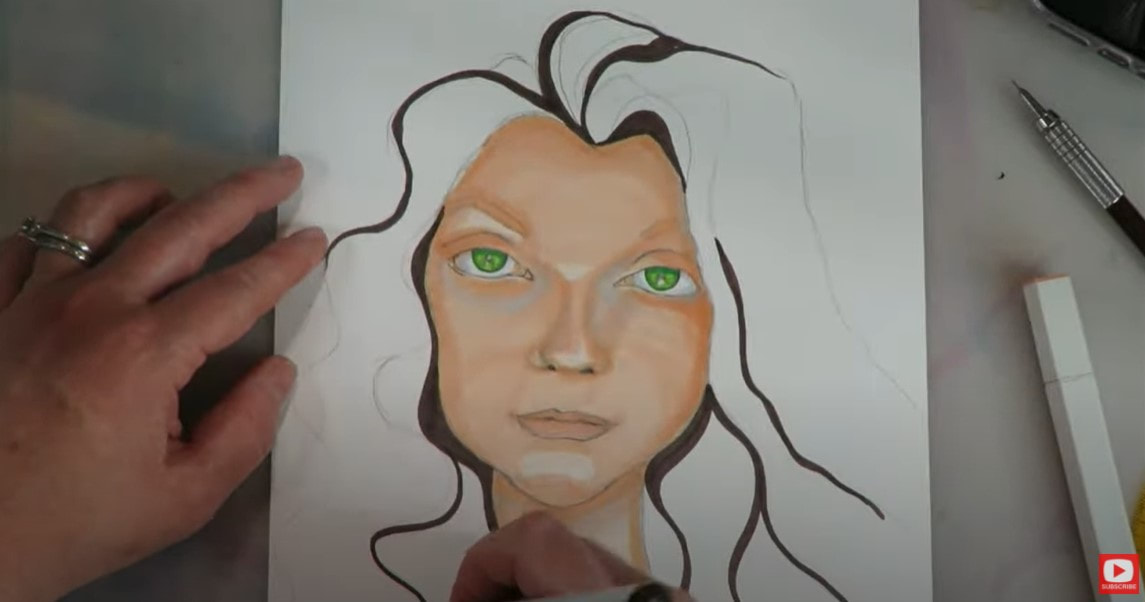
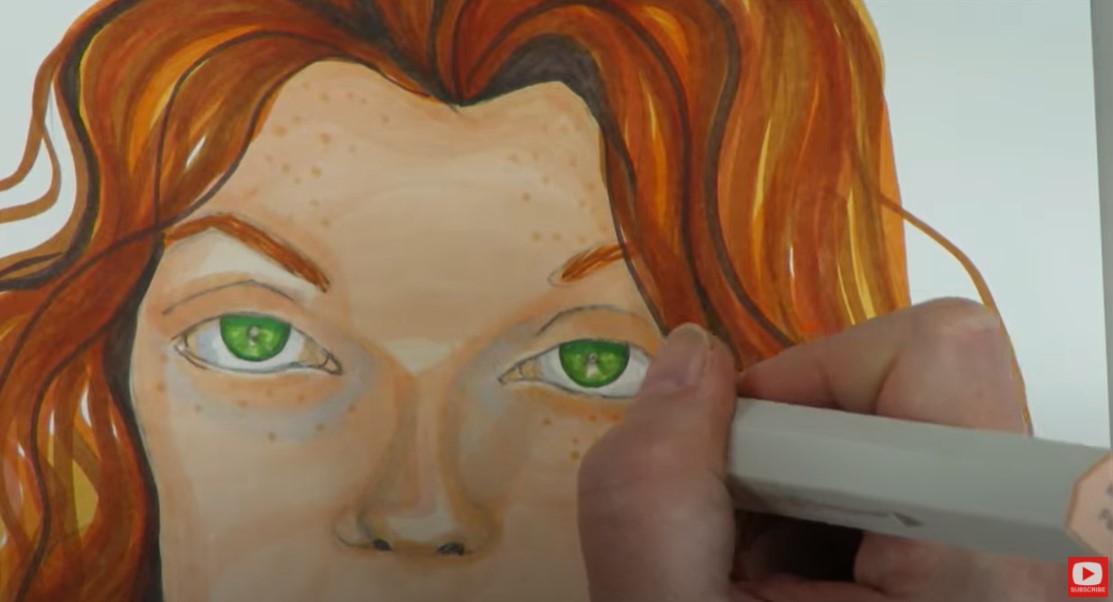
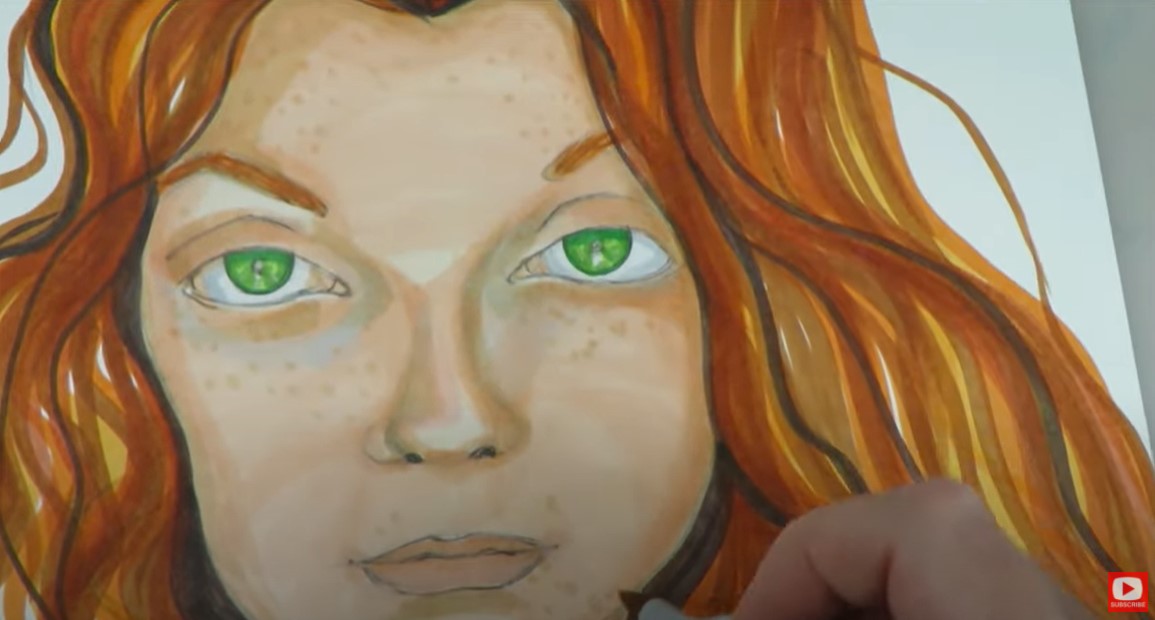
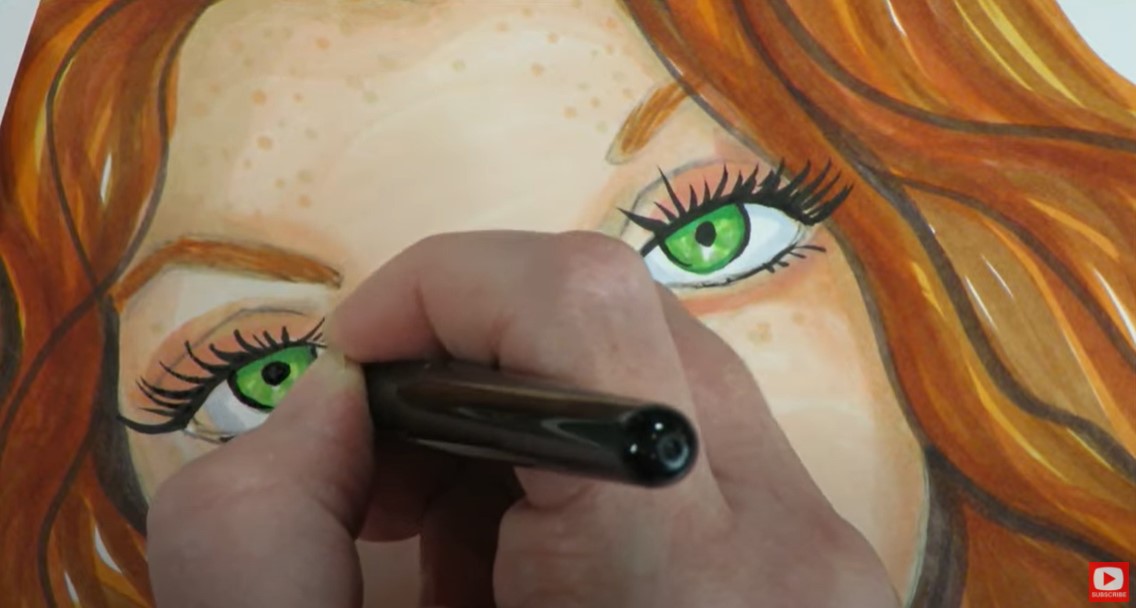
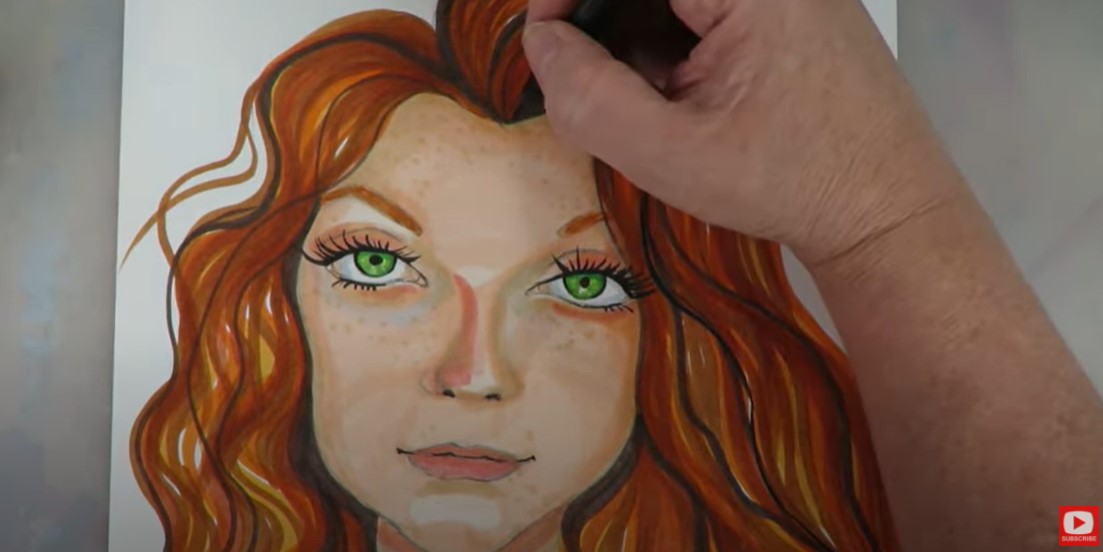
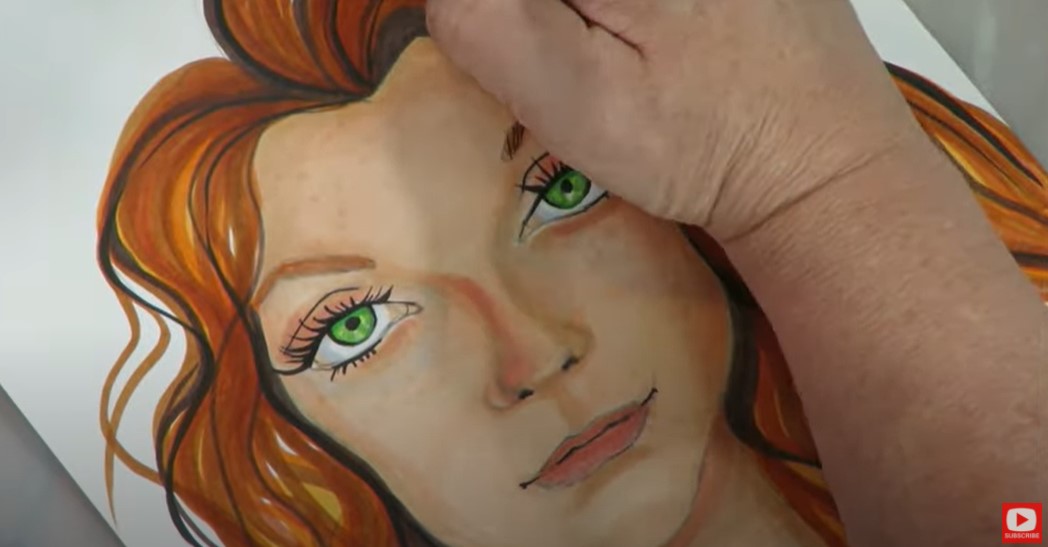
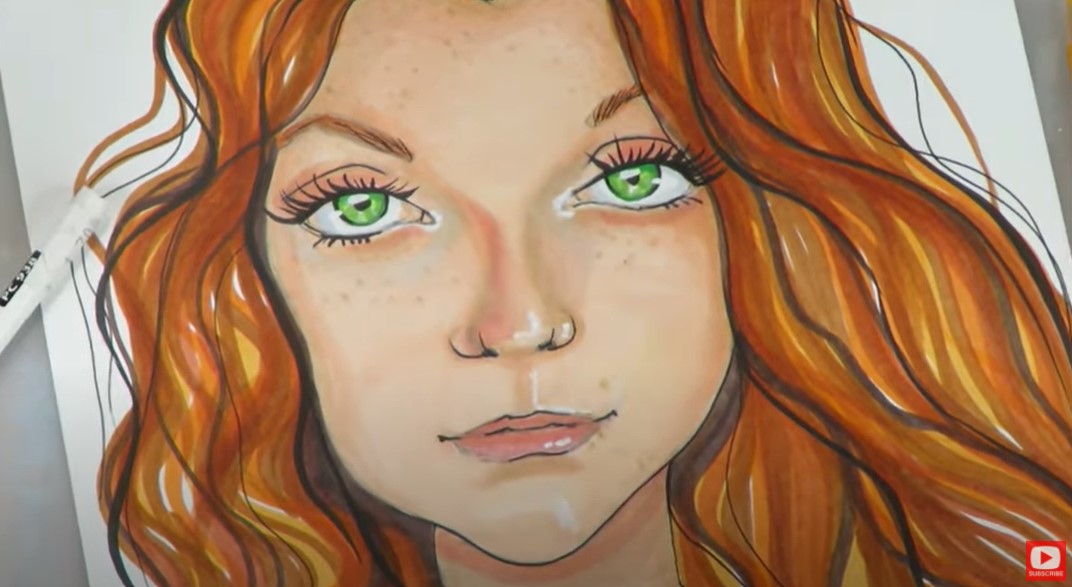
The idea of drawing freckles may SOUND scary, but it's really not!! Trust me! In today's "Whimsical Women of the World" portrait drawing tutorial, I'll teach you how to draw freckles and wavy red hair on an adorable Scottish lass, using copic markers!! Grab a sheet of card stock or a paper you love using for copic marker art, a pencil, & let's sketch in our face drawing guidelines. By the way, if you haven't heard yet - I'm going to be publishing a book featuring all 12 of the face drawing projects in this series when I'm all done, and I want YOU to join me!!! All you have to do to participate is jump over to GET PUBLISHED, read through the easy submission requirements, and enter your work. I'll be featuring four student variations of each lesson in the book and hope YOURS is one of them!! This week...since I can't GO to Scotland except in my mind right now, we're drawing a fiery redhead!! I'm working on my favorite Hammermill cardstock for copic marker coloring, since that is what I'll be shading with once I'm done sketching in her face. Typically when I'm drawing a face from scratch, I'll add a guideline that's smack in the middle of my oval to represent an eyeline. Since I'm using a reference with BIG HAIR, I've raised that eyeline a bit to account for this, because that's what I'm seeing in my portrait drawing reference. The model in this photo has her face tilted to the side a little as well, so my vertical drawing guideline also needs to shift slightly to replicate what I see in the photo. I also check the her face shape carefully as I sketch, because I want to capture the unique contours of this model's bone structure. Her chin line is bit tricky, so pay attention to this if you're drawing along with me. The right side of her face is really covered by a wave of hair, so I simply penciled a wave in, and recommend you do the same before sketching in the facial features. Next I rough in those face drawing guidelines to map out where her eyes, nose and mouth will sit. I also sketch in any other shapes I see that are unique to this art reference photo while I'm working. For example, her "lip dip" feels a bit longer to me and her nose is a bit wider at the base. Next I sketch in a bit more hair - including her widow's peak and the curly waves around her face. Then I dig right into drawing her eyes. I always "build" both eyes up at the same time. If you struggle with drawing eyes and eyebrows, this is one of my BIGGEST tricks. Draw one line on the right, replicate it on the left. Go back to the right, add a line, and repeat it on the left, until both eyes are done. Drawing eyes step by step at the same time makes a BIG difference and will totally help if you aren't sure how to draw the other eye so it matches!! After that - I erase a bunch of my guidelines with my vanish eraser - only to discover her eyes look like they are set way too far apart. Not a problem! Instead of starting over - I just extend her eyes to make them a little wider. This is a perfect solution because it's a whimsical drawing anyway, and who doesn't love BIG EYES?! If you follow me for drawing, you know I never actually sketch in the bridge of the nose or a full outline of the nose - this comes forward naturally once shading is added. All I ever do is typically draw in the nostrils. But this particular model has a distinct nose shape and HIGHLIGHT I want to replicate when shading. She also has fairly thin lips, so pay close attention to the shapes you see here as you're copying them. I'm really glad I picked this art reference photo, because she actually presented me with a few challenges when it came to drawing her facial features!! These are the kinds of things I LOVE about drawing faces, because each of us are SO unique. Shifting our lines slightly creates a totally new person every time we draw! When it comes to drawing hair - I never draw each individual strand because I seriously don't have time for that!! LOL! Instead, I sketch out the big, main volume lines I see for the hair, then add in little sub-sections. Take whatever artistic license you want to because this is a whimsical drawing! For the irises and pupils, I feel no shame in grabbing my circle stencils and NEITHER SHOULD YOU!! Why stress about stuff if there is something that can help us with a teeny shortcut so we can move on and start shading?! When you're ready to shade, pick 3 -5 skin tones in a row and swatch them off to the side. You always want to have a game plan BEFORE you begin laying down your color so there are no surprises! I see a lot of peach in this particular image, so those are the shades I reach for today. I see a lot of cool tones in the reference photo as well, so I worked some light gray into the face shading. You'll also see a bit of gray in the whites of her eyes because if you look closely- there are shadows here too! They're not perfectly white. I love adding multiple greens for her eyes too! I choose 3-5 markers for her fiery red hair, and started with the darkest shade first. I actually got a little more detailed in this piece than I typically do with hair strands, but was in the mood to go there! Plus the brush nibs of my markers were fairly thick, so it didn't take long. One of my other big tricks - especially if you're not sure how to draw wavy hair, is to start your marker (or whatever you're drawing with!) where the ROOT of the hair is, and extend your lines from there to the tip. Just keep repeating this until you're happy, root to tip. Now I know freckles can feel a little scary, but don't let these freak you out. They are actually REALLY easy!! All you need to do is hop in there with the tip of your marker, using one skin tone shade slightly darker than your lightest shade, and you'll be fine. If you're still feeling nervous- go ahead and try drawing freckles on paper you don't care about, off to the side on a scrap piece of paper. When my freckles were done, I felt like my shading needed a little more drama. Here is another hot tip for how to shade faces - when I'm adding additional layers of shading, I always go back to continue working the shaded areas I already created. Don't go in and start shading in a new place. The wonderful thing about coloring with alcohol markers is you can slowly add more detail with colored pencil, fix problem areas, blend etc. Just make sure you're NOT using oil based colored pencils for this kind of work. Check out what your colored pencils are made of before you begin. (I *think* polychromos are a no-no here - please confirm that if you plan to use them). Next, I tackle one of my favorite areas, eyelashes with my pentel pocket brush pen! If you're not sure how to draw eyelashes - I recently did a video ALL about this to help you, and even have a cheatsheet you can download if you want! Be sure to check that out. When the eyelashes and eye makeup are finished, I added the teensiest bit of black to her nostrils and the crease of her lips. I also added a few black strands of hair just for artistic effect. I wasn't trying to replicate anything I saw in the reference photo here - I just felt I needed to carry the black through a little more to unify the piece. Less is more here though, so if you're doing the same, go slow! Remember, if you do have any streaky areas remaining from your marker strokes- you can continue blending those out by going over your streaks in the opposite stroke direction with the LIGHTEST shade of marker you were using in that area. Use your colored pencils to knock things up or down a shade, wherever you need it. When you're happy with how things look, it's time for highlights!! DON'T SHY AWAY from this part!! Even if you're scared... these can make the BIGGEST impact in your piece. I love using my white poscas or sharpies for these. I also took some artistic license here again, because I love drama! I added them on the outer corners of the tear ducts, the tip of the nose, and a teensy bit on and around her lips and chin. This really "turns up the volume" on the dimension and can totally bring your character to life. In the end, I decided to punch up the freckles as well by peppering in a few more, again one shade darker than I had been working in earlier. Come do the lesson with me, and PLEASE submit your version for publication in my upcoming book!! Thanks for hanging out with me!! I'll see ya back here on Friday with the latest on my Mixed Media channel, followed by another Whimsical Woman of the World next Monday!!
0 Comments
|
Karen CampbellFounder of Awesome Art School. Mixed Media Artist. Author of 19 Instructional Art Books! Whose work has appeared in...Archives
July 2024
Categories
All
|
|
"Karen is flipping hilarious and she's very real...I like the way she teaches in a way that really gives you confidence, whether you're a beginner or advanced there's always something new to learn!"
- Elizabeth W. |
What Fans Are SayingKaren, you are absolutely fabulous! You make me feel like I can draw anything. I have recently retired and finally have the time to do some of the art that I have loved since I was in school. I am really at the beginning of my art journey and I hope to learn as much as I can. Thank you for all you do. |
Contact ME |


 RSS Feed
