|
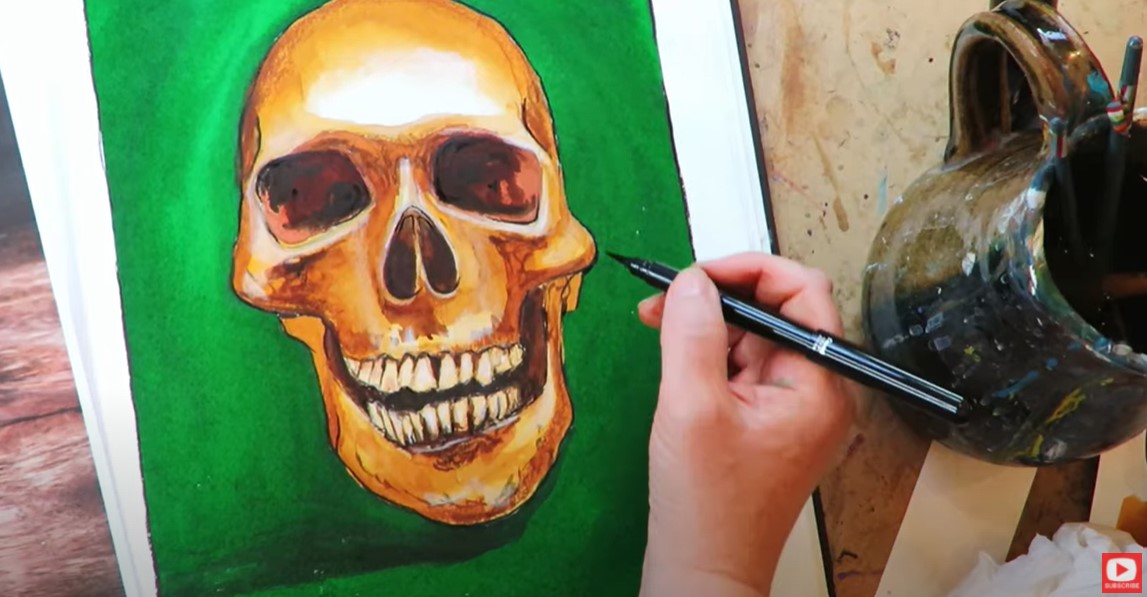
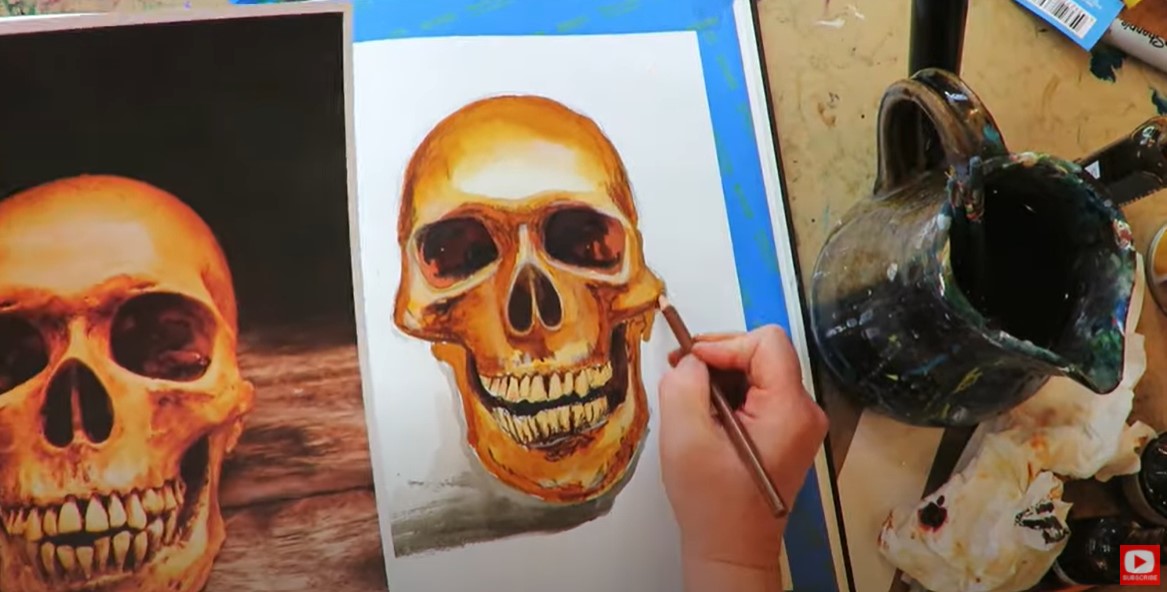
Today's CREEPY skull watercolor project for Halloween was a special request from my students over at Awesome Art School! If you're not sure how to draw a skull, don't worry - I guide you through the skull drawing step by step. Then we'll bring it to life with one of my favorite art supplies that works JUST like watercolor - Noodler's Ink!
If you're curious how I paint with fountain pen ink, complete this project with so few art supplies, or if you're just in the mood for a spooky mixed media Halloween art project, hop over to YouTube because today's Halloween watercolor video is FOR YOU.
Before we continue, super quick announcement: All product links are Affiliate. I may earn a small commission if you choose to order through these links but by law there is never any additional cost to the consumer for doing so. I thank you for your support
I created today's tutorial project in my Strathmore Watercolor Journal. It's filled with cold press (textured), 140# paper. If you're new to art-ing with me - I LOVE using this watercolor journal for my mixed media work because the paper is so hearty. It can really take a beating from whatever layers and art supplies I want to throw at it, and has become one of my go-tos over the years.
If you're new to mixed media art, looking for mixed media examples, or clear instructions on how to layer your mixed media art supplies so you can make a masterpiece instead of a mess, look no further! I've been teaching my 7-step "Hamburger System" for almost 2 years now and it's been a game changer for SO many students. 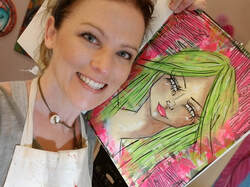
While the Hamburger System is my main mixed media layering process I use when creating full blown mixed media portraits (like the one above), sometimes I enjoy lightening up on the art supplies and layering.
I'm calling this condensed layering process "The Hot Dog System," and it's perfect for mixed media beginners!
There are just four simple layers in my Hot Dog System:
I've put together a ginormous 32-page PDF (you're welcome!), giving you examples of 4-art supply layer combos- HOT DOG STYLE- not just from me, but from TWENTY of my artsy friends to inspire you! Click the button below to download this FREE 32-page stack of cheatsheets just filled with Hot Dog System inspiration!
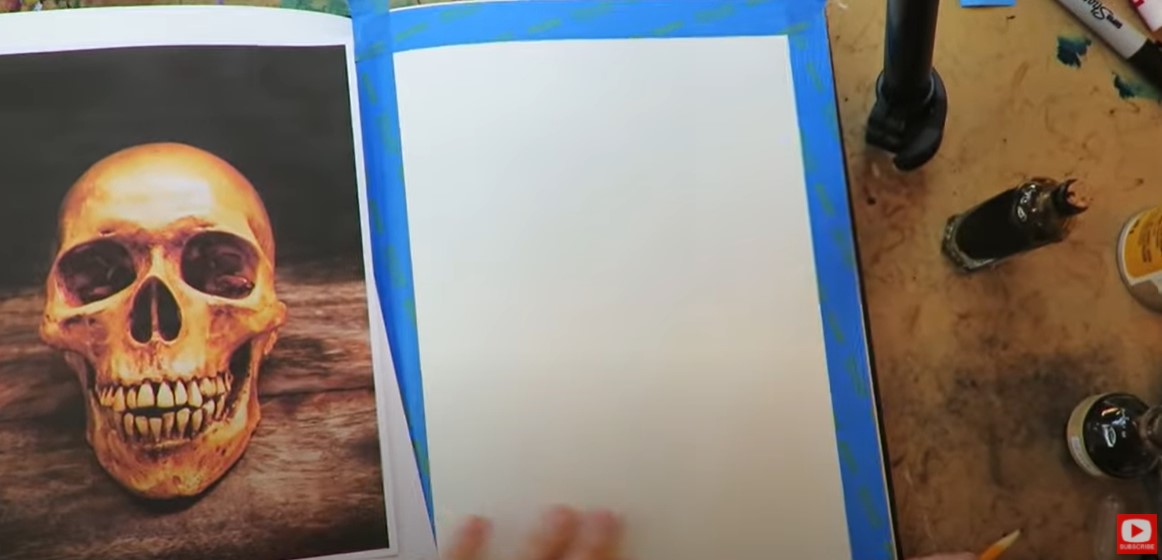
A copy of today's skull drawing reference is included in the above cheatsheet packet, so be sure to click that button and get a copy so you can create along with me!
If you're not sure how to draw a skull, don't worry- I take the skull drawing step by step in this tutorial.
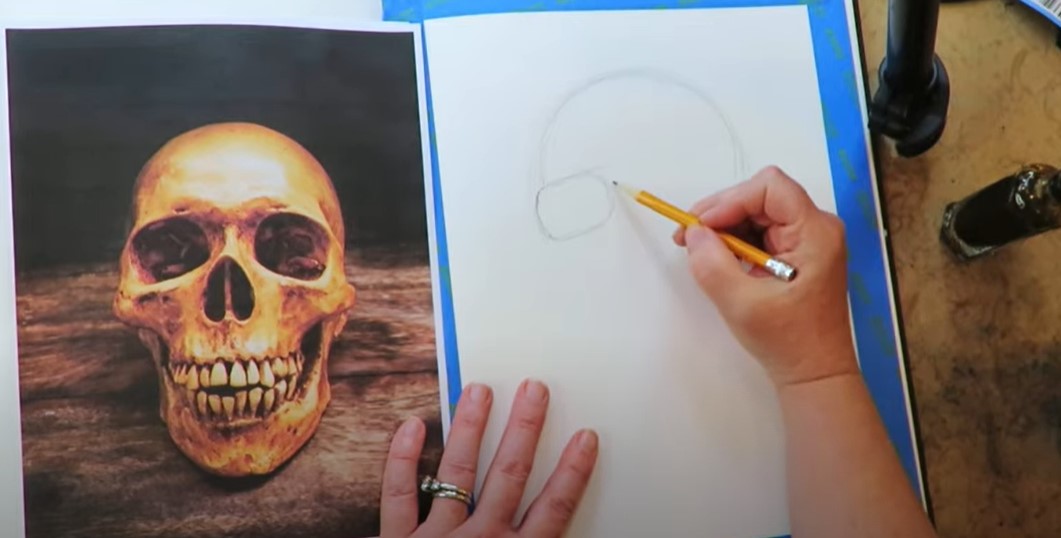
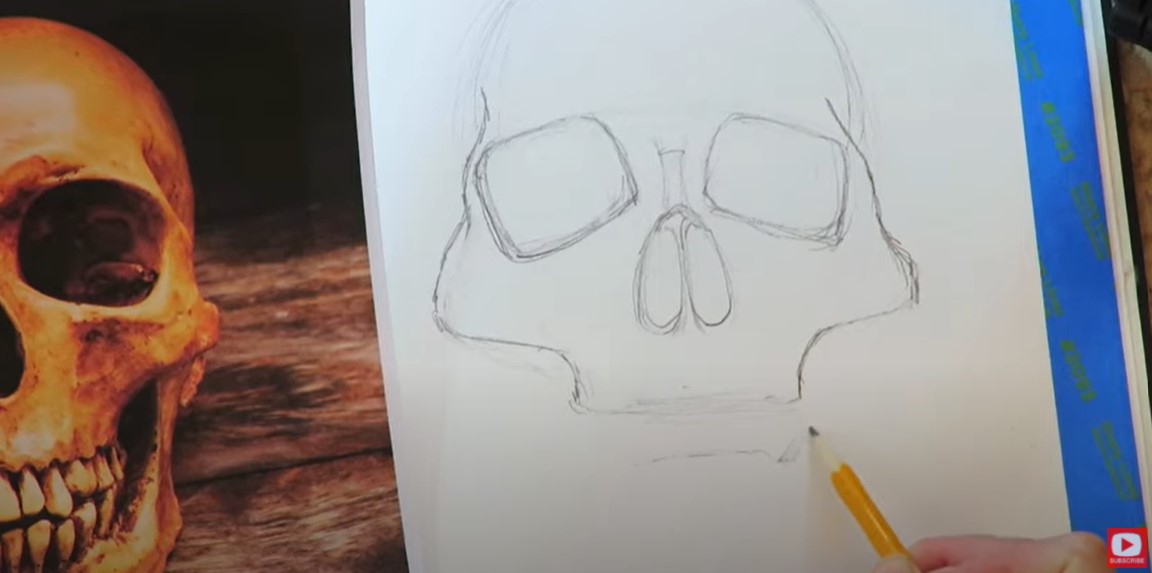
Drawing a skull is like drawing anything - we just break it down and take it shape by shape, starting from the top.
I saw a large circle at the top of the skull and basically decided to warm myself up by sketching a few light circles until I got the shape I wanted and saw in my reference image.
Once I got a bit further down the face of my skull drawing, I started cracking myself up, because my drawing looked like I'm actually drawing Darth Vader! LOL! I swear I'm NOT - he just looked this way before I started drawing the mouth.
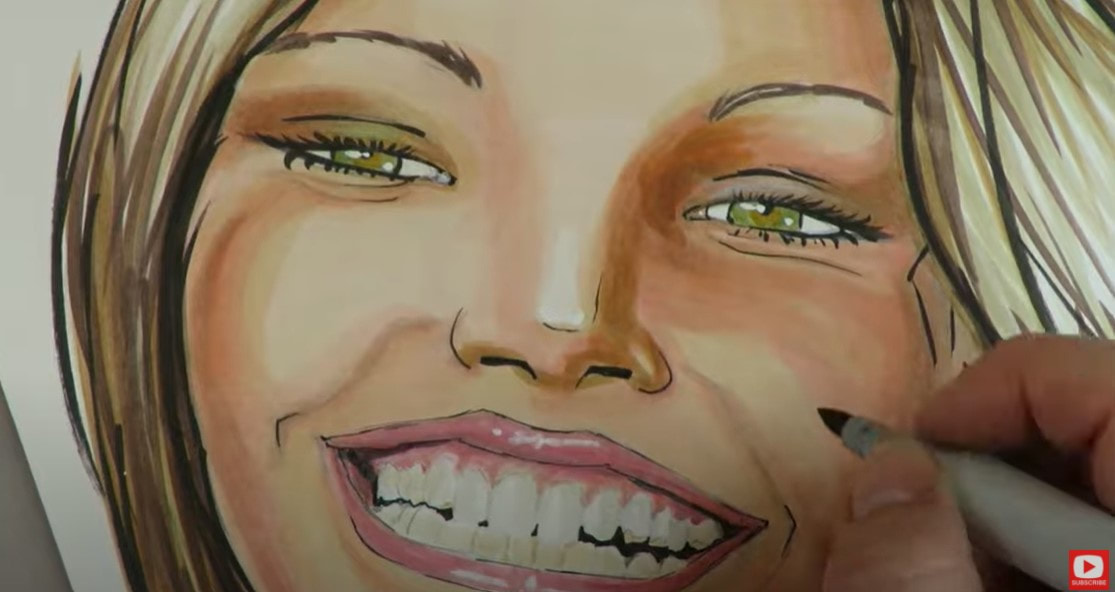
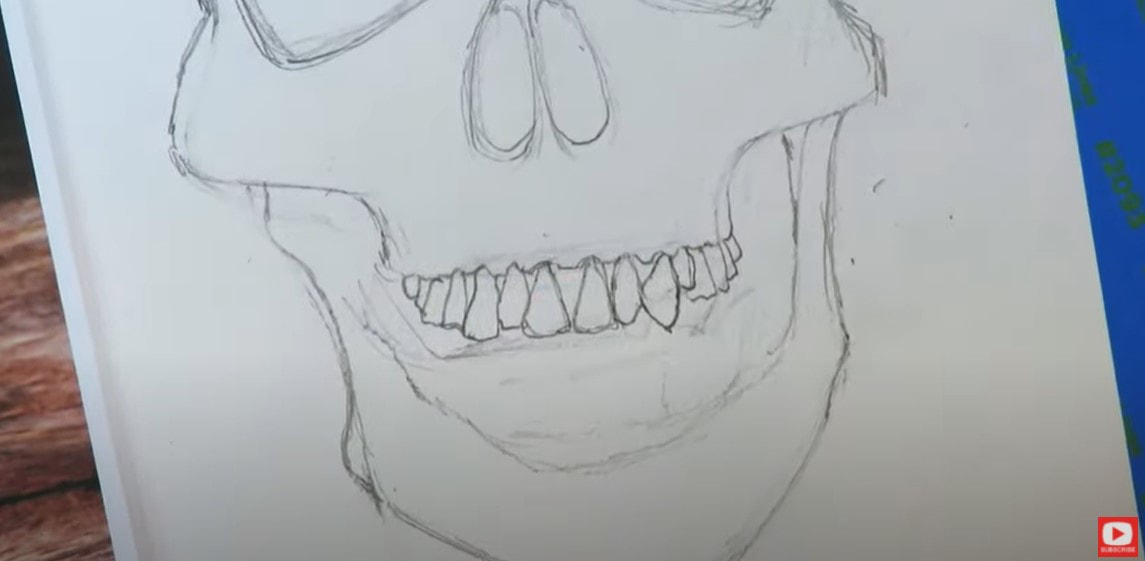
When I sketched in the lower jaw and blocked off the area for the teeth, I was seriously reminded of the smiling Italian woman from my Whimsical Women of the World series on my drawing channel last year! She was another student request (how to draw a smiling mouth with teeth), that I created a lesson around just for my students (see below).
For me, drawing teeth is a laborious process (hence why MOST of my whimsical faces and mixed media portraits have closed mouths!).
In all seriousness though, I think the biggest mistake people make when drawing teeth is drawing them all straight, perfect and the SAME. Check out how each tooth below has an individual, unique (and wonktastic) shape. It might look crazy - but I'm just drawing in the shapes I see in my reference photo.
As soon as the upper teeth were sketched in, I headed into that bottom row to knock them out so we could move on with the drawing and get to my favorite part - shading!
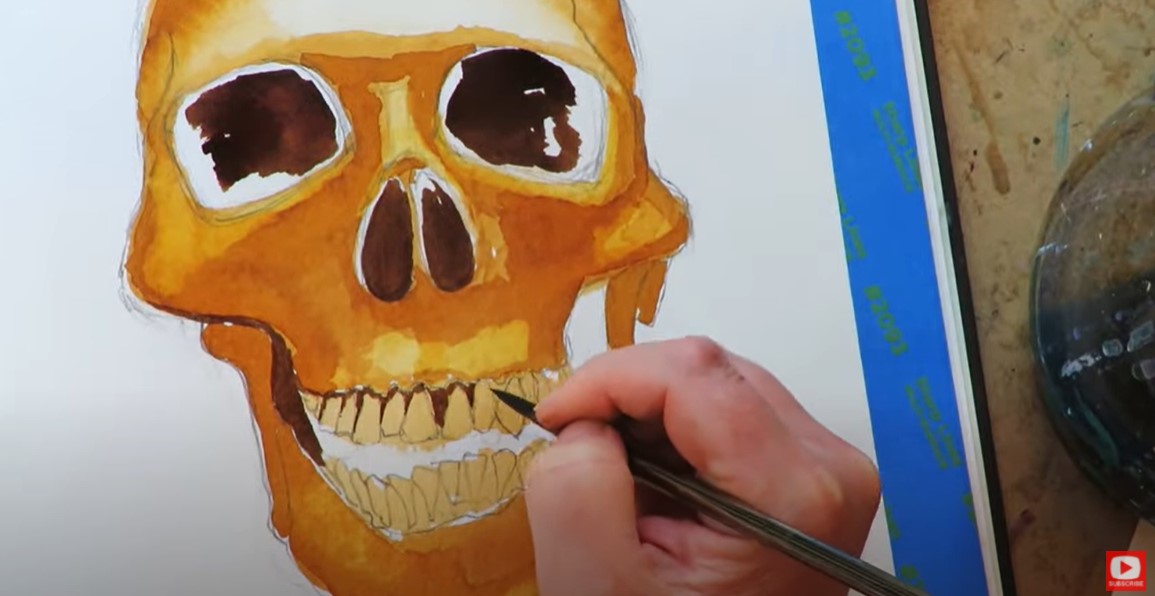
In today's tutorial, I shaded with one of my favorite mixed media art supplies - fountain pen inks. Most people use these for writing or even drawing, but I use them exactly like I do my watercolors, and PAINT with them! If you're new to painting with fountain pen inks, check out this playlist. It's got your name all over it! If you love watercolor - this is definitely something you HAVE to try.
I layered a variety of ink shades (Hot Dog Layer #2: Noodler's Ink) carefully on top of the previous layer (once the previous layer was dry), and worked from light to dark to shade my drawing to look like the skull drawing reference image (Click here if you want to grab a download of the drawing reference and all my HOT DOG SYSTEM layering tips with inspo from 20 of my artsy friends!!).
When I was happy with my "watercoloring," I moved on to incorporate colored pencils to smooth my transitions and work in some highlights (Hot Dog Layer #3).
Once those were in a good place, I pulled the tape off my journal page and started doodling in my 4th layer with my pentel pocket brush (Hot Dog Layer #4), and...DONE! I hope you enjoyed today's project and take some time to go through the helpful PDF I've put together for you!! I think you'll love seeing the mixed media inspiration from not only me, but from TWENTY of my artsy friends who also enjoy creating mixed media art journal pages and canvases with fewer supplies!! Thanks for hanging out with me today! ❤️ CHECK OUT ALL my art books on AMAZON ❤️ MY FAVORITE ART SUPPLIES on AMAZON ❤️ MY BELOVED FACEBOOK GROUP ❤️ FOLLOW ME ON INSTAGRAM
1 Comment
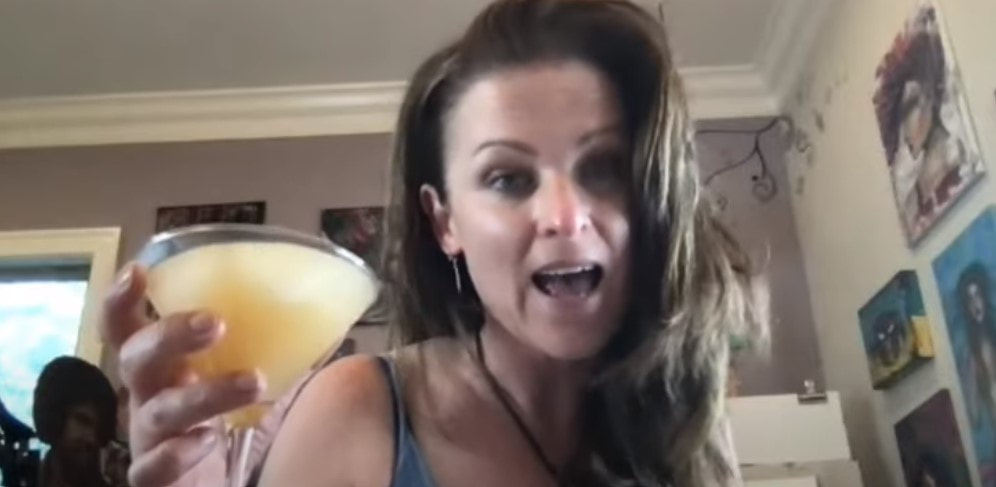
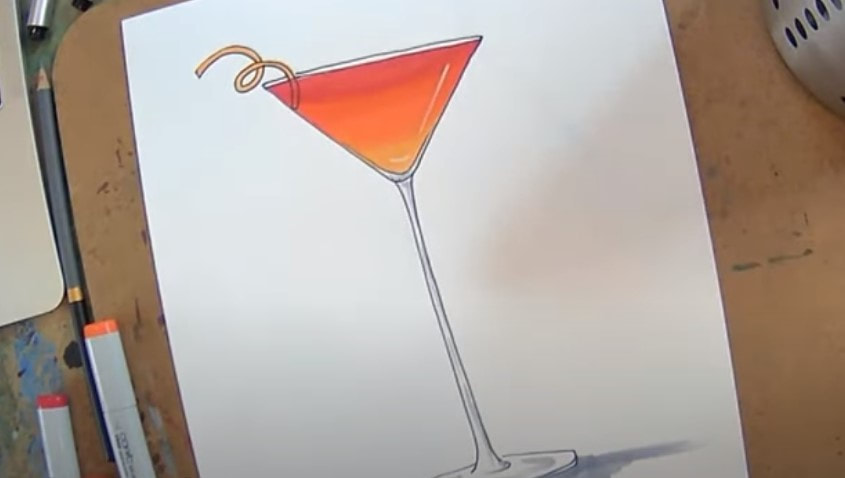
This martini glass drawing tutorial is SO fun & easy! Pour yourself a drink & come hang out with me for our own little draw & paint party. If you love art deco style already - you'll LOVE seeing a glimpse of the projects in my recently released trilogy of Learn to Draw Art Deco Style books. Then, I'll show you how to draw a martini glass and shade it 2 different ways- once using Noodler's Ink (it's basically like watercoloring!), and the other using my favorite alcohol markers (copics)!!
Before we continue, super quick announcement: All product links are Affiliate. I may earn a small commission if you choose to order through these links but by law there is never any additional cost to the consumer for doing so. I thank you for your support!
In 2020, I went down a serious 1920s -1930s / art deco rabbit hole just for me. I fell in love with the styles and just had a blast getting into the fashion, figures, hats, shoes, jewelry, furniture, pets, men, cars and cocktails of that era!
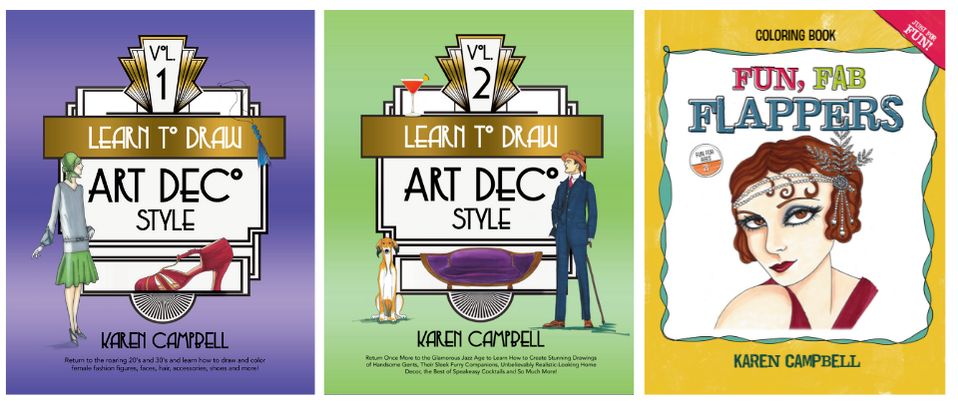
During that time period I published not one, but THREE Art Deco Drawing books (1, 2, 3).
What's fun about these books is I do have a lot of FREE videos on YouTube to accompany the book, so if you've ordered a book and see a little film icon in the corner- make sure you check that link out because there is a video lesson you can play while you work your way through lessons in the book.
I used a lot of watercolor, alcohol markers, and fountain pen inks. In each of these books you'll even find a few fun facts about this time in history because I'm a bit of a vintage history nerd! And when I look stuff up, I've gotta share!! I love everything OLD!
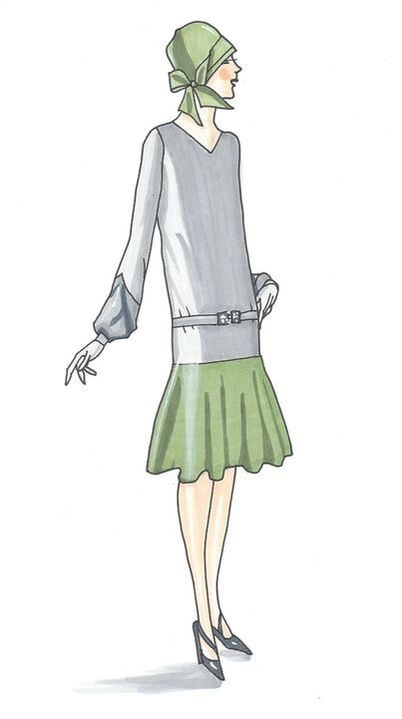
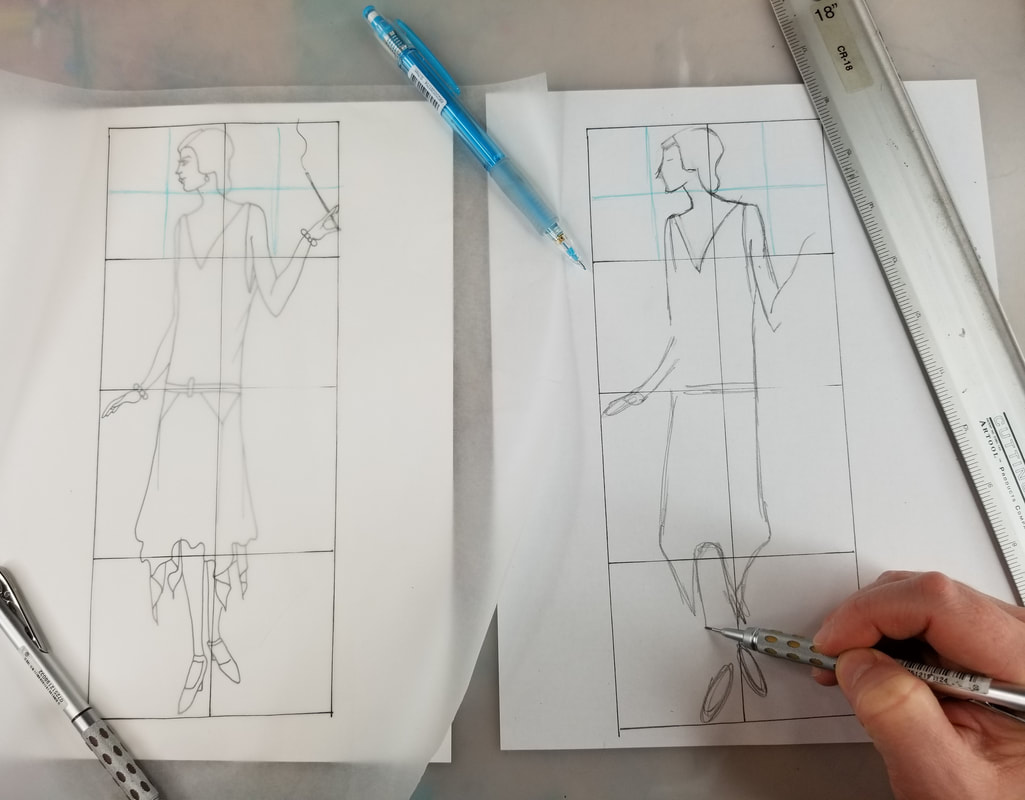
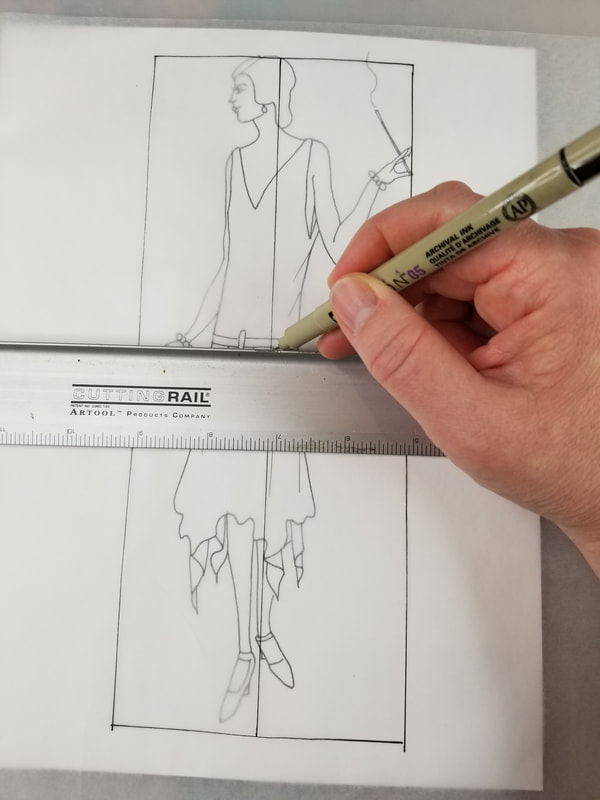
Volume #1 is super "girly" with lots of fashion, shoes and jewelry. In this book I go in depth about how to use my Quadrant Method for drawing figures too, so if you've been wondering how to draw figures easily - this is a great way for beginners to get started!
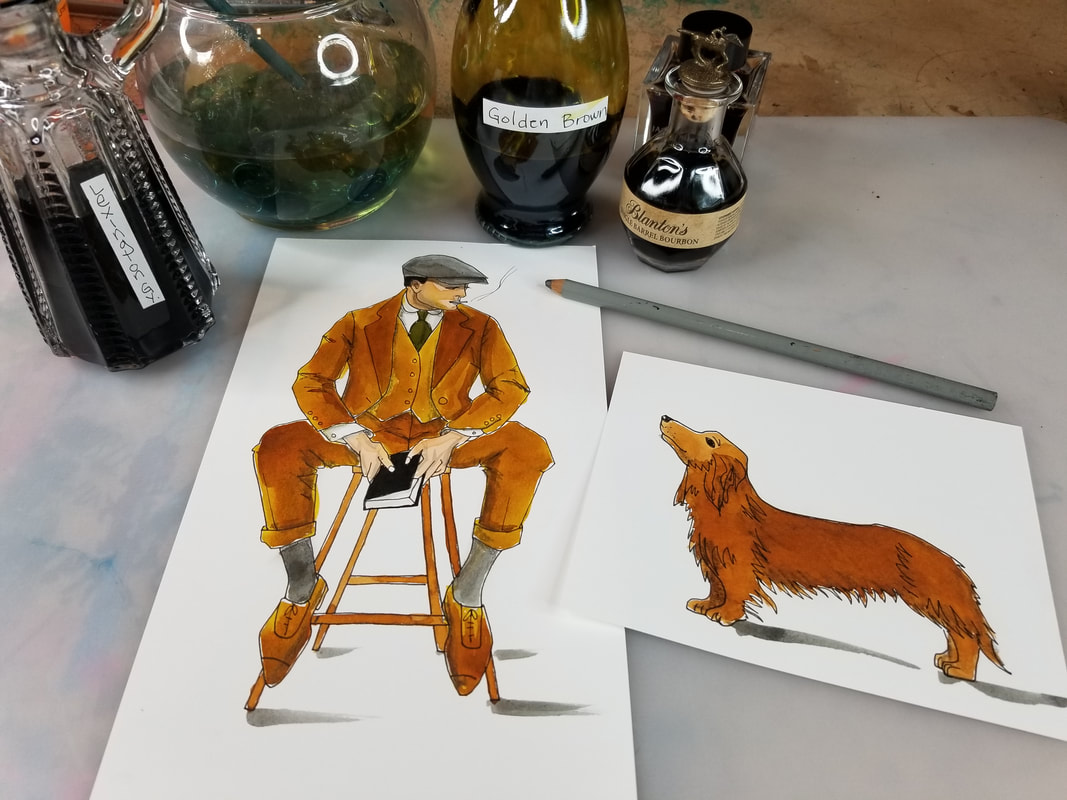
In my second volume, I'll teach you how to draw male figures as well as popular dogs and cats from the Art Deco era. If you're not sure how to draw a dog or how to draw a cat, I teach you how to use my Quadrant Method for this as well. It's SUPER easy!!
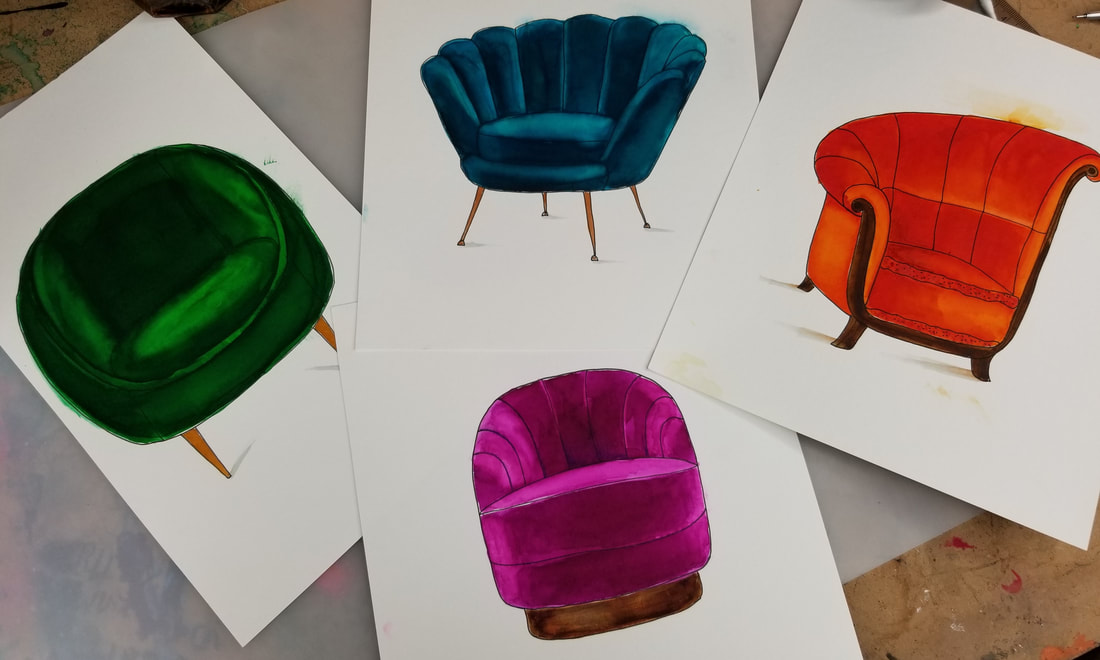
Art deco furniture was GORGEOUS, so you'll find quite a few fun pieces in this volume as well. If you've been following me for a while, you may already know I've got an obsession of painting with fountain pen inks!
I find fountain pen ink to be even MORE vibrant than my favorite Daniel Smith watercolors, and I love to just dip my watercolor brush straight into the bottle to get some serious pigment onto my paper.
When I was painting the Art Deco furniture projects for this book, I felt my fountain pen inks really made the velvet I was rendering look realistic! You kinda have to see it to believe it.
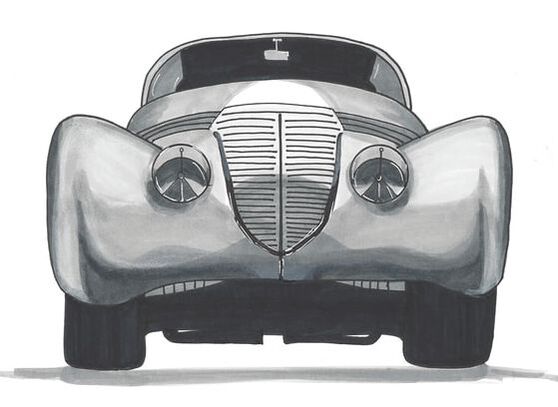
I wrapped up Volume #2 of Learn to Draw Art Deco style with a chapter on cars and cocktails from this era. It's really remarkable how realistic some of these drawings look!
You can totally achieve this too when you learn how to layer your art supplies properly. Even if you're a beginner- you can do this! I'll show you how and keep each project step by step, so even beginners just learning how to draw feel comfortable!
To dotoday's full length drawing tutorial with me - all you need is a sheet of watercolor paper (if you want to color your martini using a wet medium like watercolor), or a sheet of bristol, card stock, or marker paper if you'd like to shade your martini in alcohol markers.
Be sure to click over to the video to draw with me in real time (22:22). The drawing itself is fairly simple, so if you're a beginner interested in learning how to draw - this project is perfect for you!
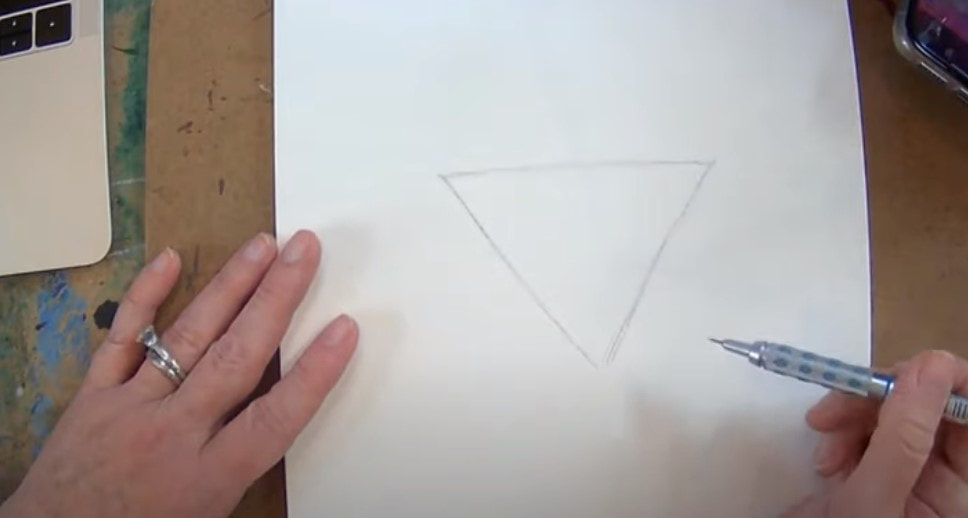
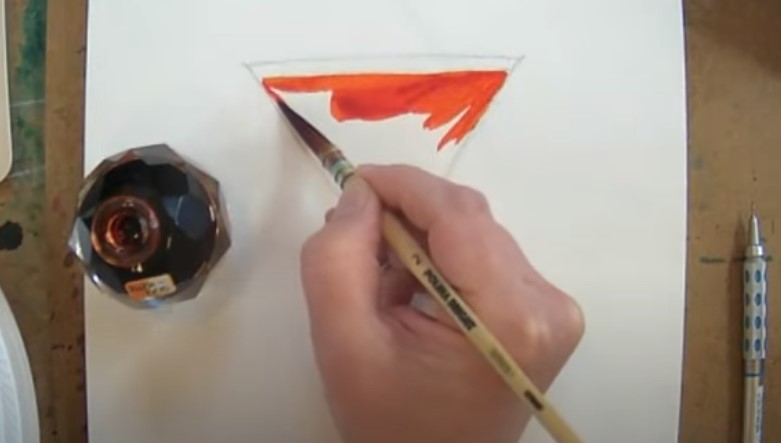
We're starting with an upsidedown triangle and adding a stem. Once everything is sketched in, I pulled out my Habannero Fountain Pen Ink and simply started coloring in the liquid for my martini. If you're not sure how to paint with fountain pen inks, just follow me. It's basically the same as using watercolors - just richer.
If you don't have any fountain pen ink, you can definitely use Dr. Martin's acrylic ink in a similar way or watercolors.
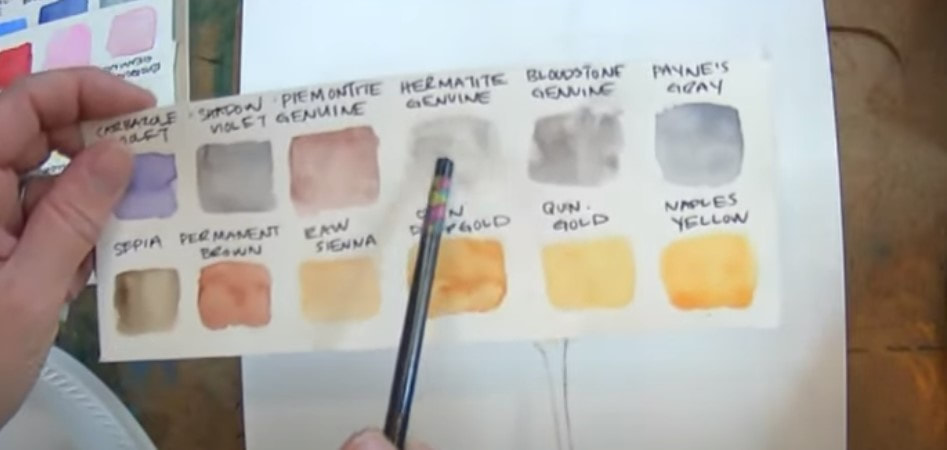
Click over to the video to see how I shade the stem of the glass. I often reach for my Daniel Smith Hermatite Genuine. This is a really soft gray. You can also just really water down some Bloodstone Genuine or Payne's Gray as well to paint a fine line down the stem of the glass.
If you'd like to see the same project done in alcohol markers while your ink painting is drying, click over to the video (42:00). If you enjoy the look of outlining in your work and are going to shade with alcohol markers, you can outline your glass before or after you shade.
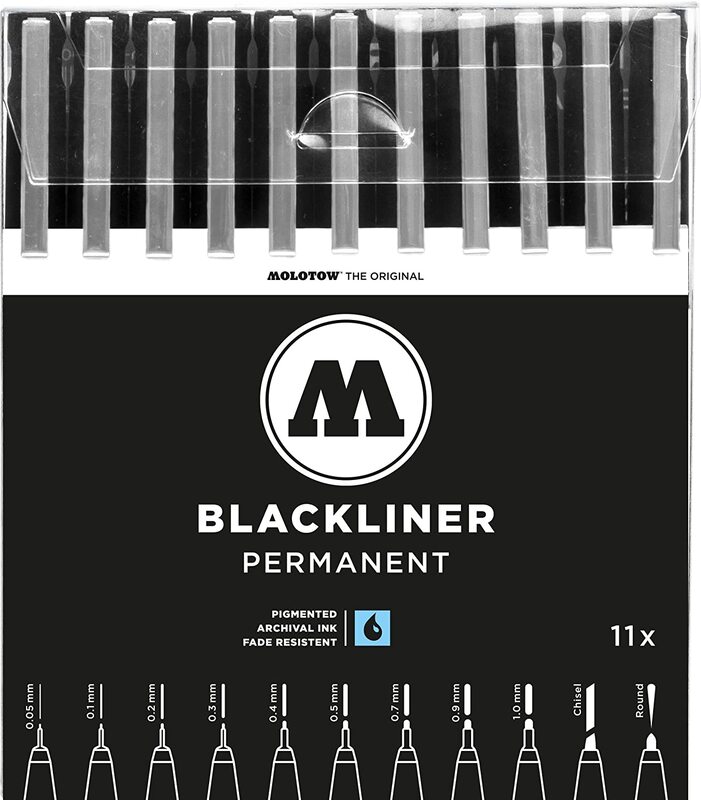
If you choose to outline first, make sure you're NOT working with an alcohol based fineliner because it will bleed. The fineliner should be pigment based or water based (warning: SHARPIES will bleed, so don't use these). Check out my Amazon Shop of favorite art supplies for drawing and mixed media. I recommend Moltows for outlining with copics or other alcohol markers.
Make sure you swatch your alcohol marker shades off to the side so you know ahead of time that they will blend well together. Before your start shading in marker, be sure to erase your graphite because your markers will drag that around and smear.
HOT TIP: To ease your shading transitions between marker shades, just keep on layering because each top layer rewets the bottom layers and helps them blend. You can also use your lightest of the three colors to blend, or work in a layer of colored pencil, followed by some highlights with a posca paint pen. Click over to this video for more tips on how to copic marker blending!
Make sure you click over to the video because I walk you through both versions of this project step by step!
Thanks for hanging out with me today!!
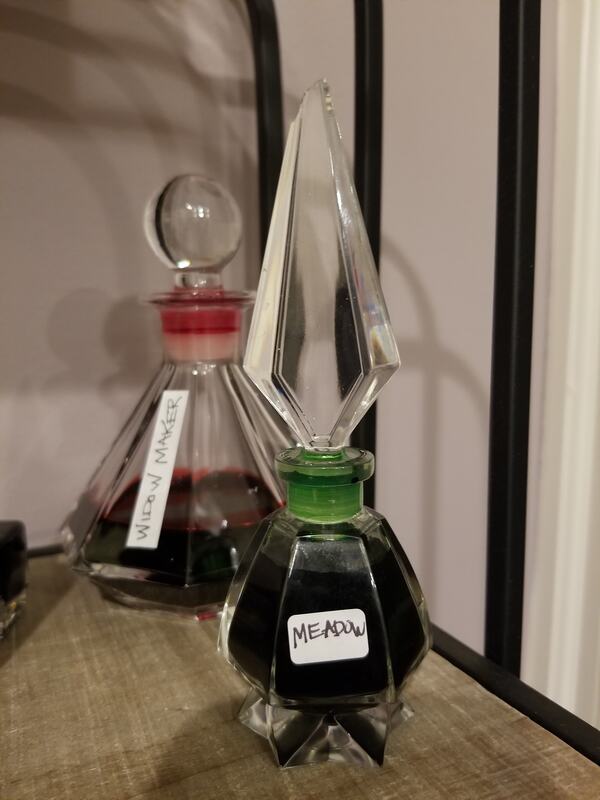
❤️ CHECK OUT ALL my art books on AMAZON ❤️ MY FAVORITE ART SUPPLIES on AMAZON ❤️ MY BELOVED FACEBOOK GROUP ❤️ FOLLOW ME ON INSTAGRAM If you've been paying attention to my recent uploads on YouTube you'll know how obsessed I've been with these Fountian Pen inks!! My vintage bottle collection hasn't slowed down either (sorry wallet!!). But I love "shopping" for my favorite color on my ink shelves!!! Check out this fancy new bottle I discovered on Etsy! In today's video I am seeing if PanPastels can work over Fountain Pen ink to make a mixed media portrait! I used my beloved Noodler's ink in my favorite strathmore watercolor sketchbook and was pleasantly surprised by my experience!
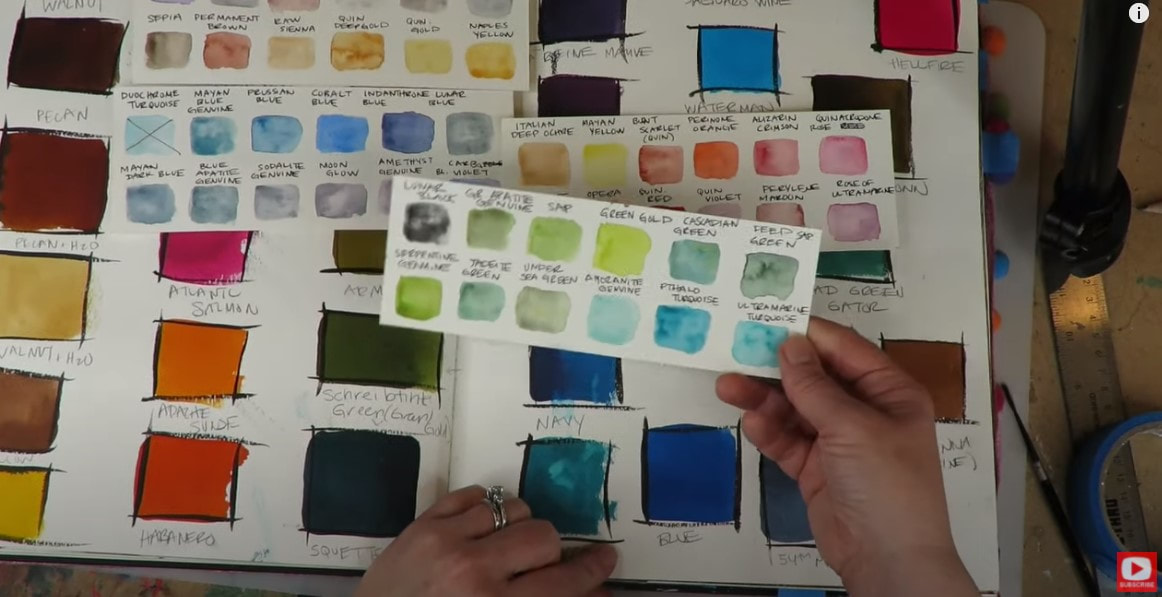
Today I'm going to demo watercolor vs. fountain pen ink painting! I'm in LOVE with my Daniel Smith watercolors, but recently I discovered just how JUICY fountain pen inks are to paint with. I adore all the fun, vibrant Noodlers Ink colors I've been collecting, and thought you'd enjoy seeing a side by side comparison of the same project shaded in watercolor and again in fountain pen ink.
Before we continue, super quick announcement: All product links are Affiliate. I may earn a small commission if you choose to order through these links but by law there is never any additional cost to the consumer for doing so. I thank you for your support.
If you'd like to explore painting with fountain pen inks, I have an entire classroom called Inktastic inside the Mixed Media Society just waiting for you!
Click here to learn more about The Mixed Media Society and add your name to the waitlist to be notified when we open for enrollment next!
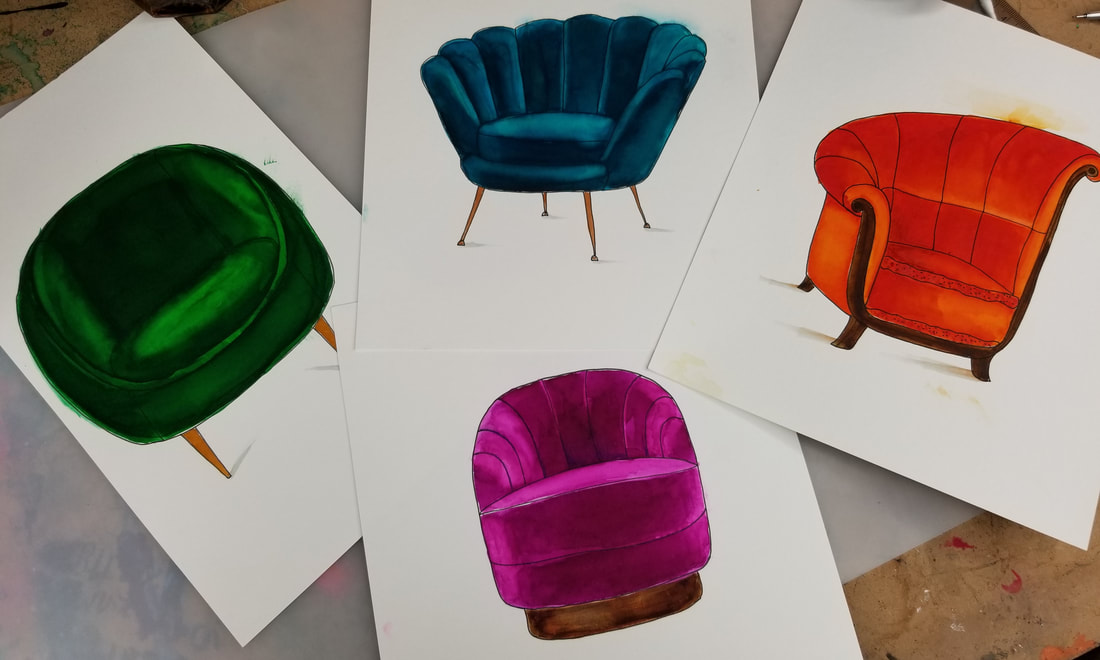
I was in a serious Art Deco phase during 2020 and cranked out THREE books about How to Draw Art Deco Style. One of the things I loved exploring was how to draw art deco interriors and furniture, like the adorable little chairs above.
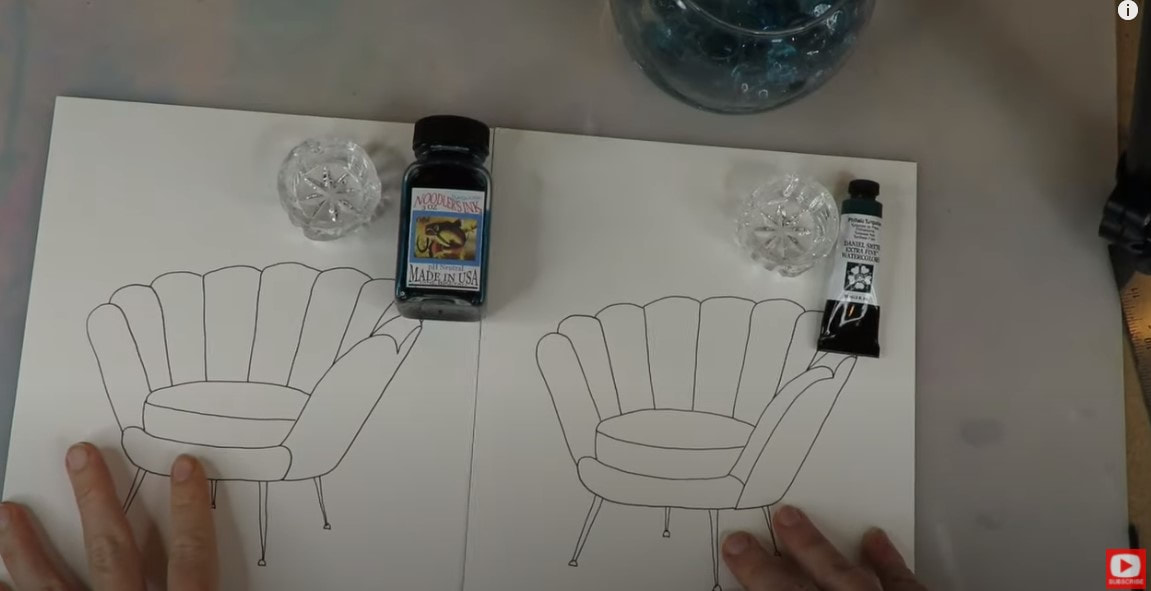
My goal is to shade the chairs so they look as much like teal velvet as possible. I'm testing Noodlers Ink Turquoise (left) vs. Daniel Smith Pthalo Turquoise (right).
Click over to today's video to learn...
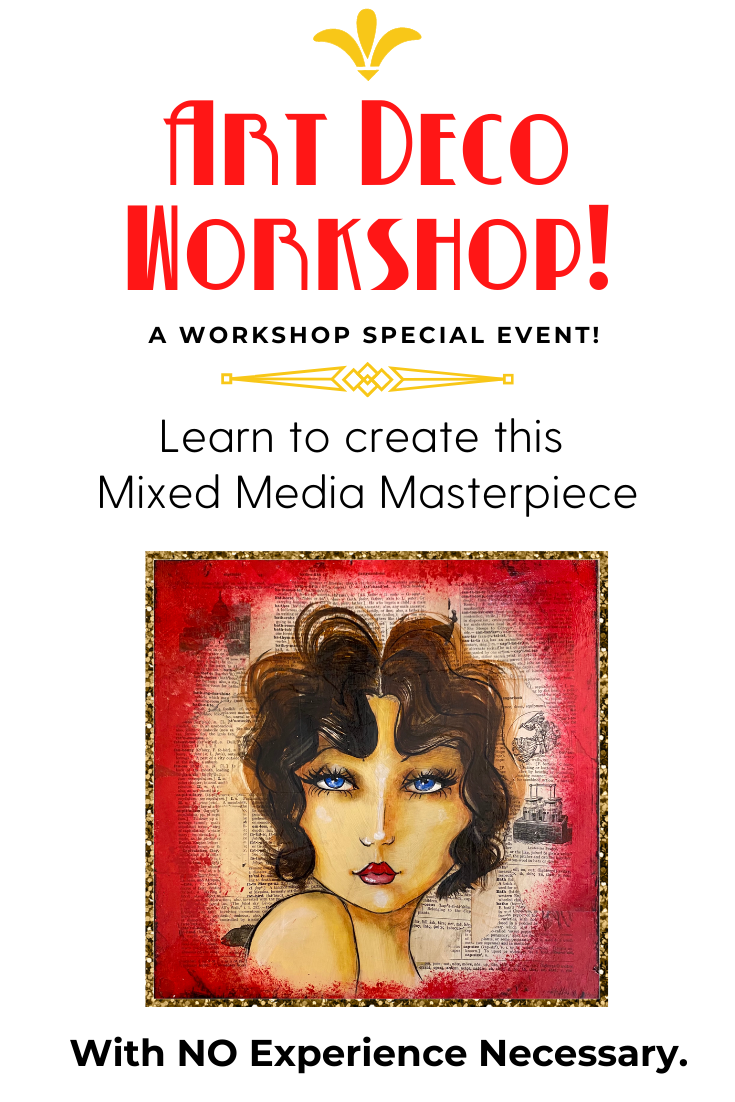
❤️ How inks work compared to watercolors ❤️ How you can "Lift" the color to make really amazing highlights ❤️ How to make 2D objects looks INSANELY realistic If you'd like to see a flip through of How to Draw Art Deco Style Volume 1, start the video below... If you love mixed media portraits, or have never learned how to create one from scratch before, but would LOVE TO, check out my Art Deco Mixed Media Portrait Workshop over at Awesome Art School. I'm sure you'll love it!! Here is a TOP SECRET SNEAK PEEK at one of the millions of projects in the new Art Deco Drawing Book that is mere weeks from being published!!! I use fountain pen ink to render in quite a few of the projects in the book from clothes to dogs to chairs, as you can see! Aren't these colors INCREDIBLE?!?! These aren't enhanced or photoshopped! These colors just ARE THAT GOOD!! Today's YouTube video on my Mixed Media channel is all about Fountain Pen Inks. How is it different from other types of inks? What makes it so special? Why am I obsessed with it? How do you swatch it? Store it? Watch here if you're interested in this SUPER COOL art supply and get a head start on the book projects! |
Karen CampbellFounder of Awesome Art School. Mixed Media Artist. Author of 19 Instructional Art Books! Whose work has appeared in...Archives
July 2024
Categories
All
|
|
"Karen is flipping hilarious and she's very real...I like the way she teaches in a way that really gives you confidence, whether you're a beginner or advanced there's always something new to learn!"
- Elizabeth W. |
What Fans Are SayingKaren, you are absolutely fabulous! You make me feel like I can draw anything. I have recently retired and finally have the time to do some of the art that I have loved since I was in school. I am really at the beginning of my art journey and I hope to learn as much as I can. Thank you for all you do. |
Contact ME |



 RSS Feed
