blog
Let's Get Your Creative Juices Flowing!!!
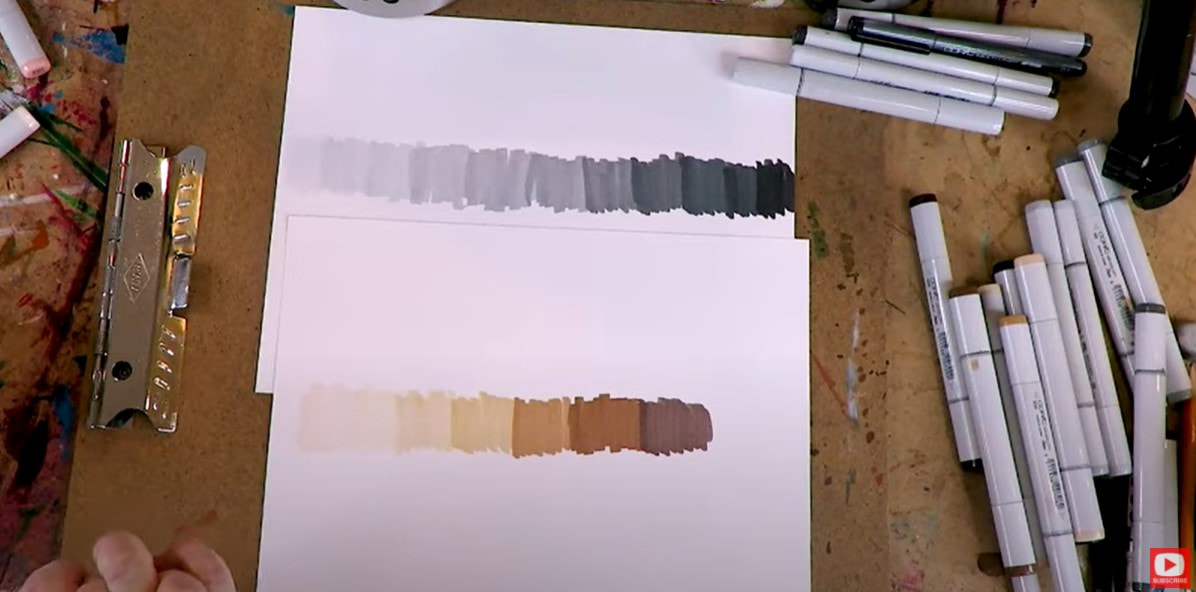
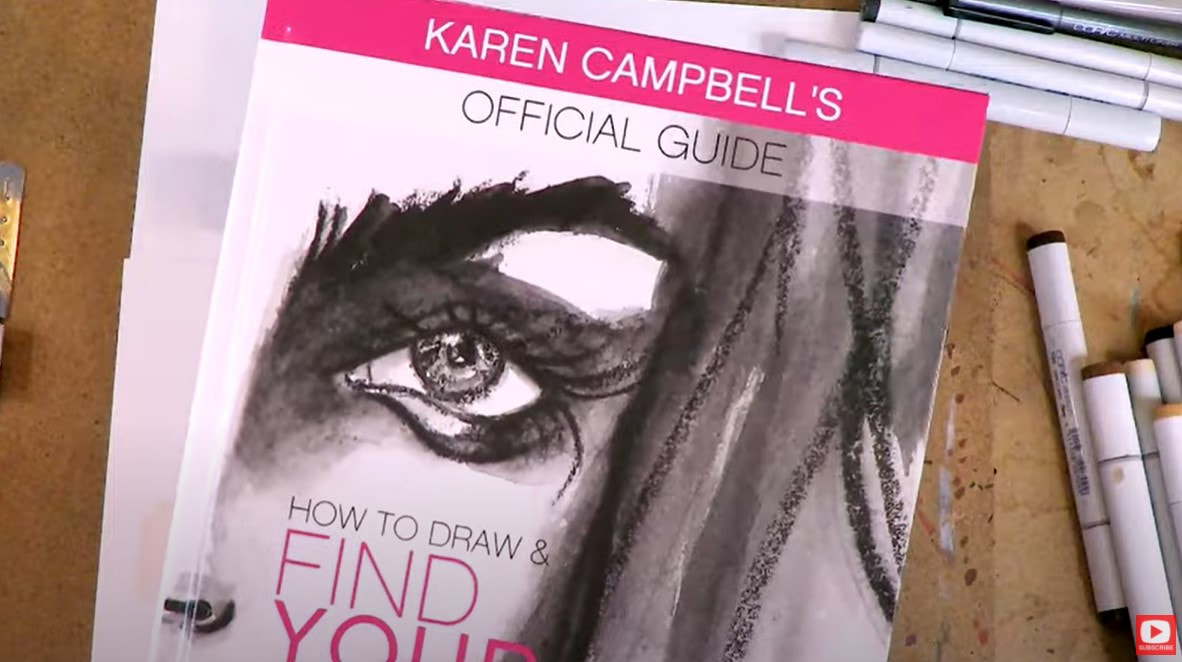
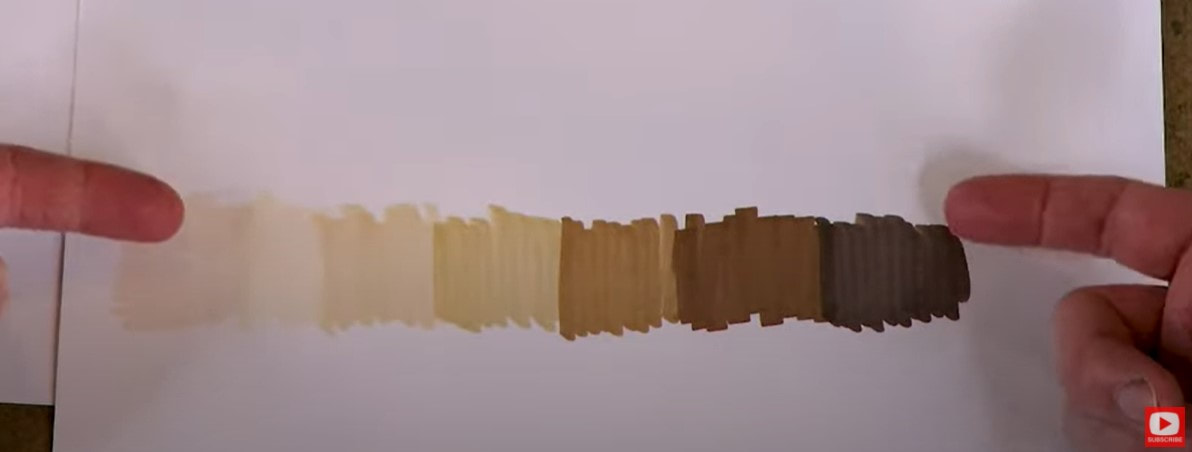
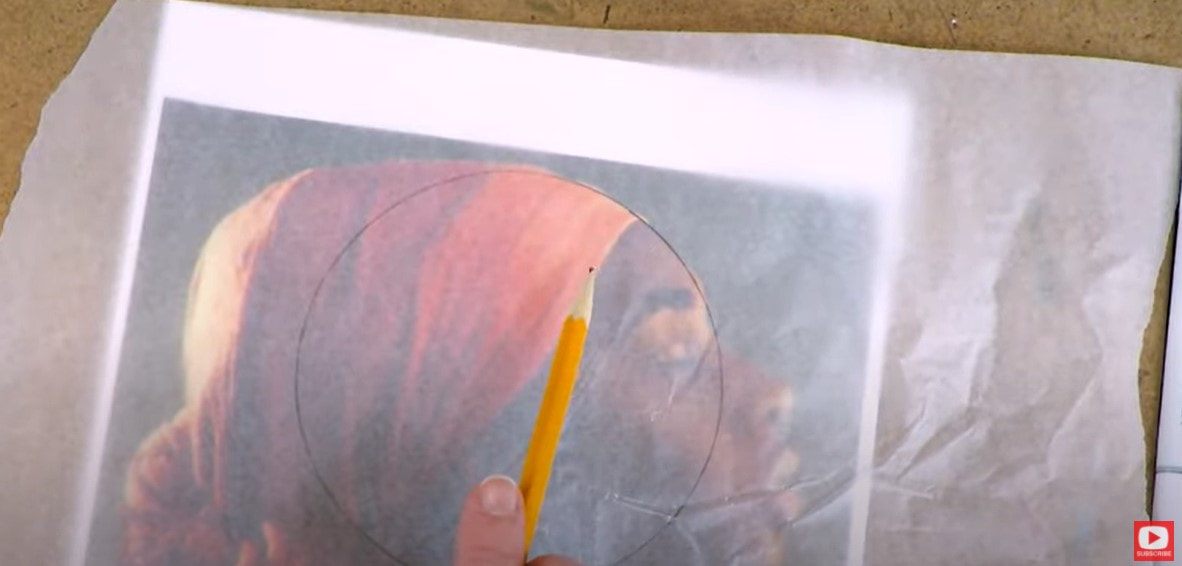
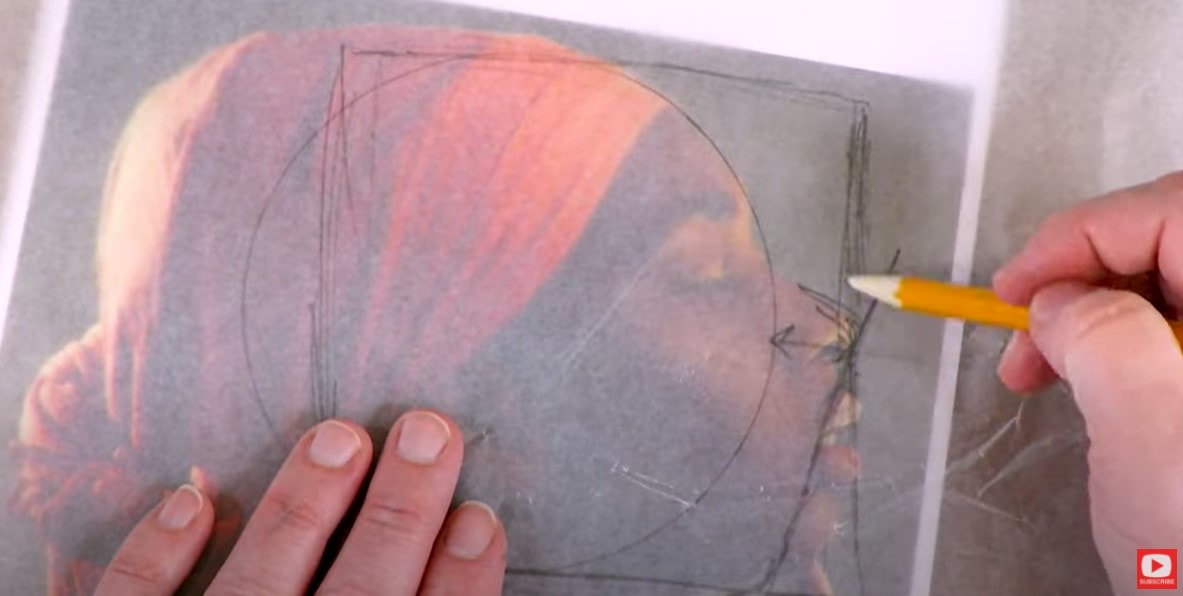
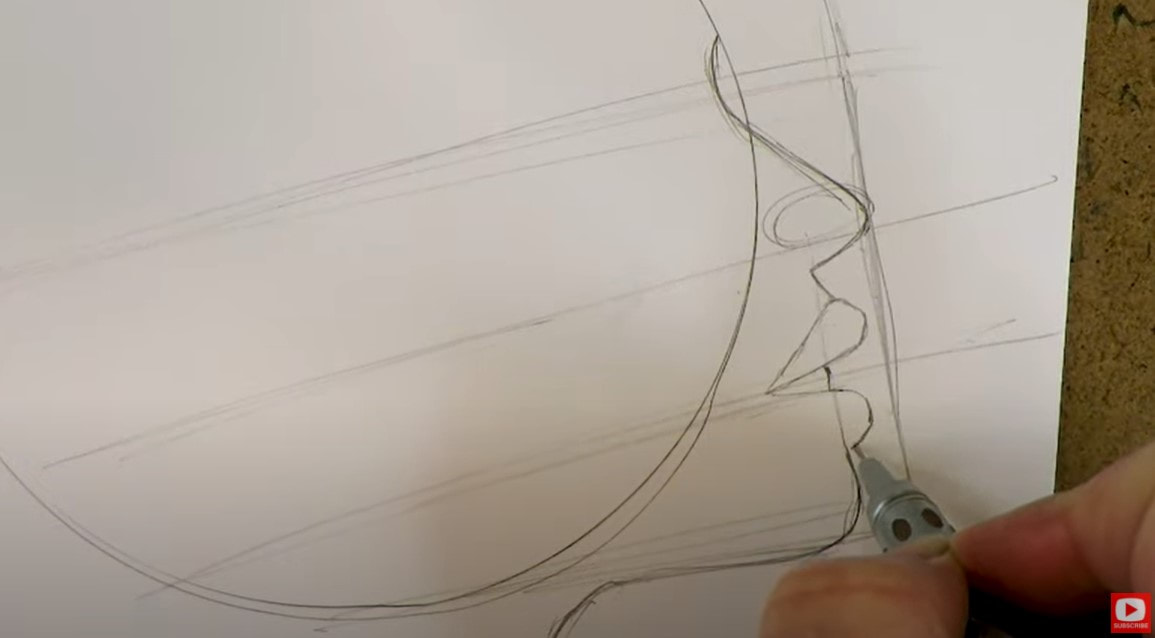
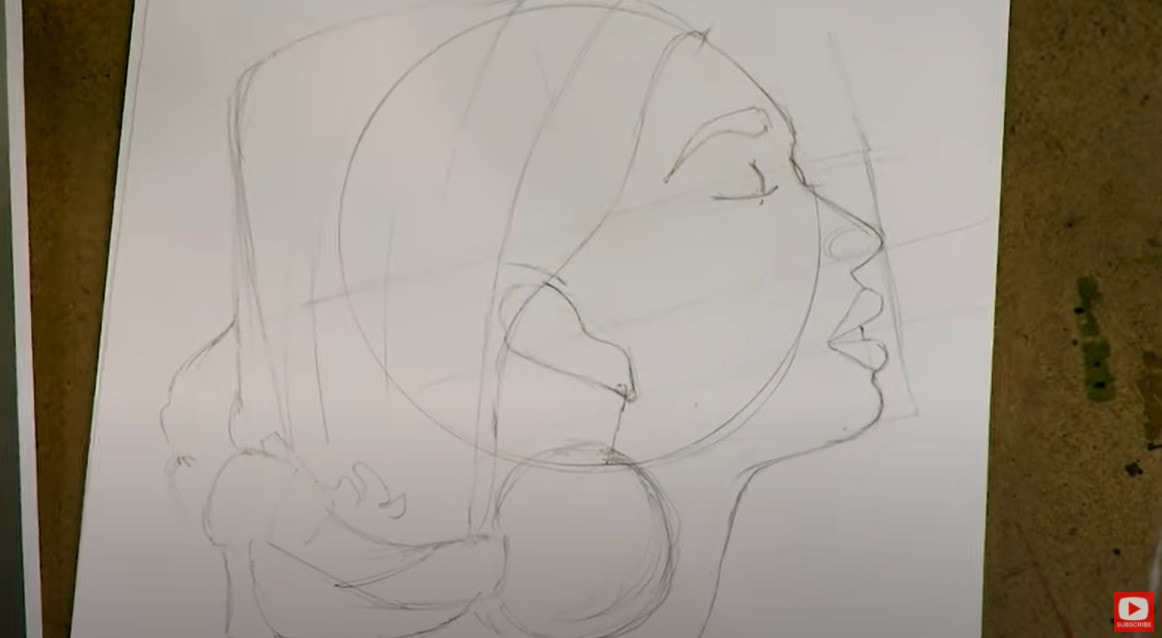
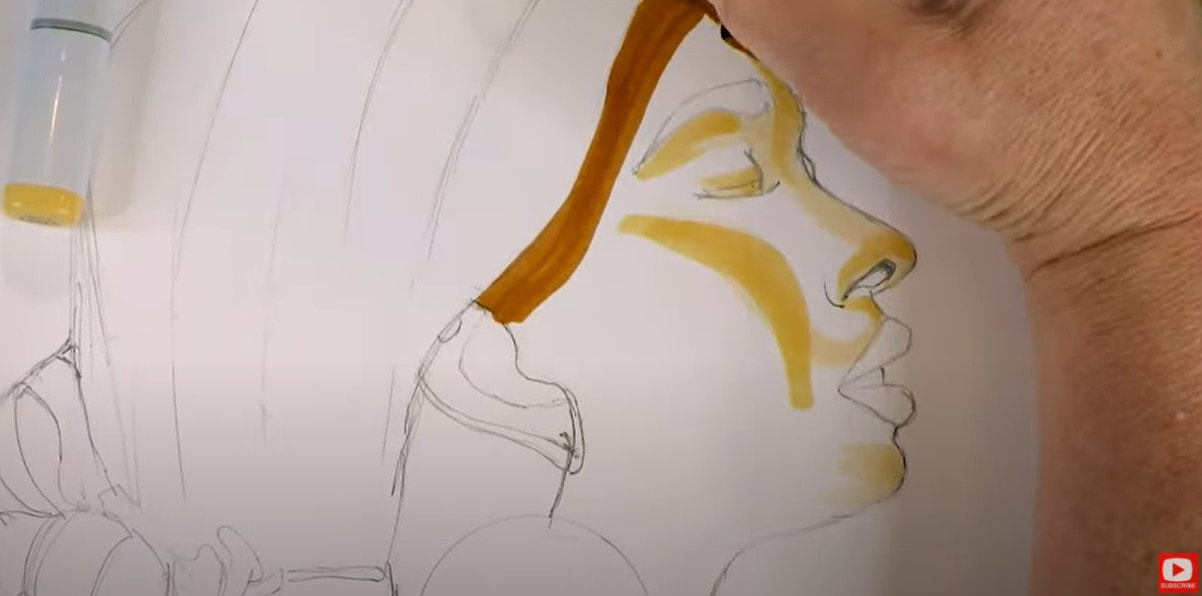
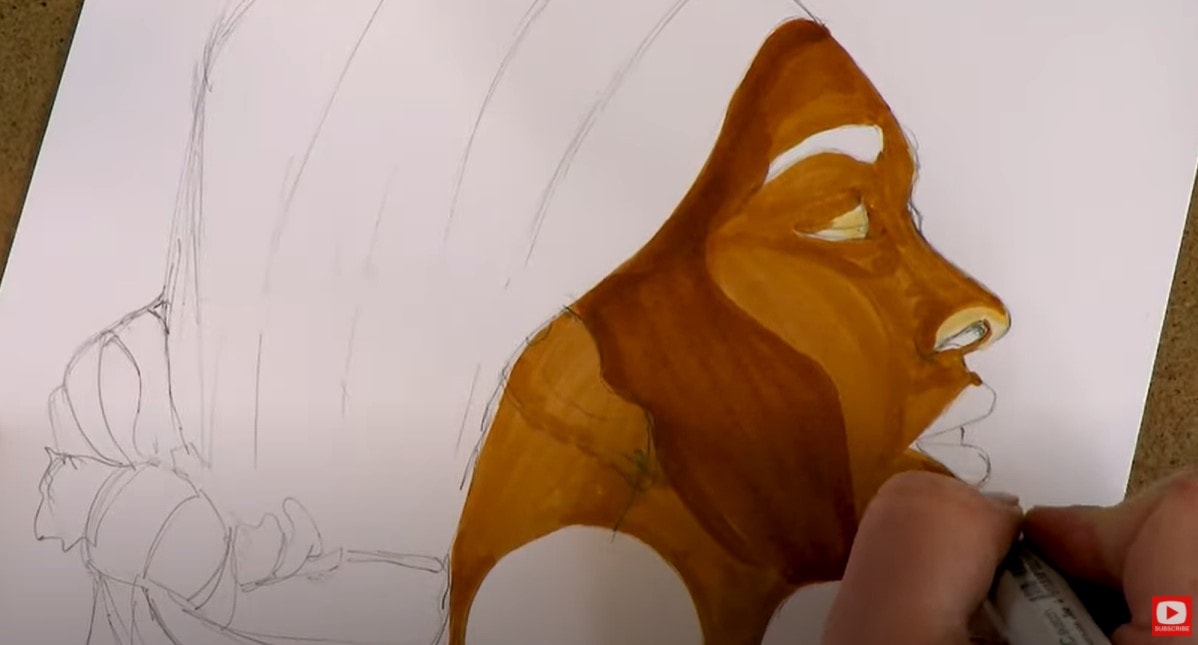
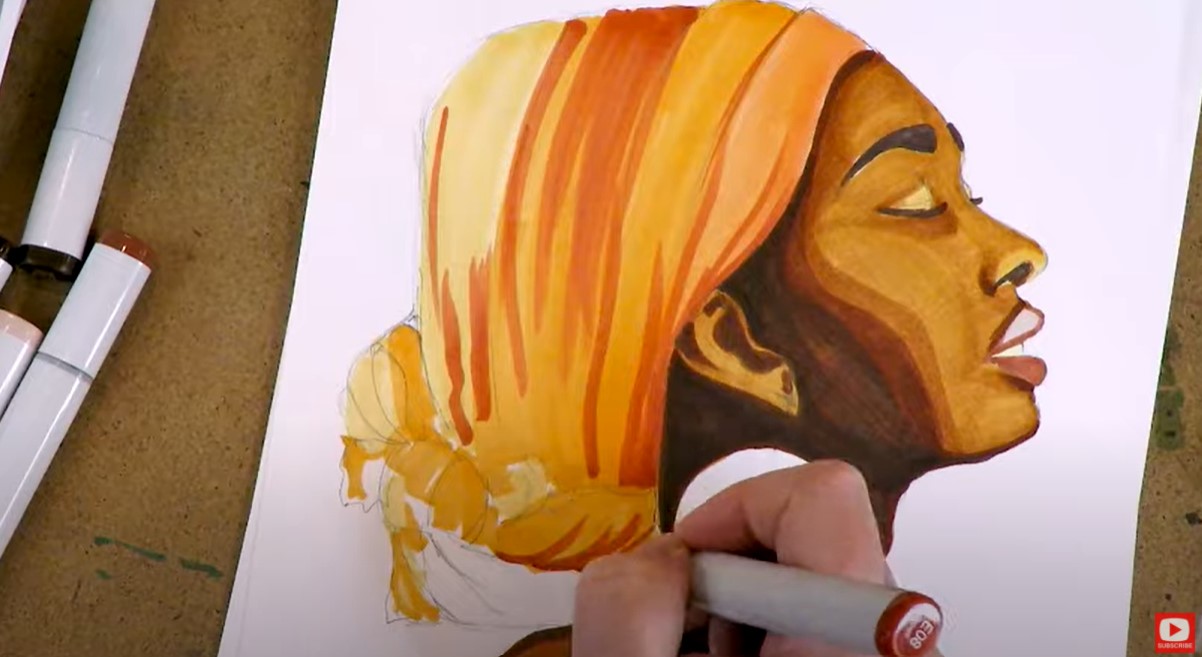
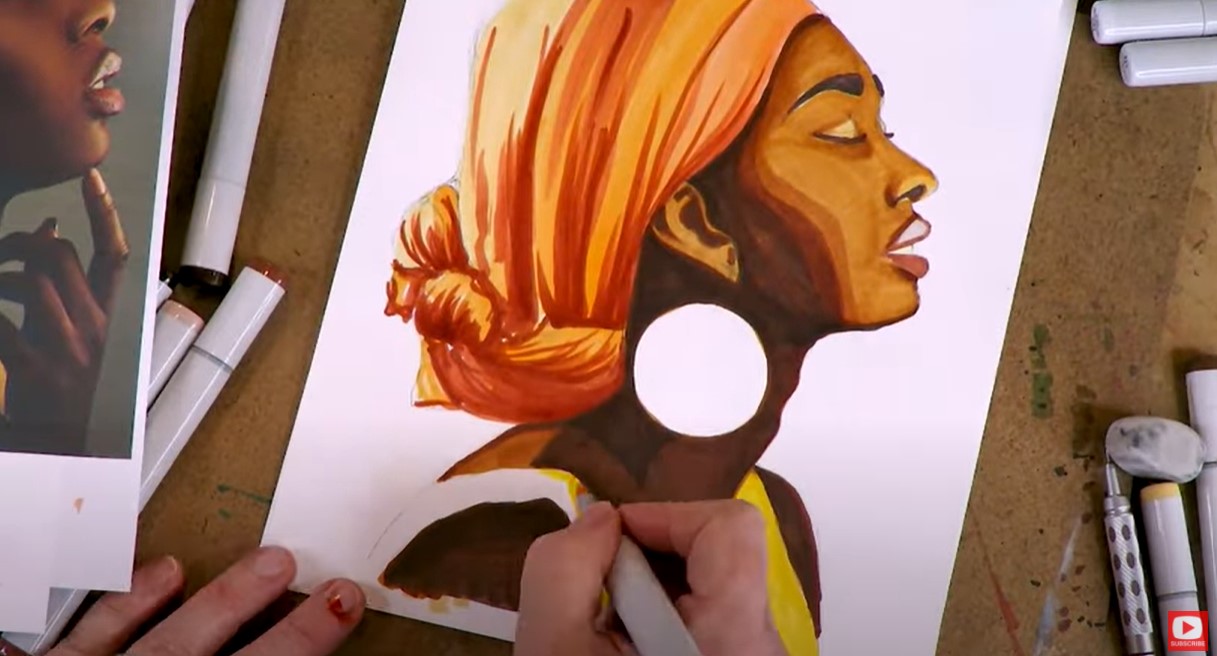
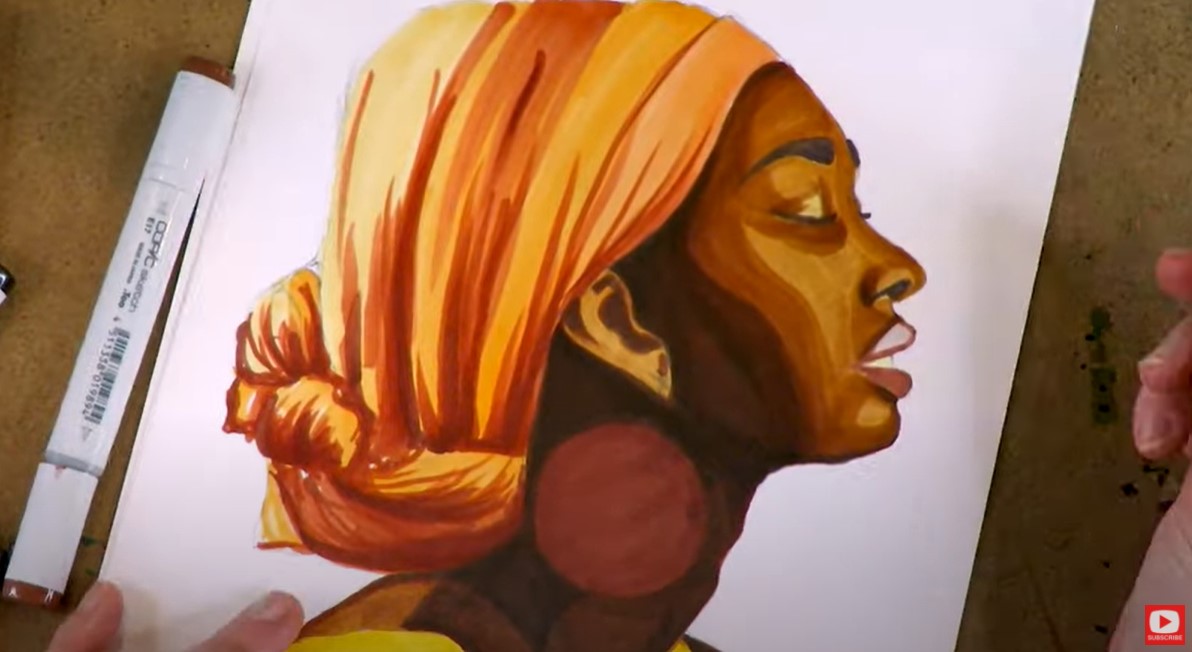
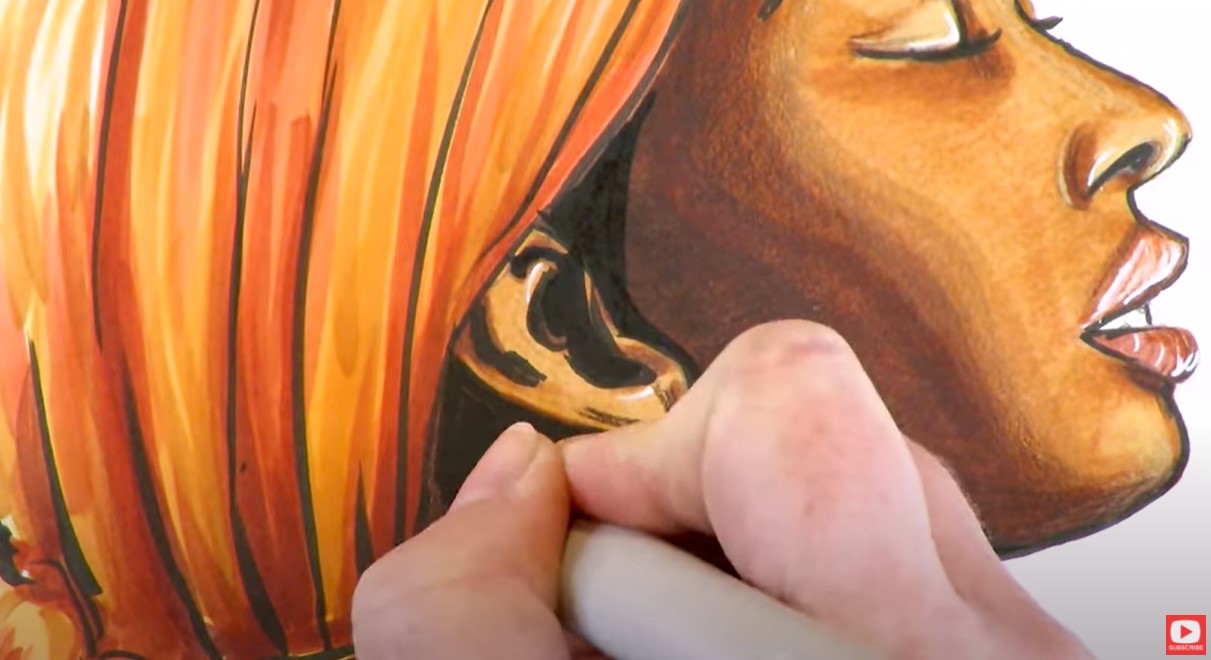
HOW to DRAW & SHADE a WHIMSICAL African Face & Head Wrap in Copic Markers (Whimsical Women #11)21/12/2020 Teaching you how to draw a whimsical face is one of my FAVORITE things to do! I'm having SO much fun with the whimsical face drawing tutorials in the Whimsical Women of the World series! Not only does today's STUNNING model help us study profile drawing, we'll cover how to draw an African head wrap (including how to draw the fabric folds within it), how to draw a closed eye, and how to draw a face looking up! As always, the whimsical drawing portion of today's video is in real time so you can see exactly how I get it done!! To get us started off on the right track, I'm doing a mini review of the value scale to help you understand how important this is whenever you're drawing and hoping to take your artwork to the next level. If you incorporate the lightest light ALLLLLL the way to the darkest dark, and everything inbetween... your art will be so much more sophisticated!! Real quick, before we go any further: All product links are Affiliate. I may earn a small commission if you choose to order through these links, but by law, there is never any additional cost to the consumer for doing so. I thank you for your support! I talked about how to shade skin tones in graphite (or black and white variations of the value scale), a lot in my How to Draw & Find Your Style book because it's easiest for beginners to learn about value scale drawing in black and white first. Graduating from shading in graphite / black and white to color can be tough and trip some artists up, but it's exactly the SAME concept as grayscale- you're just essentially working in browns! HOT TIP! Be sure to create a value scale of skin tones for yourself that looks something like this before you start shading. I recommend you also write the name of the marker color next to the shade so you know exactly which one to pick up when the time comes! One of the reasons I have loved doing this Whimsical Women of the World portrait drawing series is because I could push myself to explore all the variations of skin tones represented in countries around the world. If you've watched me before, you know I LOVE dramatic highlights and shadows, which today's reference photo is FULL of!! If you'd like a copy of my reference photo, hop over to AwesomeArtSchool.com and click into either my YouTube & Cheatsheet Library, or the Whimsical Women of the World classroom to download the reference image from today's lesson, or any lesson from this series! If you are a member of the Fun Fab Drawing Club over at Awesome Art School, the Whimsical Women of the World classroom has already been made available to you within the club!! If you're not a member of the club, but are interested, please sign up for the waitlist, and you'll receive an email from me when the membership is open for enrollment again in the spring! Today's portrait drawing tutorial is a profile. Instead of teaching you my "Fun Fab" approach for side profile drawing- I'm showing you a little more advanced method from my book. It's a bit more realistic. If you start watching today's tutorial and begin feeling like this is a little too advanced for you- don't worry!! The drawing projects in the Whimsical Women series ARE more advanced. But I work hard to break them down for you to keep things simple, so when you do feel ready, you can dive right in!!! If this looks fun for you but feels a little out of reach at the moment, I've got an awesome 6-part video profile drawing series on YouTube that teaches you my Fun Fab method for drawing whimsical profiles (it's more directed at beginners)!! If you'd rather start with a front facing face (most do!!) - here is the 5-part series for absolute beginners! Profiles can feel extremely tricky to draw because of all the angle variations that make us who we are as individuals. For example, in the photo above - I've highlighted the angle of the nose to the chin to show you just how much this changes from face to face. Some faces have a pronounced angle here, some have a more subtle one, and others have barely any angle presentat all - as in the case of today's beautiful model. I find using a sheet of trace paper helps me to understand the spatial relationships on a face before I draw it. You might find this to be a helpful trick as well! It's kinda like a practice round to warm up my hand. If you're not sure how to draw a closed eye, how to draw open lips, or how to draw fabric folds on a headscarf /african head wrap- be sure to click over and actually watch the portrait drawing tutorial so you can follow me in real time. For drawing fabric folds on our model's head scarf, I try to break the overall head scarf down into chunks / shapes that I can clearly see, then replicate on my paper. Since I'm doing a whimsical drawing, instead of a realistic drawing, I'm able to give myself a little grace here if things aren't perfect. Doesn't THAT feel good?! No need for perfection when you pull out your "whimsy" card!! When everything is sketched in, go ahead and start erasing all your guidelines. My favorite eraser is the vanish eraser - which you can pick up for about $2 at Jerry's Artarama, or on Amazon for a bit more. If you're not using alcohol markers to color in your drawing like I am, just be sure you have a nice gradation of skin tone shades swatched out before you begin so you know what to reach for when you're ready to start incorporating each shade! We want the WHOLE value scale represented in your work, because this adds dimension and sophistication!! You have two choices when you're shading- either shading from light to dark or from dark to light. I've chosen to shade light to dark today- hitting the highlighted areas of her nose and chin first. As you'll see in my work, and in your own (if you're using copic markers or another brand of alcohol markers), these can be very streaky. To reduce the streaks, it helps to lay your color down quickly so the shades blend into one another a bit when the ink is wet. You can also choose one color to shade over transitional lines to attempt to soften these lines, or add colored pencil shading over the top of your marker layers. When you're blending copic markers, you can also try shading one solid color in strokes running the opposite direction from how you originally laid down color. I often use the lightest or a medium skin tone marker when doing this to my face drawings. Be sure to watch the tutorial because I demo this today and in many of the videos from this series. When I selected marker shades for the headscarf, I used the exact same strategy as I did for choosing skin tone markers to work with for this project. You want to choose 3-5 shades that transition nicely and can blend into one another to represent various stages of the value scale from lightest to darkest. If you're intimidated by the head wrap or not sure how to draw folds in fabric- this really is easier than it looks! I find it to be similar to drawing hair. Follow me, and I'll break it down for you. The farther I get into my project, the more layers I continue to build up on her face to eliminate some of the streakiness in my transitions. But I also discover, the model in my reference image really is much darker than I have portrayed, and I need to continue darkening the shadows and blending skin tones to do a better job replicating what I see. Be sure to take your time here. Start slowly, and gradually build up those values. Honestly, the more layers you have, the more realistsic the skin will look- because we're all made up of many colors!! So just keep working and blending until you feel like you're at a good place and happy with what you've got. I used my pentel pocket brush for my outlining - including the detail work on her eyelashes, just as I have used it in the previous lessons. I actually had to recently change the ink cartridge on this pen and sadly, it hasn't been working the same for me as it used to!! As I was working the finishing touches on today's drawing, I decided to add just a bit more shading in and around the ear, because something about it was just bothering me! I ended up adding some black and it made all the difference in the world!! Now there is really some deep, gorgeous contrast! If there is anything I've learned during this series it's you can't have too many layers!! This amazing Hammermill paper I work on can seriously take a beating with my alcohol markers and I love it!!! The paper you work on is EQUALLY important as any other art supply you invest in. I hope you enjoyed this portrait drawing lesson in copics!!! I learned a ton, and hope you did too!!!
0 Comments
|
Karen CampbellFounder of Awesome Art School. Mixed Media Artist. Author of 18 Instructional Art Books! Archives
November 2023
Categories
All
|
"Karen is flipping hilarious and she's very real...I like the way she teaches in a way that really gives you confidence, whether you're a beginner or advanced there's always something new to learn!"
- Elizabeth W. |
What Fans Are SayingKaren, you are absolutely fabulous! You make me feel like I can draw anything. I have recently retired and finally have the time to do some of the art that I have loved since I was in school. I am really at the beginning of my art journey and I hope to learn as much as I can. Thank you for all you do. |
Contact ME |