
|
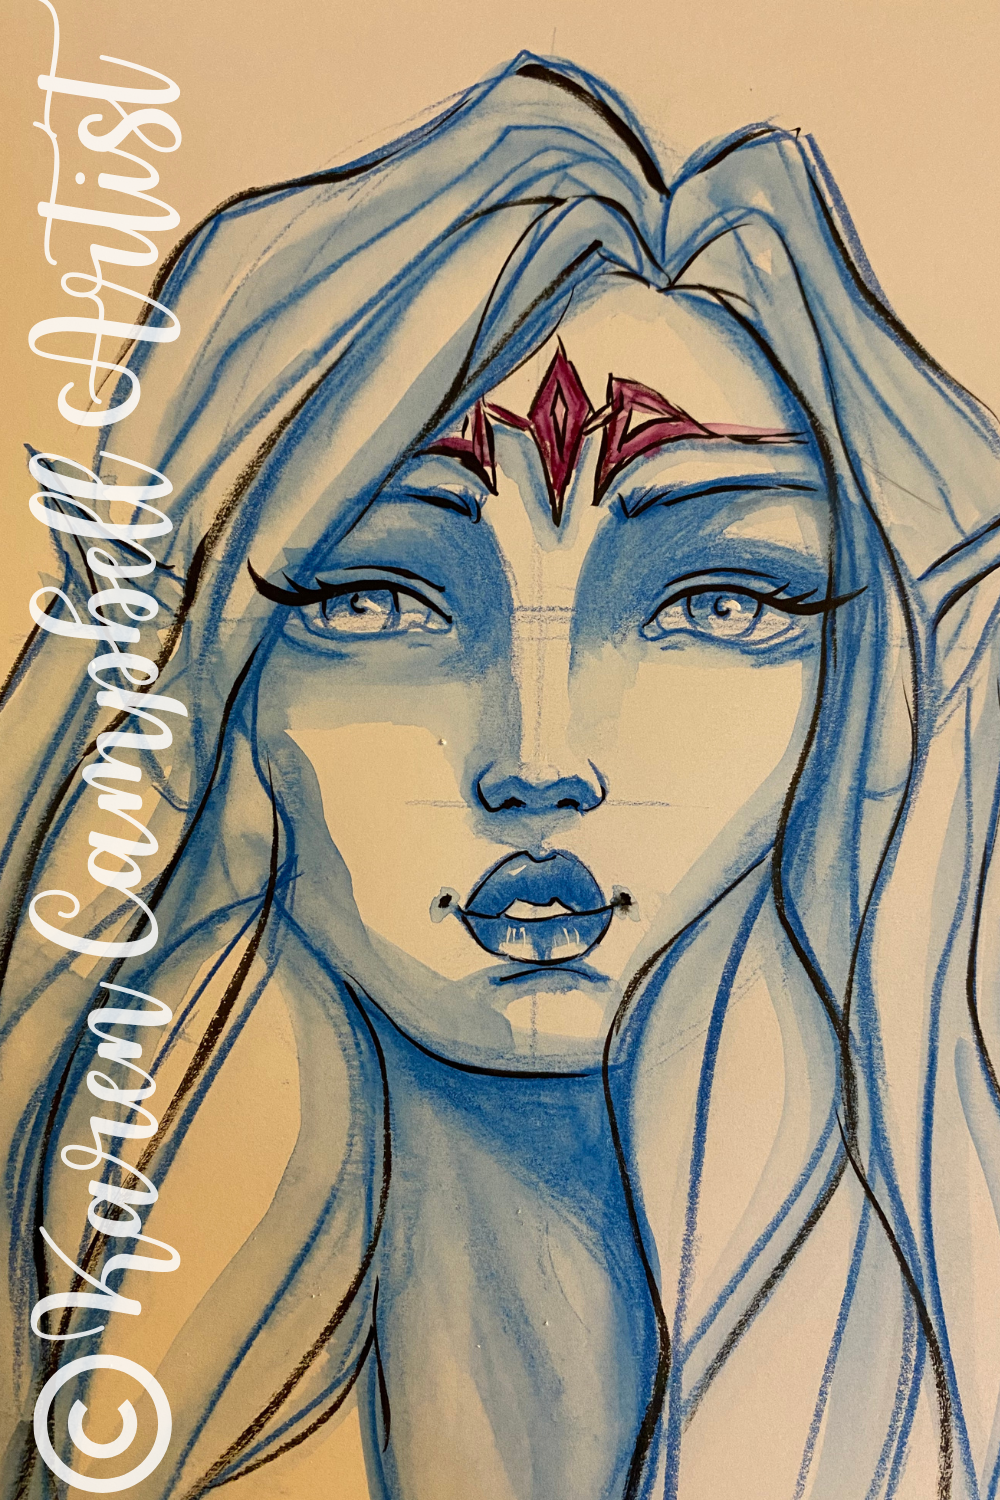
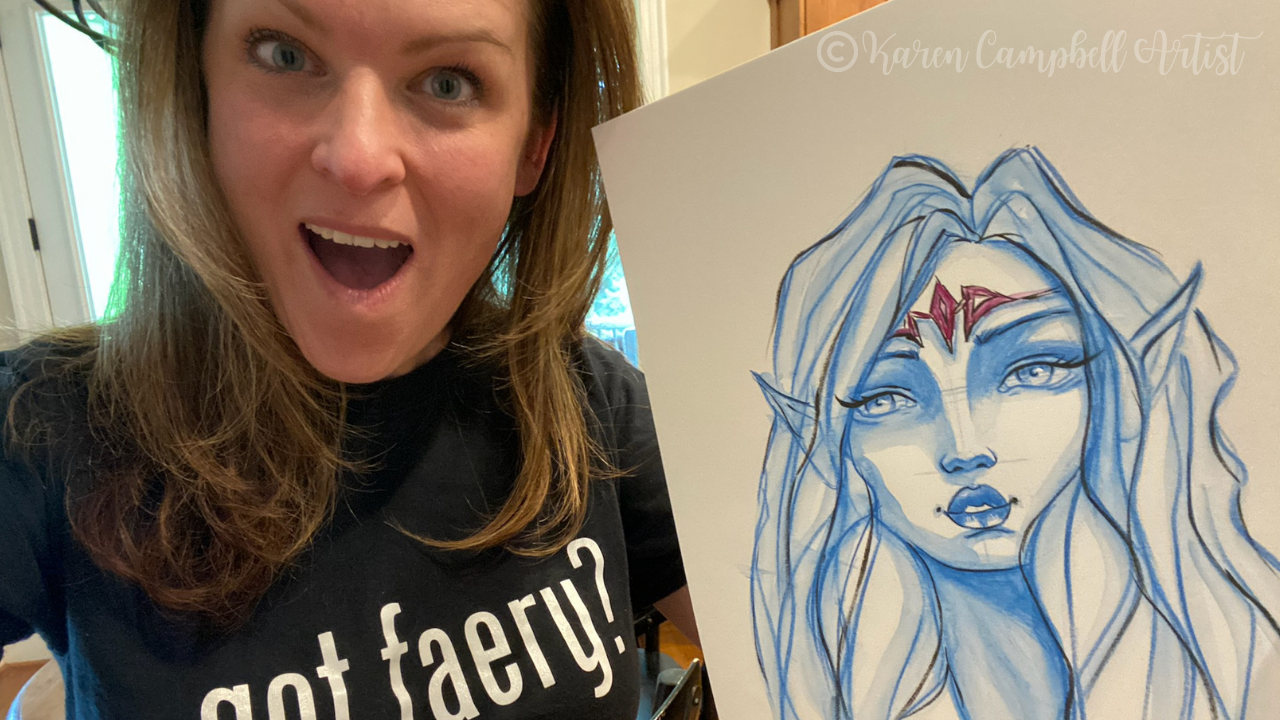
Already starting to think about Halloween? You're gonna LOVE today's TWO-PART evil fairy drawing tutorial! This full-length drawing lesson is step-by-step, simple enough for beginners, and challenging enough for seasoned artists interested in drawing faces at different angles.
When you're finished, hop over to my mixed media channel to add sophistication to your drawing with a layer of watercolor in PART TWO of this lesson. Grab a pencil, eraser, blending stump, and a sheet of watercolor paper to draw along with me for our final lesson of the #50FunFabFairies drawing challenge! 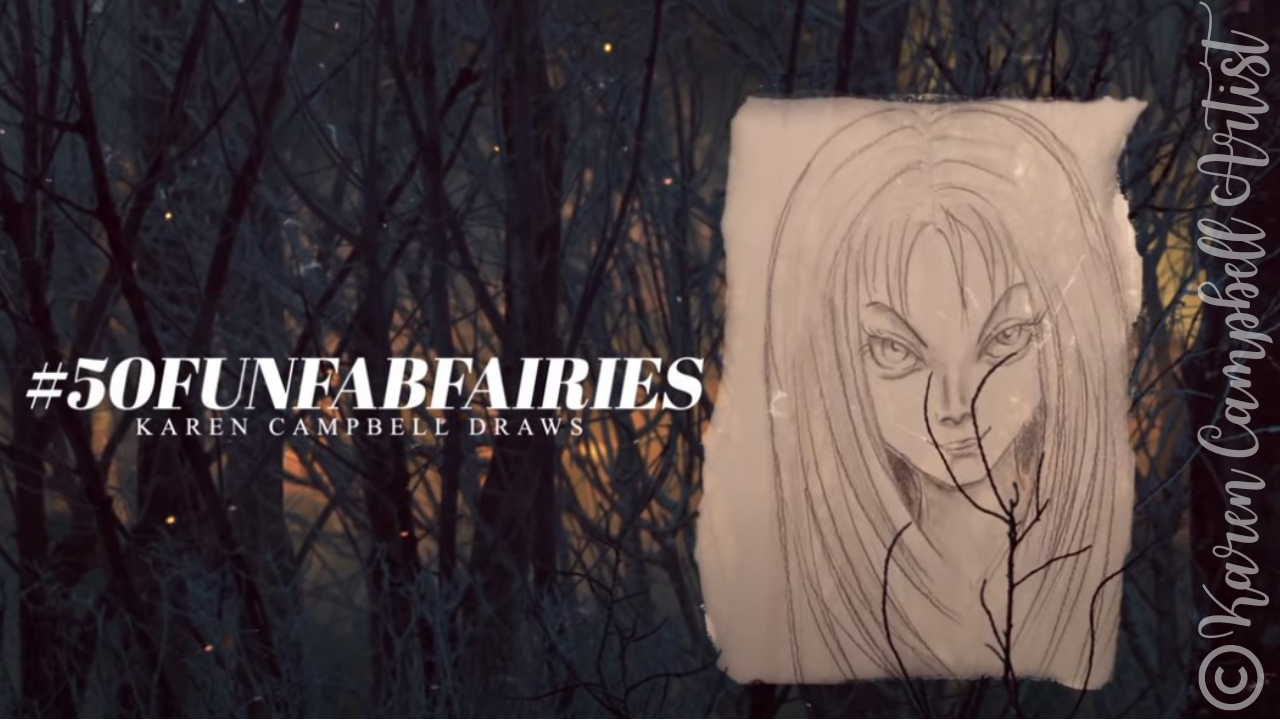
Want easy access to today's fairy drawing reference and even MORE fairy drawing ideas? Join my FREE #50FunFabFairies drawing challenge over at Awesome Art School!
Simply click the button below to receive instant access to ALL the fairy drawing images for each drawing prompt, plus info on supplies, cheatsheets, and more! 
Wanna become a better artist? Do today's lesson (and every lesson of the challenge) five times, making a few creative alterations of your choice, and watch your skills soar as you practice fairy eyes drawing, fairy and ears drawing AND fairy hair drawing 50 different ways.
Before we continue, super quick announcement: All product links are Affiliate. I may earn a small commission if you choose to order through these links but by law there is never any additional cost to the consumer for doing so. I thank you for your support.
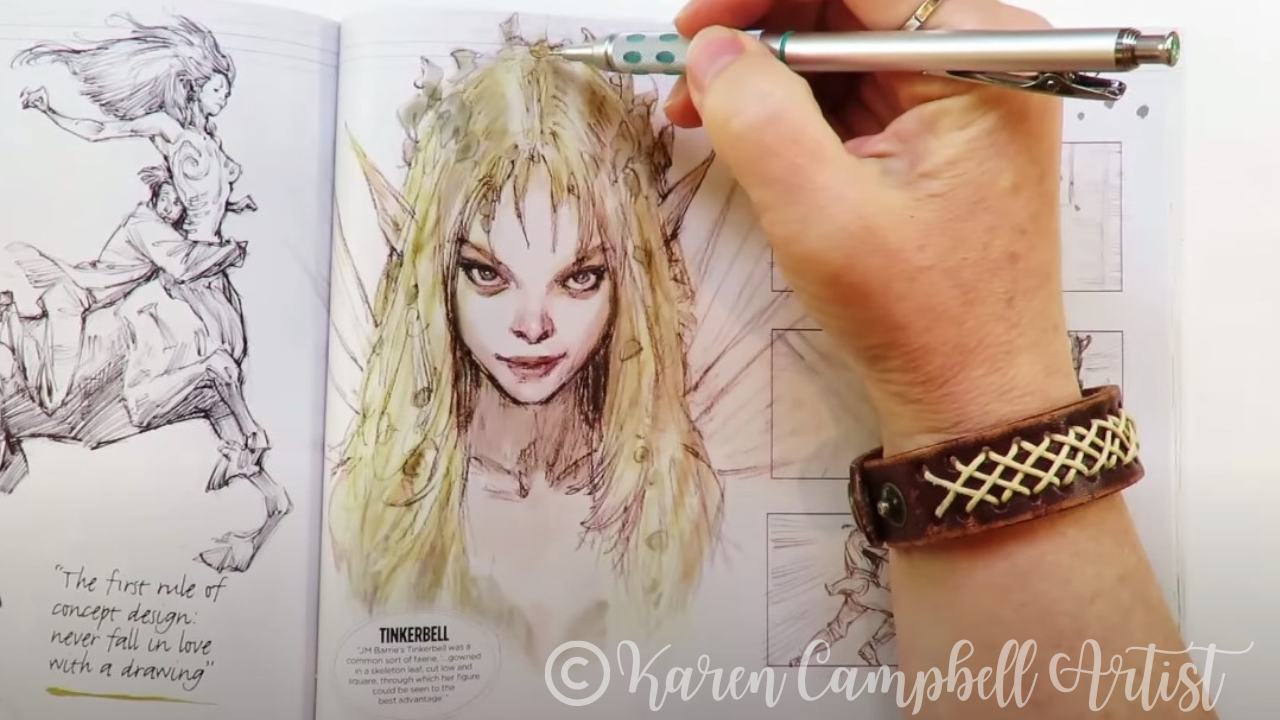
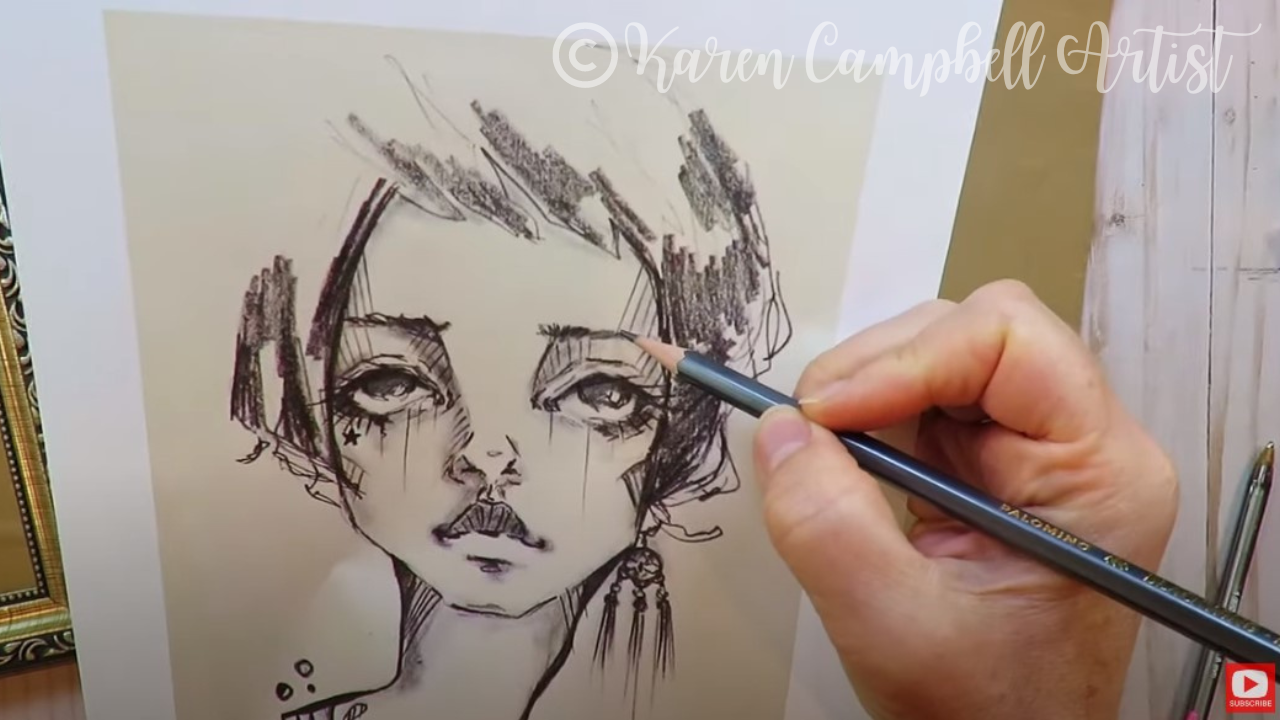
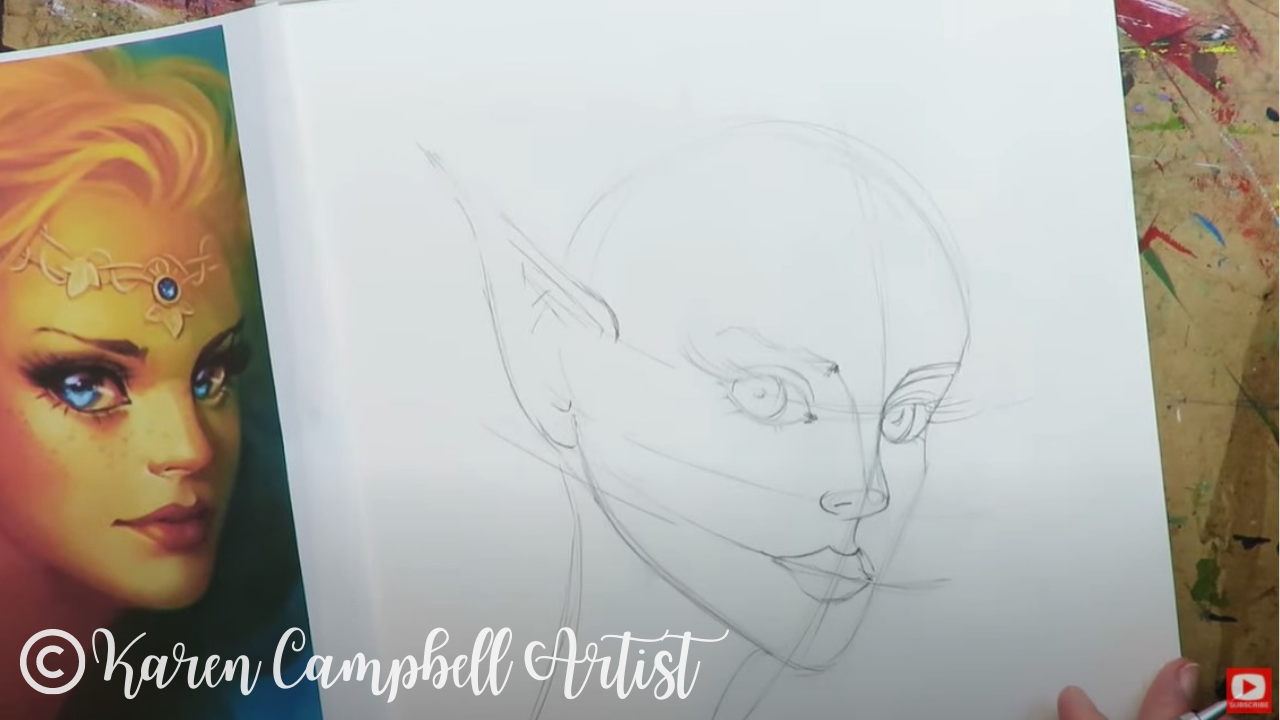
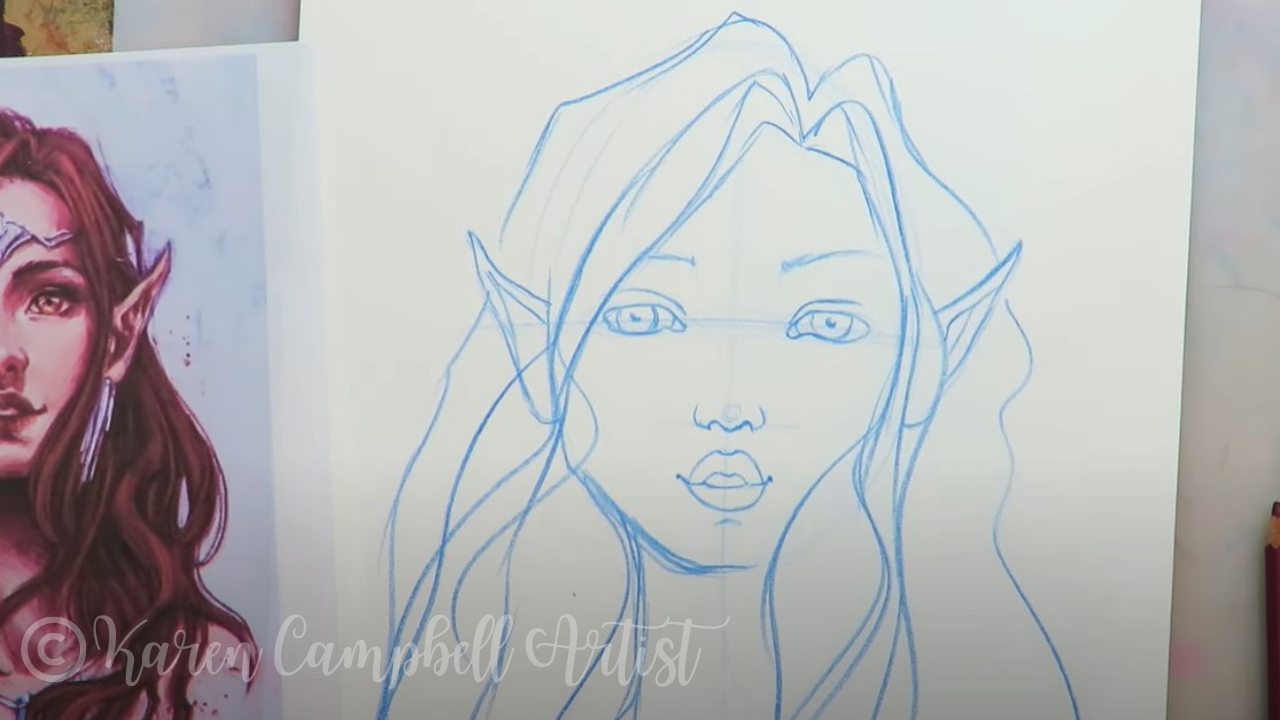
Today's fairy drawing reference comes from a cool art magazine I picked up a couple of months ago called Sketchbooks. I love the downturned head of this creepy fairy! If you've never drawn a head tilted down like this - don't worry, I've got you! Click over to the video and I'll show you how to do it step-by-step.
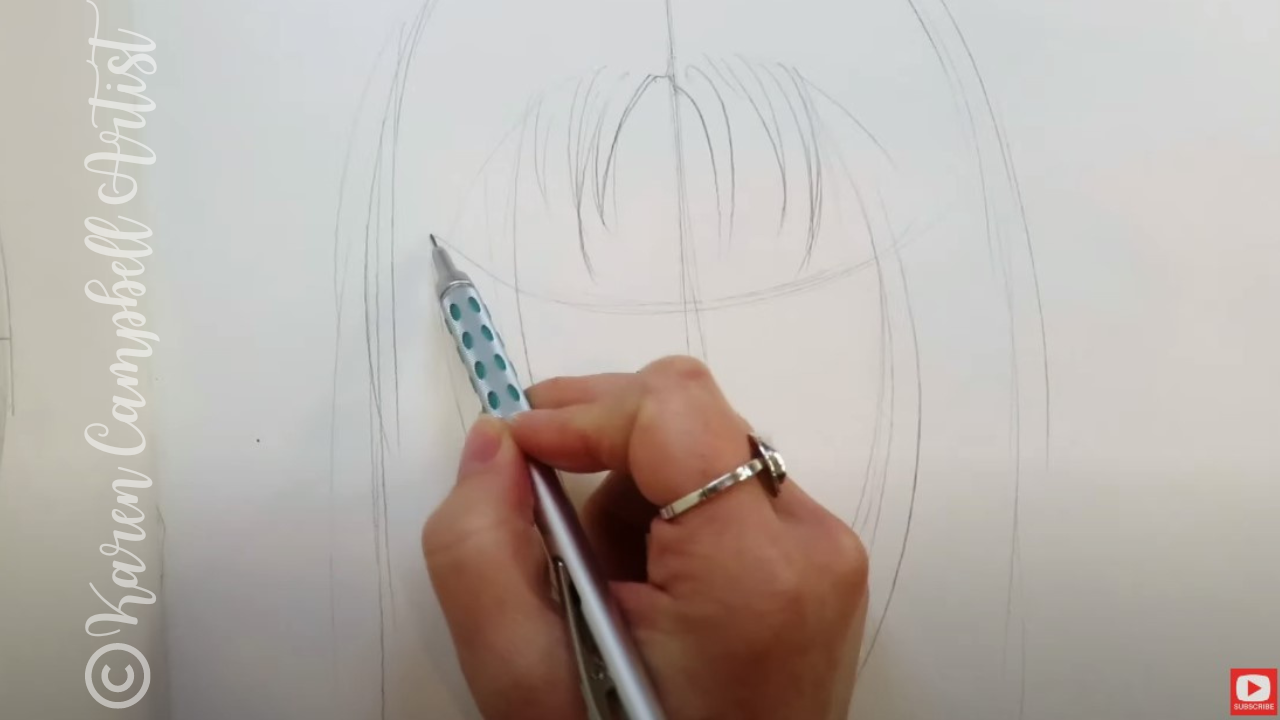
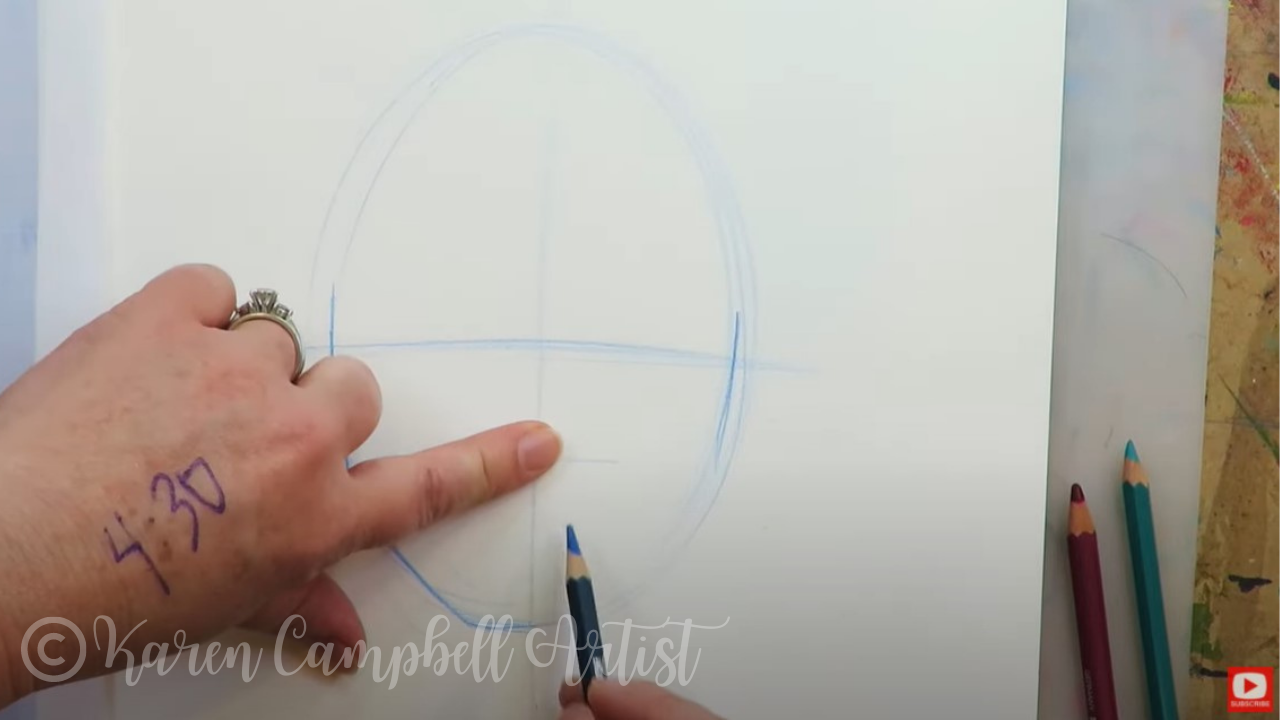
Typically I start my faces off by sketching a zillion ovals, but today we're starting with the hair because it's key to replicating the head tilt in our reference photo.
Lots of people are intimidated by drawing hair, so if this is you - you're not alone. When students tell me they're not sure how to draw hair, I teach them to break it down into "clumps," as I do in this lesson. As you'll see in the video, we're keeping things simple and not getting into the nitty gritty of drawing every hair strand. In fact, most of the clumps I draw are kinda like long skinny triangles. Easy, right? 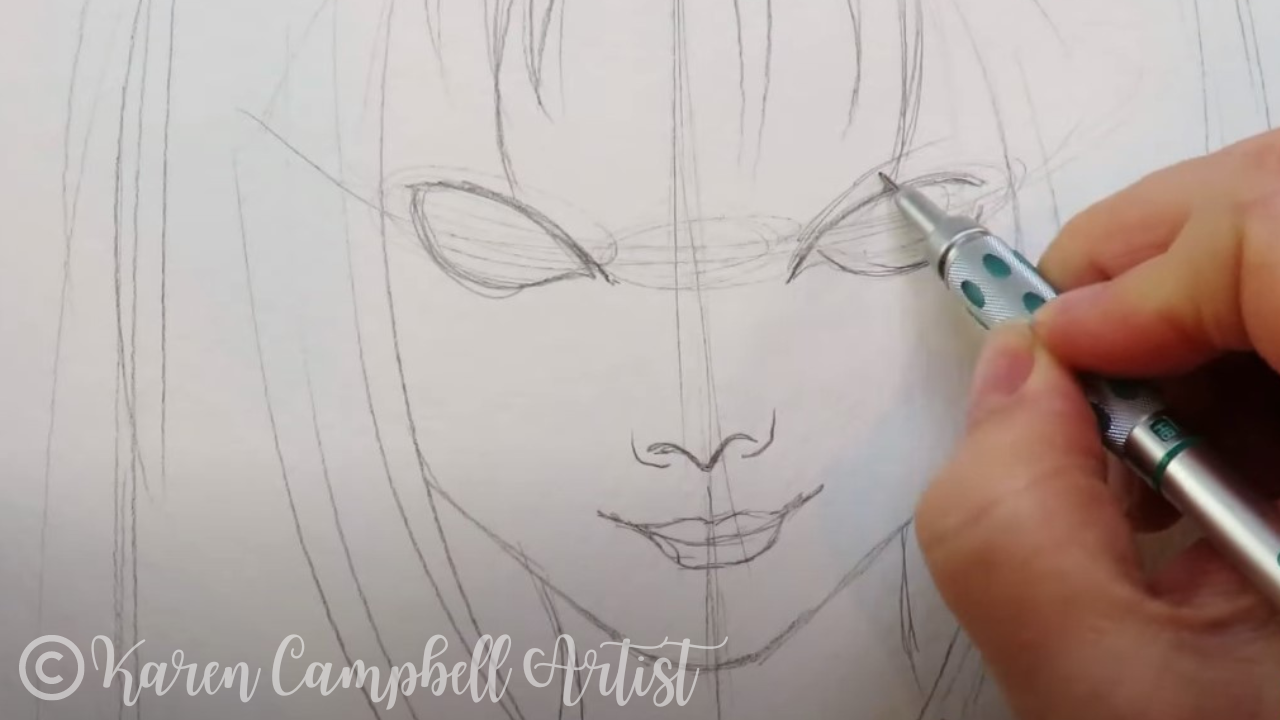
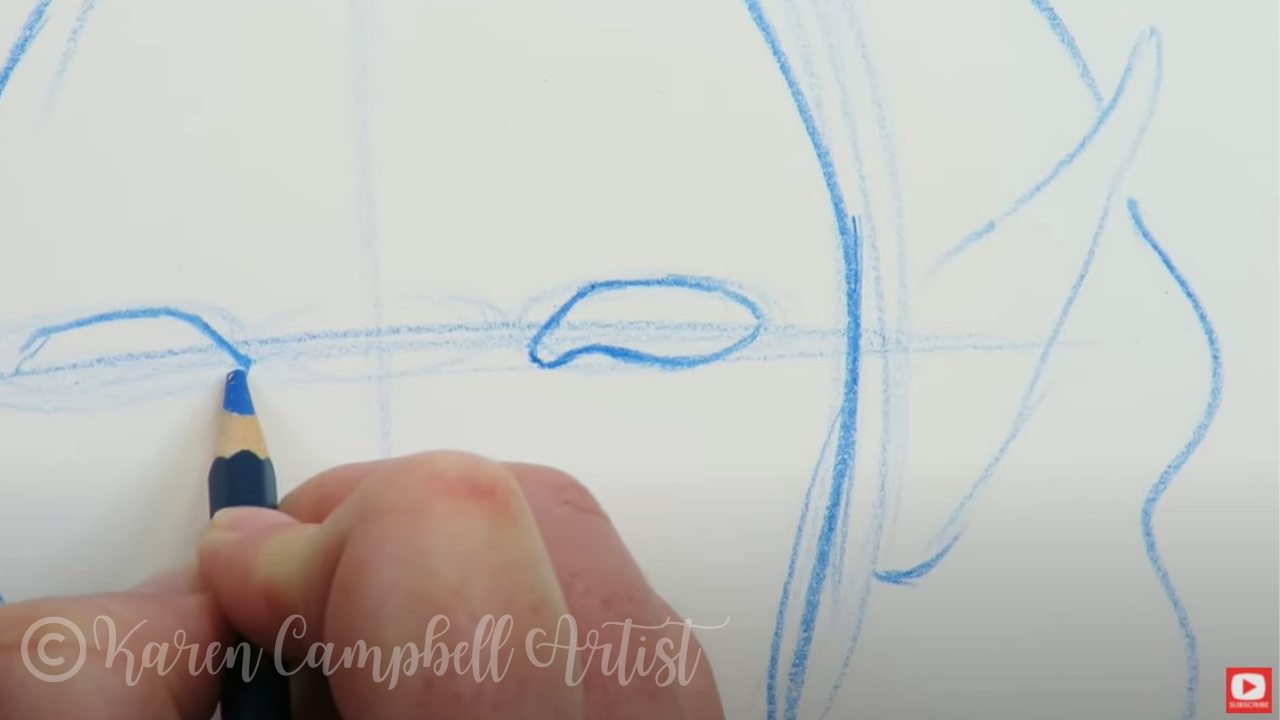
If drawing eyes evenly is something you're trying to work on, watch how I sketch the eyes in for this fairy. I often tend to go back and forth between each eye - drawing one line at a time, then mirroring what I just did on the first eye to the second.
I've found this process of building both eyes up at the same time is much easier than drawing one whole eye and trying to draw the second eye to match. If you feel like your eyes are still coming out uneven, don't stress. None of us are exactly proportional as humans anyway. Just keep practicing - sometimes that's all you need! 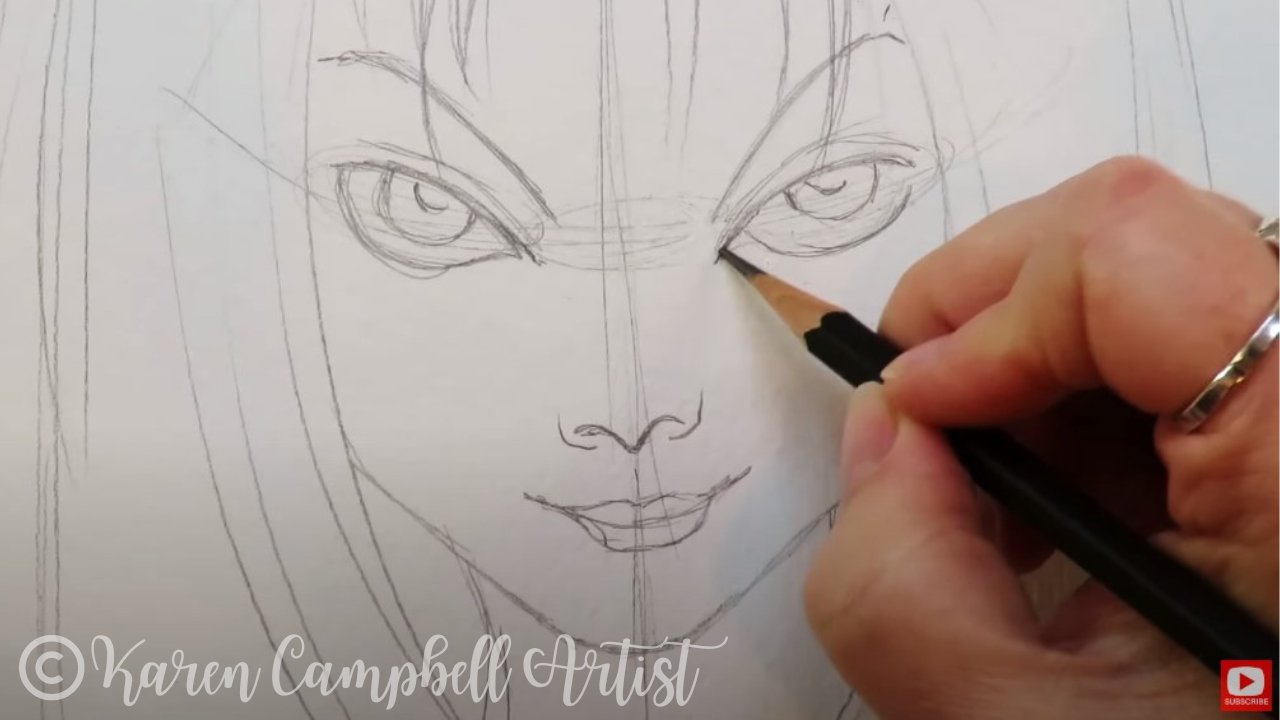
After I get the main lines of our fairy sketched in with my mechanical pencil, I switch over to my Blackwing pencil to add a little face shading. I'm obsessed with these because they're SO soft and make shading a breeze.
These are fairly expensive, so don't feel like you have to buy them in order to be successful. Blackwings feel like a 6B or 8B drawing pencil to me, so reach for one of those if you have a drawing pencil set already. If you don't, that's fine too! Use what you have on hand. A #2 school pencil is totally fine! 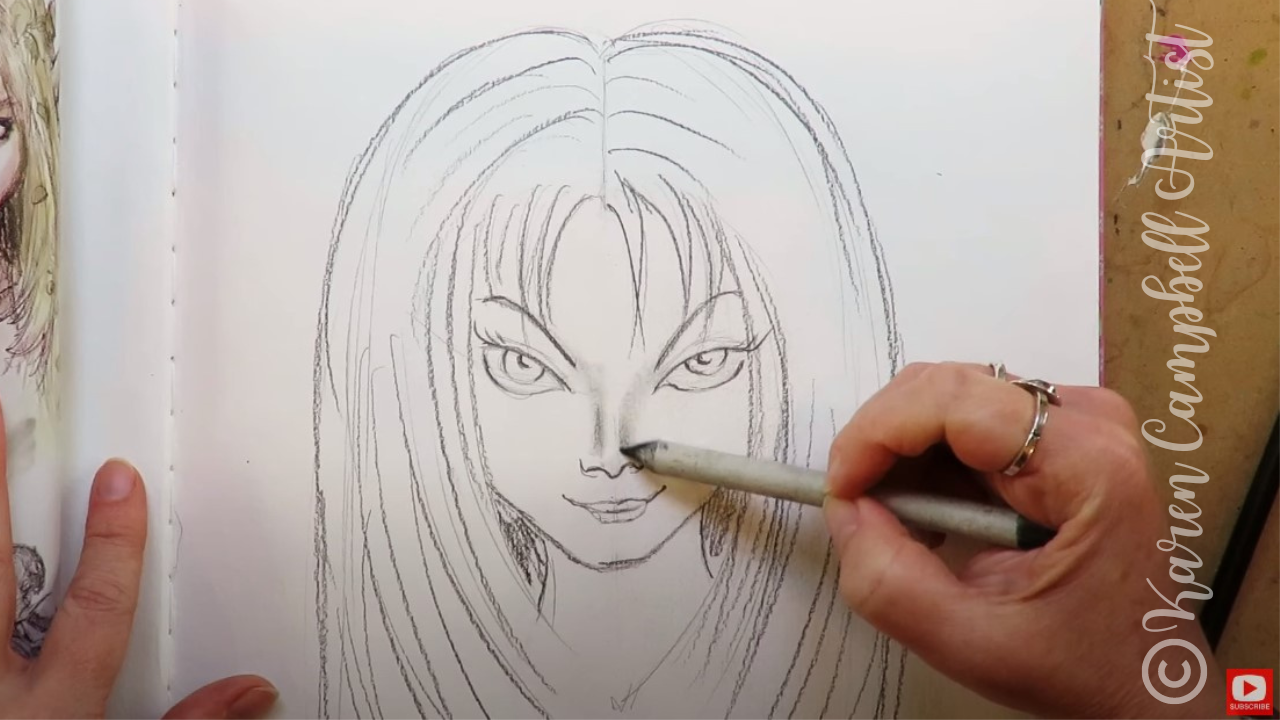
My face shading technique for today is super simple. Just grab a dirty blending stump and "moosh" the graphite around wherever you want to add shadows. If you don't have a blending stump, a cue tip or your finger will do the trick.
Did you notice I forgot to draw in some fairy ears? ? Head over to PART TWO of this project to sketch those in, and learn how to add a layer of watercolor to really make your drawing pop! When you're finished drawing her, watch this video next to add watercolor! If you're OBSESSED with fairies and fantasy art like this, you might just LOVE the Celtic Collective over at Awesome Art School that I run with my Scottish bestie, Lucy Brydon. Add your name to the waitlist to be notified when it's open for enrollment. You might ALSO enjoy our podcast 1Scot,1 Not. We talk about everything under the sun to do with Scotland - whether it's historical, fantasy, whatever. Just a quick warning - we have a blast and are totally ourselves on the podcast, which means there is some drinking and swearing. ❤️ CHECK OUT ALL my art books on AMAZON ❤️ MY FAVORITE ART SUPPLIES on AMAZON ❤️ MY BELOVED FACEBOOK GROUP ❤️ FOLLOW ME ON INSTAGRAM
0 Comments
Ever combine inspiration from 2 fairy drawing images to create your own magical drawing? I do it ALL the time when I'm drawing faces and fairies! If you've never done this before, I can't wait to show you how simple it is in lesson 9 of my #50FunFabFairies drawing challenge.
Today's fairy drawing tutorial is step-by-step and easy enough for beginners. Don't have tan toned paper or a fancy drawing pencil? Use the back of a paper grocery bag, a school pencil, and draw along with me anyway! 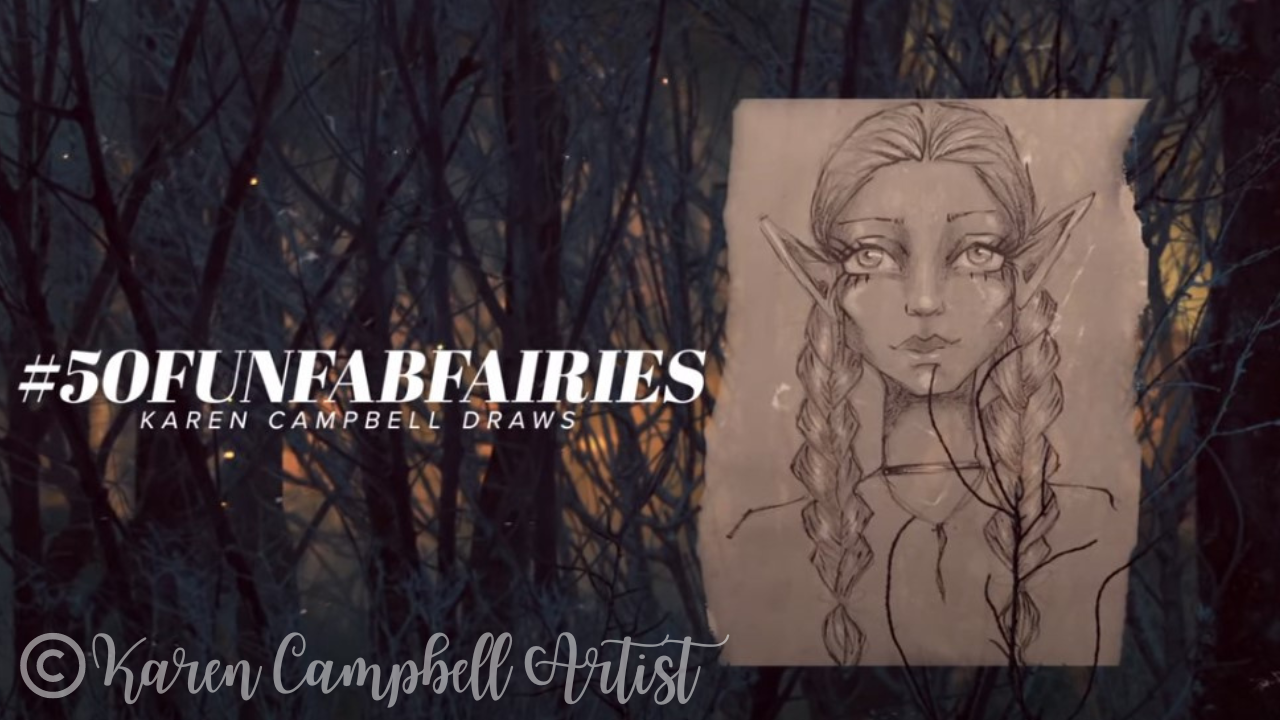
Want easy access to today's fairy drawing images and even MORE fairy drawing ideas? Join my FREE #50FunFabFairies drawing challenge over at Awesome Art School!
Simply click the button below to receiveinstant access to ALL the fairy drawing images for each drawing prompt, plus info on supplies, cheatsheets, and more! 
Wanna become a better artist? Do today's lesson (and every lesson of the challenge) five times, making a few creative alterations of your choice, and watch your skills soar as you practice fairy eyes drawing, fairy and ears drawing AND fairy hair drawing 50 different ways.
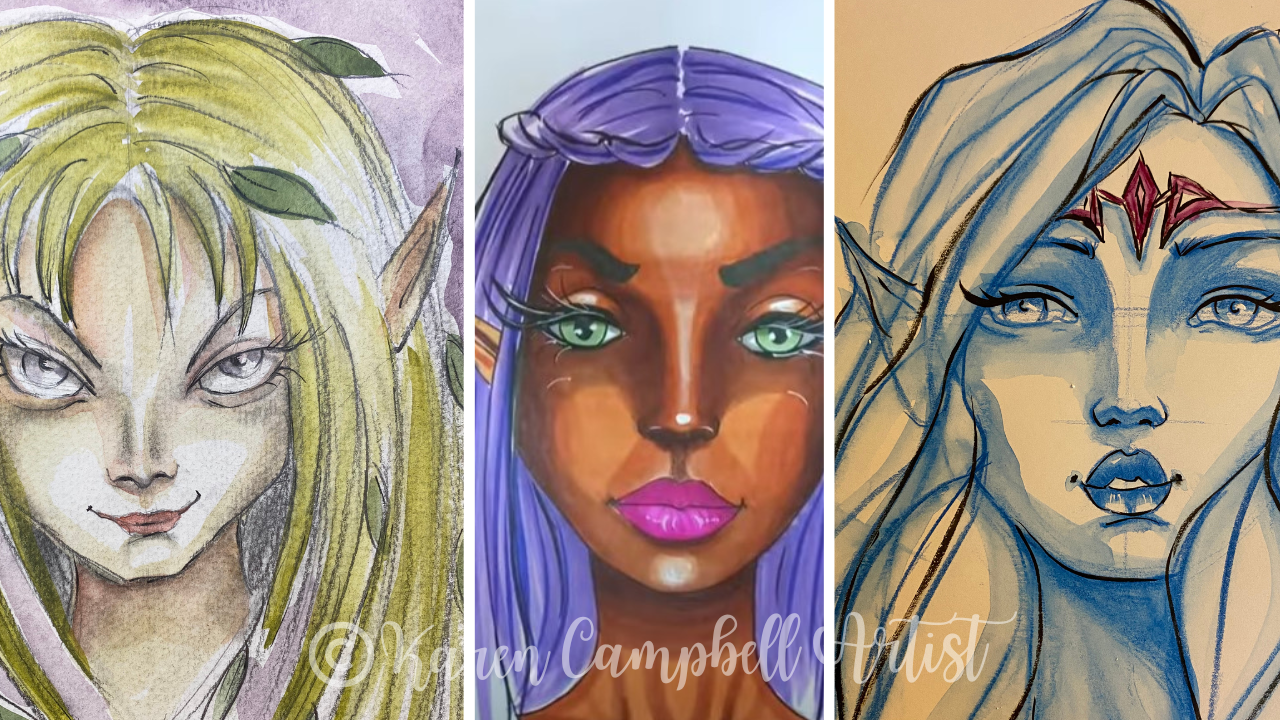
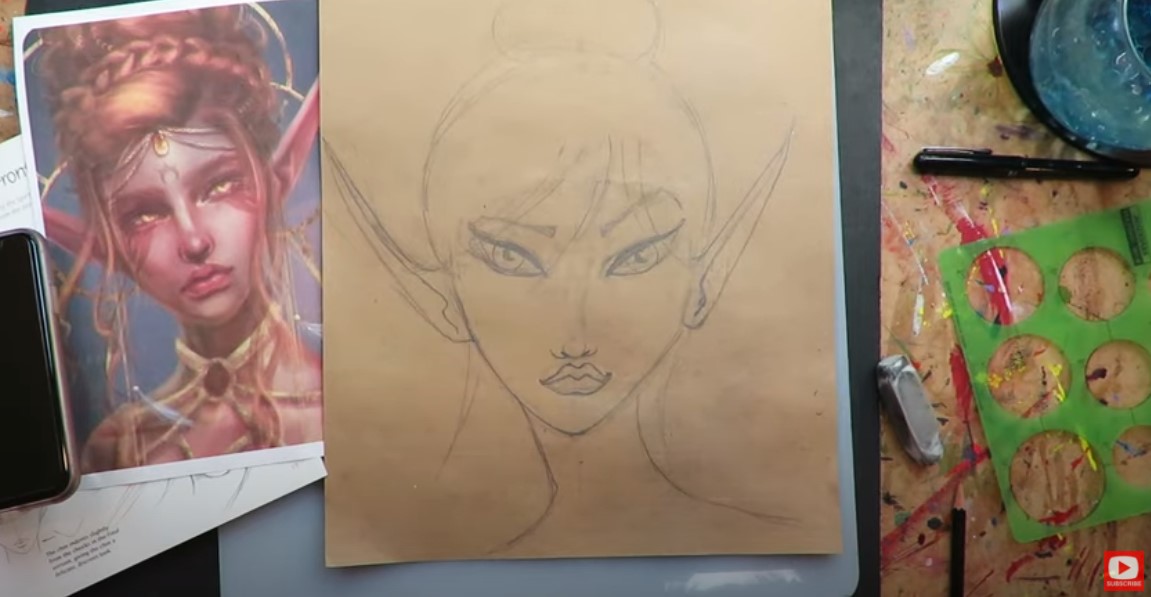
I'm using this face drawing reference (by artist Anna Tsvell), to inspire the face shading that I'd like to do today in my own drawing. I love this messy, edgy approach - like how Anna used the side of her pencil for a little shading in the hair, and how she's created funky lines to indicate shadows on the face.
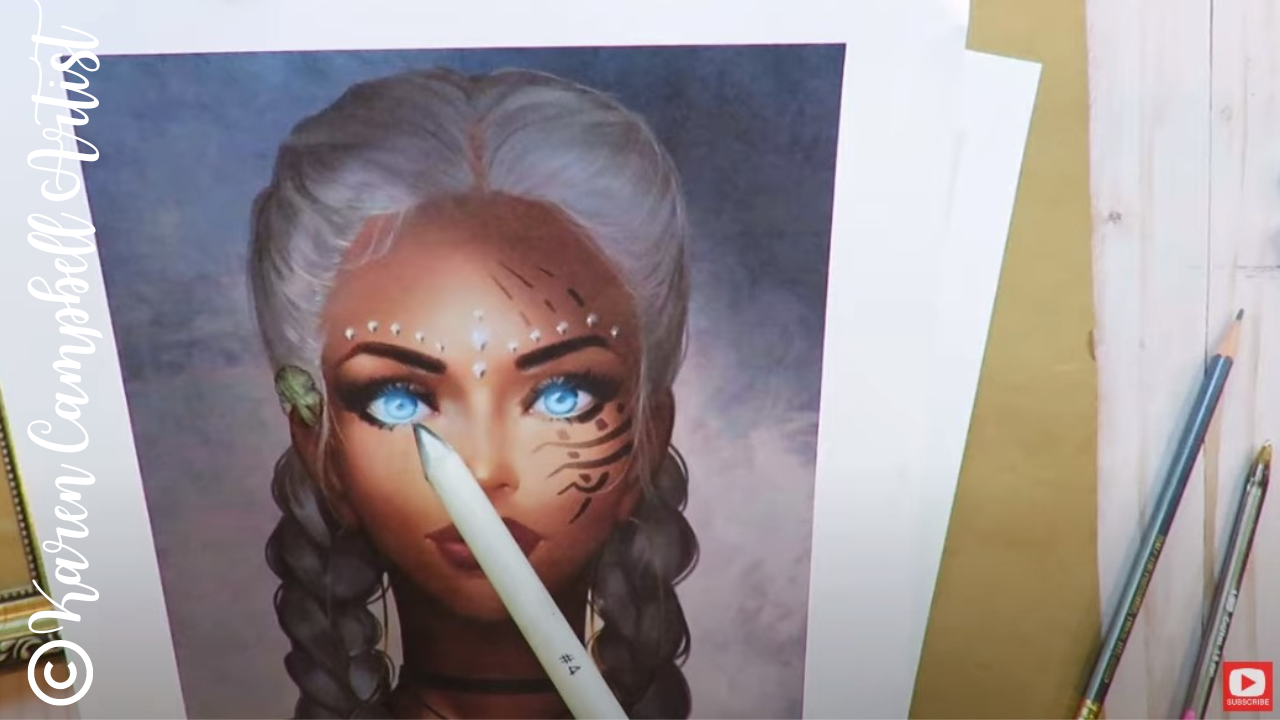
My second drawing reference today is by artist Monika Andruszkiewicz. I'm in love with the braided hairstyle and glowing eyes she's drawn!
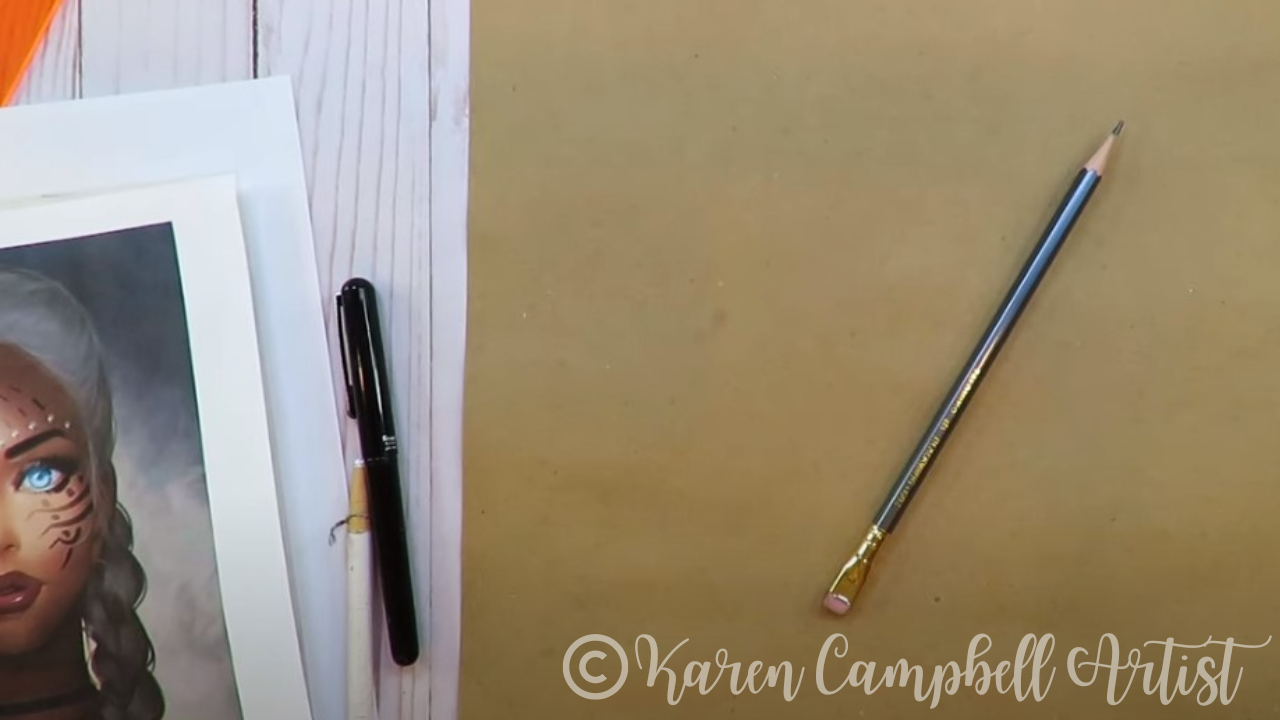
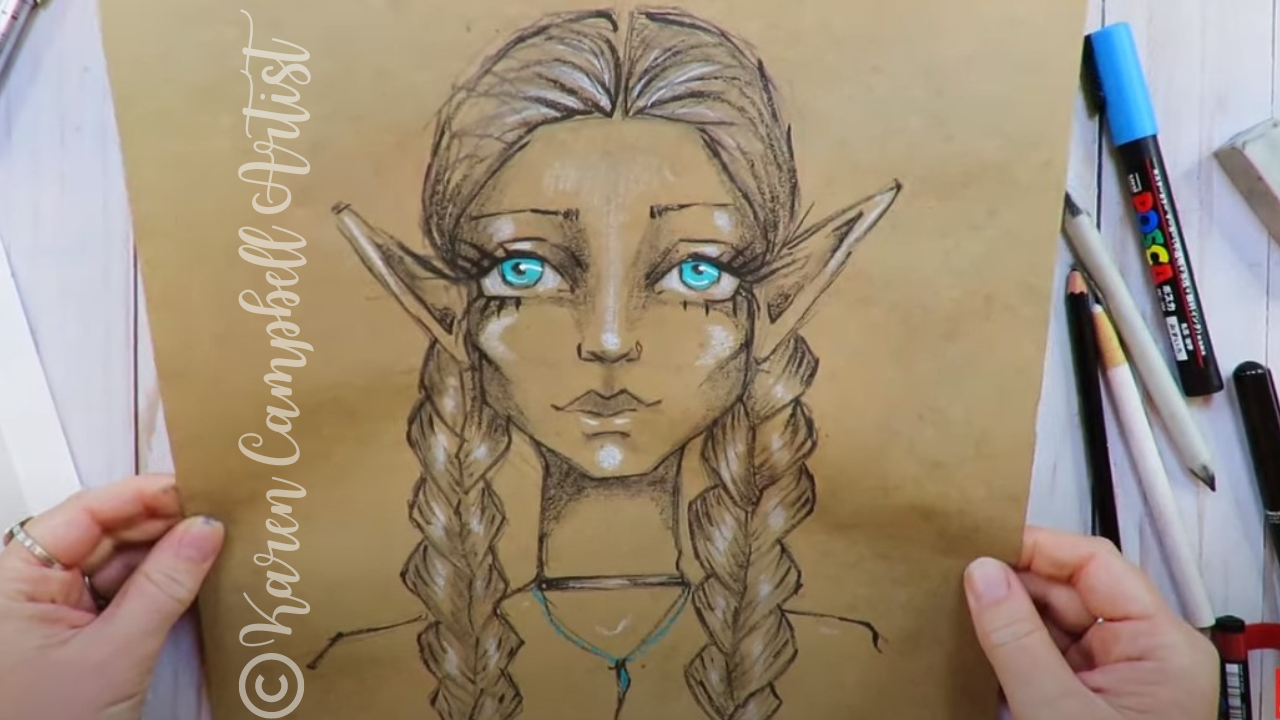
For today's lesson, I'm using some random craft paper I had lying around my studio. There's nothing special about it - it's just what I had nearby. Use the back of a paper grocery bag if you want, or if you have a pad of tan toned paper at home - use a sheet of that. I don't care what supplies you're using, I just care IF YOU'RE DRAWING ALONG WITH ME, because that is how you'll grow as an artist.
I'm using my favorite blackwing pencil to draw for this lesson. Blackwings are super fancy drawing pencils, and feel like butter on your paper. You totally don't need them. It's fine to use whatever pencil you have on hand.
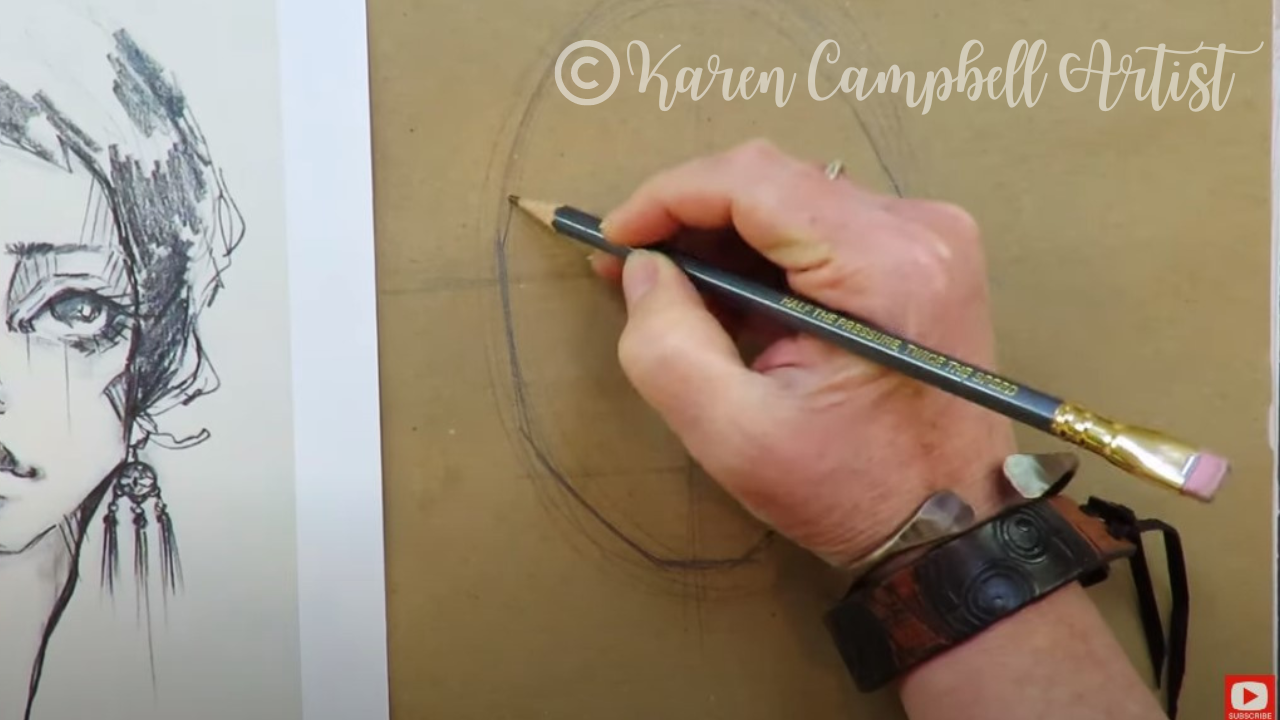
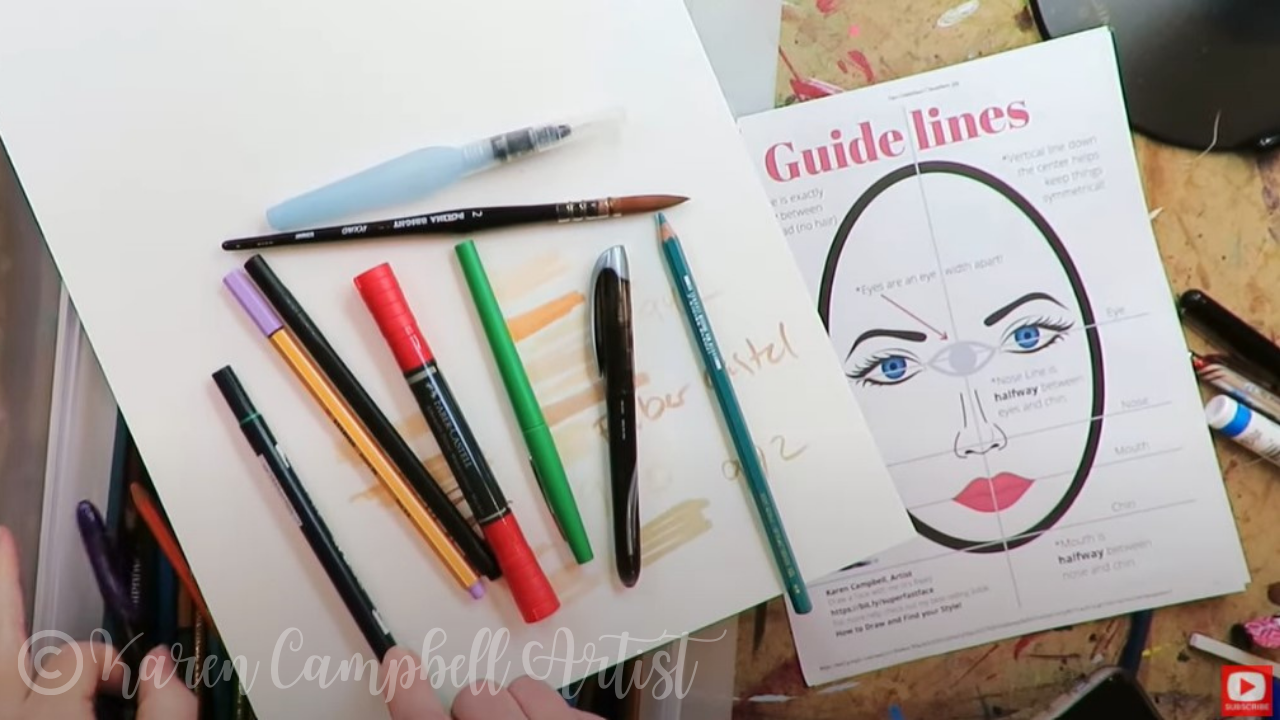
After I sketch in my oval for the face, I drop in my face drawing guidelines. If you're not familiar with face drawing guidelines (I NEVER draw a face without them!), these are available for FREE in my #50FunFabFairies classroom (also FREE) over at Awesome Art School. Never drawn a face before? Here's a quick face drawing tutorial for total beginners that shows you exactly how to use my face drawing guidelines. Feel free to check that out and then pop back to this lesson to try drawing a fairy. 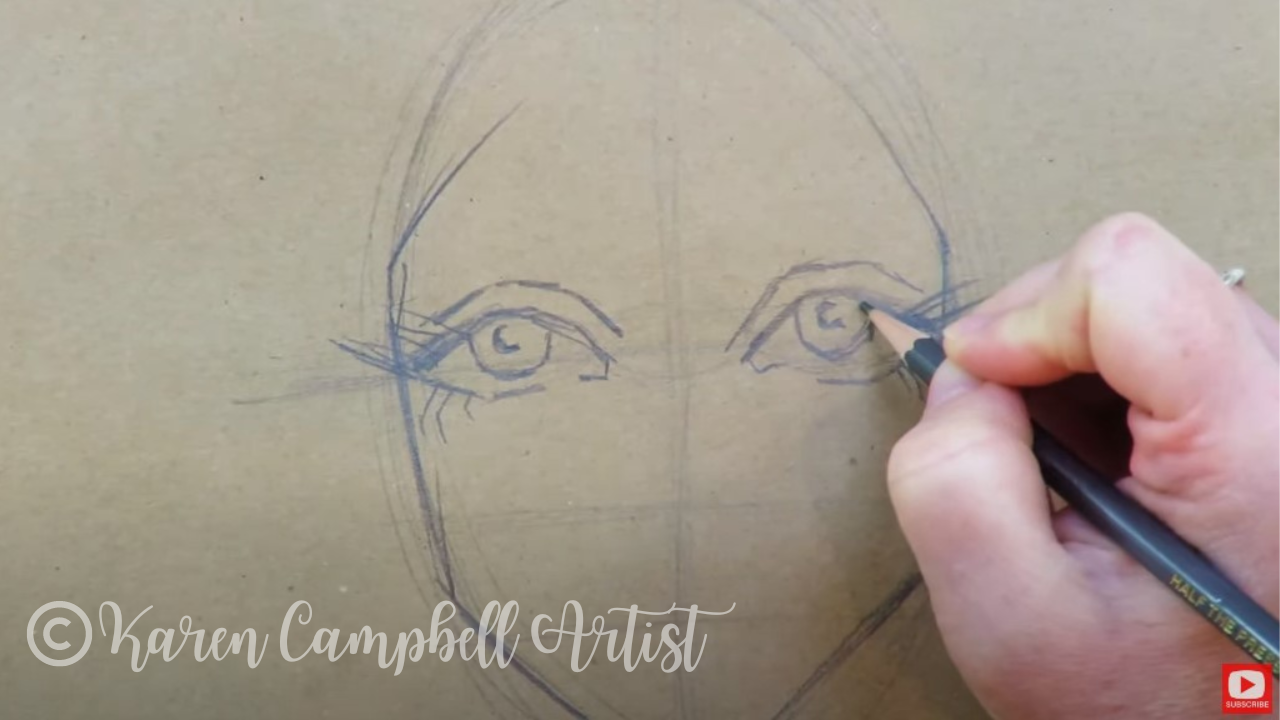
Make sure you watch this video to see the drawing process in action - especially when I sketch in her eyes. They're very angular and widely spaced compared to what I typically do.
Neither of these awesome reference images have fairy ears, even though I'm using them as fairy drawing references. That's totally fine, because I love to go rogue and make stuff up as I draw.
If you're unsure how to draw fairy ears, click over to the video because it's all step-by-step. 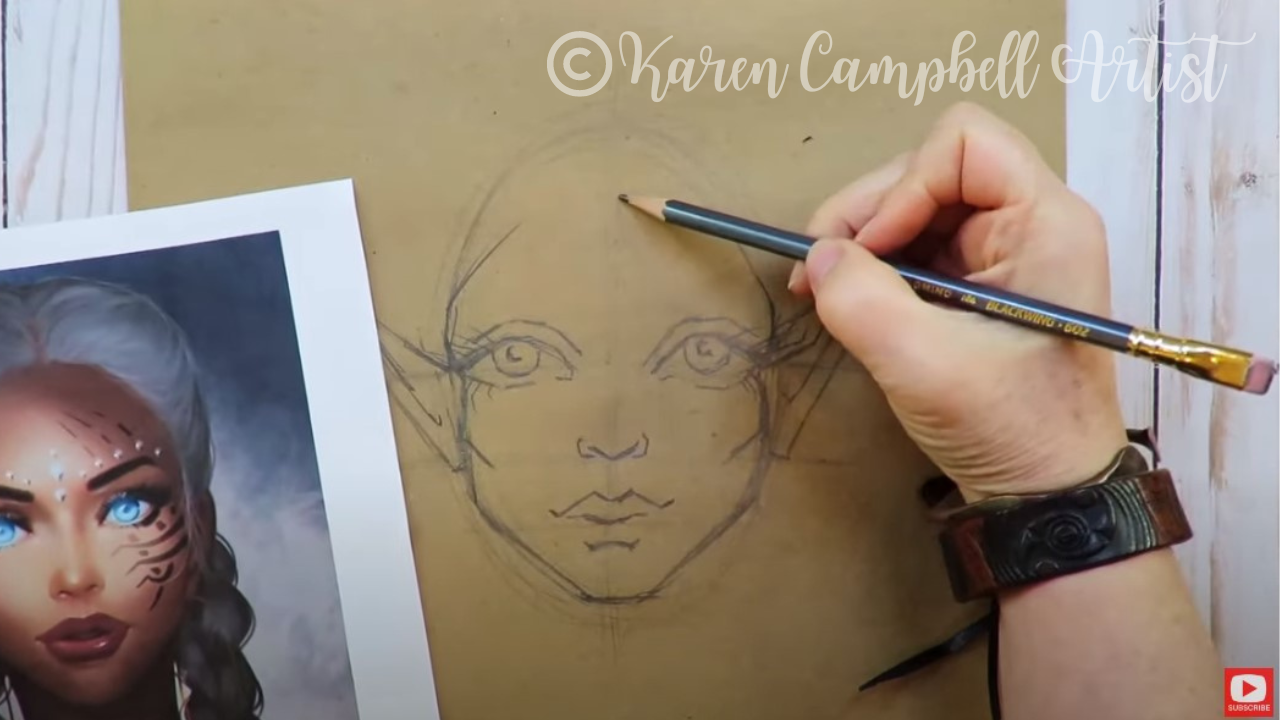
I haven't drawn braids in forever, so I'll really be studying my drawing reference with this hairstyle. I'm a firm believer in using reference photos and drawings for anything and everything you don't know how to draw.
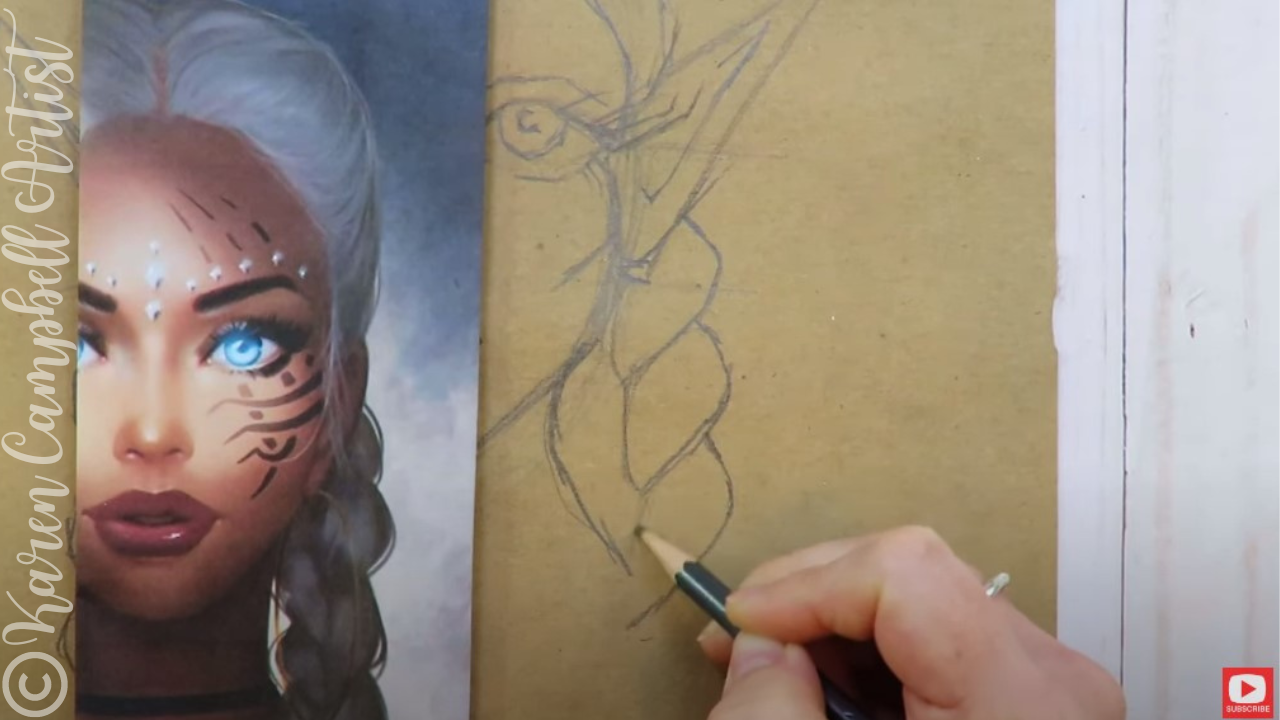
There is NOTHING wrong with studying a photo or someone else's drawing to learn. Never feel bad about it! You are developing your own observational skills as an artist.
The only thing that could be wrong with using someone else's work as a reference, is if you copy every single detail of the reference and try to pass your work off as an original idea, or worse yet- if you try to sell it. Copyrights are there for a reason and SO important to artists. I'm a huge stickler about always crediting original artists. If you're just learning to draw at home and using a piece for inspiration and your own enjoyment - don't worry about it. Just make sure to always give that original artist credit if you ever share your work online as many do in my Facebook group. 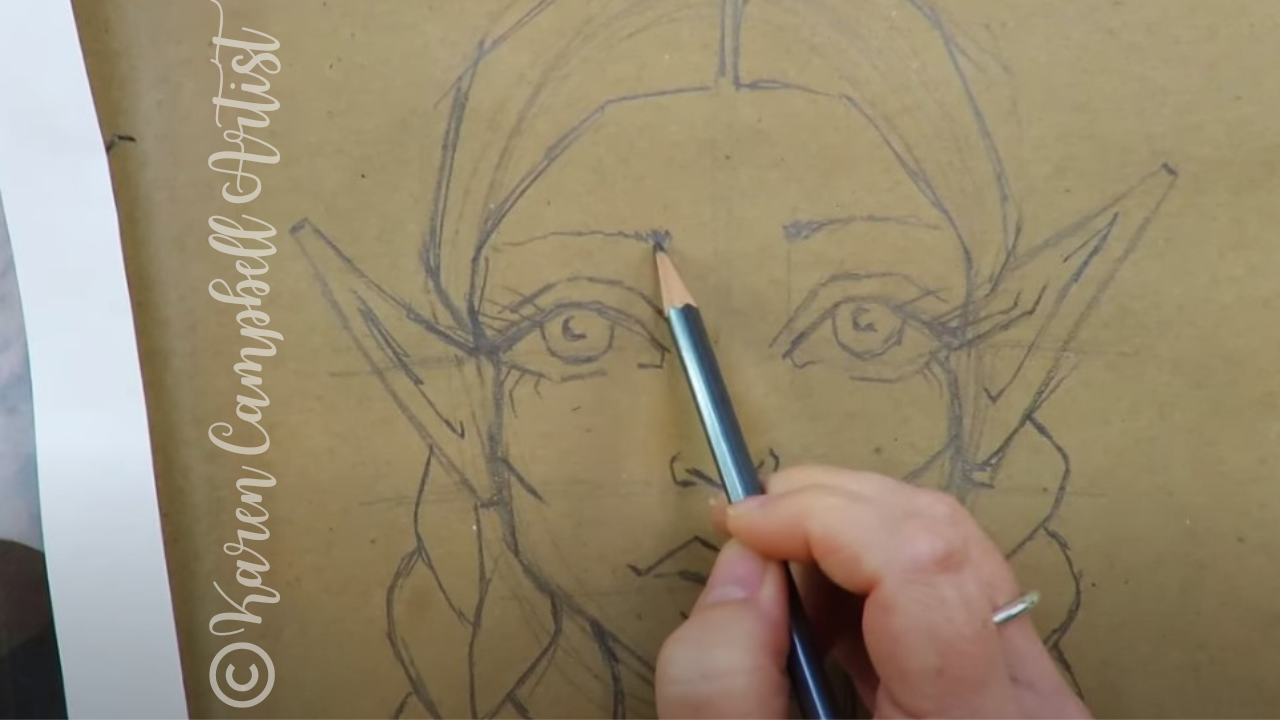
When I got to the eyebrows for today's fairy, I decided to try the look from one of my references of a really thin, scraggly eyebrow. Look at how these completely change her expression (above)! My fairy looks super timid now, which I wasn't even going for, but now love.
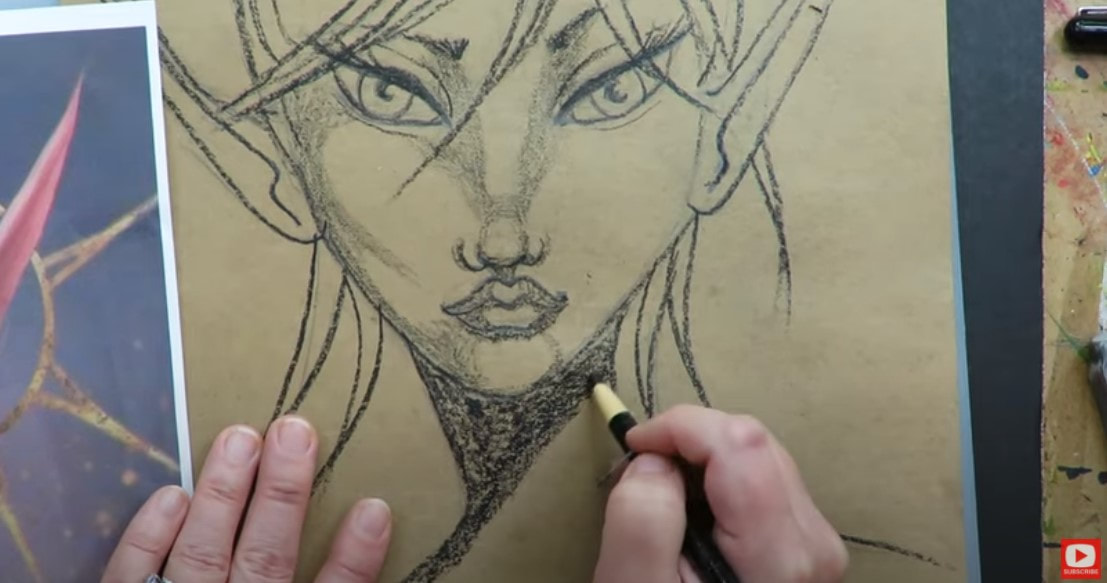
After the drawing was complete, I started adding funky lines to the braided sections to get the shading started. I kinda love this whole "not being precious" theme for about my project today! I hope you're giving this a try with me at home - especially if you're someone who is ALWAYS "precious" with your art ;)
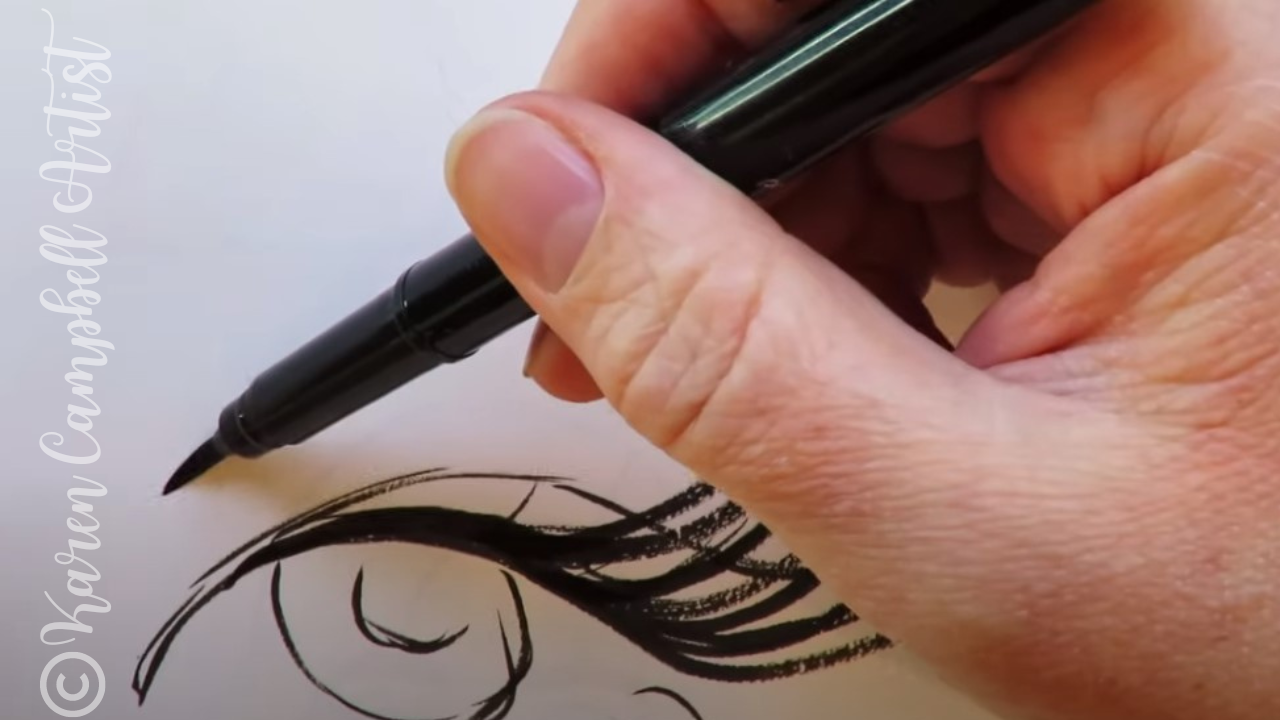
If you've been following me for a while you know I'm obsessed with my pentel pocket brush pen for eyelash drawing and outlining. I really love it because it has actual bristles like a paintbrush instead of a marker nib that's shaped like a paintbrush tip. Depending on how you change your pressure as you're drawing - you'll get different line weights, all from one drawing tool. Super fun!
Not sure how to draw eyelashes? Watch this video and grab my free eyelash drawing cheatsheet. 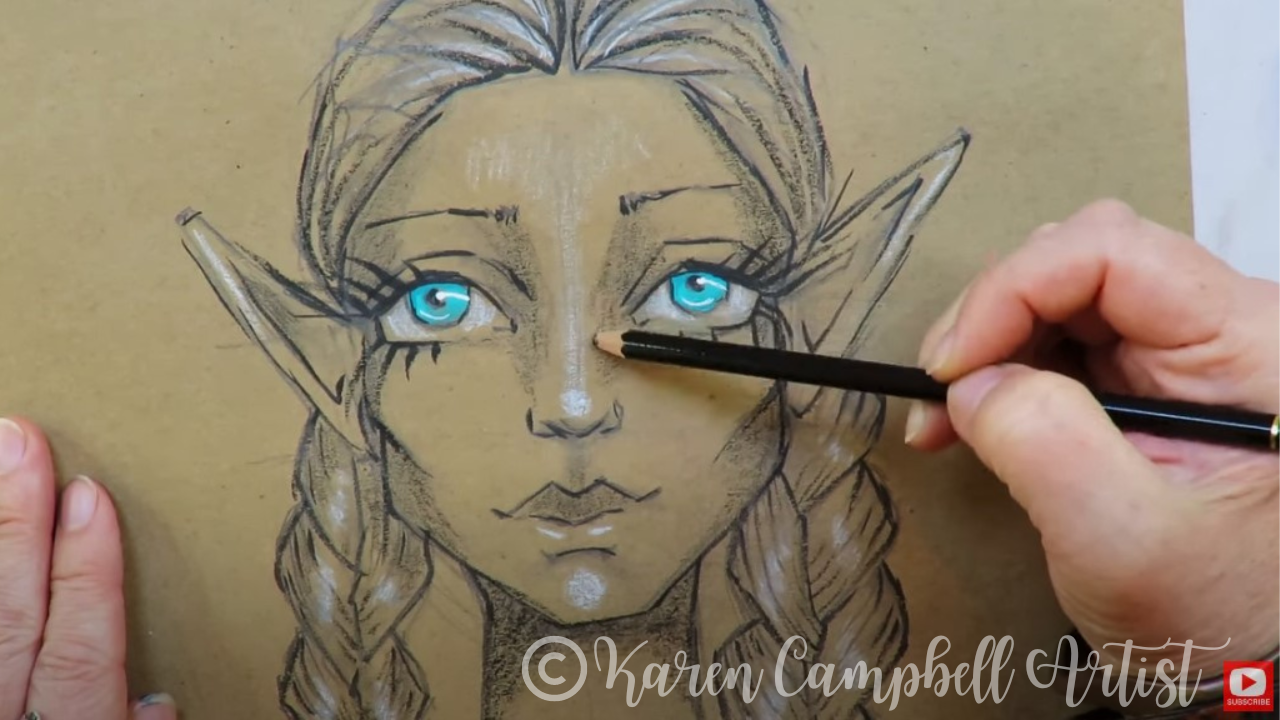
I felt like my drawing needed more contrast so added shading with my black stabilo all pencil, China markers, and my white posca pen. I also got super crazy and added color to my fairy's eyeballs with straight-up acrylic paint!
Thanks for hanging out with me today! I can't wait to see your version of today's lesson in theFacebook group:)
If you're OBSESSED with fairies and fantasy art like me, you might just LOVE the Celtic Collective over at Awesome Art School that I run with my Scottish bestie, Lucy Brydon. Add your name to the waitlist to be notified when it's open for enrollment.
You might ALSO enjoy our podcast 1Scot,1 Not. We talk about everything under the sun to do with Scotland - whether it's historical, fantasy, whatever. Just a quick warning - we have a blast and are totally ourselves on the podcast, which means there is some drinking and swearing. ❤️ CHECK OUT ALL my art books on AMAZON ❤️ MY FAVORITE ART SUPPLIES on AMAZON ❤️ MY BELOVED FACEBOOK GROUP ❤️ FOLLOW ME ON INSTAGRAM
Today's REALISTIC fairy drawing tutorial with watercolor flowers is lesson six of the #50FunFabFairies drawing challenge- featuring Awesome Art School guest teacher, Bryn Nguyen.
A master of the grid drawing method, Bryn will show you step by step how to use this technique to achieve a fairy portrait that looks EXACTLY like any fairy drawing reference image you select! You'll learn how to draw fairy ears in Bryn's whimsical style and how to add colorful, loose watercolor flowers to bring your fairy to life. Enjoy!! 
Want easy access to this and even MORE fairy drawing ideas? Join our FREE #50FunFabFairies drawing challenge over at Awesome Art School!
Simply click the button below to receive instant access to ALL the fairy reference images for each drawing prompt (including today's!), plus info on supplies, cheatsheets and more! 
I'm excited to introduce you to today's Awesome Art School guest teacher, Bryn Nguyen. Bryn is a very accomplished artist with a distinct style (below) that my students and I have been admiring in my Facebook Group for years!
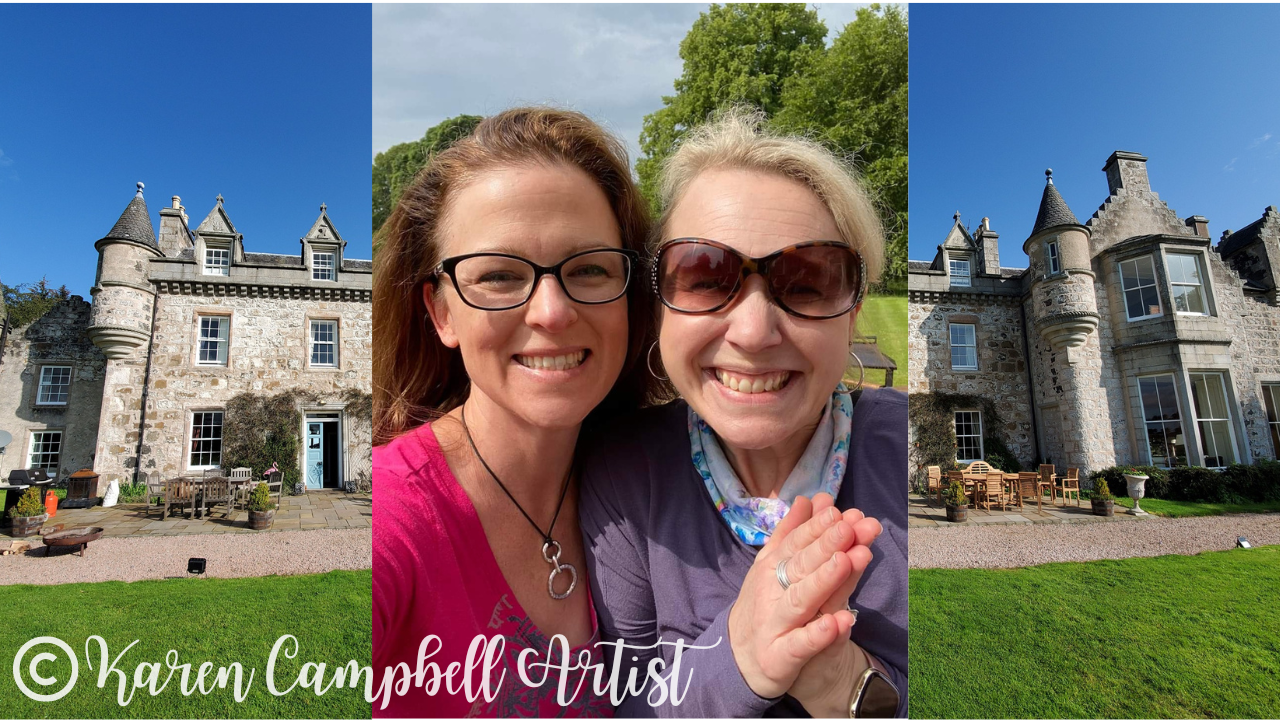
Bryn and I have known each other online for years, but finally got to meet in person for the first time this summer, on my 2022 Scotland Castle Art Retreat at Wardhill Castle with Lucy Brydon!
Before we continue, super quick announcement: All product links are Affiliate. I may earn a small commission if you choose to order through these links but by law there is never any additional cost to the consumer for doing so. I thank you for your support.
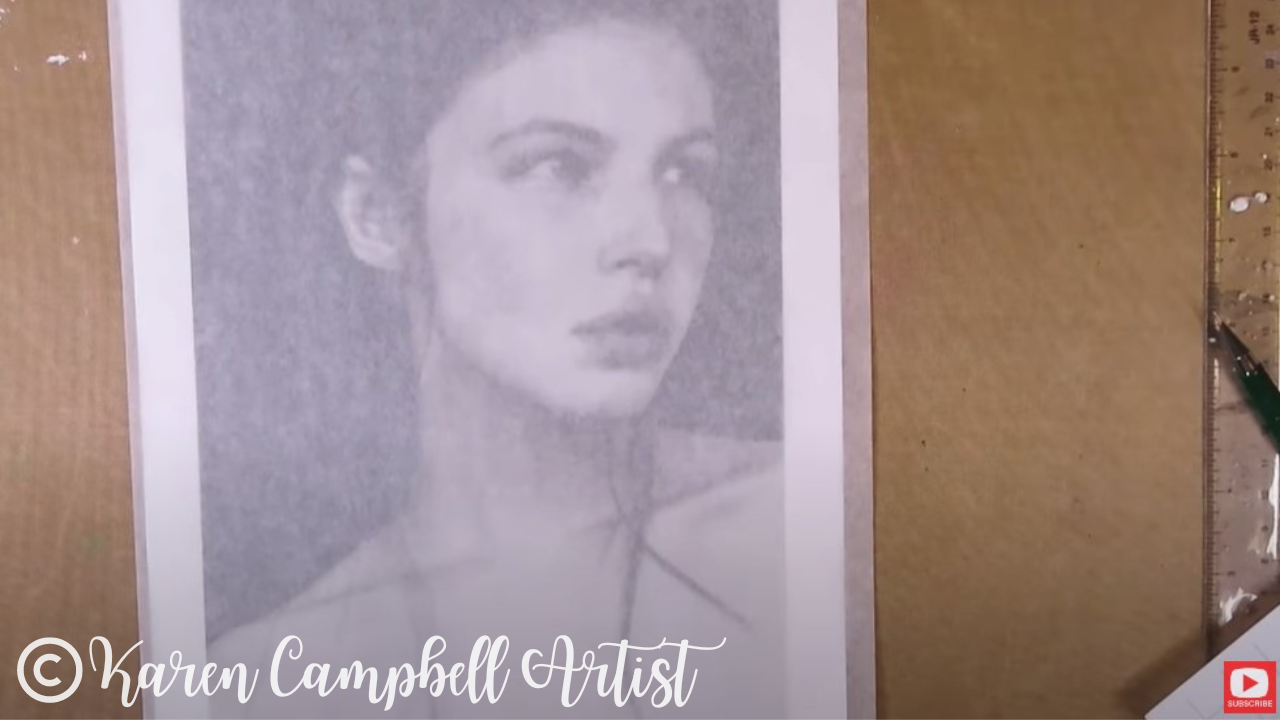
To get us started, Bryn demos how to trace the key lines of a drawing reference image using a sheet of trace paper and a lightboard. This helps her achieve greater accuracy, and she finds the process therapeutic.
You may be wondering why we're tracing today instead of freehand drawing. The freehand drawing part is coming up! As you'll see in the video, this is a great way to zero in on the key features of a drawing reference photo, and removes the distraction of all the shadows and highlights. I've been asked many times over the years if "tracing is cheating" when it comes to art. I believe tracing can be a very effective tool when it's used like it is today to create an original piece of art that's all your own. Check out this video for more of my thoughts on that subject. 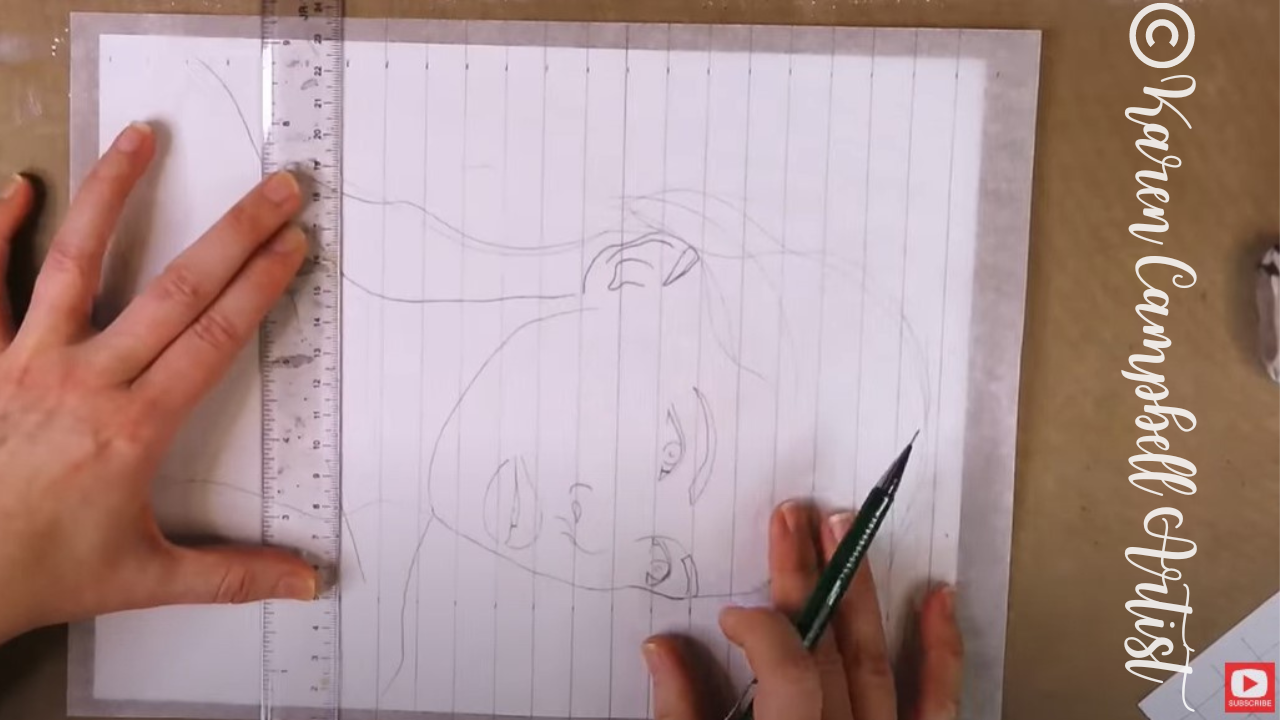
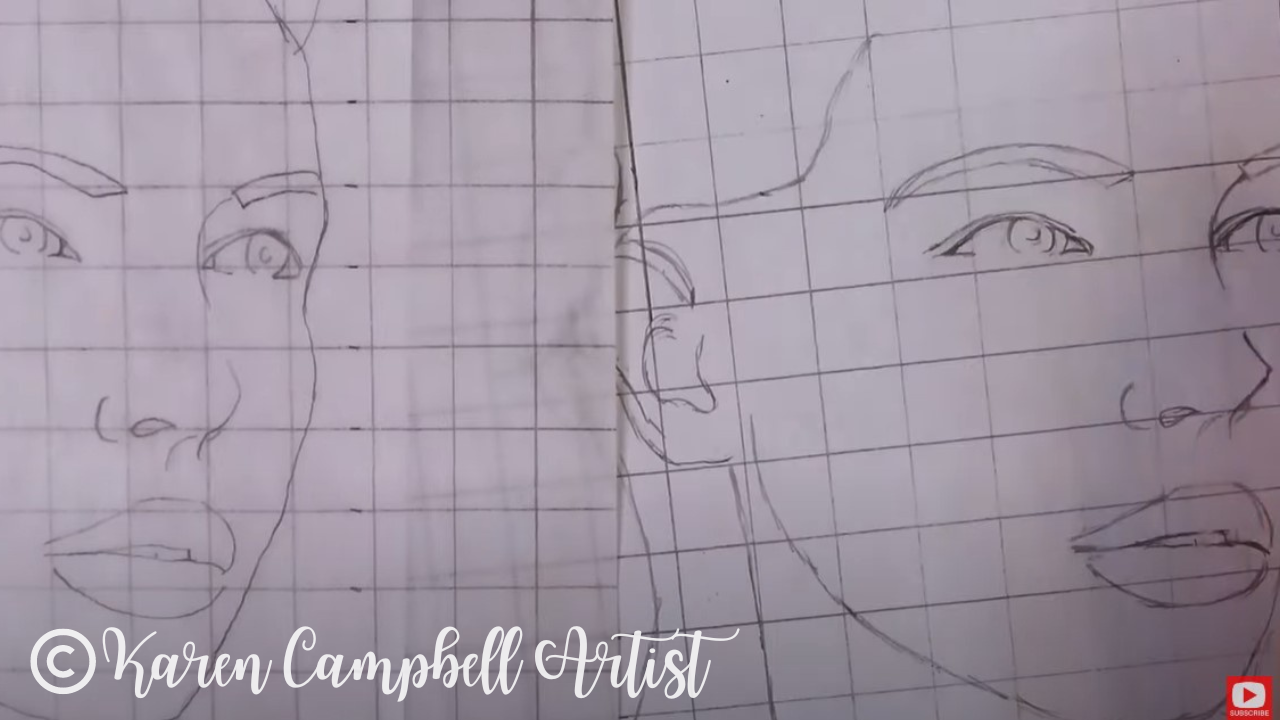
Once her face outline is complete, Bryn explains how to pencil in grid lines over a tracing. She loves to get super detailed at this point and creates 1/2" x 1/2" boxes for this process. Then she transfers what she sees (this is the freehand drawing part!), box by box onto another sheet filled with 1/2" squares.
If you'd like to learn Bryn's process in even greater detail without time-lapsed (sped up) video, Bryn is a guest teacher in The Fun Fab Drawing Club with me over at Awesome Art School in my Realistic Face Drawing classroom. Add your name to the waitlist here to get notified when the Fun Fab Drawing Club is open for enrollment.
Since Bryn plans to add loose watercolor flowers to her fairy drawing, she needs watercolor paper. Today she's using a sheet of 140 lb. cold press (textured) watercolor paper by Canson. Bryn enjoys working small, so cut a sheet of this paper in half for today's project.
Make sure you watch the video to see exactly how Bryn transfers a scaled down printout of her original drawing to watercolor paper using graphite transfer paper. 
I LOVE using transfer paper as well when I'm doing watercolor portraits because this process really saves my paper.
If you do a freehand drawing from scratch directly onto your watercolor paper, you risk wrecking your paper from tons of erasing. Drawing from scratch on another sheet of paper first (even plain old printer paper!) and transfering your finished drawing to watercolor paper is totally the way to go. 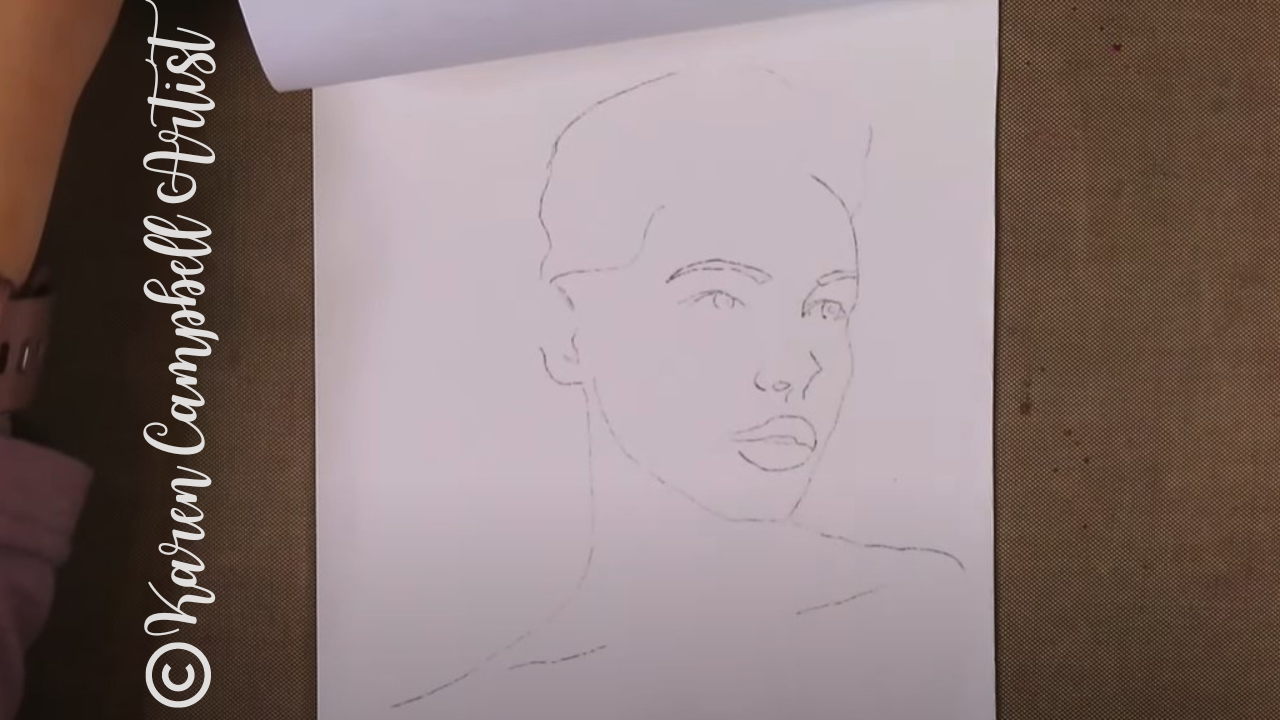
As you'll see in the video, Bryn uses a kneaded eraser to lift some of the bold graphite lines from her watercolor paper once her transfer is complete. This is a great tip, because if you skip this step, your watercolors can smear the graphite and turn brown.
When Bryn's finished with erasing, she uses a purple Copic multiliner (in .5) to outline portions of her drawing. This fineliner is non watersoluble so it will stay put once watercolor is added. Notice how Bryn doesn't add fineliner to each and every line of her drawing, and sometimes only outlines a piece of each line. This technique really adds a sophisticated look to her artwork. 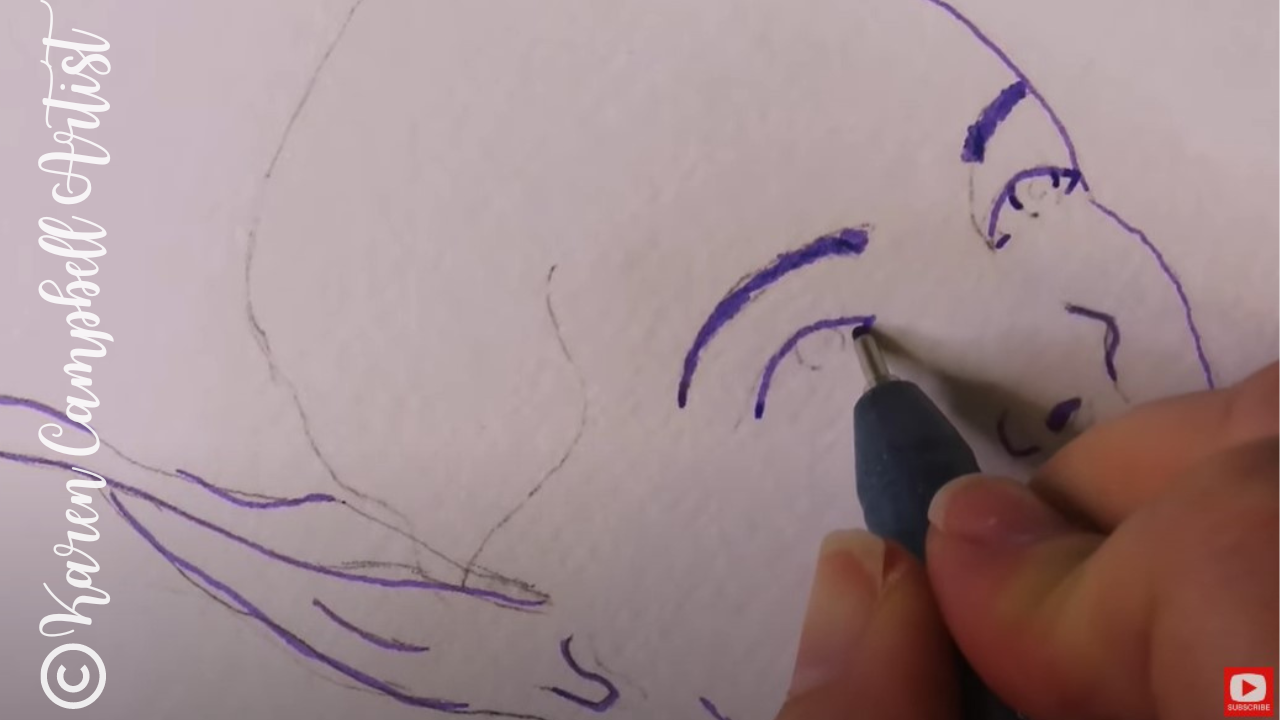
Once the ink is totally dry, you can erase any remaining pencil lines, and get ready to add watercolor! Bryn is using "The Classics" watercolor palette by Prima today for this project, but you can use any kind of watercolor you like. I typically use Daniel Smith watercolors, and have a wide variety of my favorite shades recommended for you in my Amazon shop if you need ideas.
If you need help starting a Daniel Smith watercolor collection of your own, check this video out to learn about Daniel Smith dot cards to inexpensively discover YOUR favorite shades, and this one to start your first Daniel Smith watercolor collection. 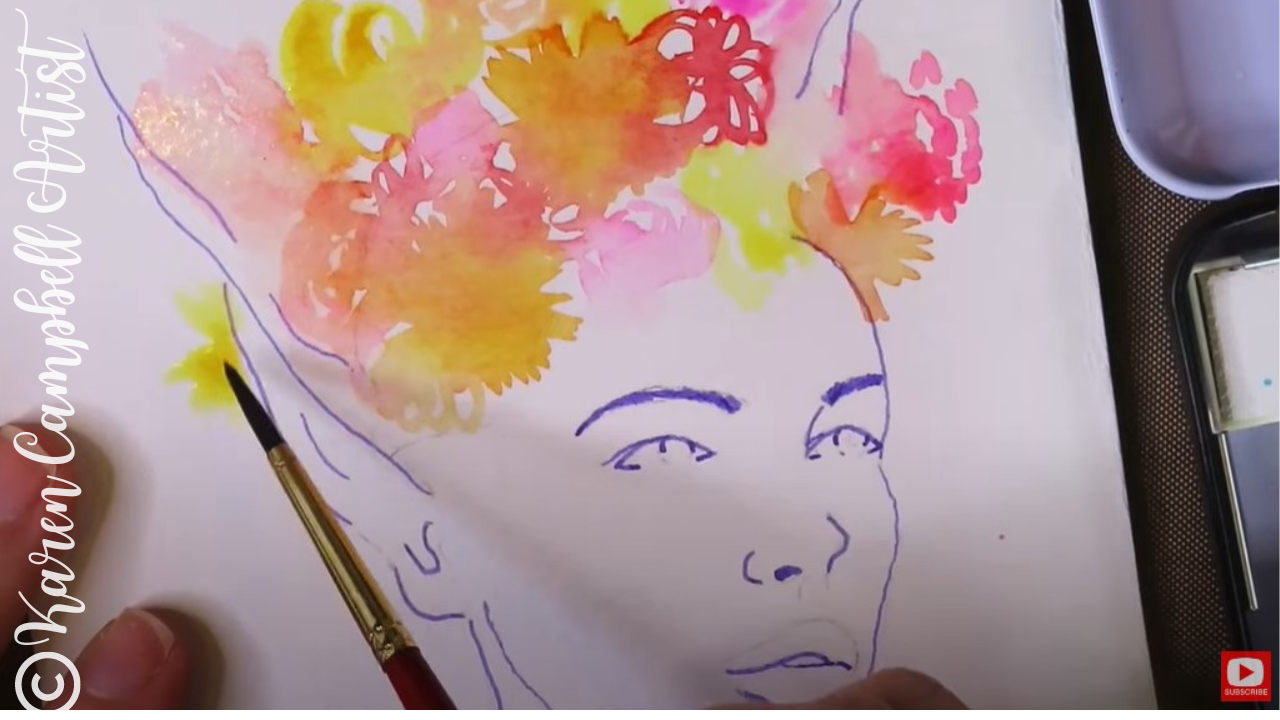
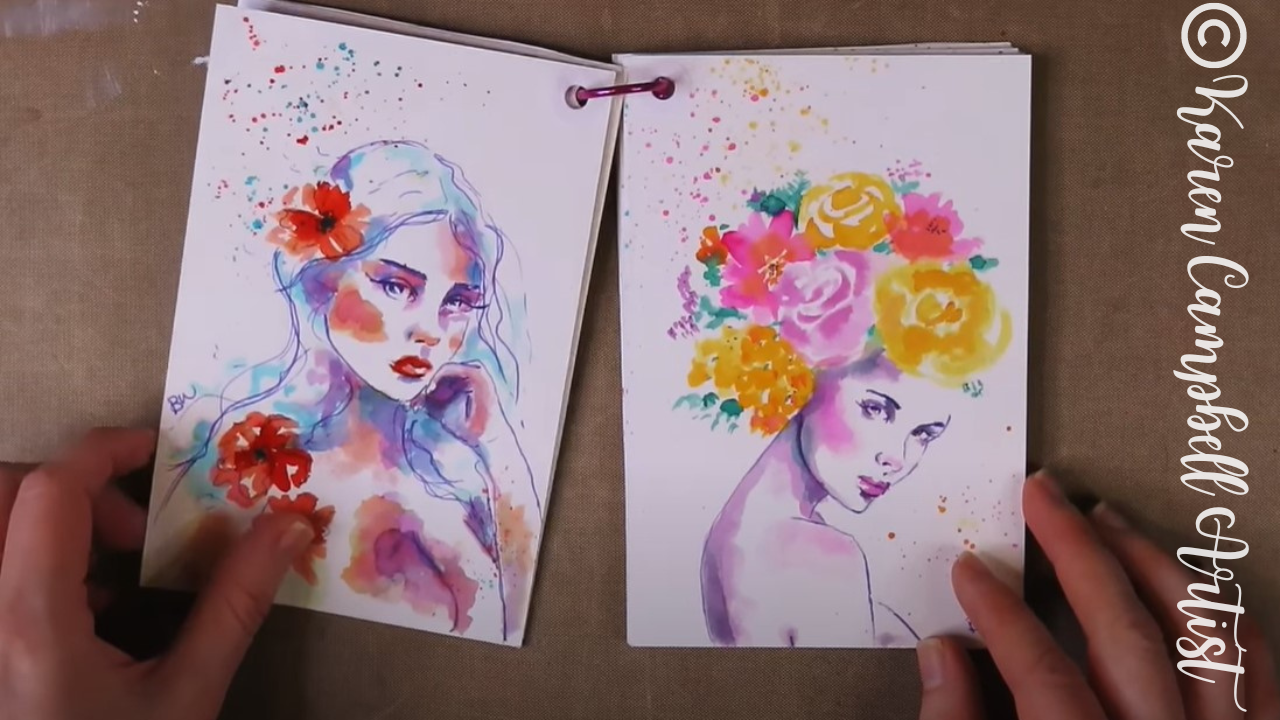
To create loose watercolor flowers on a tiny scale, Bryn uses a #3 round watercolor brush and adds abstract doodles of color in spikes and swirls to indicate flowers. Watch this process in the video because each moment has been recorderd step by step so you can paint along from home.
After the first layer of watercolor is dry, Bryn darkens portions of the flowers to add contrast, and adds bits of yellow green throughout to suggest foilage and leaves.
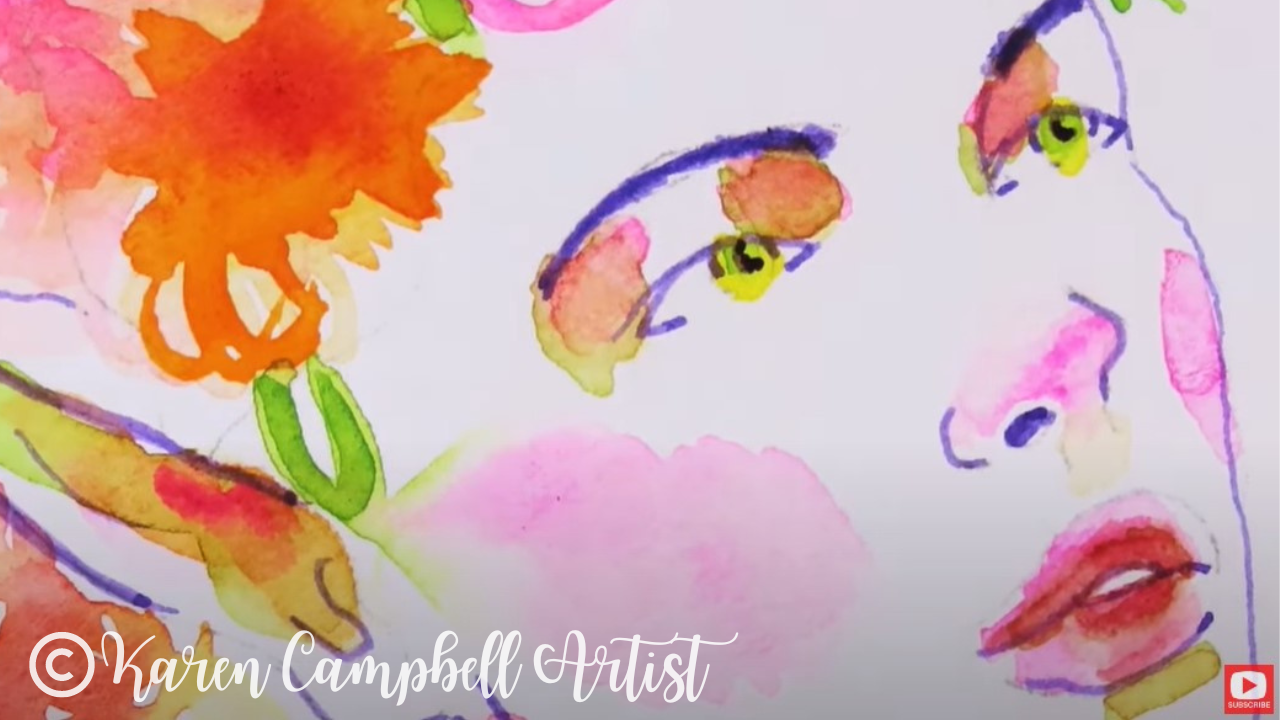
For the skin tones on her fairy's face, Bryn adds in layers of pink from her existing palette. Once these layers are dry, she adds a light layer of yellow green to indicate the darkest shadows.
I LOVE this look! Just make sure your original layers are FULLY dry before doing this at home, so your colors don't turn into brown. 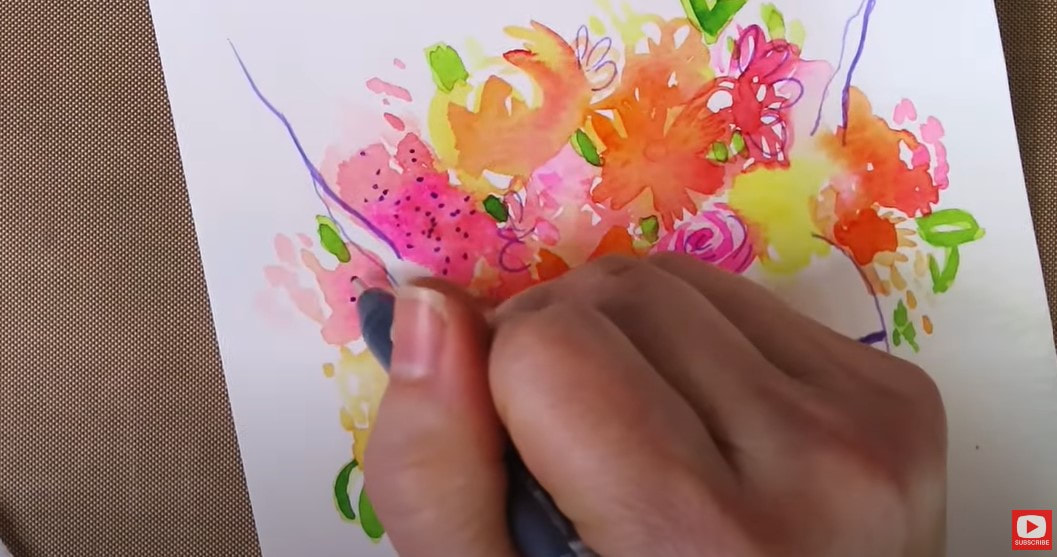
Next, Bryn thickens a few of the lines from her original drawing using her copic multiliner (above), and draws in a few light embellishments throughout her watercolor flowers to tie things together.
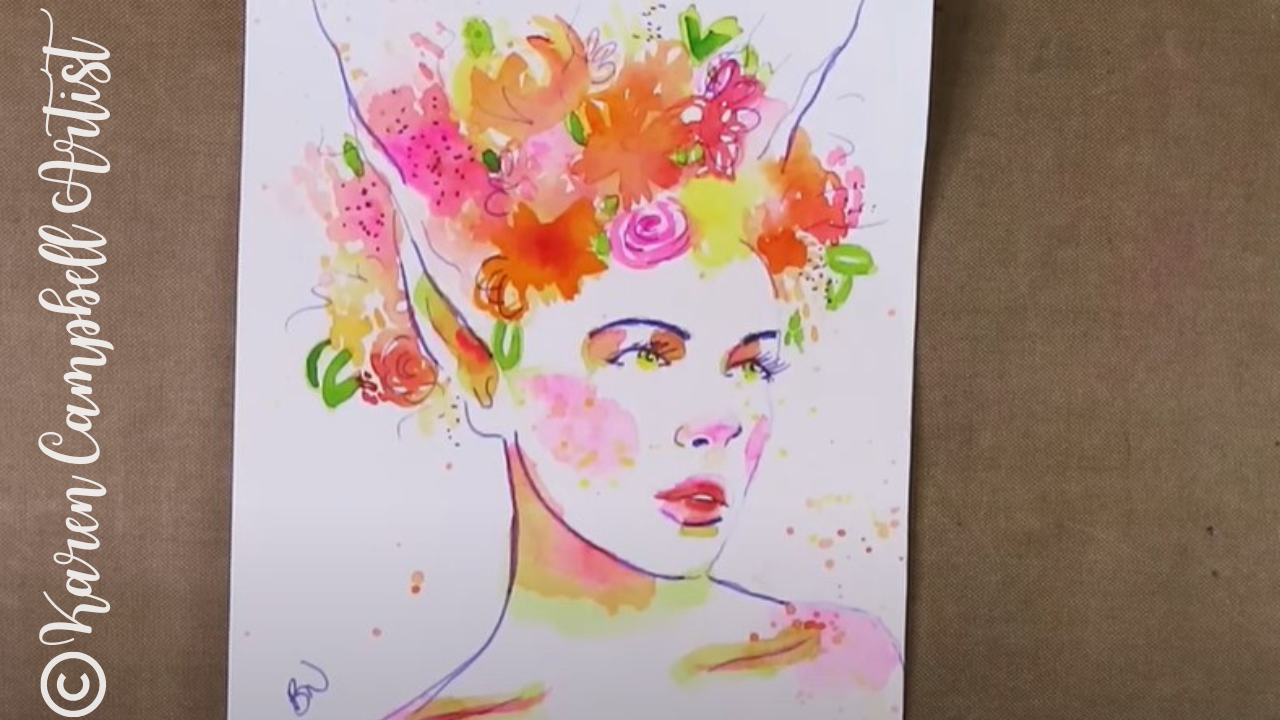
To finish her fairy, Bryn adds a little watercolor splatter paint. I LOVE this effect too!! The key to getting this just right is having a really wet brush. Watch the video to see this technique in action, and paint along with Bryn in real time!
Thanks for hanging out with us today! We hope you have fun with lesson six of the FREE #50FunFabFairies drawing challenge!
If you're OBSESSED with fairies and fantasy art like Bryn and I are, you might just LOVE the Celtic Collective art club over at Awesome Art School.
Add your name to the waitlist to be notified next time we're open for enrollment, or when there's a club member cancellation so you can join in the fun with us! ❤️ CHECK OUT ALL my art books on AMAZON ❤️ MY FAVORITE ART SUPPLIES on AMAZON ❤️ MY BELOVED FACEBOOK GROUP ❤️ FOLLOW ME ON INSTAGRAM FUN & EASY Fairy Drawing Tutorial IN SCOTLAND with Karen Campbell & Lucy Brydon [#50FunFabFairies]8/7/2022
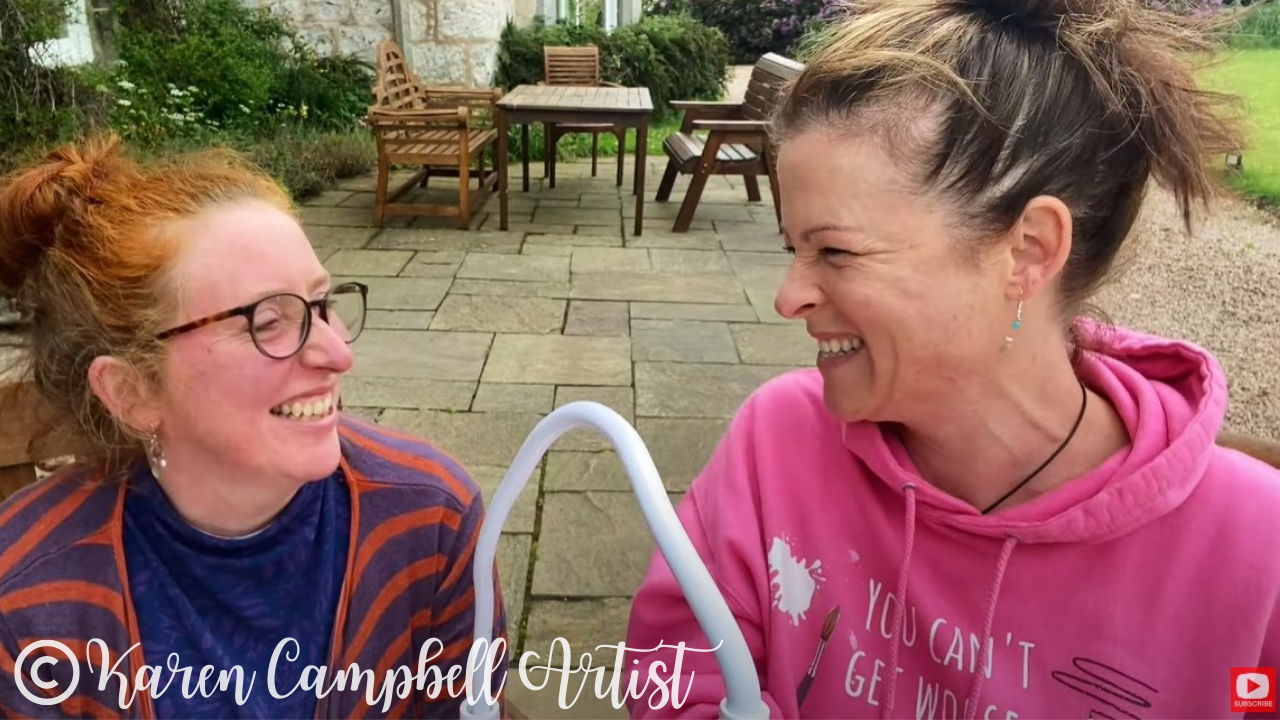
Lucy Brydon and I had the BEST time filming this EASY fairy drawing tutorial in Scotland together! While our art retreat guests at Wardhill Castle had some free time, we snuck off to draw this adorable fairy couple, inspired by Pascal Moguerou.
All you need to draw along with us is a sheet of paper, a pencil and eraser. We hope you enjoy lesson 5 of the #50FunFabFairies drawing challenge as much as we enjoyed making it for you! 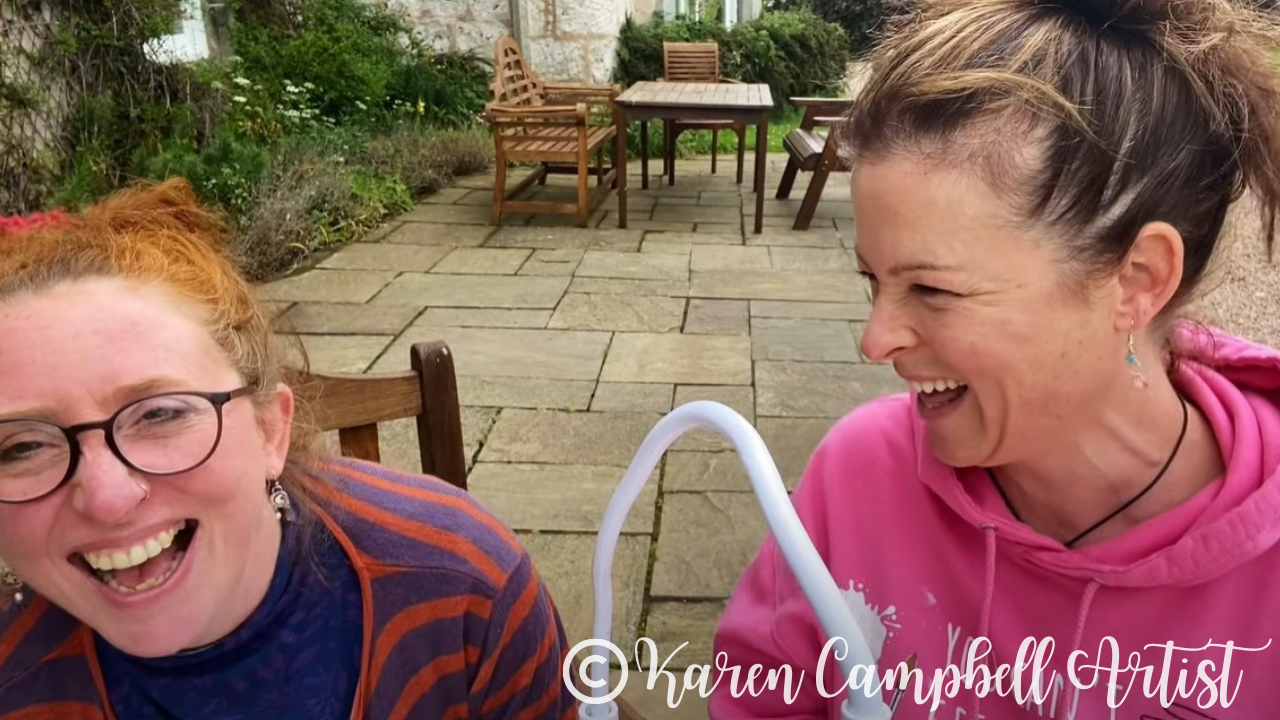
Want easy access to this and even MORE fairy drawing ideas? Join our FREE #50FunFabFairies drawing challenge over at Awesome Art School!
Simply click the button below to receive instant access to ALL the fairy reference images for each drawing prompt (including today's!), plus info on supplies, cheatsheets and more! 
Never drawn a fairy before? No problem. You'll learn how to draw a fairy step by step in each lesson of the challenge. All you have to do is watch and draw along!
Wanna become a better artist? Do today's lesson (and every lesson of the challenge) five times, making a few creative alterations of your choice, and watch your skills soar as you practice fairy eyes drawing, fairy ears drawing AND fairy hair drawing 50 different ways! 
Before we continue, super quick announcement: All product links are Affiliate. I may earn a small commission if you choose to order through these links but by law there is never any additional cost to the consumer for doing so. I thank you for your support.
Today, Lucy and I are drawing on cold press watercolor paper. If you haven't drawn on cold press paper before, it's got a lovely texture that actually makes blending for your shading SUPER easy!
We're keeping the rest of the supplies at bare minimum today with just a Blackwing pencil, mechanical pencil, blending stump and eraser. We did end up using my Tombow mono zero eraser, but you can totally do this project without it! 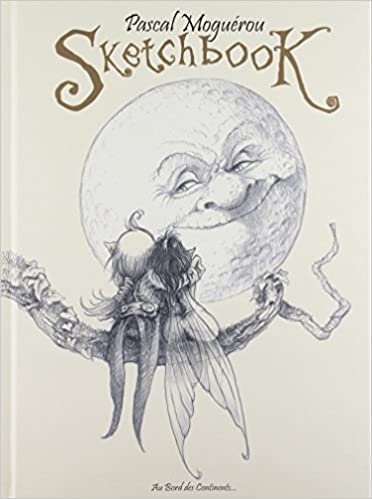
Our reference image today comes from the cover for Sketchbook by Pascal Moguerou (above). If you ever come across one of Pascal's books, we highly suggest you grab it because they are fantastic. At the moment this one's a bit pricey on Amazon, at $96. Check back later because you might find a better deal.
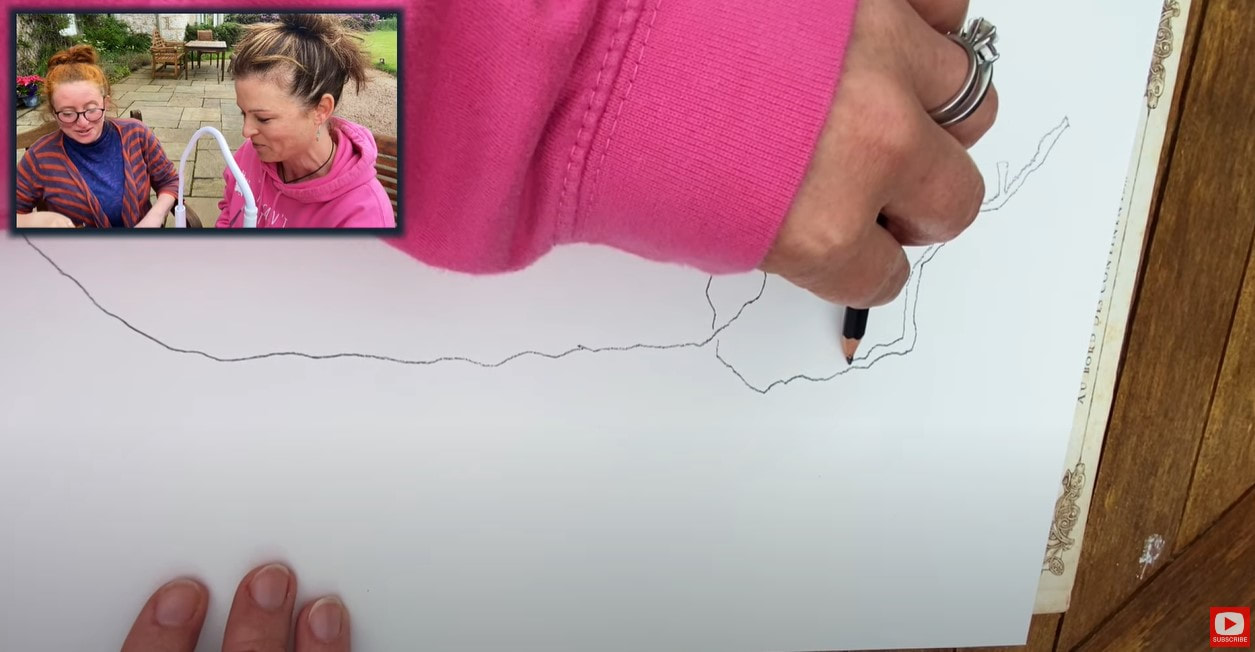
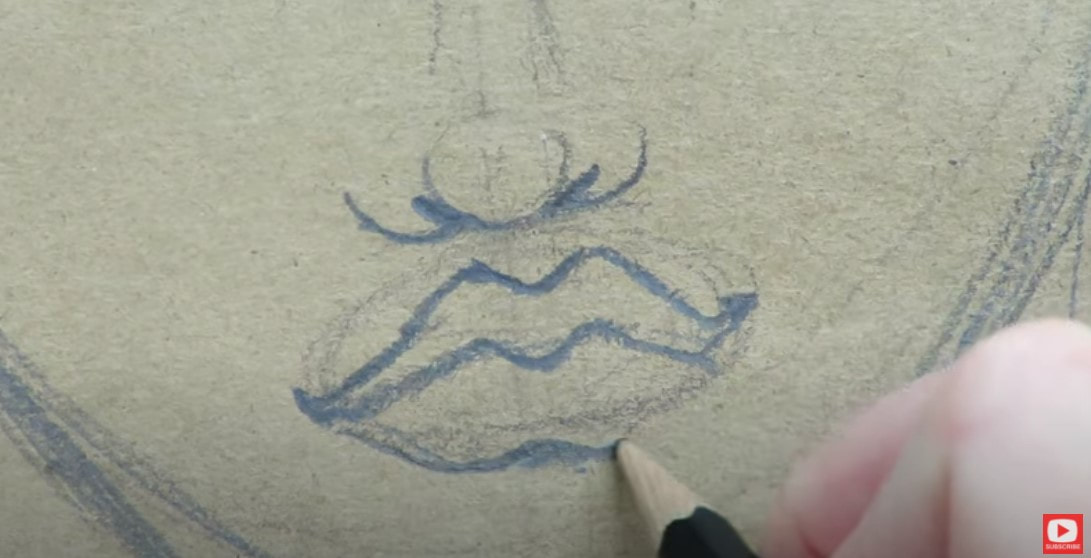
I love the look of Moguerou's style - especially in the branch these fairies are sitting on. It's got so much cute character! I decided to try using my non dominant hand (left) to replicate style of his scraggly tree branch and vines.
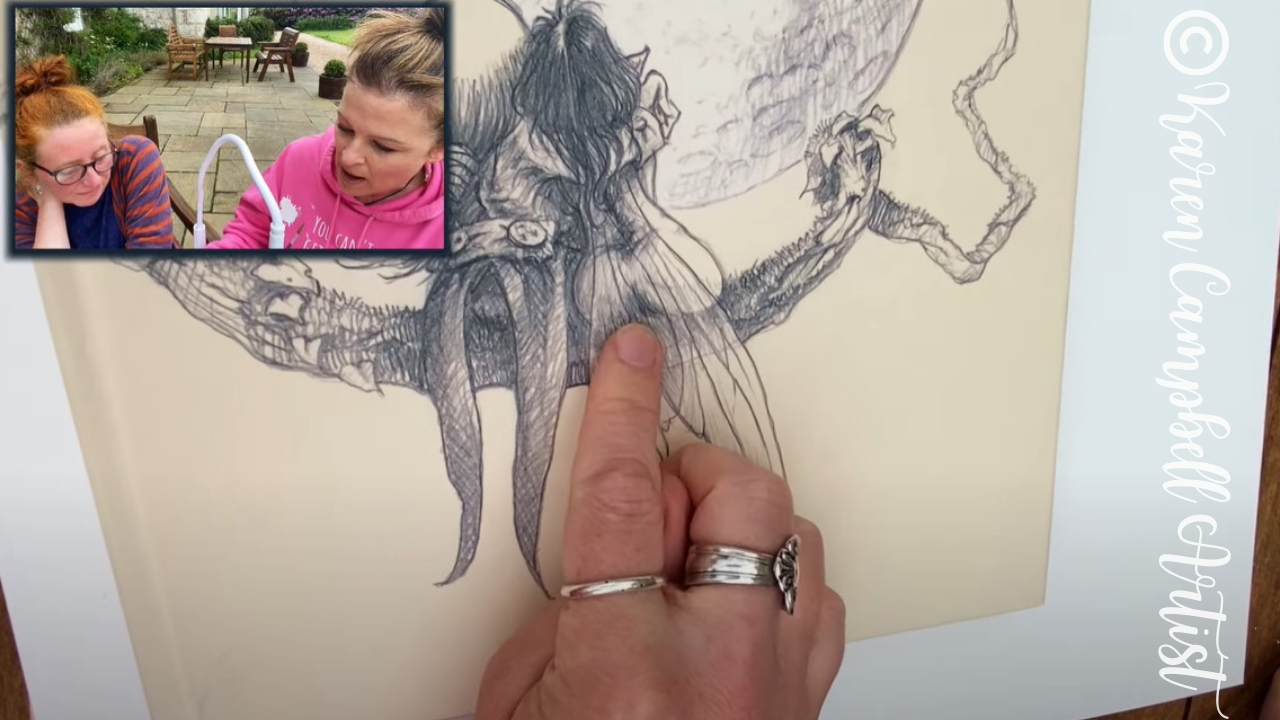
Lucy sketched in the girl fairy for us on the right side of our drawing using the Blackwing pencil. In case you haven't used a Blackwing before, it's so soft that the lines you draw with it can come out quite dark and thick. I love bold strokes like this, but if you have some finer detail to add to your drawing, you might prefer using a mechanical pencil.
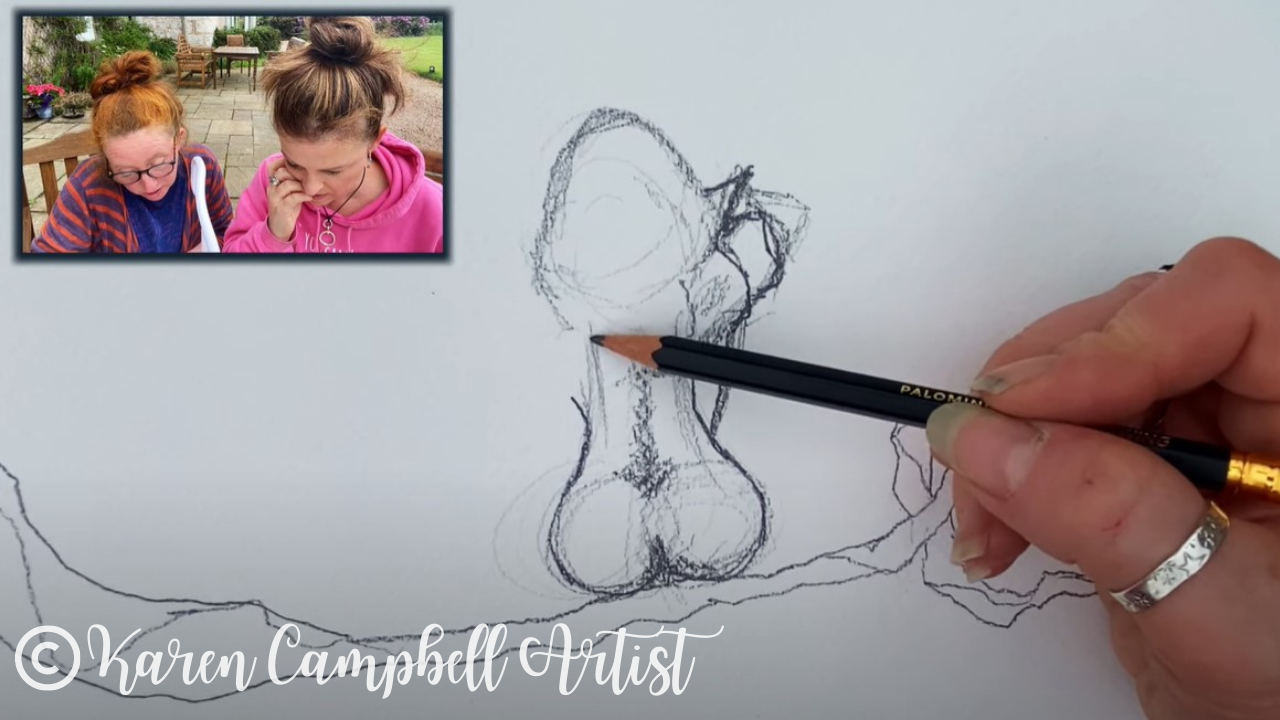
The shading in our reference photo appears to come through the most in the fairy wings just at the tips and tops of the wings. It reminds me of how I often shade hair - leaving a swath in the middle as the white of the paper.
If you're not sure how to draw fairy wings, make sure to watch this video because Lucy did a beautiful job. She switched to a mechanical pencil for the fairy wings in this drawing because these lines are more delicate. It's just adorable. 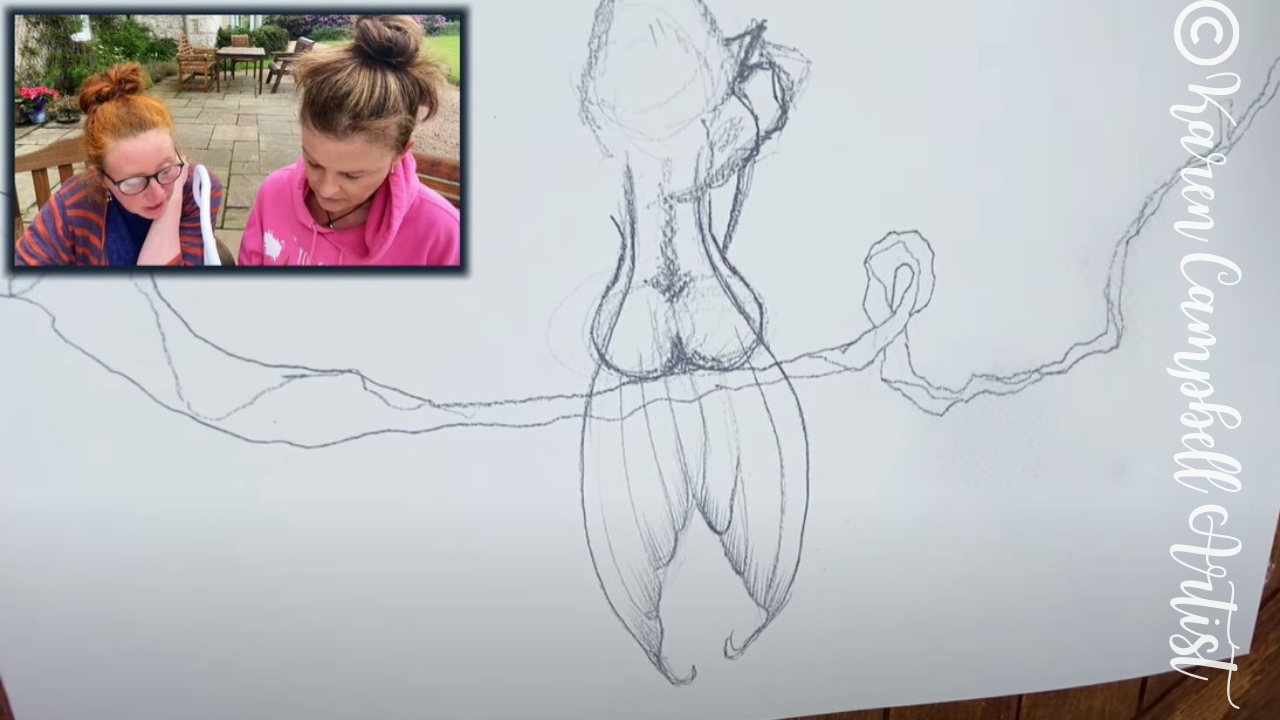
The shading in this piece came together quickly with only a blending stump! Remember, the dirtier, the better with a blending stump! If you don't have one at home- simply use a q-tip, a kleenex over your pointy finger, or just your finger.
We did pull out my Tombow mono zero eraser to carve some highlights back into the shading where it got a little too dark. If you've never tried this eraser before it's amazing at making highlights in your pencil drawings, and really not that expensive at ~$6 on Amazon. To cover larger areas with an eraser, I prefer my Vanish eraser. 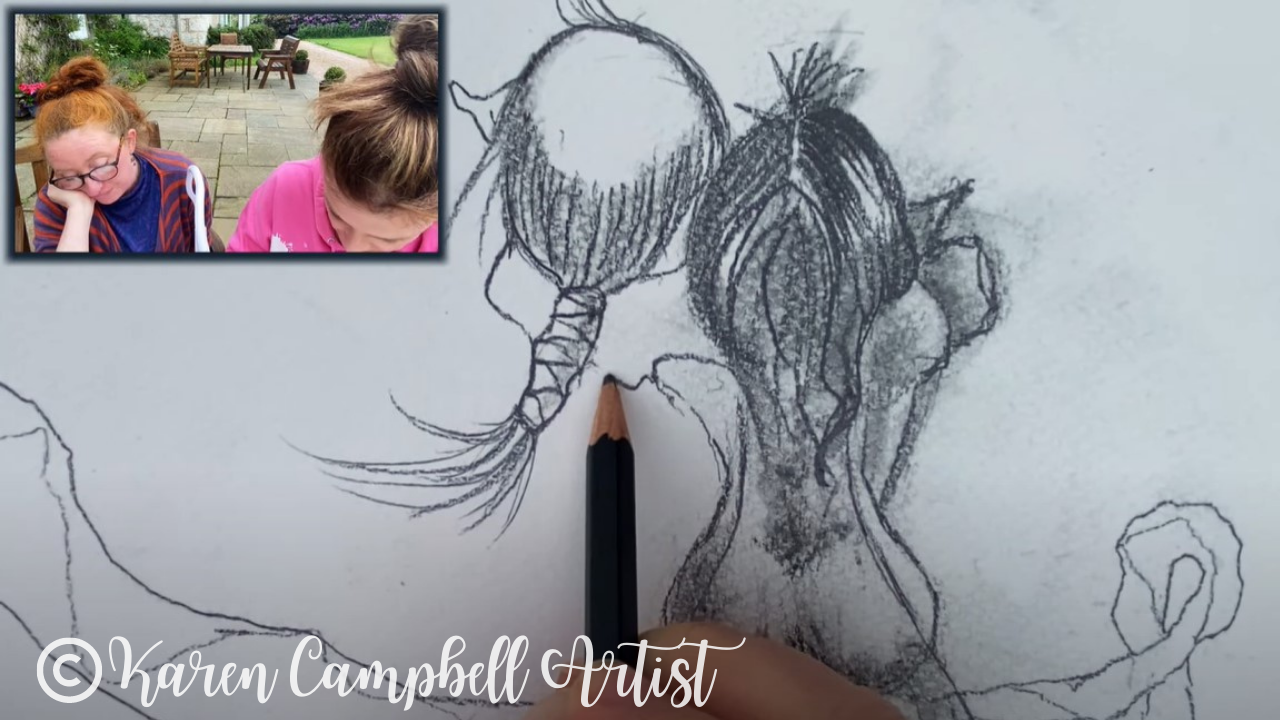
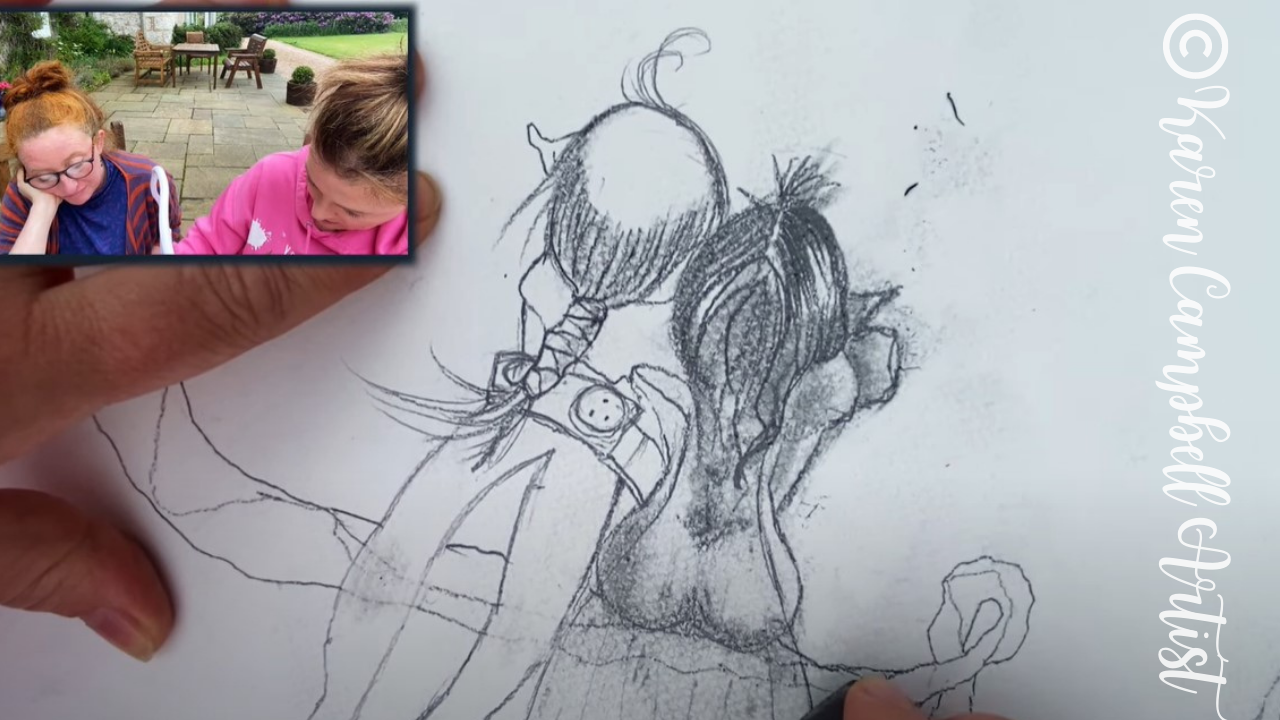
For the man fairy that I drew, I mostly used my blackwing pencil and blending stump. His little belt is SO cute!!
During the filming of this fairy drawing tutorial we were outside and it started to drizzle (as it does in Scotland!), plus Lucy and I were seated closely with one another for filming, so we were working in a tight space.
If your hand drags through the graphite you've already drawn in - as mine did, don't sweat it. When you get to the end of your drawing, go back and erase out the areas you had intended to be white or whiter than they currently are. Then sharpen your lines using a mechanical pencil. 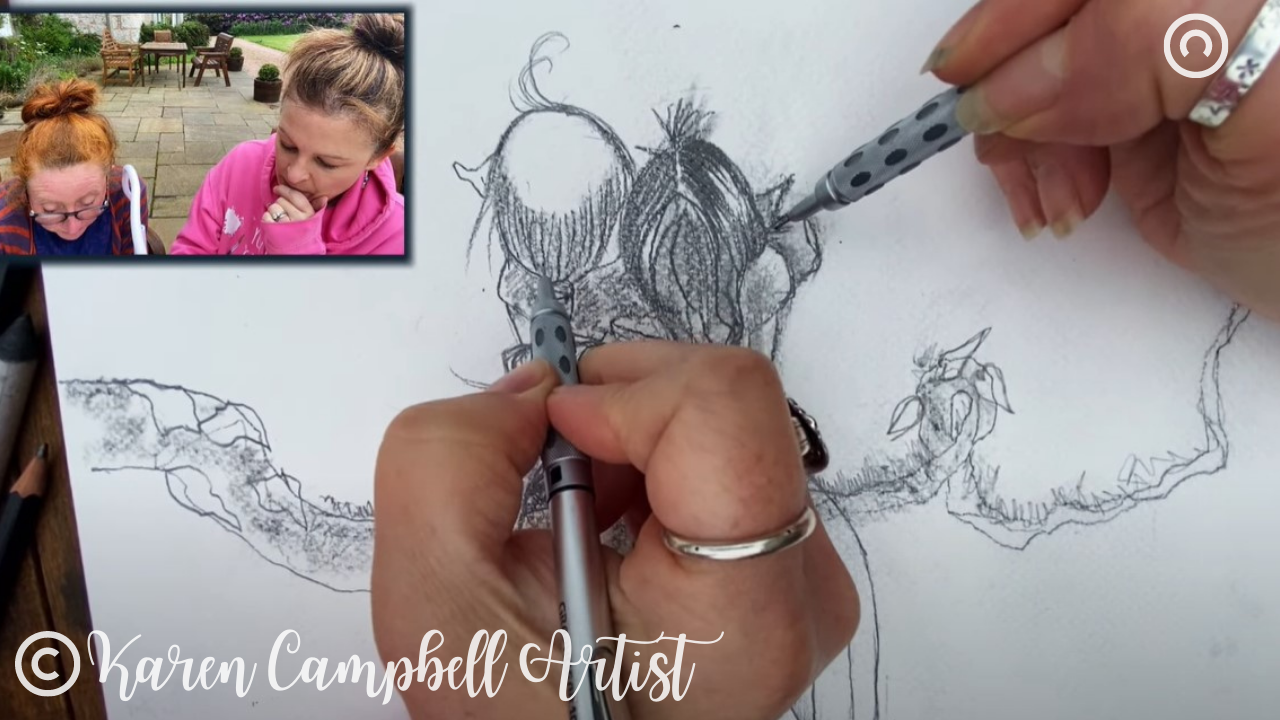
I just love this pic above of our hands working together on the same cute drawing!! What a fun memory.
Press play on the lesson below to draw along with us in real time and see all the little tips and tricks we mentioned to you here, in action! Plus... you'll get a sneak peek at the front door of Wardhill Castle in Scotland :)
If you're OBSESSED with fairies and fantasy art like Lucy and I are, you might just LOVE the Celtic Collective over at Awesome Art School. It's an art membership that we run together!

You might ALSO enjoy our podcast, 1Scot,1 Not. We talk about everything under the sun to do with Scotland - whether it's historical, fantasy, whatever. Just a quick warning - we have a blast and are totally ourselves on the podcast, which means there is some drinking and swearing.
❤️ CHECK OUT ALL my art books on AMAZON ❤️ MY FAVORITE ART SUPPLIES on AMAZON ❤️ MY BELOVED FACEBOOK GROUP ❤️ FOLLOW ME ON INSTAGRAM EASY Fairy Drawing in Alcohol Markers with Karen Campbell [Week 3 #50FunFabFaries Challenge]14/6/2022
Wanna create this EASY fairy drawing with me in alcohol markers? These are one of my FAVORITE art supplies to use when shading faces I draw. If you've never tried them before, stick with me - I'll guide you step by step in today's drawing tutorial as we continue with week three of the #50FunFabFairies drawing challenge!
To find ALL the info for the FREE #50FunFabFairies drawing challenge, simply click the button below to receive instant access to ALL the fairy reference images for each drawing prompt, plus info on supplies, cheatsheets and more!

Wanna become a better artist? Do today's lesson (and every lesson of the challenge) five times, making a few creative alterations of your choice, and watch your skills soar as you practice fairy eyes drawing, fairy ears drawing AND fairy hair drawing 50 different ways!
Before we continue, super quick announcement: All product links are Affiliate. I may earn a small commission if you choose to order through these links but by law there is never any additional cost to the consumer for doing so. I thank you for your support.
Just because we're switching up our supplies for week three of #50FunFabFairies, I don't want you to get distracted from the actual purpose of this fairy drawing challenge - which is increasing your drawing skills!
You're learning how to draw faces and where to look in reference images for face shading guidance so you know how to add depth to your drawings. If all you have is a pencil and a piece of paper and you want to do this drawing challenge - that's perfect. You're good to go! All that matters is you draw. 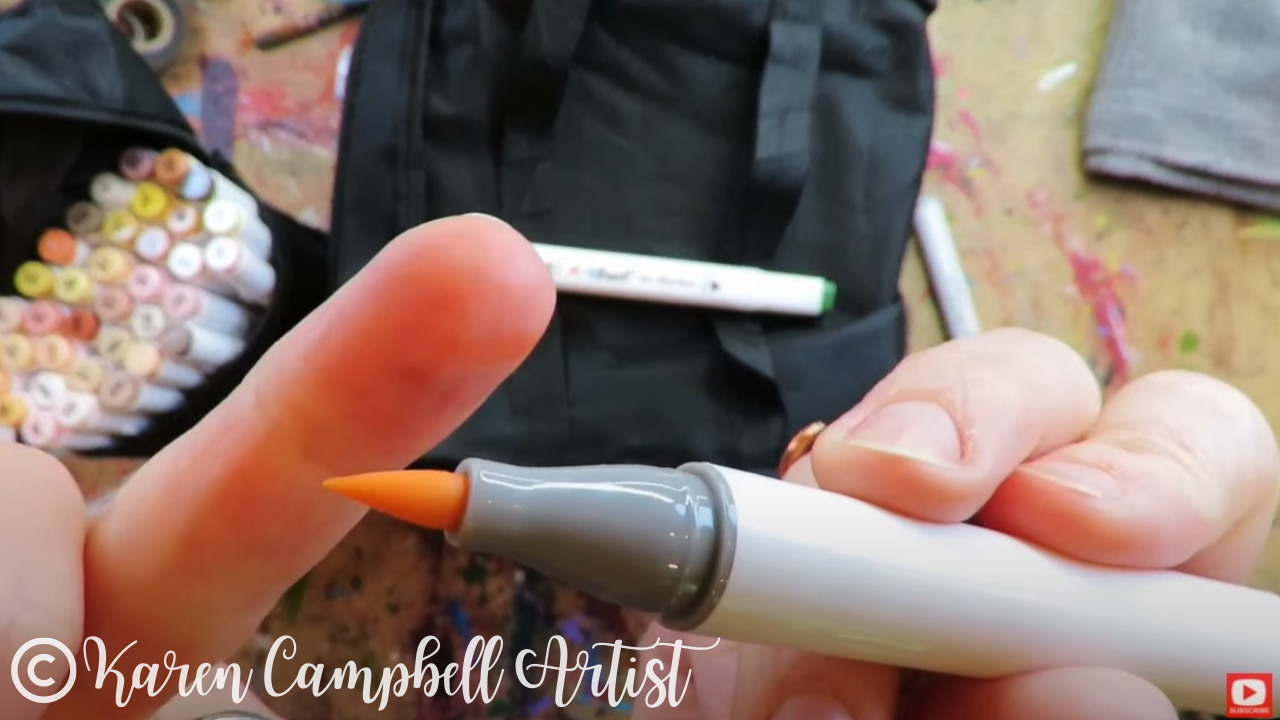
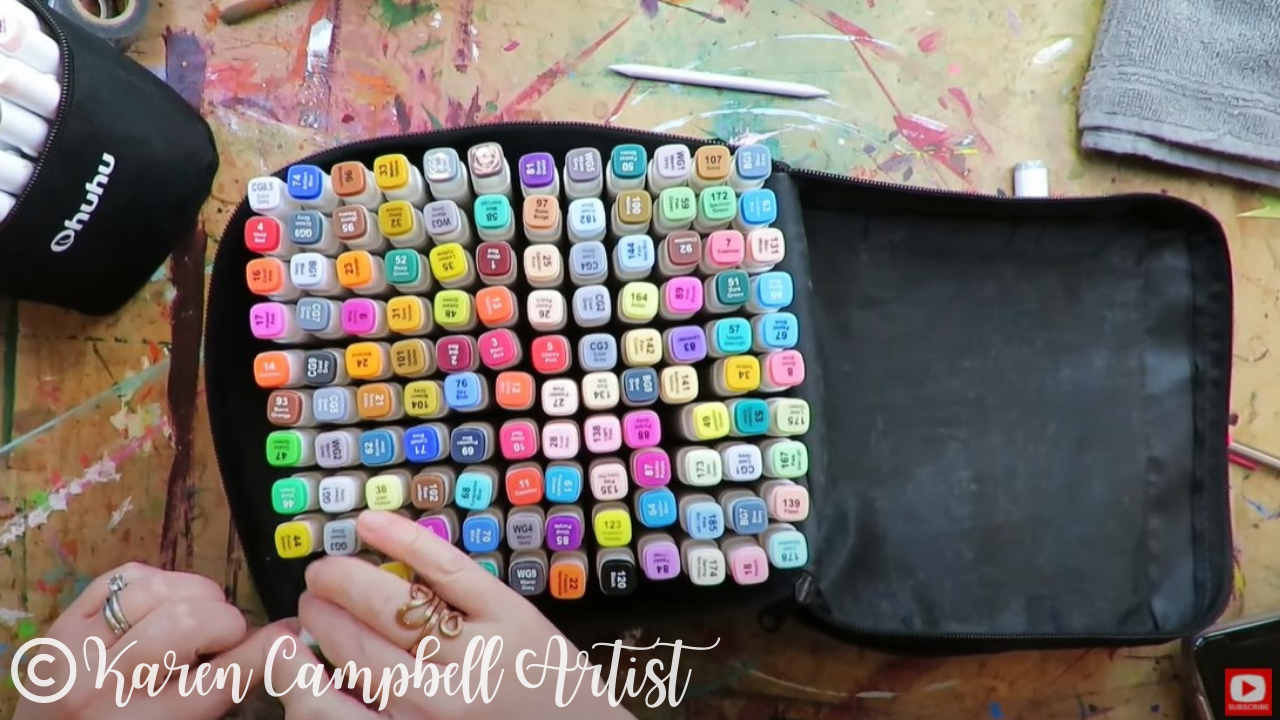
If you're new to my world, my absolute favorite alcohol markers are copics, but they cost between $8-9/each, so when I teach my students how to use alcohol markers I use Ohuhus (especially for skin tones!) because they only cost $1/marker.
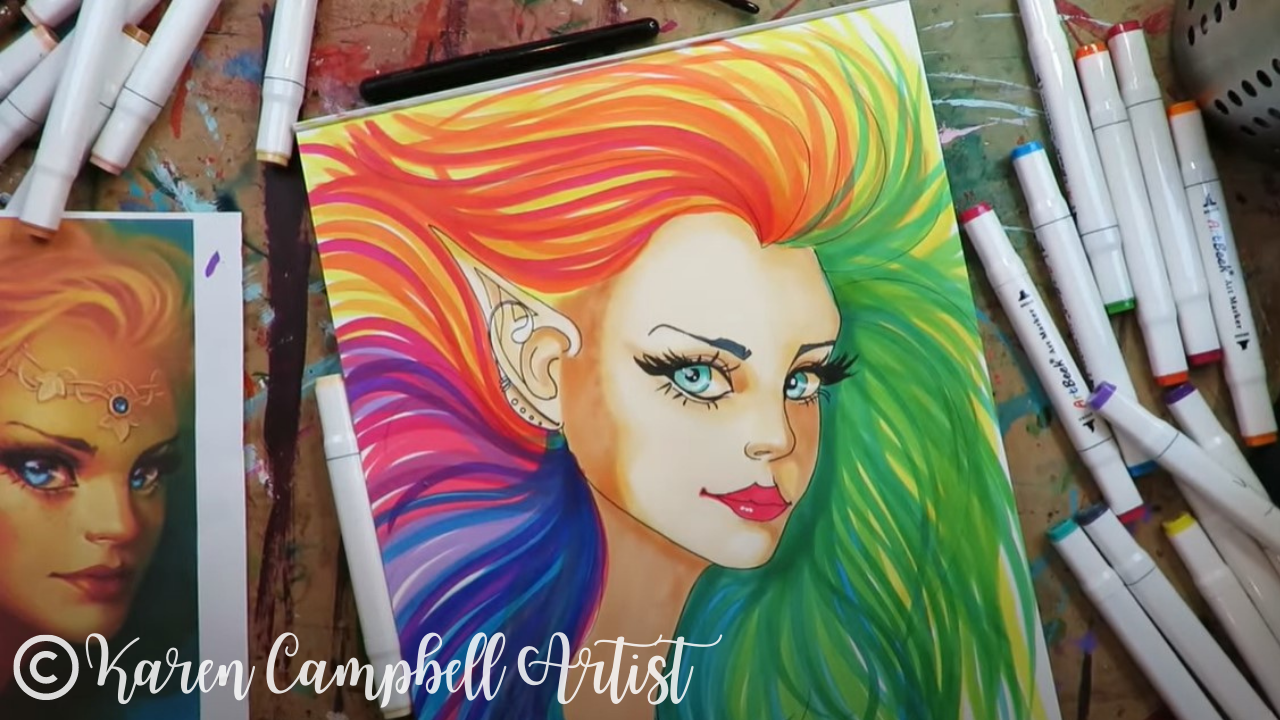
I was recently approached by a company called ArtBeek to try out their alcohol markers. I said I would because their cost per marker is only 40 cents and they have a brush nib on their markers -which is a must have for me. So today's project is not only our #50FunFabFairies drawing prompt number 3, it's a product test and review for ArtBeek Alcohol Brush Markers. 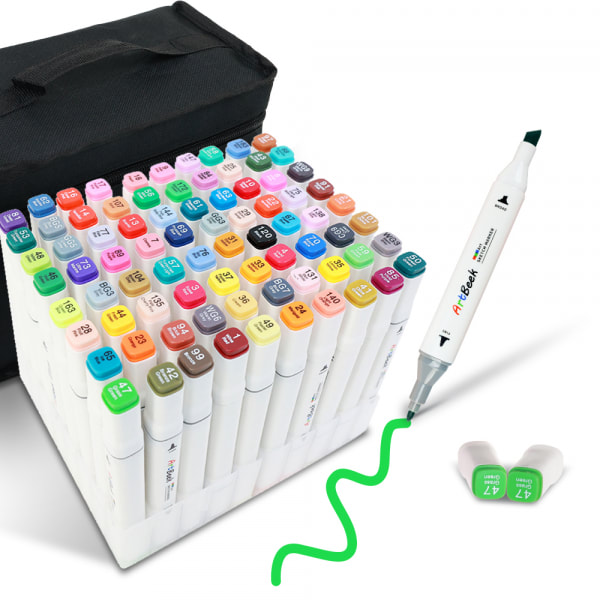
The fairy face drawing we're doing today is a side profile drawing in the three quarter view pose. While this is the most challenging view to draw - I think it's important for you to start practicing this right away so you don't feel intimidated.
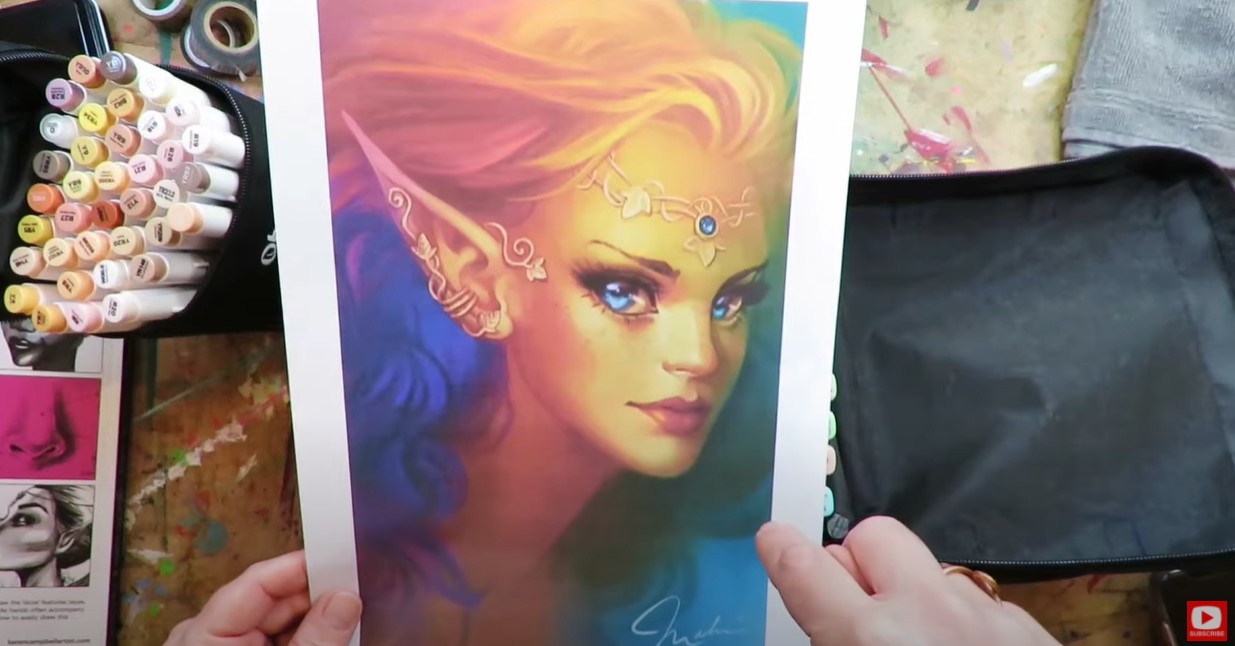
I'm including cheatsheets on how to draw a three quarter portrait from my book How to Draw & Find Your Style in the #50FunFabFairies classroom for you over at AwesomeArtSchool.com. I'm also referring to my book Skin Tone Secrets for a little help in locating the skin tone marker shades I want to use for this drawing. I love the rainbow vibe in our reference fairy drawing image. I see seeing a lot of yellow in the lightest areas, so immediately connected with this page from Skin Tone Secrets. 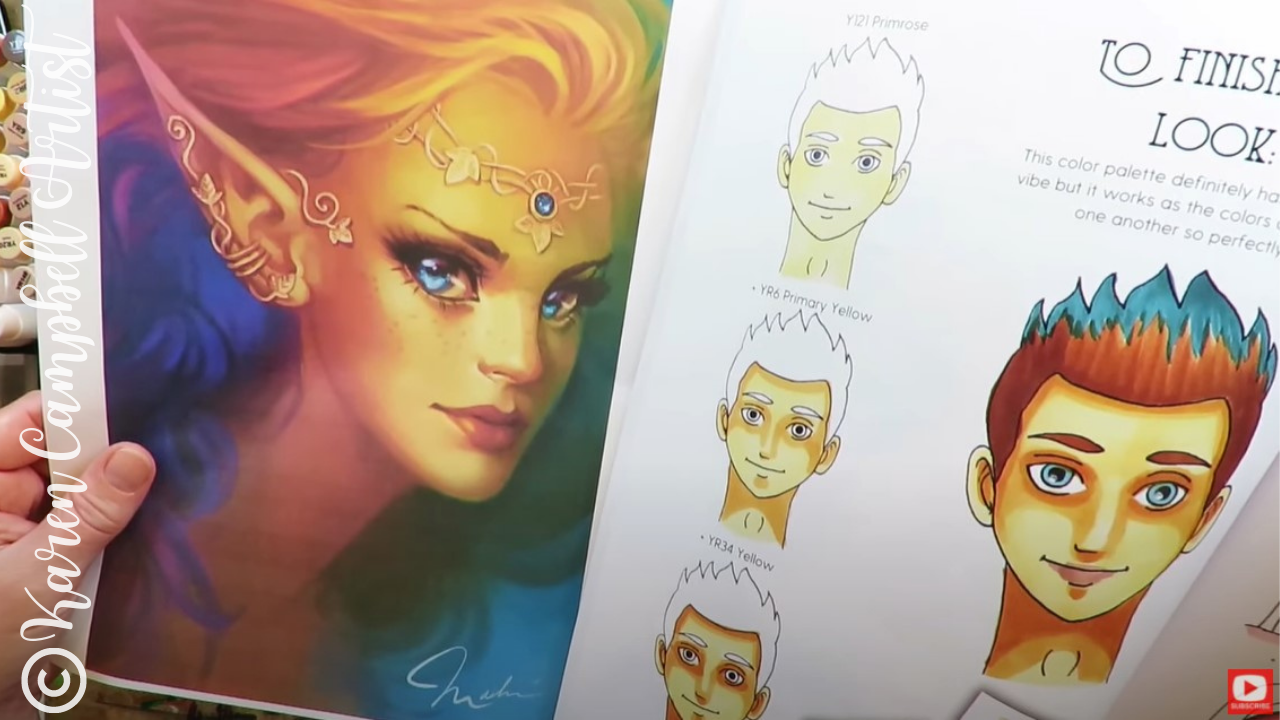
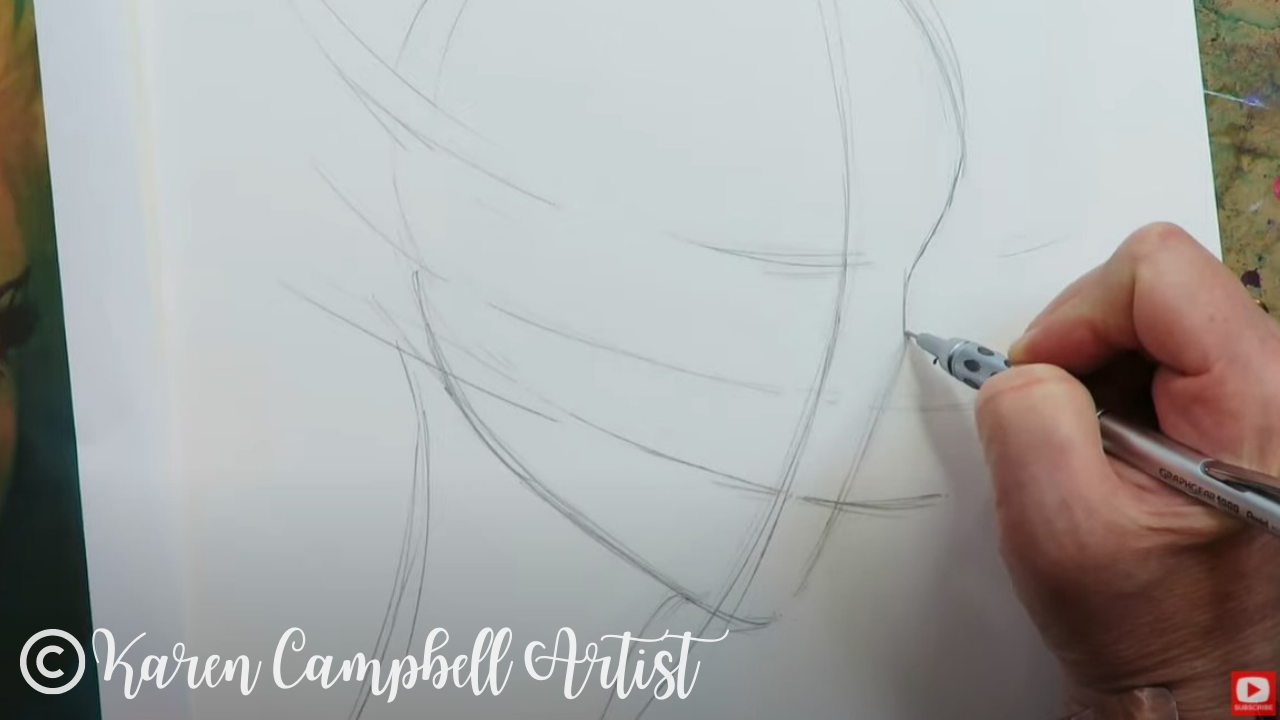
To get started, we need to sketch in the basic side profile drawing shape for a three quarter portrait AND the facial feature guidelines. If you know me - you know I NEVER draw a face without guidelines, because they're just too important!
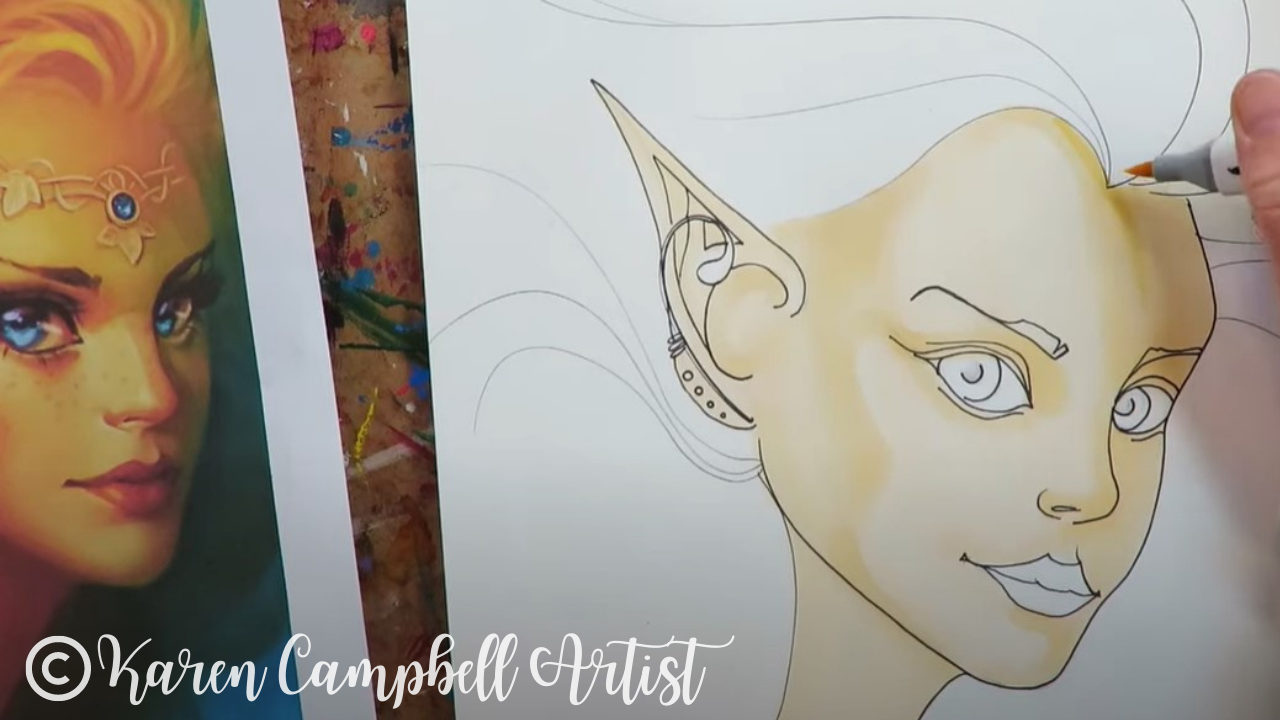
If you're not sure how to draw fairy ears, I've got you! Simply watch the video, and I'll show you step by step.
Once I've penciled in a few swirly hair lines, it's time to get rid of our graphite as well as we can, because graphite and alcohol markers really don't mix. The brush nib of an alcohol marker can get dirty and pick up graphite super easily. This can drag all over your drawing and muddy things up, so make sure you take enough time to erase as much of the graphite as possible.
I use my vanish eraser for this. After the guidelines are gone, I actually pounce my eraser over the rest of my lines just to remove even more. 
HOT TIP: If you're an outliner like me, and want to do those first, make sure you're NOT using a sharpie because these are also alcohol markers and they will naturally want to bleed and blend in with the other colors you're using.
Instead, opt for a fineliner that is water-based or pigmented, like this one from Molotow. These will NOT smear when you're working with Copics, Ohuhus, or the new markers I'm testing out today by ArtBeek. 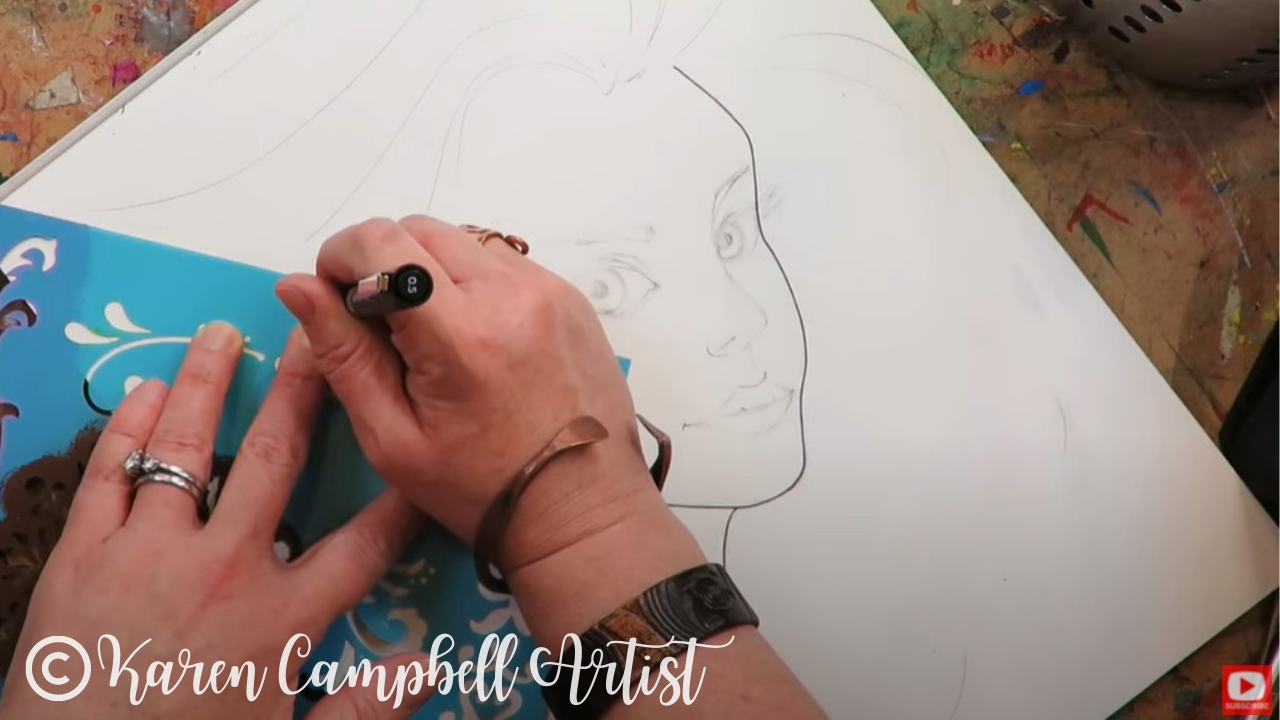
HOT TIP: There are lots of fun swirlies in our fairy drawing image for jewelry, I love using a STENCIL to do this! It takes the pressure off trying to copy something exactly and looks SO precise in your drawing. I highly recommend you do this as well :)
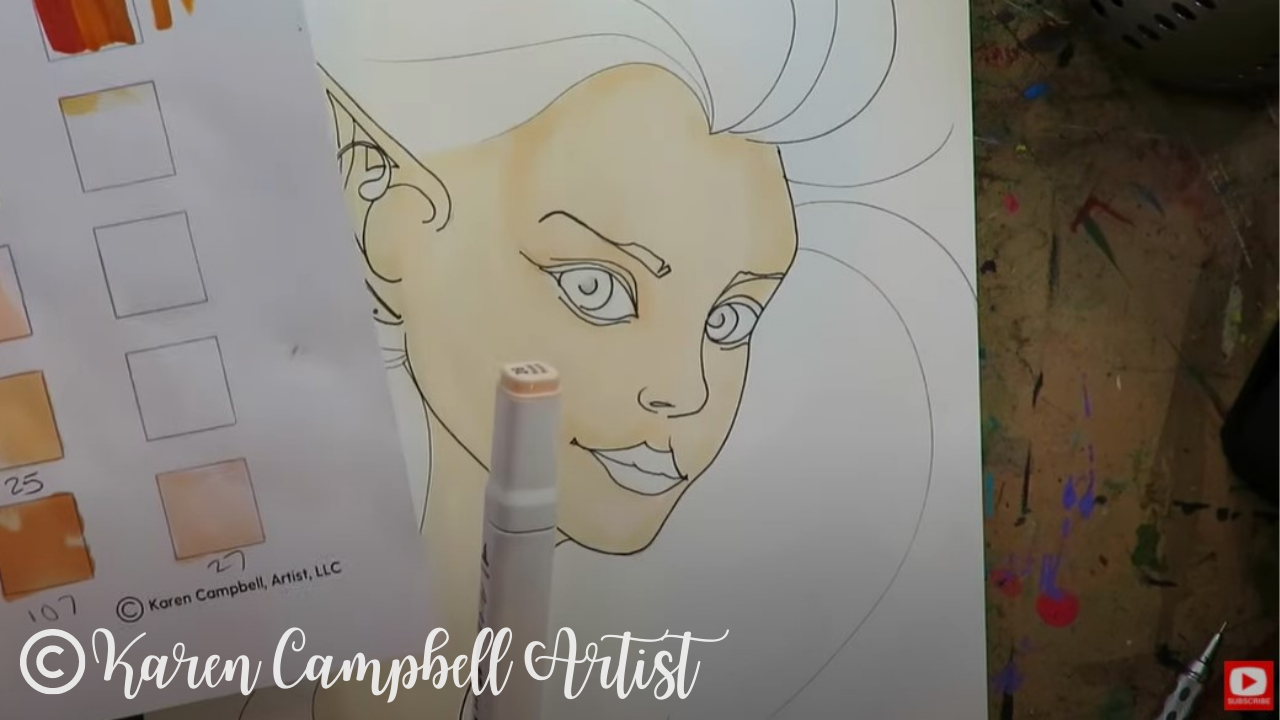
Since I'm using a new to me set of alcohol markers, I do need to swatch them out prior to coloring today. As I do this, I'm loving the soft brush tip of the ArtBeek markers. There aren't a lot of skin tones (even in the large set of 120), but I do feel like they're even softer to work with than the Ohuhus, which kinda surprises me!
In the video, you'll really see how I look to my reference fairy drawing image to "inform" my face shading. If you're scared to change marker shades as you get into shading the face - that's ok. Just use the same shade you were working with for layer one and darken your drawing with a second coat of that same color to start creating subtle shadows (above). It's totally fine to do this in baby steps until you're comfortable.
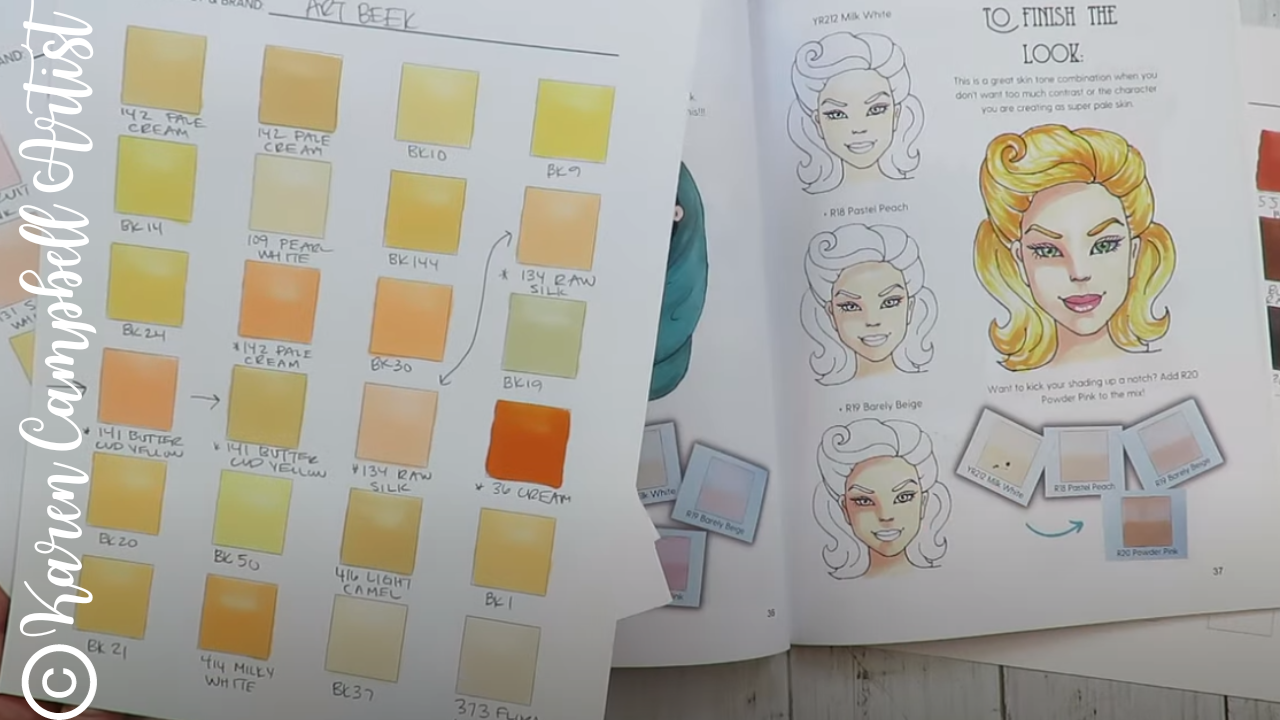
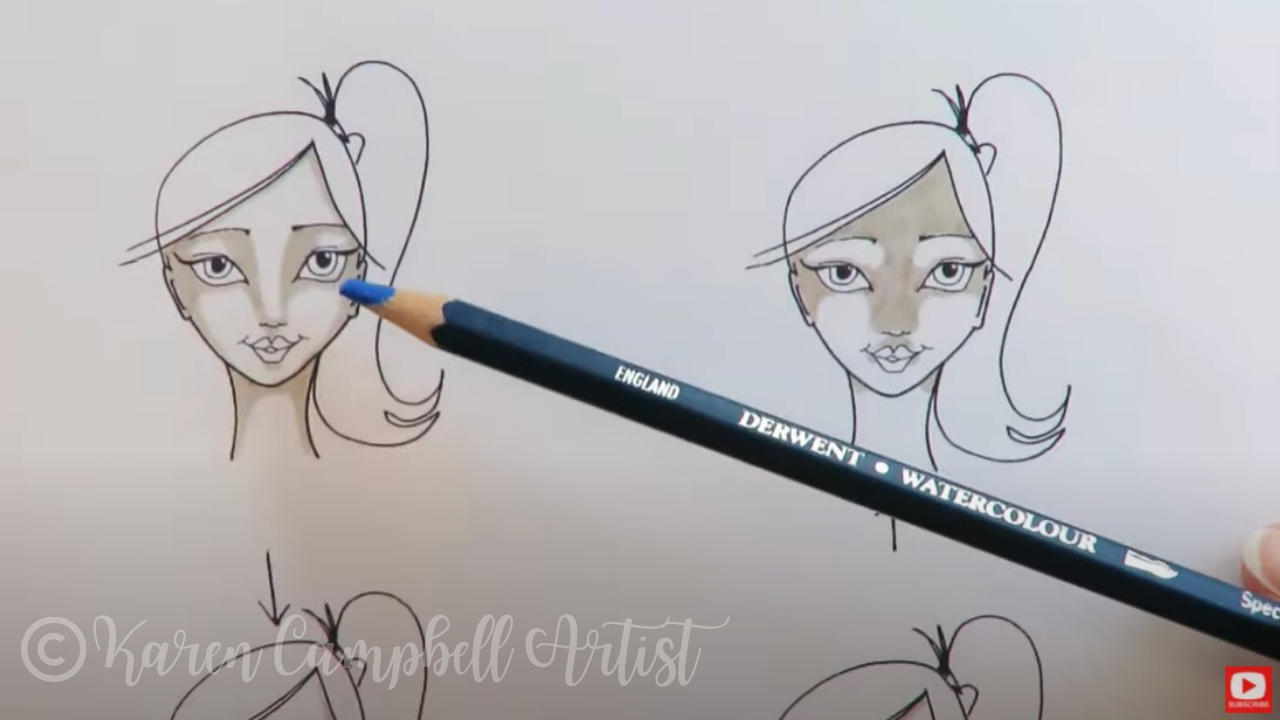
Typically I recommend using three shades of a color to do face shading in alcohol markers. As you can see in the photo above, each time you add a layer of shading that is slightly darker than the one you did previously, leave that a bit of that previous color exposed to really add depth to your drawing. In the photo above, you can see all four skin tone marker shades I used in the shadow on her face, next to her ear.
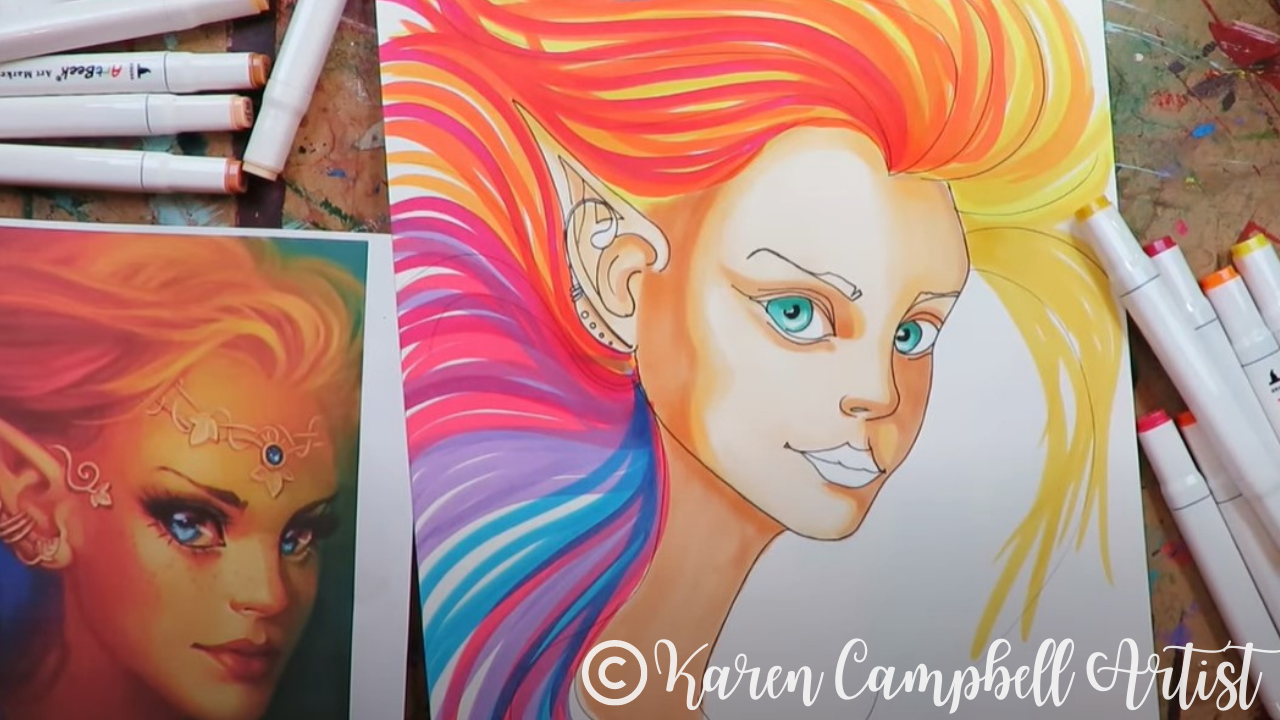
The hair on this fairy is wild and SO much fun! I am in love with the rainbow and the fact that it gives me the opportunity to use so many colors from this fun new marker set by ArtBeek.
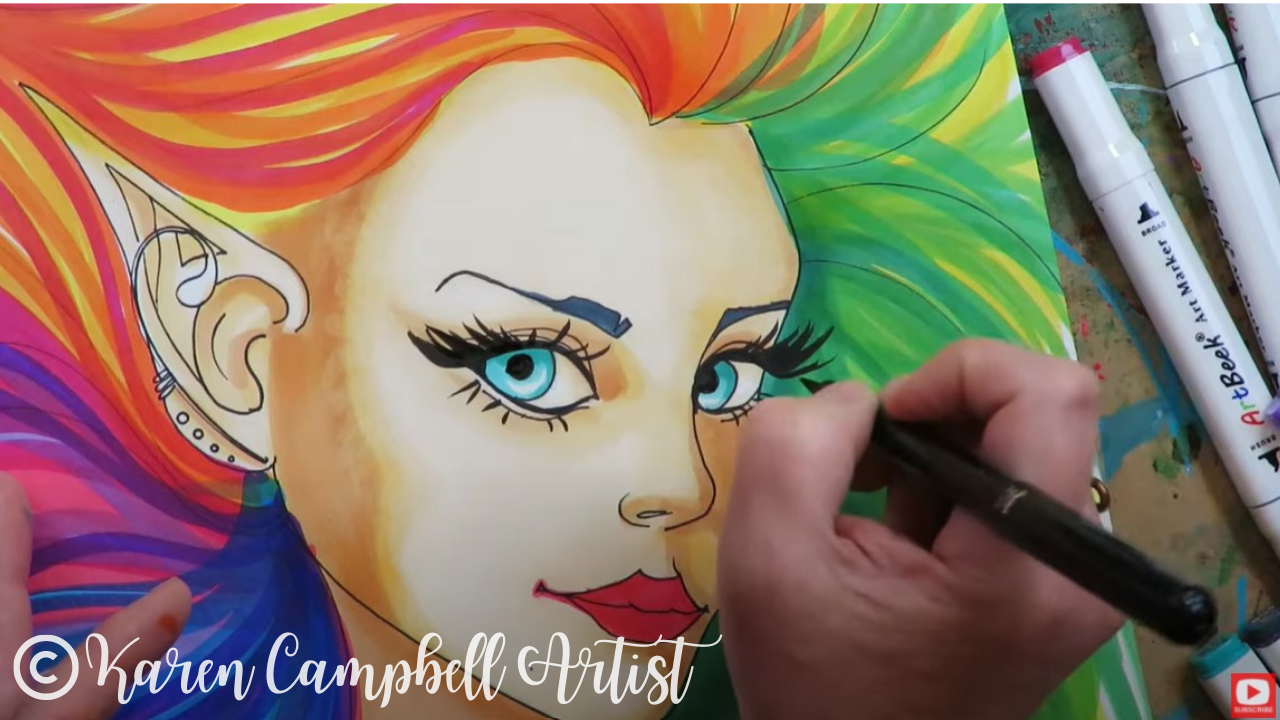
After my fairy is done, it's time for me to pull out my secret weapon for drawing killer eyelashes! I LOVE my pentel pocket brush. It's also water-based so works just as beautifully with alcohol markers as it does over china markers and my mixed media paintings!
I hope you enjoyed today's fairy drawing lesson. Remember, if you haven't signed up for the FREE #50FunFabFairies drawing challenge - you can still do that whenever you want to. It's not too late to join, and there is no "behind" with the challenge. Everything is draw at your own pace on your own time! I've stocked the FREE classroom at AwesomeArtSchool.com for you with PDFs of our fairy reference images for each lesson, plus drawing cheatsheets to help you along, info on supplies and SO much more! Have so much fun and I'll see ya in the classroom, or if you're posting your progress in the Facebook group! If you're OBSESSED with fairies and fantasy art like me, you might just LOVE the Celtic Collective over at Awesome Art School. It's an art membership my Scottish bestie, Lucy Brydon, and I run together! 
You might ALSO enjoy our podcast, 1Scot,1 Not. We talk about everything under the sun to do with Scotland - whether it's historical, fantasy, whatever. Just a quick warning - we have a blast and are totally ourselves on the podcast, which means there is some drinking and swearing.
❤️ CHECK OUT ALL my art books on AMAZON ❤️ MY FAVORITE ART SUPPLIES on AMAZON ❤️ MY BELOVED FACEBOOK GROUP ❤️ FOLLOW ME ON INSTAGRAM EASY Fairy Drawing in Watercolor Pencil with Karen Campbell [Week 2 #50FunFabFaries Challenge]31/5/2022
Wanna create this EASY fairy drawing with me? If you've never worked with watercolor pencils, you're in for a treat! Adding a touch of water to the lines you draw will create magical face shading and turn your beautiful fairy drawing into a painting!
Never drawn a face before? This fairy drawing tutorial is EASY enough for beginners! Don't have a watercolor pencil? No problem! I'll show you a variety of common water soluble pens, pencils and markers you may already have lying around at home!
Click the button below to join me in my FREE 10-lesson, 20-week fairy drawing challenge for artists of ALL levels. The amazing classroom I have waiting for you at Awesome Art School includes expanded information and resources with full-length fairy drawing lessons not available on YouTube! 
Wanna become a better artist? Do today's lesson (and every lesson of the challenge) five times, making a few creative alterations of your choice, and watch your skills soar as you practice fairy eyes drawing, fairy ears drawing AND fairy hair drawing 50 different ways!
Before we continue, super quick announcement: All product links are Affiliate. I may earn a small commission if you choose to order through these links but by law there is never any additional cost to the consumer for doing so. I thank you for your support.
Before we get into today's project, I want to reiterate how FEW art supplies are needed to participate in the #50FunFabFairies drawing challenge (and in basically any tutorial I share)!
Starting with paper, I basically only ever work on three types of paper: white cardstock (or Bristol if you prefer - I just love the Hammermill cardstock because it's cheaper and feels the same as Bristol to me!), tan toned paper (or grey- whatever floats your boat!), and watercolor paper (or a watercolor journal). Why watercolor paper for my YouTube drawing channel? Because I LOVE drawing with water soluble pens, pencils and markers! In case you're new to my world, or the term water soluble... if something is water soluble, it simply means it "melts" when you add water to it. Stay with me for the demo I'm about to share so you can see this in action! 
Today I'm working with a water soluble pencil (Derwent watercolor pencil) for week two of the #50FunFabFairies drawing challenge.
To get started, especially if you're just learning how to draw faces, I recommend using a plain old pencil so you can erase whenever you want. In the interest of time, I'm diving right in on my hot press watercolor paper (that means the paper has a smooth texture), with my watercolor pencil and hoping for the best, LOL!
Even though I'm drawing with watercolor pencil and I can't erase, my face drawing guielines are my go to for step one, no matter what kind of face I'm drawing. Even if you've never drawn a face before, you can TOTALLY participate in this fairy drawing challenge because everything is step by step and the FREE #50FunFabFairies classroom over at Awesome Art School is stacked with cheatsheets and resources to help you along!
Once you've got your fairy face outlined, it's time to think about face shading. If you're new to my world, and don't know how to shade a face, I've got a cheatsheet for that too, so don't sweat it!
Looking at a face drawing reference for shading guidance can be intimidating for beginners just learning how to draw. This is why my face shading guide is so helpful! It cuts down on the "visual clutter" in a reference image so all your brain just needs to focus on is choosing a face shading pattern from my cheatsheet, and copying the pattern you've selected onto your own paper.
When I'm shading a face, I'm not using much pressure at all to start, (especially if I'm using a water soluble pencil), because as you'll see - the shading will REALLY pop and darken, as soon as I add water. 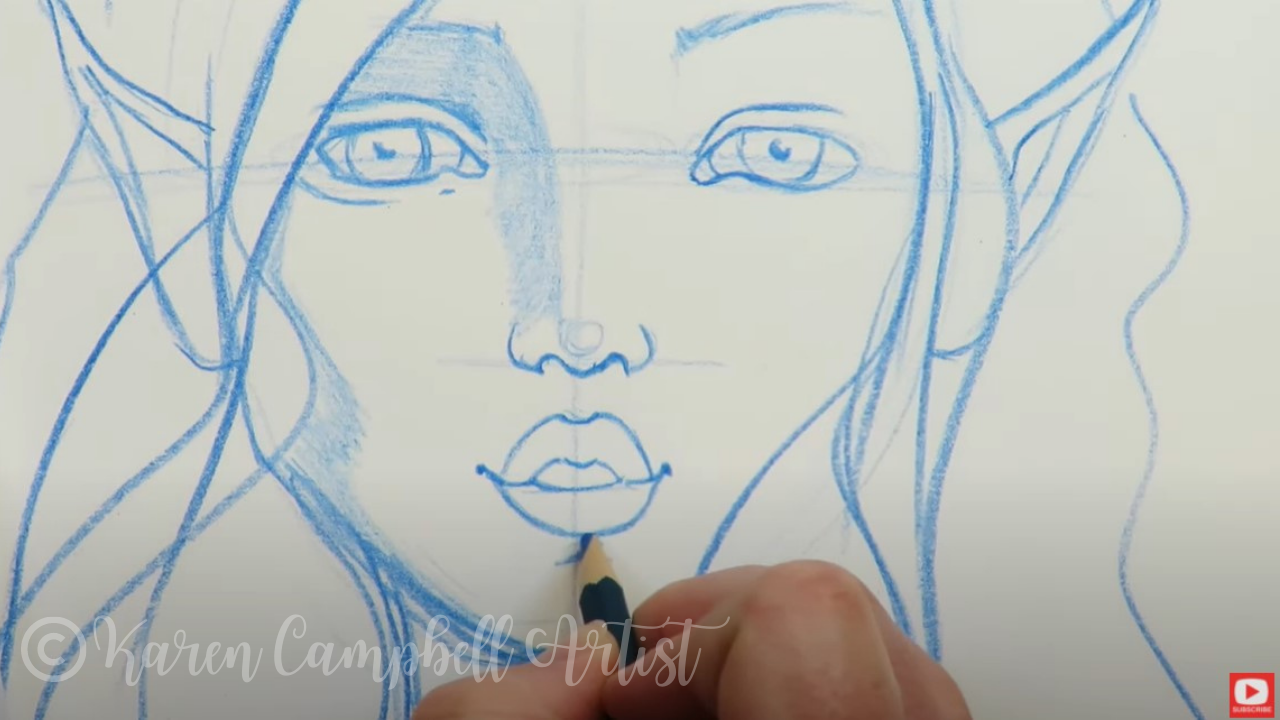
After you've finished shading your fairy face, it's time to add a little water. You can either use a water brush, or a watercolor brush. It's totally up to you!
When I'm traveling, I tend to bring a water brush because it's simple to pack and carry on the go. When I'm at home in my studio, I prefer to use my favorite watercolor brushes by Polina Bright. If you haven't tried these before- they're stunning, and now the only thing I use. (Side note: If you want to order one for yourself, Polina has extended a special discount code to my followers! Just enter my name in all caps KARENCAMPBELL at checkout on her website to receive 10% off your order). 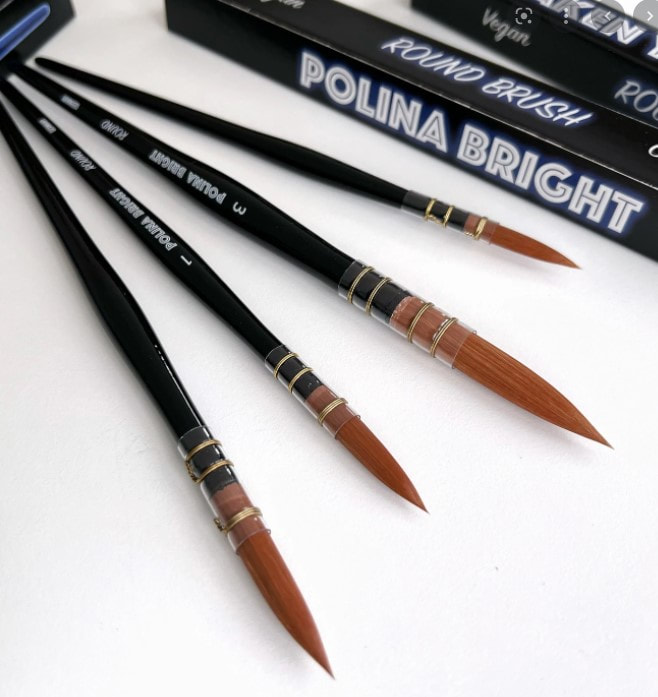
If you've never activated watercolor pencils or a water soluble marker before, be aware that the more water you use, the more your drawn lines will run.
I prefer using a "damp" brush, because then wherever I add water, the effects won't be so shocking. I typically get my brush super wet and tap it on a paper towel so it's just damp. Then I run my damp brush along the lines I want to smear and run in my drawing. HOT TIP! Did you add a shadow where there shouldn't be one? Simply blot that spot right away with a paper towel to lift the color. Be sure to watch the video to see this trick in action! 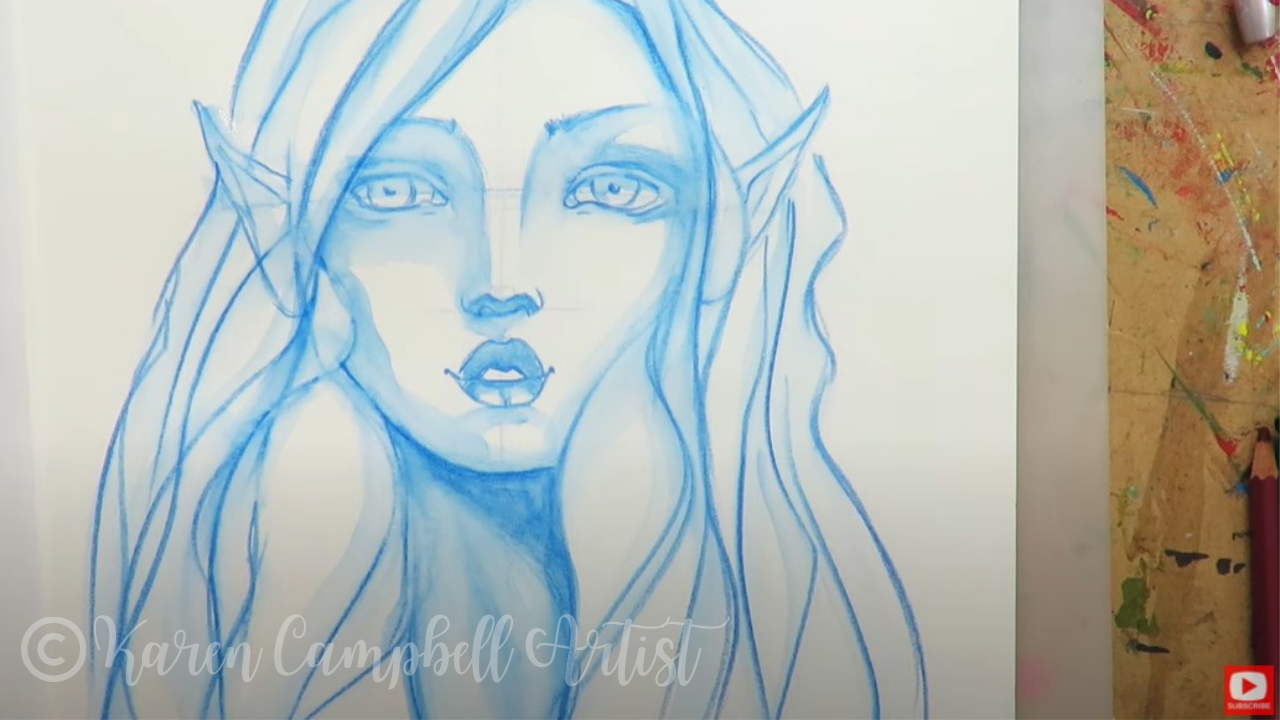
Once I've activated my watercolor pencil lines the way I want them, I use a hair dryer to make sure my paper is completely dry, so I can add a second layer of watercolor pencil to intensify the face shading.

See how the features pop even more once I add that second layer of pencil on top of the activated layer? I LOVE how that looks!
I'm purposefully not activating my second layer of watercolor pencil, because I love that contrast between the activated and non activated layers. In my second layer of shading, I darken the lines that feel most important in my drawing to add greater depth.
When I'm happy with my second layer of shading, it's time to glam this fairy up by drawing eyelashes with my secret weapon, the pentel pocket brush! 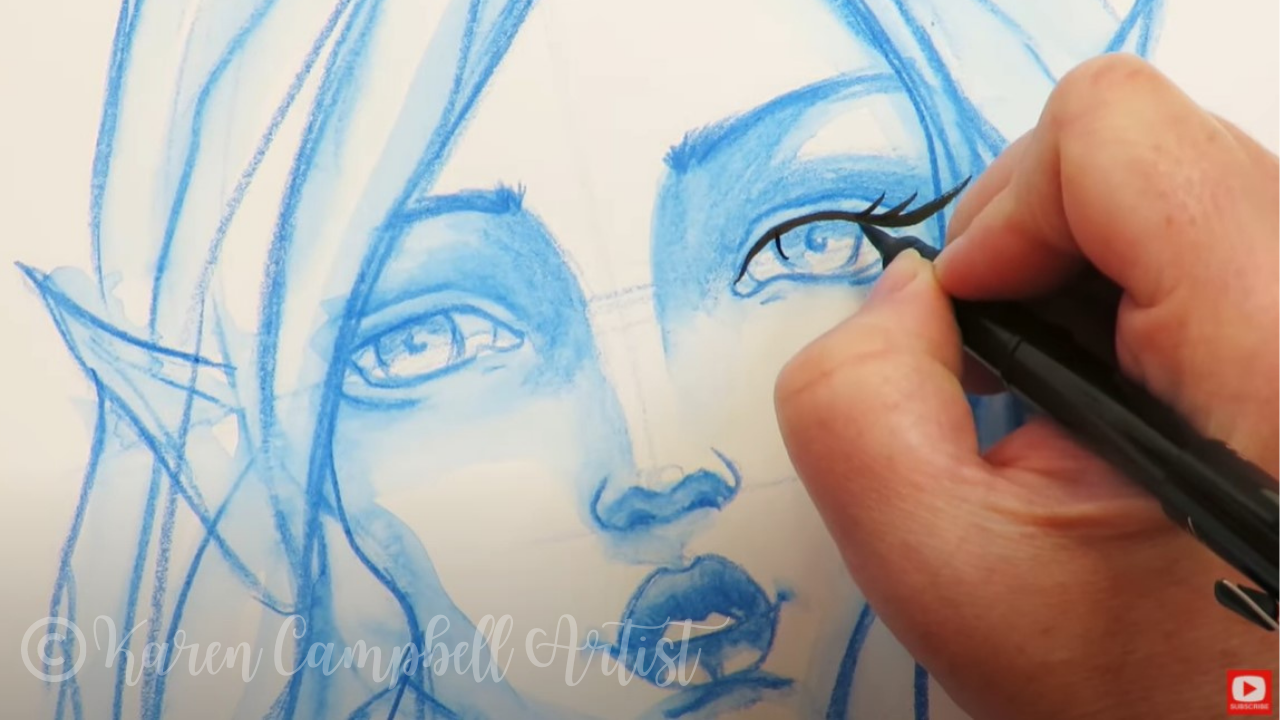
Once I've carried some soft black lines throughout my fairy with the pentel pocket brush to tie the drawing together, it's time to add her headpiece.
Click over to the video to see this in action. And by all means, PLEASE join me in this FREE fairy drawing challenge! We are having a blast sharing and commenting on each other's fairies over in the Facebook group. Make sure you join us over at Awesome Art School for the full blow FREE classroom with all the reference images, full length drawing lessons and more to help you enjoy the #50FunFabFairies drawing challenge to the fullest! If you're OBSESSED with fairies and fantasy art like me, you might just LOVE the Celtic Collective over at Awesome Art School. It's an art membership my Scottish bestie, Lucy Brydon, and I run together! You might ALSO enjoy our podcast, 1Scot,1 Not. We talk about everything under the sun to do with Scotland - whether it's historical, fantasy, whatever. Just a quick warning - we have a blast and are totally ourselves on the podcast, which means there is some drinking and swearing. ❤️ CHECK OUT ALL my art books on AMAZON ❤️ MY FAVORITE ART SUPPLIES on AMAZON ❤️ MY BELOVED FACEBOOK GROUP ❤️ FOLLOW ME ON INSTAGRAM
Wanna create a BEAUTIFUL, EASY fairy drawing you can be proud of - even if you've never drawn before? You're in the right place!
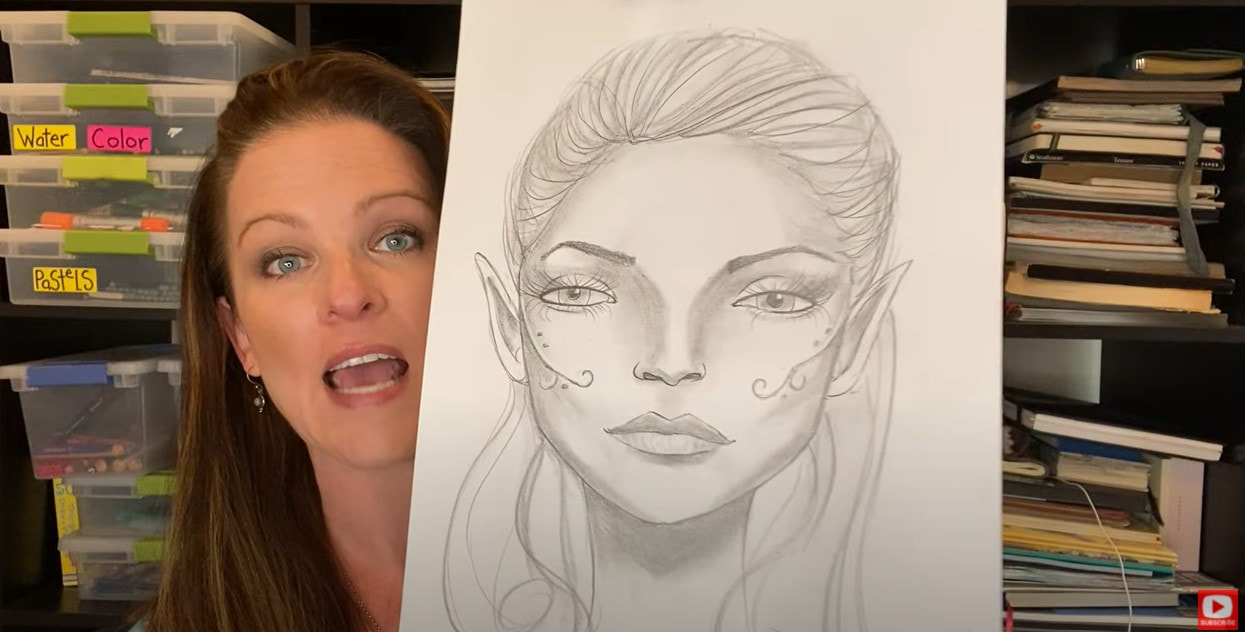
Today I'm kicking off my FREE #50FunFabFairies drawing challenge and teaching YOU how to draw a beautiful fairy face, step by step on toned paper. 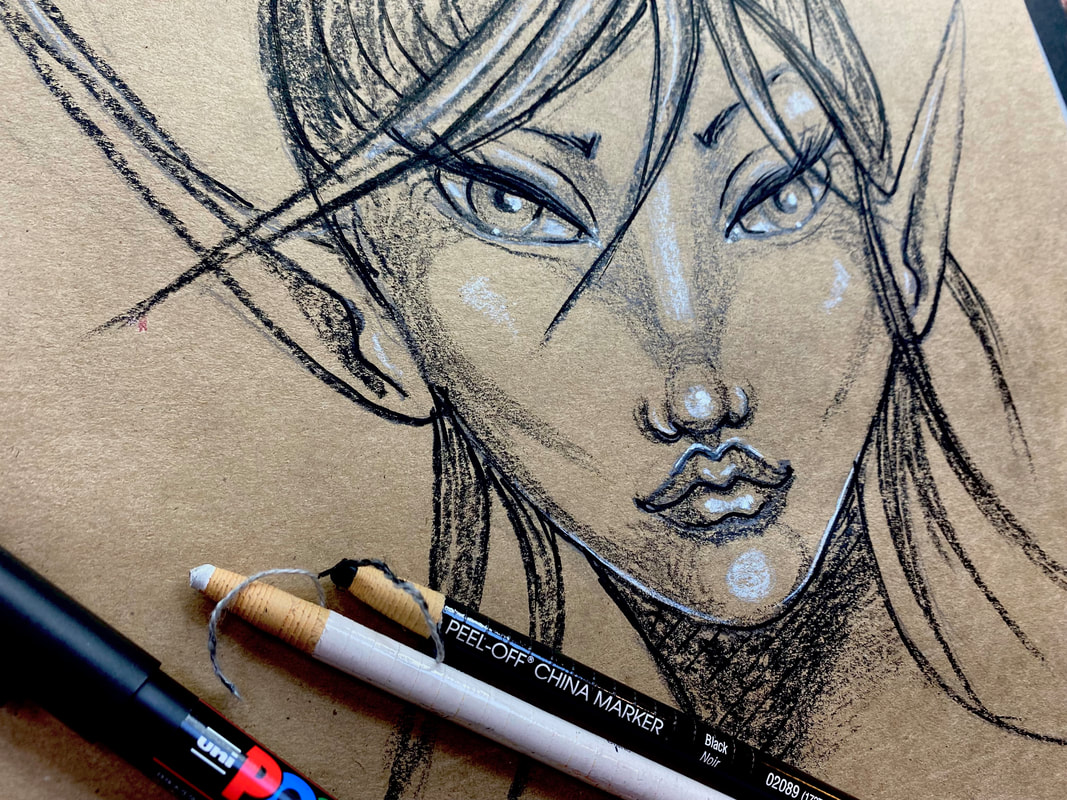
Never drawn a face before? No problem. Never drawn on toned paper before? It's EASIER than drawing on white paper! Don't have any fancy drawing supplies? Upcycle the back of a paper grocery bag into tan toned paper, and grab 2 colored pencils or crayons (black & white).
Simply click the button below to join me in my FREE 10-lesson, 20-week fairy drawing challenge for artists of ALL levels. The amazing classroom I have waiting for you includes expanded information and resources with full-length lessons not available on YouTube. 
Wanna become a better artist? Do today's lesson (and every future lesson of the challenge) 5 times, making a few creative alterations of your choice, and watch your skills soar as you practice fairy eyes drawing, fairy ears drawing AND fairy hair drawing 50 different ways!
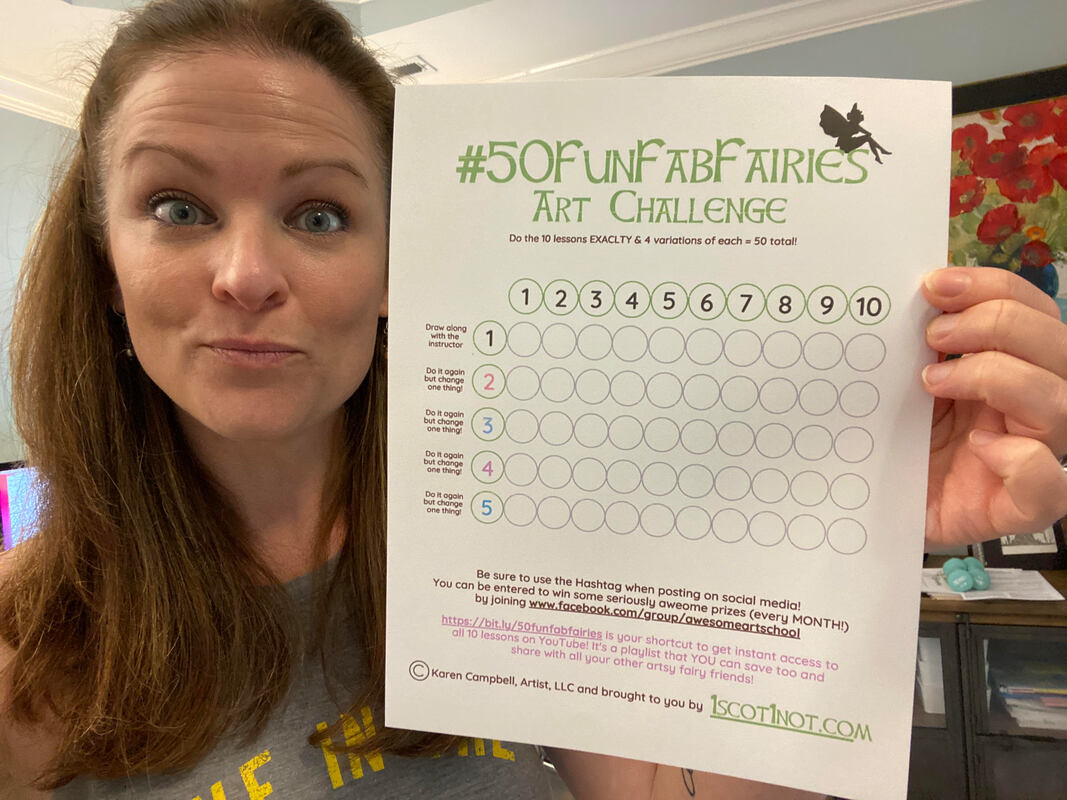
When you join the classroom link above, you'll get access to the above PDF of a score card to help you track your fairy drawing progress in the challenge!
Before we continue, super quick announcement: All product links are Affiliate. I may earn a small commission if you choose to order through these links but by law there is never any additional cost to the consumer for doing so. I thank you for your support.
I always have a blast bringing new and returning artists into our Awesome Art School community to jumpstart their creativity through a drawing challenge. AND, since one of my total obsessions is fairies and fantasy art - this is going to be super FUN for all of us.
To complete today's lesson in the #50FunFabFairies drawing challenge, you'll need a piece of tan toned paper (or the back of a grocery bag- even a piece of printer or notebook paper is fine!), plus a black China Marker and white China Marker. If you don't have China Markers - don't sweat it, just use black and white colored pencils or crayons. You could also totally do this entire drawing on scrap paper with a pen or pencil. The main thing is that YOU DRAW - not stress over the supplies! 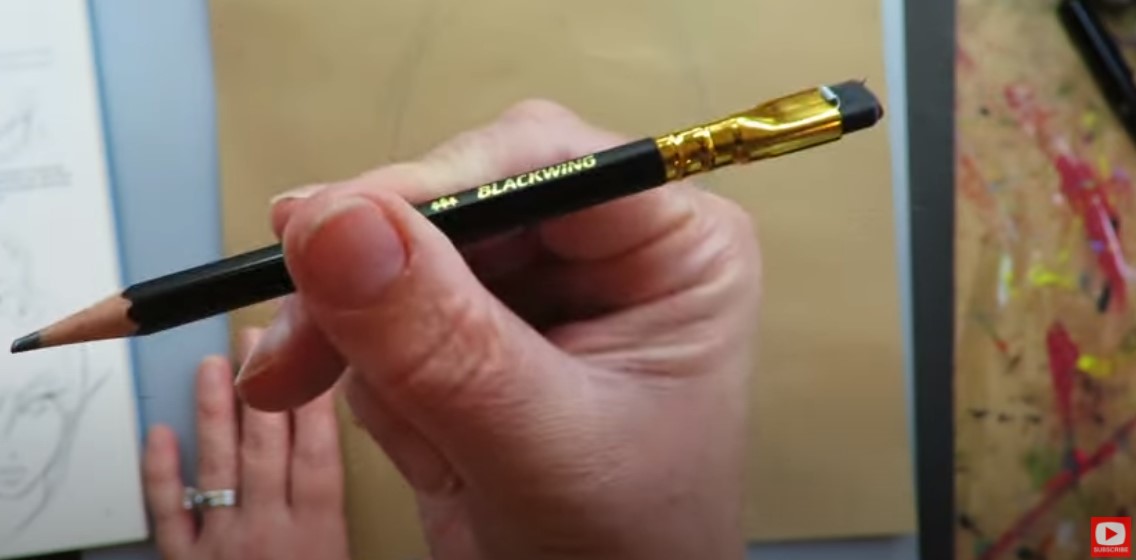
To initially sketch a fairy face, I grabbed my favorite Blackwing pencil. If you're interested in purchasing special drawing pencils, these are to die for. One pencil basically replaces an entire pencil set and can give you so many values when shading a face or any object you love to draw.
They are expensive though, so if you're on a budget - just use whatever pencil you have on hand! 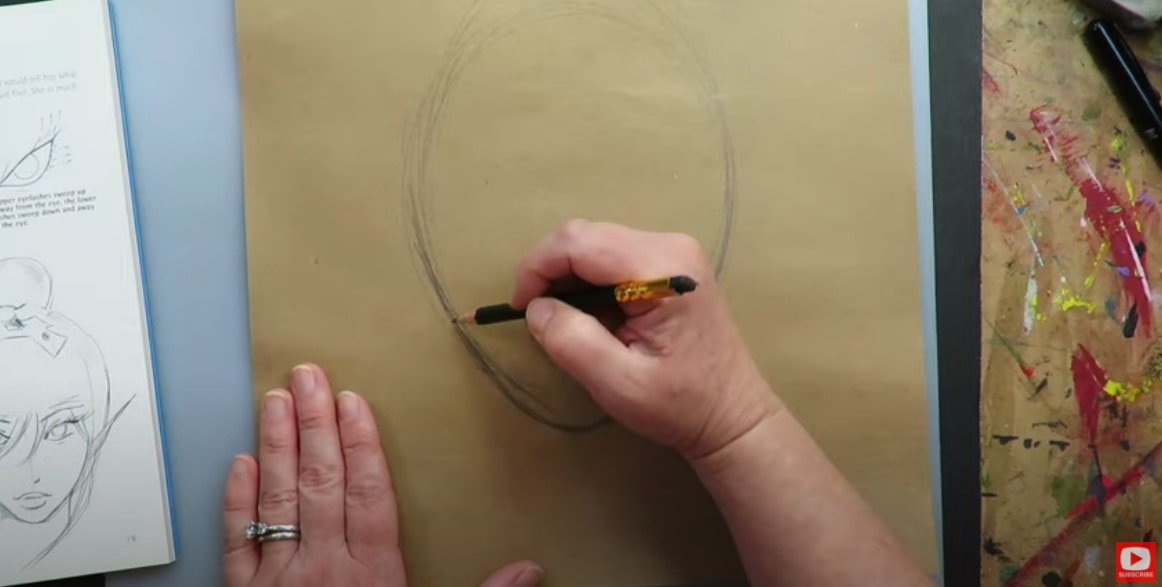
I begin this drawing like all my semi-realistc face drawings -with my whimsical face drawing guidelines. These are SO important to keep your faces looking proportional!
If you need a copy of my face drawing guidelines - the PDF is available to you for free in the #50FunFabFairies Challenge Classroom over at Awesome Art School. 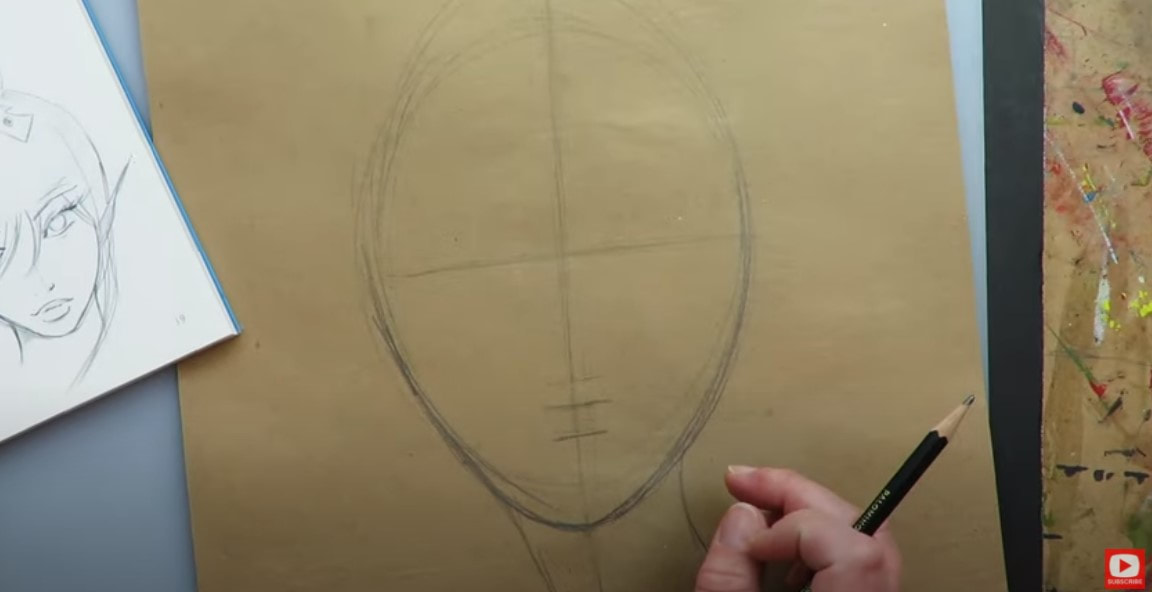
After your guidelines are marked, it's time to start placing your fairy's facial features.
I LOVE working with photos of faces for drawing reference. Sometimes I look at pictures of real people, sometimes I look at other artists' drawings, art books, you name it! When I look at these face drawing references, I zero in on things like unique facial features, face shading patterns, hairstyles, accessories, etc. I use those pieces of information as "thought starters" to get me thinking in a different way visually. I never want to steal another artist's work and am a huge stickler on crediting the artists who inspire me. 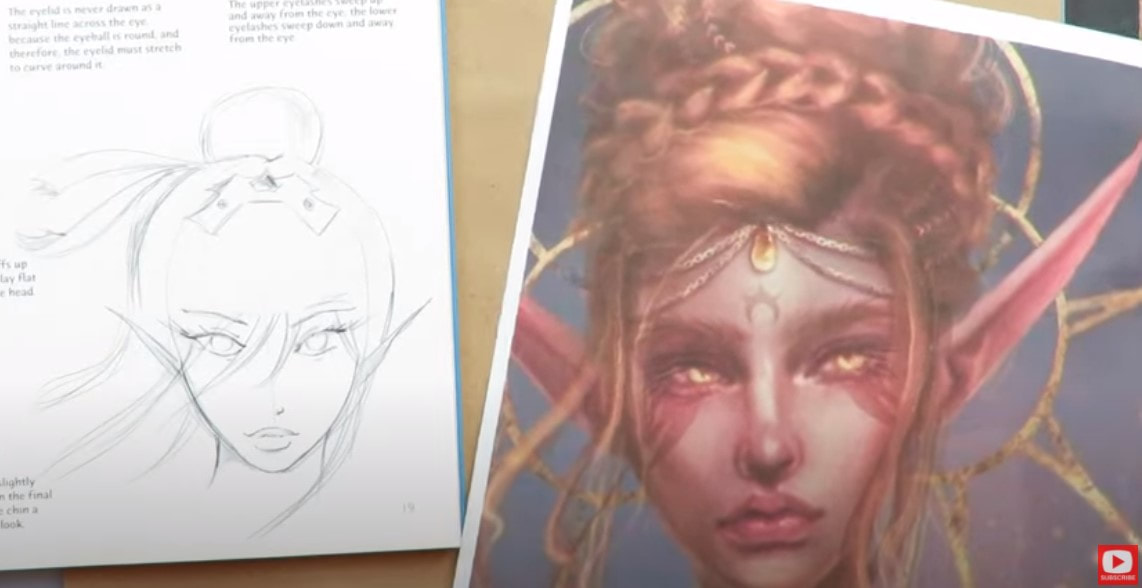
The fairy drawing images I've selected to use as inspiration for today come from the guidance in one of Christopher Hart's books. I LOVE his interpretations of fairies and fanciful creatures!
The other fairy drawing reference is a piece of digital art I found on Pinterest with no artist's name attached. I'm using elements from both images to inspire me for today's lesson. 
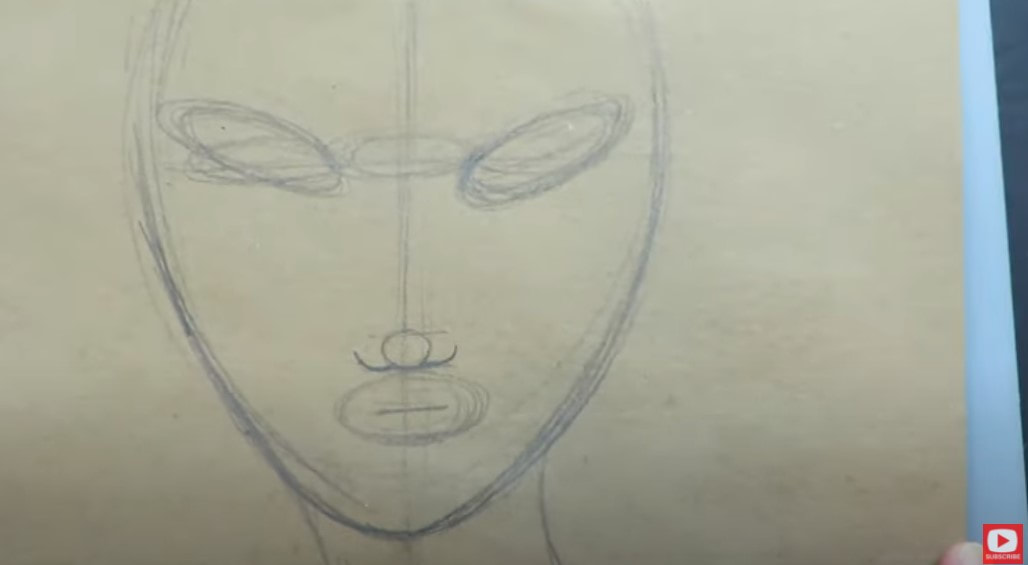
The eyes on Christopher Hart's fairy are especially interesting and what drew me to this face drawing reference photo in the first place. Once these are sketched in - you should have something in front of you that looks like an alien! If you do- you're doing amazing!!
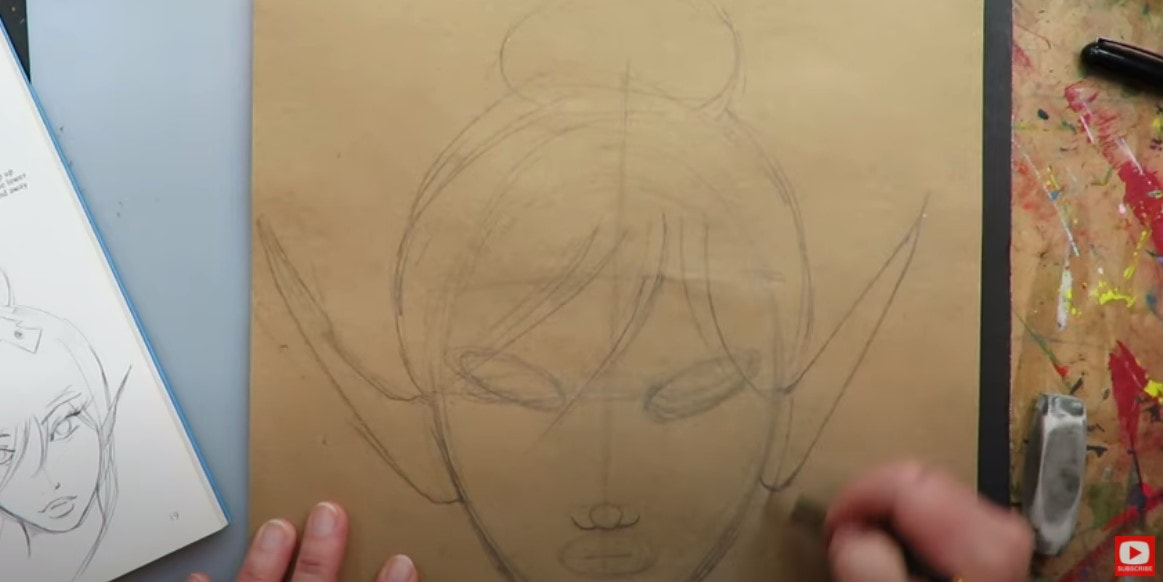
Lots of students have asked me how to draw fairy ears. They're really quite simple. If you click over to the video to see this example of fairy ears drawing in action, it will really help you along.
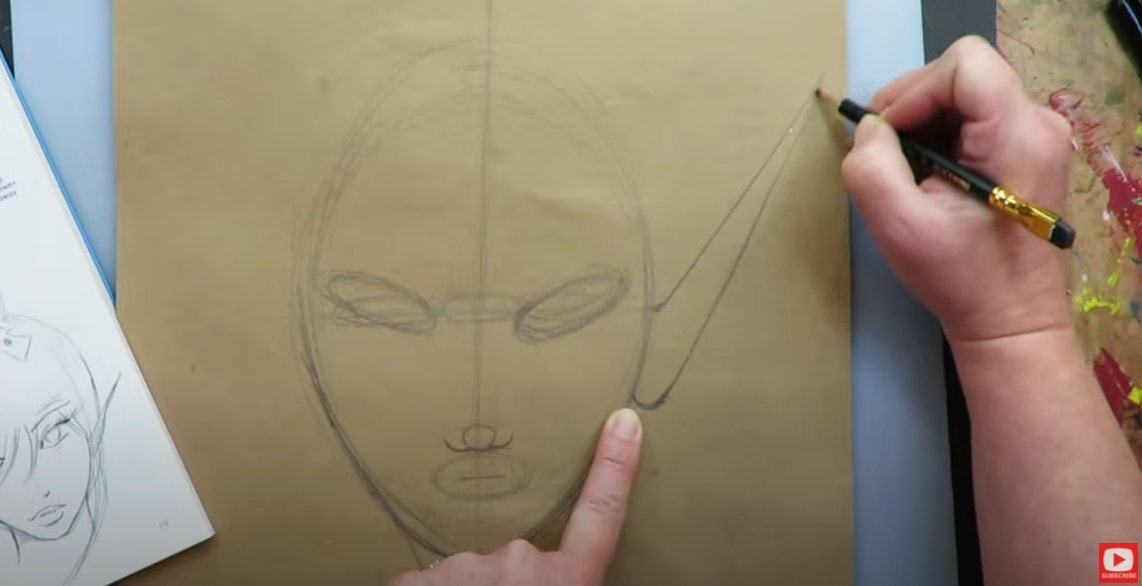
Next up... hair! If you're not sure how to draw hair, I've got you, and break this down step by step for you as well. I'm using Christopher Hart's drawing as a guide to create some wispy bangs and a simple, sketchy bun piled on top with flyaways. SO cute!!
Next it's time to get some detail added in the upturned eyes we started. Again, if you don't know how to draw eyes, this project is TOTALLY for beginners, and I'm holding your hand the entire way in this fairy drawing video.
I am all about using a circle template for the irises and pupils. Of course we could spend time working on drawing perfect circles, but I've got WAY better things to do, and I'm sure you do too!
Use a template, and let's move on to the next step. Look at what a difference the eyes make, huh? Now she's comin' to life! 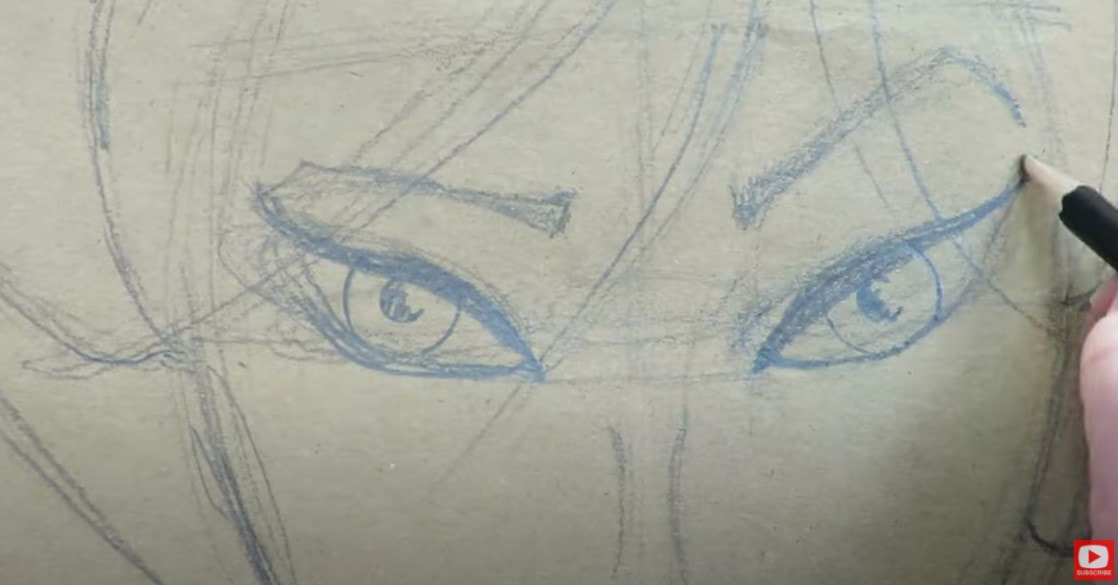
I'm keeping the nose super simple for this girlie today, and am only adding a squished oval on each side for notstrils. I also sketched in a bridge line for the nose as well, but only lightly because that will be part of our face shading when it's time.
The lips in the Pinterest fairy drawing reference are just luscious! It's a super pouty, sexy look that I love - so took a little inspiration from that to create my own.
Next, it's time to fine tune everything and start erasing all the sketchy guidelines so we can add some shading and dimension to this fairy face. If you don't have a favorite eraser, mine is in the pic above, off to the right. It's called the vanish eraser, and I just LOVE it.
If you've never worked with toned paper before, the coolest thing about it is we only have to add the really dark parts and the really light parts of the value scale, because the paper itself already gives us the midtone we need! That means less face shading for us, and the sketch takes much less time to complete. Cool, right? In a lot of ways, shading on toned paper is actually easier than shading on white paper. If you're new to working with toned paper, and want to learn more about the value scale, check out this playlist on YouTube. 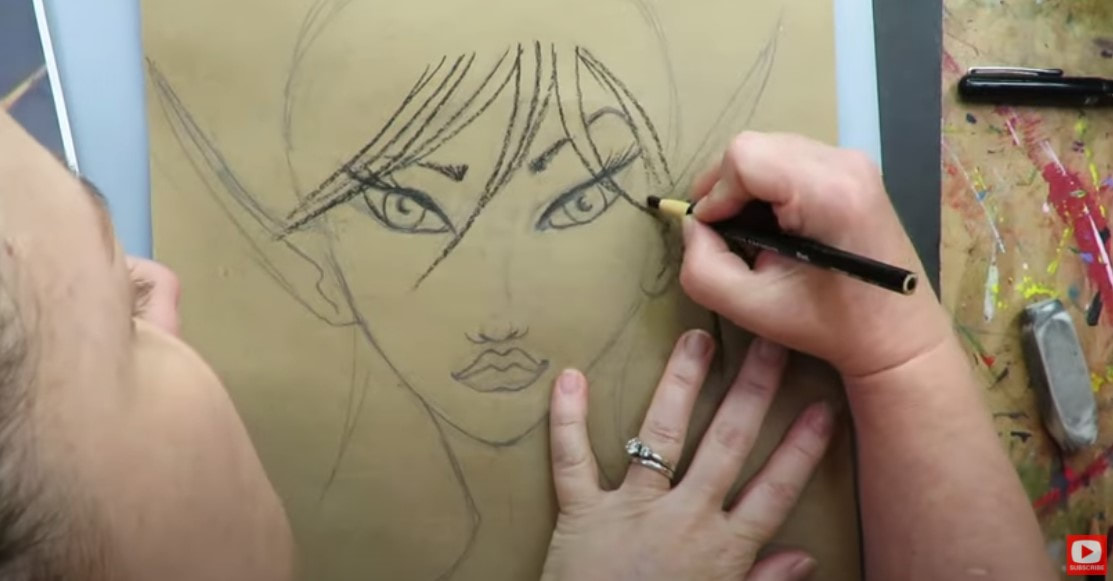
I started with my black china marker to basically outline the entire drawing. Then I add some scribble scrabble shading in areas where I want there to be shadows. If you need help with learning how to shade a face - don't worry, simply follow me in today's drawing tutorial. It's all SUPER step by step and easy to follow.
Simple right? I TOLD you this was gonna be an EASY fairy drawing that anyone could do!!
Adding white highlights at the end of a drawing project is probably my favorite part! Again, no need to know where these highlights are supposed to go. Just follow me, and we'll do it together. 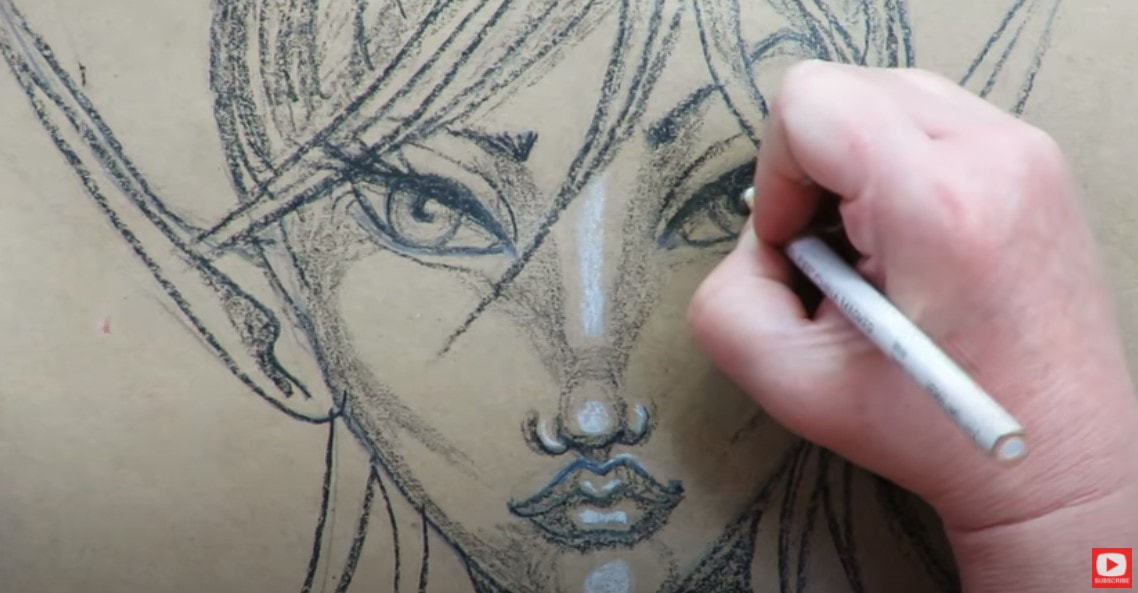
If you love a little extra drama like me, grab some black and white paint pens, and I'll show you which areas to hit to really make things pop.
Thanks for hanging out with me today!! I REALLY hope you are drawing along with me and plan to participate in this fairy drawing challenge. We're going to have SO much fun together!
If you're OBSESSED with fairies and fantasy art like me, you might just LOVE the Celtic Collective over at Awesome Art School. It's an art membership my Scottish bestie, Lucy Brydon, and I run together! You might ALSO enjoy our podcast, 1Scot,1 Not. We talk about everything under the sun to do with Scotland - whether it's historical, fantasy, whatever. Just a quick warning - we have a blast and are totally ourselves on the podcast, which means there is some drinking and swearing. ❤️ CHECK OUT ALL my art books on AMAZON ❤️ MY FAVORITE ART SUPPLIES on AMAZON ❤️ MY BELOVED FACEBOOK GROUP ❤️ FOLLOW ME ON INSTAGRAM
I LOVE drawing fairies as much as I LOVE listening to stories about REAL fairies and teaching my students about drawing & shading faces! I've put together a 5-day fairy drawing workshop called Fun Fab Fairies and will be teaching you how to complete THREE easy drawings of fairies. You'll learn how to draw a fairy sitting on a mushroom, how to draw fairy wings, how to draw a fairy face + how to shade a fairy face, and exactly what you need to do to turn these pencil drawings into your very own masterpieces!!
I LIVE for teaching people how to draw faces and can't wait to do this with you!
The LIVE festivities for How to Draw FUN, FAB FAIRIES kick off on Monday, April 26th. On days 1-3 will be a learning how to draw a mushroom, fairy with wings, grasshopper, grass - all from scratch! Then I'll teach you how to shade and color it in. 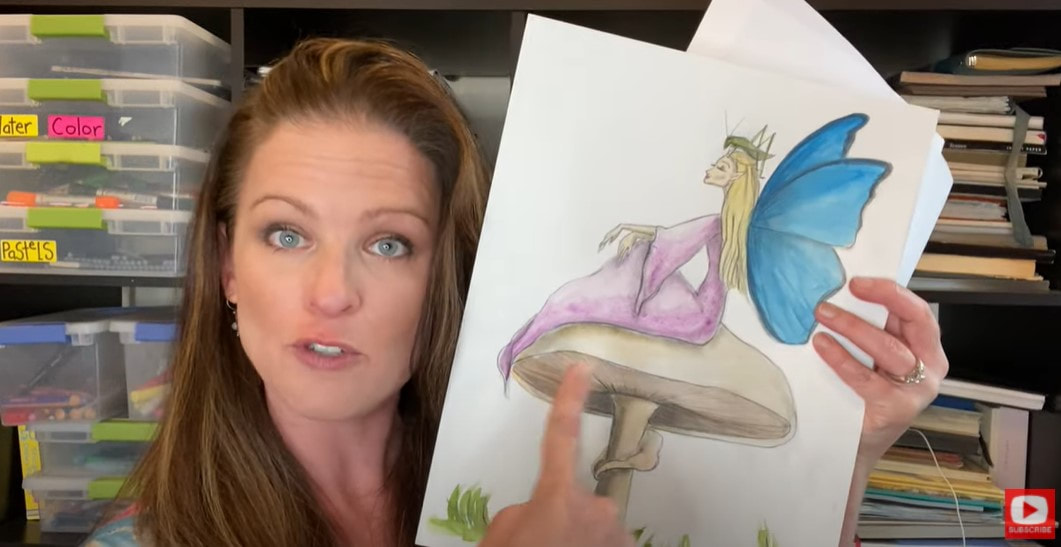
On day 4 - I'm gonna teach you how to draw and shade a fairy face in pencil in my "Fub Fab" style - also from scratch! We'll be working in pencil, I'll teach you about the value scale and how to use this when you're shading faces so your drawings will POP and look more realistic.
On day 5 I'm going to teach you how to draw and color in the fairy face from day 4 using alcohol markers!
Never used alcohol markers for shading a face (or anything) before? Don't worry- I've got TONS of resources for you. This FREE 12-page eBook I created about how to shade with skin tone markers (and how to CHOOSE which marker shades go best together!!) will be your NEW BEST FRIEND!! 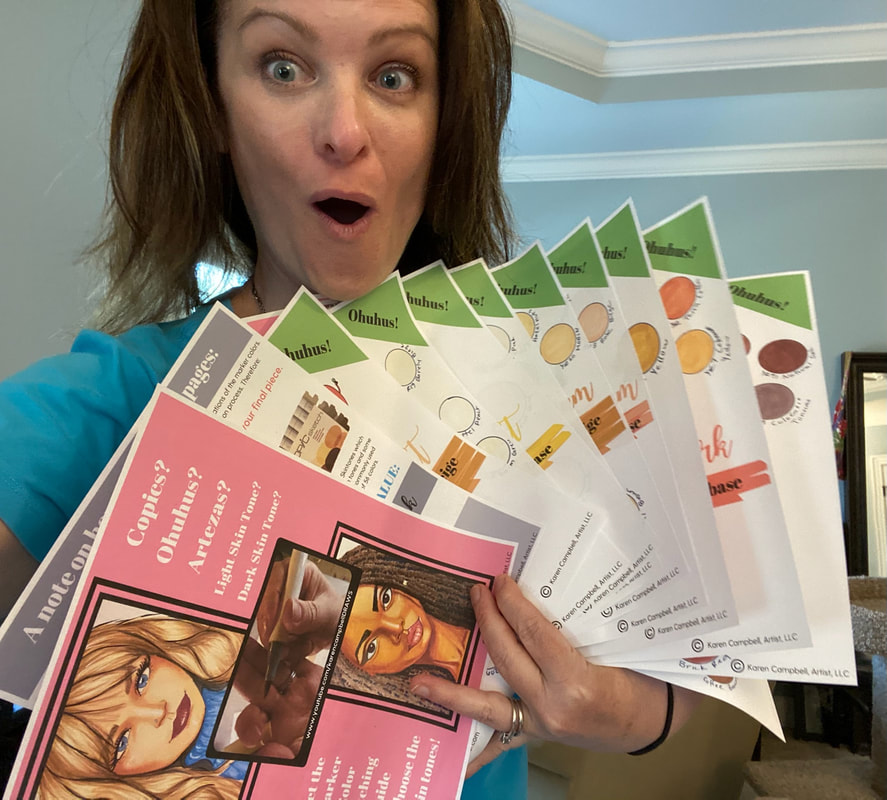
Simply click the button below, and I'll send this FREE 12-page PDF straight to your inbox.

I tell you EXACTLY which marker shades go best together to shade light, medium and dark skin tones using alcohol markers by Copic, Ohuhu and Arteza so you can choose which brand is best for you and your budget! If you're interested in learning how to draw FUN FAB FAIRIES with me, make sure you sign up before April 26th, because the price to participate is jumping from $10 to $47!! CLICK HERE to SIGN UP for the FAIRY DRAWING WORKSHOP 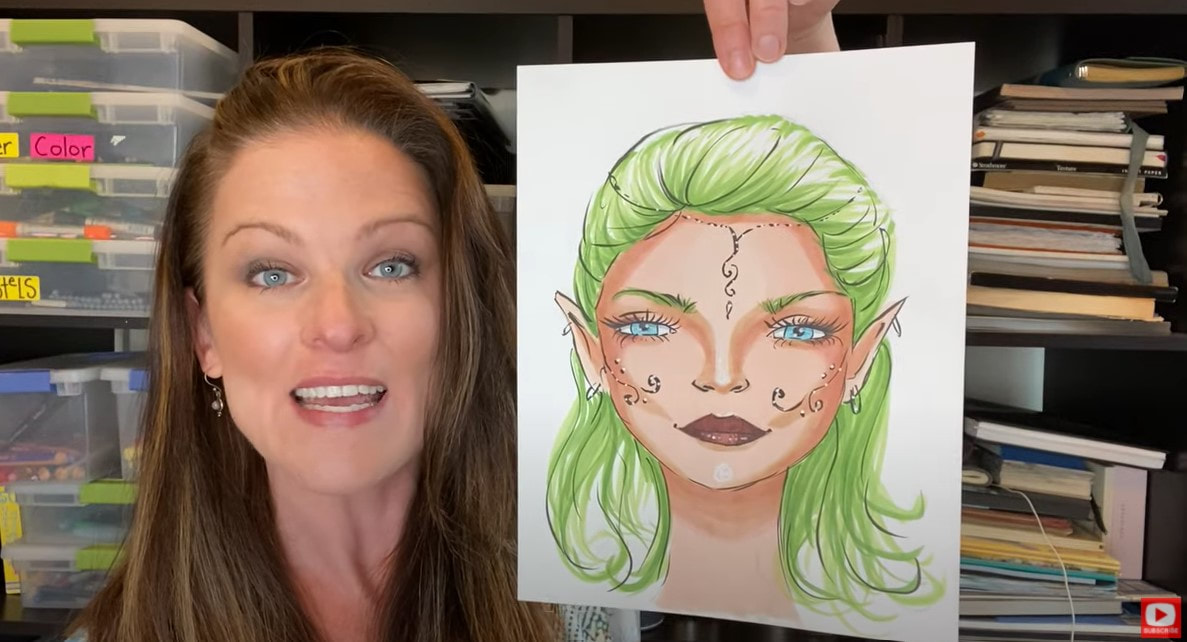
Cost for all 5 days of this workshop (including the Facebook LIVES with daily giveaways) is $10. But make sure you sign up NOW because the cost is going up to $47 to join on Monday, April 26th.
Everything for the workshop is included from added PDF resources and links to supplies, to all the prerecorded content. AND it's ALL YOURS TO KEEP, download and rewatch forever! CLICK HERE to SIGN UP for the FAIRY DRAWING WORKSHOP Even though the workshop has LIVE festivities beginning on April 26th, there is no pressure to complete the workshop lessons on a time schedule. You are welcome to play at your own pace.
I hope you join me for FUN, FAB FAIRIES!!
Need info about other stuff?? Here ya go!! ❤️Did you know I've started a FUN new podcast with my Scottish, artsy bestie, Lucy, ALL ABOUT SCOTLAND & the mythical goodness I can't get enough of about this magical place?! YES - we talk about everything including ARE Fairies Real?! (You know I think they are!!) The podcast is called 1 Scot, 1 Not! Check us out on YouTube and here's our podcast website! ❤️Want FREE, immediate access to my Fun Fab Drawing Club and/or Mixed Media Society plus discounts on all my art books, sneak peek at YouTube videos and new book content, behind-the-scenes fun and MORE? Join me over on Patreon today and get HUGE PERKS in return for a small monthly donation. ❤️ CHECK OUT ALL my art books on AMAZON (available in both Kindle and Paperback) ❤️ SIGNED COPIES of my art books on ETSY ❤️ MY FAVORITE ART SUPPLIES on AMAZON ❤️ MY BELOVED FACEBOOK GROUP ❤️ FOLLOW ME ON INSTAGRAM ❤️ FOLLOW ME ON FACEBOOK If you are just getting to know me... it won't take you long to discover I'm obsessed with all things Scotland, and fairies!! I love drawing their adorable, pointy ears and teaching students how to draw fairy ears. 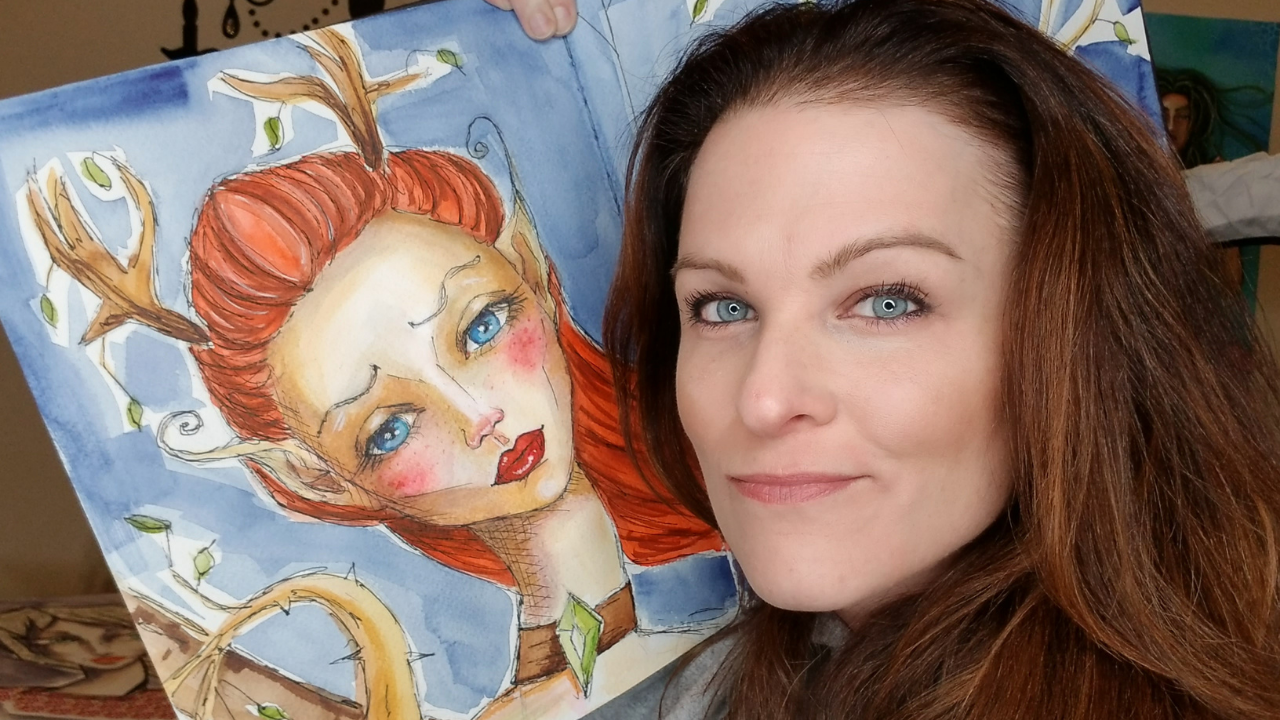 This is one of my art journal spreads from my Scotland art retreat last year. She's watercolor and ink! Since I can't go back to Scotland for a while, I'm amusing myself at home in my studio whenever I can with cute fairy projects. The other day I posted one as a new lesson for The Fun Fab Drawing Club! Club members are welcome to join at ANY stage of drawing experience to work on building new skills to really take their work to the next level. And of course, because this is my club - it's never stuffy or boring! I LOVE teaching students how to draw faces in a whimsical style to keep things light and enjoyable, without any pressure!! Fun Fab Drawing Club members who consider themselves beginners learn the basics of line weight and do a bit of zentangling to get them used to having fun making marks on paper. 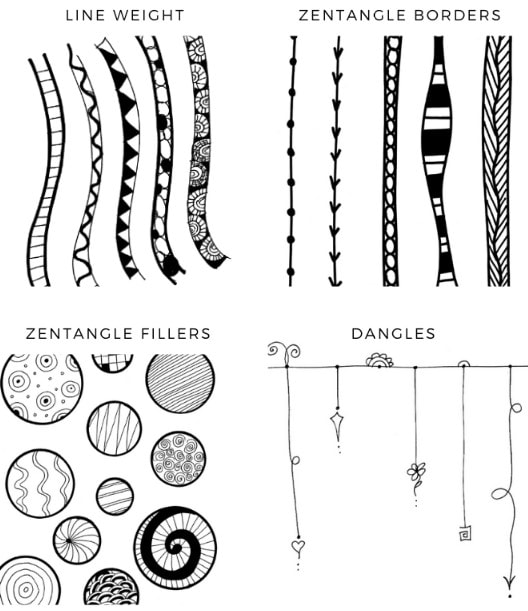 This month, I've added a cute new fairy drawing lesson for my Pixies - or anyone else who'd like to keep things easy, simple, colorful and FUN!! IF you're ALREADY a Fun Fab Drawing Club member, I've dropped this lesson into the Fantasy Classroom. 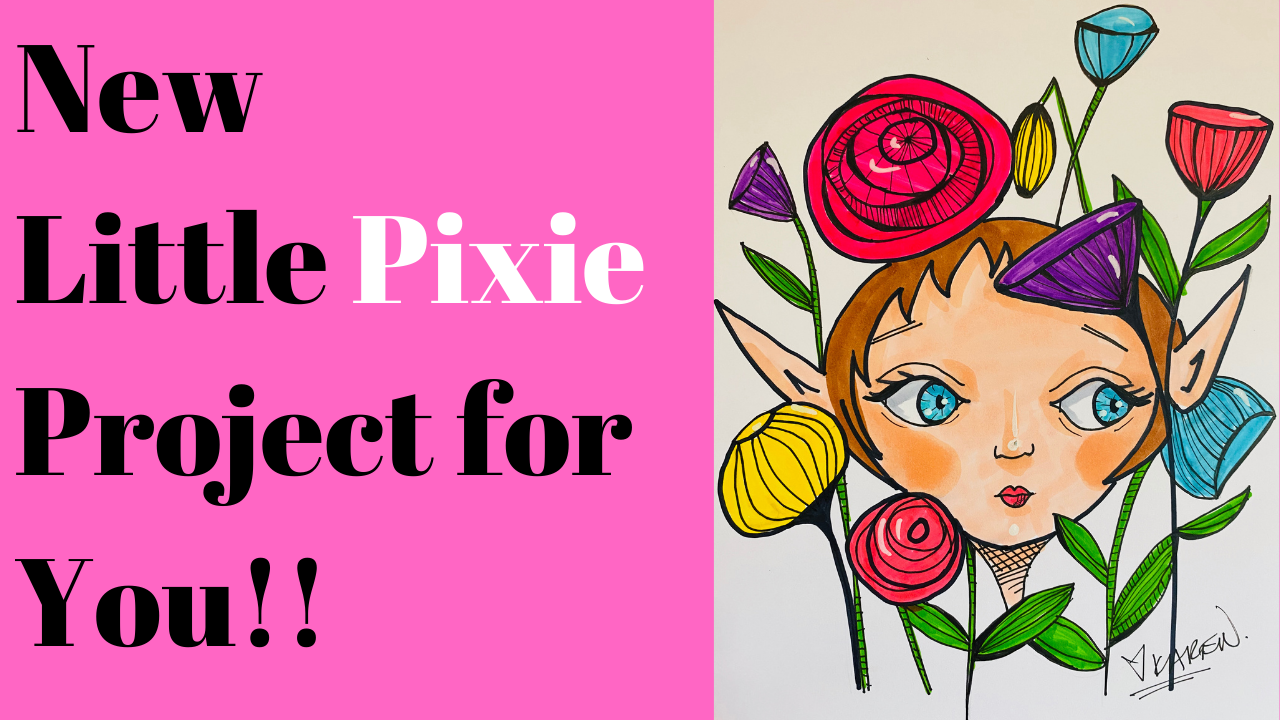 If you're not a member of The Fun Fab Drawing Club, and want to learn more about it and get your name on the waitlist to be notified when enrollment opens in the spring, just hop over to Awesome Art School! One of my favorite things to see on Facebook after a new lesson has posted, are all the amazing artists who share their interpretations!! Each one is special. I'm SO PROUD OF ALL MY STUDENTS!!! I need to brag on two of the first who shared their beautiful work... 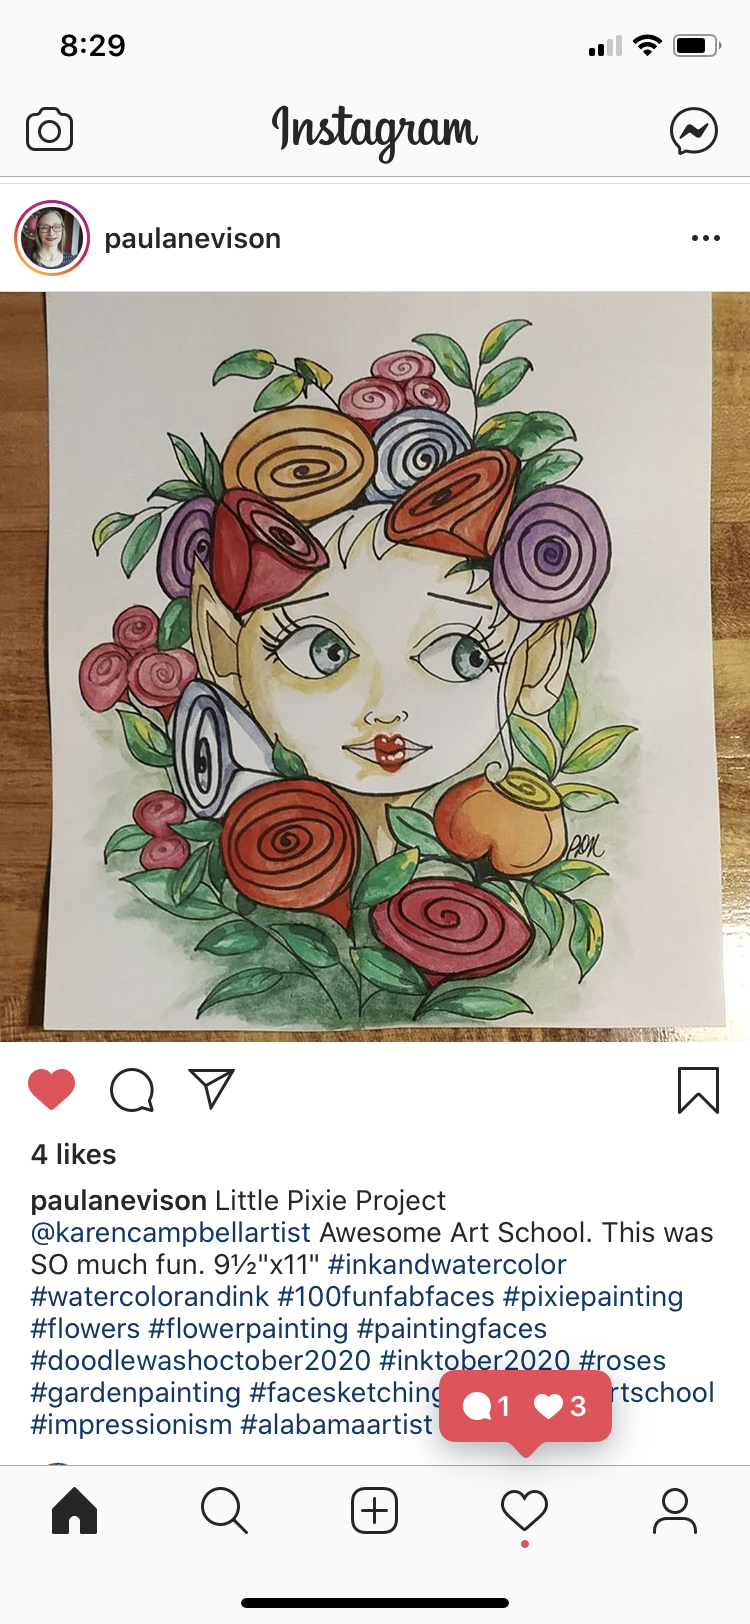 How CUTE is that?! She's precious, Paula!! I LOVE how she used watercolor instead of copics to mix things up! Debbie shared this one... 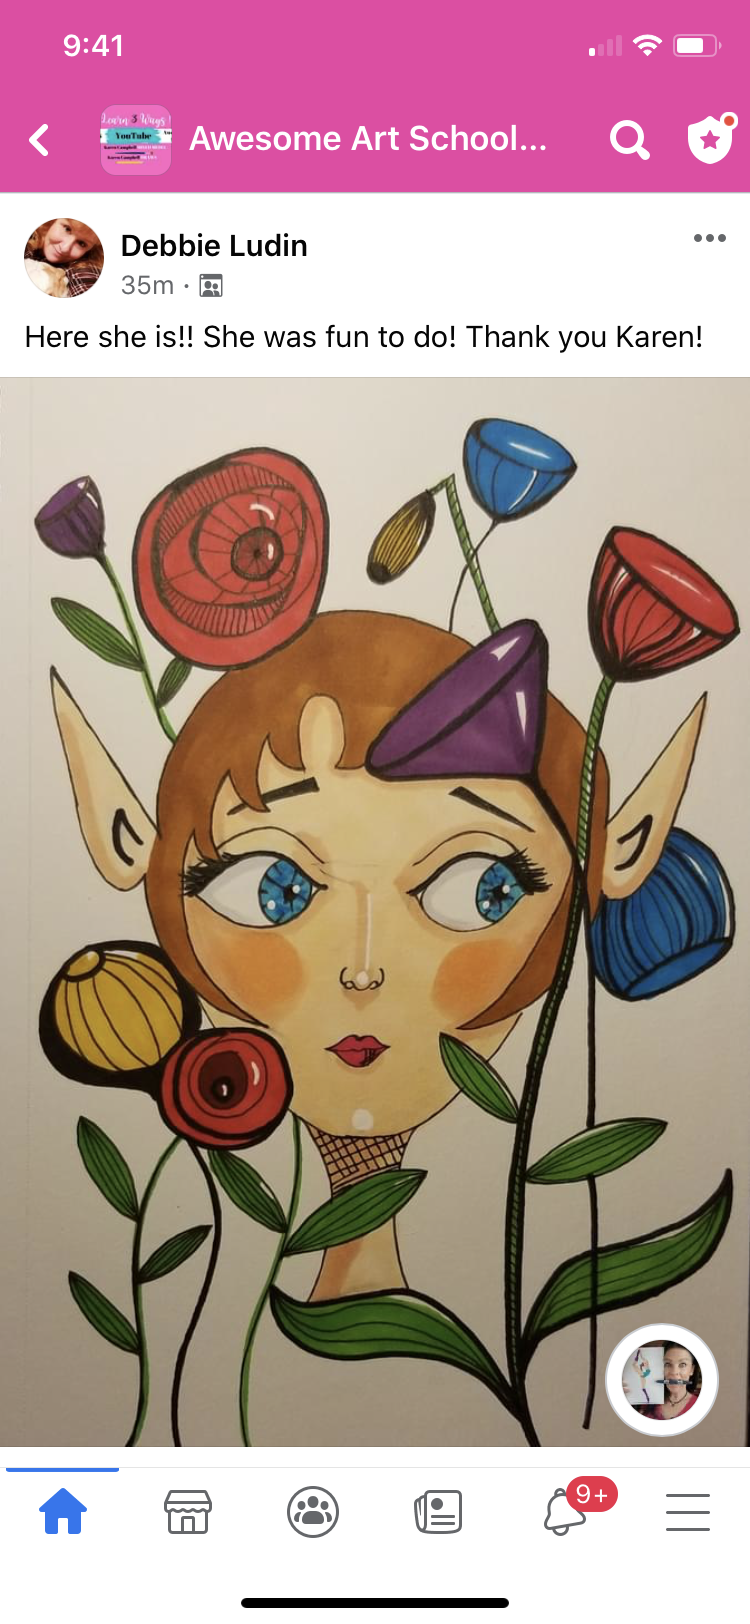 SO cute, Debbie!!! She is adorable!! Awesome highlights, girl!! Don't you wonder what she's looking at??? Thank you both for sharing and for letting me RE-SHARE your gorgeous artwork :) If YOU are interested in learning more about The Fun Fab Drawing Club - please pop your name on the waitlist over at Awesome Art School so I can send ya a quick note when enrollment opens. We'd love to have you there!! 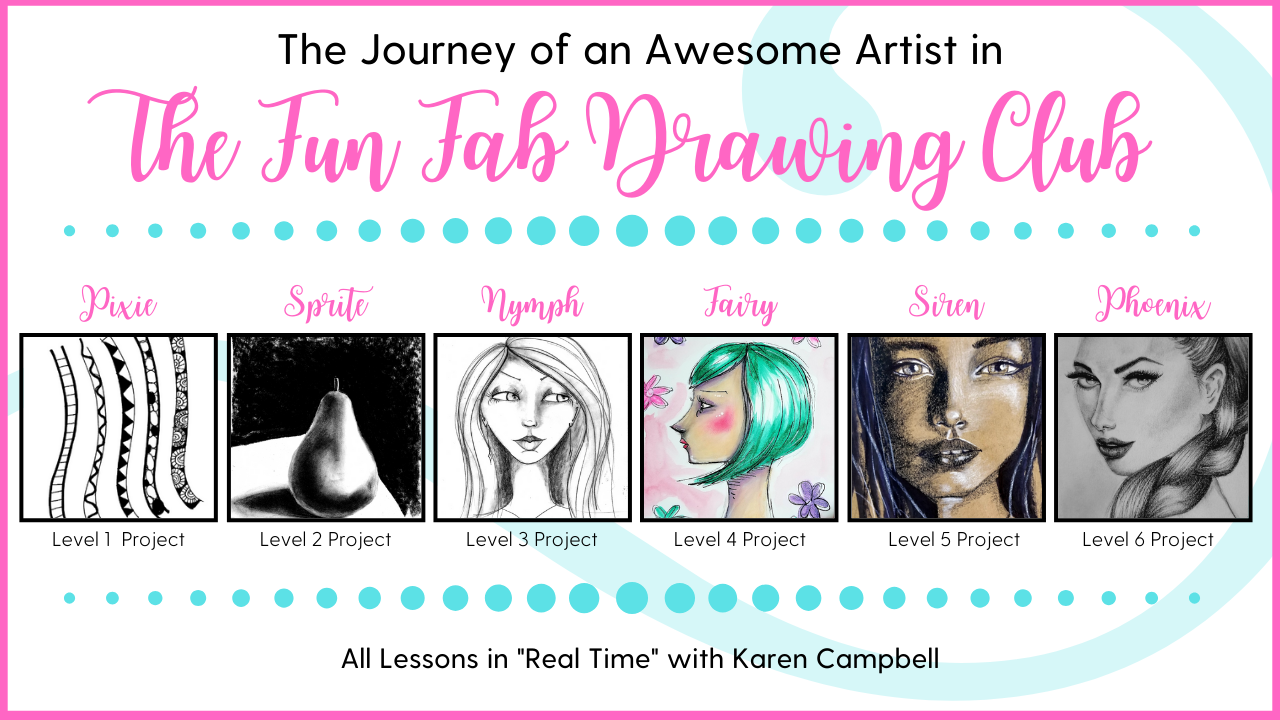 If you need a little drawing inspiration right now - please feel free to jump on over to my Drawing Channel on YouTube. I've got tons of fun projects for you to try - including my new Whimsical Women of the World Drawing Series!! We are having a blast with that, and would LOVE to have you join us! All of these lessons are free on YouTube and are being posted once/week on Mondays. We'll have 12 Whimsical Women's faces when we're done. See ya there!! |
Karen CampbellFounder of Awesome Art School. Mixed Media Artist. Author of 19 Instructional Art Books! 
Whose work has appeared in...
   
 Archives
July 2024
Categories
All
|
 RSS Feed

"Karen is flipping hilarious and she's very real...I like the way she teaches in a way that really gives you confidence, whether you're a beginner or advanced there's always something new to learn!"
- Elizabeth W. |
What Fans Are SayingKaren, you are absolutely fabulous! You make me feel like I can draw anything. I have recently retired and finally have the time to do some of the art that I have loved since I was in school. I am really at the beginning of my art journey and I hope to learn as much as I can. Thank you for all you do. |
Contact ME |